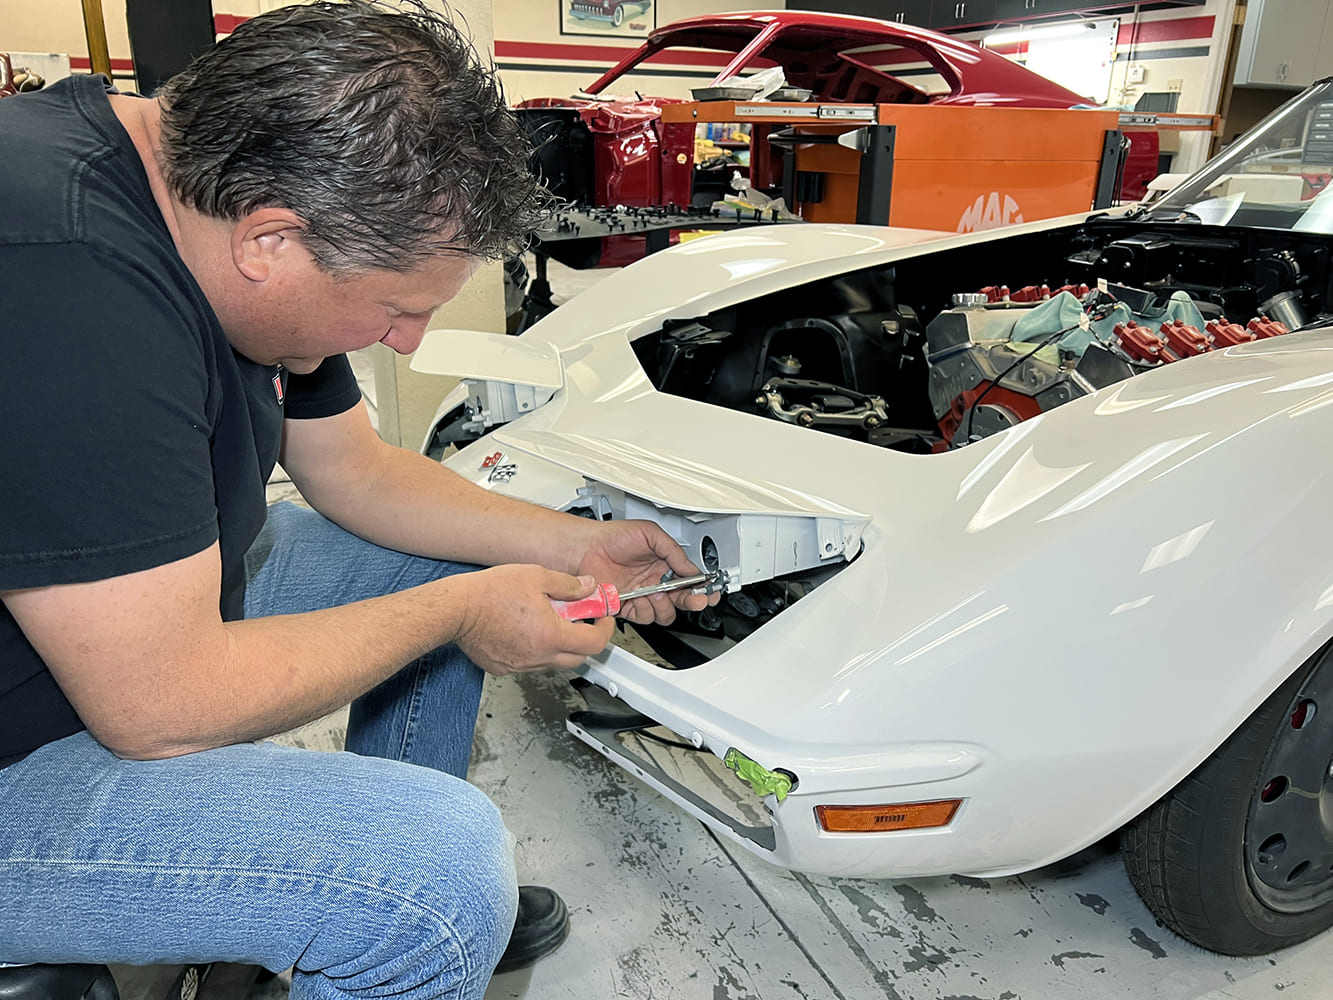
The restoration of the headlight doors via Summit Racing Equipment hardware, the upgrade to the Detroit Speed headlight doors from vacuum to electric, and the installation of the Holley RetroBright headlights took place at Hot Rods By Dean under the watchful eye and steady hands of Dean Livermore.
Time to perform the electric headlight door conversion. We are moving from vacuum headlight doors to electric on our C3 Project 1971 Corvette. We’ve addressed the suspension, brakes, and powertrain, and even restored the exterior color from its as-found yellow to the original classic white.
With the help of Phoenix-based Hot Rods by Dean, we’ve completely torn down the car and rebuilt it from the ground up. We replaced, restored, or upgraded every nut, bolt, wire, and hose. It’s all been more complicated than it sounds because just about everything on a vintage Corvette is more complicated than it sounds.
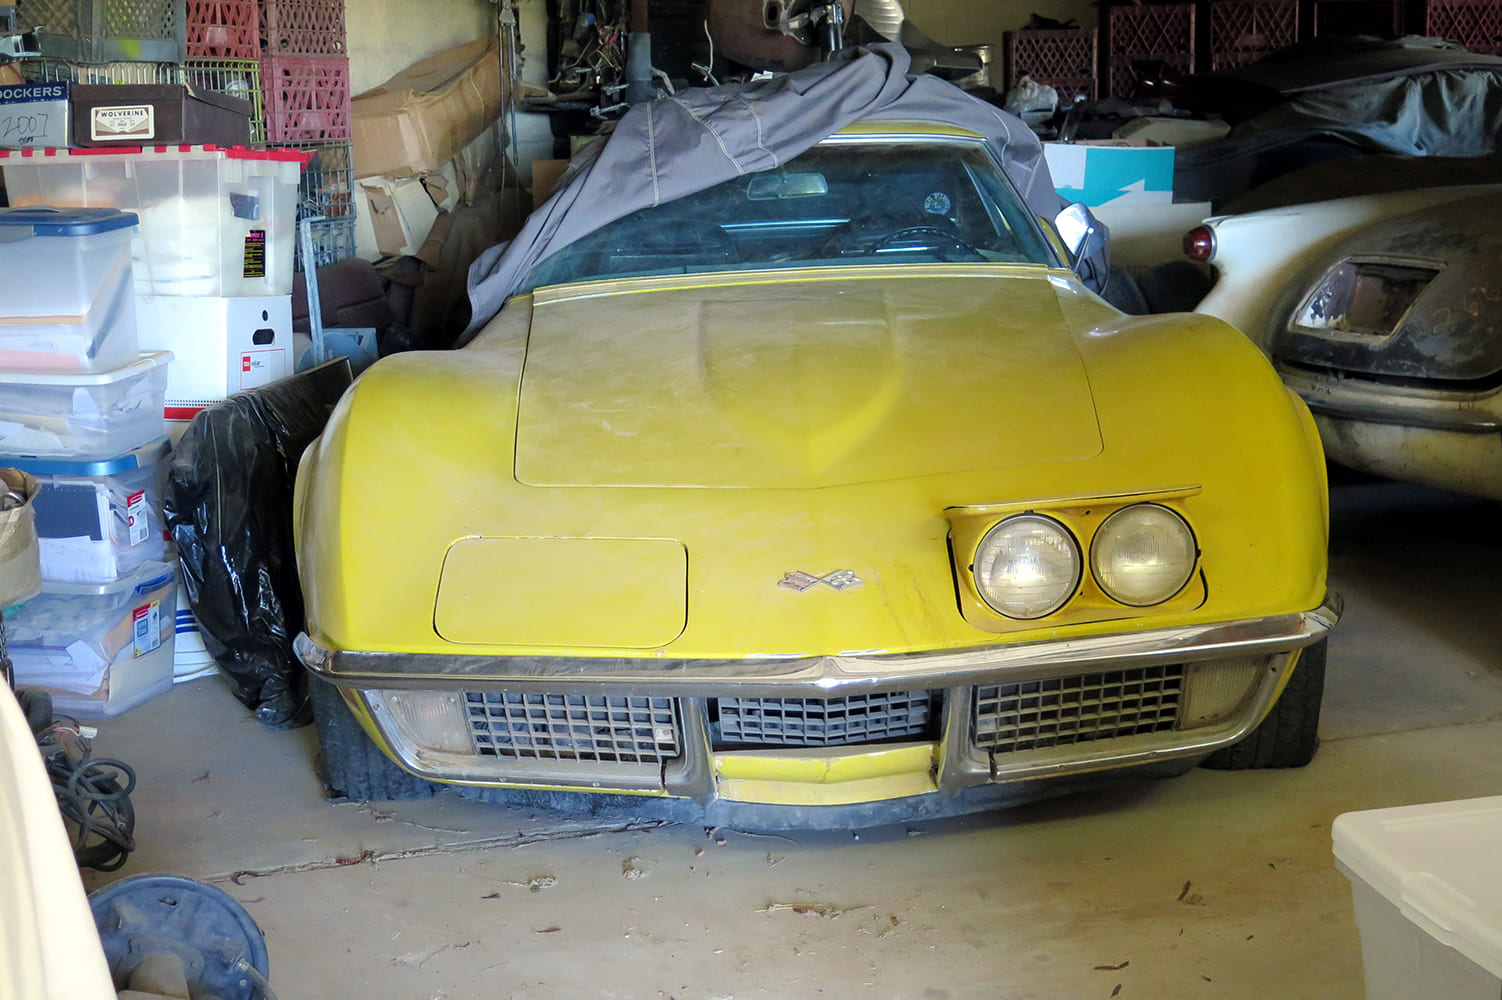
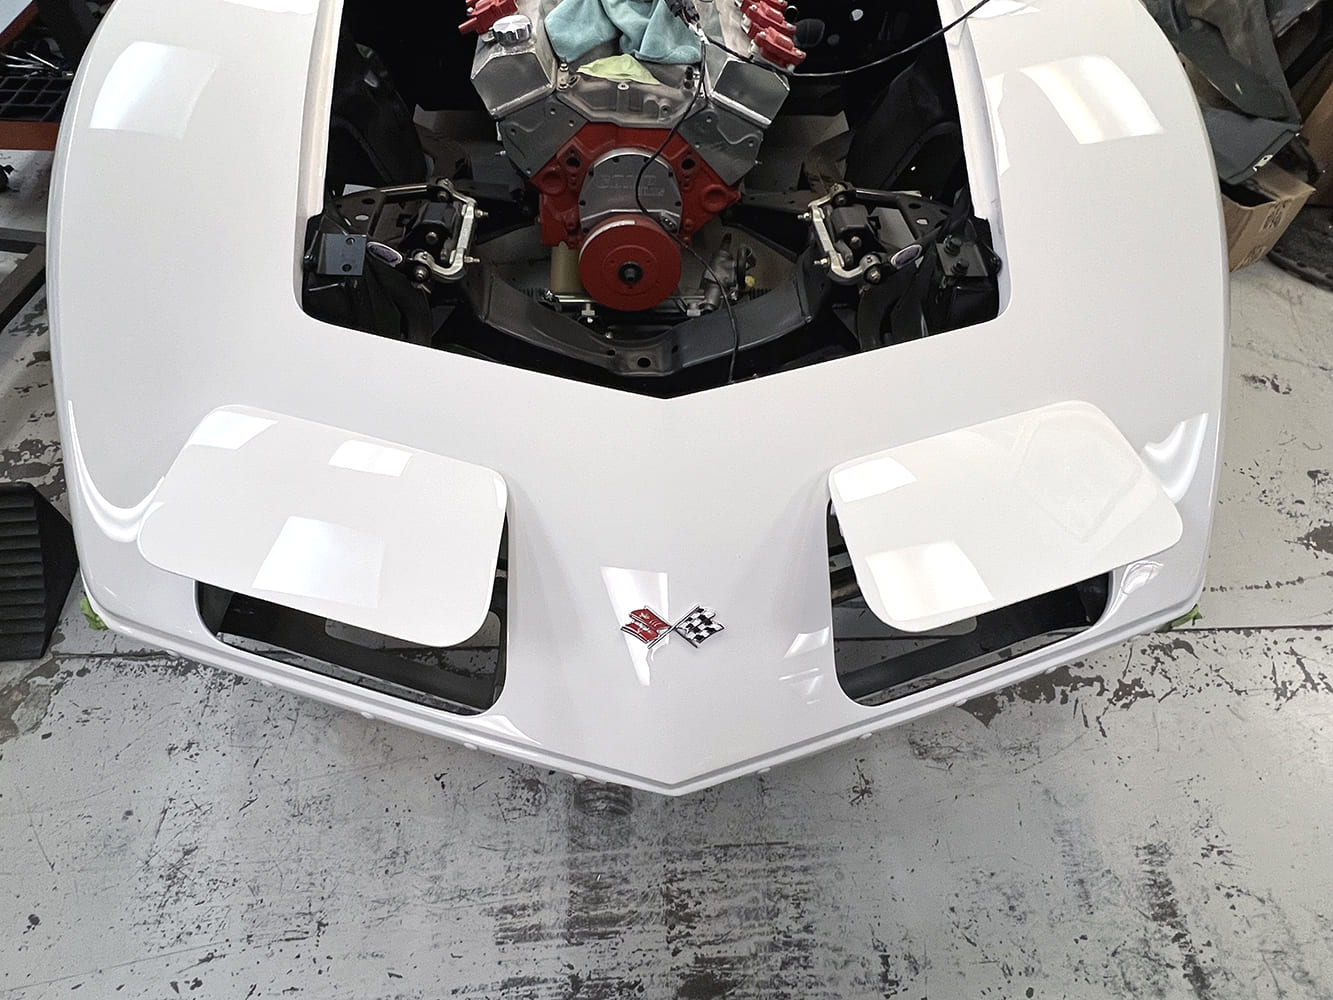
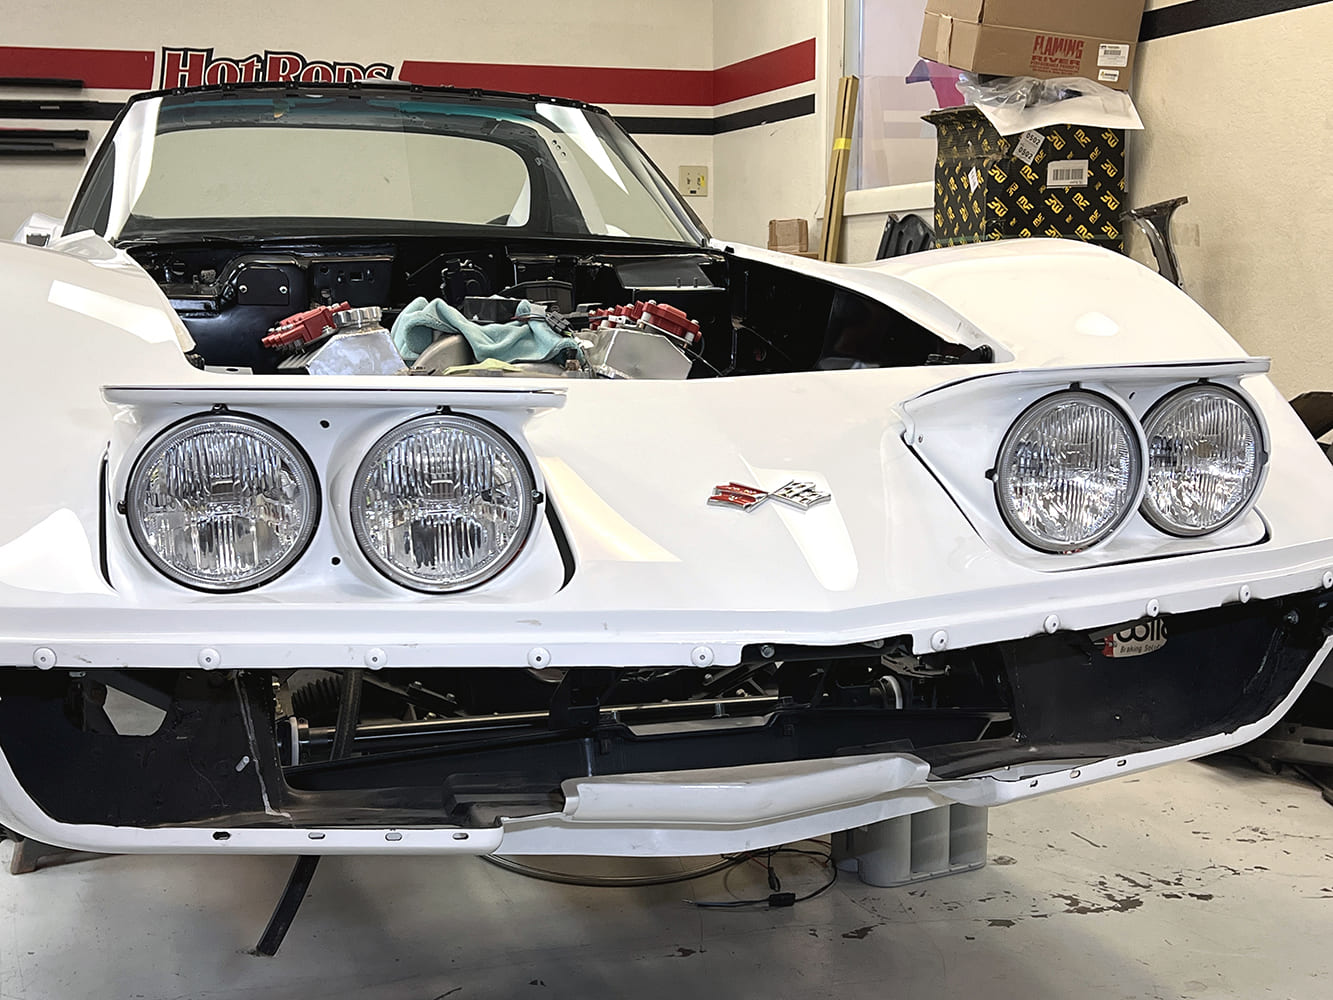
This is how we found our 1971 Corvette, which had languished in storage for about 30 years. The “wink” of the pop-up headlights was indicative of the vacuum-actuated system and its myriad of issues. Rather than repairing the system—and because we were concerned about adequate vacuum production from the car’s planned 383 stroker—we opted to convert to electrically operated doors.
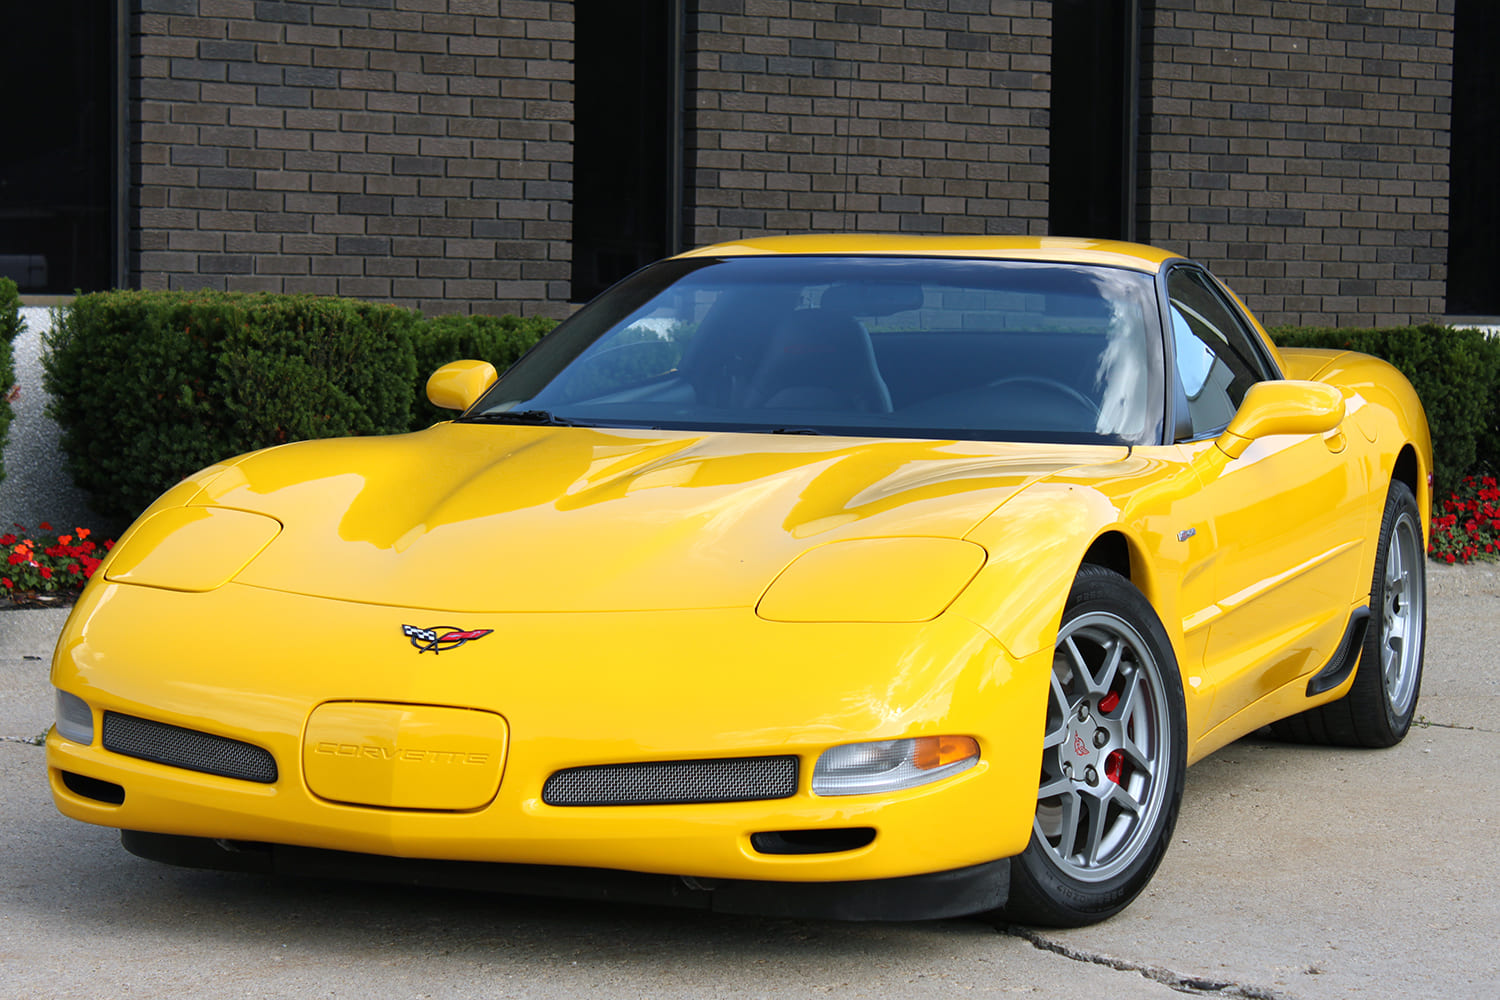
It may be a Chevy at its core, but a Corvette is different in almost every respect—including the headlights. The C2-C5 generations had pop-up headlight systems, and while the C2 models used straightforward, largely reliable, electrically operated doors, the C3 generation, including our 1971, inexplicably switched to vacuum-actuated doors. We’ve never heard a good reason for the change. Perhaps a few hoses and a pair of vacuum actuators were cheaper than electrical motors and the related wiring, but the results of the changeover could most generously be called “mixed.”
Most C3s have experienced issues with the doors’ operation, but even with a correctly operating vacuum system, high-performance engine upgrades can affect their performance. Specifically, a lumpy, lopey camshaft profile with more overlap will reduce vacuum production and make it harder to open or close the headlight doors.
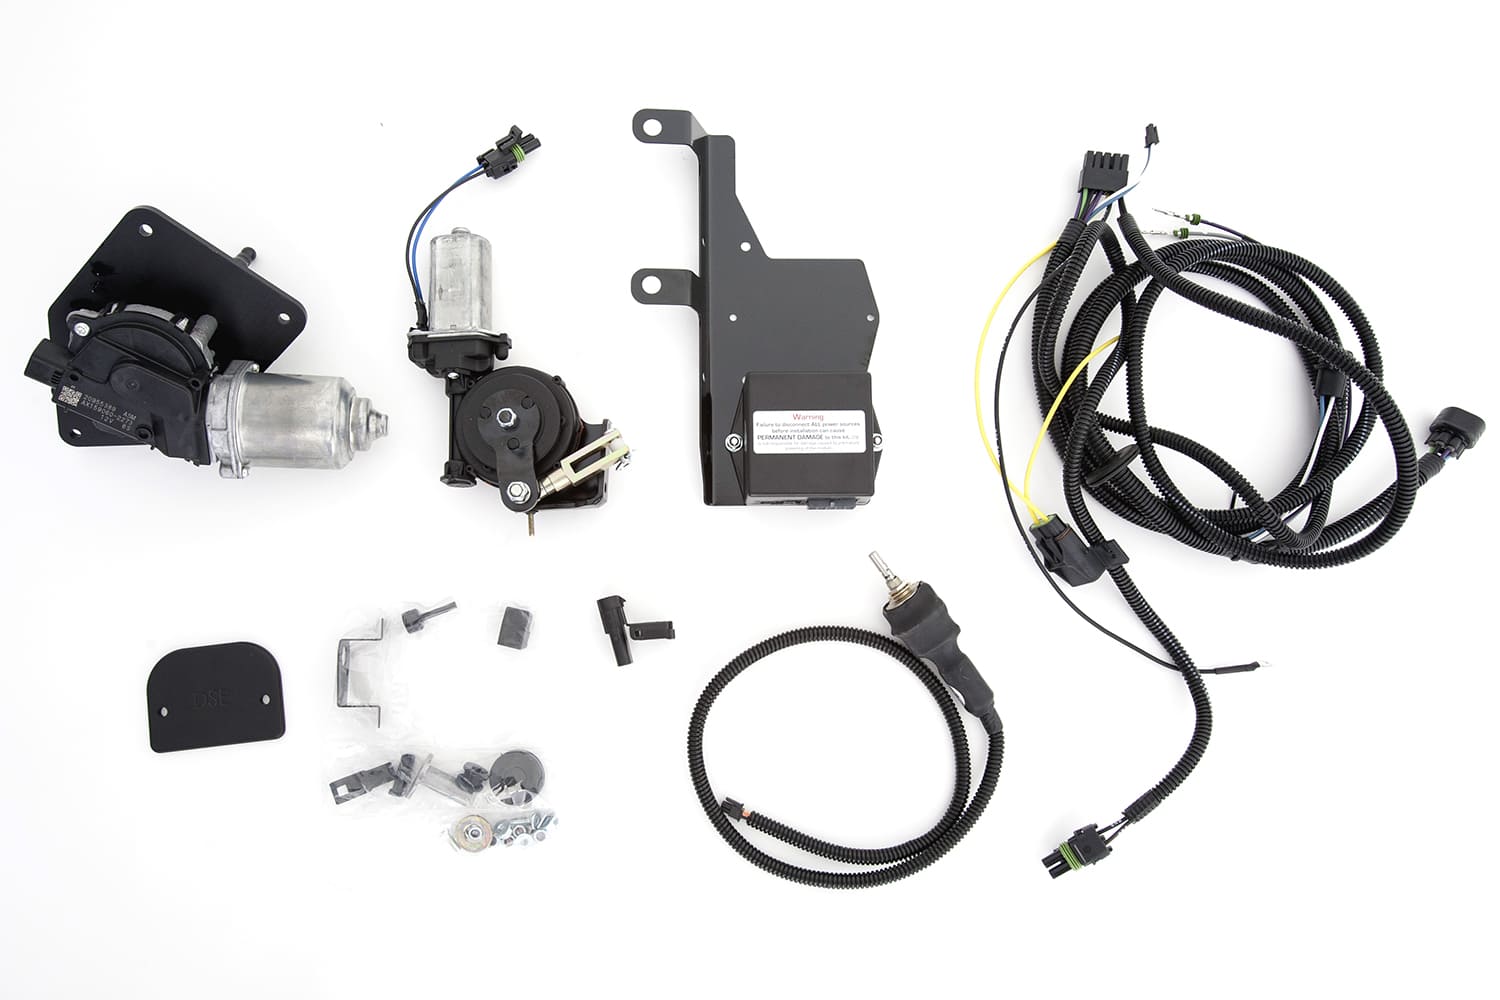
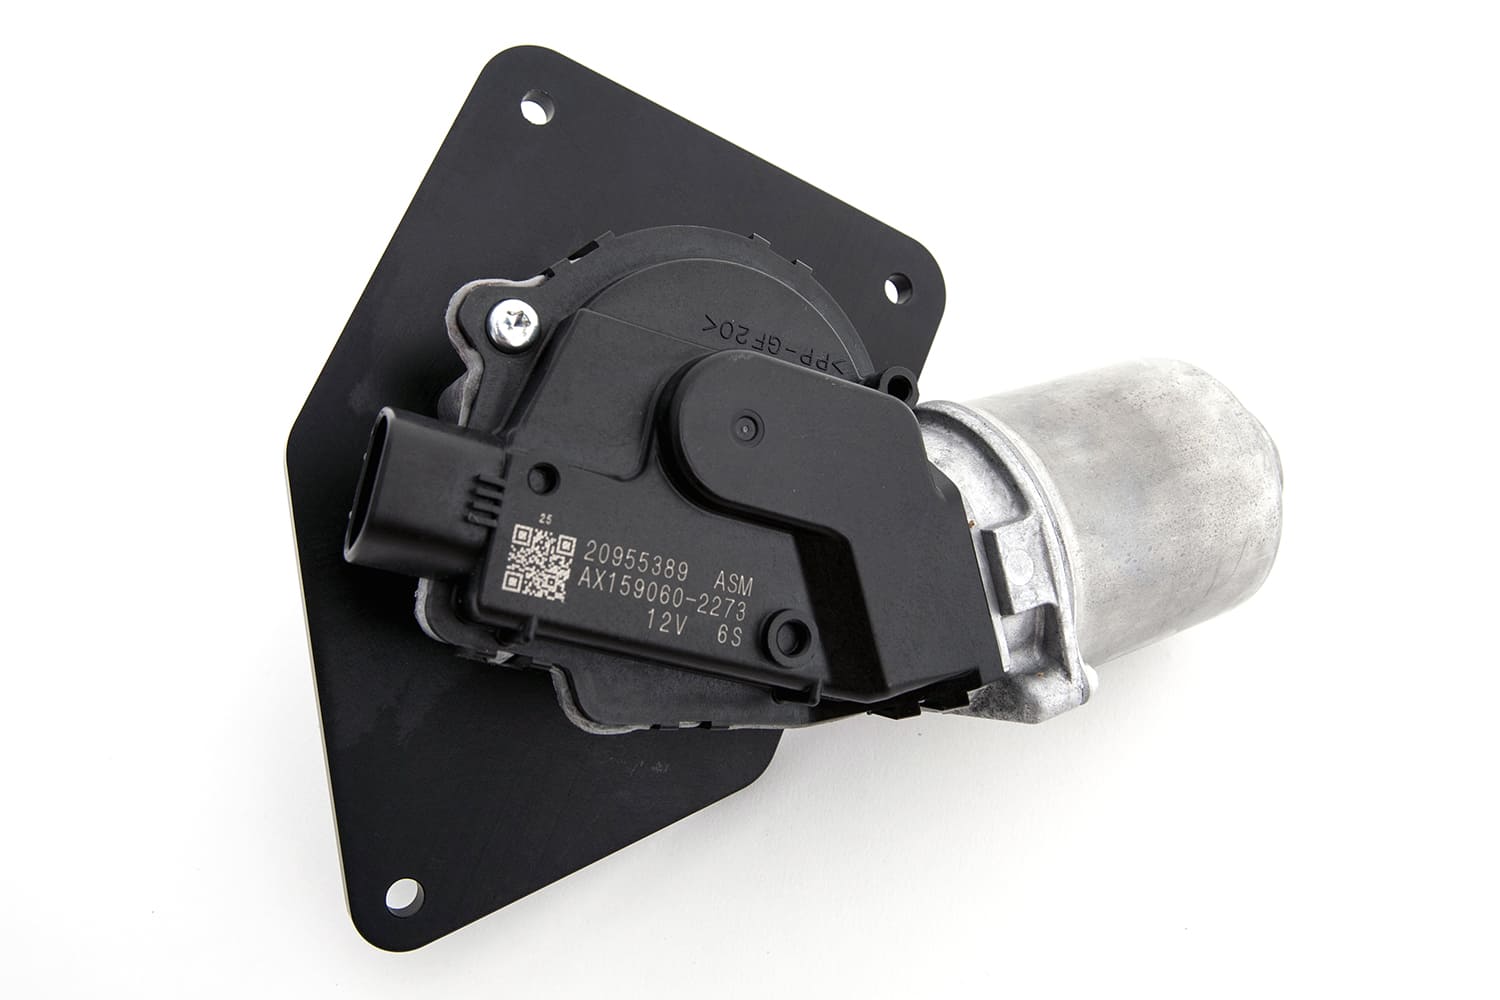
We started with Detroit Speed’s electric headlight door conversion kit, which included a pair of electric actuators, a control module, a wiring harness, mounting brackets, and other necessary hardware.
In short, they’ve been a pain pretty much from the start, and an electric headlight door conversion is absolutely the way to go for restomod cars like our project, which will be powered by a 383 stroker small-block that likely wouldn’t generate much usable vacuum for the stock headlights. We went with Detroit Speed’s conversion kit (PN 122009) as part of a comprehensive headlight overhaul that also included a rebuild of the headlight buckets and another upgrade to Holley’s RetroBright lamps (PNs LFRB146, high beam; LFRB145, low beam). Remember, we are working with 55-plus-year-old headlight doors, so you know they will need refurbishing. We looked to Summit Racing Equipment for their headlight door rebuild kit, which contains all the necessary springs, bushings, clips, and hardware.
Fortunately, this illuminating upgrade project proved largely straightforward, with the Detroit Speed conversion kit essentially replacing the stock vacuum actuators and all the vacuum hoses with a simple pair of electric actuators and a control module. They even operate the stock pivots on the headlight doors.
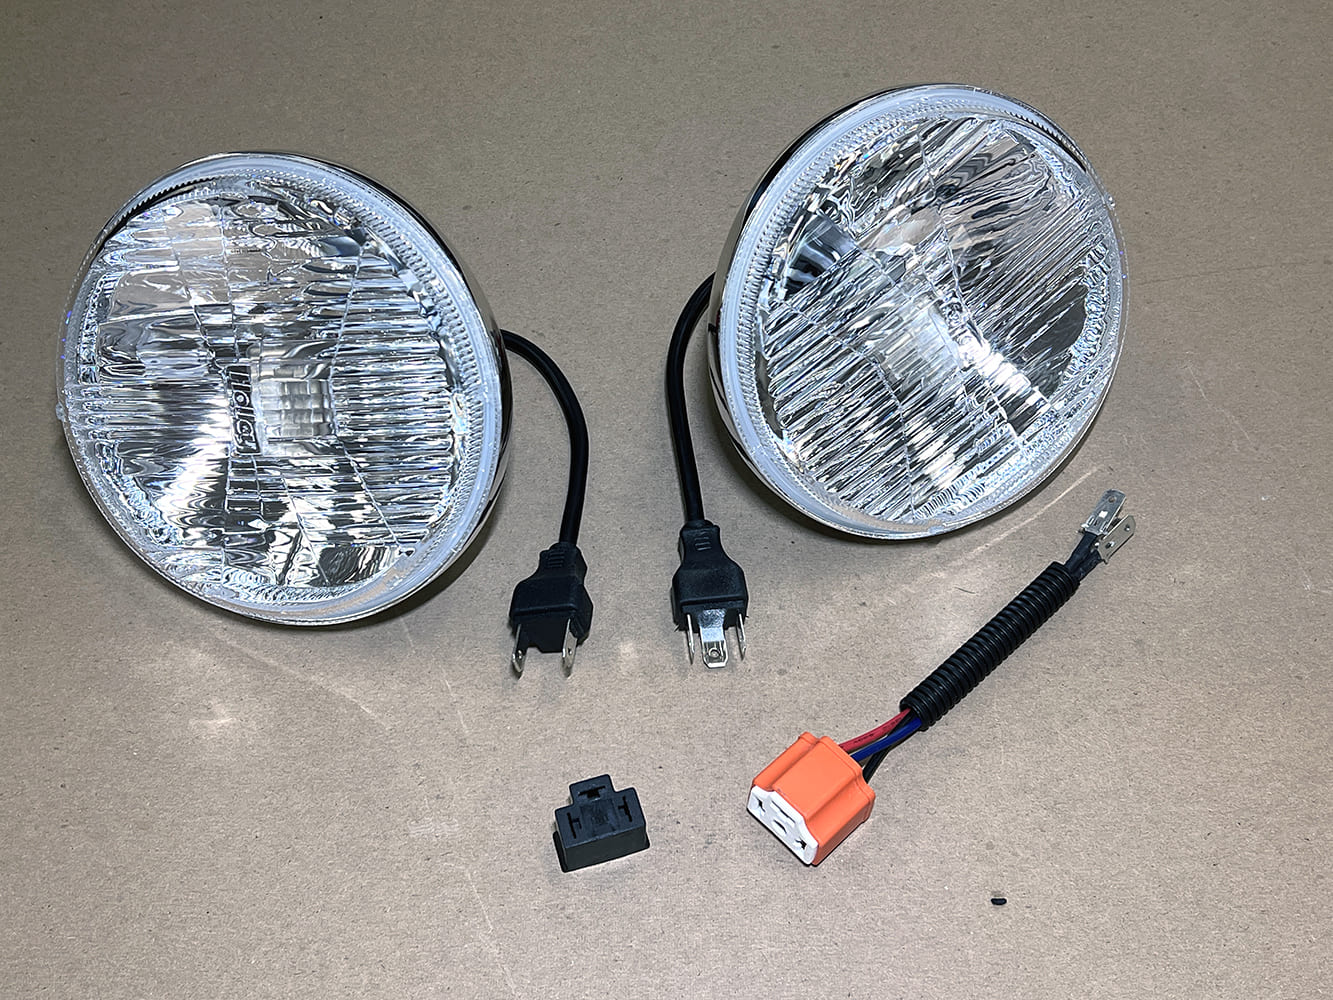
Wrapping up the upgrades was a set of Holley’s RetroBright headlamps. They simply replace the original sealed-beam lights with LED bulbs. What’s great is they retain a stock appearance but deliver more than twice the light output of halogen lights. The LED bulbs are mounted in a replaceable cartridge, too. What’s not to like, right?
As for the RetroBright headlights, they use replaceable LED cartridges rather than conventional sealed-beam halogen bulbs. For most vintage vehicles, they plug right into the stock harnesses and offer more than twice the lighting output of the original lights. There’s also the advantage of a lower electrical draw, and Holley says they last up to six times longer than conventional bulbs.
We’ve got plenty more projects to complete on our Corvette, including another vacuum-to-electric conversion for the wiper concealment door, but that will be the subject of another story. For this one, we’re shining the spotlight on the C3’s headlamps. MR
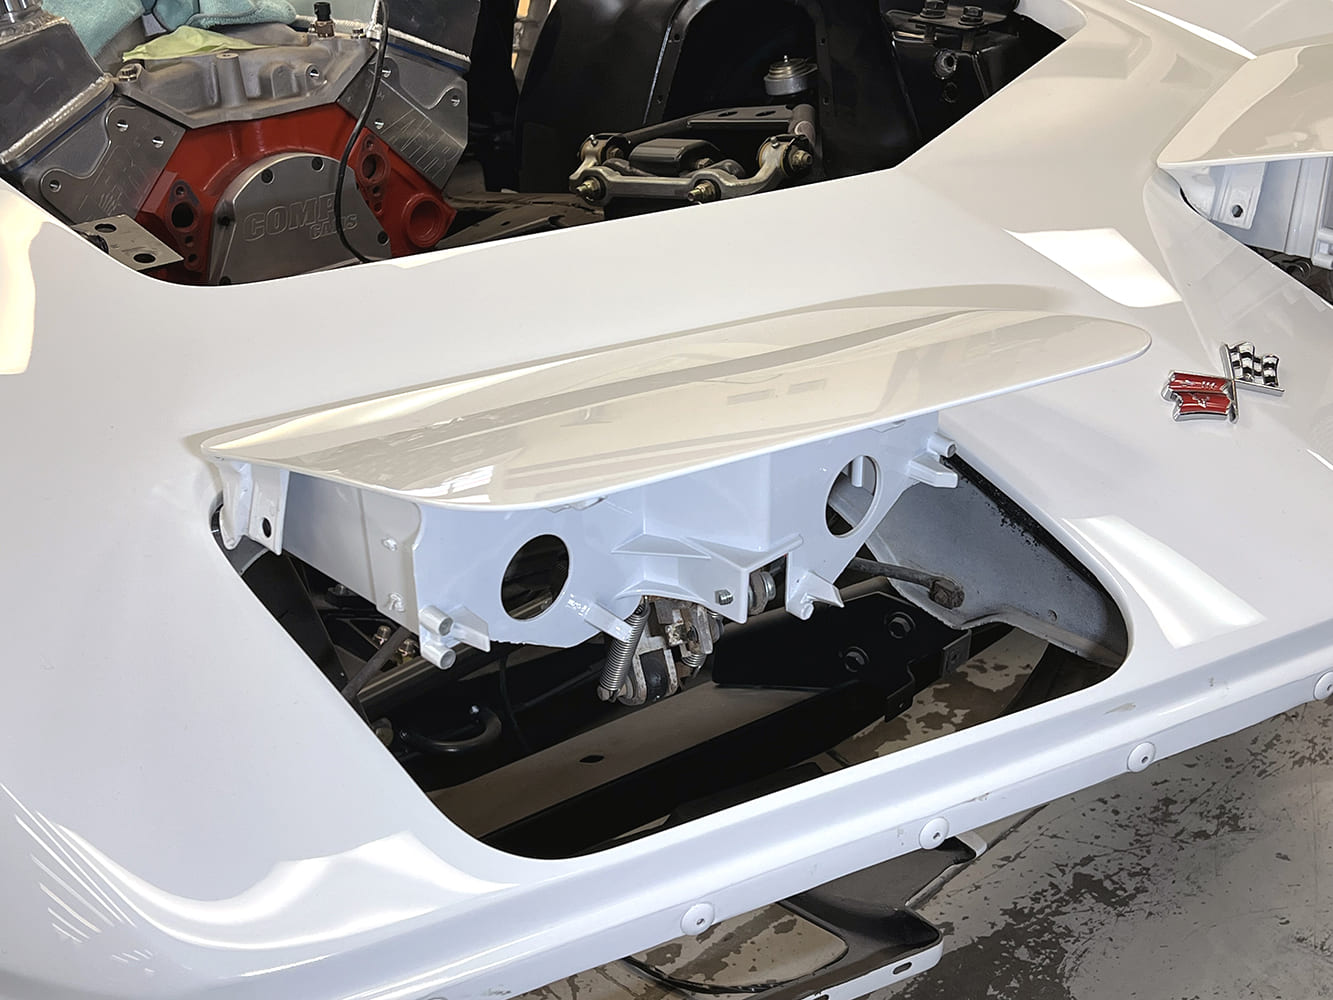
With the body repainted in its original classic white and mounted back on the chassis, it was time to start piecing the car back together, including the pop-up headlight system.
The electric actuators replace their vacuum counterparts of the stock system. Current-sensing technology eliminates the need for adjustments, while their operation is controlled by a separate electronic module that’s linked to the stock headlight switch.
For clearance and easier access, it’s best to have the hood removed for the conversion. It’s also necessary to remove the original vacuum actuators and related hardware from the back side of the door assemblies.
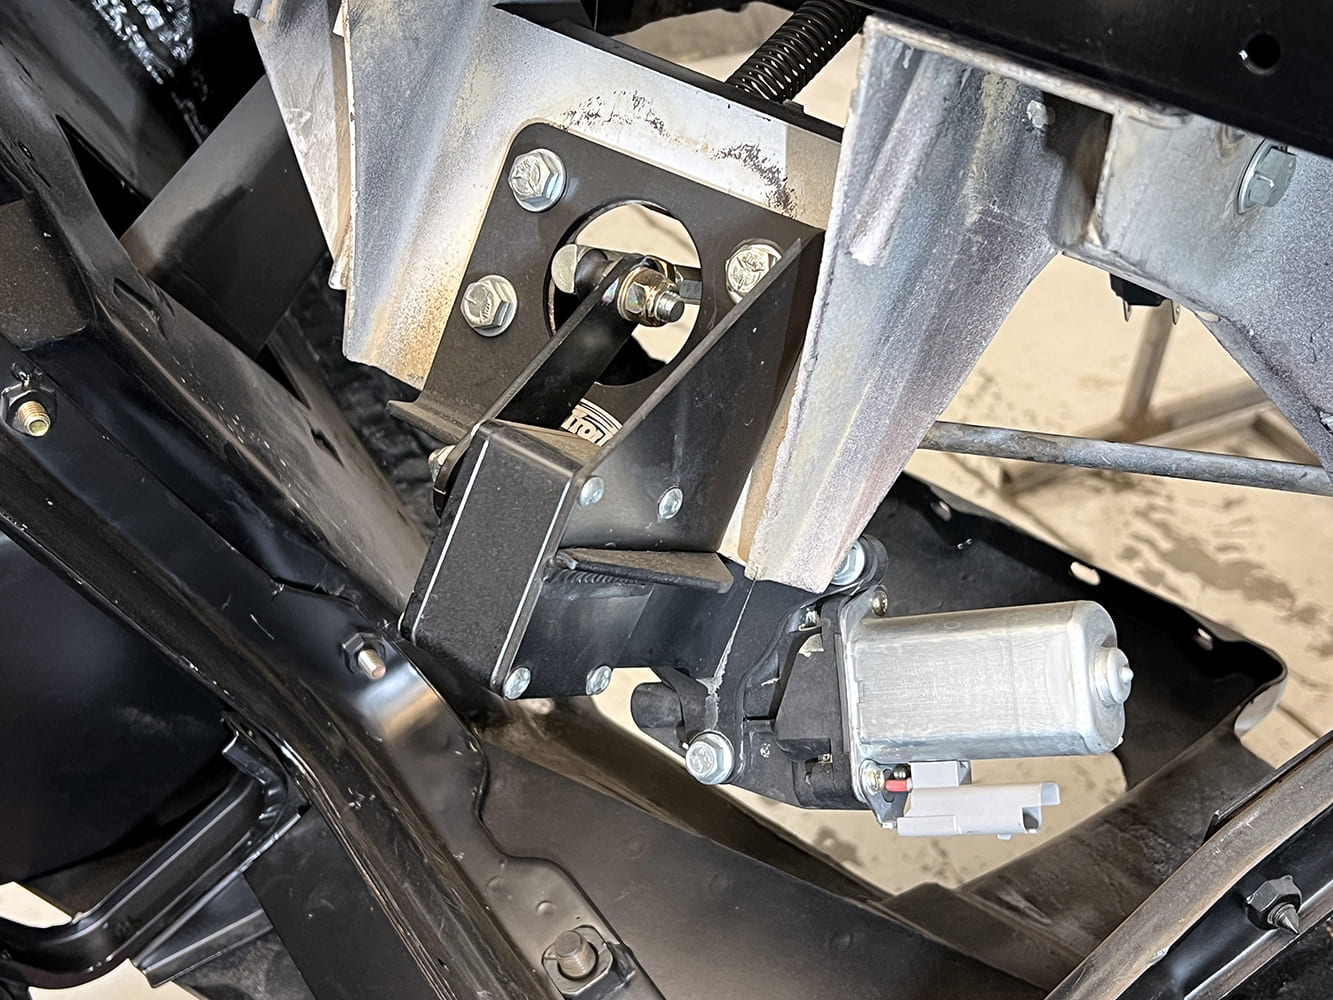
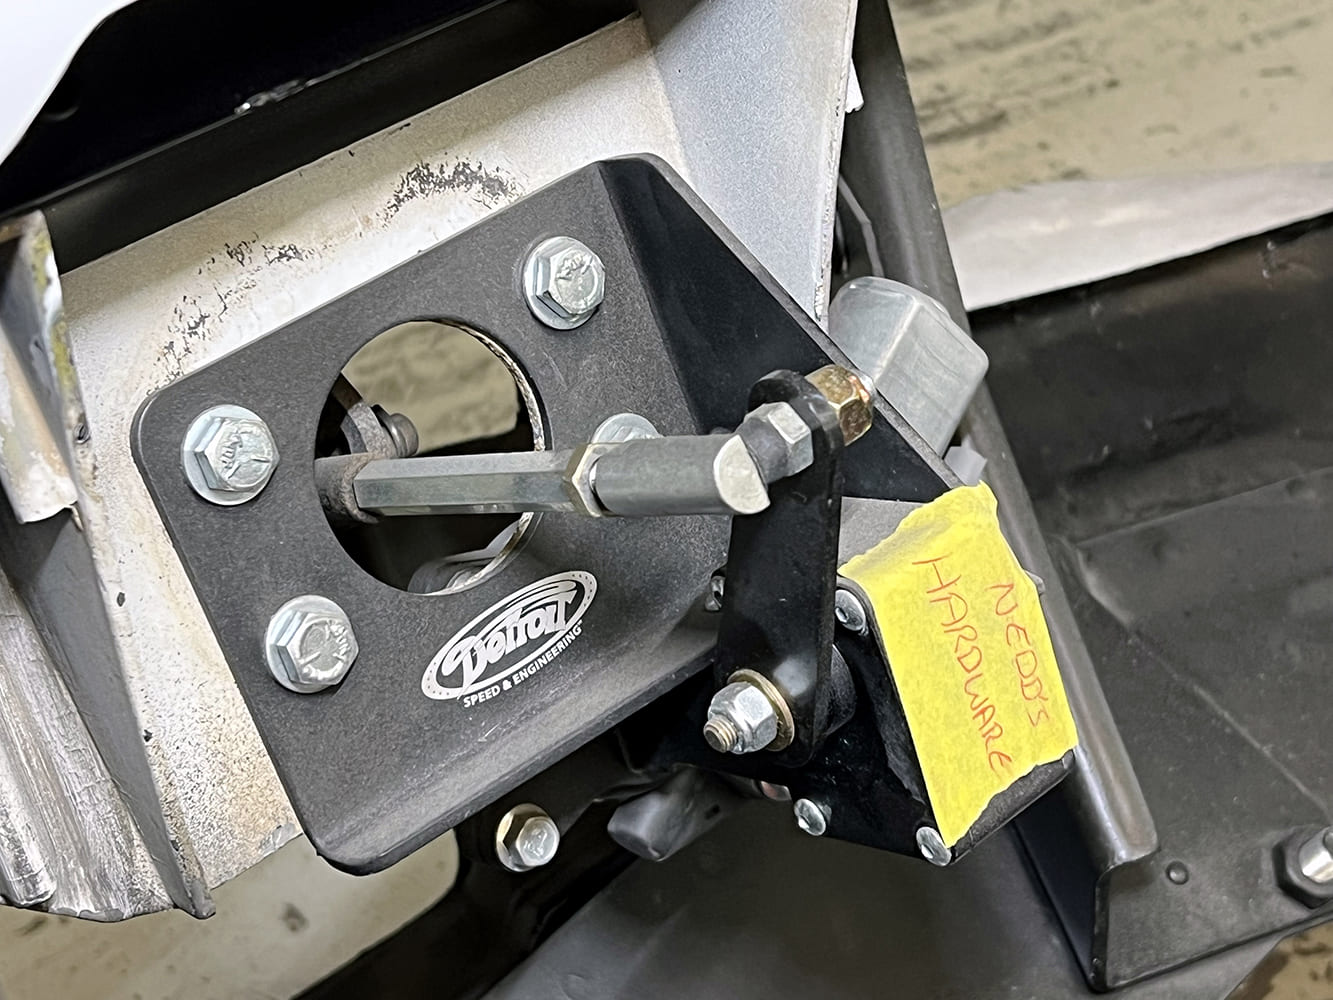
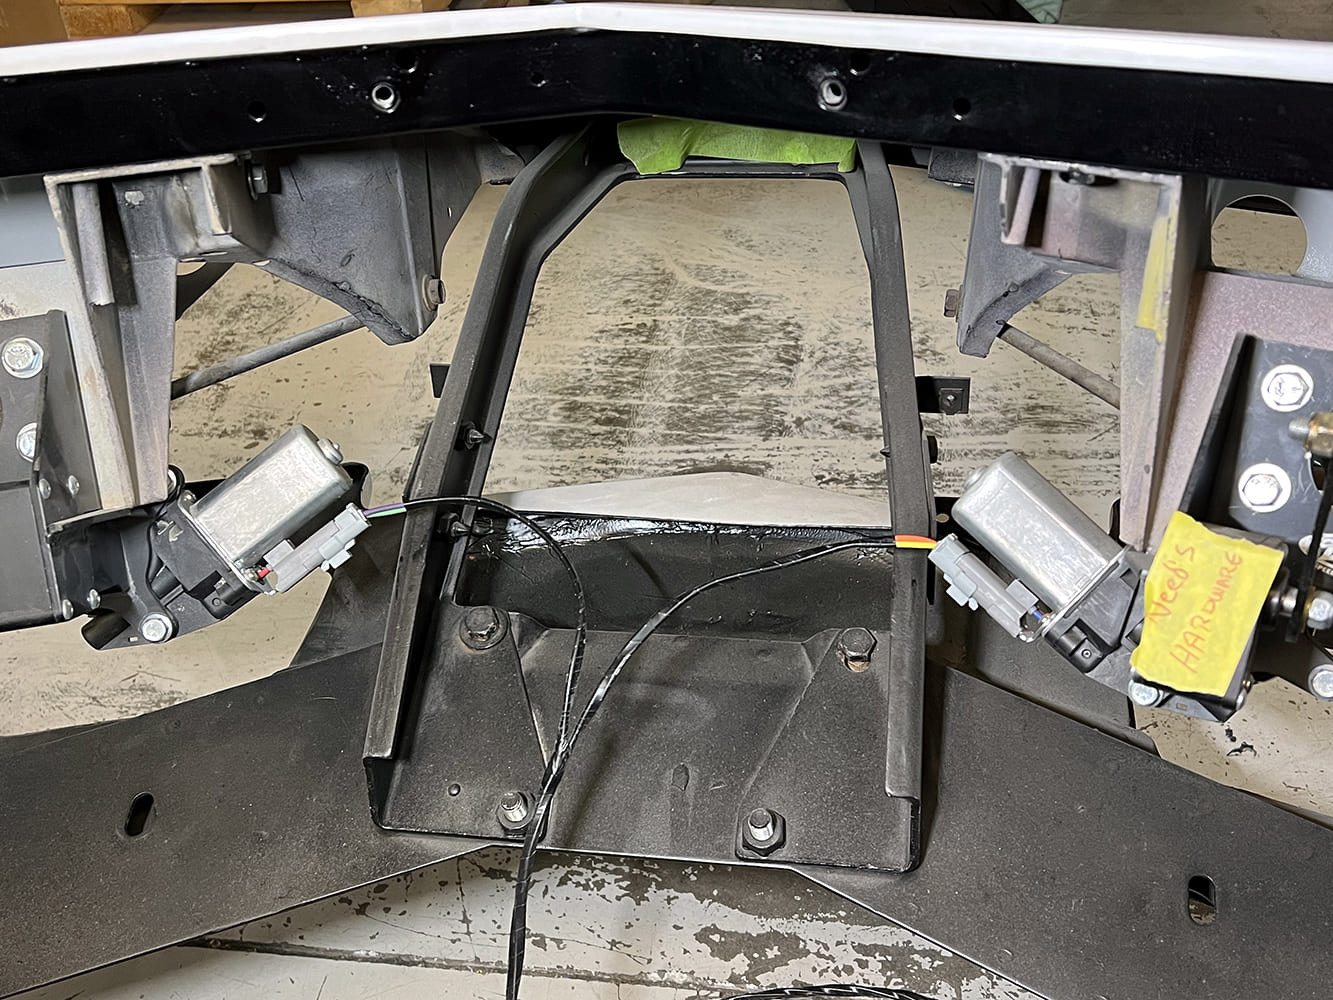
Each headlight door receives its own electric actuator, which is attached to a mounting bracket that bolts to the rear of its respective headlight bucket.
Pitman arms link the actuators to the headlight doors. Each pass through the hole in its headlight bucket and attach via a clevis reused from the original system to a pivot on the door assembly.
With both actuators in place, the rest of the conversion involves the harness and electrical connections. They will be addressed later in the car’s assembly, but in a nutshell the work involves wiring the system into the headlight switch. It’s more involved than it seems because accessing the switch requires removal of the gauge cluster—and the best way to do that is dropping the steering column.
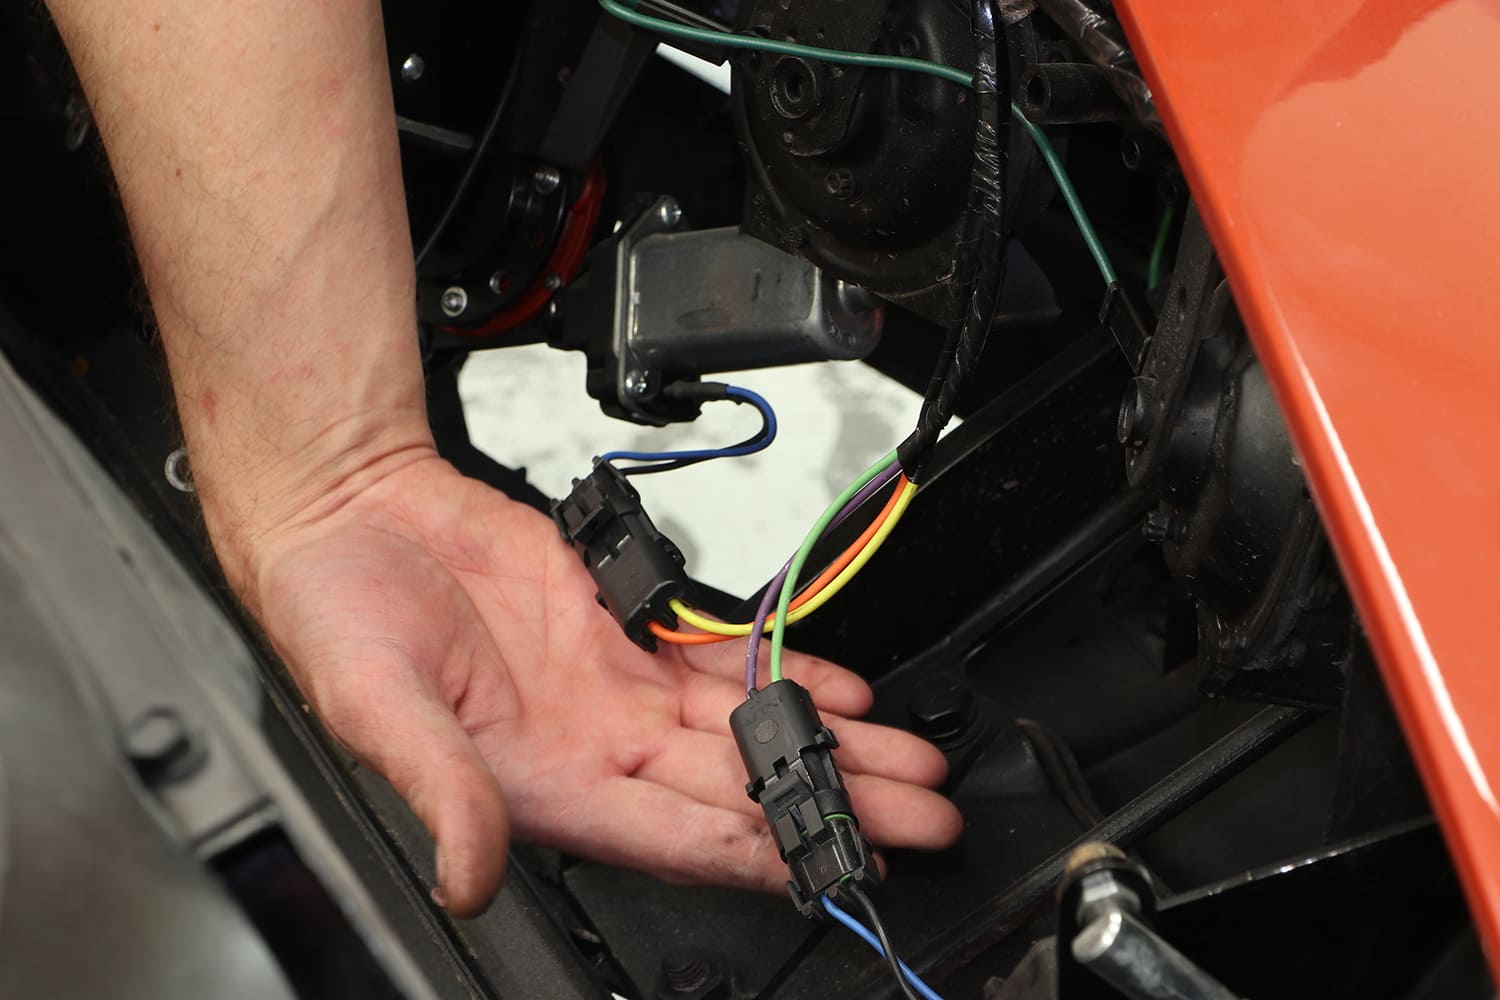
The wiring loom from Detroit Speed integrates with the replacement harness we used from American Autowire. Here, the two doors’ individual electrics are synced together via wiring.
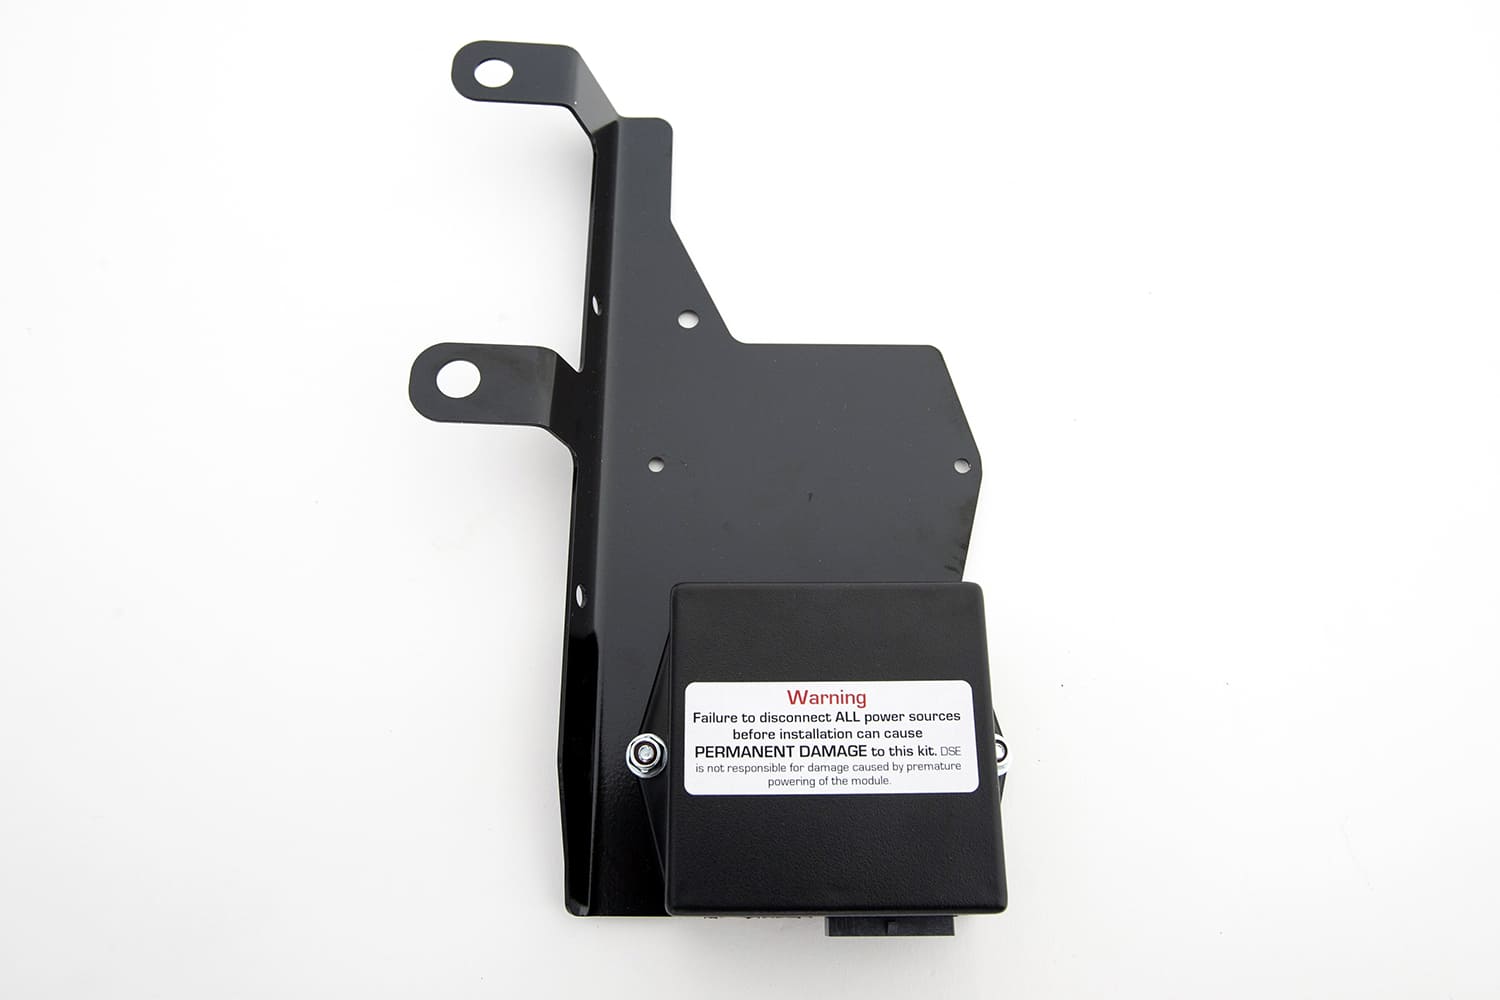
The included headlight control module must also be installed. It will mount on the steering column support. There’s more wiring involved, along with some adjustments in the stops for the headlight doors themselves, but that’s the gist of the electric headlight actuator conversion.
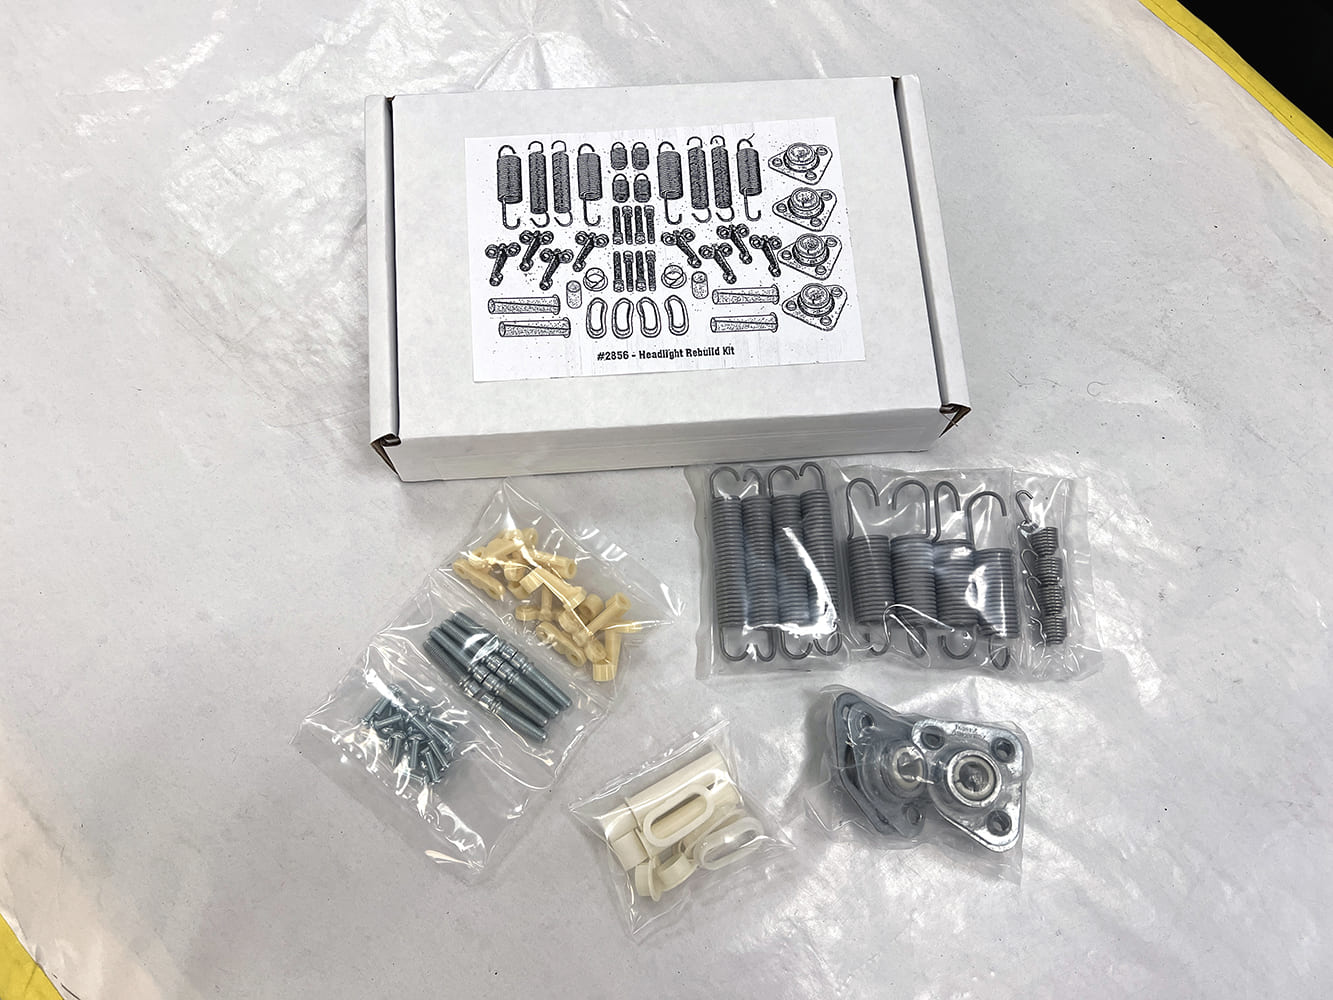
With the electric conversion components in place, it was time to rebuild the rest of the headlight door mechanisms. The parts can be purchased individually through retailers like Summit Racing, but we found it easier to replace everything with an inclusive kit. With 42 pieces, it included the bearings, springs, bulb adjusters, sleeves, and other crucial parts for the headlight doors.
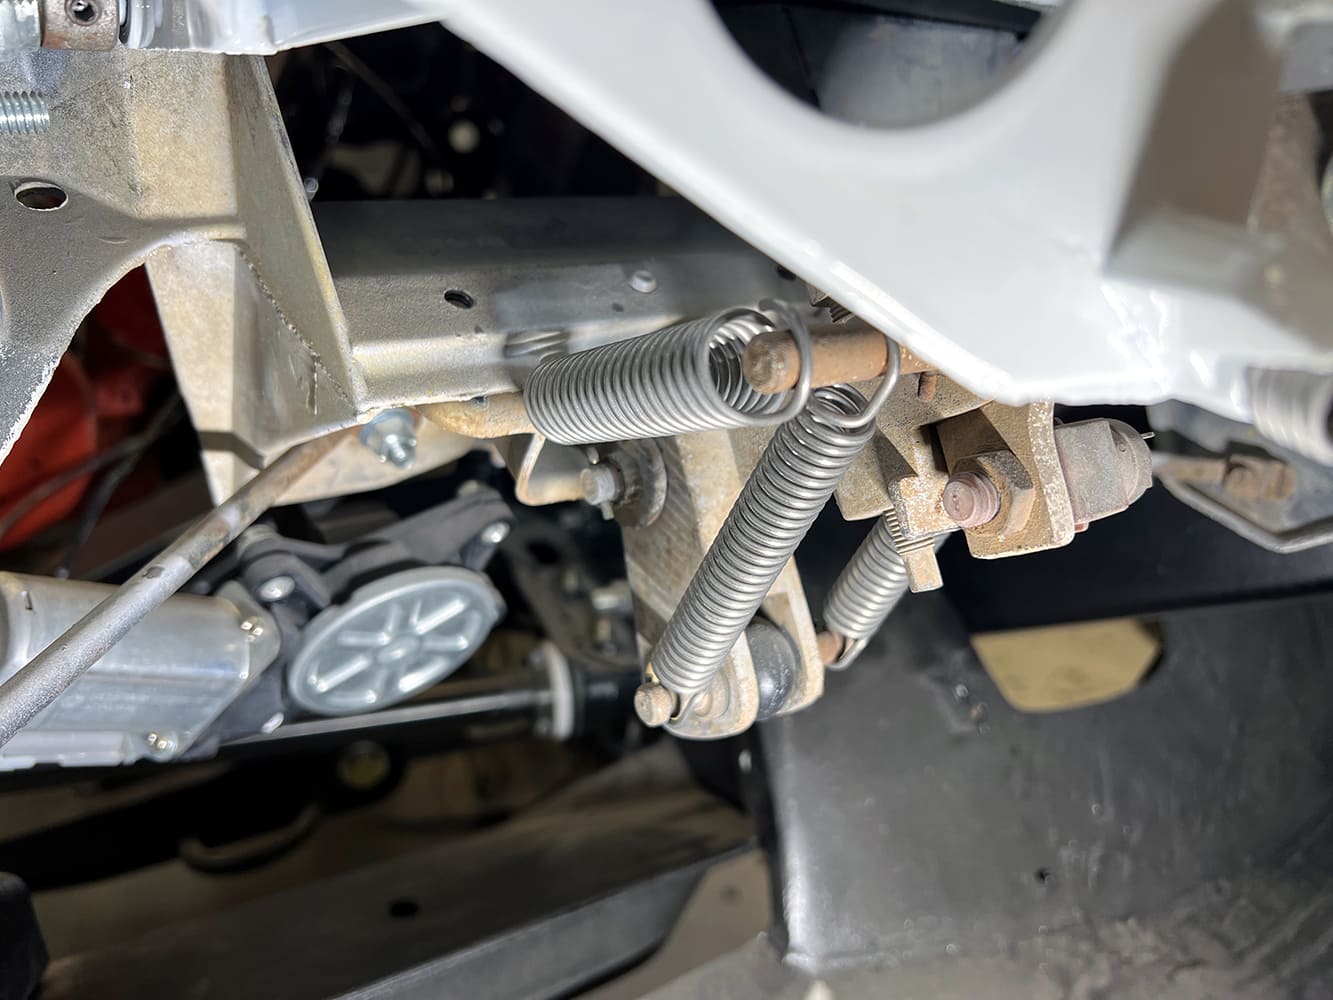
For each door, four springs provide the tension for the pivot, which is connected to the actuator via the Pitman arm described above. The all-new springs from the rebuild kit were used here.
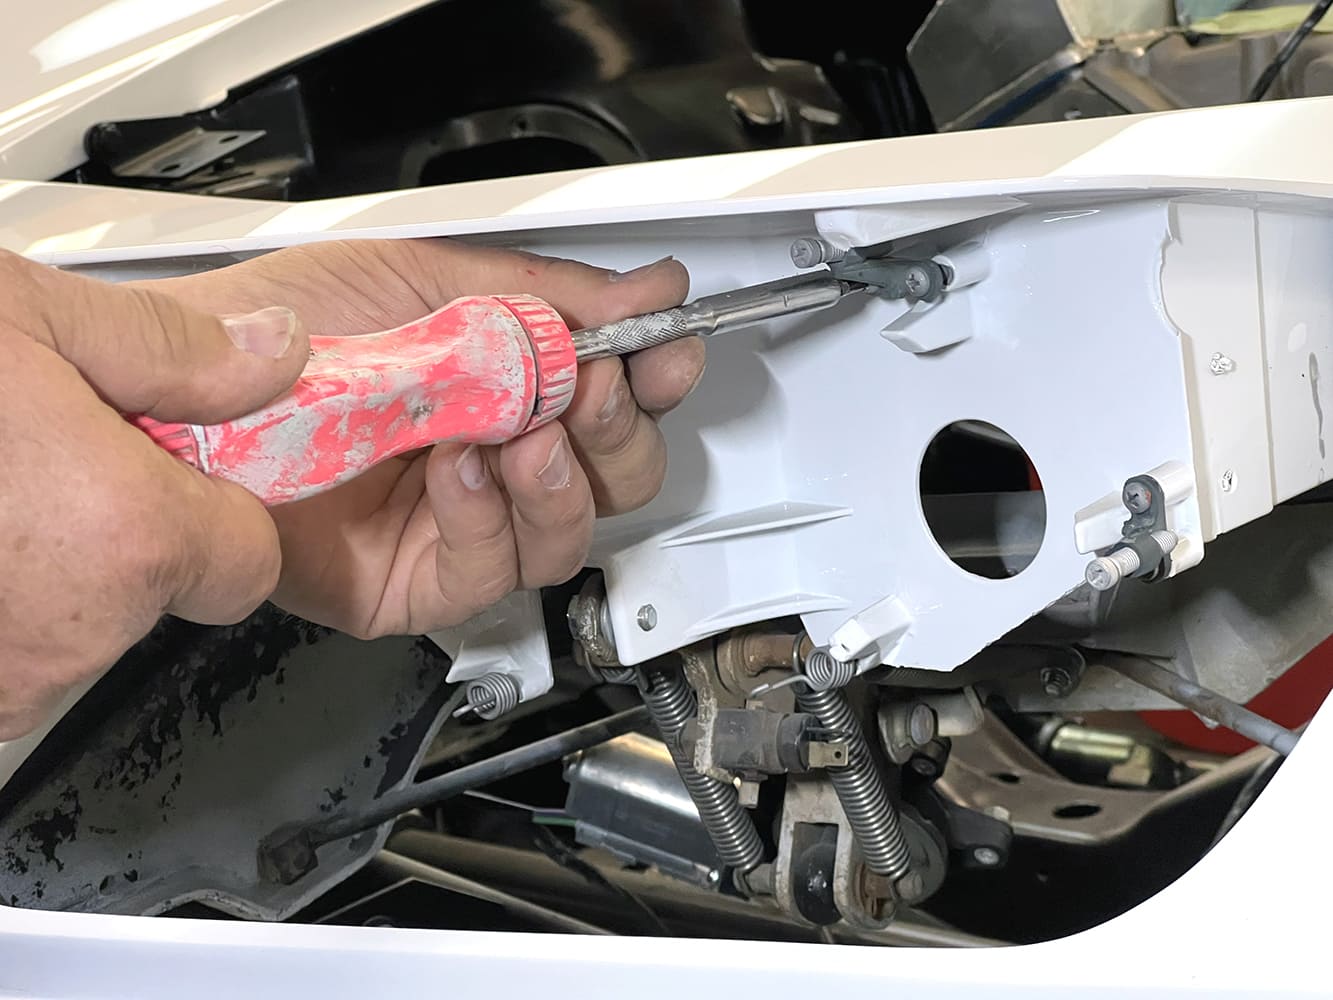
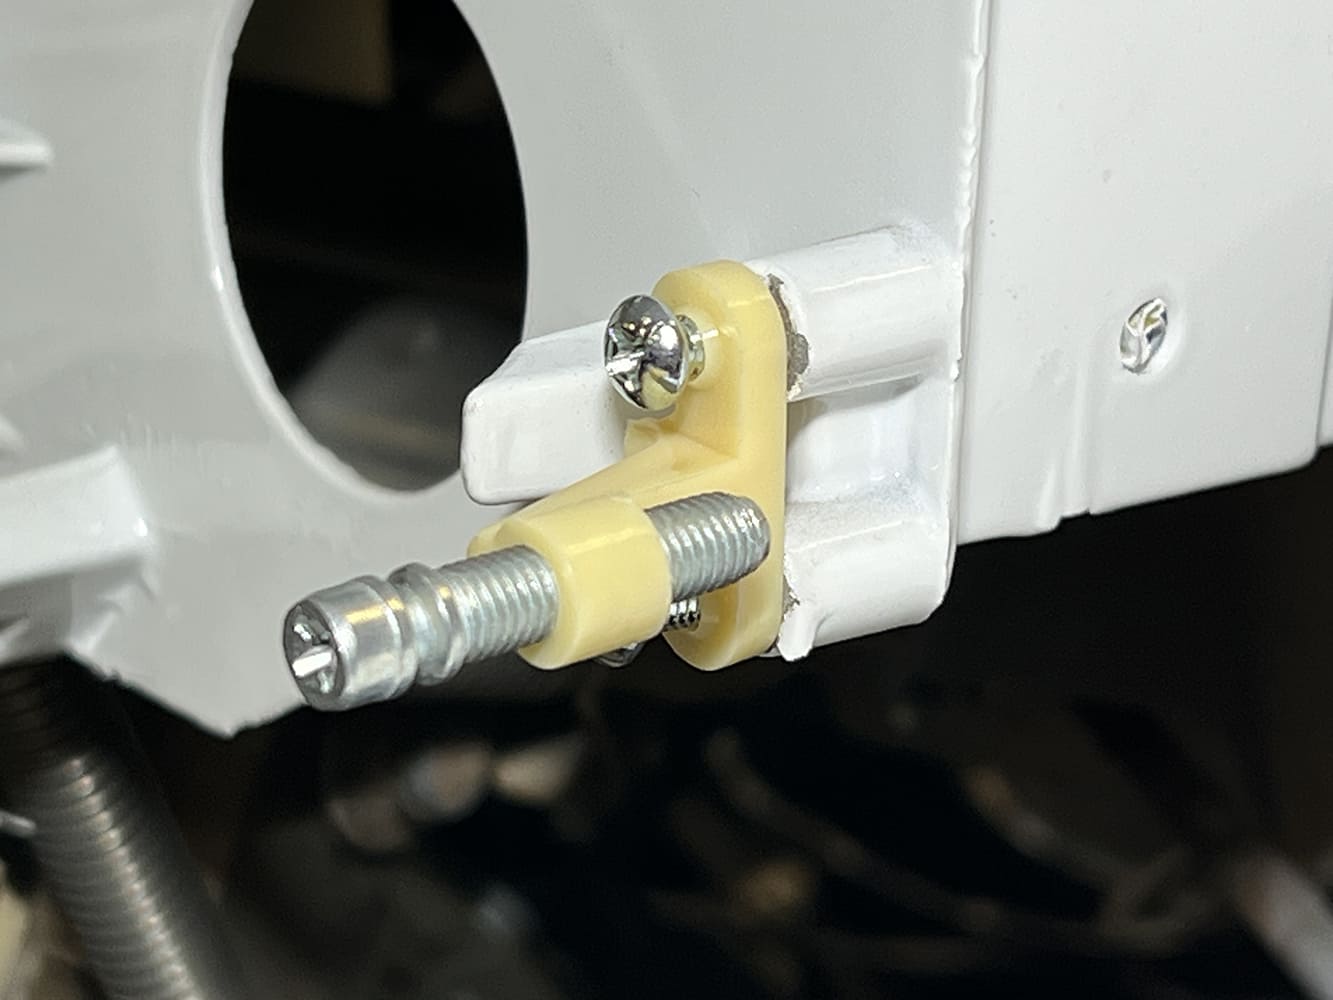
All-new hardware for the aiming elements comes next. The top hardware handles the vertical adjustments, while the aiming screw seen at the lower right adjusts the beam’s horizontal position.
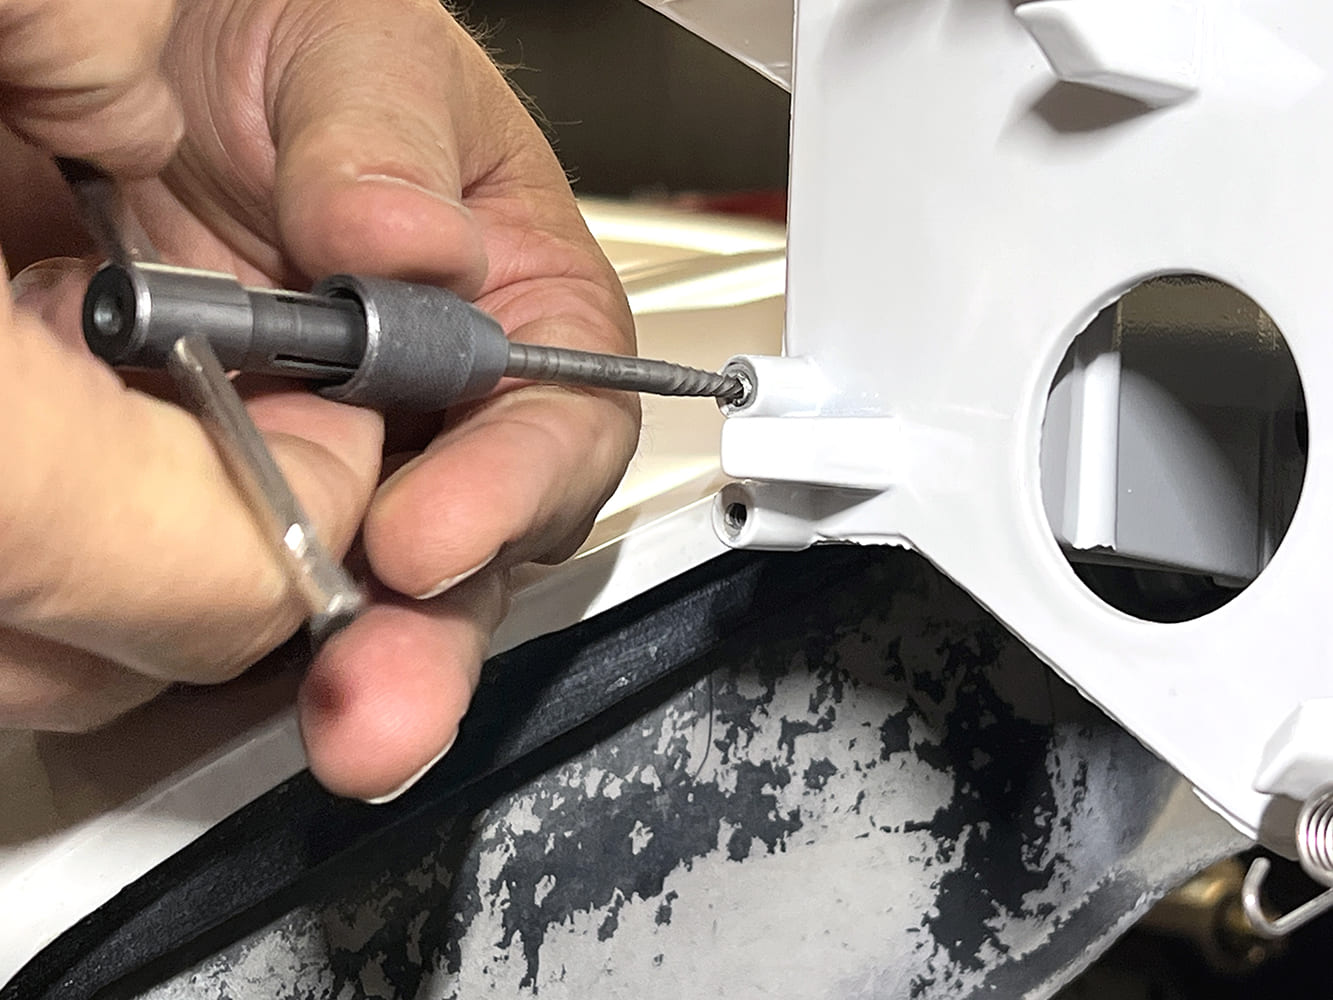
There’s almost always a hang-up when working on vintage cars; while attempting to install one of the adjuster brackets, it was necessary to drill out and re-tap one of the mounting holes.
There is no getting around when dealing with plastic parts from the 1960s—they will need replacement. The Summit Racing Equipment Headlight Rebuild Kit for 1968-1982 Corvettes was just what we needed.
Wrapping up the upgrades was a set of Holley’s RetroBright headlamps. They simply replace the original sealed-beam lights with LED bulbs. What’s great is they retain a stock appearance but deliver more than twice the light output of halogen lights. The LED bulbs are mounted in a replaceable cartridge, too. What’s not to like, right?
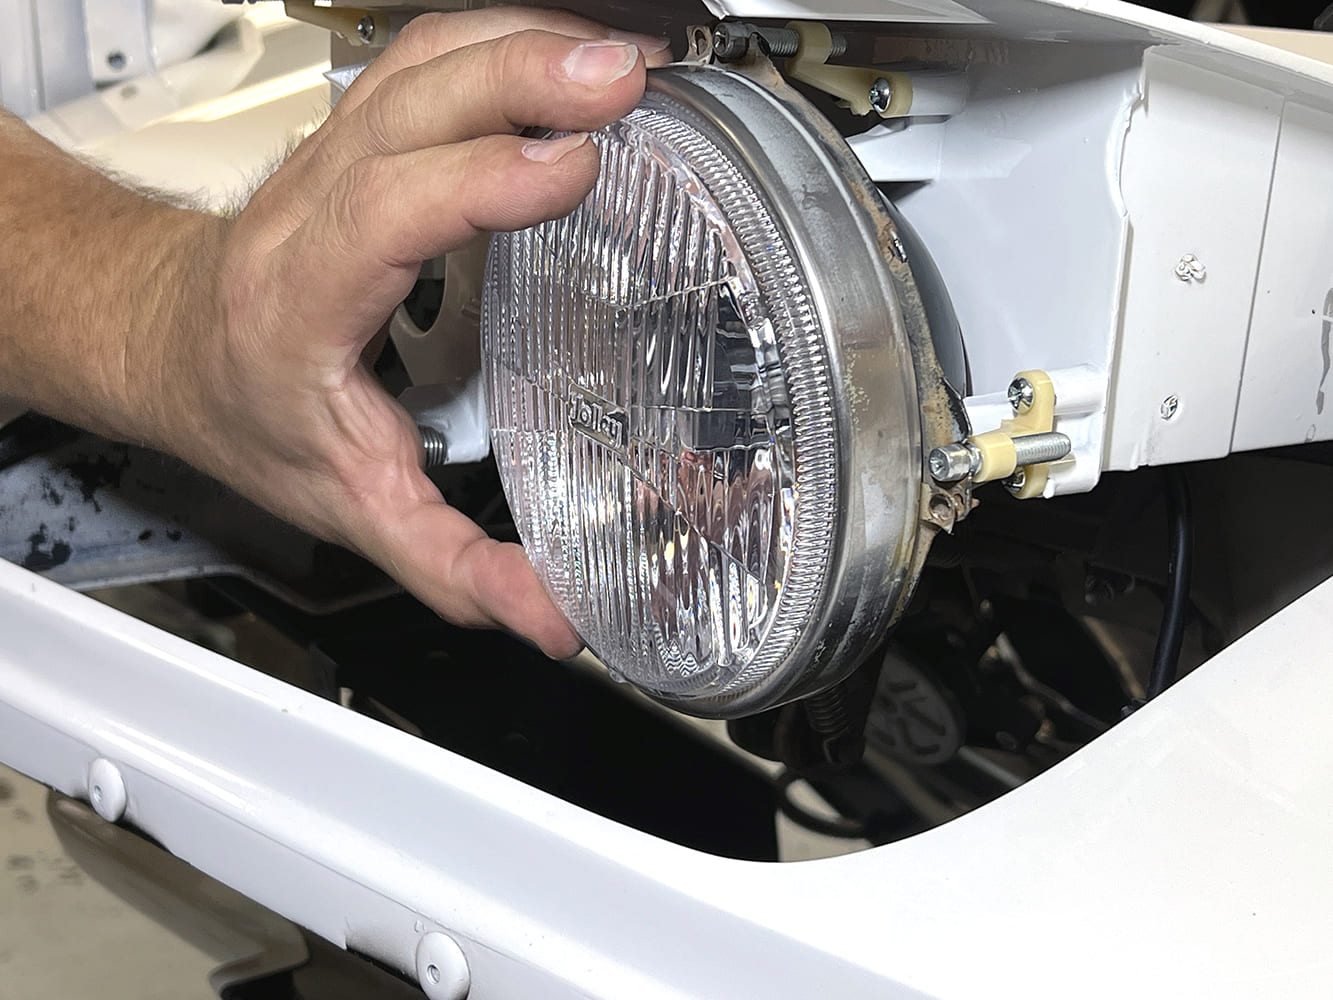
The factory retaining ring slips right over the Holley lights and all the adjustment/aiming procedures remain the same as the original sealed-beam lights.
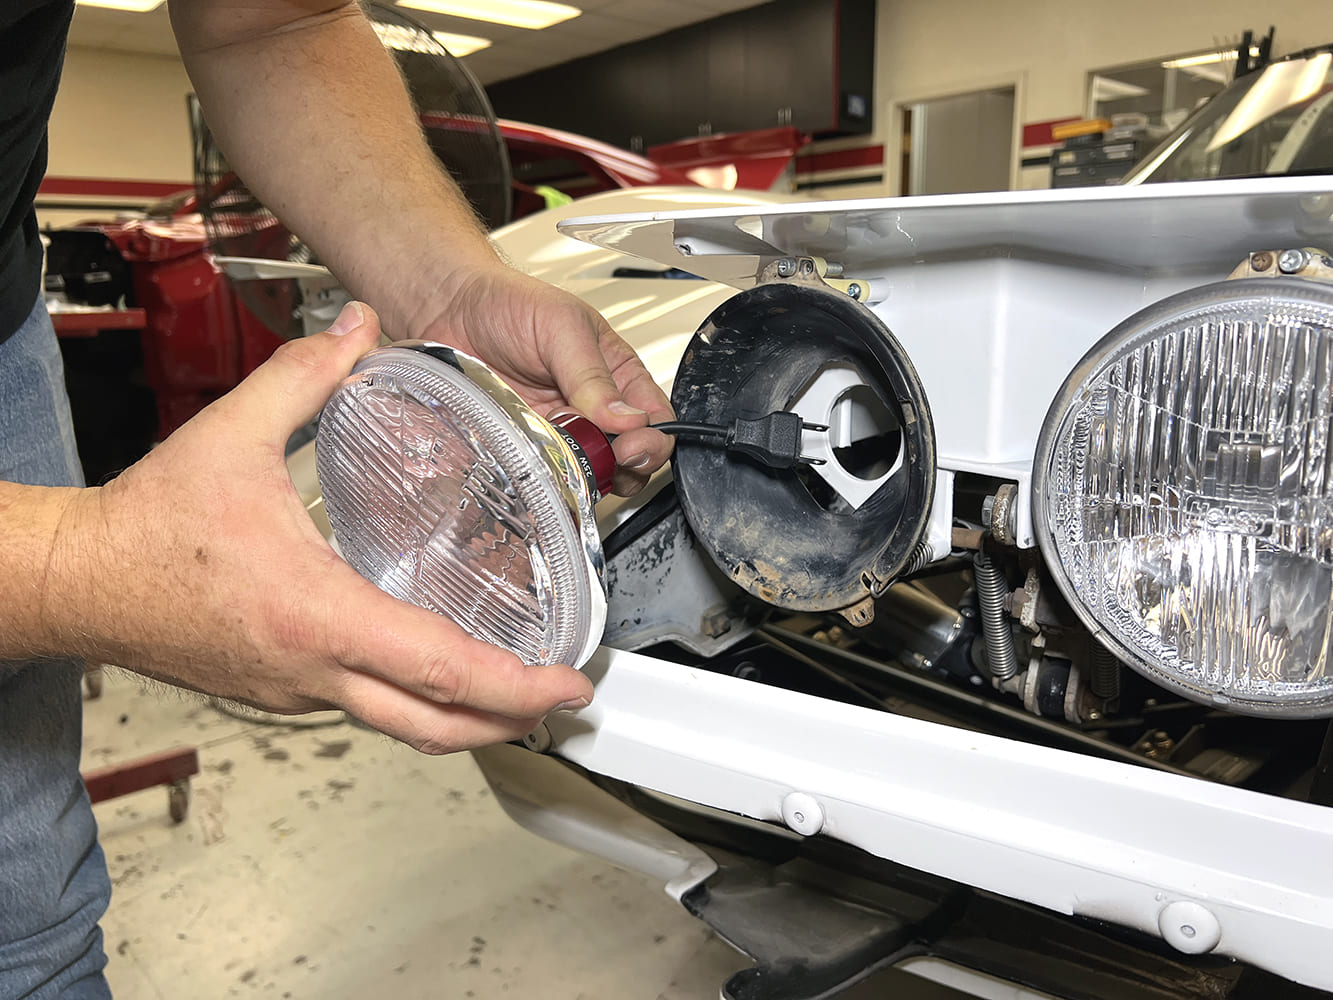
Next, the high-beam lamps have been installed. Adapter harnesses are available for vehicles that have harnesses that don’t match the Holley pins exactly.
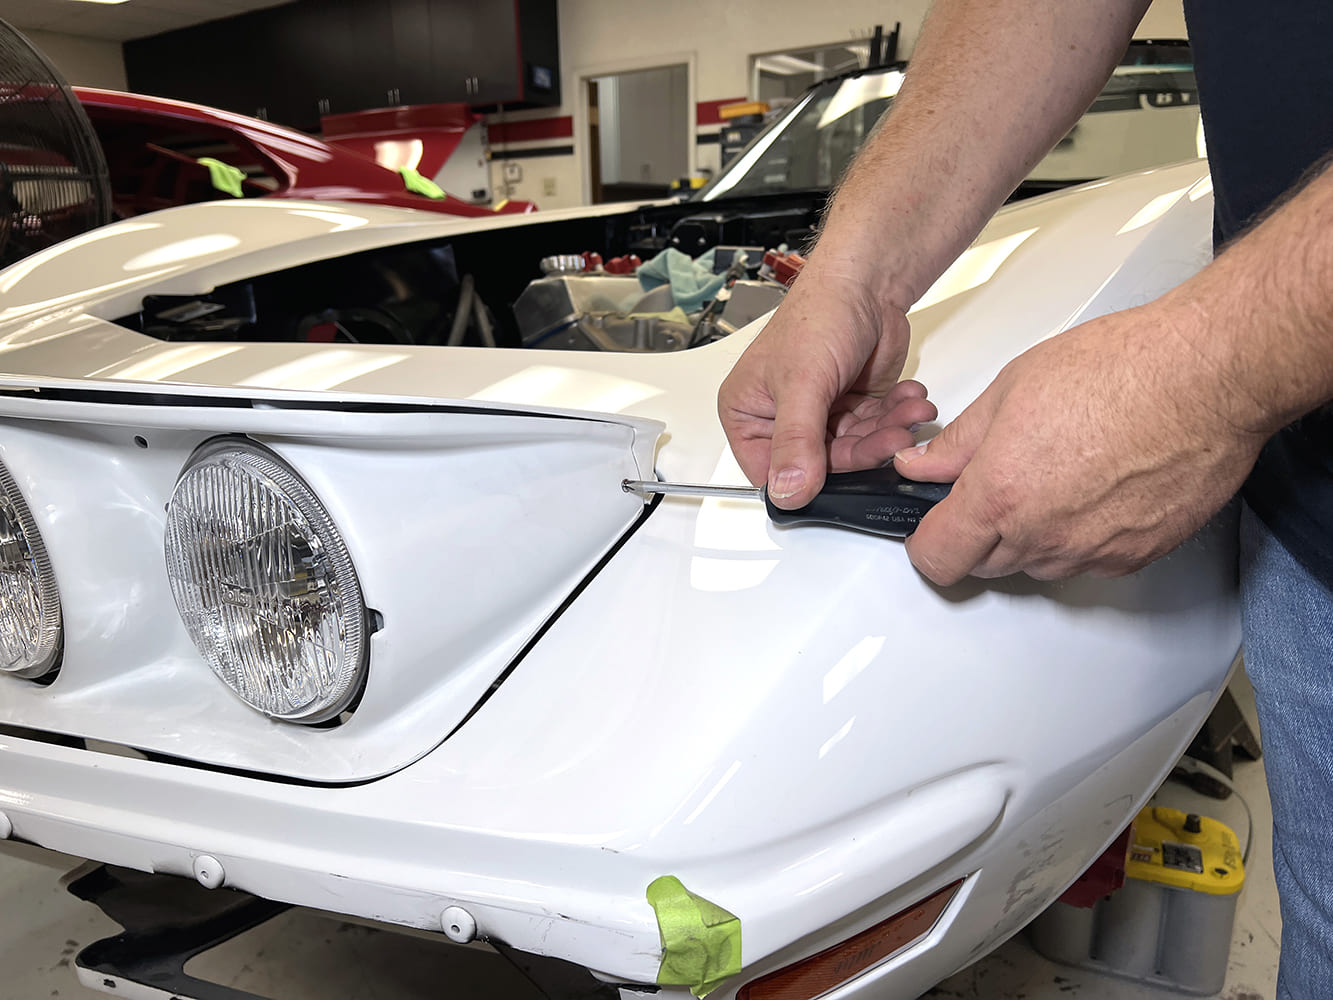
With the RetroBright lights installed, the lighting upgrades are finished off with the installation of the bezels around the headlamps.
Brighter lights and electric doors contemporize our classic C3 project. The Detroit Speed electric door conversion includes several convenience features, including one that lets the headlight doors open while the lights remain off. That makes cleaning or servicing/replacing the headlights much easier.
Corvette’s History of Hidden Headlights
For more than 40 years, hidden headlamps were a signature cue of the Corvette’s design. Starting with the ground-breaking design of the C2 “Sting Ray” generation, in 1963, and running all the way to the end of the C5 generation, in 2004, they contributed to the sleek, aerodynamic profile of four eras of the car. Each system operated differently and here’s a quick look at what made each unique.
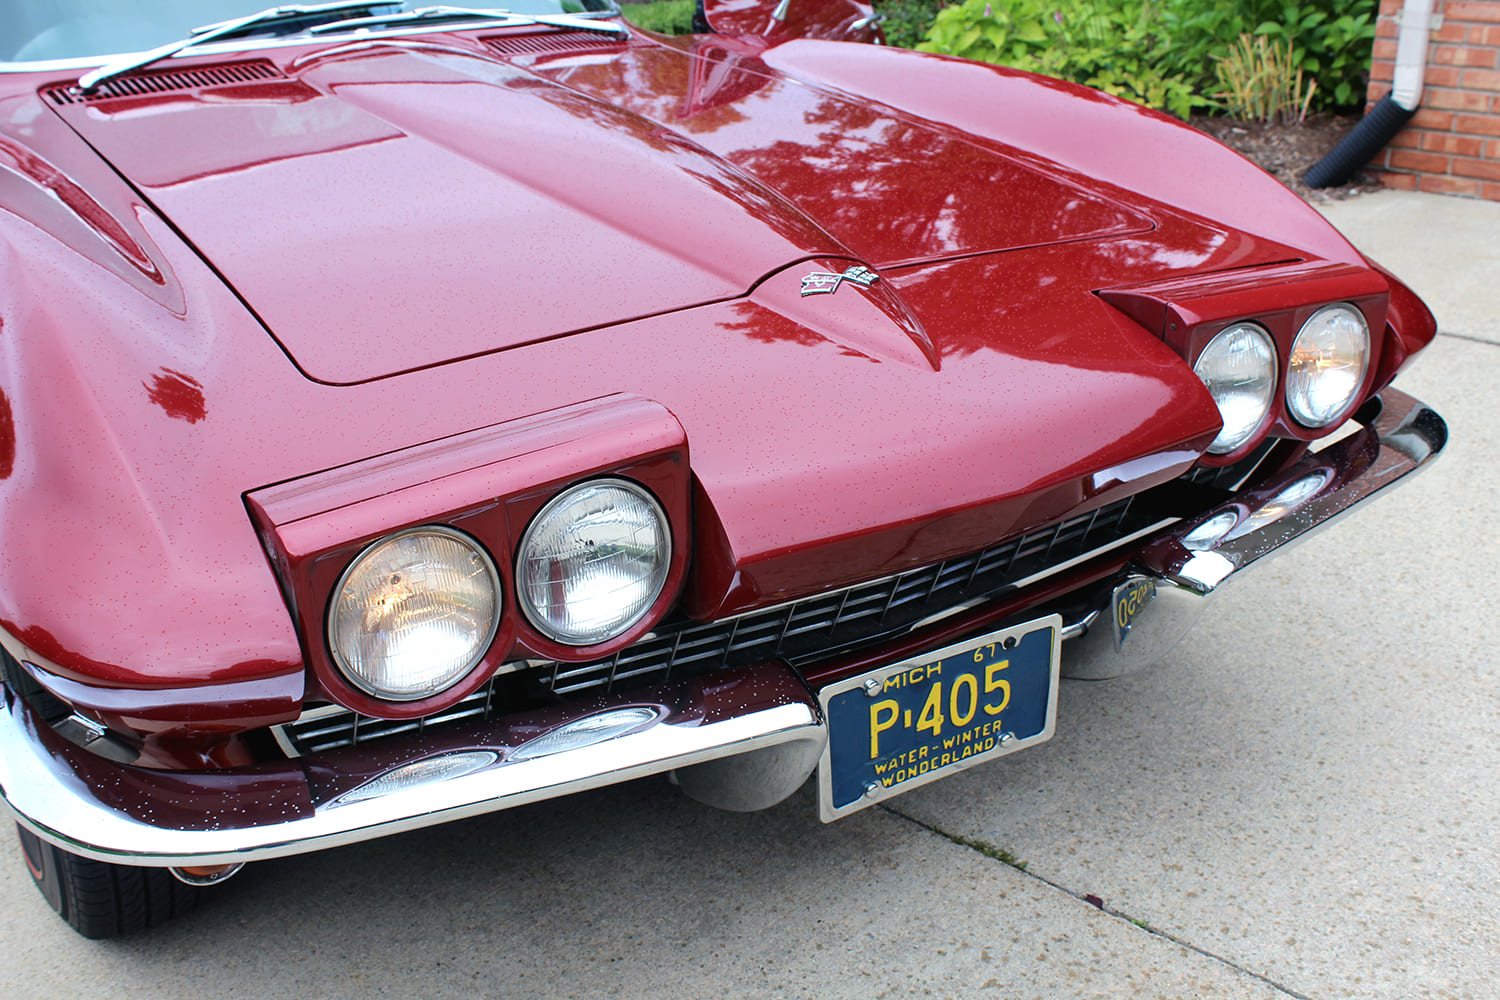
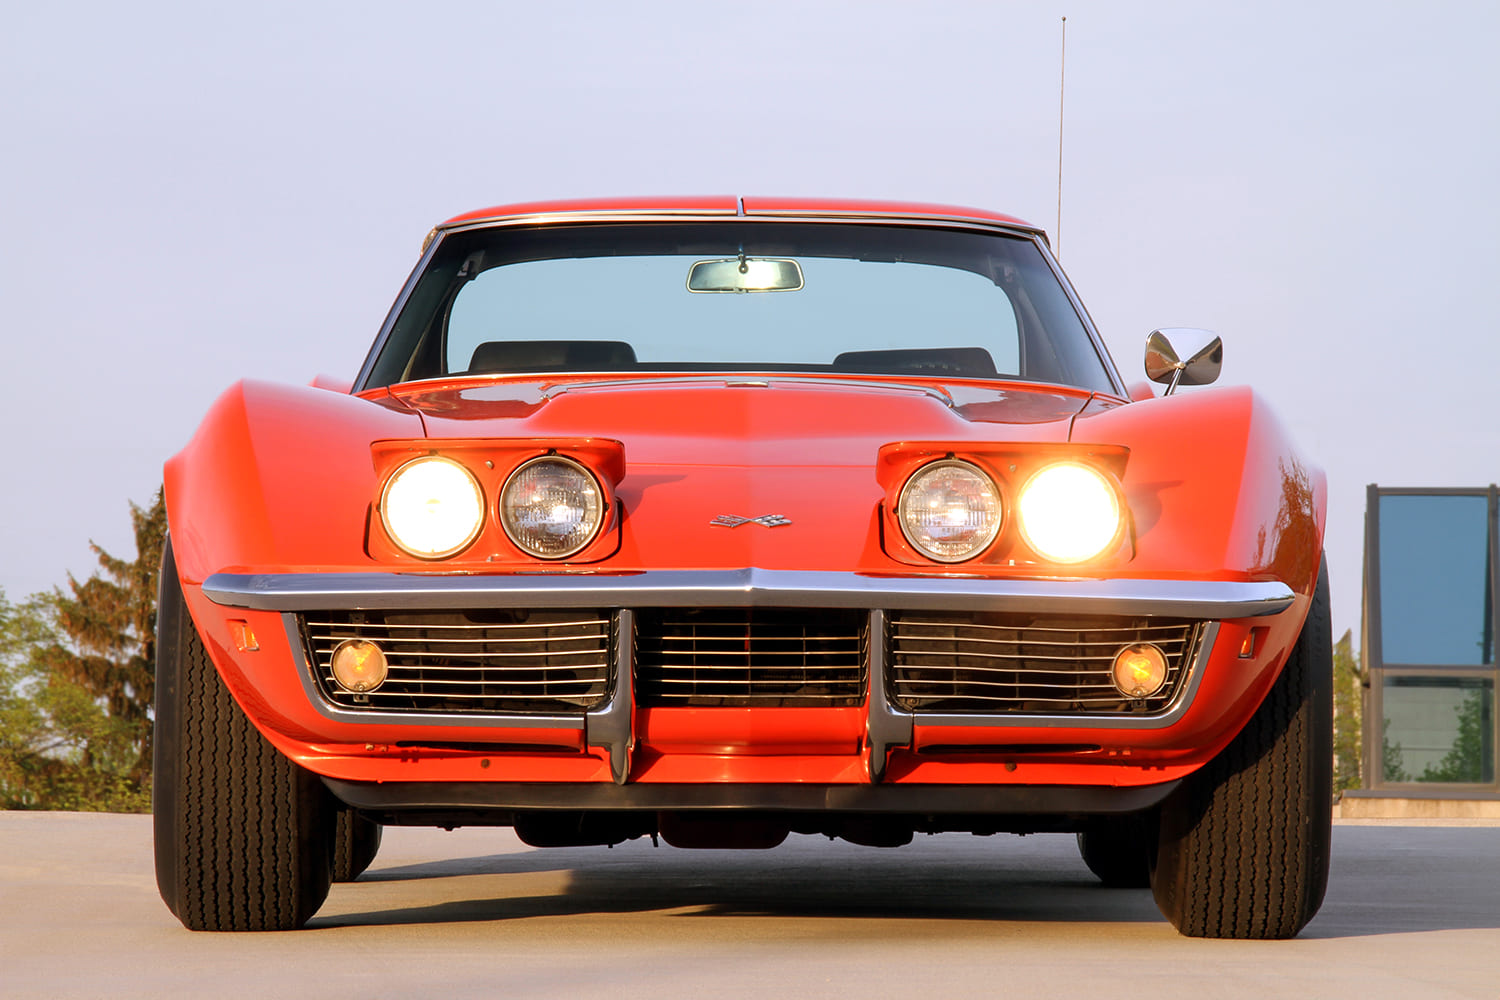
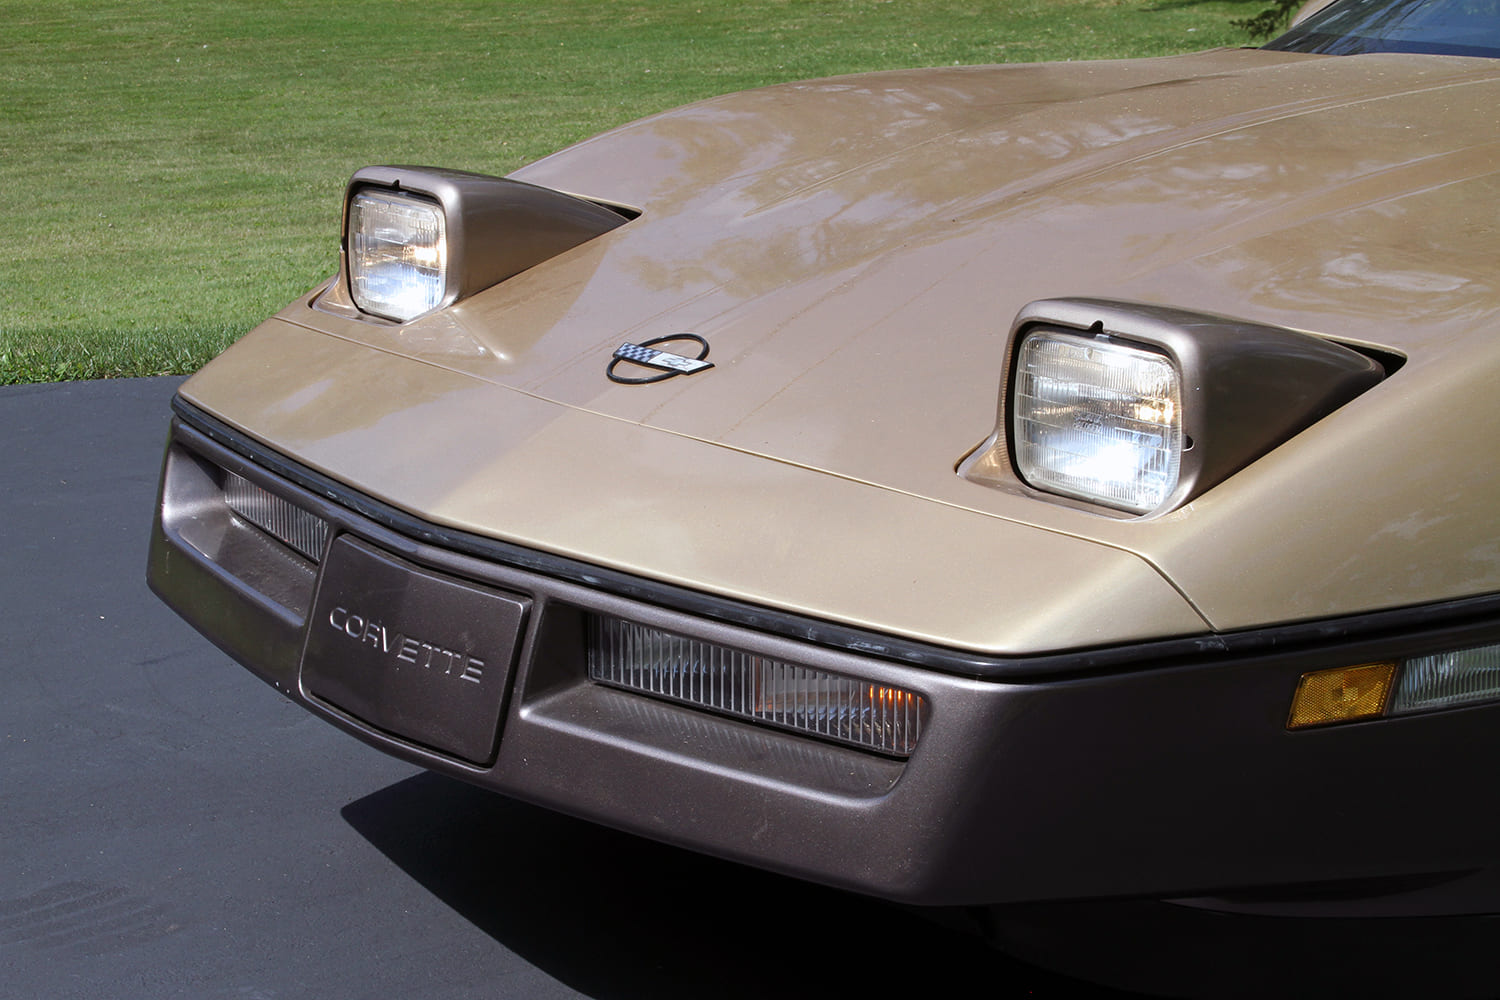
C2 (1963-67): The first hidden headlight system was electrically operated and involved a two-step process: A rocker switch on the bottom of the dashboard opened or closed the doors, while a conventional push/pull headlight knob turned the lamps on and off.C3 (1968-82): This is the era of vacuum-operated headlight doors. They were problematic pretty much from the get-go, and Chevrolet made revisions almost every year into the mid ’70s in order to improve their performance. Most of them didn’t help much.C4 (1984-96): Thankfully, electric operation returned, but rather than a simple pop-up design, the headlight doors essentially flipped over 180 degrees. Their biggest problem was nylon gears that often stripped. Aftermarket metal gears remain the cheap-and-easy fix.C5 (1997-2004): The final year of hidden headlamps introduced a comparatively simple pop-up electric system that has proved mostly robust. There aren’t too many issues, although resistance is the key to their operation. That means the lower draw of aftermarket LED replacement lights can affect the doors’ operation.
We use cookies to ensure that we give you the best experience on our website. If you continue to use this site we will assume that you are happy with it.