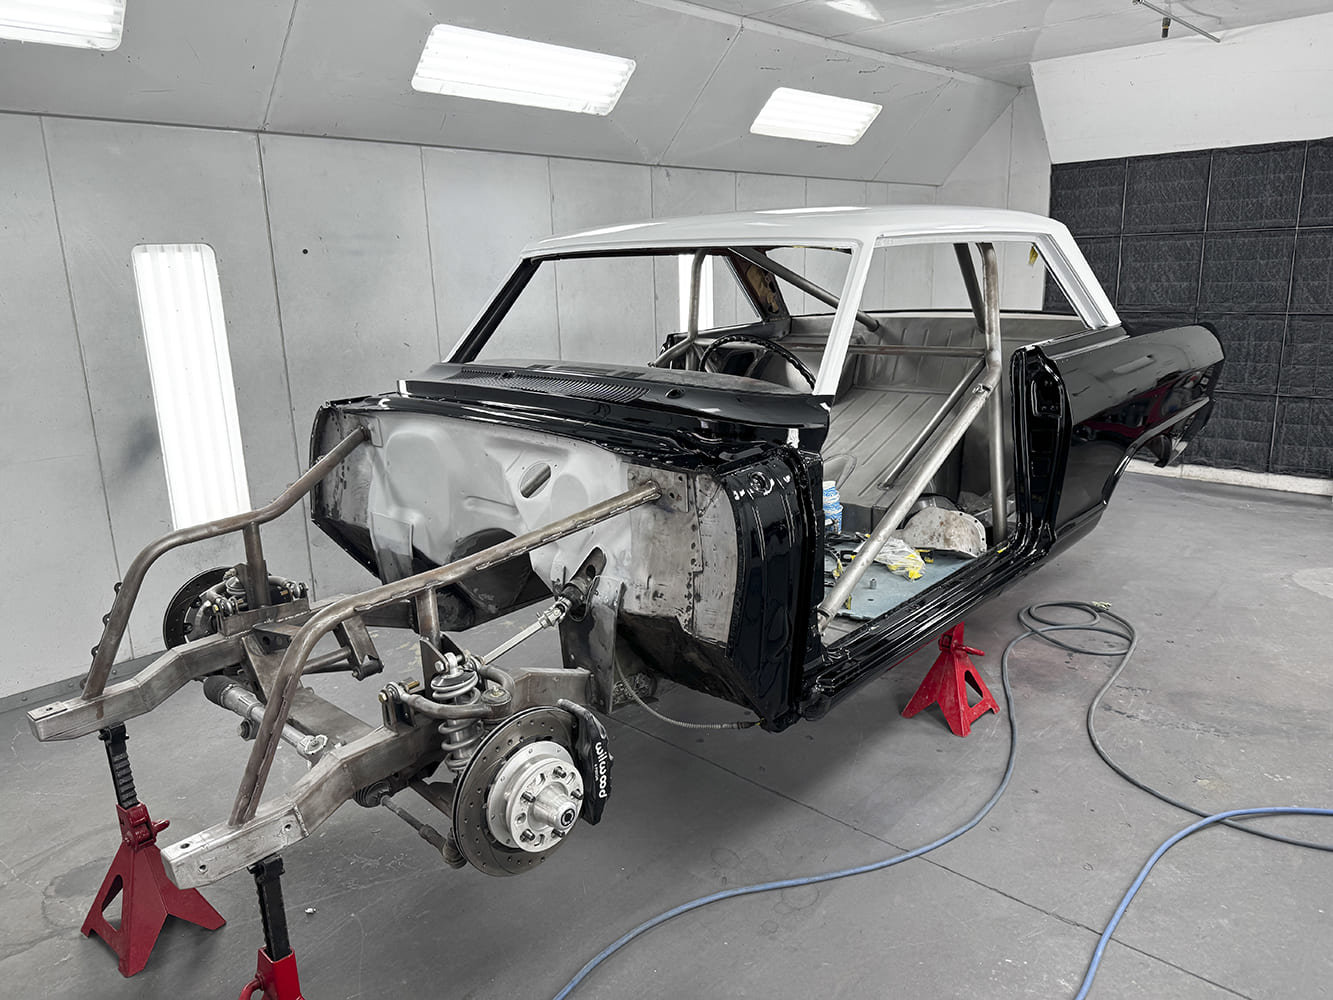
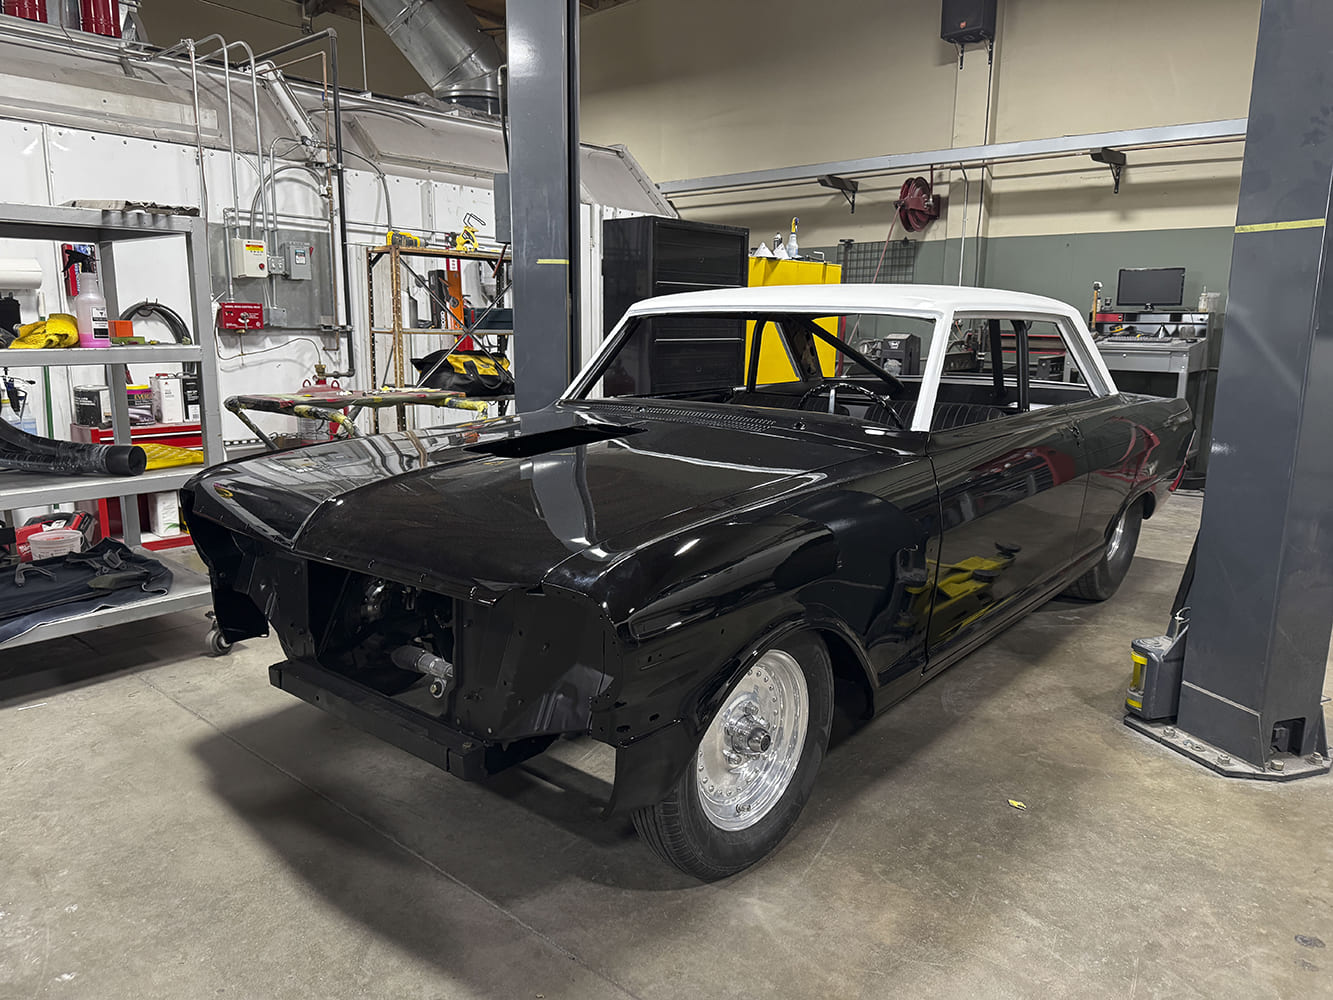
There is a lot involved in painting a car if you want to achieve exceptional quality. In this article, we’ll follow the steps taken at Old Anvil Speed Shop in Orange, California, as they apply their considerable talent and experience to a 1963 Nova.
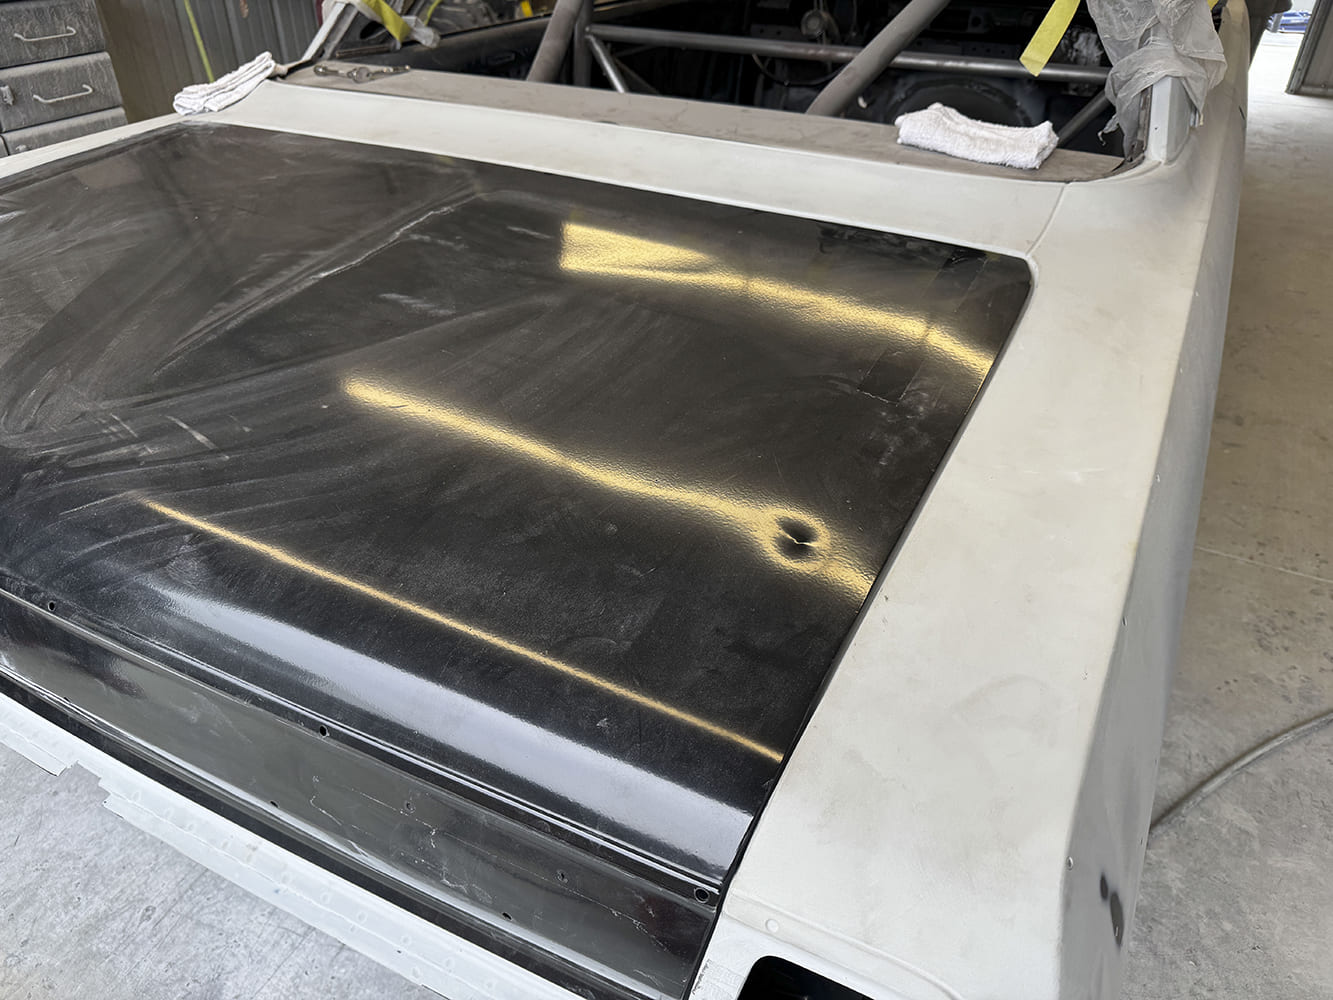
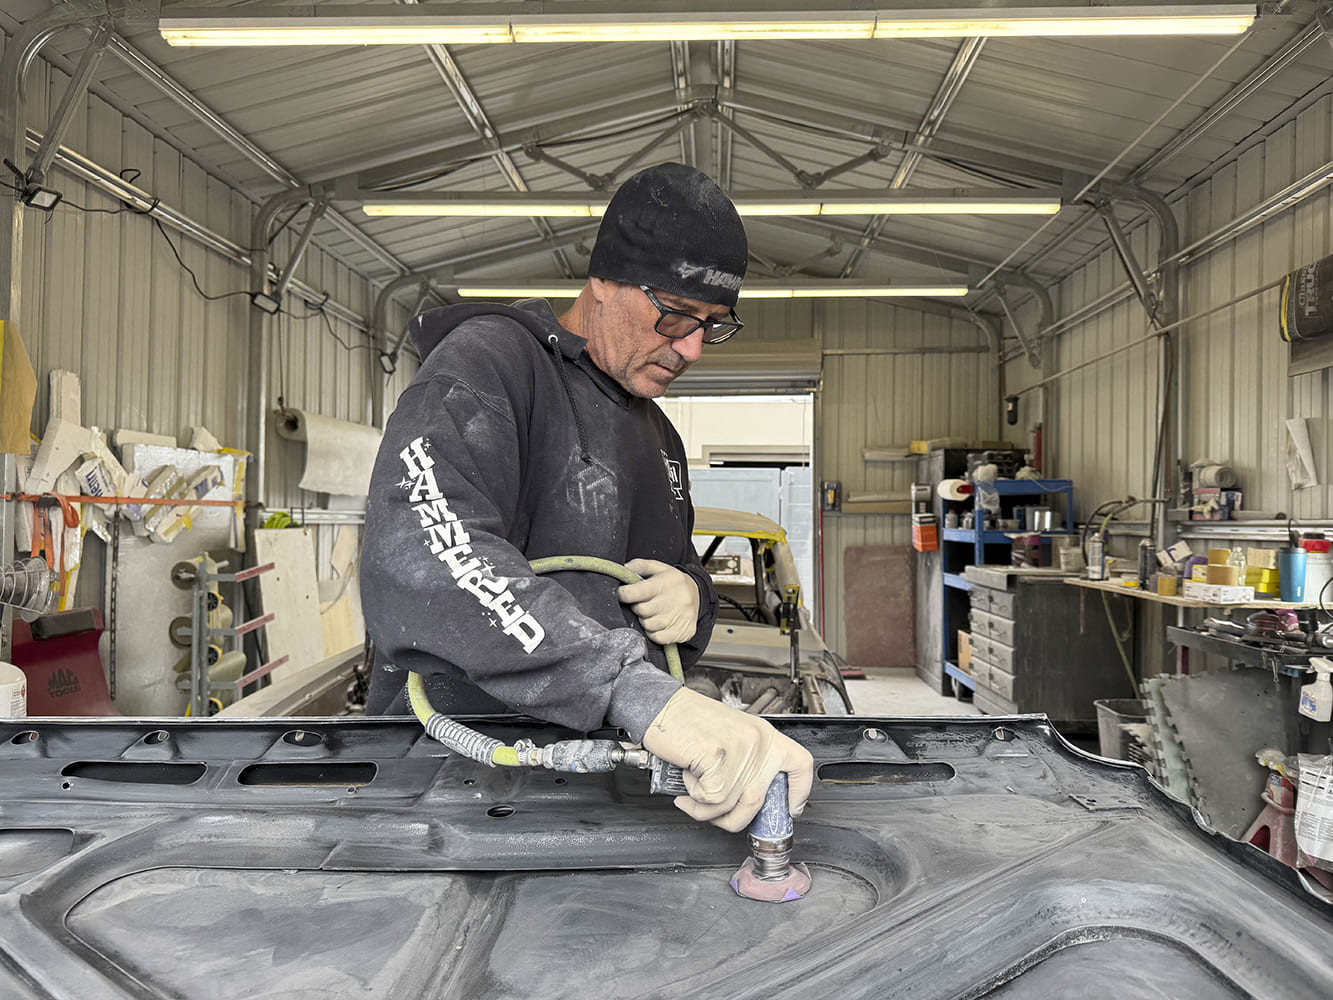
The decklid is the last panel that requires additional bodywork.
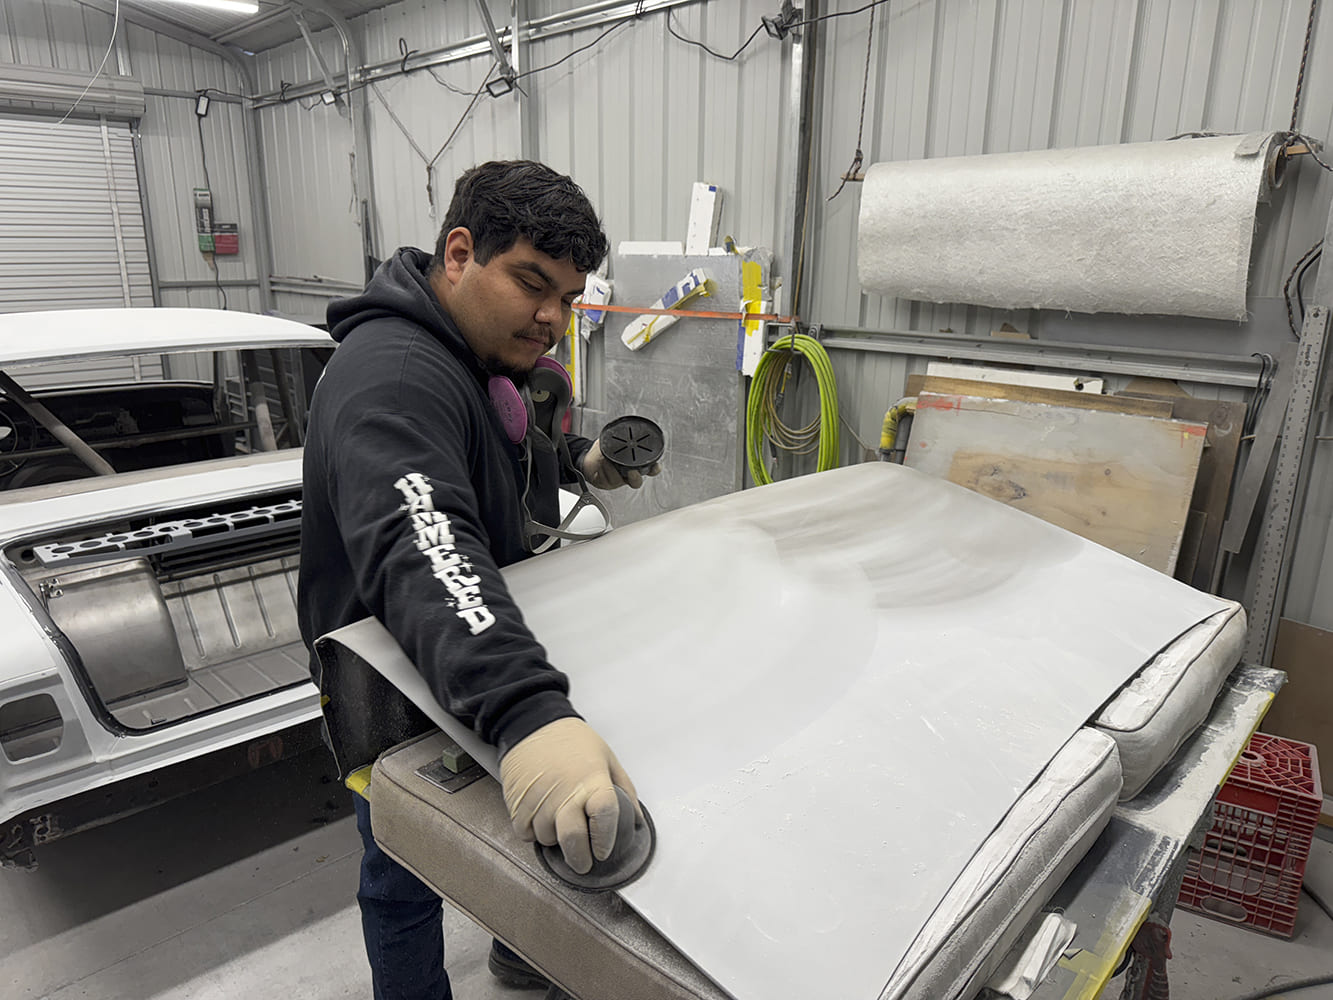
When it comes to painting, preparation is key. If you apply glossy paint to a surface that is wavy, scratched, or dirty, the outcome will be compromised. There are no shortcuts with this, and you need to perform each step with care and precision to achieve a good result.
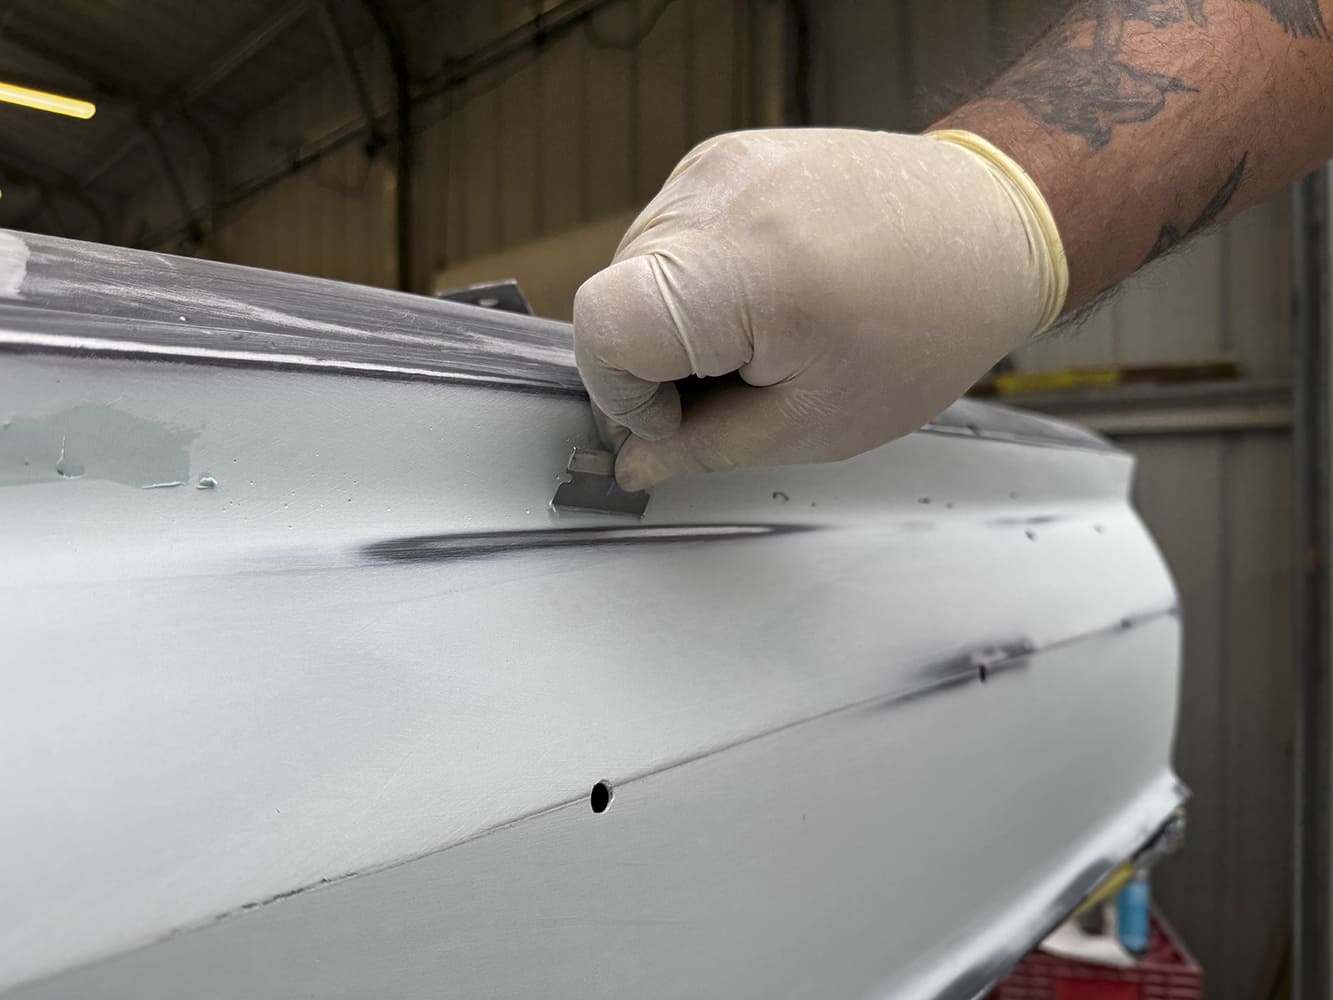
All of the areas that require attention have been corrected using plastic filler, and some smaller areas are being touched up here.
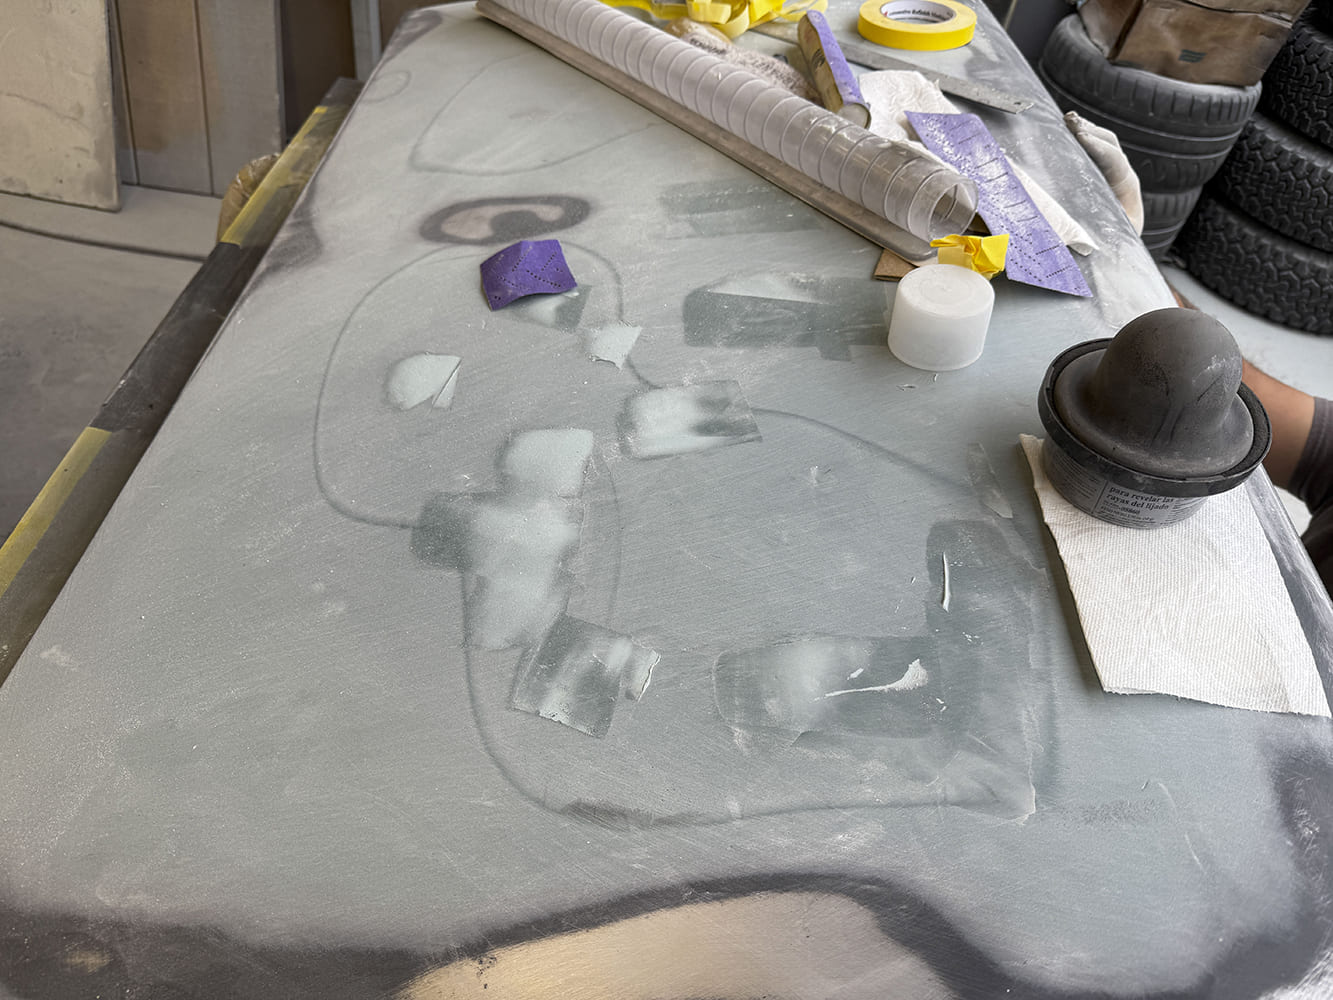
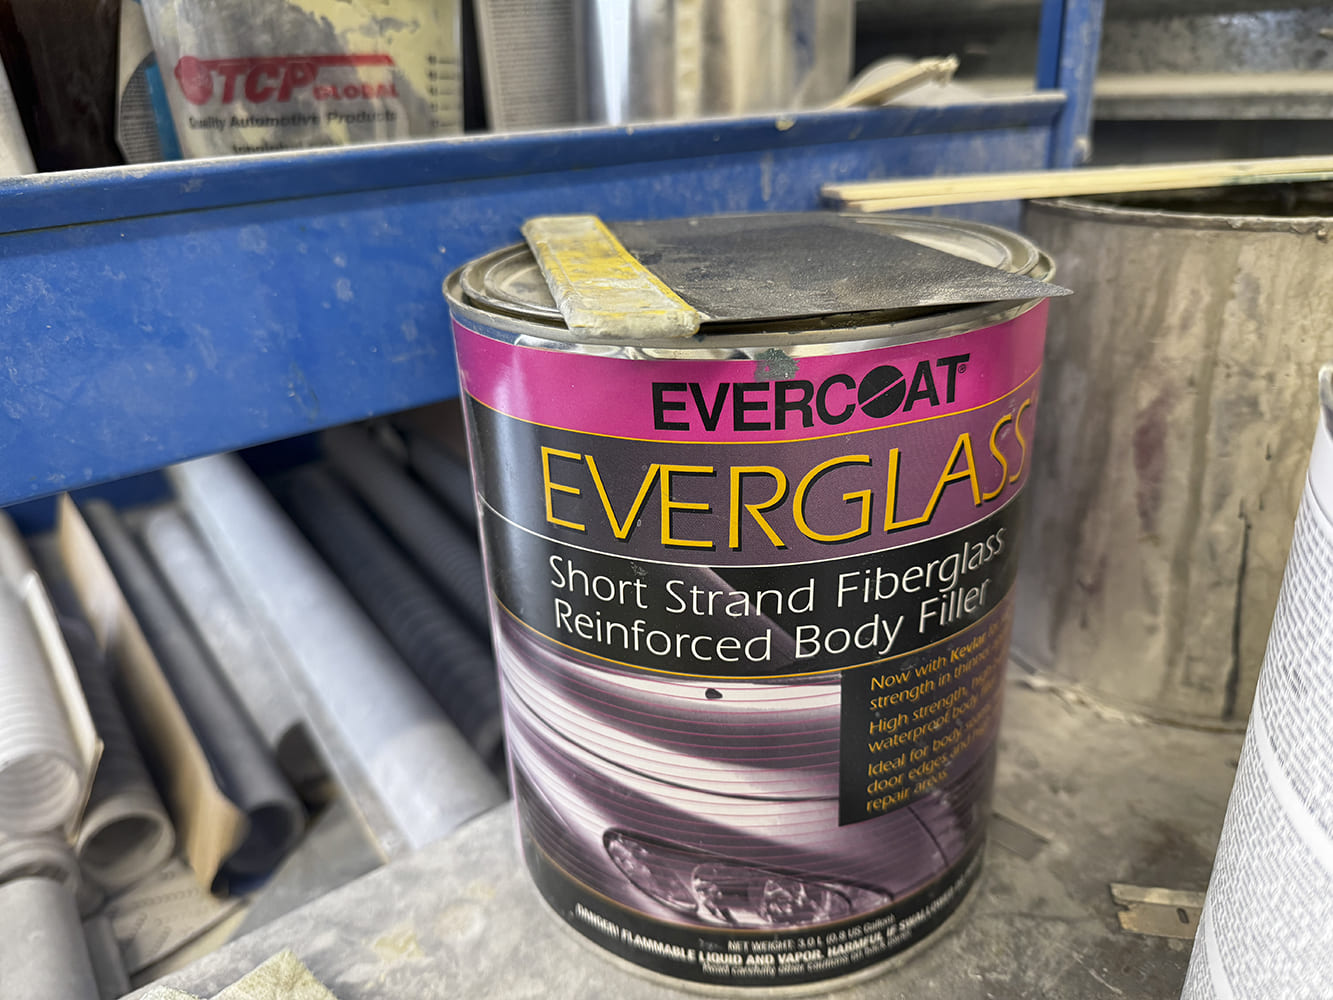
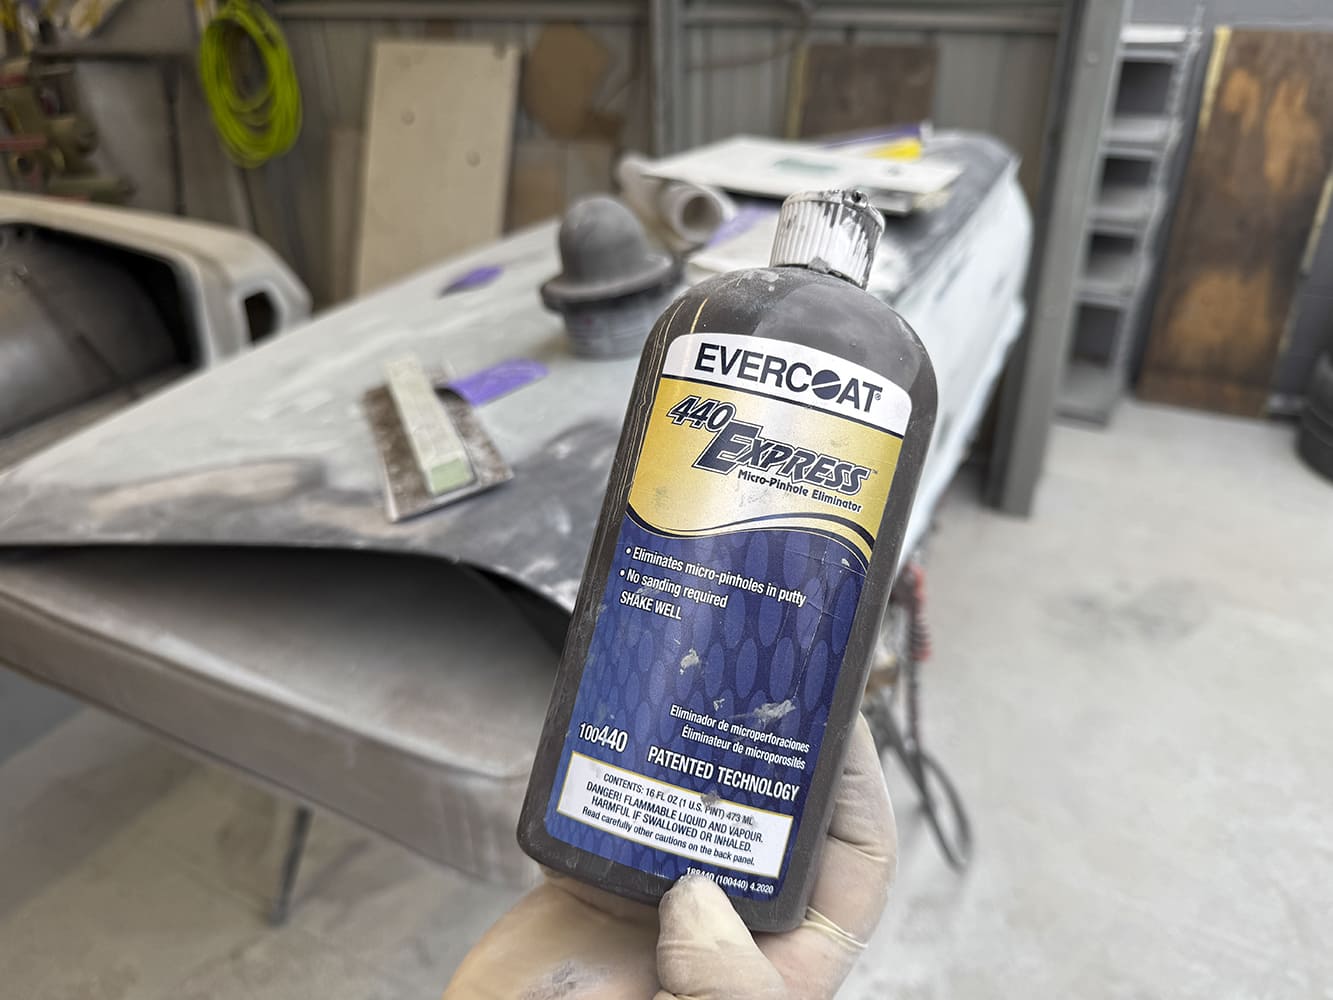
We’re looking at this Nova project after all the modifications and basic bodywork have been completed. Any last remaining imperfections are corrected with top-quality, fiberglass-reinforced plastic filler. This is carefully block-sanded and inspected for any pinholes, which are filled with a special paste designed just for this purpose.
Old Anvil Speed Shop prefers fiberglass-reinforced filler, which is much stronger and more durable than the traditional type.
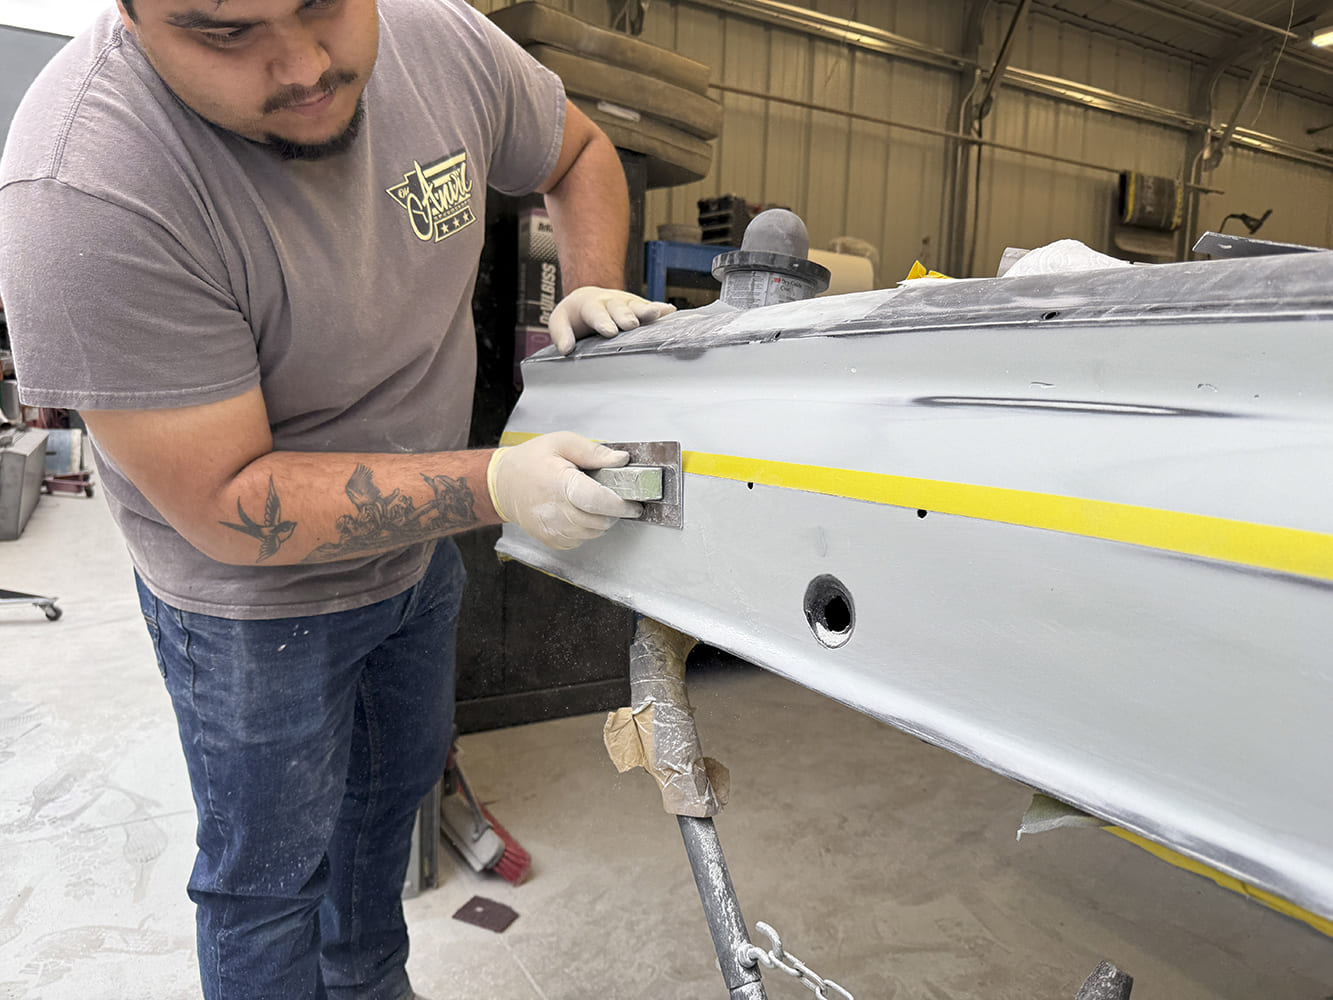
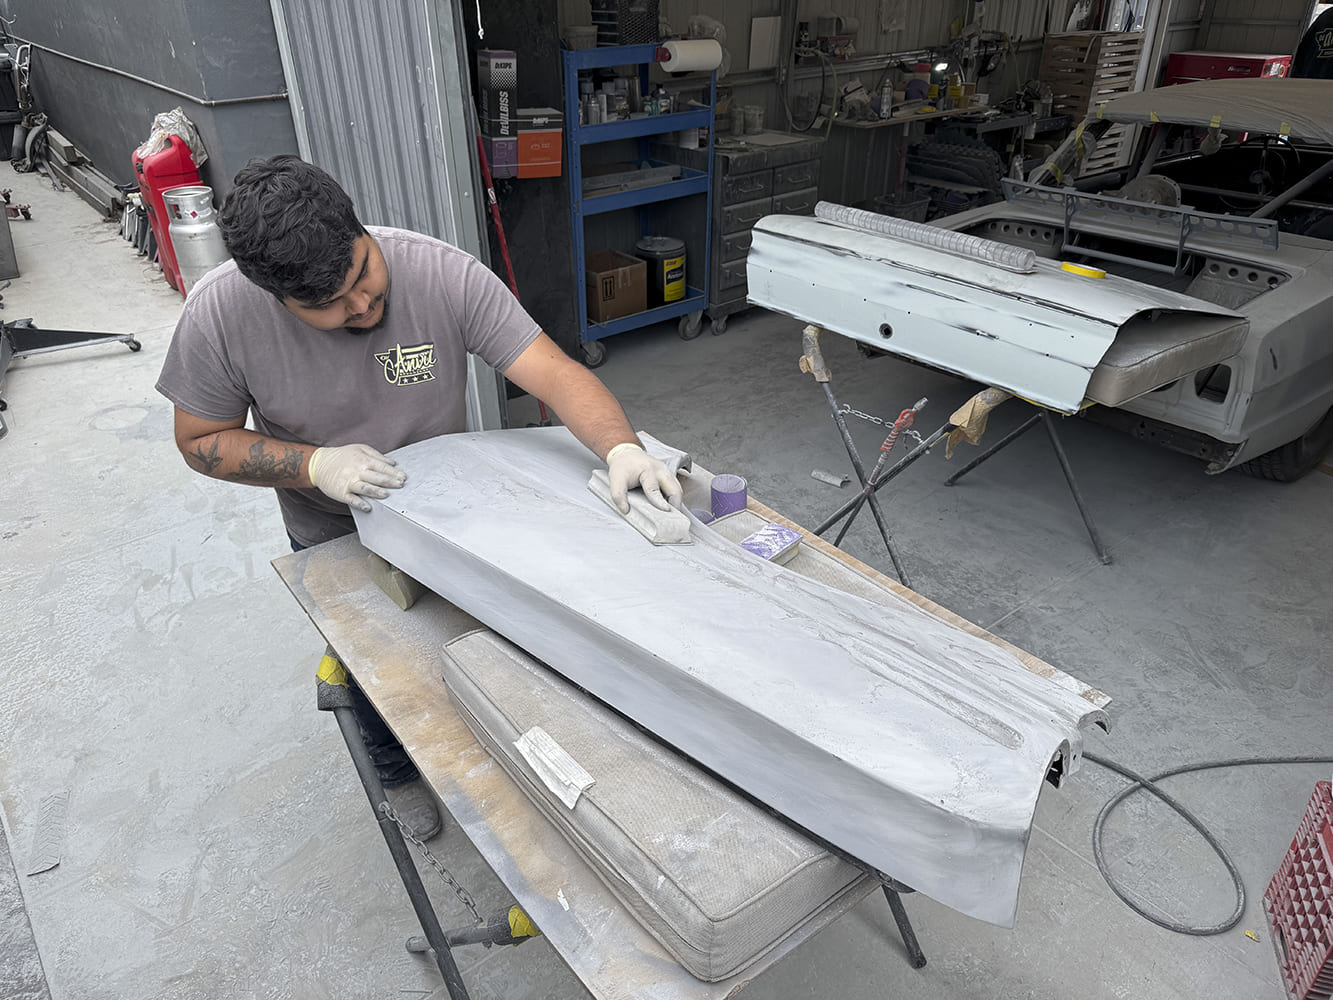
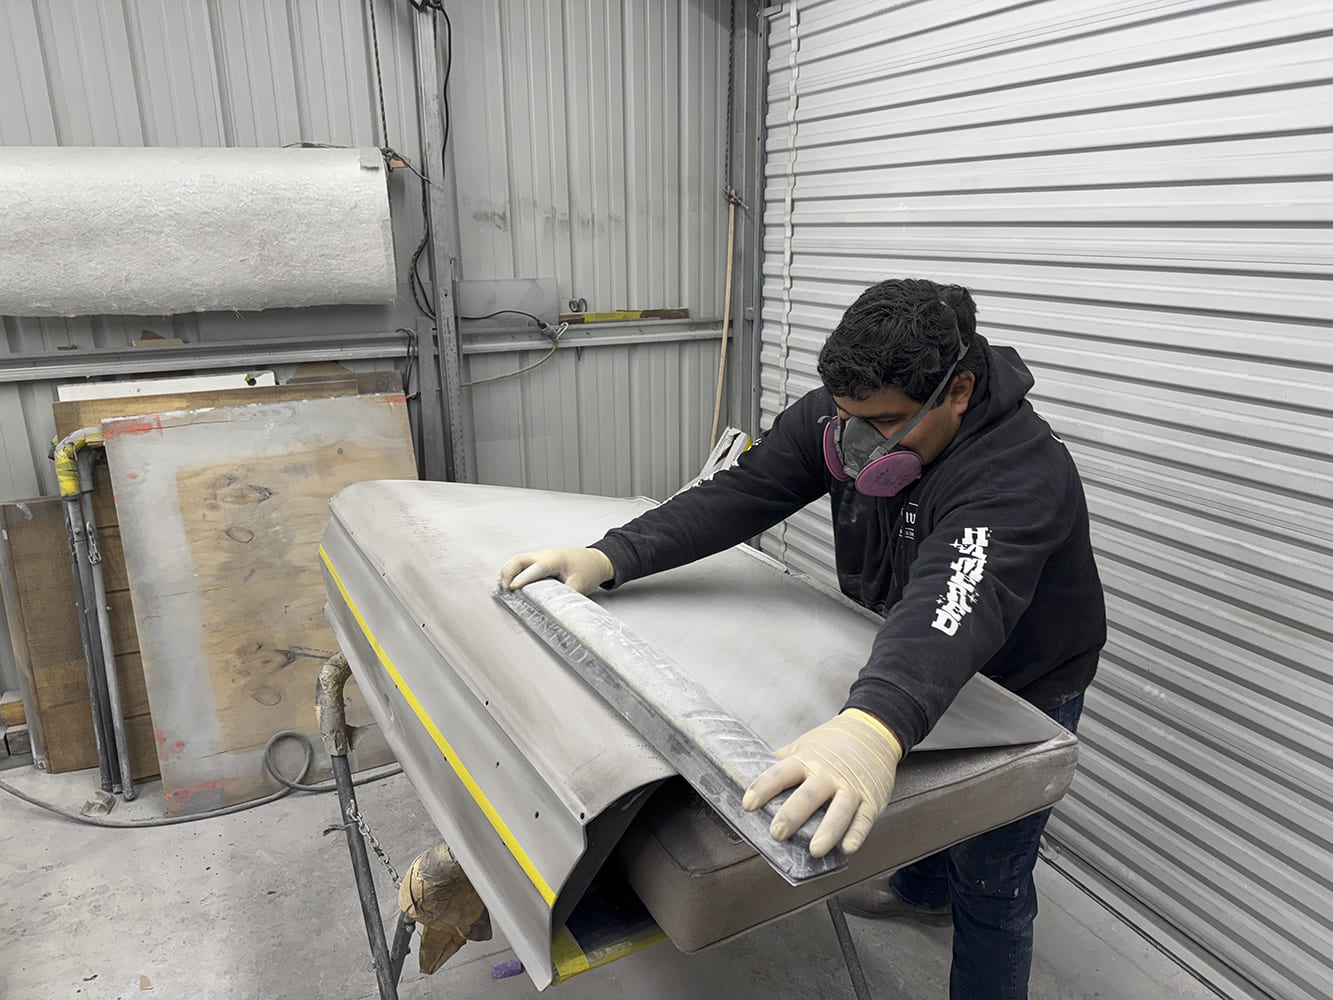
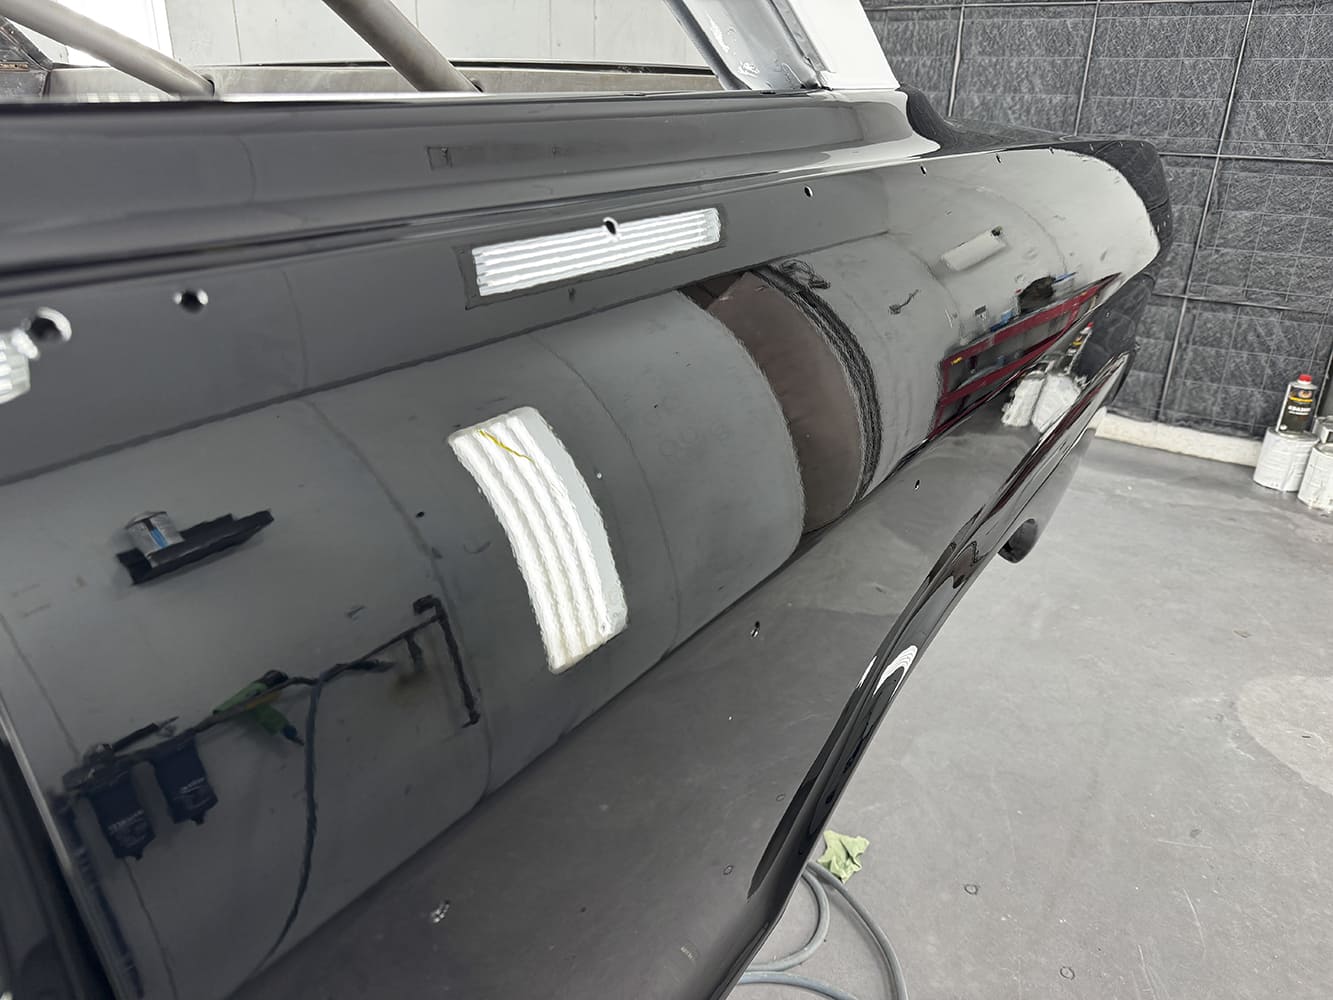
There is an art to block sanding, but for best results, a long-block is ideal for large, low-crown surfaces. It’s best to orient the sanding block in the direction with the least curvature and make several passes that cross. For example, your first pattern might start at the top right corner and move diagonally toward the bottom left corner while keeping the block aligned with the edge of the panel. After a few strokes in this direction, the pattern is reversed, starting at the top left corner and moving down to the bottom right corner.
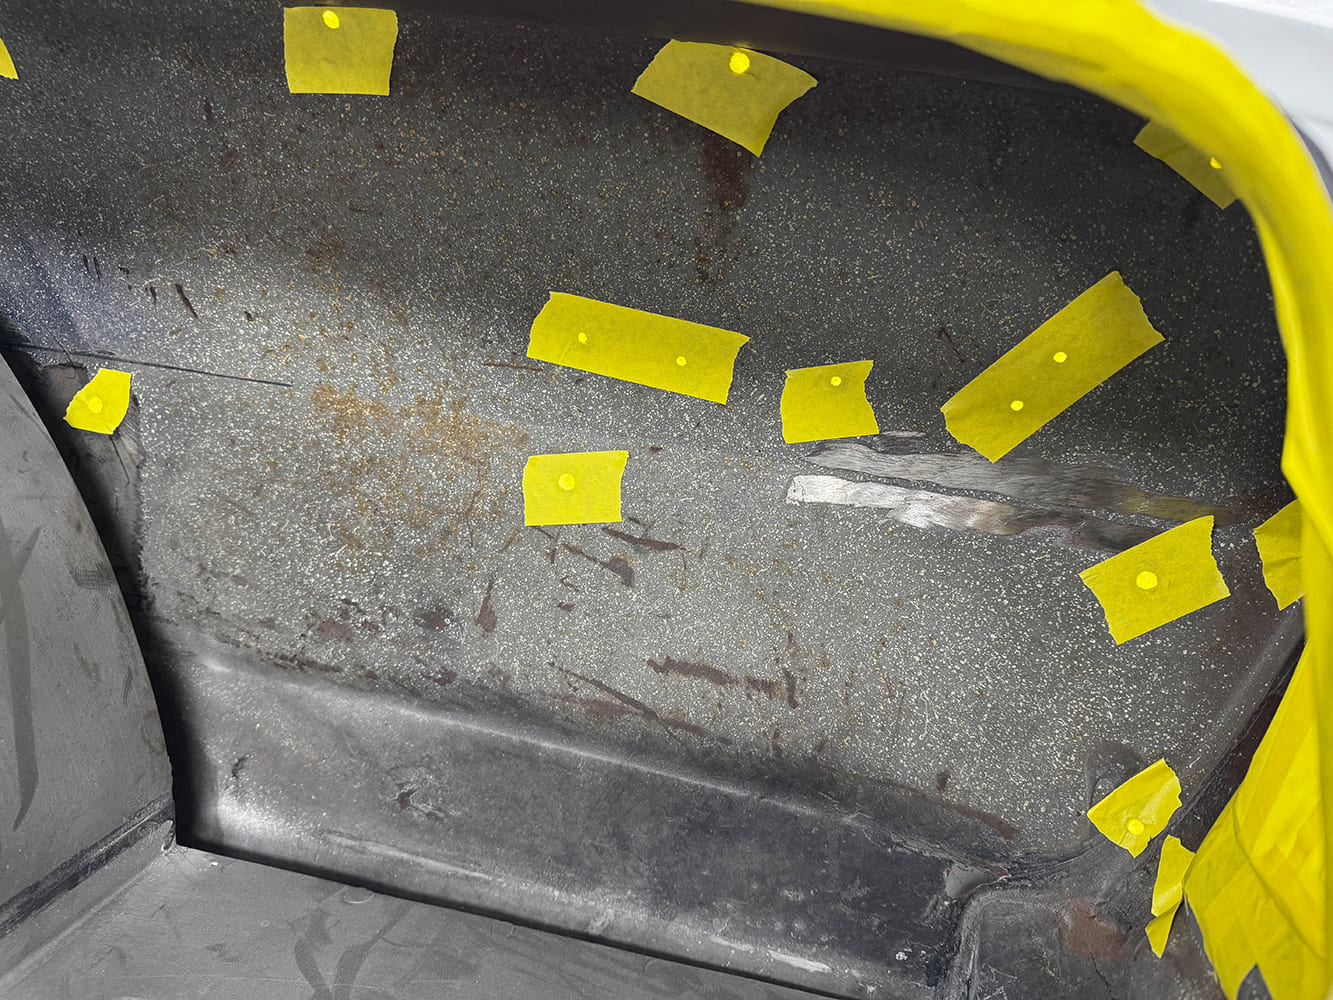
Note the line of masking tape, which helps sharpen creases in the body lines as the block sanding progresses.
This is done dry, with progressively finer paper, working up to 320-grit. It helps to use a powdered guidecoat to indicate which areas have not been sufficiently sanded to remove the scratches from the previous stage.
A specialized paste is used to correct any pinholes in the plastic filler.
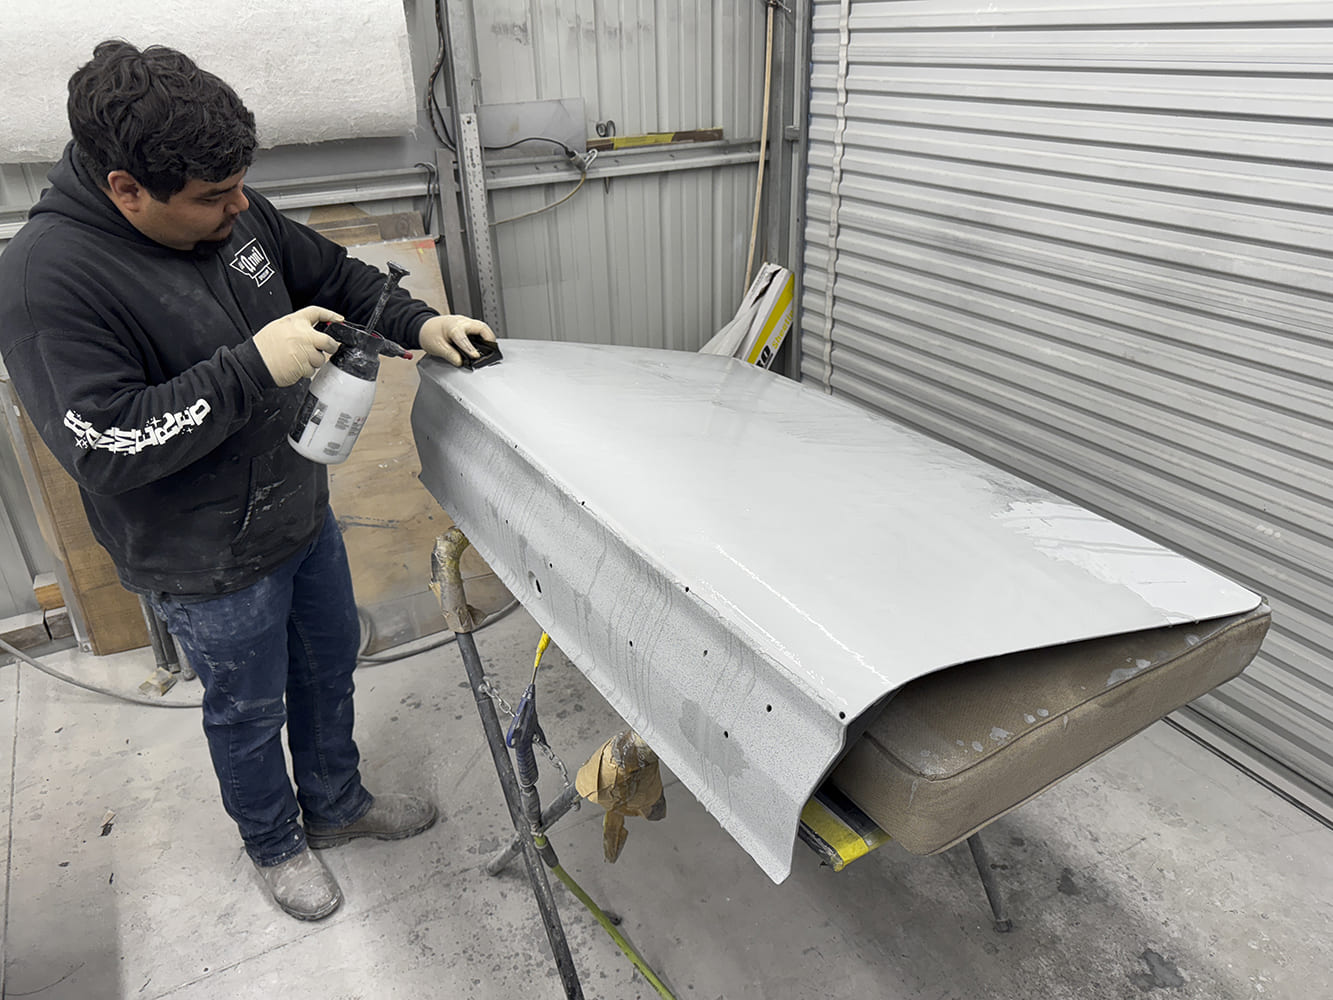
The last step is wet-sanding with 400-grit paper. It is helpful to use a spray bottle to keep the sandpaper from loading up.
A razor blade is a good tool for filling pinholes with minute dabs of filler.
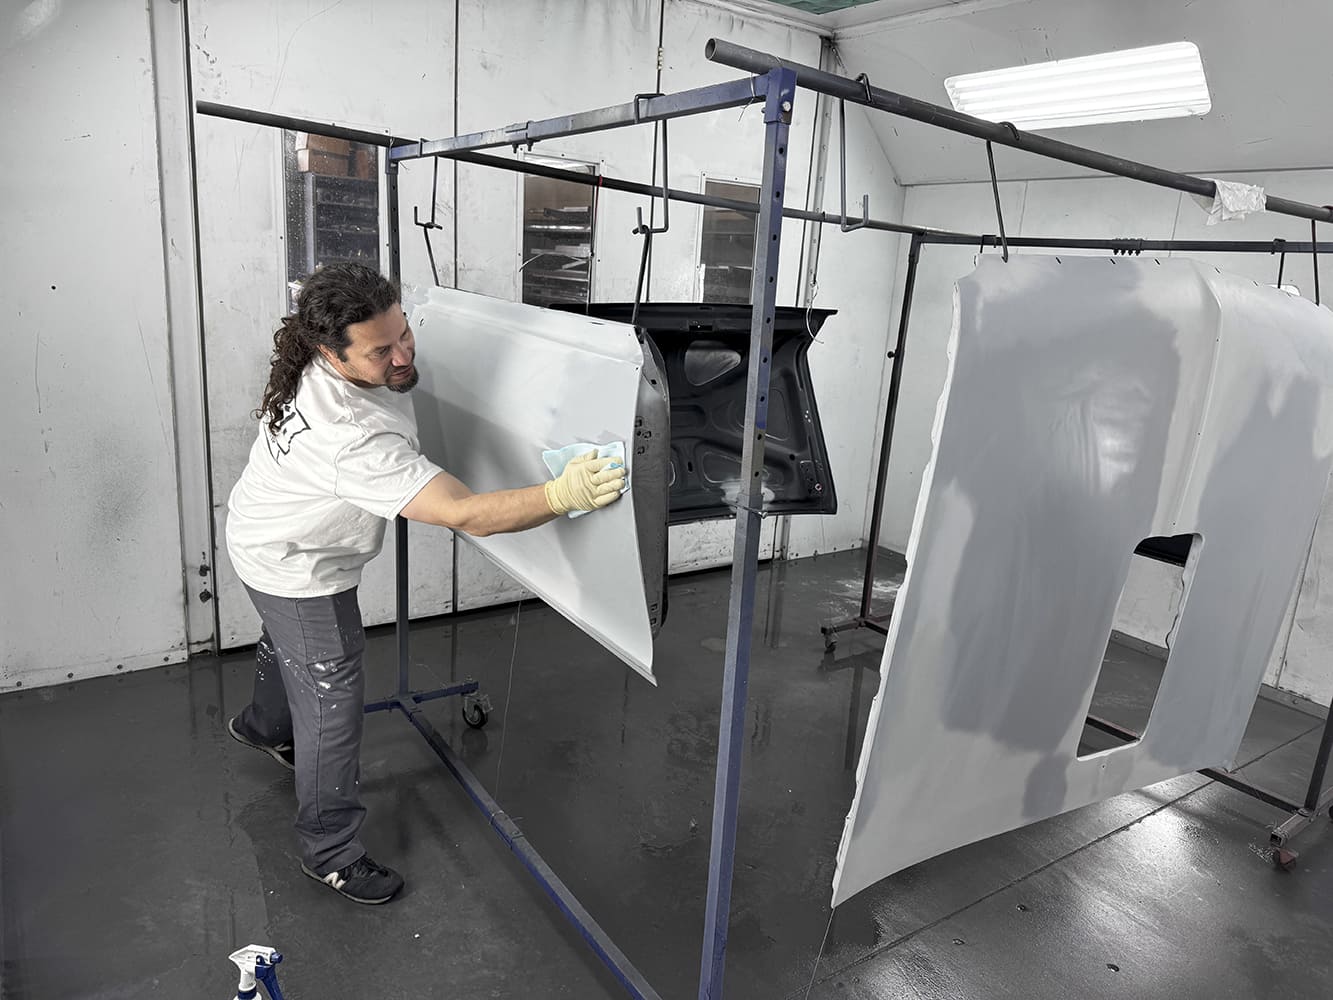
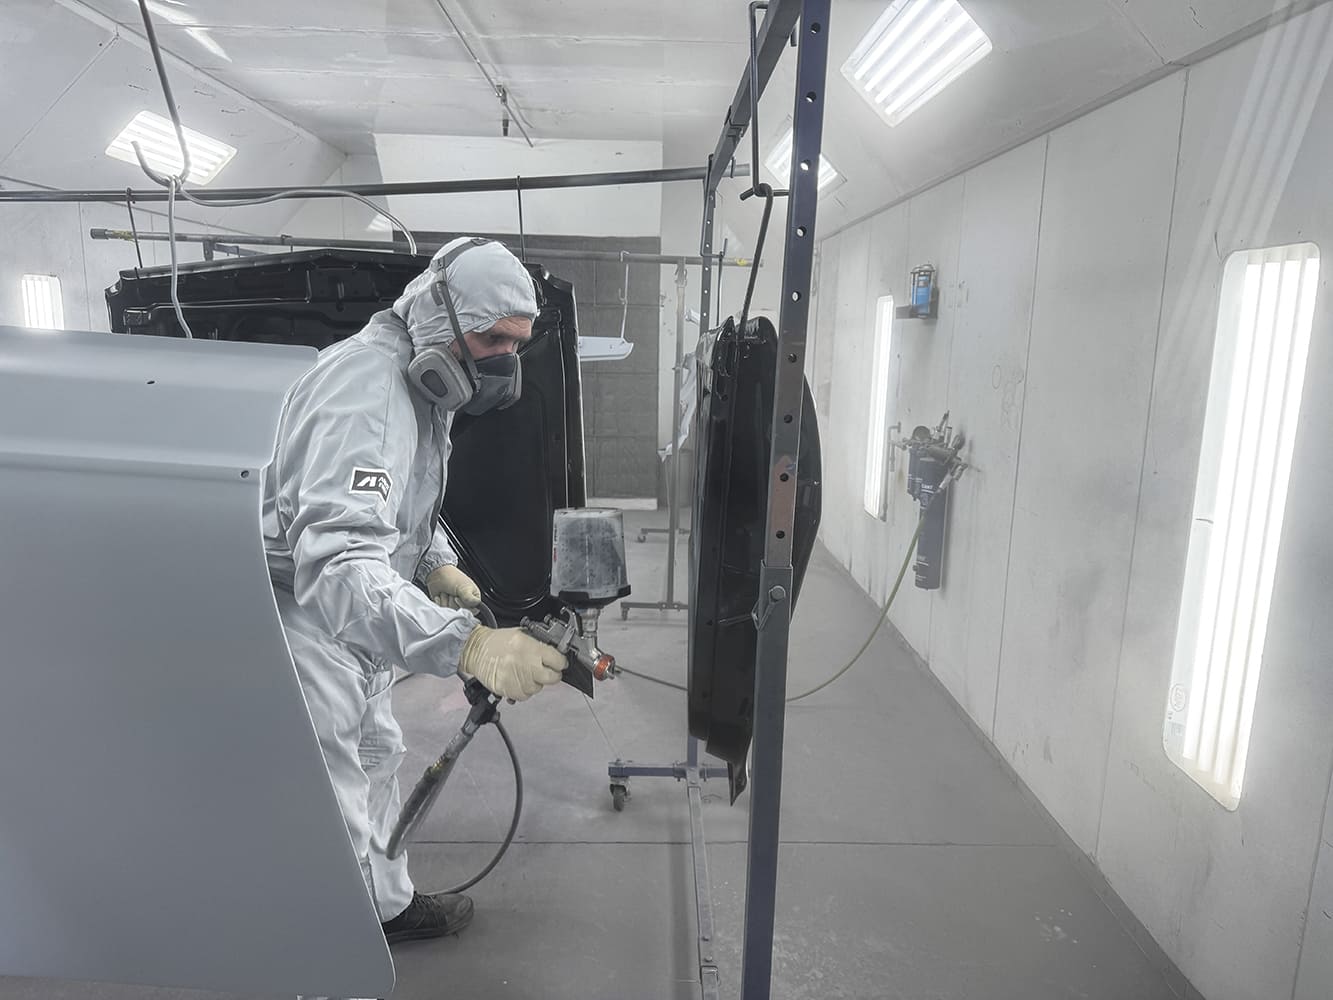
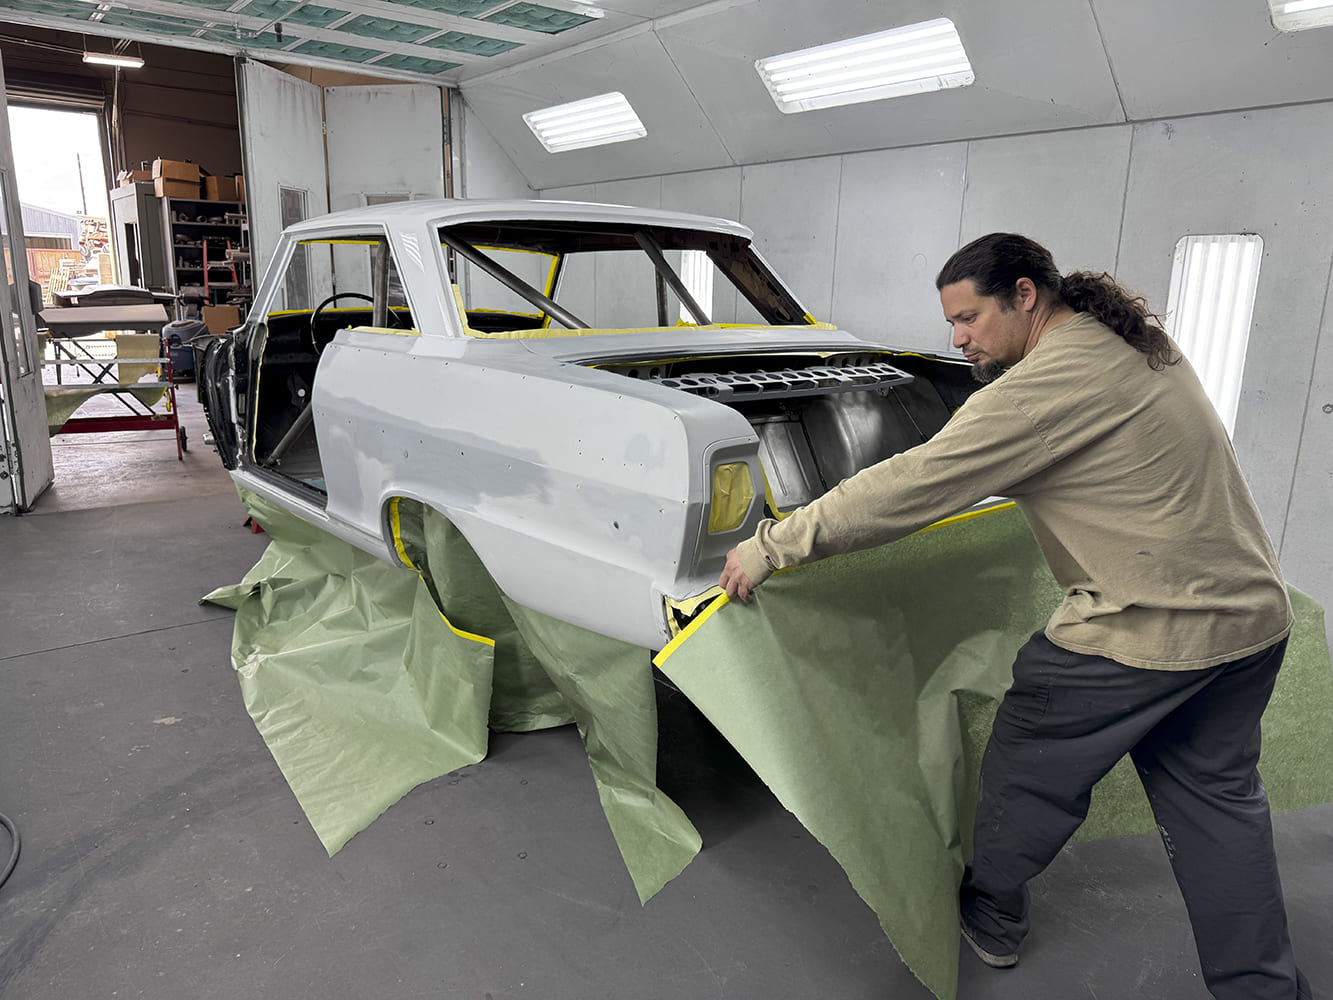
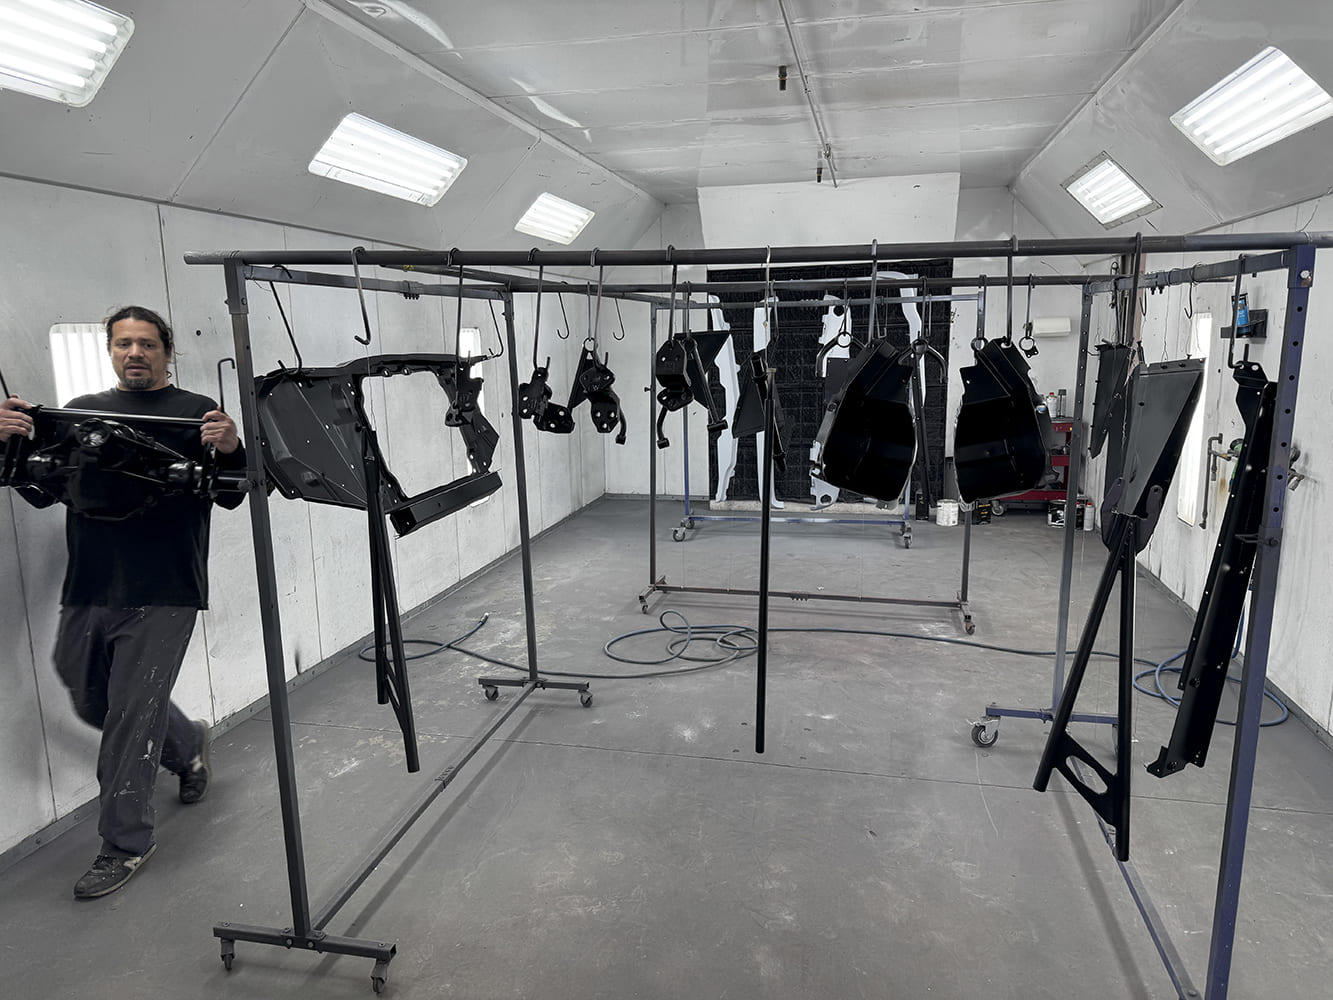
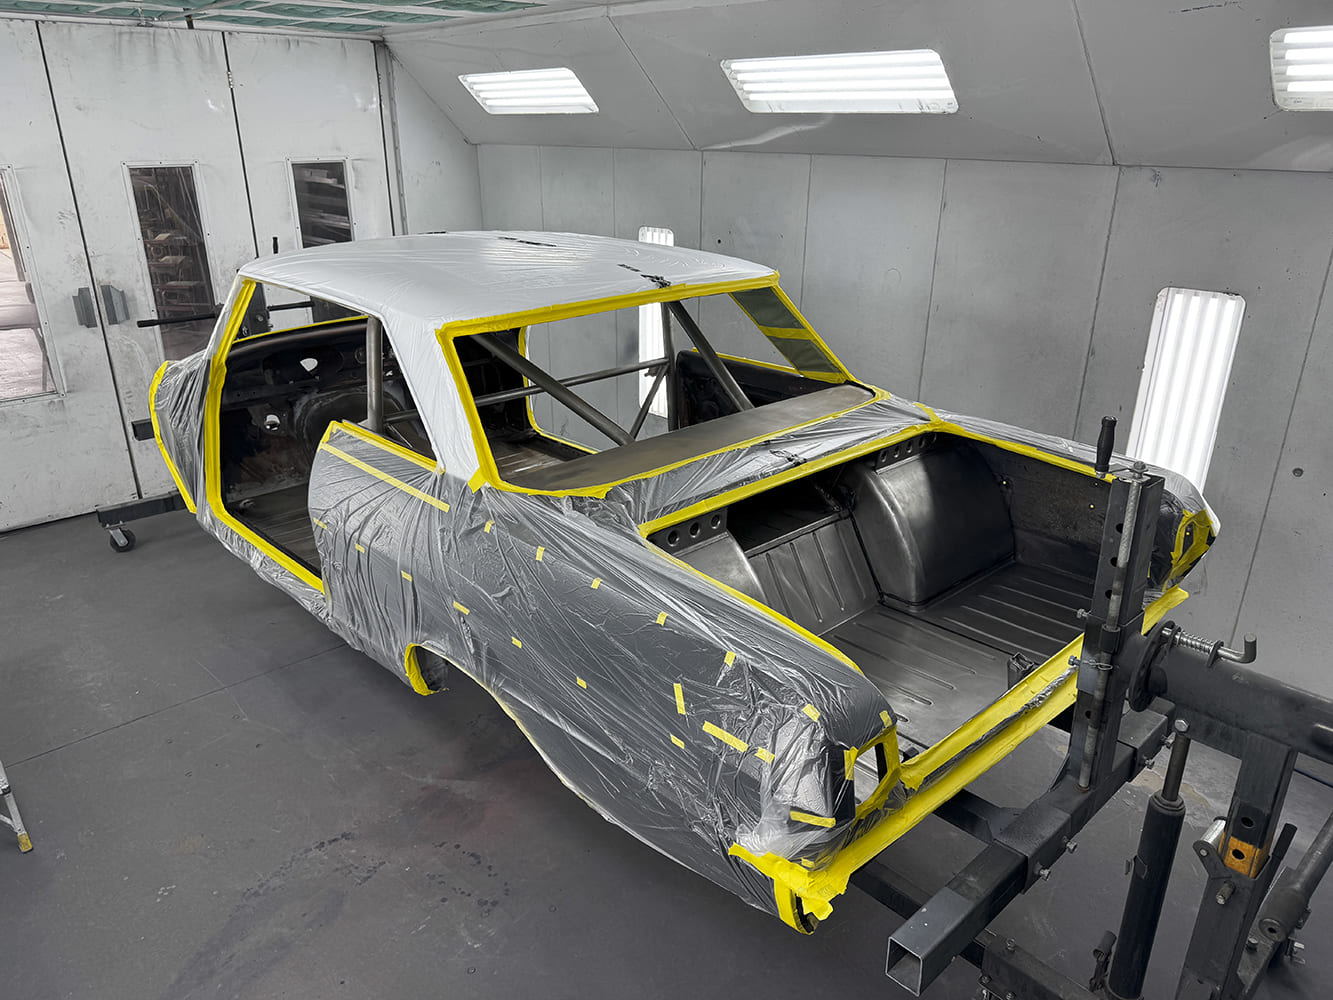
Once all the sanding is completed, the panels are ready for paint. Smaller panels are held on racks inside the paint booth, making it easy to get good coverage on all surfaces. The body of the car is carefully masked as needed before the base, color, and clearcoats are applied.
After all the problem areas have been corrected, a skim coat of filler is applied to the entire panel.
The photos show the most important steps, and they will give you a good idea about what it takes to produce a top-quality job like this one.
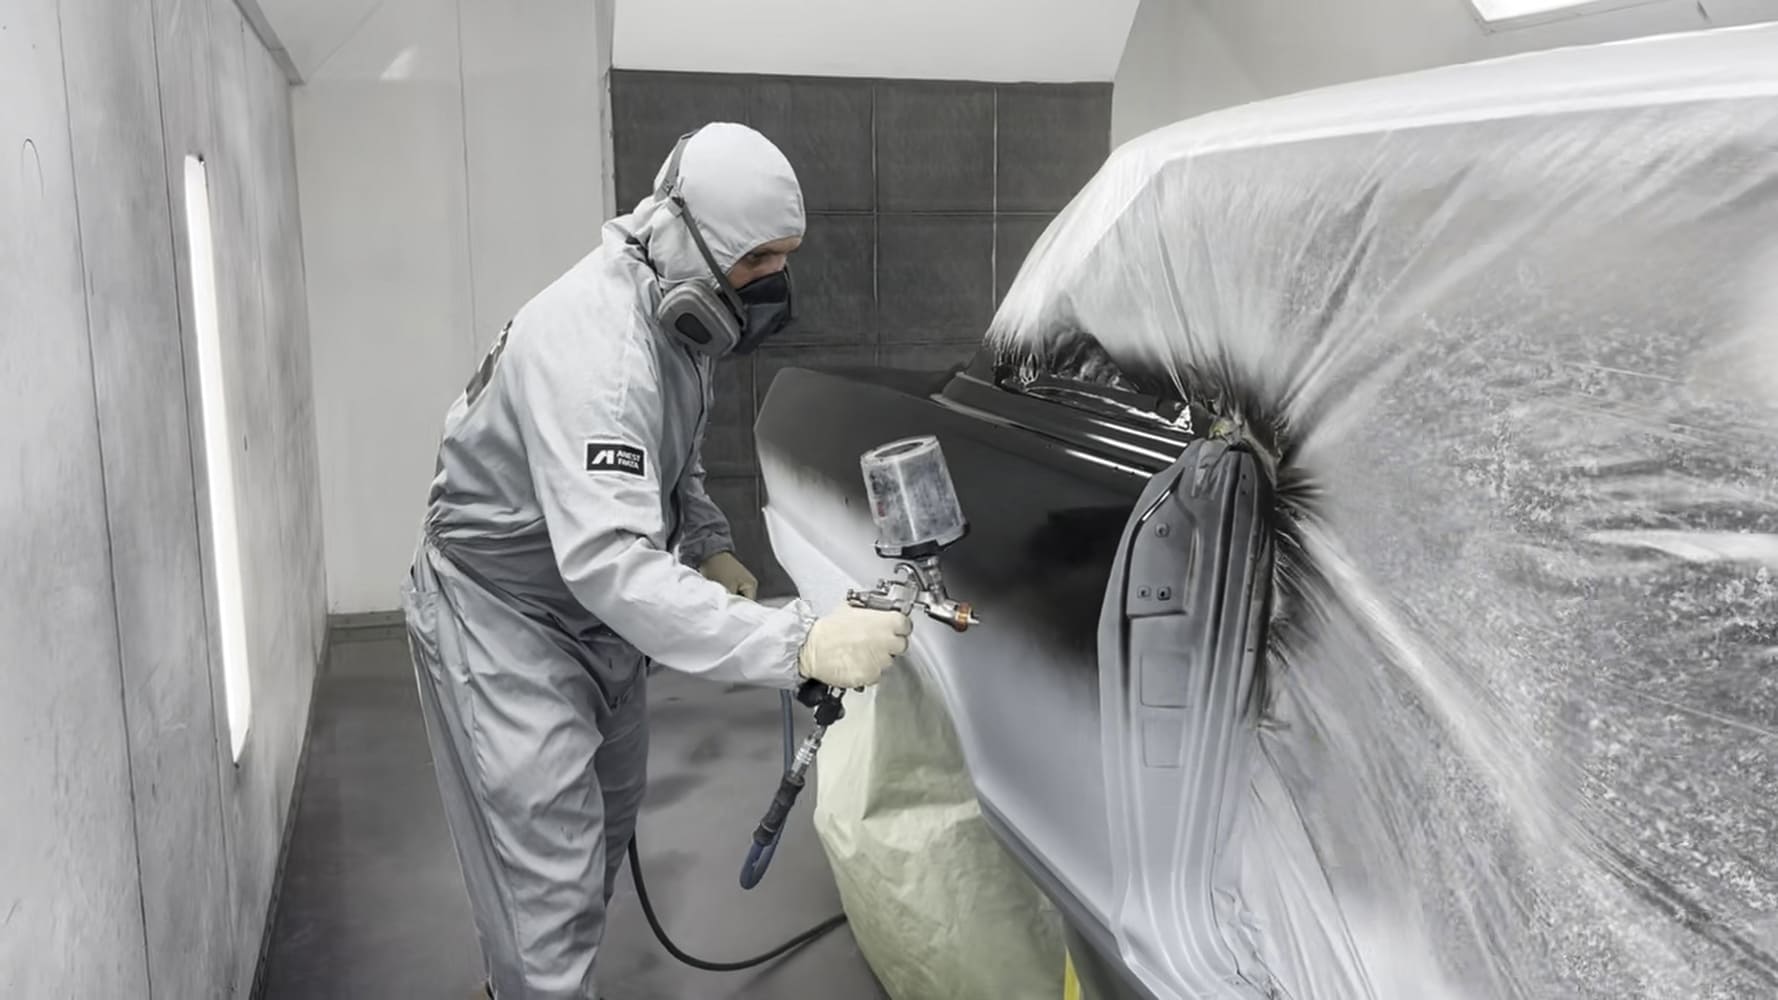
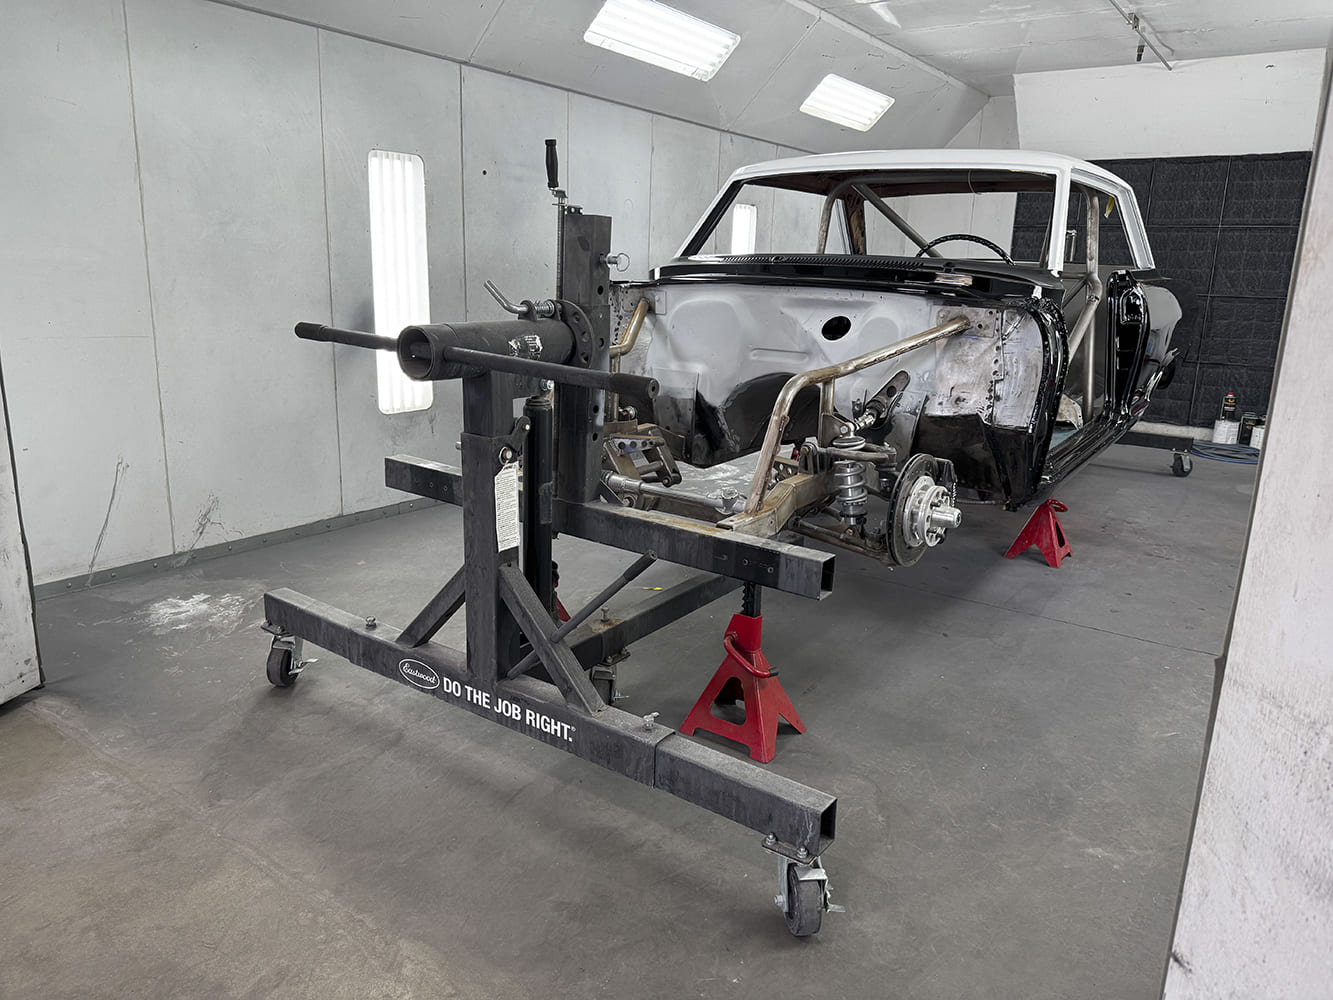
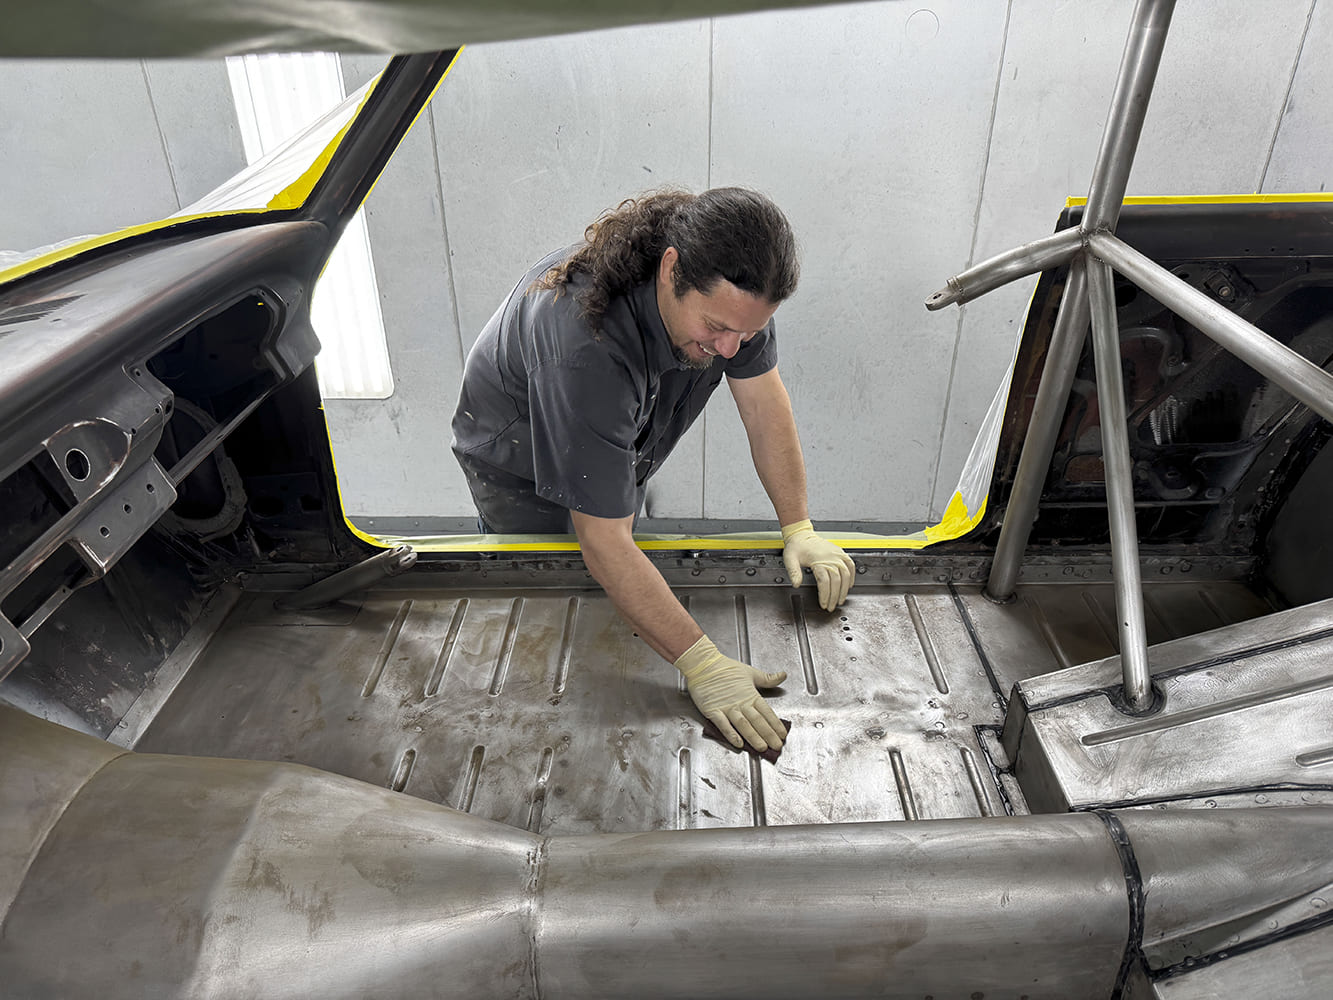
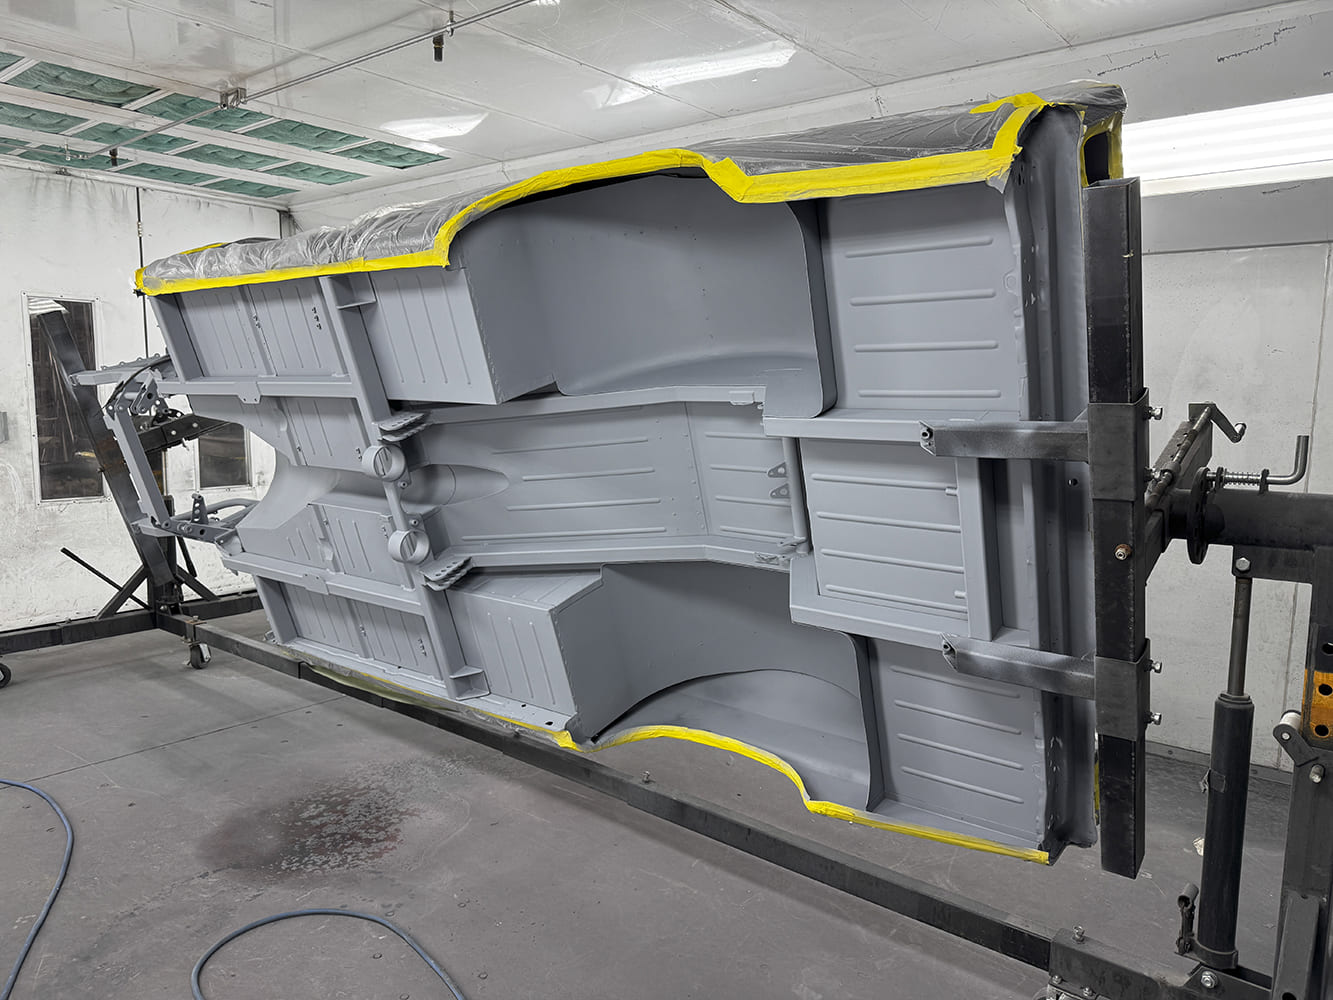
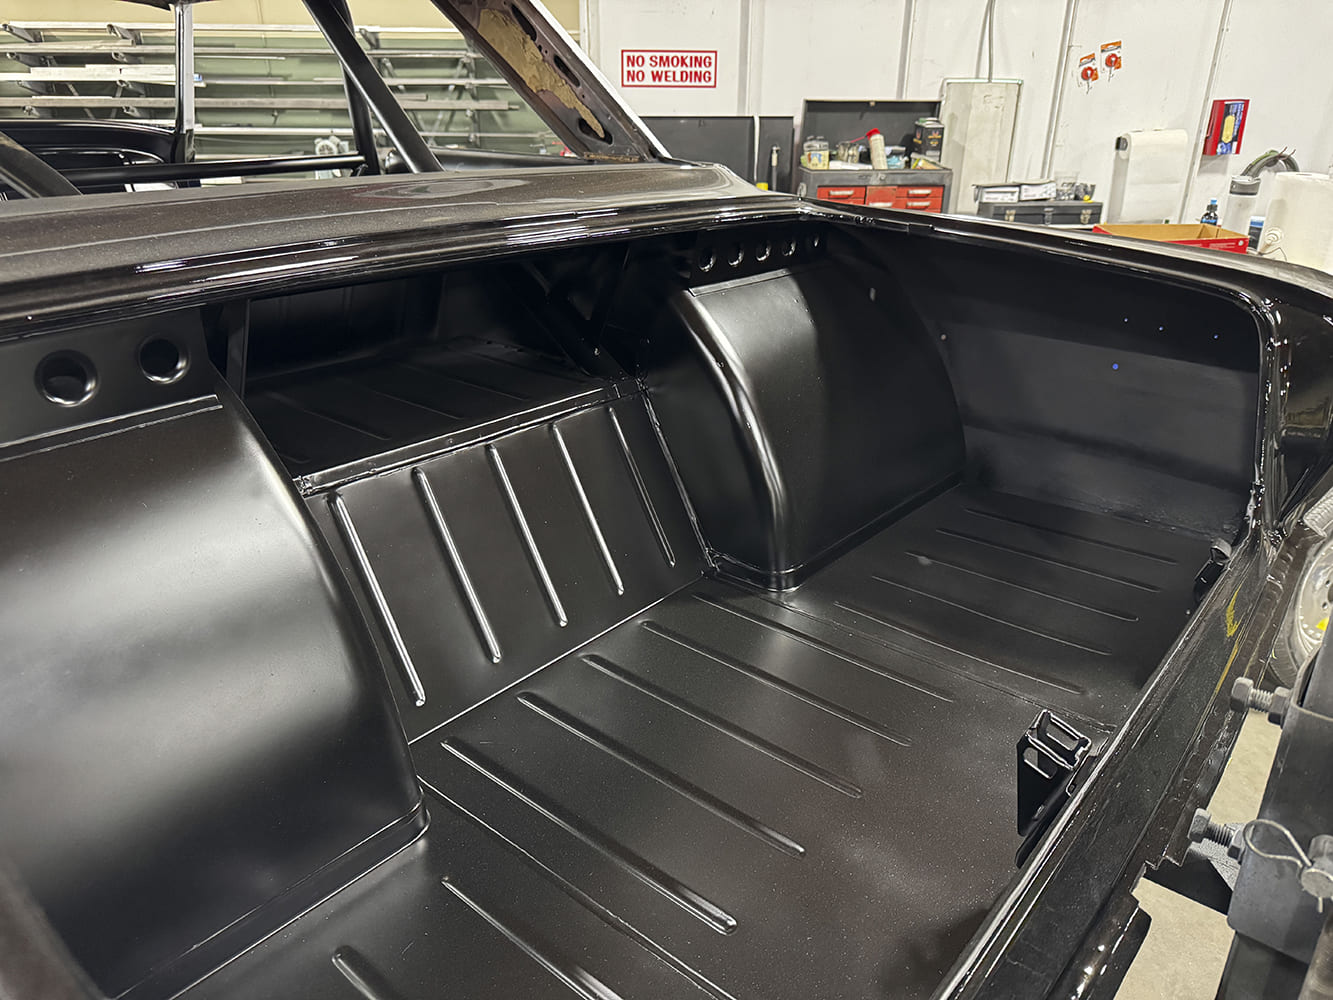
Block-sanding is continued on the front fender as the newly applied filler hardens on the decklid.The underside of each panel needs to be prepped just as carefully as the outer surfaces.A powder guidecoat is applied as the block-sanding progresses to ensure every square inch is smoothed to perfection.Using a long, slightly flexible sanding block, the entire surface is sanded using a 45-degree pattern in both directions; starting with 220-grit and finishing with 320.The final step is wet-sanding all areas with 400-grit paper. Once completed, the panels are sent to the paint booth.The removable panels are hung on a fixture in the paint booth. Each panel is treated with a waterbased cleaner first, which removes dirt, then with a solvent-based cleaner, which removes any oil or grease. All panels are wiped with a tack rag just before being sprayed.The first coat to be sprayed is a sealer, followed with two coats of black basecoat from Ace of Shades.Two-tone paint requires special preparation. Here, the line separating the black body from the white roof is carefully masked.Once it’s time to spray the body, every opening must be carefully sealed to prevent any contamination from debris escaping from inside the car and to keep overspray from getting inside.Larger sheets of paper are used to fill the gap between the bottom of the body and the floor, further helping keep any stray debris from contaminating the surfaces as they are sprayed.The body is covered with plastic film in preparation for spraying the roof.After the roof has been sprayed and the paint has hardened, the top is masked and the rest of the body is sprayed.A complete paintjob is quite complicated, since each part of the car may require a different coating, such as the body, the underside, the floors, the rollcage, and the chassis components.The reflections in the three coats of clear applied on top of the black color coats show the smoothness of the body. The slight orange peel texture will be corrected after the paint fully cures.The car is mounted on a rotisserie at this stage to give better access to the interior and underside areas.As the preparation for the next steps on the body progresses, some of the smaller components are brought into the paint booth to be sprayed.The body is masked before painting the interior and underside areas.Red Scotch-Brite pads are used to clean the interior panels before priming and painting.The underside and interior panels are primed at this stage.Vintage Pro satin black is an excellent finish for the interior panels.With the paintwork completed, the car is ready for the final assembly. It took a huge amount of effort to complete the paintwork on this Nova, but the results are well worth it.
Sources
Ace of Shades
(530) 745-4146
aceofshadespaint.com
We use cookies to ensure that we give you the best experience on our website. If you continue to use this site we will assume that you are happy with it.