One of the best moments in reaching the end of a new build is when the business office finally starts to take shape. It’s a time when you can delve into the endless stream of options available from the aftermarket to help you decide on just the right parts, colors, textures, and materials to use when you’re ready to freshen up your interior and add a bit of a punch. Simple things like the headliner and carpet should never be overlooked as they frame the vibe of the interior, offering a solid base to work with.
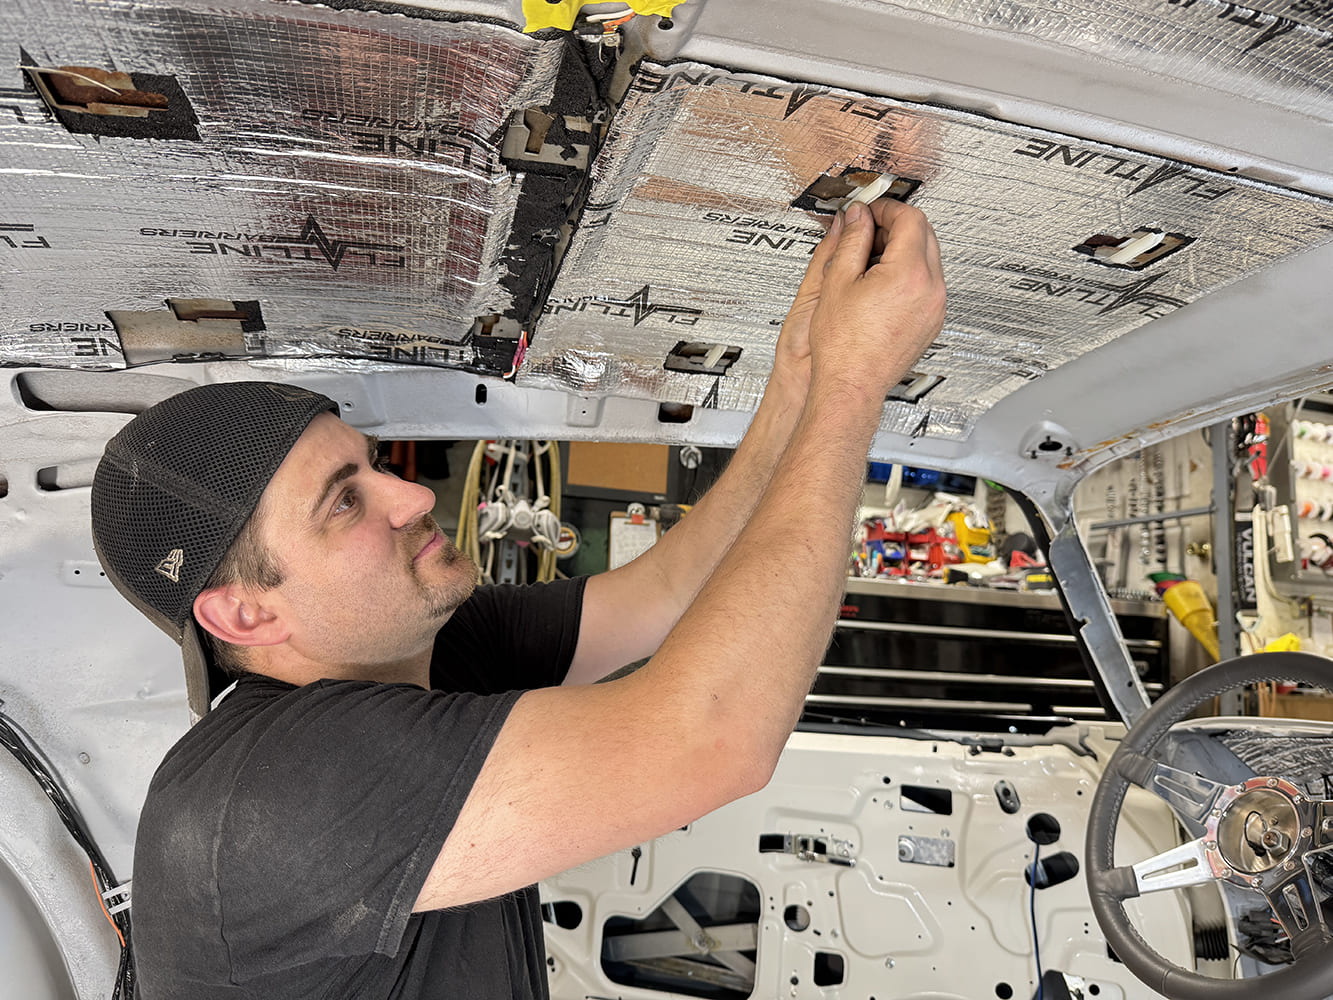
To prepare the inner roof panel for the new factory replacement headliner, Pat O’Brien of Procision Industries got started by installing a 20-piece headliner clip set from Classic Industries (PN K591). Be sure the clips have ample movement once installed, fore and aft, to allow for adjustment once the headliner bows are clipped in place.
Many readers of All Chevy Performance have seen the evolution of this 1971 Camaro laid out across our pages, being the subject of numerous tech articles over the past few years. Its evolution from a bare shell has introduced us to all aspects of the build, including suspension and brakes, LS driveline, cooling, exhaust, sheetmetal, wiring, insulation, and more. With a hopped-up 5.3 LS underhood nailed to a T56 six-speed transmission, it’s easy to see that it’ll be a beast once it hits the streets. This time we’re stepping deep into the interior to look at updating it with a fresh headliner and carpet set.
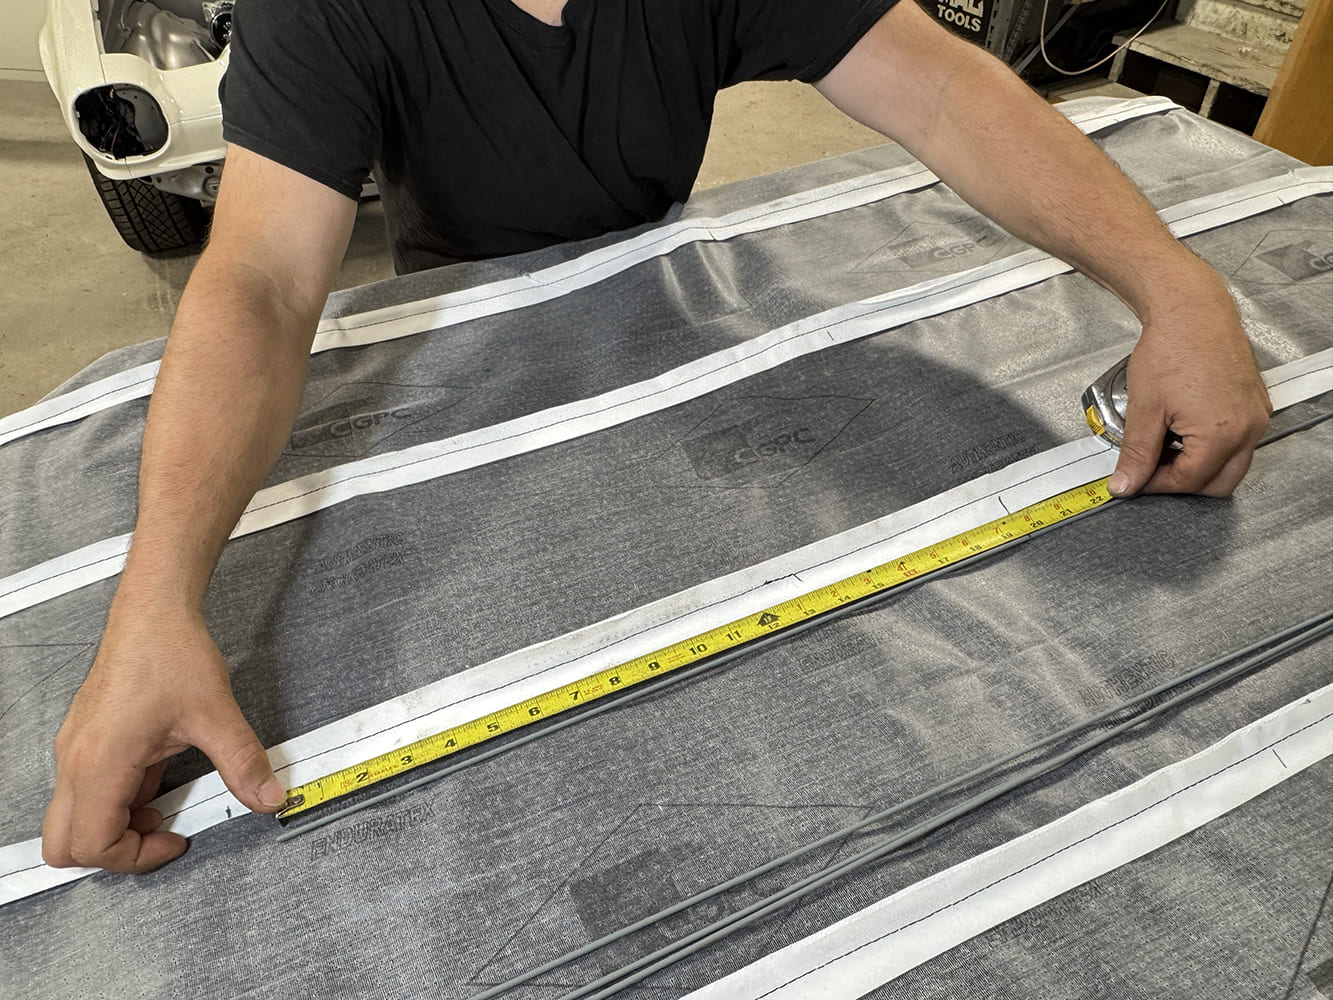
The Premier Perforated Vinyl headliner from PUI, sourced from Classic Industries (PN F8321501), was laid out on a flat padded surface to relax any wrinkles to the material from shipping. O’Brien then measured to locate the center of each headliner bow pocket from the outer edges of each inboard and set a mark using a Sharpie.
We recently stopped by Procision Industries in Taunton, Massachusetts, where shop owner Pat O’Brien was ready to move forward by designing the interior and taking on this very subject. With the body restored to its original factory Code 11 Antique White complemented by a black vinyl roof, it opened the door to many different color combinations. After making the decision on the carpet and headliner, he contacted Classic Industries to check into their extensive interior restoration offerings. For the headliner, a PUI reproduction Premier perforated vinyl material in black featuring their exclusive pre-sewn headliner body along with enough extra material to recover sunvisors, if needed, was selected. To complete the installation, he chose their reproduction headliner bows along with 20-piece headliner clip set, matching sunvisors with mounting brackets, interior headliner molding kit, dome lamp kit, headliner installation tool, and HH-66 Vinyl Cement. It’s imperative when taking on a headliner installation that you take your time in following all the steps highlighted.
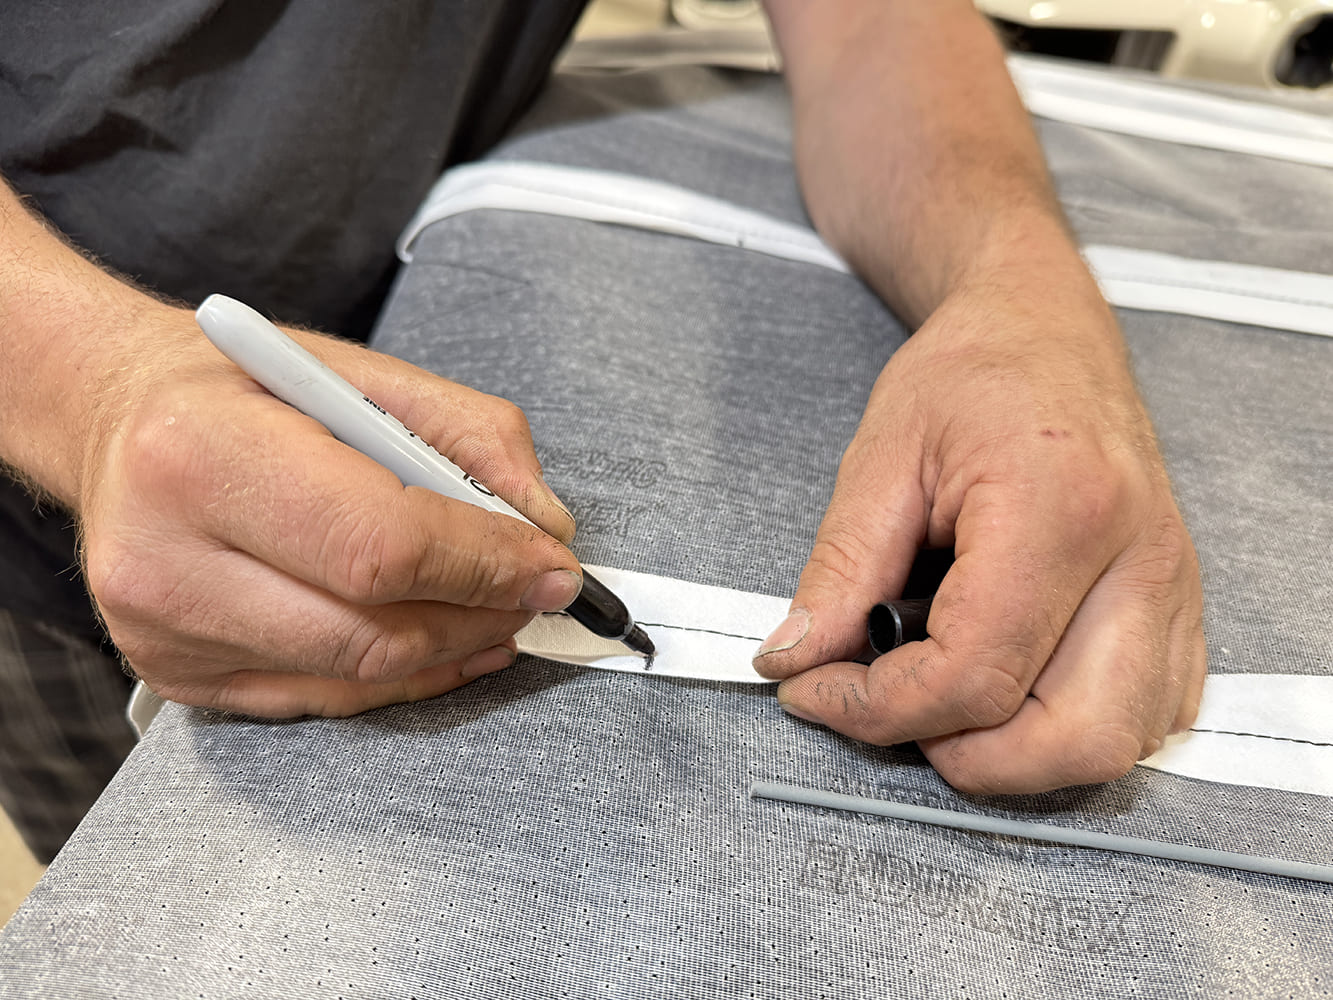
With the center of each headliner bow marked, match to the outside center of each bow pocket and mark 1-inch outward of the bow width on each end.
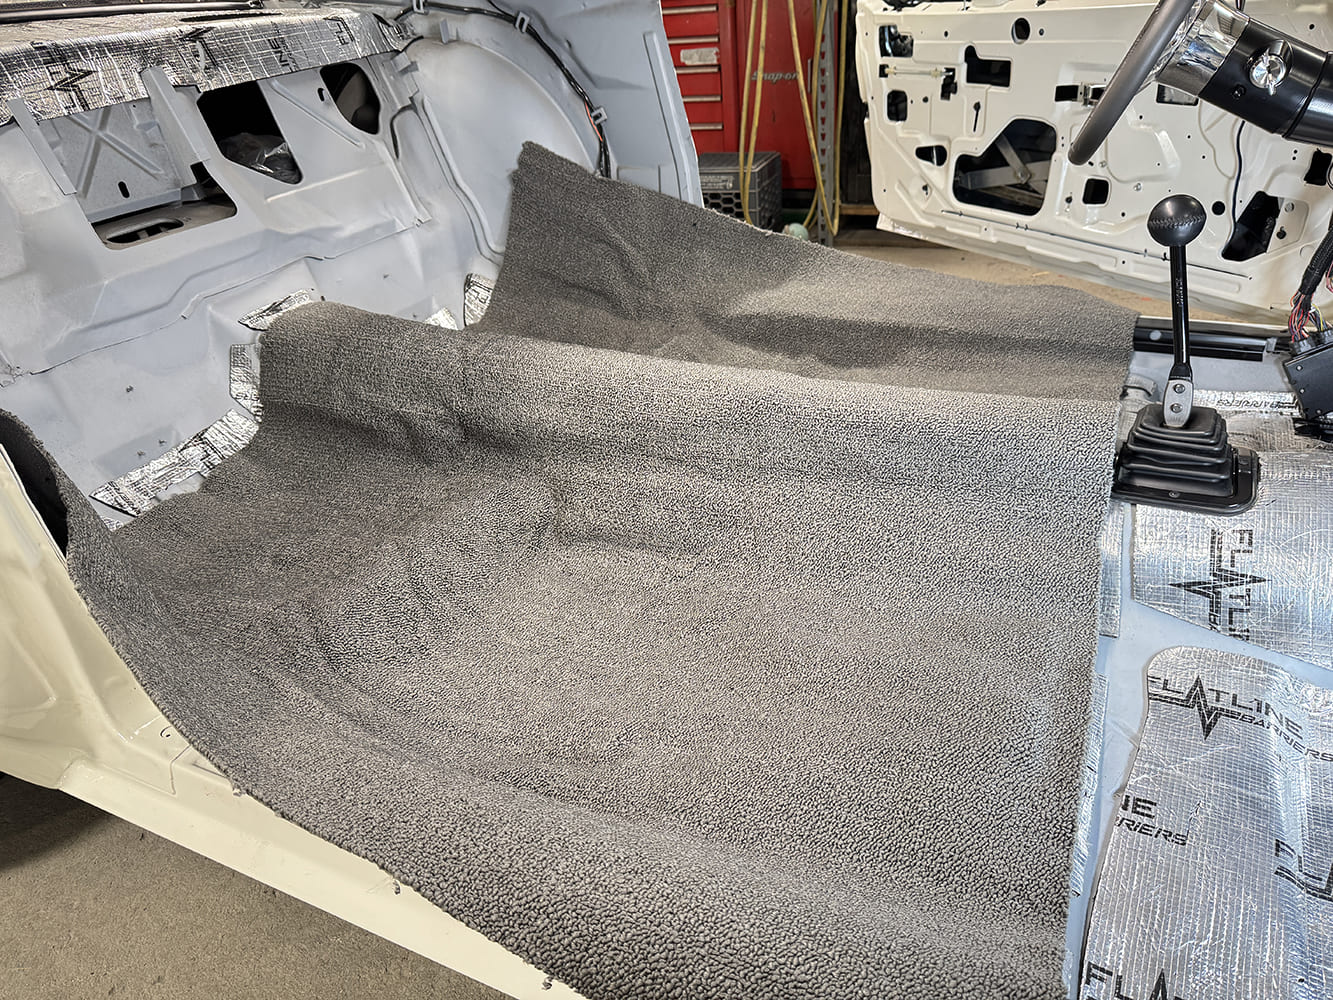
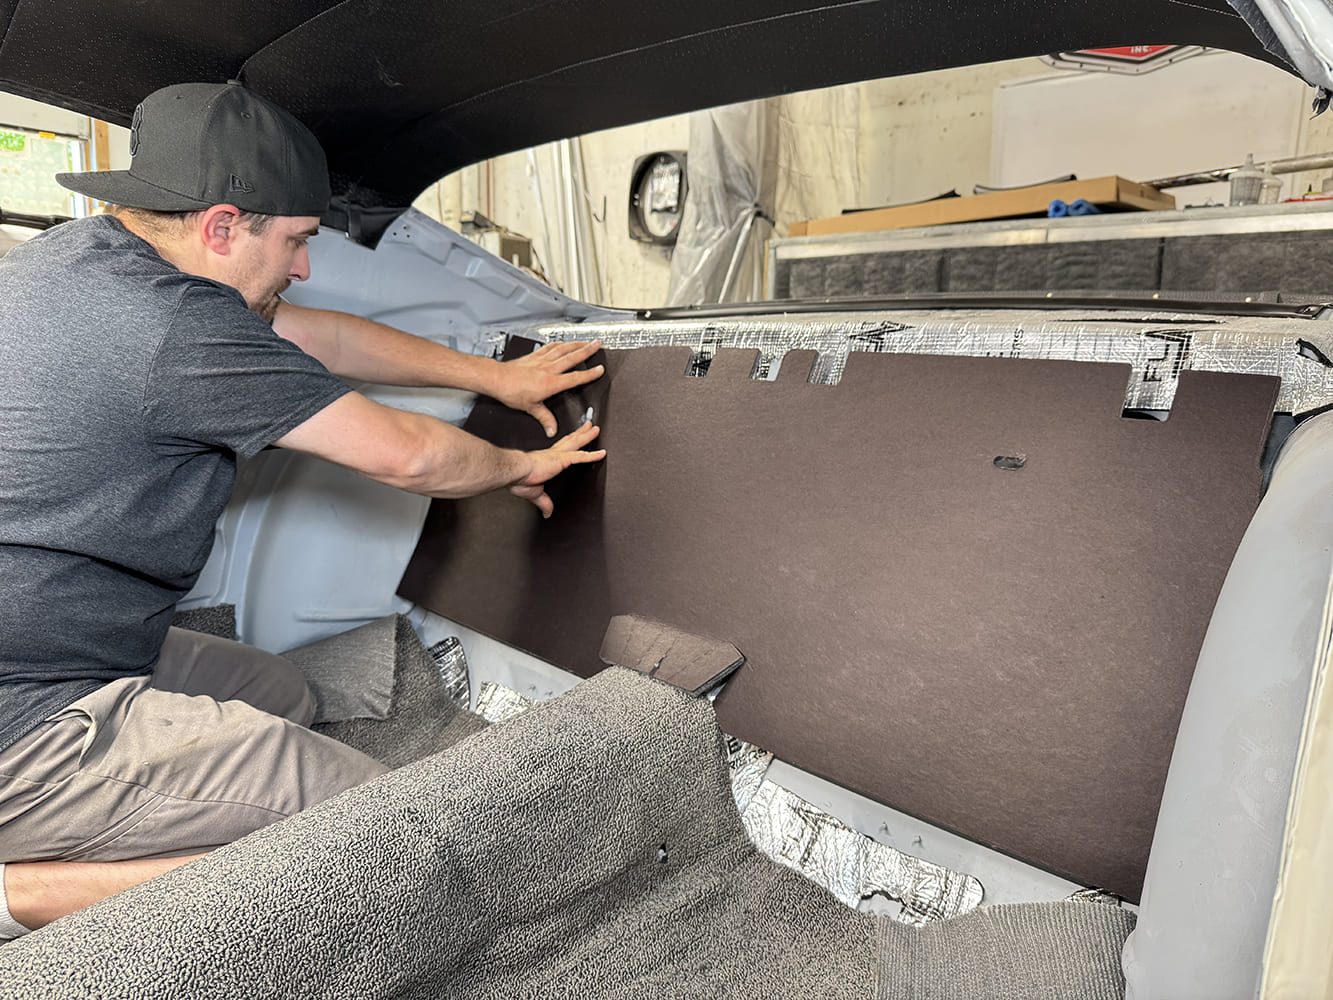
Wanting to give the interior a lift, away from your standard black carpeting, an OER, two-piece, pre-molded carpet set in gunmetal gray was chosen, along with a pair of stamped steel sill plate wiring harness carpet guards, stamped aluminum doorsill plates, reproduction rear seat trunk partition divider with jute padding, and rear seat shelf package tray.
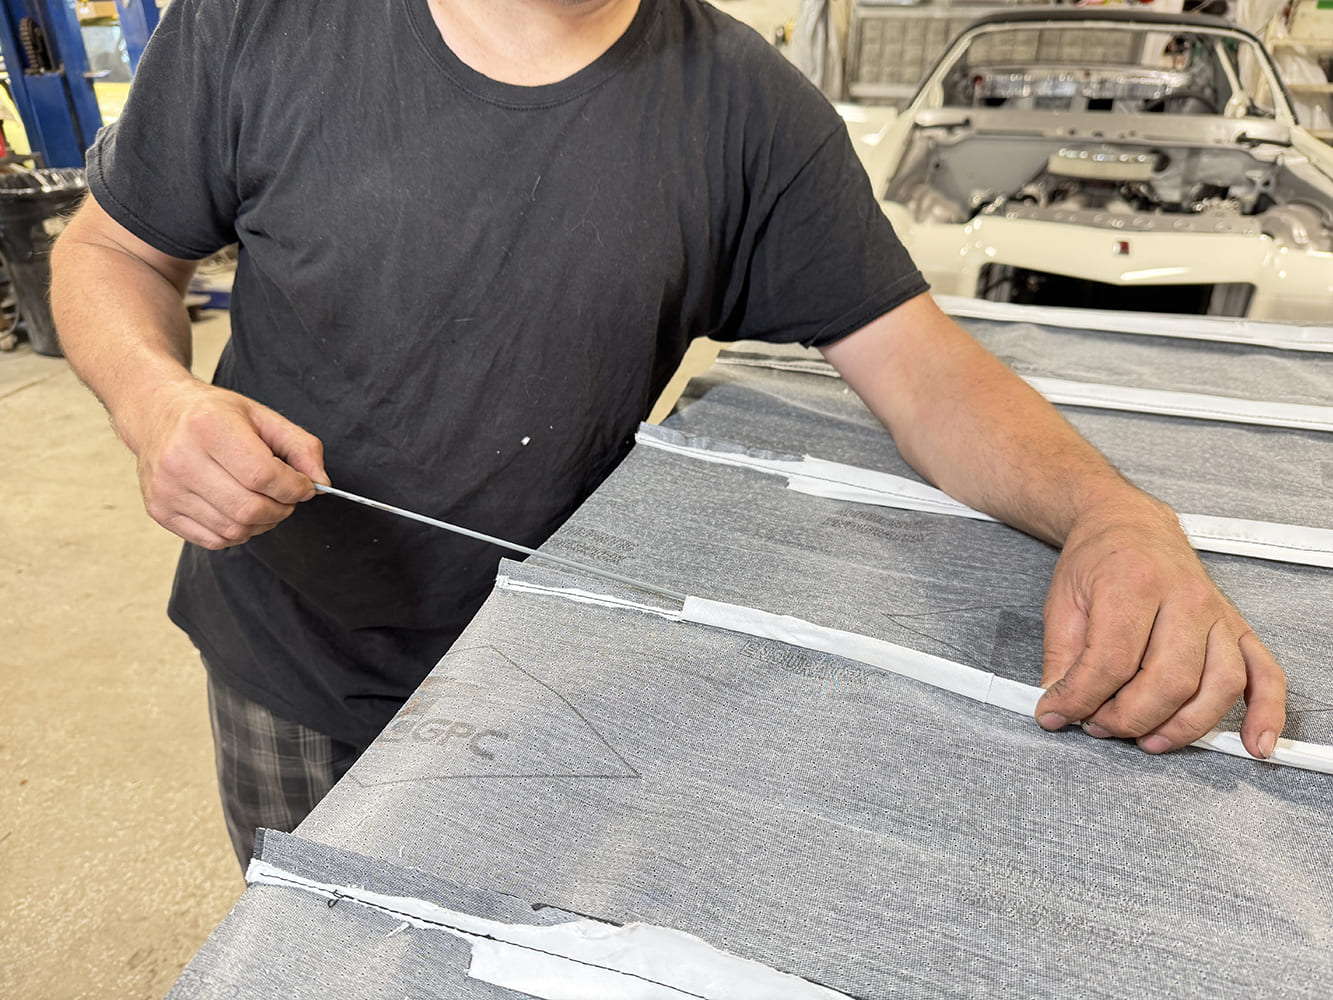
Trim the excess from the end of each bow pocket. Note that the headliner is wider toward the rear of the material.
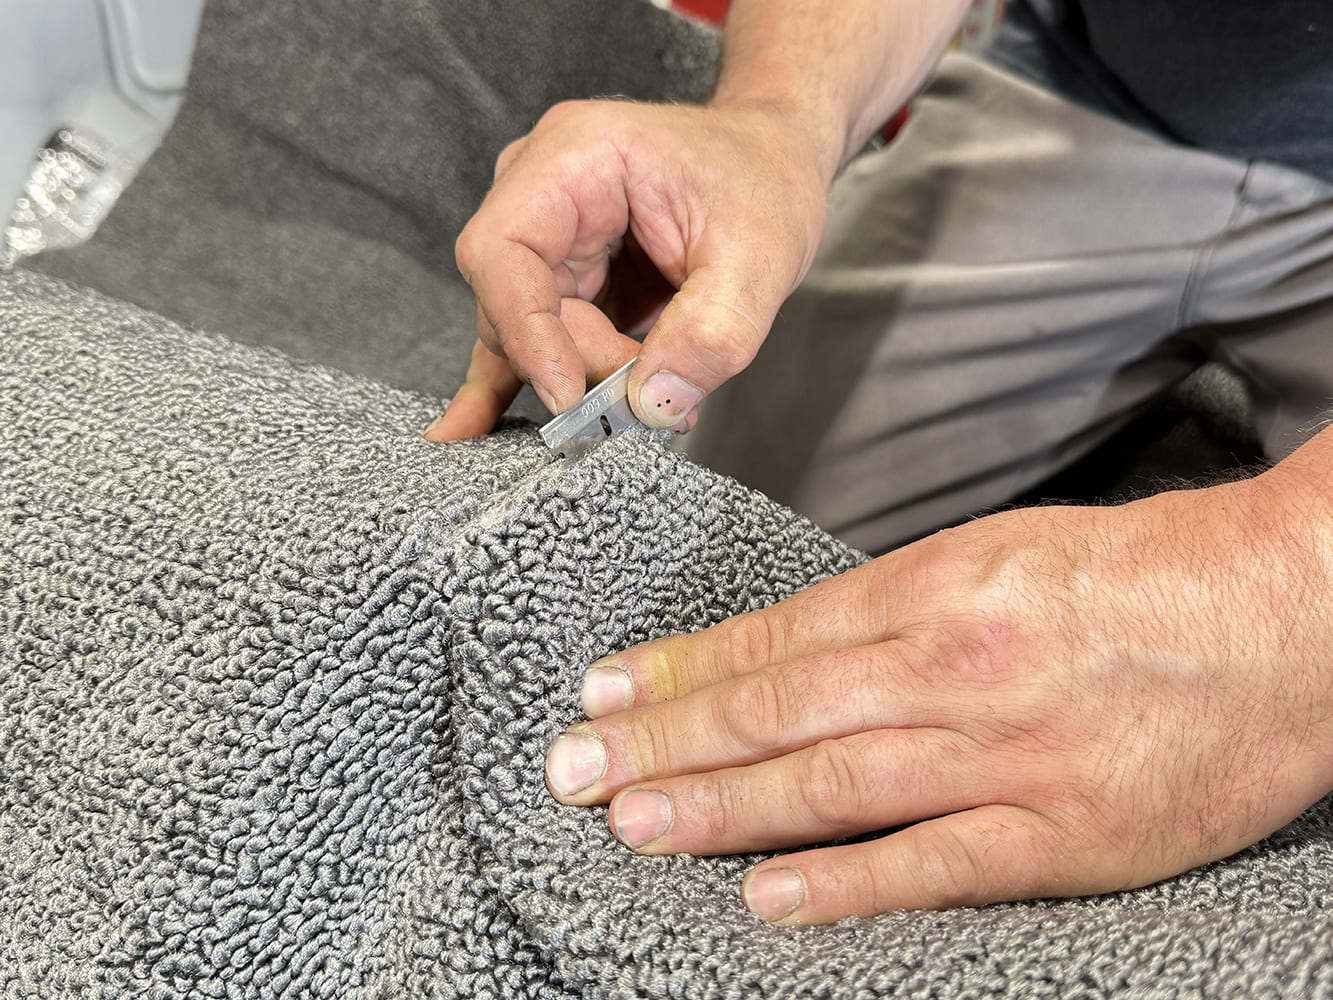
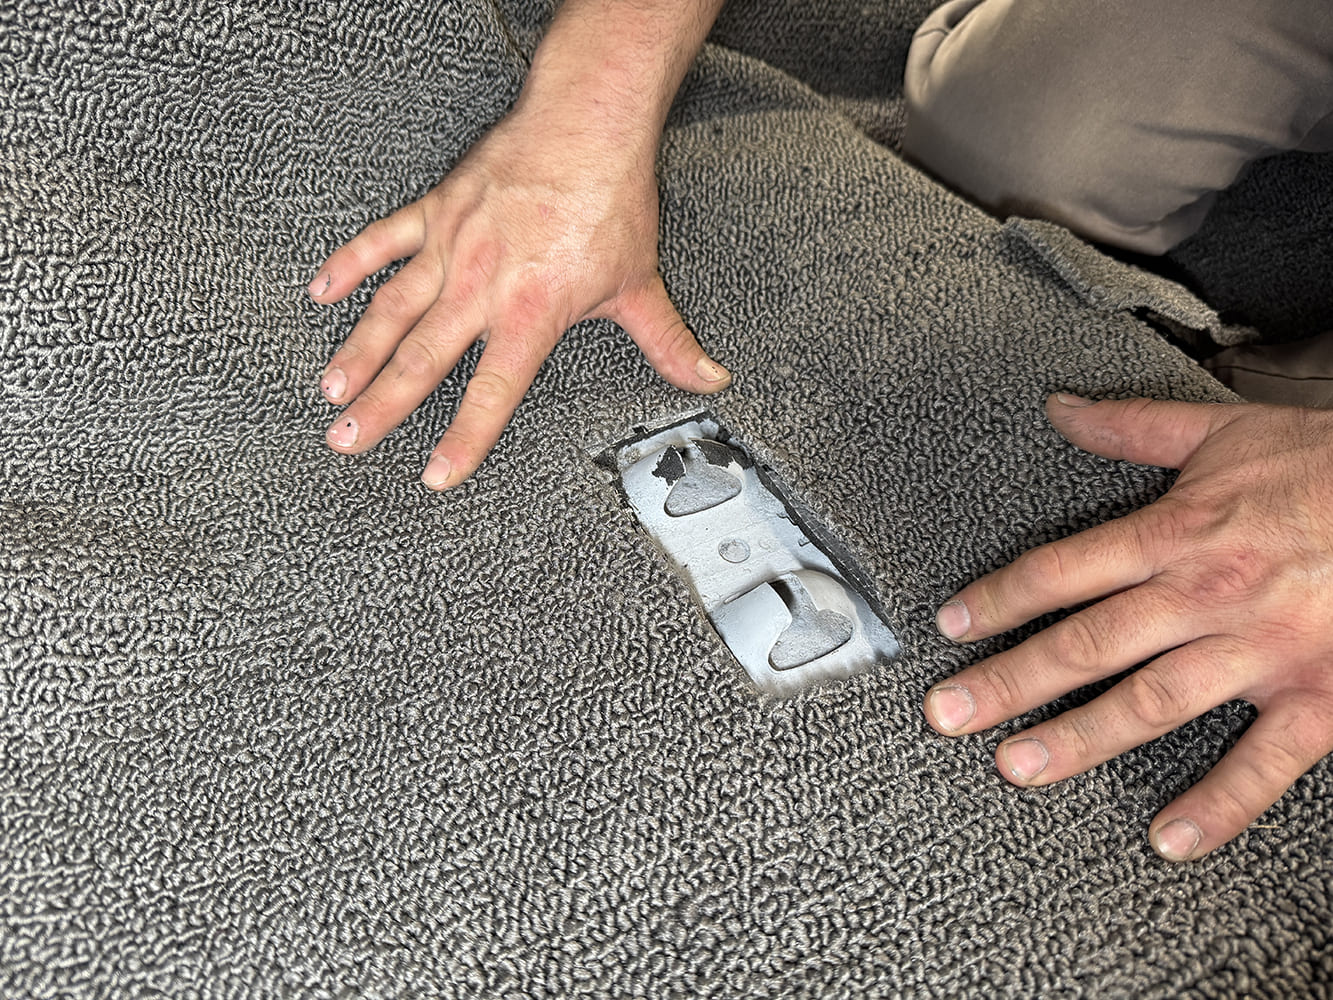
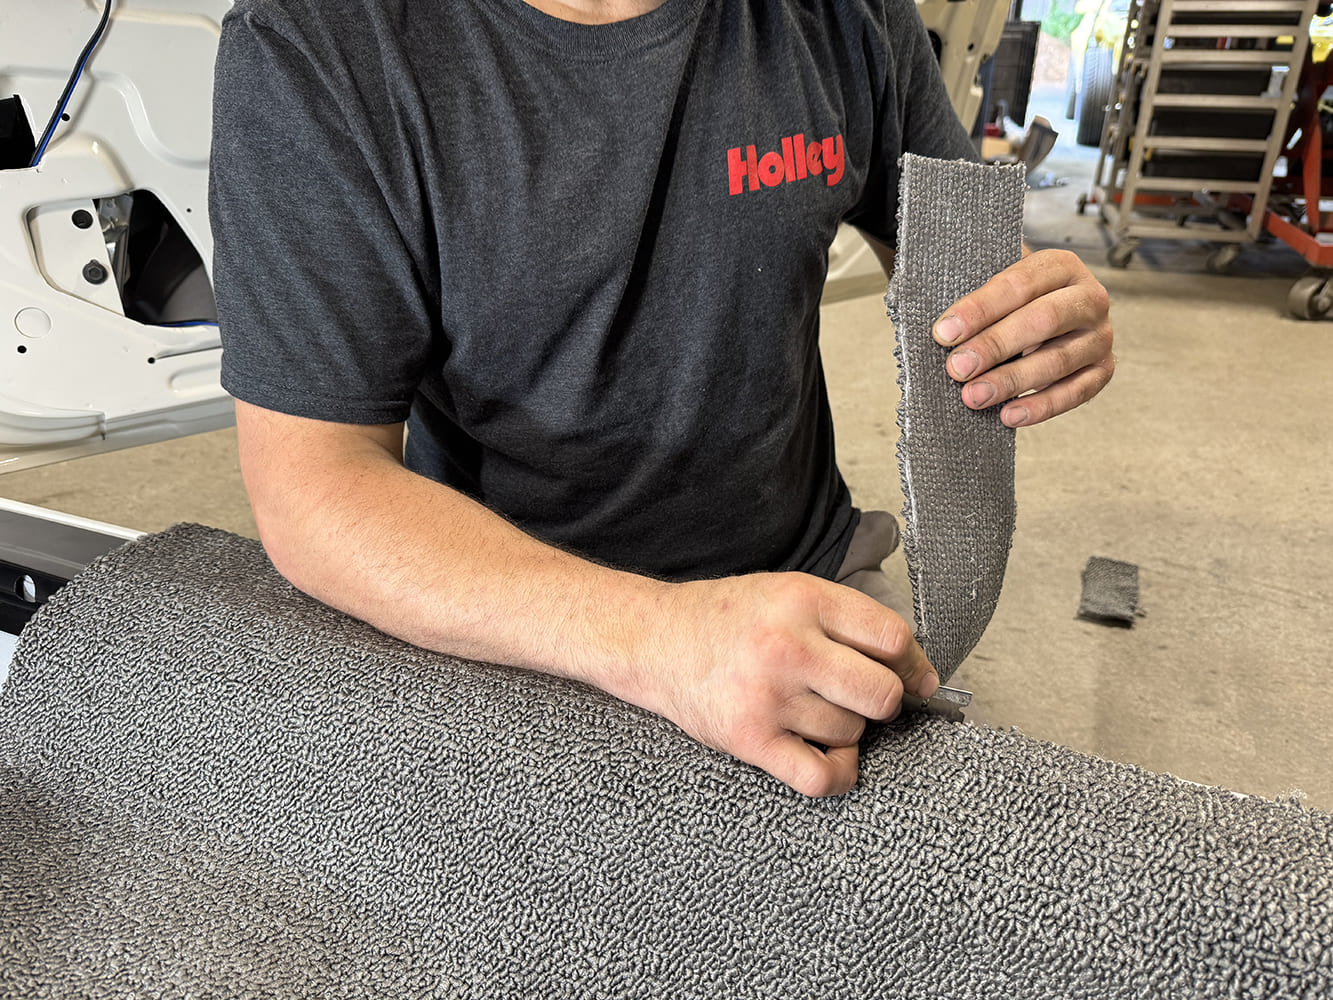
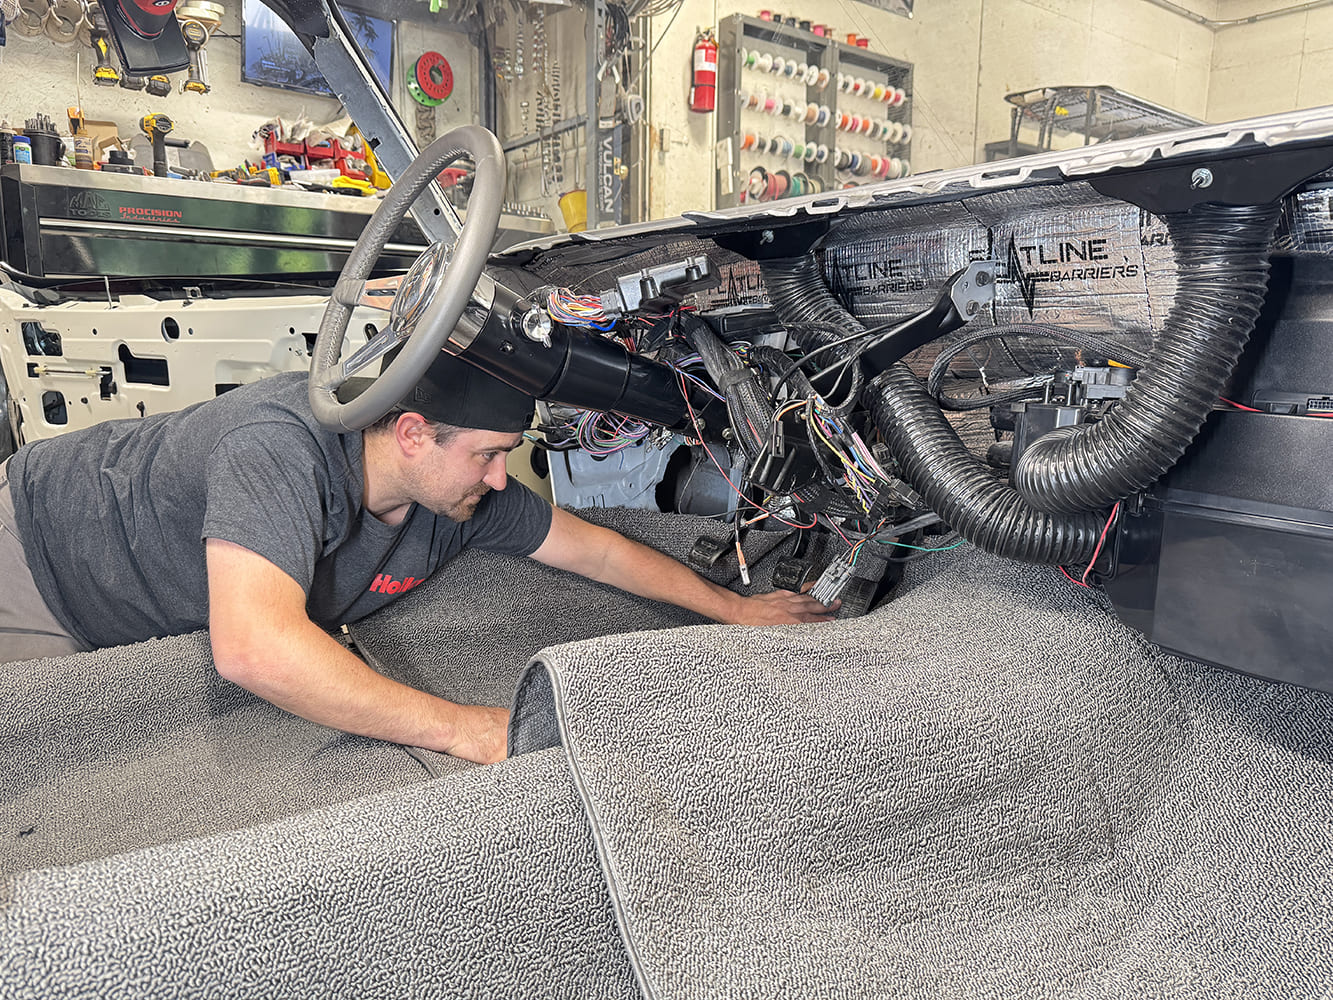
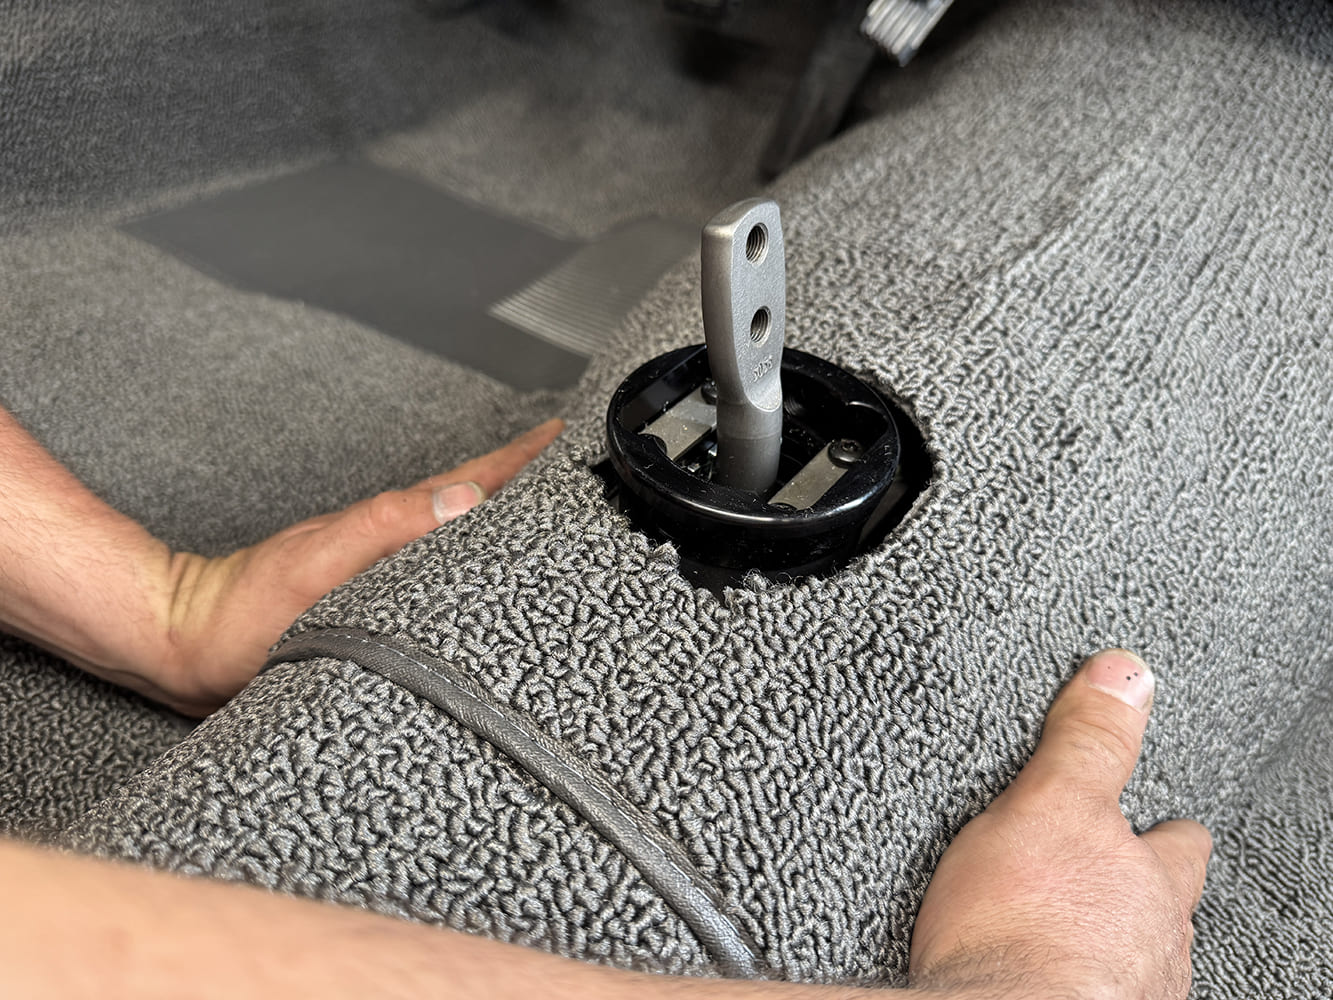
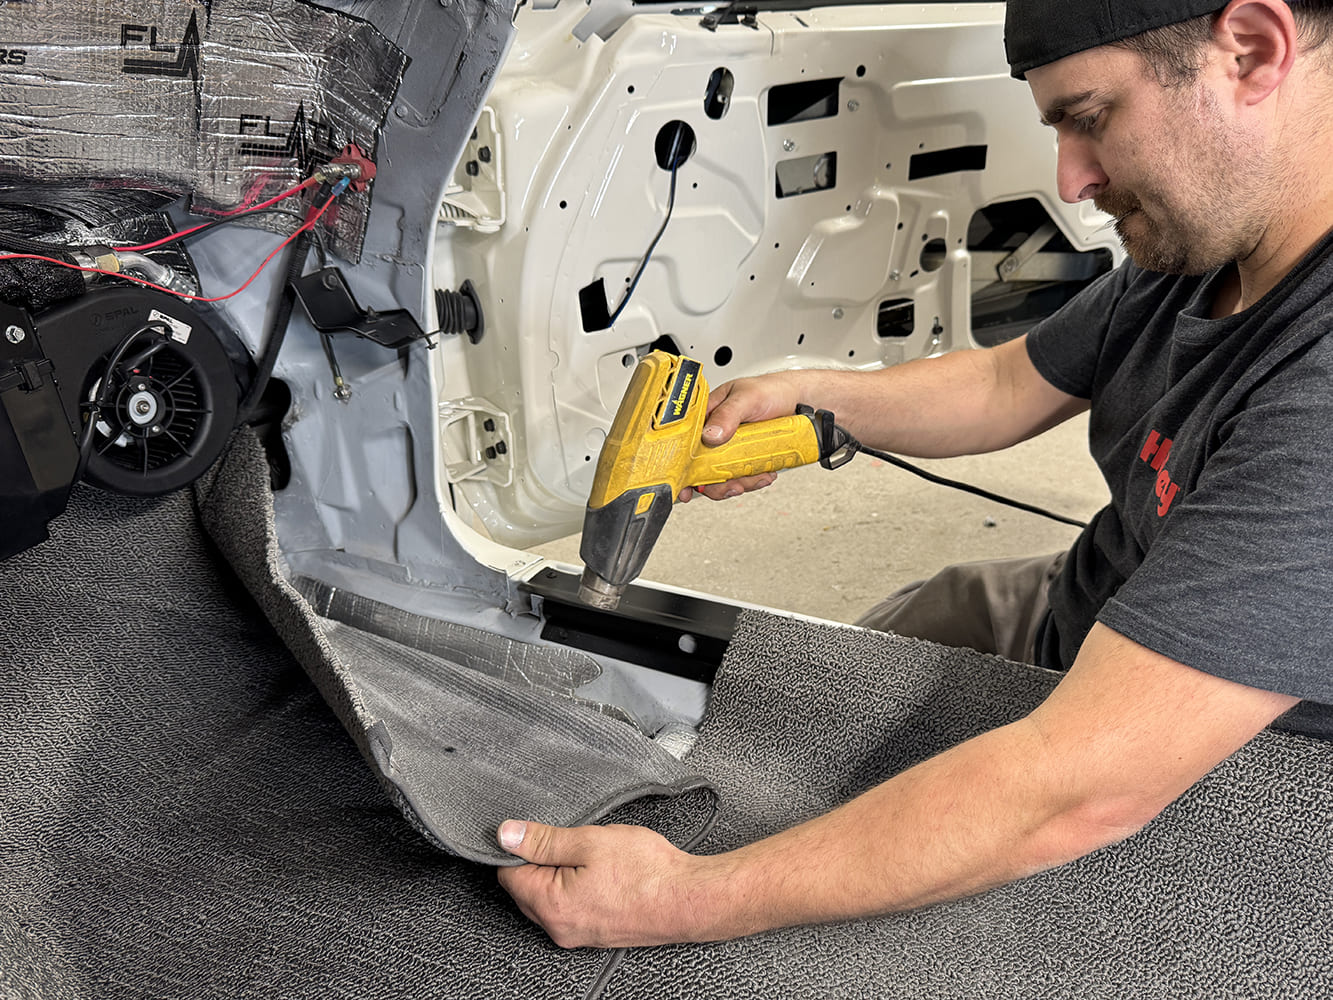
As with the headliner, it’s important to take your time through these steps, especially when fitting the carpet sections. This will include cutting access holes for the center console mounts, rear seatbelt mounting holes, rear seat mounting brackets, and floor shift. If a particular area of the carpet needs additional finessing, a heat gun can be carefully used to help shape it back to the needed contour.
Follow by sliding each of the reproduction headliner bows from Classic Industries (PN GM351) into each of the bow pockets.
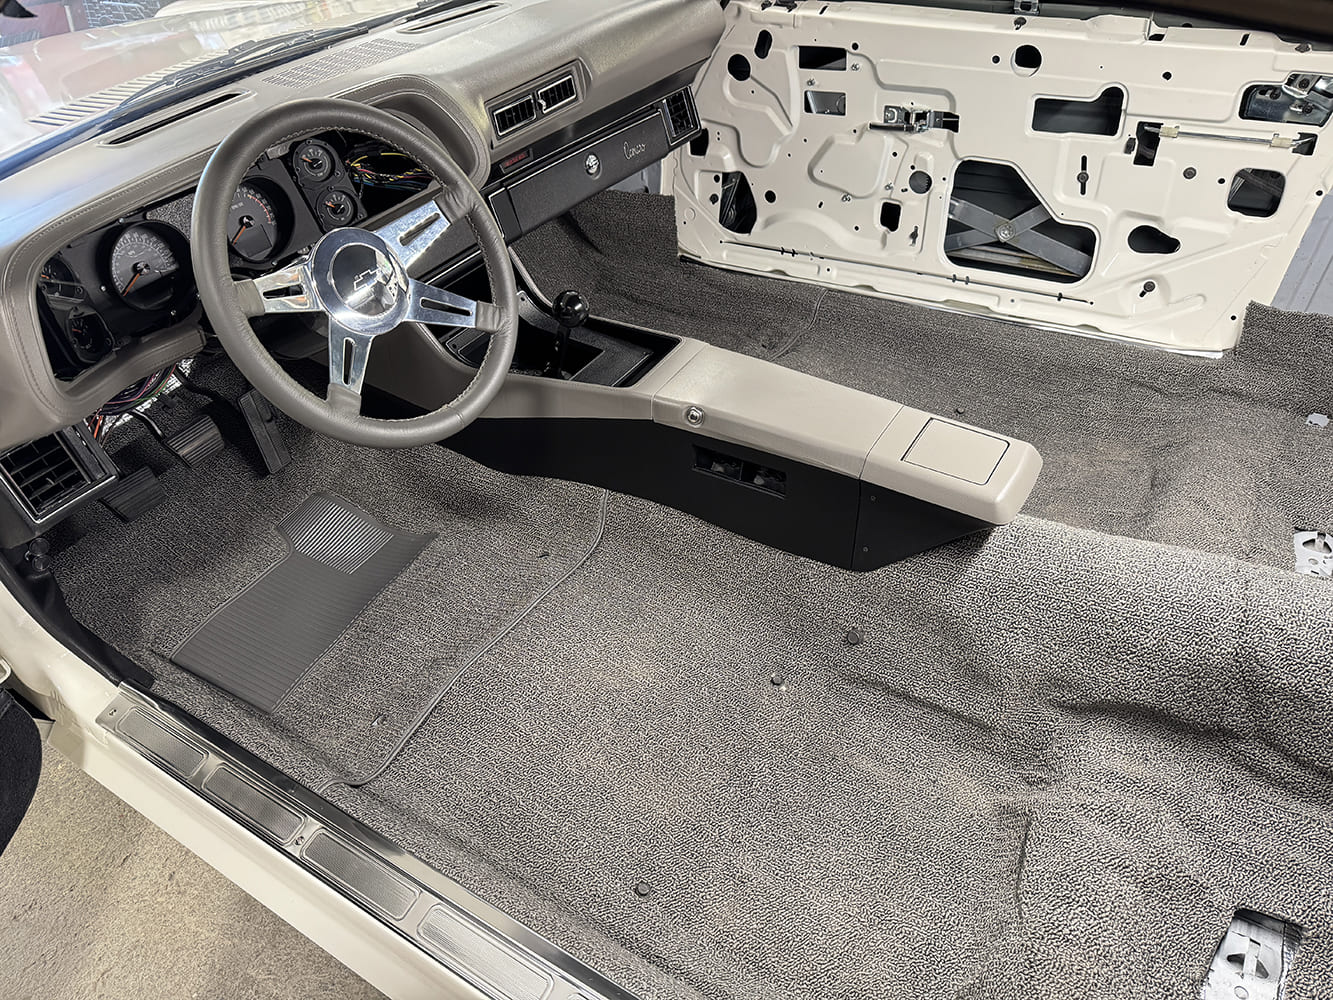
The completed installation is flawless, getting us closer to home plate with plenty of adrenalin moving as we venture into seating next time. Let’s follow along as we get a start on the interior!
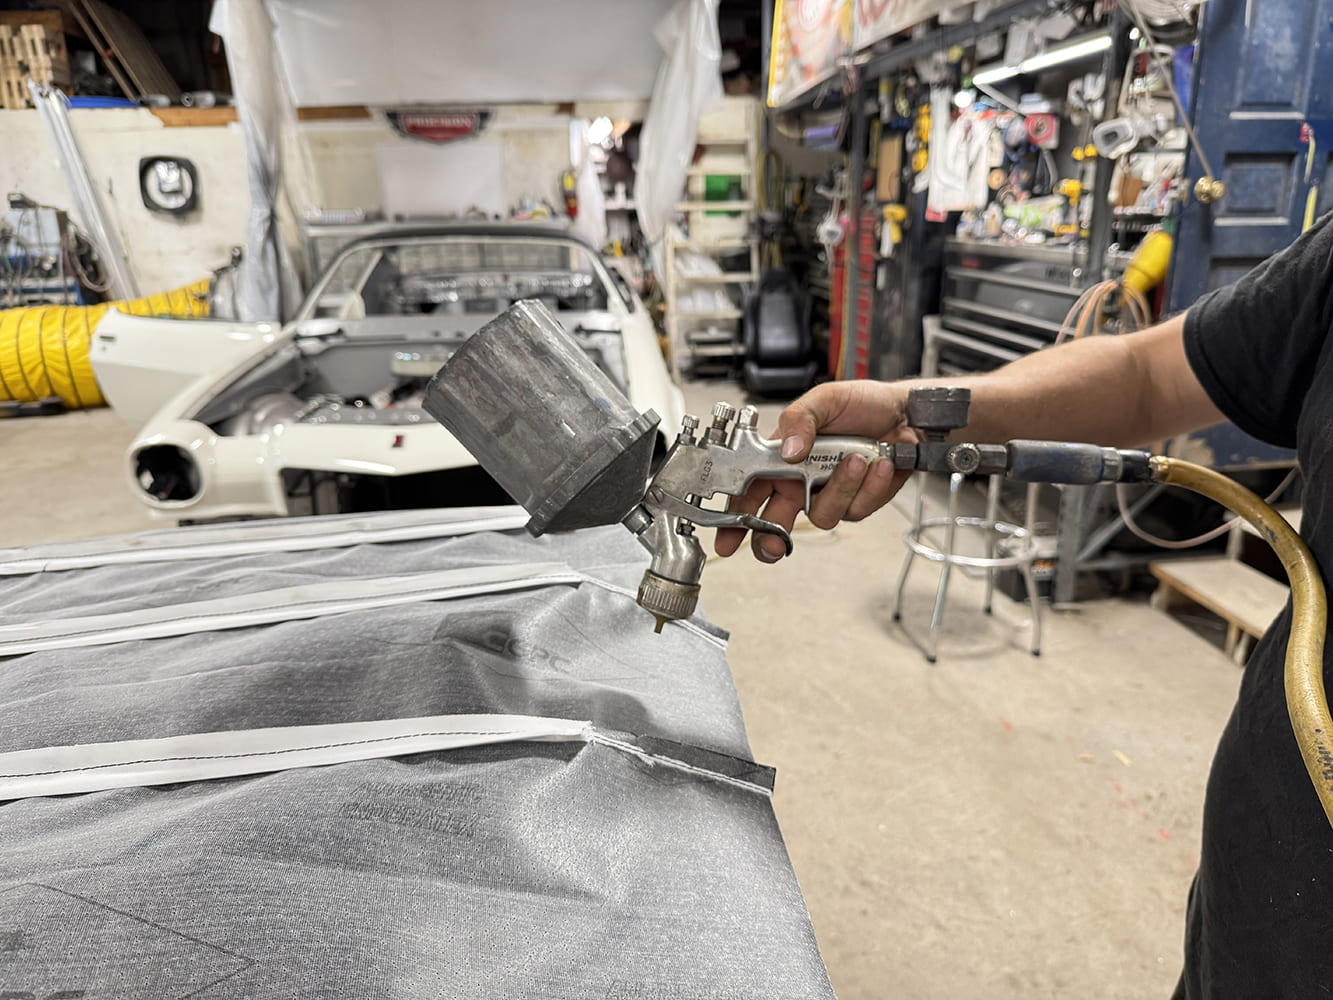
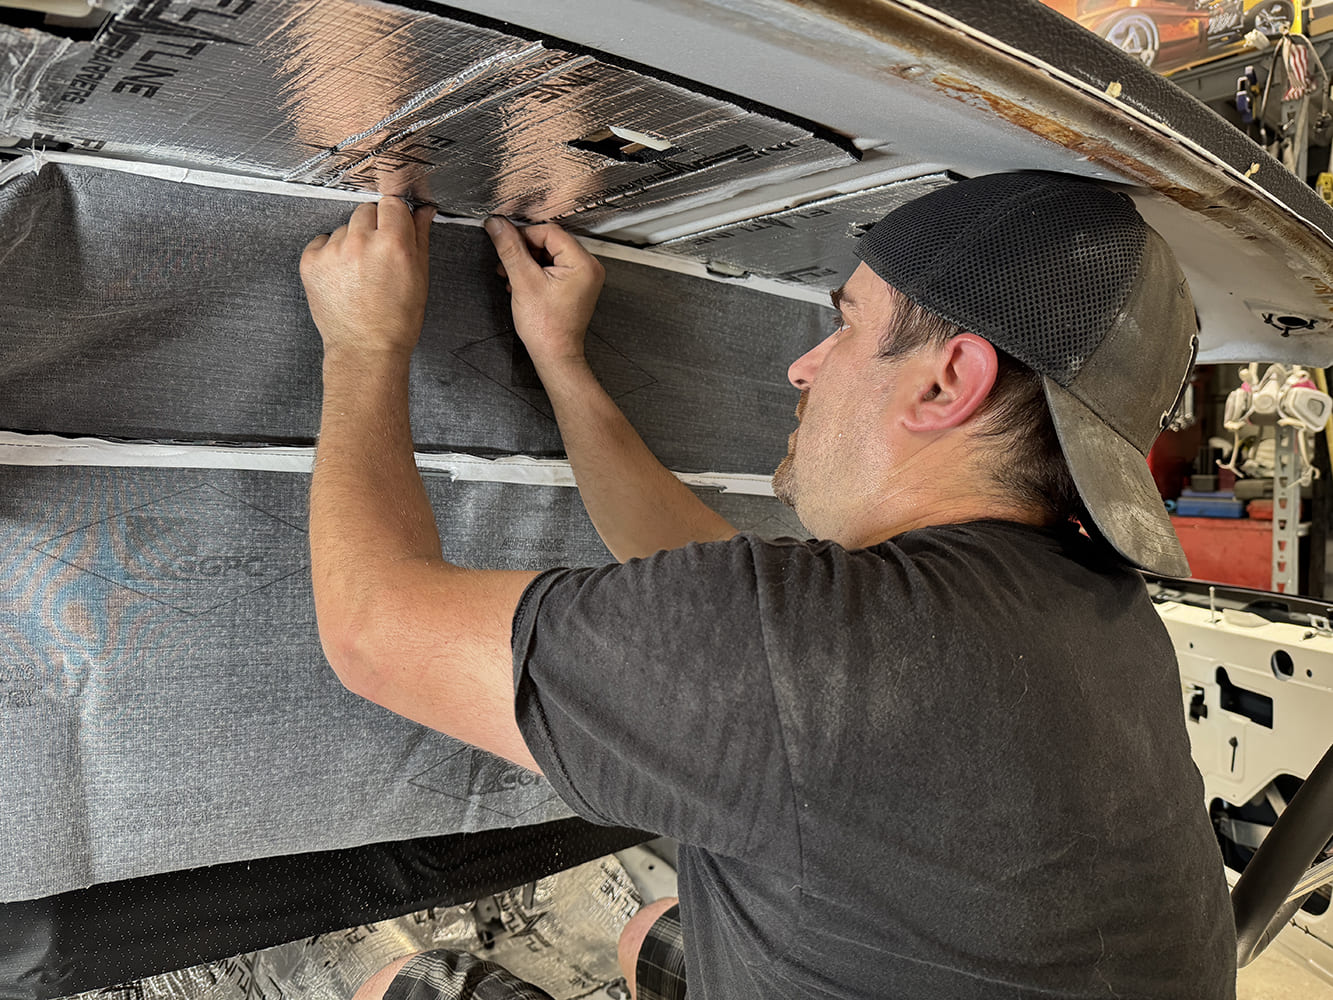
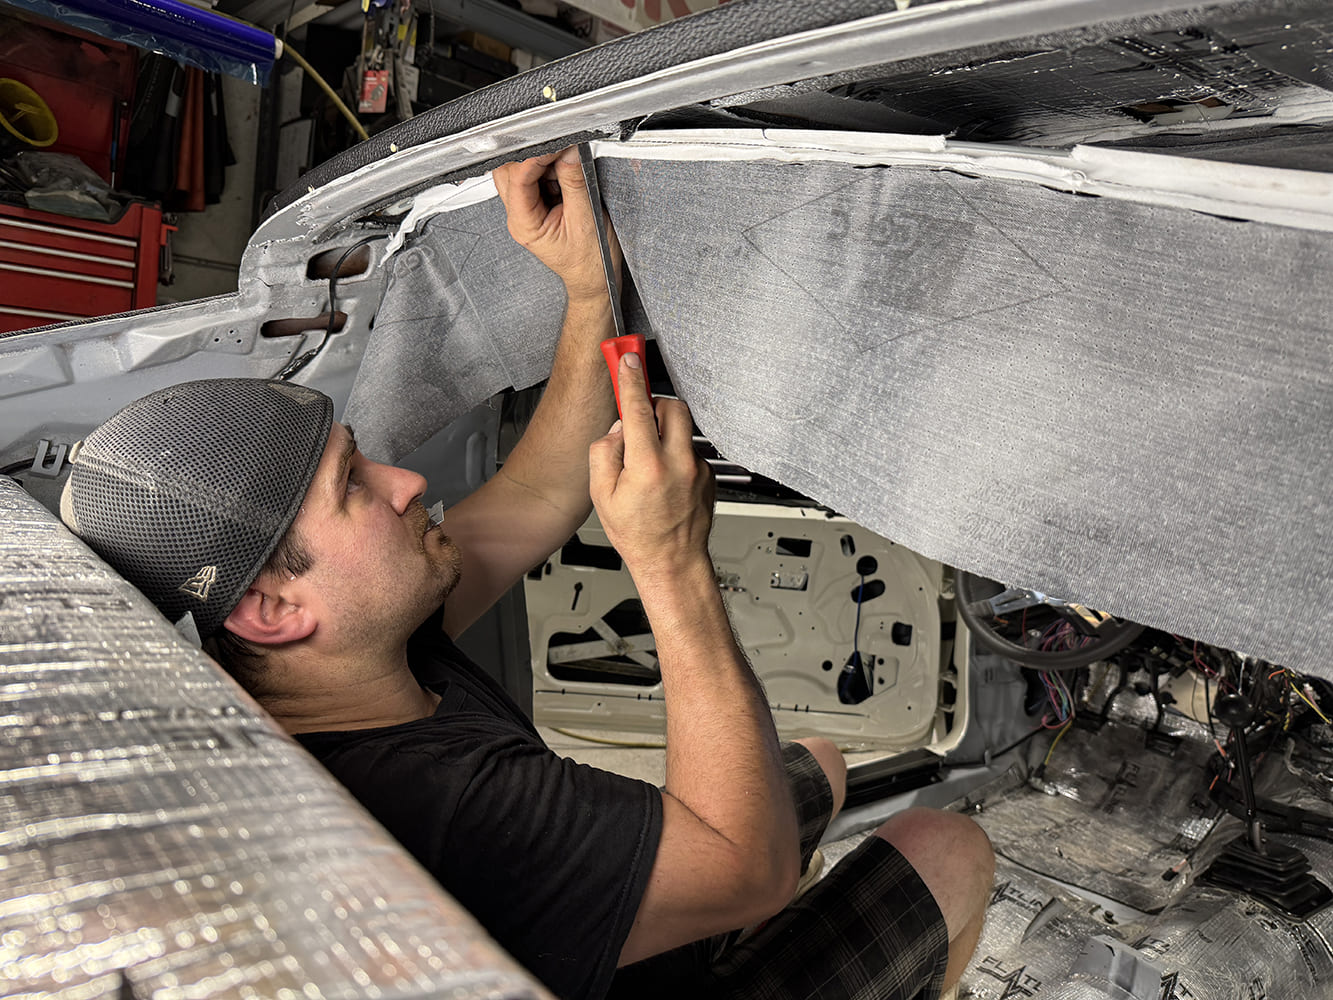
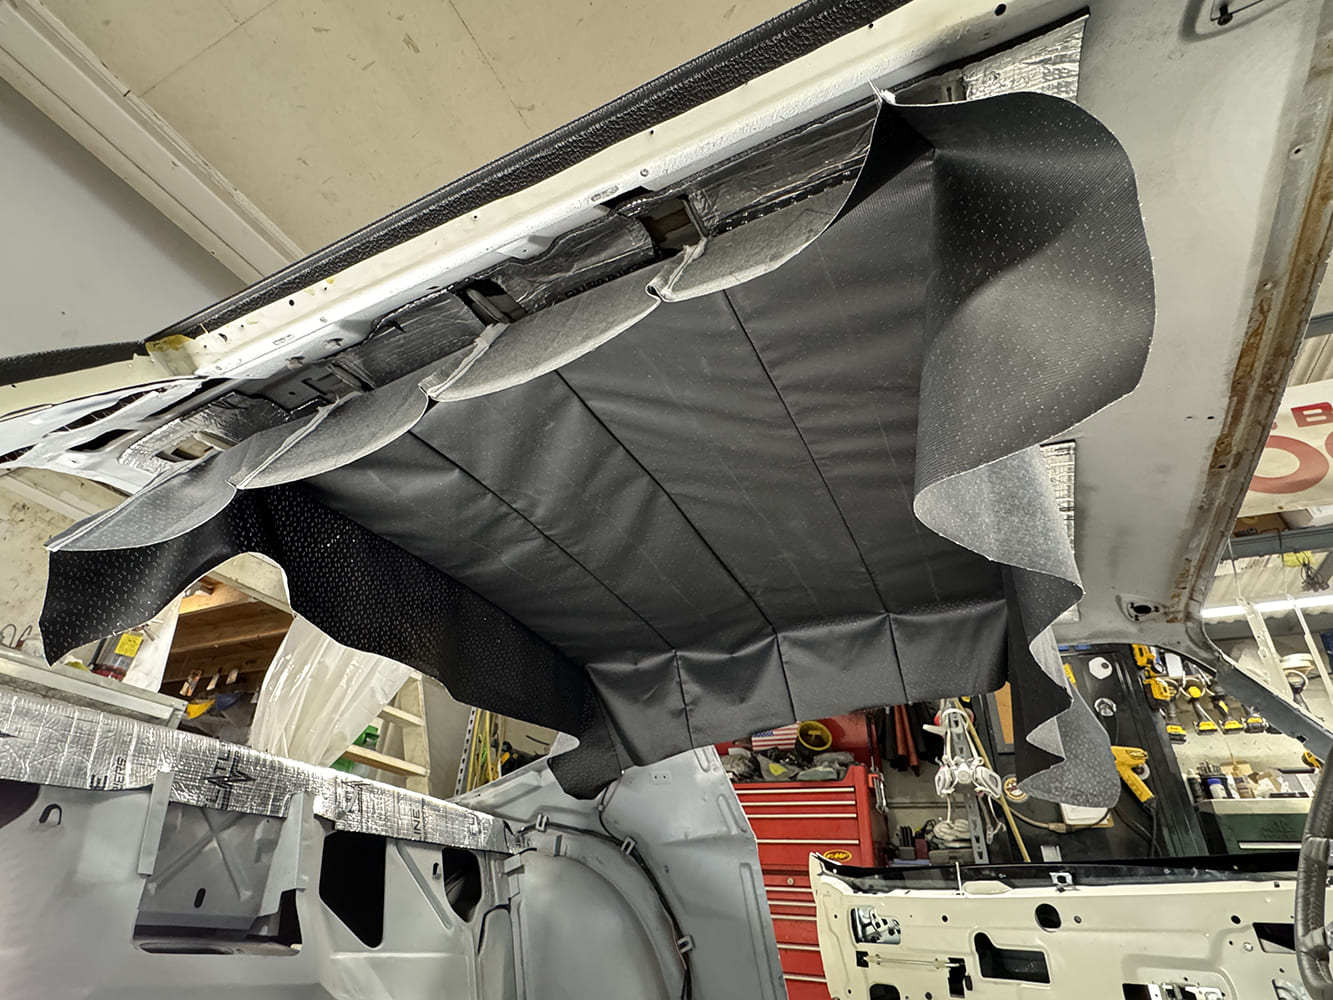
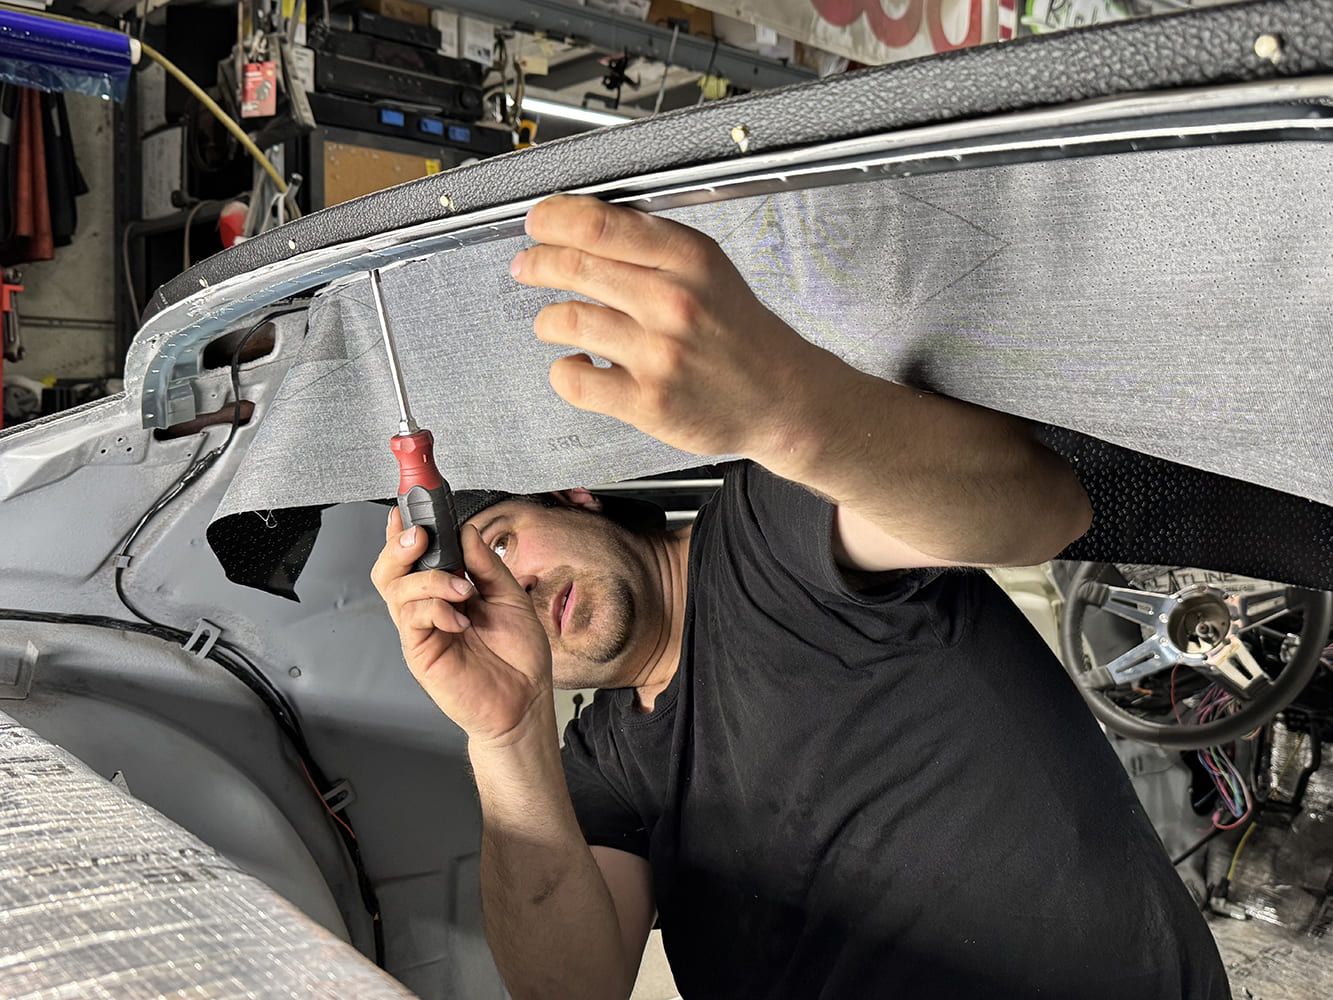
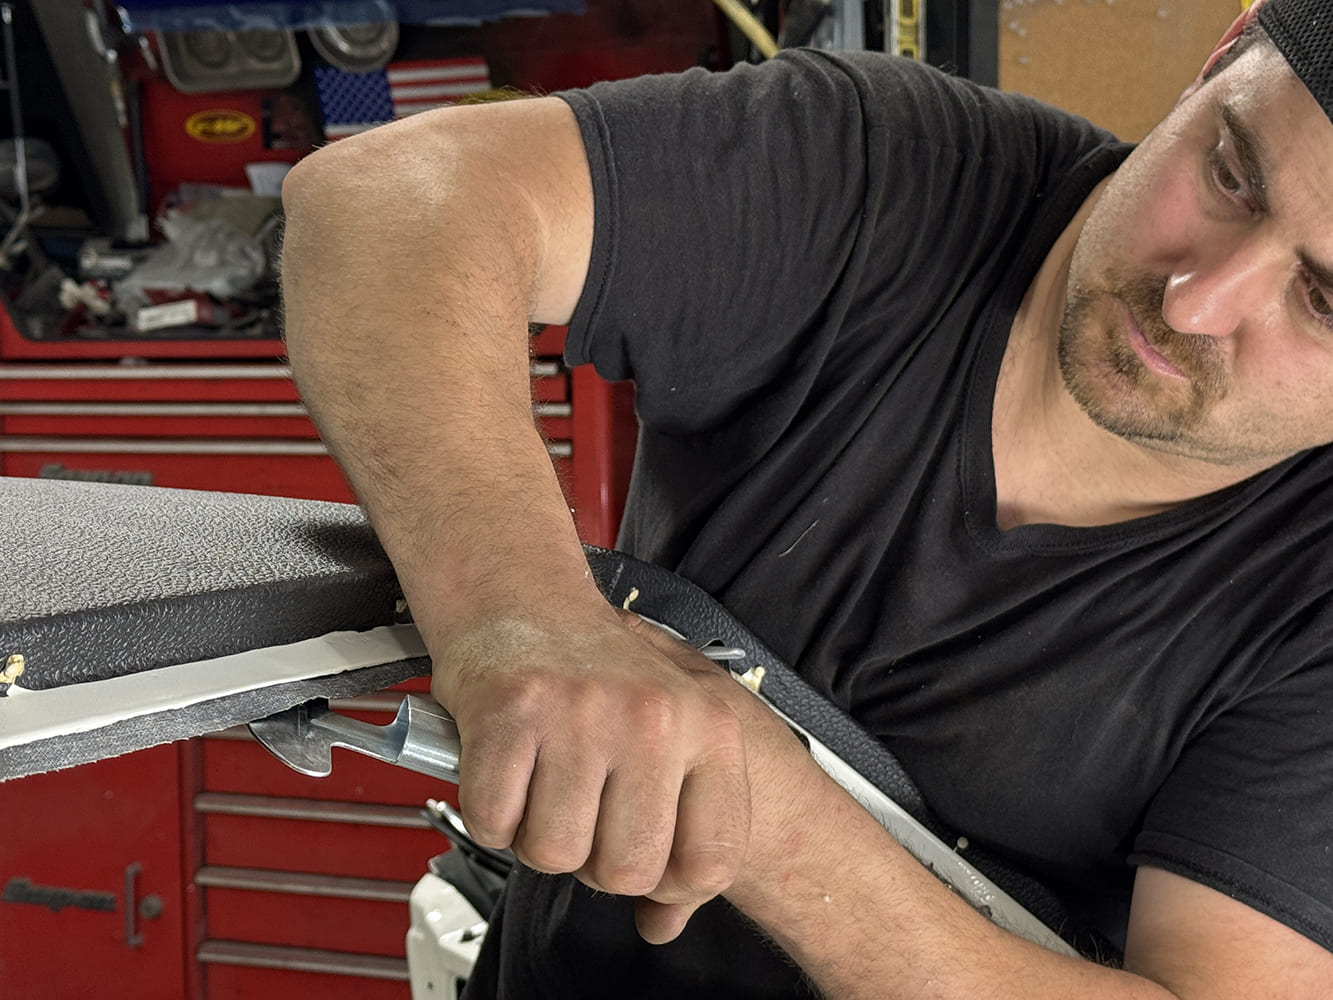
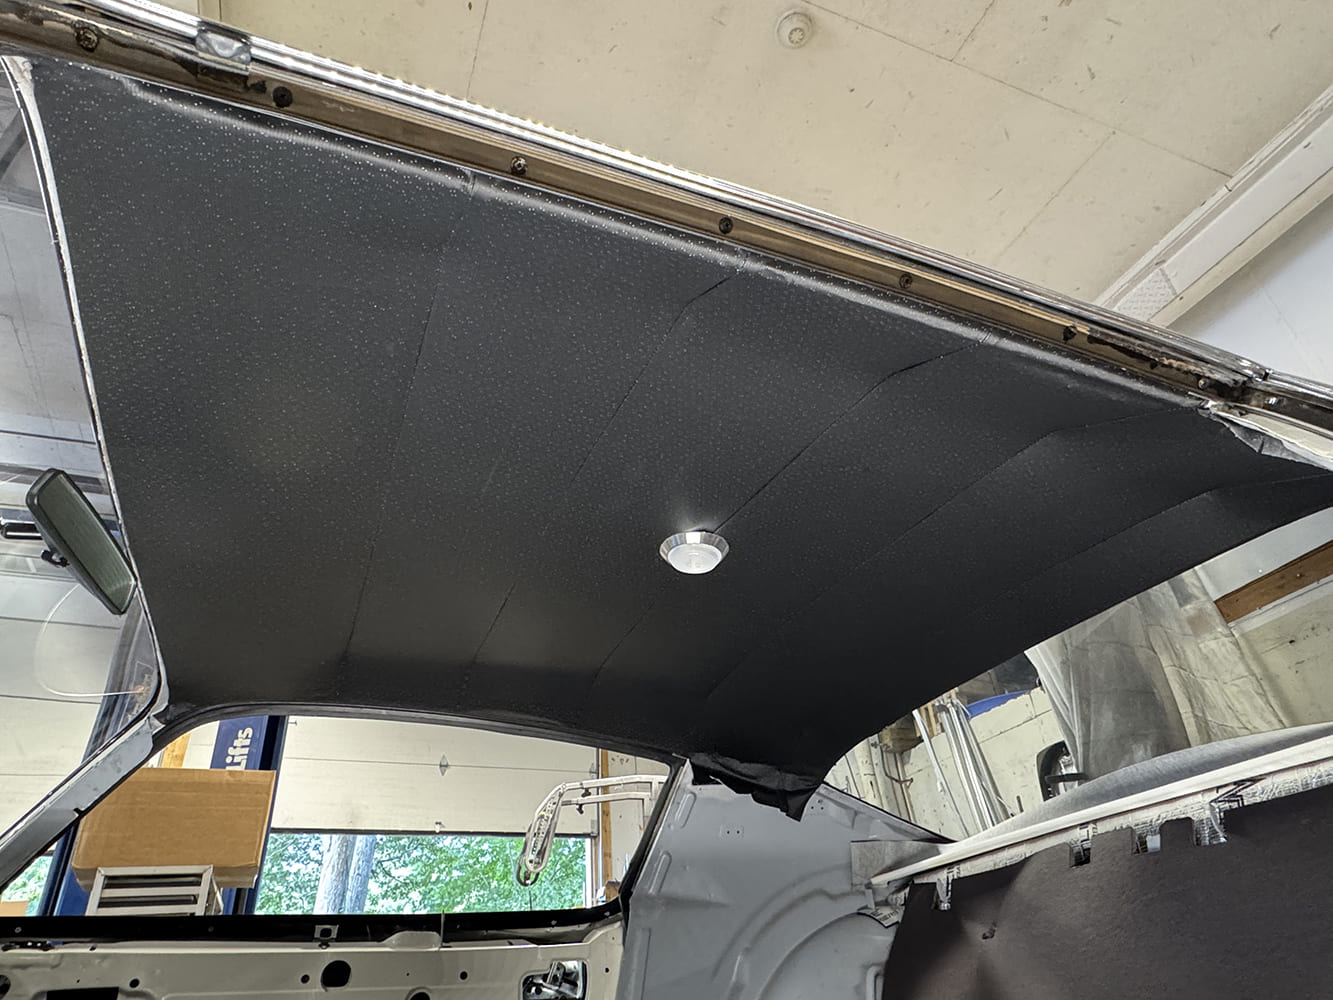
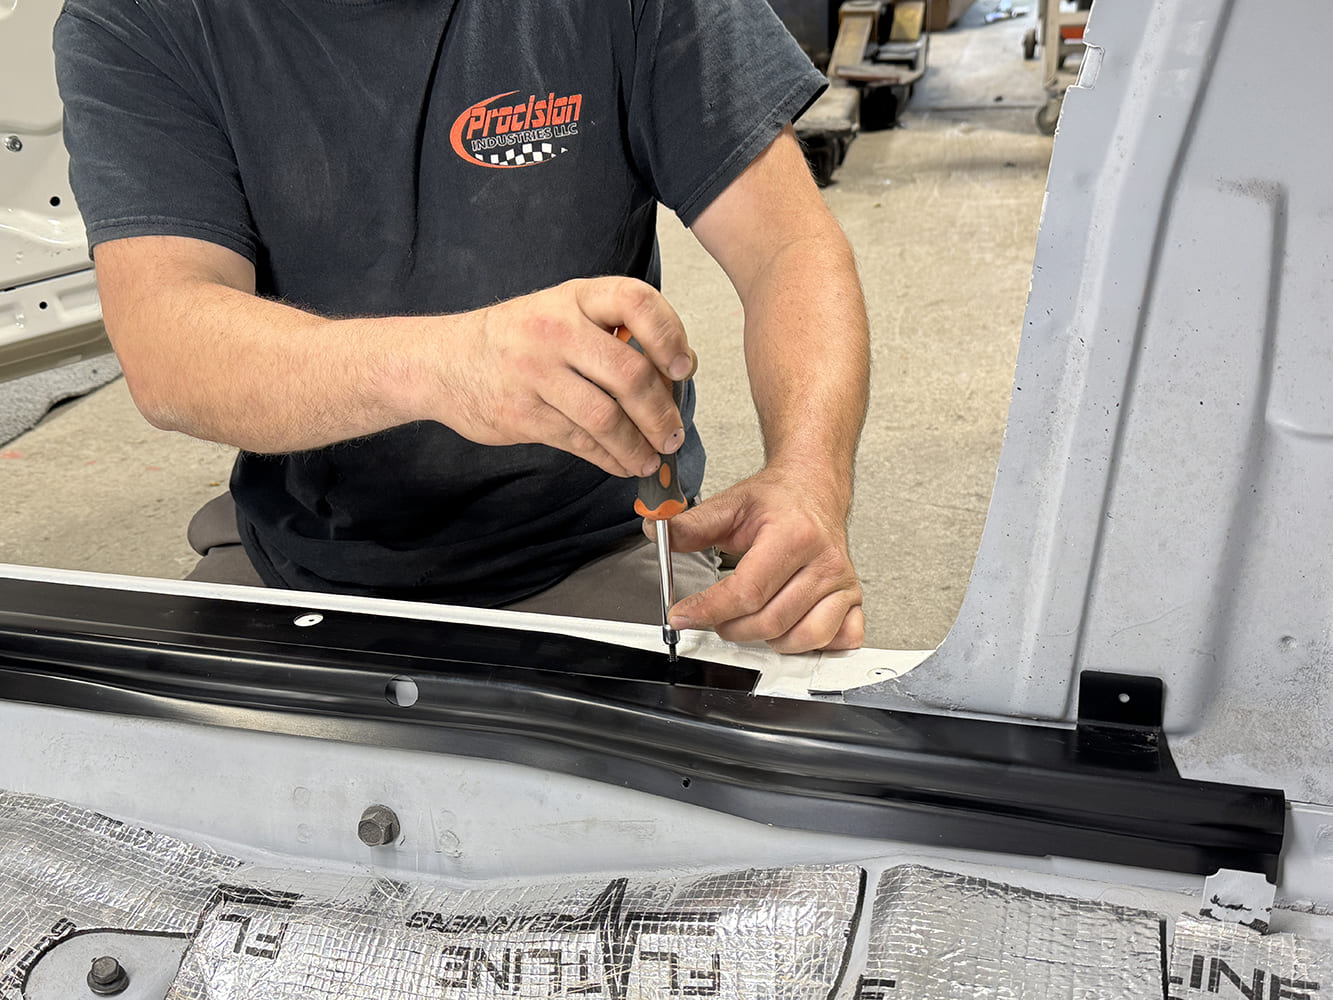
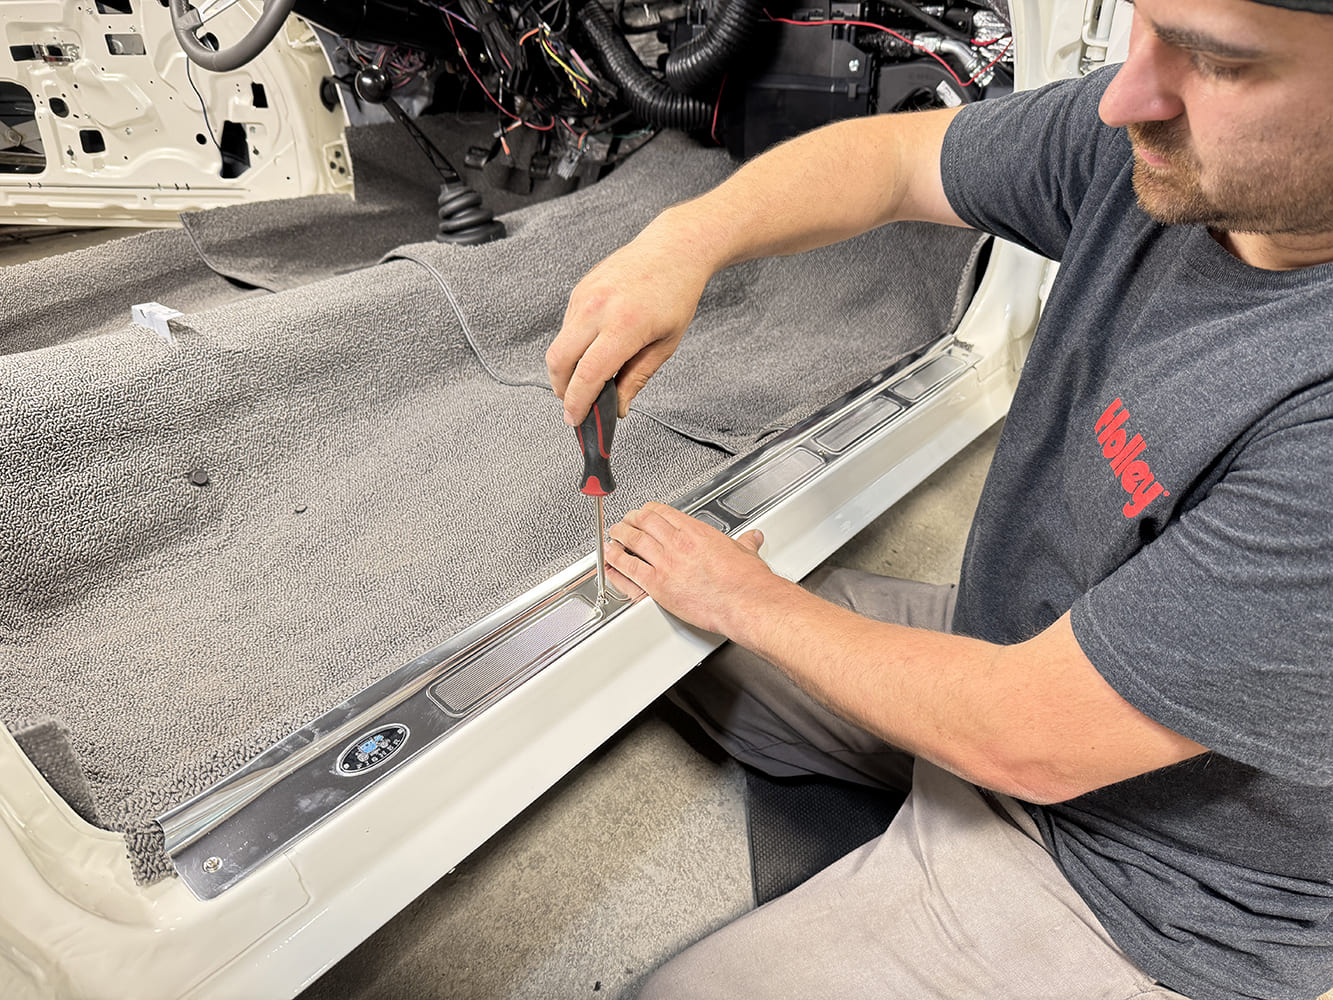
To prepare for installation, the outer perimeter of the inner headliner material was given a spray coating of HH-66 Vinyl Cement. It was also sprayed on the inner front and rear headliner retainer strips as well as the sail panel areas.Starting at the front, begin the installation of the headliner by carefully snapping the headliner bow into each individual bow clip, moving from center outward on each.For ease of installation, O’Brien trimmed the bow pocket material from each row while proceeding using a standard screwdriver to help snap each bow into the clips.Here you can see the base of the headliner installation completed now that the bows have all been snapped into place.O’Brien then set the front headliner retaining strip (PN C95250) in place. Note there is a coating of previously applied HH-66 Vinyl Cement on the inner surface both front and rear.Out back, follow by installing the rear reproduction stamped steel headliner retaining strip.The excess headliner material was carefully trimmed on both the driver and passenger side.To complete the job, a headliner installation tucking tool (PN A7672) was used both front and rear to gracefully stretch and tuck the headliner material into the retainer strips while moving from left to right while tucking. Note, that a coating of HH-66 Vinyl Cement was previously sprayed on the inner headliner surface on each end.The freshly installed headliner looks awesome, accented by a new reproduction dome lamp set (PN R358).To prepare for the carpet, a new set of reproduction stamped steel body sill plate wiring harness carpet guards from Classic Industries (PN K892990) were set in place on both the driver and passenger sides.To prepare for carpeting, the cabin was vacuumed clean followed by a wipe down with a damp cloth to remove any remaining dust. An OER two-piece molded carpet set in Gunmetal Gray from Classic Industries (PN K219035) was unboxed to relax to its form. Here is the rear section set in place.With the rear carpet section settled in place it was time to address fitment, starting with locating areas that needed to have access holes cut. Starting with cutting access for the center console mounts using a razor, O’Brien followed with locating the seatbelt mounting bolts, which were loosely installed prior to the carpet being laid in place.The console mounting bracket was then brought through the carpet opening.Next, the rear seat mounting brackets (2) were located and trimmed using a razor blade.The carpet set is extra wide at the sill plate area allowing it to be custom trimmed to suit the application.The REM Automotive reproduction rear seat trunk partition divider from Classic Industries (PN K15700) was then set in place.O’Brien followed by sliding the OEM-style die-cut reproduction rear seat shelf package tray (PN F3821001) into place.The front carpet section was then set in place and adjusted for proper fitment.To allow access for the shifter, the boot and handle were first removed to determine the size hole needed. A razor was used to cut the opening, allowing for perfect placement of the carpet.With any area requiring a little finessing to achieve the perfect form, a heat gun was used along with any needed relief cuts.The icing. O’Brien installed new OER stamped aluminum doorsill plates (PNs 9819034 and 9819033) from Classic Industries.The completed carpet and headliner installation was completed with basic hand tools and looks amazing. Stay tuned for our next installment when the final interior hits the business office.
We use cookies to ensure that we give you the best experience on our website. If you continue to use this site we will assume that you are happy with it.