Being the 1971 Camaro is now well over 50 years old as of this writing, it would be asking quite a bit for the factory parts to maintain their original strength and dignity. That also goes for internal parts that never see the light of day, which includes side window hardware. Years of repetitive motion, combined with summer heat and freezing cold winters are certain to put a strain on those parts that at some point will begin to fail, as was the case here.
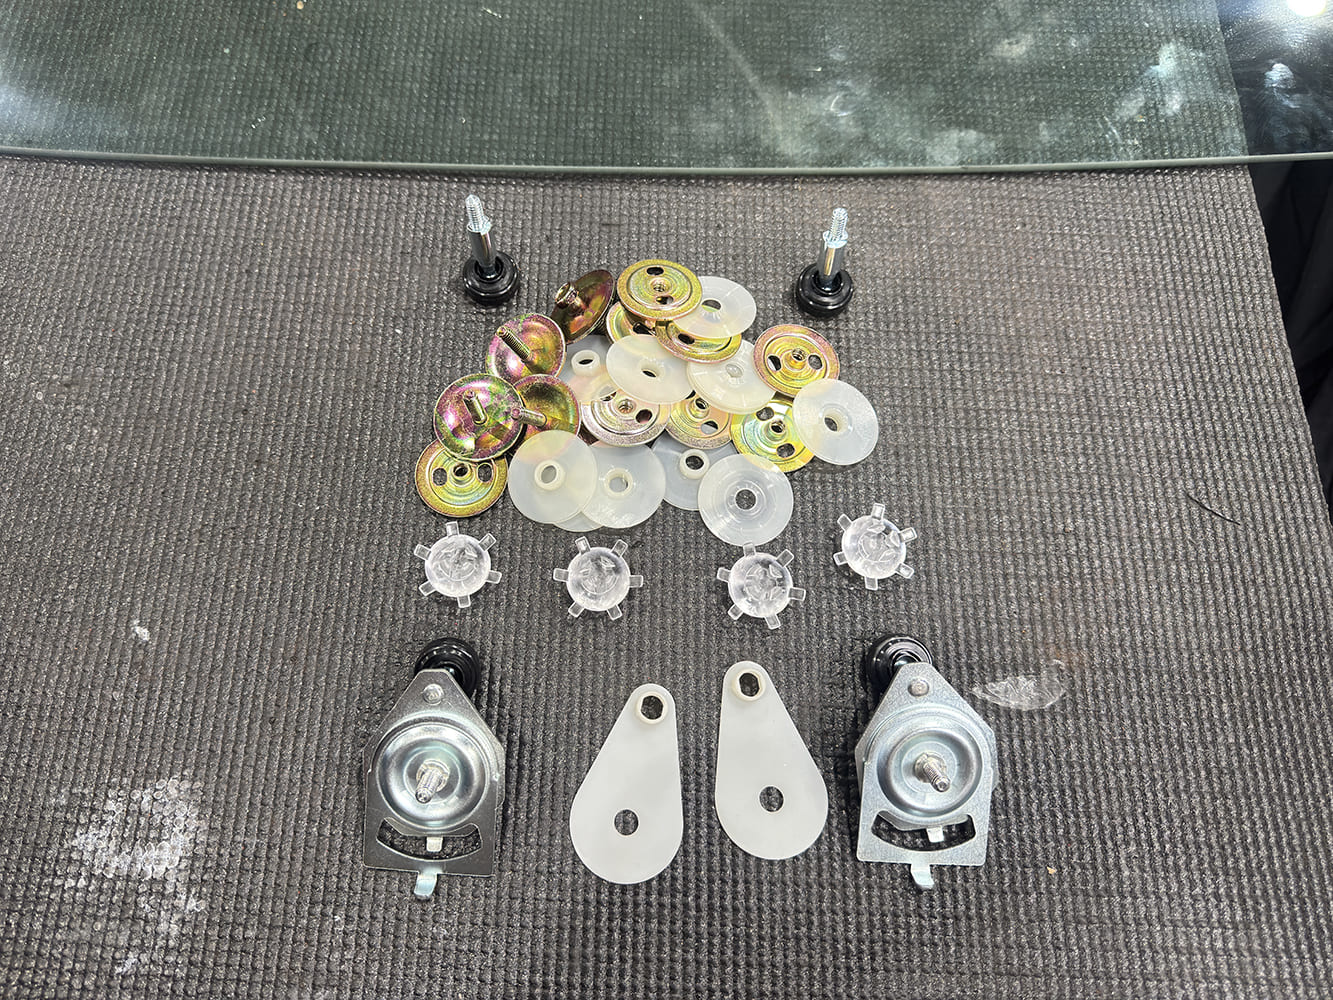
To get started on replacing the window and hardware on our 1971 Camaro, we hit up Auto Metal Direct (AMD) for new clear door glass (green tint also available), window regulators, and (PN W-33) 1970-81 F-body Complete Door Glass Roller and hardware kit. The 38-piece set includes rear roller assemblies, sash mount studs, and guide bearings designed for a smooth operation.
Years ago, “Orange Krate,” our 1971 Camaro, went through a full restoration, and new side glass was part of that process, but the hardware and many of the internal mechanical parts such as the window regulator, window tracks, and adjustment hardware are all original. At the time, those parts fell under the if-it-ain’t-broke-don’t-fix-it, rule, so they were retained as part of the restoration.
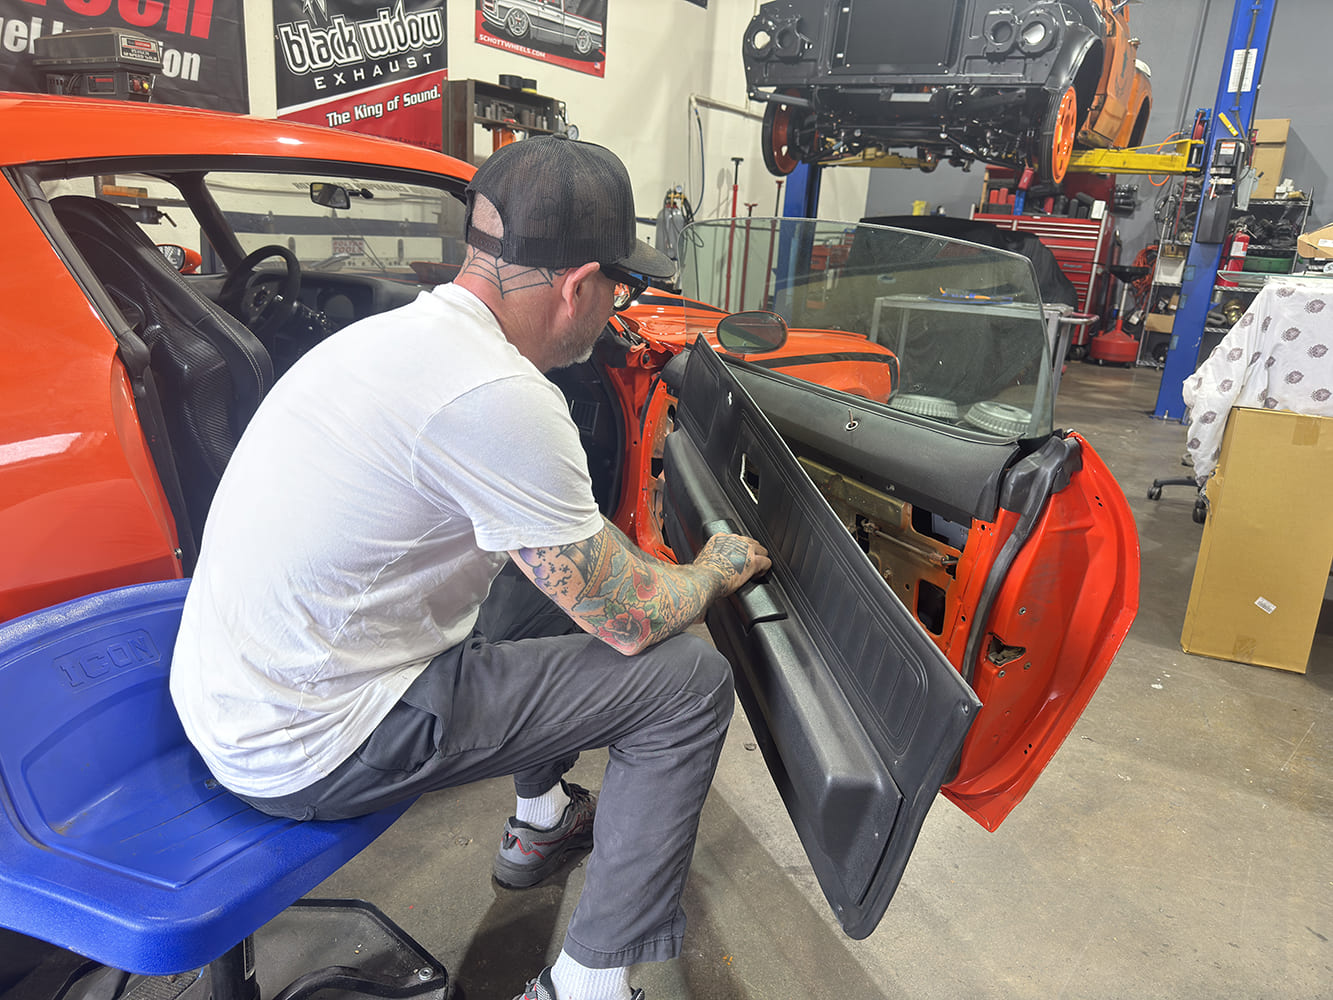
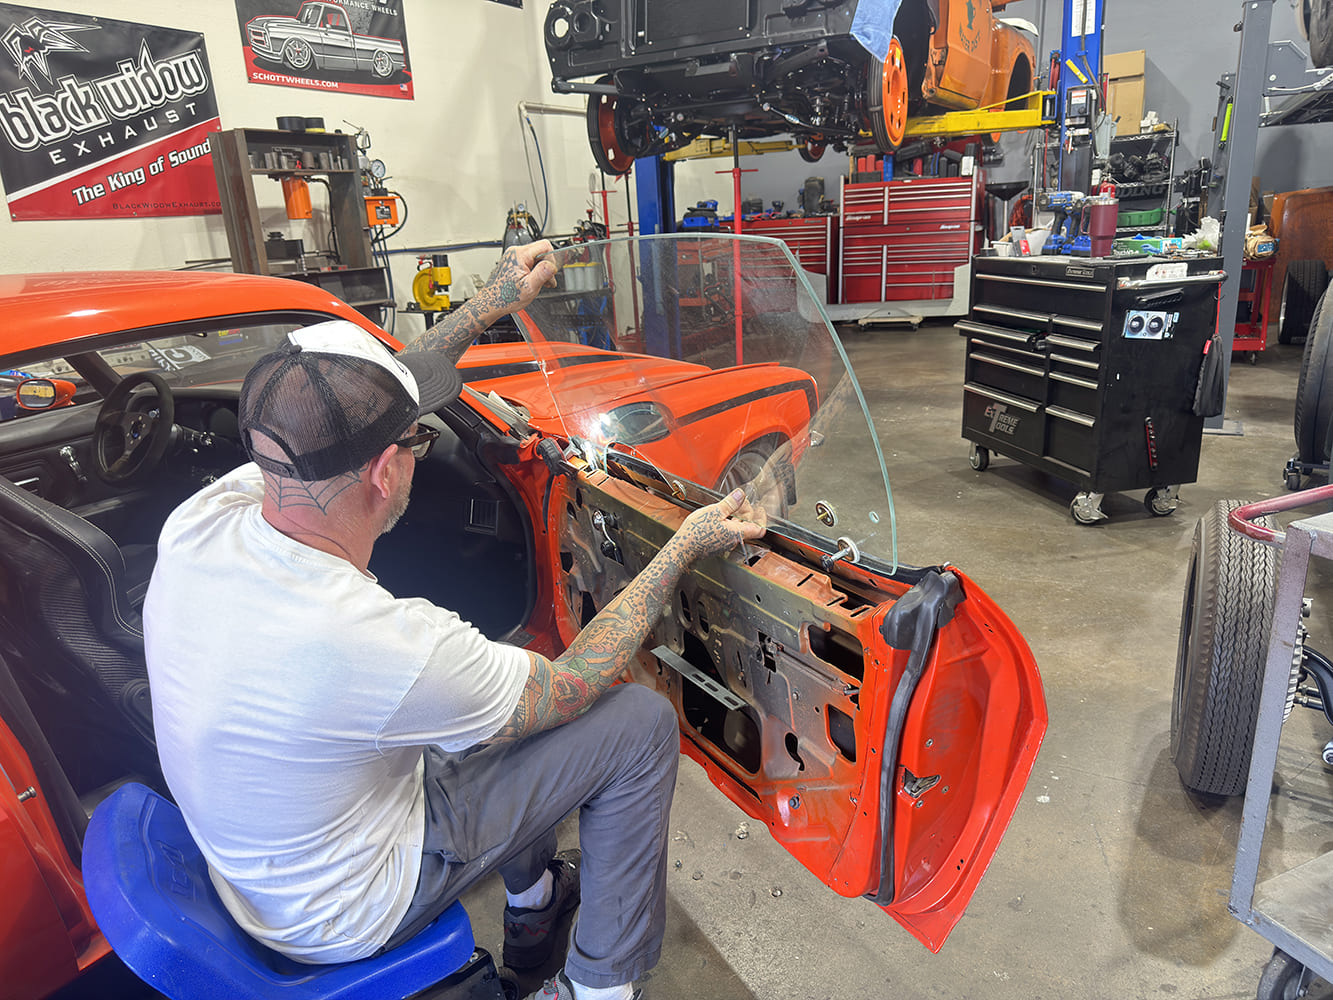
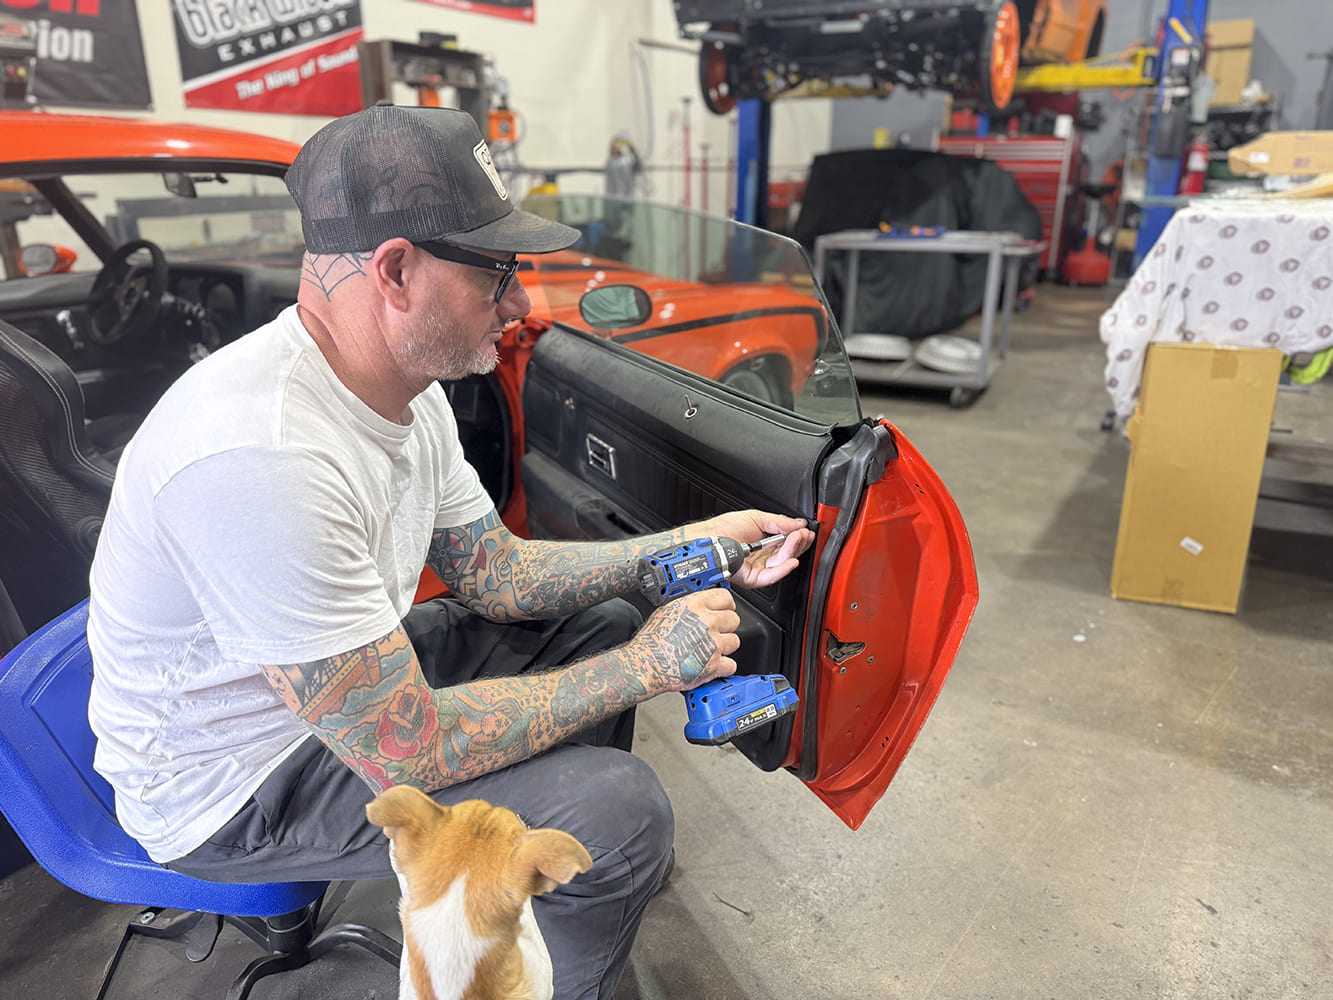
Jason Scudellari of HB Hot Rod started by removing the window crank and door hardware before pulling off the door panel. Note: with the driver side window shattered, we’ll be showing the installation process on the passenger side being the glass is still intact.
As of late, the windows lacked smooth operation, and there was quite a bit of “slop” causing an annoying rattle, especially when the windows were not rolled up all the way. The rattle was super annoying and gave the impression that the window no longer wanted to be part of the car. Truth be told, I originally took the car over to Jason Scudellari at HB Hot Rod in Huntington Beach, California, to address some minor issues that had developed over time. While Scudellari was taking the car for a testdrive, hard cornering combined with a dip in the road caused the driver side window to unexpectedly shatter. The vintage hardware combined with the car’s track-inspired suspension certainly contributed to the window’s dramatic exit from the original regulator, leaving a pile of broken glass on the carpet.
Next Scudellari removed the door glass guides.
So, when it came time to replace the windows, it was obvious new hardware would be needed to properly install new side glass, so we hit up the folks at Auto Metal Direct (AMD) for fresh glass, new window regulators, and all-new window hardware.
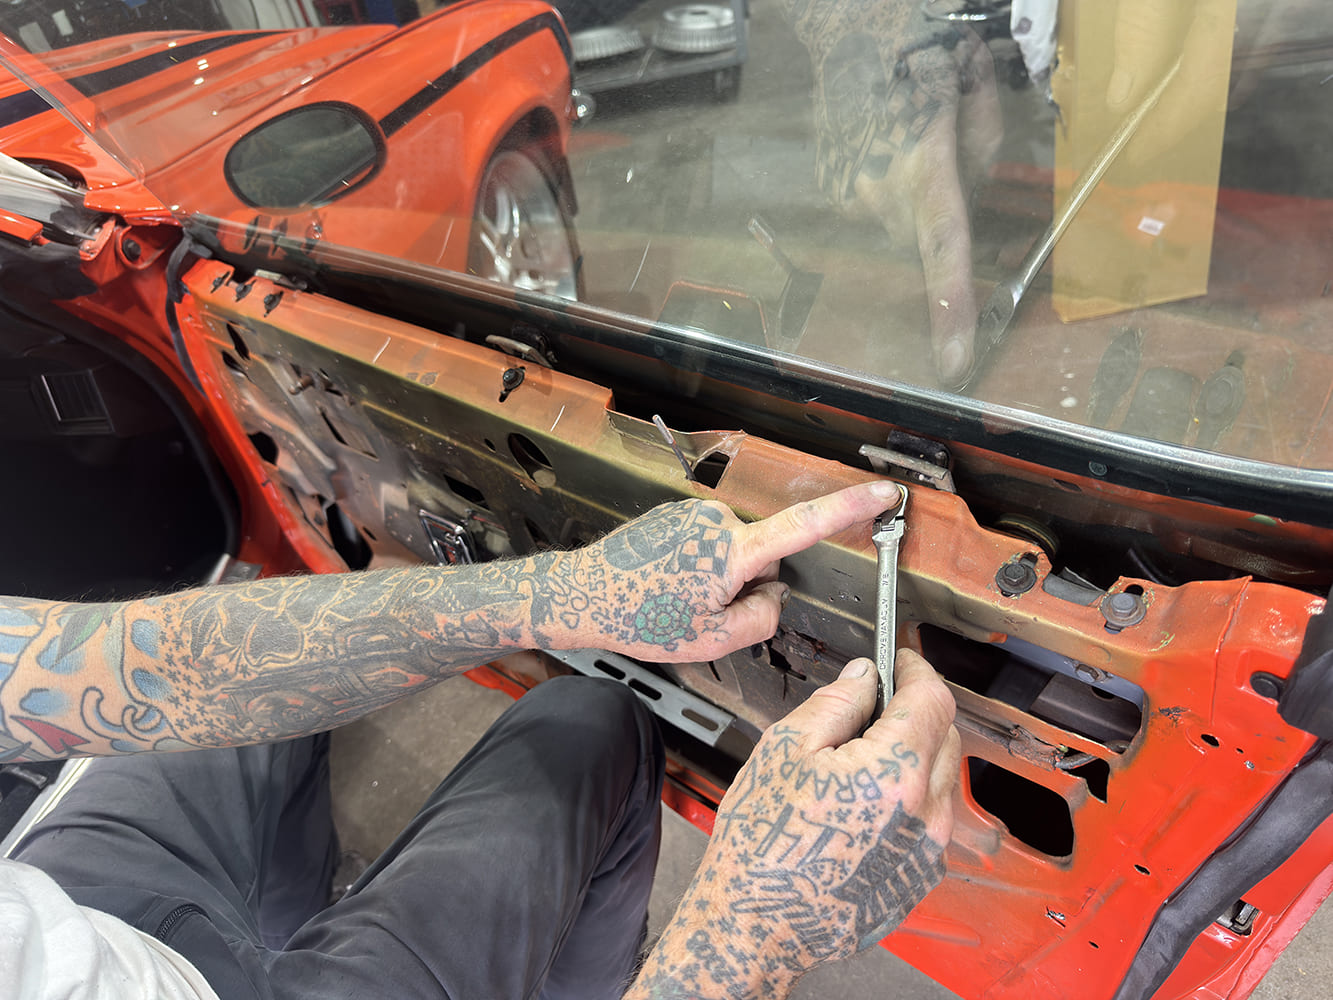
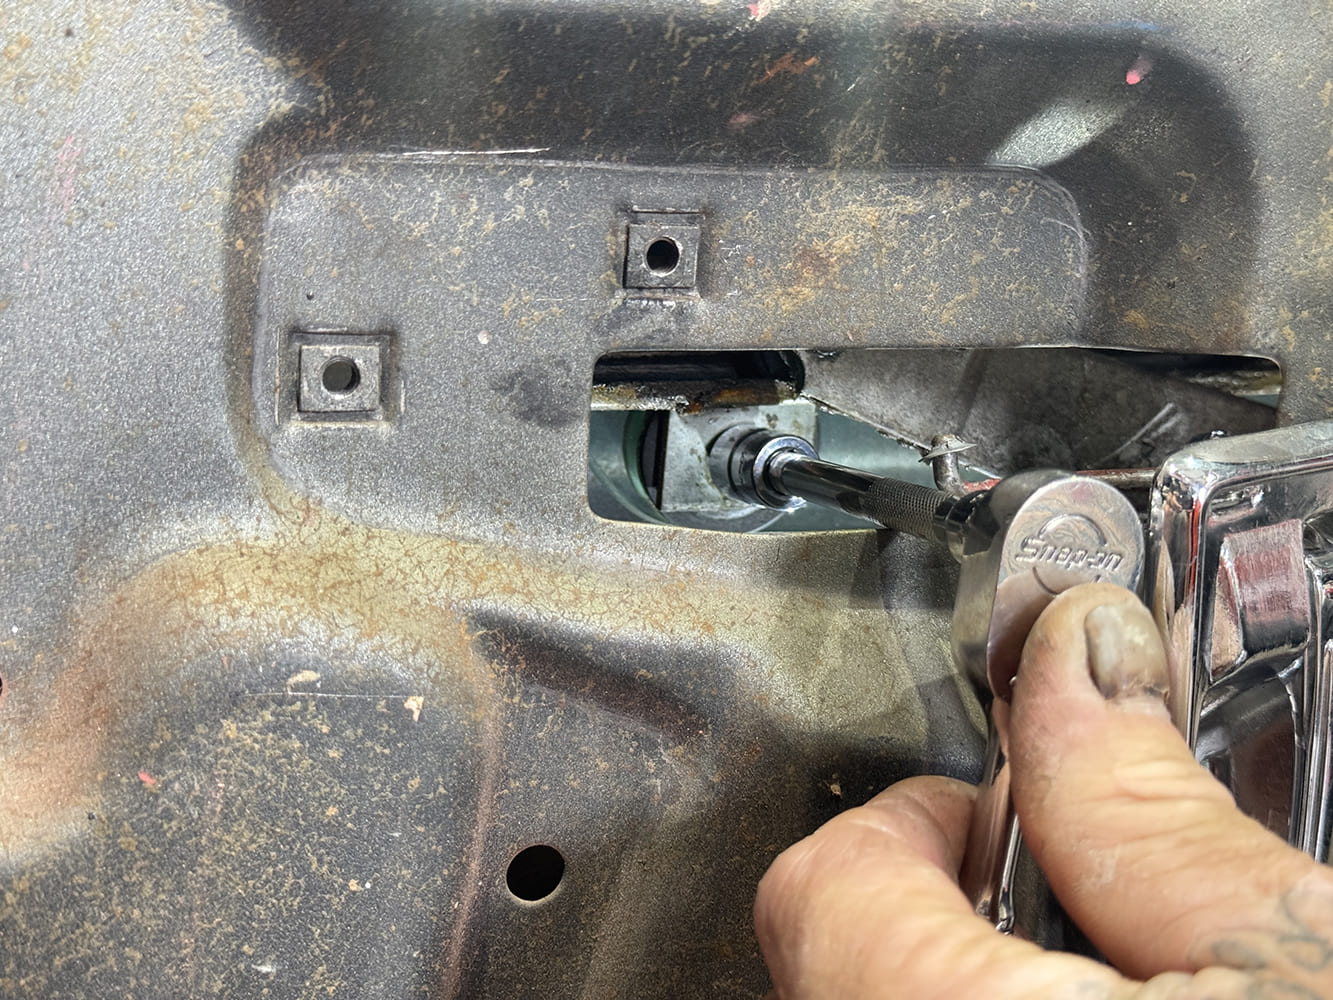
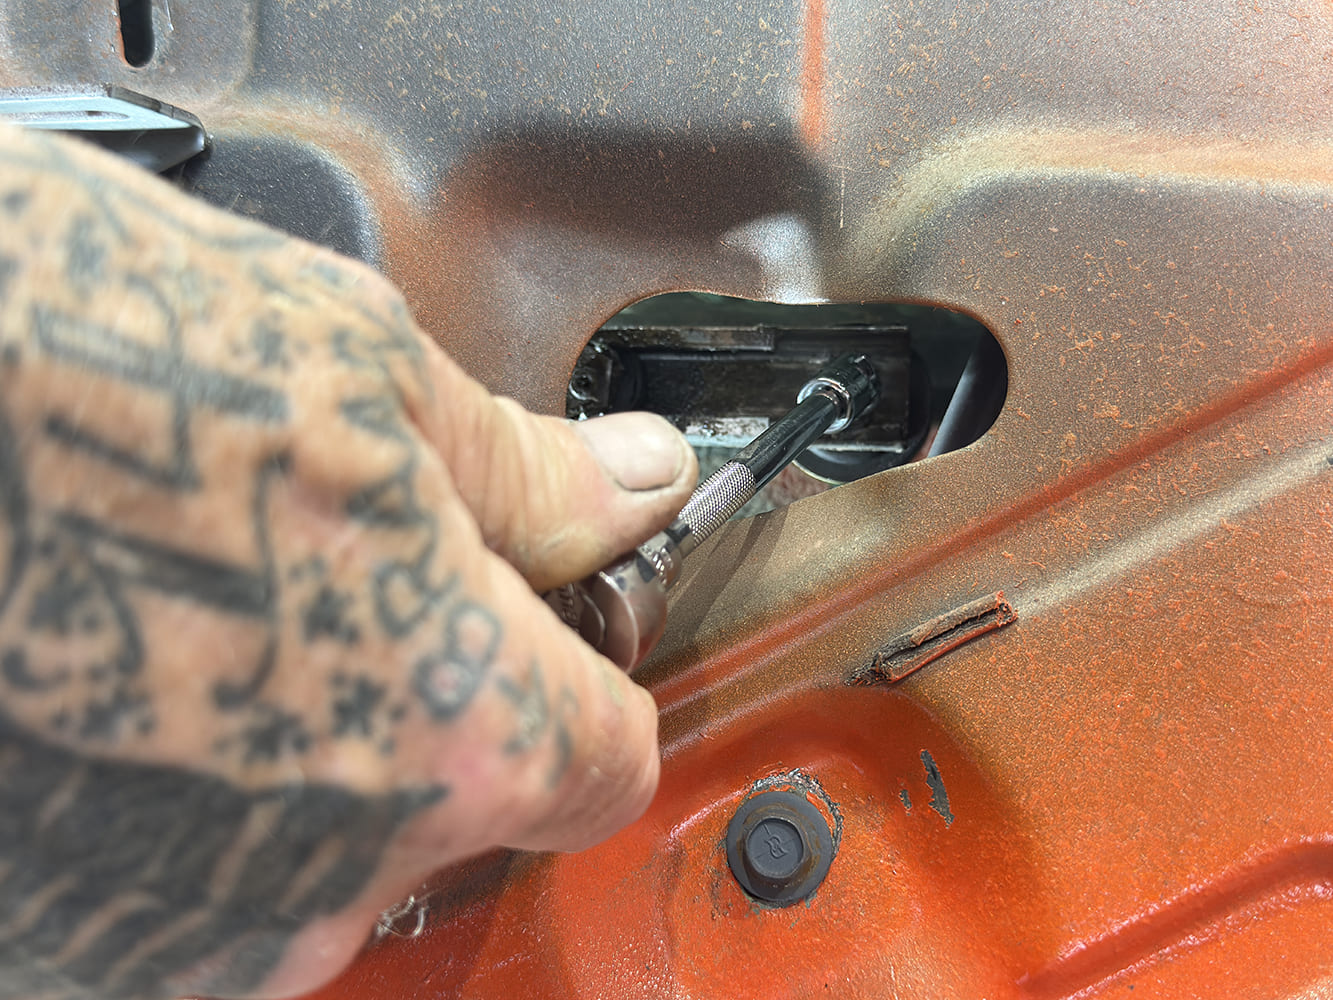
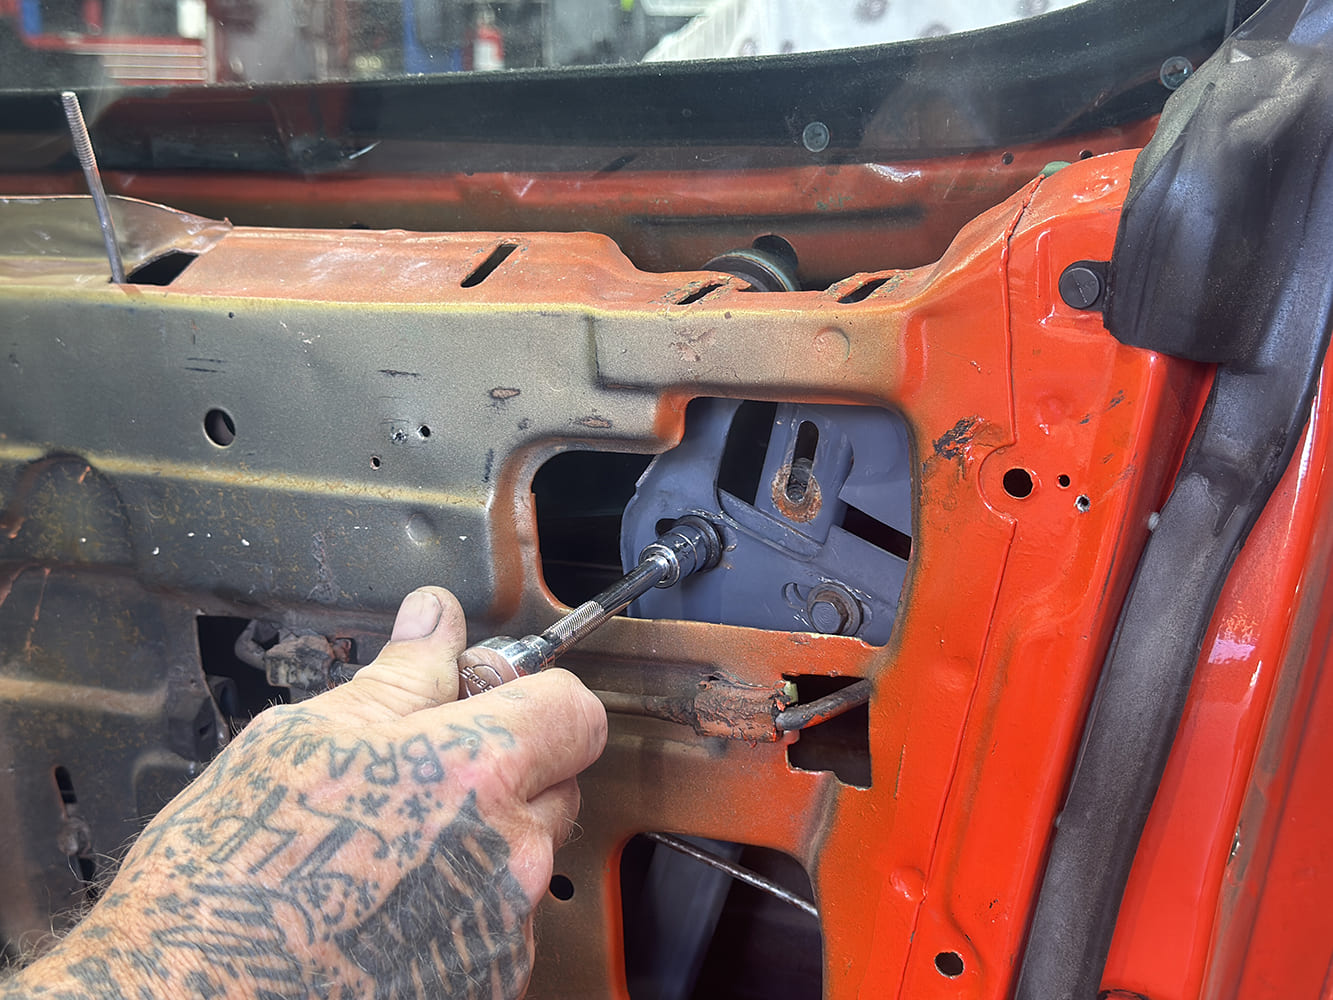
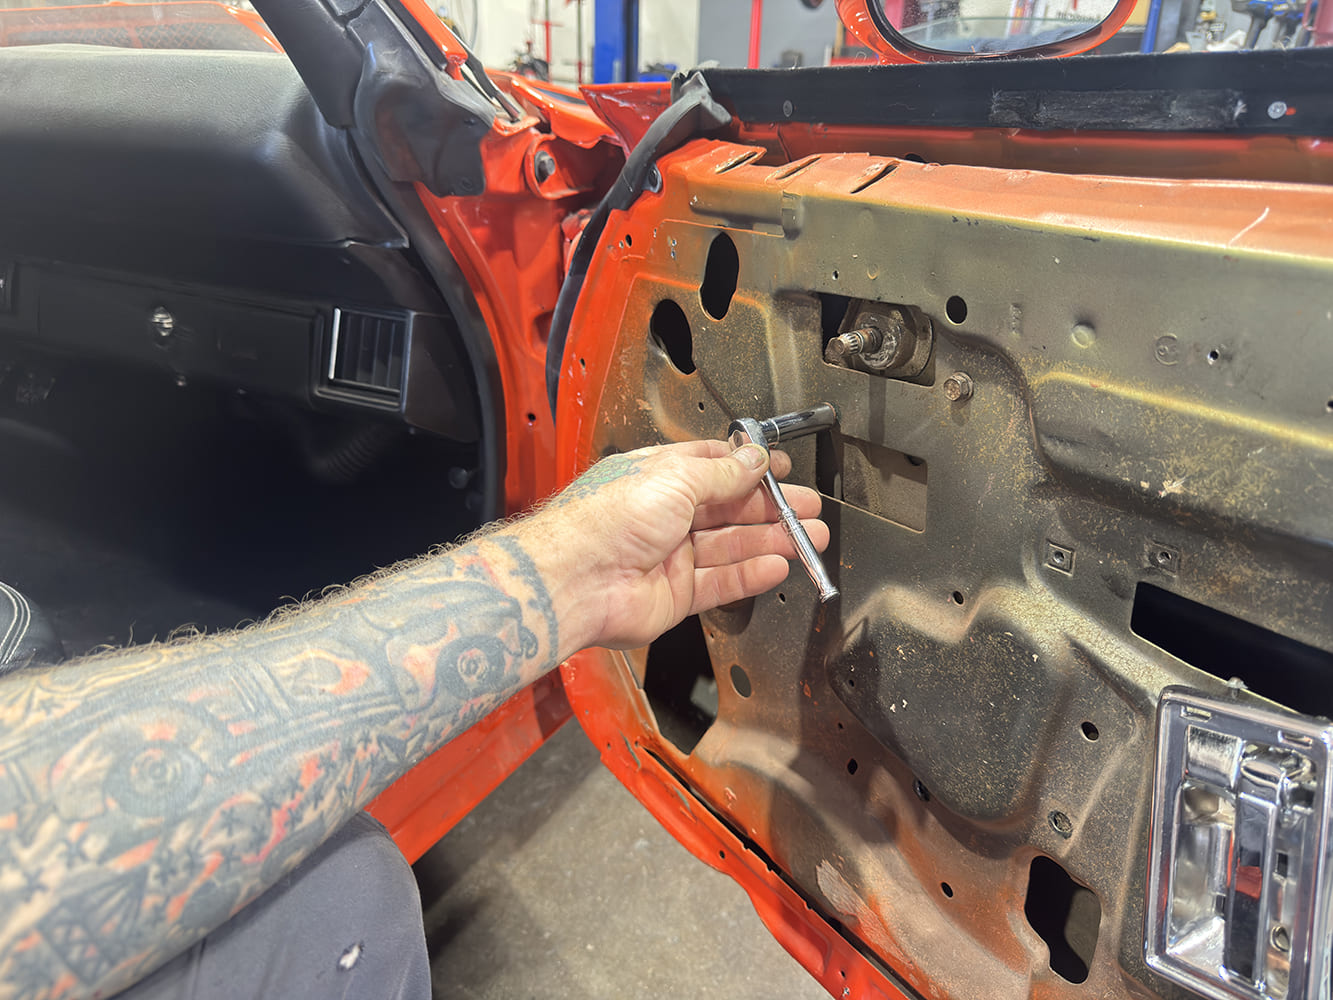
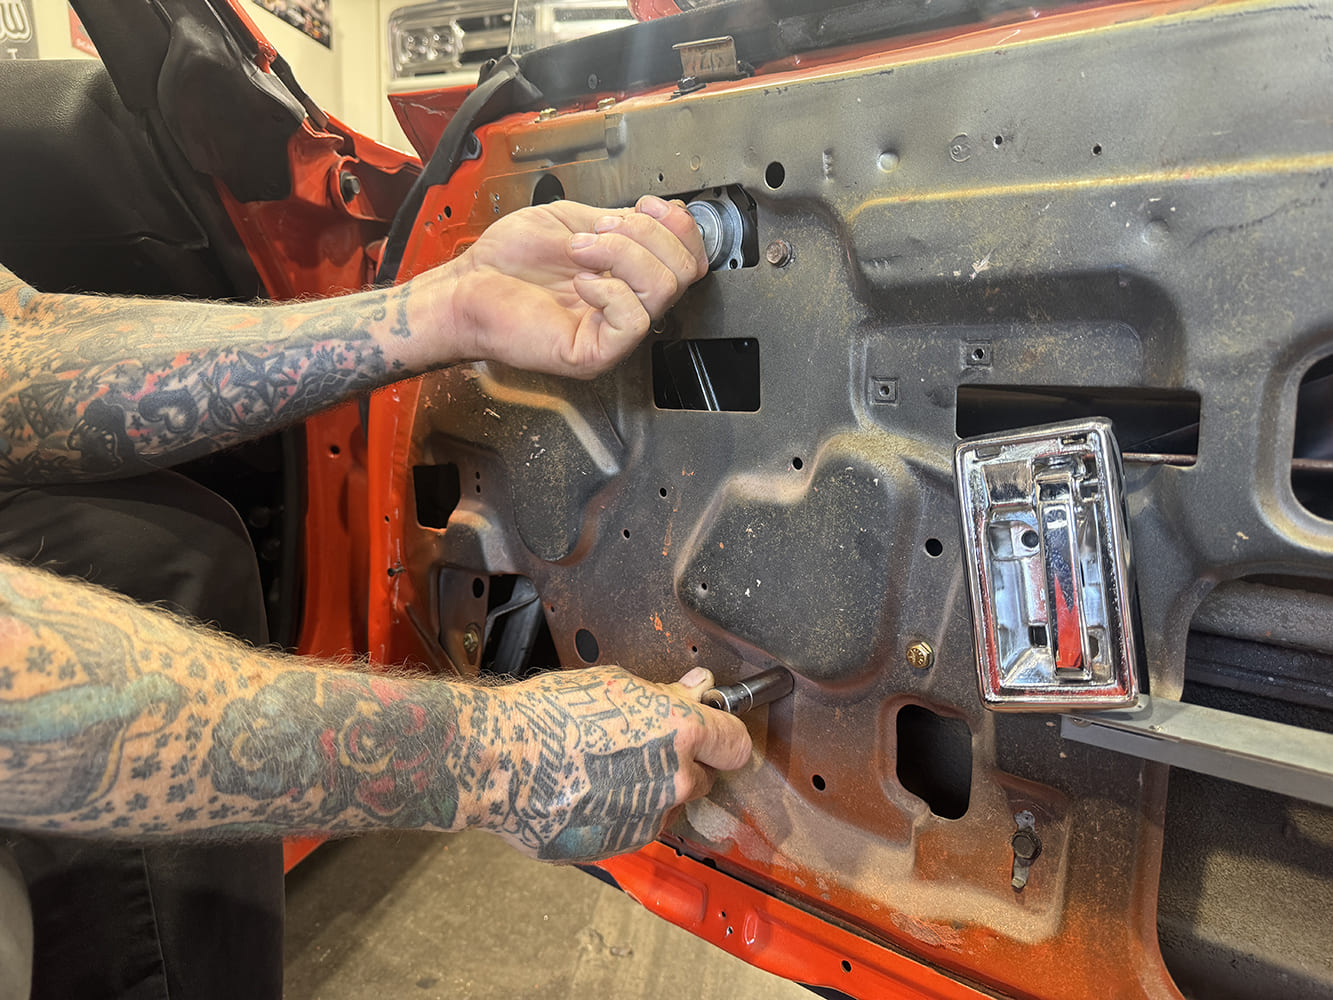
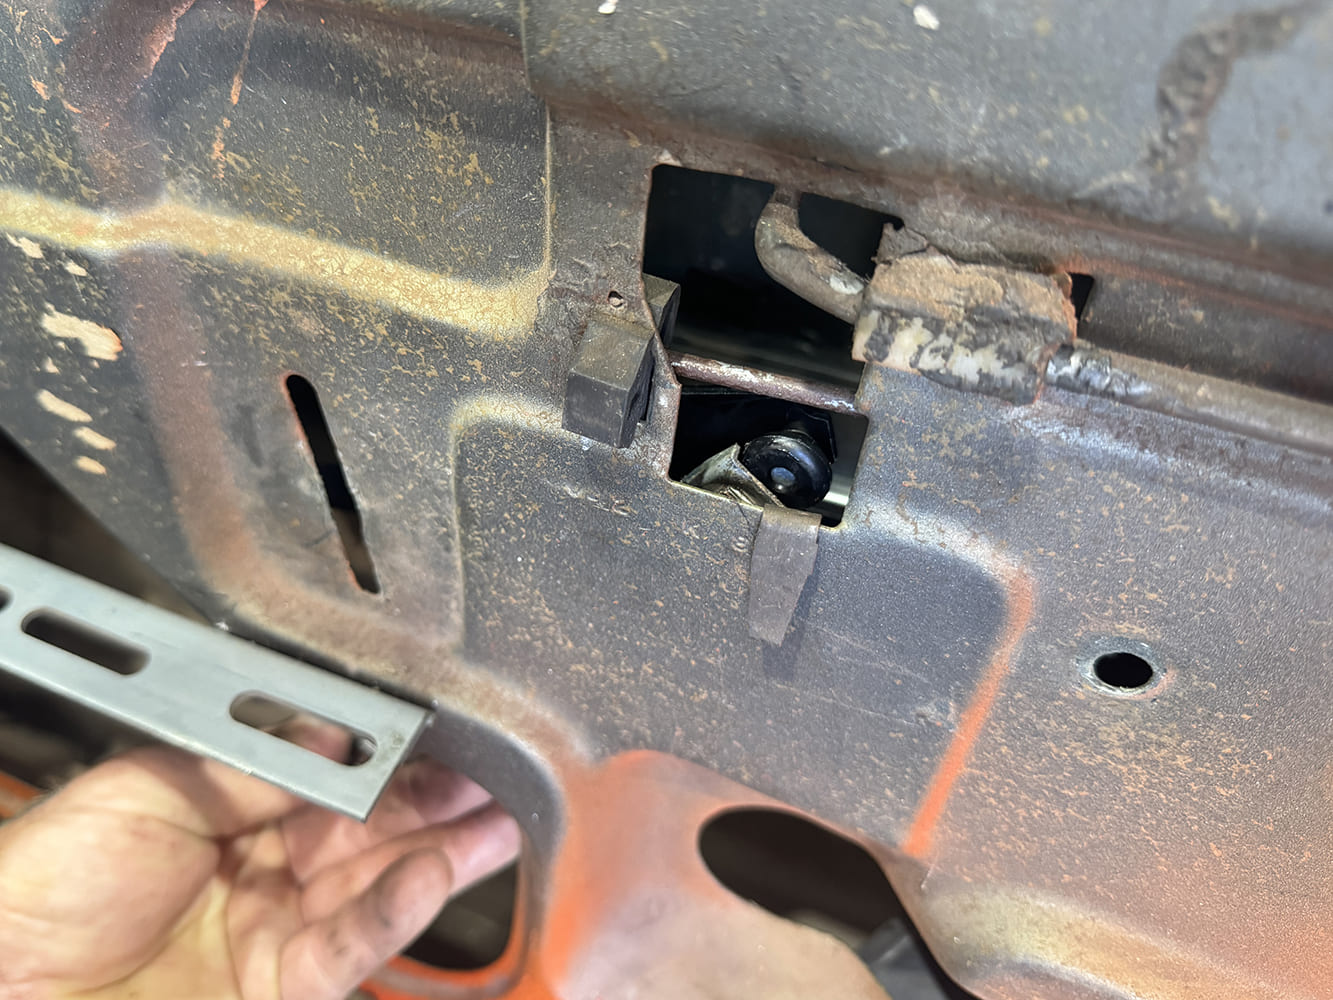
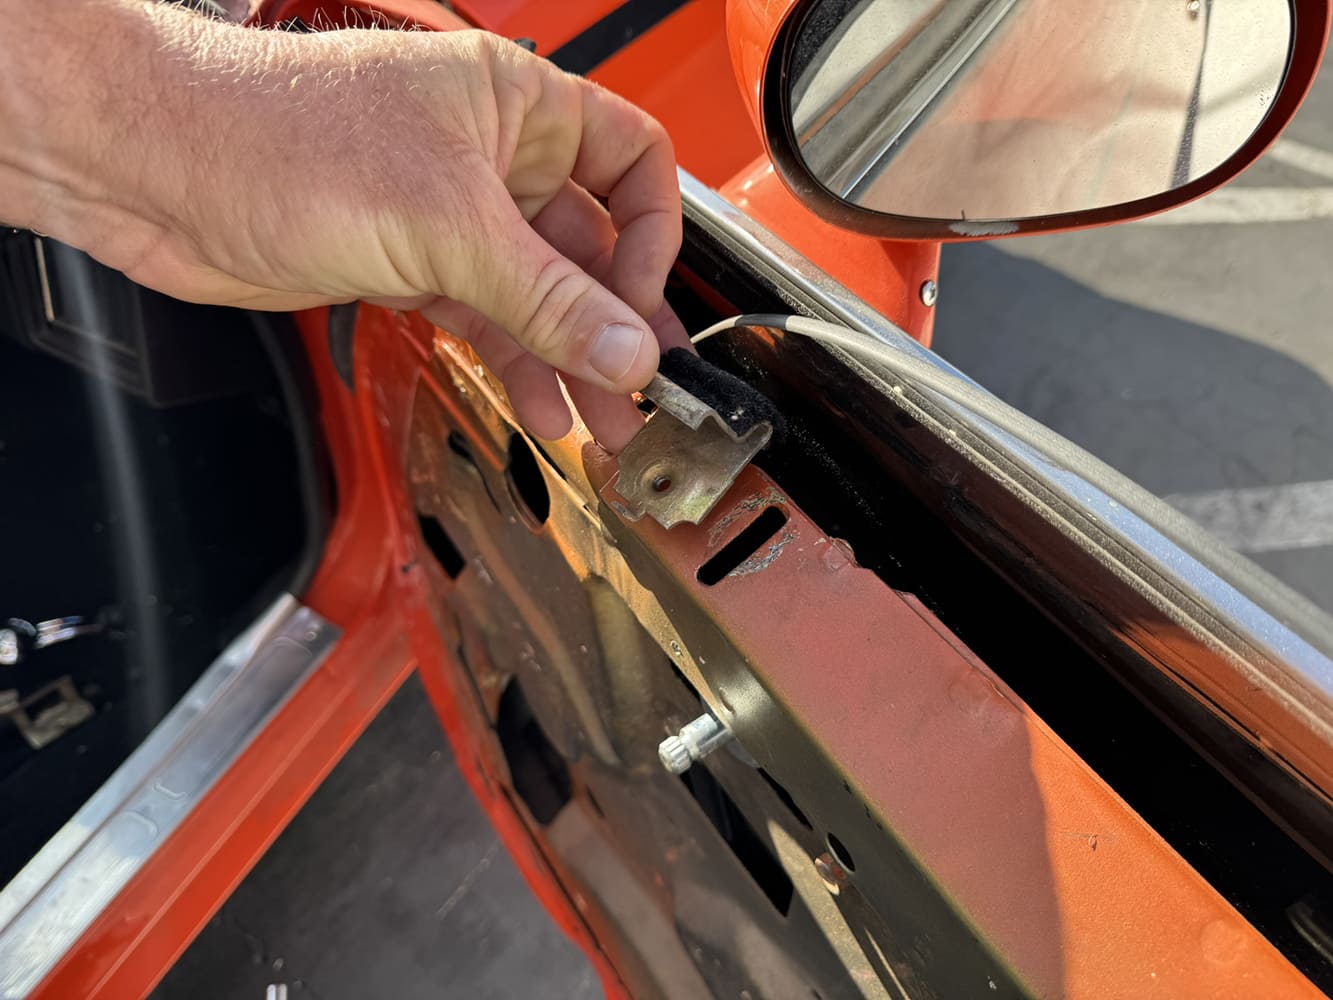
The glass is held in by four attachment points. We started by removing the one in the middle of the door that is hidden behind the door handle bezel.
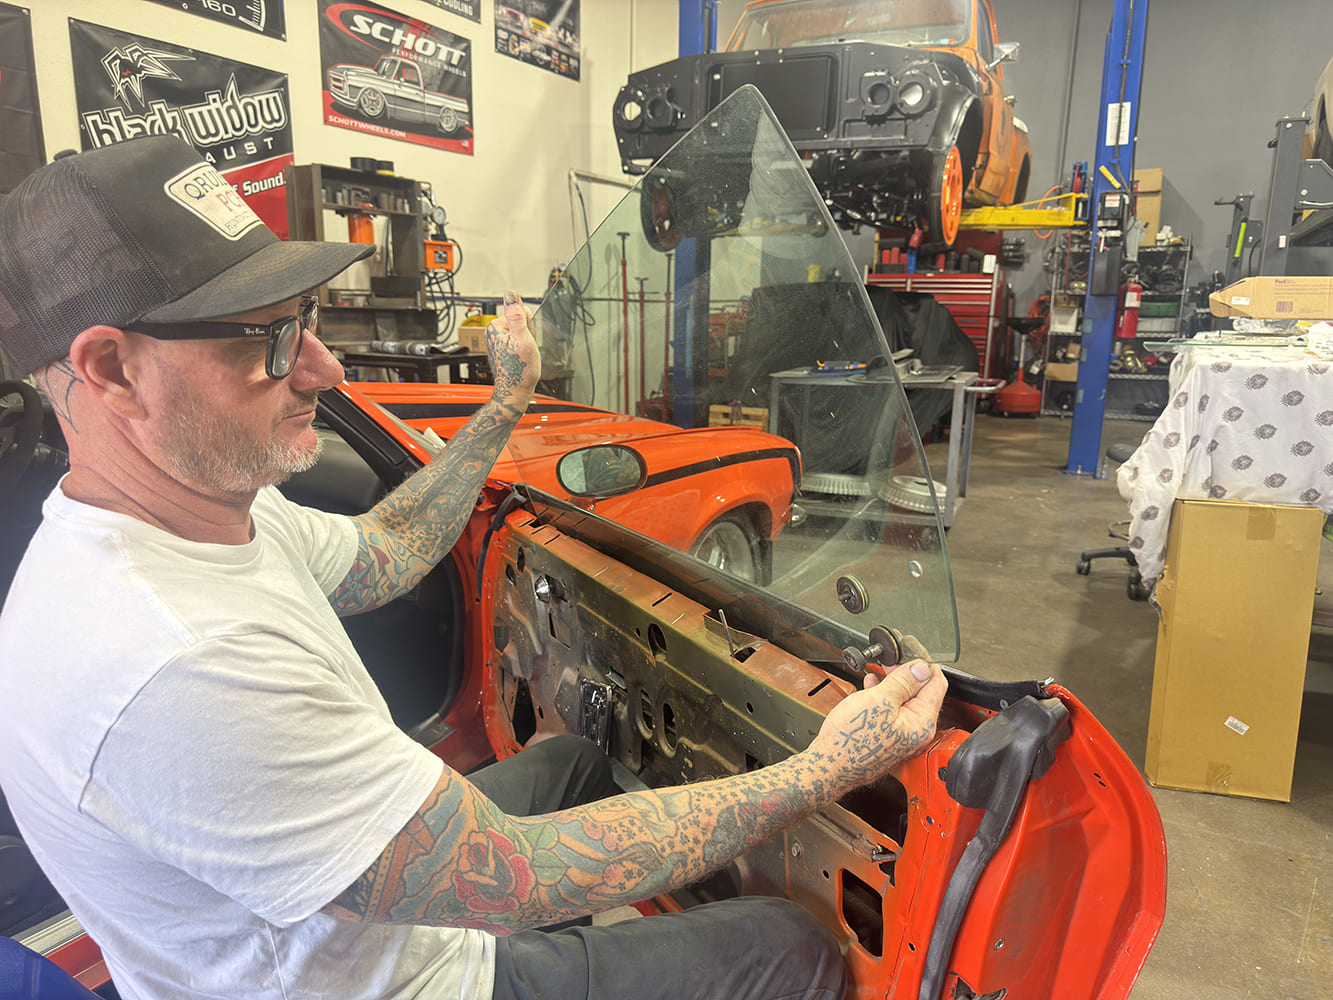
If you’ve never tackled this job, it’s best done with a helper to hold the glass as you slide it into the tracks. You’ll also need a good amount of patience as these windows have numerous adjustment points that require a lot of trial and error, but once you get the window adjusted correctly, you’ll have smooth operation along with a proper seal between the window and weatherstrip.
To get to the rear of the window attachment point, roll the window down so it aligns with the slot in the door so you can get a socket on the bolt.
Follow along as we show the installation process of new glass and hardware in a 1971 Camaro. It’s a good idea to photograph removal and disassembly of the original door glass hardware as it will make installing the new parts a much easier process.
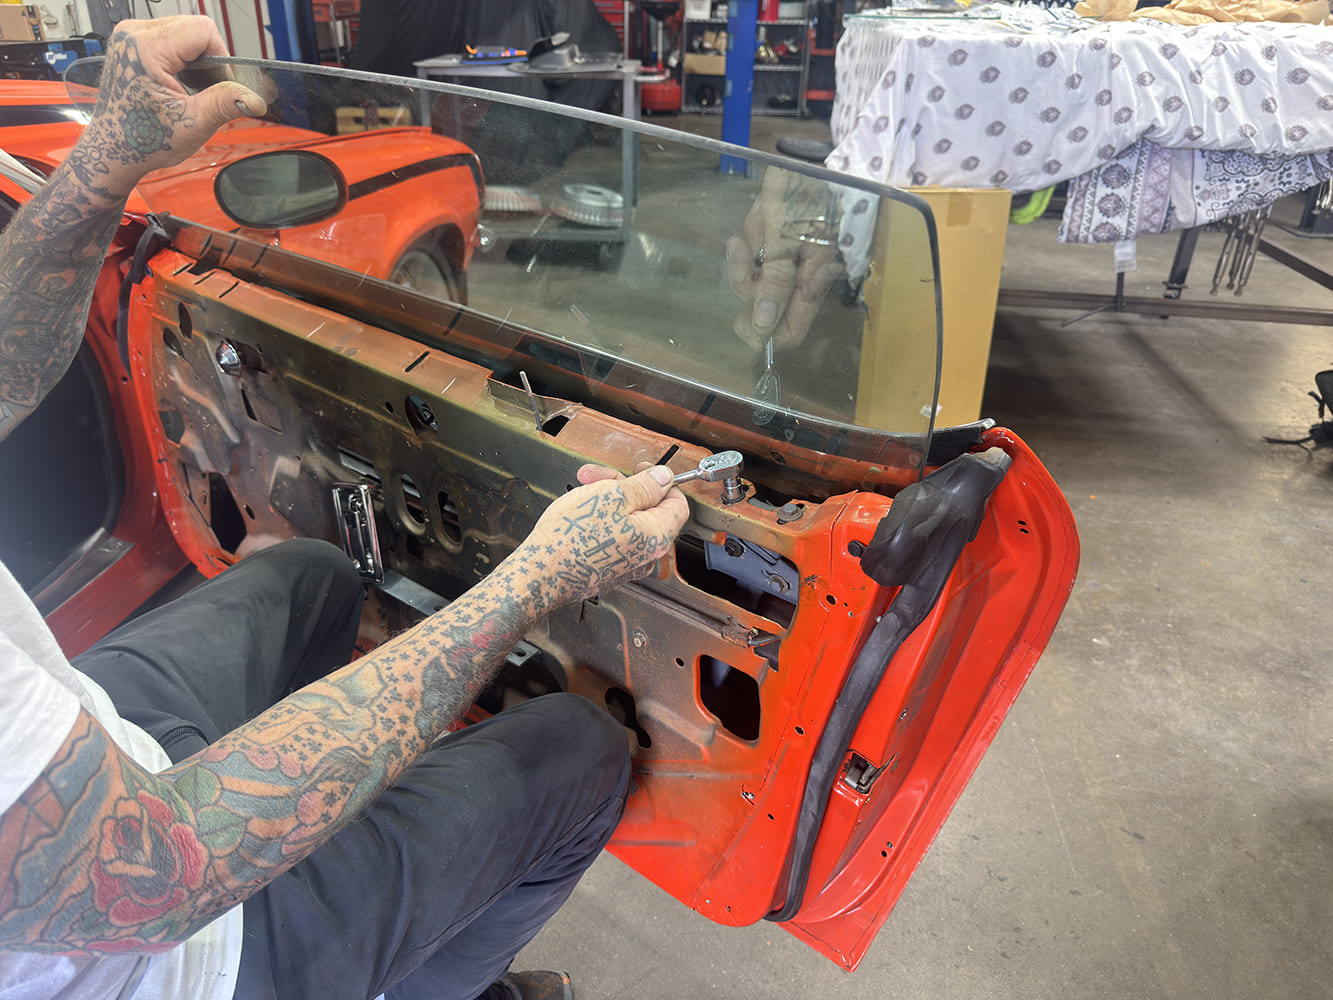
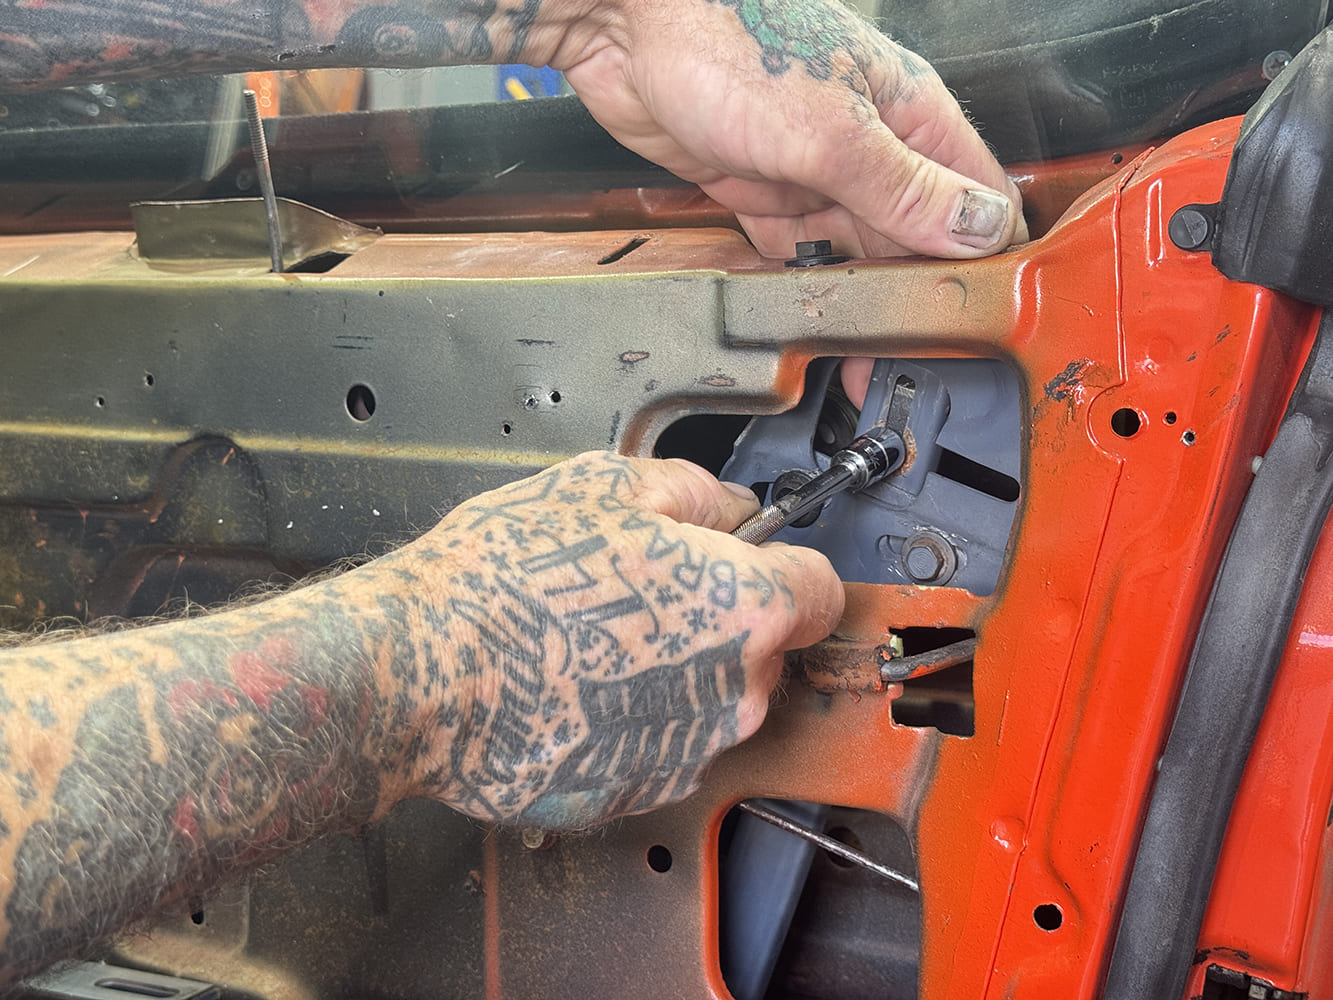
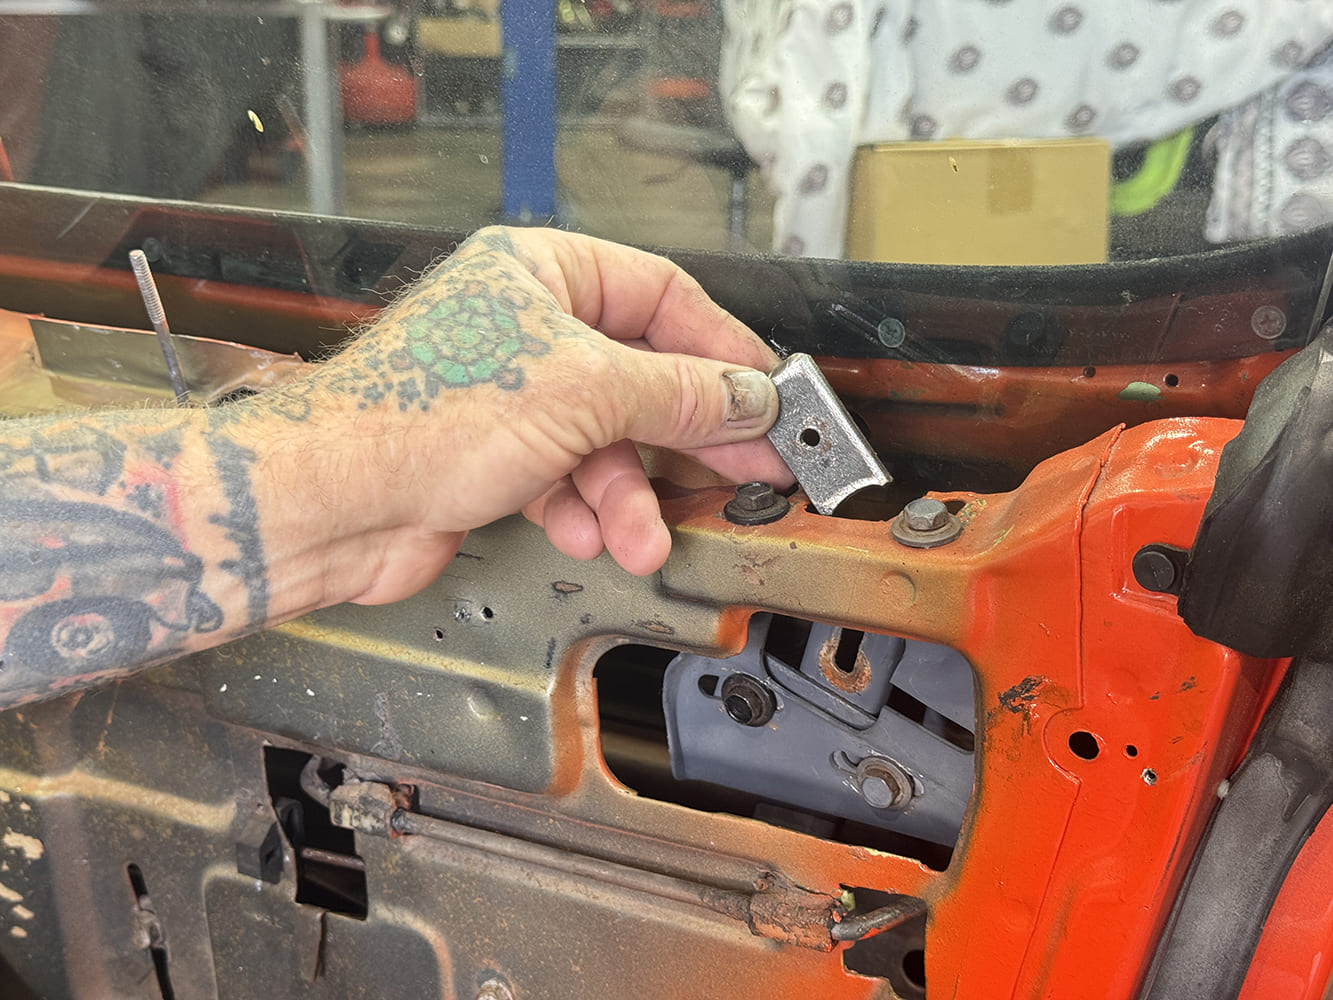
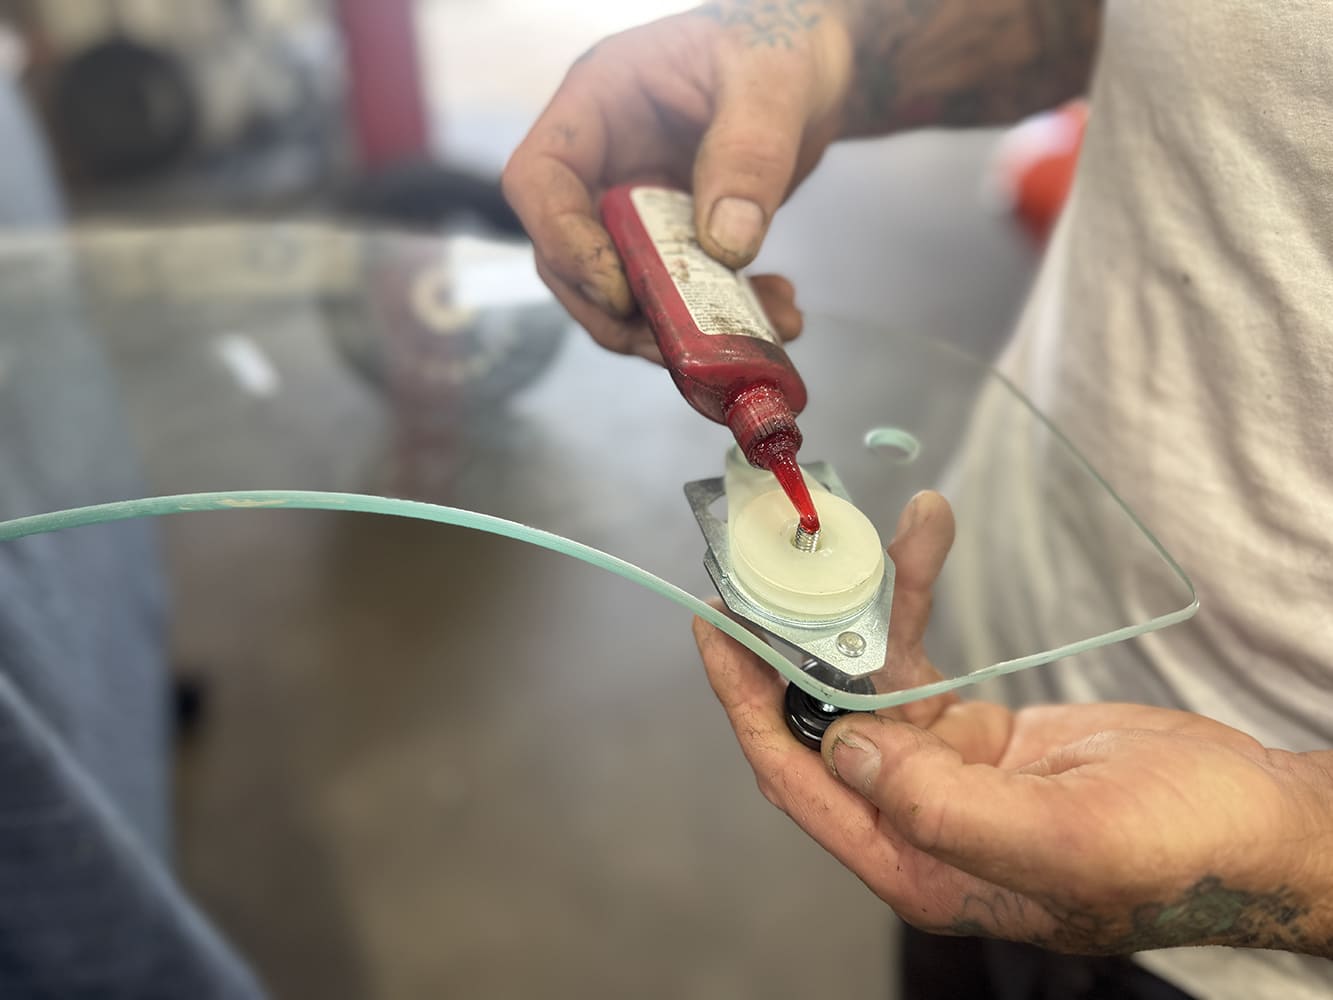
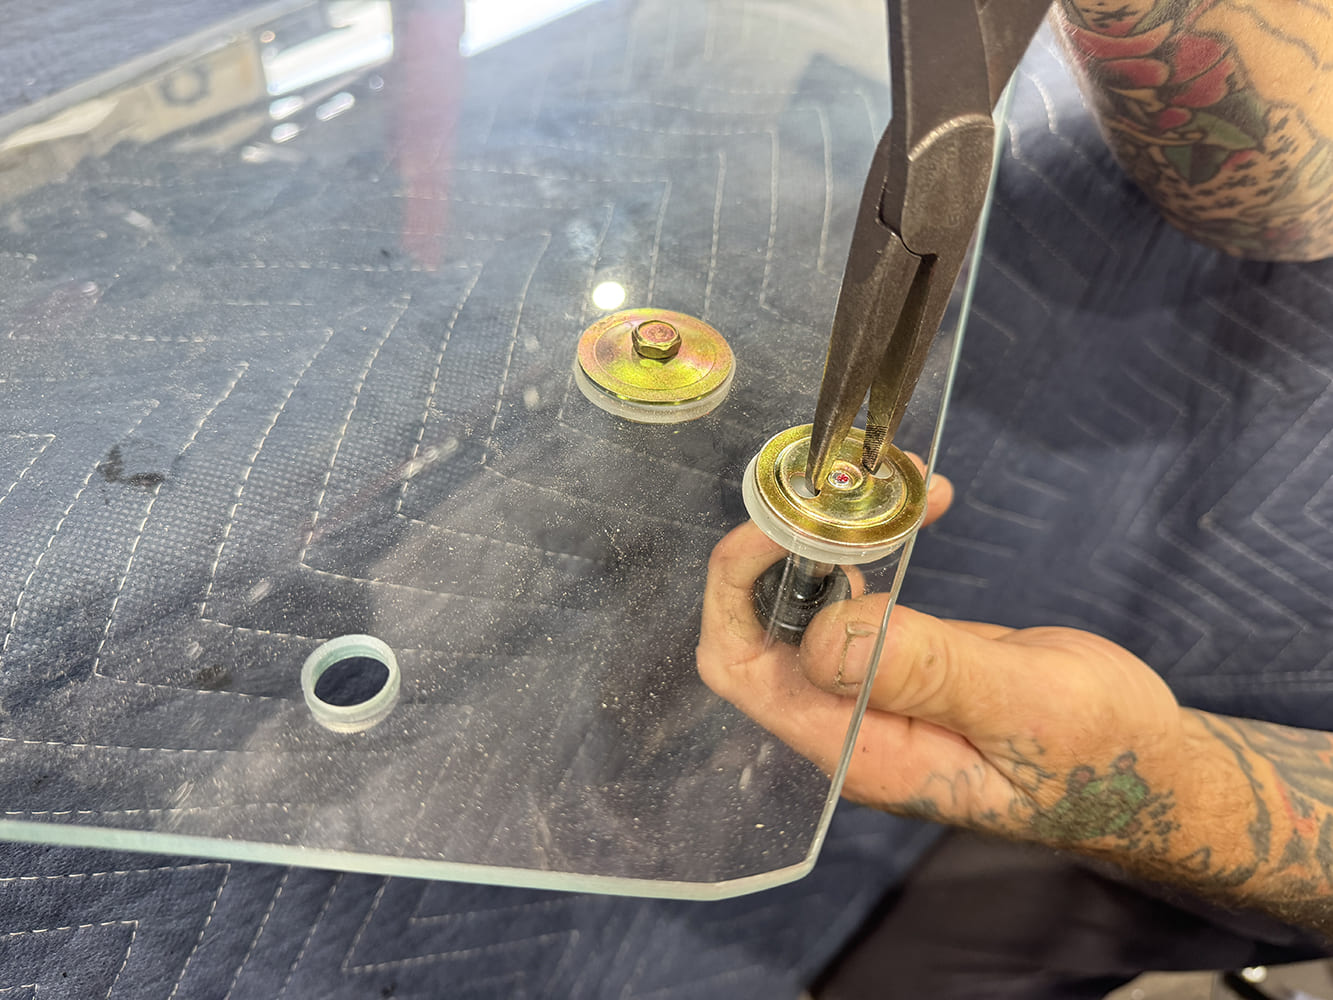
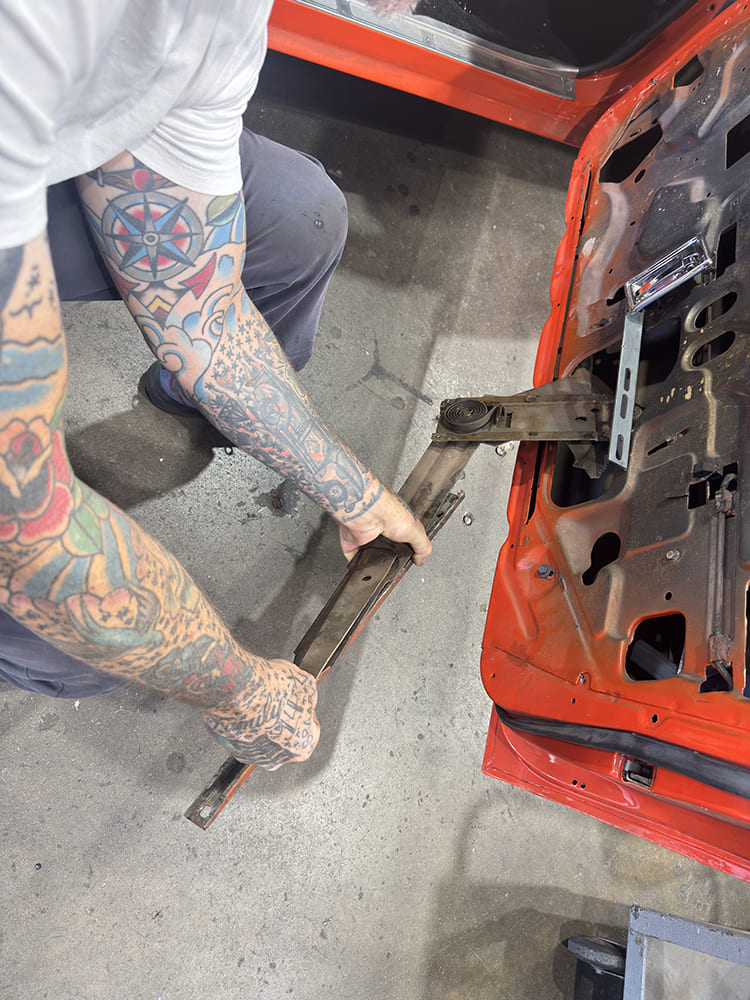
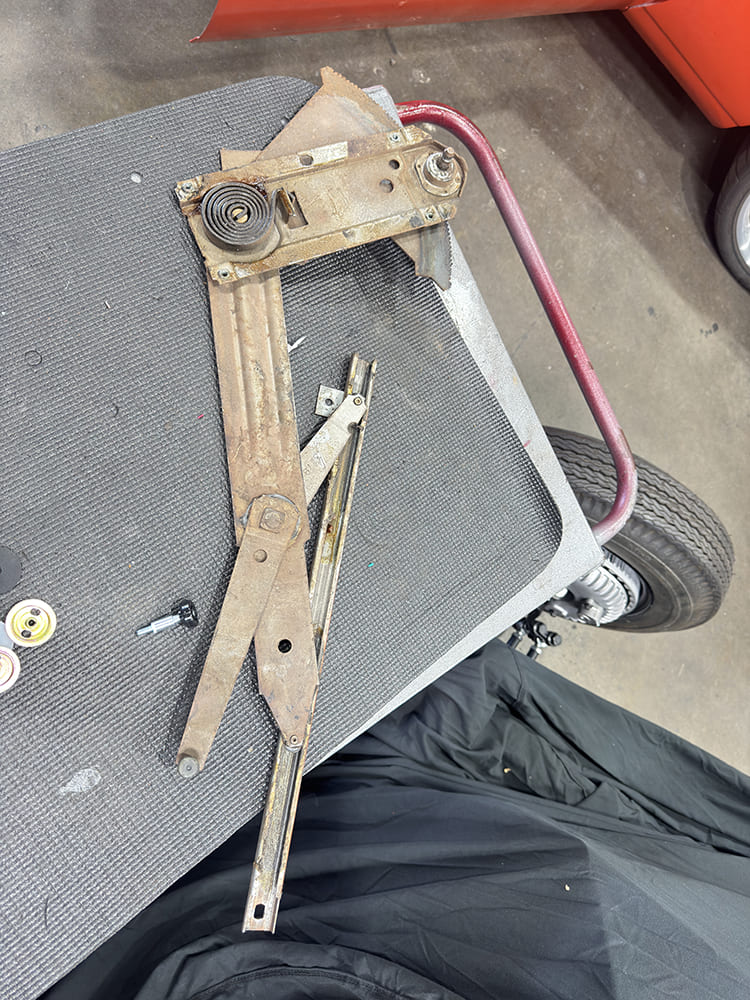
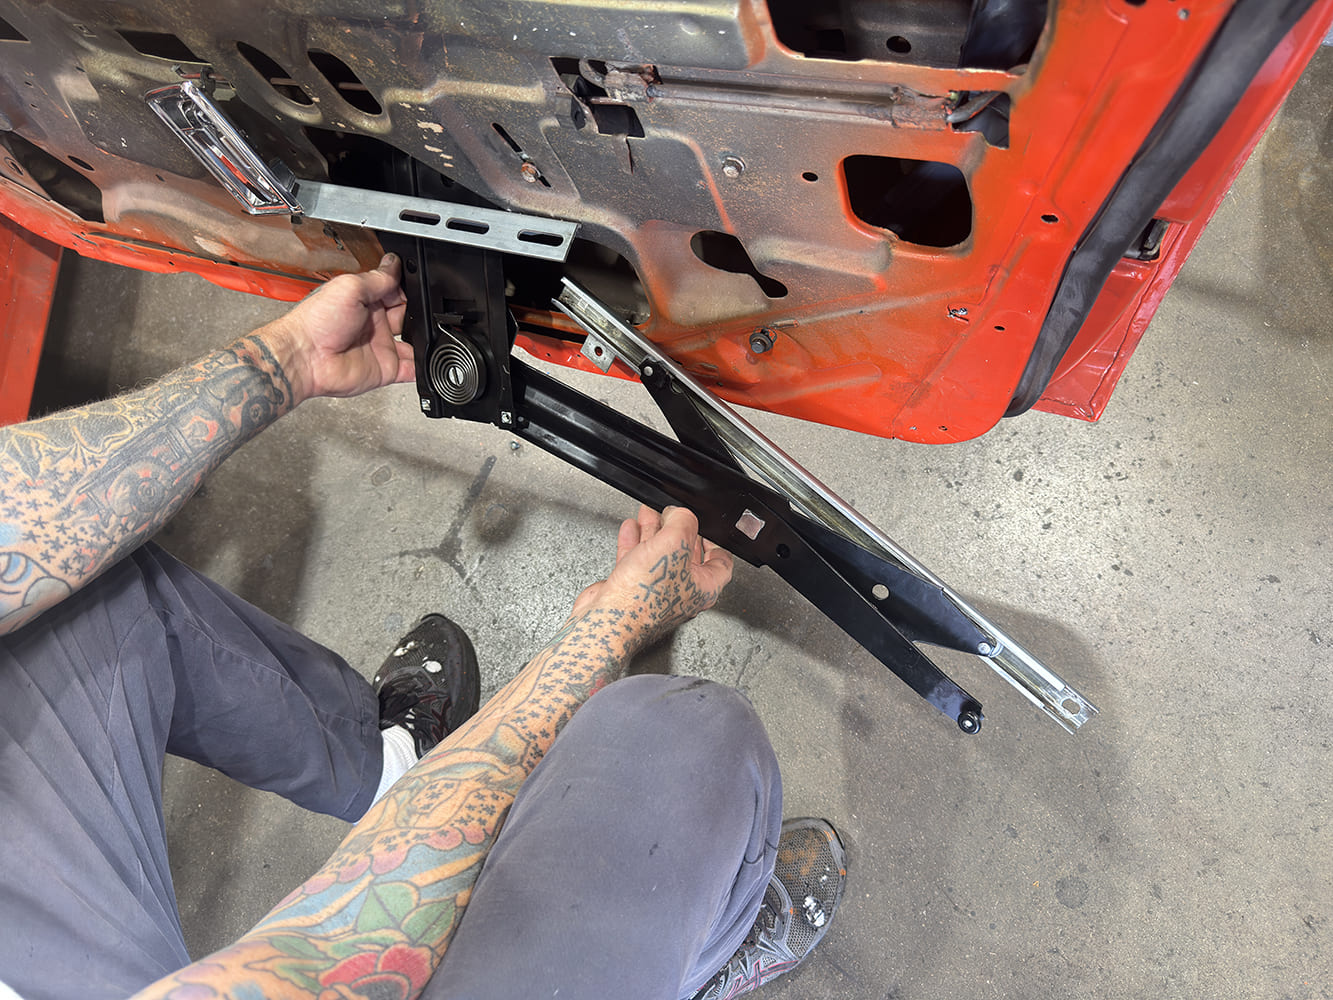
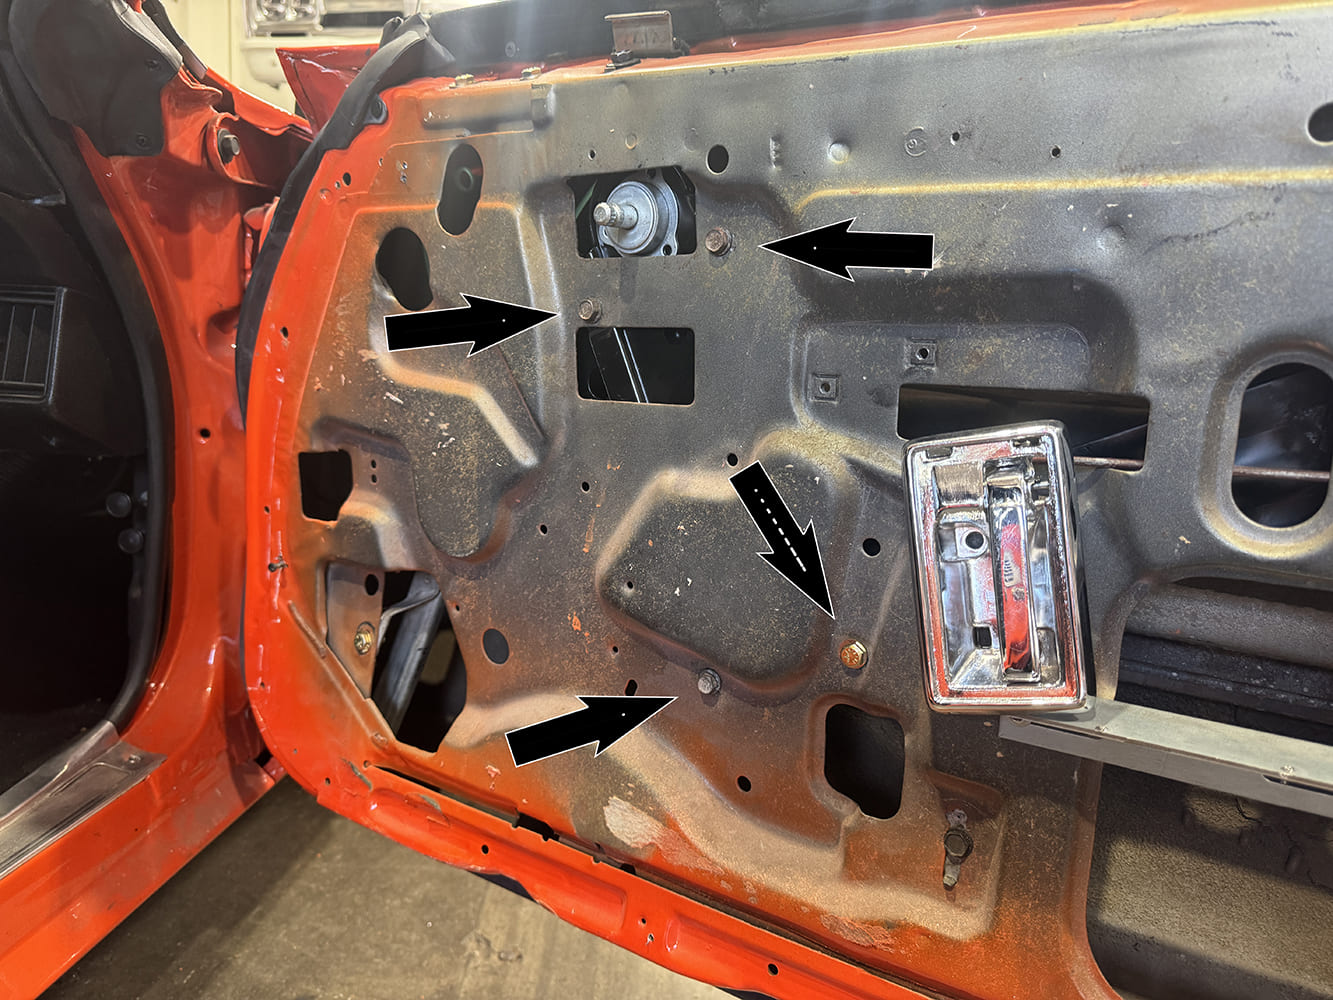
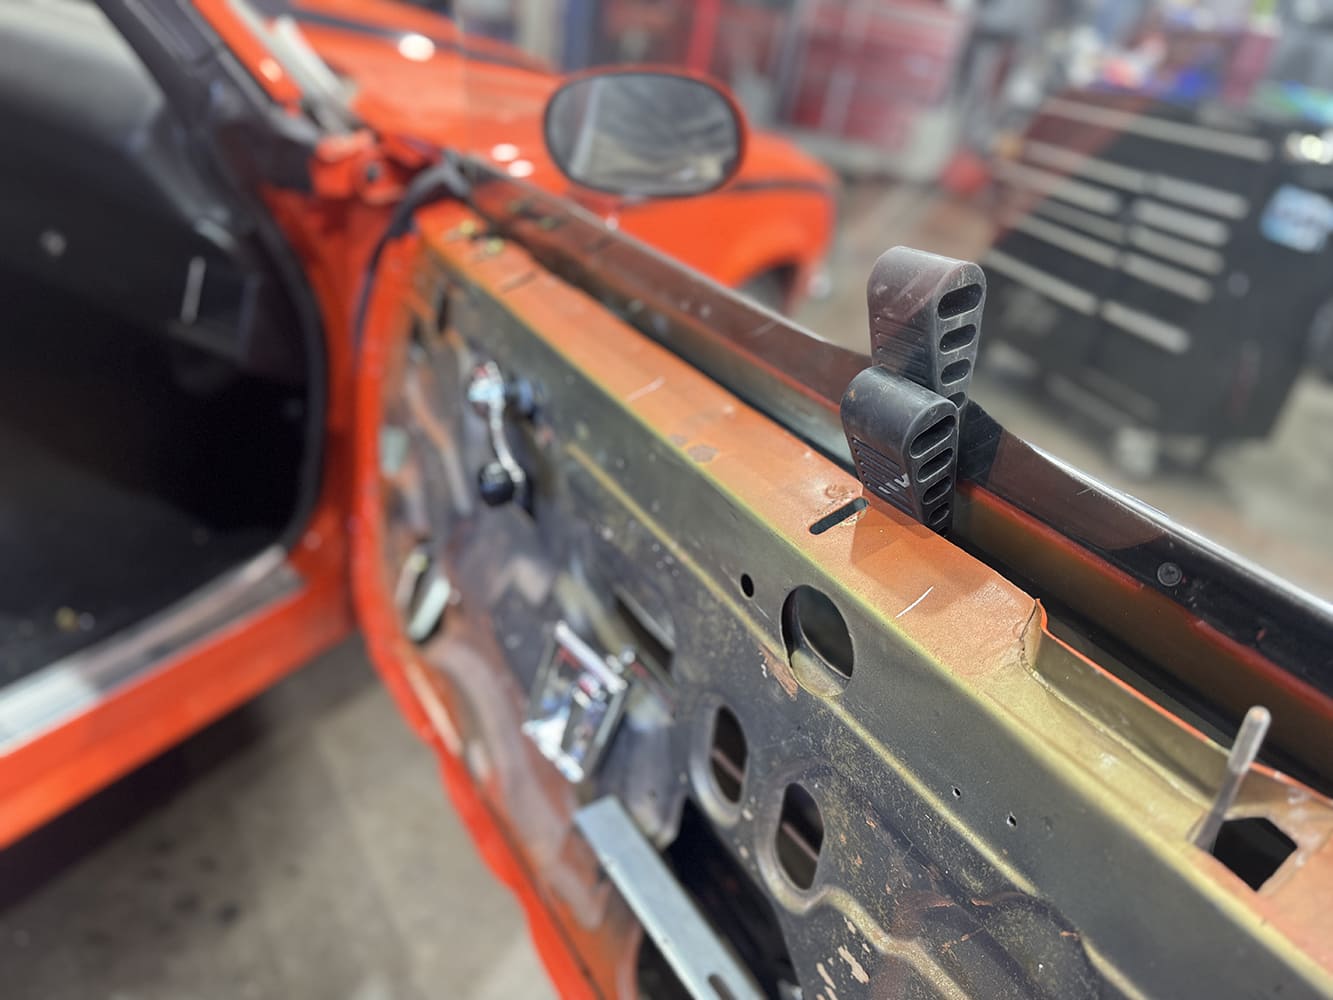
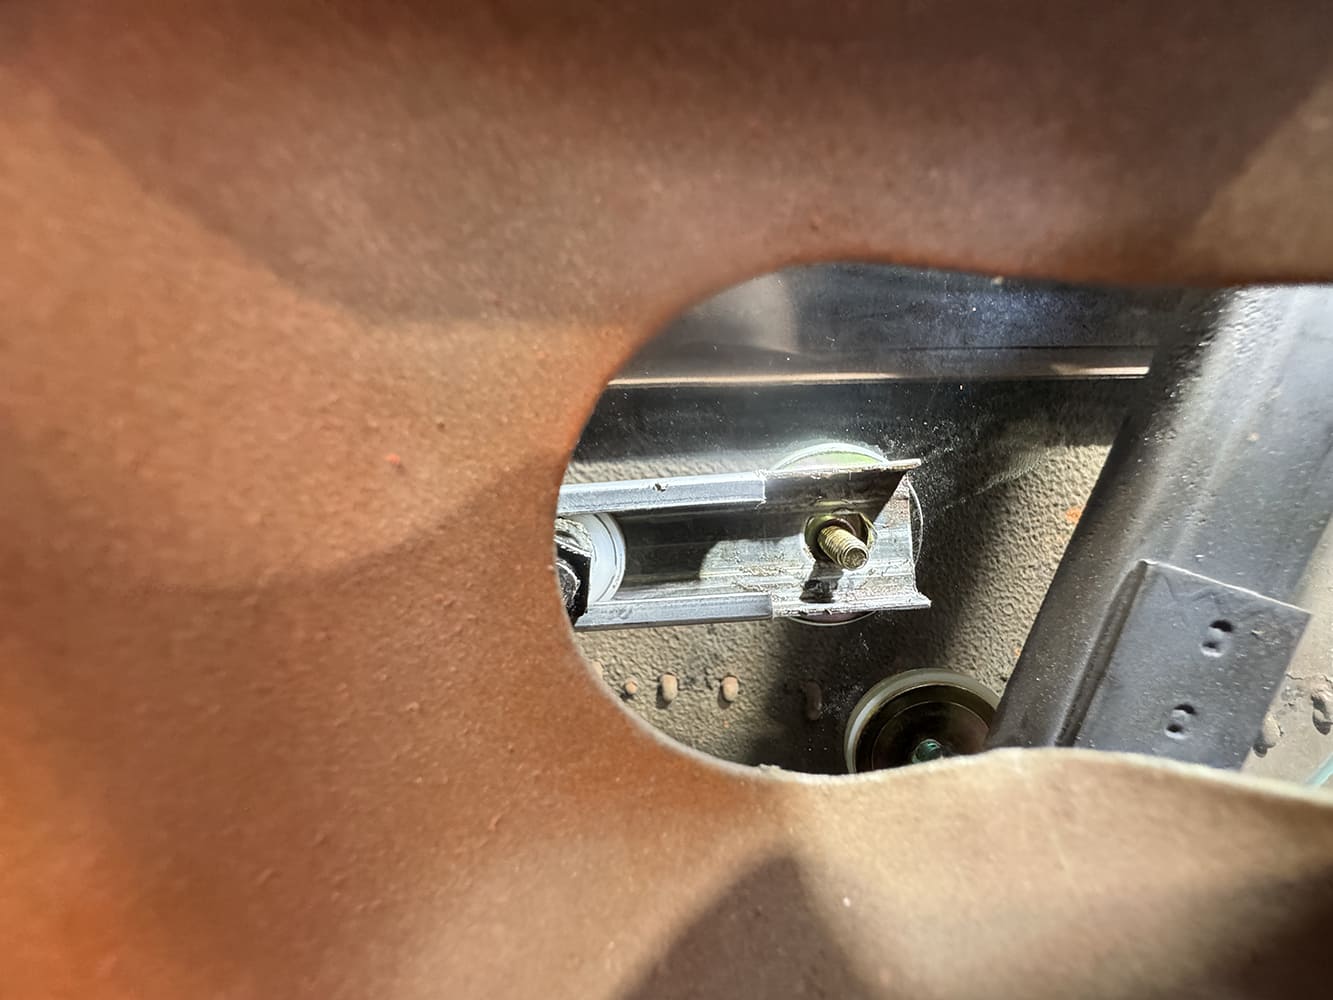
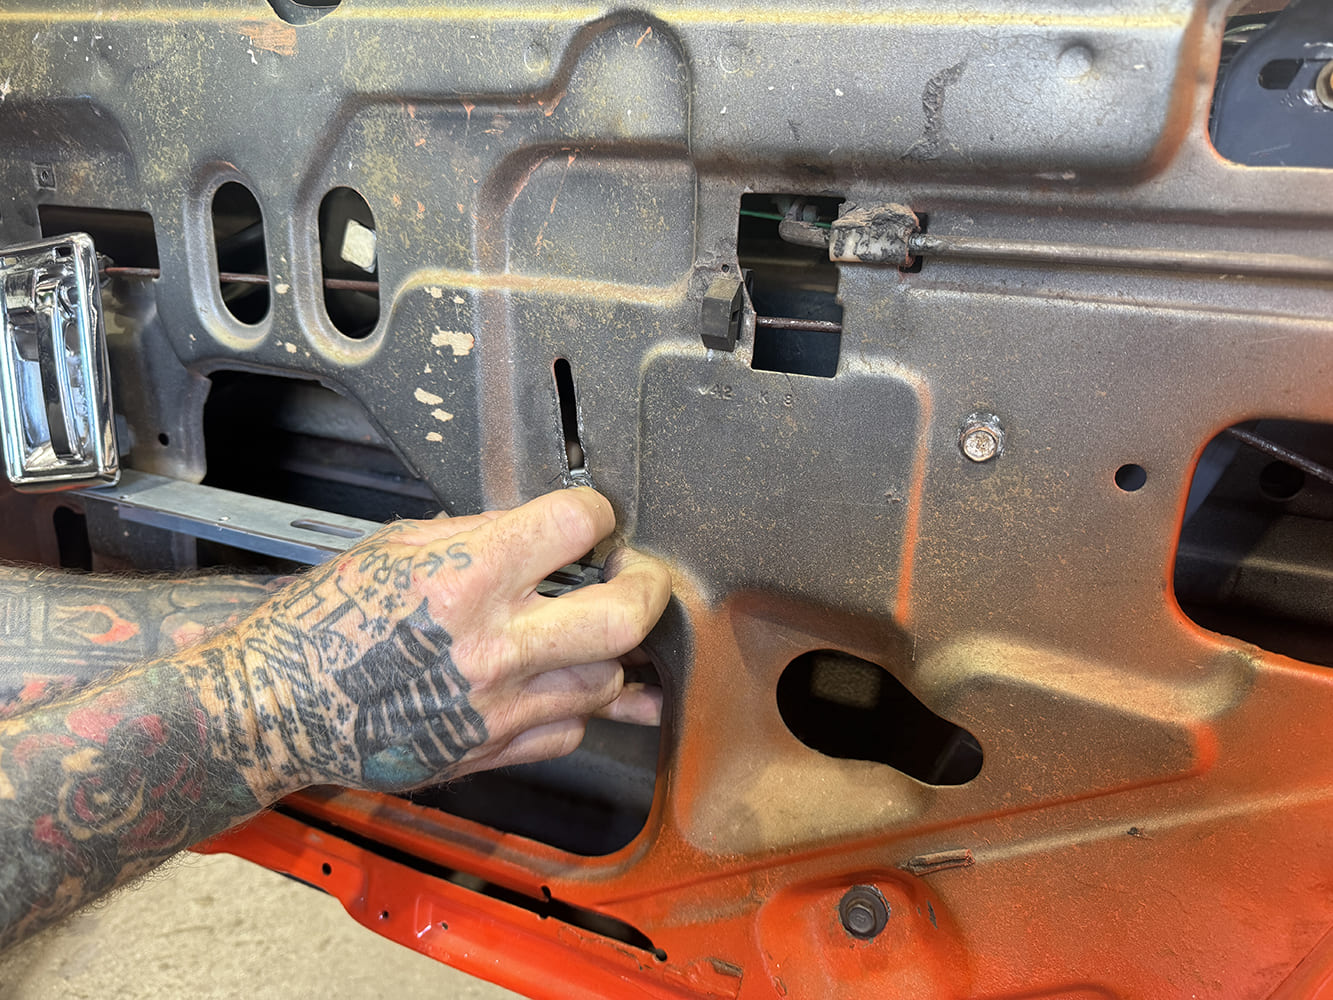
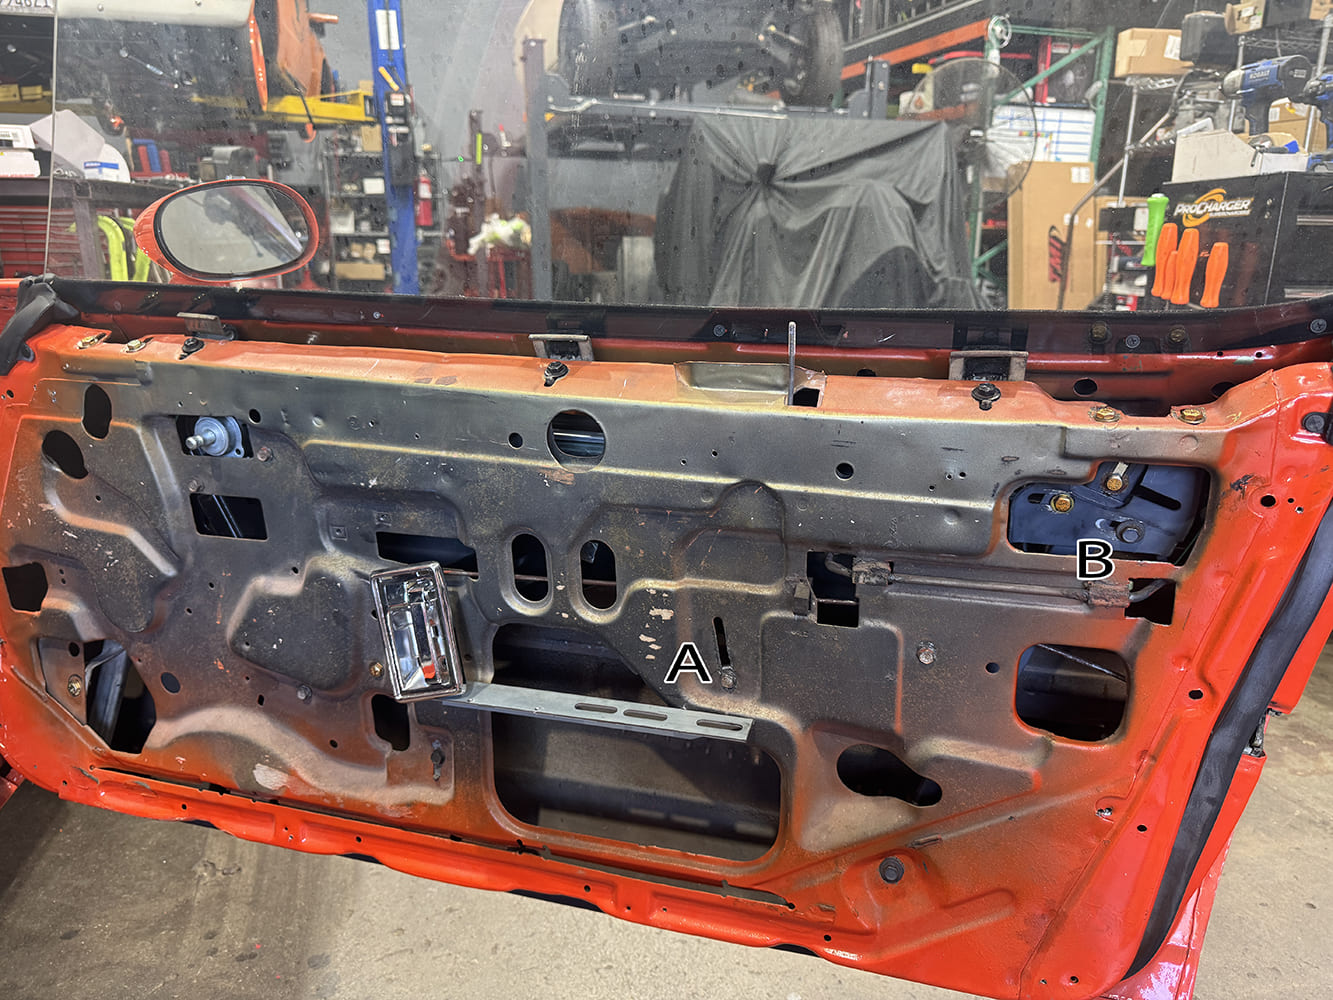
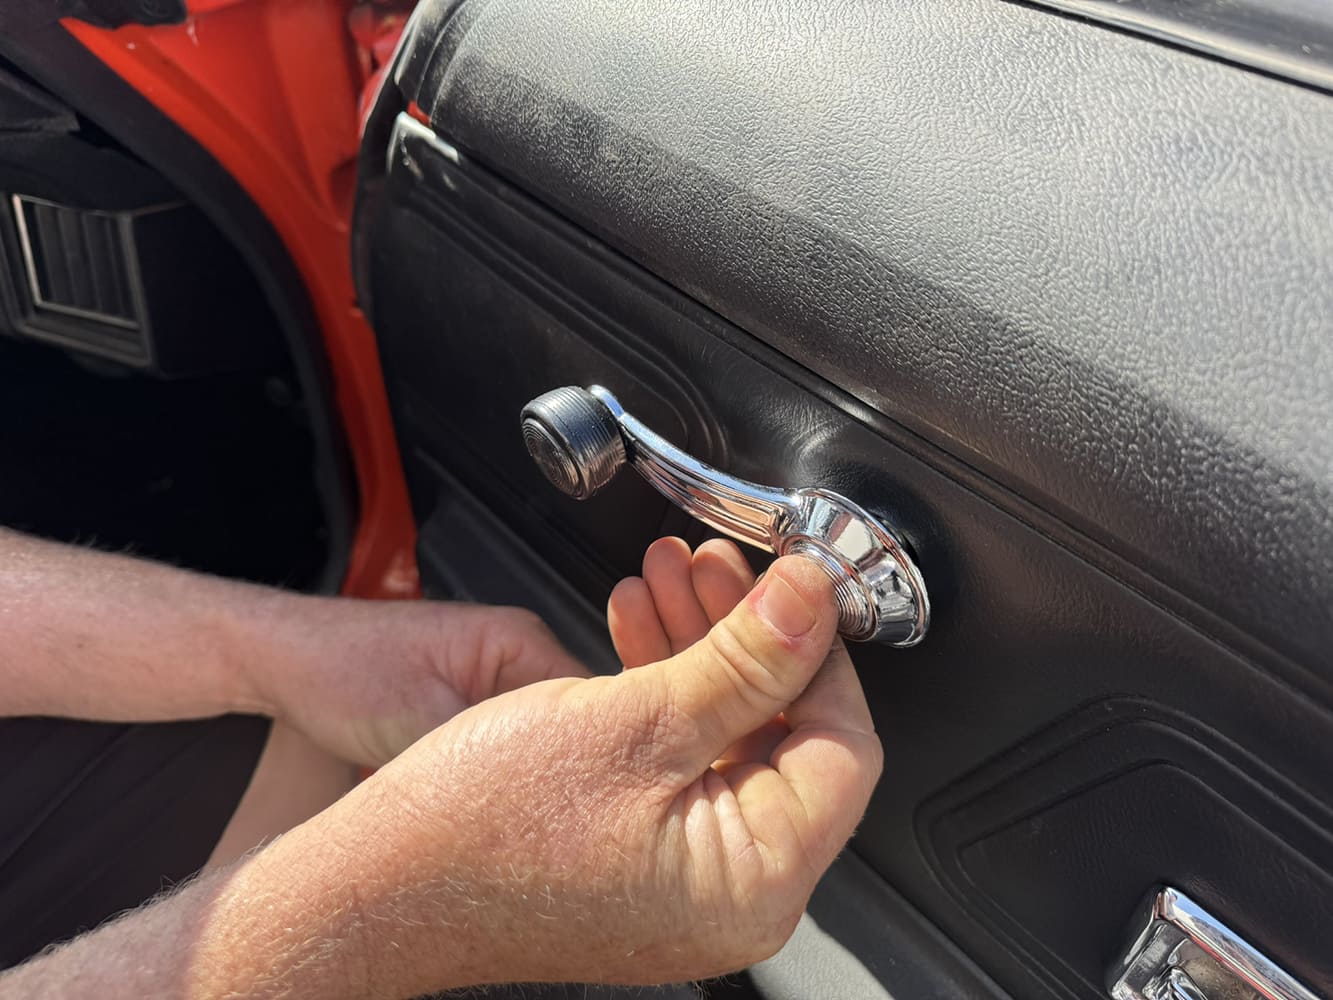
Time to remove the glass mounting track channel in the front, which will allow us to finally remove the glass.Not so fast. The two bolts on top of the rear mounting track channel had to be loosened first.From there, loosen the bolt to remove the glass stop.Now, remove the bolts from the mounting bracket adjuster plate, so the glass can be removed.Finally! Scudellari carefully pulls out the old door glass.With fresh glass from AMD in hand, Scudellari began installing the fresh hardware from the AMD kit. He started with the window guide using a touch of red Loctite as it will keep things snug, yet removable in case it needs to be replaced at some point. Don’t overtighten this piece as it will need to pivot smoothly.Using a pair of needle-nose pliers, Scudellari installed the rear window guide also with a little Loctite. Once again snug but do not overtighten.With the remaining window hardware installed per the included diagram, it was time to remove the old regulator by loosening the bolt just below the window crank mechanism.It takes a little convincing to maneuver the regulator in just the right position before the door becomes willing to give it up.With the old regulator out, we’ll be using the original window channel, as it’s still in great shape.Before installing the old channel on the new window regulator, Scudellari cleaned it up and gave it a thin layer of grease.A little grease on the plastic guide roller before installation will help ensure smooth operation and long life.Next, it was time to install the new regulator with the original cleaned-up window channels installed.There are four attachment points where the regulator bolts in. At this point, you’ll just hand-tighten everything as there will be some more maneuvering to get the glass in place.The arrows in this image illustrate the four attachment points of the regulator.Now, the new glass and attached hardware can carefully be slid in place.A great tip is to use these rubber wedges Scudellari found on Amazon. They hold the window in place as you line up the window channels. These are super useful if you get stuck doing this job without a helper.It’s tight and a little hard to see, but this is where the window roller goes on the window track on the rear.The front and rear window studs go through the channel on the regulator. Here you can see the rear stud prior to being bolted on.Here, Scudellari attaches the third roller from the regulator to the inner window channel.There are two glass adjustment points in the door: (A) (in middle of door) adjusts the window tilt from back to front and (B) adjusts the window front to back.Next to go in are the three new window adjustment door felts on top. These adjust the window depth and double as window guides for smooth up and down operation. Getting the windows adjusted takes a bit of patience, but with some time you’ll get those windows right where you want ’em.With that, Scudellari reassembles the door panel and tops it off with new window cranks from AMD.
We use cookies to ensure that we give you the best experience on our website. If you continue to use this site we will assume that you are happy with it.