Control Freak

CPP Control Arm Assemblies Will Simplify Your 1964 Chevelle Suspension Rebuild

By Tommy Lee Byrd – Photography by the Author

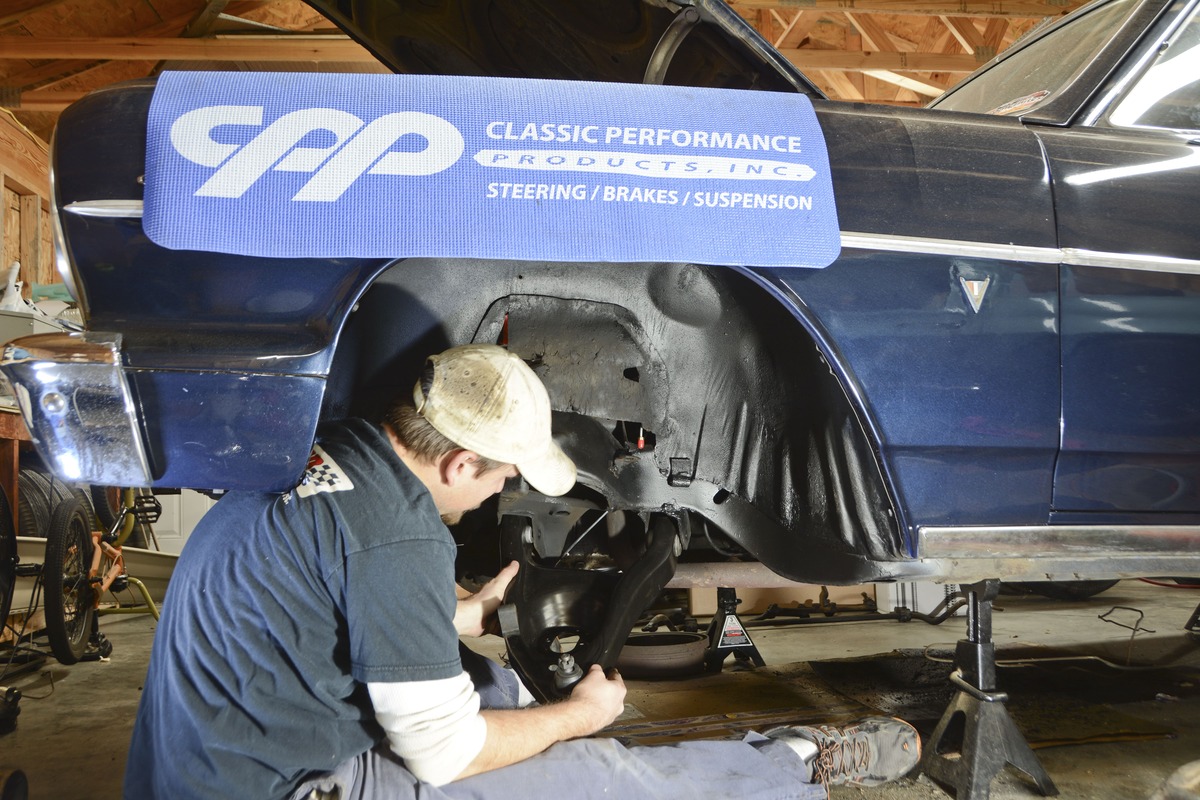
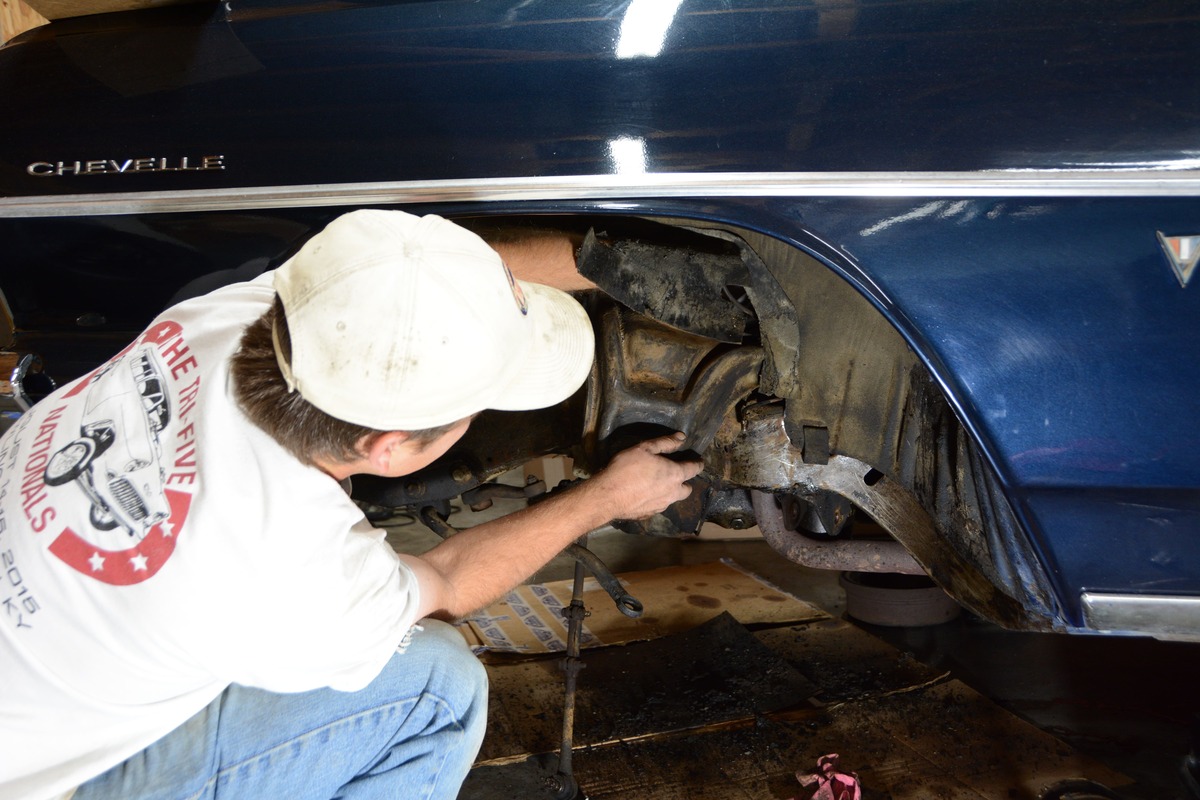
If you’ve ever been on the floor of your garage with your old car on jackstands, you’ve probably noticed a few problem areas. It seems that 50-plus years of service can take a toll on certain components, and with our 1964 Chevelle project car, it was obvious that we had some serious wear as we disassembled the car to swap the original drum brakes for a Classic Performance Products (CPP) disc brake system.

- Advertisement -

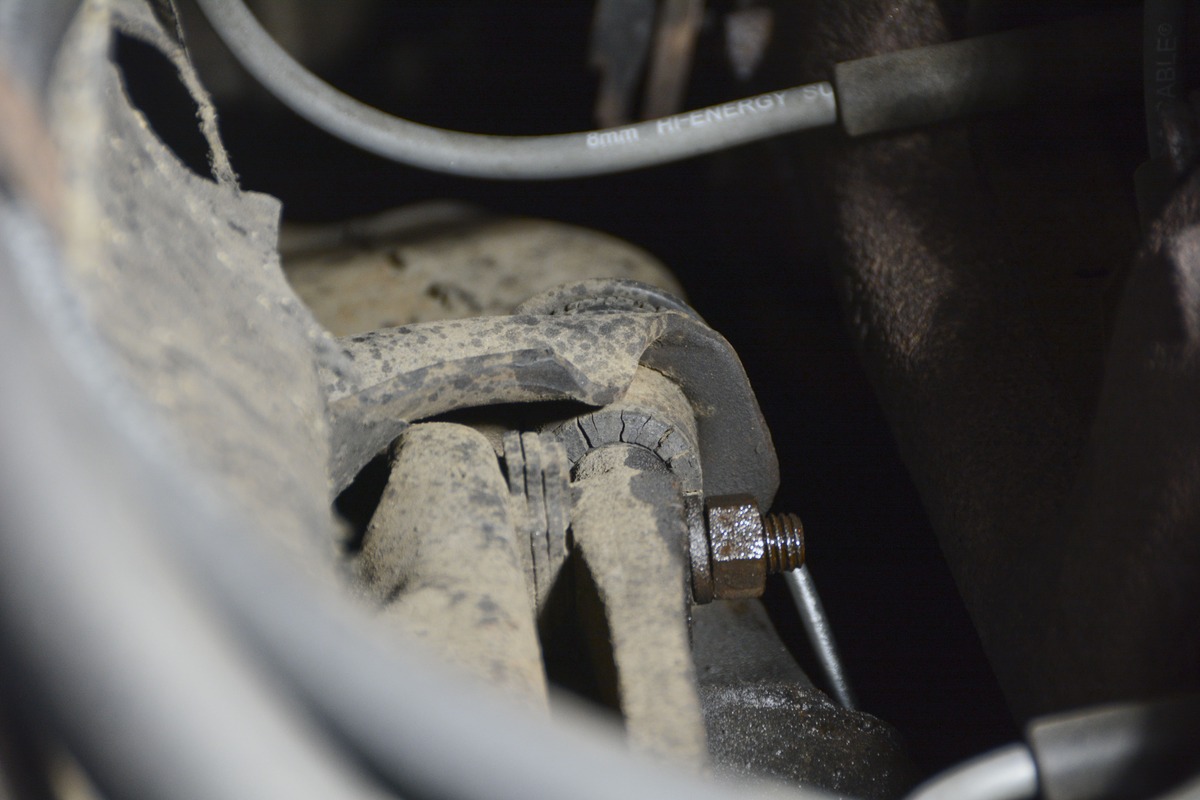
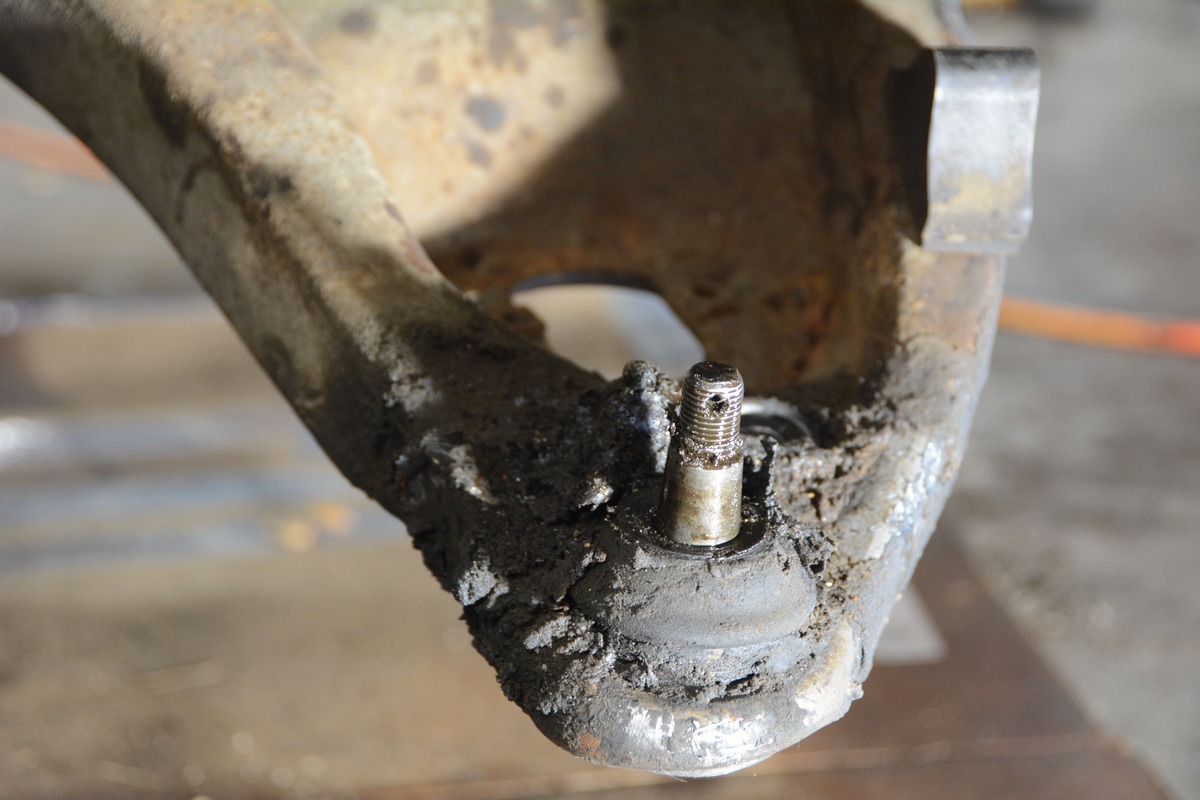
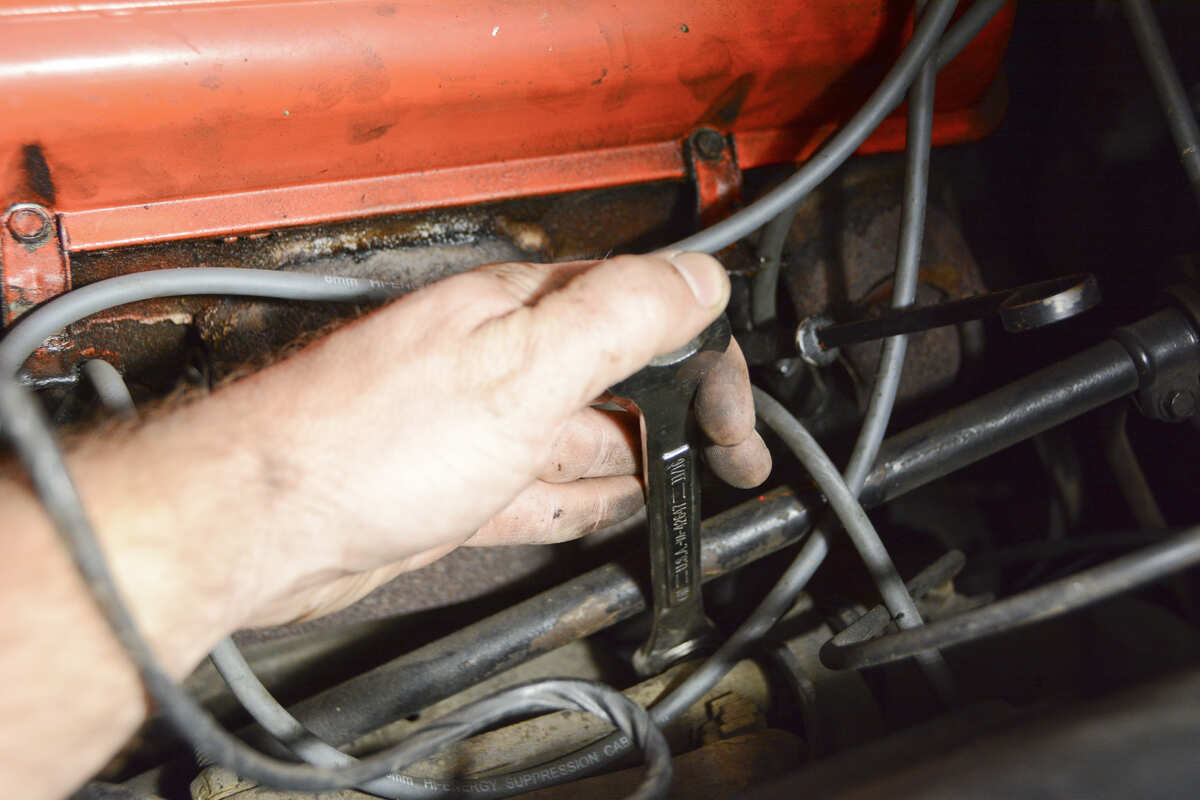
Suspension upgrades and installs are typically a “can of worms” because you’ll eventually replace every component under the car by the time you reach a stopping point. Such is the case with our Chevelle four-door sedan, as we noticed severe ball joint sloppiness and lots of crumbly, dry rubber where the control arm bushings are supposed to live. It would’ve been silly to reassemble the car with those ailing components beneath it, so we grabbed our favorite screwdriver and peeled open the can of worms.

What started as a simple disc brake upgrade turned into a bigger project as we inspected the ball joints and control arm bushings. Part of the initial process was removing the entire spindle and brake assembly.
It made perfect sense to replace these components while the front suspension was torn down. After the spindle and drum brake assembly are out of the way, we can release the tension on the lower control arm to carefully remove the coil spring.

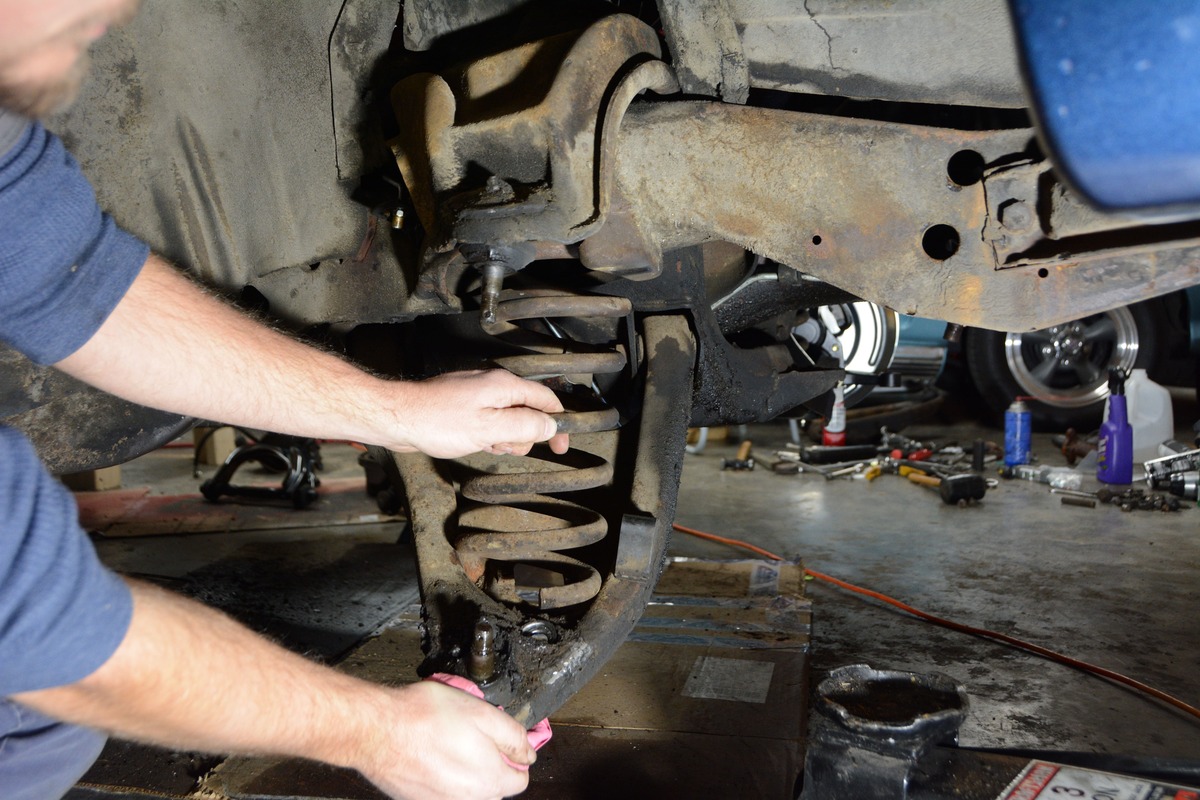
Ball joint replacement can be a pain, no matter how many times you perform the task of grinding, chiseling, and cutting the rivets that hold the upper ball joint in place. Control arm bushings also call for a lot of patience, as it usually requires an air chisel to remove them and a hydraulic press to install the new bushings. By the time we paid for the ball joints and bushings, and then spent the time disassembling and installing the new parts, we would be way ahead of the game by simply buying new control arm assemblies that were already loaded up and ready to bolt into place.

We suggest using an 11/16-inch socket on an impact gun to bump the splined bolt loose from its bracket. You don’t want to strip out the splines, as that keeps the bolt in place when the alignment shop is adding shims to adjust the caster and camber. After the bolts are removed, the upper control arm comes out easily.
The new CPP control arms are stamped steel units that already have the bushings pressed in and new ball joints installed. We used an angle grinder with an 80-grit disc and lightly sand the pockets where the bushings slide into the frame. Then, it’s time to push, hammer, and jack them into place.
The tight fitment could cause you some headaches, but if you can get one bolt pushed through the control arm that will give you leverage to jack the other one around to the right spot. Here, we have the rear bolt pushed through and use a wooden block and a floor jack to align the front bolthole.

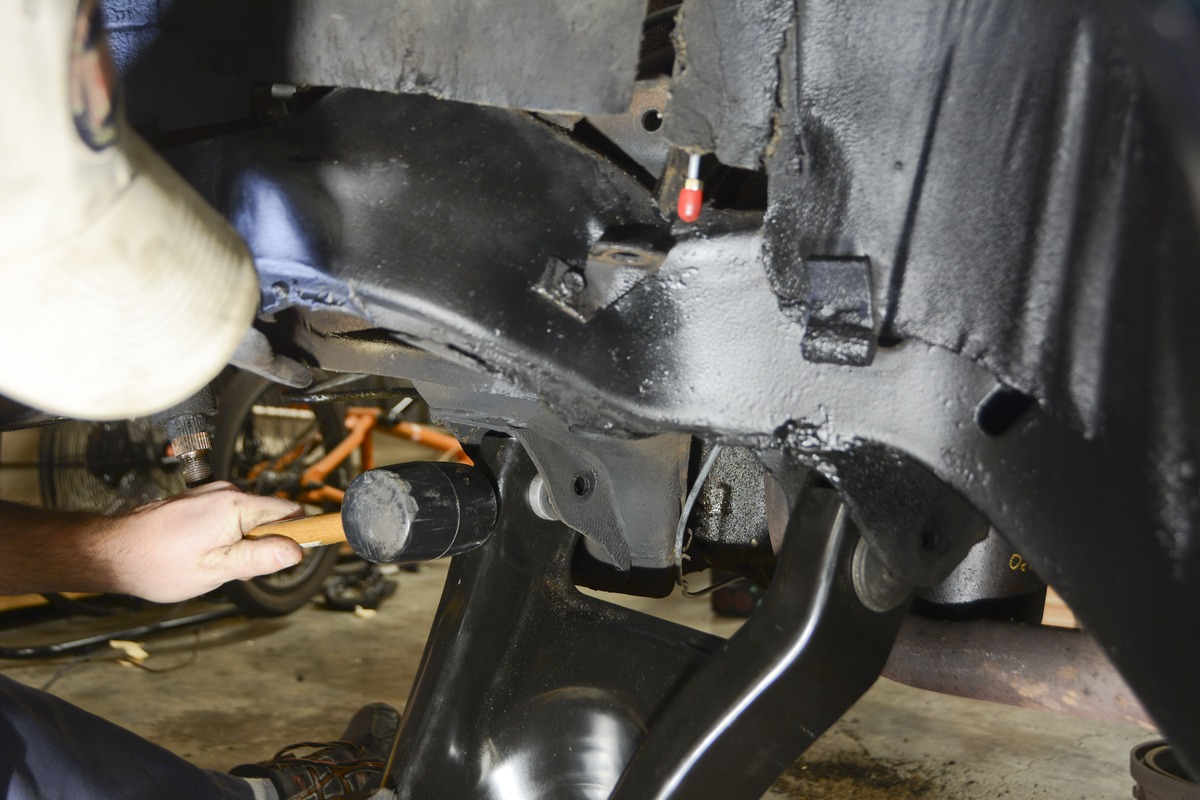
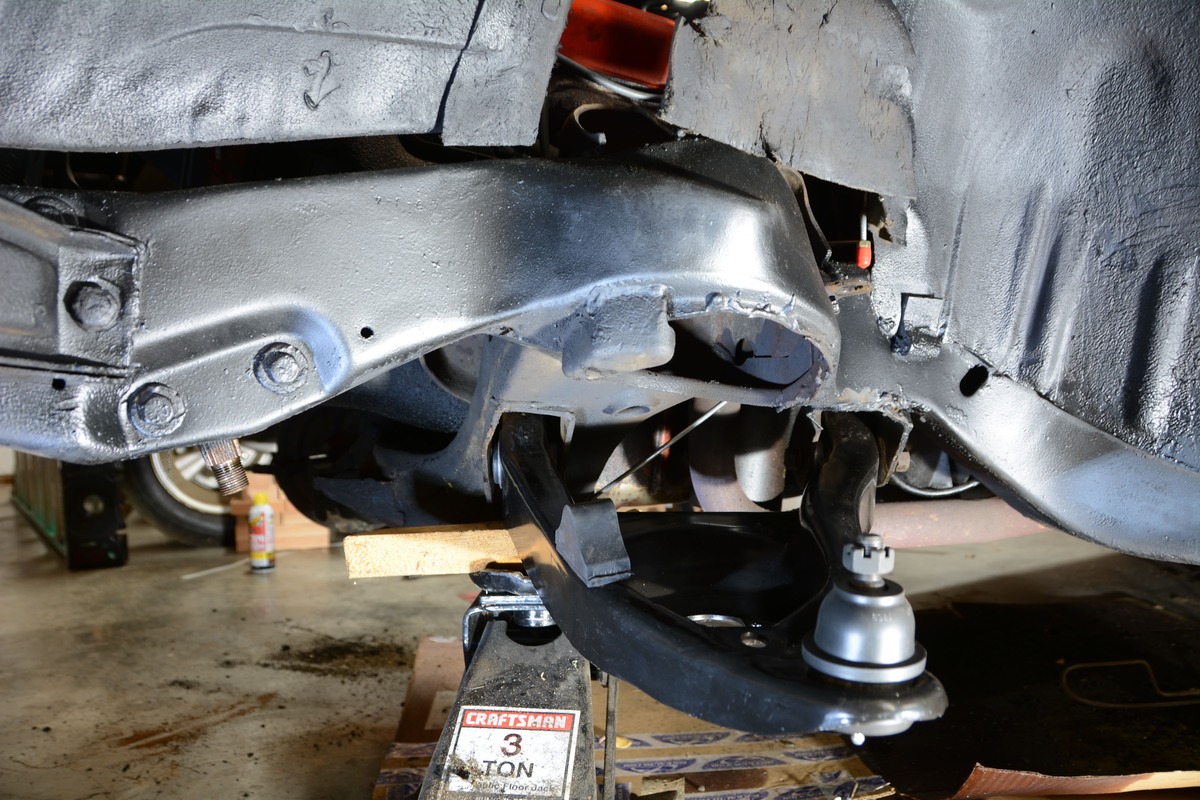
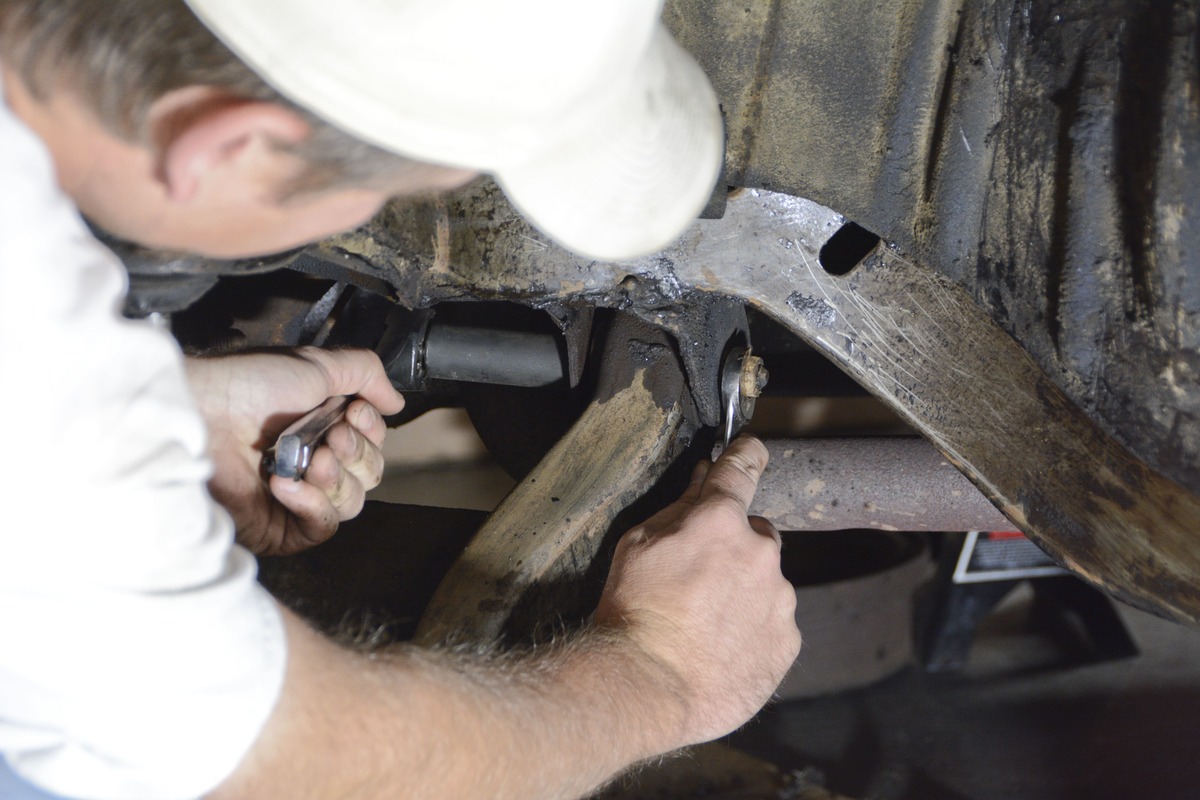
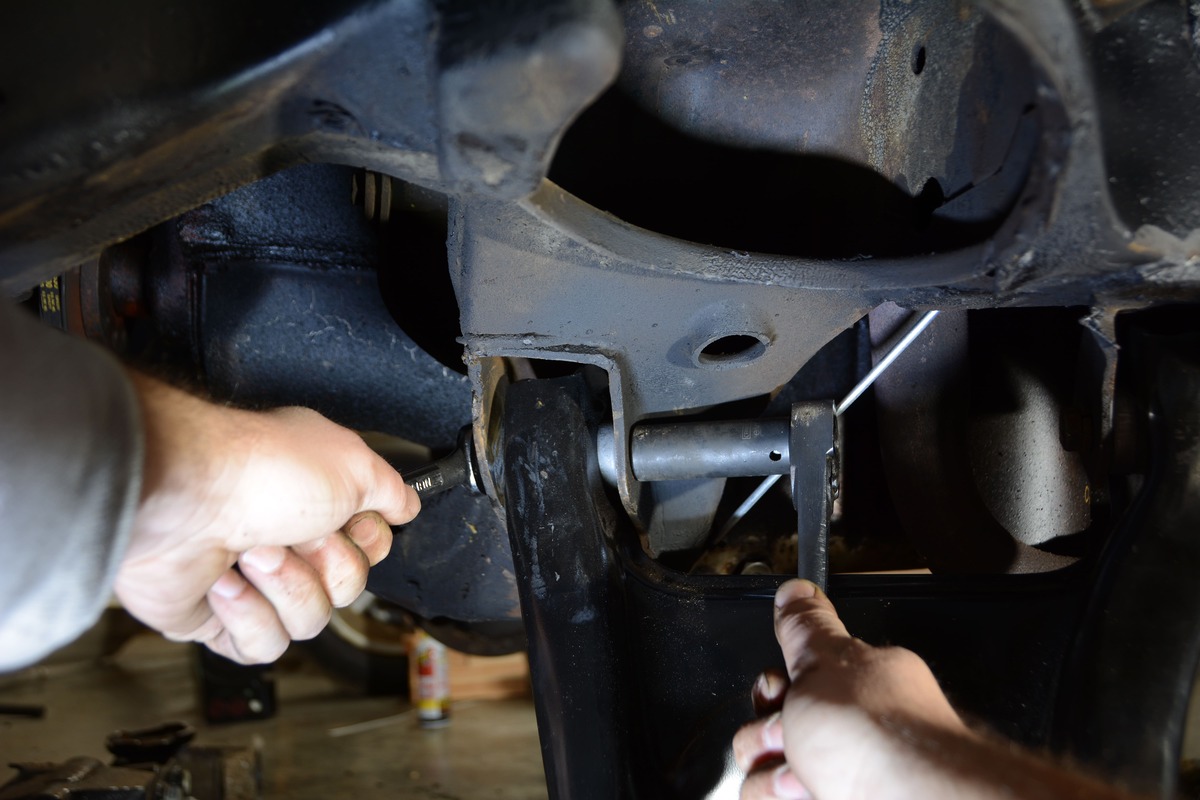
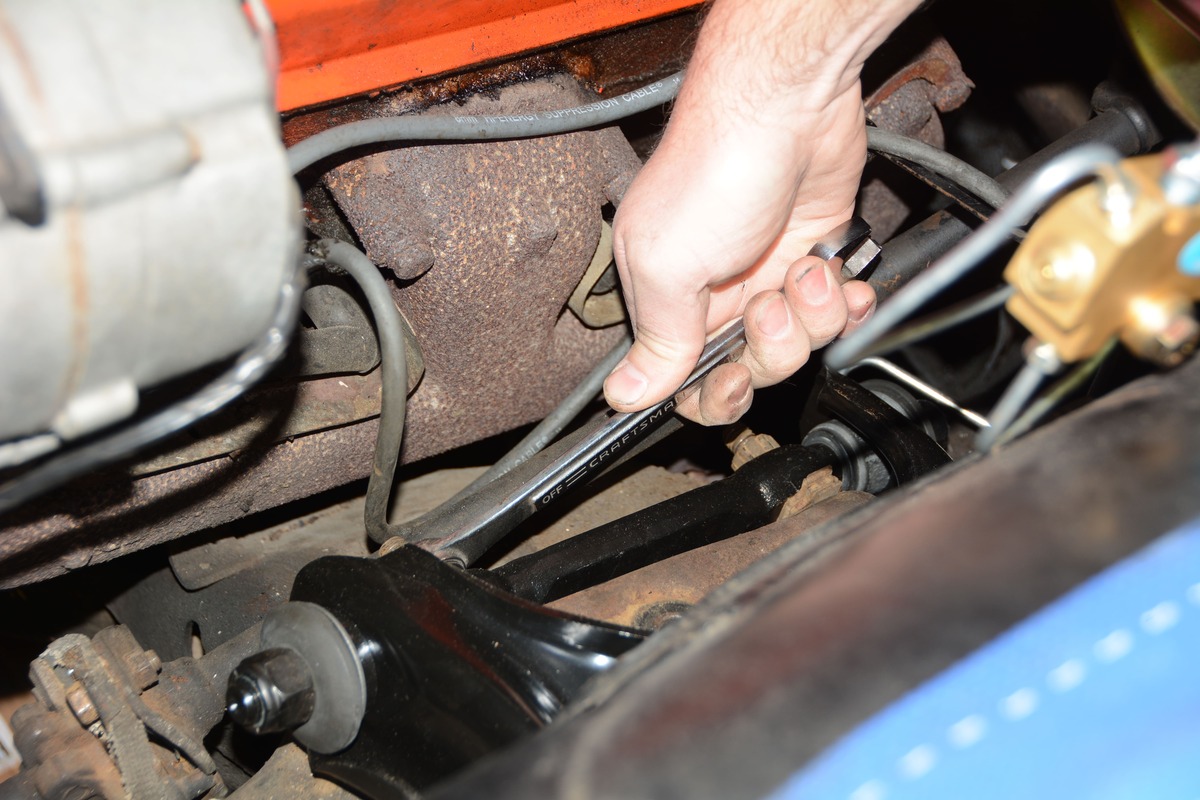
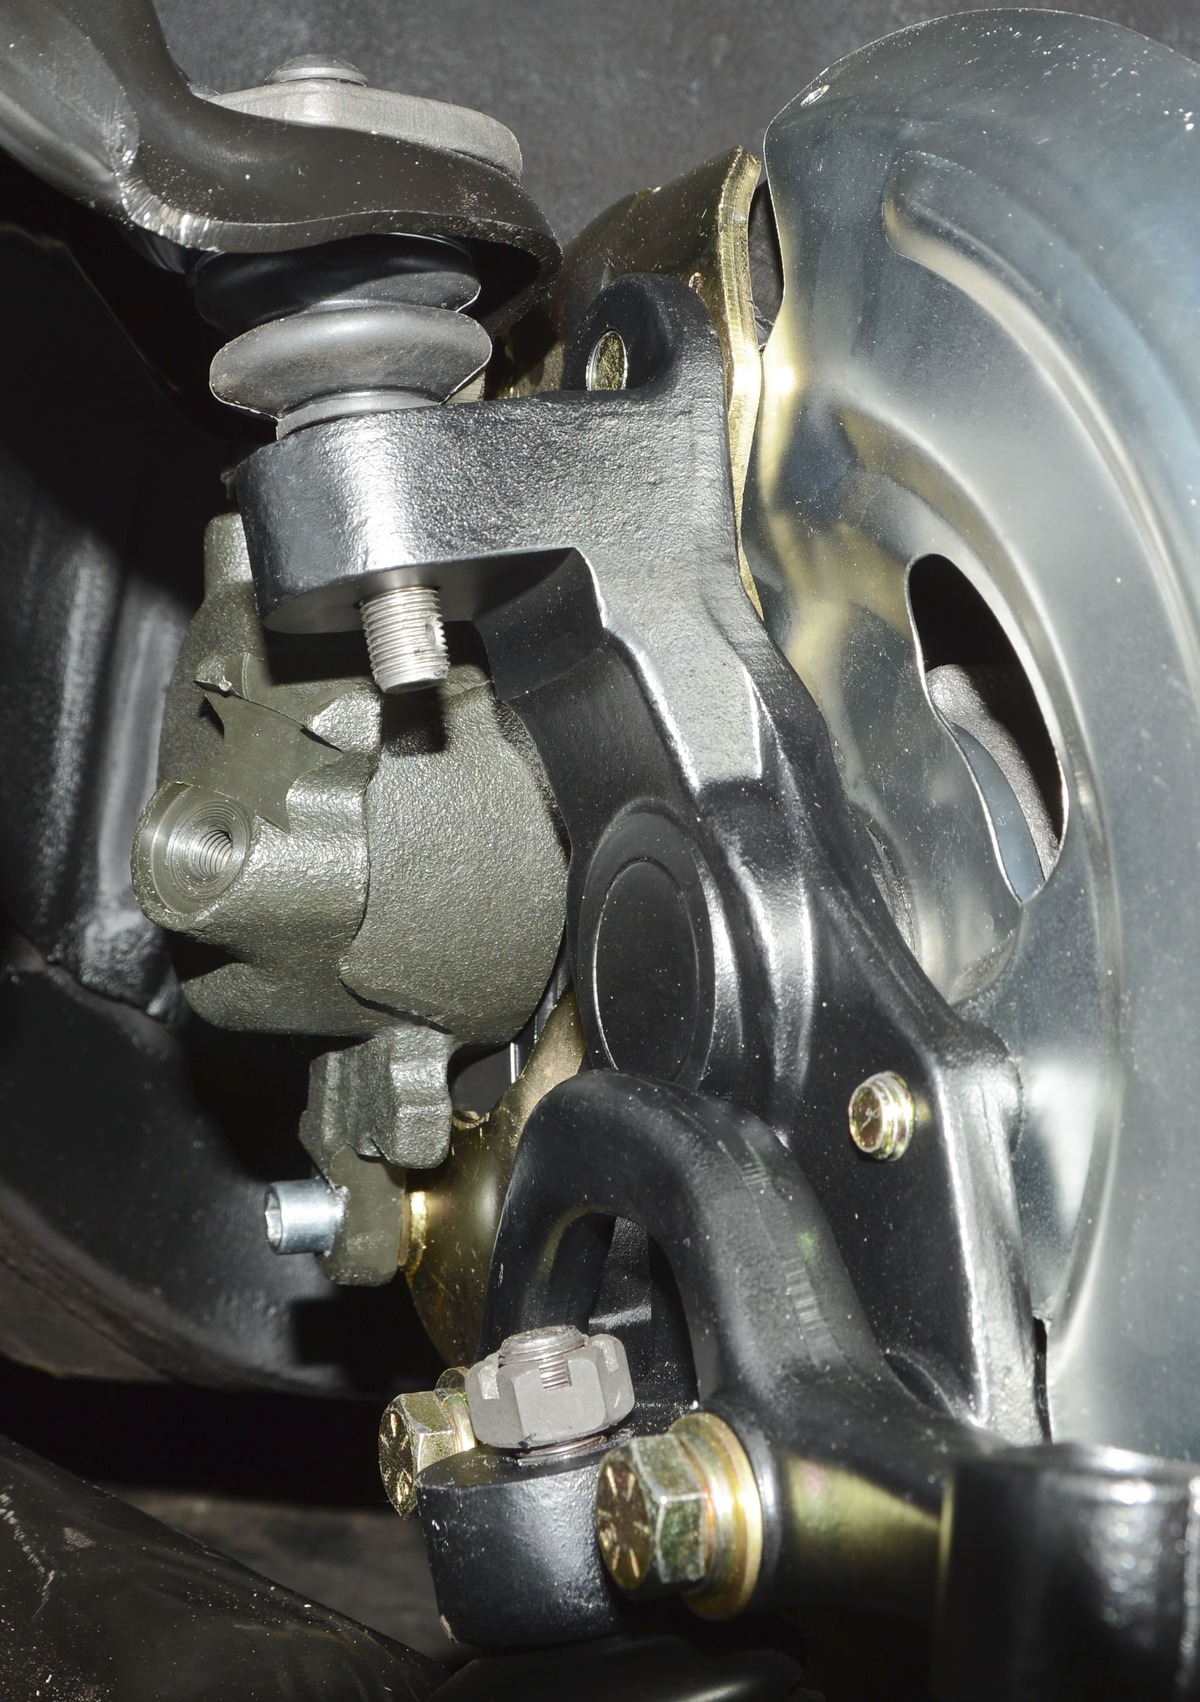
CPP offers new control arm assemblies for many makes and models, including our early GM A-body. Installation is still labor intensive, as the tight fitment of the lower control arms requires special care and the splined upper control arm bolts can cause a headache if not properly removed. But, for the money and the time invested, we were very happy with the complete assembly. For our build we wanted something that was budget-friendly and mild-mannered, so we went with the stamped steel versions with rubber bushings. Of course, CPP also offers tubular control arms with billet cross shafts and self-lubricating plastic bushings that are guaranteed not to squeak.

- Advertisement -
CPP’s upper control arms are the perfect fit for our budget-friendly daily driver. The original-style stamped steel arms feature rubber bushings and standard ball joints. We can set the control arm in place and install the two splined bolts.

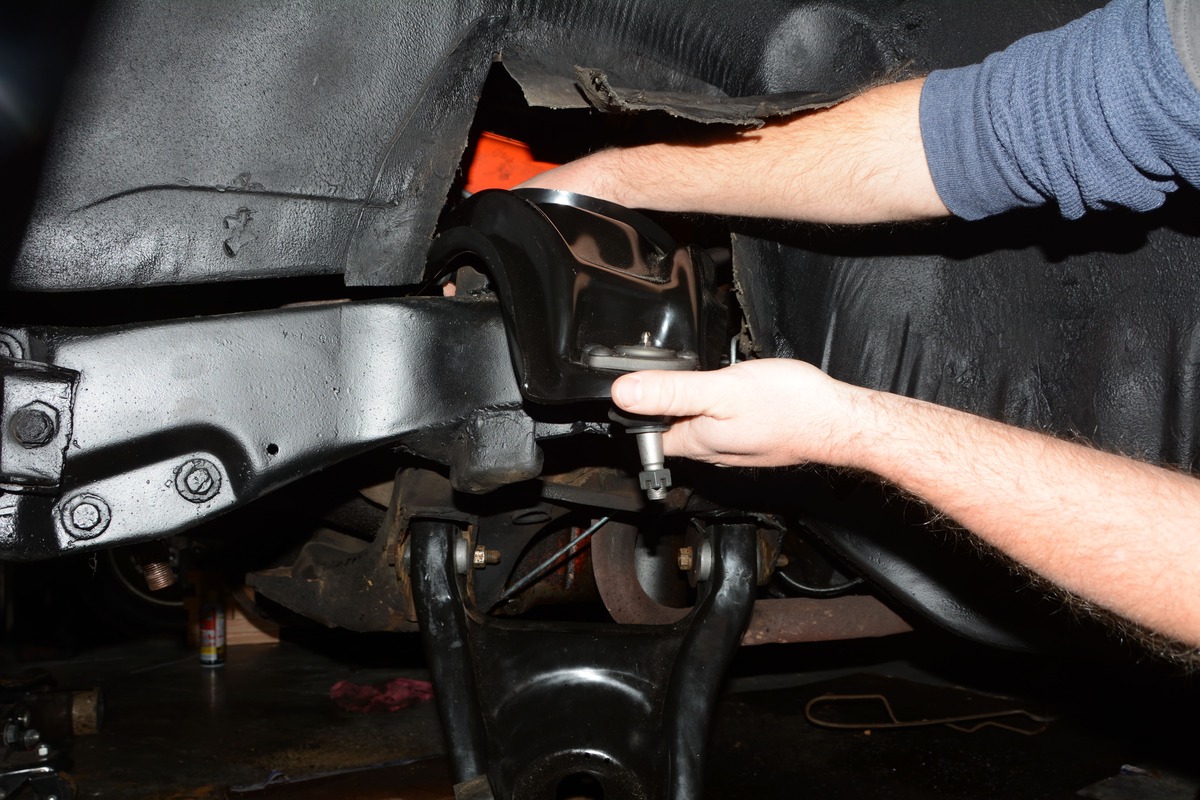
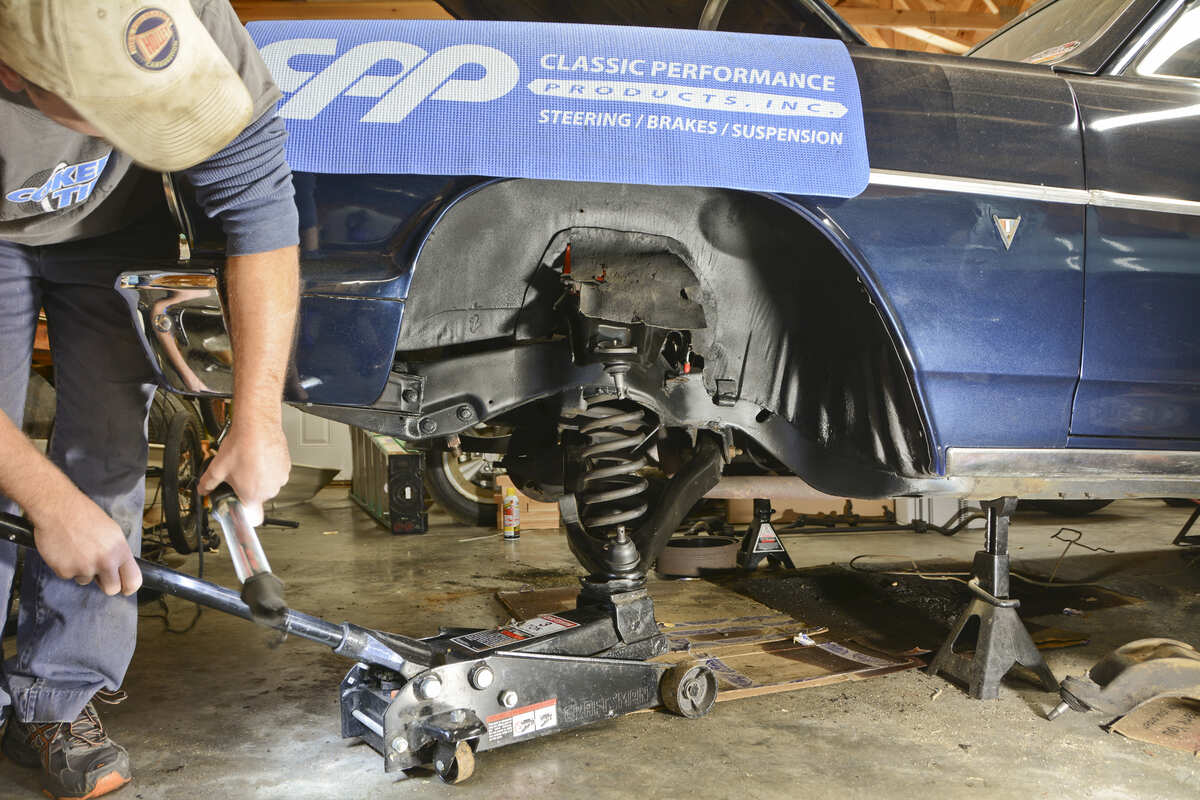
Installing the control arms requires some simple hand tools, but you can make life a lot easier with an impact and some 1/2-inch sockets, including 11/16- and 3/4-inch sizes. You’ll need a floor jack, a few blocks of wood, a good rubber mallet, and some grease to lubricate the bushings. After the new control arms are installed, and the rest of the front suspension and steering system is completed, we’ll have the suspension aligned. Then, it’ll be time to enjoy the tight feeling of a brand-new front suspension. Safety, comfort, and longevity is what we strive for with our 1964 Chevelle project, and CPP control arms saved a lot of time to get us one step closer to being on the road again. MR

Source
Classic Performance Products
(800) 522-5004
www.classicperform.com


- Advertisement -

Related Articles

Search Our Site

More Modern Rodding

2024 Barrett-Jackson Cup Winners and More

By Brian Brennan   -   Photography By the Author and...

Rodding Around – Automotive Racing Products& South City Rod & Custom Receive Accolades

Automotive Racing Products Named HRIA Business of the Year...

Purple Reign: Custom Pinstriped Merc Coupe

Brian Omatsu's 1951 Mercury Coupe: Blending Styles from Classic...

Parting Shot: Isky’s Tribute Ford Roadster

Dennis Taylor’s Modern-Day Representation Of Isky’s Ford Roadster At...

2024 Detroit Autorama Ridler Winning ’53 Corvette

Owned by Dave & Tracey Maxwell & Built By...

First Look 2024 Detroit Autorama Great 8

The 71st Annual Detroit Autorama & The Competition For...
More Modern Rodding

Modering Rodding News: GUNIWHEEL, X-60 Buick Invicta, Giveaway at Triple Crown of Rodding

  GUNIWHEEL Supports Operative Talent GUNIWHEEL is proud to announce its...

2024 Barrett-Jackson Cup Top Five Finalist Revealed – 1968 Ford Mustang

From the Shop of East Bay Muscle Cars Comes...

David’s Dream 1938 Ford Coupe Build

David Burgard’s Good-Looking Hot Rod Ford Coupe By Dale Moreau ...

2024 Barrett-Jackson Cup First Look At Competitors

Country’s Best-Looking Hot Rods, Trucks, and More Compete For...

How To Fix Quarter Panel Rust

Patch Panel Install For Rust Repair on Your Vintage...

Hemi Swapped 1932 Ford Roadster

Dave Gray’s Deuce Roadster Built In only 5 Months By...

Our digital and print versions offer tons of exclusive content not offered here. Click here to subscribe >