Bumpers are not something typically high on the build priority list, but if you’re building any kind of custom or street machine, or even a hot rod, you really need the bumpers tucked to fit perfectly and certainly tighter than factory.
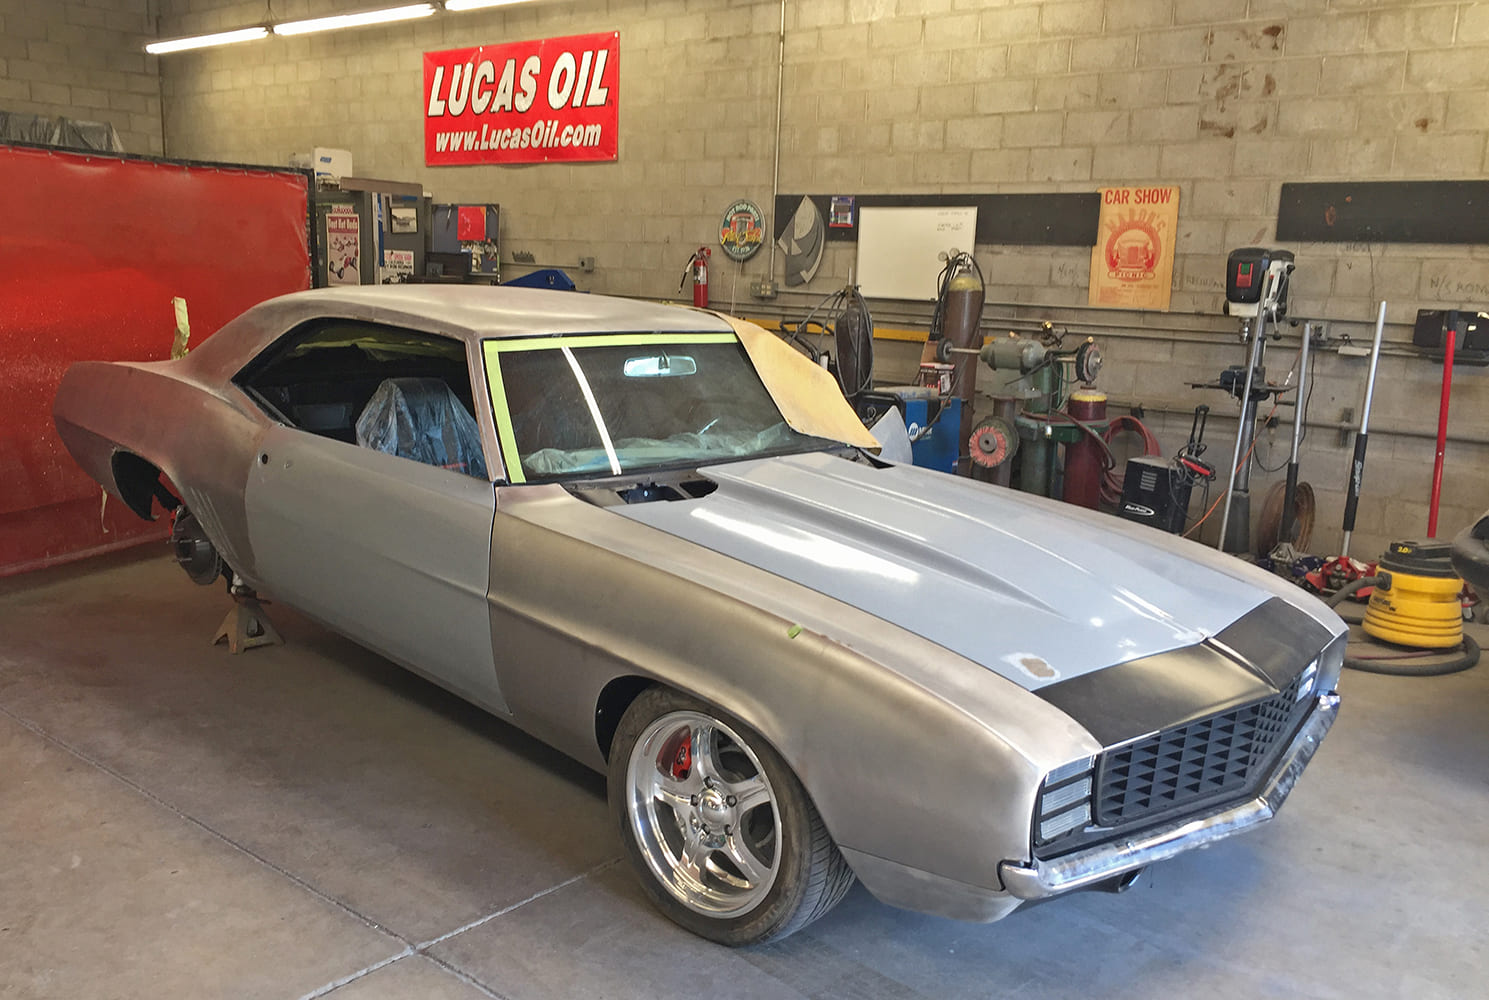
Jeff Pont’s 1969 Camaro is shown here prior to painting and out of sequence when fabricator Pauly Rivera had installed the front bumper to check fit. It fit like it came from the factory, which was not good enough for Pont or Mick’s Paint.
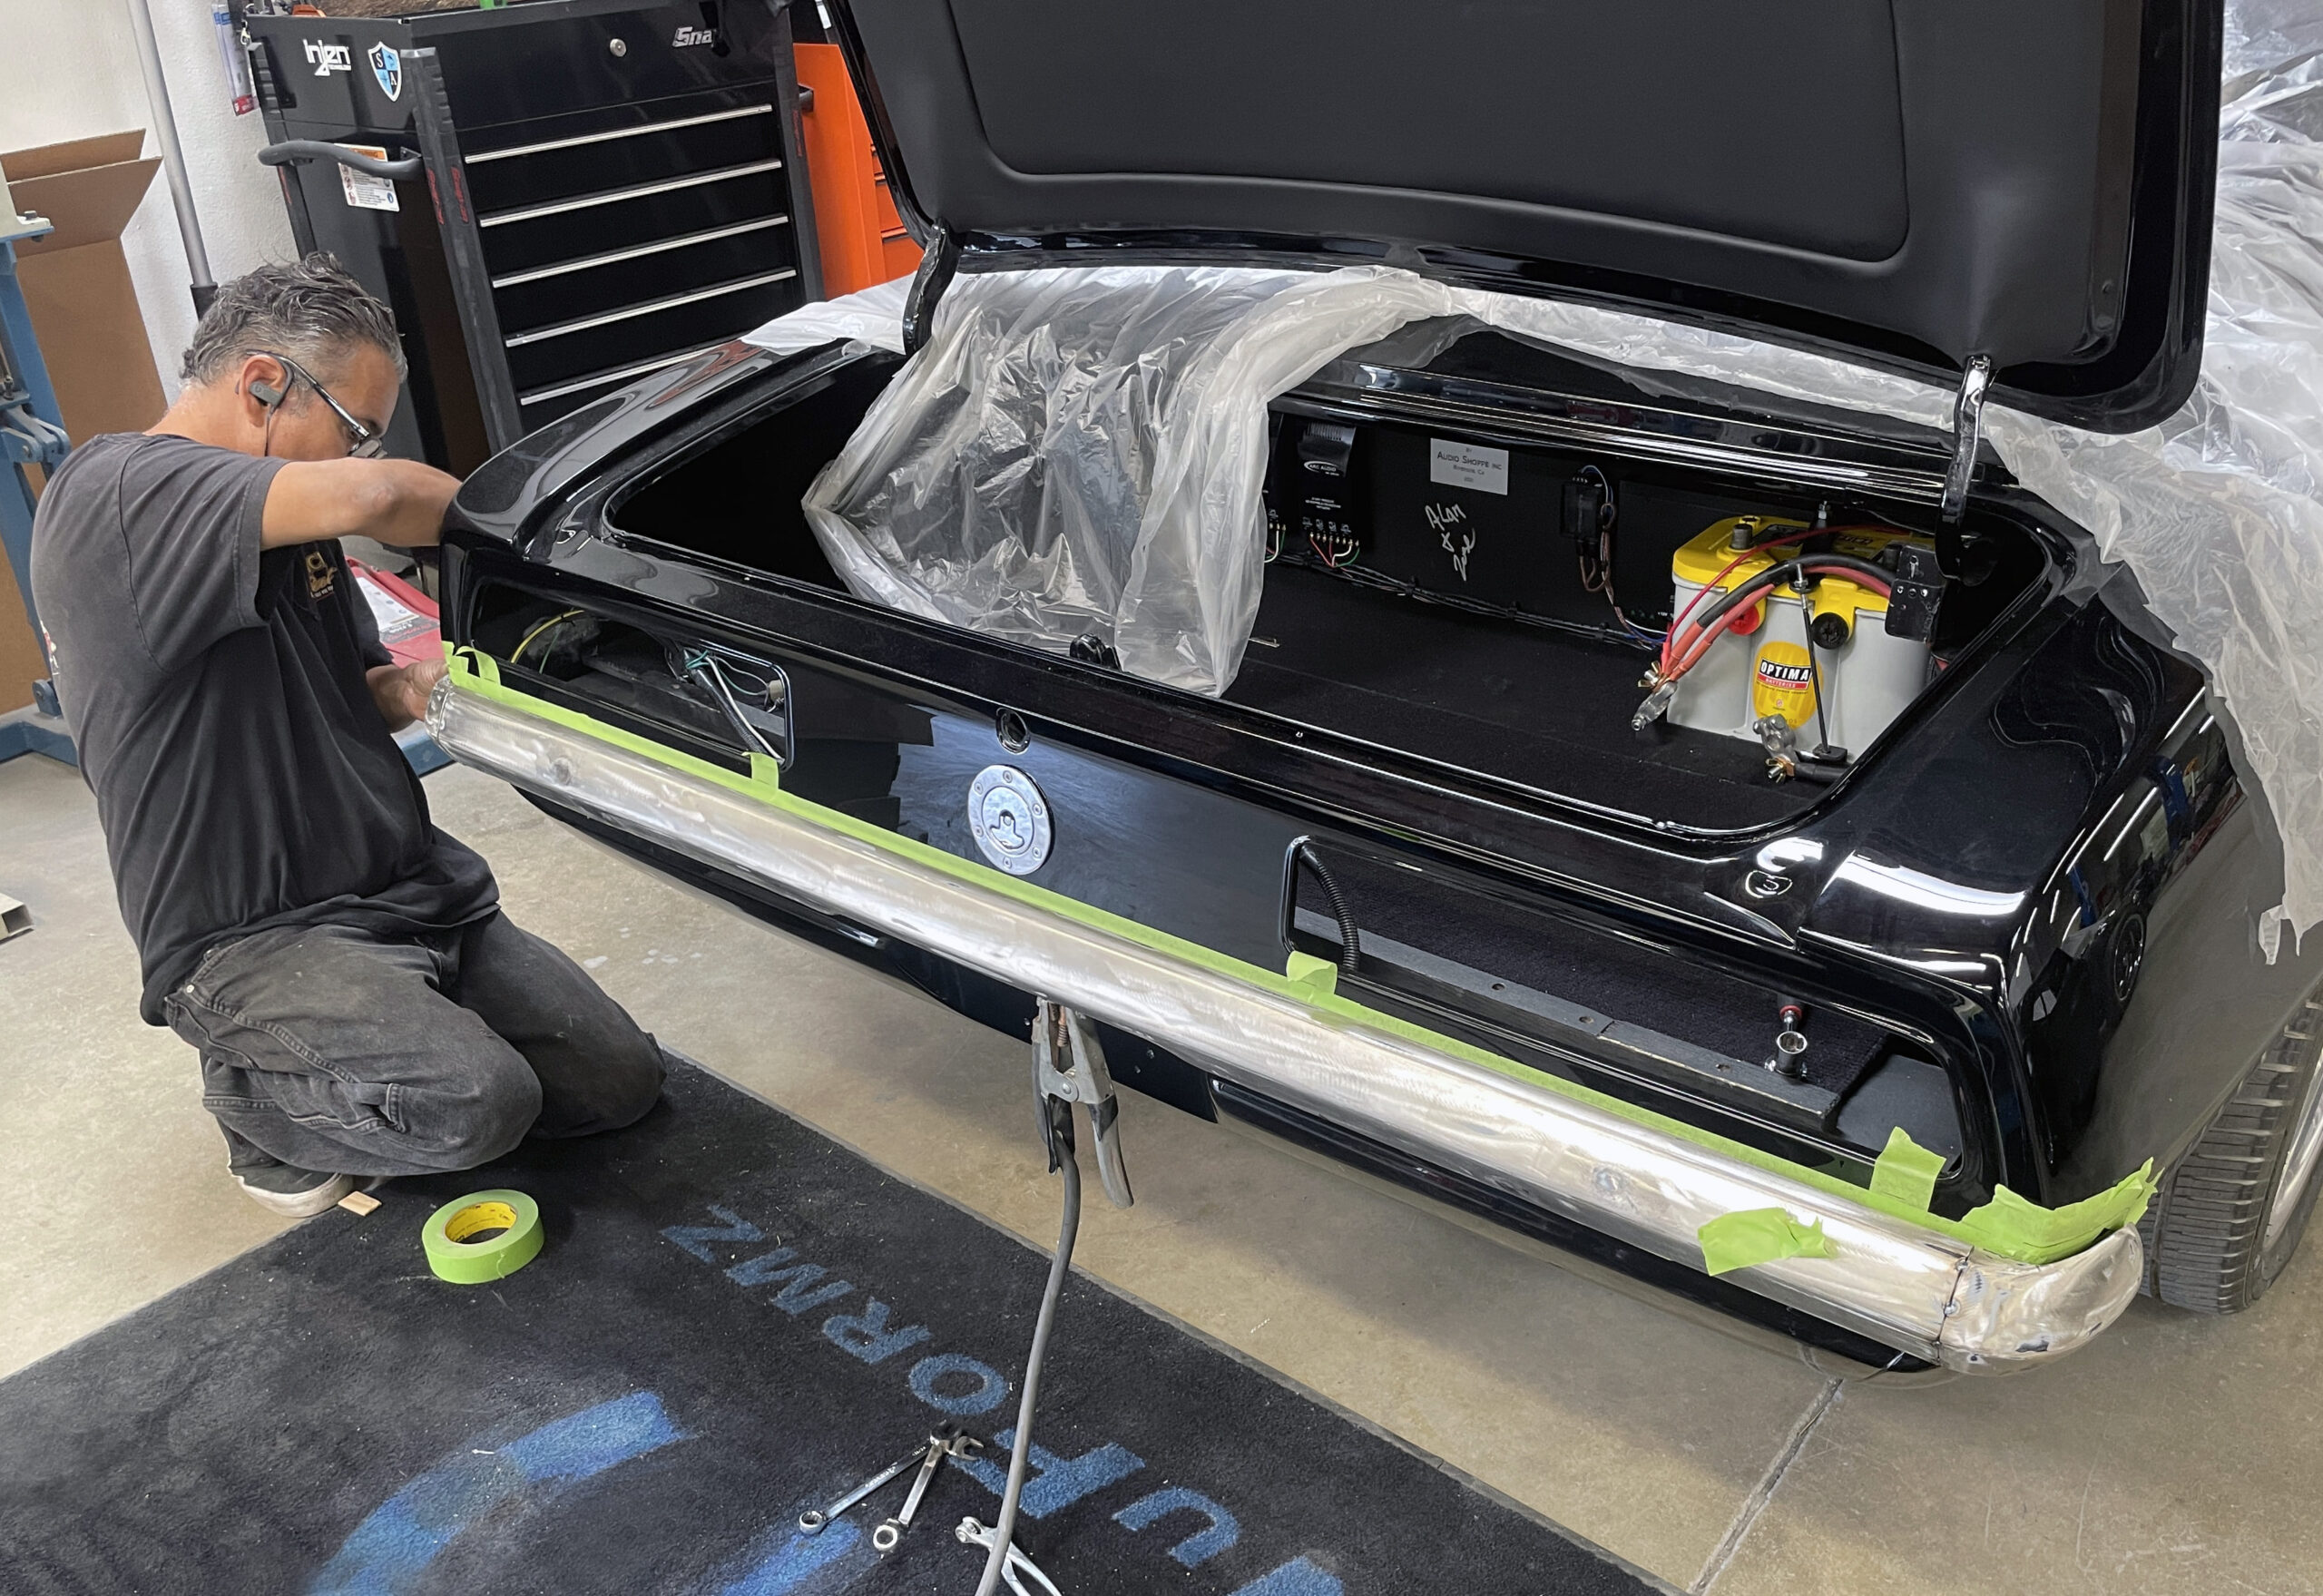
Recently, while touring Mick’s Paint in Pomona, California, we came across Jeff Pont’s 1969 Camaro that was undergoing a complete makeover from front to rear bumper. Now, Pont’s a detail guy so he likes things to fit, and fit better ’n’ factory, and the stock bumpers were just not cutting it. Stepping up to the task was Pauly Rivera, Mick’s crafty fabricator, to make the factory bumpers fit like, well, like they should have from the factory with no visible fasteners. In this case, the bumpers were eventually to be painted body color and not chrome plated. Were they to have been chromed, then a whole lot more finish work would have been necessary.
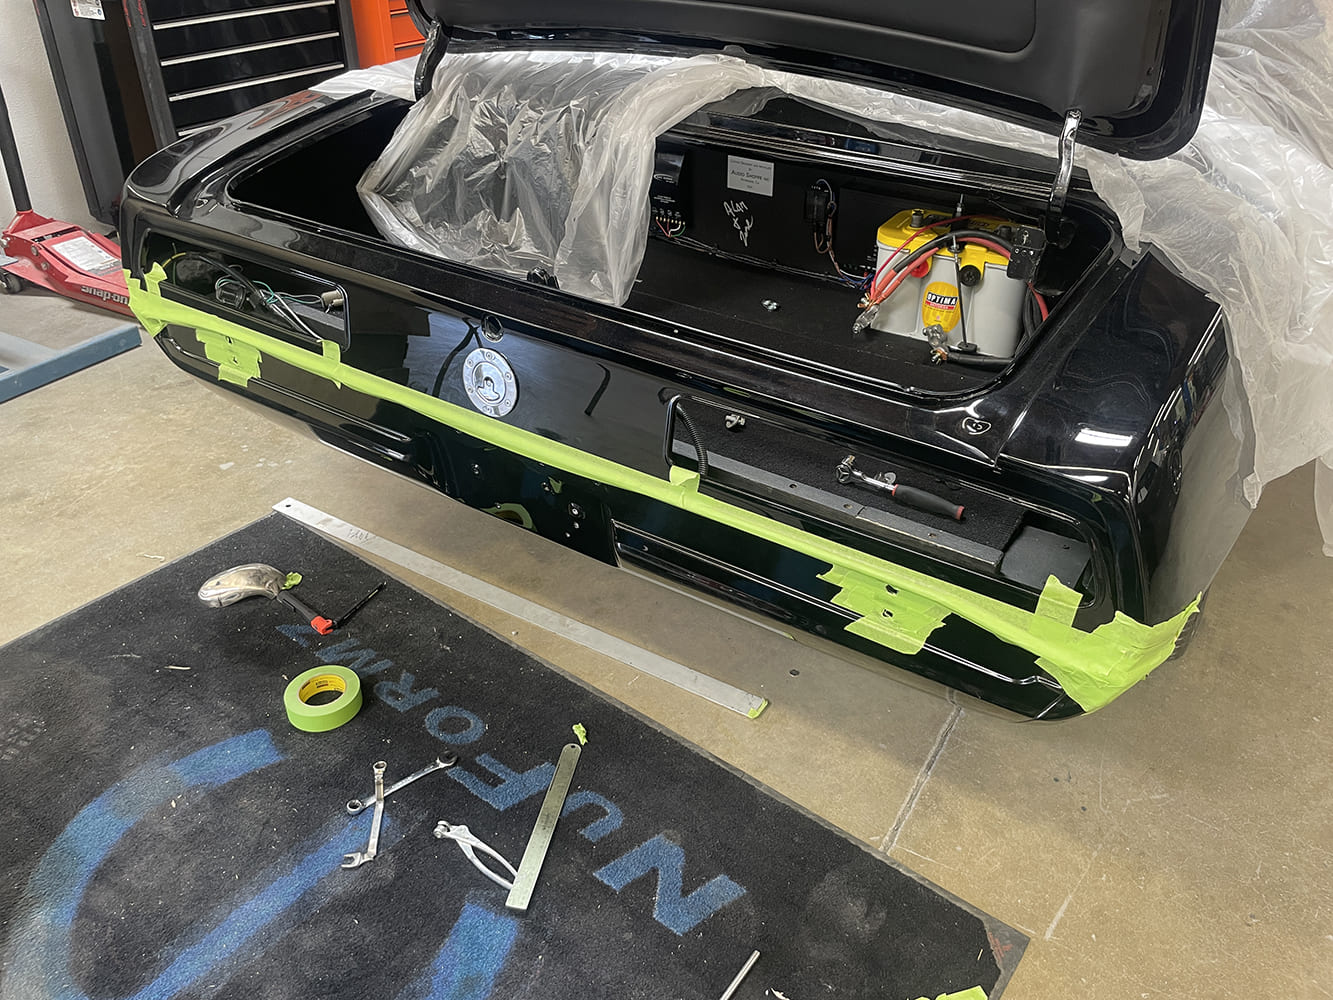
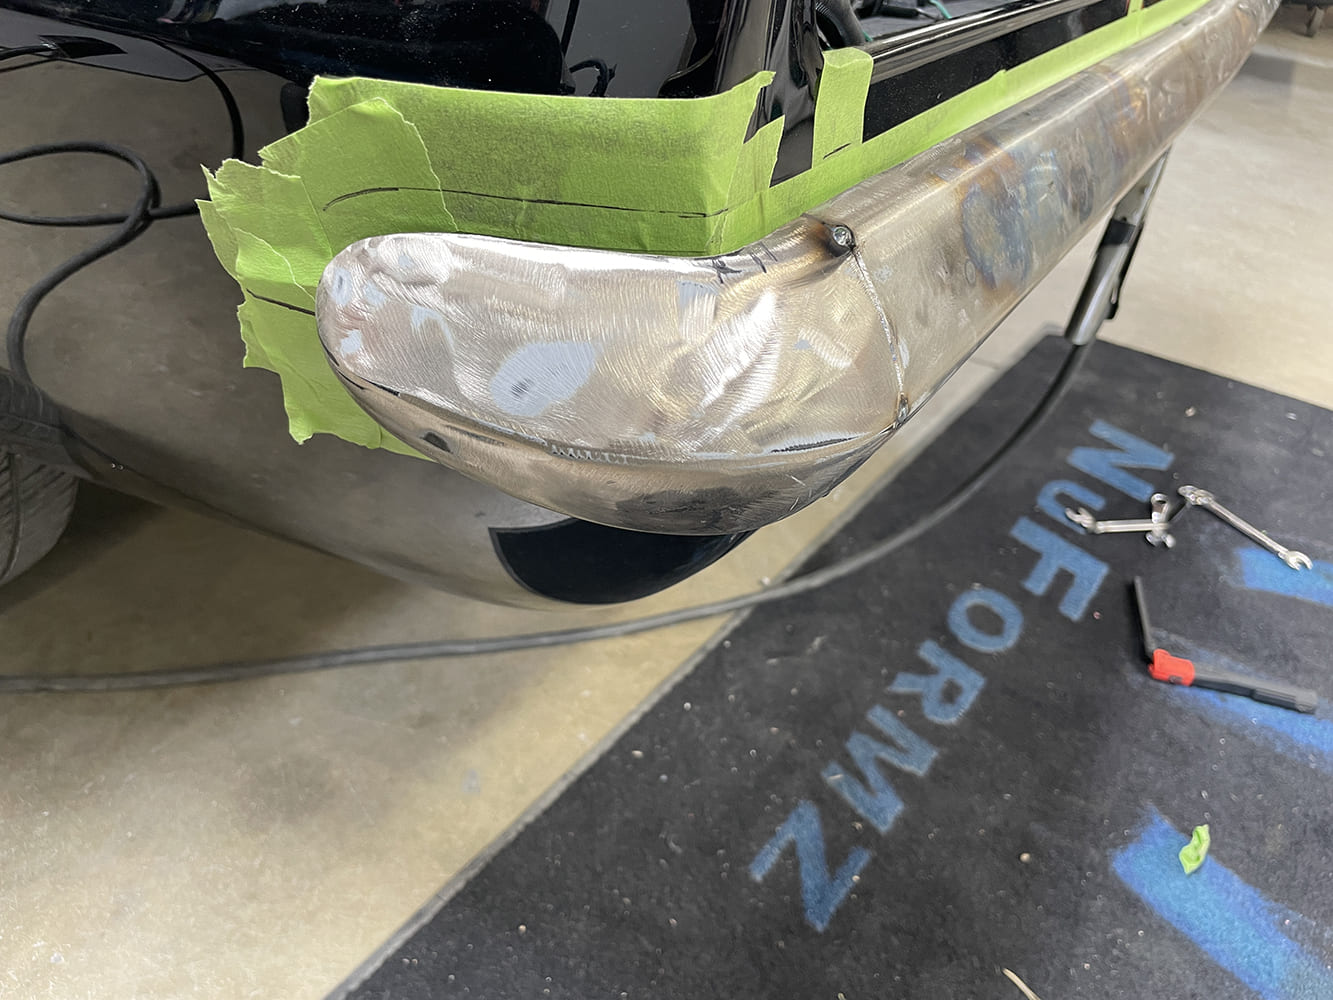
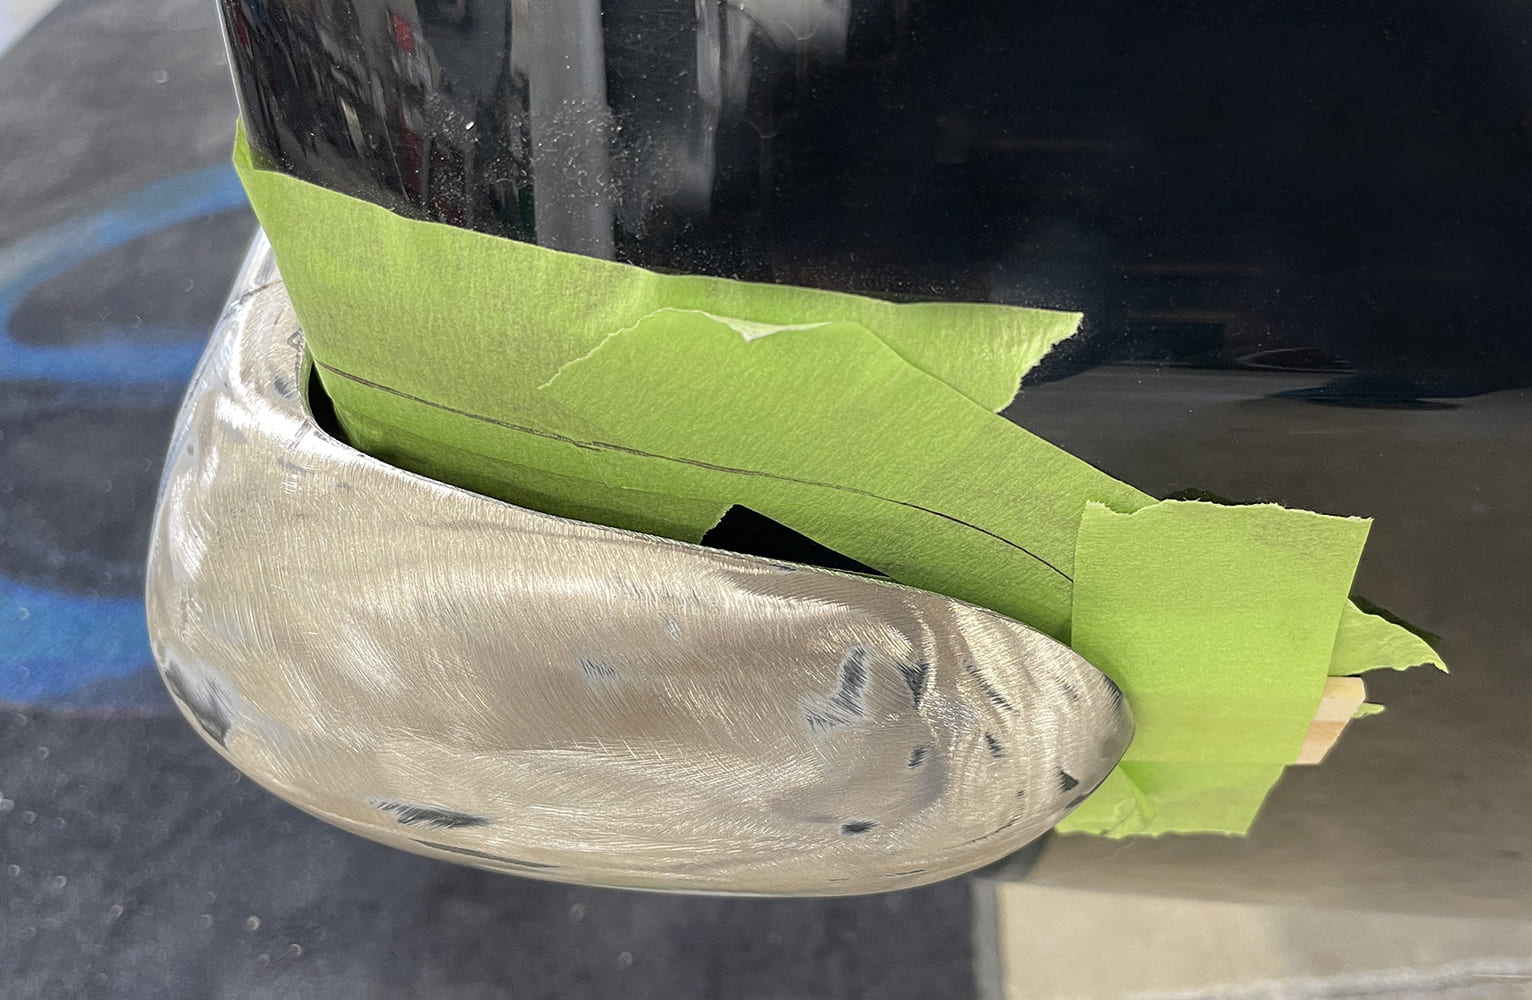
The bumpers were actually tucked before the car was stripped for repaint, and even though it’s going to get repainted, Rivera protected the surrounding area with masking tape.
Nevertheless, this is a relatively easy modification but something that takes time and patience to get right.
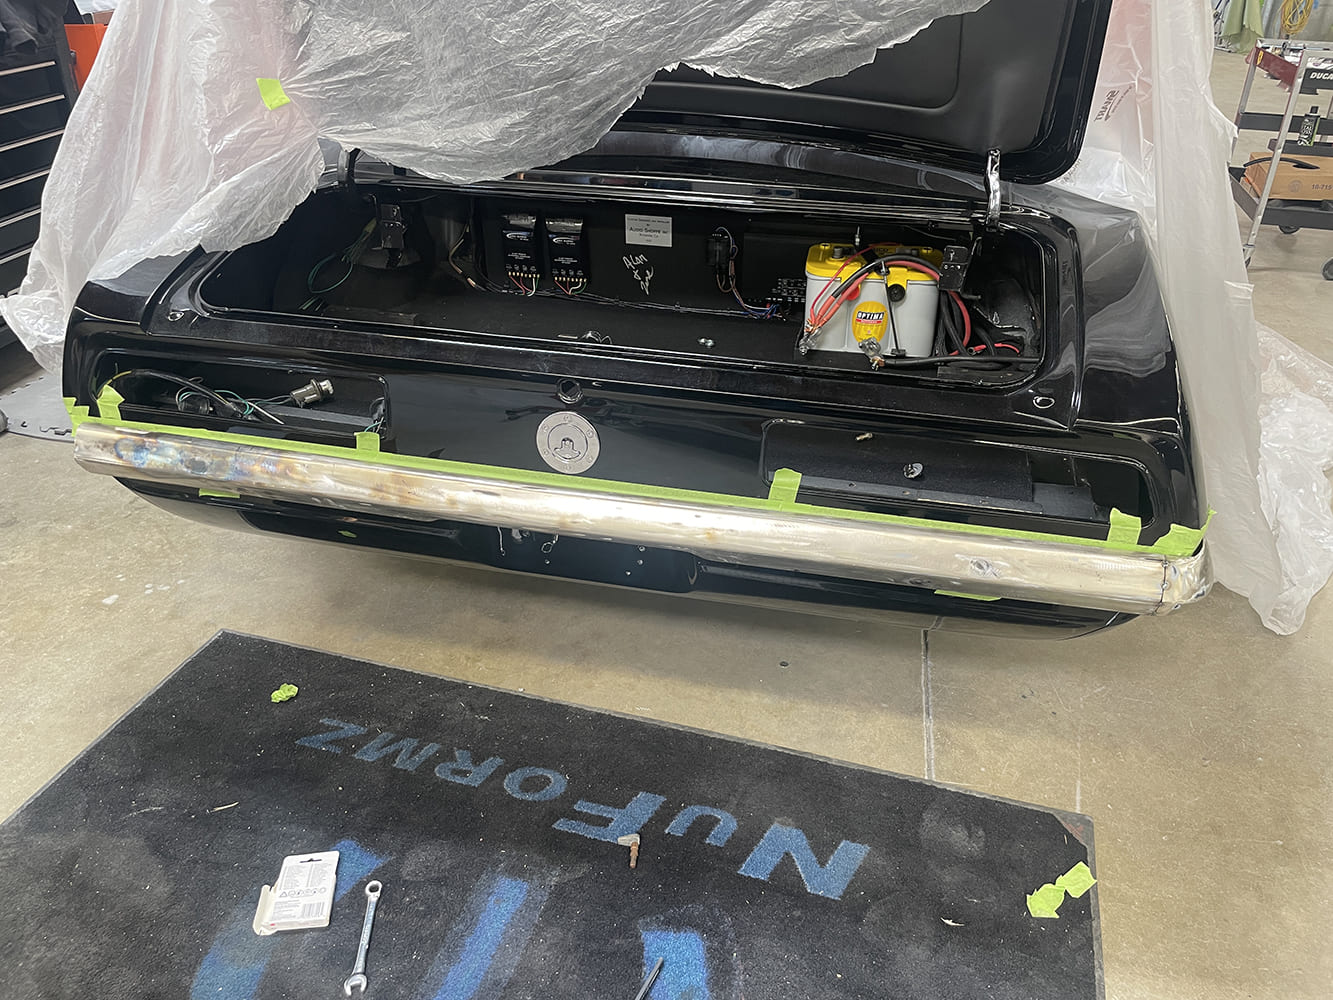
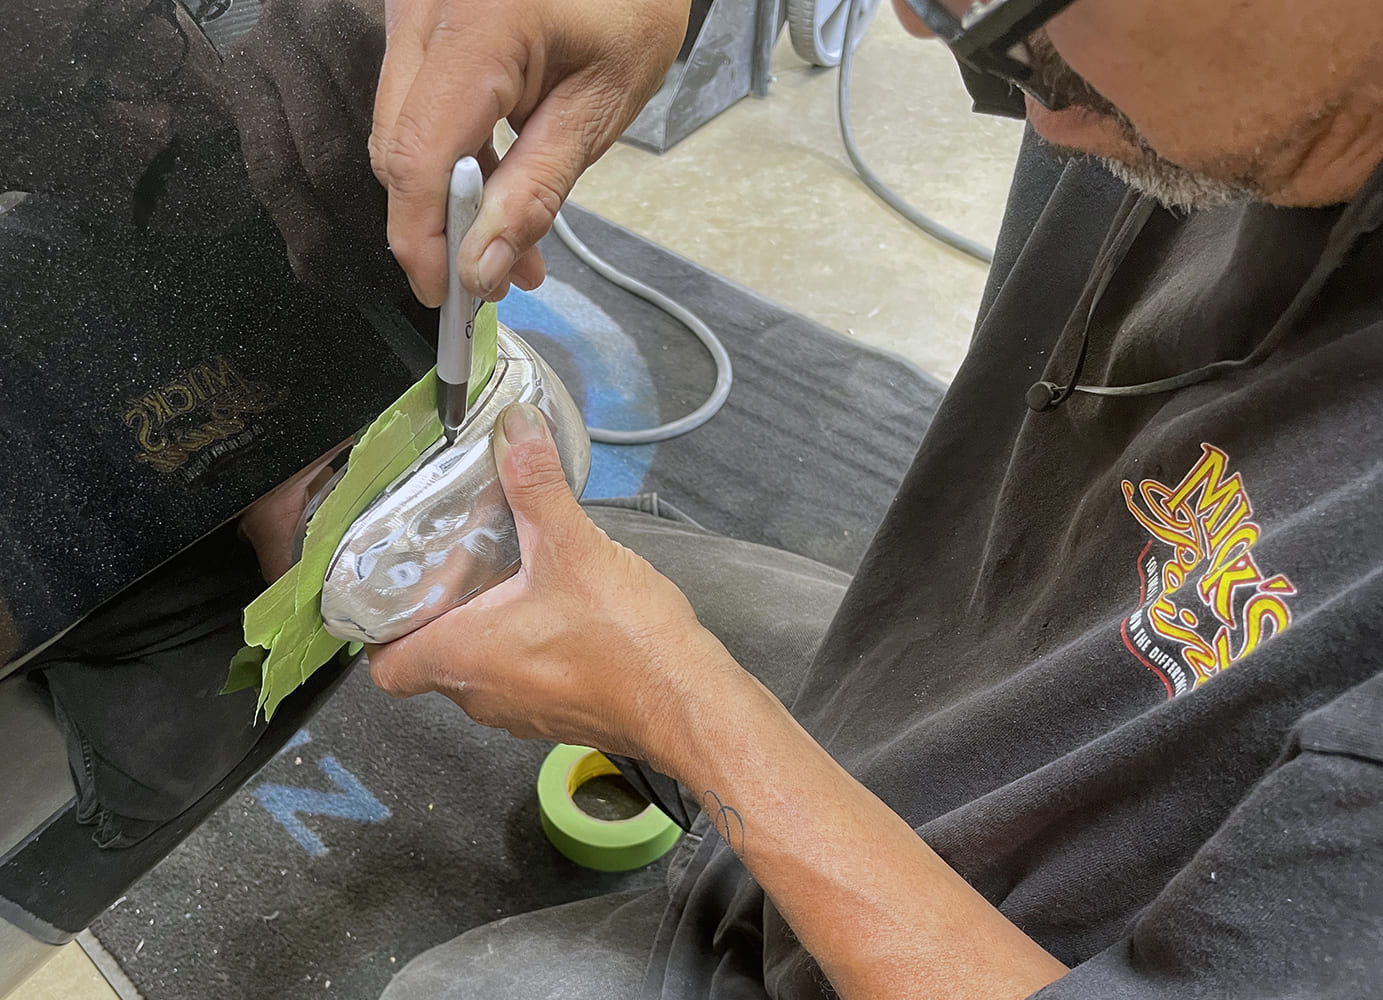
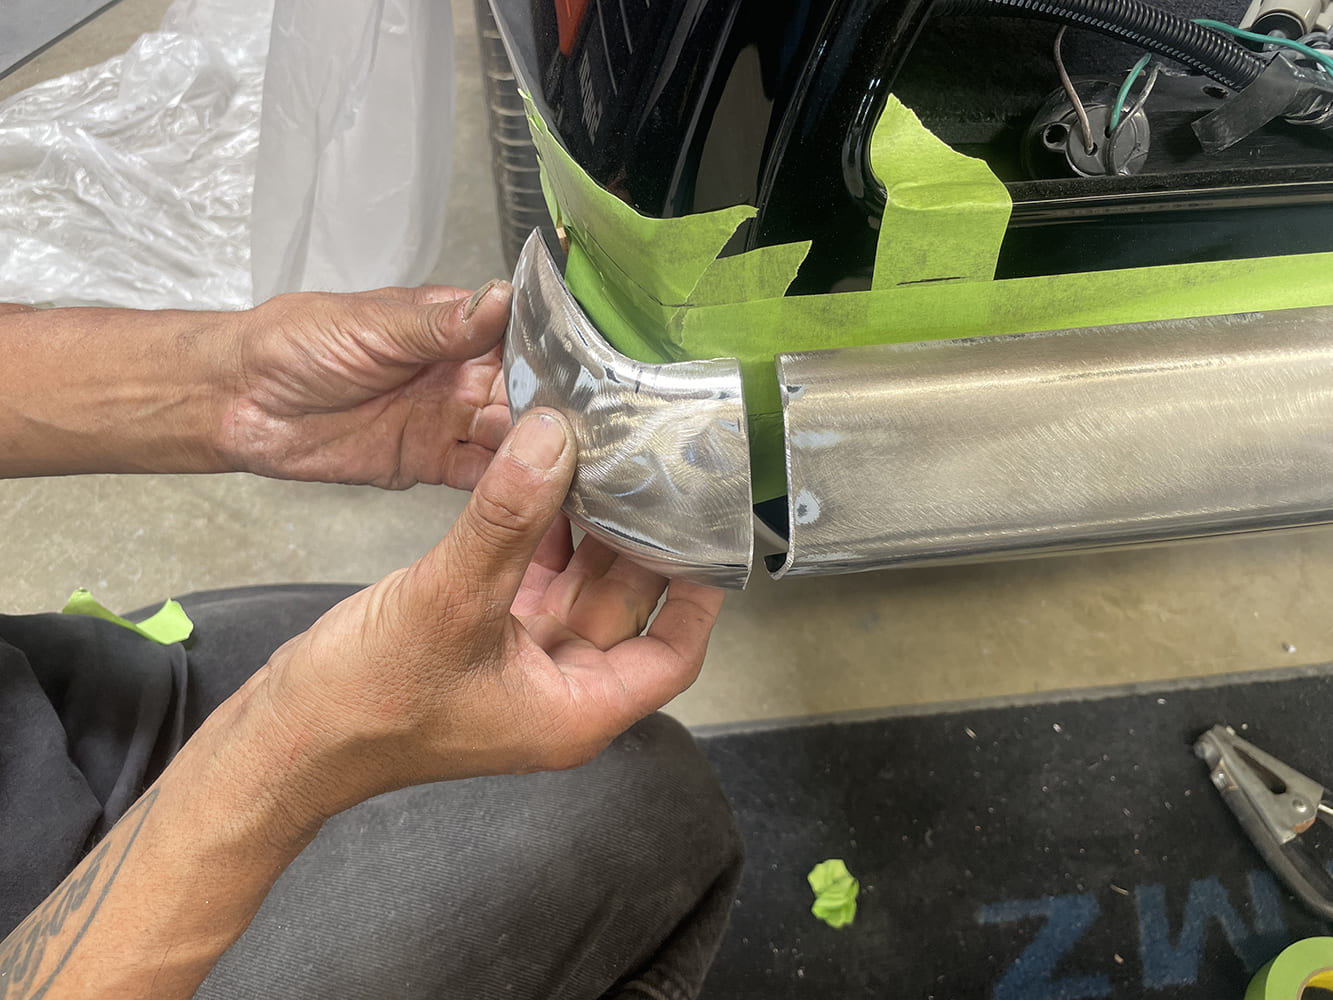
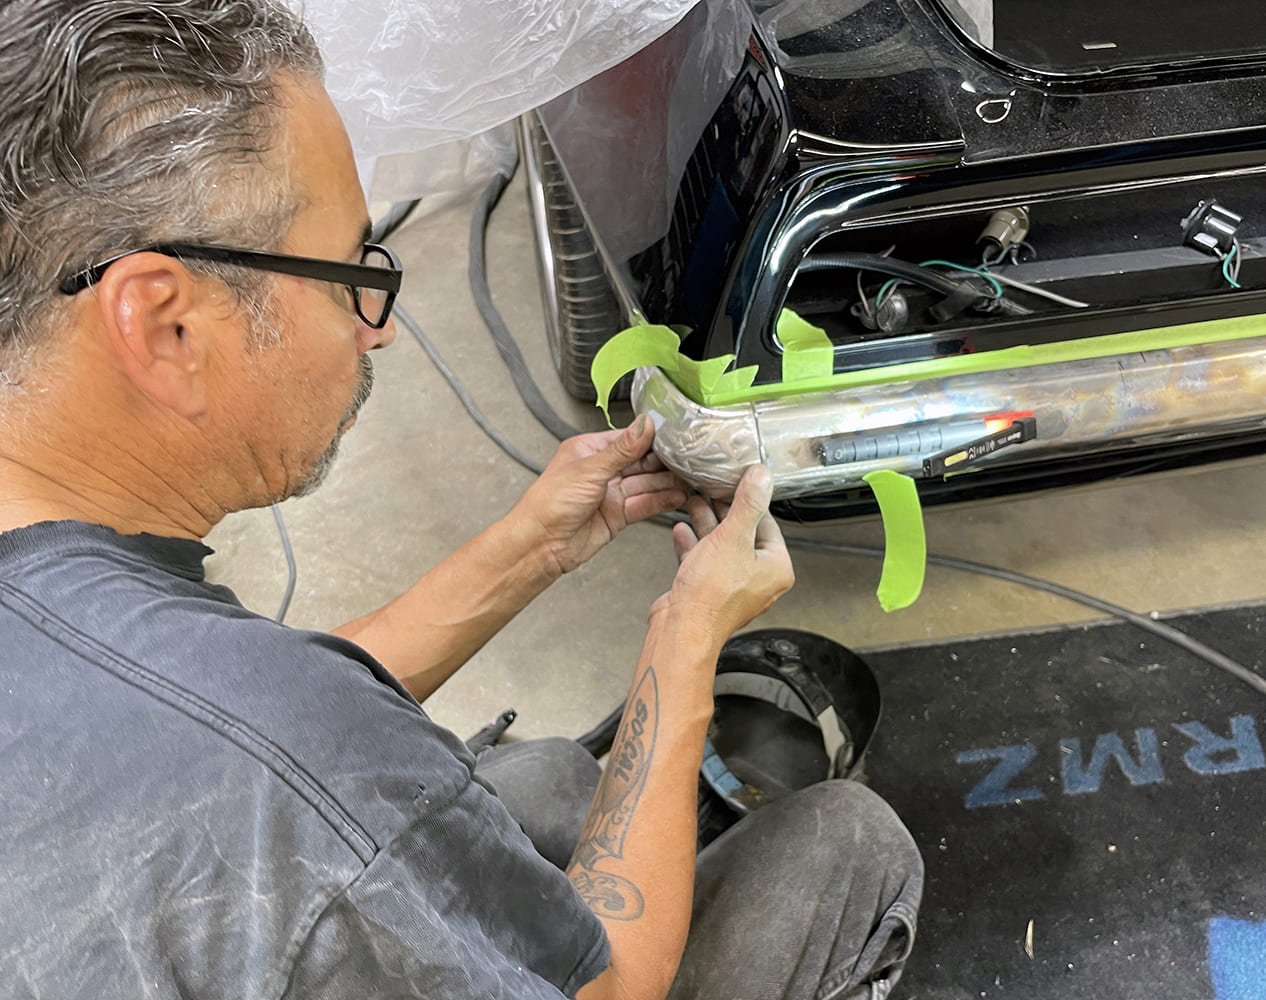
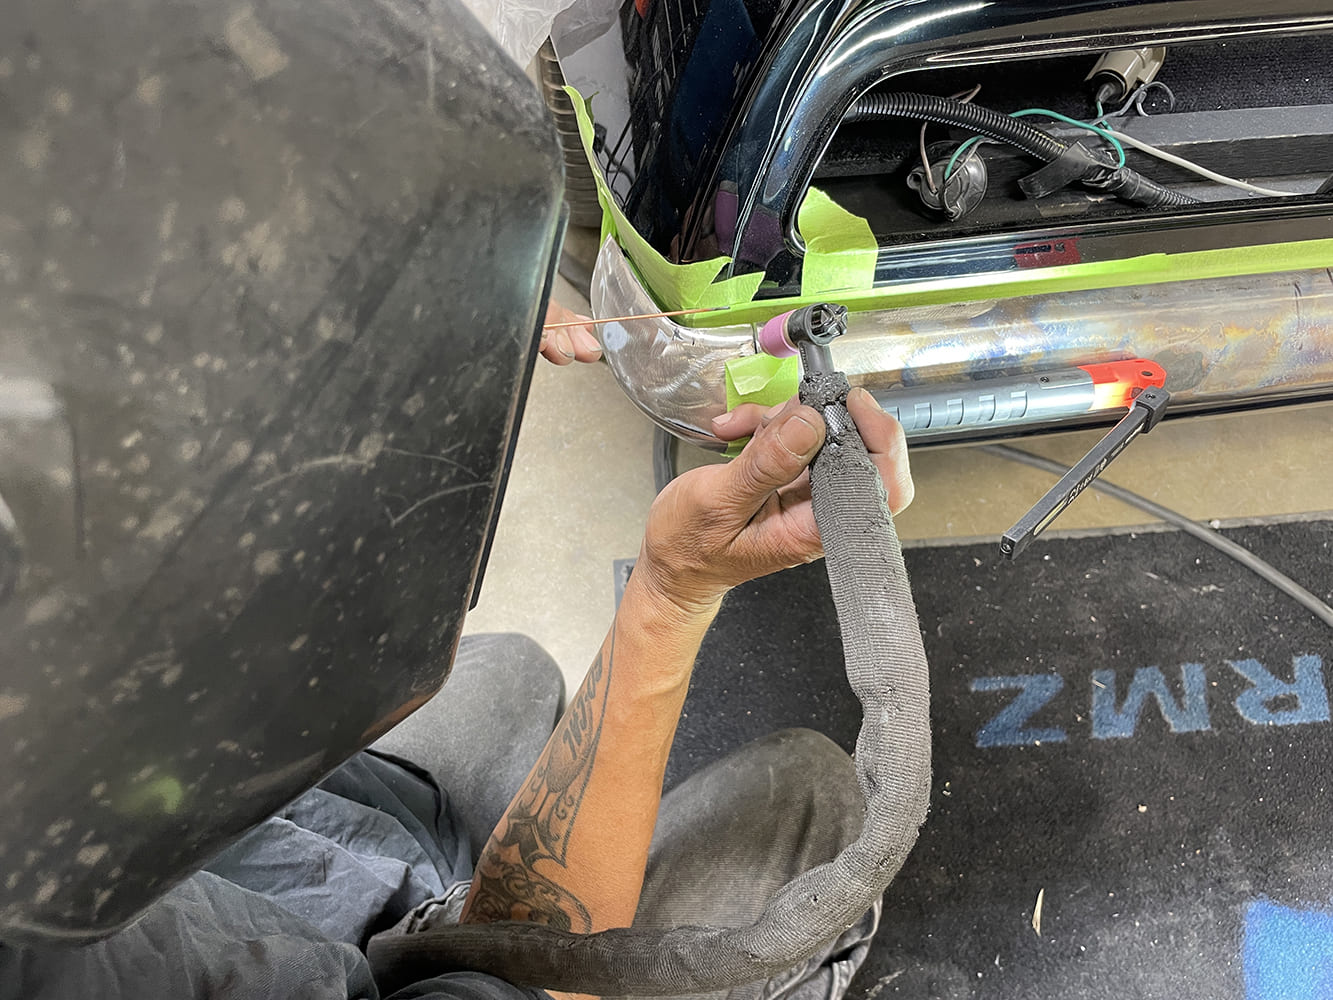
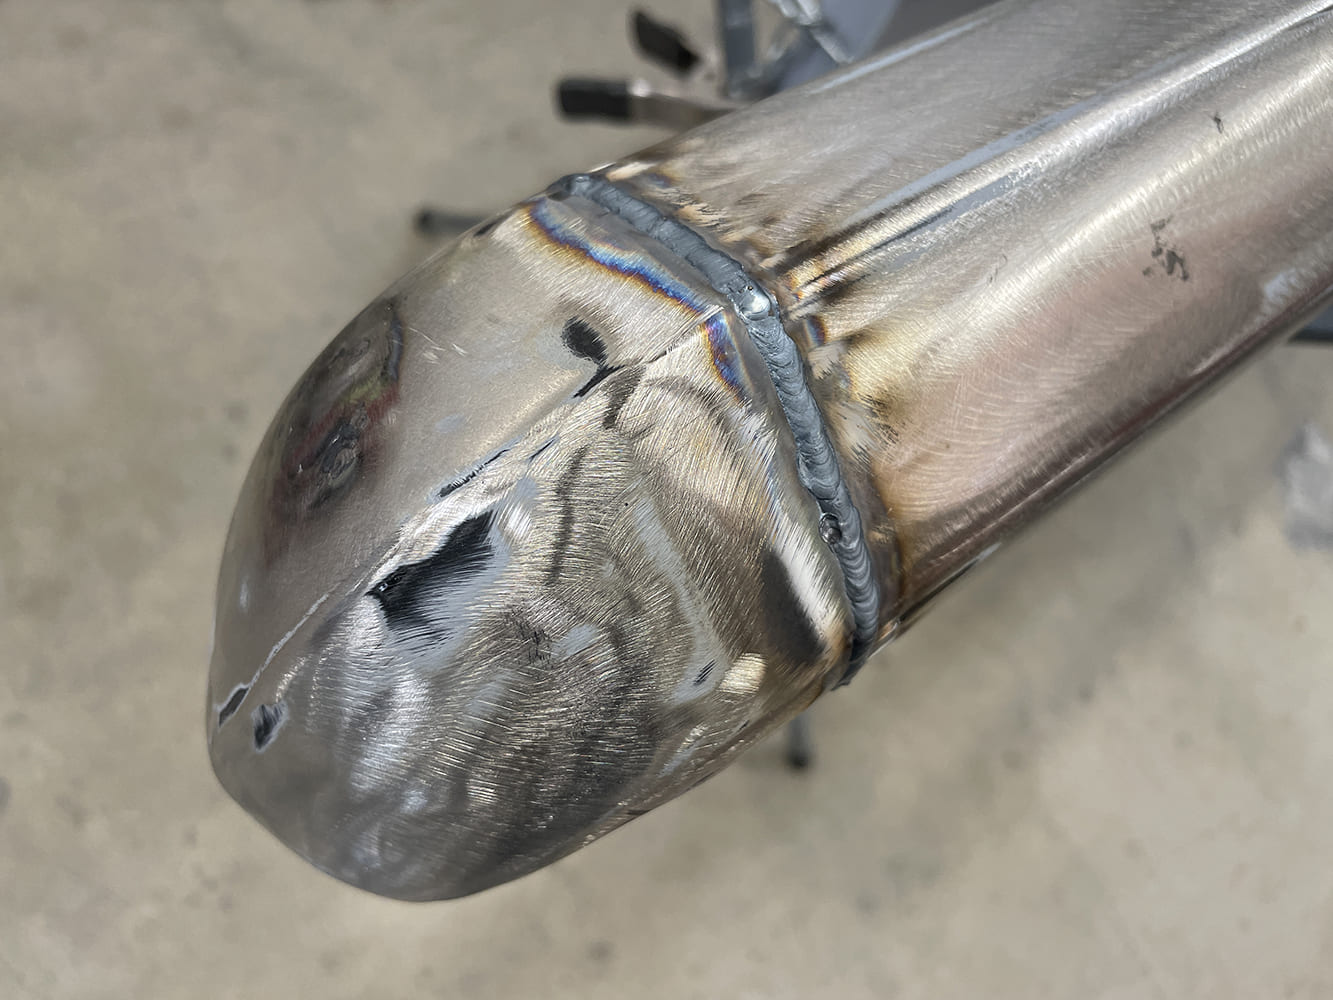
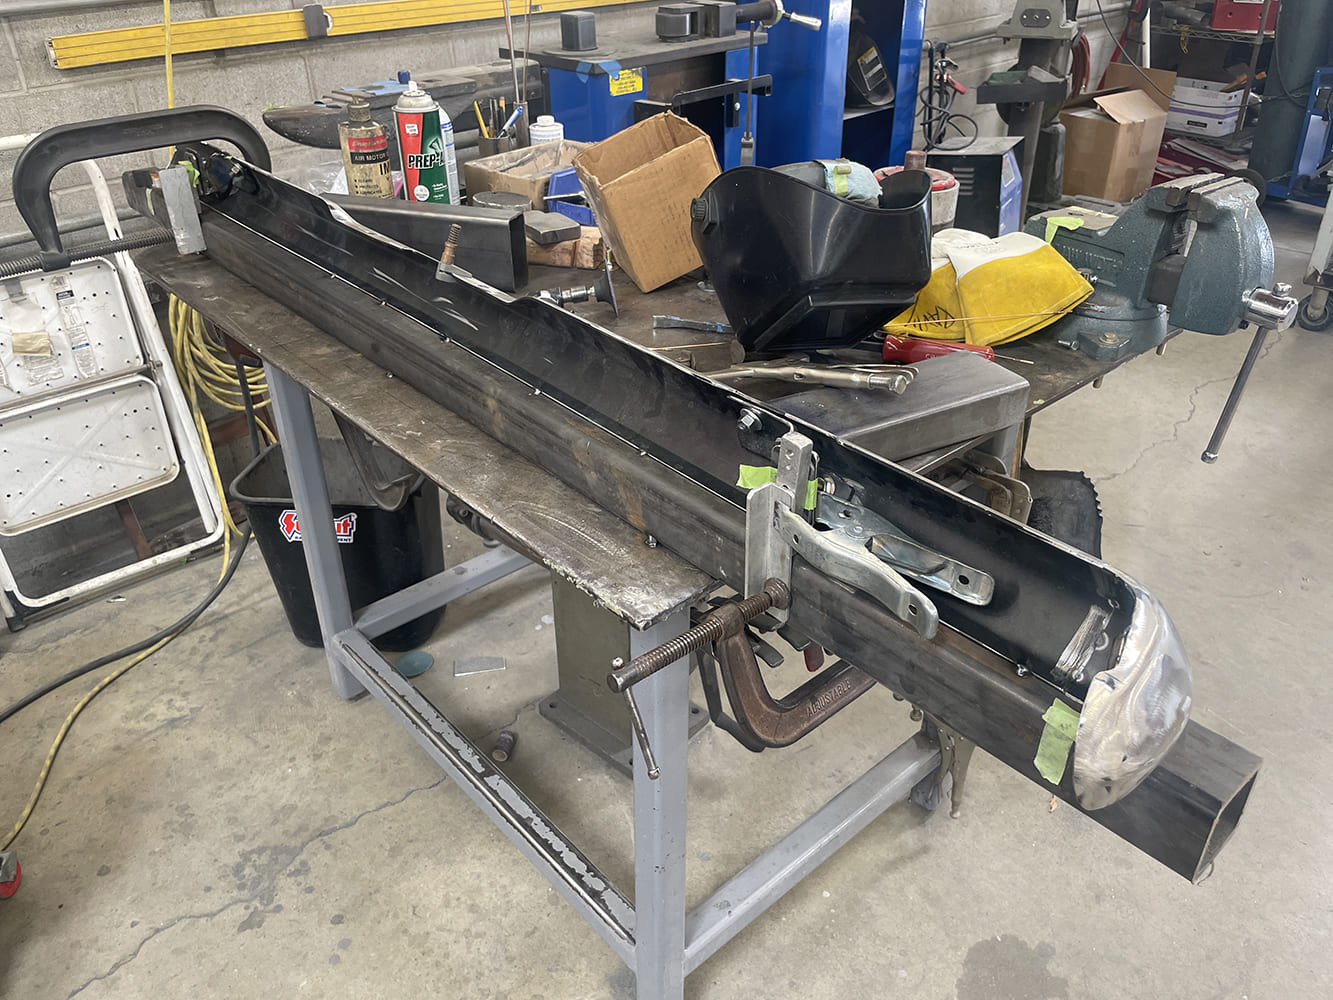
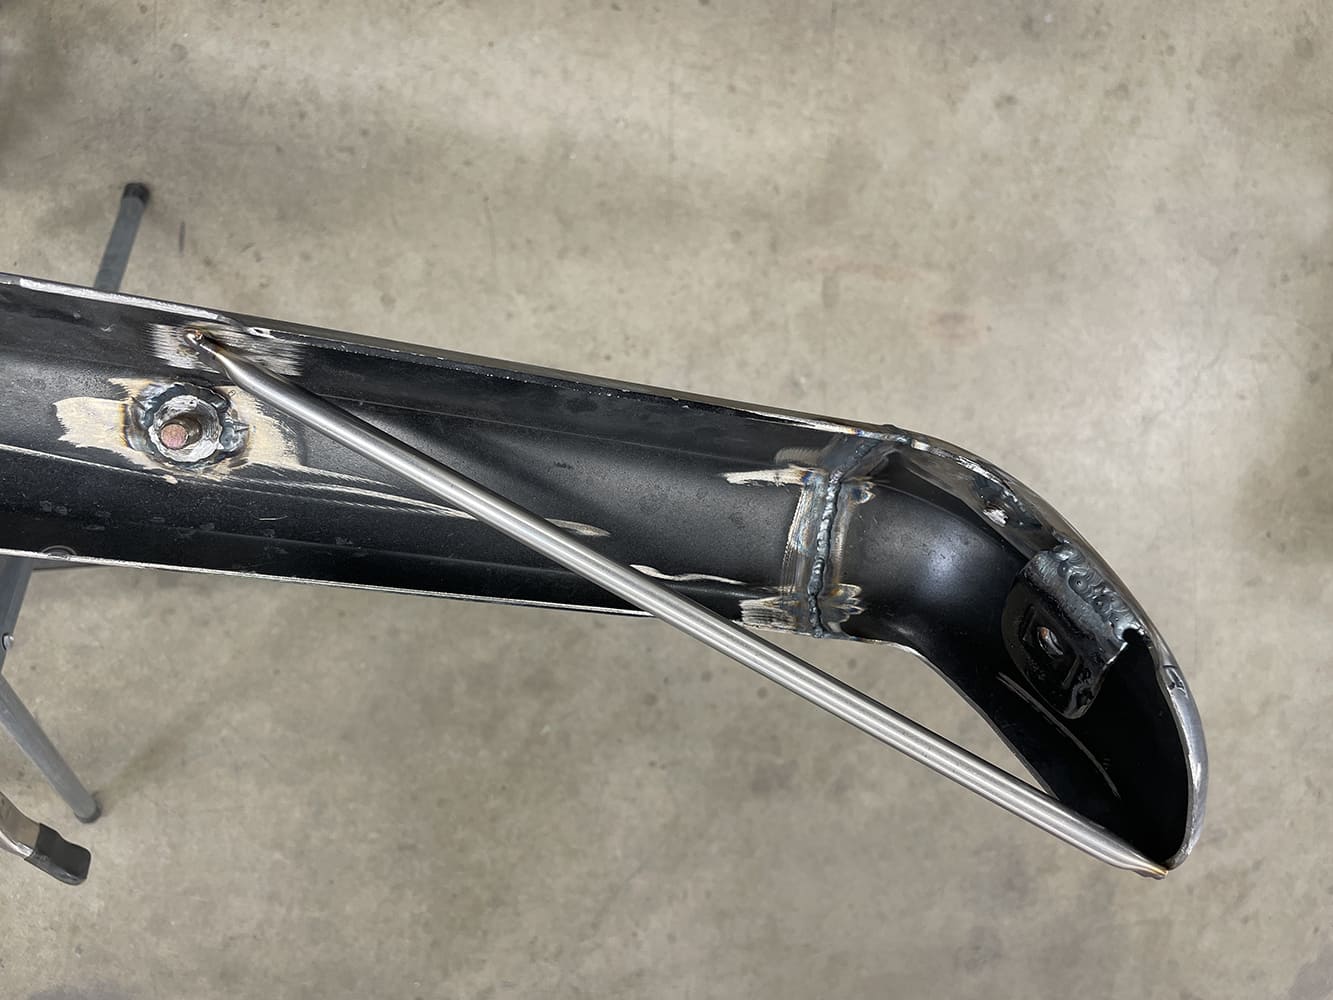
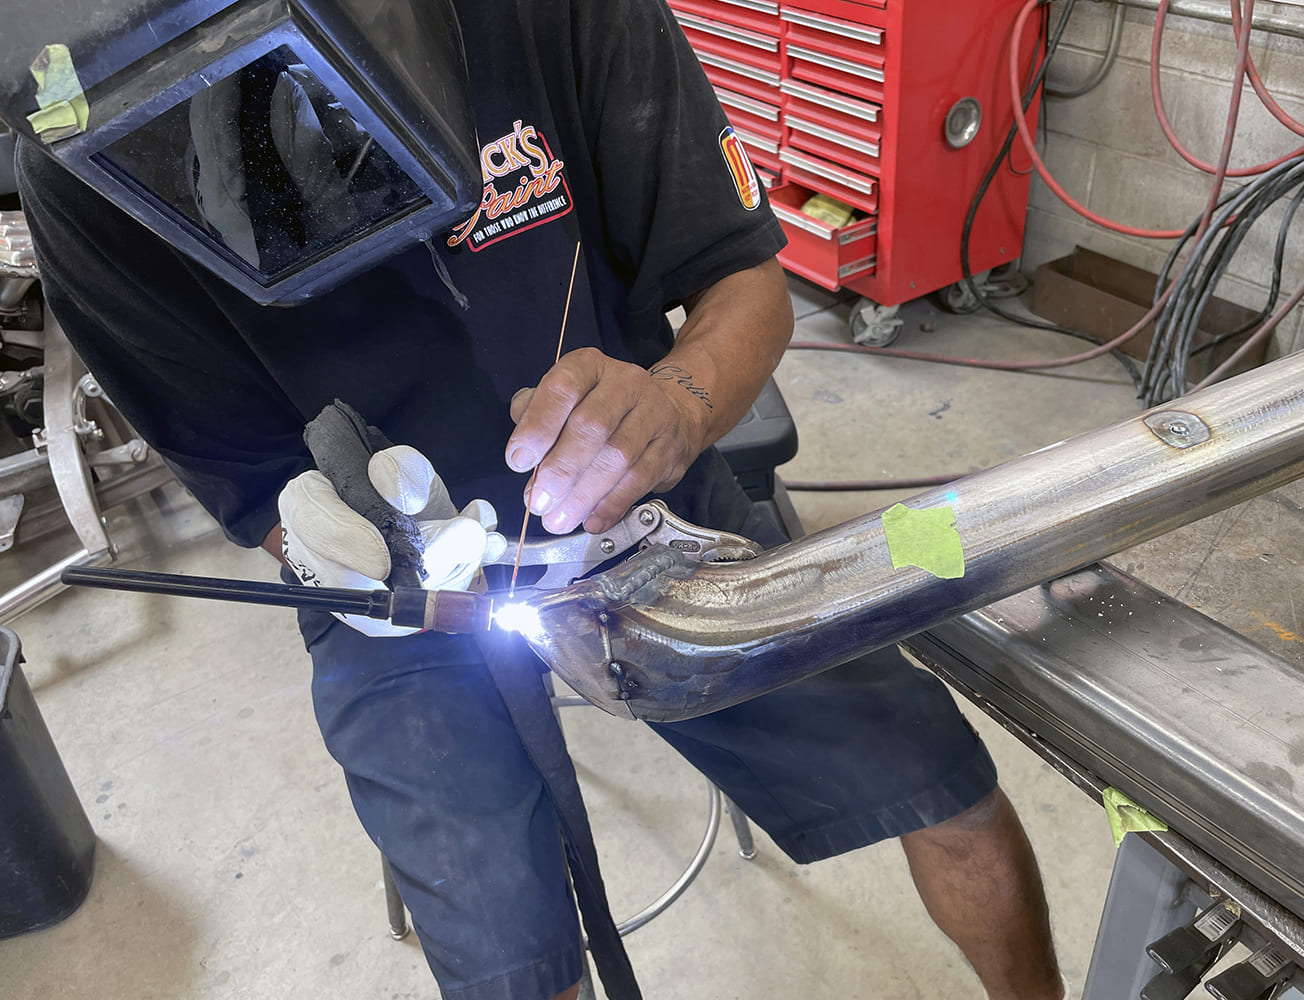
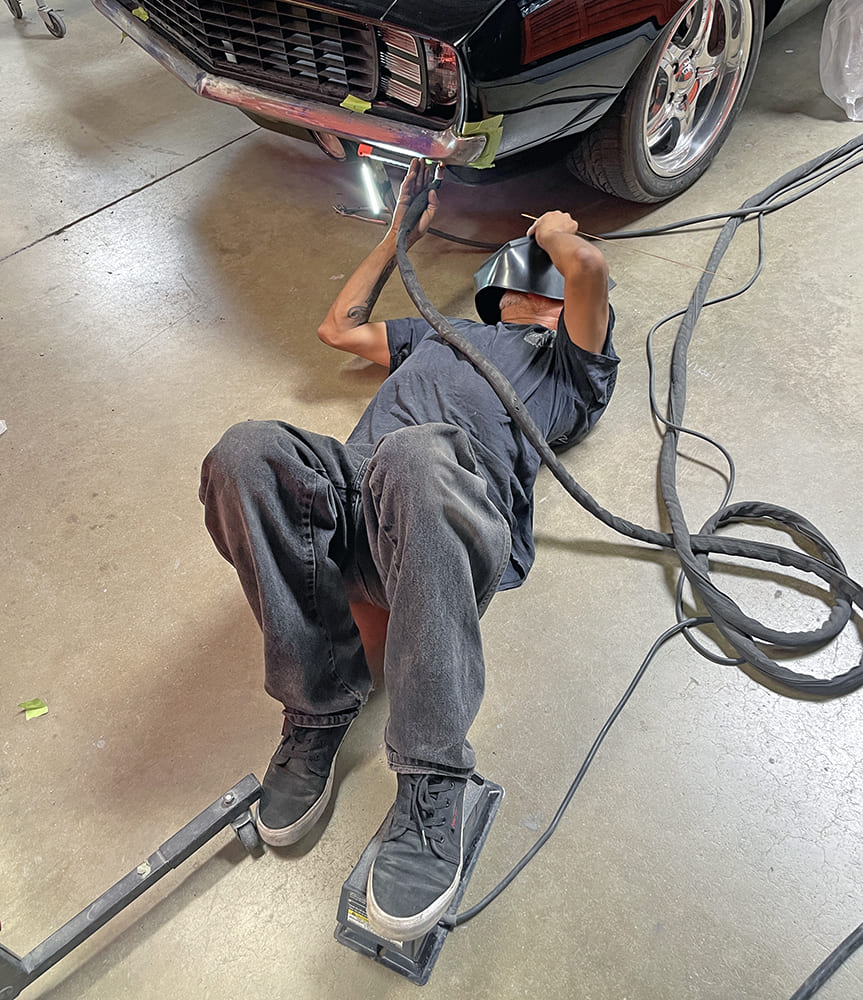
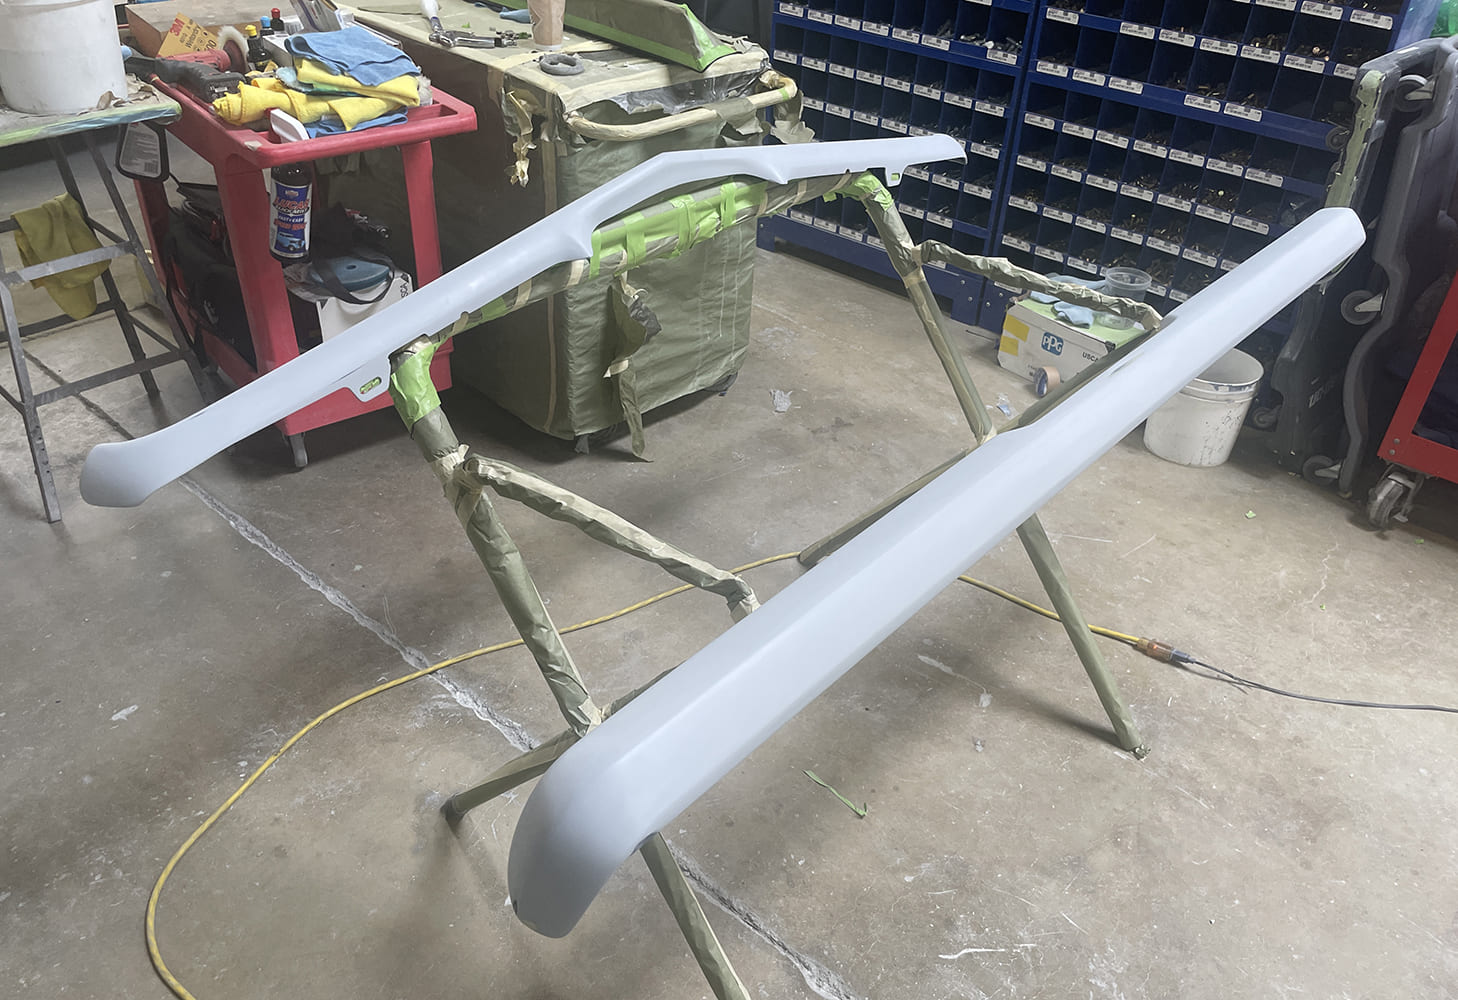
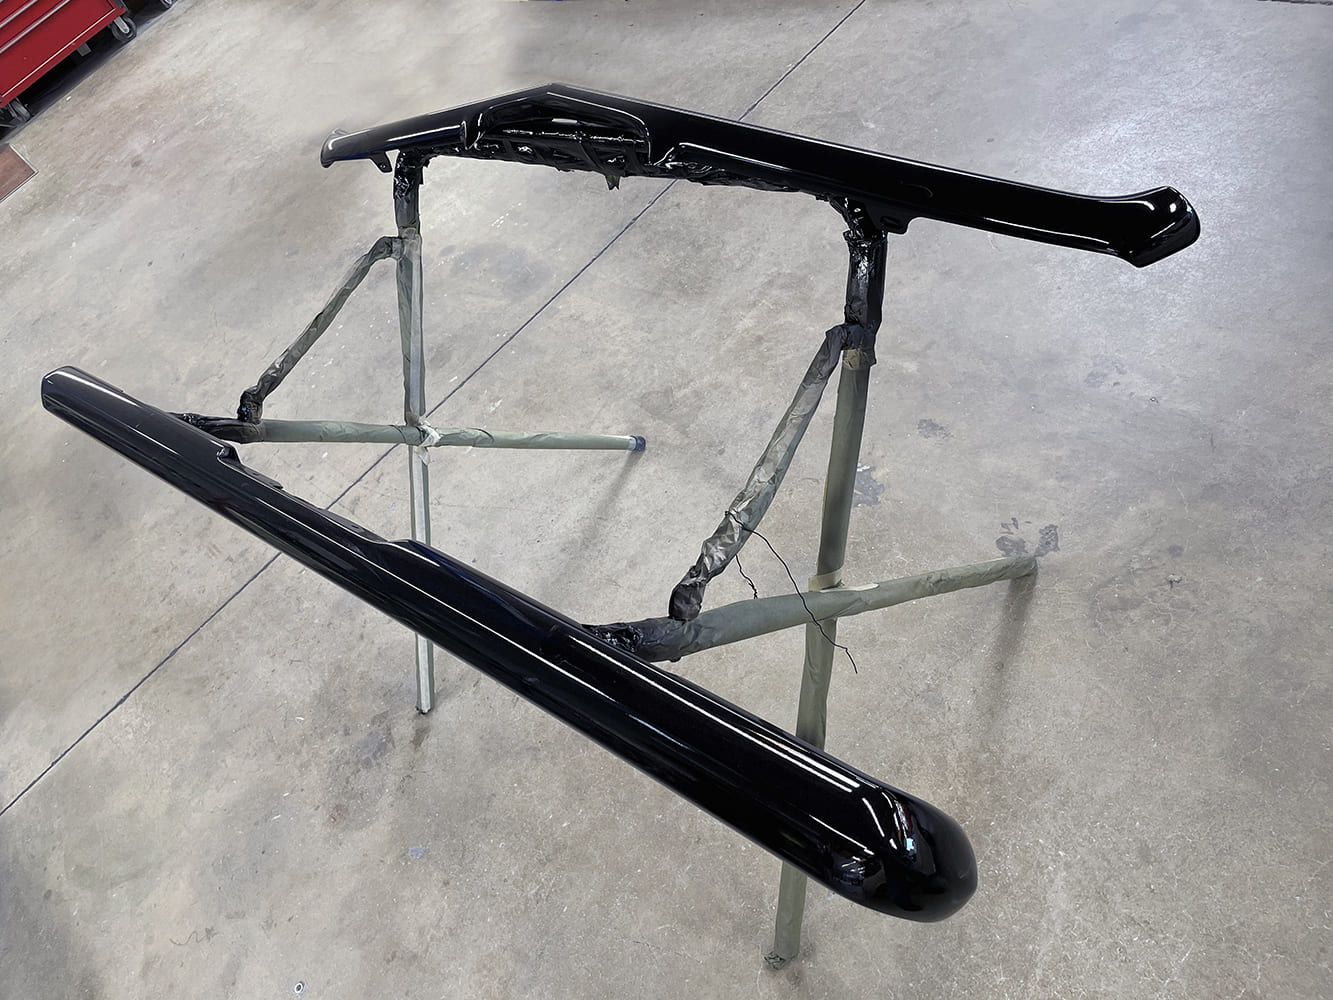
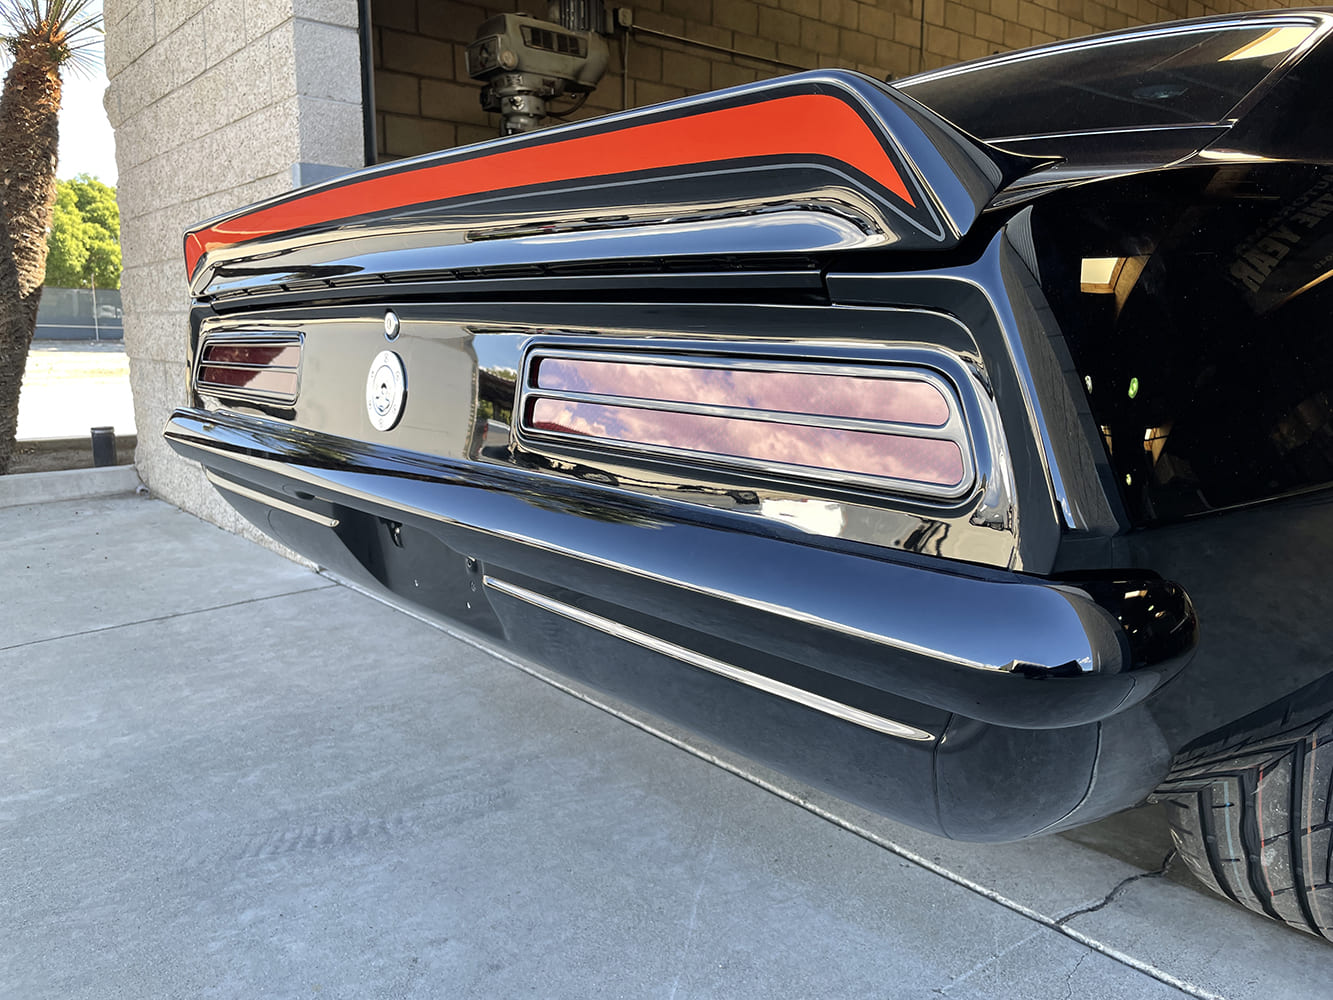
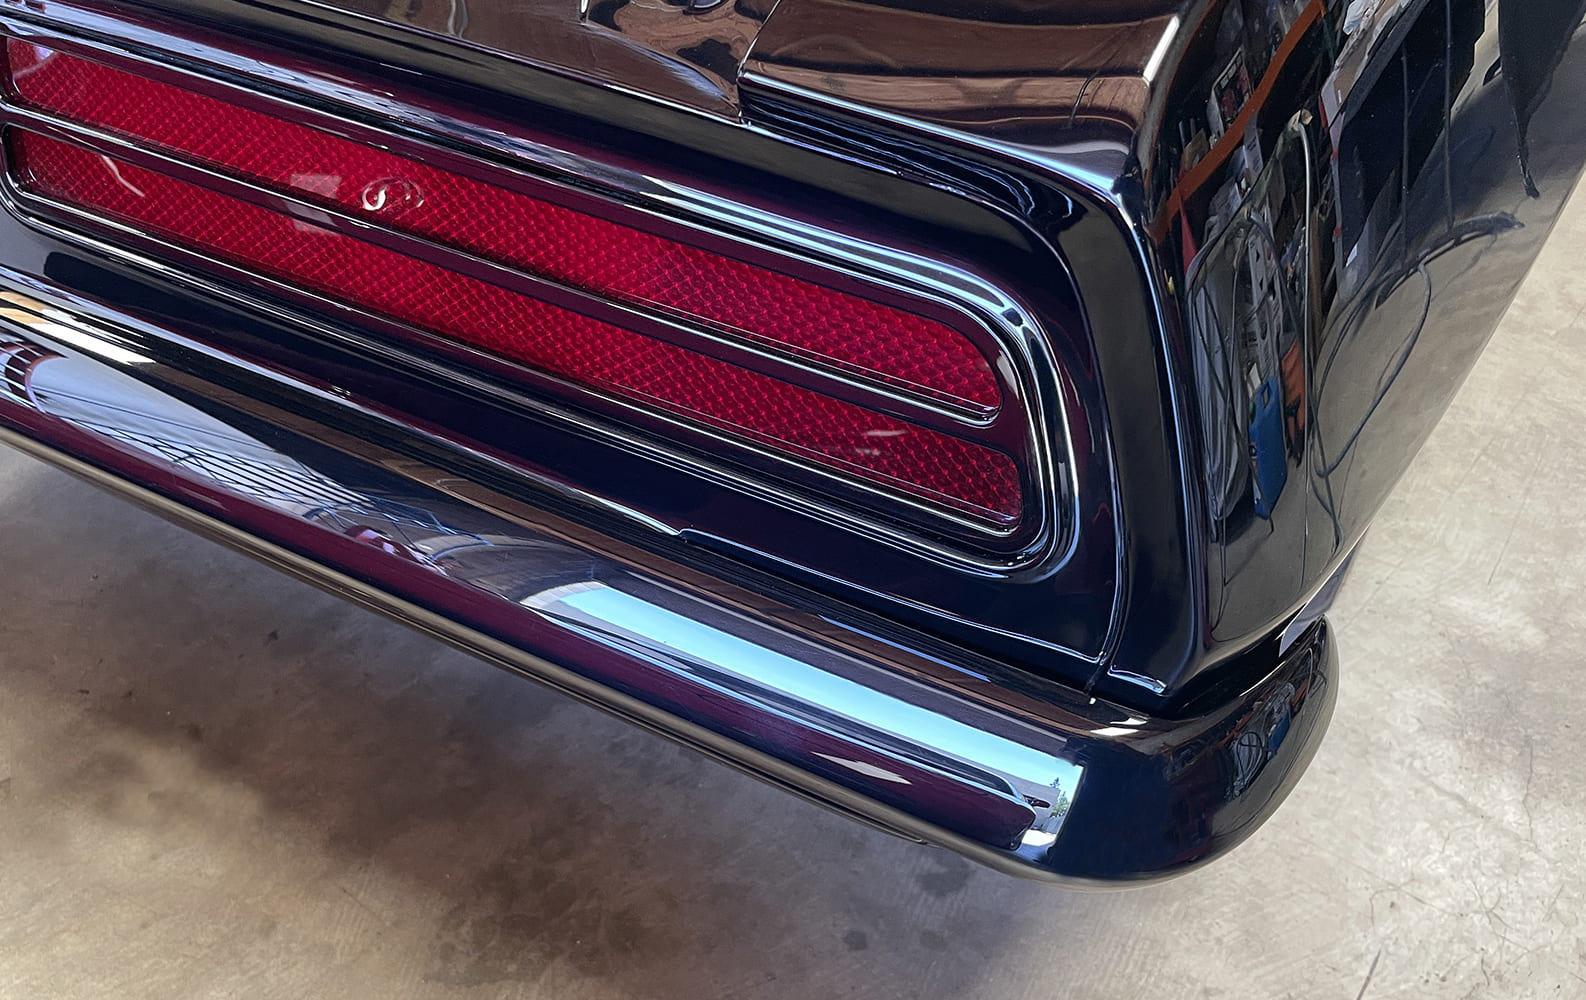
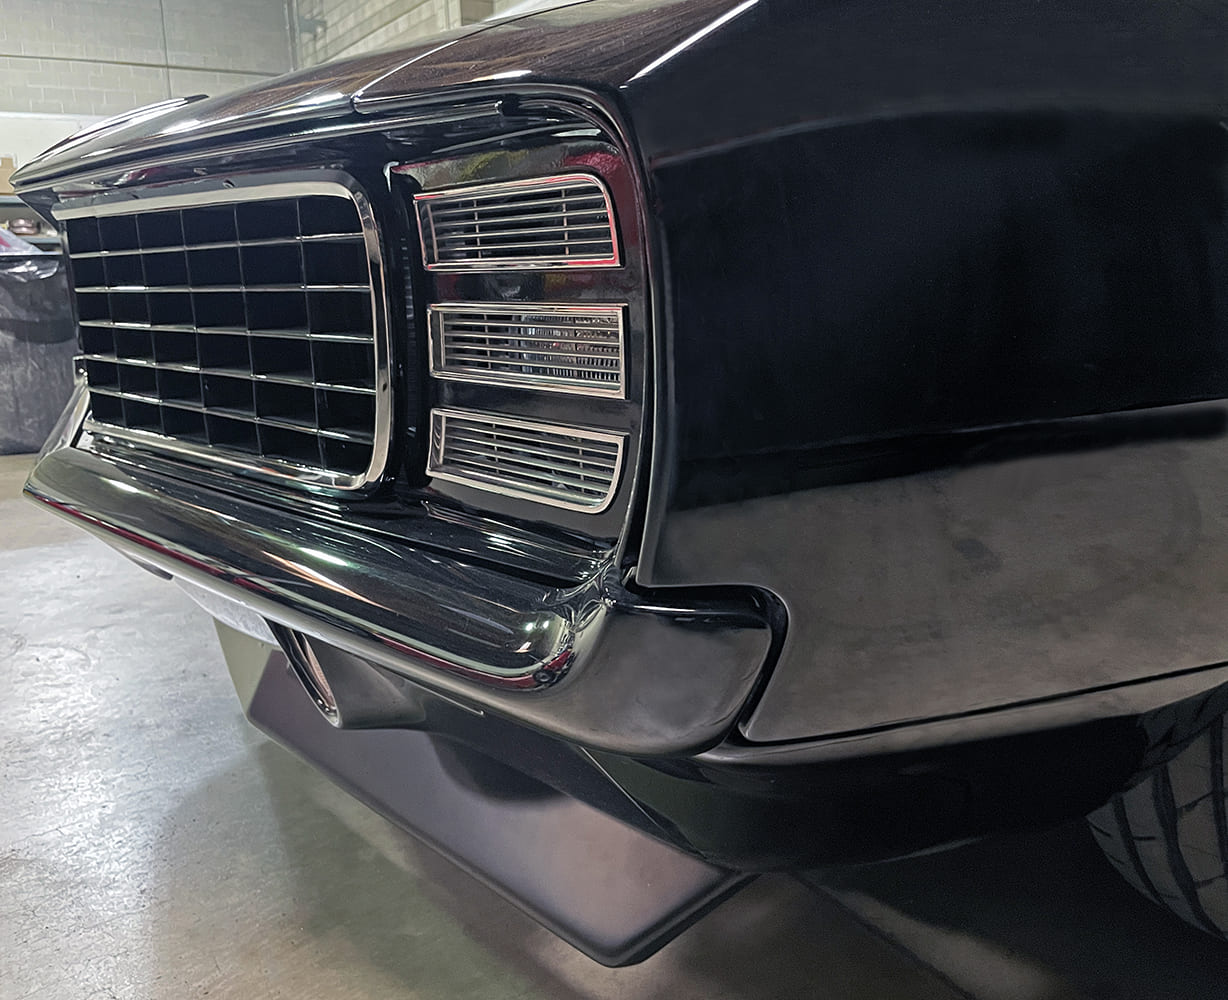
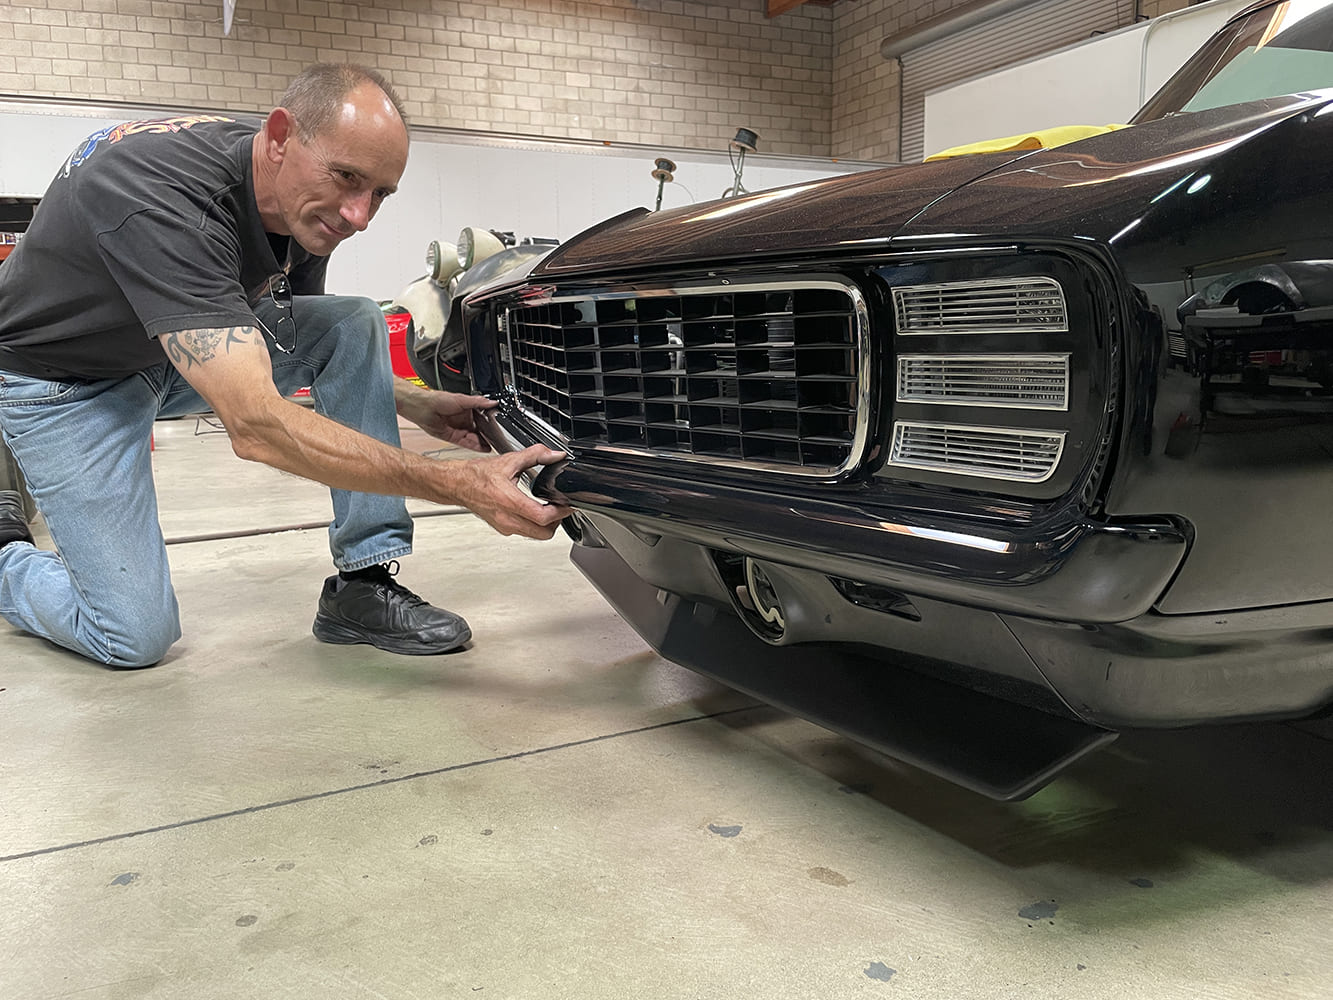
You can see here that the rear bumper has had its stock mounting boltholes filled and is being test-fitted. Note that the righthand corner has already been tacked into position and Rivera is working on the left corner.Rivera used a permanent marker to mark the lefthand bumper end so that it could be recontoured to follow the line of the body.After marking, the bumper end was put in a vise, then Rivera used an angle grinder to remove the excess material.Some back and forth trial and error was necessary to shape the bumper end to precisely follow the contour of the rear fender.The rear bumper was more of a problem than the front, as from the factory it ran downhill to the right. Note the battery disconnect before any welding was carried out.You can see by the tacks that Rivera had trial-fitted the end but didn’t like it the first time, so he gave it another go. The device attached to the bumper is a light so that he could see exactly what was going on.Finally, in a position where he liked it, Rivera tack-welded the end onto the bumper using a Tungsten Inert Gas (TIG) welder that creates a precise, high-quality weld.With the bumper tacked into position, Rivera stood back and gave a good look to make sure that everything was aligned. It’s important the ear does not point up or down.To keep the bumper from warping before finish welding, Rivera tacked-welded the assembly to a length of heavy-wall, box-section steel that was tacked to his steel bench.You can see here that Rivera neatly TIG-welded the bumper end, but it still needed to be ground and finished.The bumper end had yet to be TIG-welded on the back side, so this view of the fixture shows that Rivera was about to work on the bumper mounting hardware.To prevent the bumper end from warping, a temporary tubular brace was installed to hold it while welding on the mounting hardware that will be out of view.Here, the bumper end has been finished-welded and ground smooth so that it follows the line that Rivera had previously marked on the tape as being optimum.A similar procedure was followed for the front bumper which needed a lot of work in the center and at the ends due to the poor factory fit.For the bumper ends to closely follow the body, Rivera had to do quite a bit of cutting and reshaping.Here you can clearly see that Rivera massed the front bumper ends to closely follow the contour of the front fenders.Once Rivera was happy with the shape, fitment, and the new invisible mounting system, the bumpers moved over to the paint shop where they were given a shot of PPG primer-sealer.The bumpers were painted to match Pont’s car using PPG Jet Black. Note: This is the out-of-the-gun finish, and the bumpers have not yet been flatted and polished.Now that’s how they should fit, but it’s doubtful that the factory was that concerned with such tight tolerances in 1969.This close-up shows how Rivera fixed the rear bumper so as not to run downhill at the right, ensuring the end flows with the body and there are no visible fittings.Here you can see the ends of the front bumper are tucked in and carefully shaped to match the body as they should have been from the factory.Shop manager Marco Piehl fit checks the painted front bumper before it is finally installed using Rivera’s hidden mounting hardware. It now looks way better than it did when it left the factory.
We use cookies to ensure that we give you the best experience on our website. If you continue to use this site we will assume that you are happy with it.