It doesn’t matter how much power your ride has underhood or if you have the most-wicked suspension and braking components in town if you can’t handle something as crucial as the elements you’ll be driving in. Many times taken for granted and often one of the most important factors in driveability, the windshield wiper system and all related parts should never be overlooked. Of course, the windshield and its proper installation are always a priority regardless of whether you’re working on a fresh build or updating your current ride.
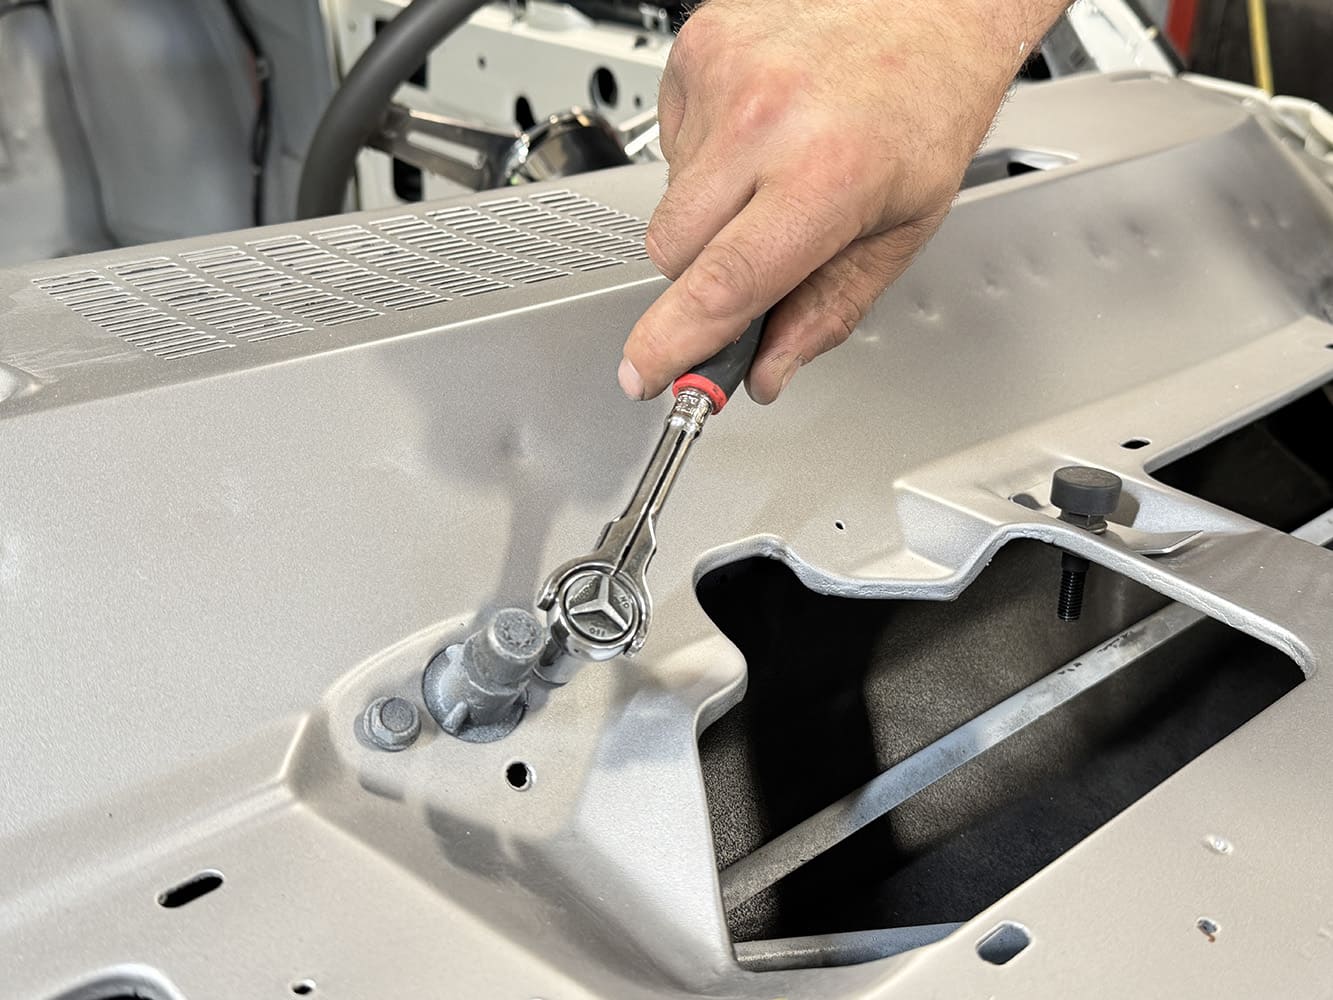
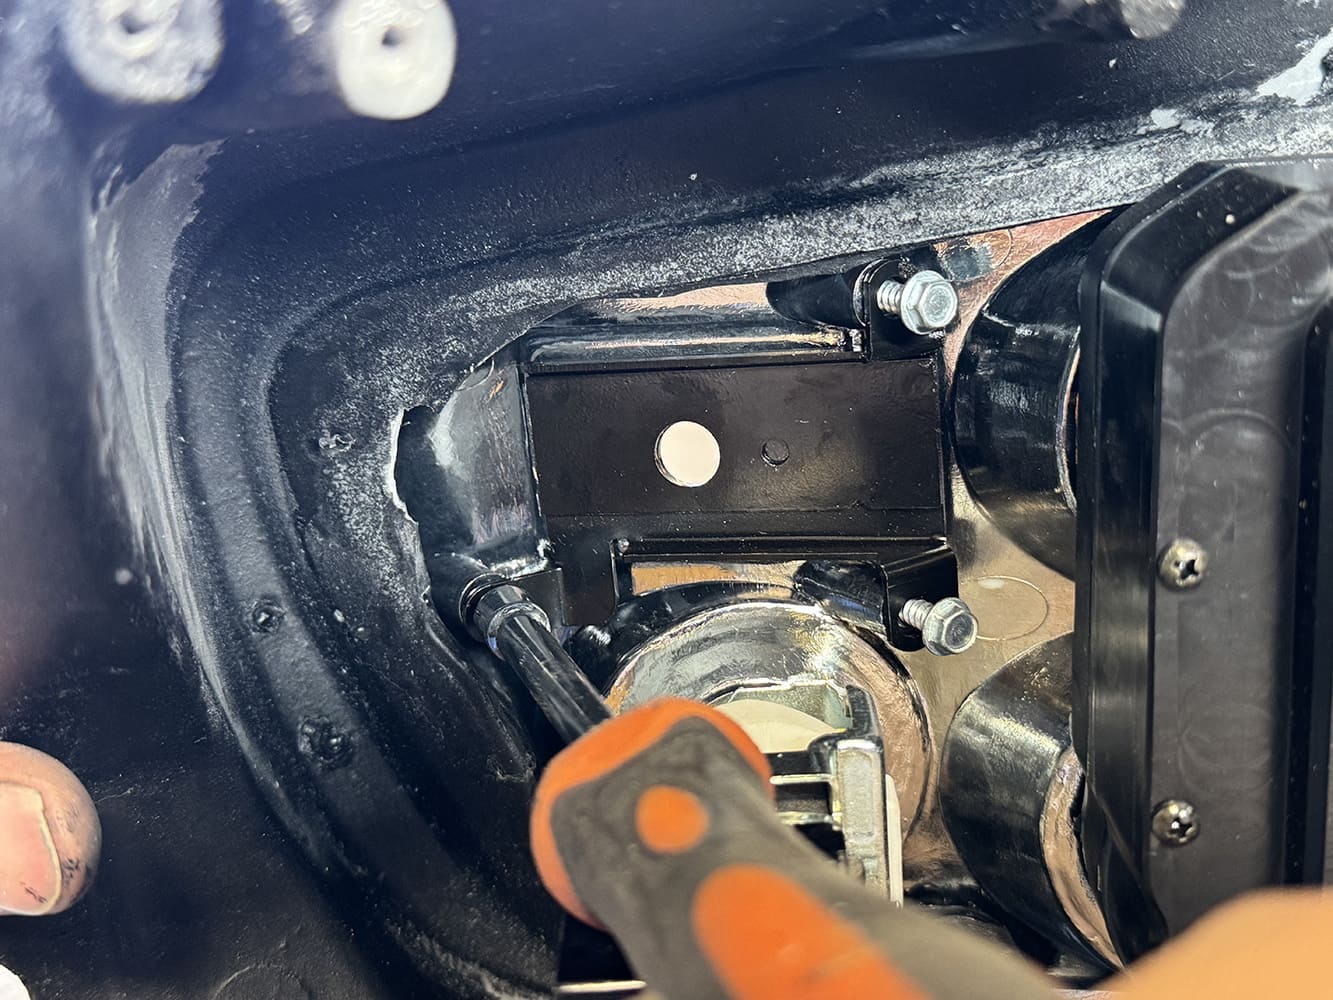
Getting started, Pat O’Brien of Procision Industries first removed the cowl top vent grille to expose the windshield wiper transmission then disconnected the wiper motor pitman arm with ball stud from the wiper motor, followed by removing the bolts from the splined wiper output shaft.
Many of our readers will recognize the 1971 Camaro showcased on our pages as it has been the subject of numerous tech articles appearing in All Chevy Performance magazine over the past few years. It’s been an amazing transformation, starting with a bare shell, covering all aspects of the build from suspension and brakes to its LS driveline, cooling, exhaust, sheetmetal, wiring, insulation, and more.
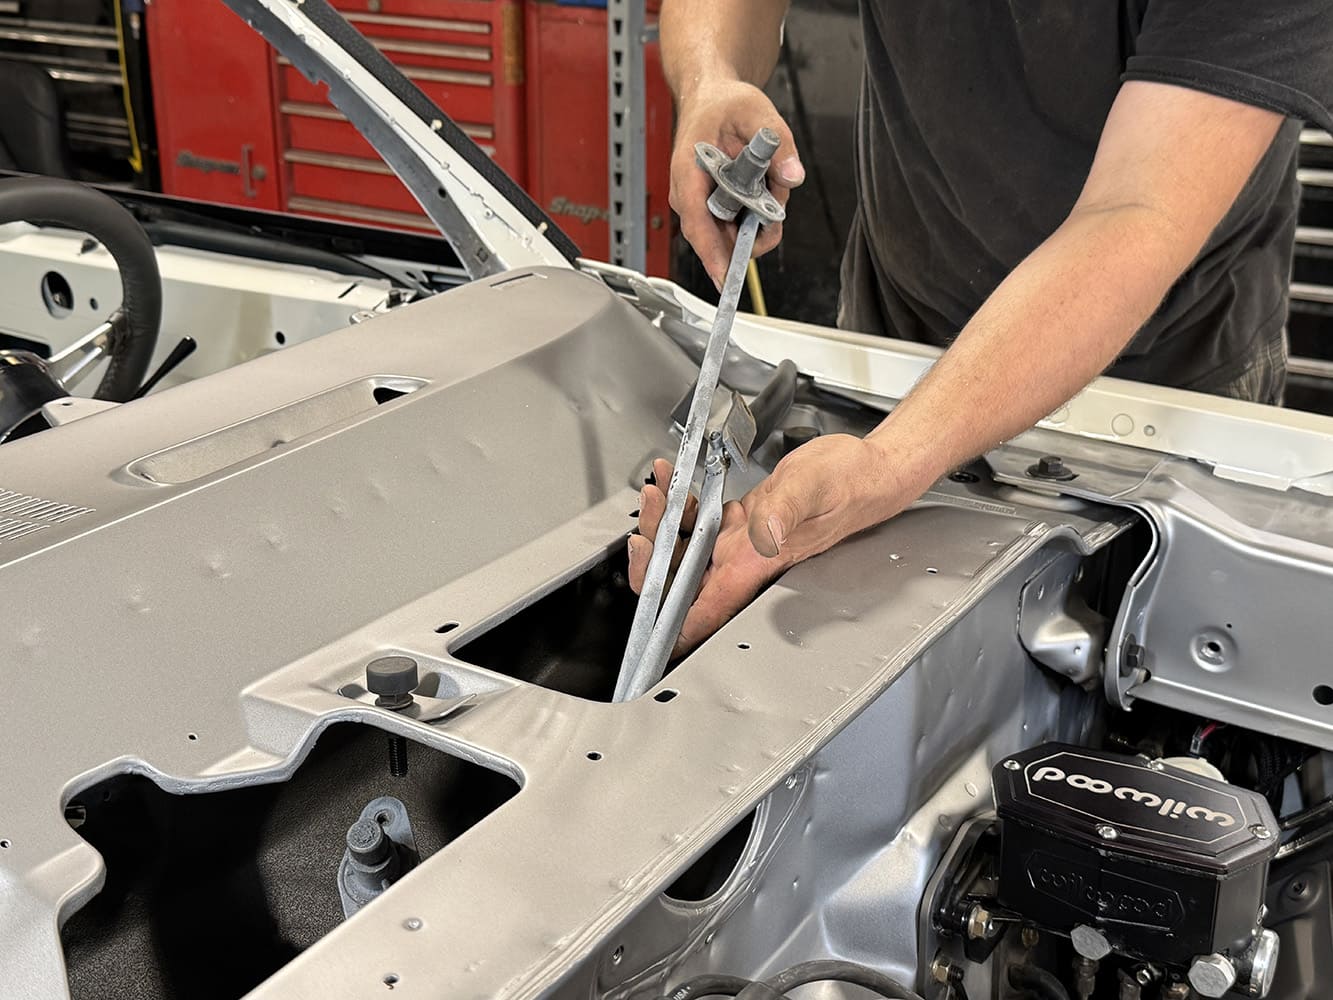
The wiper transmission was then removed from the cowl for inspection where it was determined it needed to be refurbished. Should you not have one, Classic Industries offers new units from OER to handle the job.
As the build comes closer to becoming a terror on the streets, it’s time to focus on updating the original windshield wiper system and glass. Being the factory wiper motor had seen better days, it was time to explore a replacement of its very basic operations with a more modern approach. We recently followed up at Procision Industries in Taunton, Massachusetts, where shop owner Pat O’Brien was preparing to move forward by taking on this very subject.
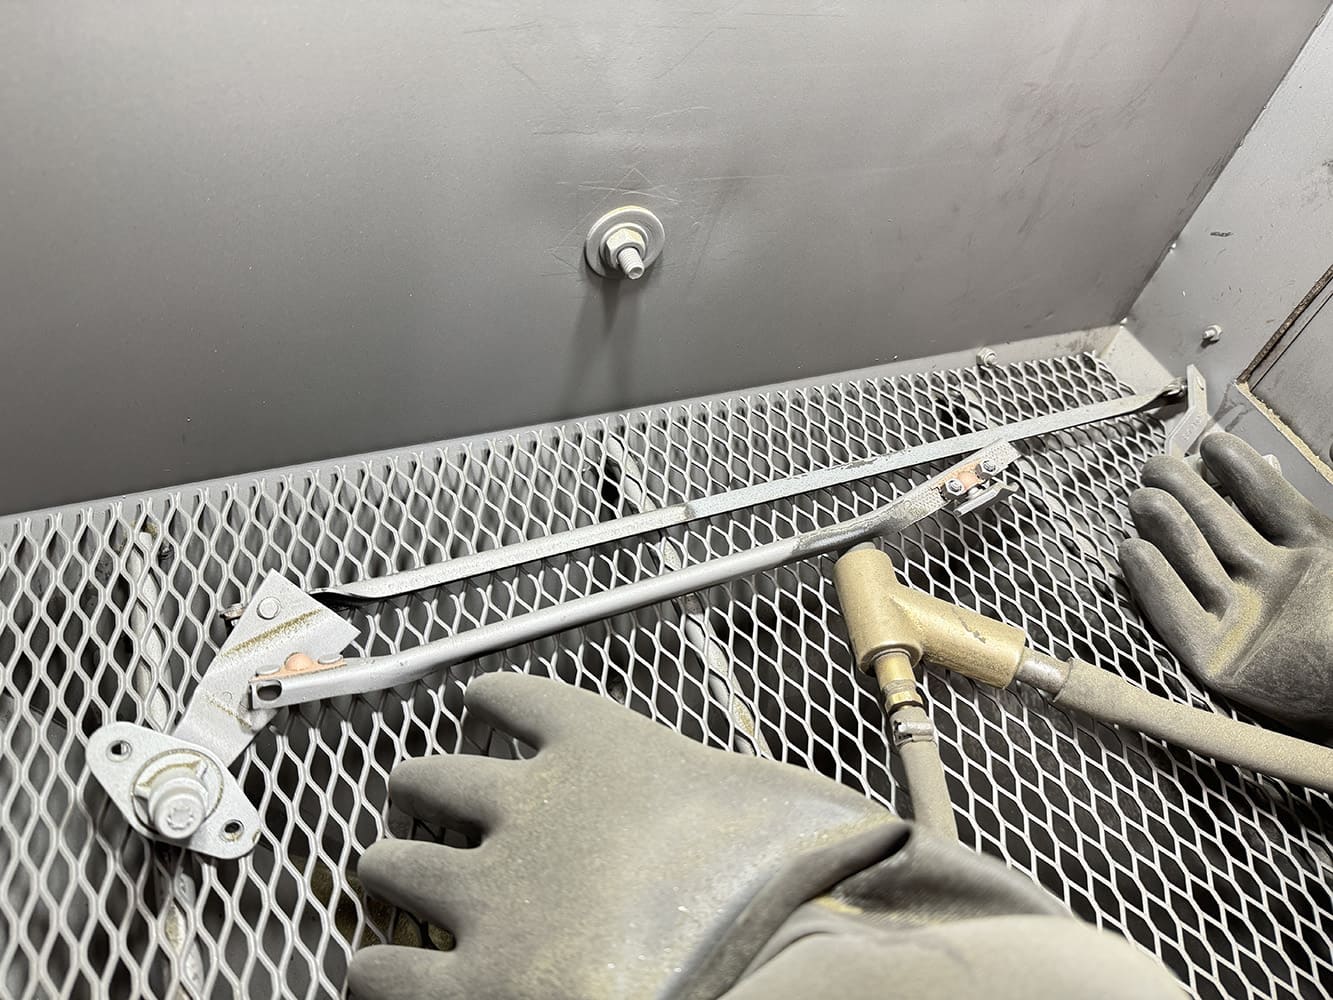
A quick stop in the blasting cabinet removed all age-related debris and dirt from the surface. Once completed, it was blown clean and treated to a fresh coating of satin black paint.
To bring wiper systems to the next level filed with modern-day capabilities, Detroit Speed & Engineering (DSE) introduced their Selecta-Speed Wiper Kit (PN 121402) for the 1970-72 Camaro with non-recessed wipers. With applications available for countless other models, it allows you to bring today’s technology into your classic. Packed with features, the great-looking and easy-to-install system showcases a sleek, low-profile, seven-speed wiper motor with five delays, low and high speeds. The CNC aluminum adaptor plate allows the motor to utilize a factory firewall bolt pattern for mounting while also easily clearing valve covers and brake boosters once installed. The exclusive seven-position billet rotary wiper switch even incorporates push-button function for a windshield washer. With one push of the button, the wipers automatically cycle three times like an OEM system then continue to operate at the last switch position. Connecting the system is effortless since it features a custom-designed wiring harness incorporating a new wiper control module design. There’s even an available DSE Windshield Washer Pump Kit to complete the system.
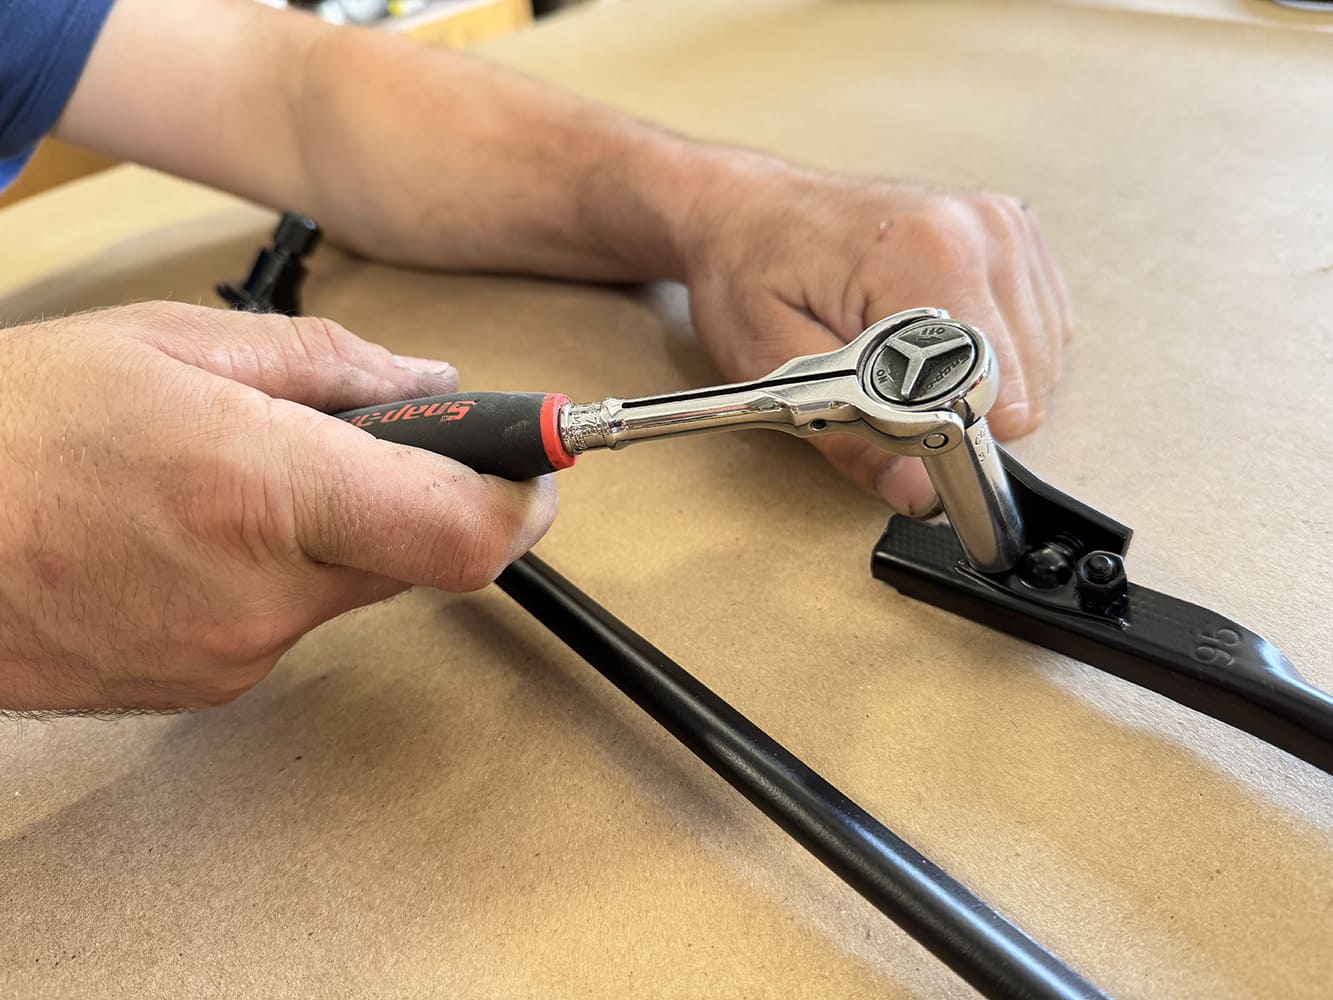
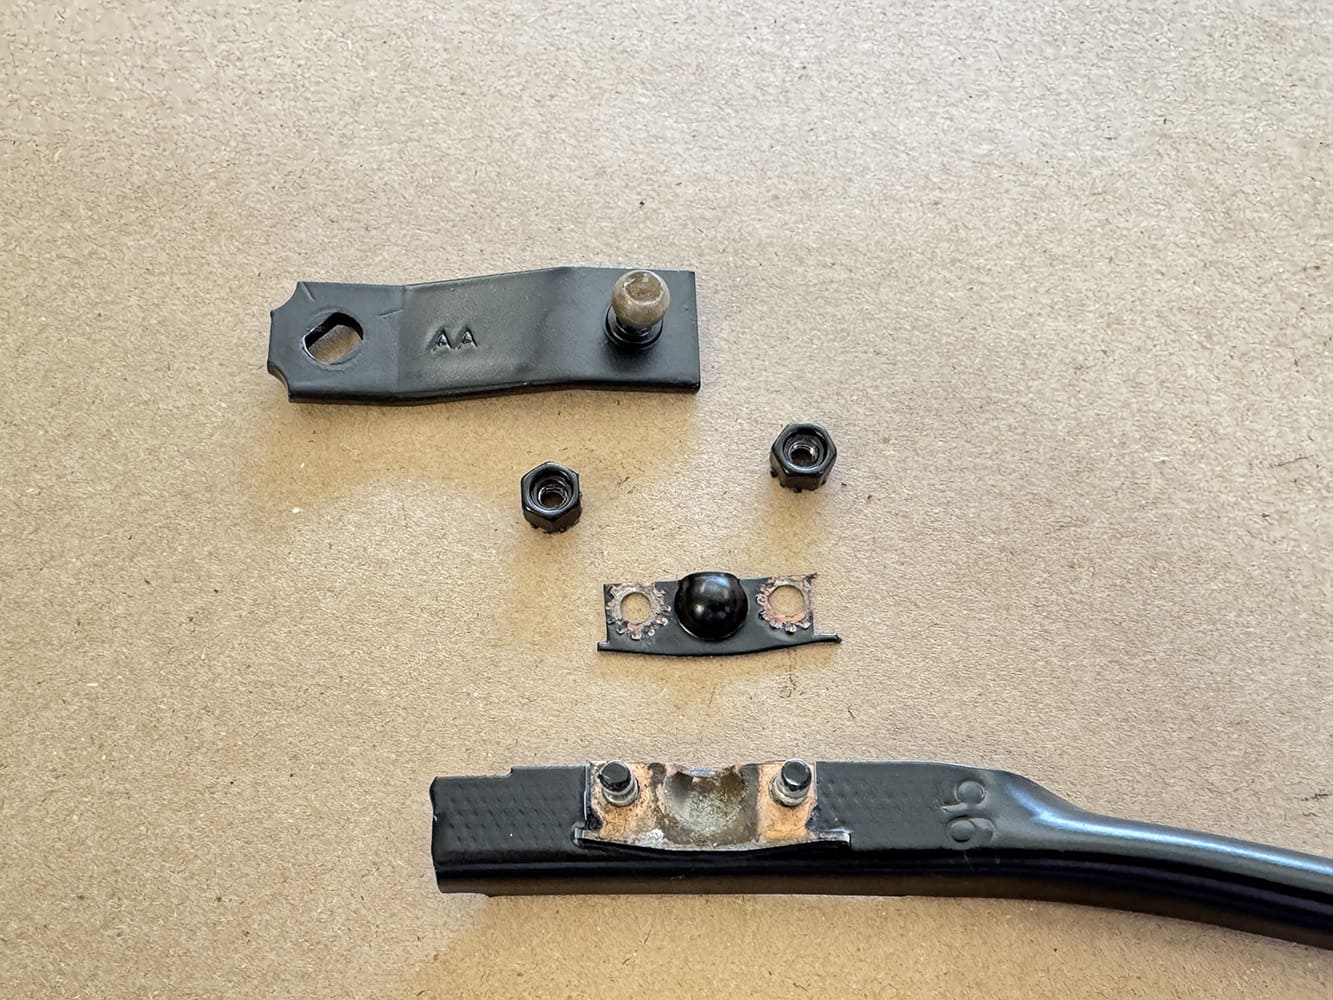
The wiper transmission pivot point for the wiper motor arm was then disassembled.
With the wiper system addressed, there’s nothing better than looking through a fresh windshield free of pits and scratches from years of abuse. We went to Classic Industries to check out their catalog of offerings to handle the parts needed to take on the job. A variety of windshield offerings are available in clear, tinted, or top-shaded glass with options for built-in antenna and rearview mirror brackets if so desired. Manufactured with tempered laminate safety glass, they meet the standards for protection against road debris. Classic also offers everything else you might need to complete the job, including windshield trim clips and moldings, glass supports, wiper arms and blades, urethane adhesive, and any related tools.
Let’s follow along as this second-gen gets ready for clear vision.
Here you can see the disassembled unit ready for lubrication and reassembly.
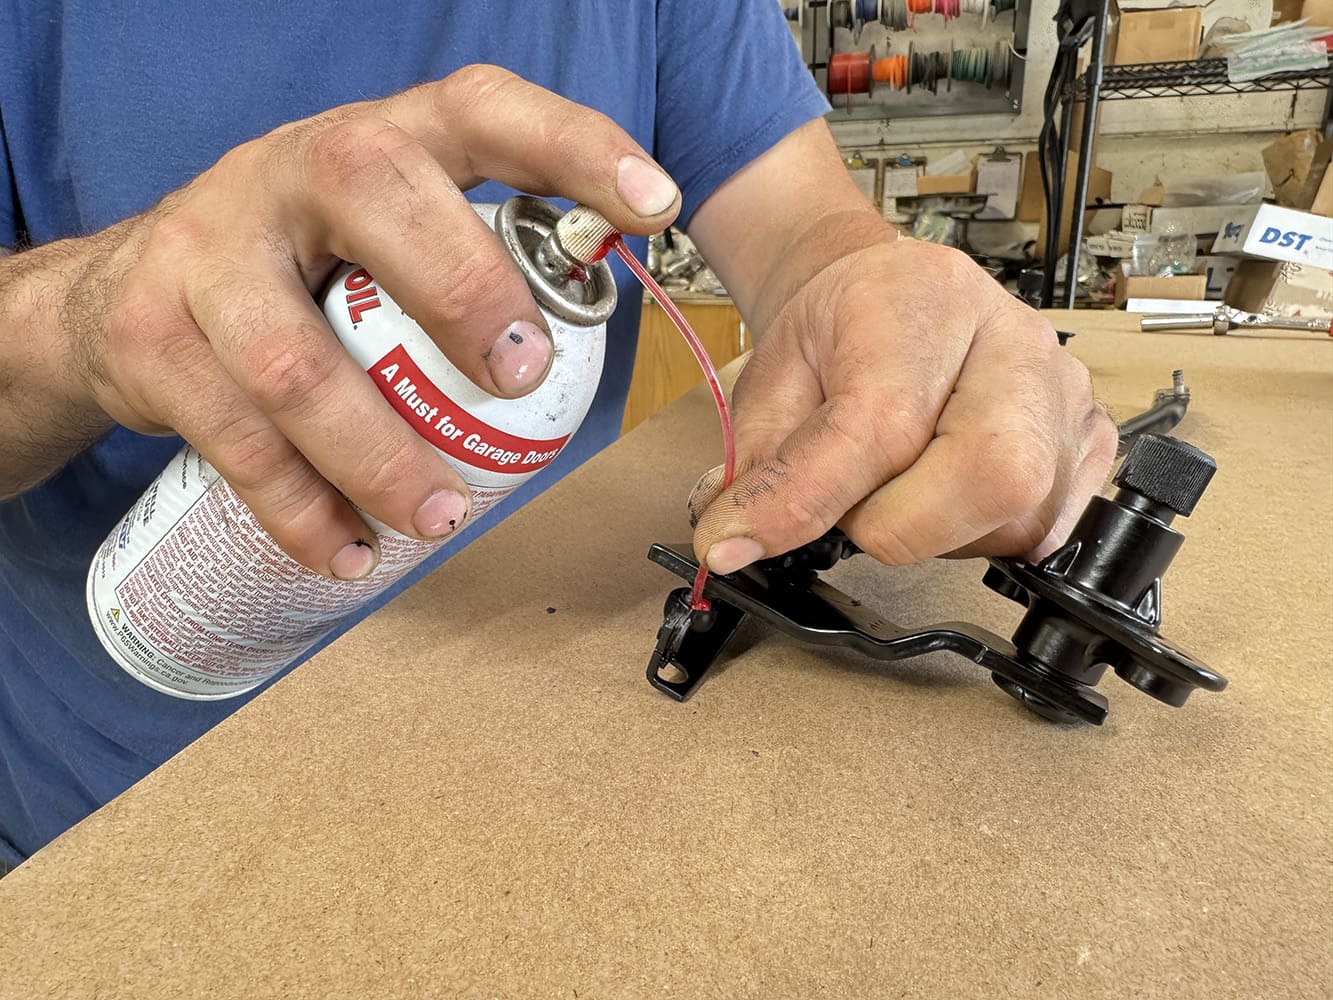
O’Brien prefers to use Lucas Red “n” Tacky spray grease on all pivot points for the transmission.
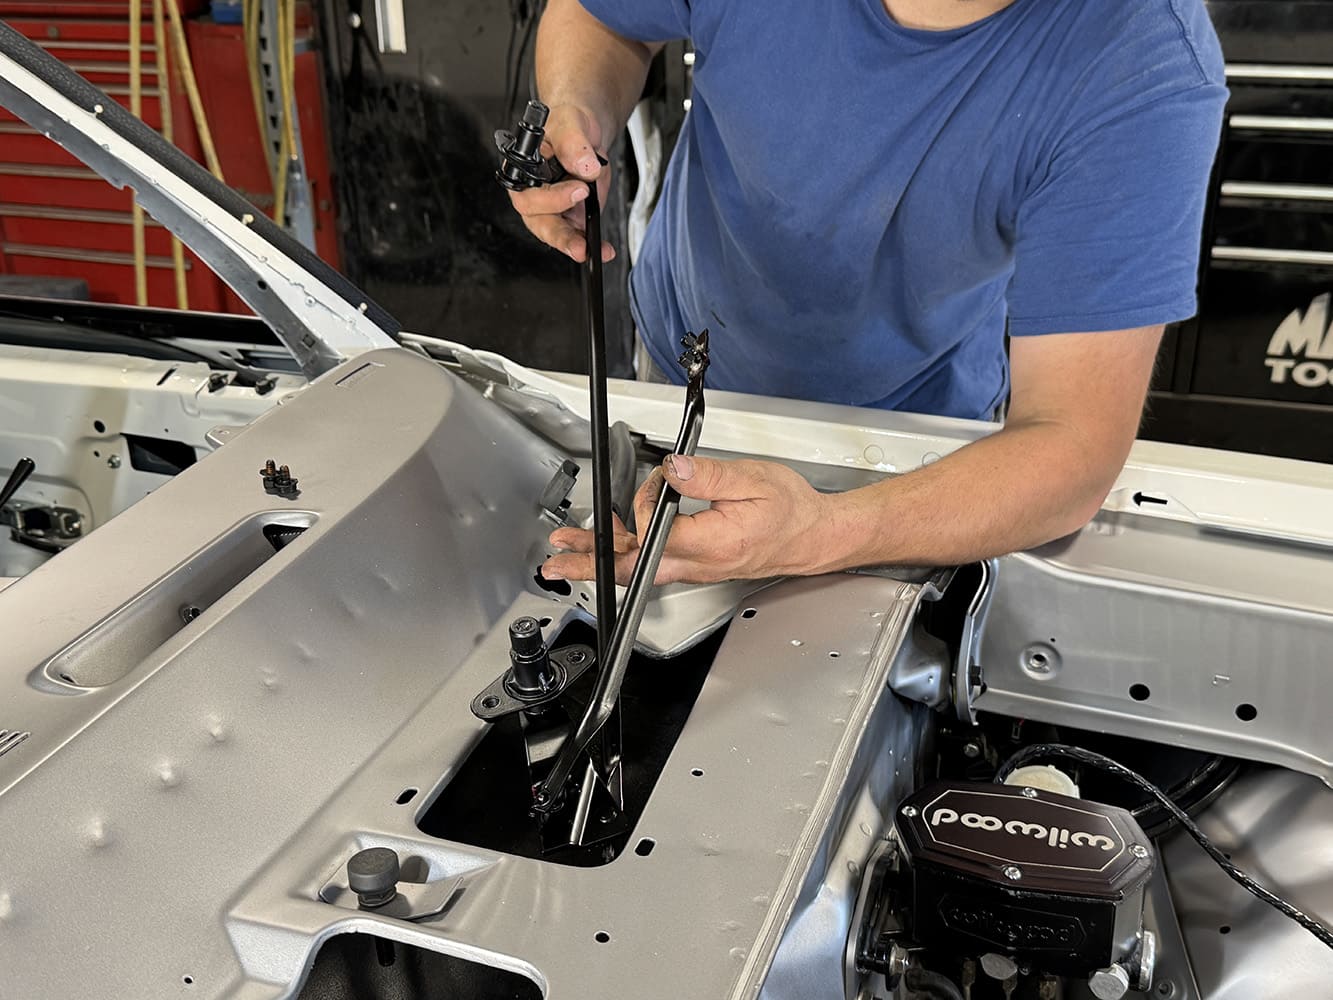
The refurbished windshield wiper transmission (non-recessed wipers) was lowered back into the cowl.
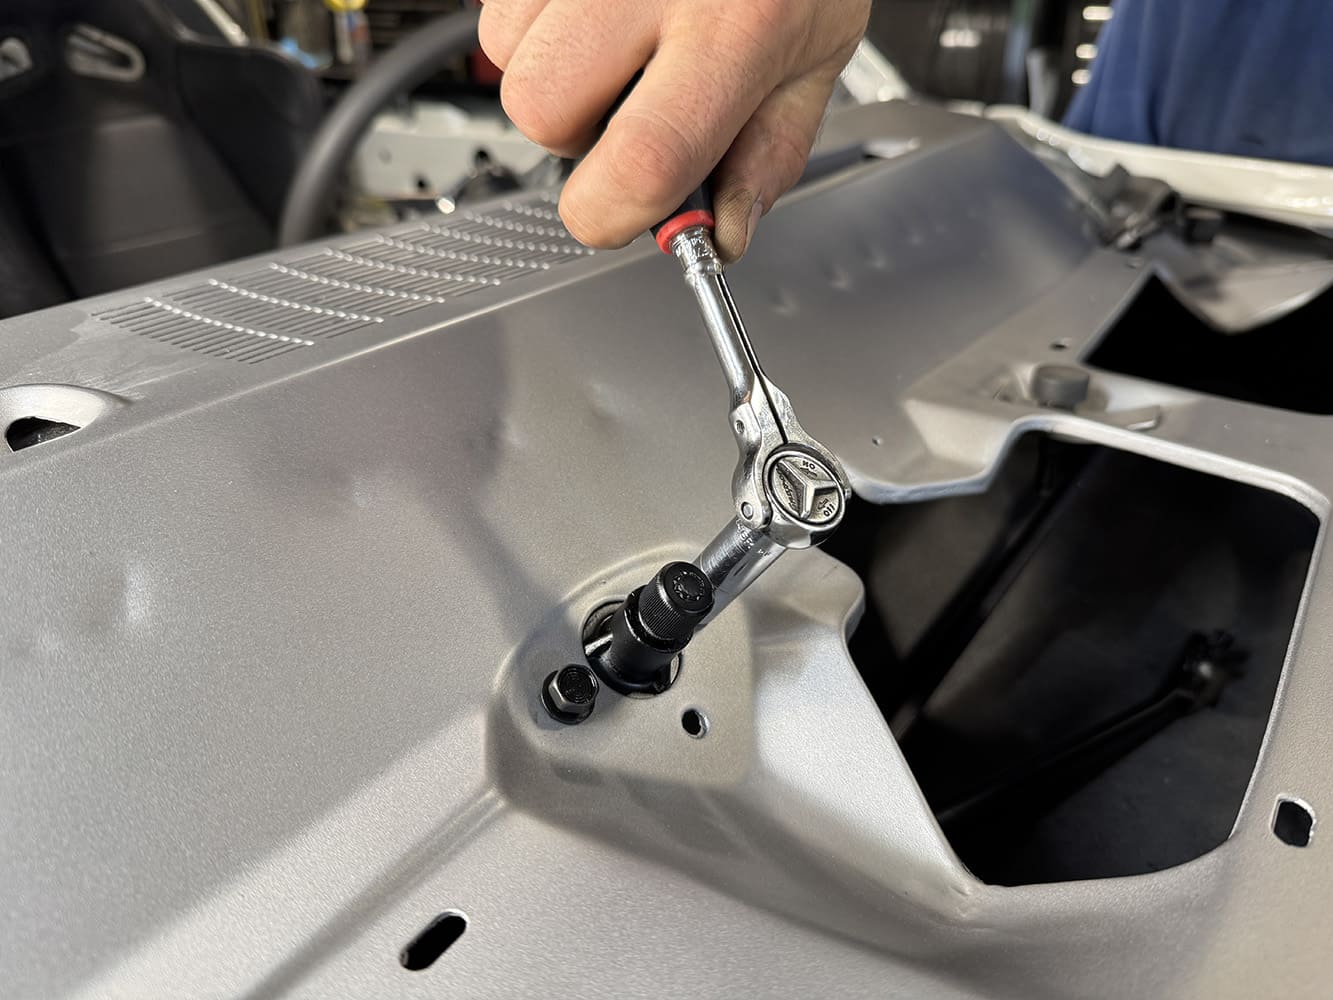
It was then mounted back into place by installing the bolts (two per side) to the splined wiper output shafts. Quick tip, be sure to use antiseize on all bolt threads.
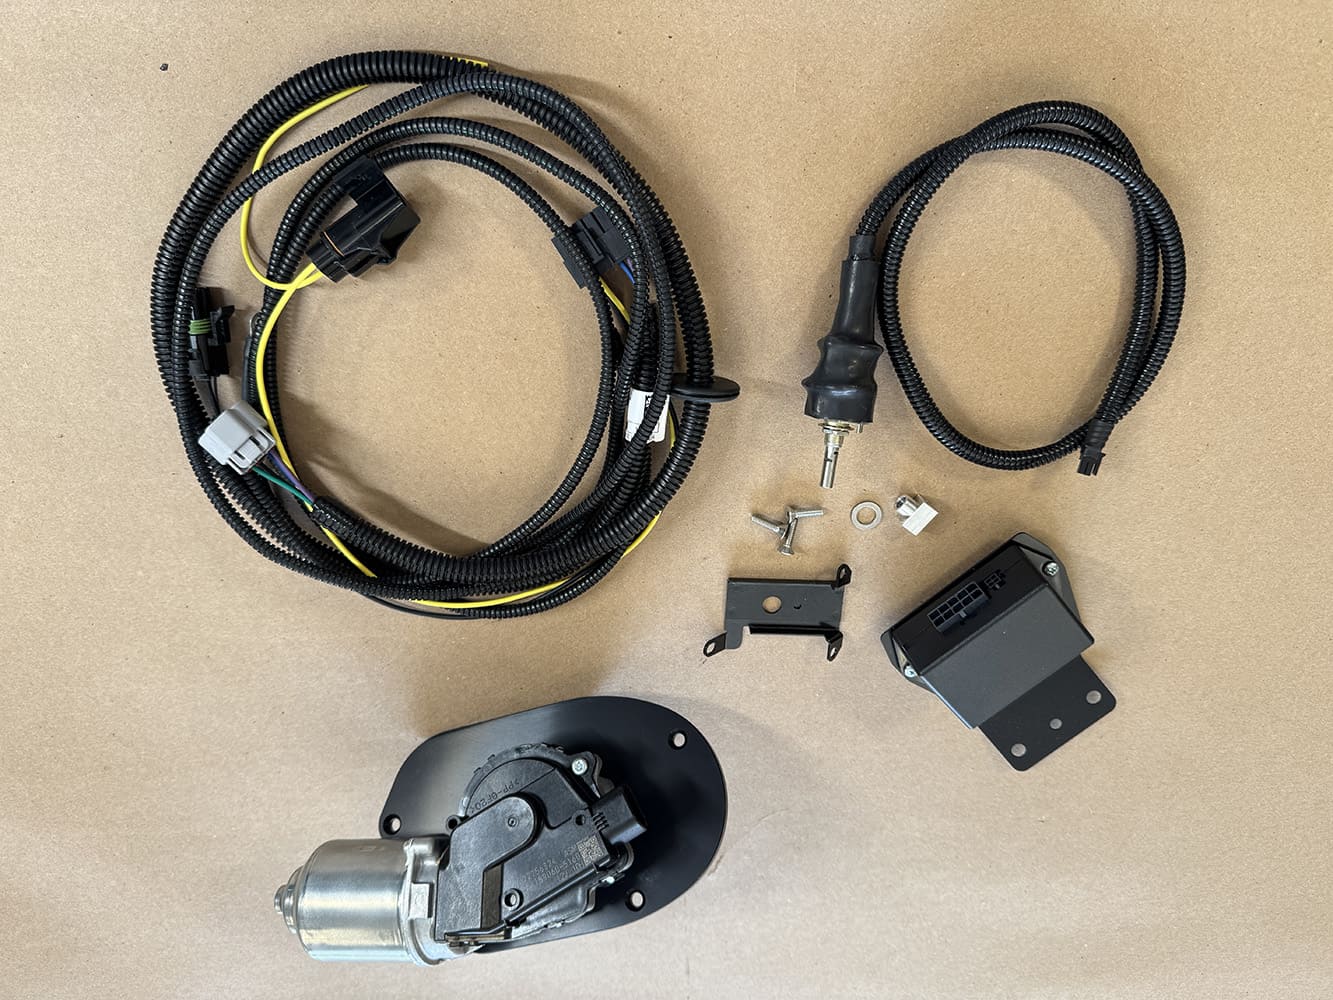
A perfect upgrade to the factory wiper motor came from Detroit Speed & Engineering (DSE) with their Selecta-Speed Wiper Kit (PN 121402) for the 1970-72 Camaro with non-recessed wipers. The kit comes complete with everything pictured, including detailed installation instructions to make the job a snap.
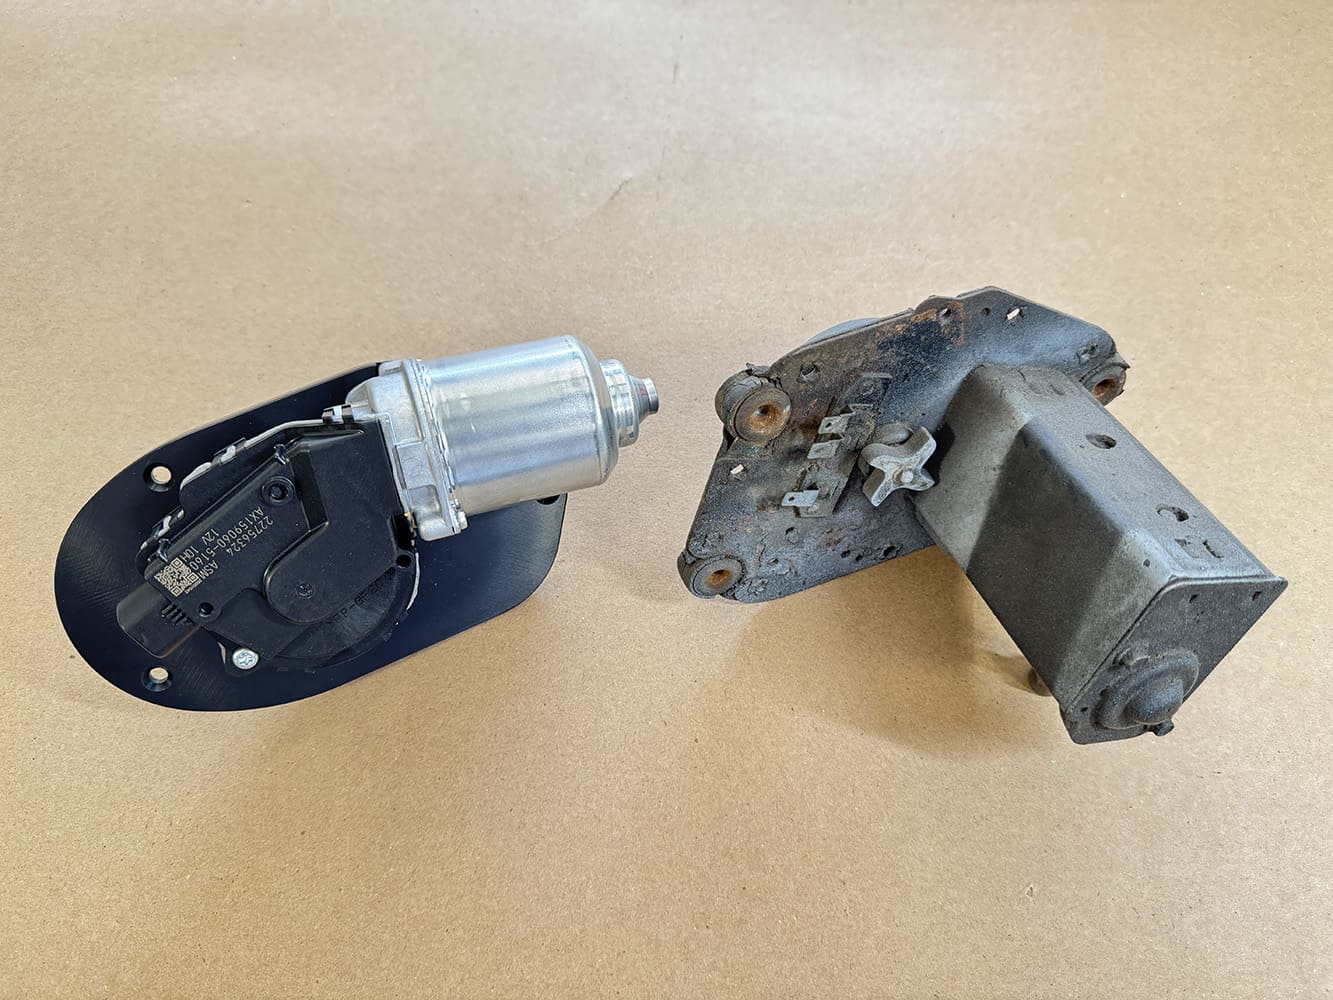
It’s easy to see the difference between the sleek, low-profile, DSE motor (left) and the clunky outdated factory unit pictured here. DSE packs plenty of details into their updated motor, including seven speeds to bring OEM-type features into your classic.
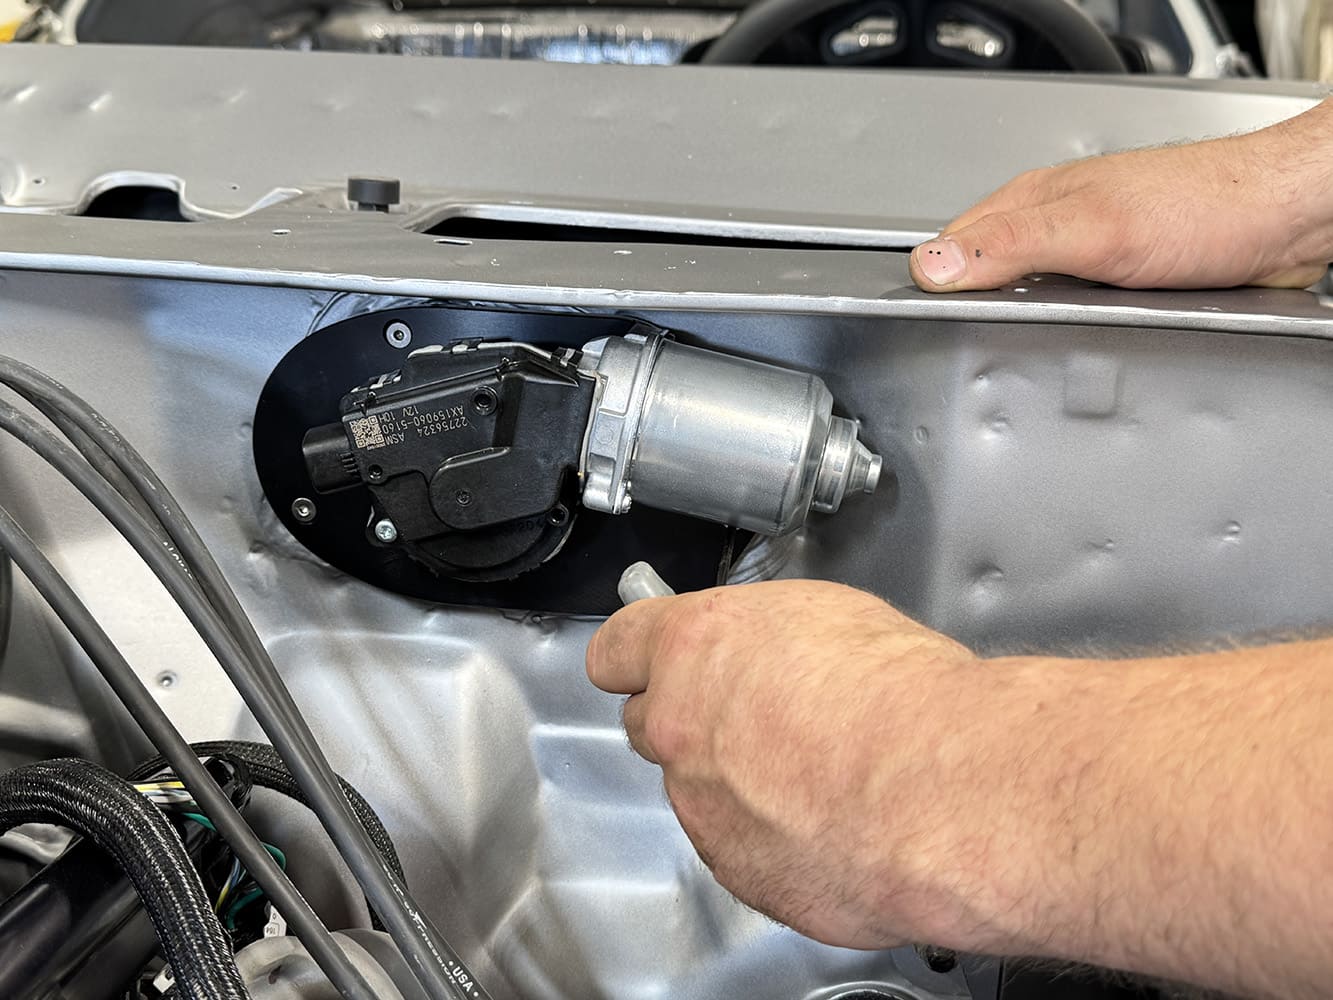
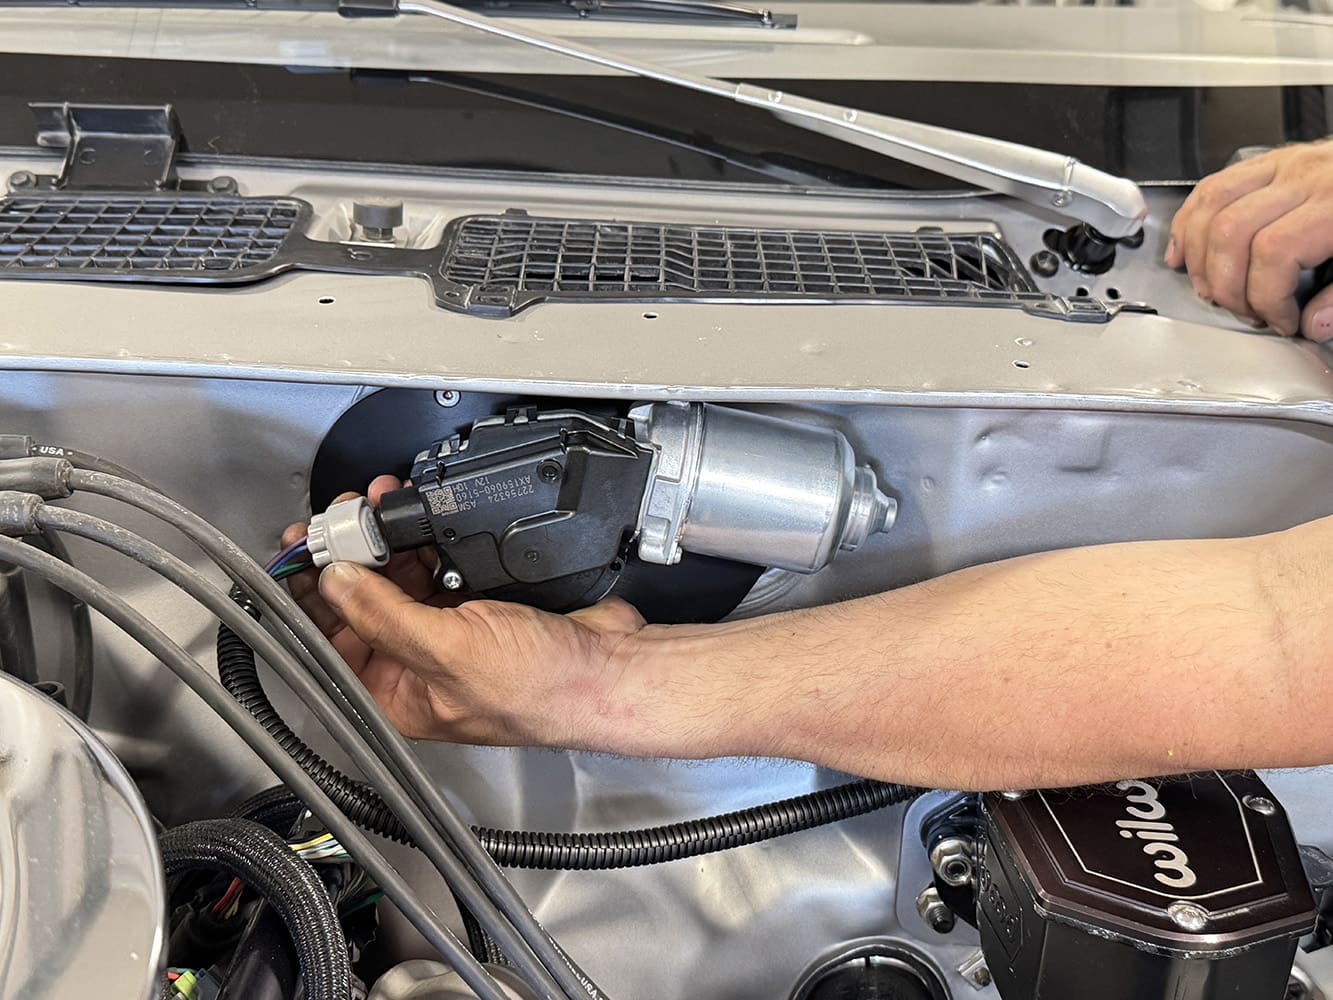
Installing the DSE Selecta-Speed wiper motor with its CNC aluminum adapter plate to the firewall is easy using the supplied 10-24 x ¾-inch stainless hardware to the mounting points.
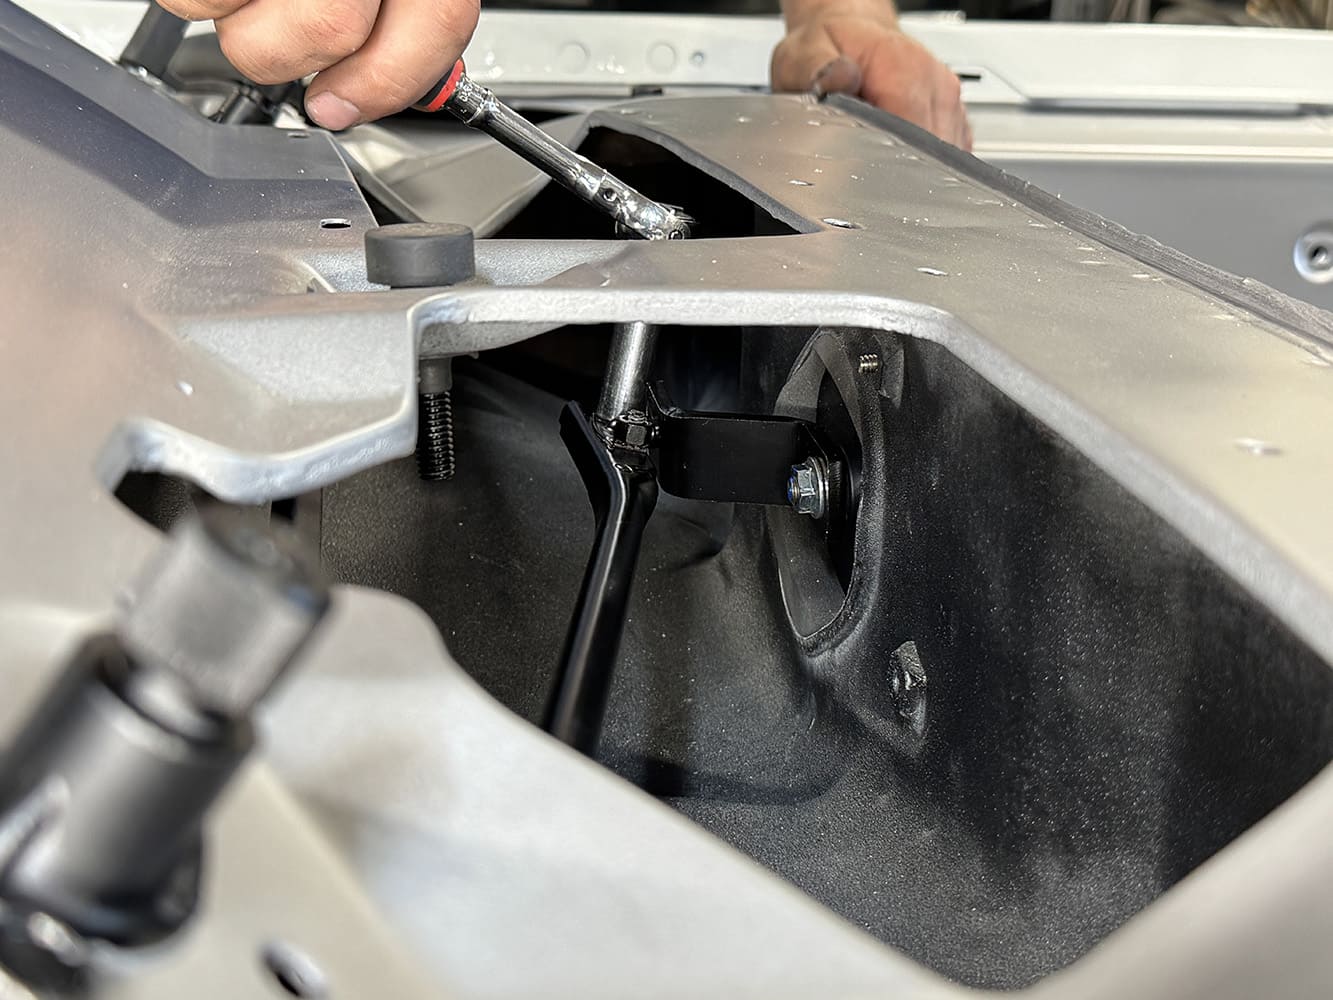
The DSE wiper motor with an updated pitman arm with ball stud was then attached to the wiper transmission. Note that the DSE kit is shipped with the pitman arm in the “parked” position to ensure the wiper blades stop in the correct position.
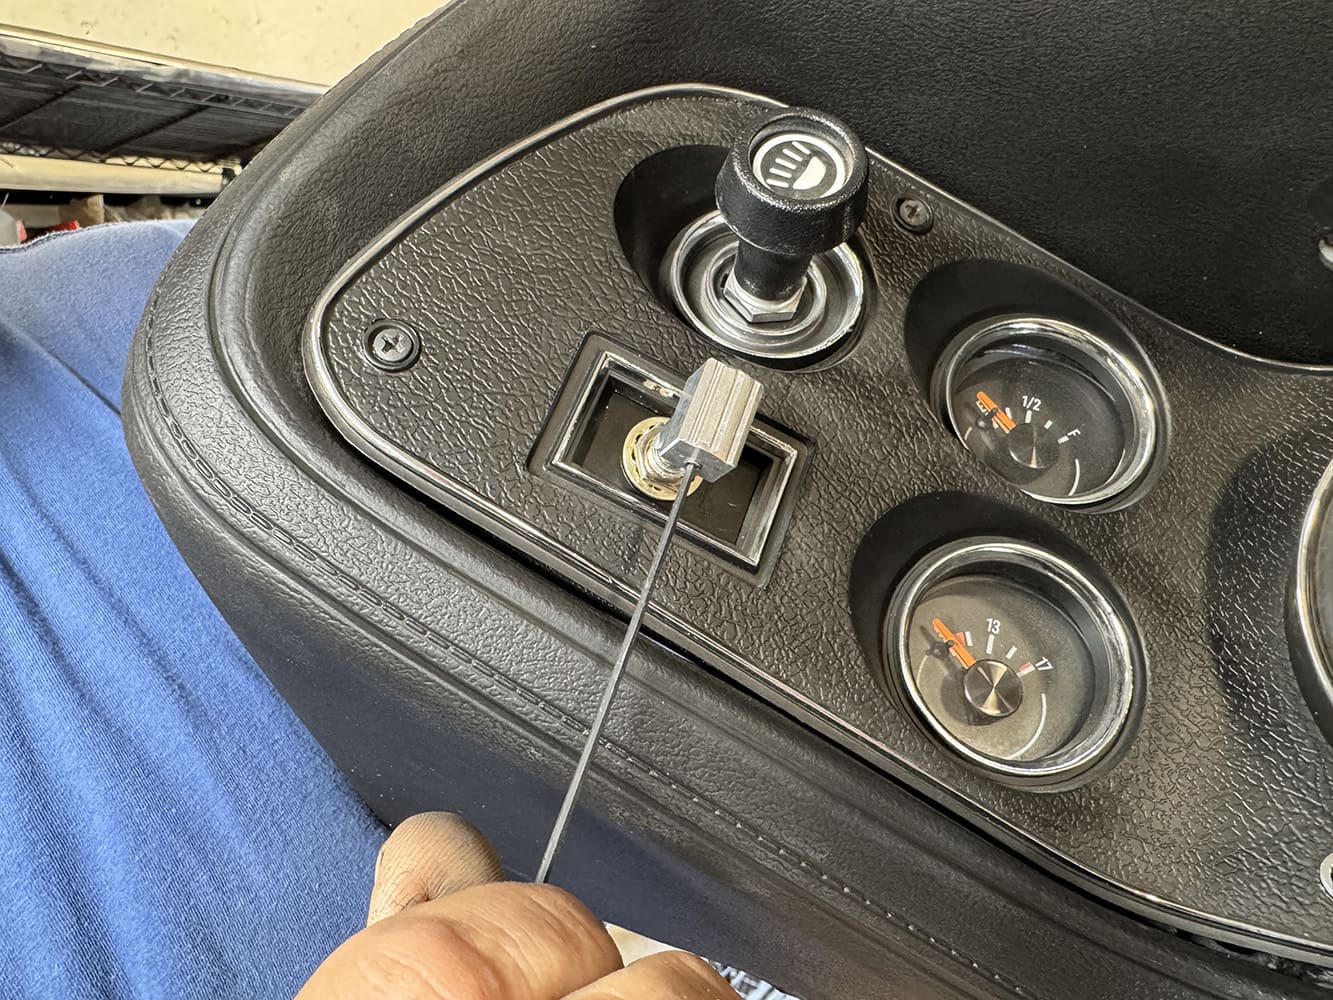
With the factory wiper switch removed, install the DSE switch alignment plate in the stock location behind the dash with the original mounting hardware.
Position the DSE wiper switch anti-rotation tab into the anti-rotation tab hole located in the switch adapter plate. Follow by securing in place with the provided 3/8-inch AN washer and hex nut onto the switch shaft and tighten. Complete with mounting the new wiper knob in place.
After routing the wiper motor connector side of the wiring harness through the firewall, use the supplied rubber grommet on the loom to seal the engine compartment from the interior of the car. Then install the wiper motor connector to wiper motor.
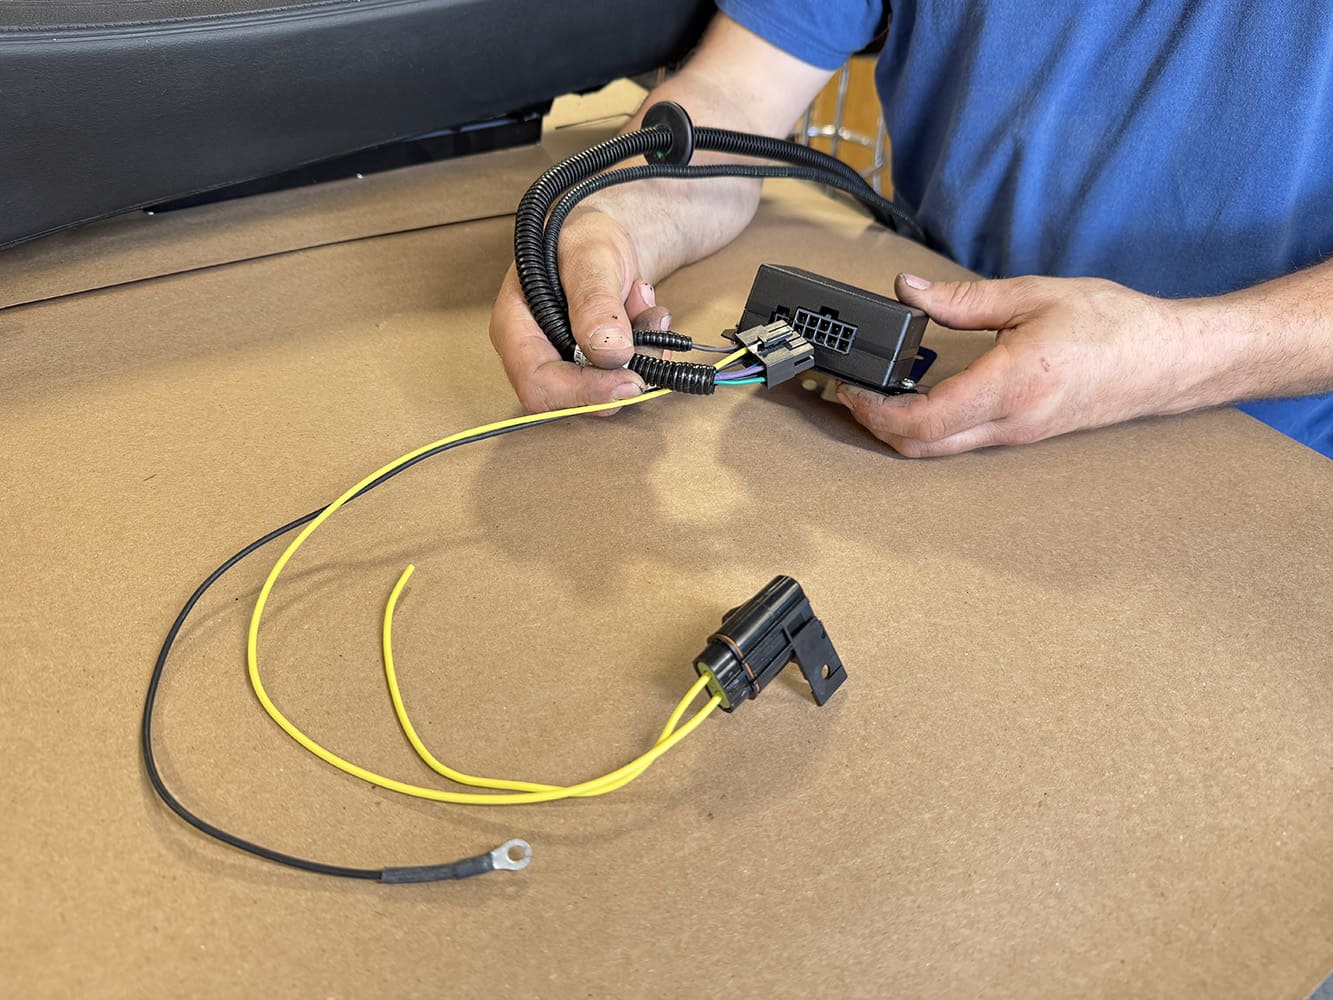
Install the wiper control module to the module mounting plate using the provided hardware. Be careful to not over-tighten. For simplicity, we are showing this step on the bench. This module will mount under the lefthand side of the dash. Then, plug the wiper switch and wiring harness connectors into the module.
To prepare for installation of the new OER windshield, the windshield molding clips (14) from Classic Industries were set in place.
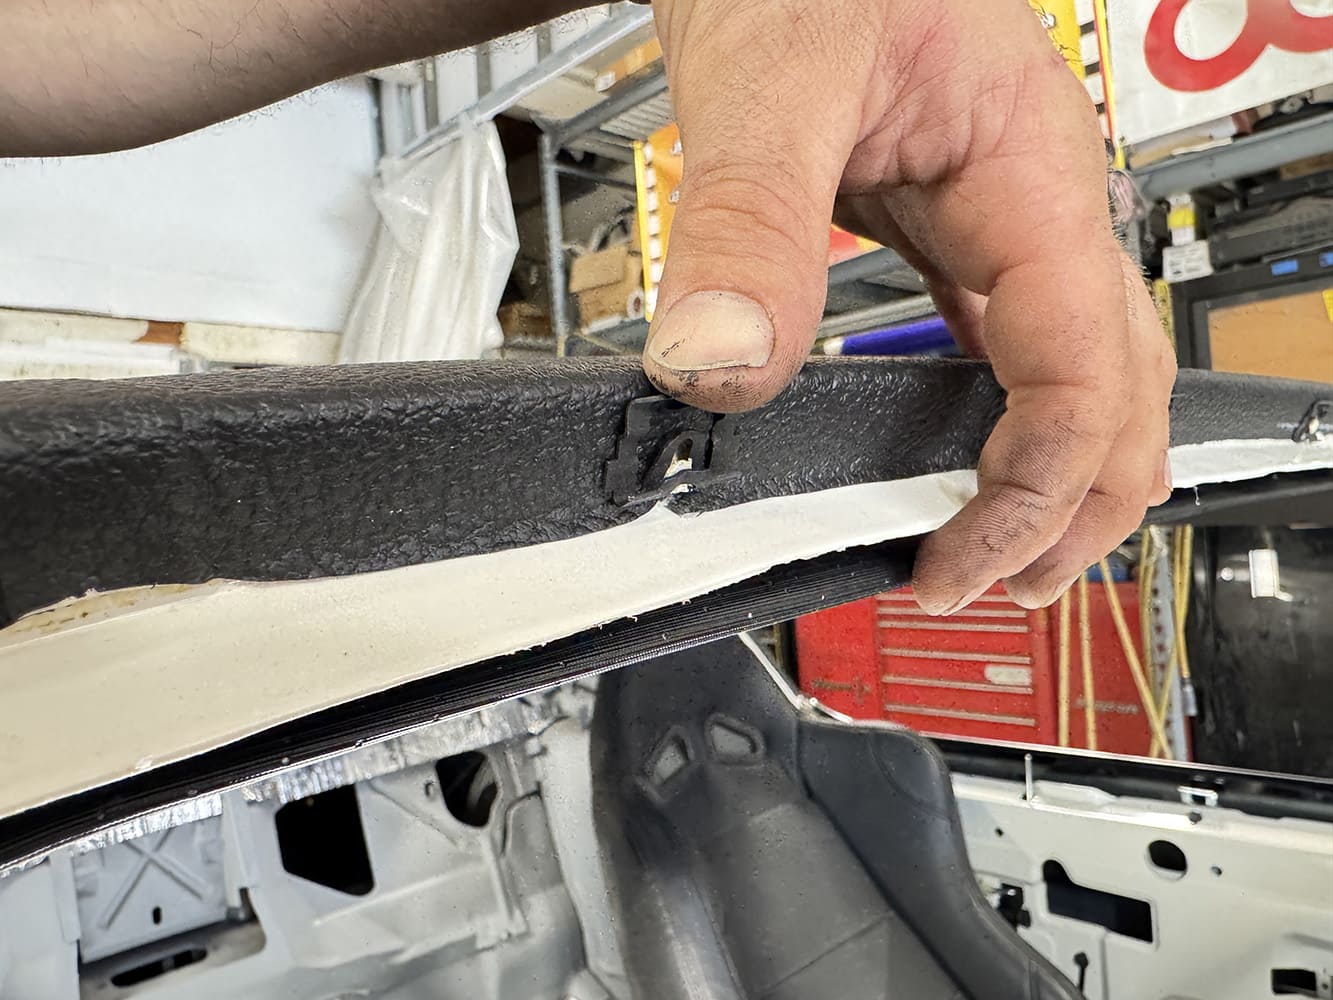
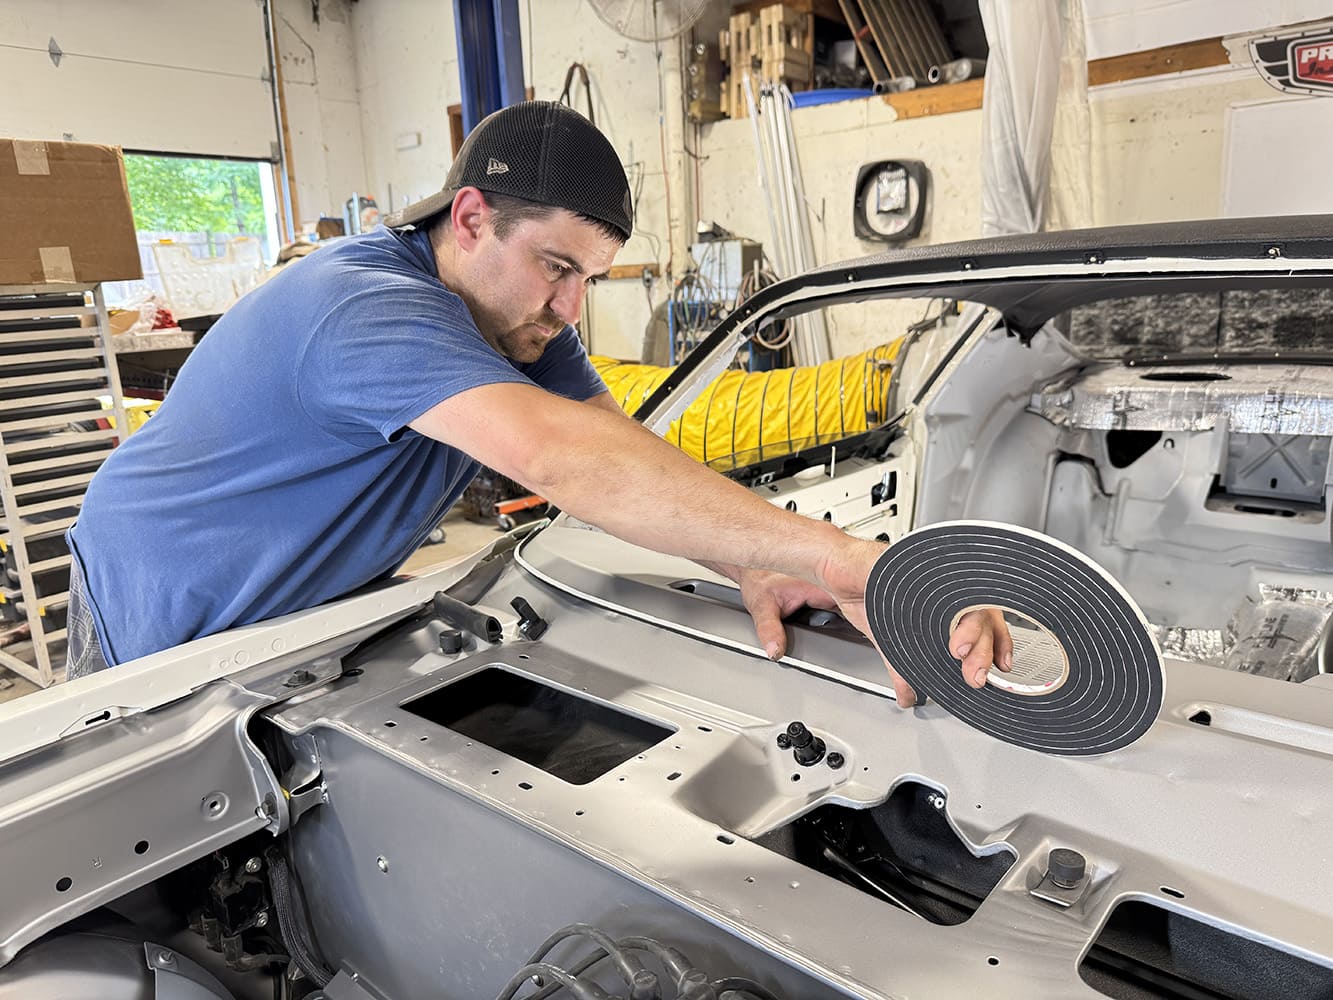
O’Brien followed by installing a foam dam from Classic Industries to the base of the windshield area.
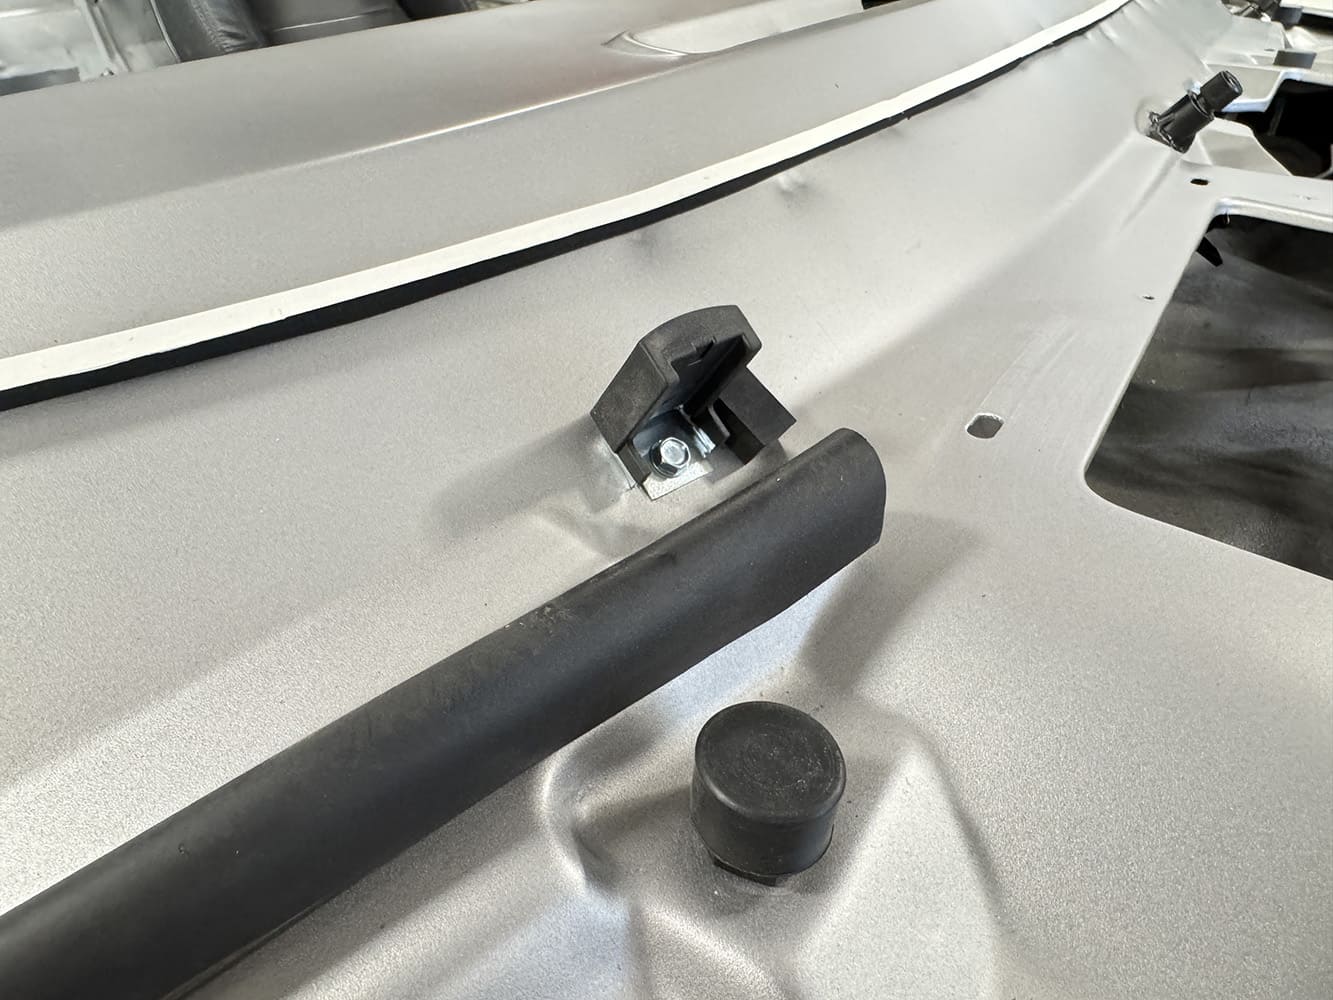
The reproduction outer windshield glass supports (2) featuring the correct rubber-coated foot from Classic Industries were then set in place.
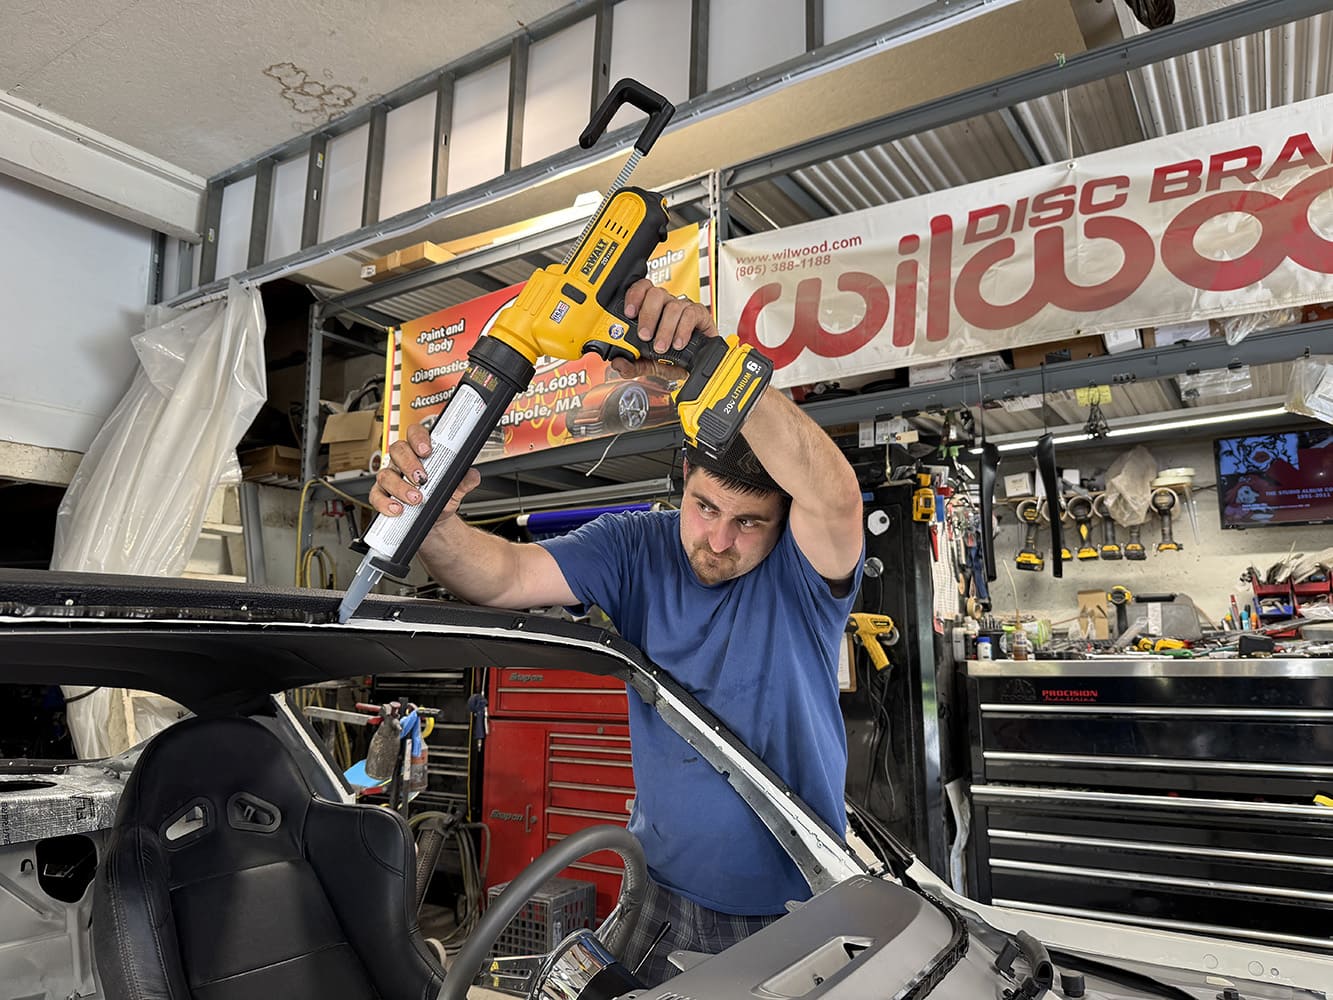
Preparing for the windshield installation, a cordless adhesive gun with BETASEAL U-418 Primerless Urethane Adhesive was used to lay down a consistent bead around the perimeter of the entire windshield opening.
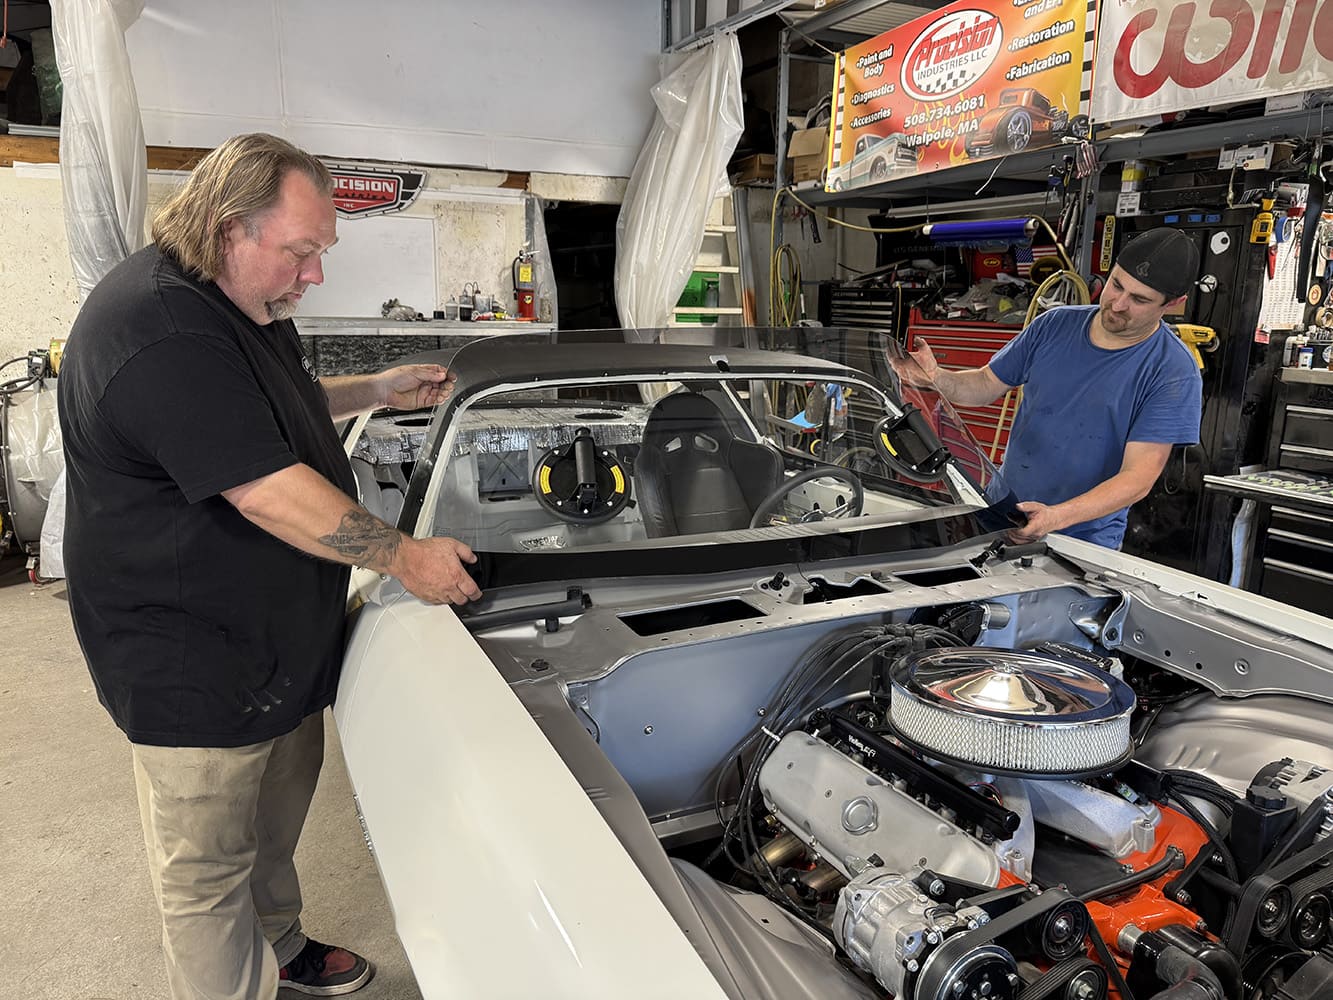
With help from Jason Souza of Fault Line Kustoms, the pair installed the new OER windshield from Classic Industries into position. It’s important to take your time at this step for perfect alignment. The glass features a built-in antenna and interior mirror mounting bracket.
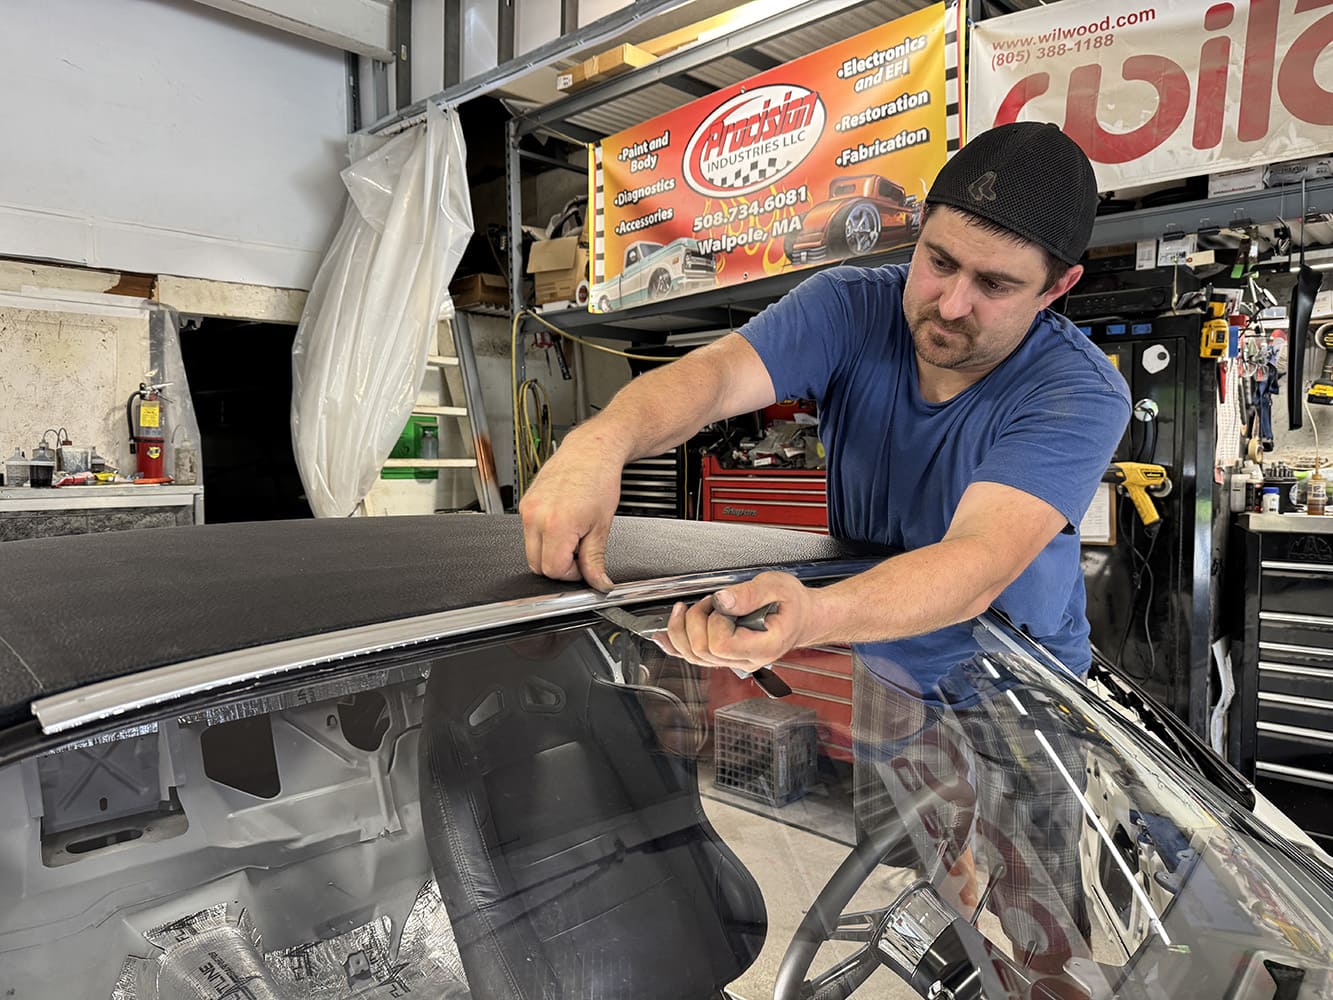
The restored OEM windshield moldings were then set in place using a molding installation tool.
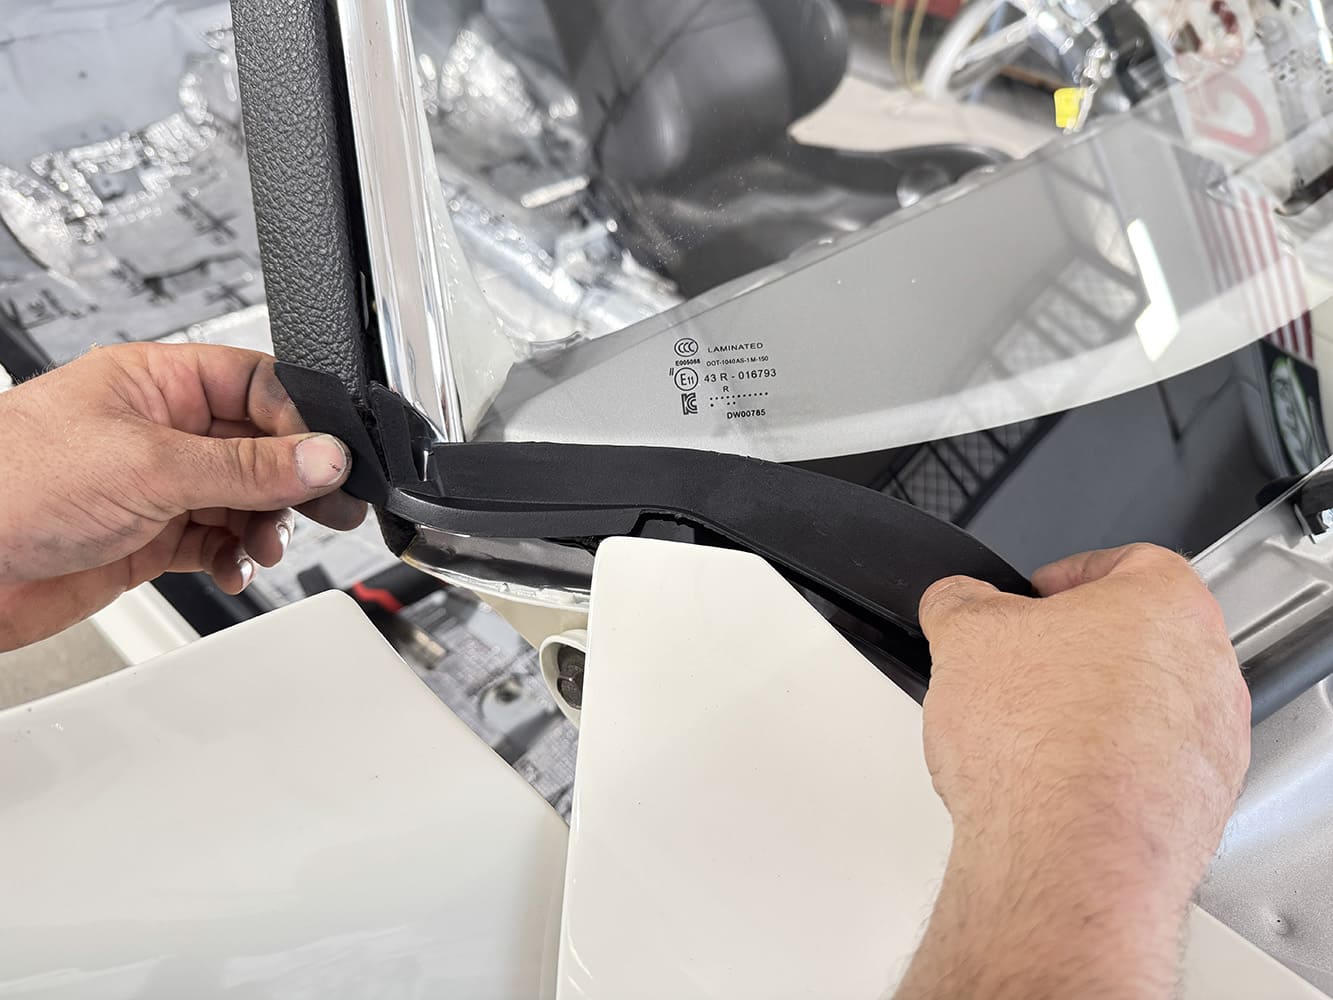
OER reproduction lower-corner molding connectors were then set in place.
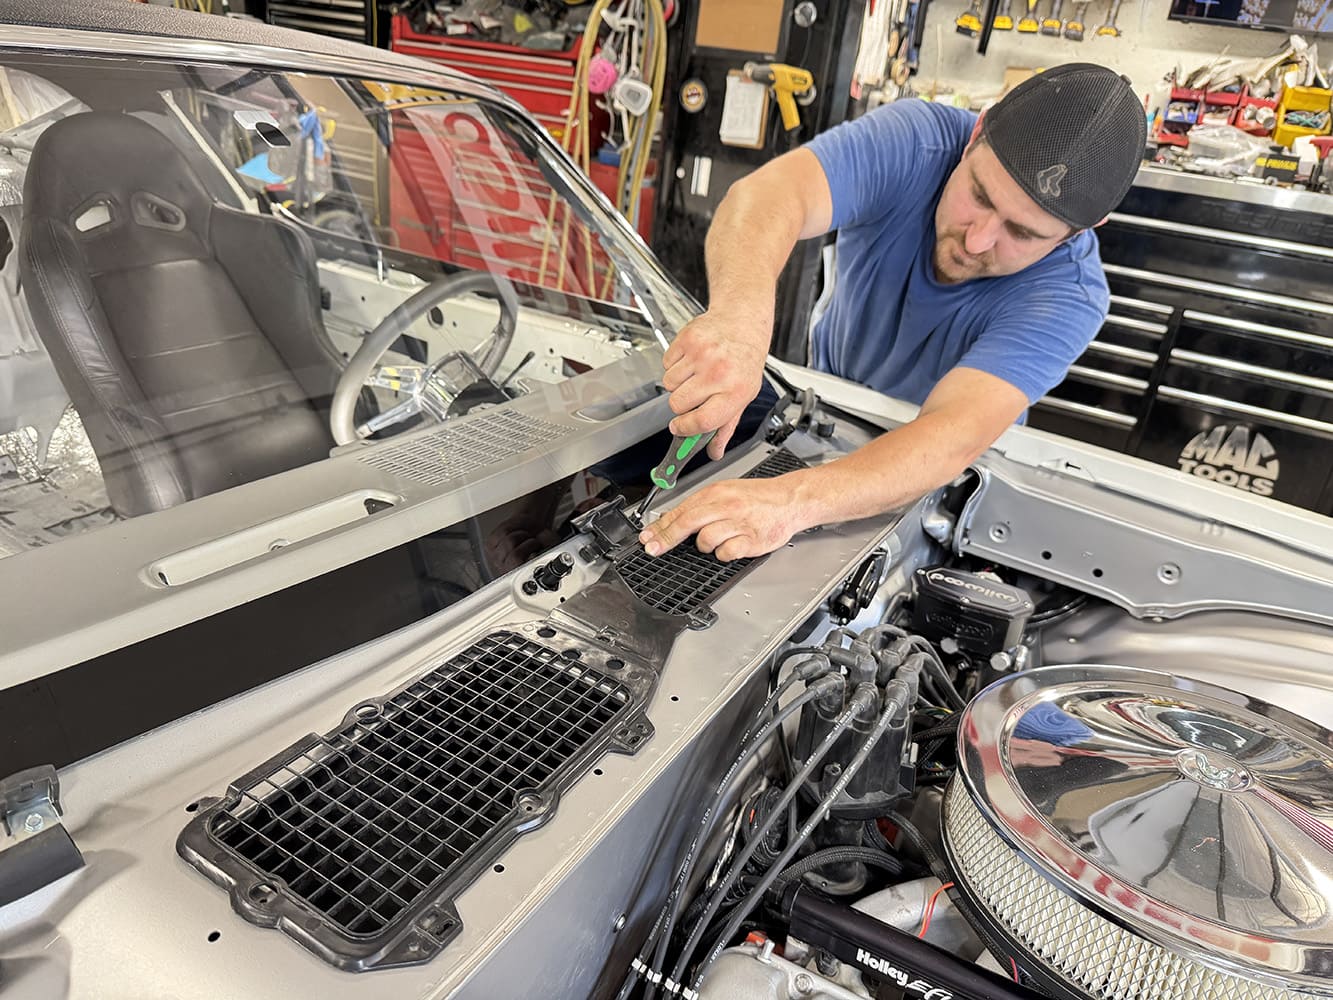
A fresh OER cowl top vent screen was then installed using factory hardware.
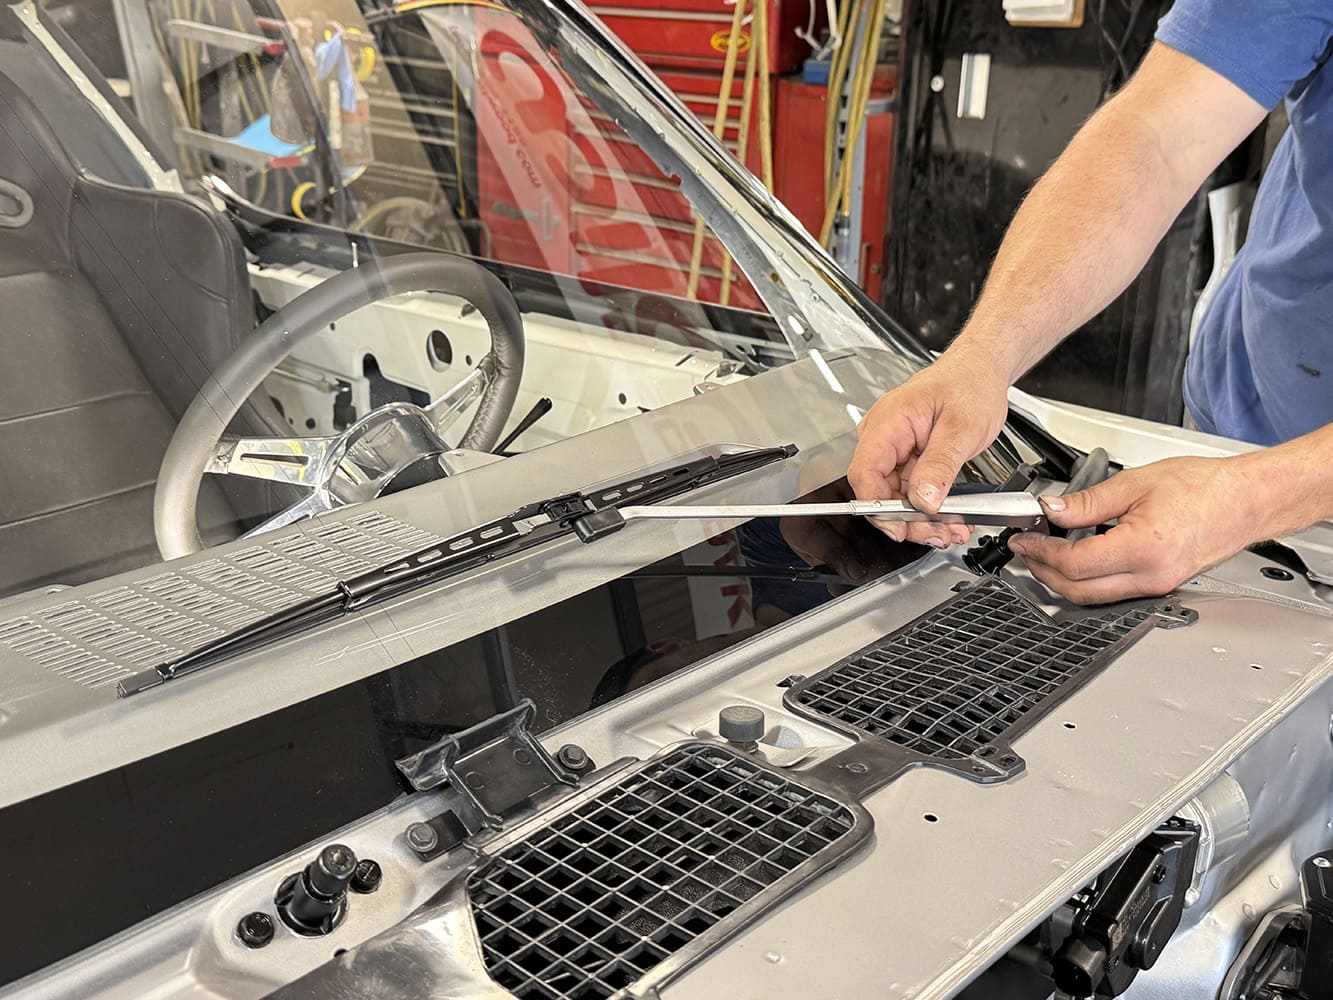
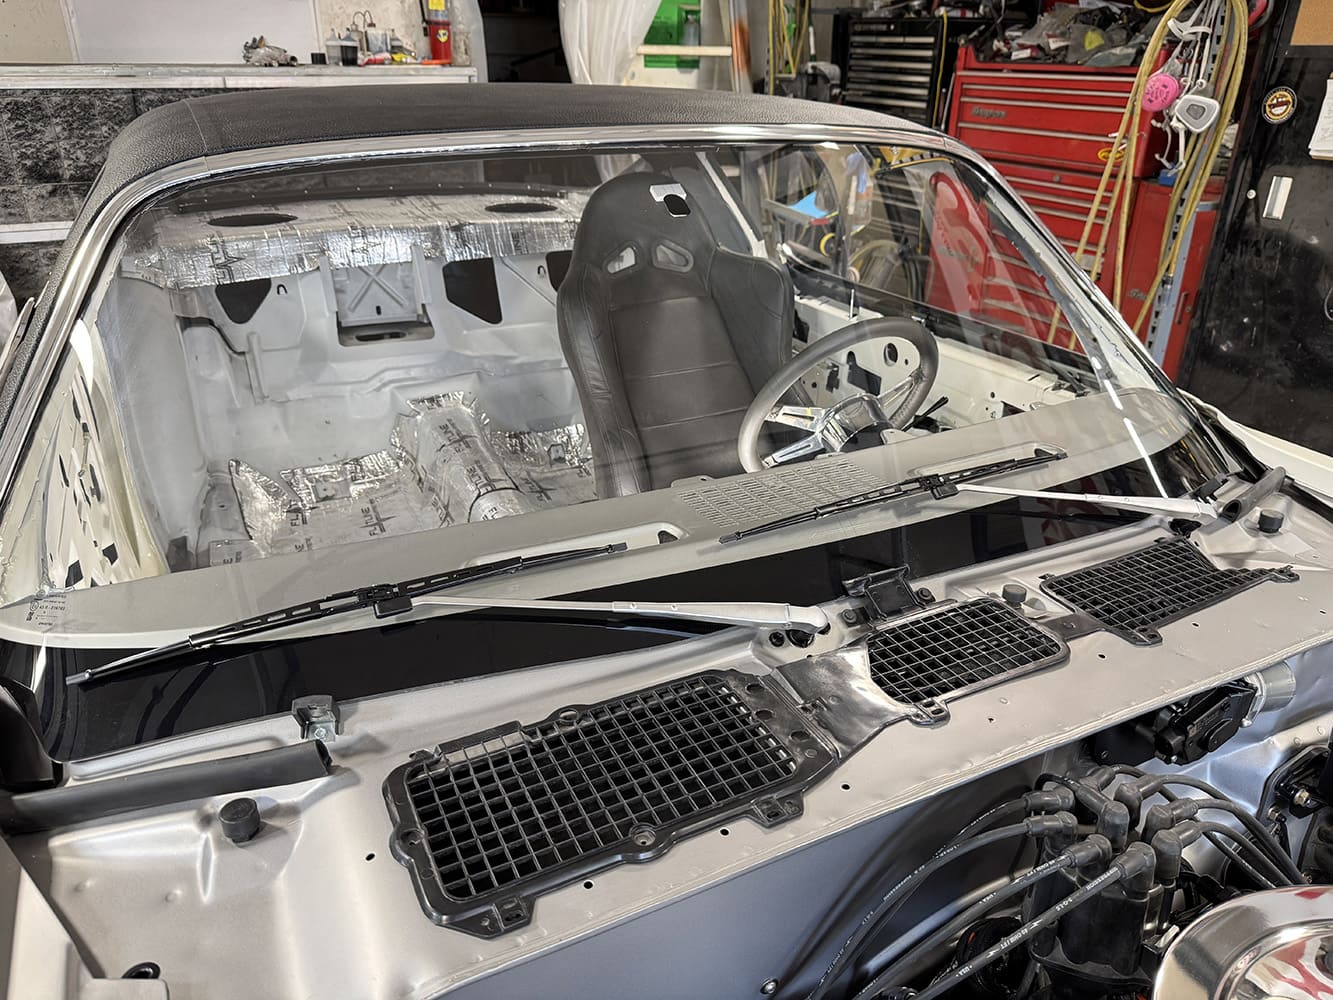
To complete the installation, new satin silver OER wiper arms and blades were set in place, both from Classic Industries.
There’s nothing better than a new windshield, wipers, and control system to ensure crystal clear vision for years to follow.
We use cookies to ensure that we give you the best experience on our website. If you continue to use this site we will assume that you are happy with it.