Over the years, automobile manufacturers have gone to extraordinary lengths to play hide and seek with the fuel tank filler. Cadillac went so far in 1949 as to conceal it under the hinged driver-side taillight. Chevrolet did the same thing in 1956 with a unique flip-down taillight. For those old enough to remember hiding the gas cap, this way was not only a slick styling trick, it was also the origin of a classic gas station gag. There was always an old-time pump jockey who would flip open the taillight of one of these cars and tell the new kid at the service station “that’s where you add blinker fluid.” No telling how many trusting young men were sent to a parts house to ask an amused salesman for a gallon of the stuff.
MetalWorks’ talented fabricator, Dave Williams, was responsible for designing and scratch-building the cleverly hidden gas tank filler on this 1967 Chevy Nova.
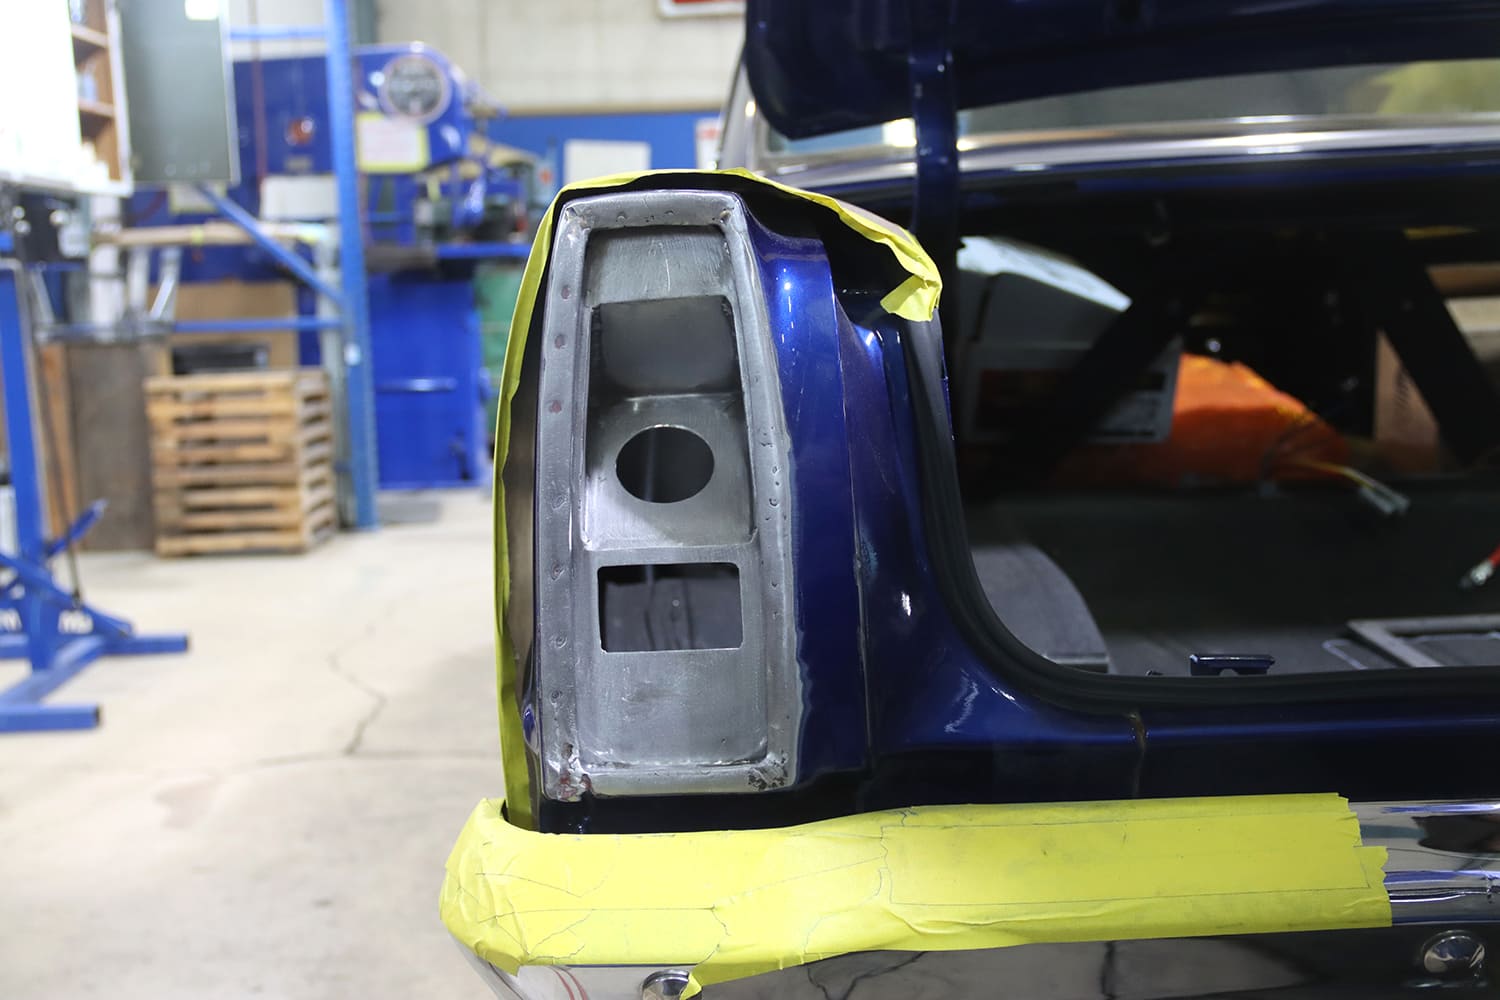
Recently we were talking to Chadly Johnson, our man on the scene at MetalWorks Classic Auto Restoration in Eugene, Oregon, when he mentioned they were installing a hidden gas tank filler behind the taillight of a 1966 Chevy Nova. That sounded like a cool idea, but what piqued our interest was hearing this was not a kit. All the modifications made to modify the taillight and hide the fuel filler were designed and fabricated by their own Dave Williams. We had to see how it was being done.
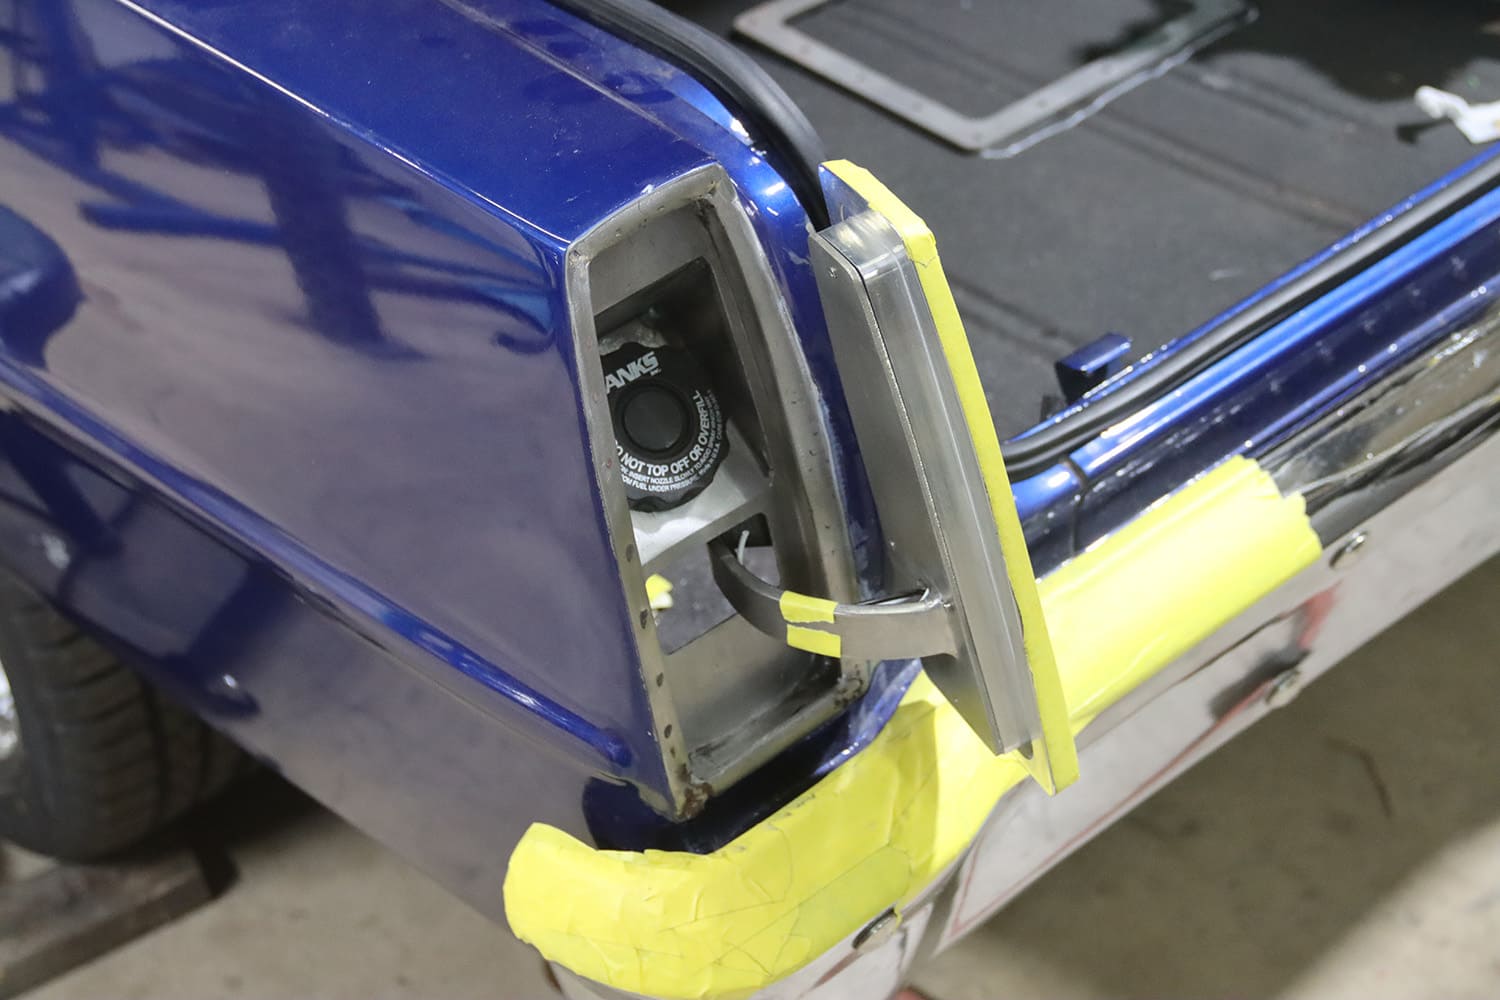
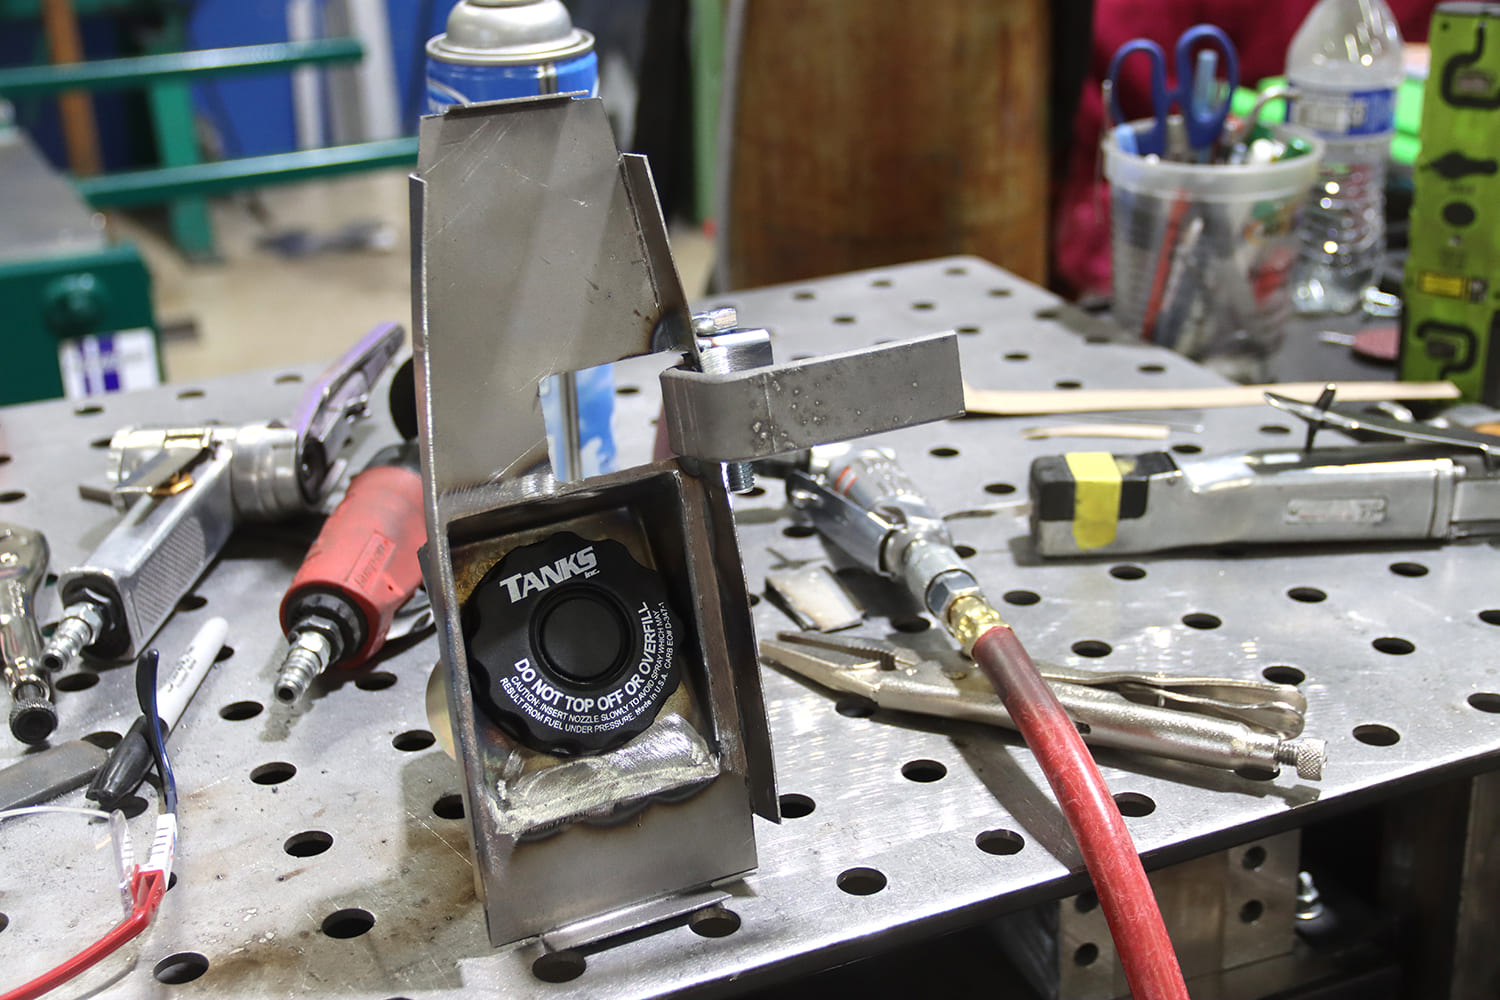
It’s a tight fit for the Tanks gas cap in the recess, however it doesn’t have to be removed during fill-ups.
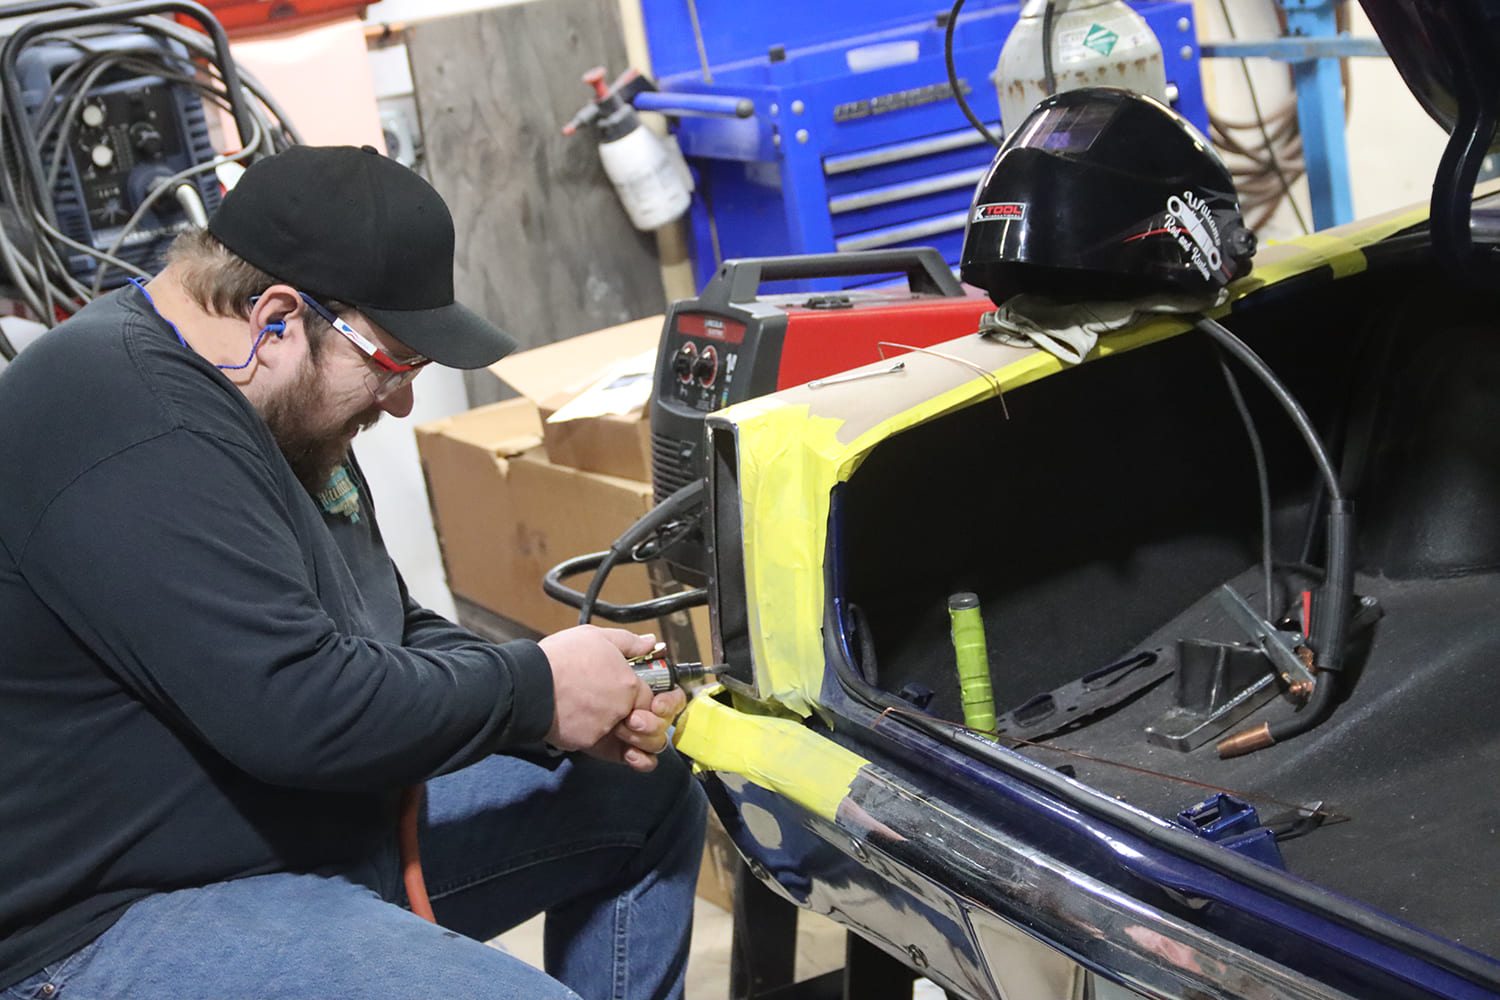
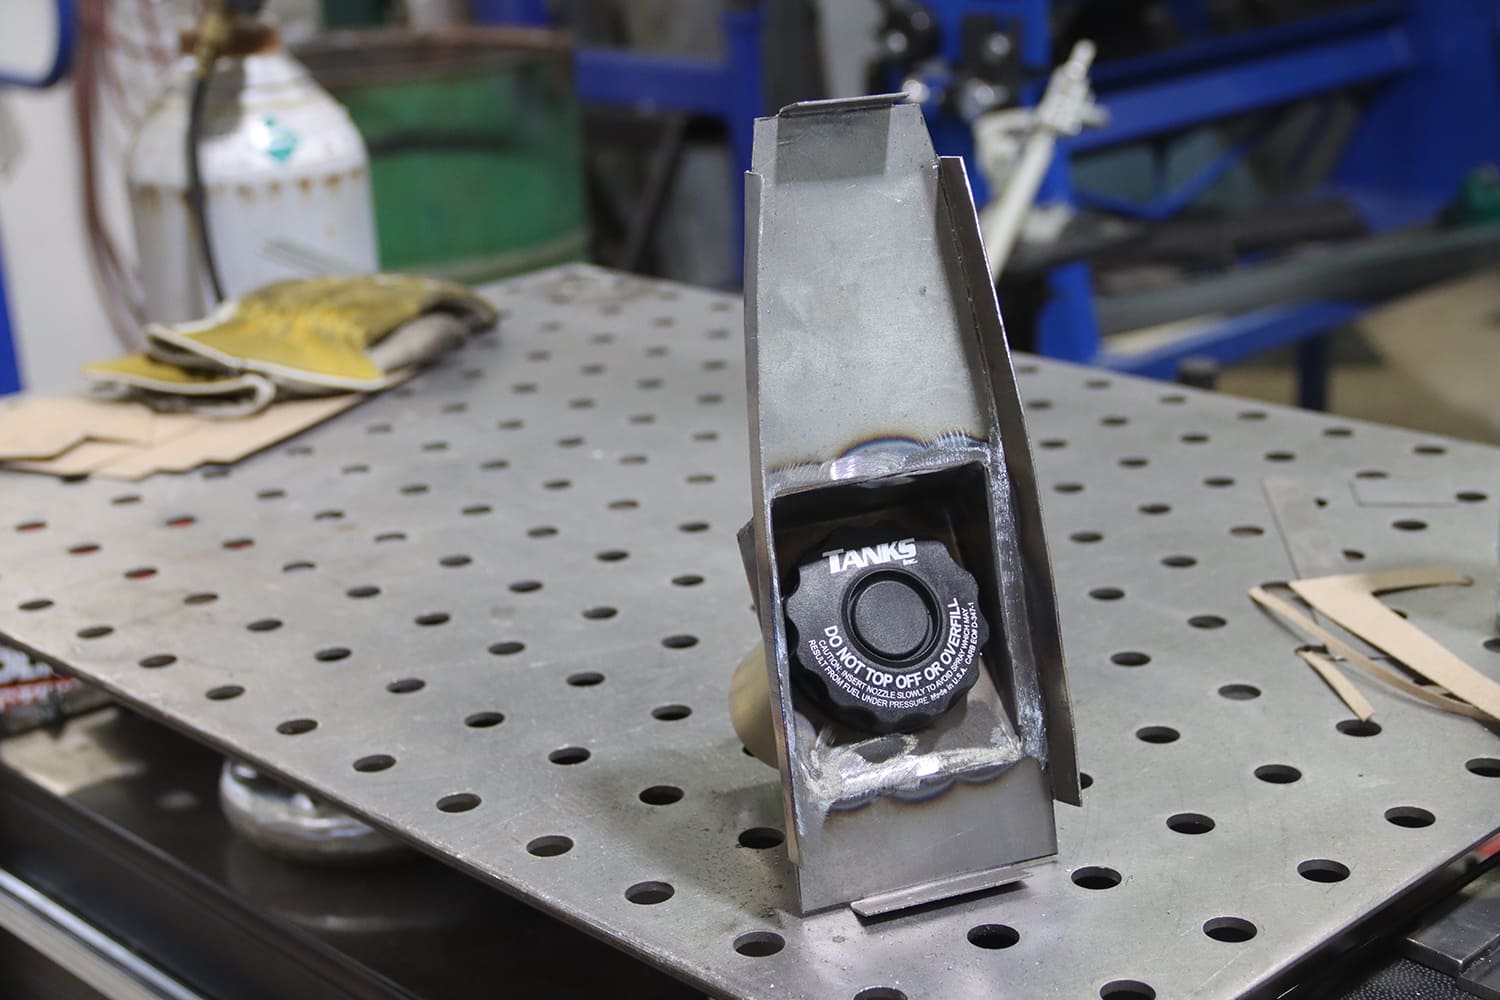
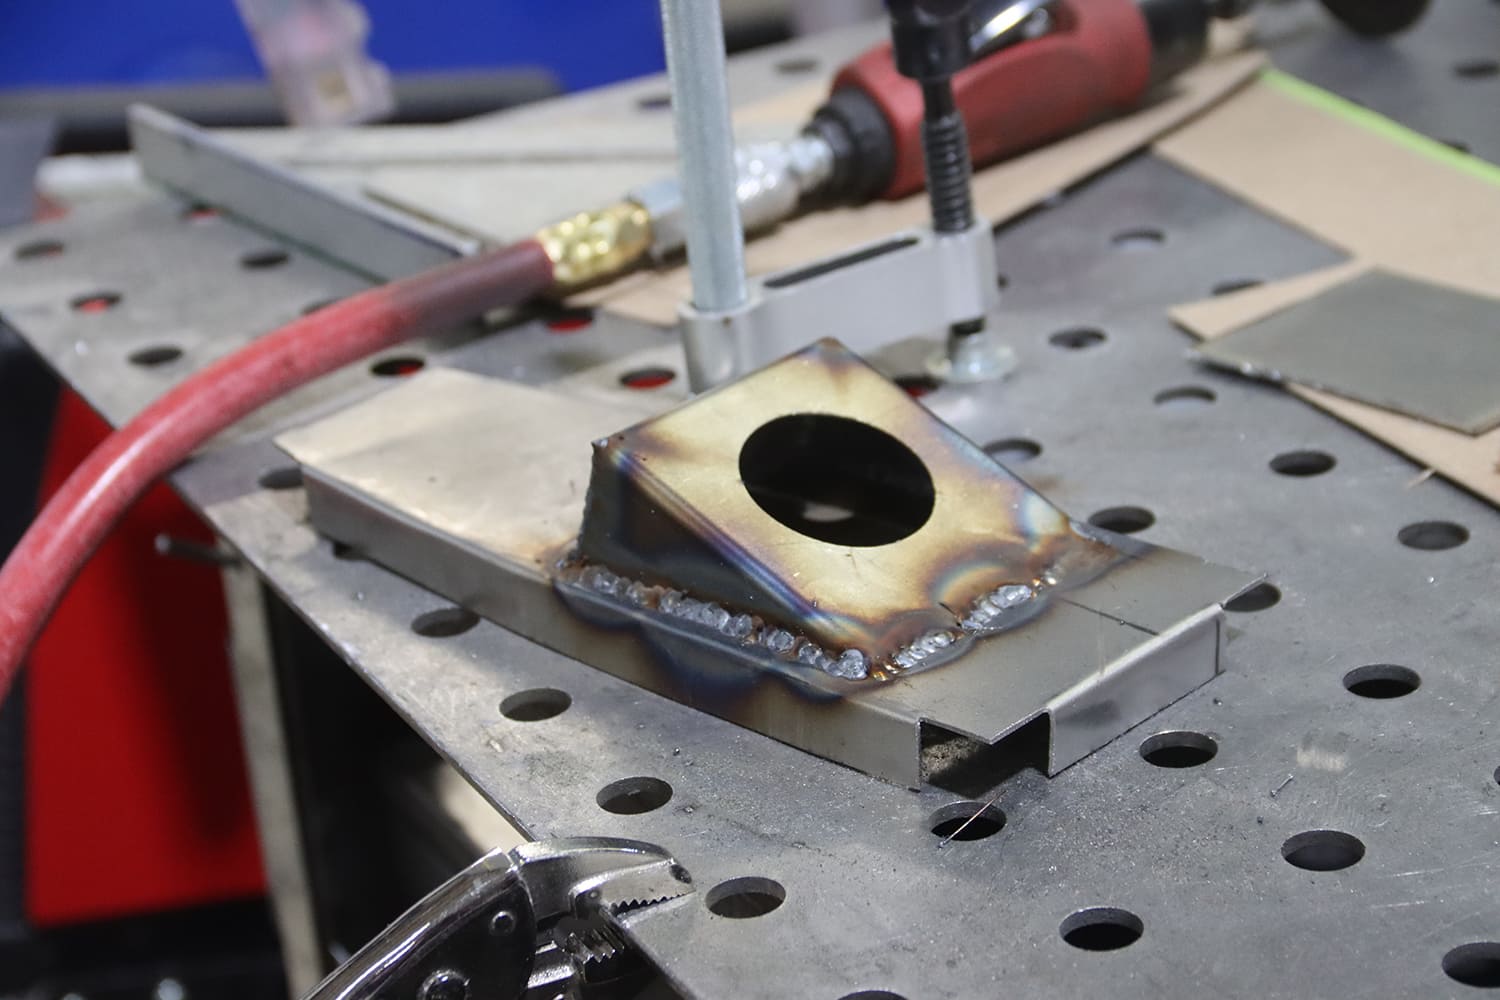
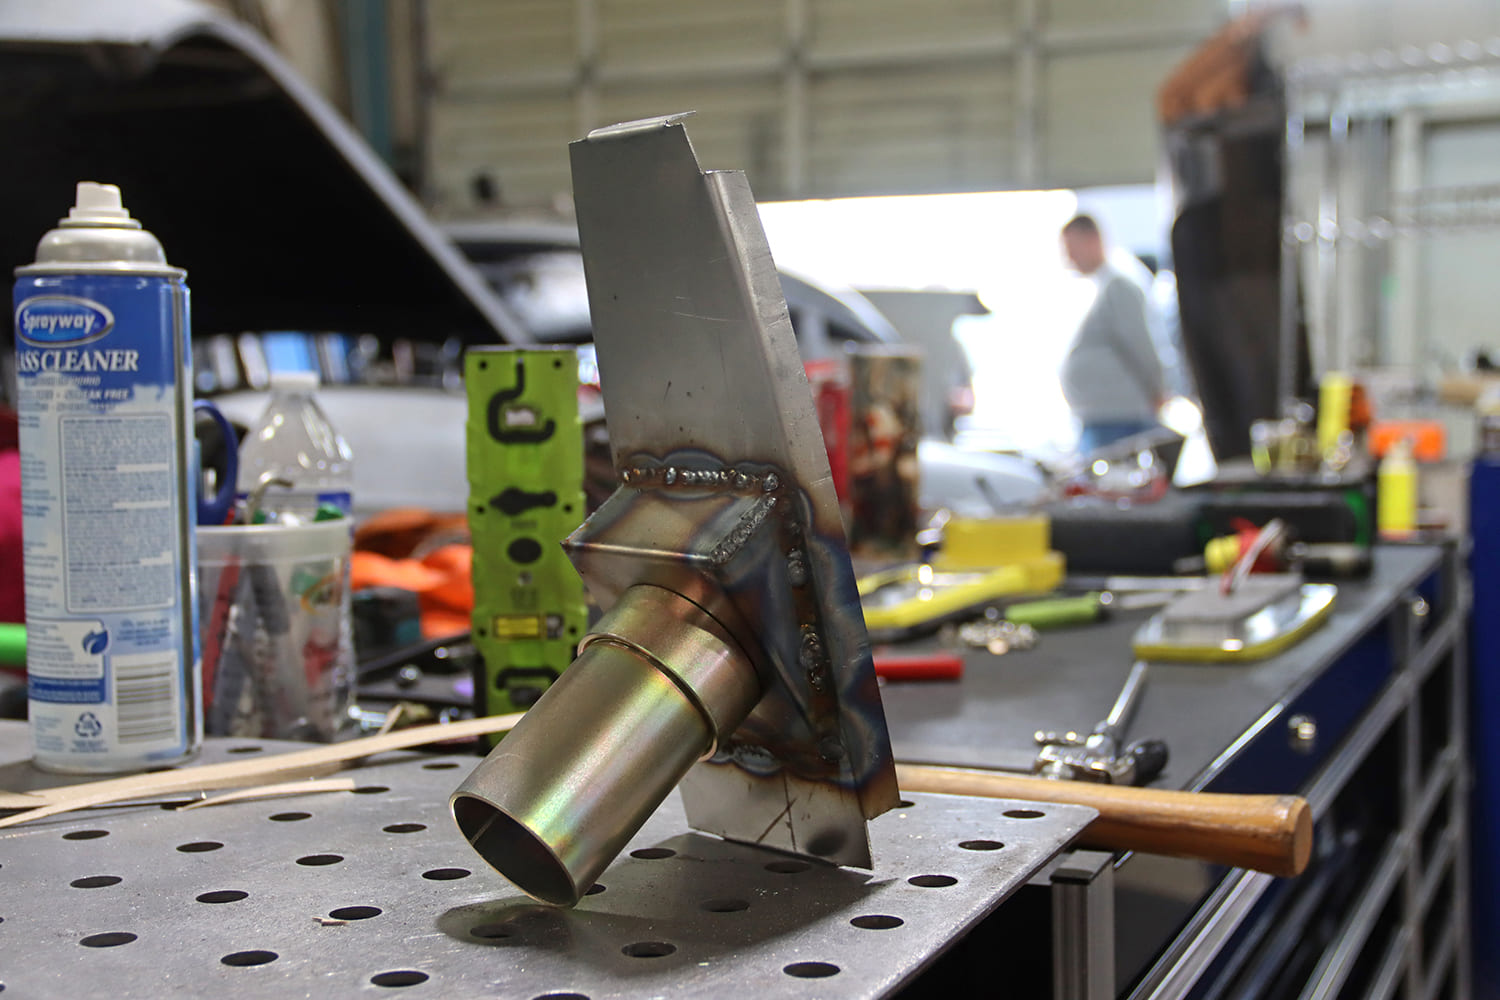
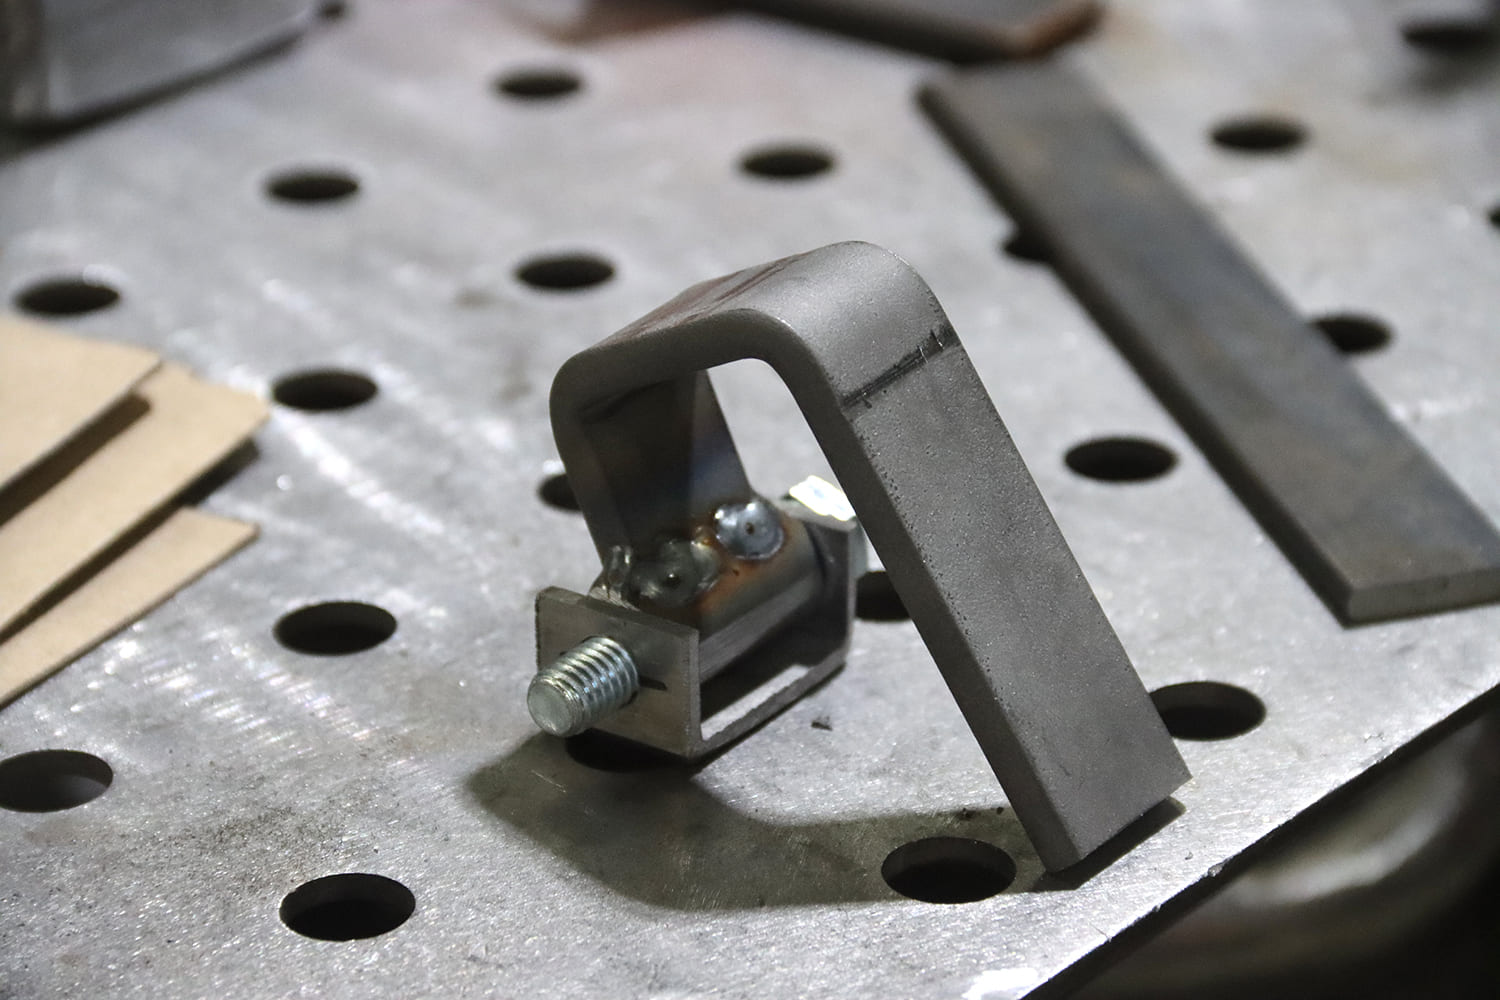
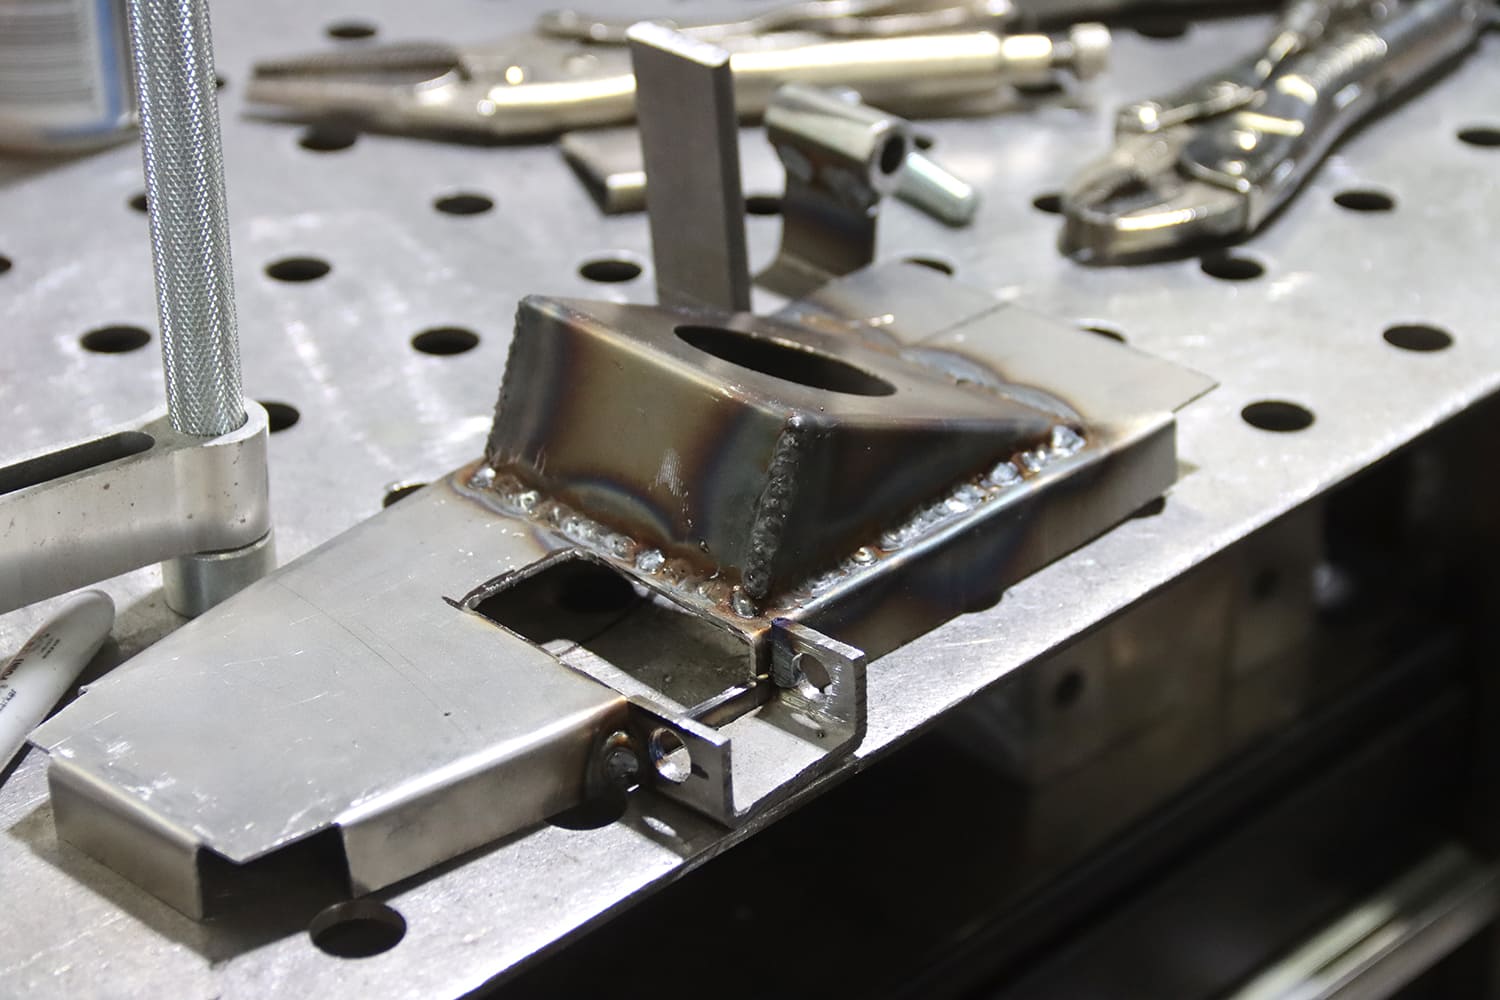
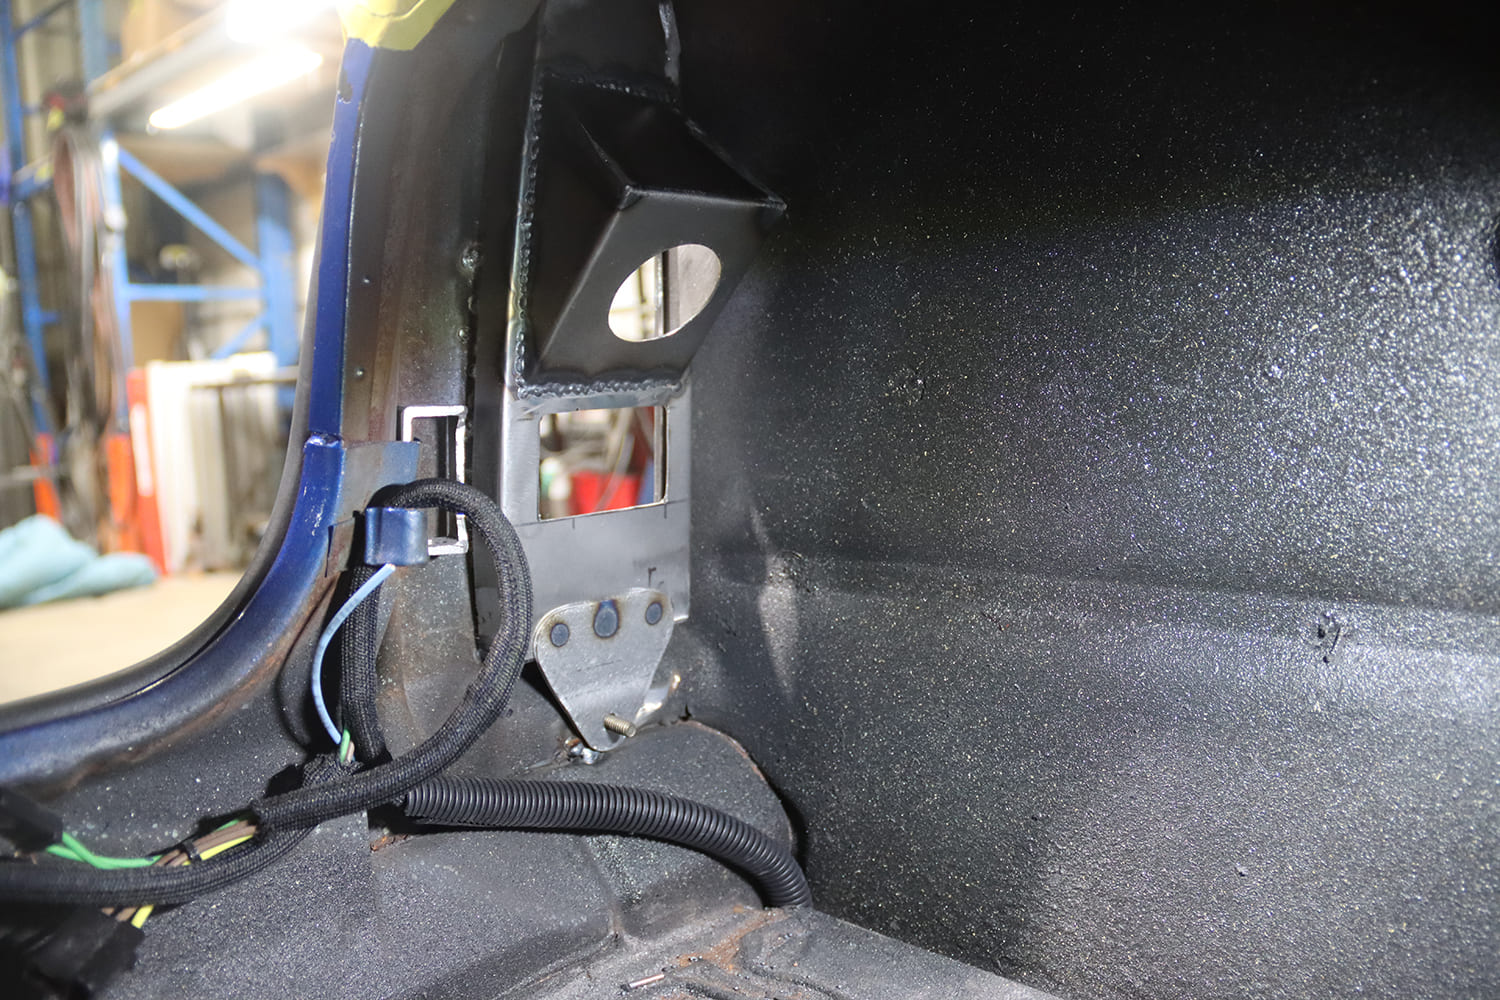
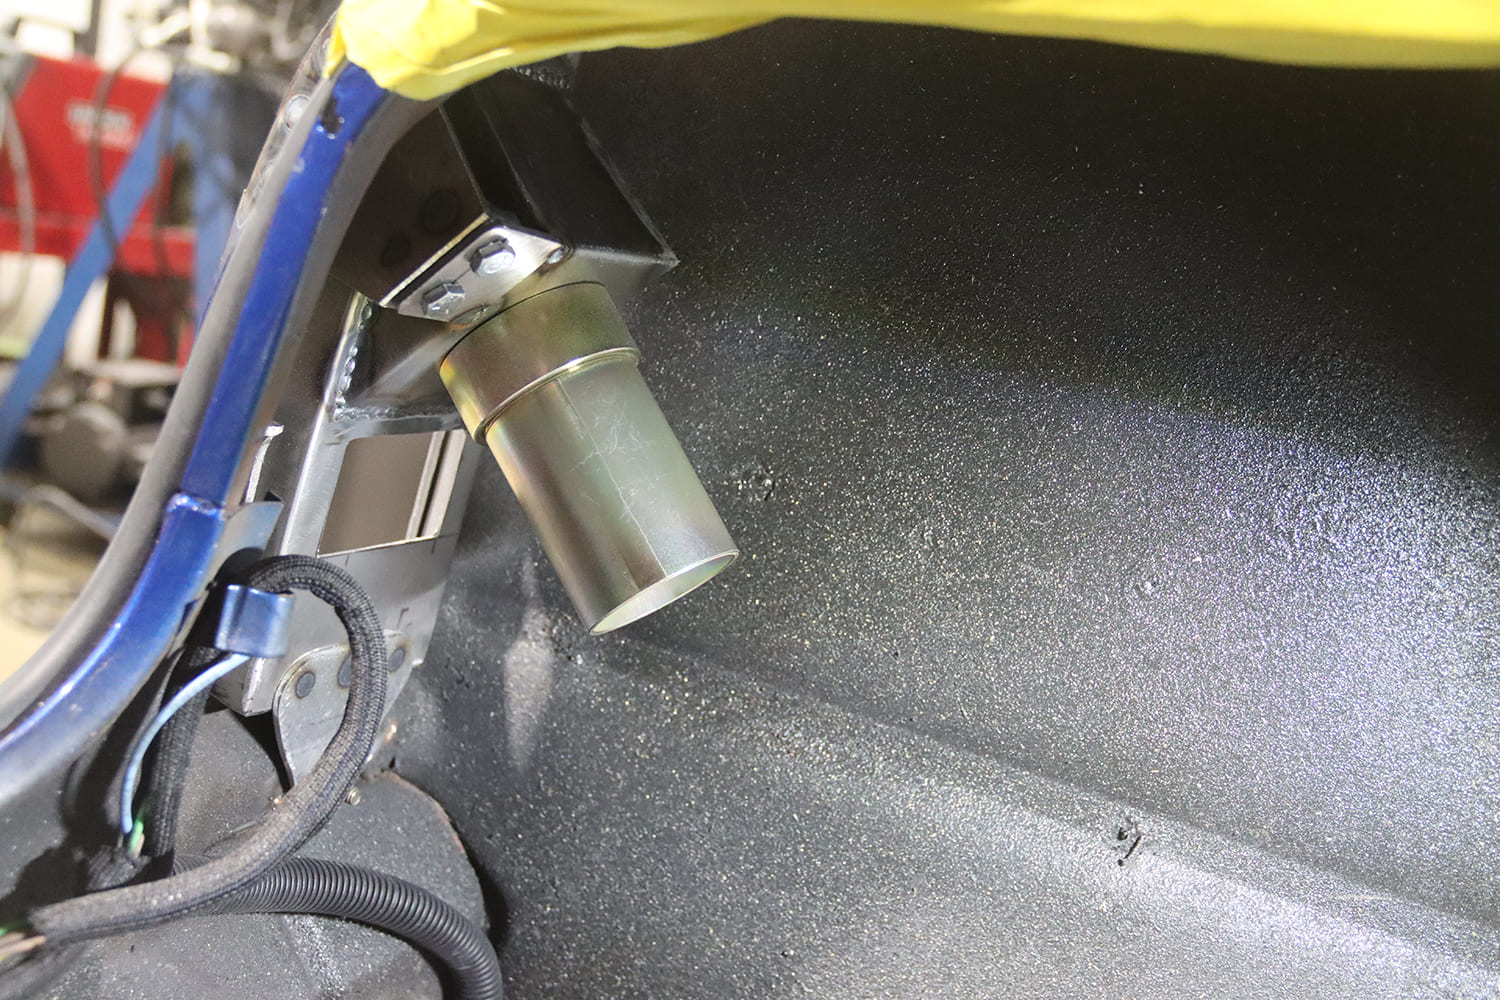
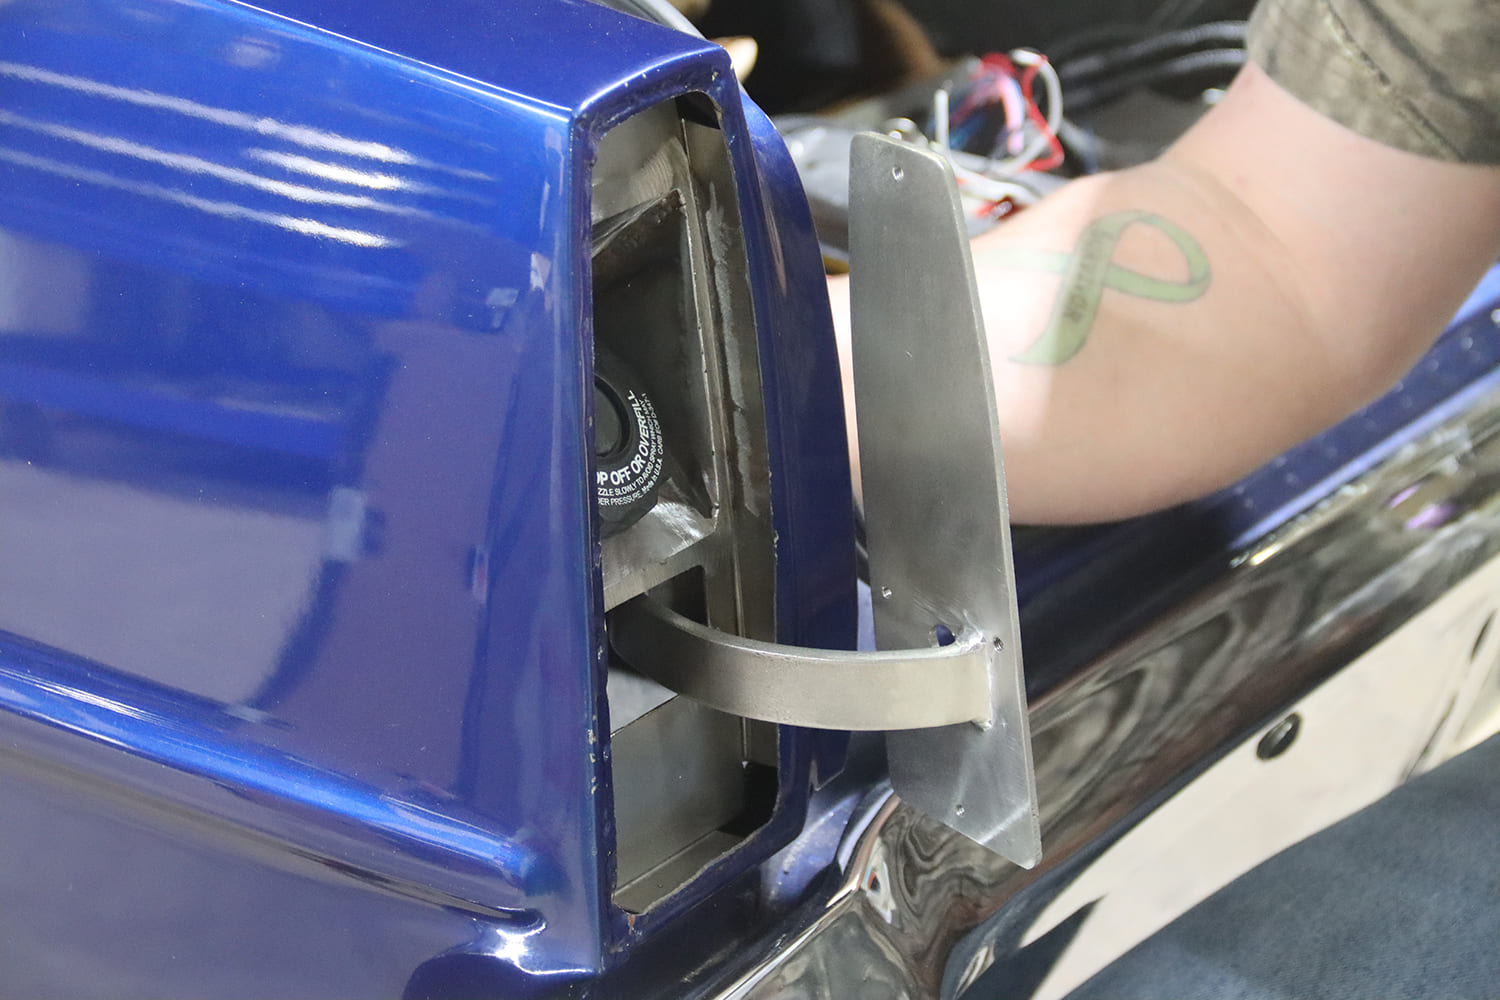
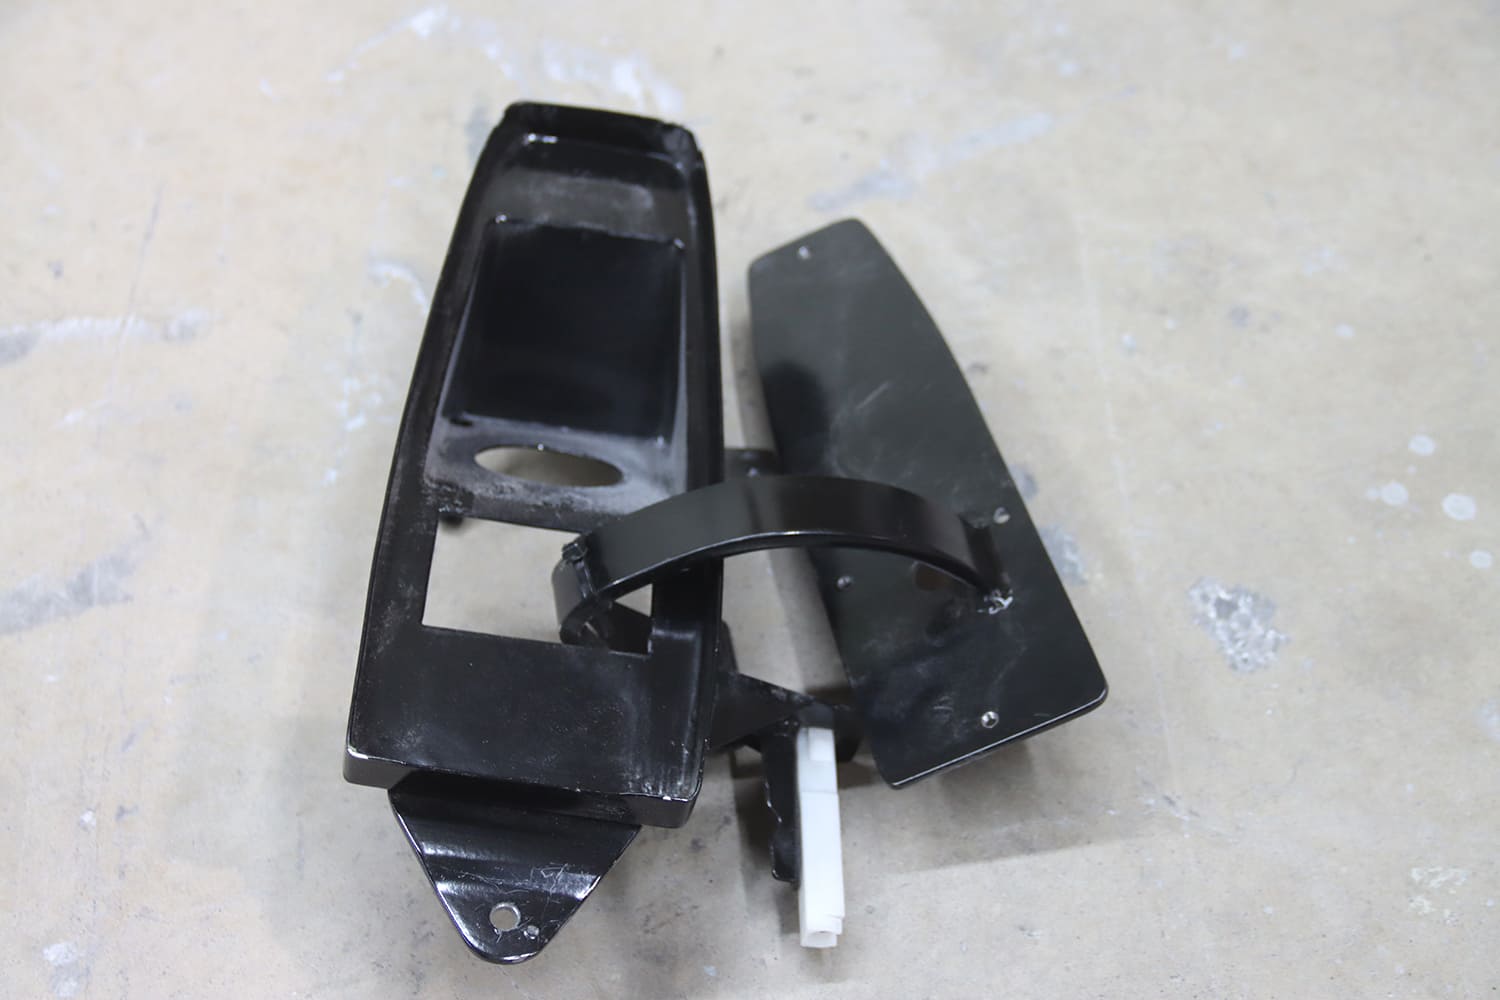
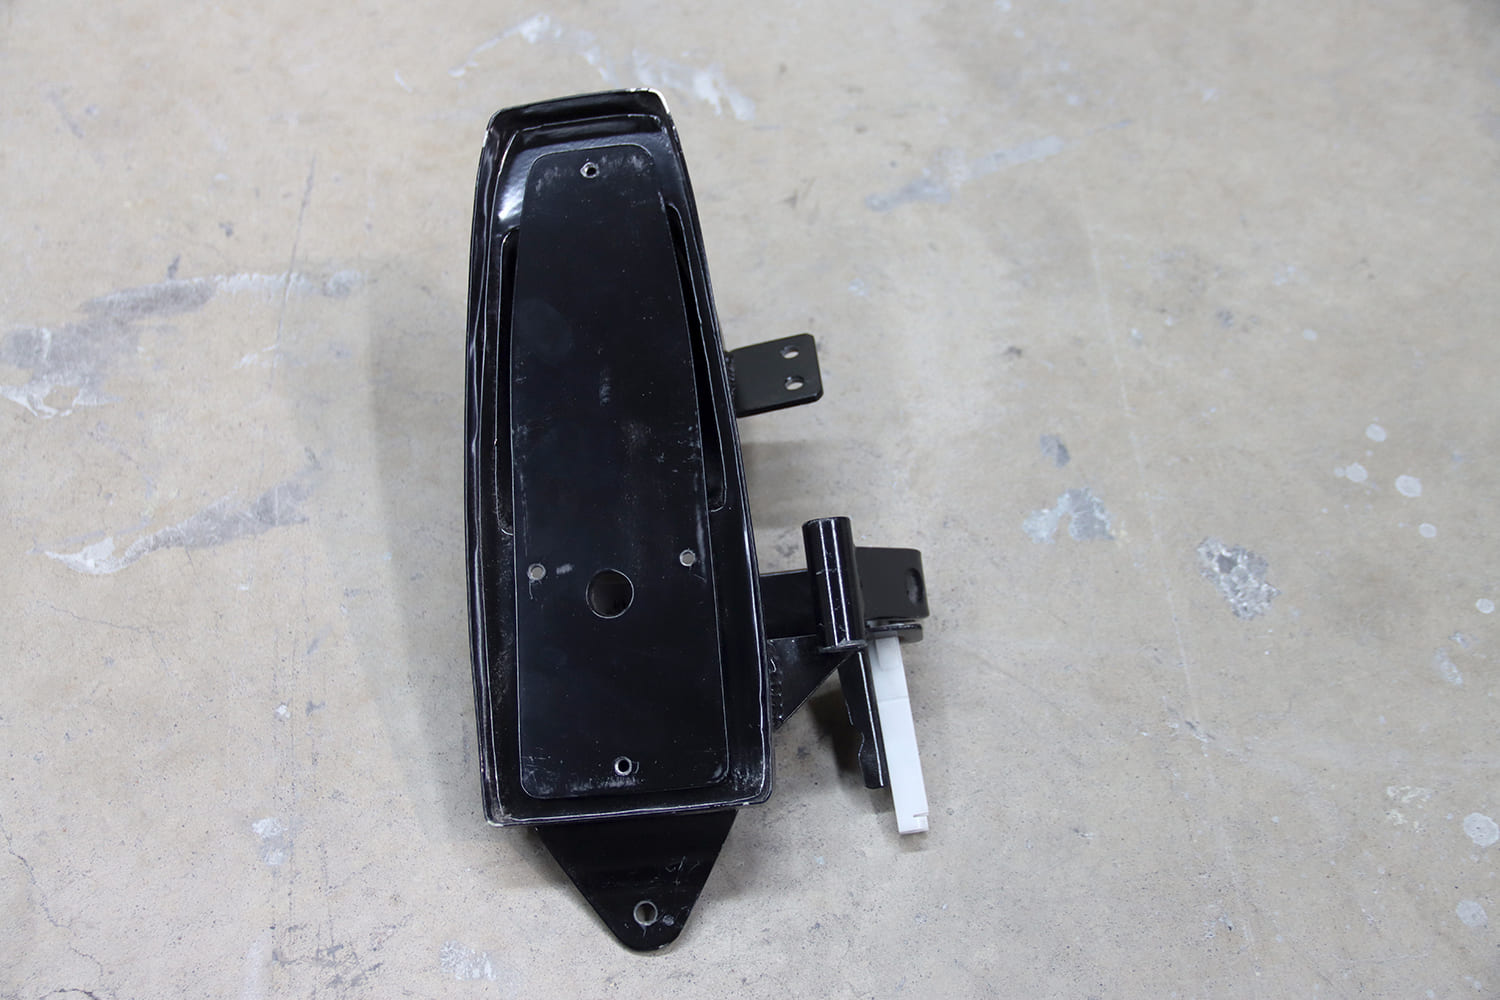
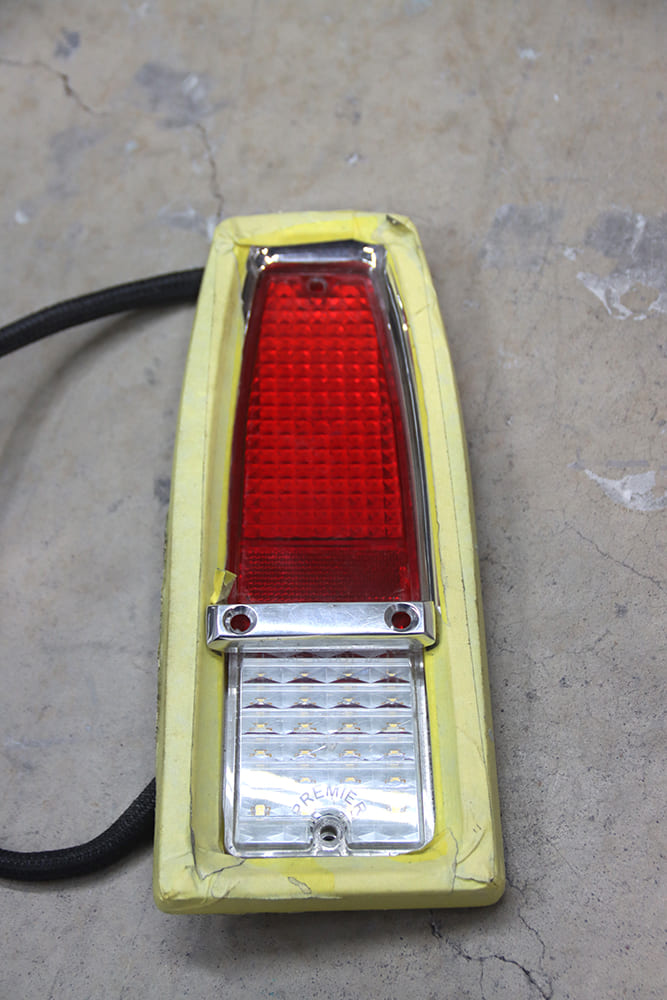
Williams began the transformation by removing the inner structure of the original taillight. He then fabricated a housing from sheetmetal to mount the fuel tank’s relocated fill pipe. A hinge was fabricated from flat stock that mounts an LED taillight that now swings open to access the gas cap. A cable-operated gas door latch from a Nissan holds the light tight to the body when in the closed position. All of these modifications required some crafty engineering.
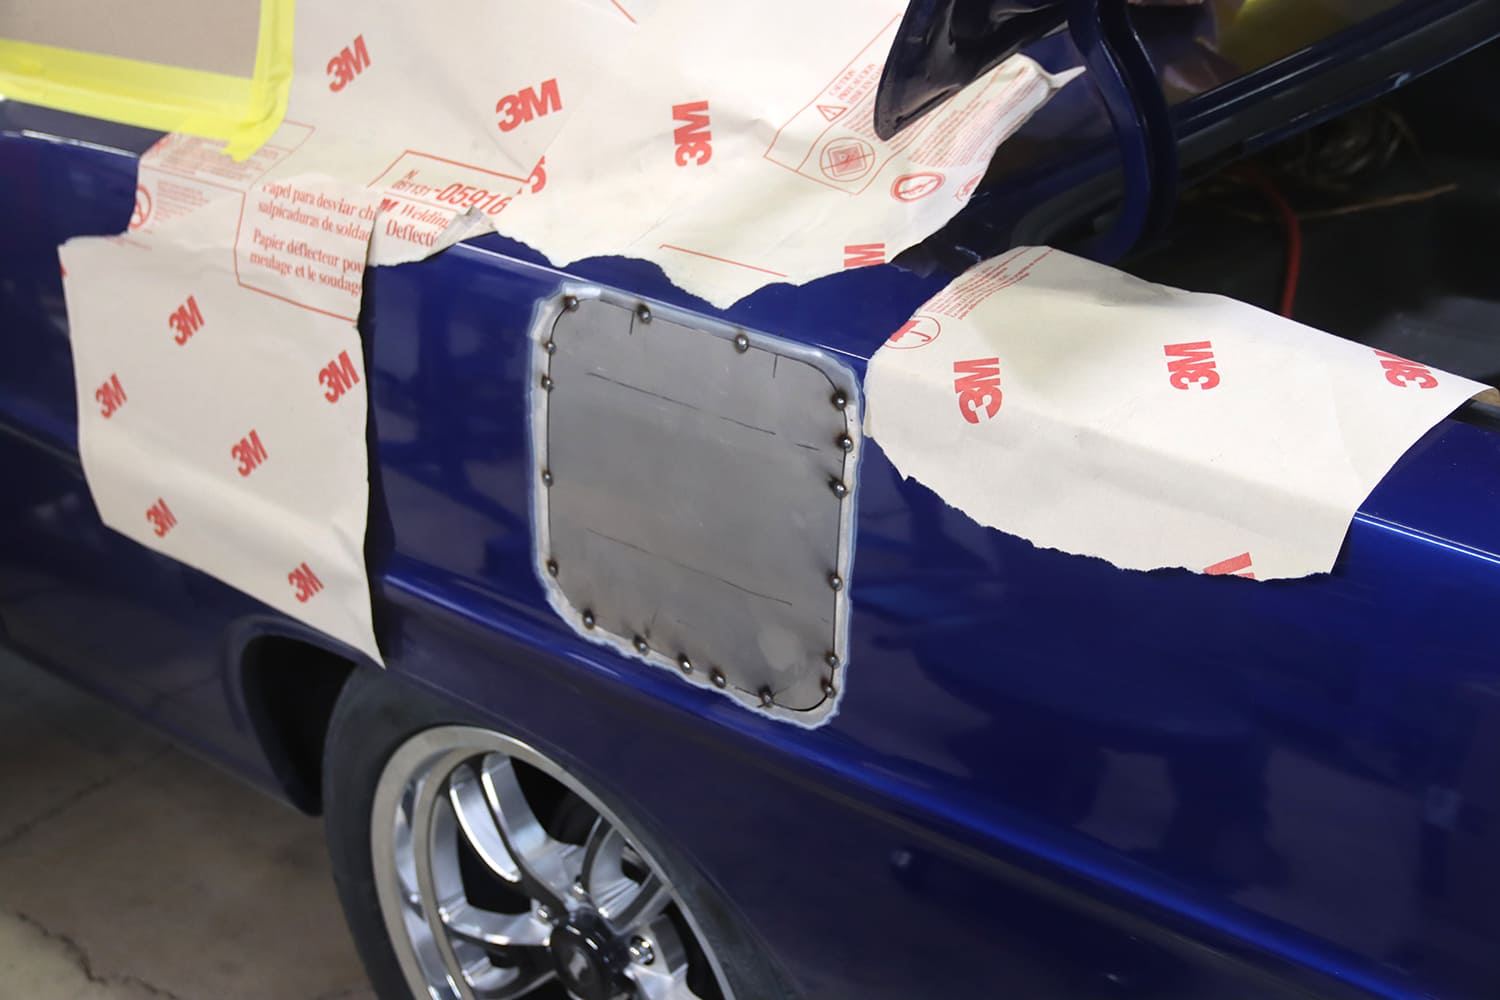
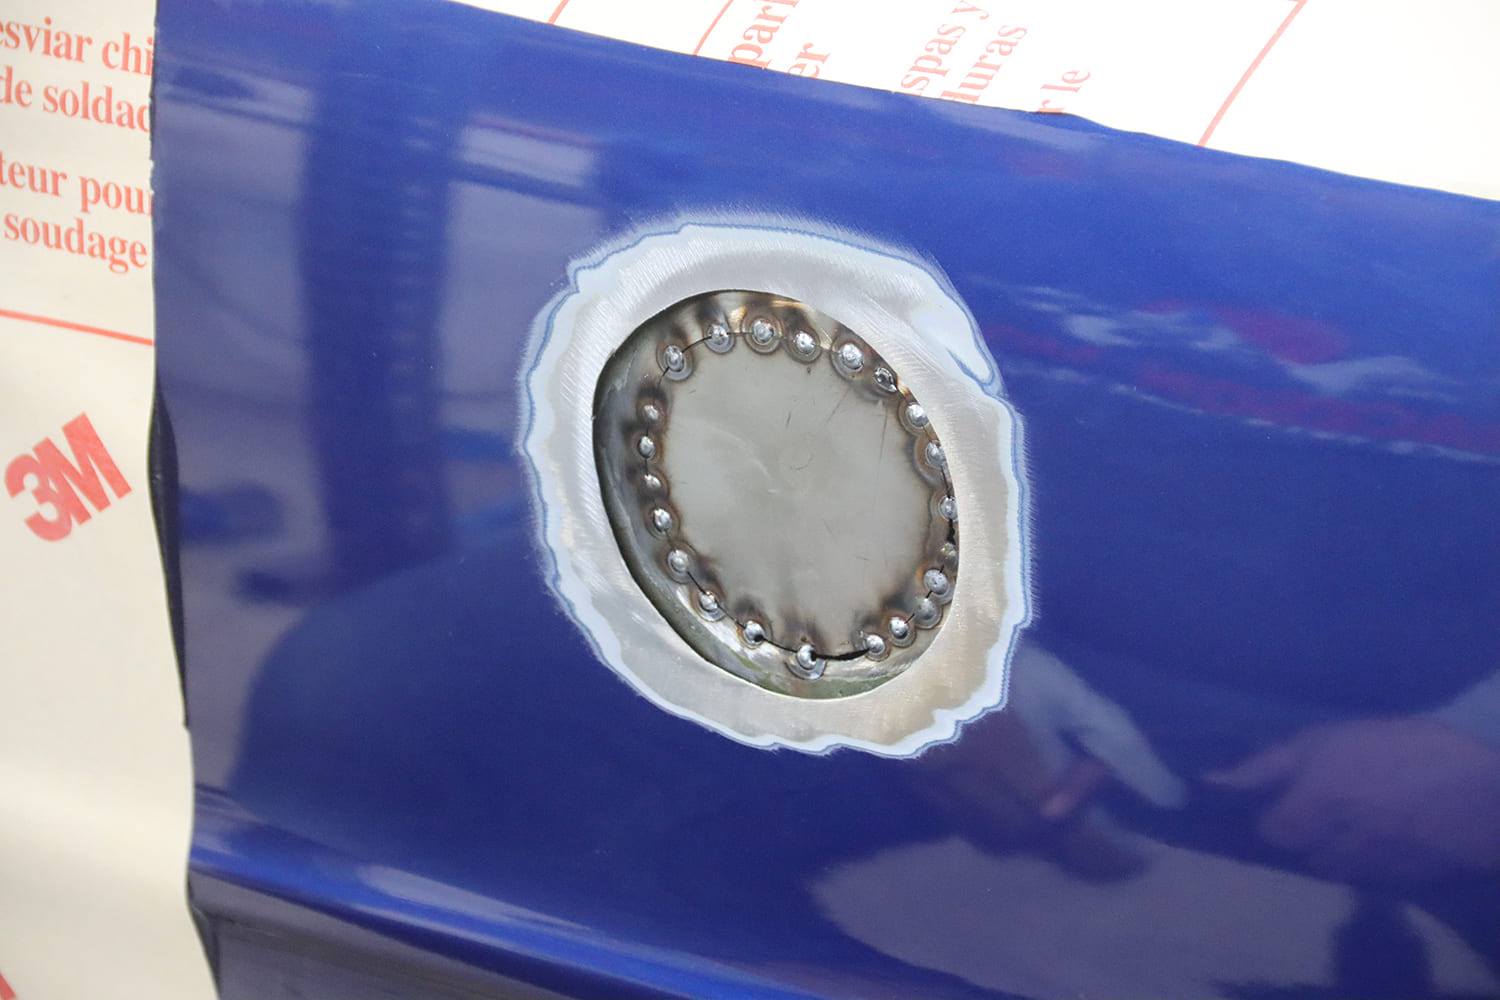
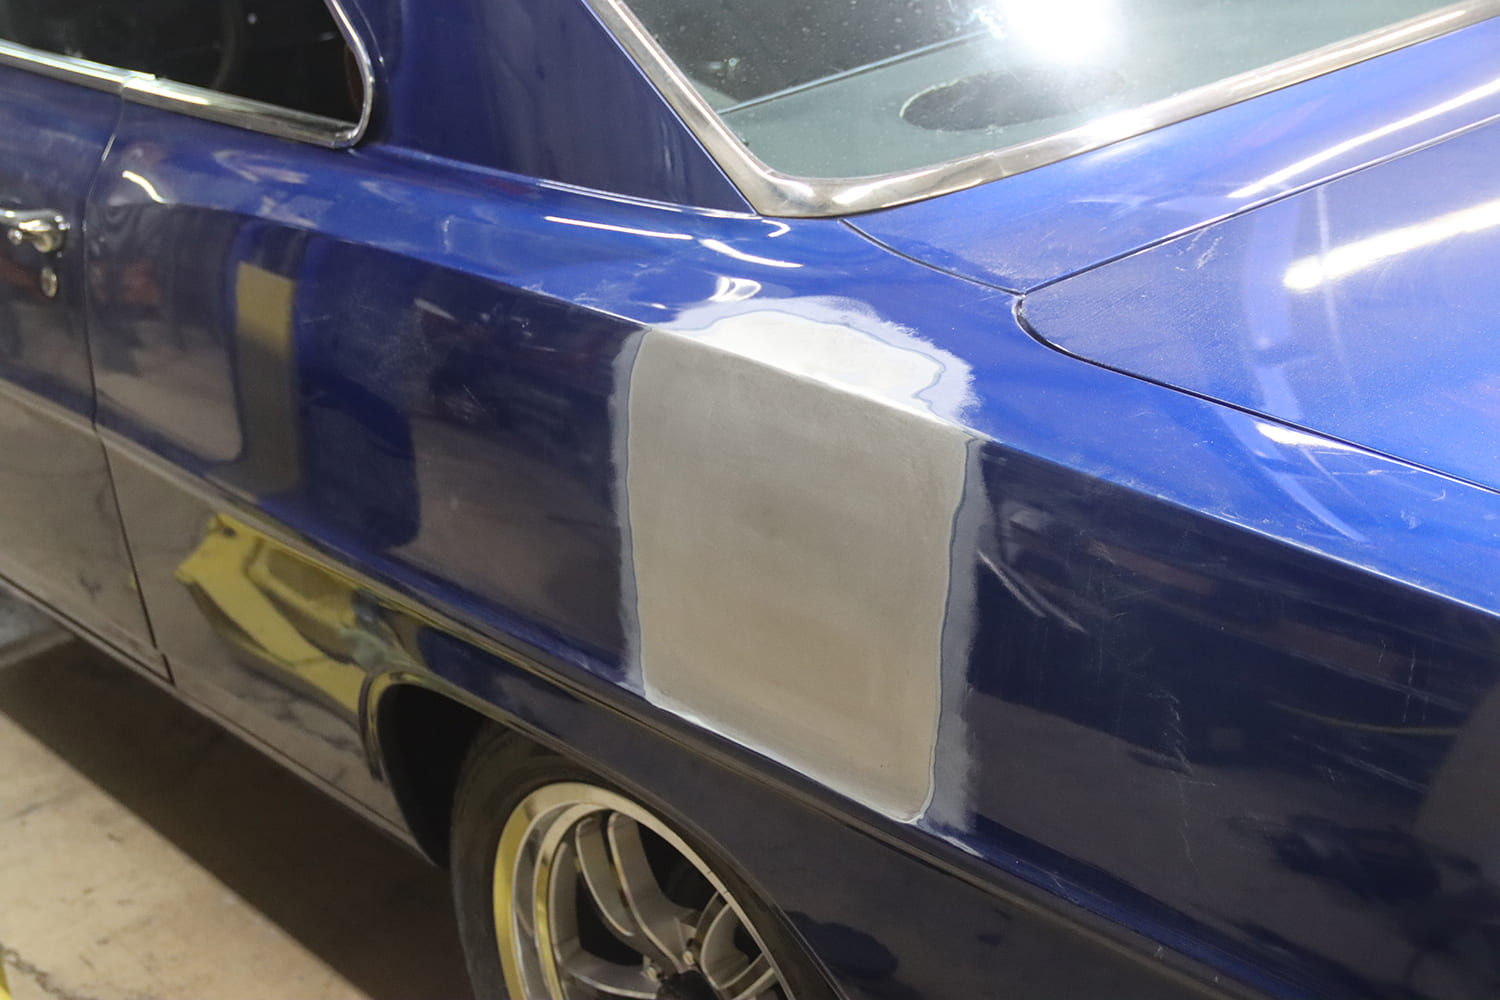
Filling the hole in the quarter-panel was more challenging. To get the right contour, Williams cut and filled a larger hole.
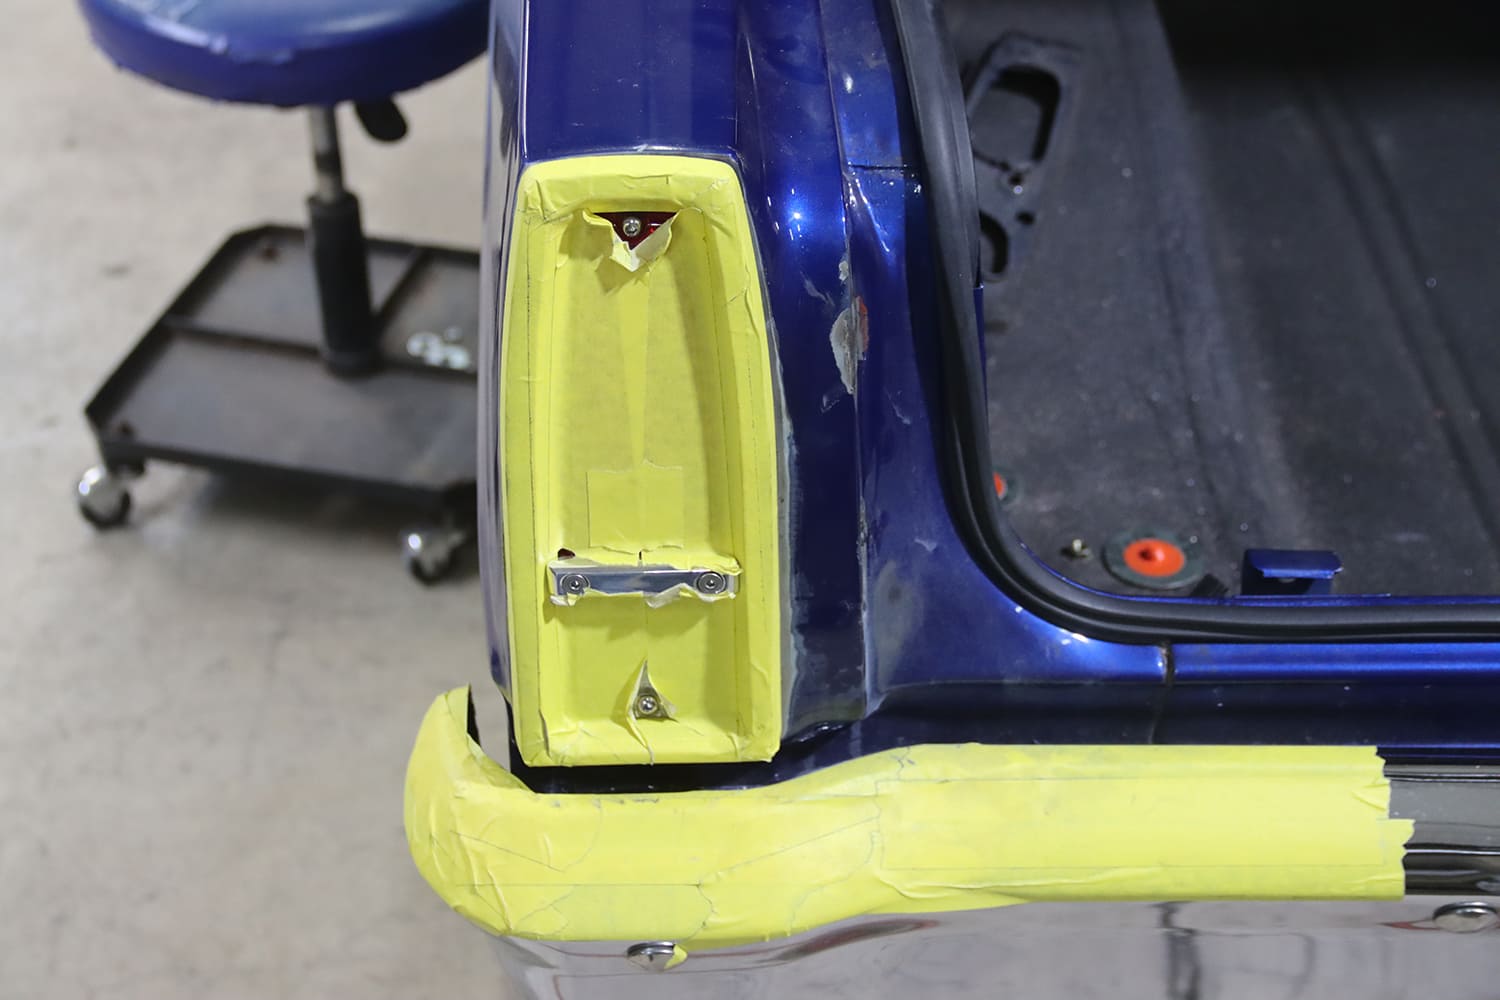
With the modified taillight/gas filler assembly in place, Williams turned his attention to filling the hole that was left in the quarter-panel; more precisely the two holes that were left, as there was one in the inner fender panel and another in the outer skin. The inner hole was simply filled with a round patch, but the outer panel was more complicated. The factory stamping caused a slight distortion in the panel, and to blend the area to Williams’ satisfaction, a larger patch panel was necessary.
Like everything MetalWorks does, this hidden fuel filler was perfectly executed. It’s a modern version of the classic gas cap hide and seek, but where the blinker fluid goes is anyone’s guess.
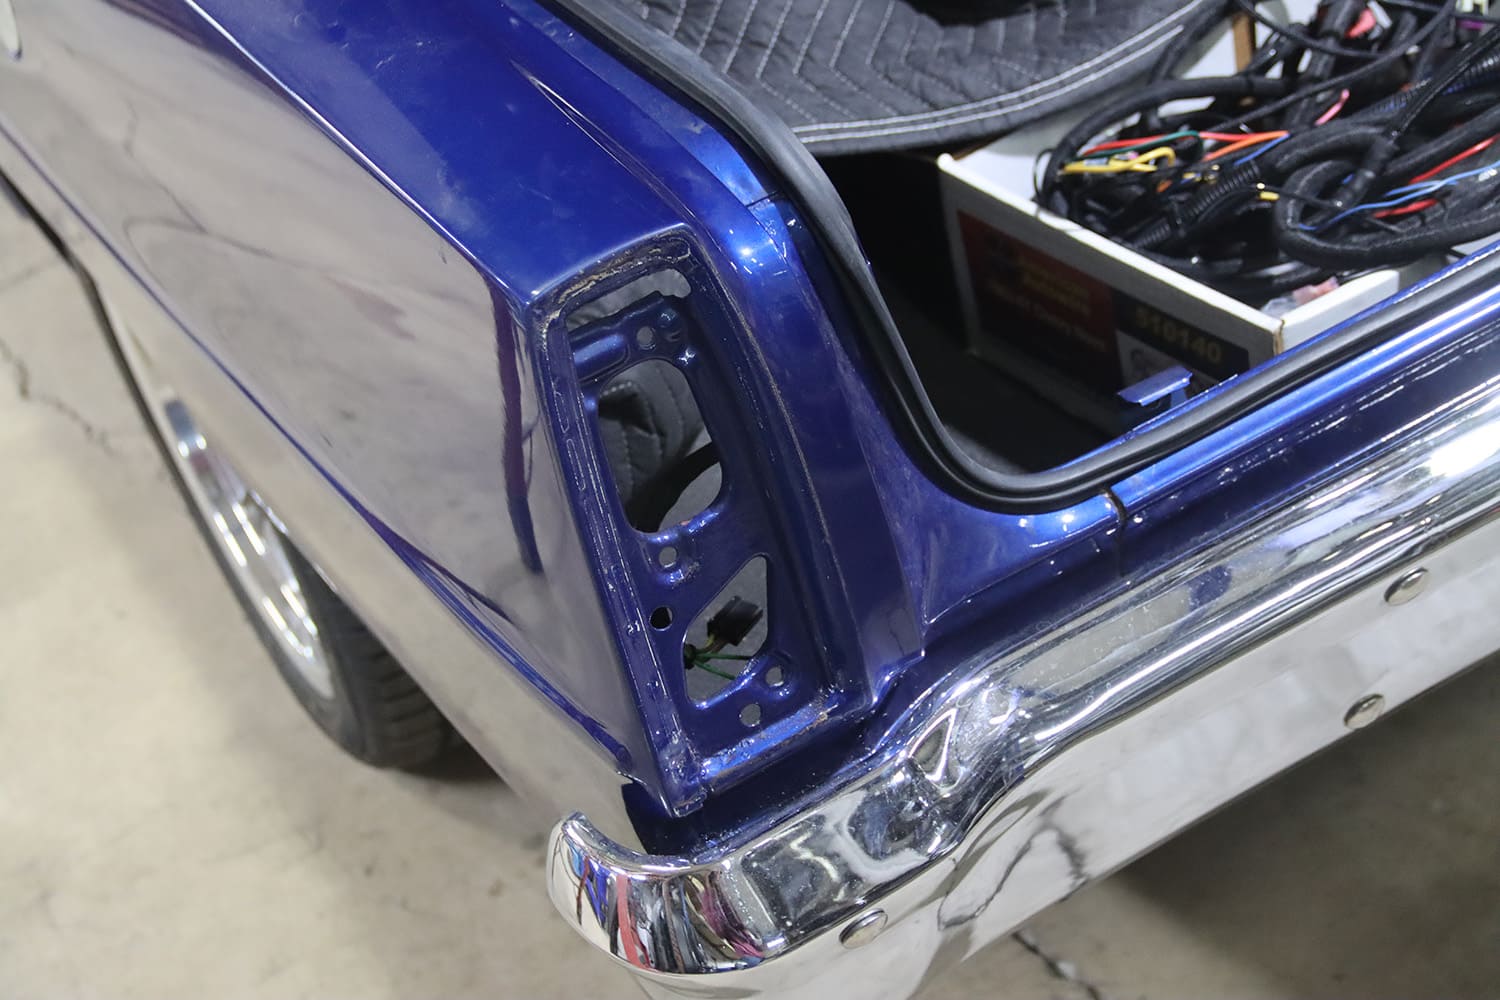
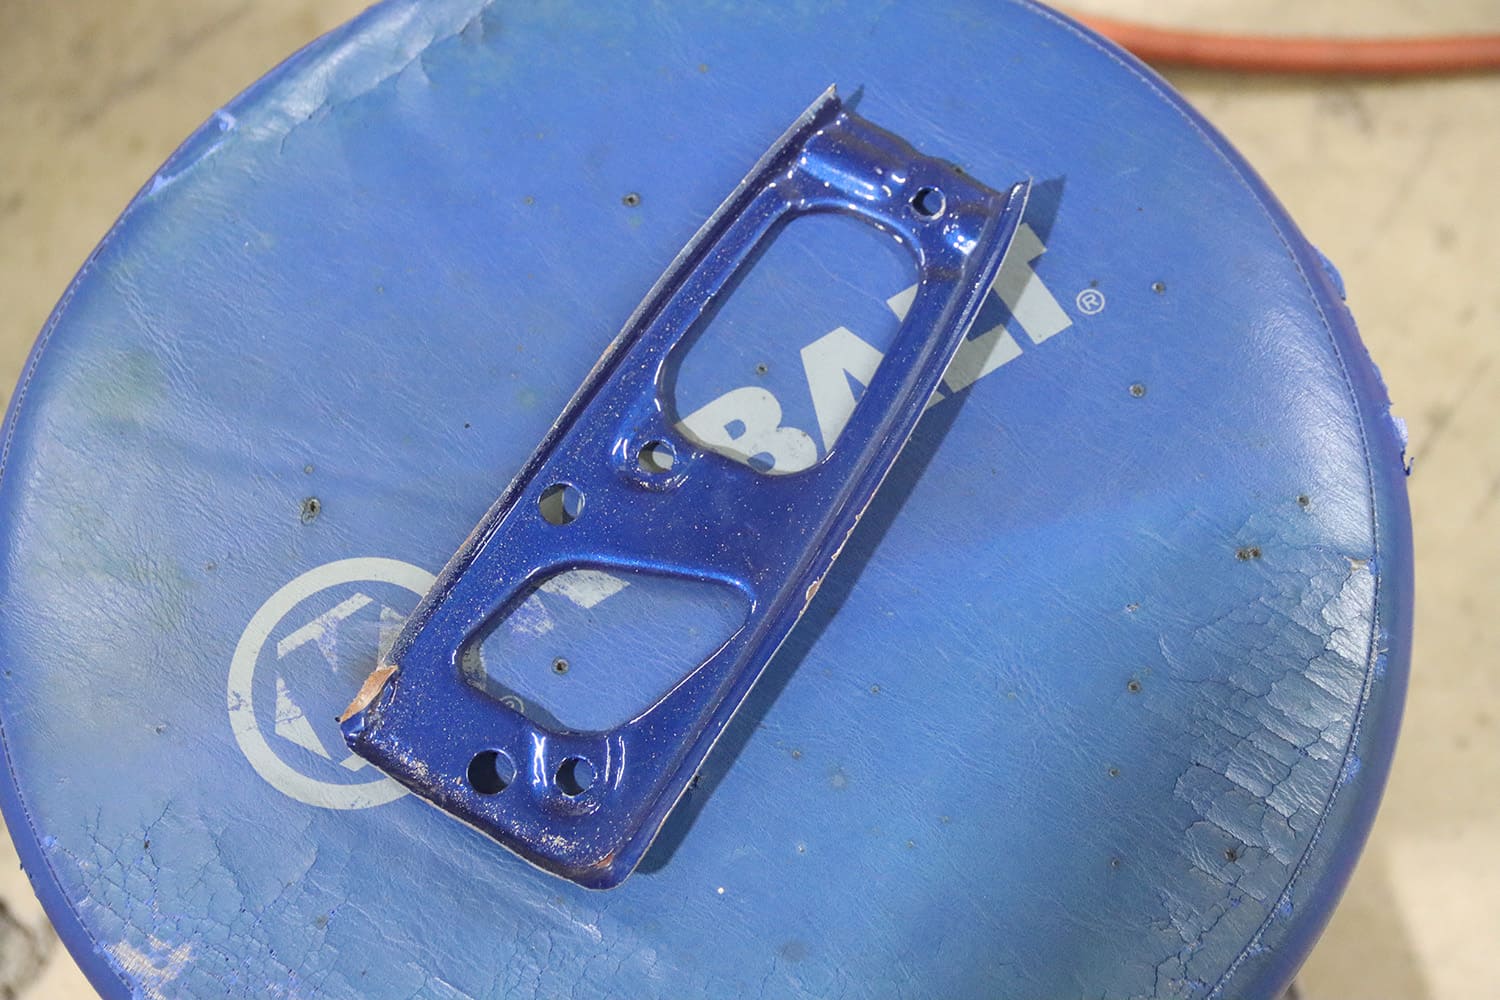
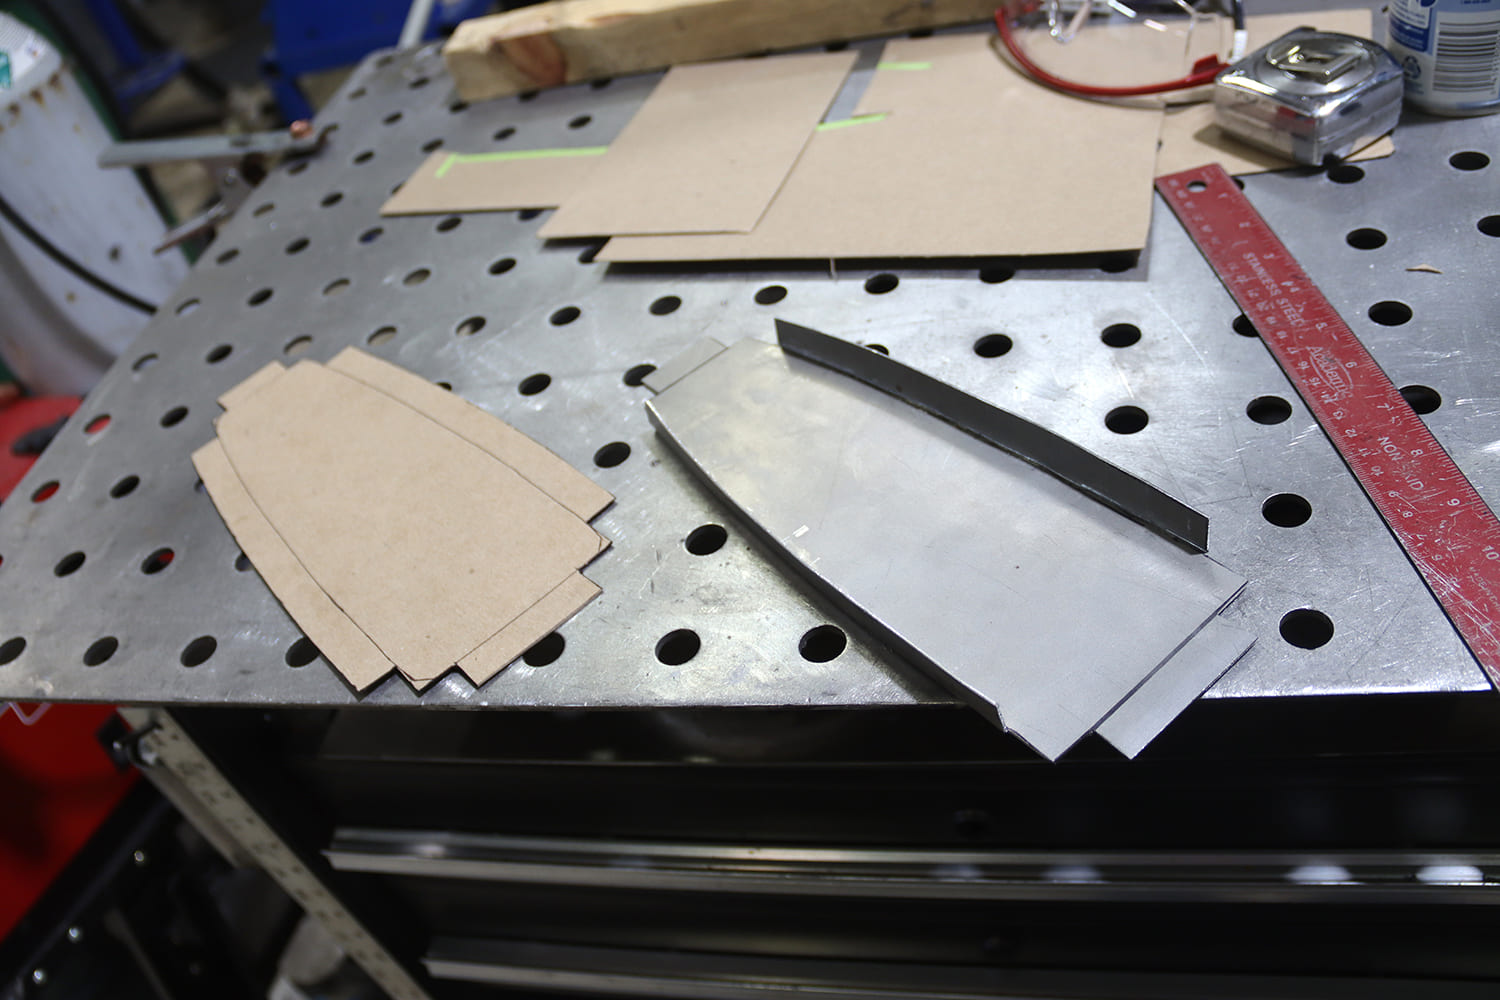
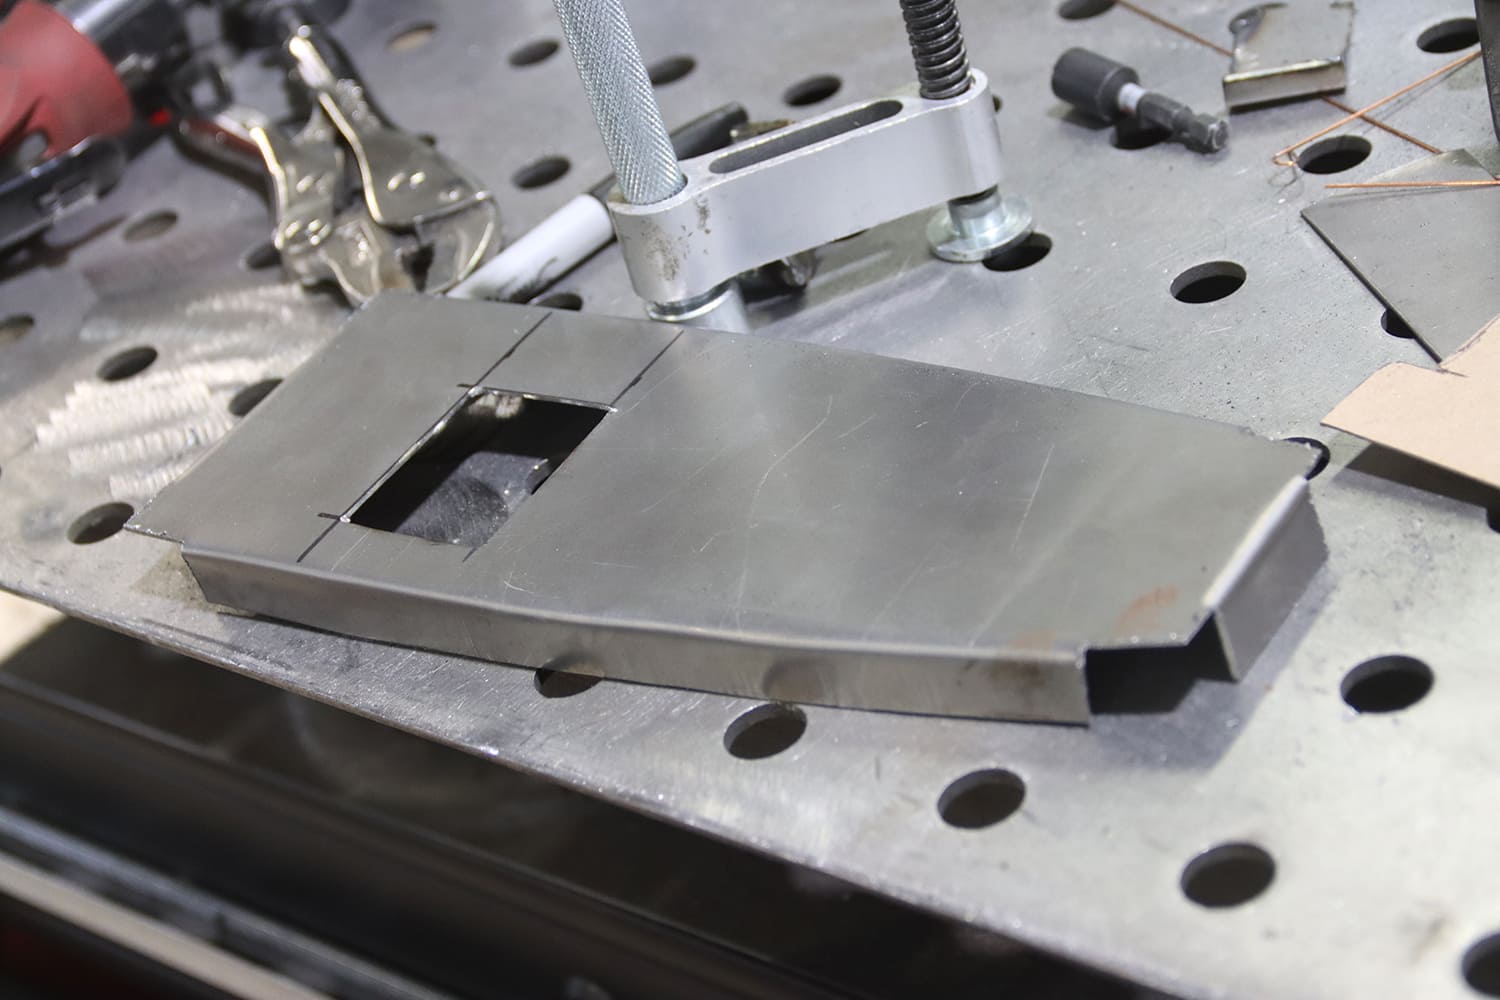
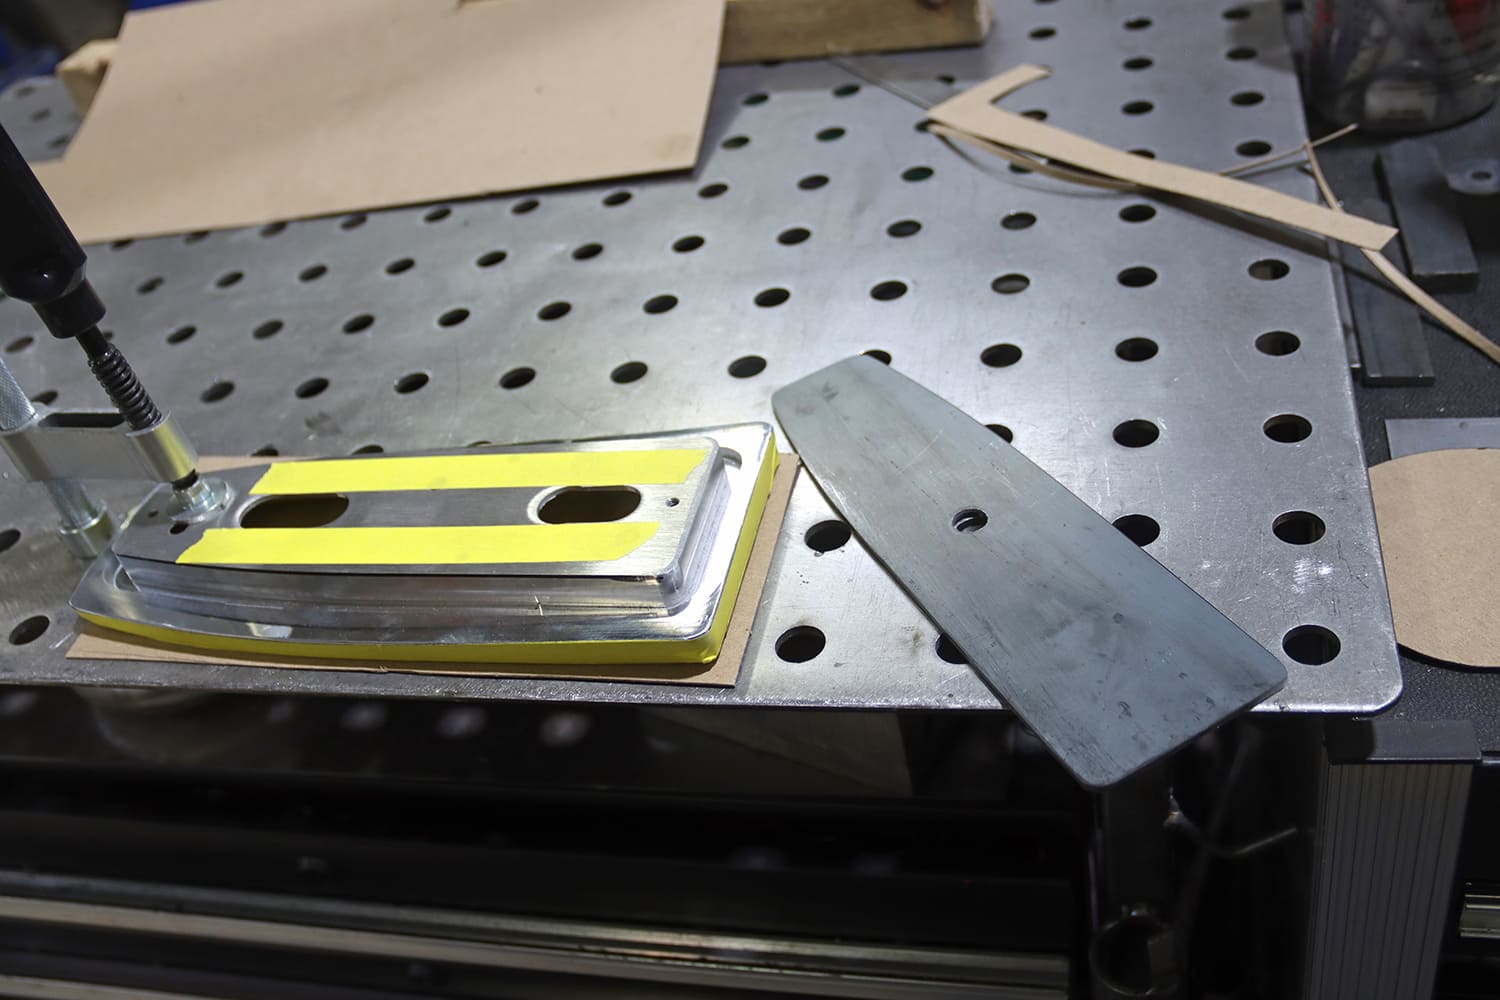
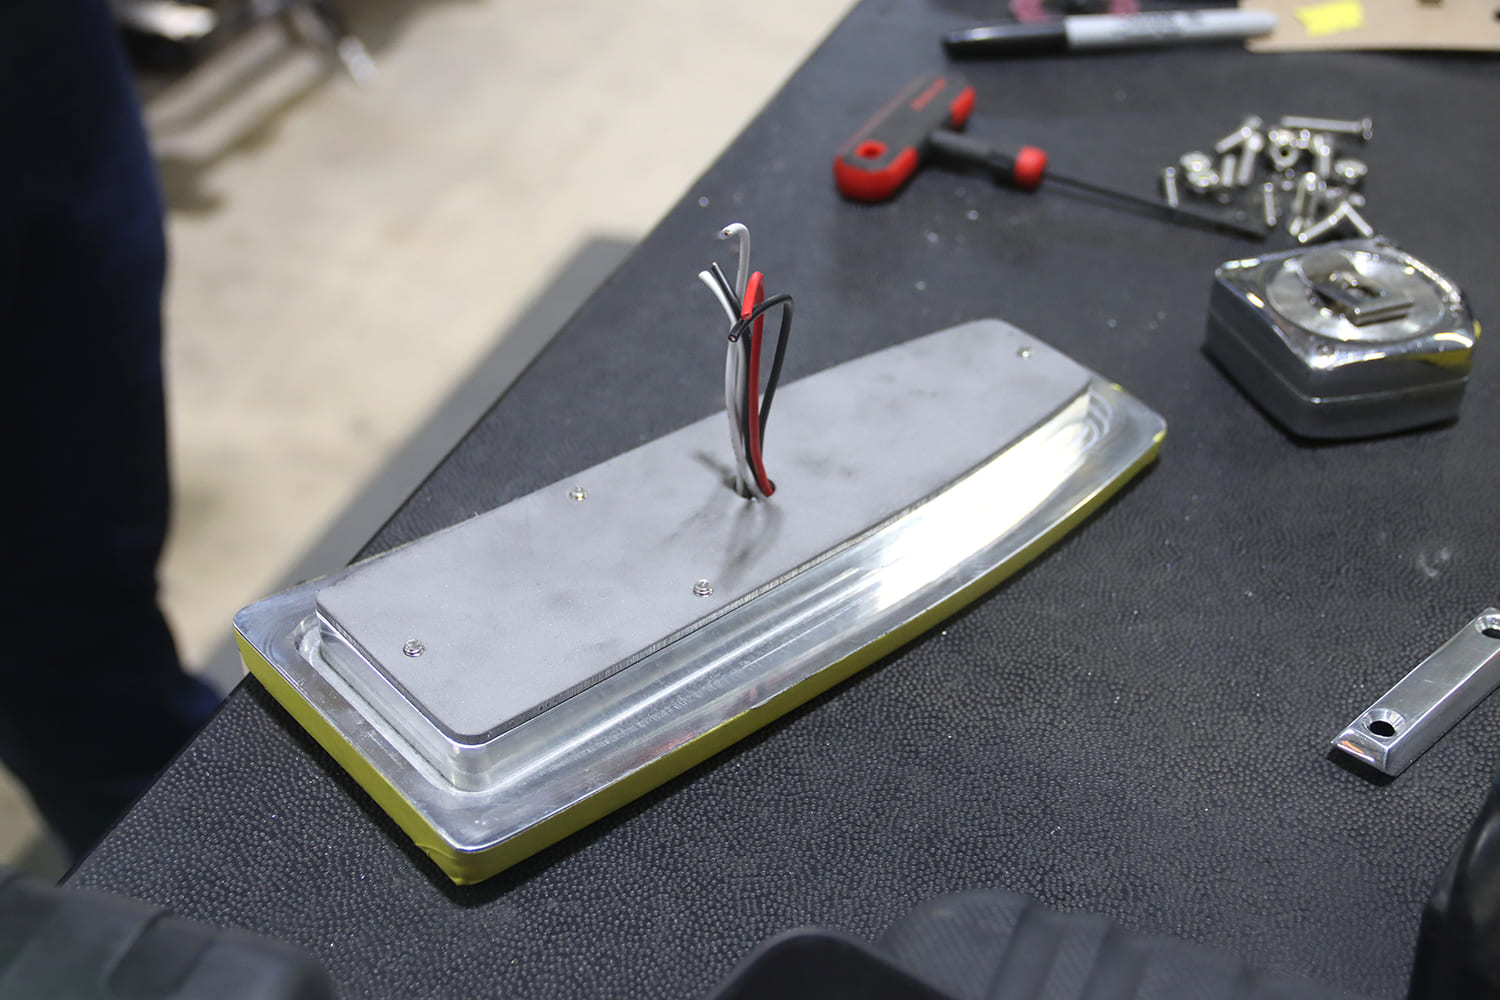
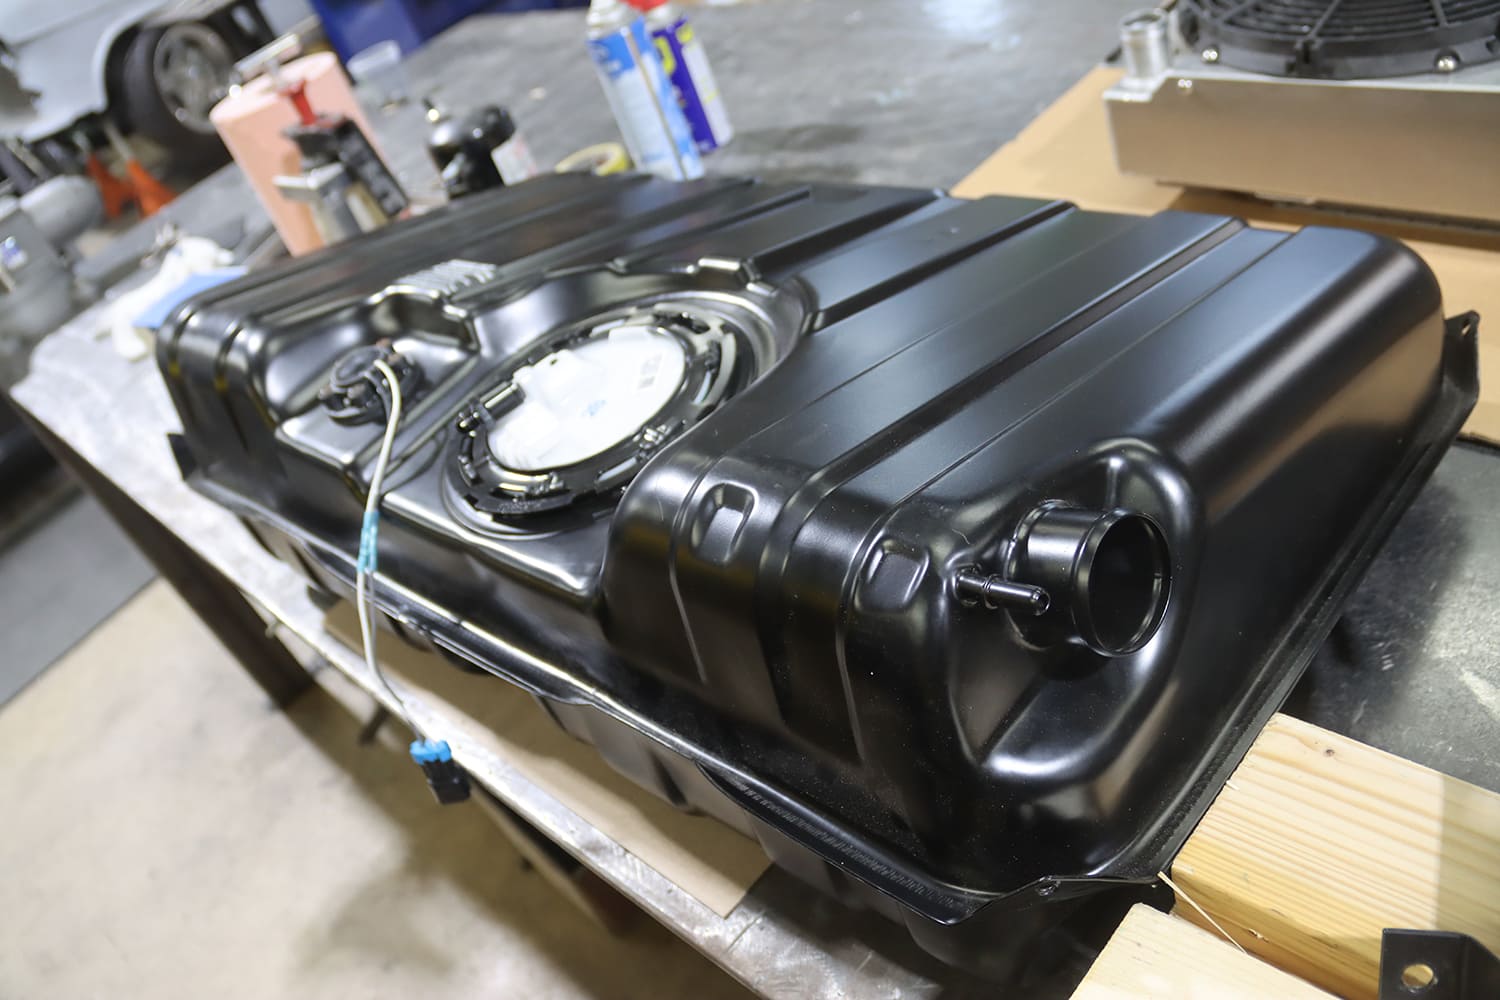
Here the stock taillight has been removed. Note the two large holes, the upper is for the taillight/turn signal wires, the lower is for the backup light wires.This is the taillight support structure removed from the fender.Williams made a cardboard pattern, then fashioned a new inner structure from 12-gauge sheetmetal to mount the relocated fuel filler.Here the ends of the mounting plate have been folded and a hole cut for the hinge that will attach to the taillight.A recessed box to house the gas cap was added to the back side of the hinge mounting plate.On the backside of the gas cap recess is a tube that will connect to the gas tank’s stock filler location.To mount the taillight assembly, Williams made a hinge for ¼x1-inch steel flat stock.A pair of mounting tabs for the hinge were added to the mounting plate.With the gas cap in place, the hinge was installed to check its swing. So far so good.With the hinge figured out, the box was fit to the opening in the fender.To hold the hinge mounting plate in place, brackets that attach to the body were added. Here the bottom bracket can be seen.Attached to the gas tank filler tube is the top bracket that bolts to the body.On the left is the billet aluminum LED taillight housing. Note the two holes for the factory wiring. On the right is the mounting plate that will attach to the hinge.Here, the mounting plate has been attached to the taillight. All the wires now come out of a single hole.After some careful fitting, the taillight mounting plate was attached to the hinge.This is the completed hidden filler assembly with the taillight in the open position.Mounted on the right side below the hinge is a Nissan gas cap latch that holds the taillight in the closed position.Here’s the completed taillight assembly without the lens, in place. The billet housing is covered with tape to protect it during fabrication.LED taillight/backup lights with billet aluminum housing replace the stock units. They’re not only brighter; the housings are thinner, making them better suited to being hinged.The replacement gas tank is equipped with an EFI pump. The tank’s inlet is in the stock location. It connects to the filler with a custom tube.With the stock gas filler removed, the hole in the inner panel was filled.The finished quarter-panel modification blends in much better than would have been possible with a smaller patch.
We use cookies to ensure that we give you the best experience on our website. If you continue to use this site we will assume that you are happy with it.