
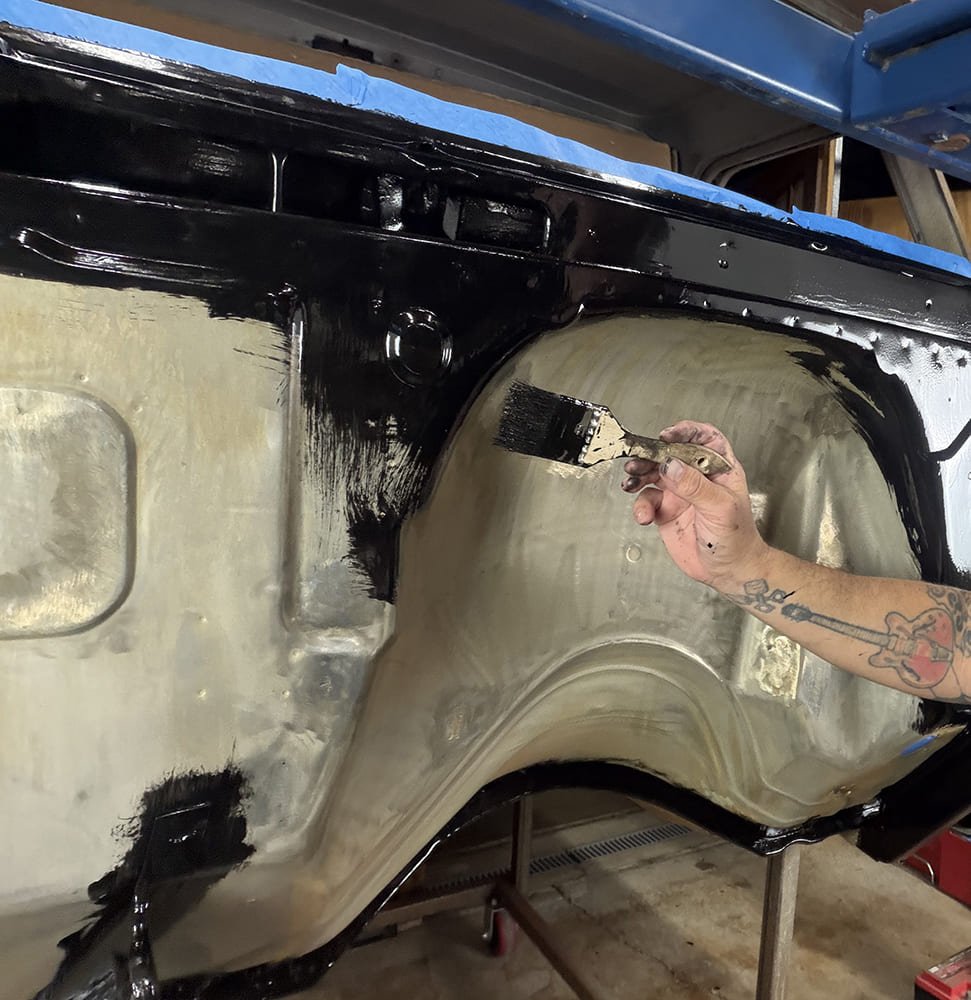
Sealing a 1964 C10 Firewall with KBS Coatings

By Ryan Manson – Images by the Author

Anyone who has ever had a sheet metal panel media blasted and failed to immediately cover said panel with some sort of protective coating knows what the expected result can be: surface rust. It might take a week, might take a month, but Mother Nature knows no bounds and she certainly doesn’t care that you’d like to retain that bare-metal beauty in her natural element for as long as possible (or at least as long as it takes to make all the necessary sheet metal repairs!). That was the state we found ourselves after we had our ’64 C10 cab blasted and proceeded to begin the repairs that we’ve covered thus far. For the first few months, the sheet metal was bare and clean, making repairs a fairly straightforward task. But over time, moisture and humidity began to seep in and soon enough, instead of a rose-colored glasses view of our project, our cab began to take on a rosy-colored hue, and it didn’t fill us full of optimism!
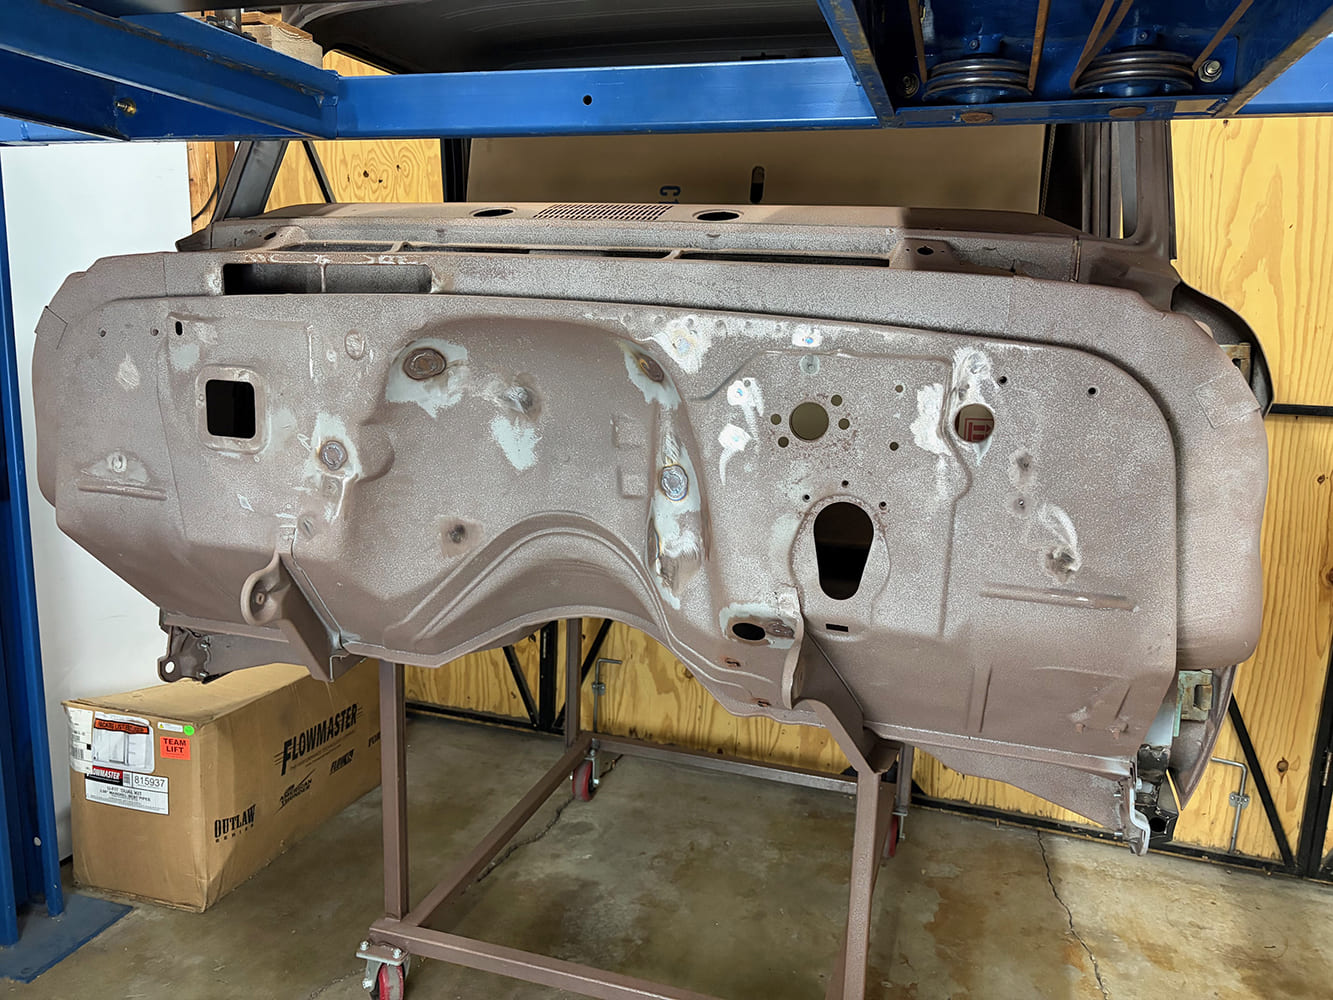
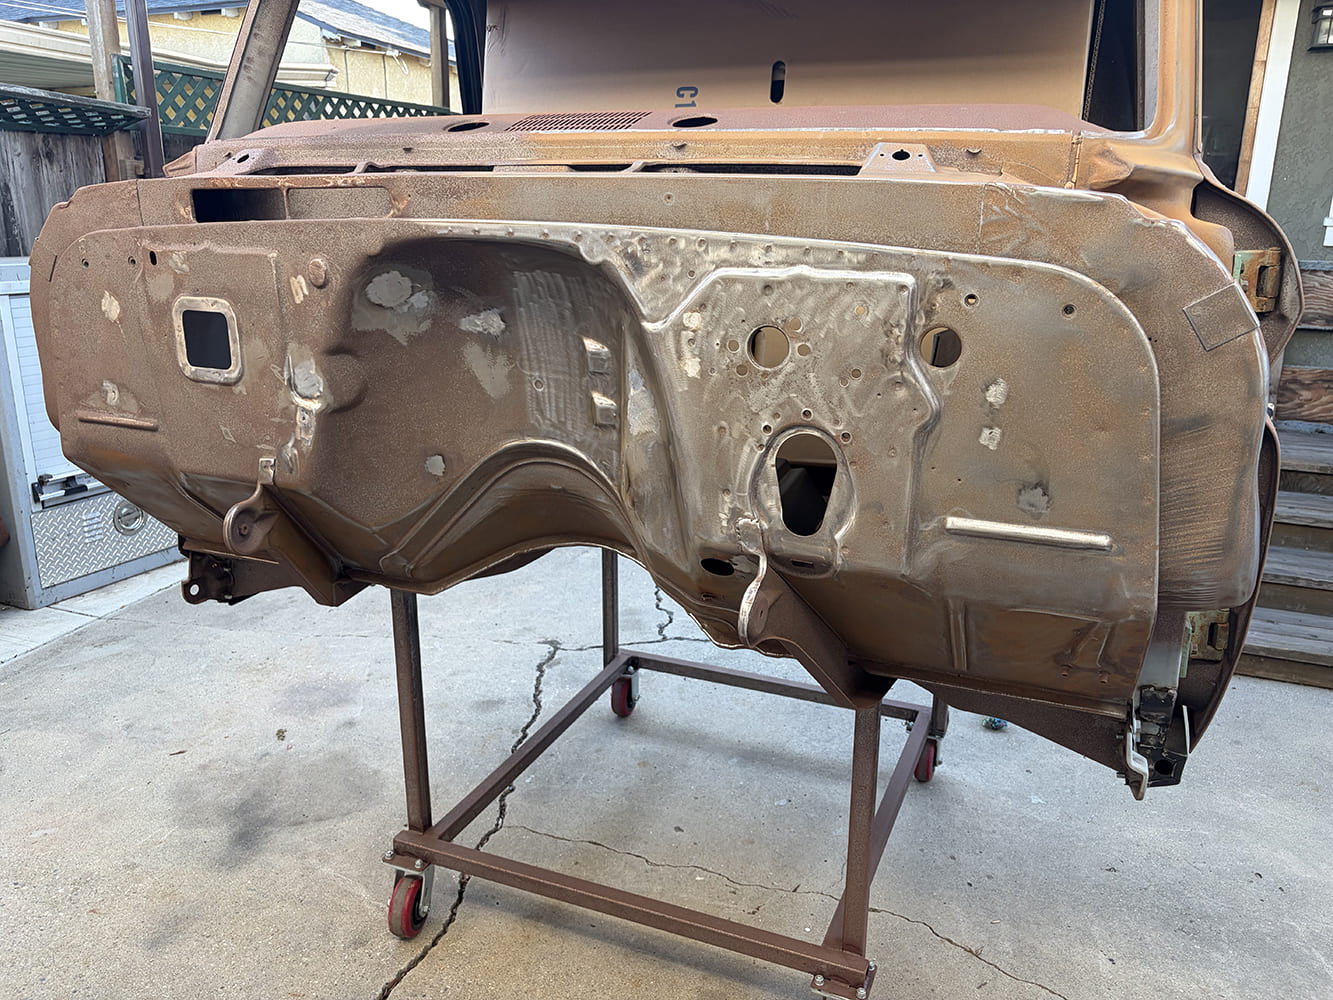
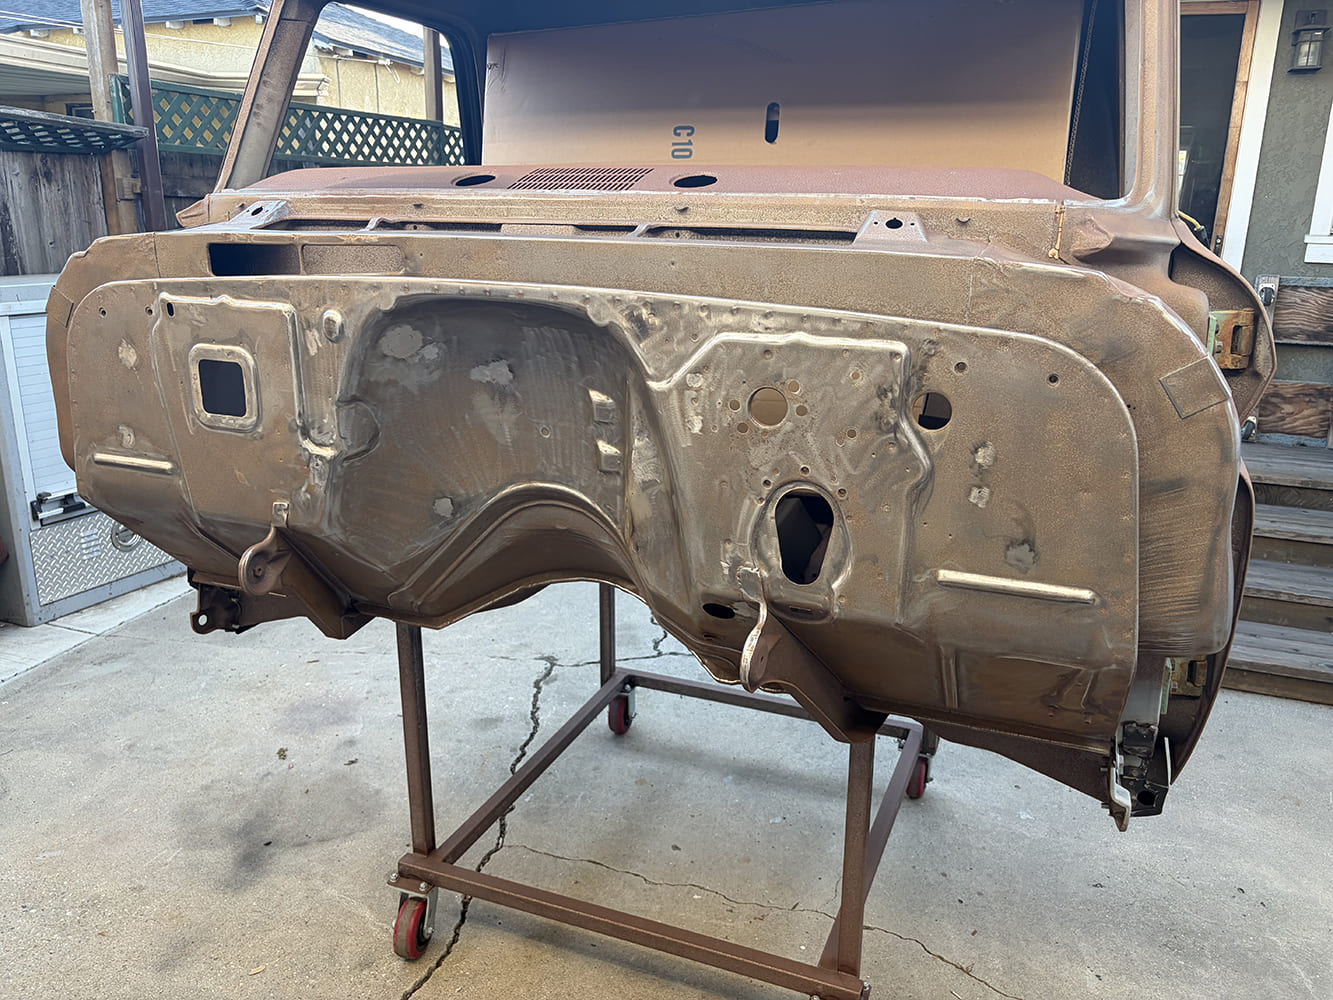
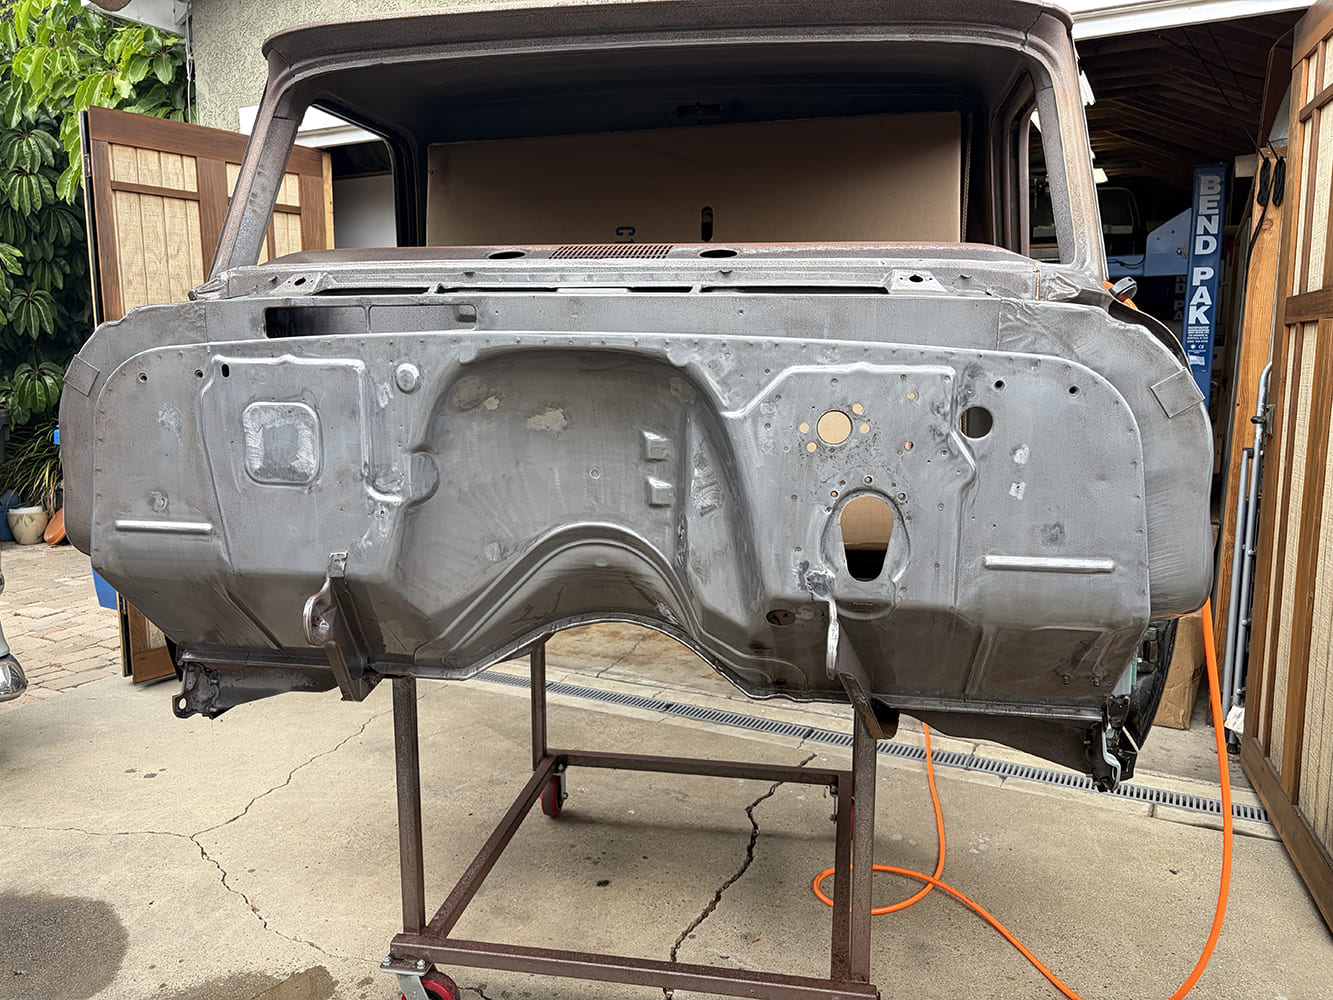
Straight-on front view of a sandblasted Chevrolet C10 truck cab showing factory stamped holes, spot welds, and transmission tunnel on a brown steel mobile cart.
Surface rust is a real nightmare when a bare-metal project sits unprotected. Before we can even think about shooting a finish on this surface, we need to address the issue at hand.

Optimism did in fact prevail, however, after speaking with the guys at KBS Coatings and relaying our project’s current woes. Not wanting to have to reblast the entire cab, we called looking for a chemical solution that we could apply at home to solve our surface rust issue before we press on with the usual body and paint process. Turns out, KBS Coatings has a three-part process that cleans, converts, and seals rusty surfaces for good. Known collectively as the Stop Rust Kit, it consists of KBS Klean, KBS RustBlast, and KBS RustSeal. Available in quart form for smaller projects or gallon form for large ones, the Stop Rust Kit is the perfect method to solve surface rust and effectively kill it in its tracks.
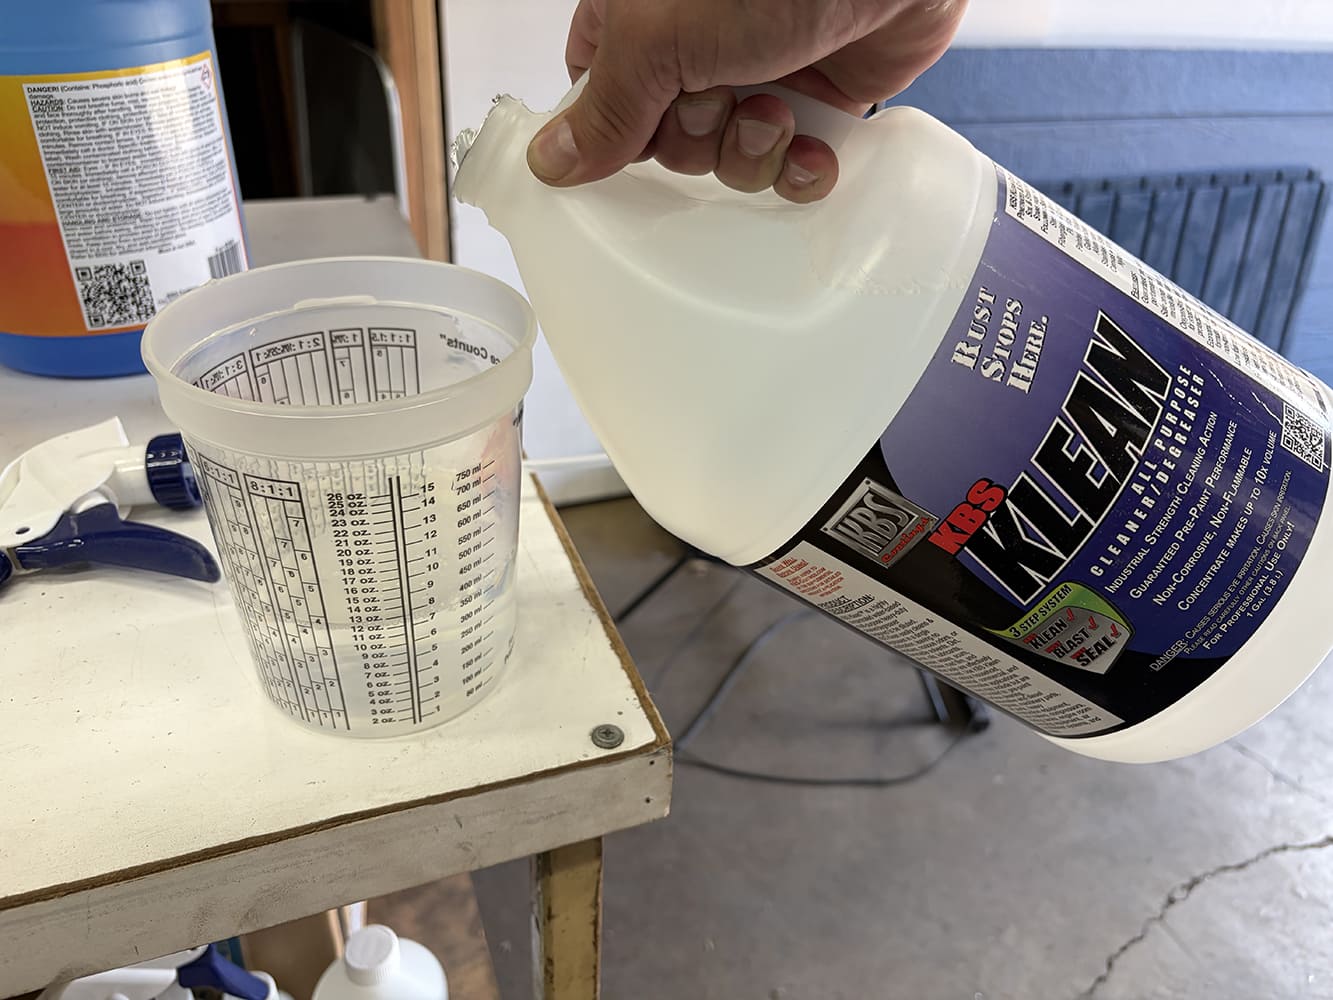
Hand pouring clear KBS Klean industrial cleaner/degreaser liquid from a gallon jug into a calibrated plastic measuring cup.
The first step in the KBS Stop Rust process is to scrub the entire surface using KBS Klean degreaser, diluted approximately 10:1 with hot water.

While we covered the components of the KBS Stop Rust Kit in a previous story, what we didn’t cover are the methods of application and best practices to be followed for each step. The first step will be to wash the entire firewall area with KBS Klean, a concentrated, water-based, biodegradable cleaner that will prep the surface to be nice and clean. Next, KBS RustBlast, a powerful rust remover, zinc phosphate pre-primer, and metal etch will be applied to the surface as well. RustBlast effectively dissolves rust, corrosion, metal oxides, and tarnish from most metal surfaces, leaving behind a perfect foundation for the next step, KBS RustSeal. Impervious to road salts and a variety of chemicals, RustSeal is a high-performance, single-part, ready-to-use, rust-preventative ceramic-like coating that is resistant to scratches or chipping and will not crack or peel.
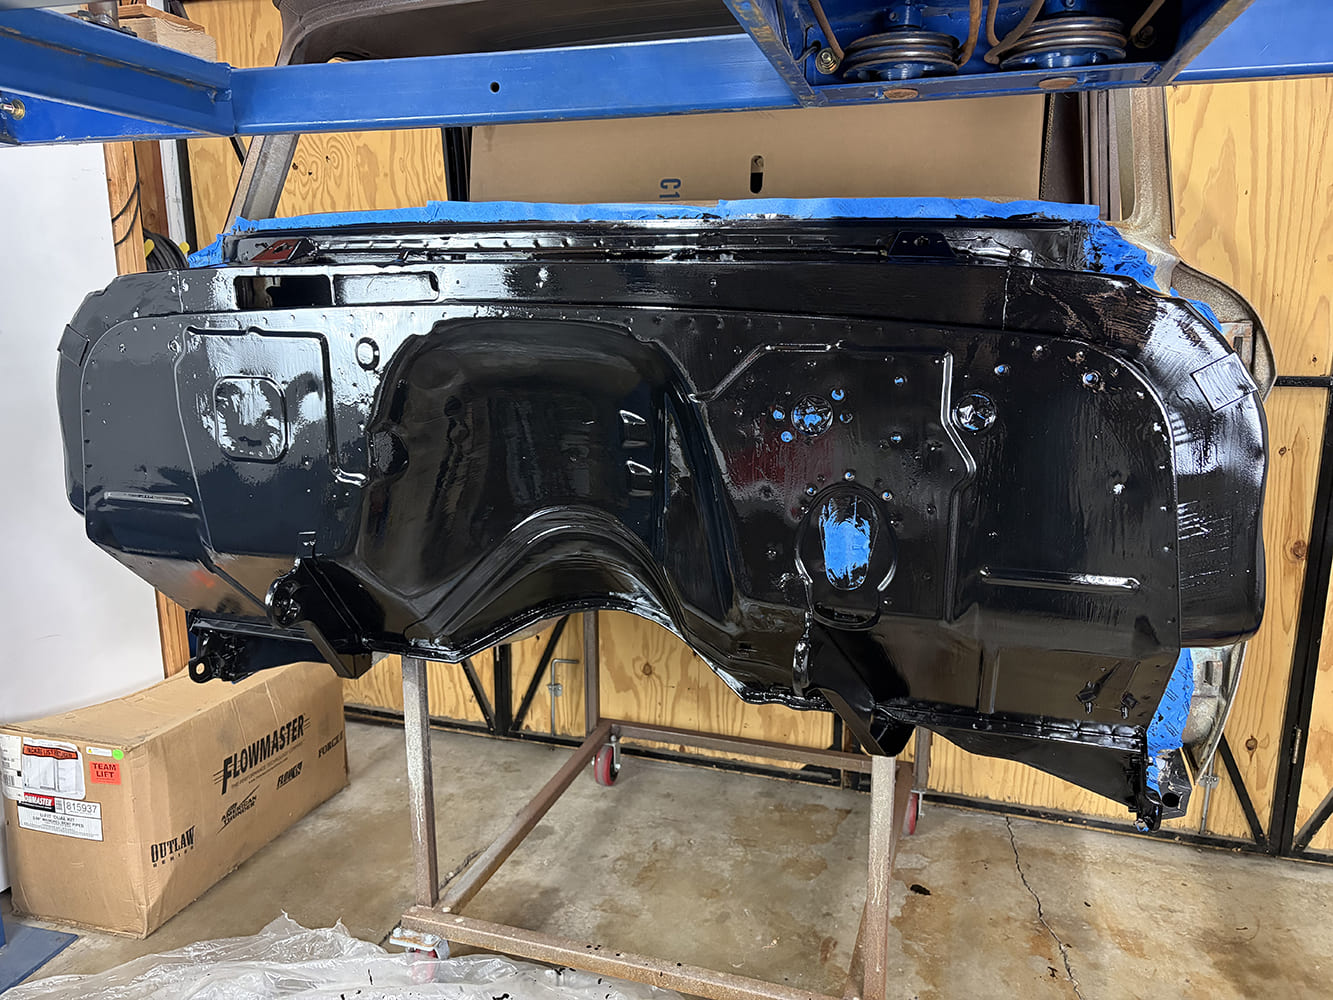
Frontal view of the Chevrolet C10 firewall fully sealed in wet, high-gloss black KBS RustSeal protective coating on a mobile steel cart in the garage.
The result of the KBS Stop Rust process is pretty impressive thanks to RustSeal’s formulation that allows it flow out to a smooth, flexible finish, regardless of application.

When it’s all said and done, we’ll be using the KBS Stop Rust three-part system to effectively protect the majority of our C10 cab’s sheet metal, while some sections, such as the firewall and dash, will then be finished in a more traditional paint and body manner with KBS filler primer, body filler, and topcoated with KBS Maxx. Inside the cab, RustSeal will provide the final finish before insulation and interior is installed, while underneath the cab, the process will be repeated followed by an application of KBS Coatings’ Rubberized Undercoating.   
With 60-plus years of neglect and abuse, it’s apparent the need to address many areas of our C10’s cab to get it up to modern standards. And with rust being one of the biggest culprits of damage on many an old truck, we can rest assured that, once addressed with the proper techniques and products thanks to KBS Coatings, we can kill that cancer, once and for all. CTP

Check out this story in our digital edition here.
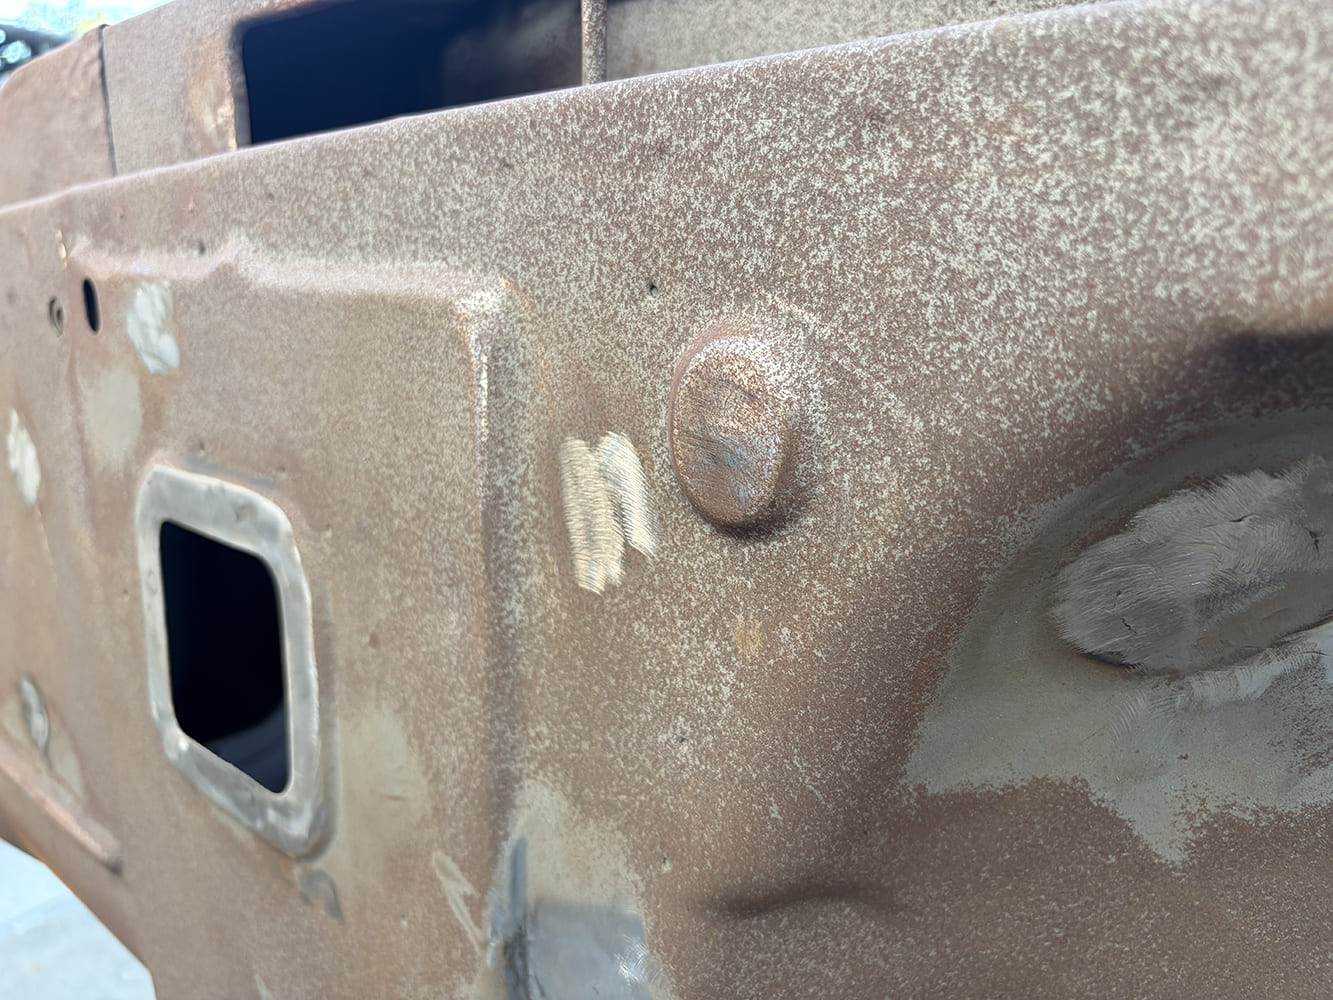
Macro view of bare textured metal on a C10 firewall displaying a circular stamped recess, ground plug welds, and the rectangular heater box port.
A freshly blasted surface should be knocked down with a sander, regardless of surface rust.


Front view of the stripped C10 firewall standing on concrete outside, showing wiped-down bare steel and ground-smooth weld patches around factory openings.
After a few minutes of orbital sanding, a fair amount of surface rust has already been removed, and the surface of the firewall is one step closer to being prepped for a final finish.


Wide frontal shot of the stripped Chevrolet C10 firewall on a steel shop stand with prep work completed around the cowl, steering column cutout, and heater opening.
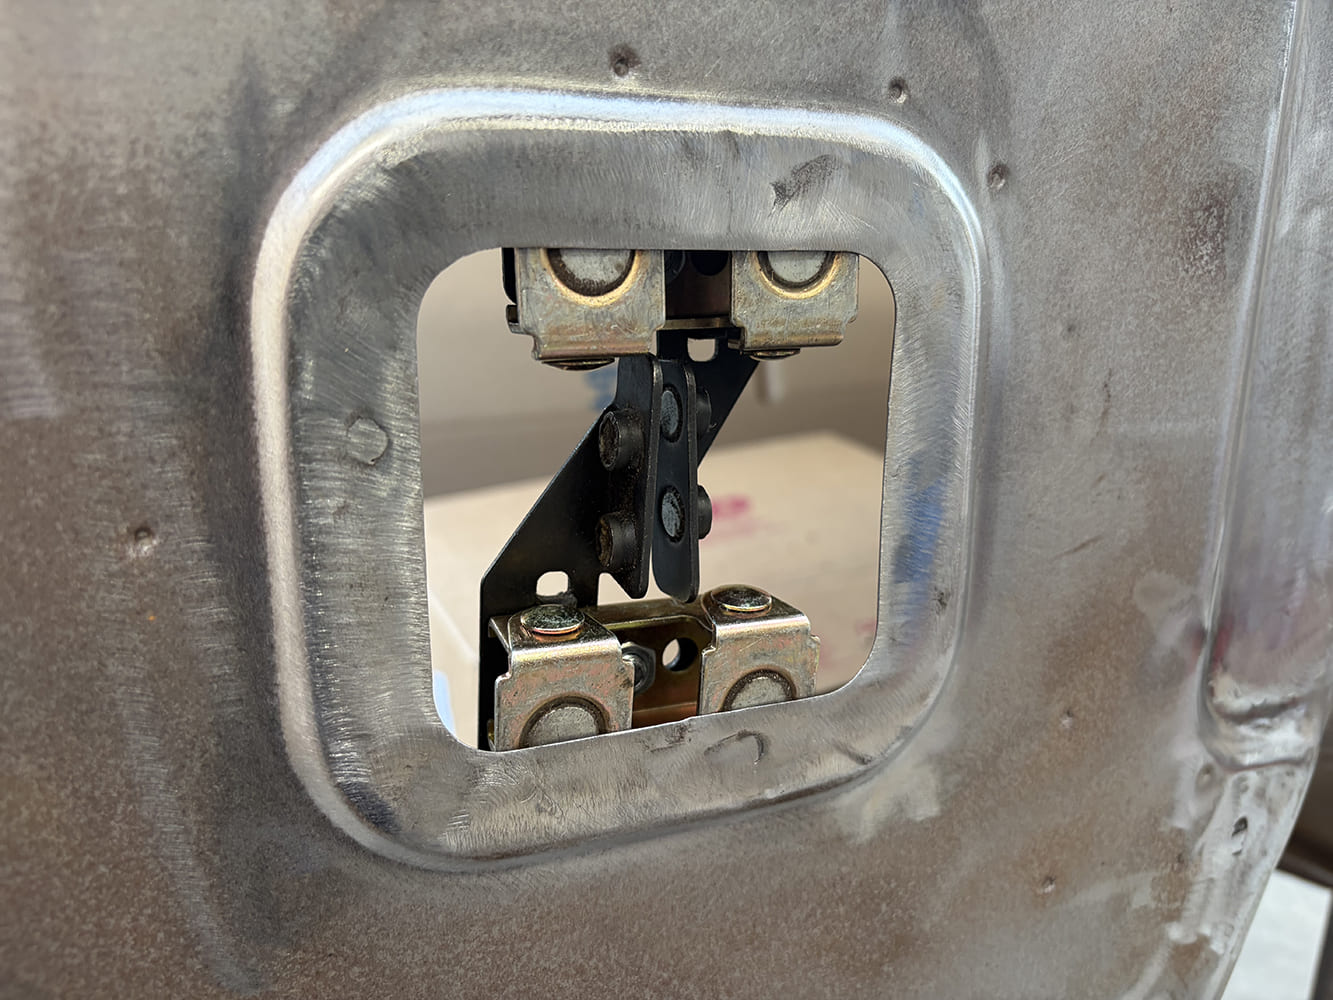
With the heaviest of surface rust removed, we have one more hole to fill: that of the heater box.


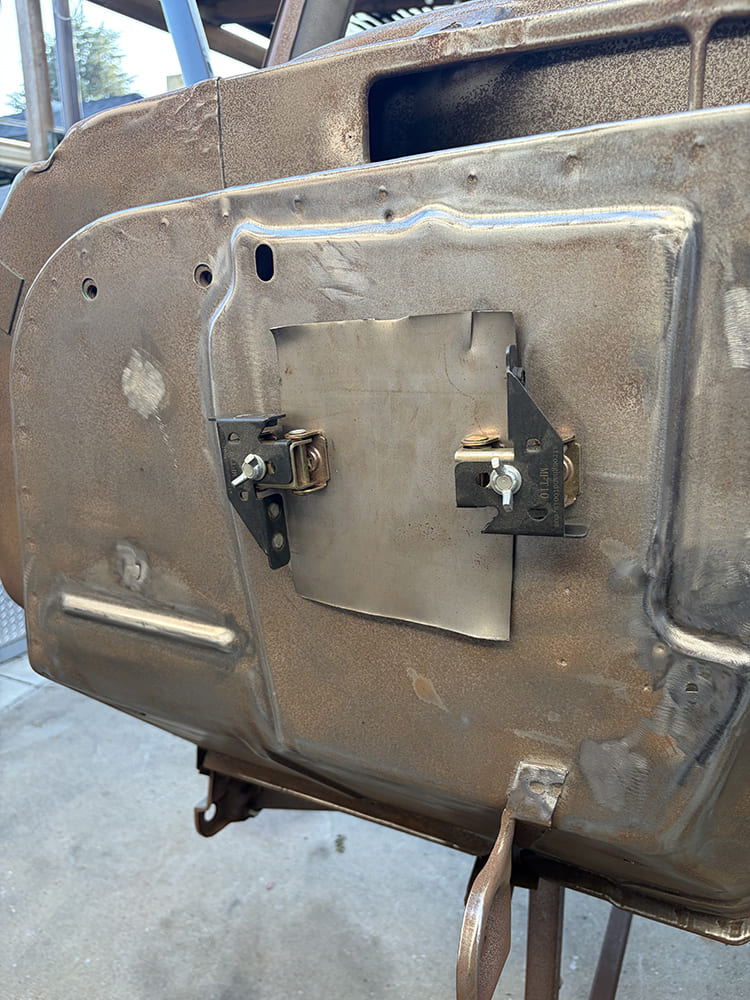
Close-up of an oversized square steel patch sheet secured over the factory C10 heater core cutout using two adjustable butt-welding clamps with wing nuts.
To do so, we rough-cut a similarly sized section of sheet metal to cover the hole and hold it in place with a pair of magnets.


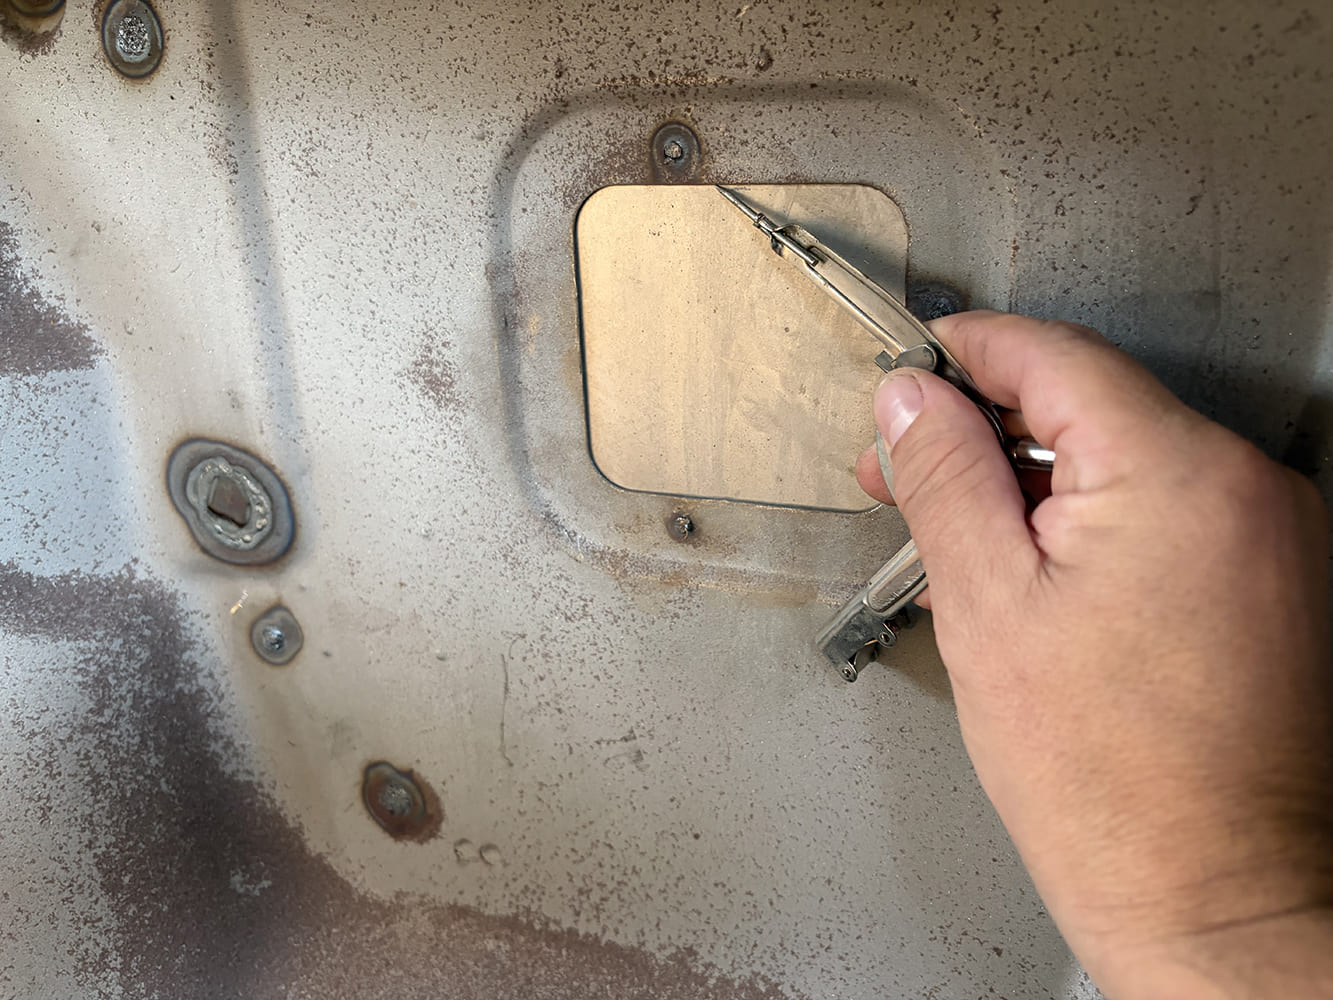
Hand holding metal divider compass calipers against the inside lip of the stamped heater box hole to scribe an exact fit line onto the backing sheetmetal plate.
From inside the cab, we can carefully scribe the hole shape onto the sheet metal patch.


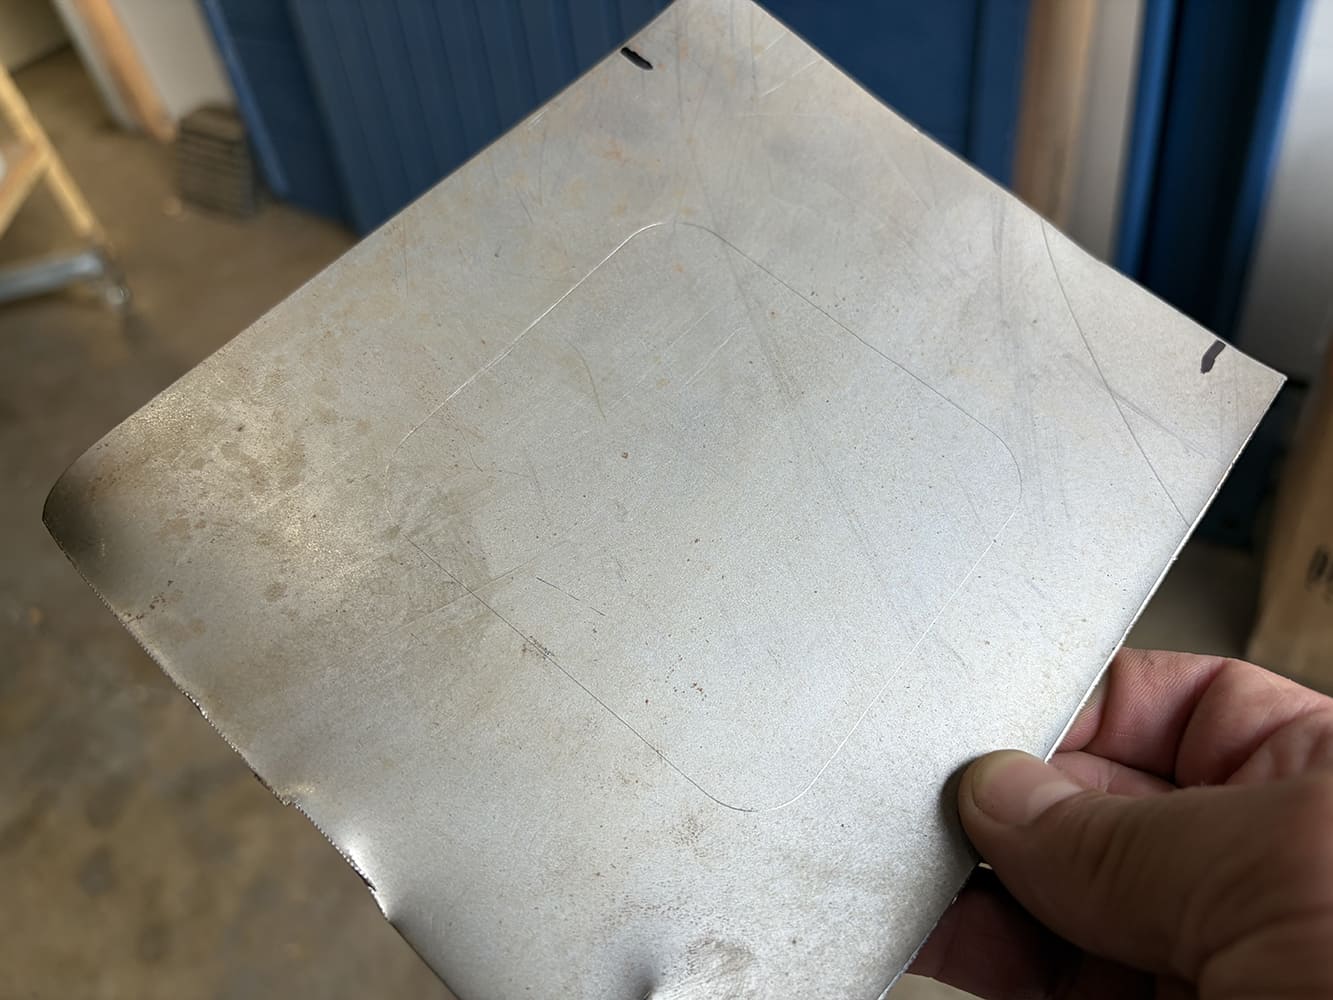
Hand holding a flat square of steel sheetmetal showing scribed rounded-corner guidelines ready to be cut into a custom flush-mount firewall filler slug.
Here’s the flat square of scribed sheetmetal that will fill the opening.


Detail view of the prepped rectangular firewall opening showing shiny ground metal around the perimeter recess and dual steel alignment clamps positioned inside.
The same magnets are then mounted inside the cab to hold the trimmed patch in place.


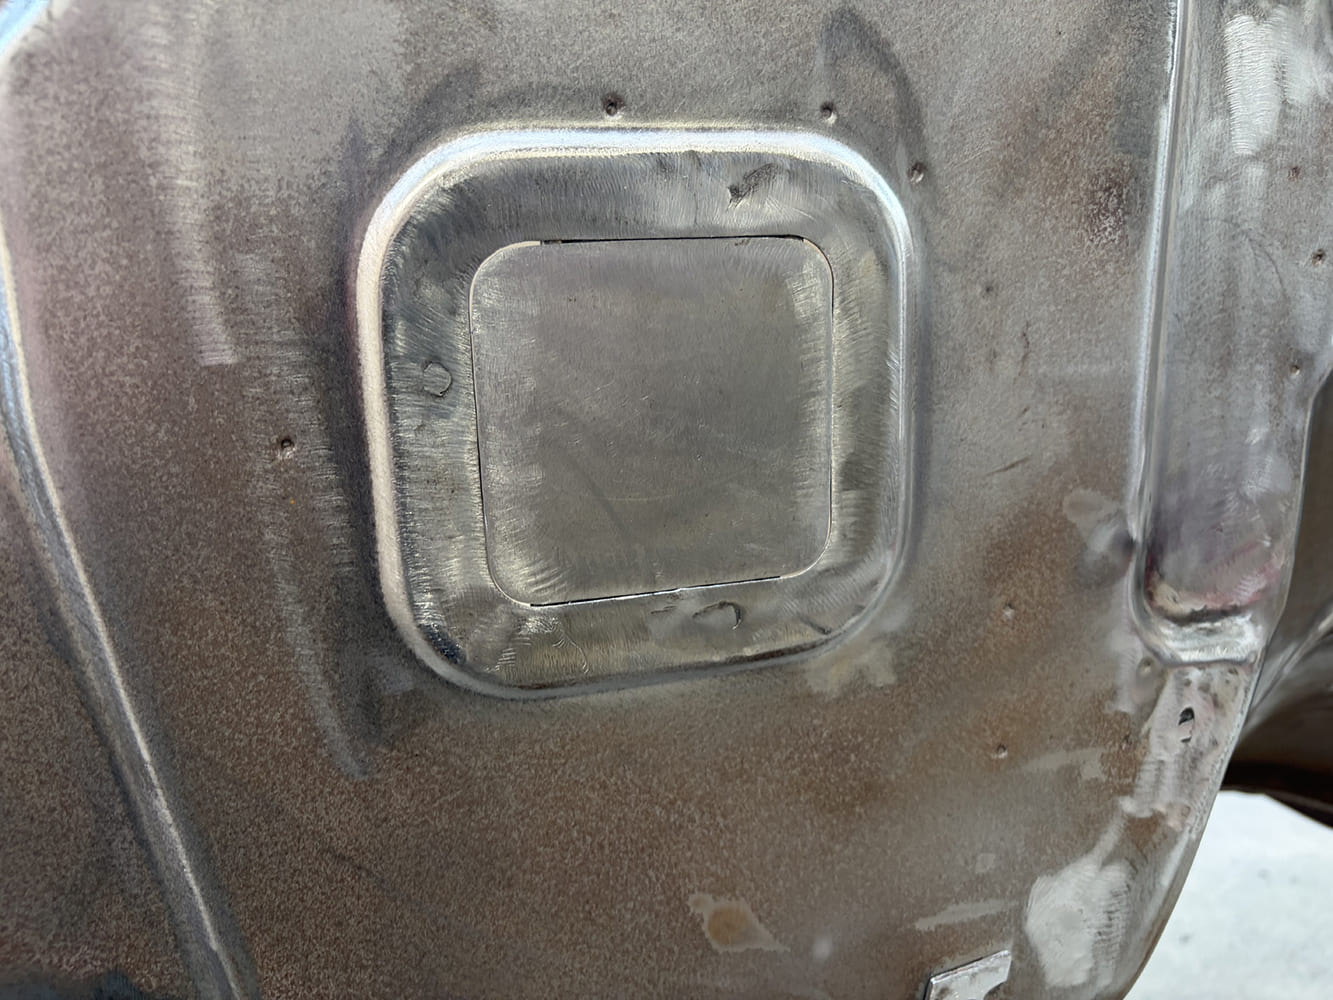
Close-up of a rounded-corner steel filler plug fitted seamlessly into the stamped recess of the C10 firewall, ready for tack welding and final metal finishing.
Here’s the steel filler plug fitted into the stamped recess of the C10 firewall, ready for tack welding.


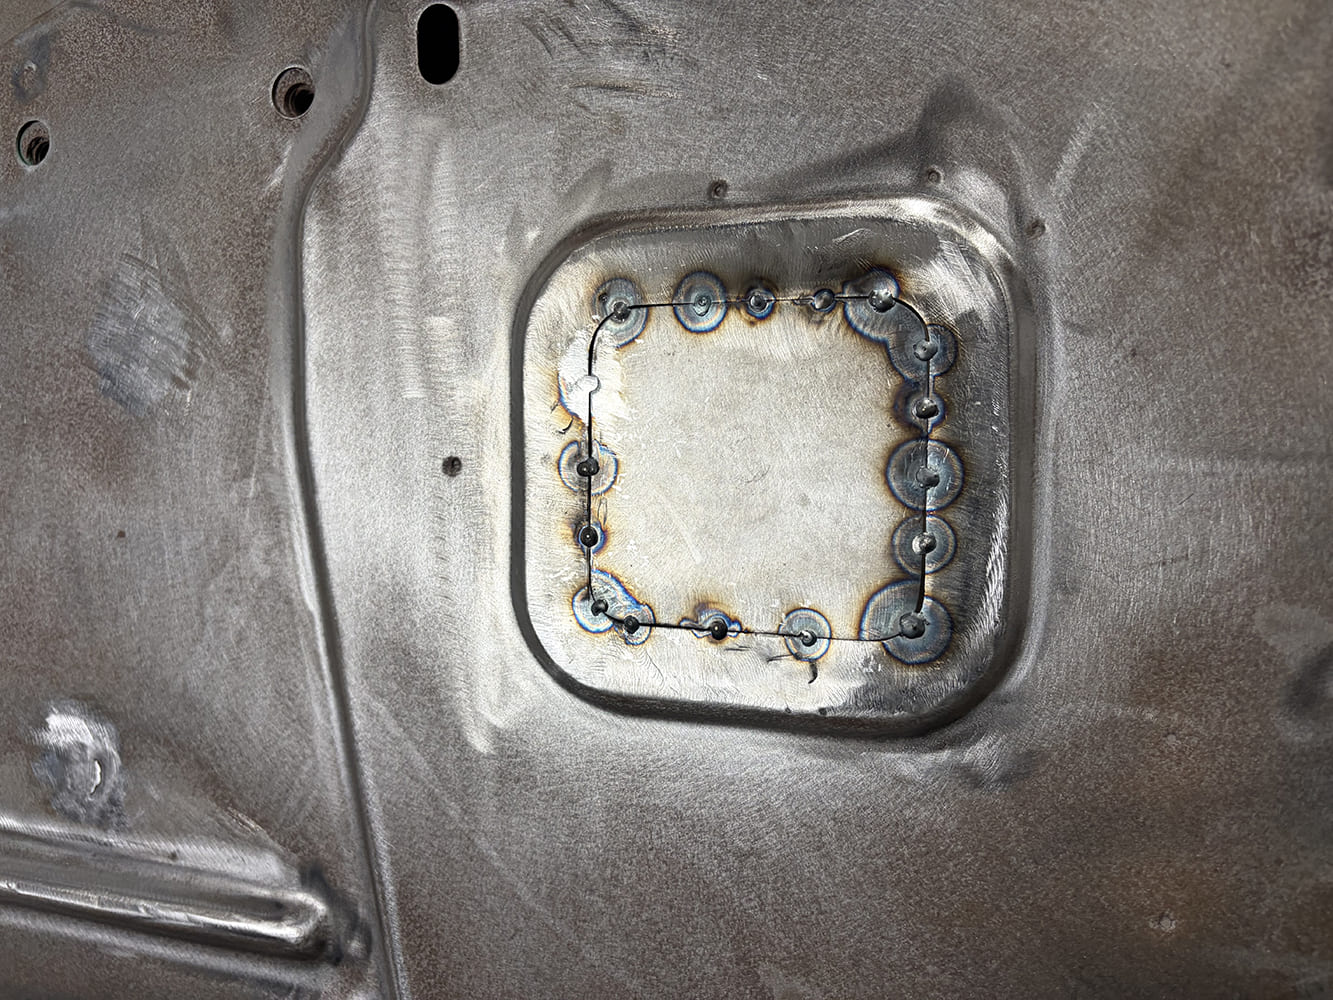
Close-up macro view of spaced TIG or MIG tack welds securing the custom rounded-corner steel filler patch into the recessed C10 heater core opening.
The panel is then tacked into place, alternating locations to prevent any warpage.


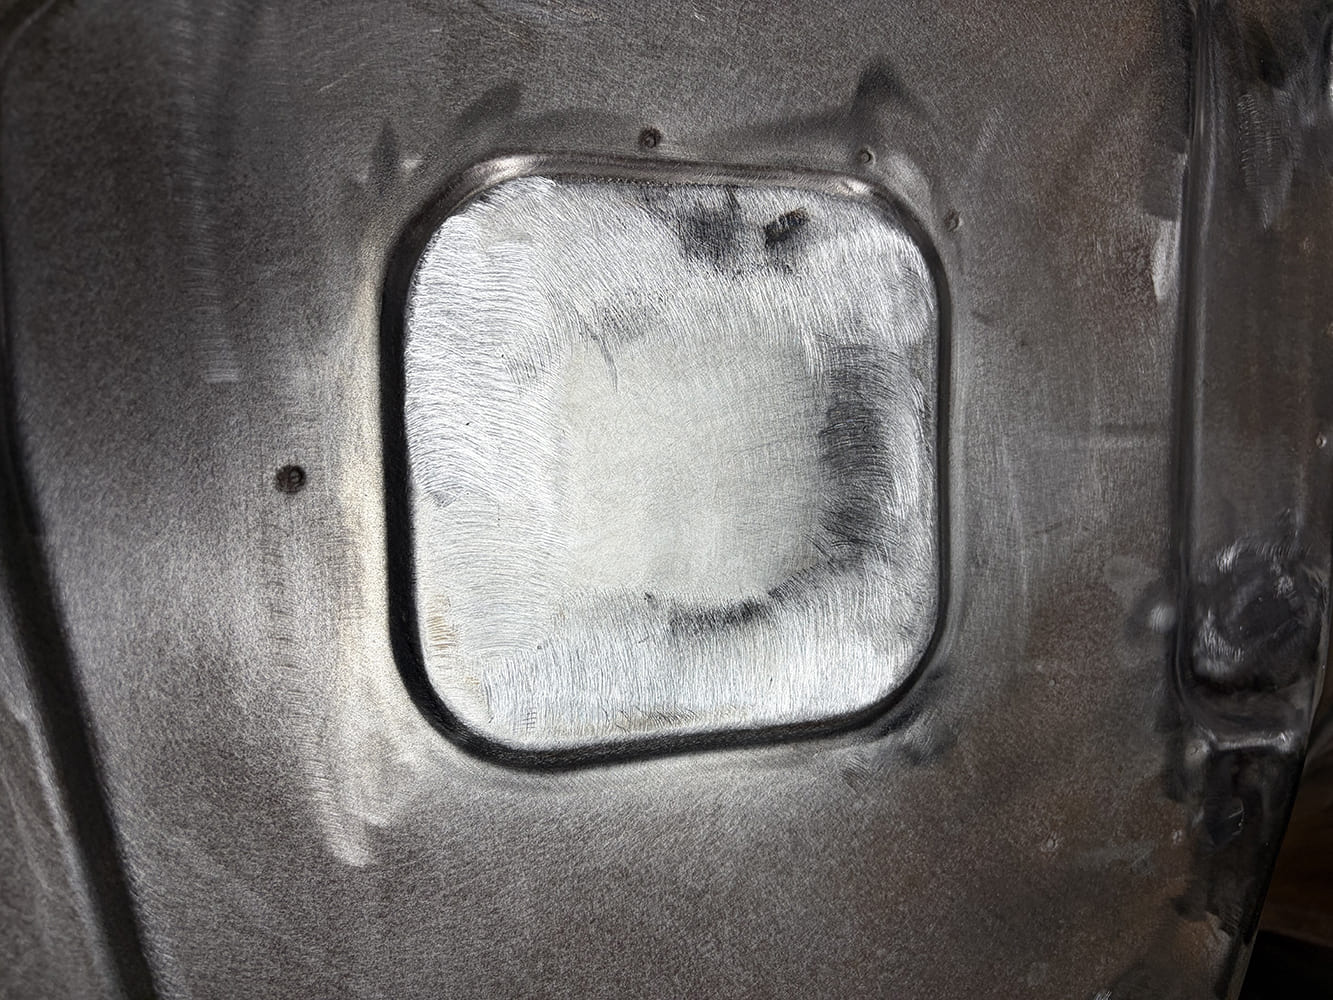
Extreme close-up of the completed sheetmetal repair ground completely flush with the surrounding stamped firewall panel using an angle grinder and flap disc.
The final patch is metal-finished and ready for a little filler and blocking.


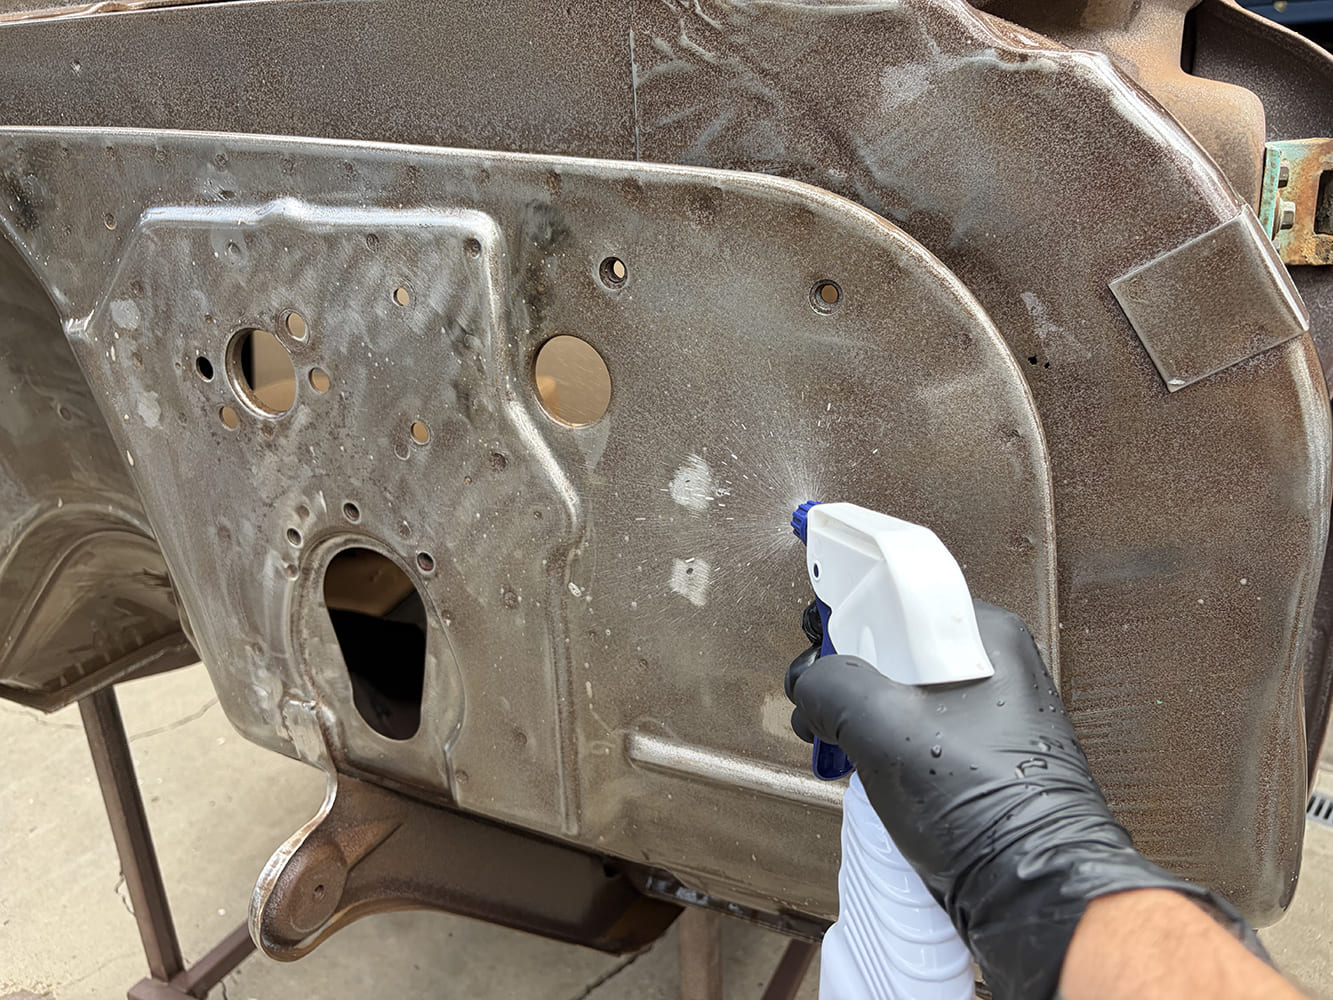
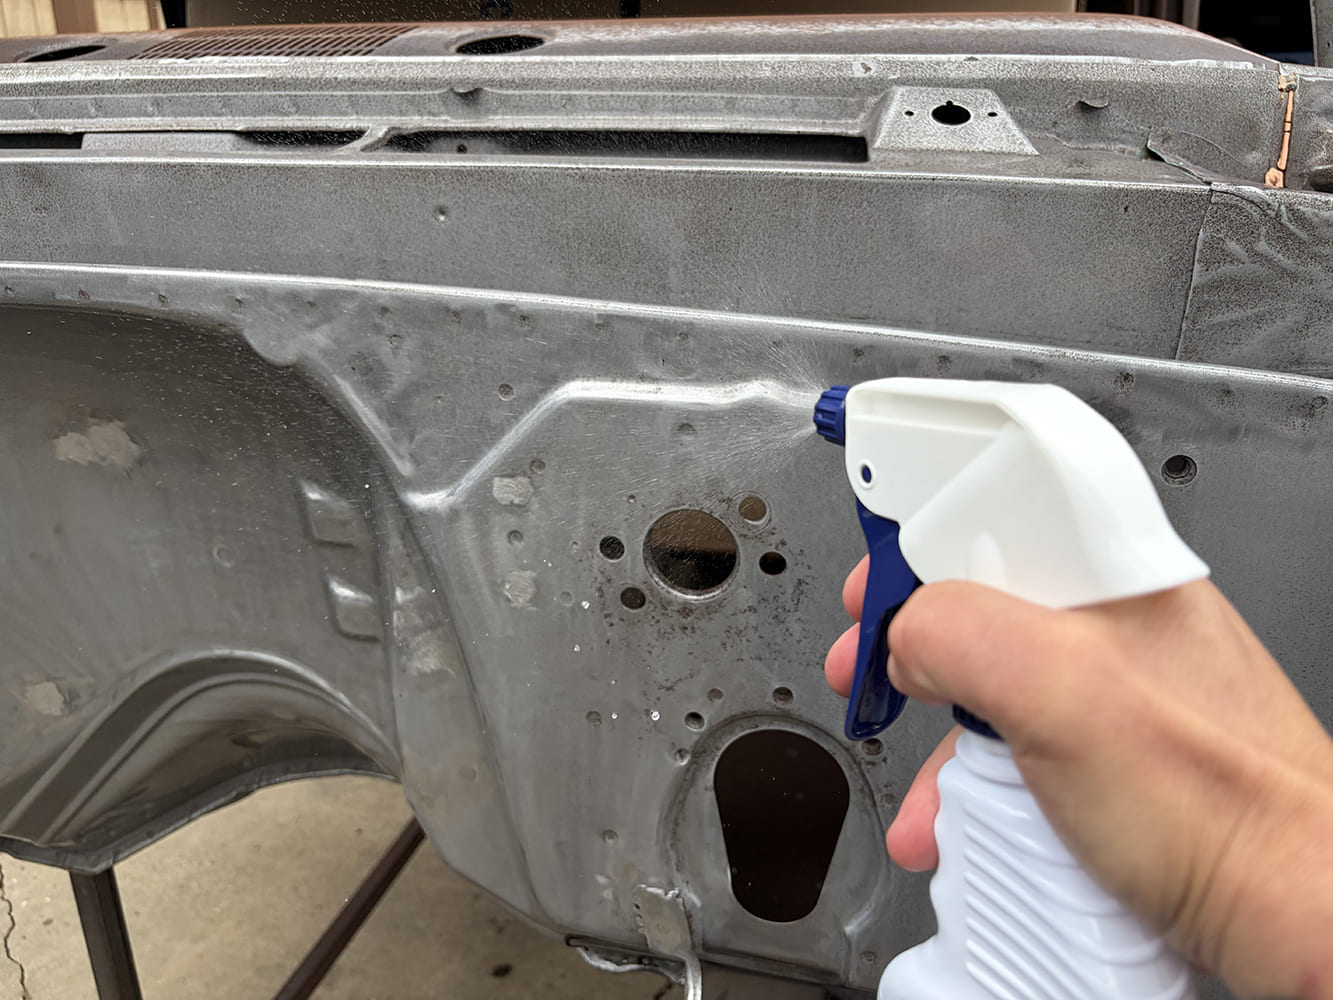
Gloved hand using a plastic trigger spray bottle to apply misted KBS Klean degreaser across the sandblasted steel surface of a Chevrolet C10 firewall.
Applied via sprayer, a liberal amount of the KBS Klean dilution is applied to the entire surface.


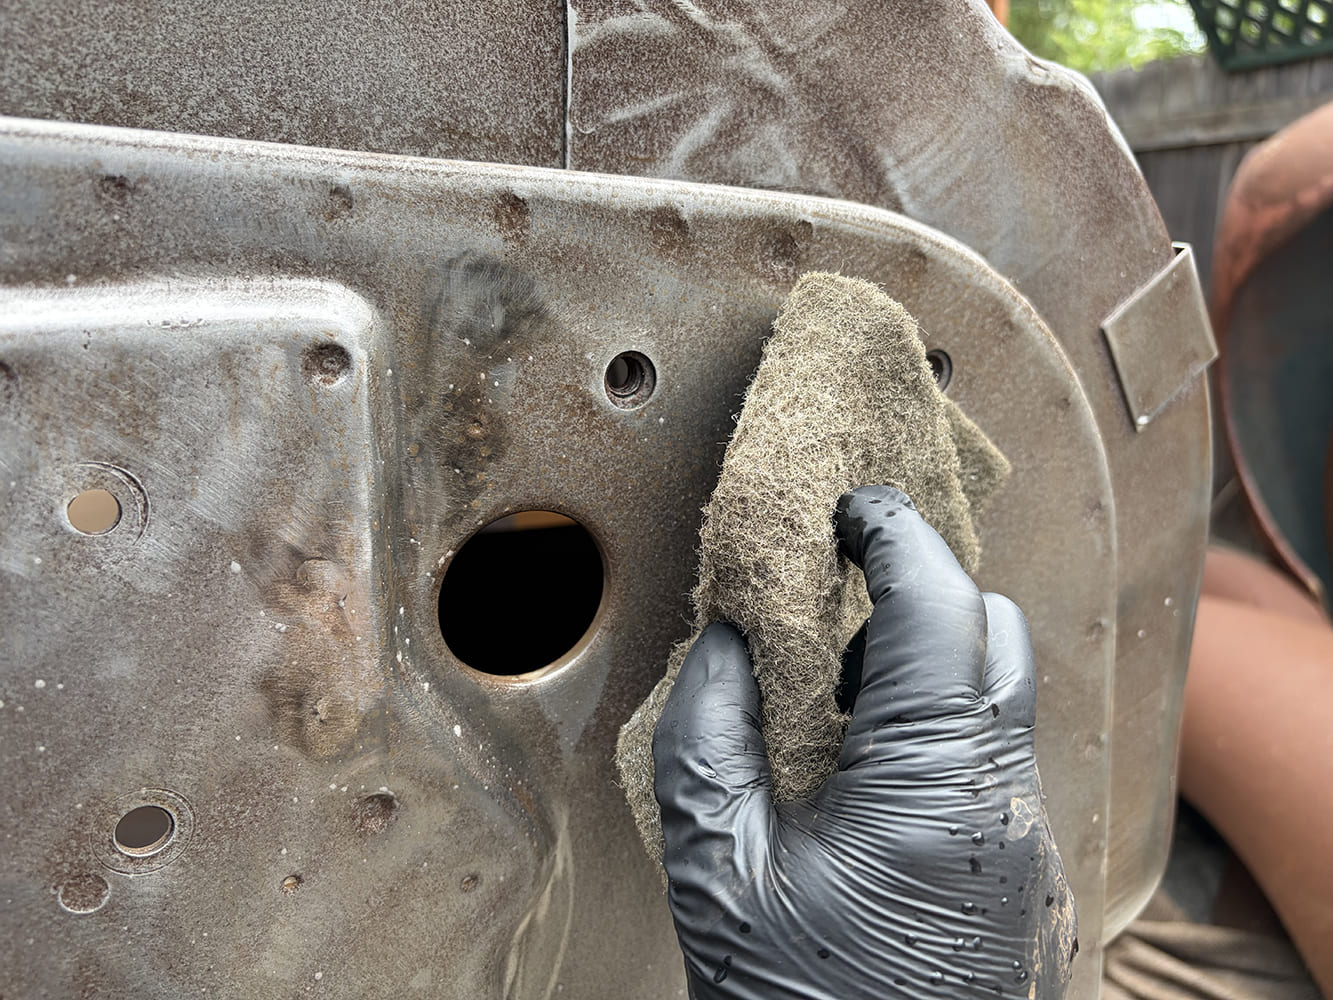
Gloved technician thoroughly scrubbing contaminated steel around factory mounting holes using a coarse abrasive scuffing pad and degreaser solution.
We then scrubbed the entire surface with a scouring pad to ensure every nook and cranny of the sheet metal is penetrated.


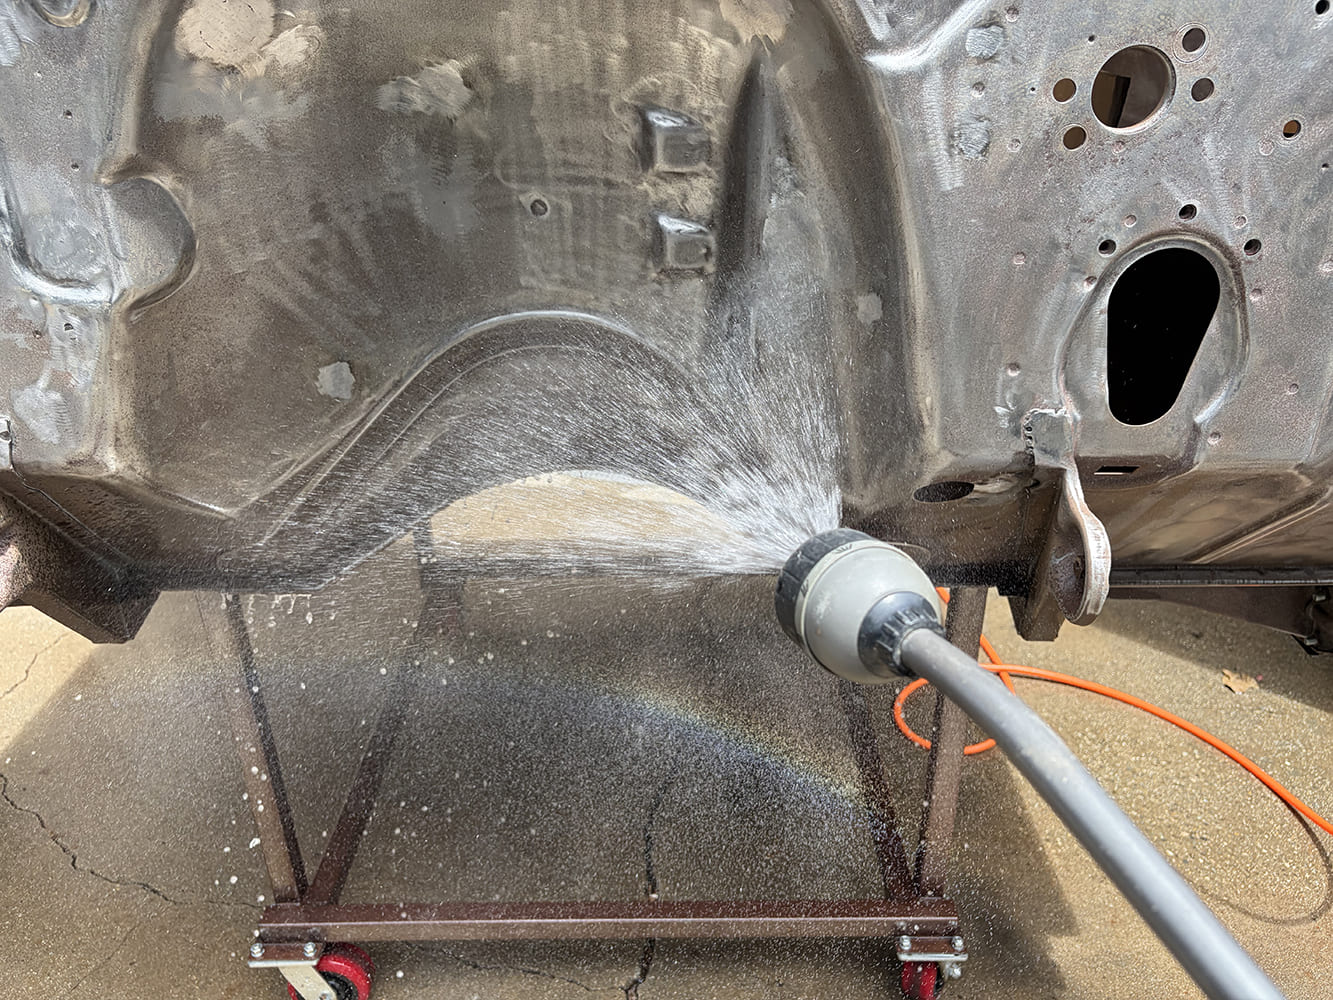
Water spray nozzle thoroughly rinsing suds, residue, and contaminants off the bare steel transmission tunnel and lower firewall.
The surface is then fully rinsed …


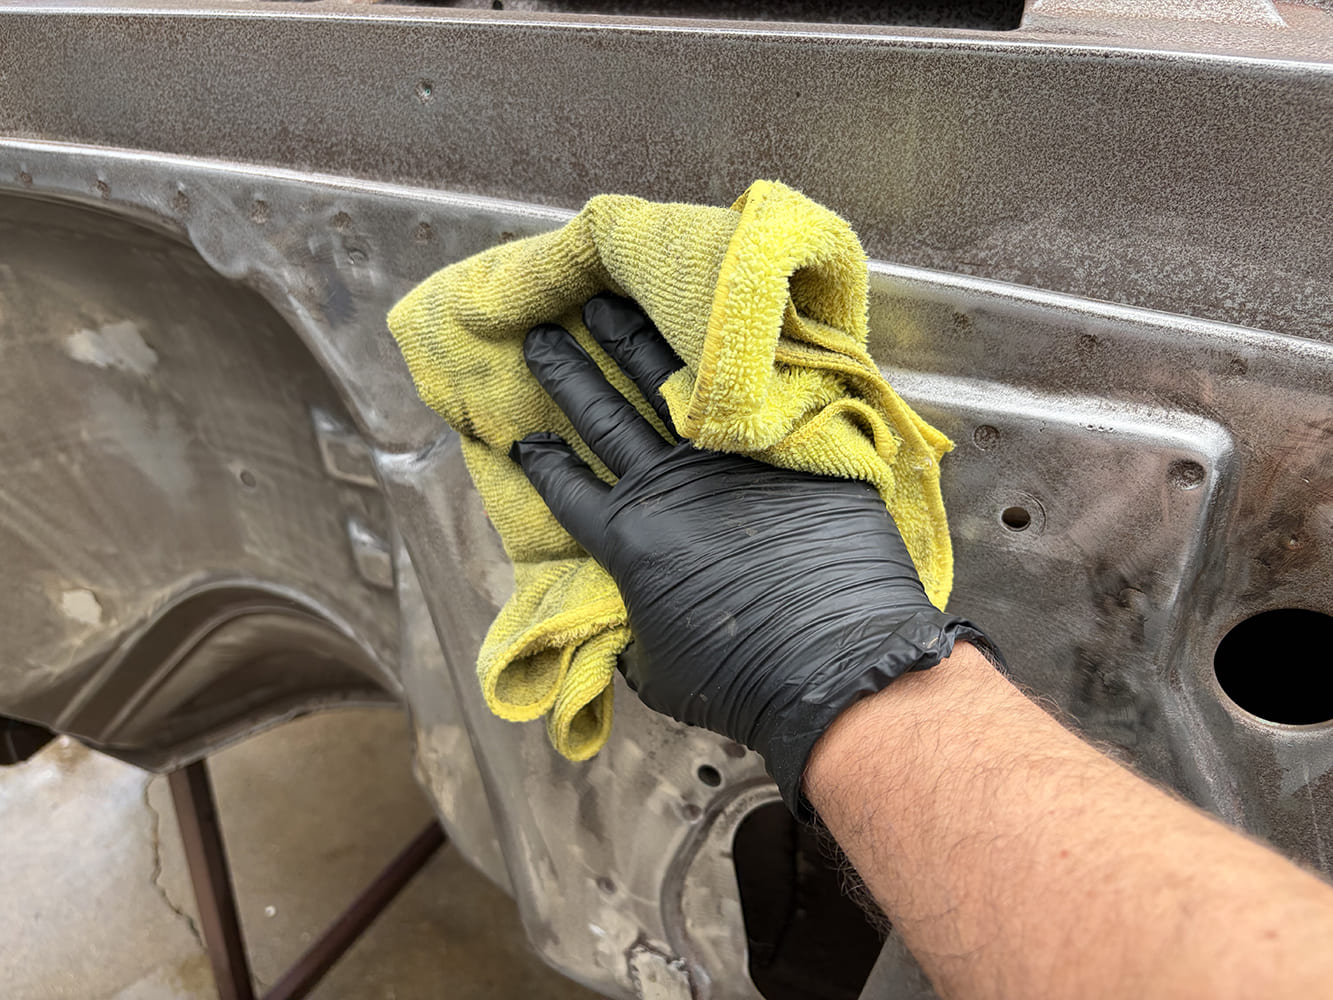
Gloved hand drying and wiping down the rinsed bare-metal upper cowl section of a C10 cab using a yellow microfiber towel.
… and thoroughly dried first with a cloth to remove the surface moisture.


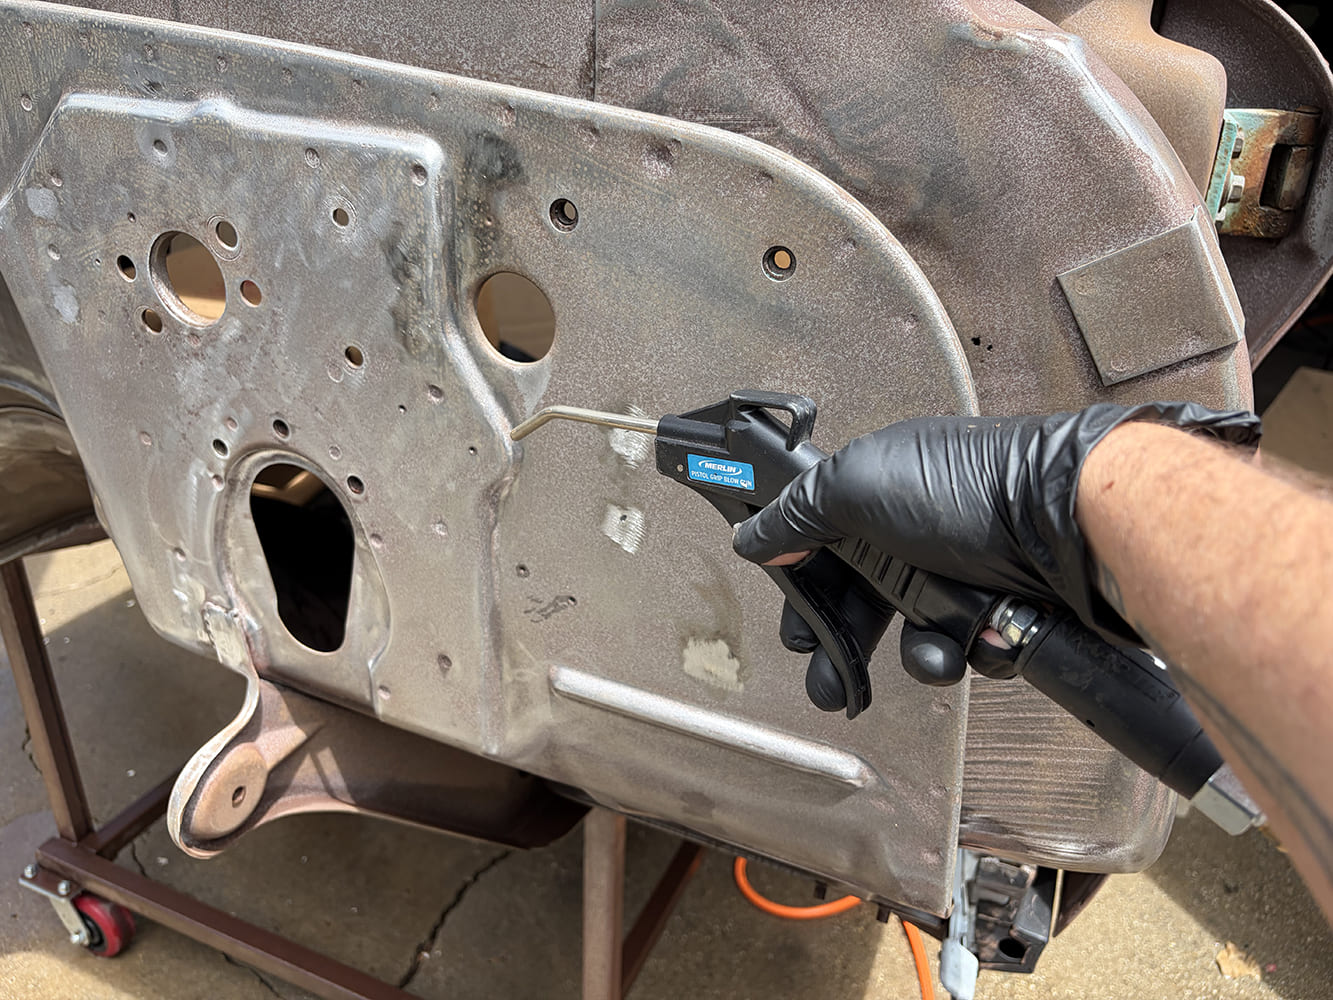
Using a pneumatic Merlin blow gun to blow out standing rinse water and debris from drilled holes and seam crevices in the steel firewall.
We then used a flow gun to remove moisture from visible and hard-to-reach areas.


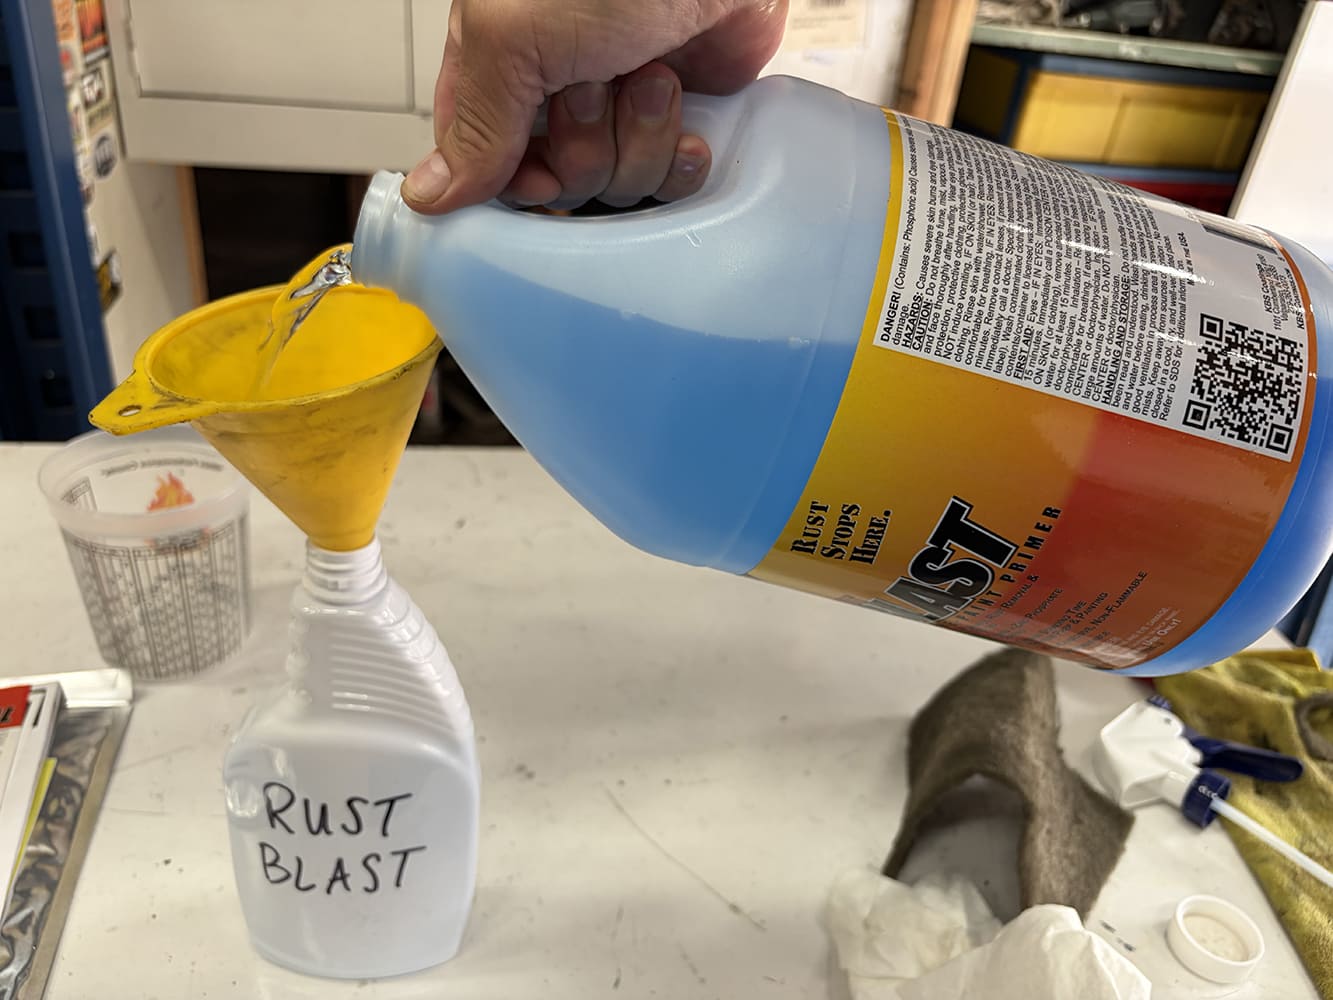
Hand using a yellow plastic funnel to transfer blue KBS RustBlast metal prep and rust remover liquid into a labeled spray container.
With the surface clean and dry, it’s time to treat and passivate any remaining rust with KBS RustBlast.


Spraying a fine mist of blue KBS RustBlast solution across the bare steel cowl and steering column opening to chemically etch the metal before painting.
Applied with a spray bottle, the entire firewall surface is treated and kept saturated for about 15 minutes, given the fairly light rust we’re tackling. For heavier rust, additional soak time can aid in removal/treatment.


Straight-on front view of the bare metal Chevrolet C10 firewall and cowl on a rolling shop stand after KBS RustBlast chemical etching and drying.
After another round of thorough rinsing and drying, the firewall looks much better than when we started. The zinc phosphate treatment provided by the RustBlast process is evident and what little surface rust that still remains will be further incapacitated.


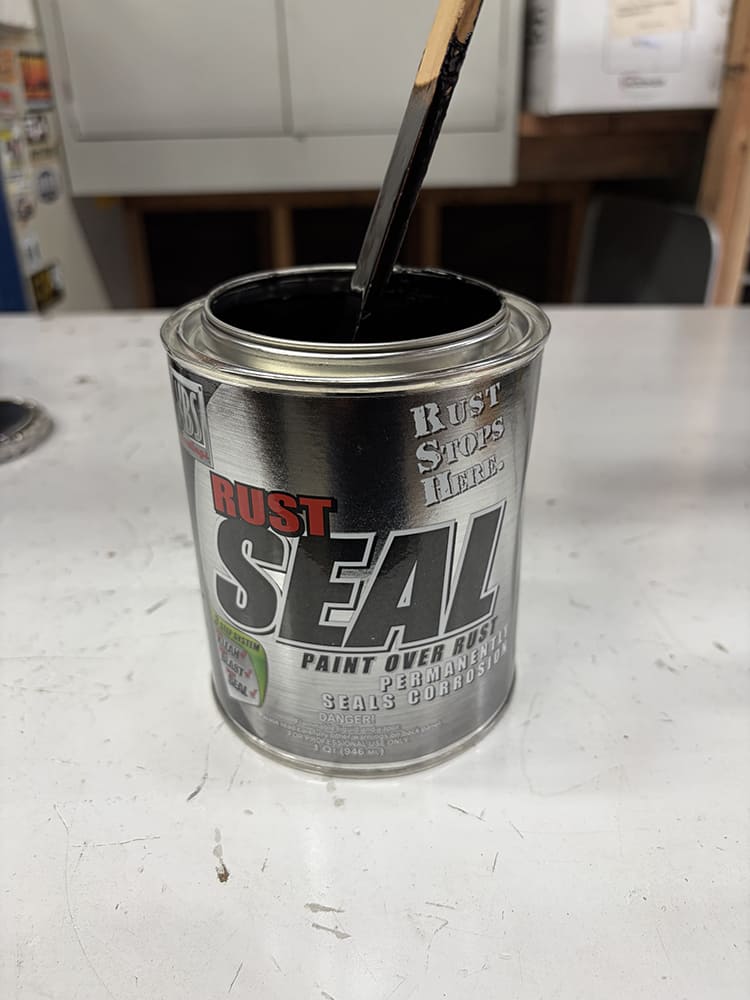
Close-up of a wooden stir stick blending thick gloss black KBS RustSeal moisture-cured urethane paint inside an open one-quart metal can.
KBS RustSeal is a single-component, ceramic-like coating that prevents rust and seals metal surfaces, effectively blocking moisture and oxygen intrusion. Before application, stir the contents to ensure any settled pigments or matting agents are fully mixed.


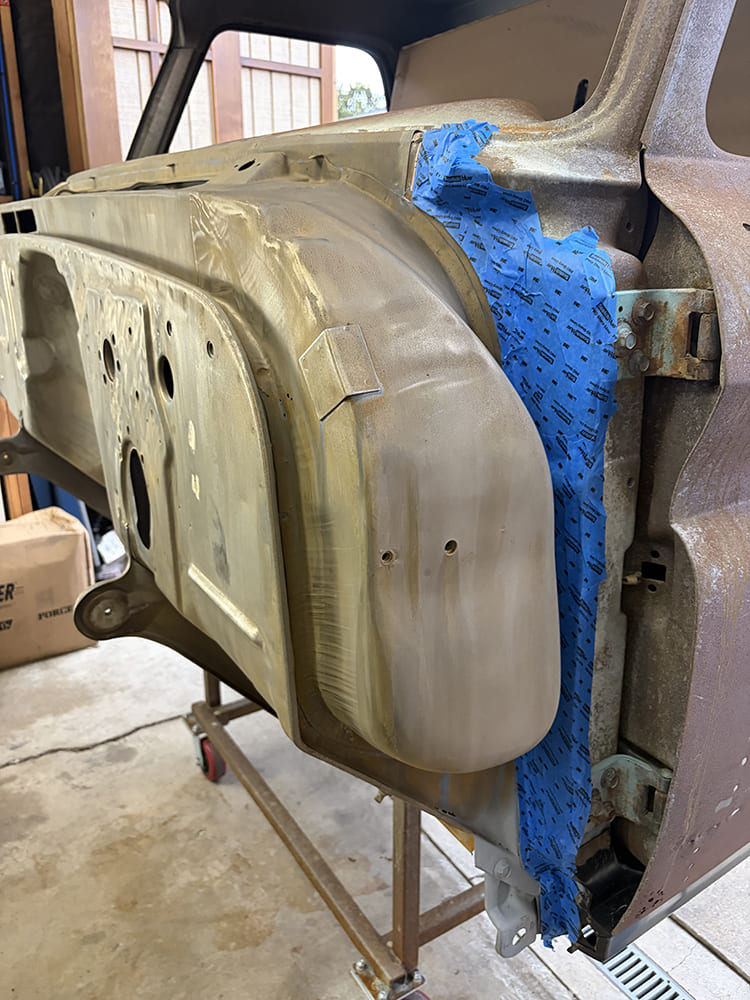
Side three-quarter perspective of the C10 cab showing blue 3M painter's tape carefully masking off the door pillar and windshield cowl seams.
Since we’re only tackling the firewall of the cab this round, the surrounding sheetmetal is taped off.


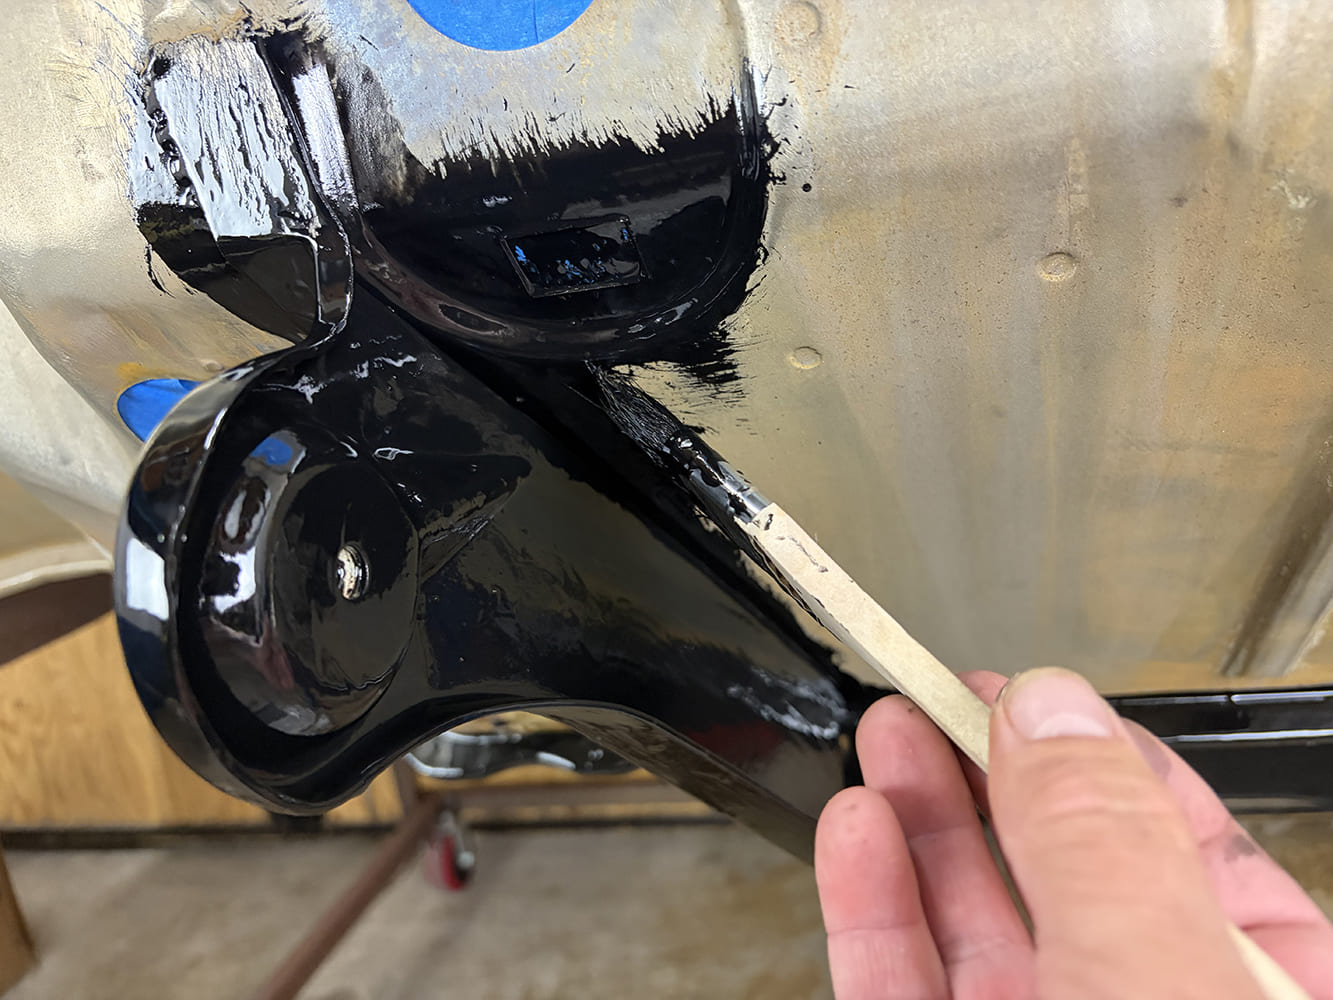
Hand using a small trim brush to apply gloss black KBS RustSeal into tight corners, spot welds, and overlapping seams of the lower cab mount bracket.
Applying KBS RustSeal can be achieved by a number of methods, including spraying, rolling, or brushing. Since we’ll be top coating and further bodyworking the firewall, we’re not concerned with a perfect finish with this step, so we opted to brush the finish to ensure full coverage without dealing with overspray and venting issues. RustSeal is not intended for use as a topcoat where the surface might be exposed to repeated UV, so we’ll be covering it in KBS MAXX at a future date.


ITGM Source Box Heading

KBS Coatings Web Sources

- Advertisement -

Related Articles

Search Our Site