
Flatline Barriers’ Acoustic and Thermal Insulation

By Brian Brennan – Photography & Videography by the Author

All of us want to be comfortable in our hot rod—it doesn’t matter the time of year or how much horsepower we have (or don’t). When cruising, comfort is king. That brings us to Flatline Barriers, an ultra-lightweight, easy-to-install material that blocks unwanted heat and noise. The two main sources of discomfort when driving are excessive noise and excessive heat inside, where we are trying to keep our “cool.”

Installing Classic Industries Flatline Floor Insulation | Pre-Cut Sound Deadening

To help us achieve this level of comfort, there are a few things we can do. However, the one that is unseen and possibly the most important is the use of acoustic and thermal insulation. We thought we would give this product a try, so we stopped by Classic Industries and picked up a precut kit with some additional material for extra coverage for our 1969 Chevelle. This is a big-block–powered Chevy with a thundering exhaust, so heat and sound can be an issue. (Experience has taught us that!)

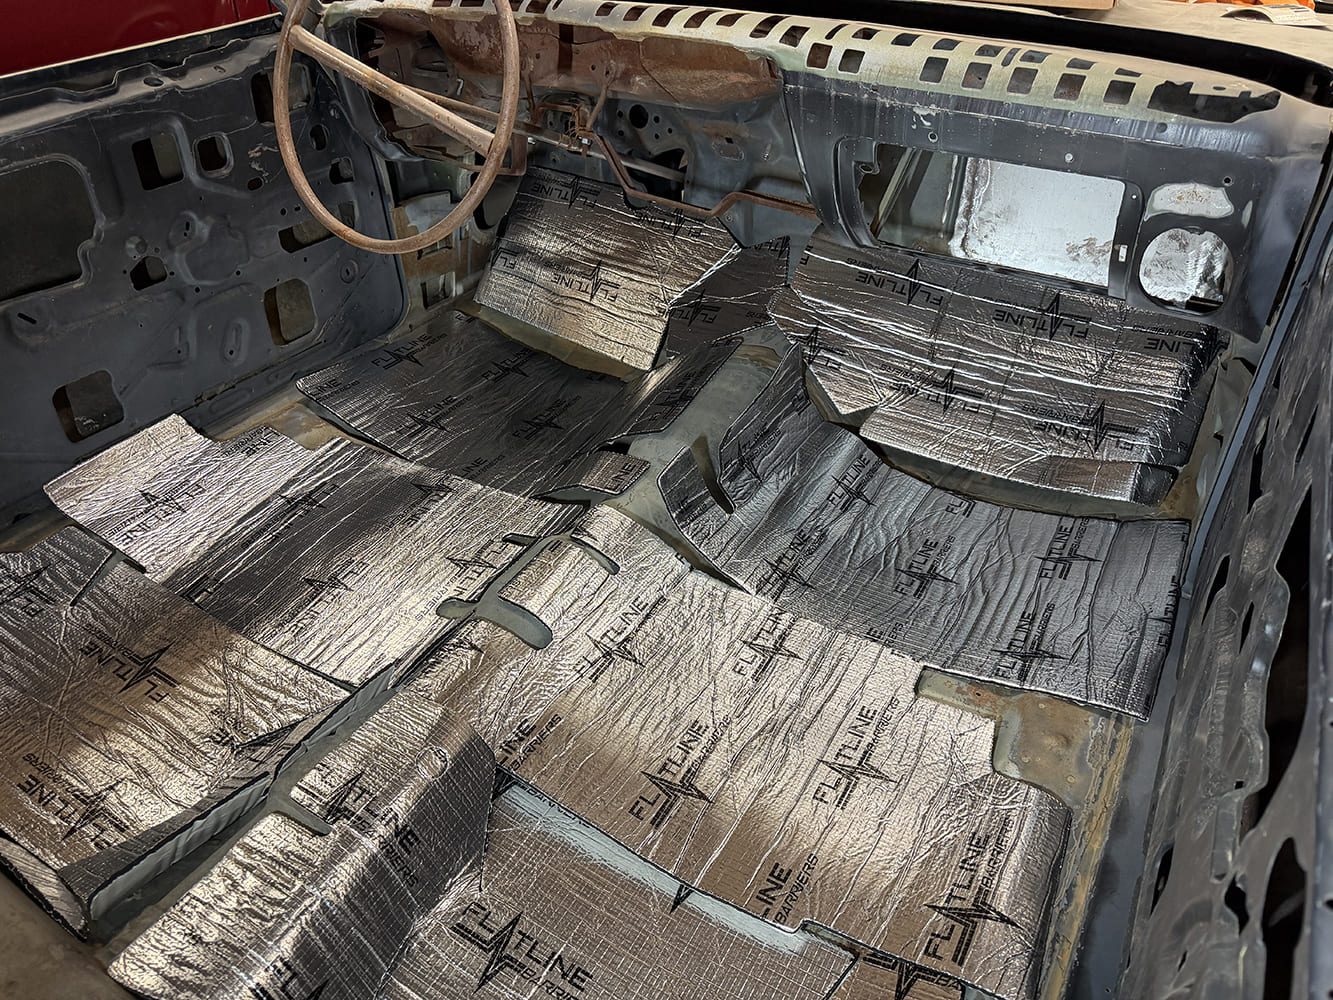
Stripped 1969 Chevelle floor pan fully laid out with precut aluminum-backed Flatline Barriers thermal acoustic insulation mats.
For our Project 1969 Chevelle, we opted for one of the Flatline Barriers “precut” kits designed for our specific hot rod.

We stopped by Hot Rods by Dean and installed the Flatline Barriers product on a 1969 Chevelle we have and will continue to showcase stories here in Modern Rodding. We were able to nail down Dean Livermore and get a couple of hours of his time to try out the installation for ourselves. Everything went as advertised. Keep in mind that you will want your flooring, door panels, and headliner area to be well cleaned and ready to accept the adhesive-backed acoustic and thermal insulation. It is adhesive backed. The material, once laid down and pressed into position, is there. Make sure you are ready before installing.

Flatline Barriers was designed to deliver high-quality, direct-fit material that minimizes noise and heat transfer. It is based on synthetic rubber that forms a foam with a peel-and-stick backing to silence unwanted noise, vibration, and resonance. It is then combined with an aluminum thermal barrier that eliminates radiant heat. Our kit, as mentioned, was precut and, because of this and its lightweight, very-compliant construction, is ideally suited for at-home use by everyday hot rodders.
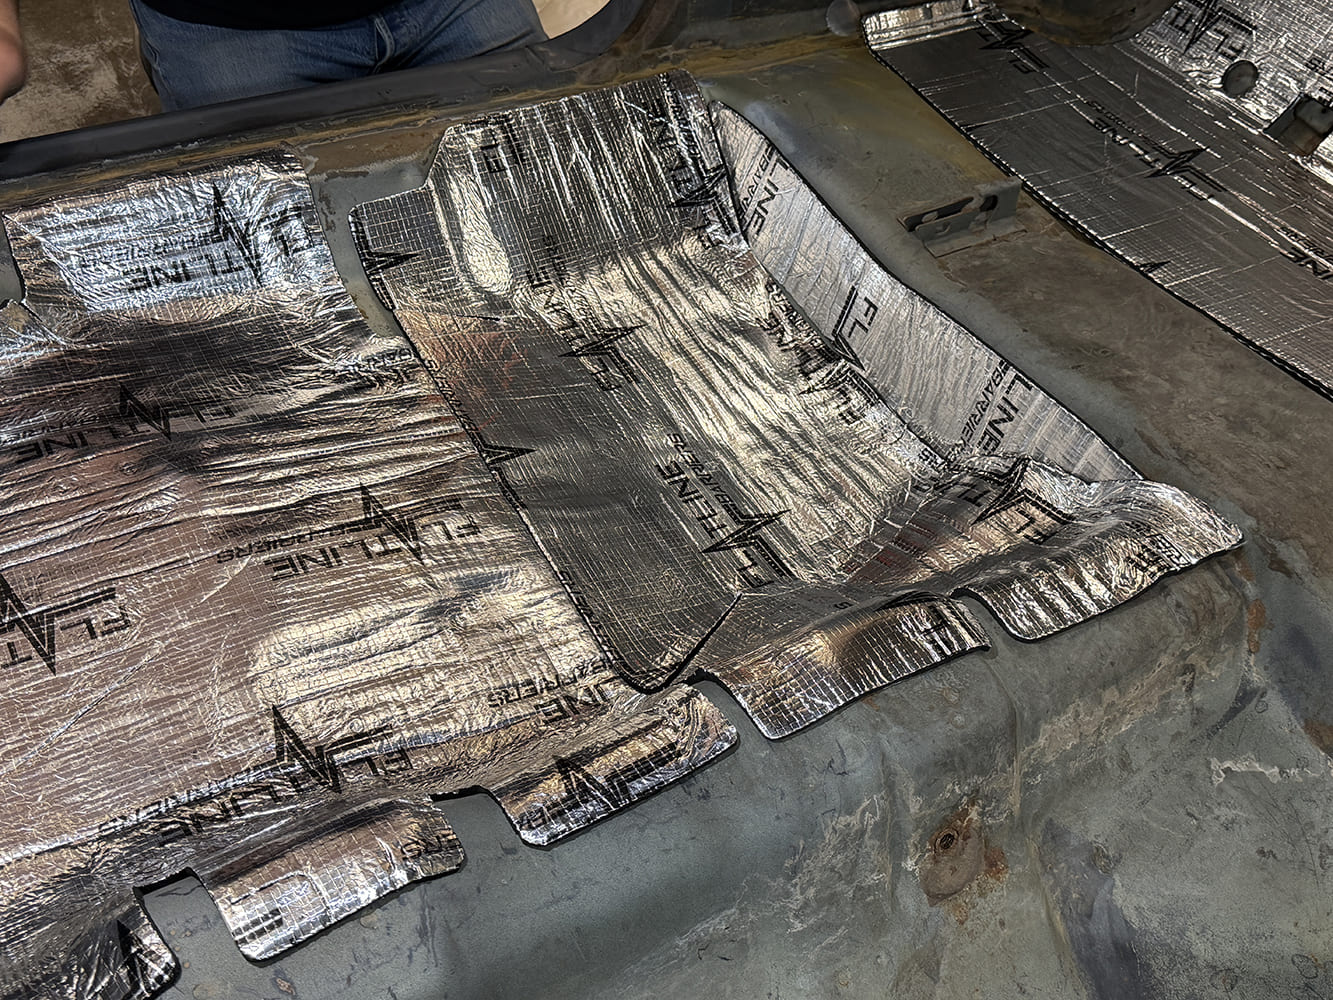
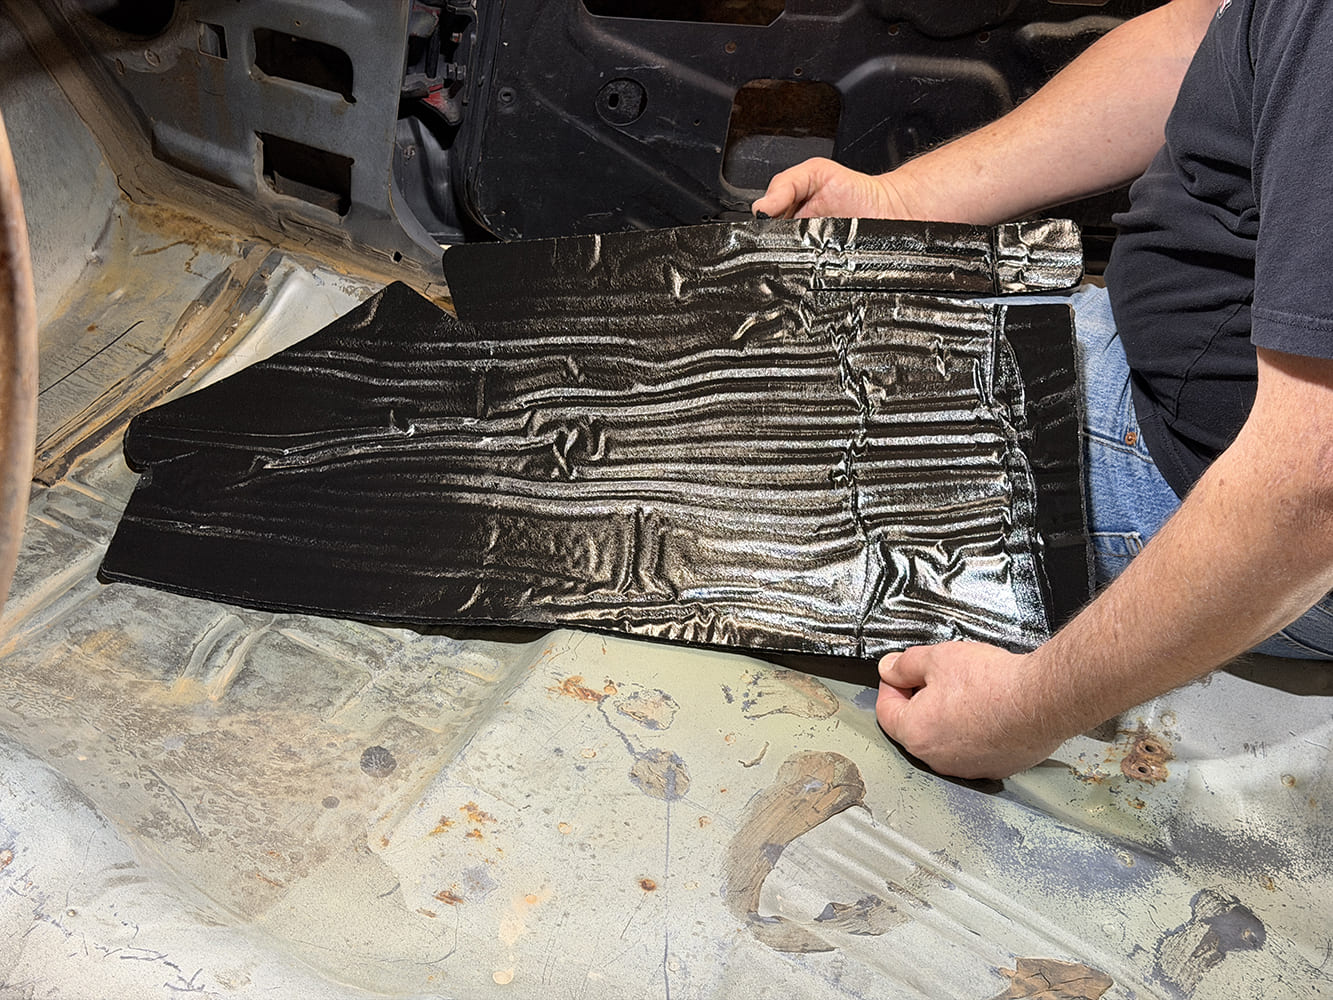
Foil-backed Flatline Barriers thermal acoustic mat fully molded and pressed to the contours of the rear footwell.
Here is a view of the passenger/rear floor area, which is covered with Flatline Barriers acoustic and thermal insulation. Note the reliefs for seatbelt anchors.

Two immediate benefits are its weight and cost. We’ve mentioned the lightweight characteristic. Flatline Barriers weigh about one-fifth as much as other products in our hobby. The immediate benefit is the absence of unnecessary added weight; it is easy to handle, making it easy to install. We should also mention that the cost of the Flatline acoustic and thermal material is lower, an added and always-appreciated benefit. Another benefit that we probably never even gave a second thought to but it’s good to have, is that it’s a no-odor characteristic, thereby producing no odor from “off-gassing.” And, just in case, it meets the Federal Motor Vehicle Safety Standard 302 for flammability. Like we said, good to know, good to have.

Well, there you have it. Follow along with the photos and see for yourself just how easy it is to install Flatline Barriers’ acoustic and thermal insulation.

Check out this story in our digital edition here.
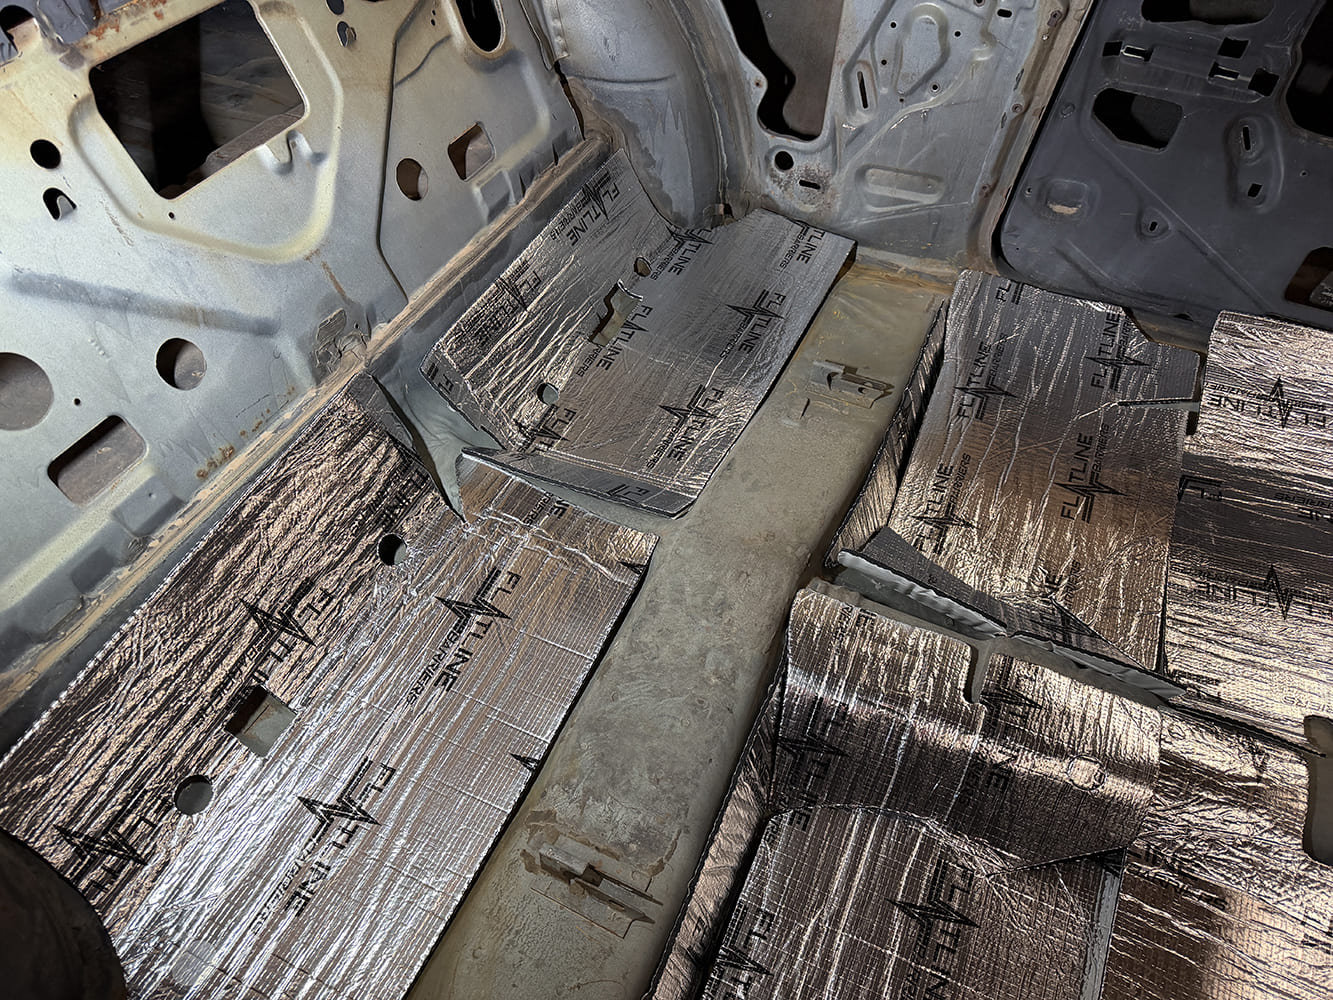
Precut aluminum-faced sound deadening sheets fitted across the rear passenger floorboards and transmission tunnel of a 1969 Chevelle.
Our first step was to lay out the precut kit for three reasons: one, to make sure you have all the pieces; two, to make sure the pieces fit the floor (or doors or roof); and three, to make sure the factory precut holes you will need are there. Our kit was as “advertised.”


Installer using a marker to trim and align a foil-backed sound deadener sheet along the sheet metal seam of a car floor.
After we positioned all the pieces, we then went over how each piece fit. Right off, you will note that the Flatline Barriers material is easy and lightweight, making it “no effort” to use.


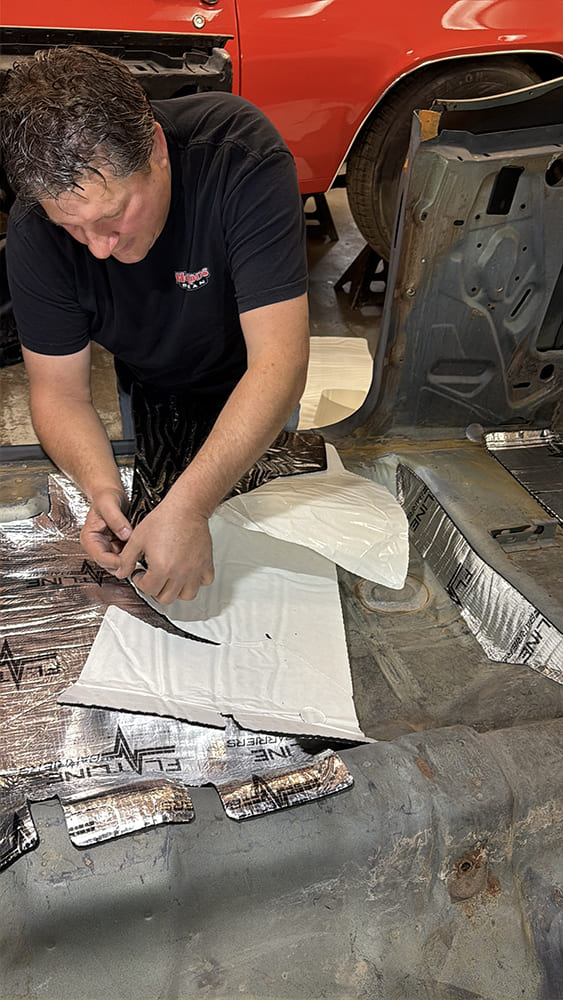
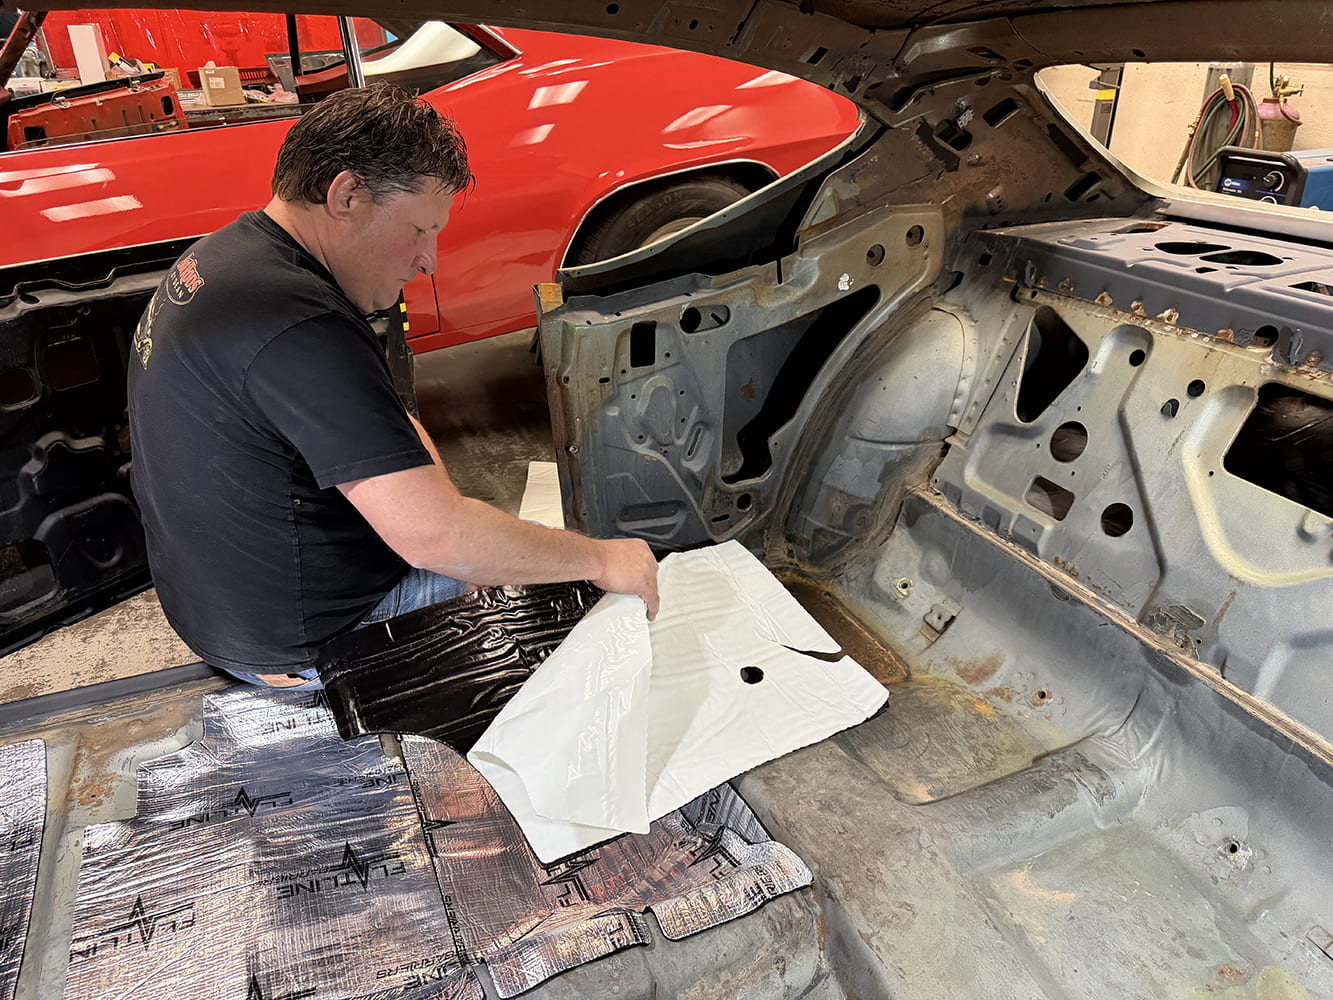
Tech peeling the white release backing paper from a self-adhesive Flatline Barriers sound and heat mat inside the vehicle cabin.
There is a protective backing material (the white “waxy” paper) that protects the sticky surface, allowing you to manipulate the sound and insulation material during installation.


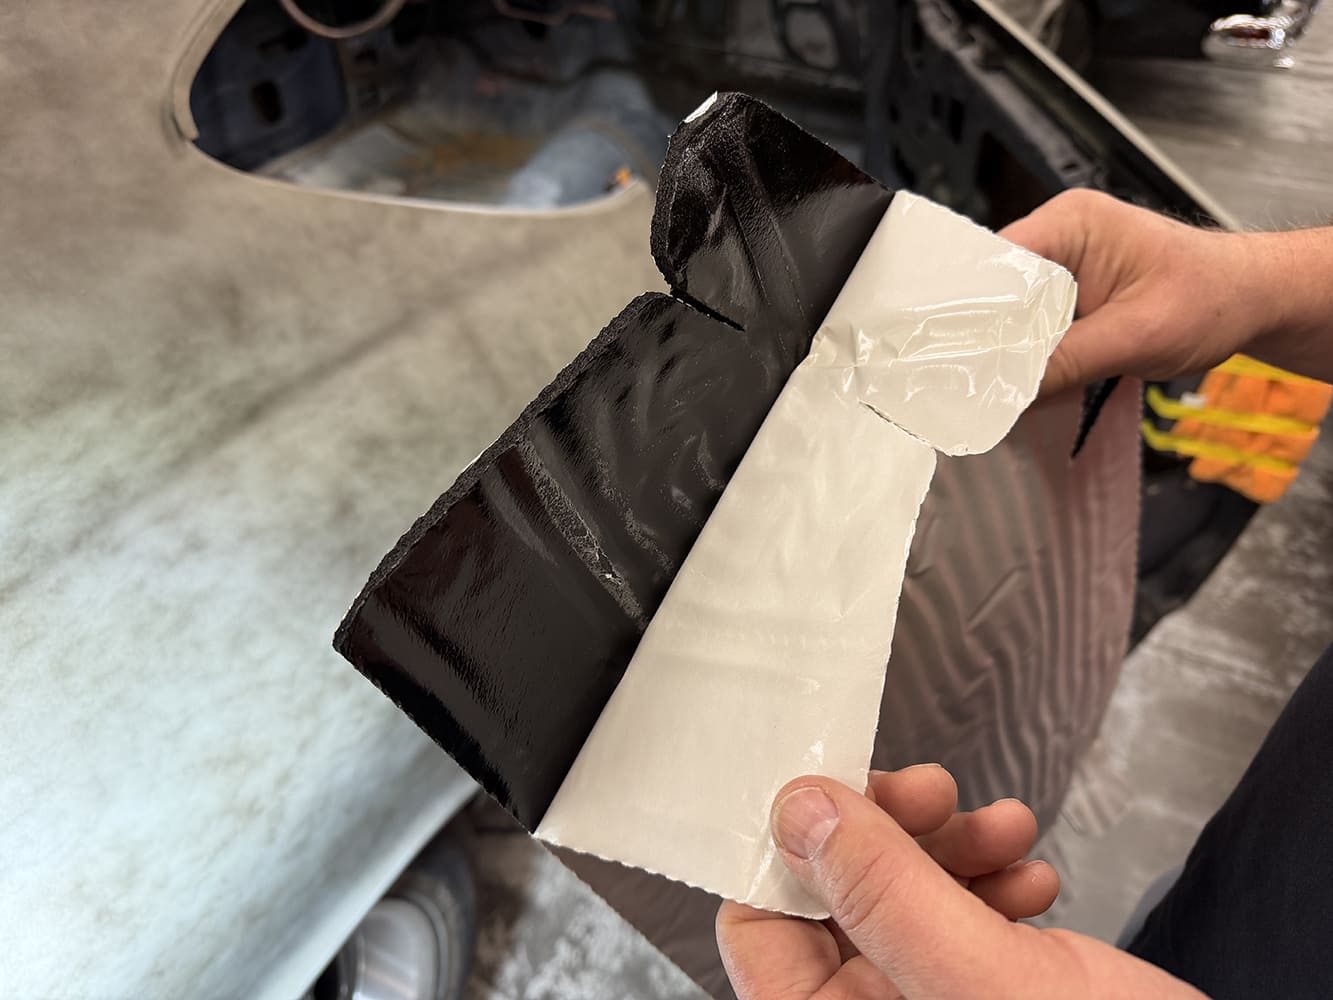
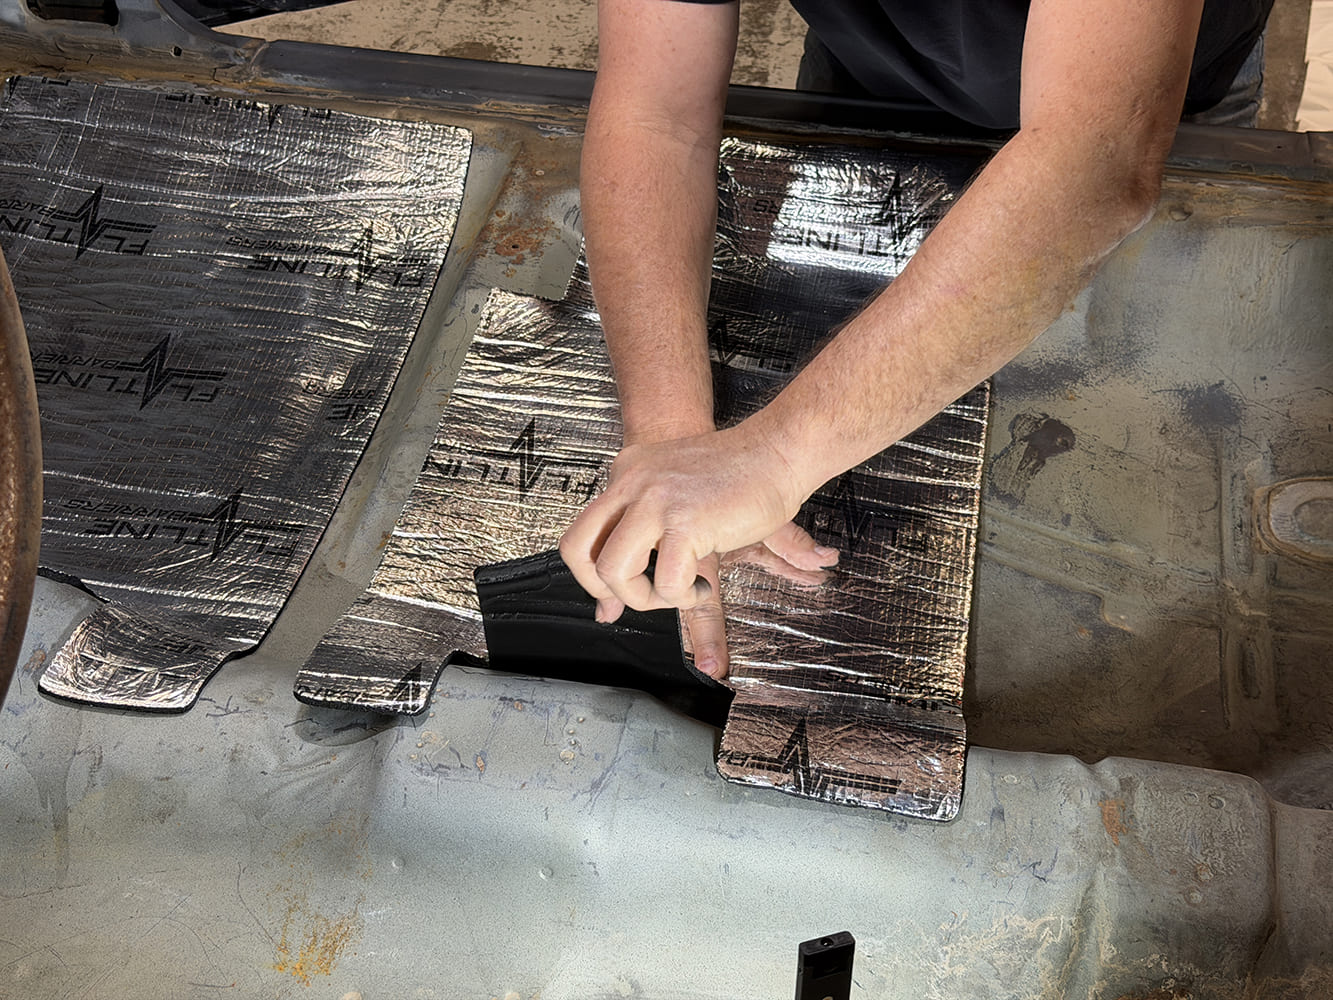
Close-up of the black synthetic rubber adhesive layer revealed as the white protective backing paper is pulled away.
It will peel off easily but be patient and avoid trying to rip off the entire sheet too quickly.


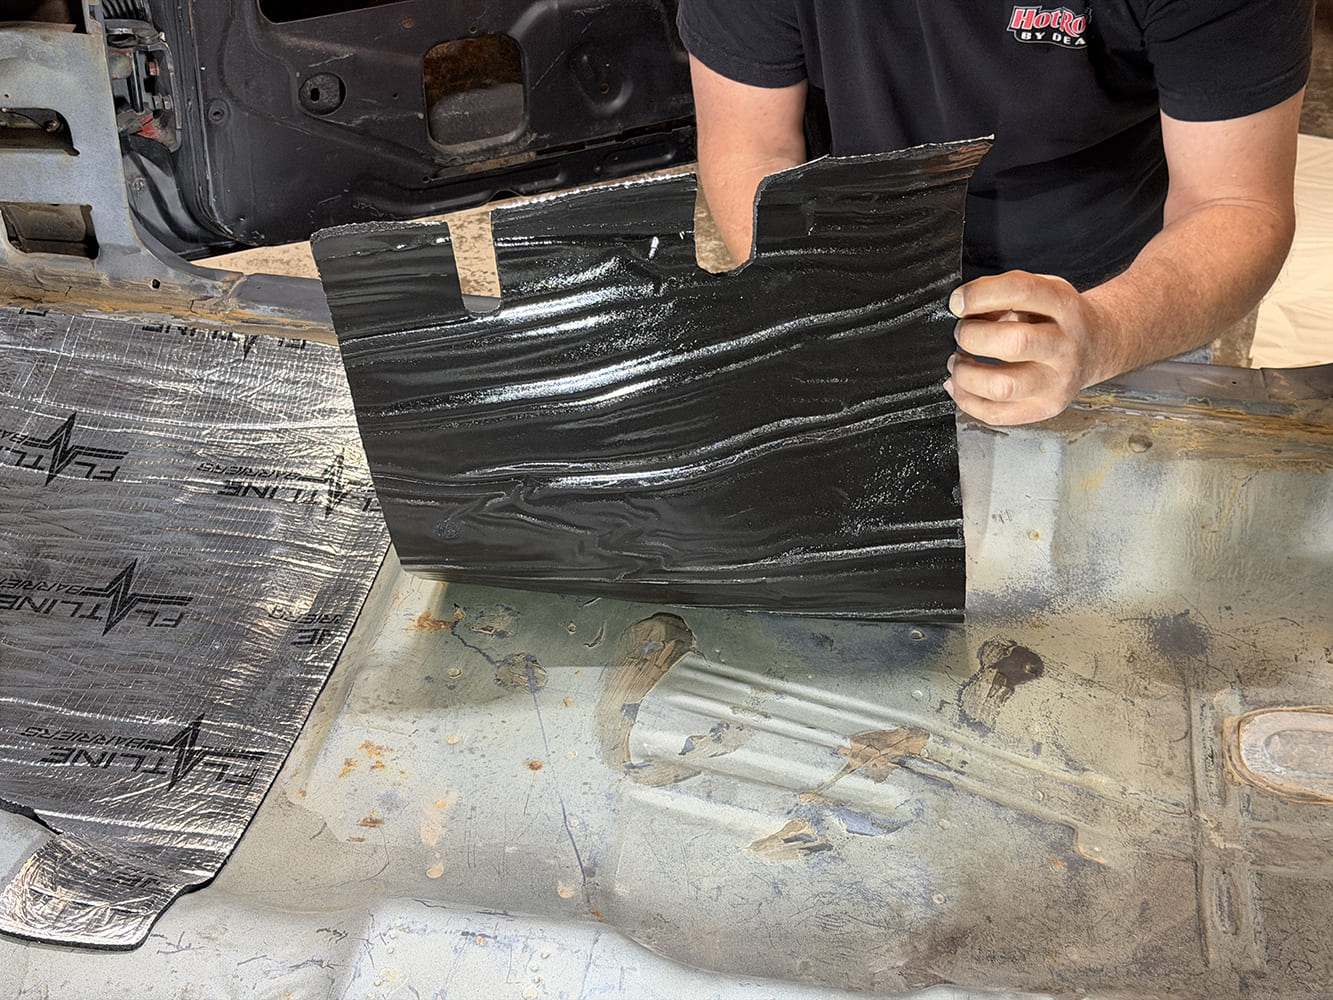
Installer holding a precut insulation panel showing the exposed black adhesive backing before pressing it onto the car floor.
Here, Livermore is comfortable with the initial price and how it fits, so off comes the waxy backing sheet, exposing the sticky surface area. Carefully keep dirt and “tools” off the surface.


Hands carefully positioning a precut foil-backed heat barrier panel against the passenger-side toe board and firewall.
Wherever you choose to start (top, bottom, left, or right), first make sure the surface is prepared, meaning it’s clean, any holes are unobstructed, and there is nothing in your way.


Tech firmly pressing a Flatline Barriers thermal barrier mat into place against the upper firewall and passenger footwell.
Livermore chose to start in the upper-left corner and lightly pressed the material into position. Remember, it’s lightweight and precut, making it easy to use.


Installer smoothing a foil-backed Flatline Barriers insulation sheet across the floor seam into the footwell recess.
Once positioned, the “compressing” of the Flatline material begins. Because of its lightweight construction, it is easily “molded” into shape over the flooring.


Close-up of the textured foil layer and thick foam acoustic core edge of a Flatline Barriers mat.
Note that the relief (cut/gap) in this panel allows for a “wrinkle-free” fit between the firewall/toeboard area and the footwell.


Installer holding an adhesive-backed precut sound deadener section showing the glossy black backing before installation.
You will see that this panel has precut reliefs that account for such access holes as the seatbelt and seat bracket anchor points.


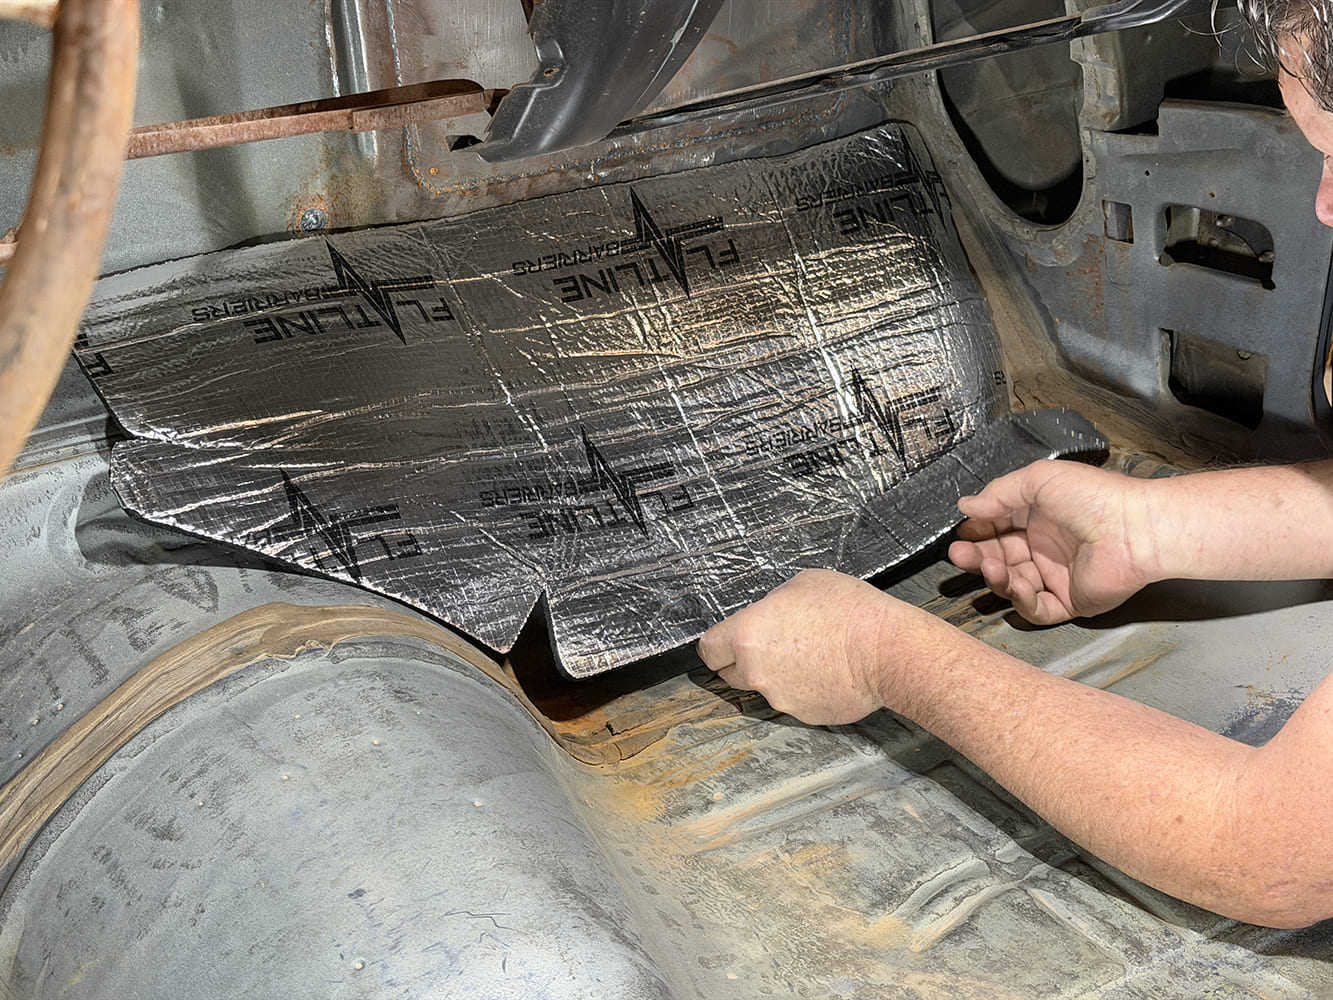
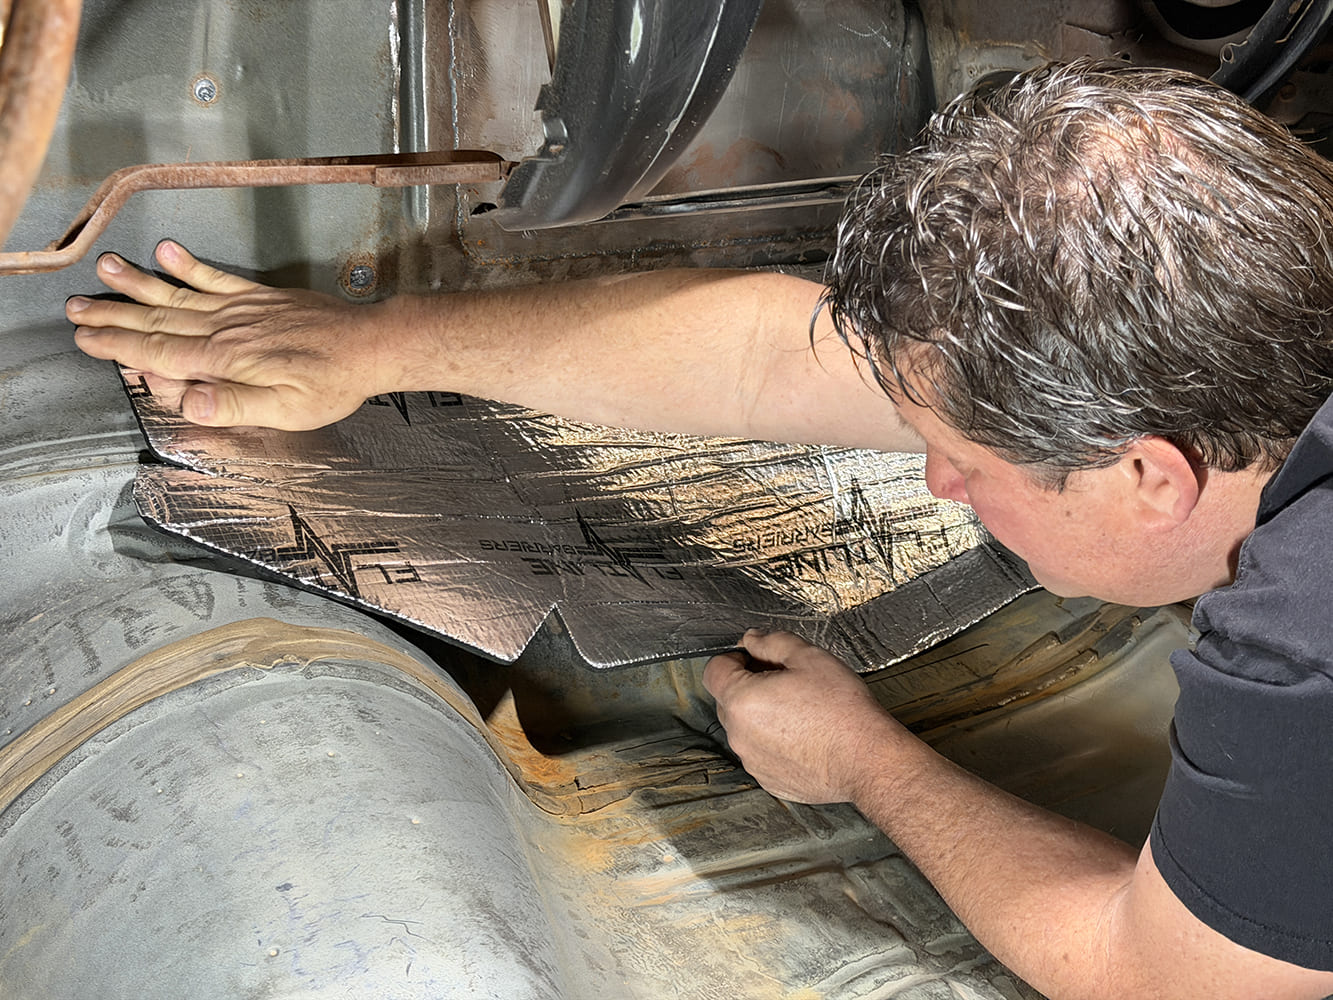
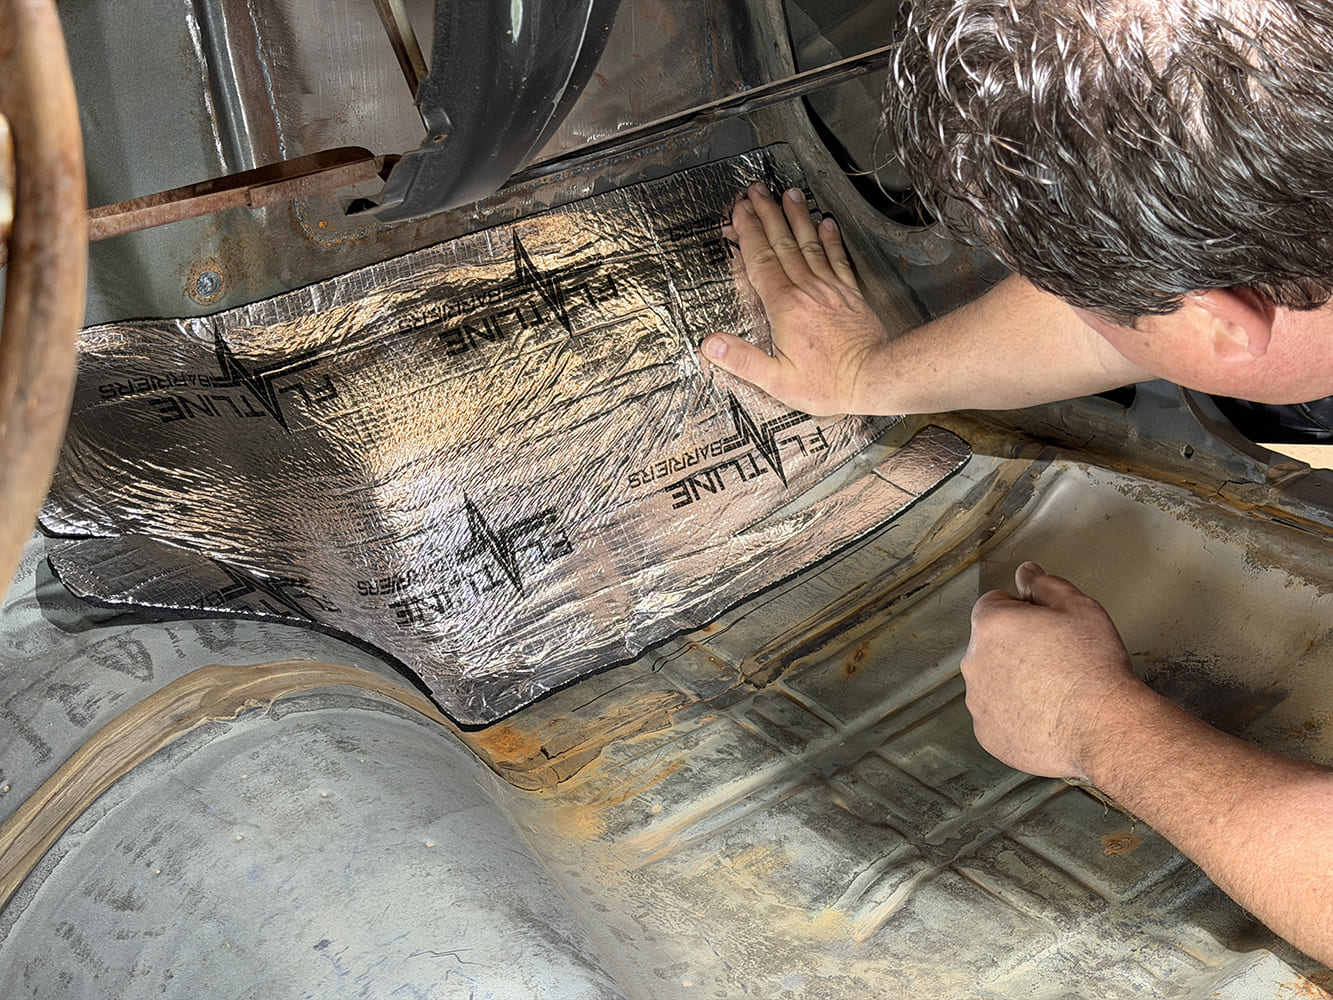
Hands pressing and contouring an adhesive sound deadener mat over the stamped ridges and tunnel recess in the floor pan.
Remember to be careful when placing the material on the floor, especially when working with “hills and valleys” found on the flooring.


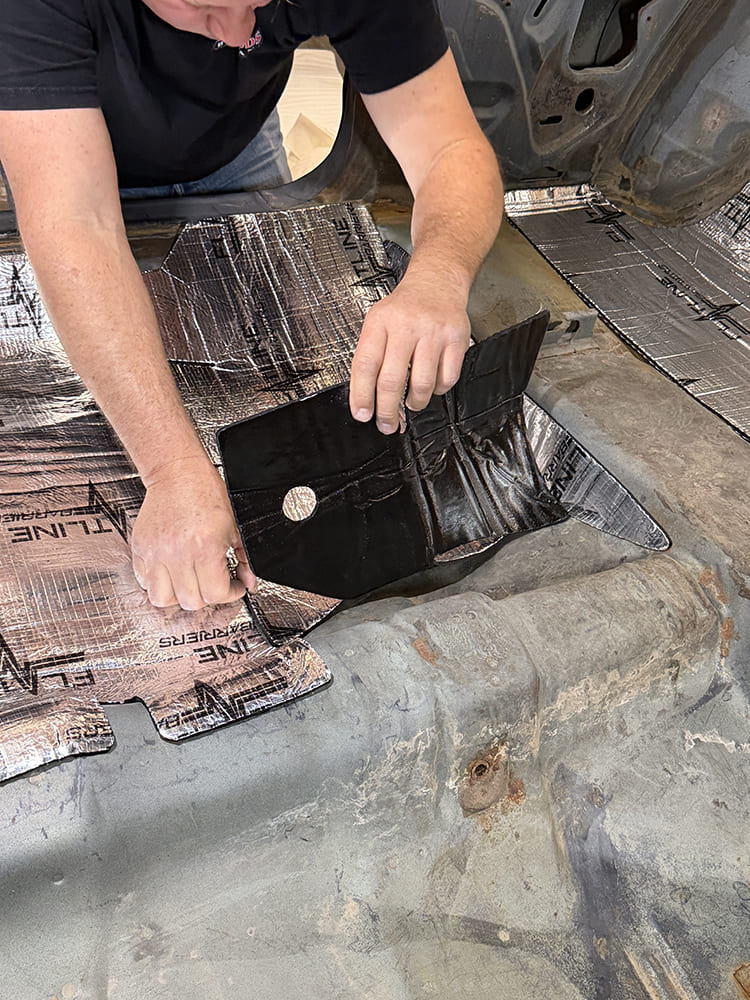
Installer fitting a precut foil-backed sound insulation piece with a factory cutout into the rear passenger floorboard.
Note that this panel has a precut circular hole. This one was for a front seatbelt anchor point.


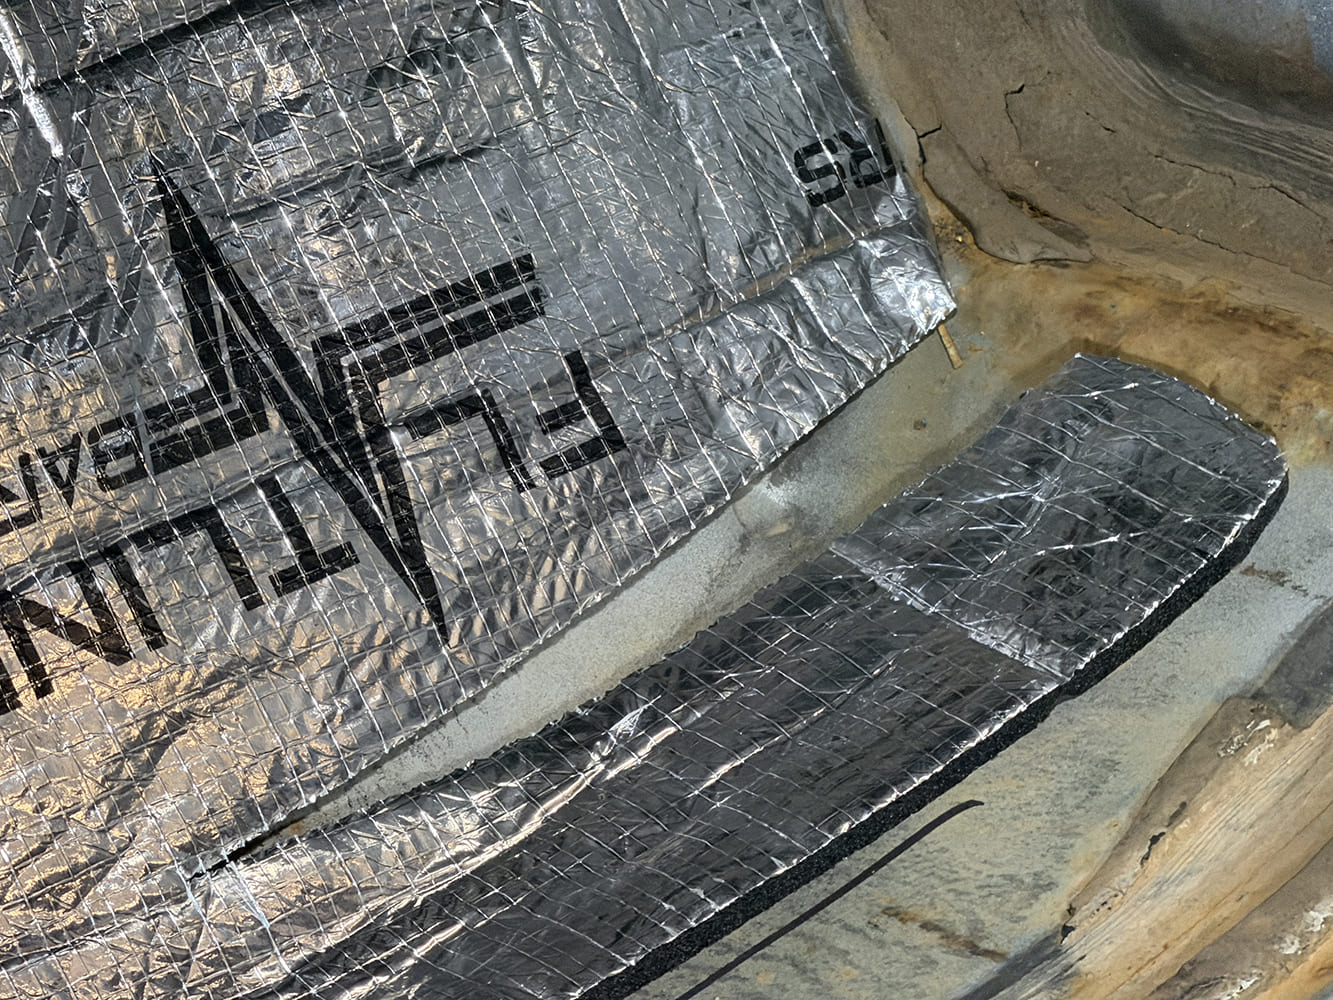
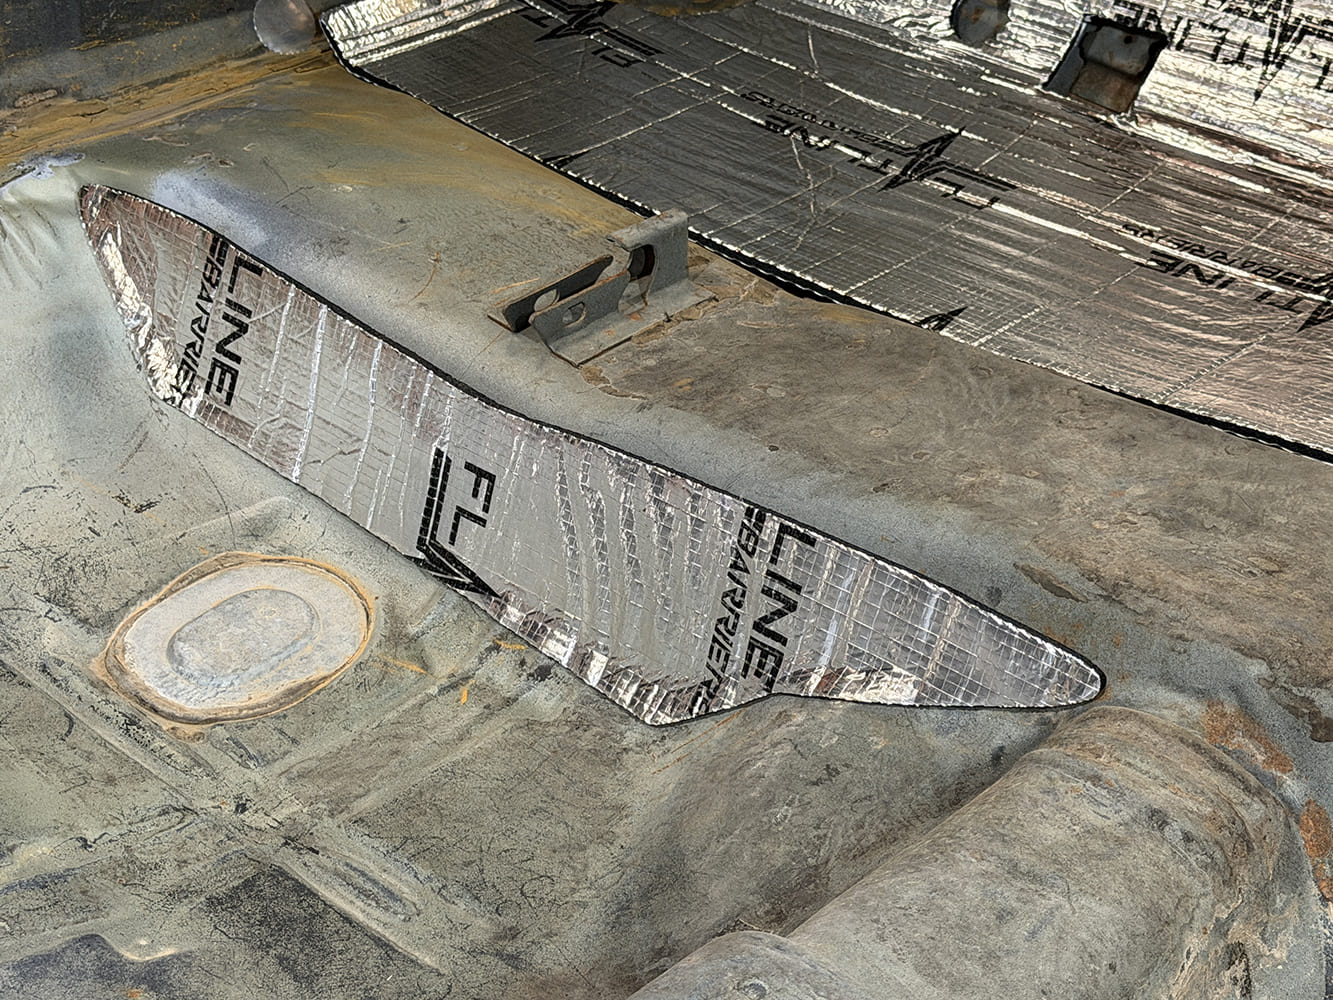
Narrow strip of Flatline Barriers foil-faced sound deadening mat fitted to a curved interior floor pan contour.
Even the small pieces serve a function, so be sure to note where they go and install, such as this rear seat footwell kick panel.


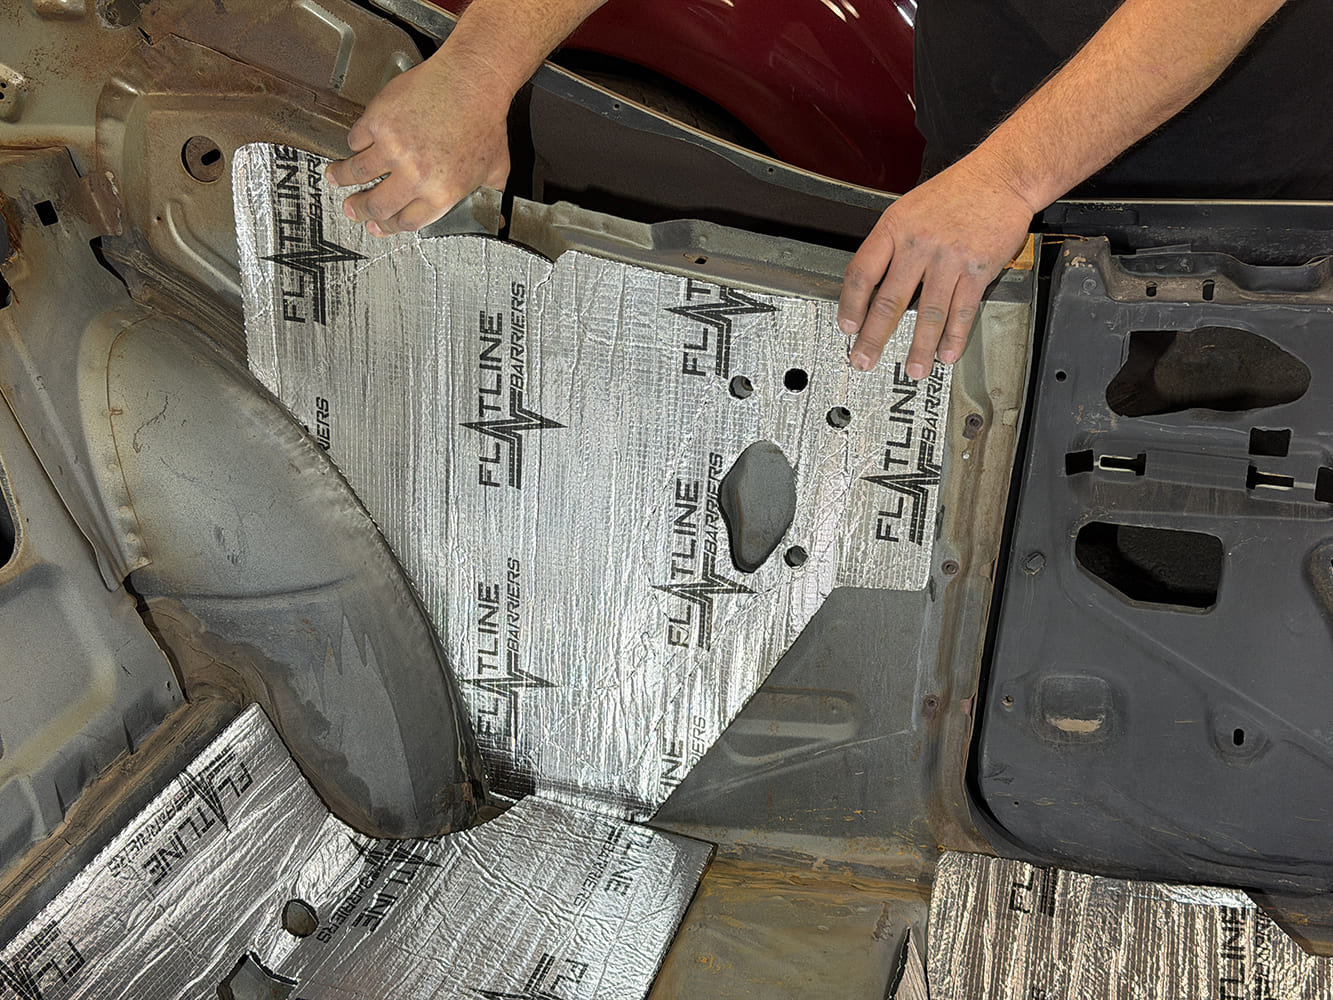
Installer holding a precut Flatline Barriers insulation panel up to the driver-side rear quarter panel inner structure.
The driver-side rear passenger panel is a great example of what a precut piece should look like. The reliefs are for the window crank and for access to the bolt holes for the window regulator.


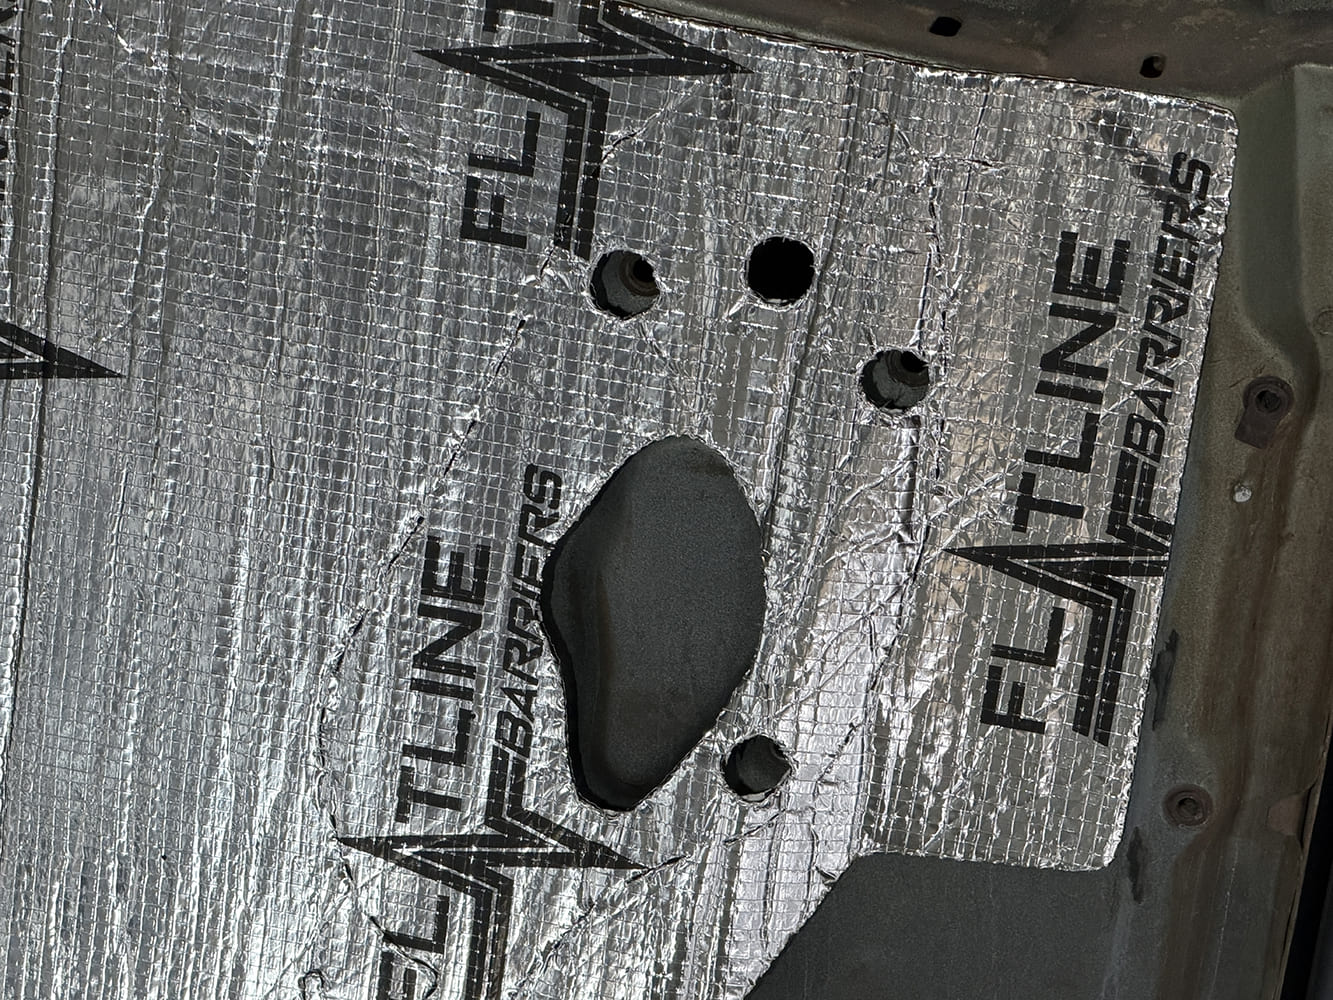
Close-up of precut openings in a Flatline Barriers sound deadening sheet matching factory access holes in the inner body panel
This is a power-window car, so there is no crank, but the hole is there just in case.


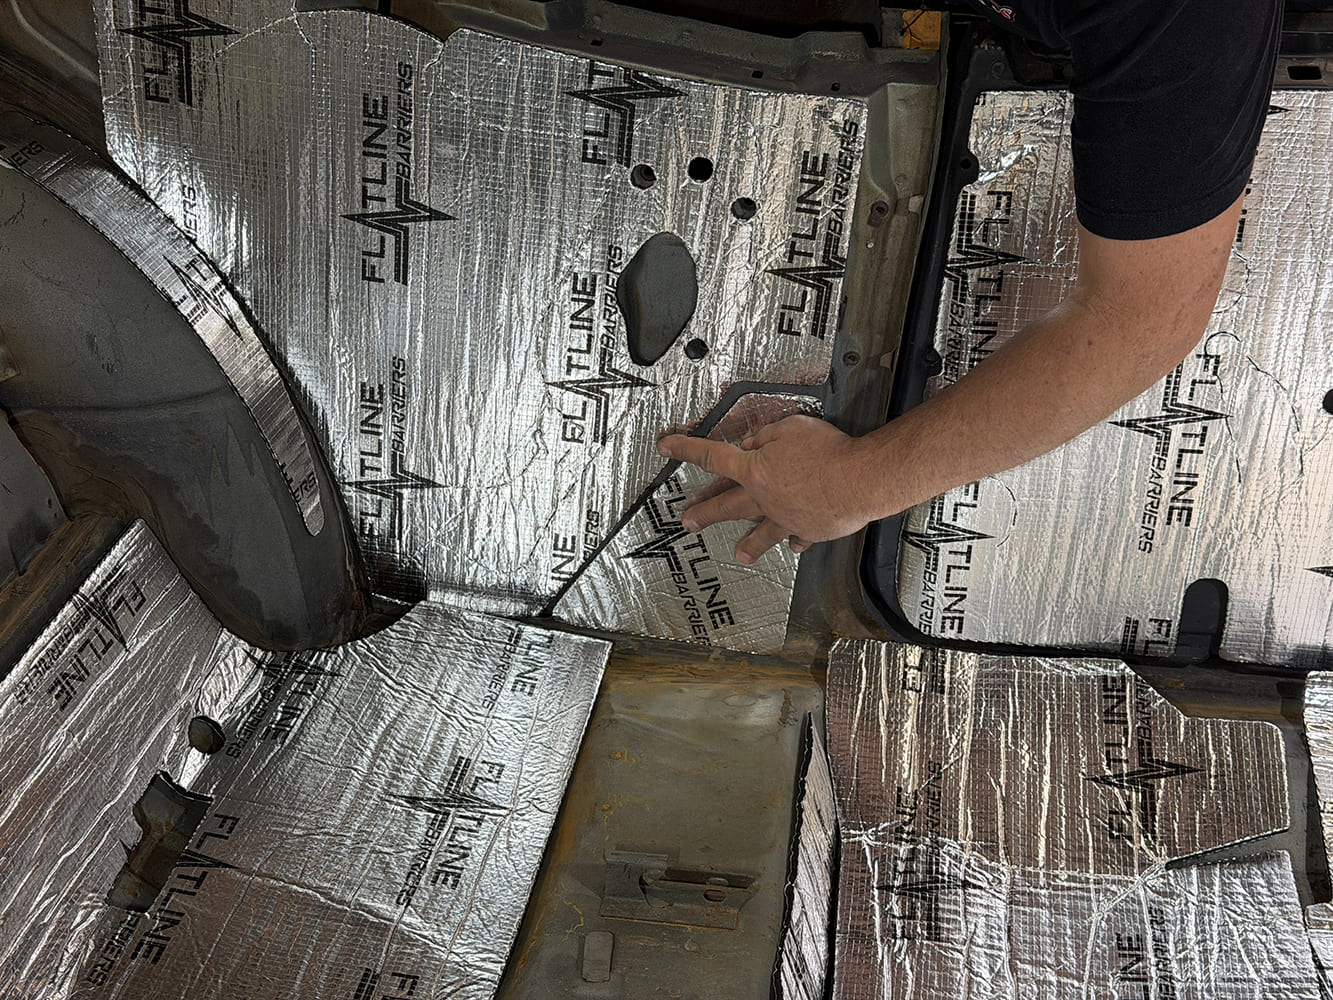
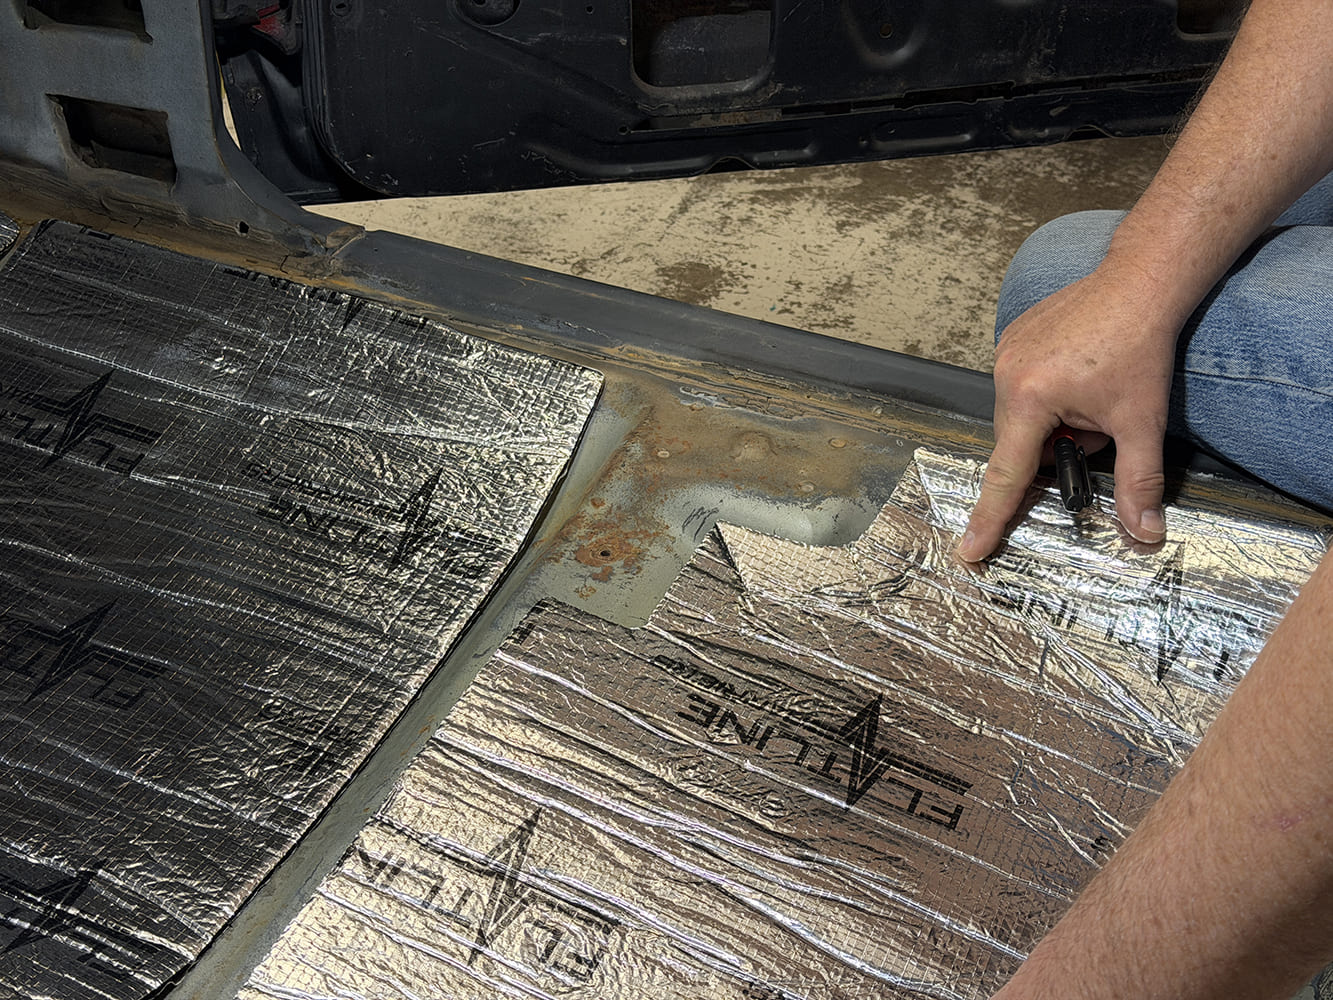
Installer pointing out the seam alignment between the rear quarter panel insulation mat and the surrounding floor insulation.
There is one last panel to place on the driver rear passenger panel. This is done so that the larger panel can be “adjusted” with small shifts without the lower corner failing to fit properly.


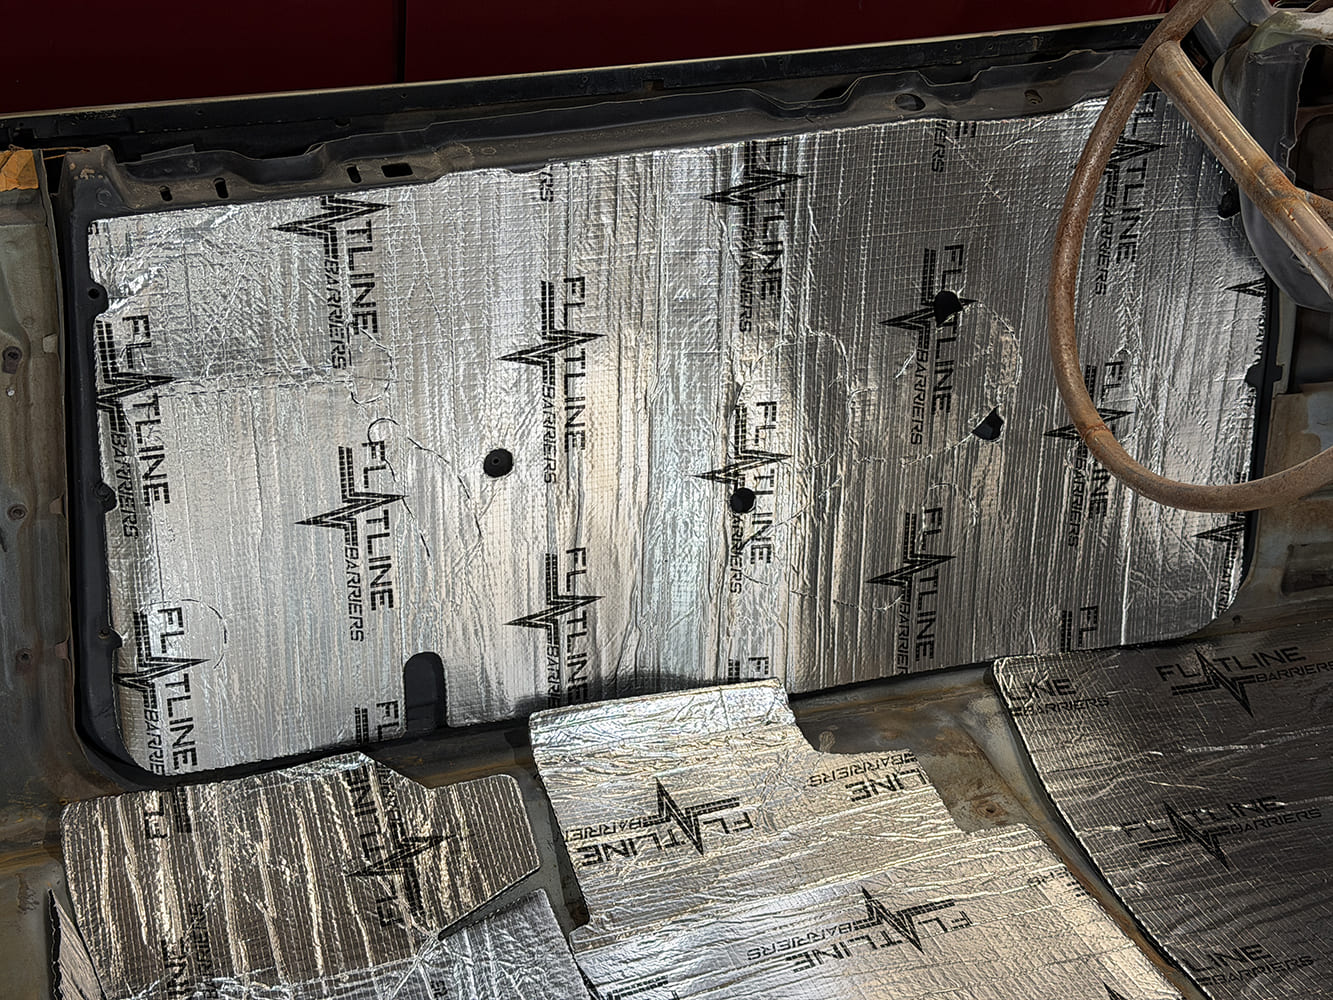
Precut aluminum-backed Flatline Barriers thermal acoustic insulation mat installed on the inner door skin of a 1969 Chevelle.
The driver side door panel is one piece with all the appropriate holes for the window crank, armrest, and other necessities.


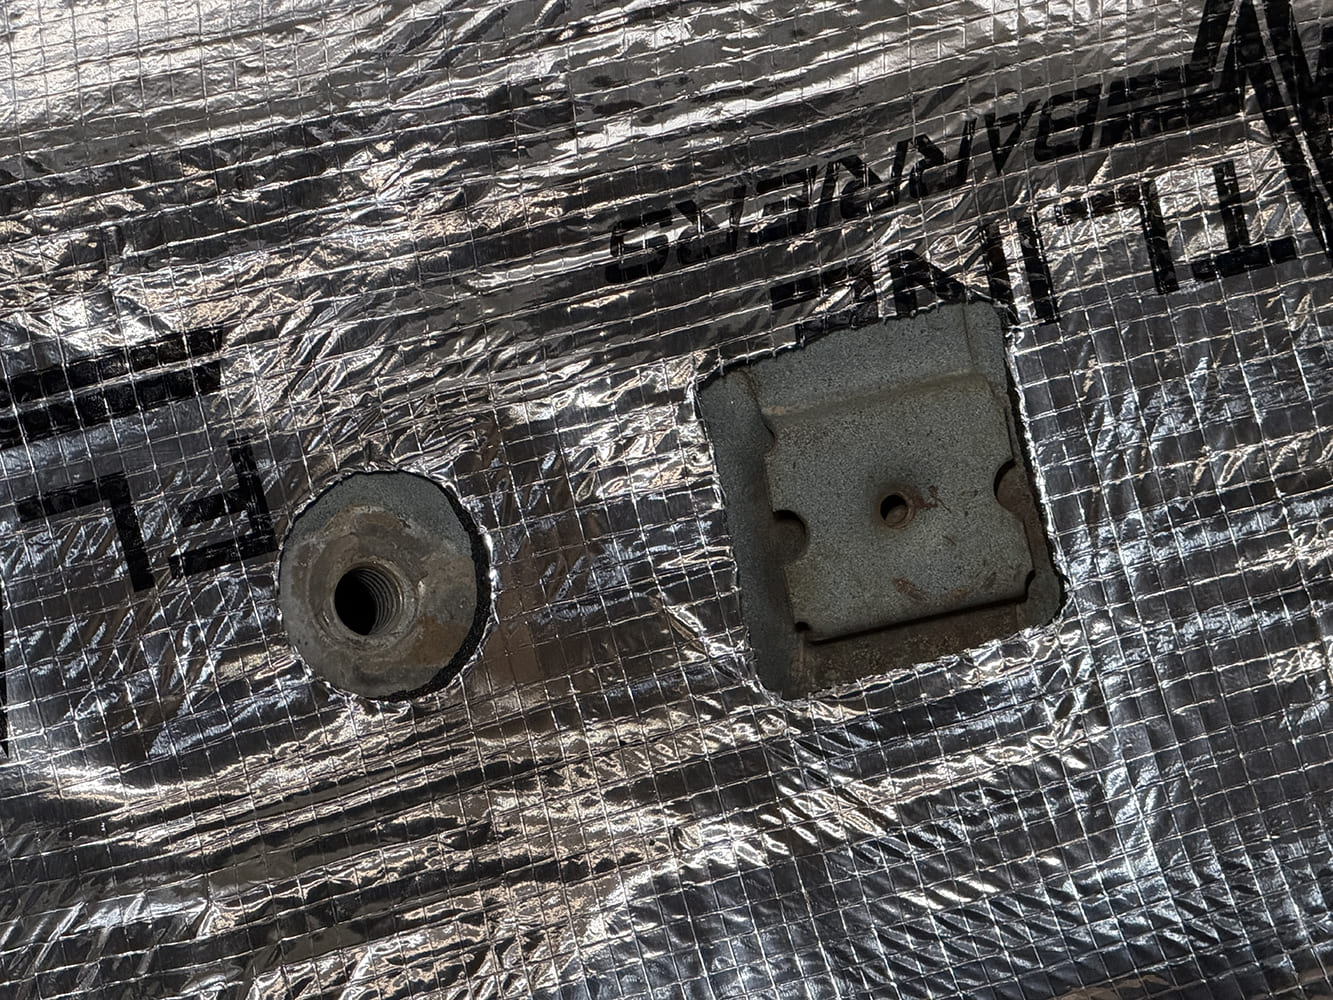
Close-up of precut clearance holes in Flatline Barriers foil insulation revealing factory seat bracket and threaded floor pan mounting holes.
Whether the hole in the Flatline Barriers material is round or square, the appropriate shape and size hole is cut—a convenient touch.


ITGM Source Box Heading

Classic Industries web source

HRBD Web Source

Related Articles

Search Our Site