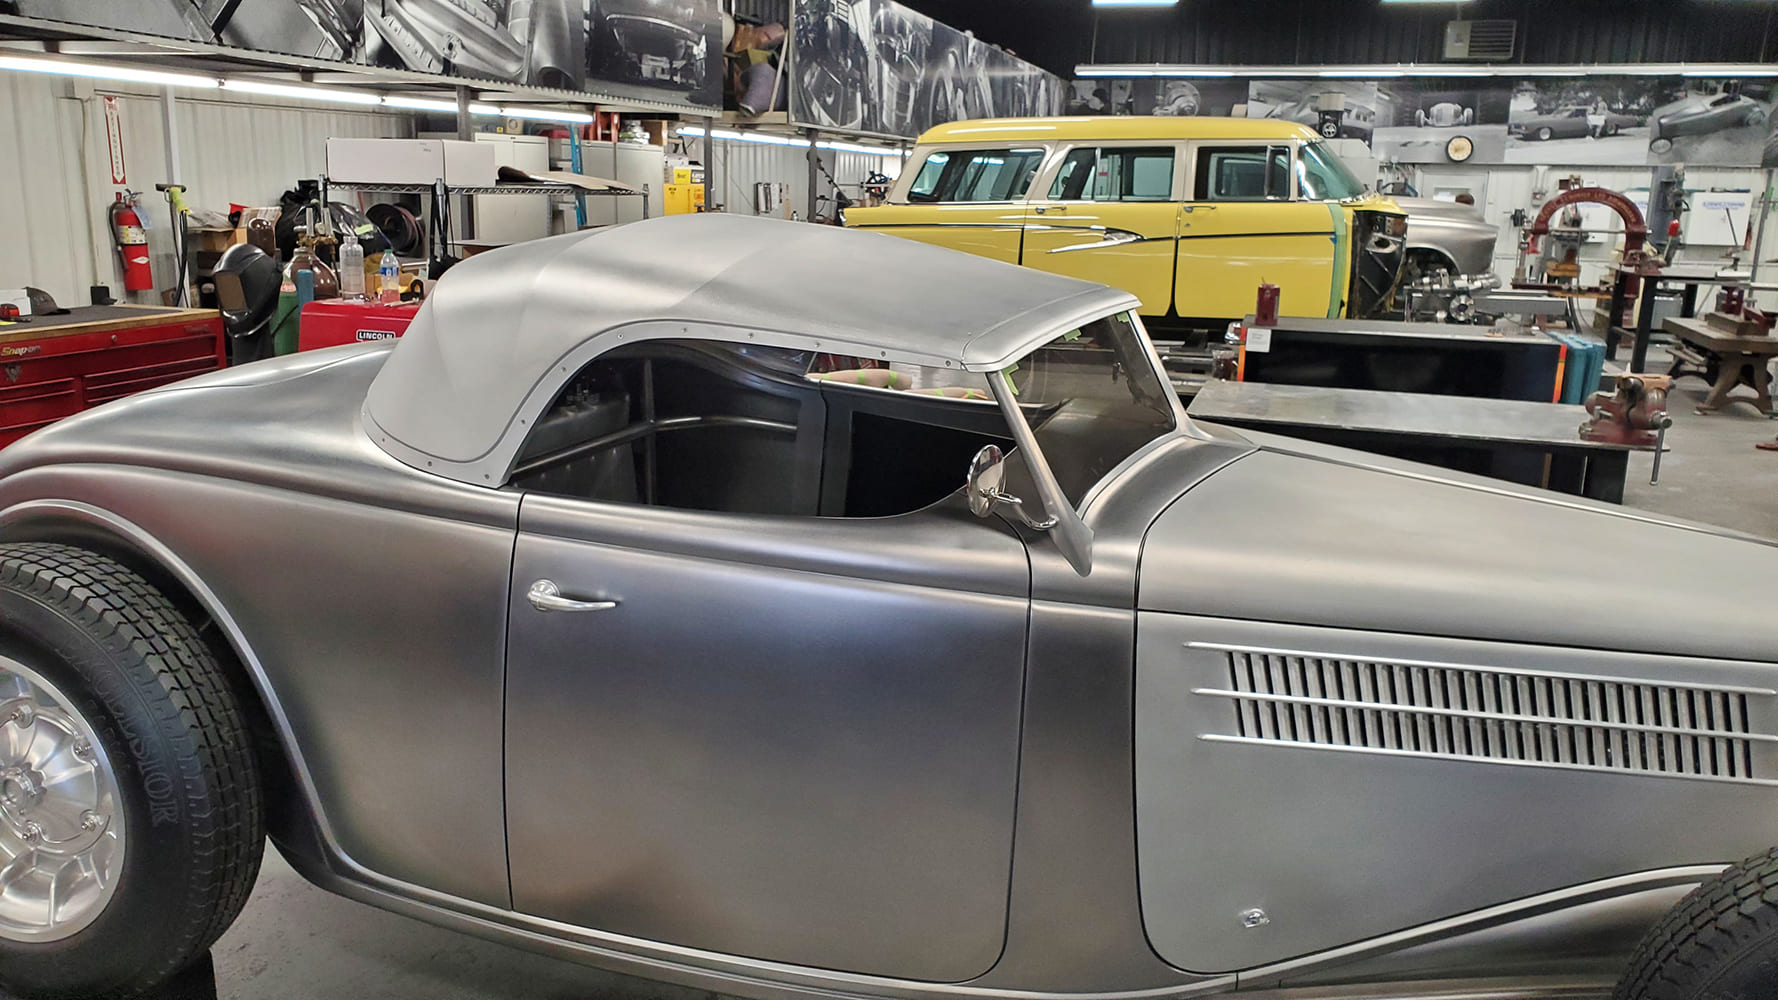
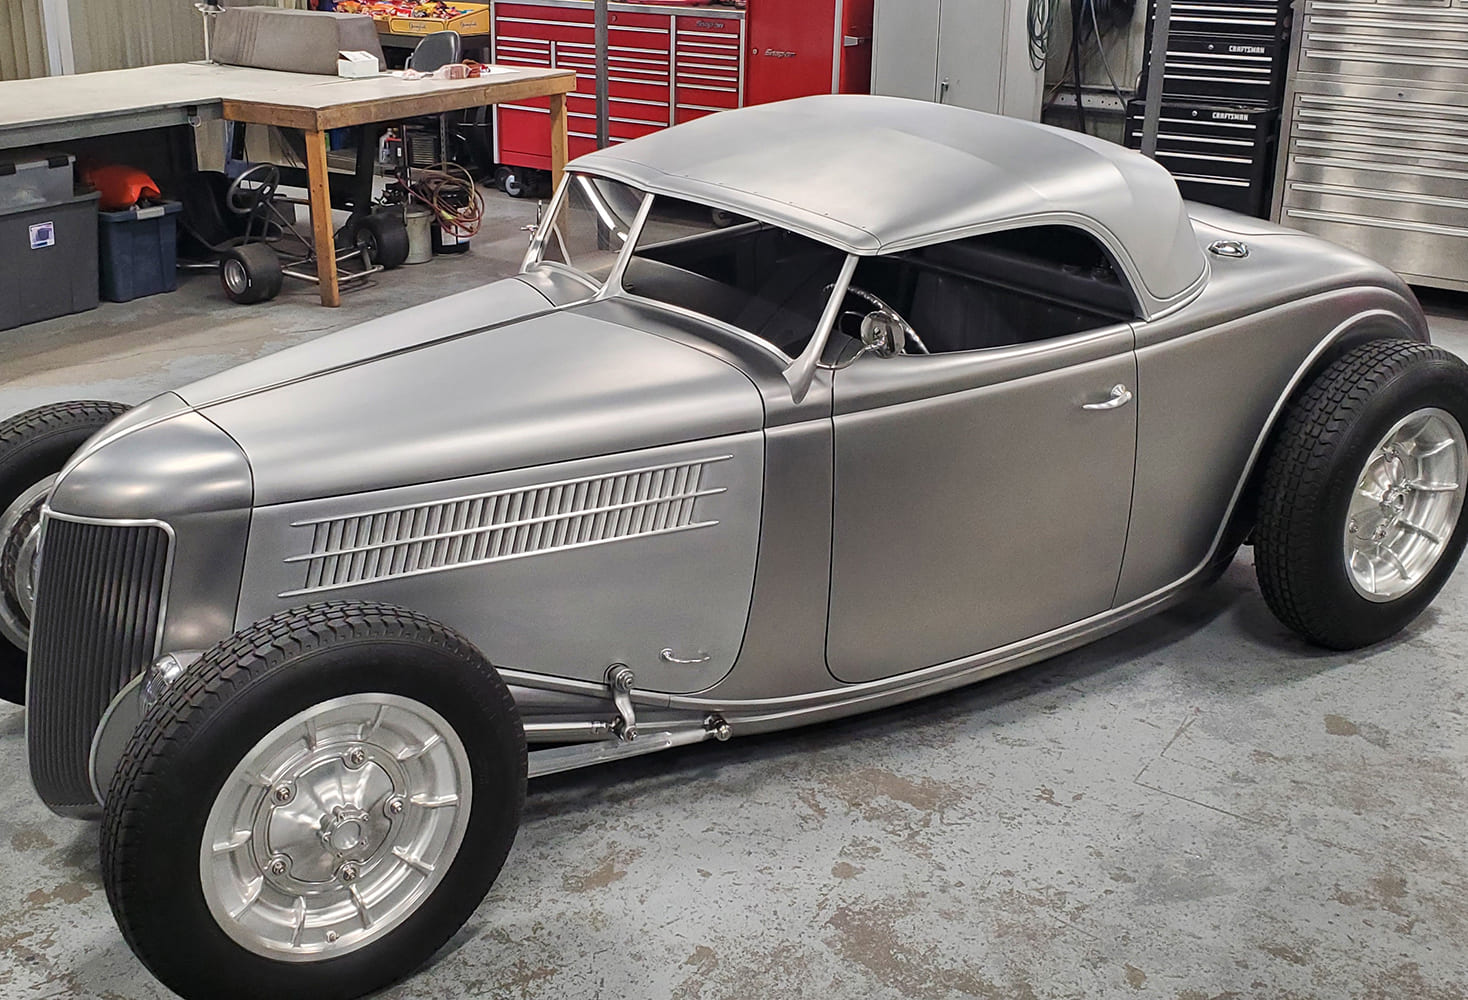
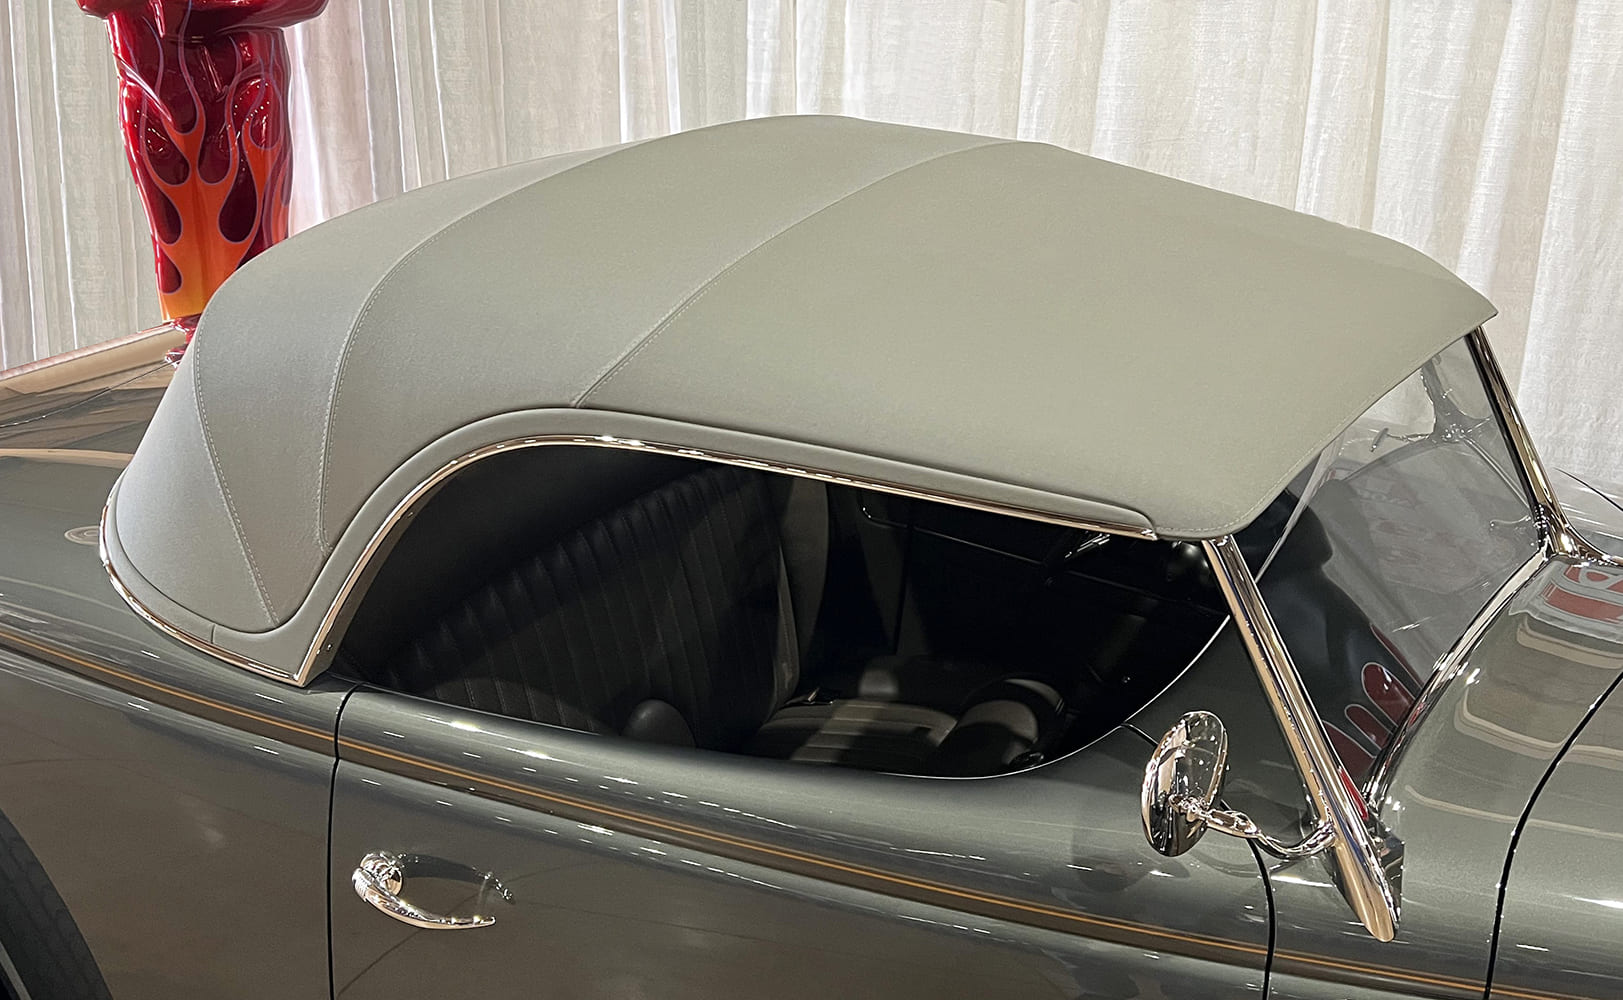
This photo was taken when the finished roadster debuted at the 2025 Grand National Roadster Show, where it won the prestigious award for America’s Most Beautiful Roadster.
By Ron Covell – Photography By Brian Brennan & Adam Banks
We have covered the construction of Ross Myers’ fenderless 1936 roadster, built at Rad Rides by Troy, in eight previous issues. The finished roadster debuted at the 2025 Grand National Roadster Show where it won the America’s Most Beautiful Roadster award. The car is stunning in every way, and this time we’ll take an in-depth look at the construction of the immaculately designed and fitted removable top.
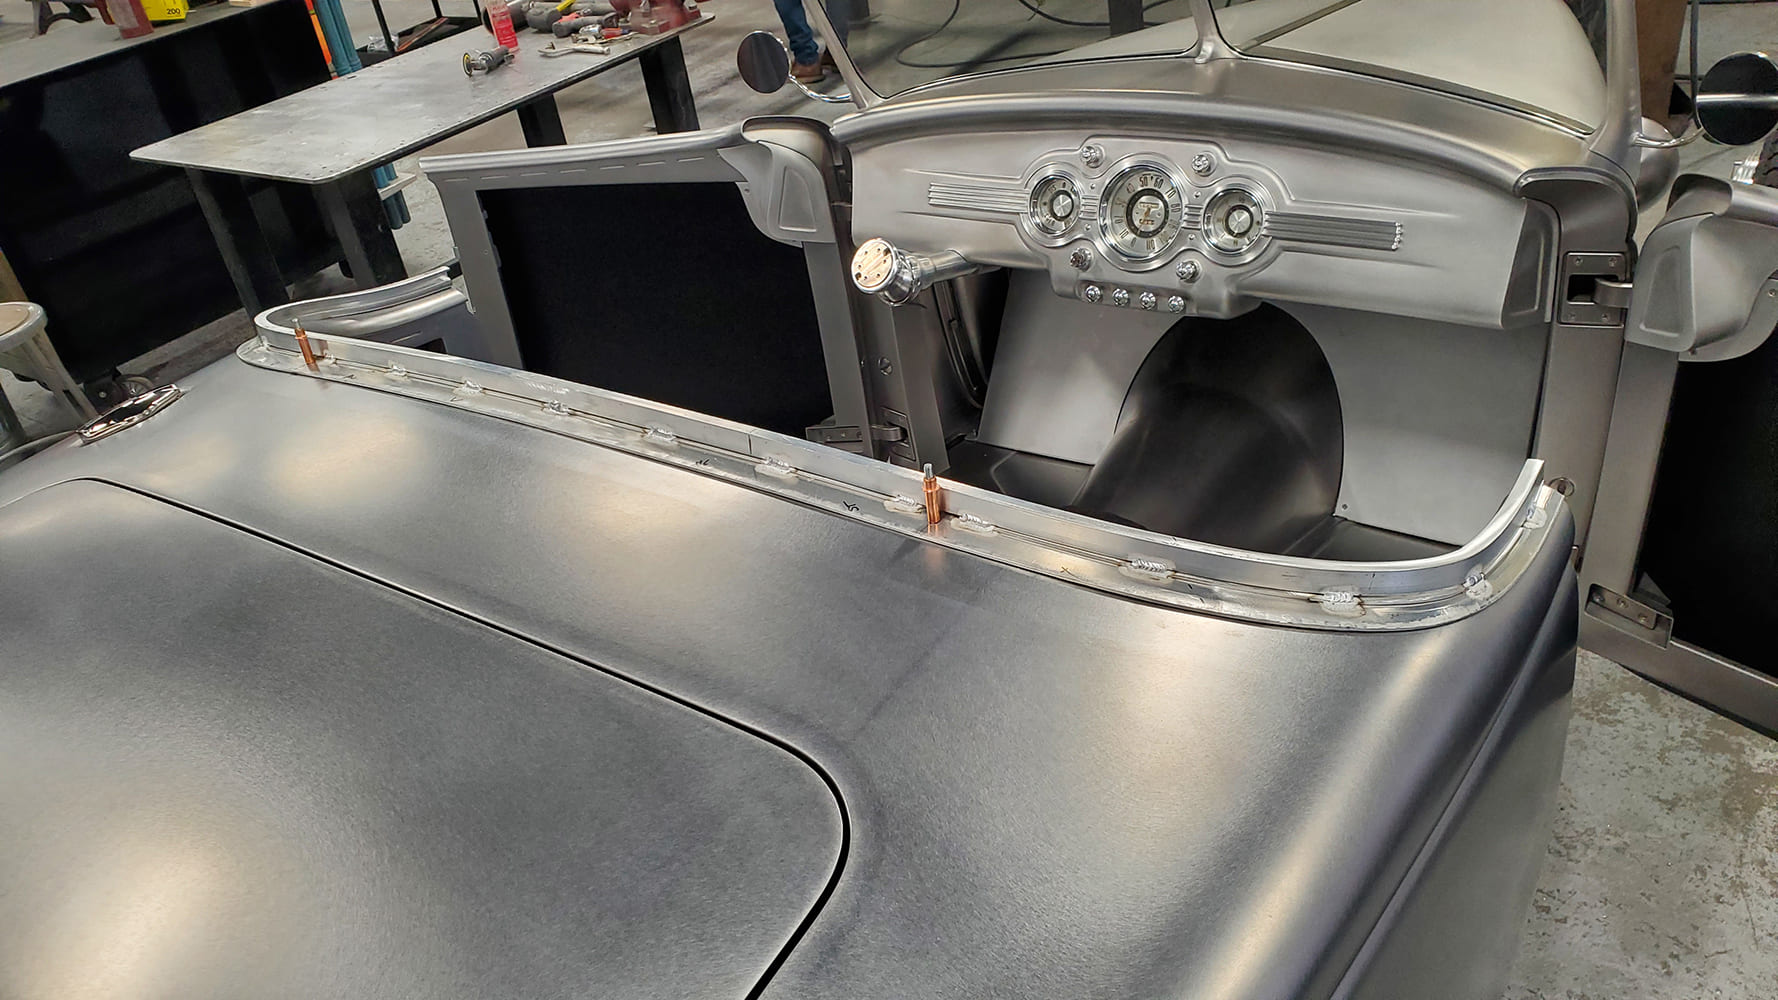
One of the first steps in making the lift-off top was to build a cap strip for the rear cockpit opening. This was designed to follow the contours of the body closely and was constructed from aluminum to minimize weight.
Adam Banks hand-built the body for this project with some help from other team members, and he also constructed the removable top. He completed the trim work for both the top and the interior of the car. There aren’t many people who excel at both metal and trim work, but Adam is one who does.
An aluminum header plate was fabricated from aluminum plate and bar, ensuring a perfect fit with the top of the windshield frame. The sheetmetal top skin will be secured in place with screws. Making it removable will facilitate the assembly process when the fabric is stretched over the frame.
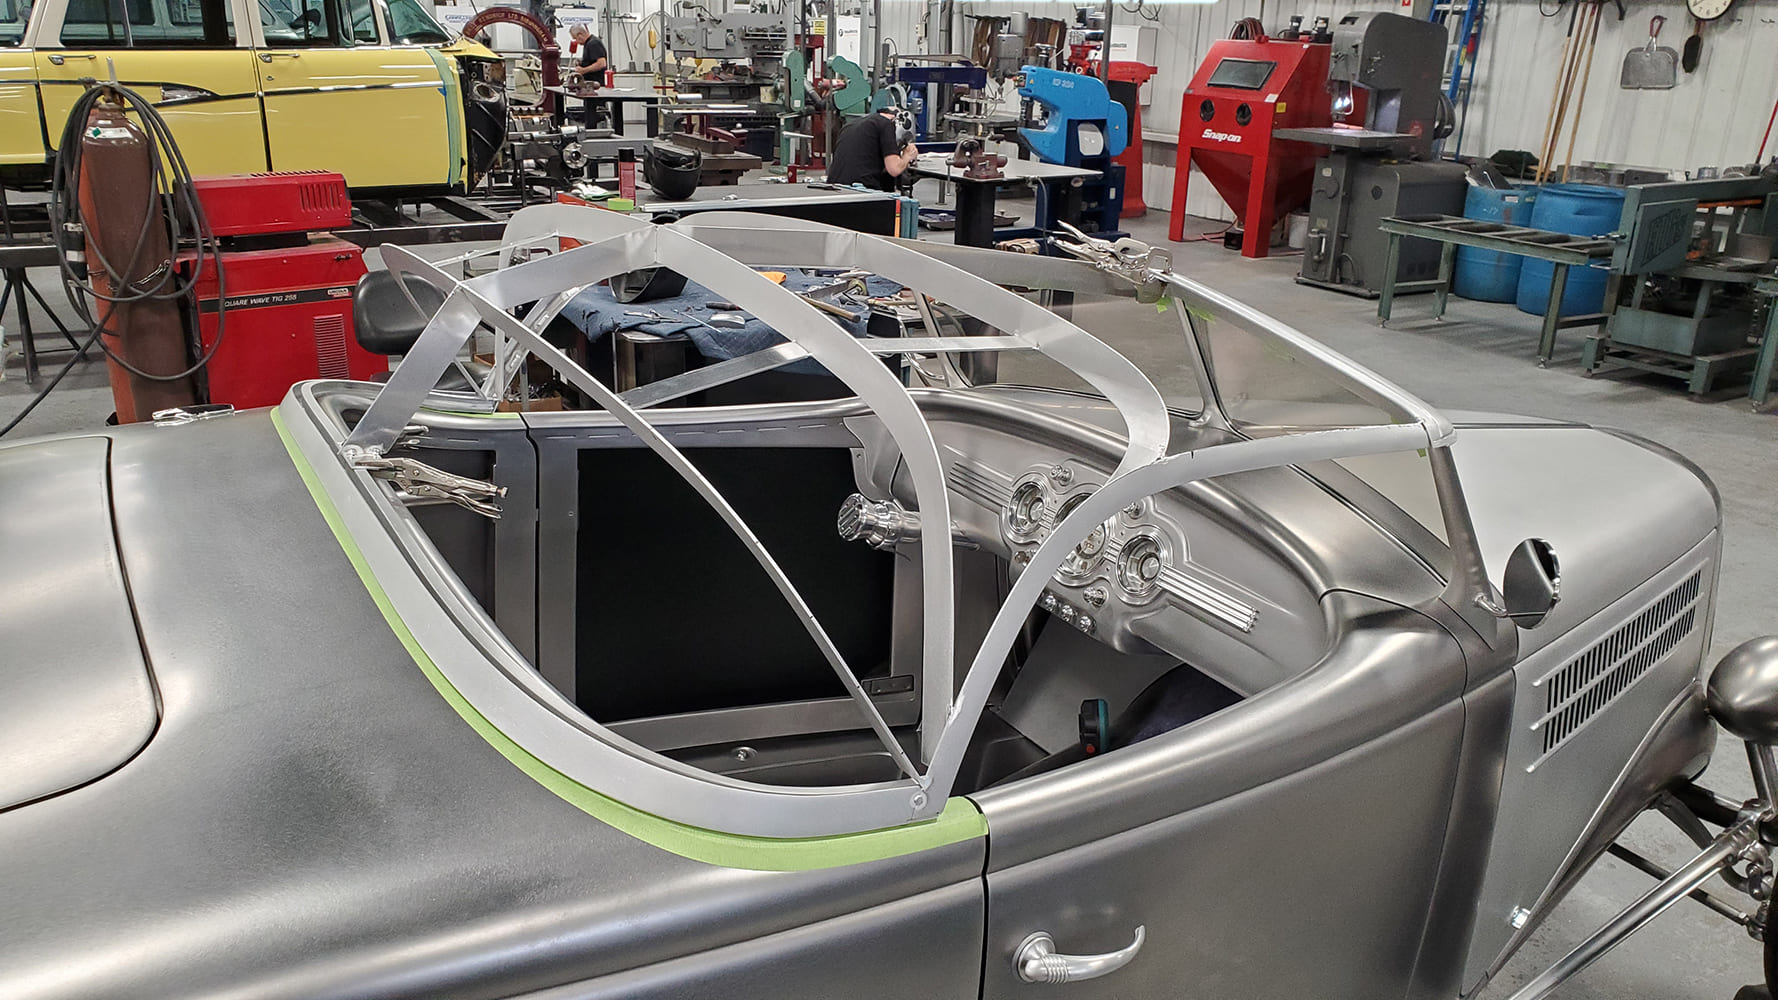
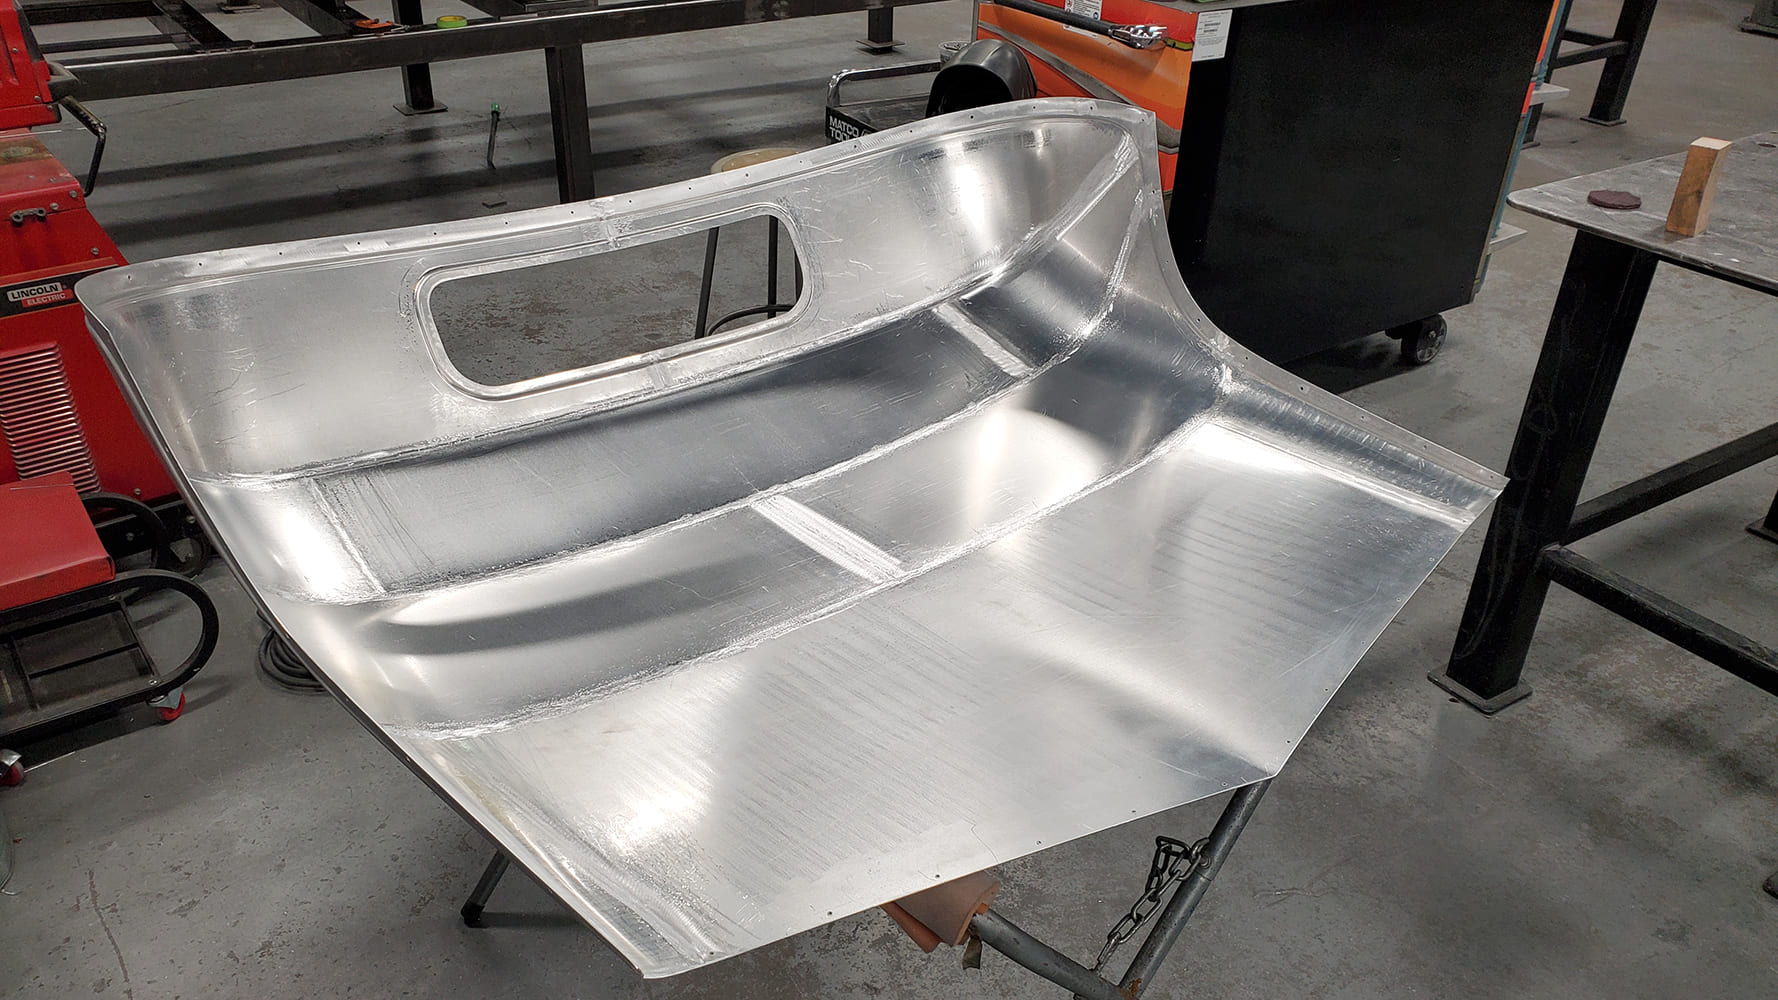
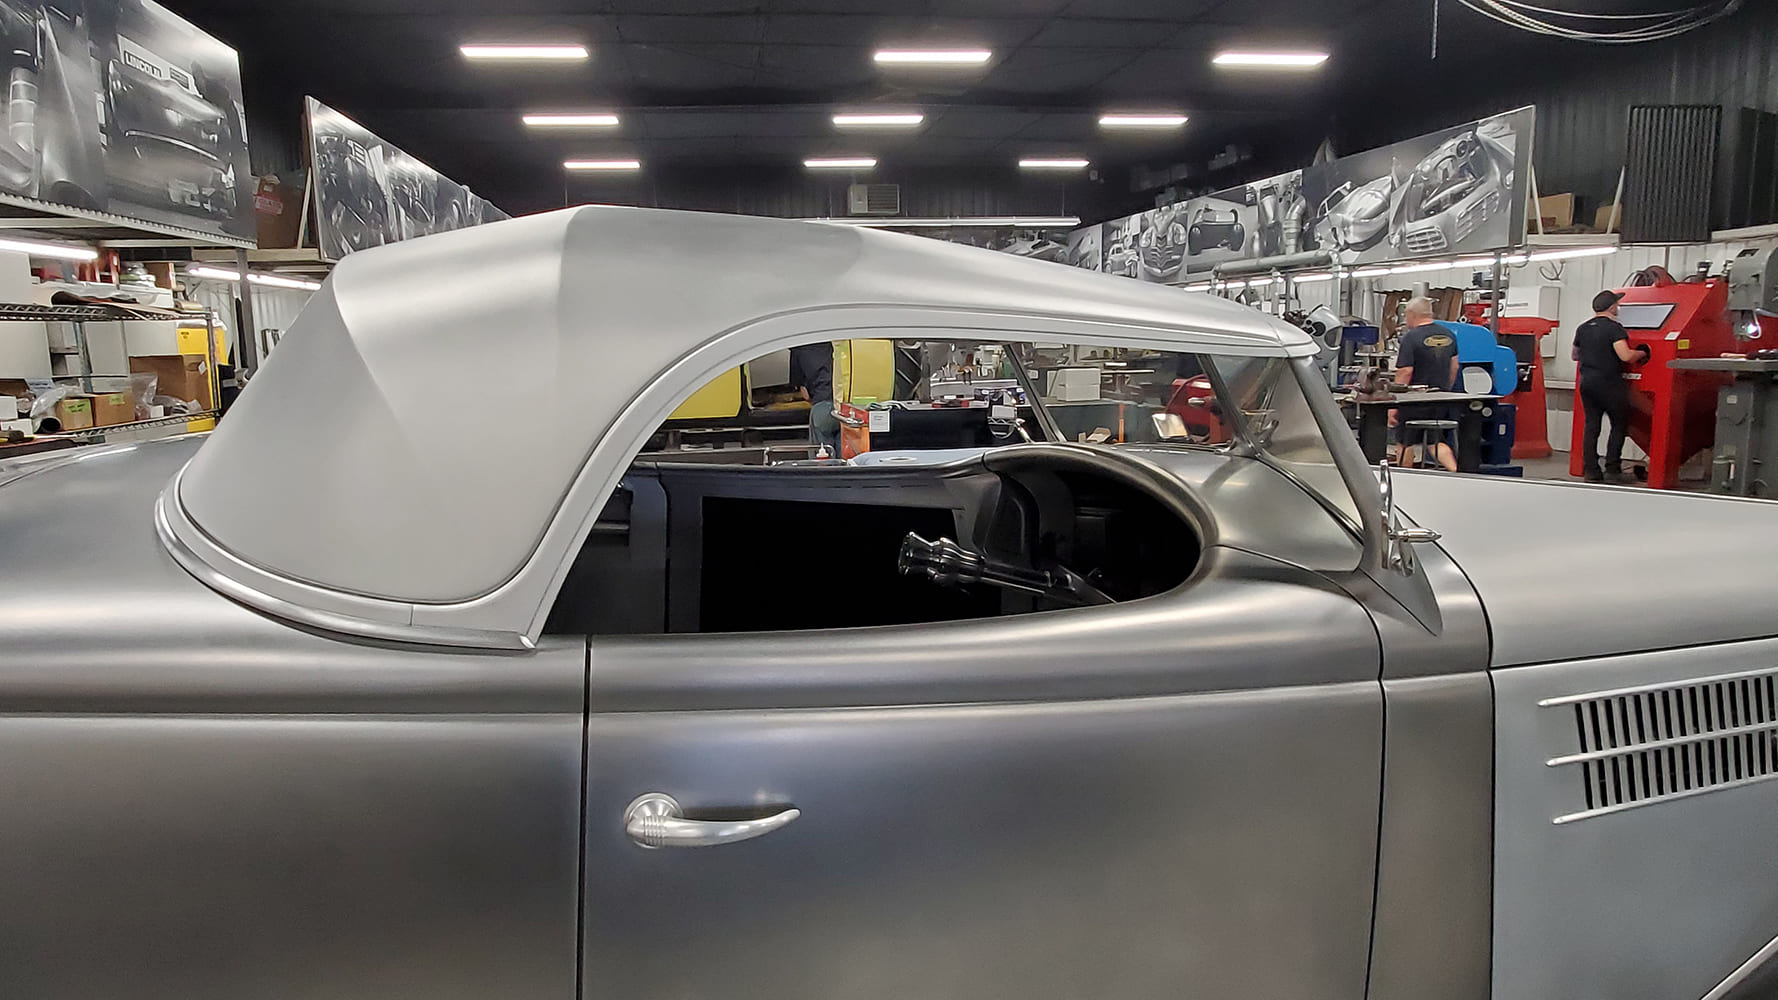
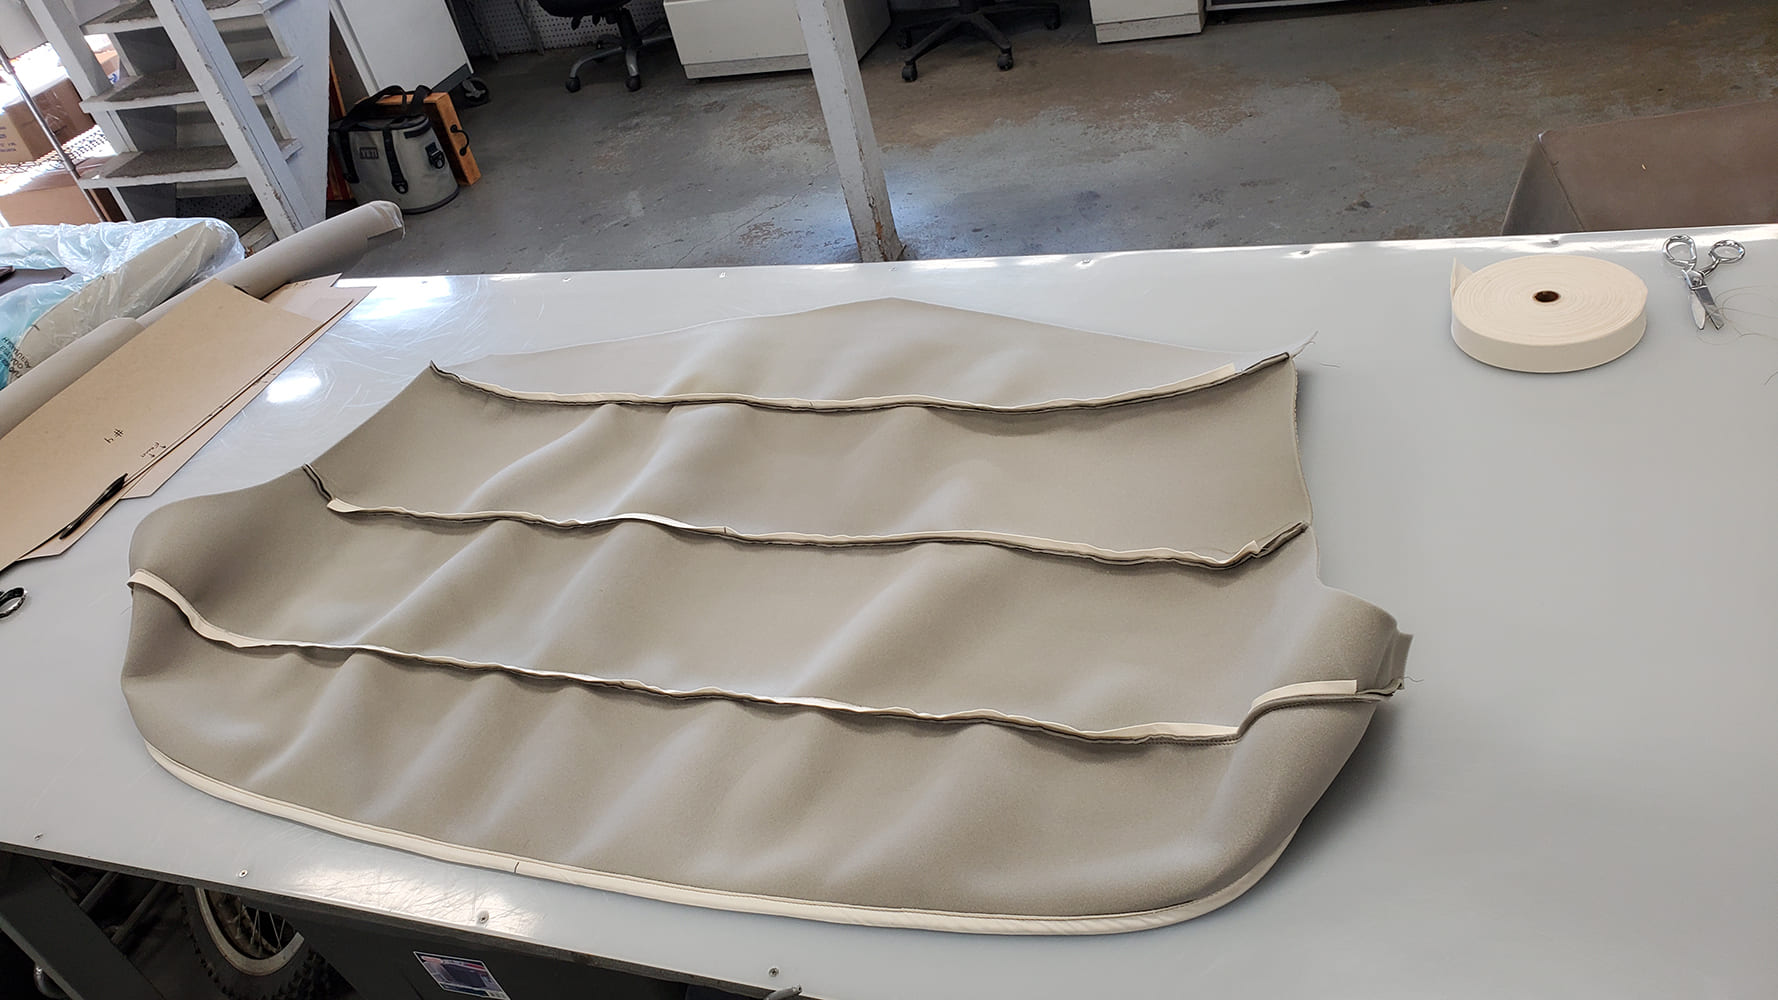
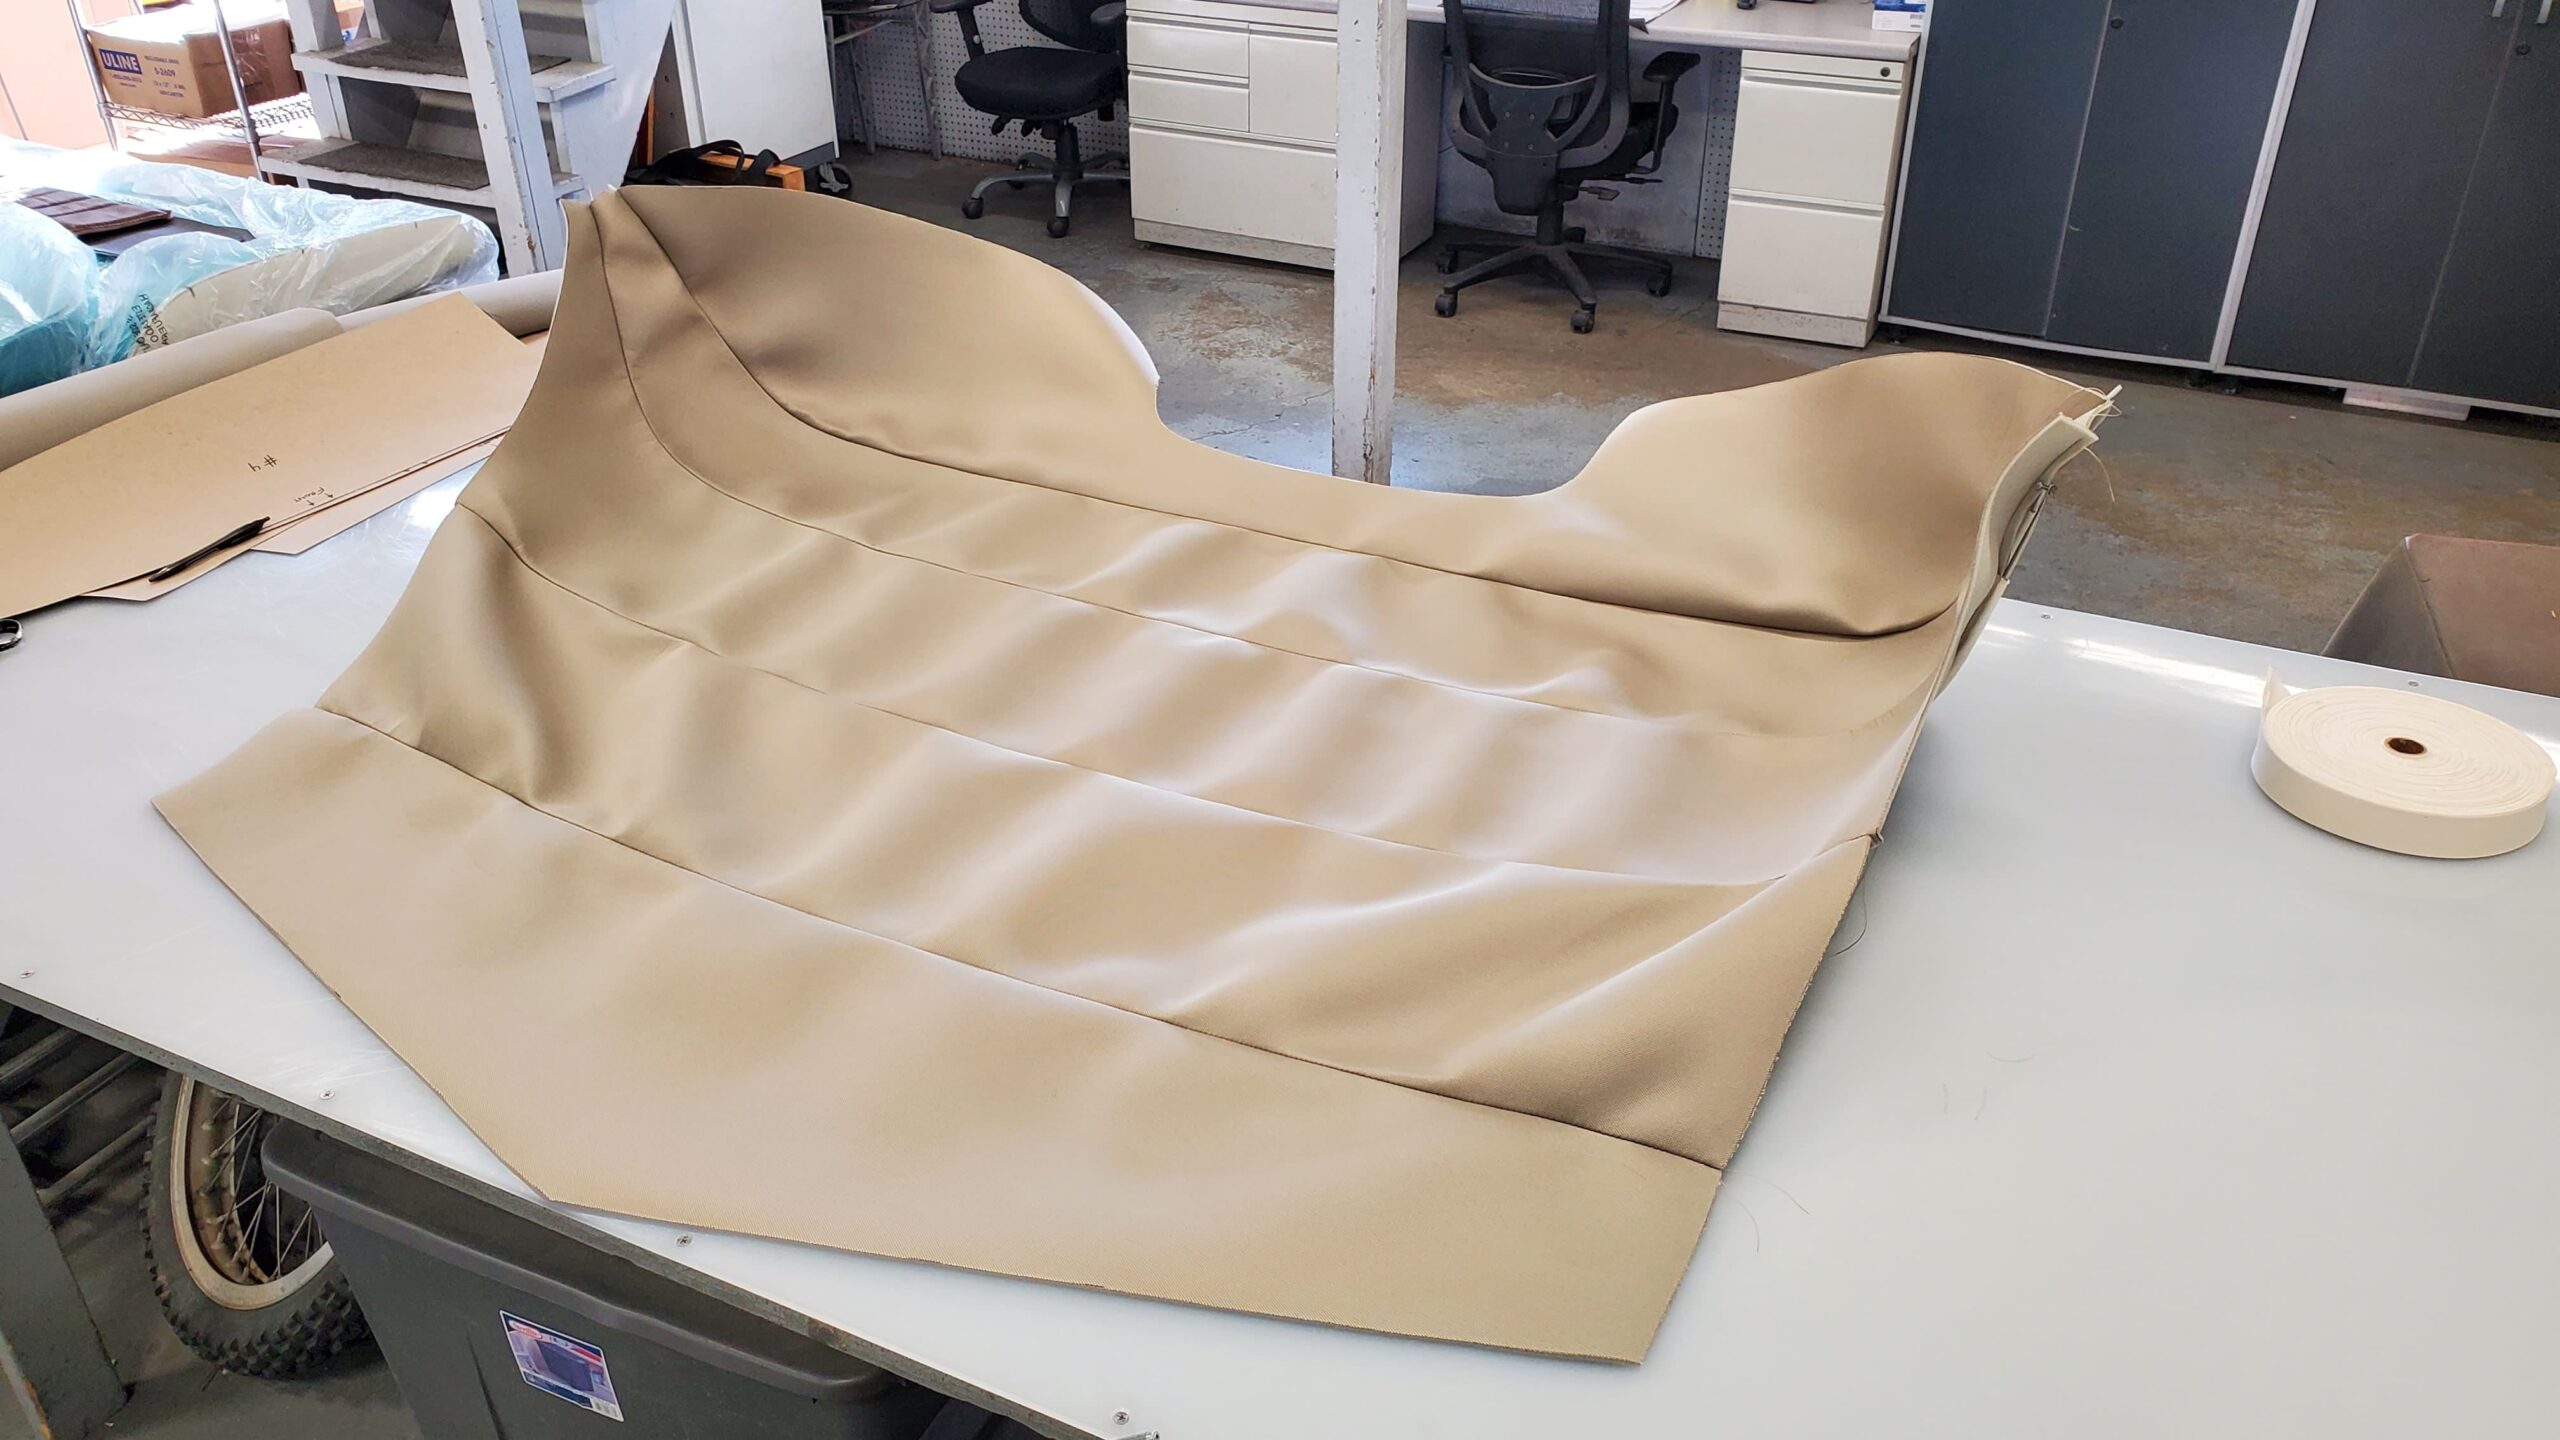
The top was framed with an aluminum plate and bar, and then an aluminum buck was created to guide the shaping of the sheetmetal skin. Great care was taken at each step to ensure the fabric fit perfectly, with no sags or wrinkles present, and special trim pieces were crafted to cover the raw edges of the headliner and top covering. Although the top is solid, it was designed to resemble a folding top, with gentle peaks simulating where the frame of a folding top would show through the fabric.
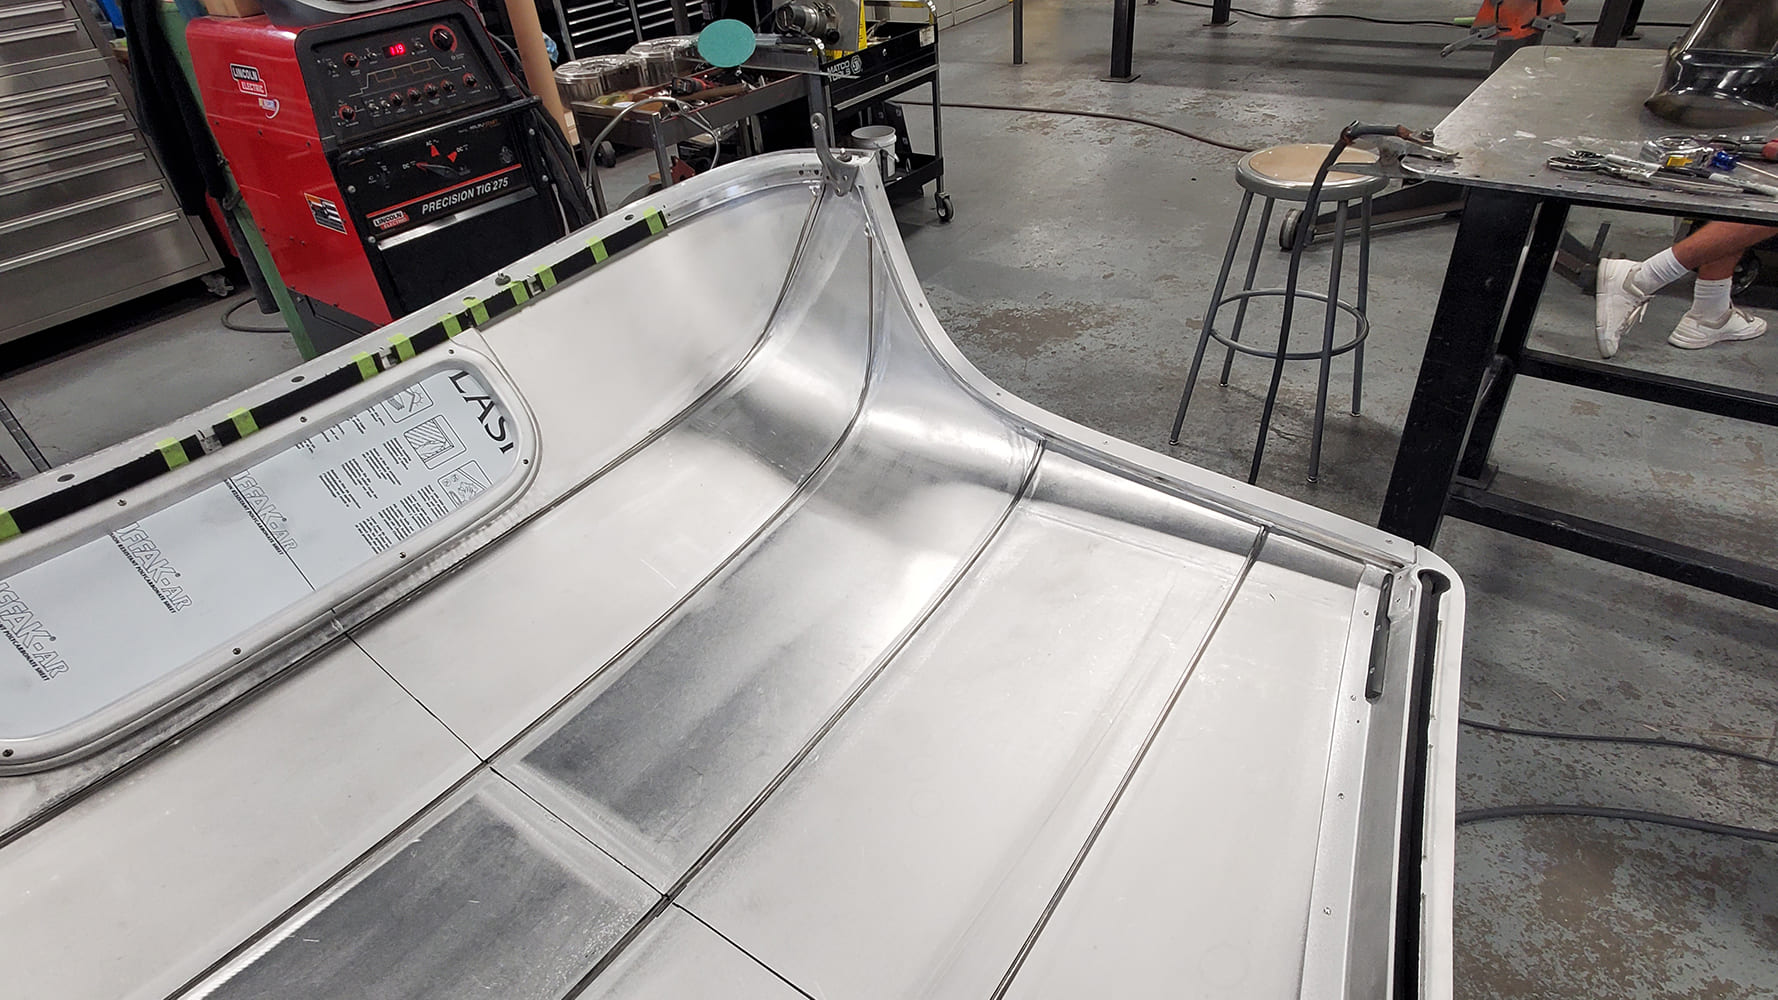
A temporary buck is crafted from a 1/8-inch aluminum plate. This forms all the edges of the top, as well as the contours across the center.
Great care was taken to ensure the contours of the top are just right, allowing it to hug the body’s contours without actually touching, which could chafe the paint over time. A special header piece was fabricated to snugly fit the windshield frame and is almost entirely hidden when the top is in place.
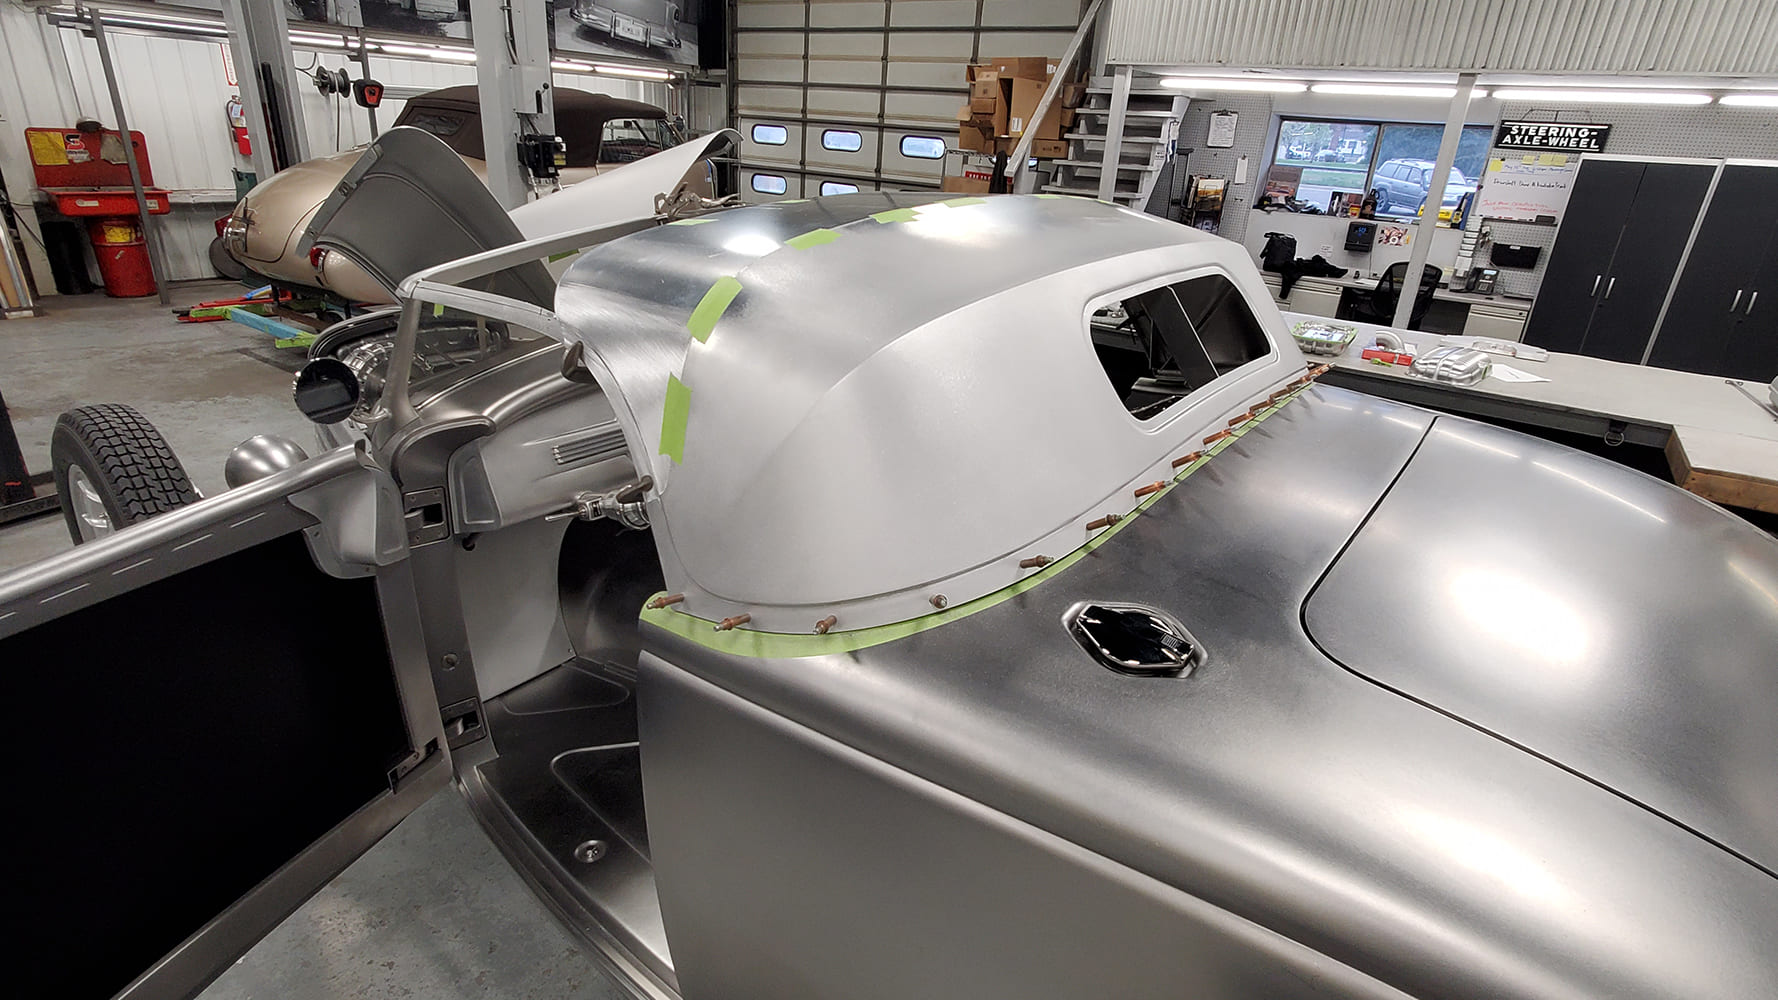
A 1/16-inch aluminum sheet is cut to fit snugly against the buck, and the individual pieces are welded together and smoothed. The top features peaks that mimic the appearance of the frame within a folding cloth top.
We think you’ll enjoy seeing how this one-of-a-kind masterpiece was designed and constructed. MR
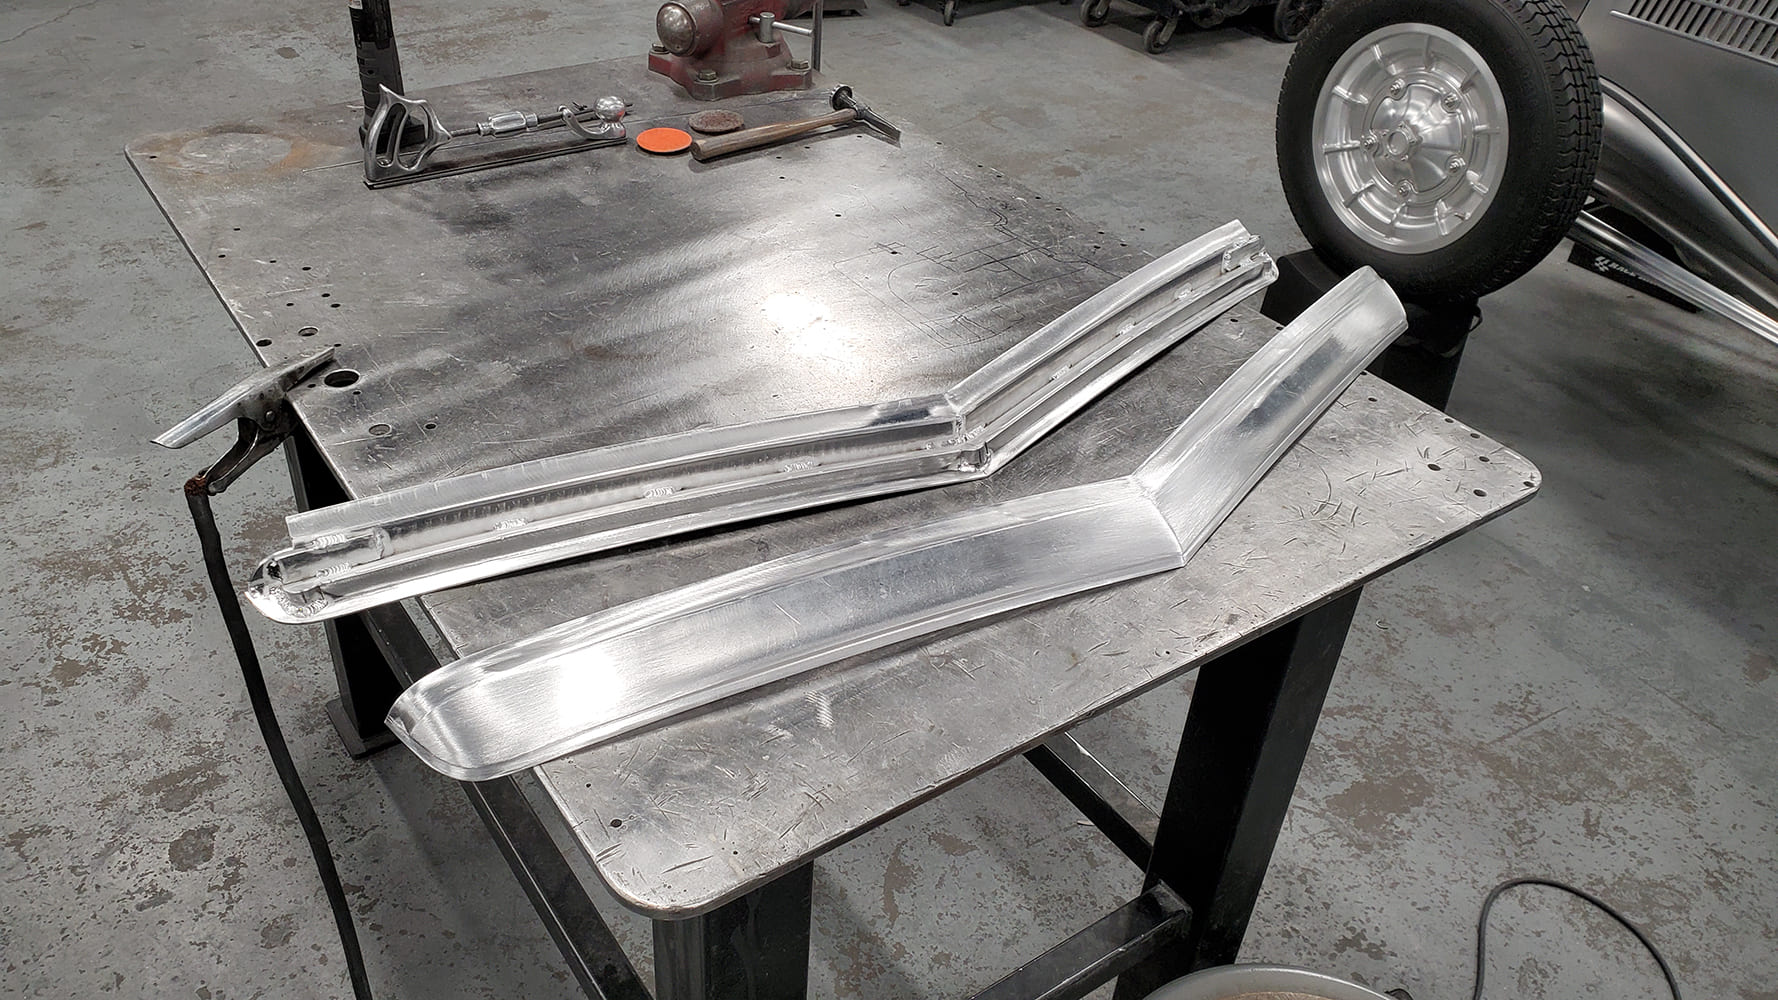
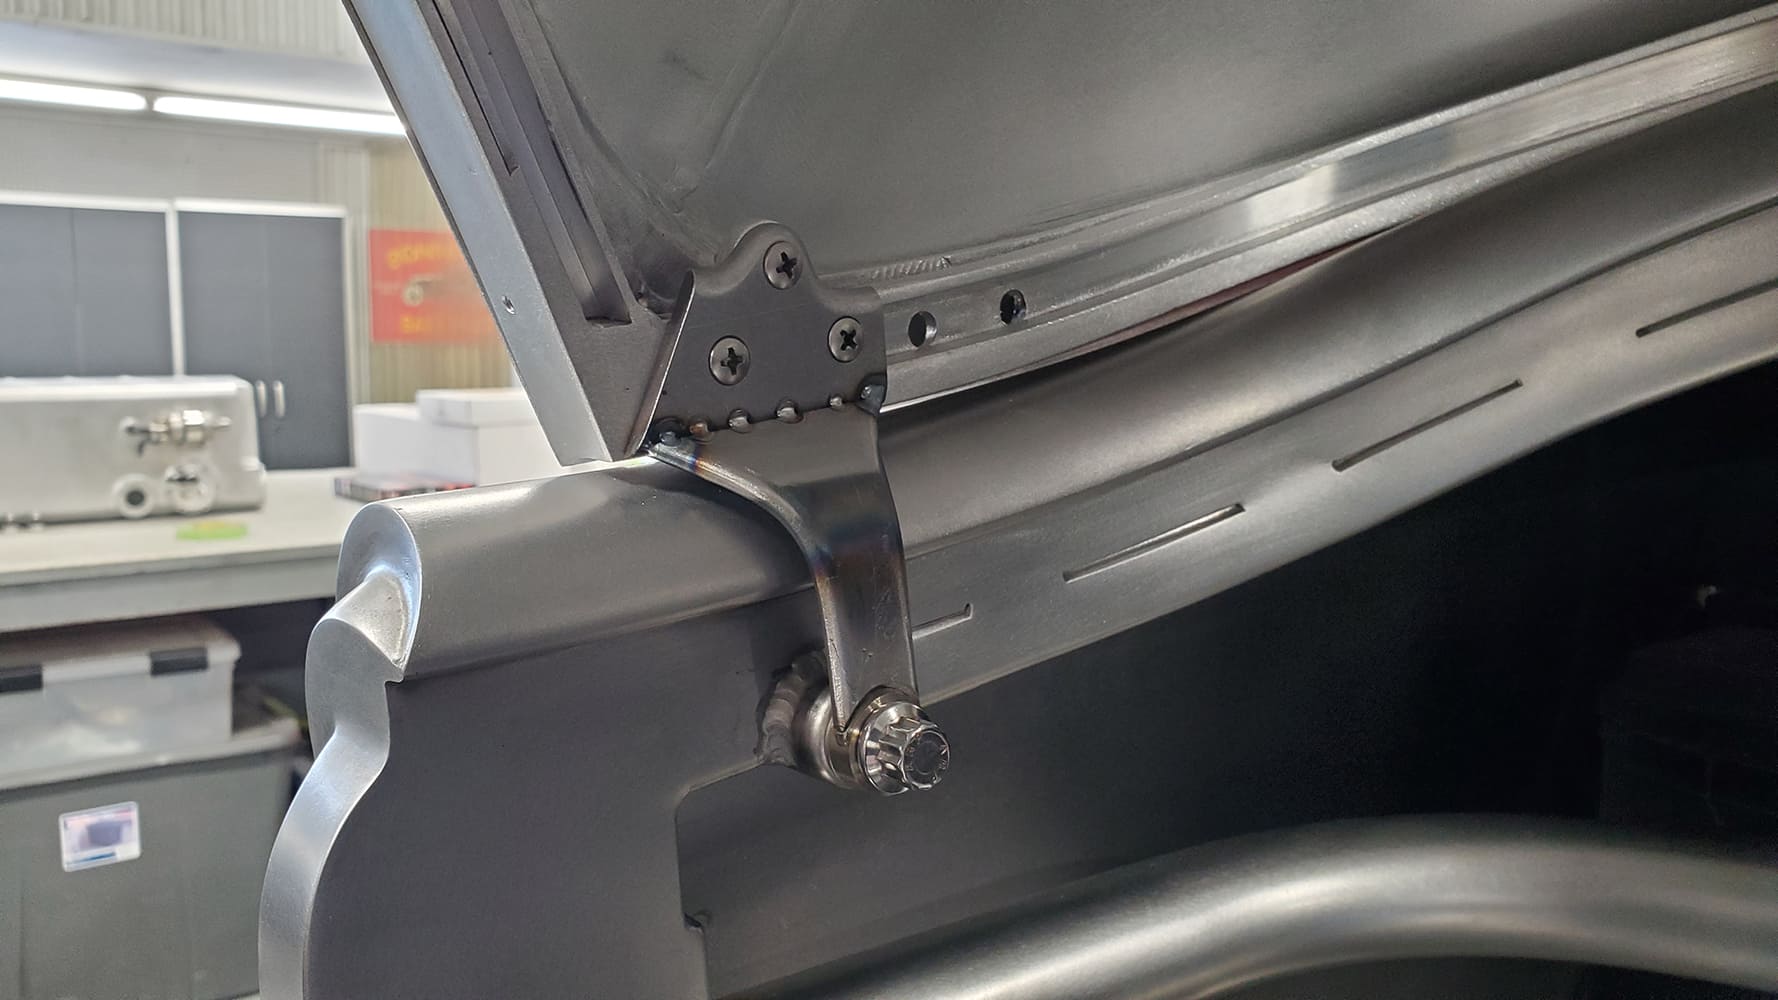
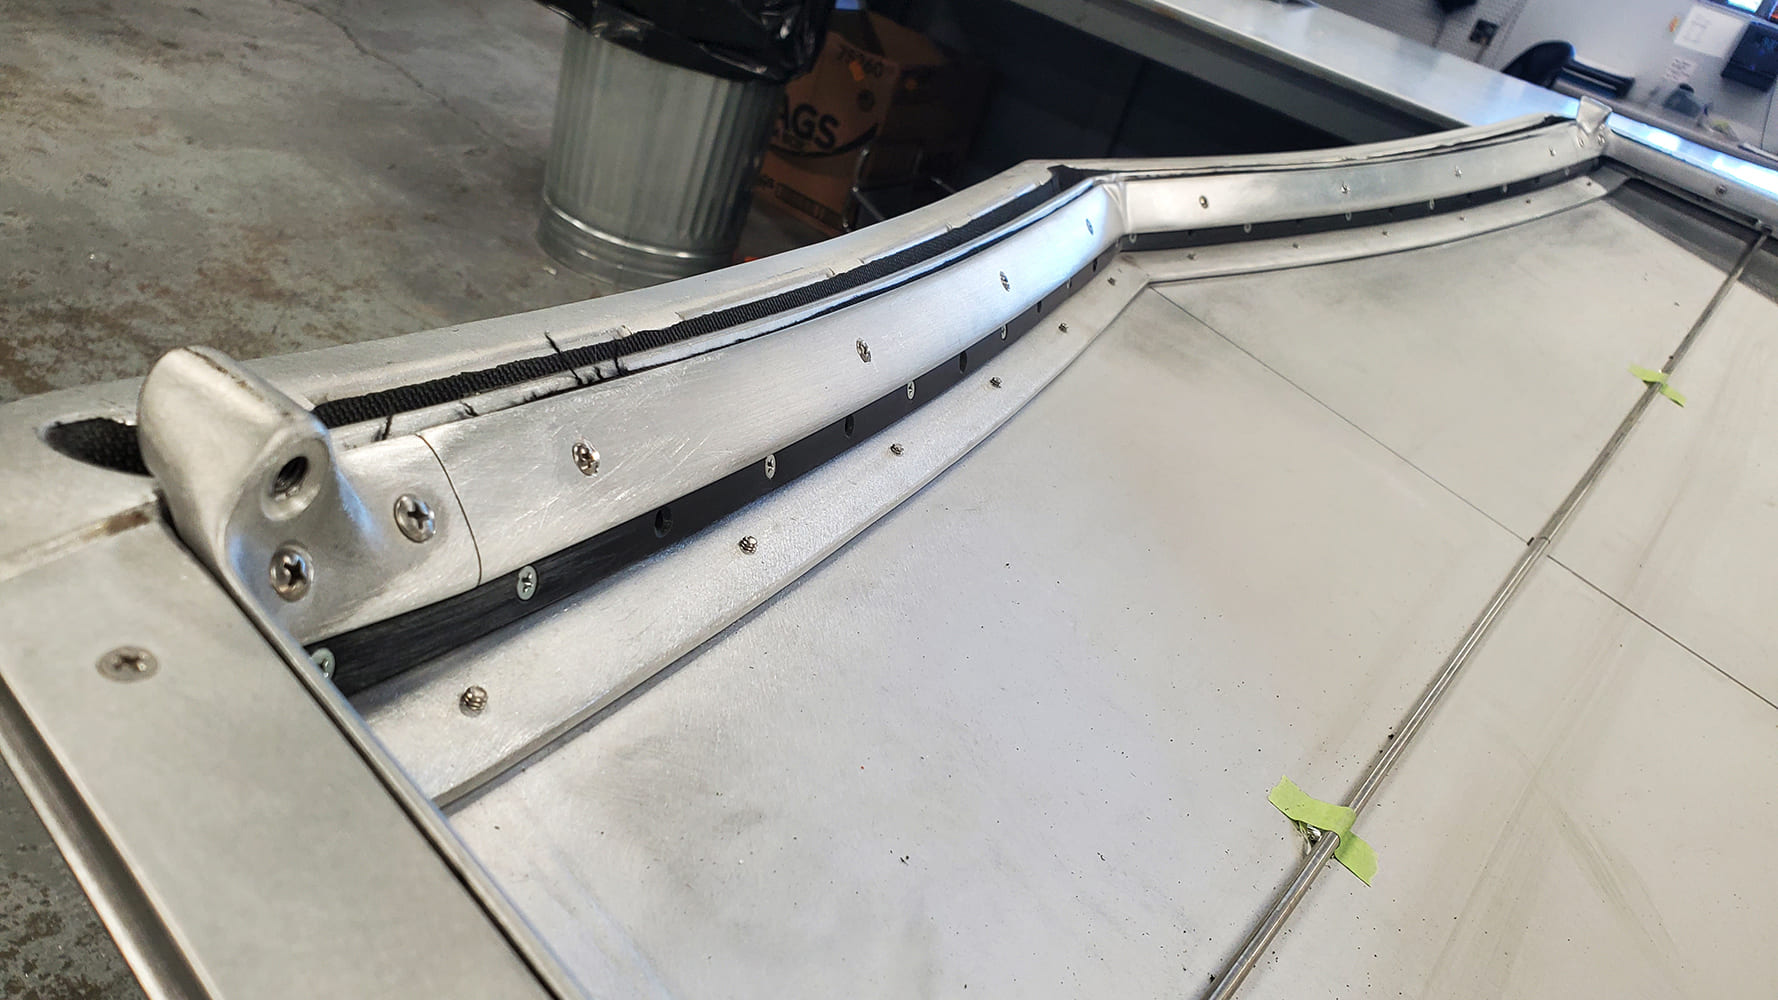
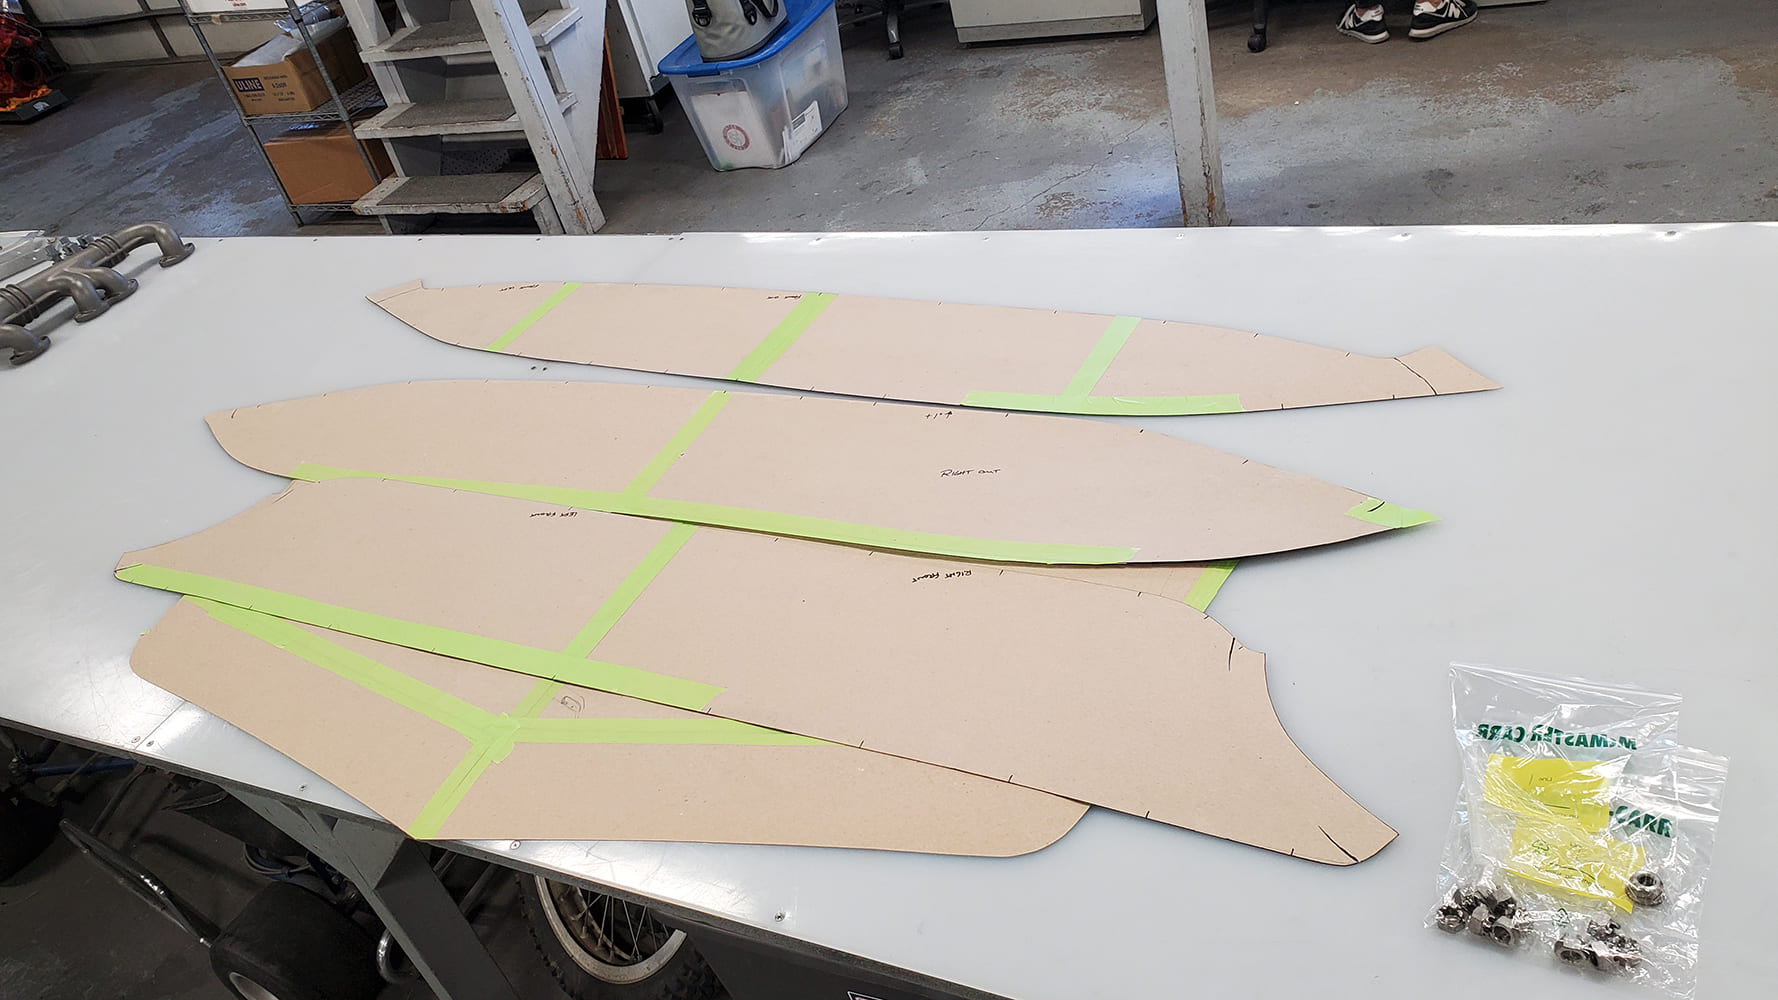
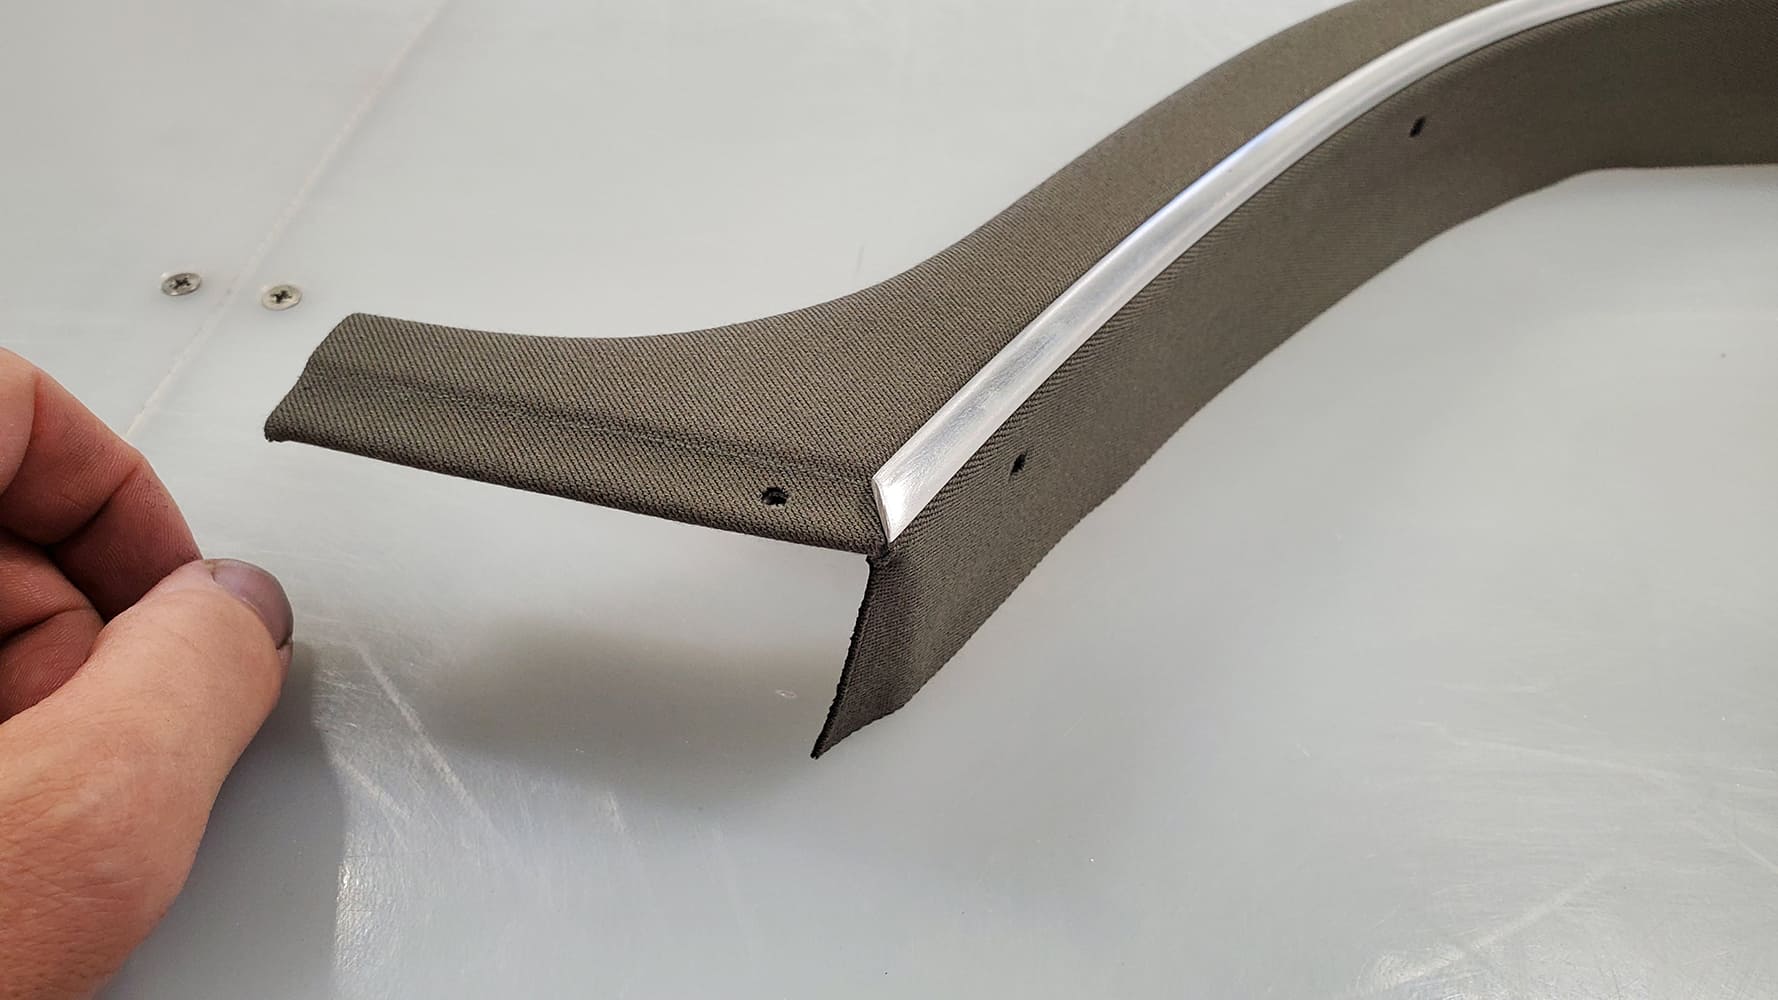
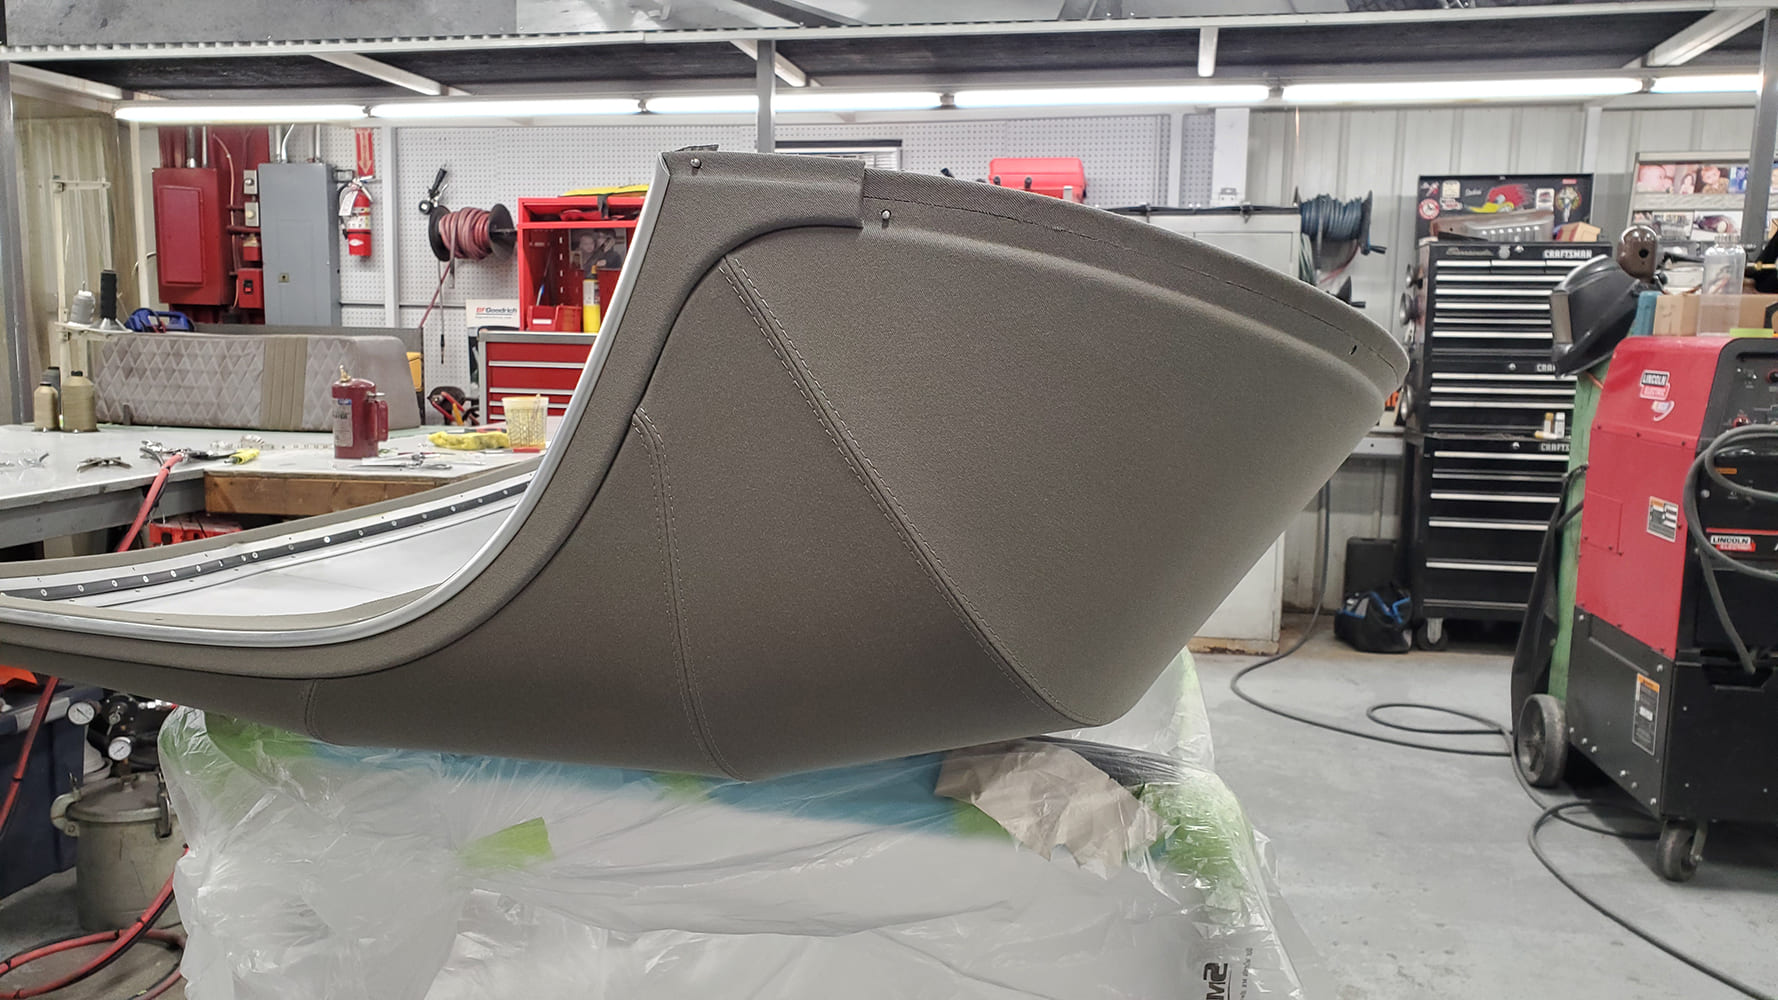
Once the sheetmetal panels are welded together, the top skin is primarily self-supporting, allowing it to be removed from the buck. All welded joints are smoothed on both the inside and outside.A bracket is constructed from heavy steel plate to support the rear section of the top. The top closely follows the shape of the body, but a small gap is included to prevent the top from chafing the paint on the body.With all the skin panels assembled, you can appreciate just how perfectly the shape of the top complements the body’s lines. Note the relief along the sides and rear of the top, which will accommodate a clever trim strip to keep all the fabric seams smooth and low-profile.This is the trim strip for the side of the top, meticulously crafted from aluminum plate.With the trim piece temporarily fastened in place, you can see how it completes the edges of the top.The metal fabrication is now complete, and it’s time to start fitting the fabric to the top.Here, you can observe the beautiful and intricate assembly of metal pieces for the windshield header, the metal trim that covers the edges of the fabric, and the threaded plate for the screws that secure the sheetmetal header skin in place.Several ¼-inch round steel bars are being fitted to the top, which will serve as the bows to hold the headliner snugly in place.Each bow is detachable, secured by small machine screws that hold the ends to the frame of the top.Chipboard is used to create patterns for the headliner pieces.Here, the fabric pieces are stitched together on the hidden side. Note the fabric channels provided for the top bows to slide into.The finished side of the headliner is shown here. Great care must be taken at each step to ensure there are no wrinkles when the headliner is installed.A piece of scrap fabric is being used here to create a pattern that illustrates the shape required for the top to wrap around the corner of the header.Aluminum strips have been created to finish the edges of the trim pieces on each side. These will be nickel-plated for the final assembly.This close-up shot illustrates the intricate fitting of the metal trim pieces and the fabric covering it. It requires a great deal of attention to detail to prevent wrinkles in shapes like these.Observe how the trim pieces conceal the edges of the fabric for both the top covering and the headliner.With the top installed on the car, you can appreciate the superb fit and finish of every detail.
Source
Rad Rides by Troy
(815) 468 2590 radrides.com
We use cookies to ensure that we give you the best experience on our website. If you continue to use this site we will assume that you are happy with it.