



By Kevin Tetz – Images by the Author
It can be argued that the early second-gen Camaro RS (1970-73) is the most beautiful Camaro ever designed. The styling is so compelling that enthusiasts are backdating later second-gen cars. True, the first-gen Camaro (1967-69) styling is also gorgeous, but the complete restyling of the second-gen brought undeniable benefits through the end of the run in 1981: a front steer gearbox, wider track width, radial-tuned suspension with improved geometry, better insulation, and tons of options, to name a few.
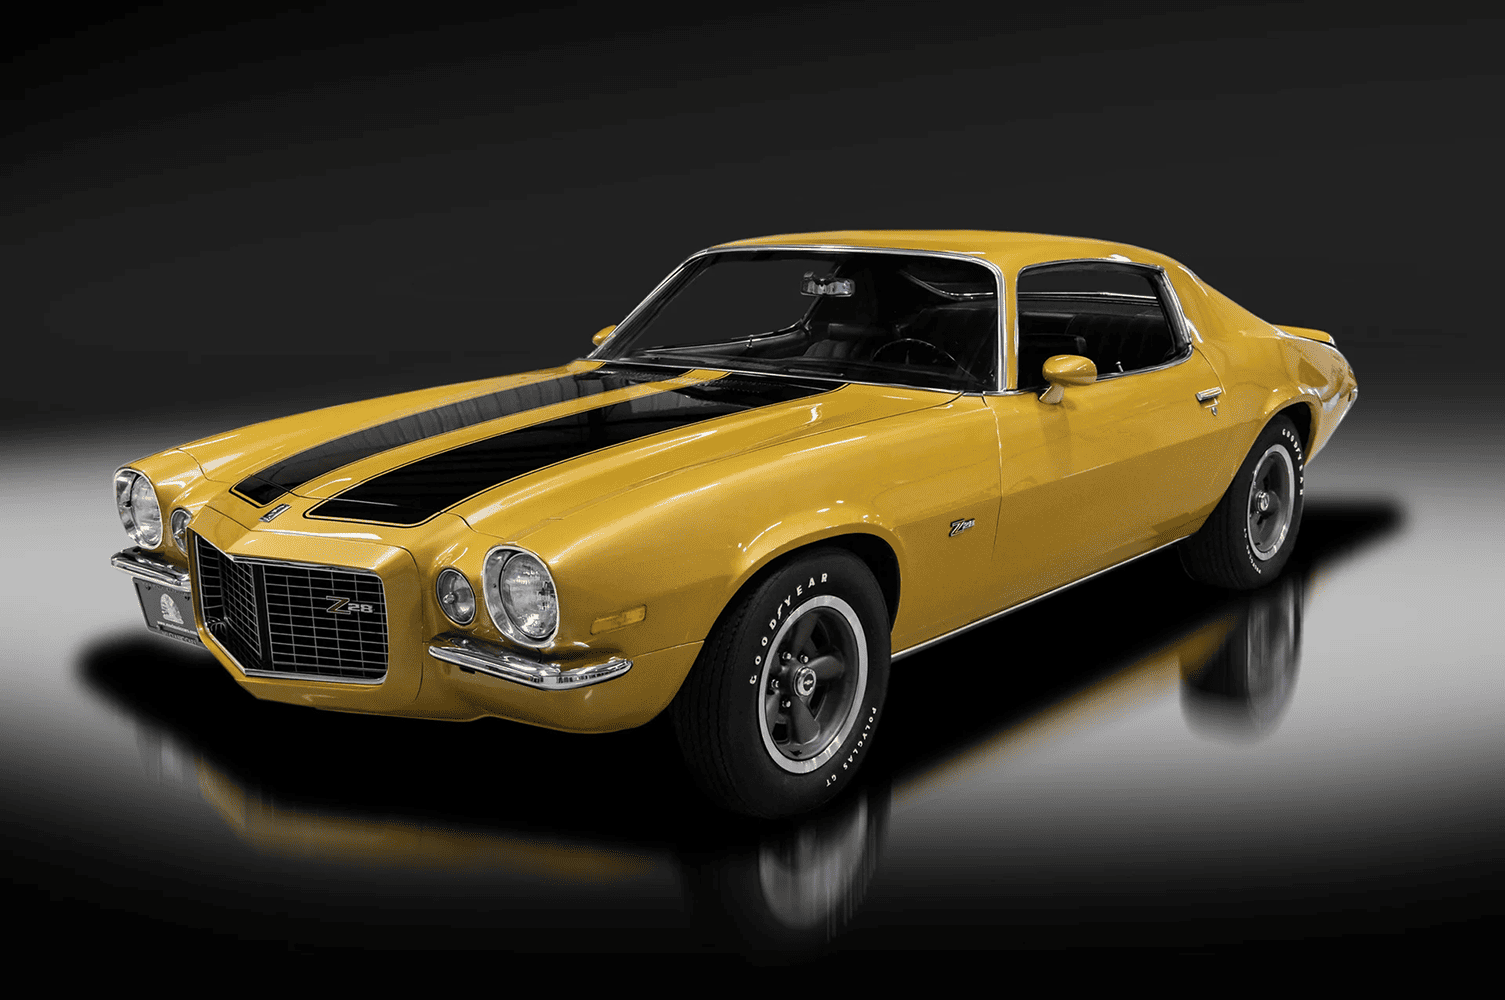
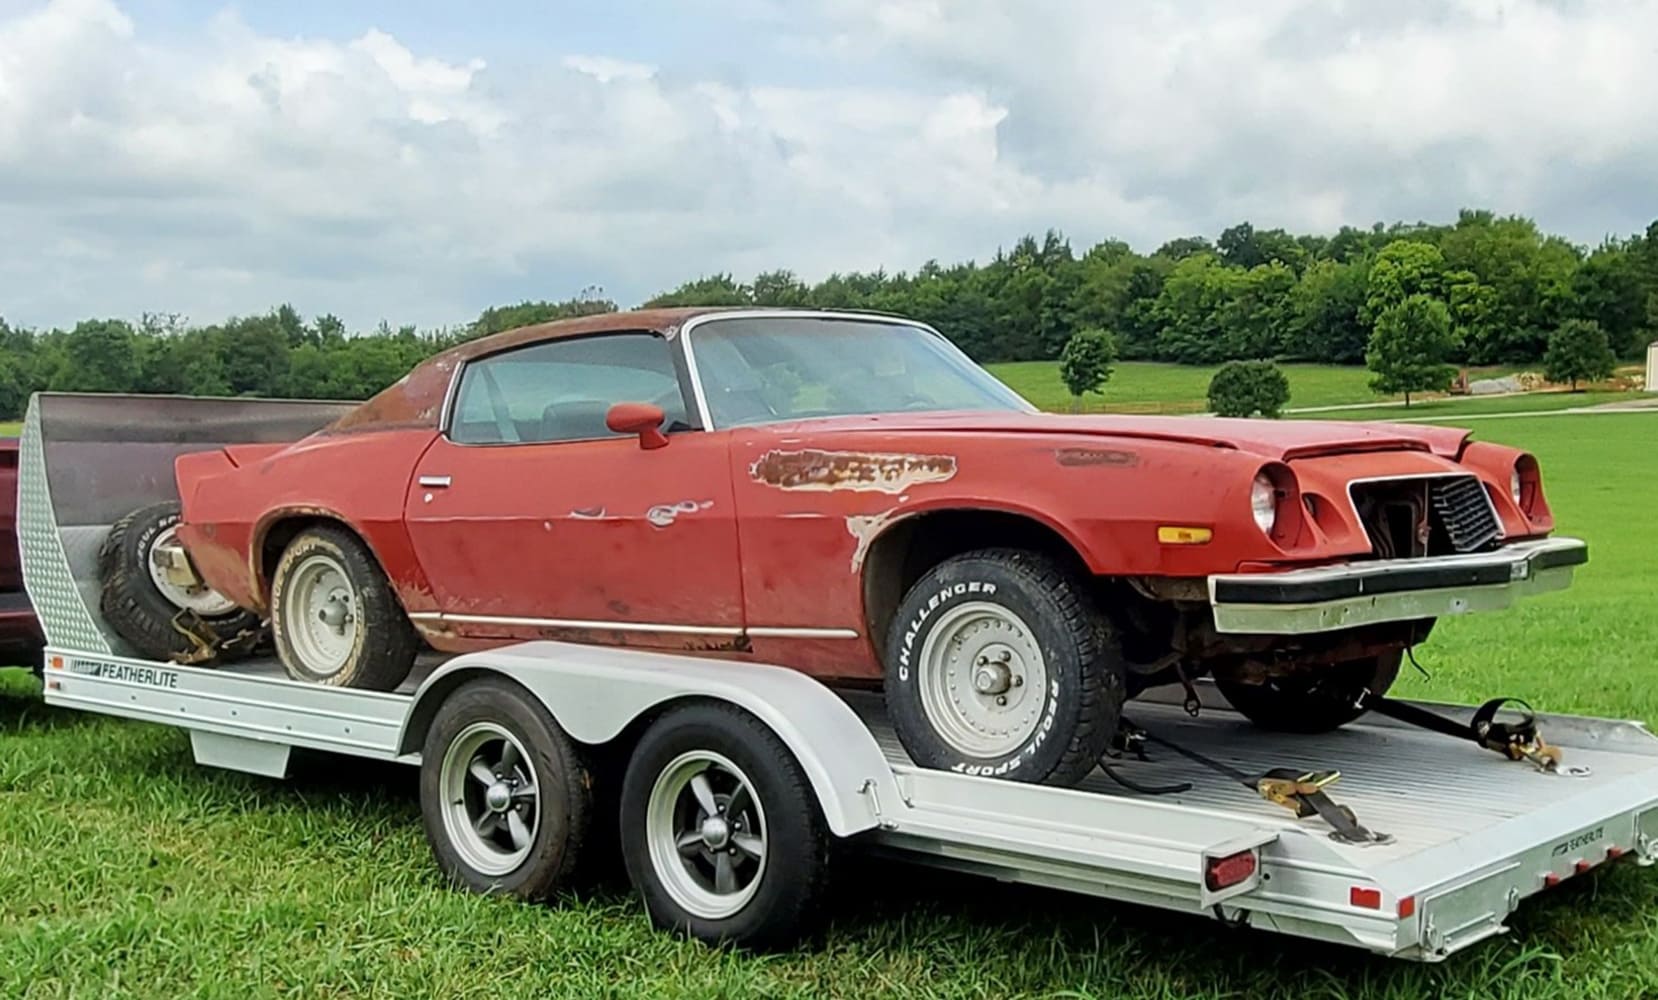
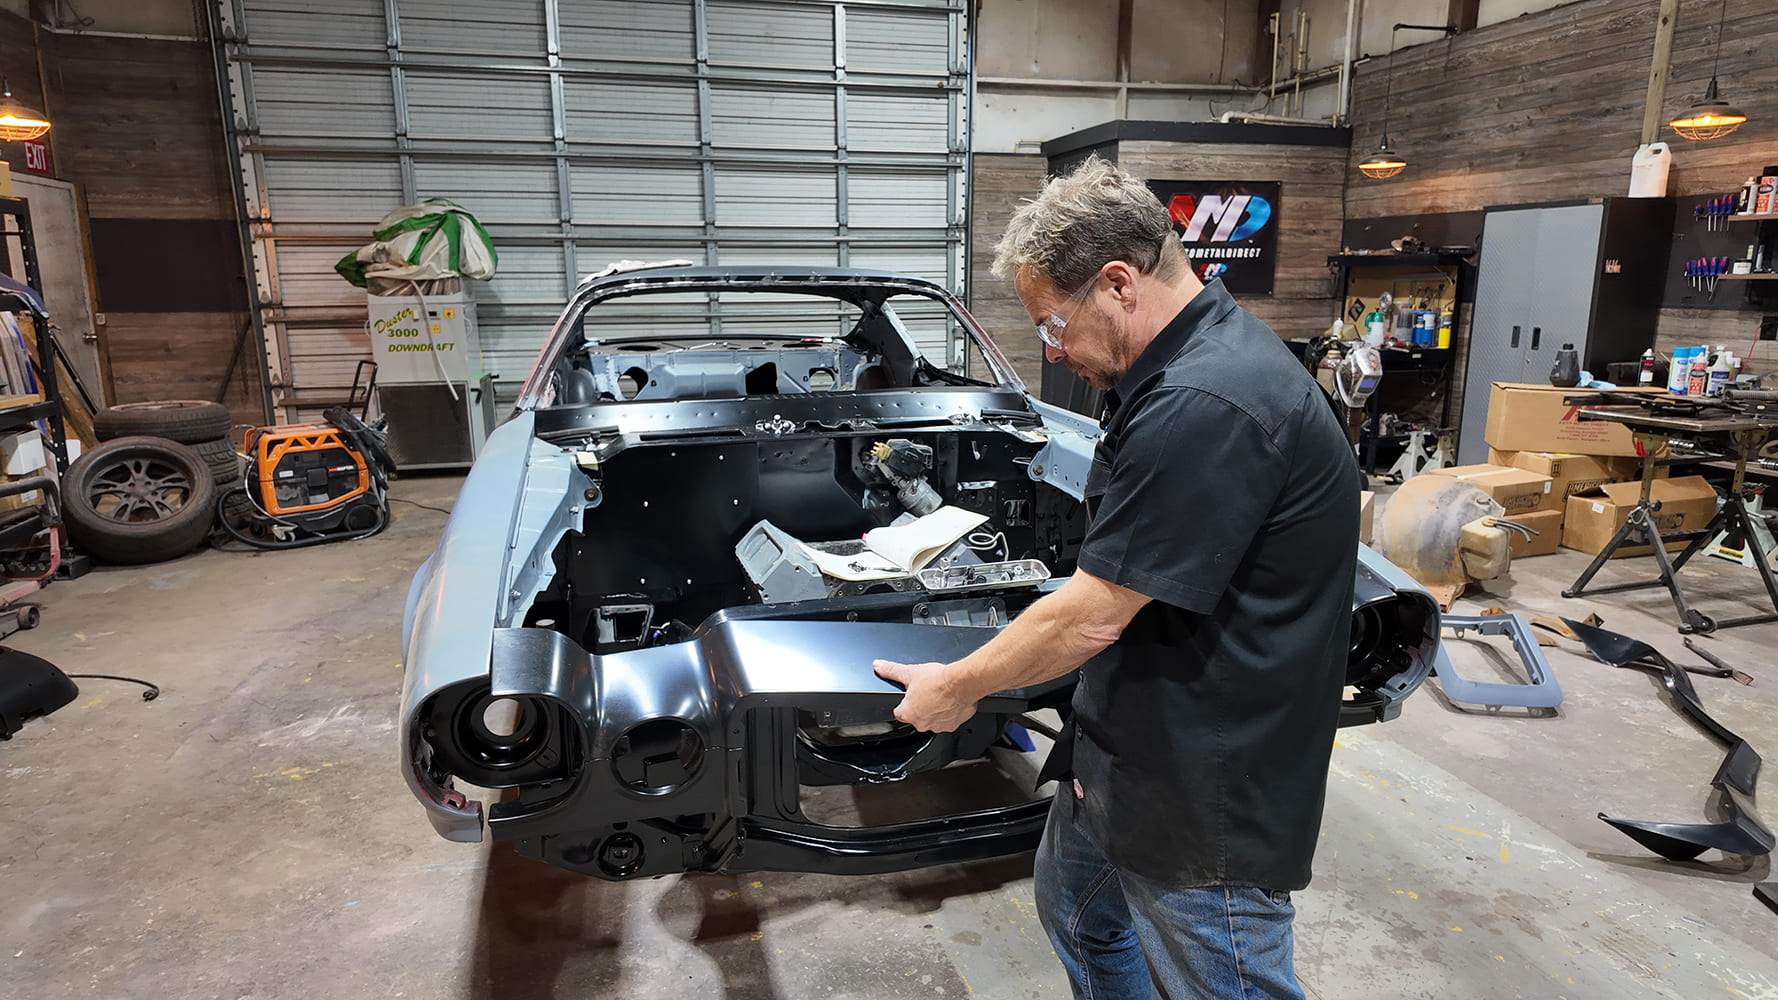
The Rally Sport option is primarily cosmetic, but it was a styling home run that holds up today and makes a fun modification to any second-gen model. Our car is a prime candidate for this nose conversion, since the 1974 model still had the small back window carried over from the 1971-73 body design. The Camaro RS rear conversion involves lots of cutting, replacement, modifications, and welding, but the front is primarily bolt-on, especially if you have a 1974-77 car where the fenders match the first-series design. That’s what we’ll walk you through in this article, pointing out the basic steps, parts, and pieces you’ll need, along with what you can reuse, and what you’ll need to buy to complete the conversion.
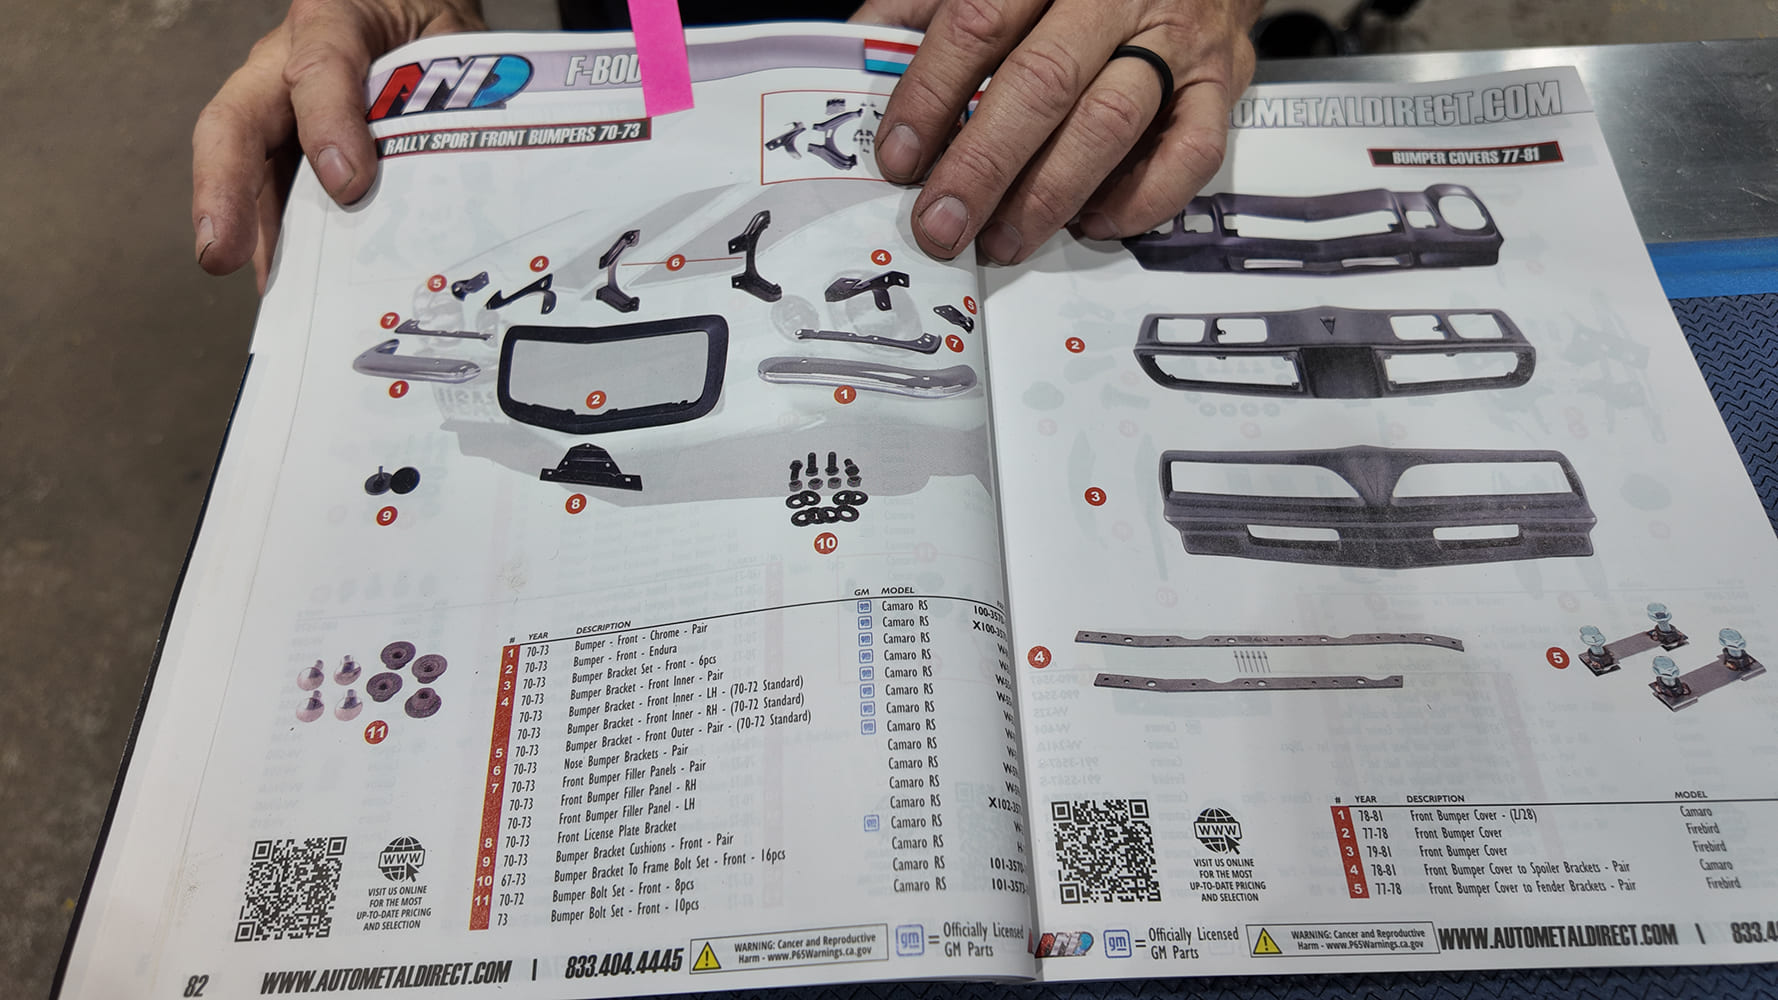
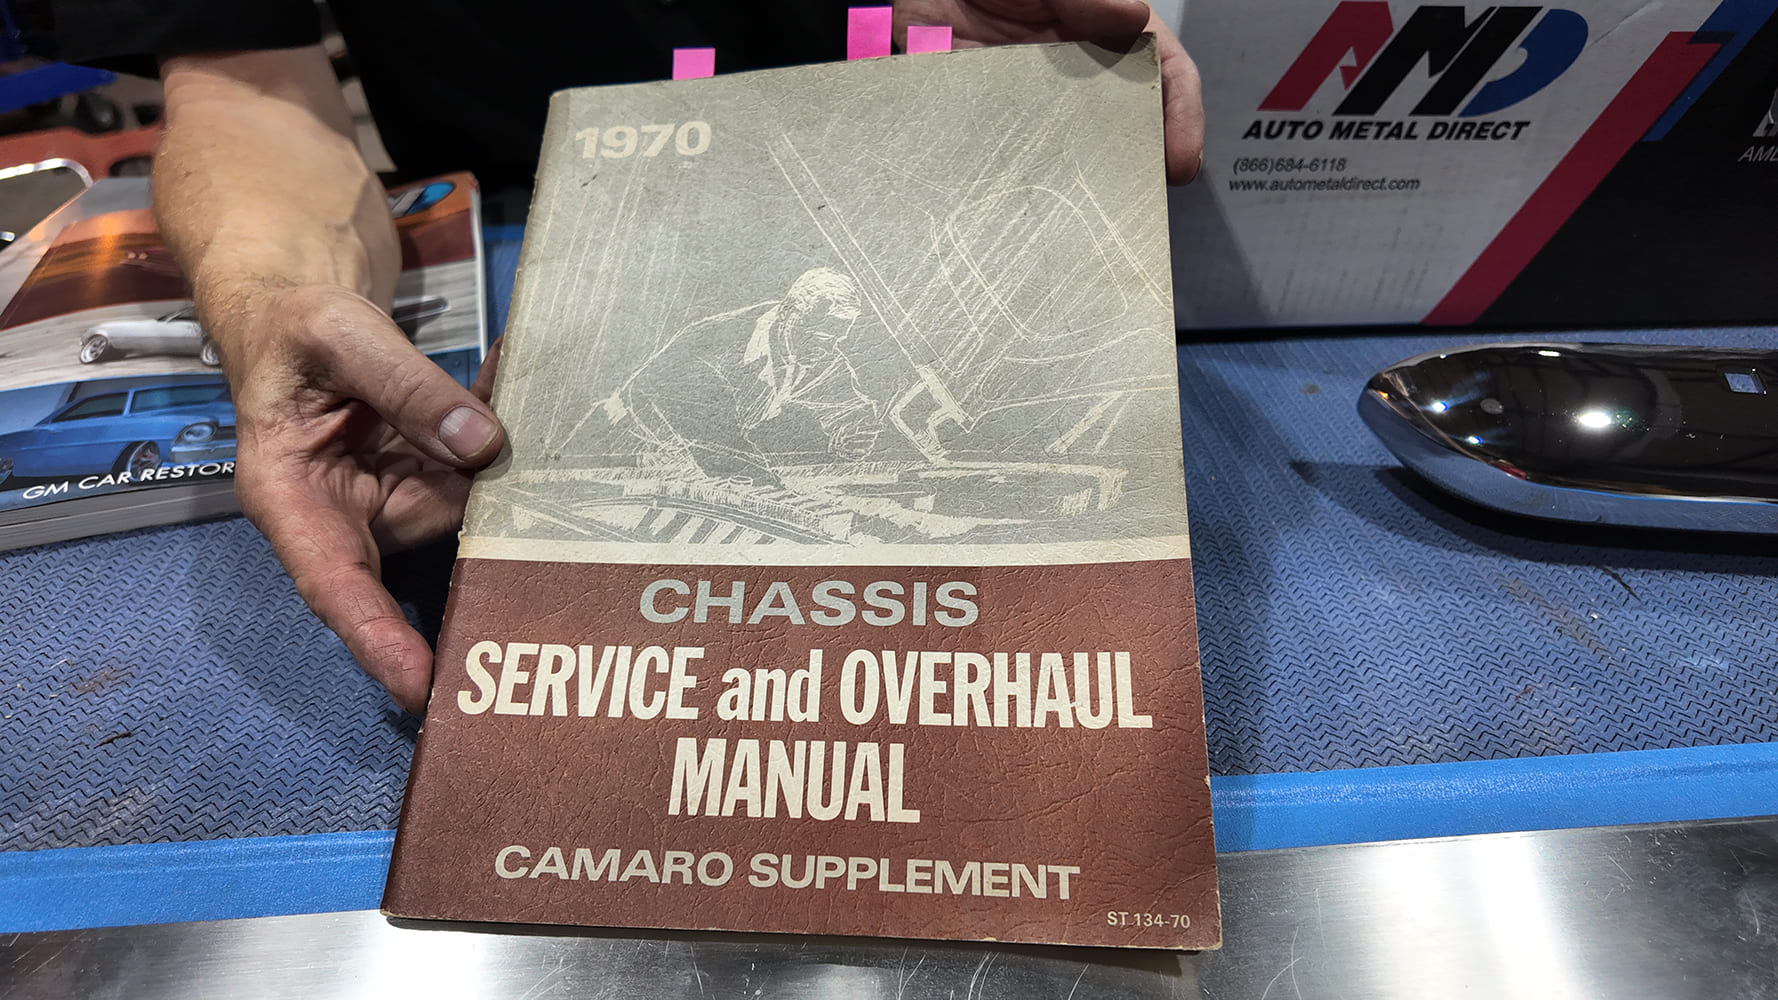
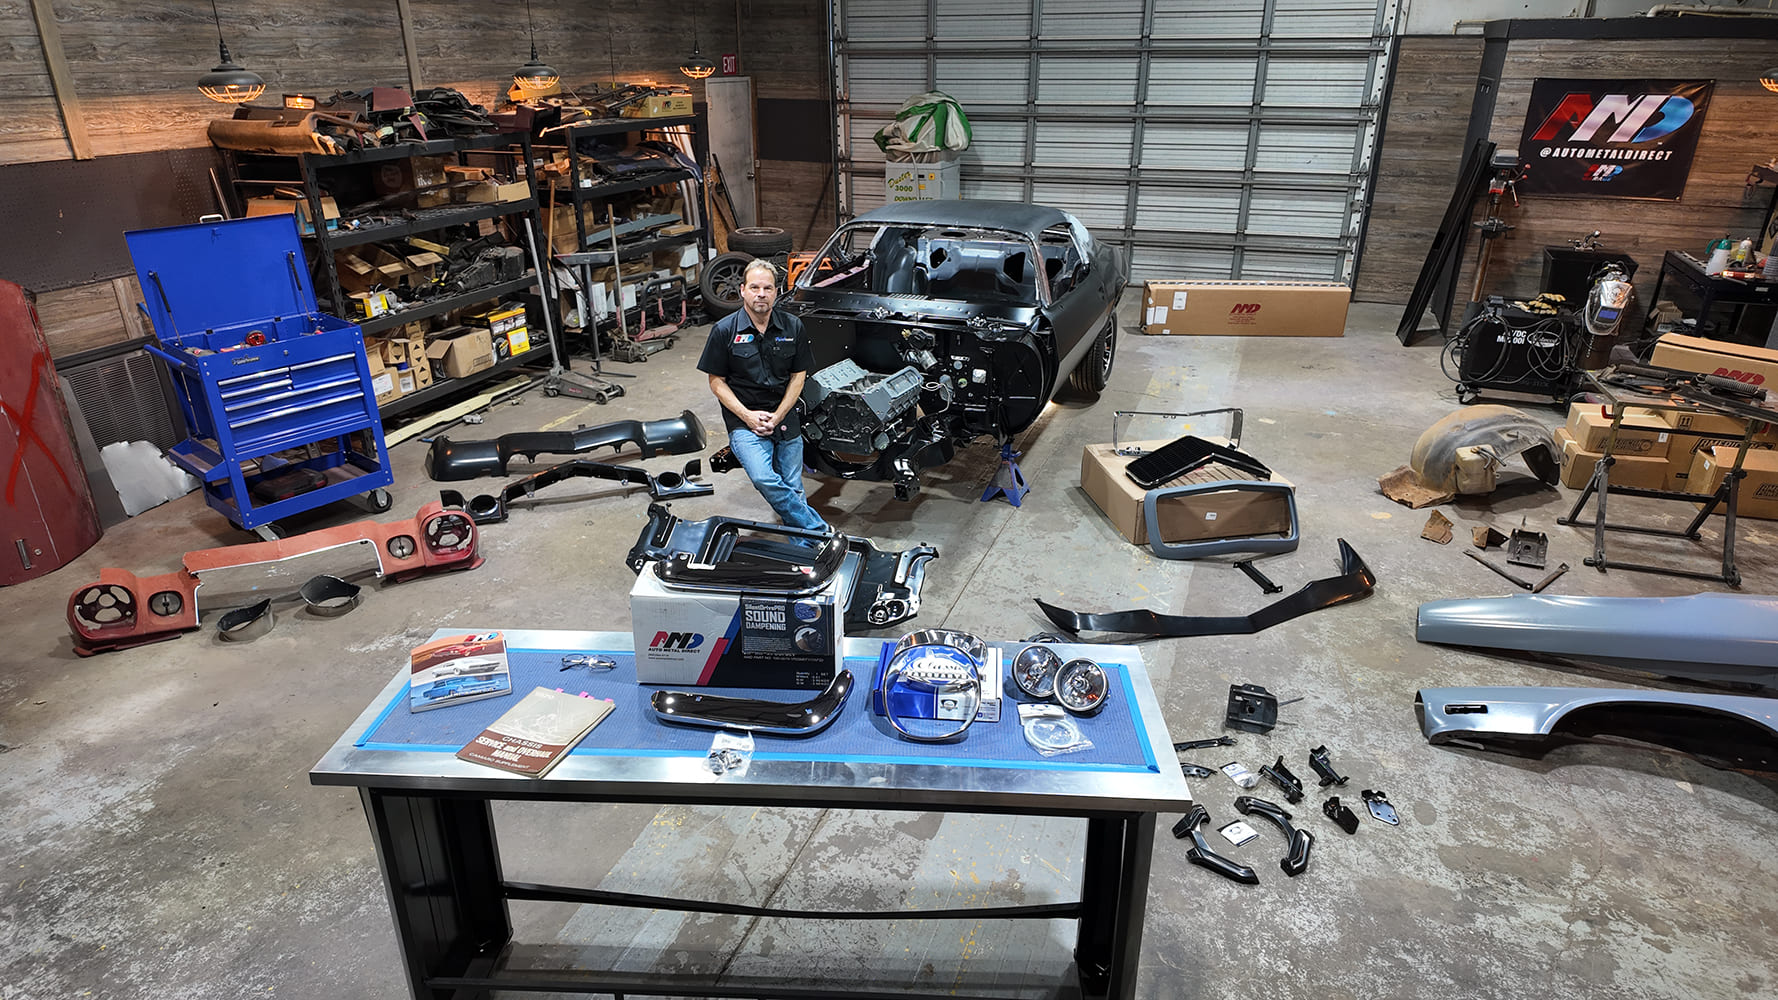
This car came to us from Derek Bieri, host of Vice Grip Garage on YouTube. We traded favors and parts and I got this thing for a song. I never intended to fully restore it, but the small rear window and very solid spring pockets and framerails convinced me to go the full-9 on this car. Auto Metal Direct (AMD) has everything I need to transform it into the image of a 1970 Camaro RS—but not as a clone, just my version of the best second-gen styling. The AMD catalog along with the GM service manual I found on eBay for $9 has been essential for reassembly and reference.
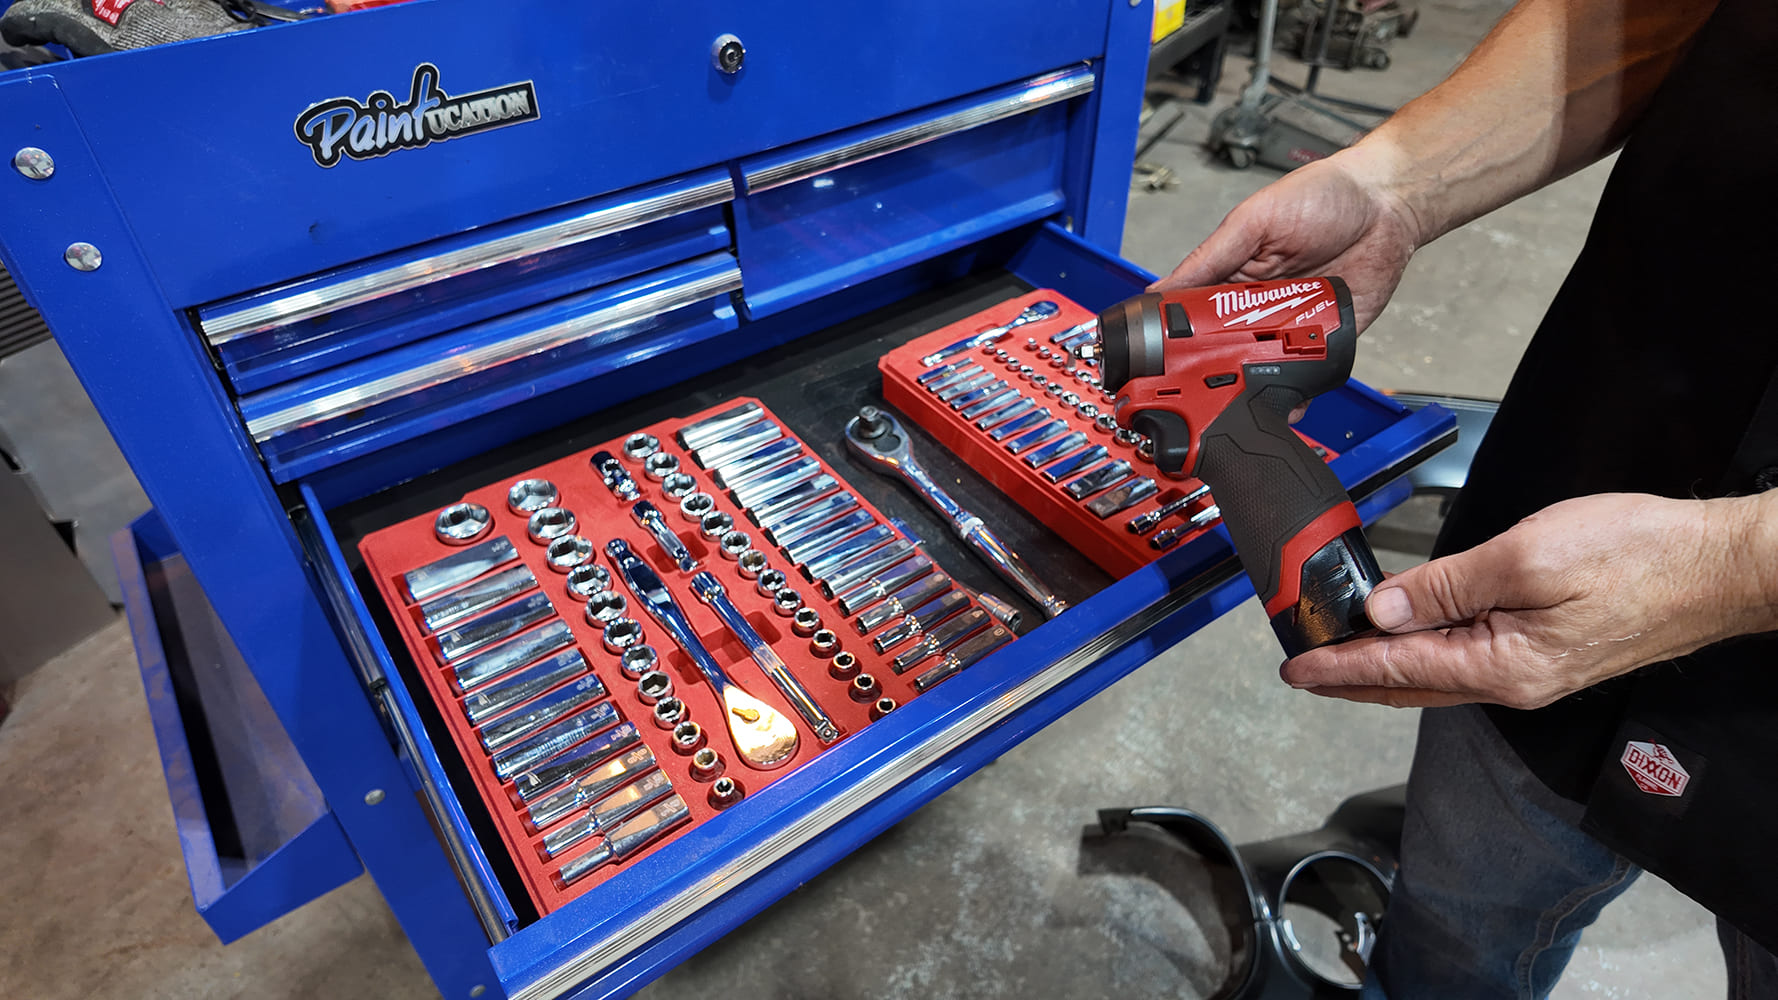
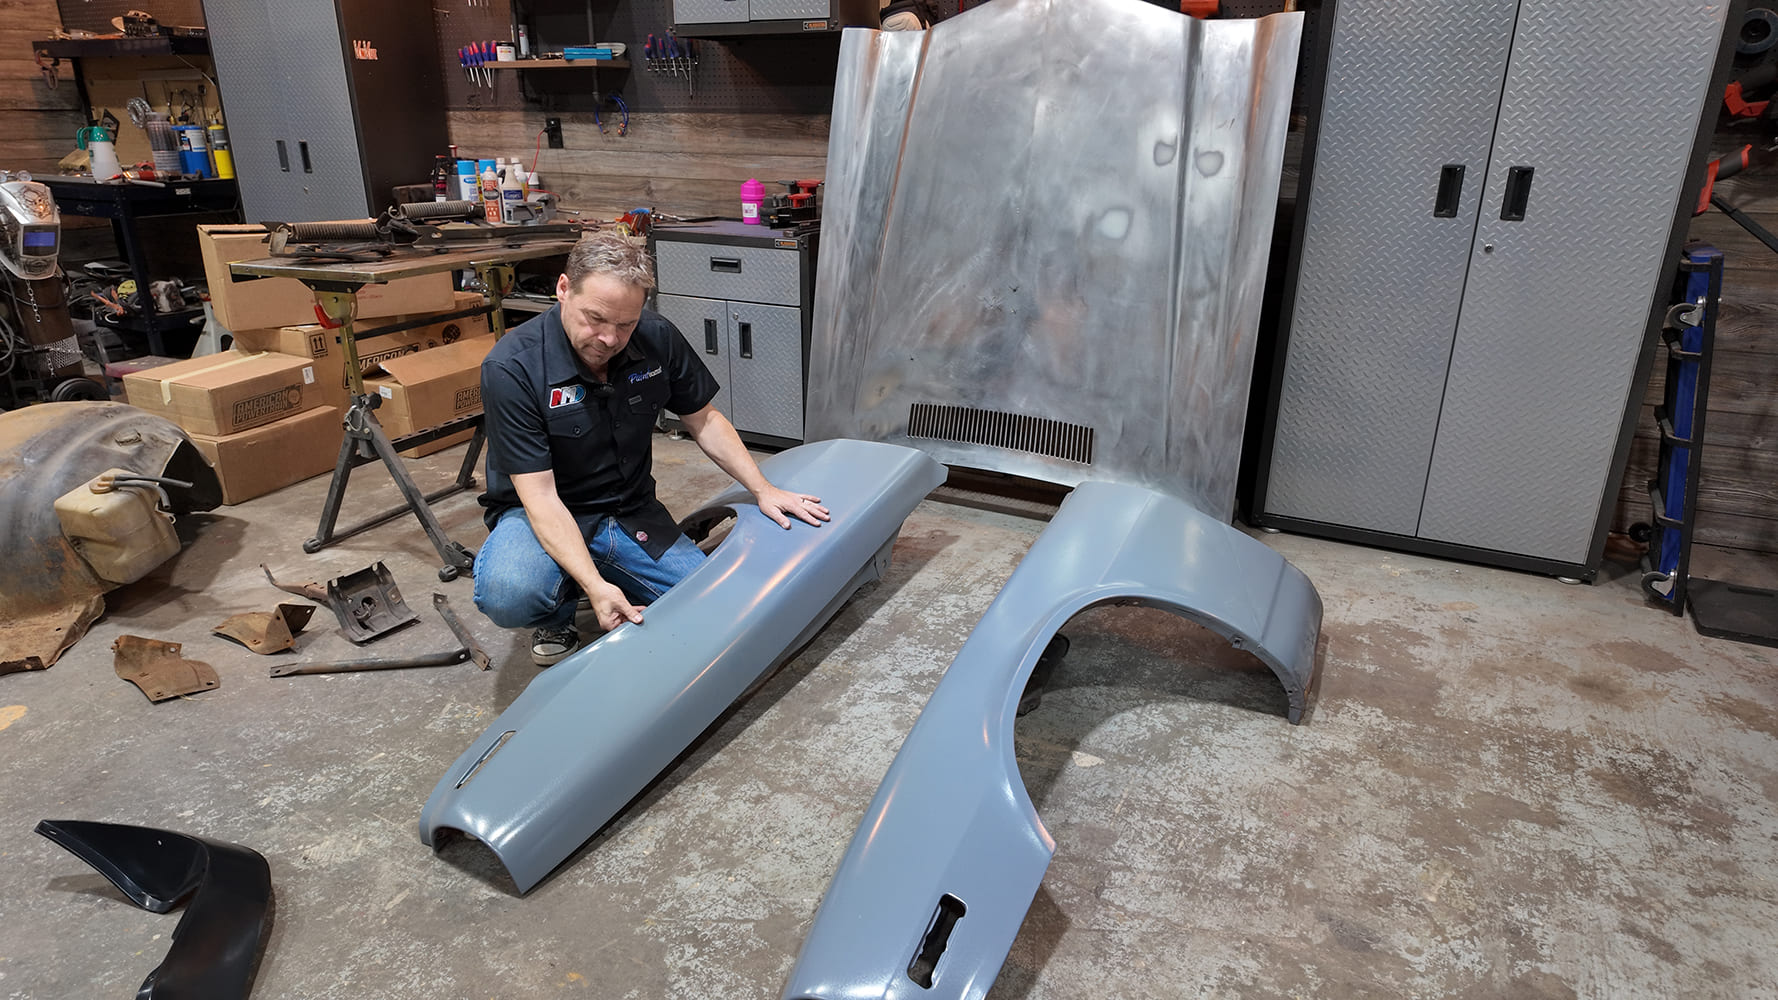
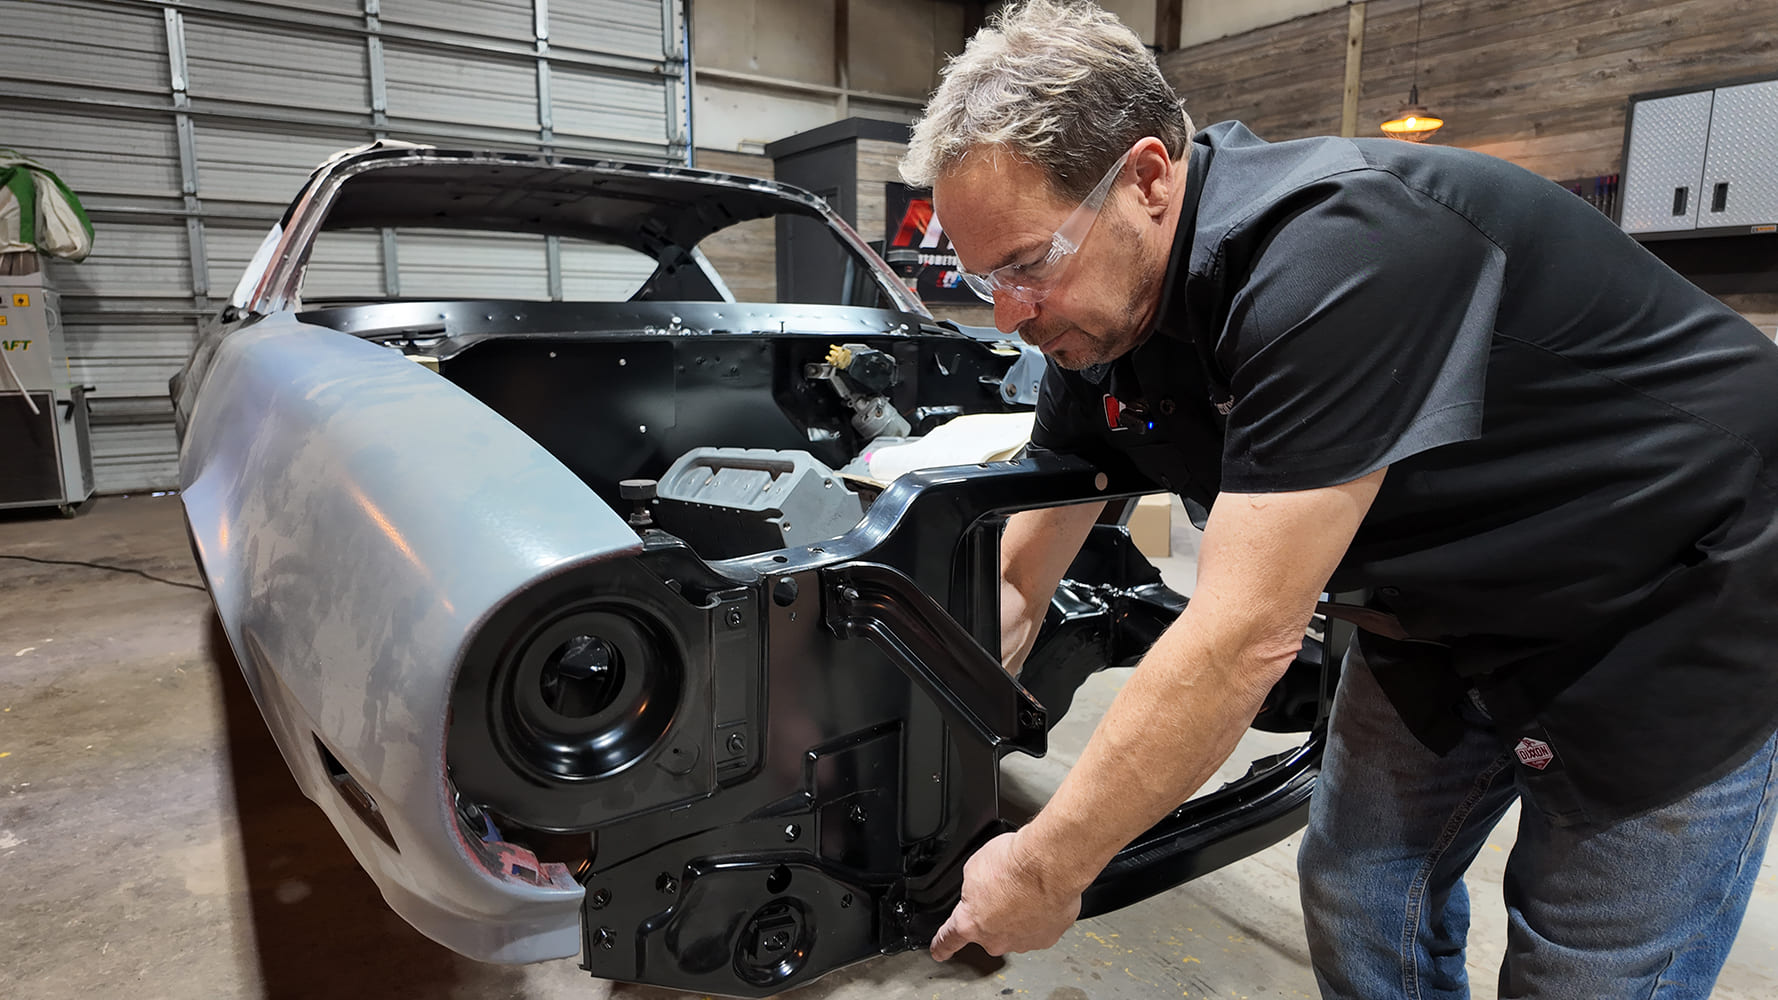
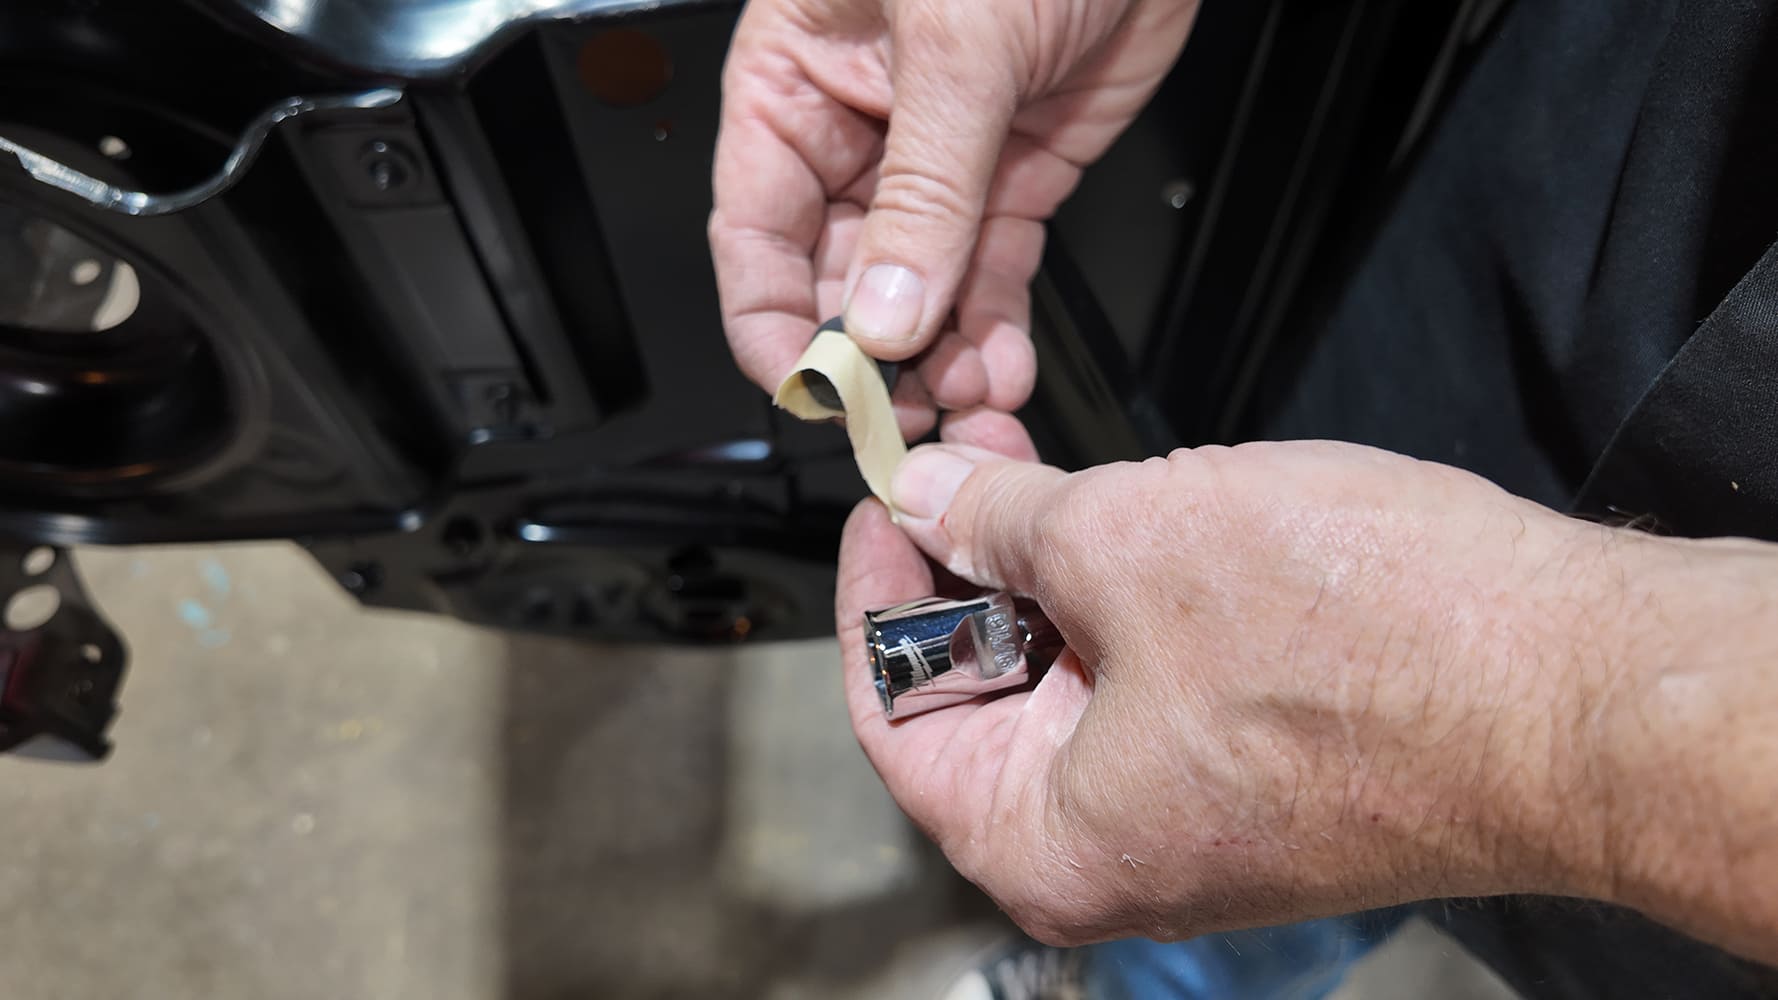
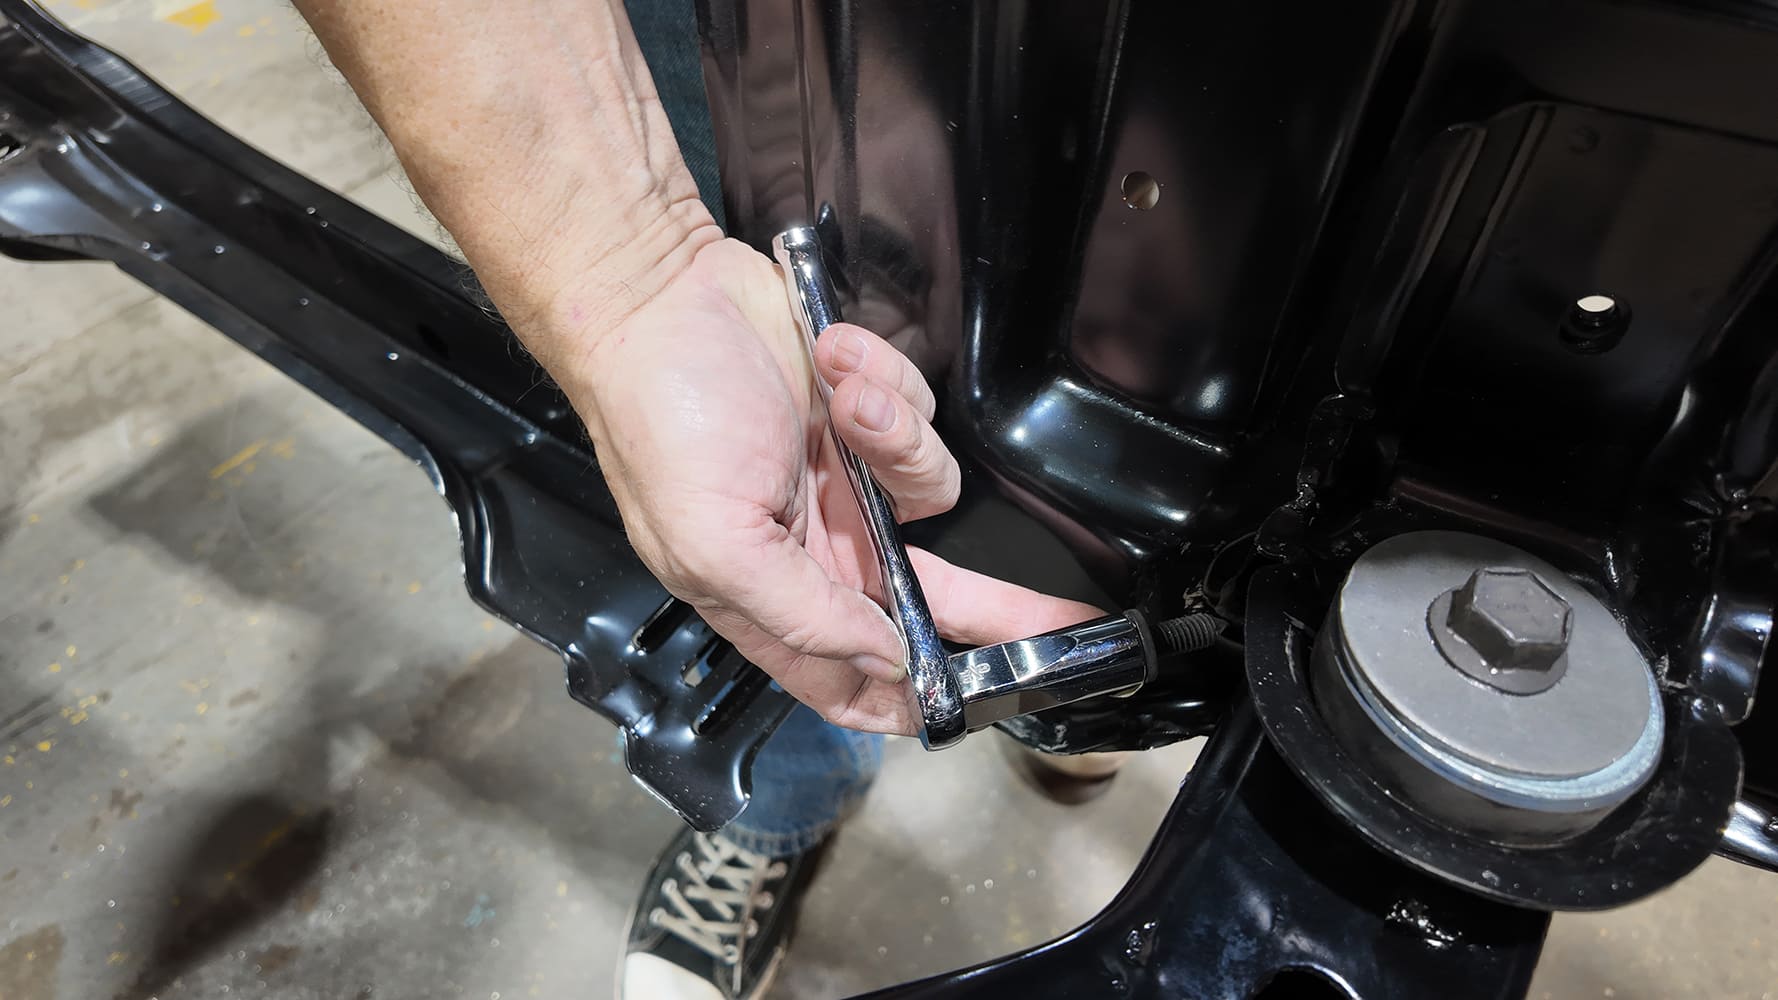
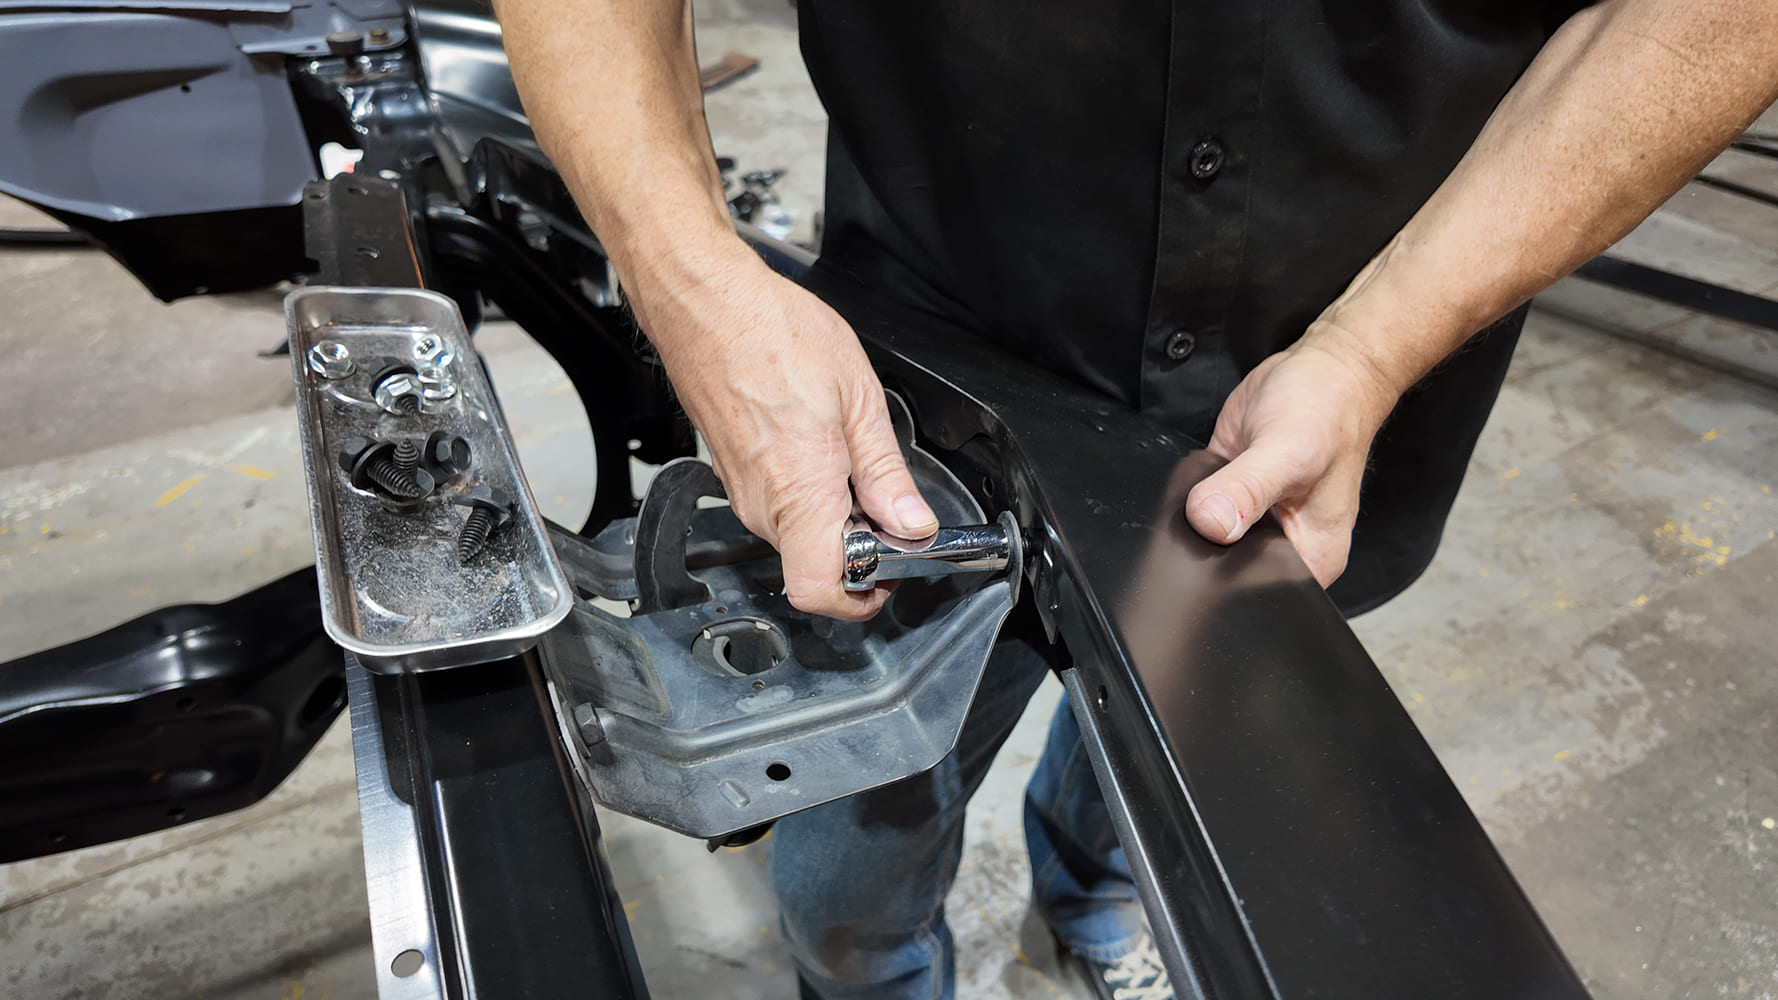
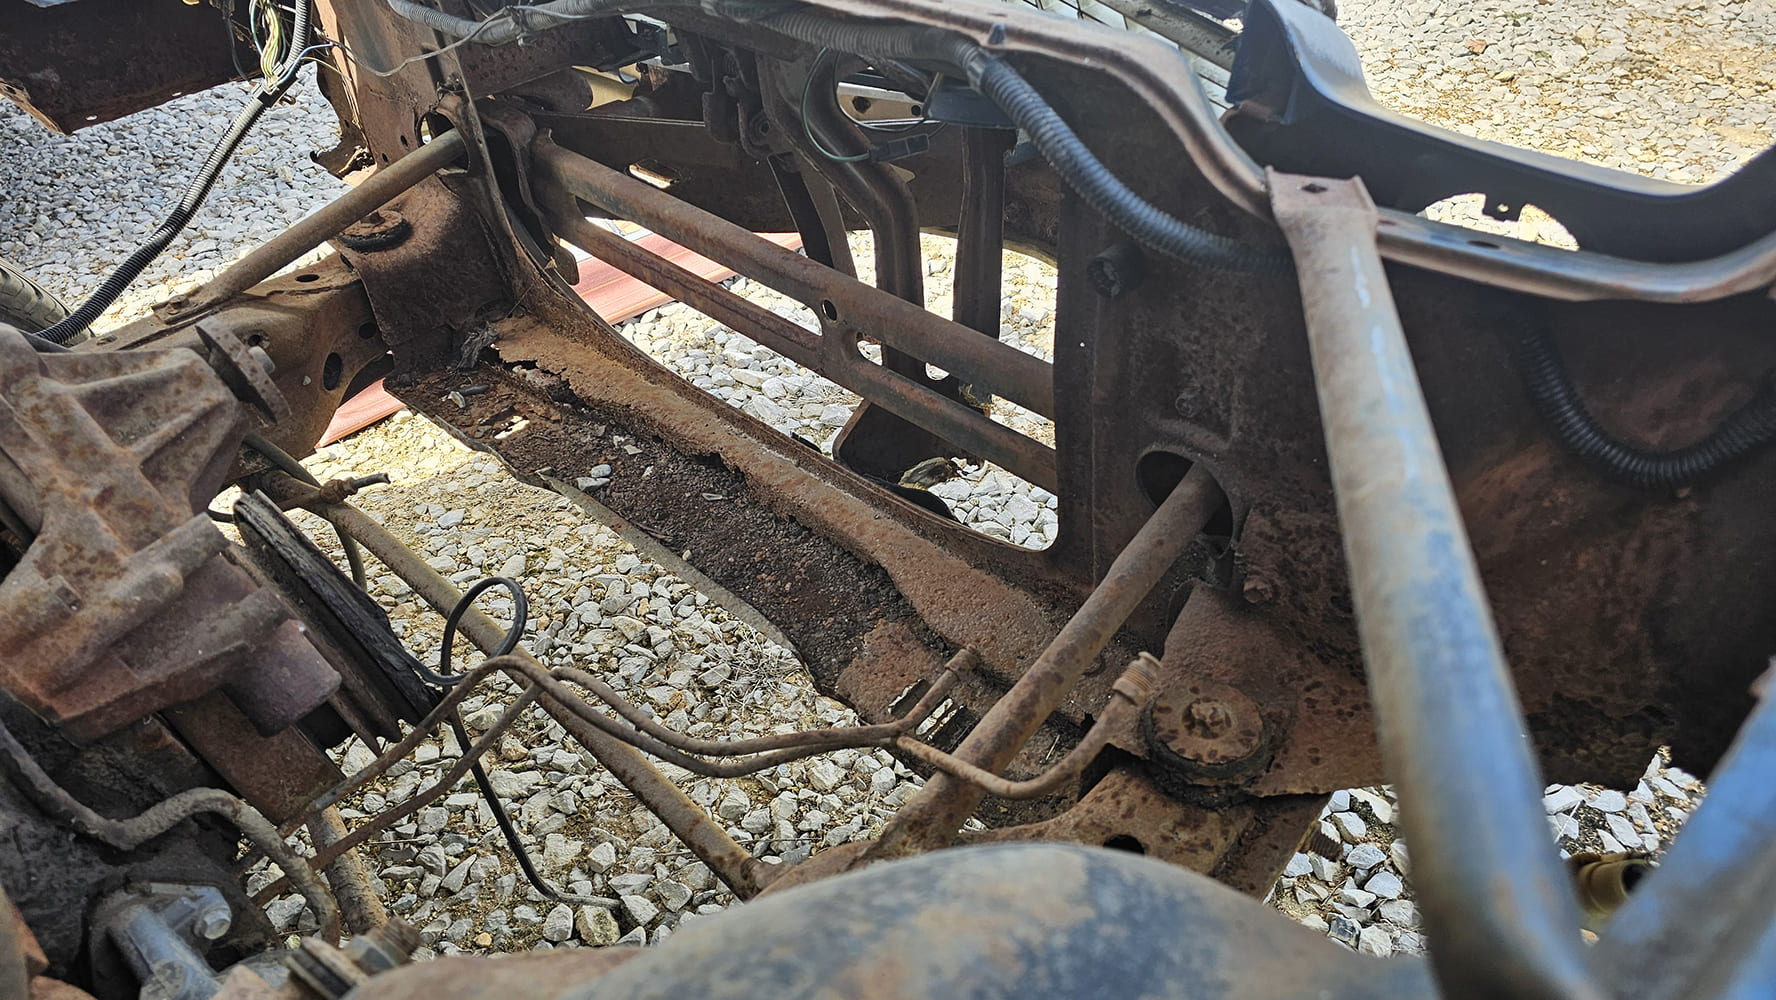
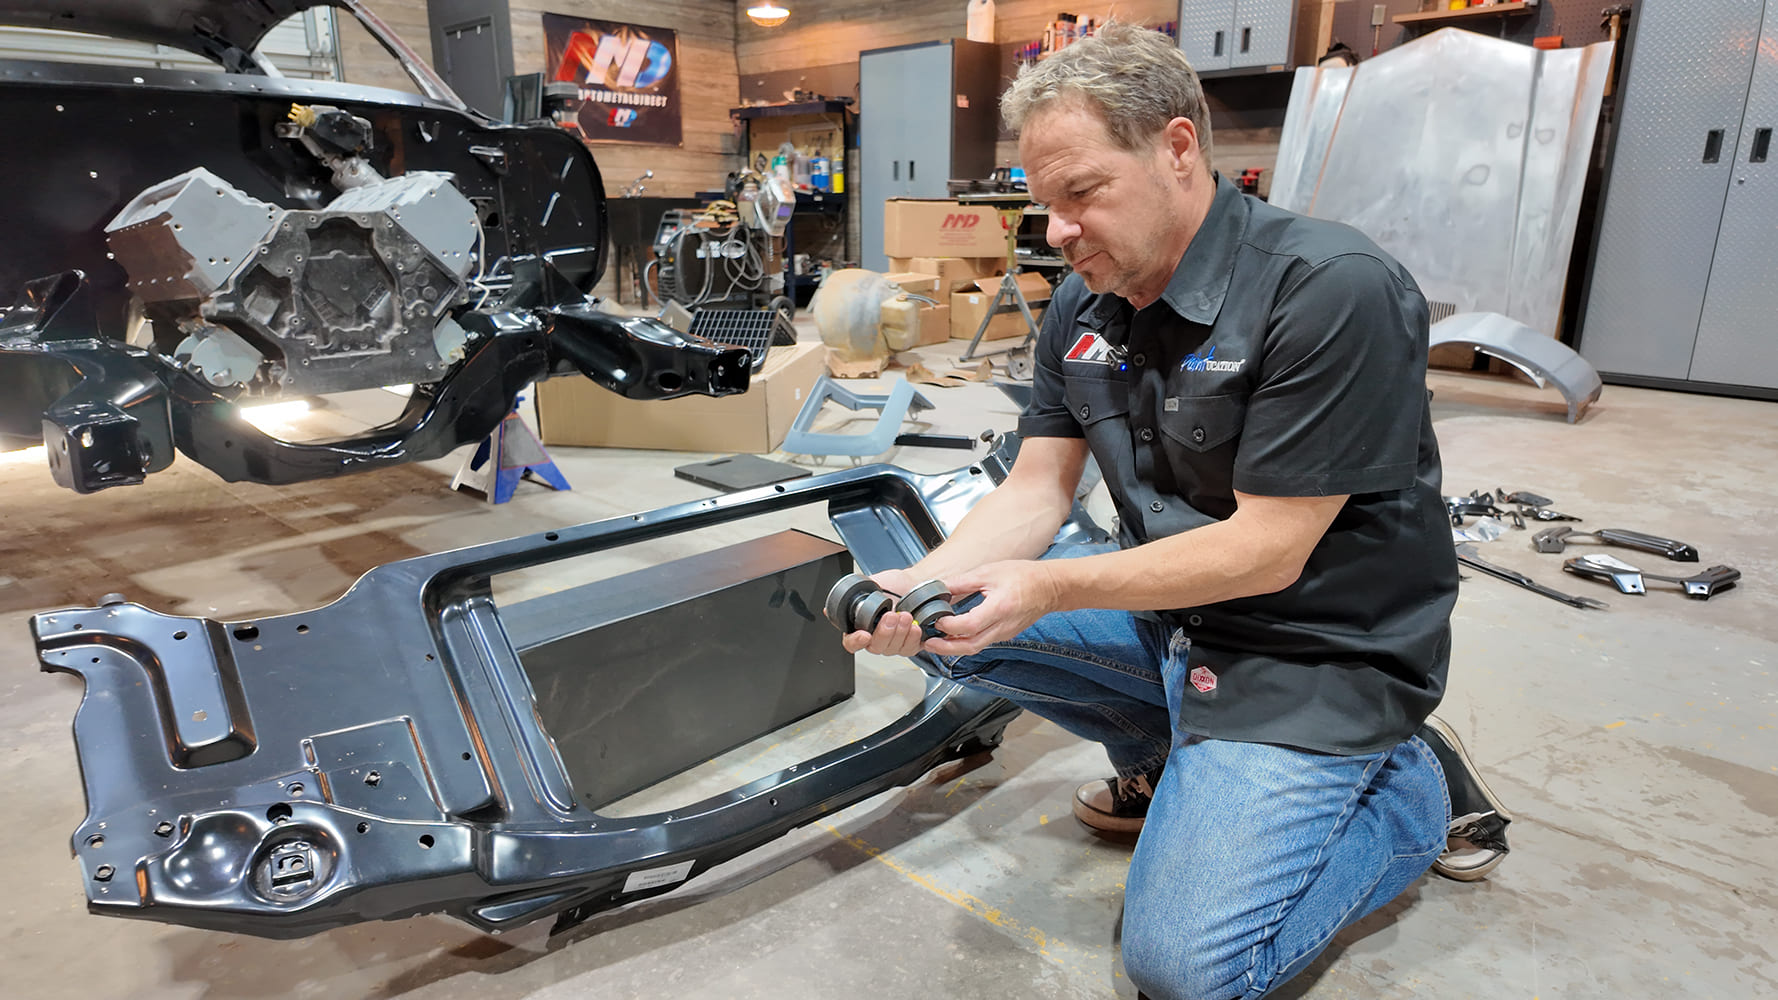
The radiator support is similar to the later version but would require fabrication to work with the 1970-73 Camaro RS nose. Ours was rusty and not worth the effort, so we ordered a new one from AMD, along with support bushings and hardware, giving us a proper foundation for mounting all the RS goodness.

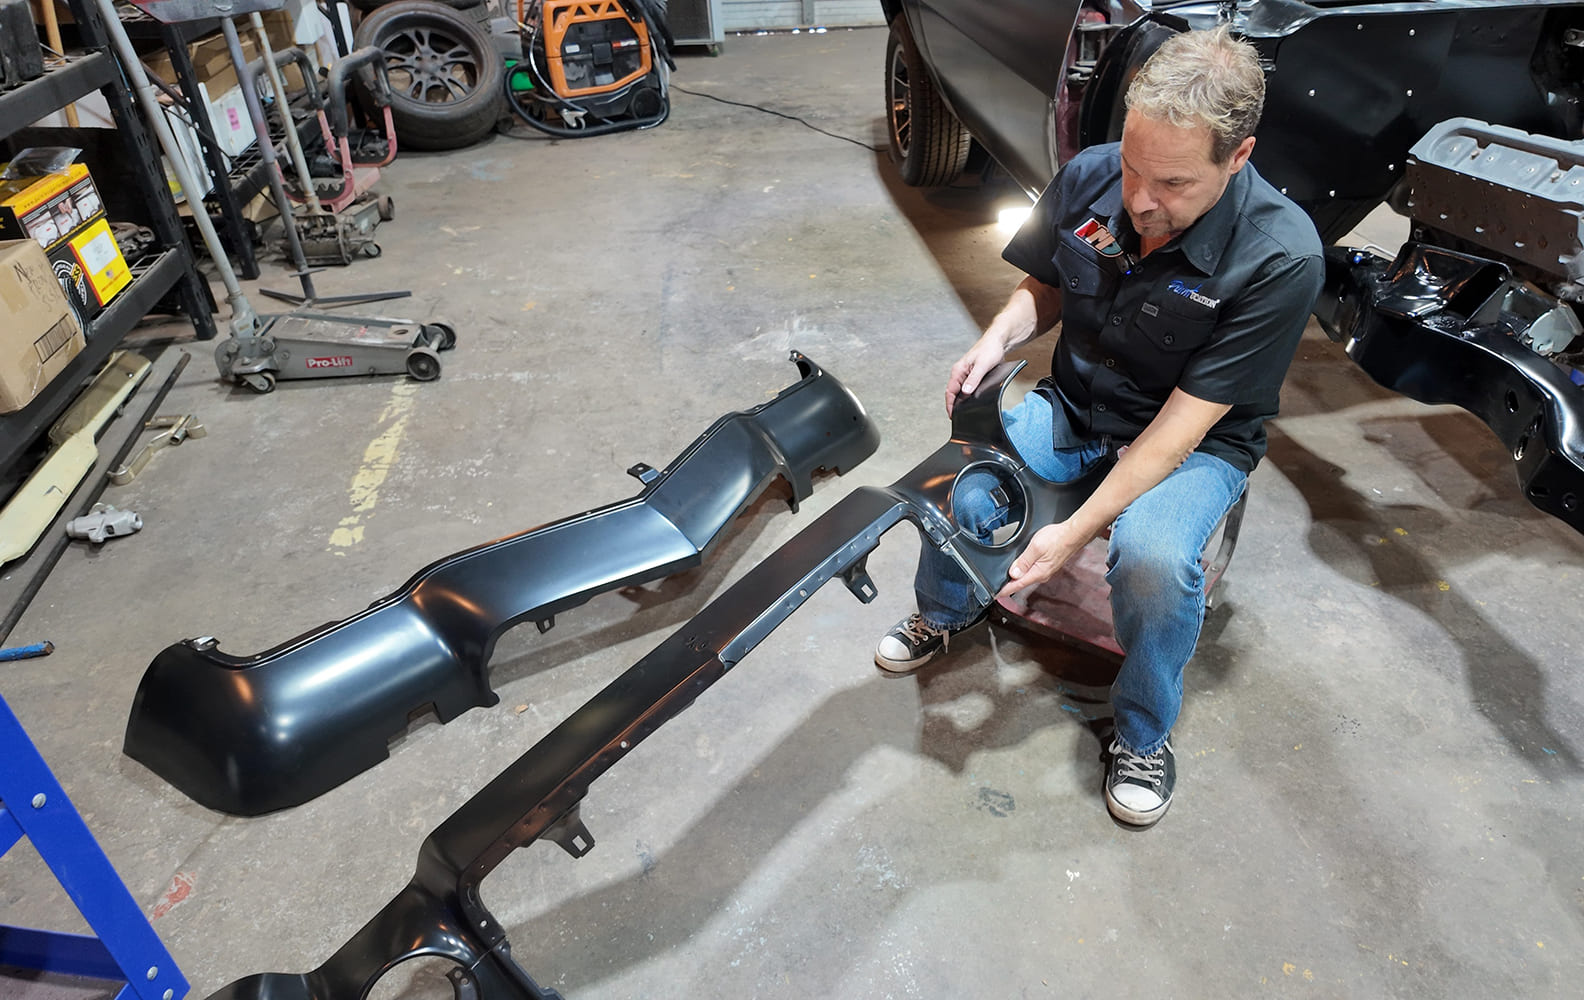
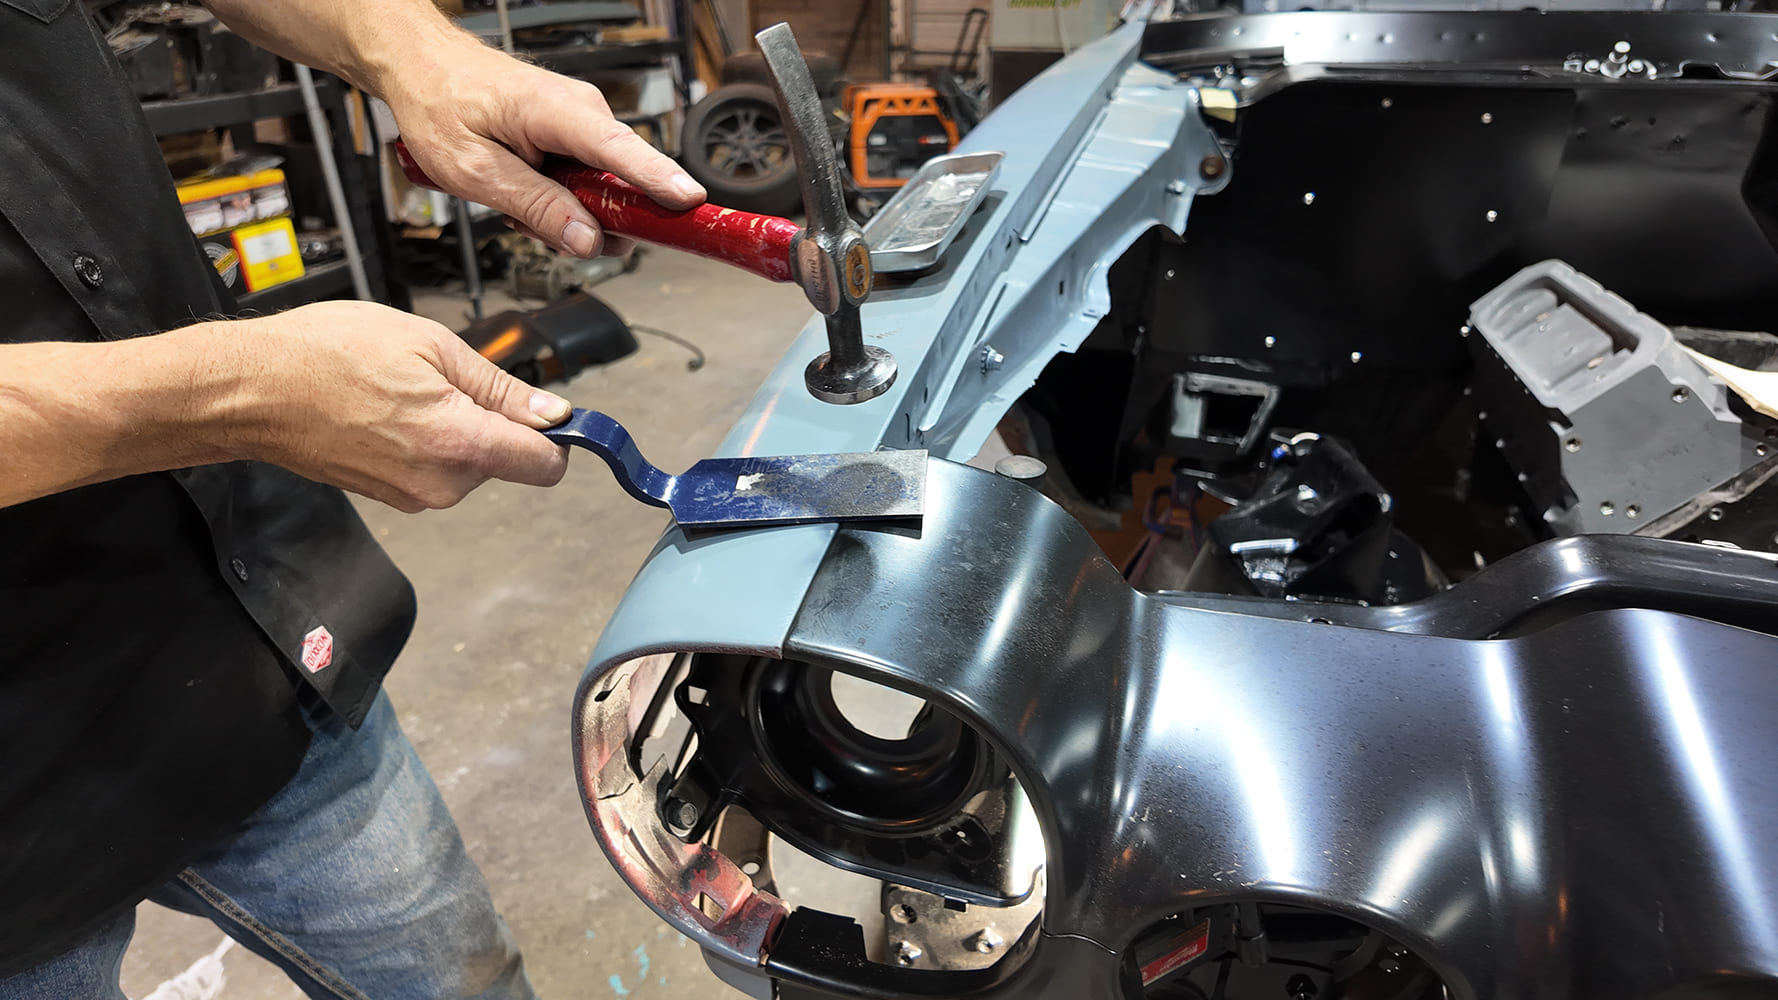
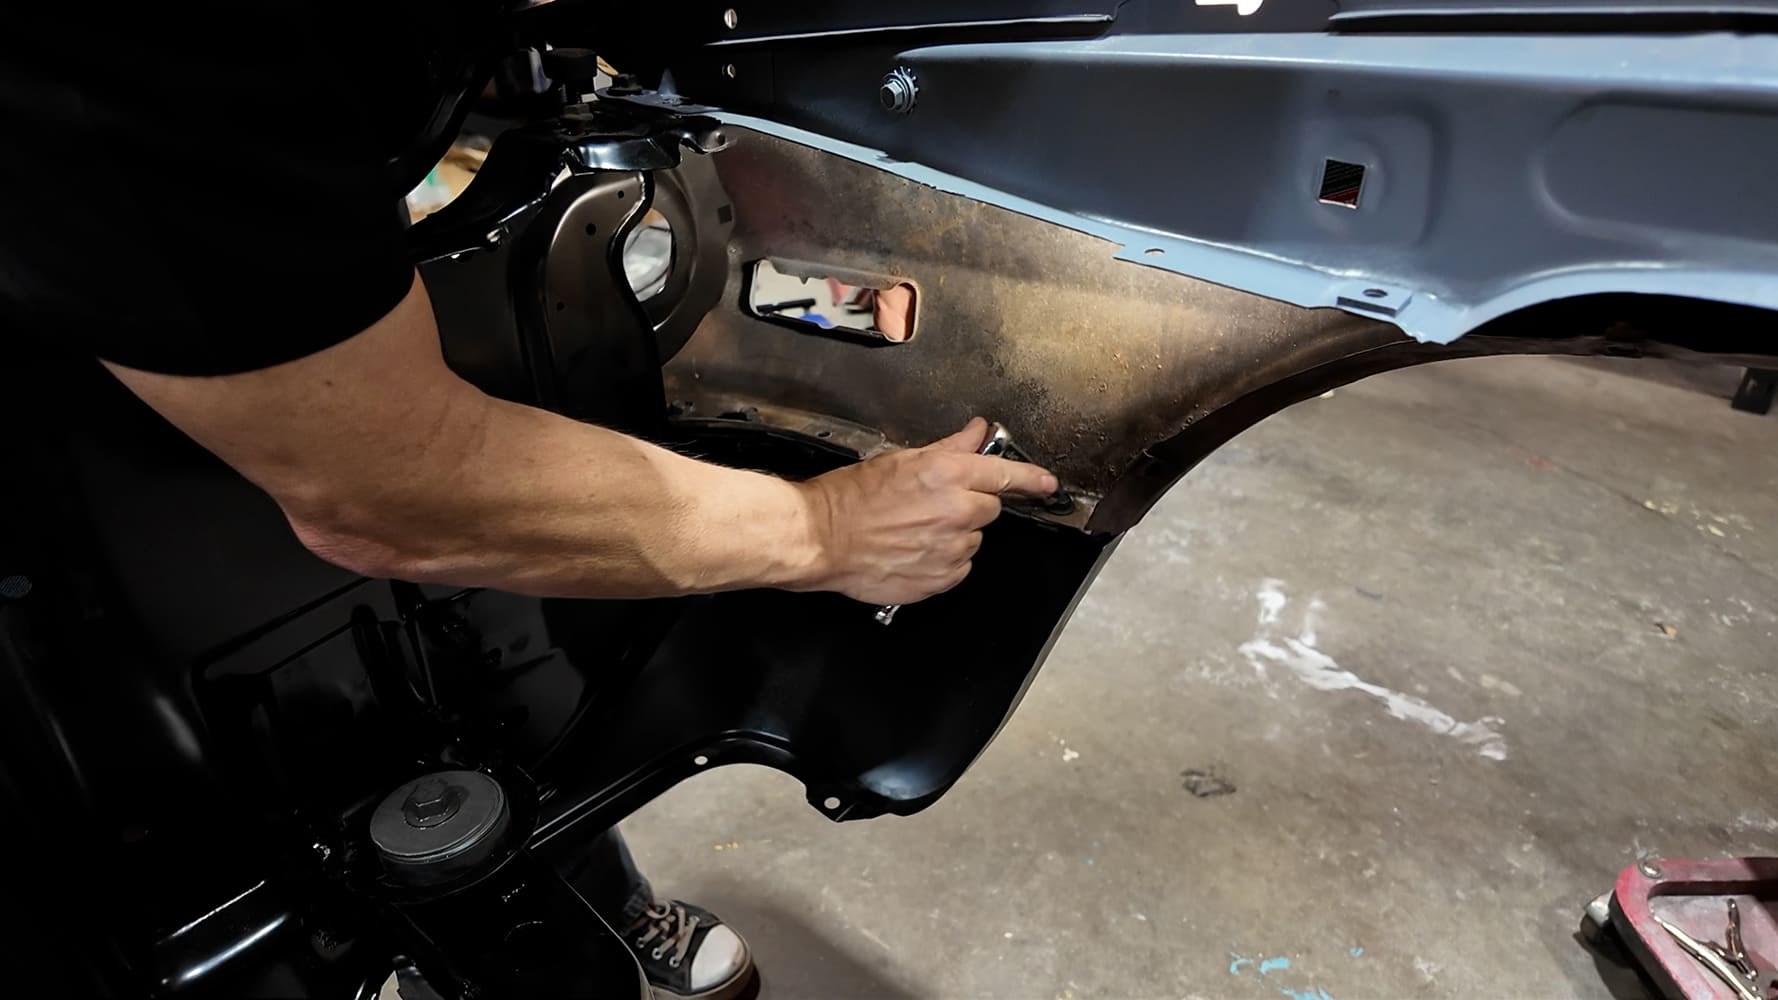
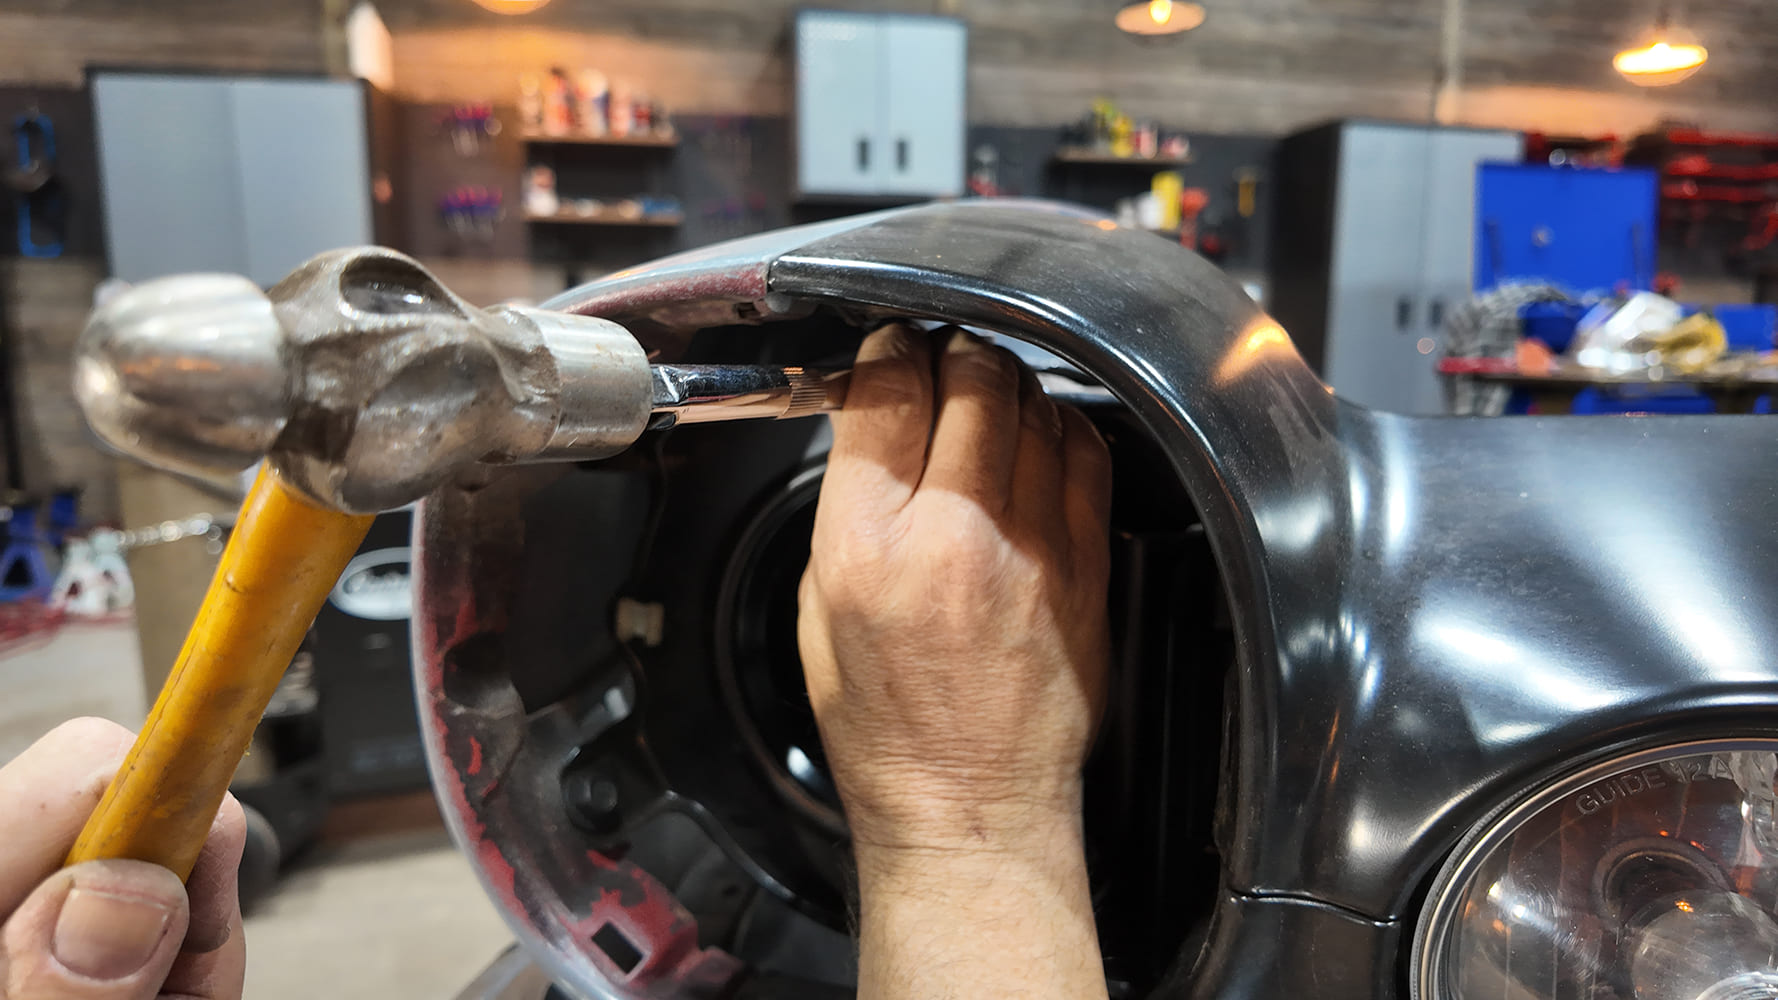
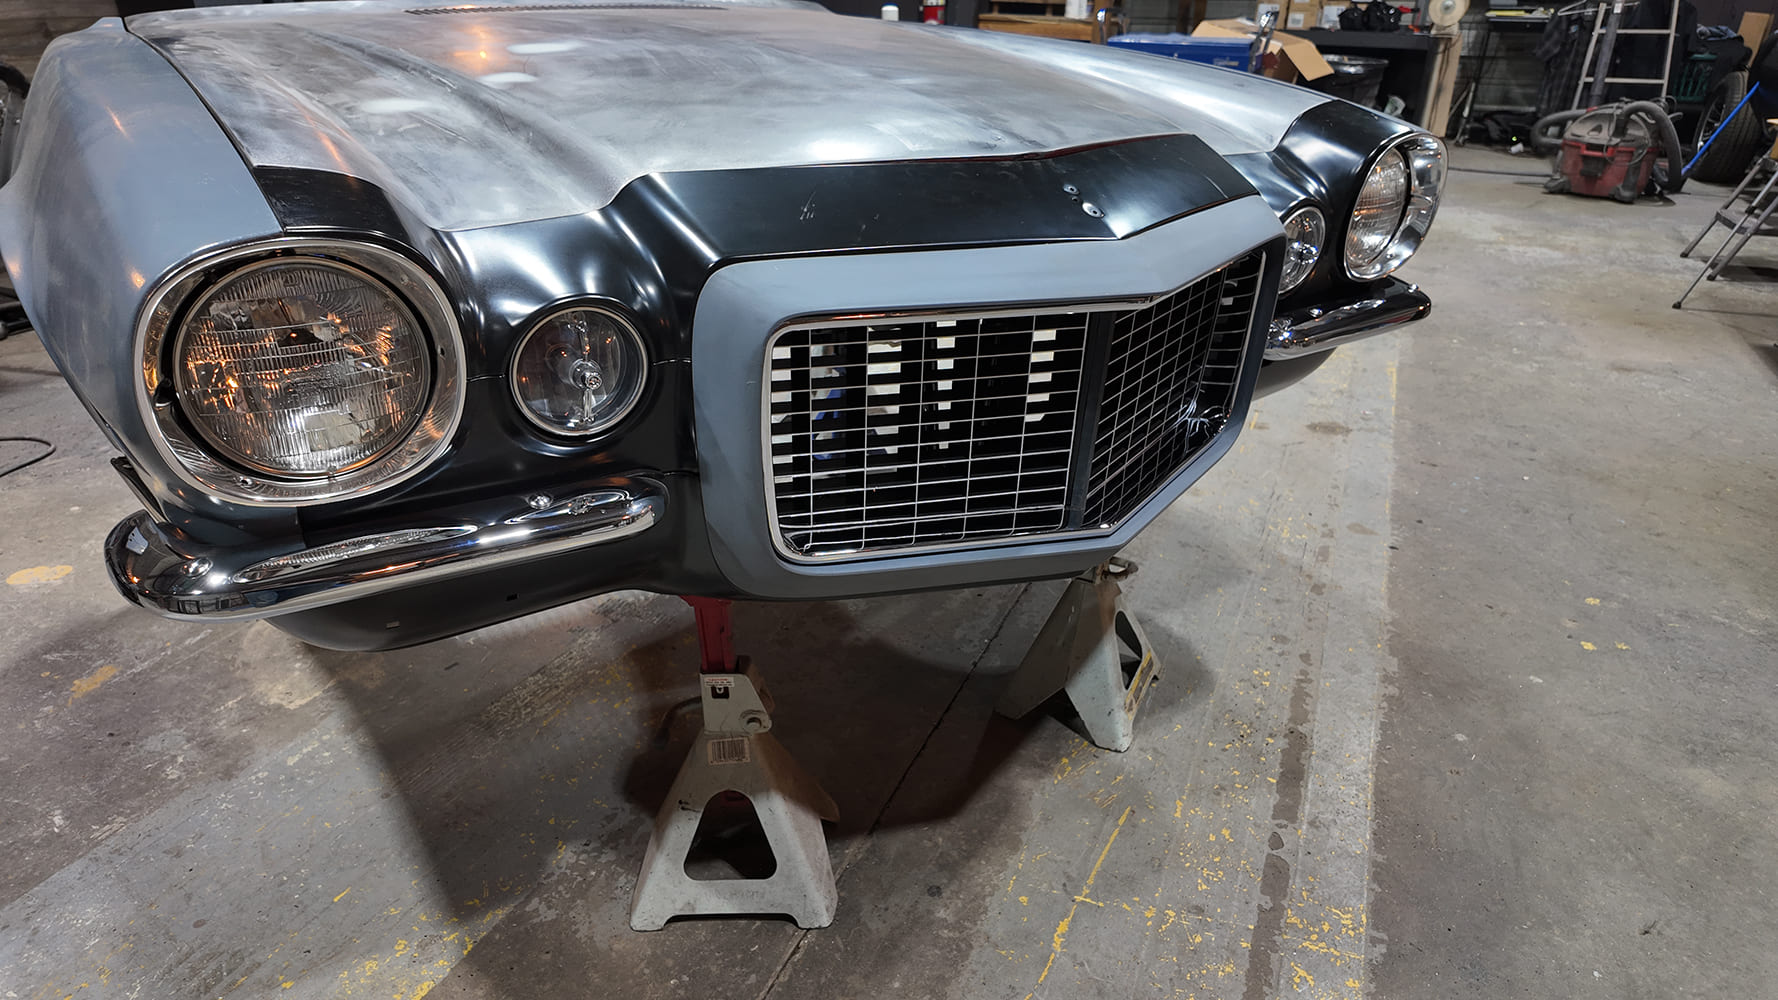
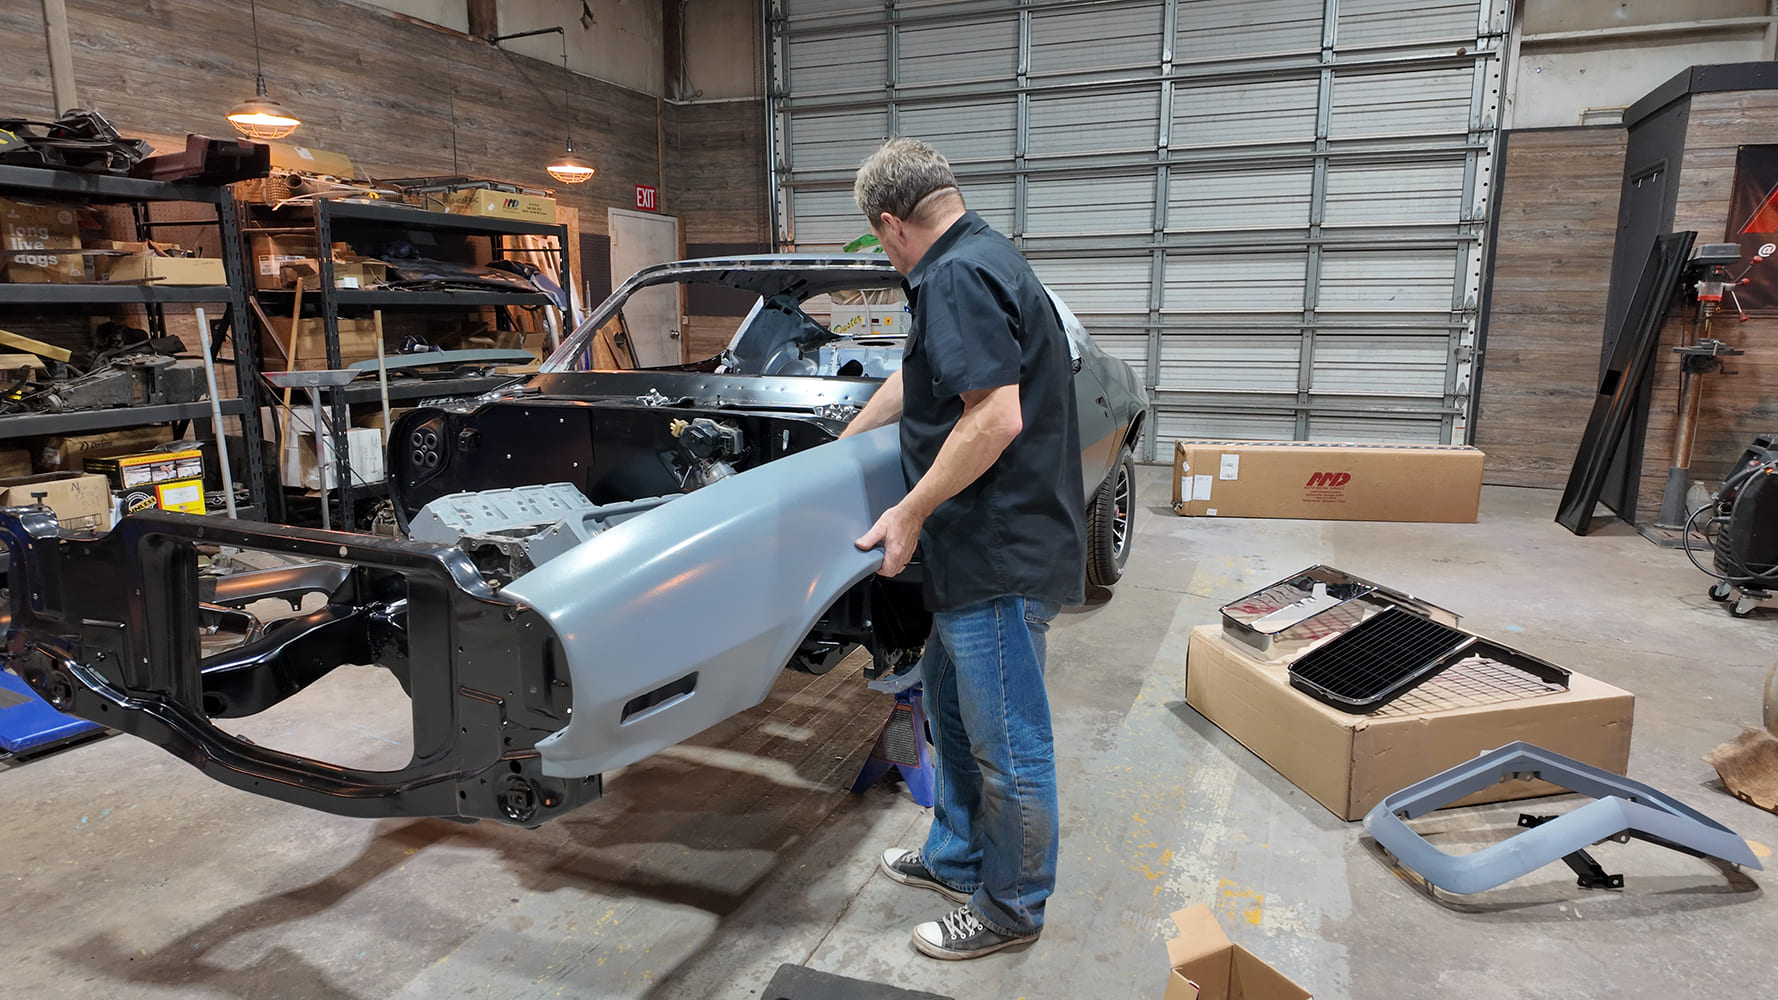
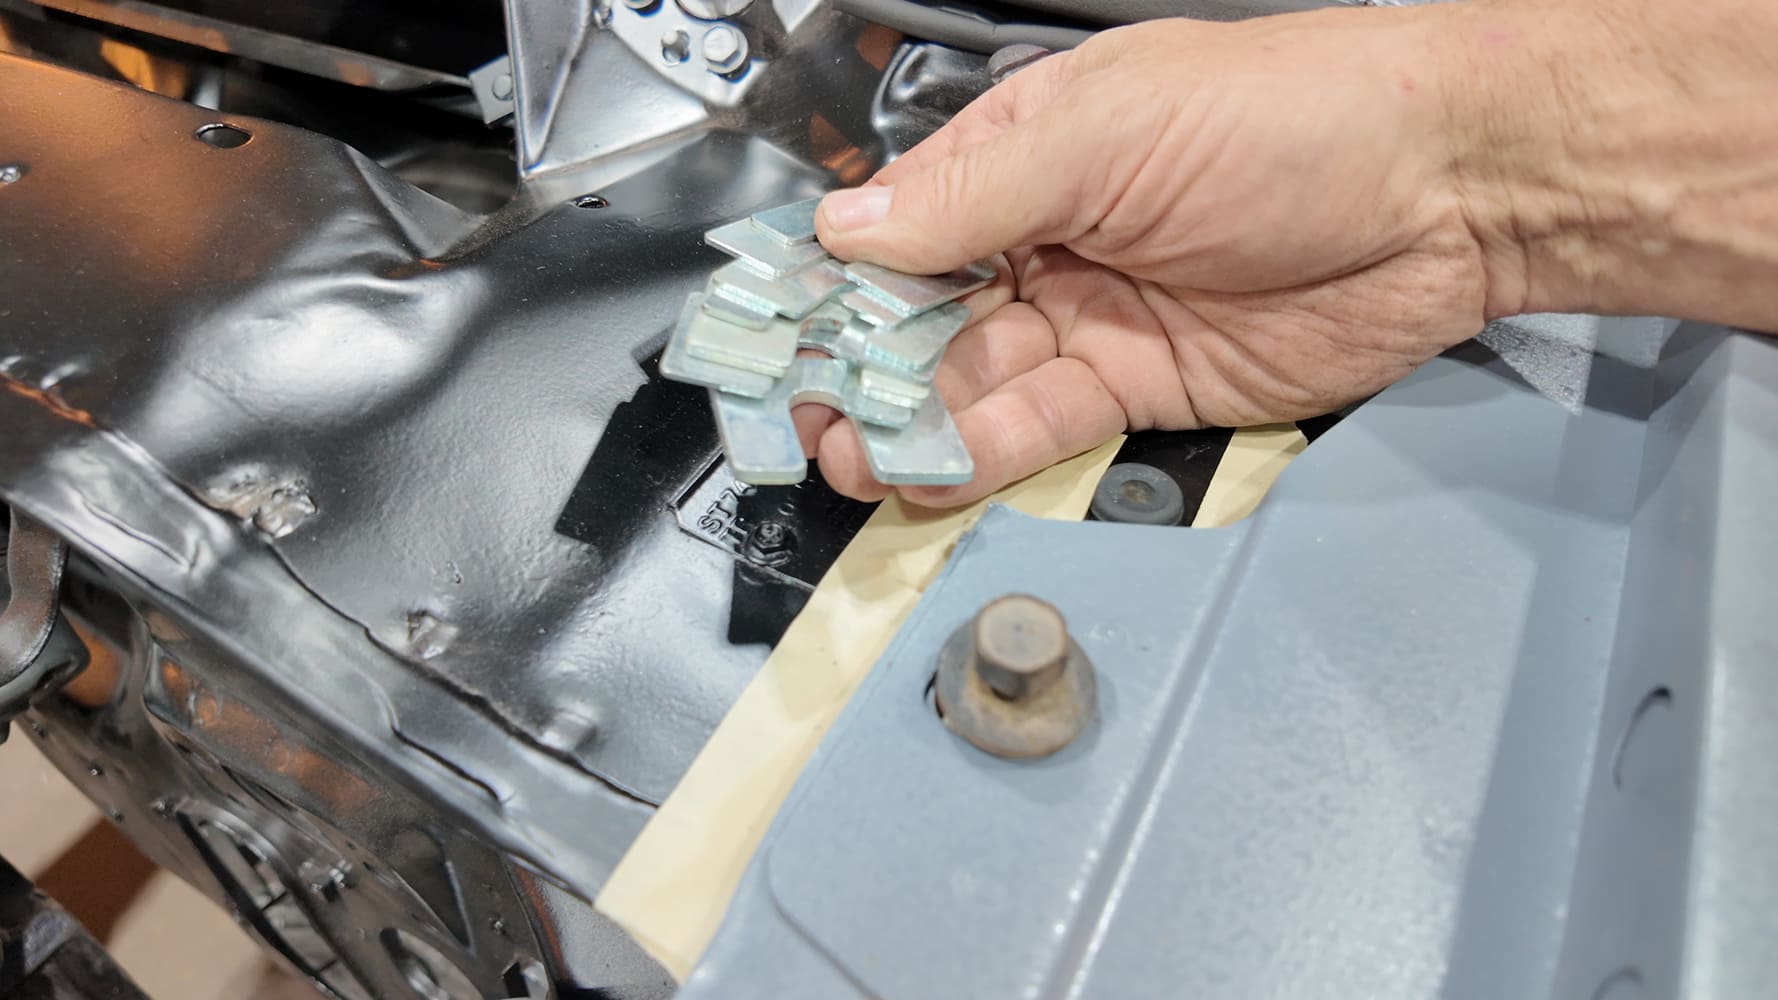
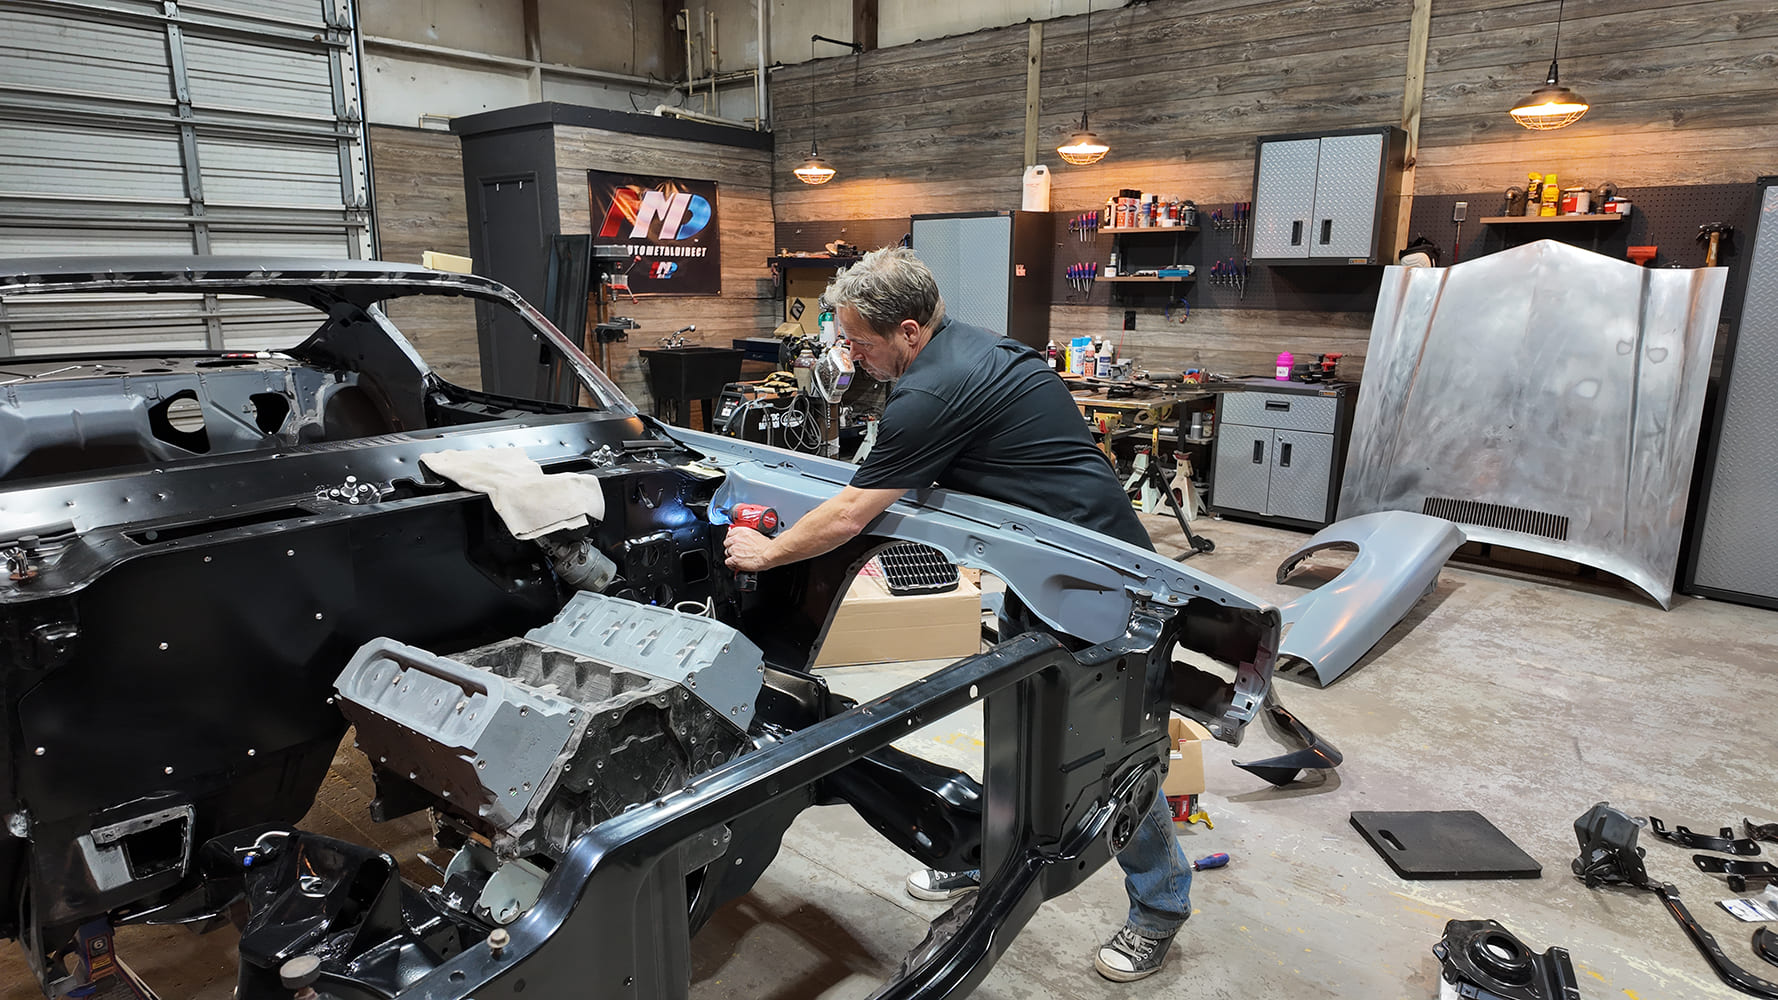
Next, the fenders go on, and the new two-piece header and valance are hung from the support and fenders. This really shows the quality fit of AMD’s panels. Only a few minor modifications were needed to make everything together, even with a mix of vintage and aftermarket parts.
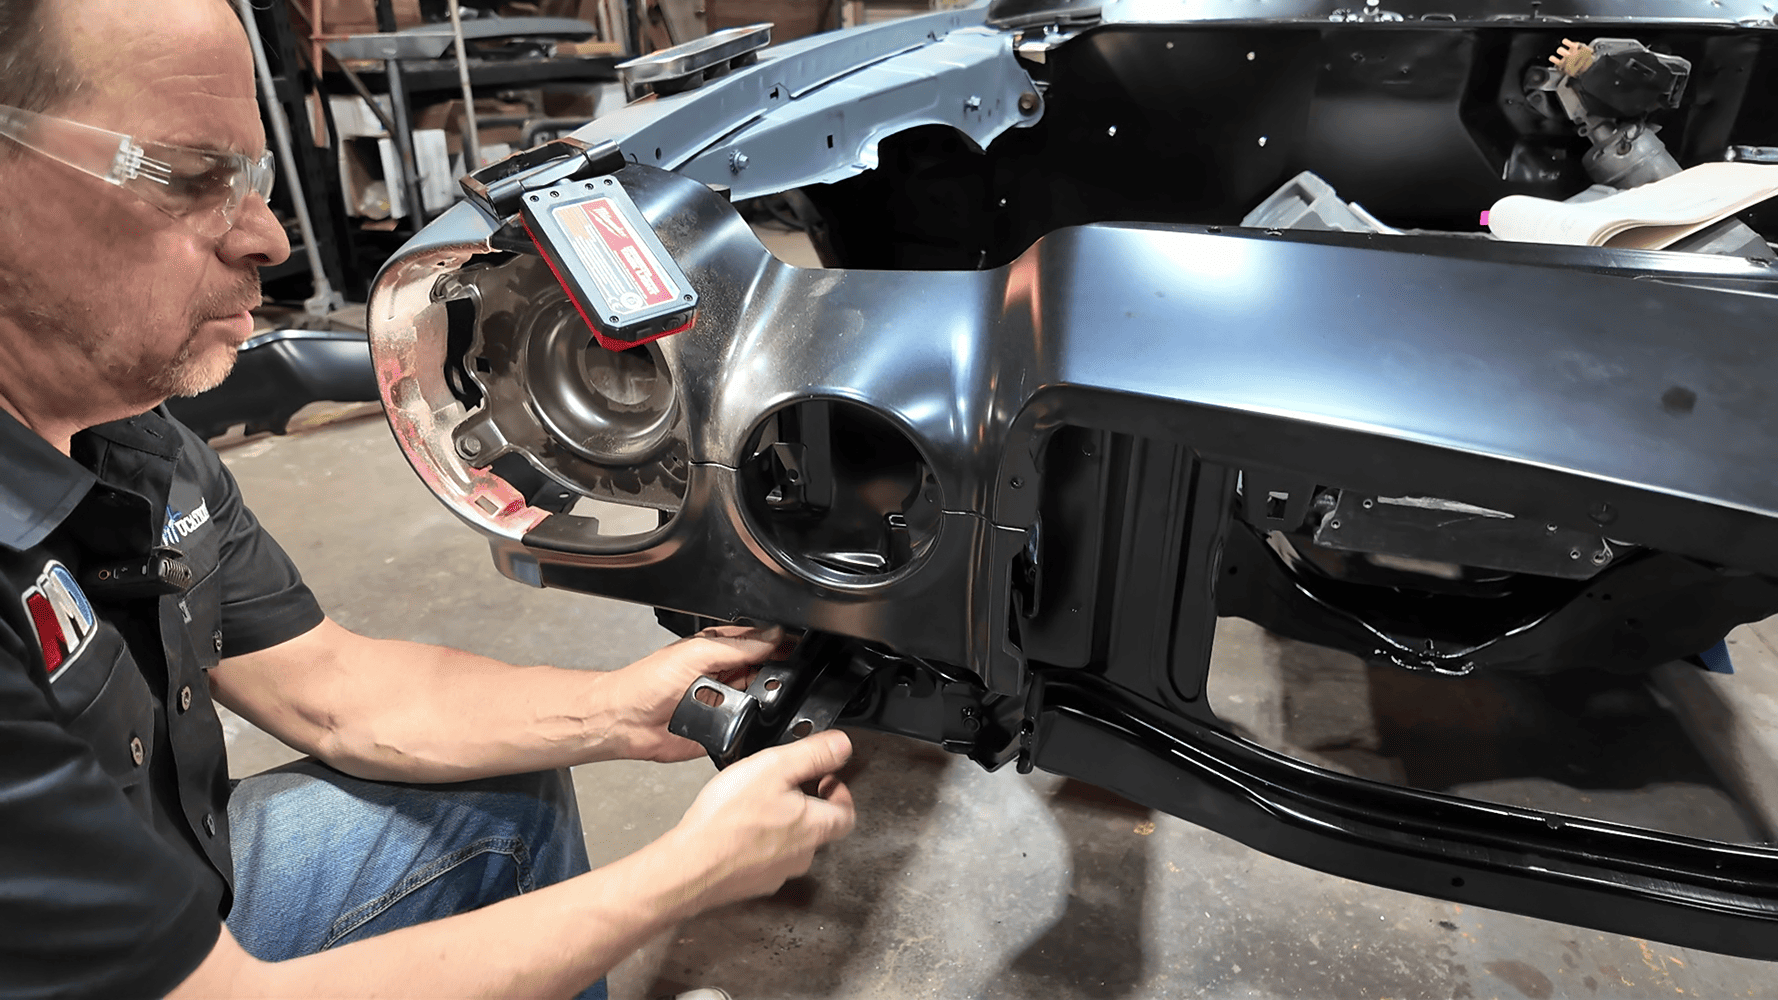
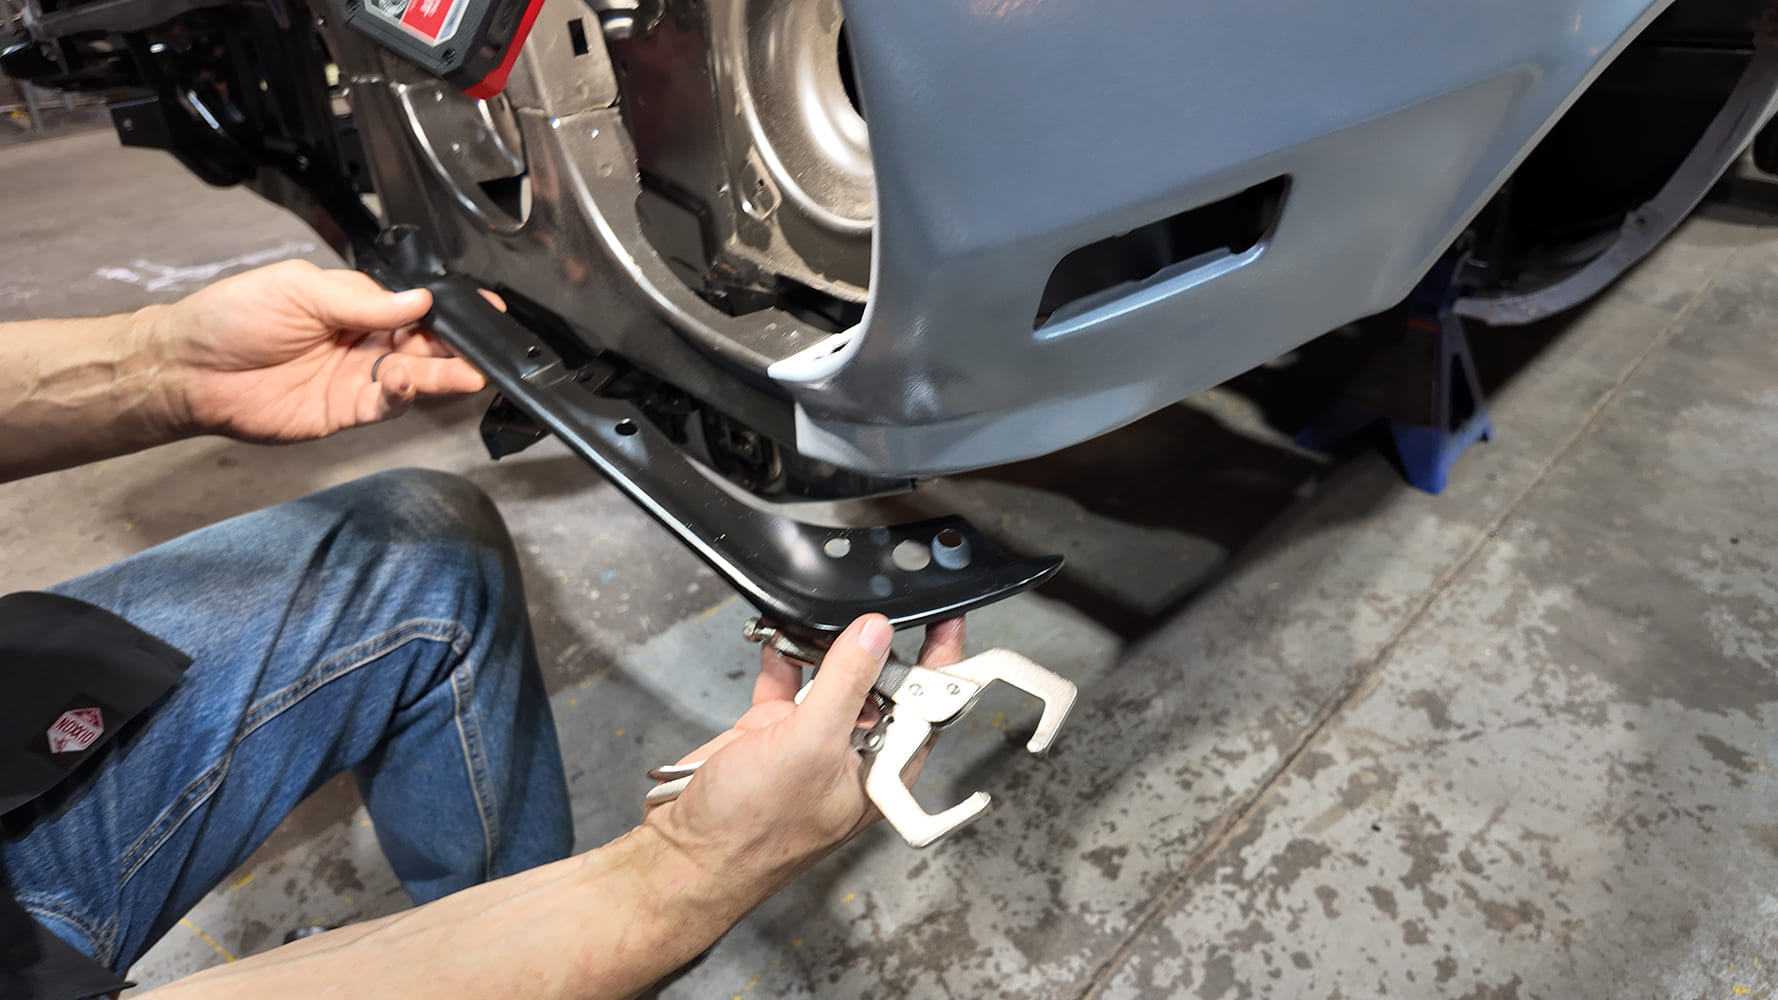
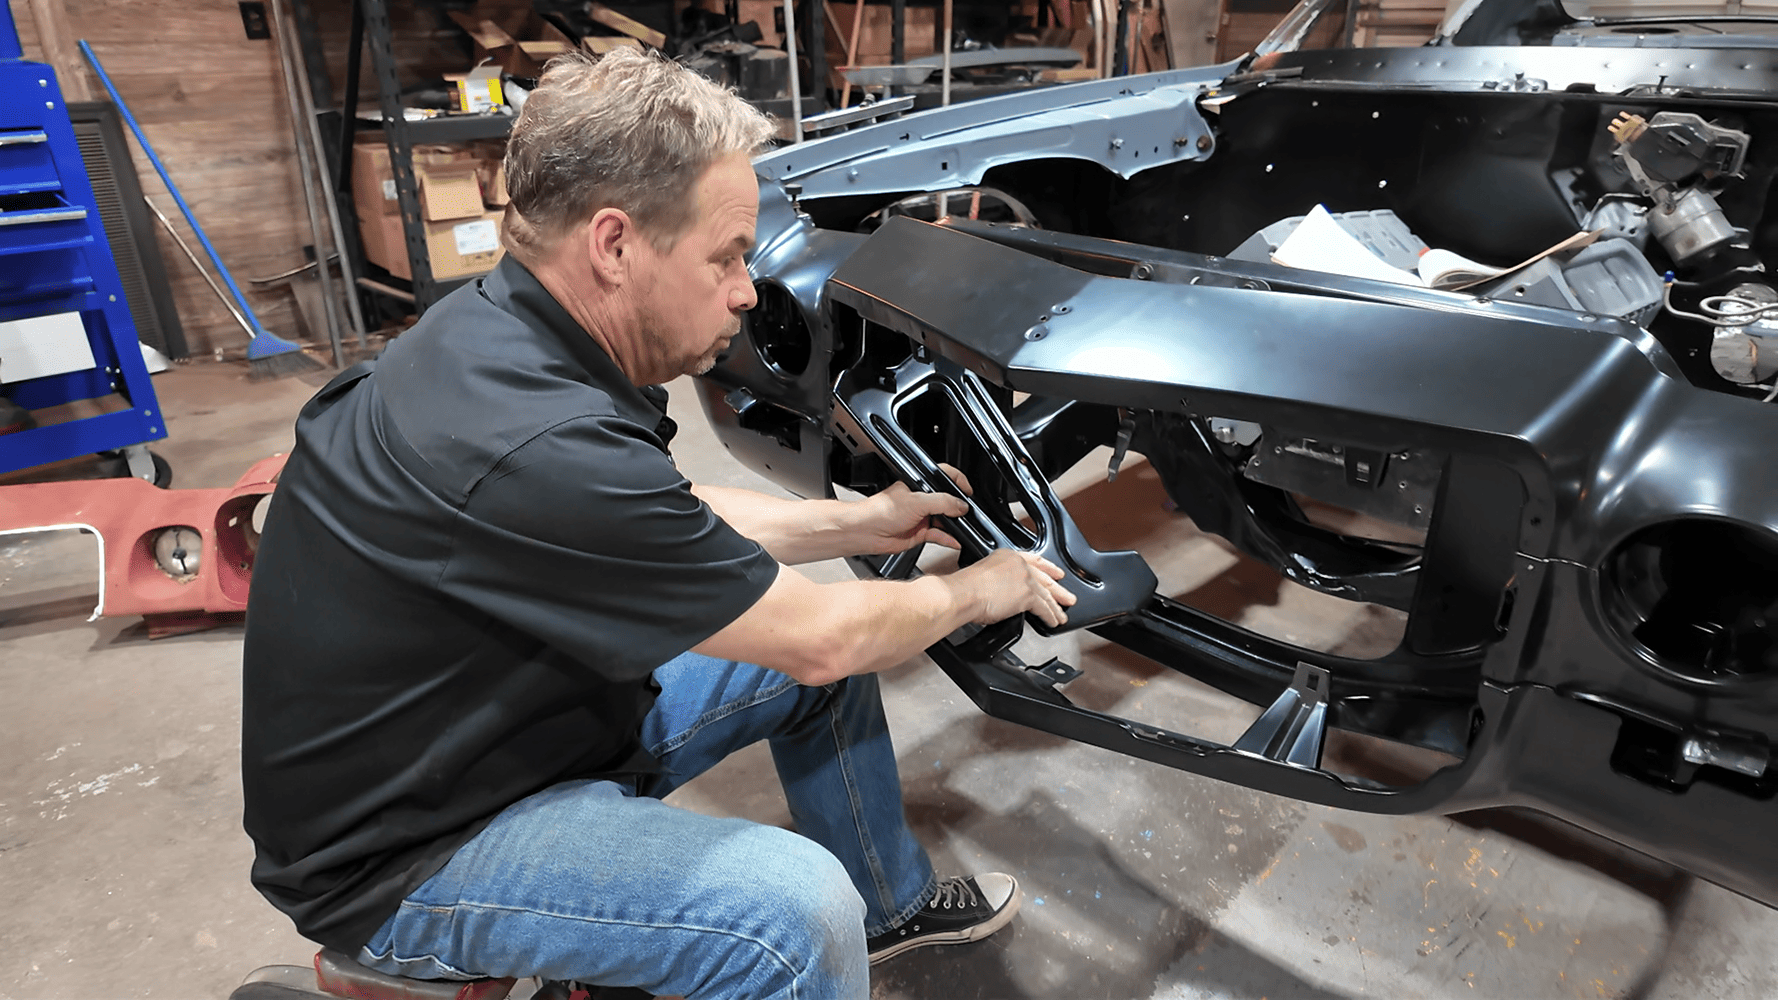
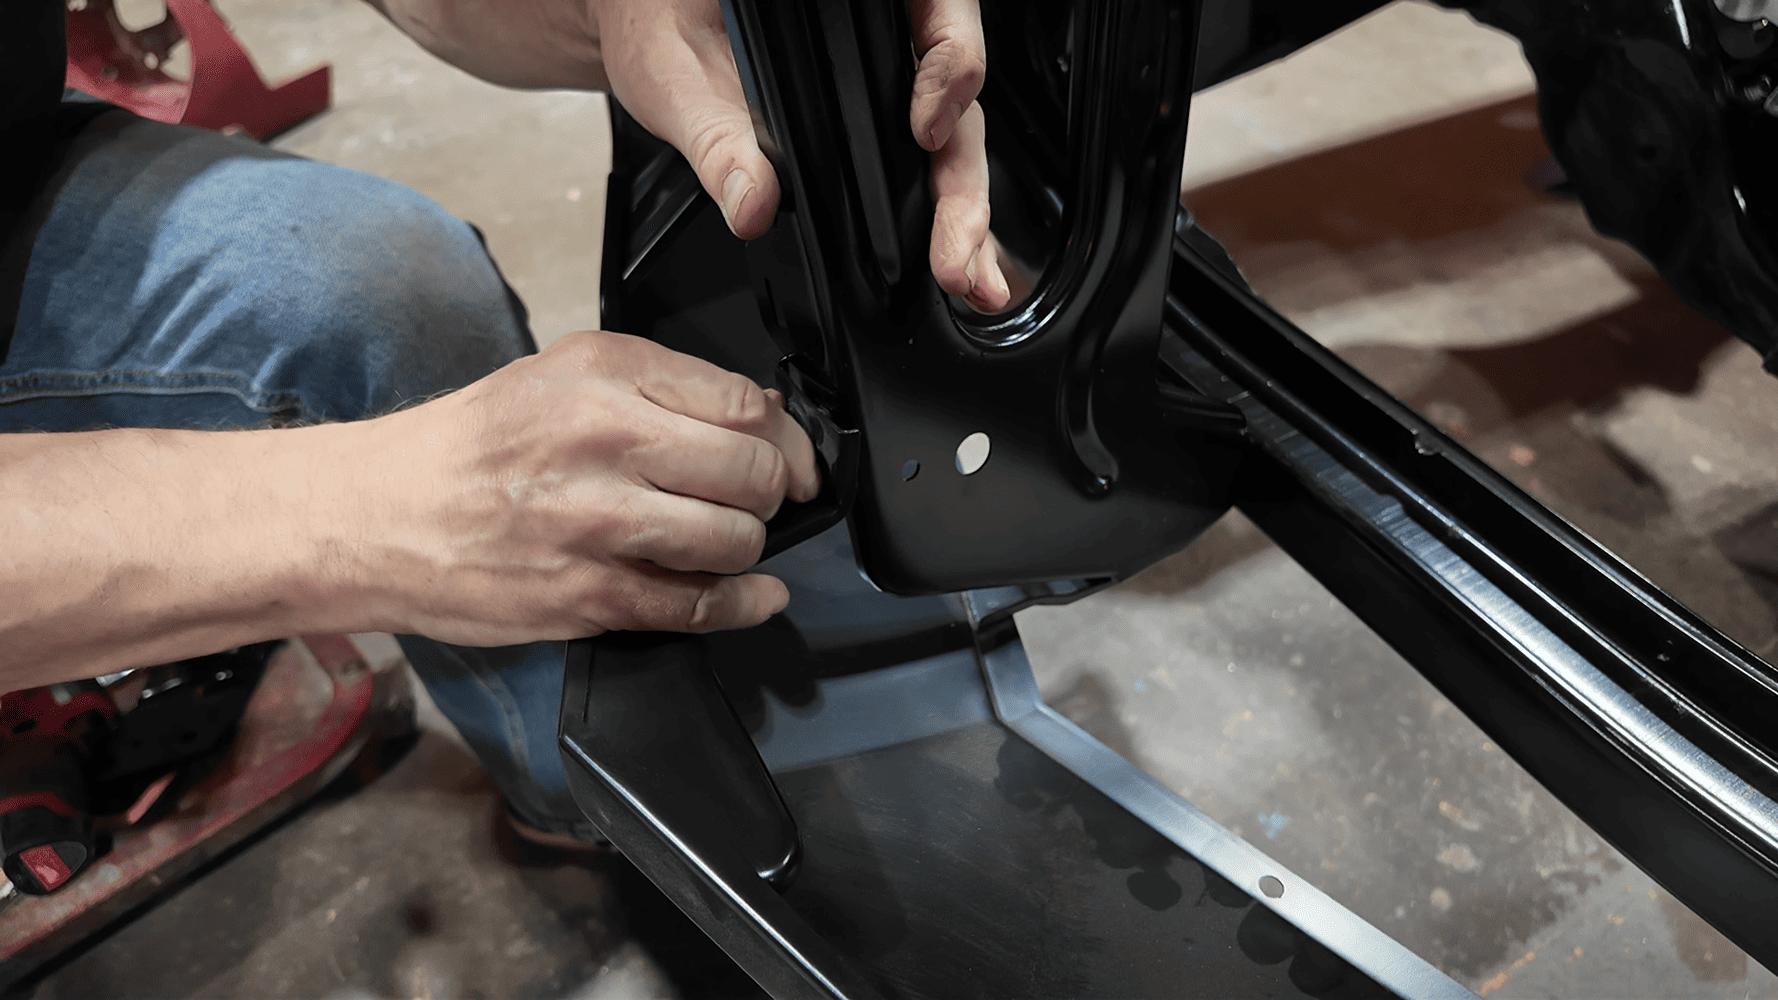
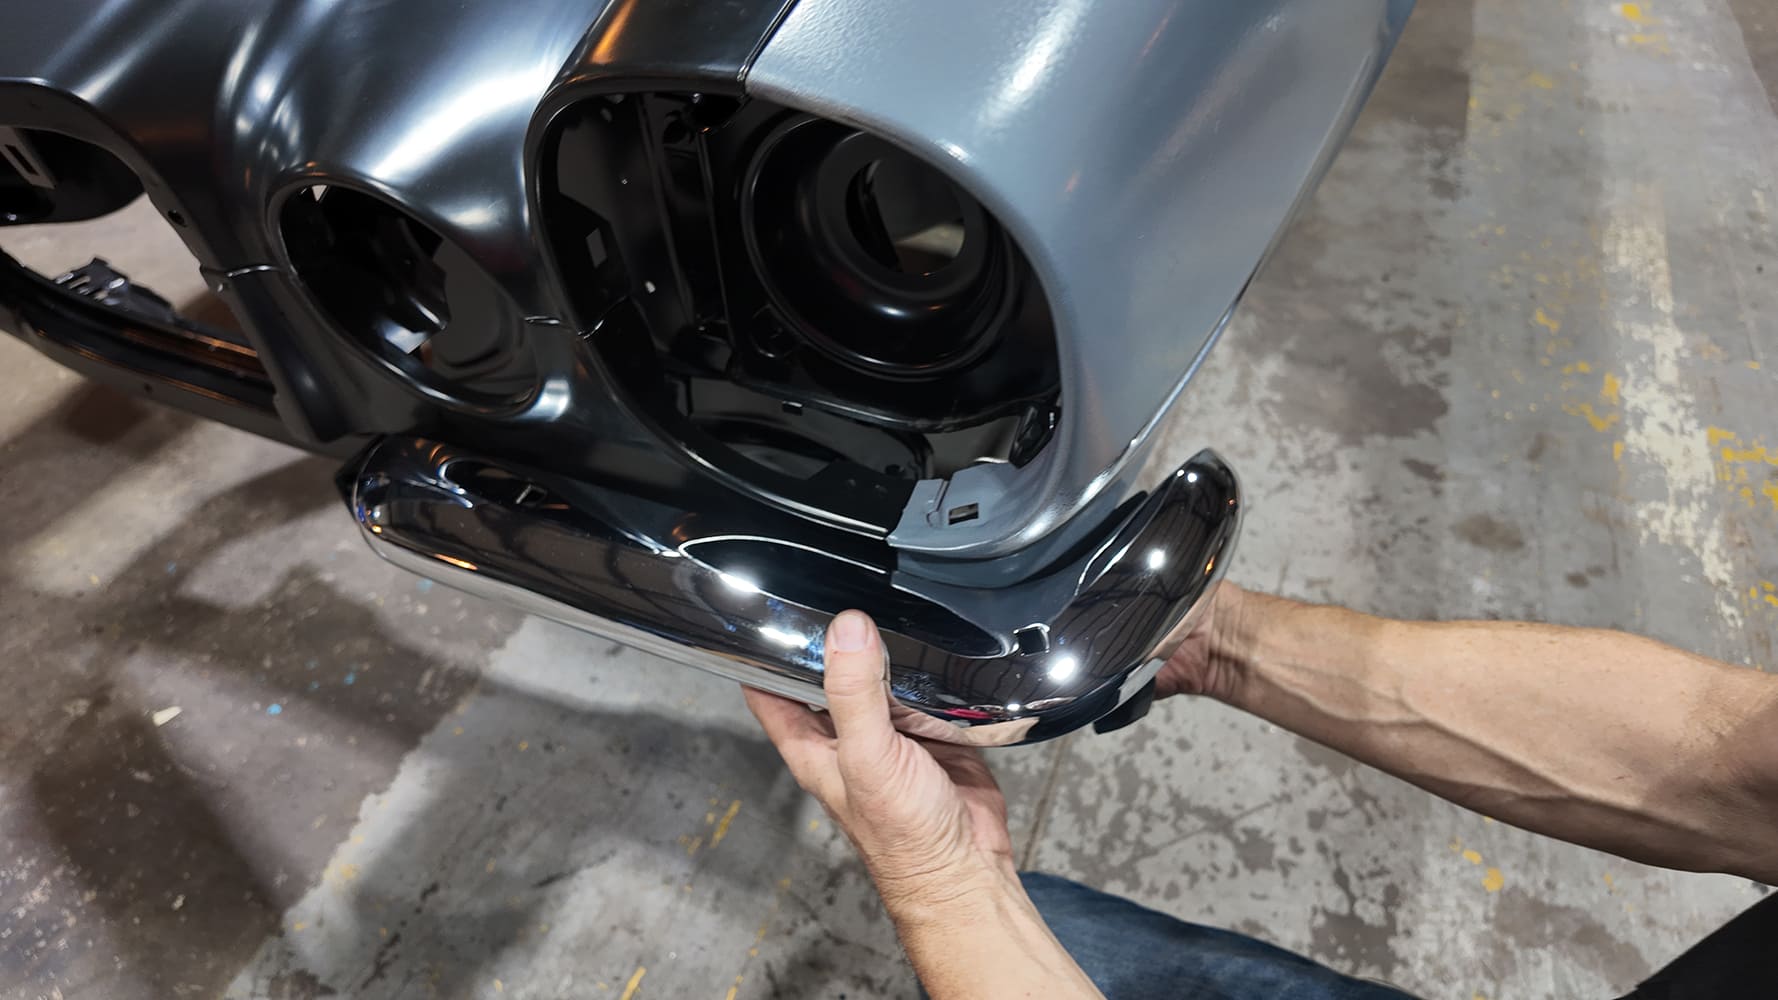
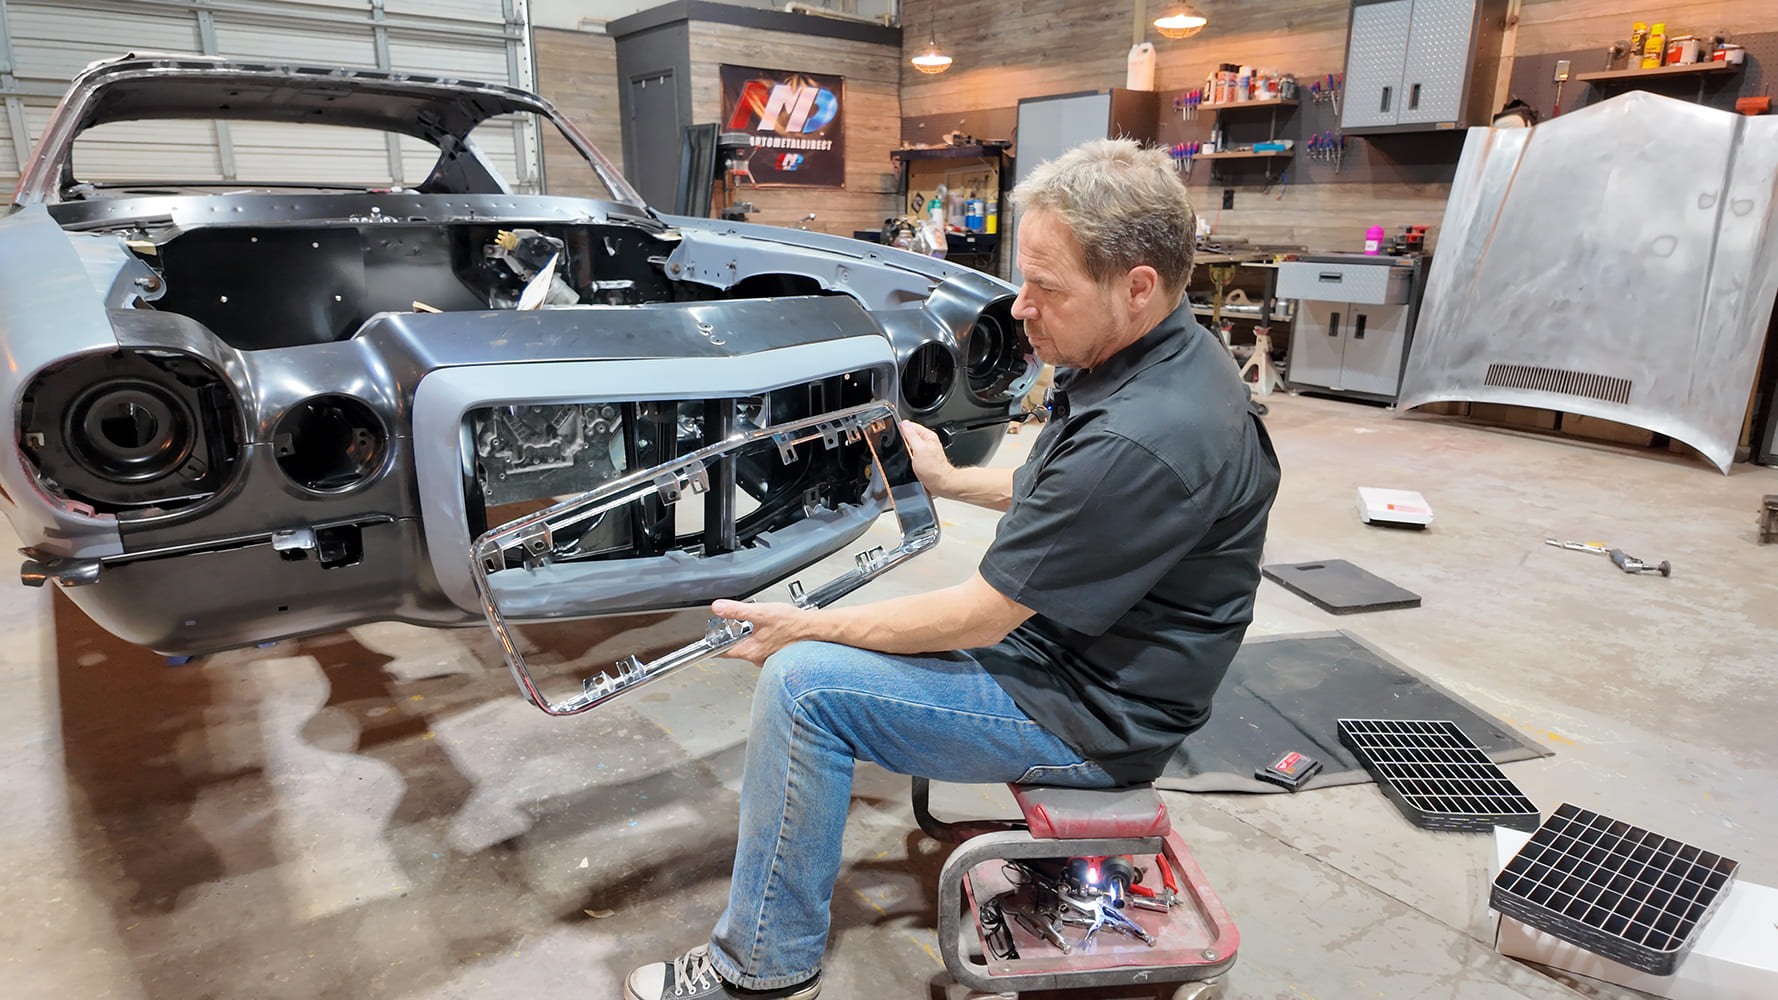
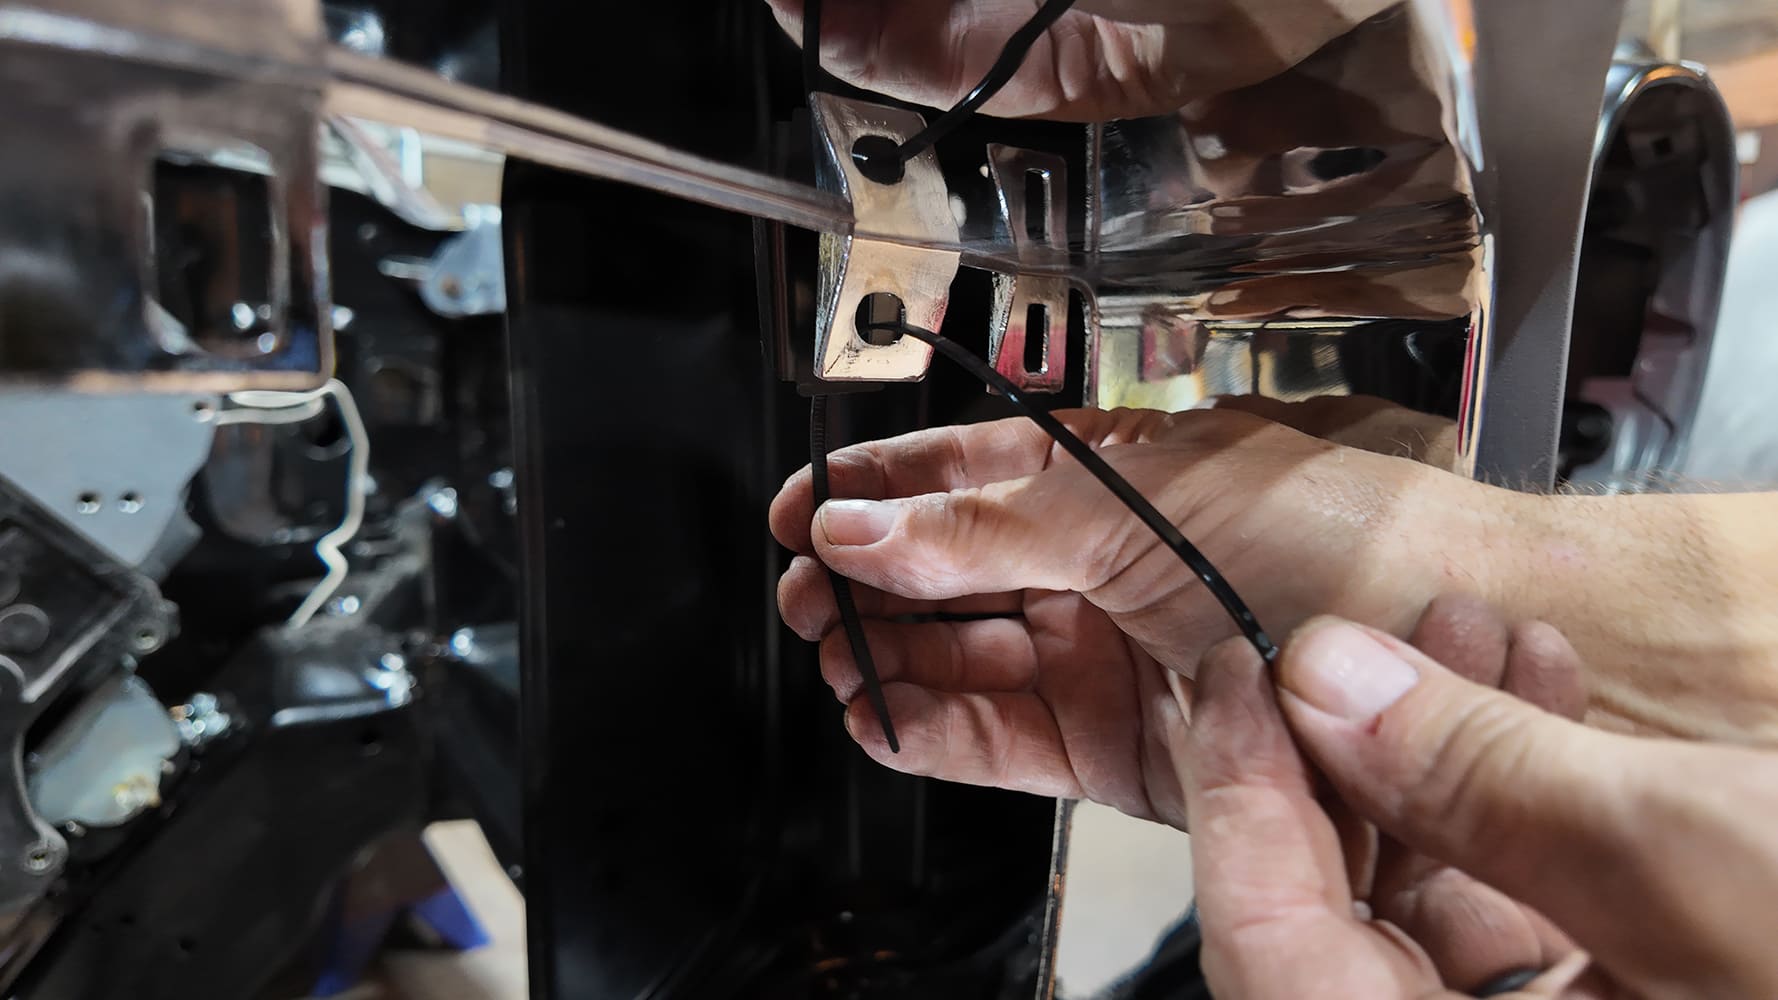
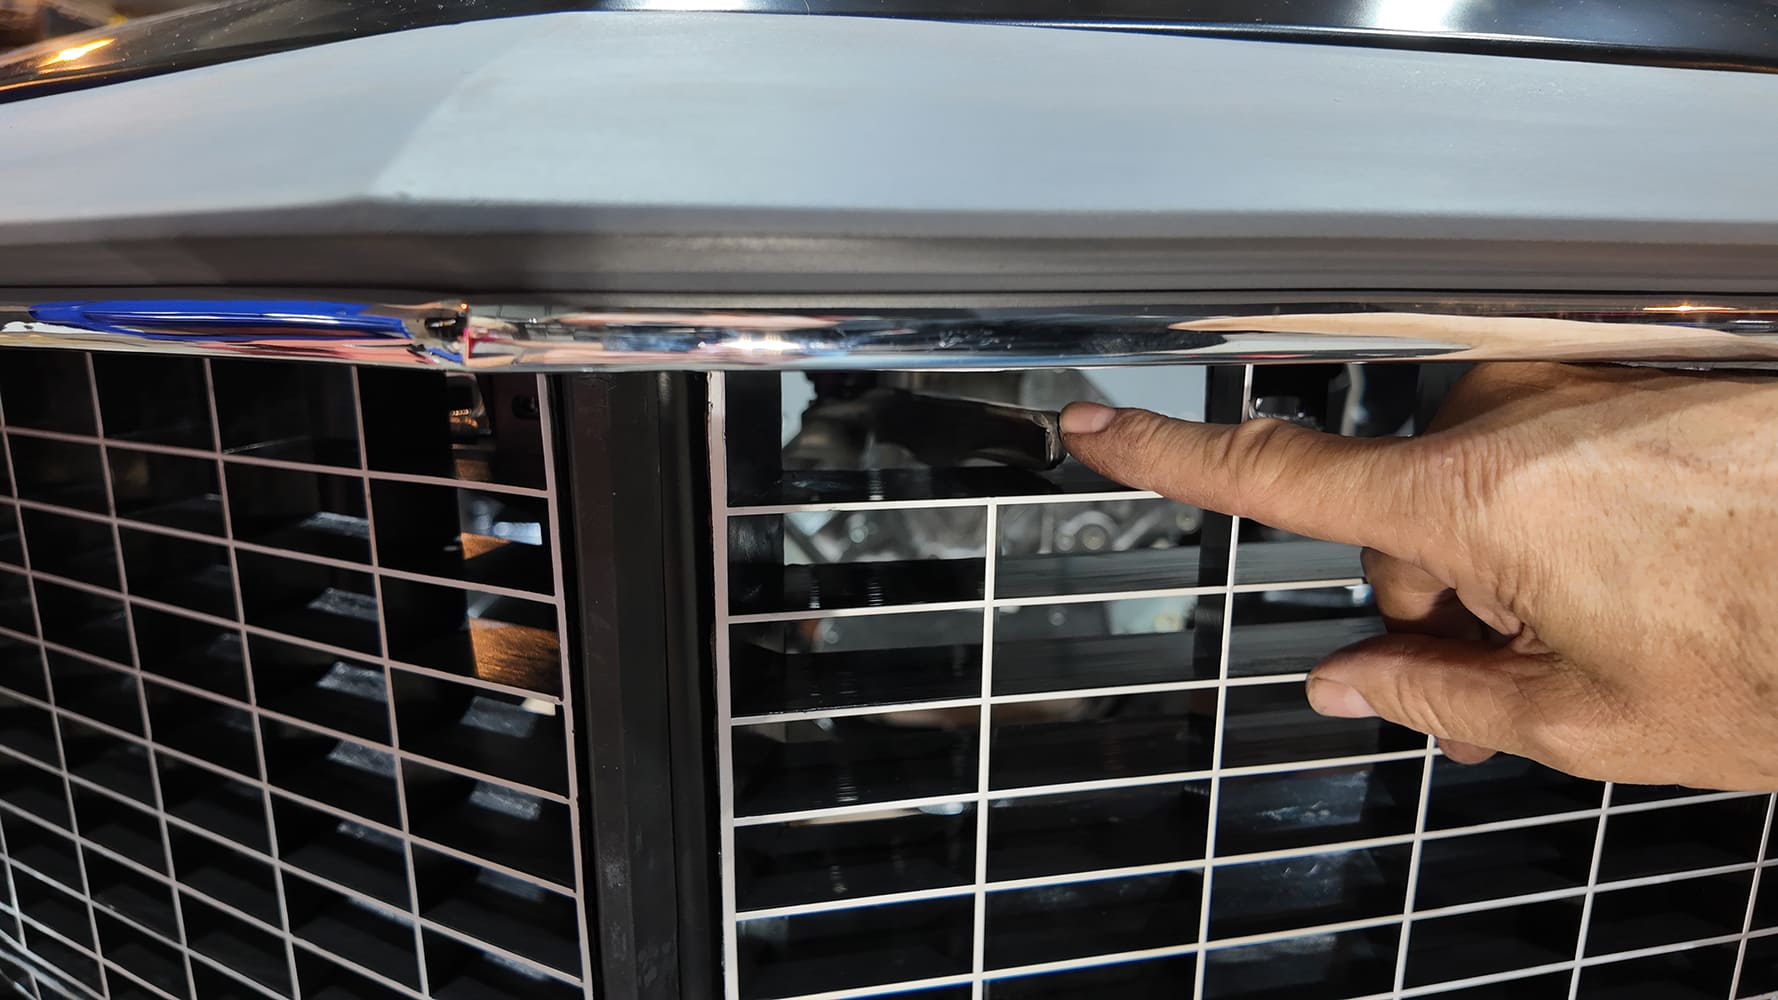
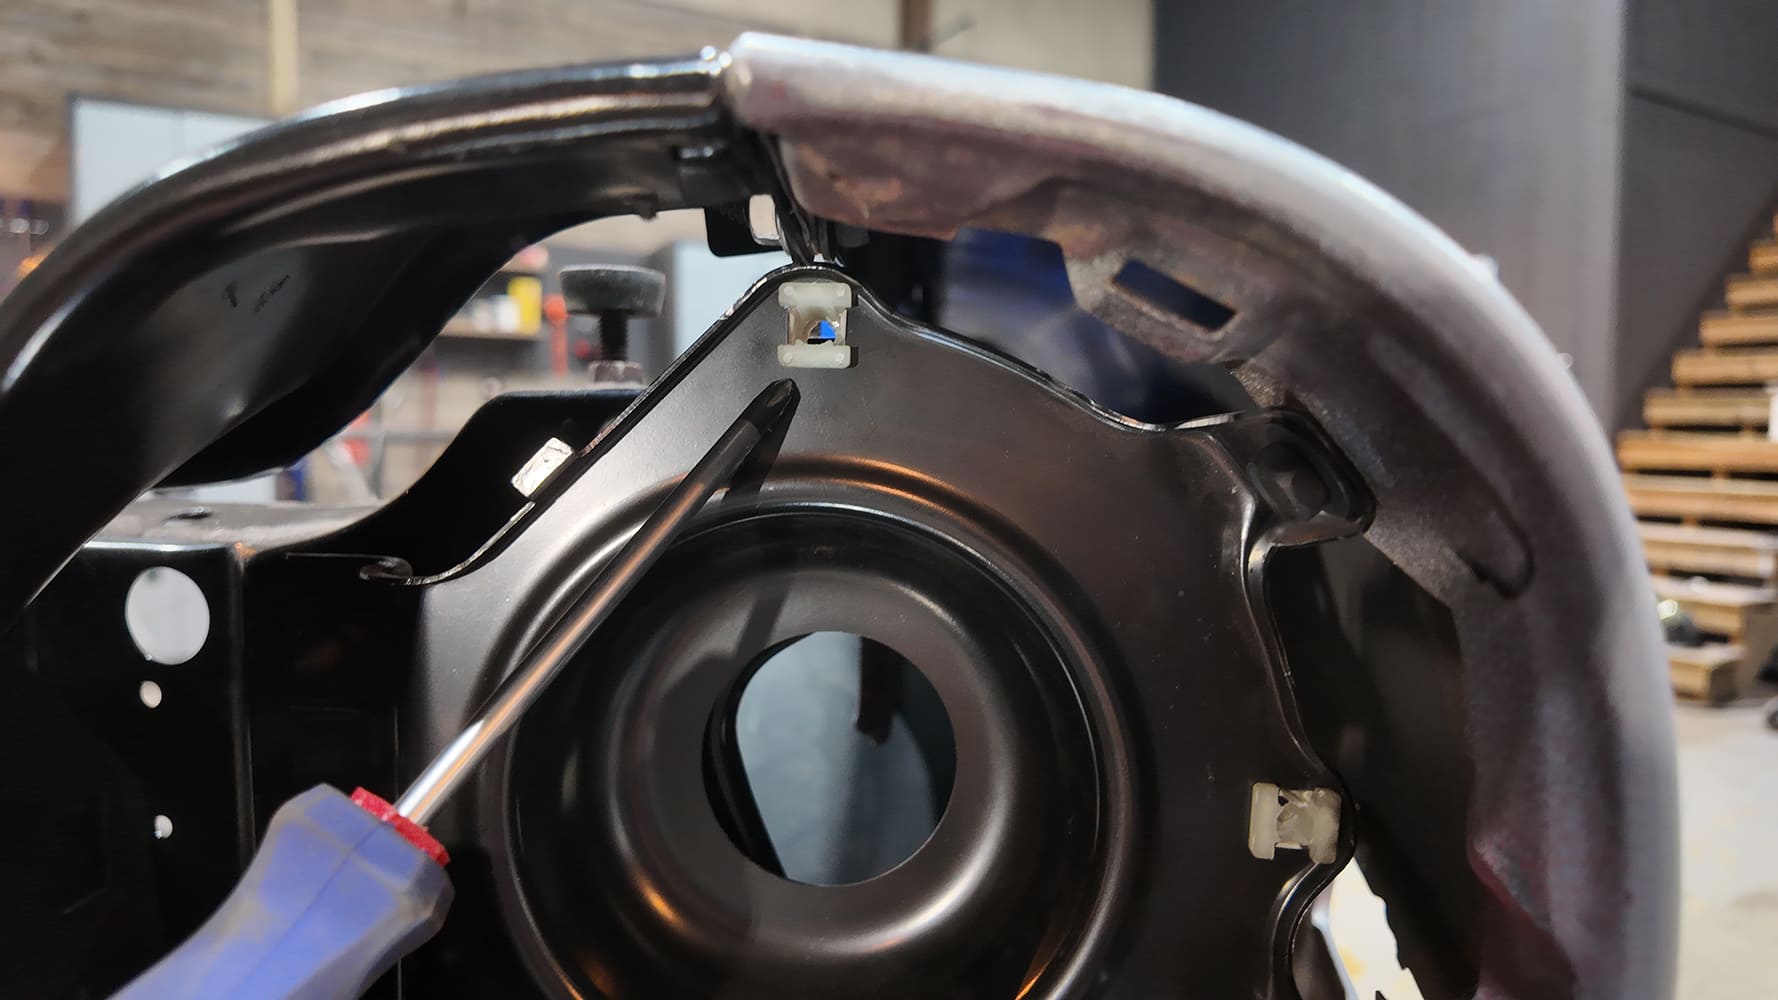
With the lower valance in place, the center grille support goes in and ties in the support, upper and lower valances and grille-mounting locations. I learned the hard way that this part—like most from 1974—is different, and we paid a “stupid tax” in overnight shipping to get the correct one in time. The inner bumper brackets fit into place next and allow us to hang the bumper fillers between the headers. It’s a Jenga battle of sorts, but the fillers and brackets go on before bumperettes. I had heard nightmare stories about fitting the two-piece Camaro RS bumpers in the past, but this was a cakewalk. I may have gotten lucky (though I don’t believe in luck) or AMD parts just fit. The chrome grille surround and center divider get preassembled and as separate pieces. Note: we really should have sprung for the master body fastener kit (PN H-70FB-S) that includes all the plastic inserts for this conversion, but we cable-tied things in place for mockup.
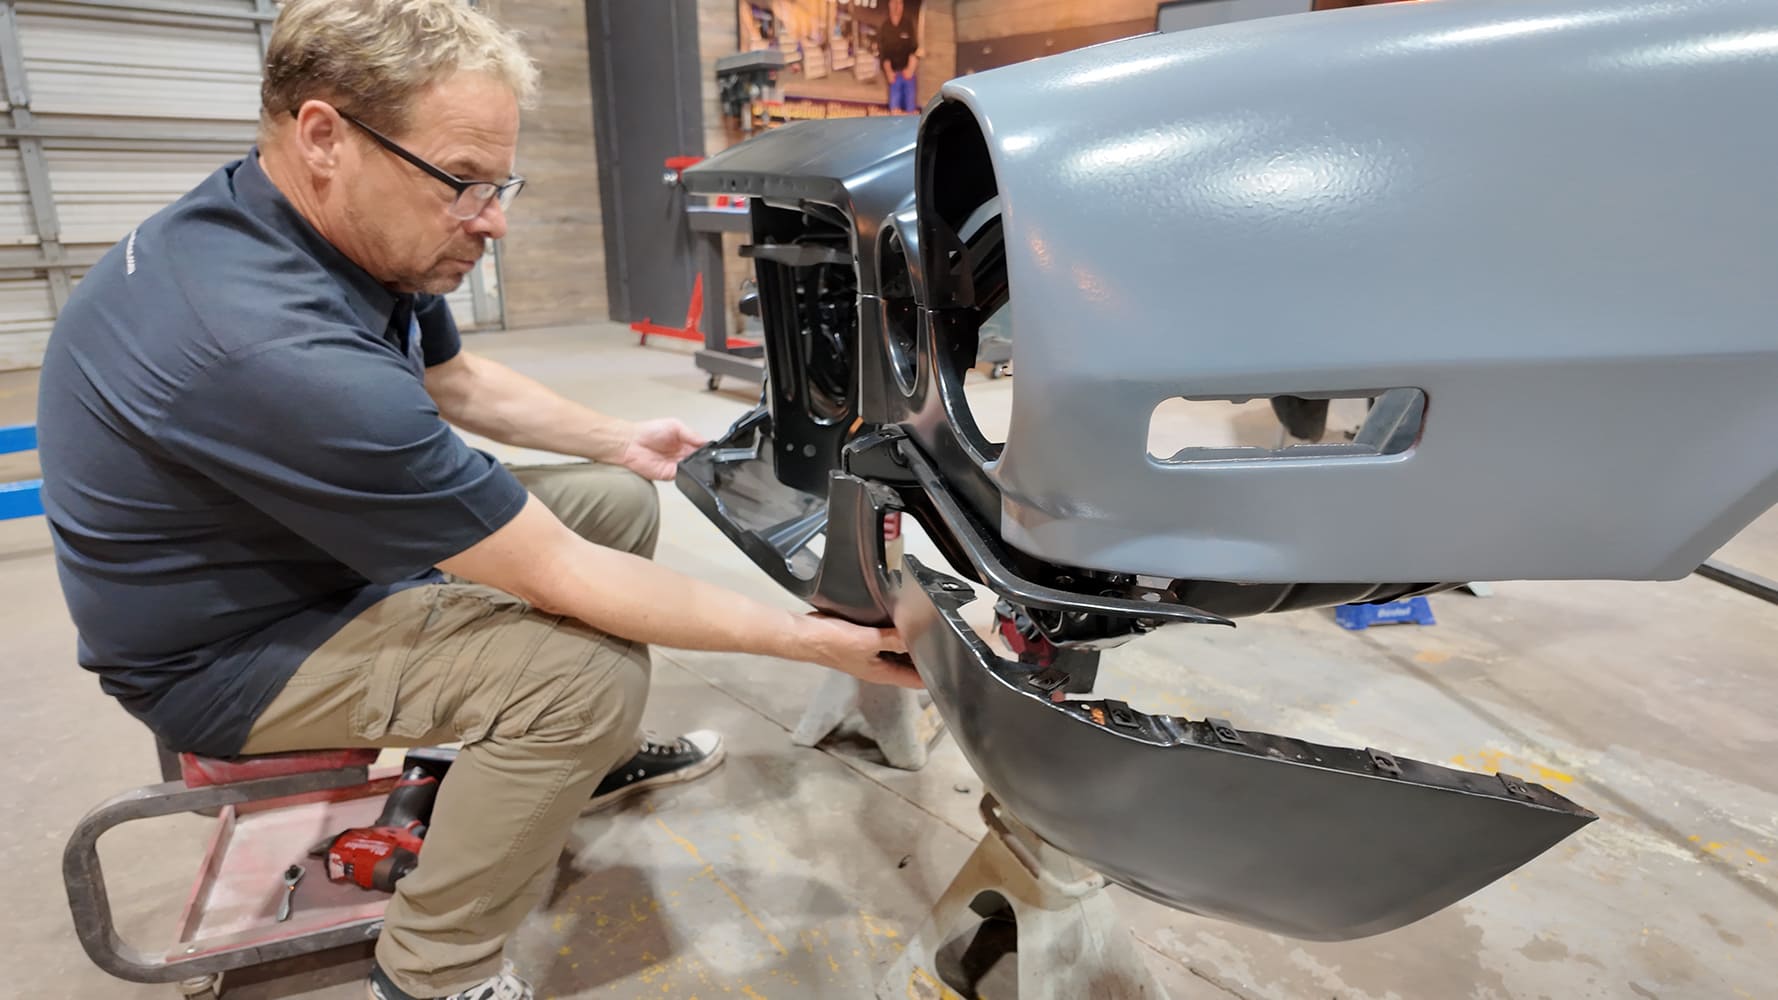
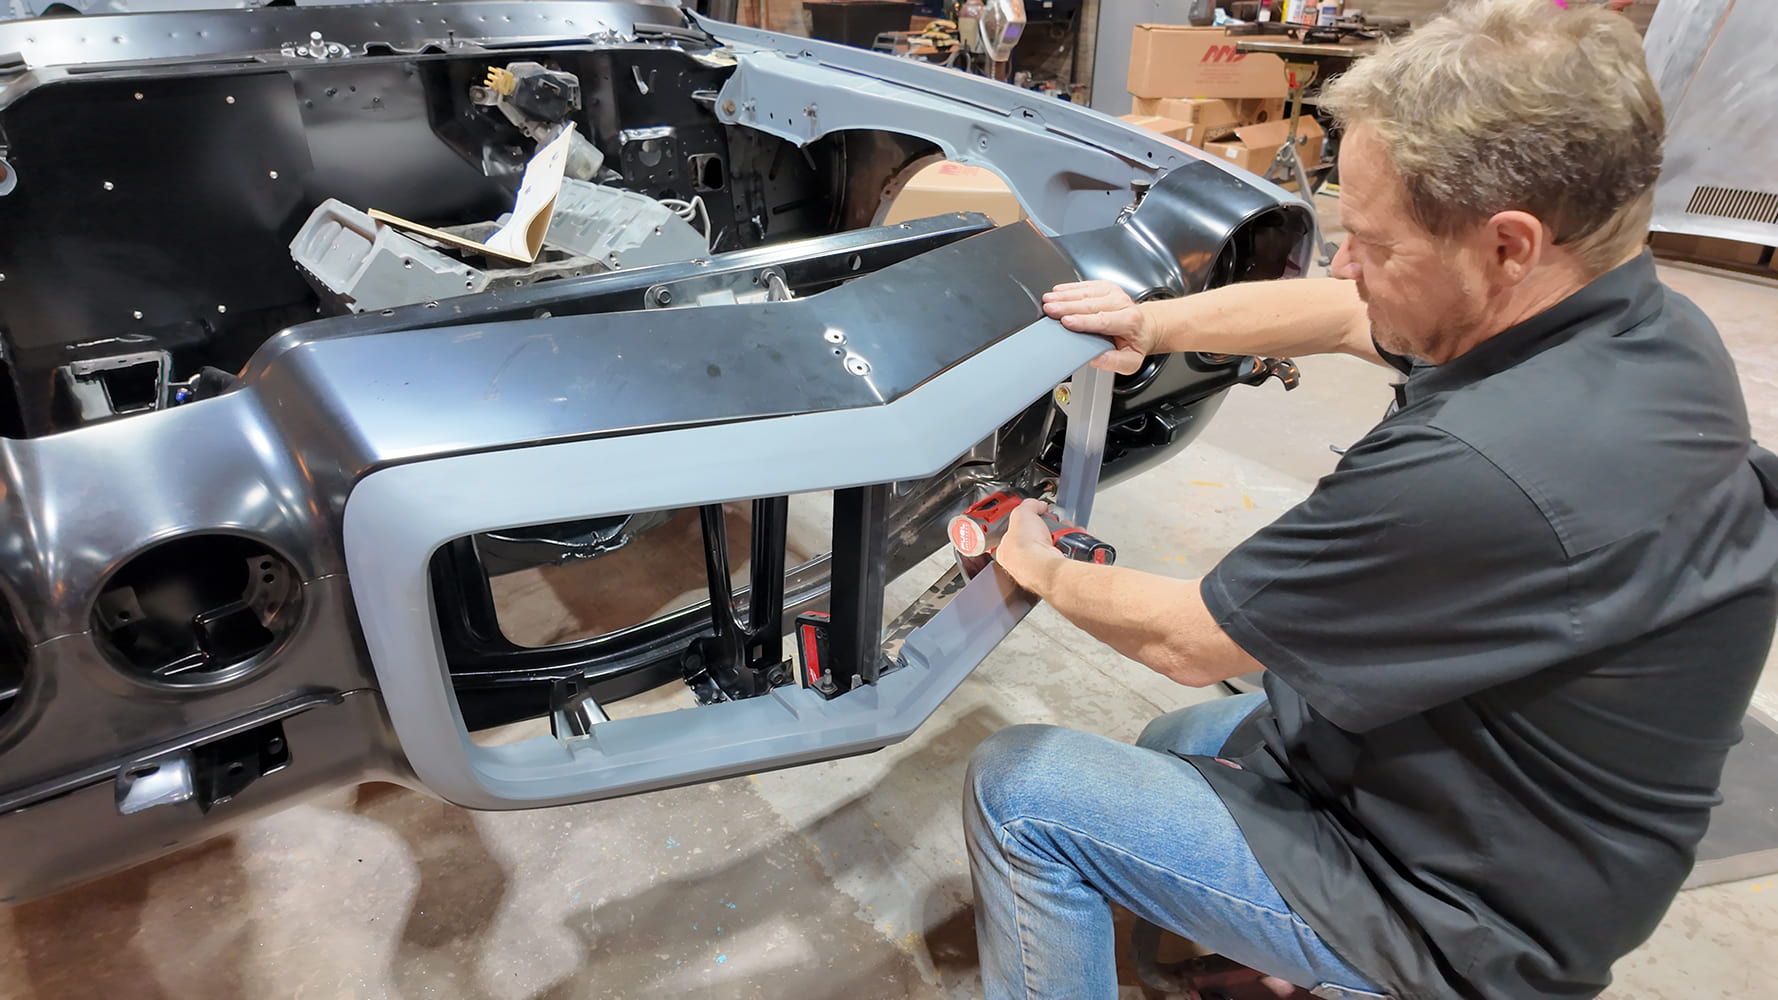
The crown jewel of this whole front section is the urethane nose. GM called this the “Endura Bumper,” which was first introduced in 1968 on the GTO. Several later models used the same style of urethane over a steel framework. Vintage ones are extremely expensive in good condition and nearly impossible to repair if they’re not, so we turned to AMD again. Their reproduction Camaro RS endura nose fit well right out of the box.
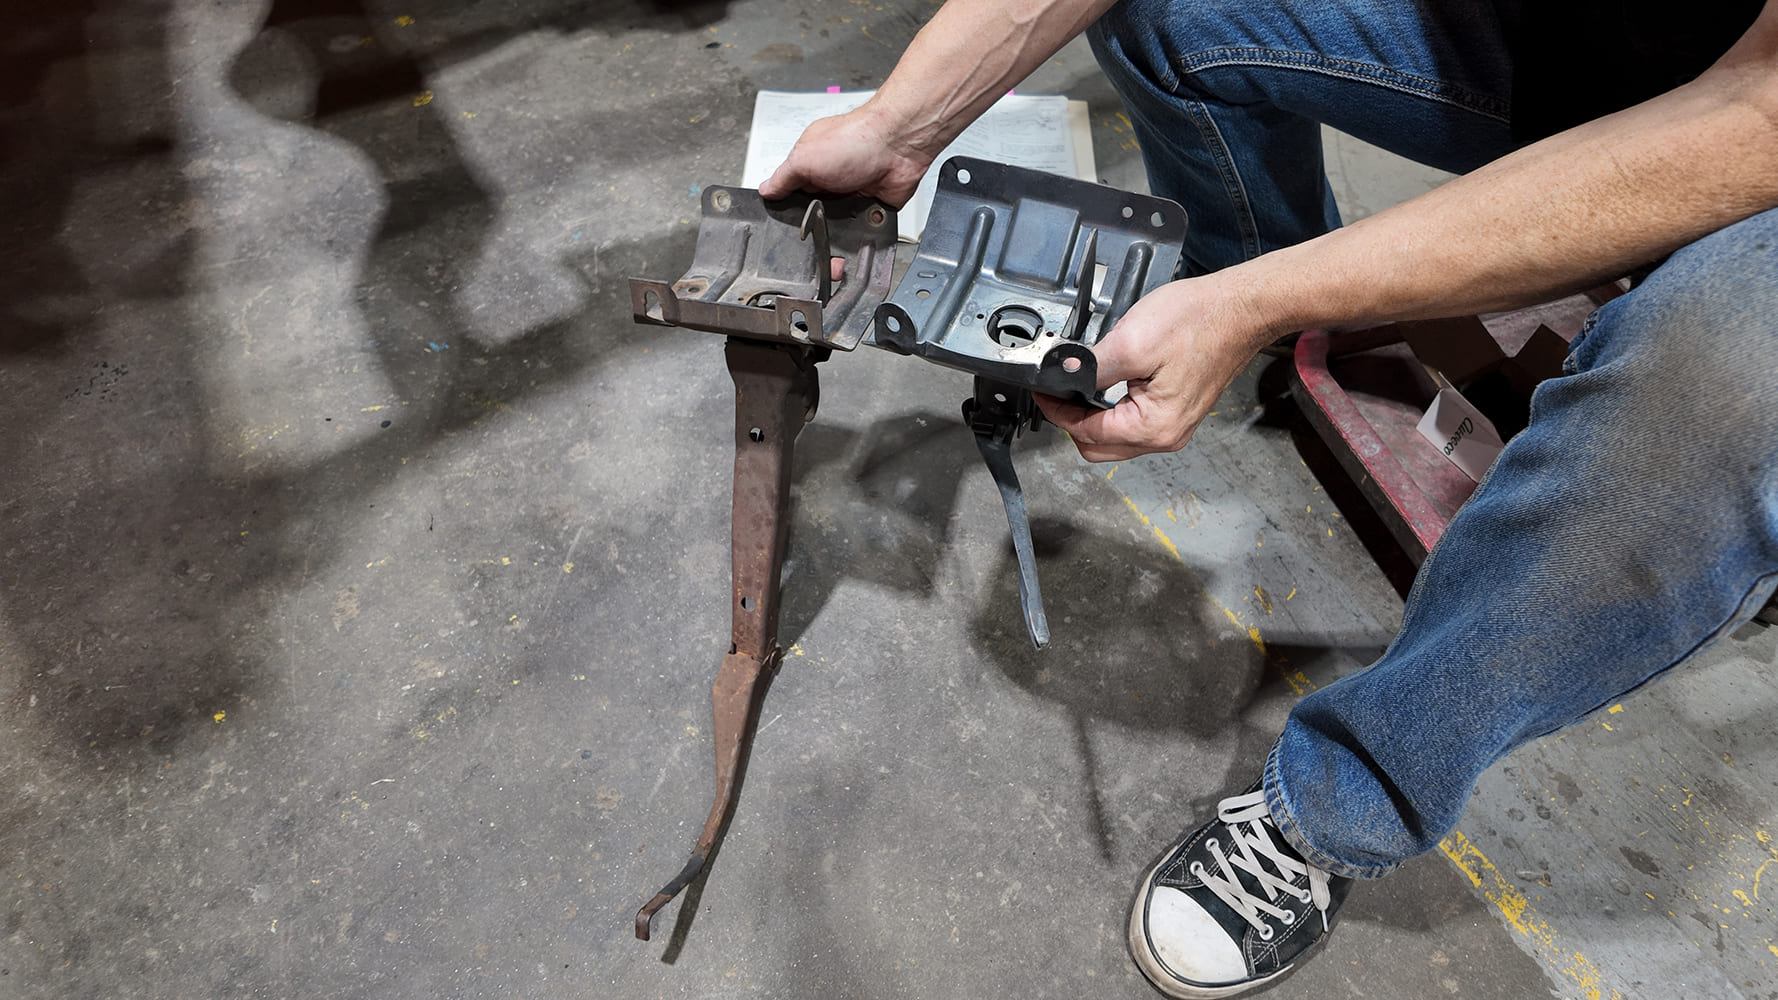
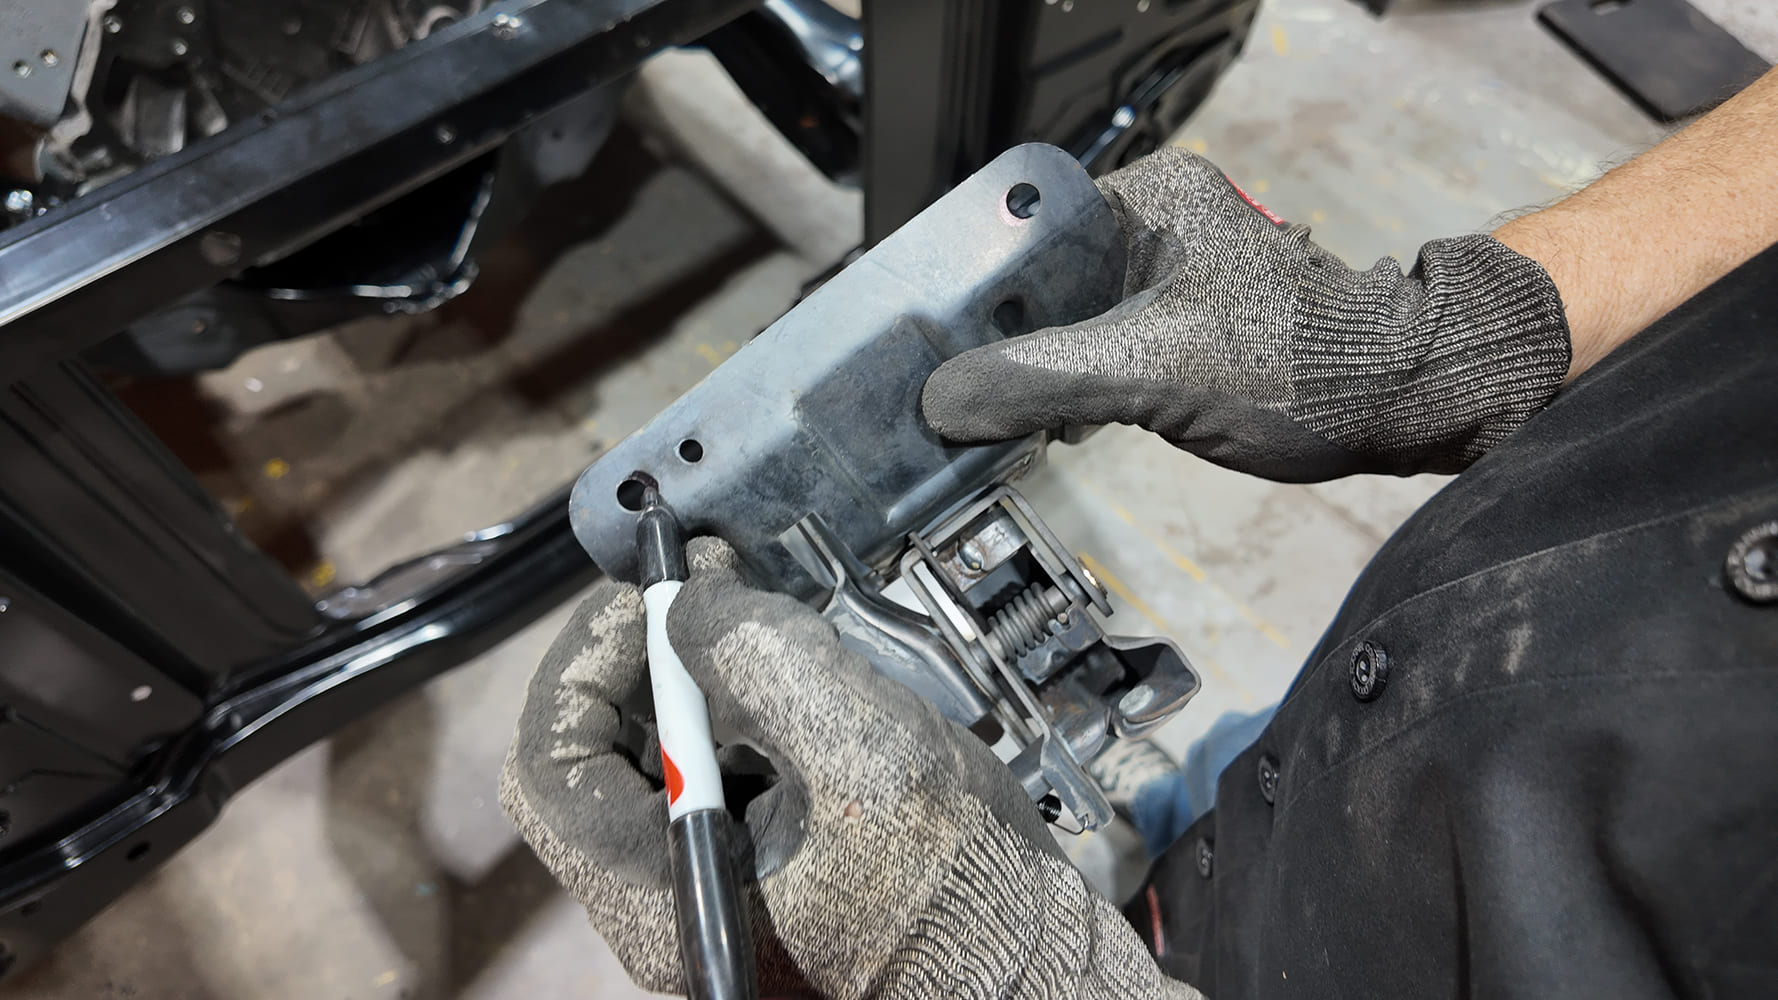
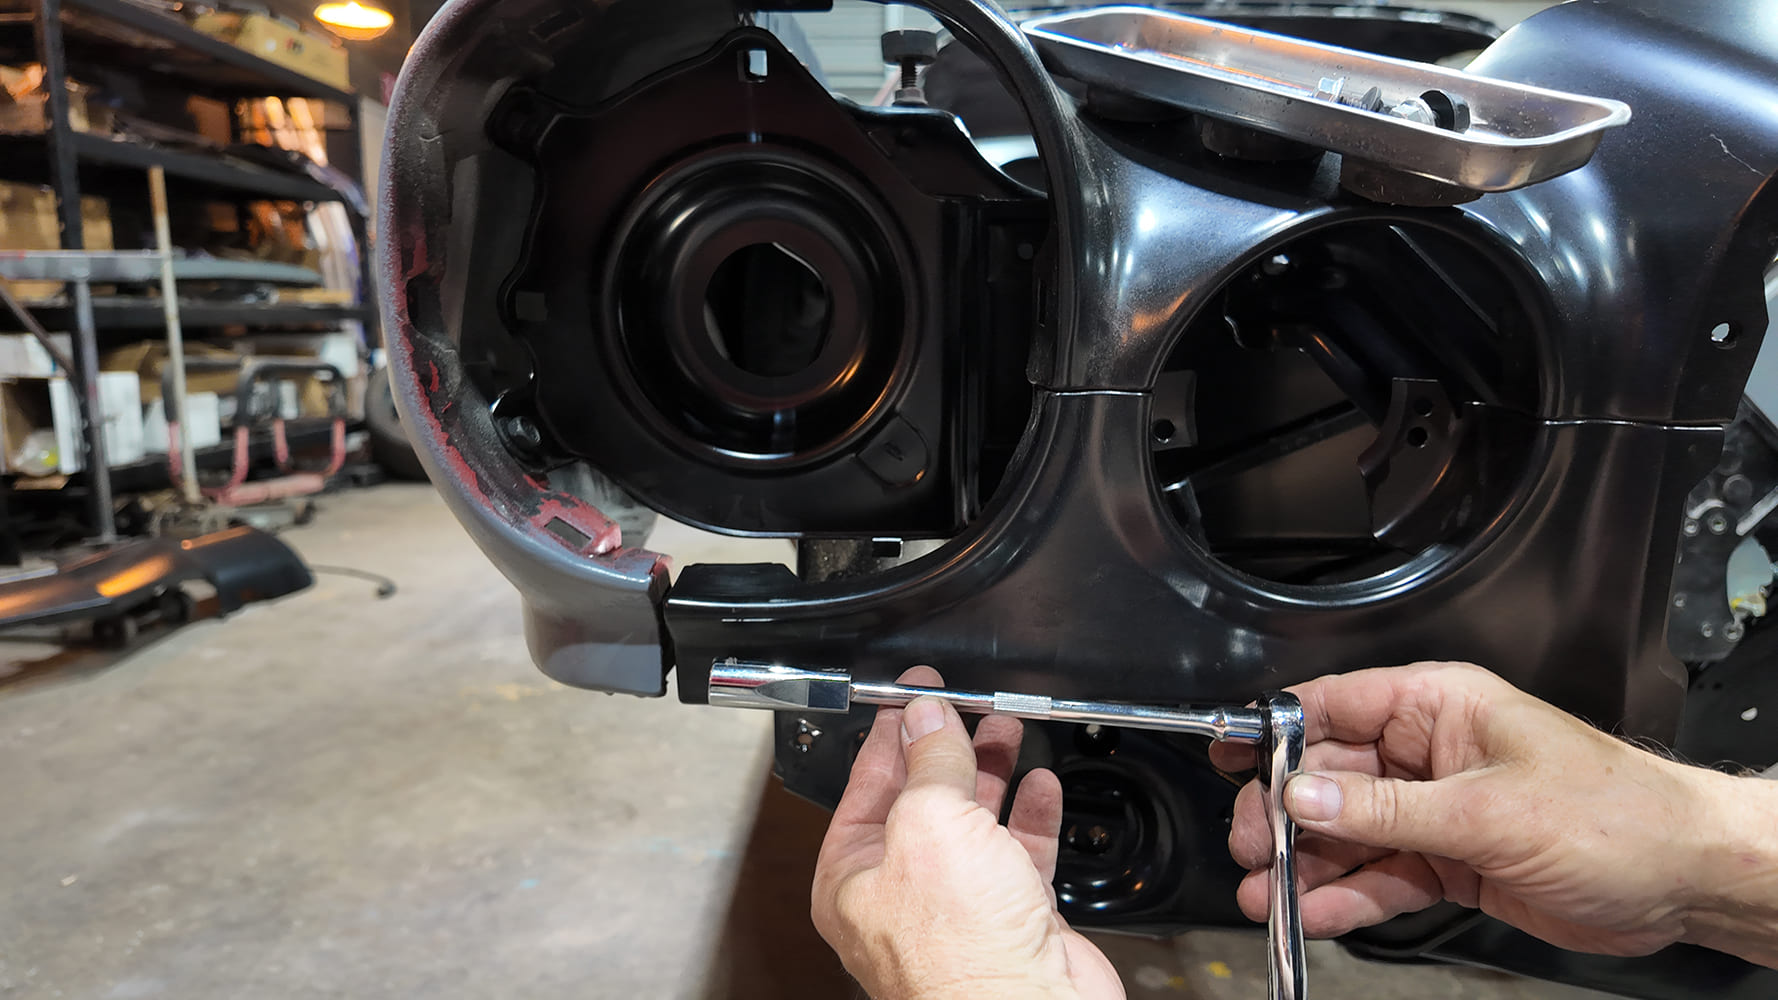
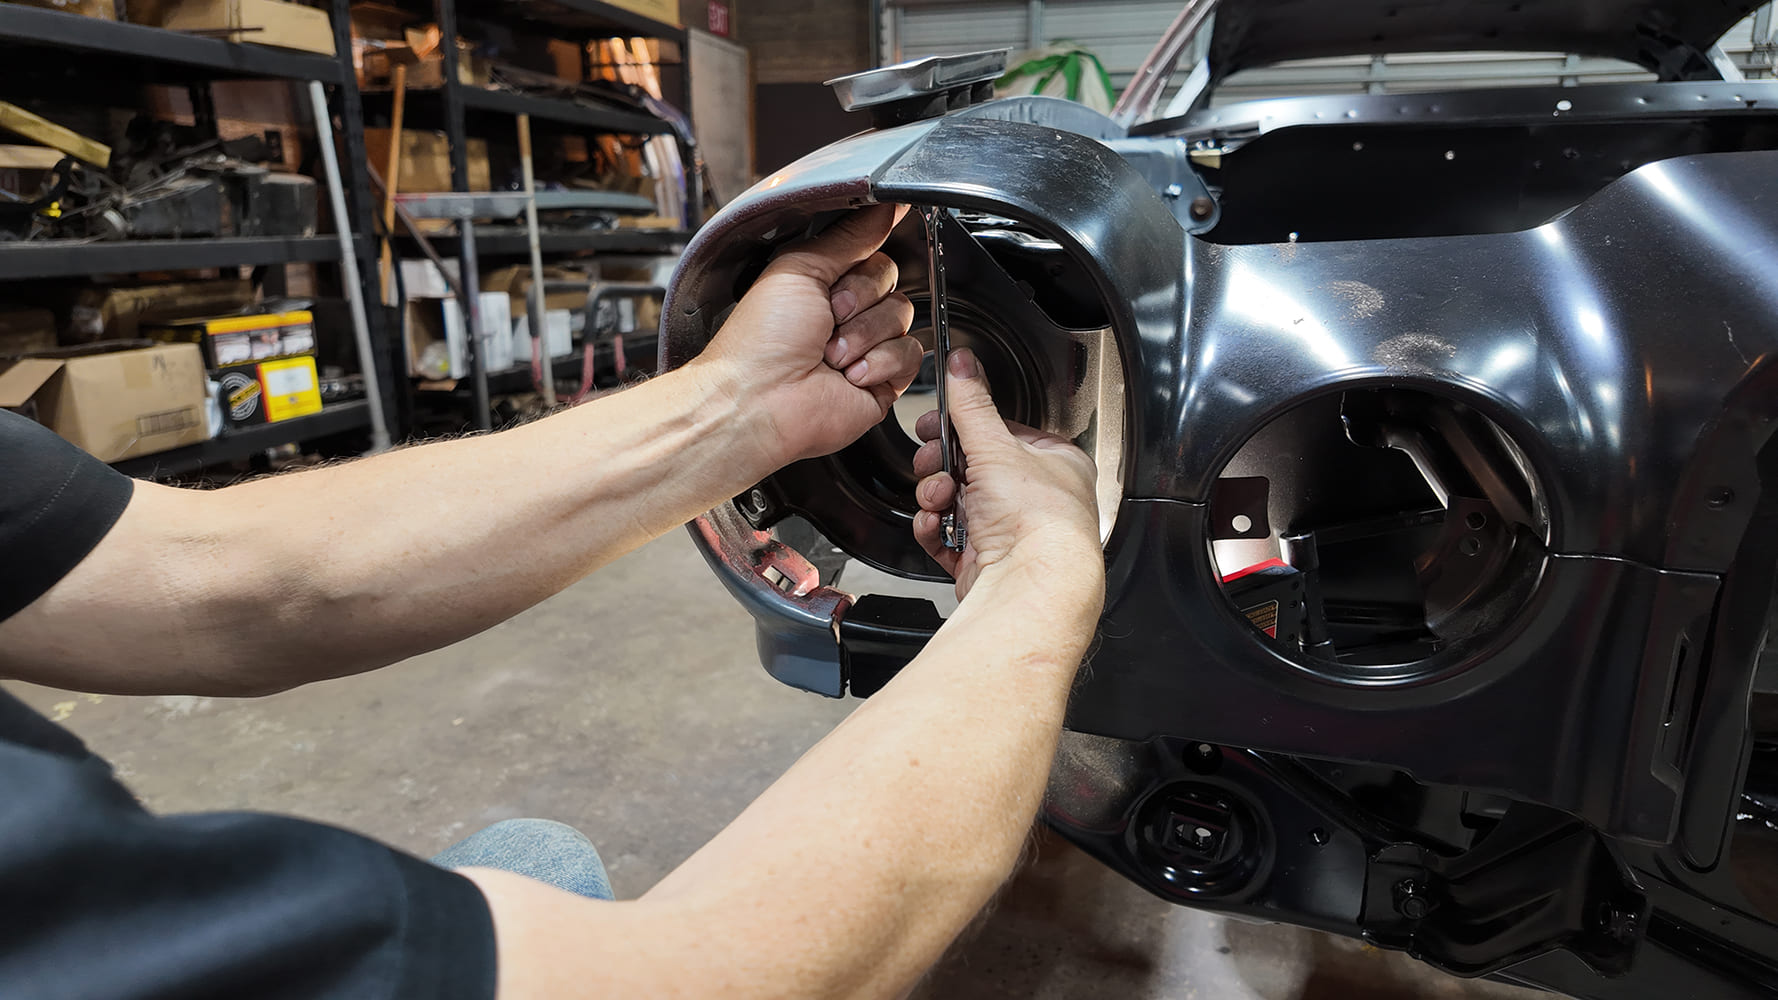
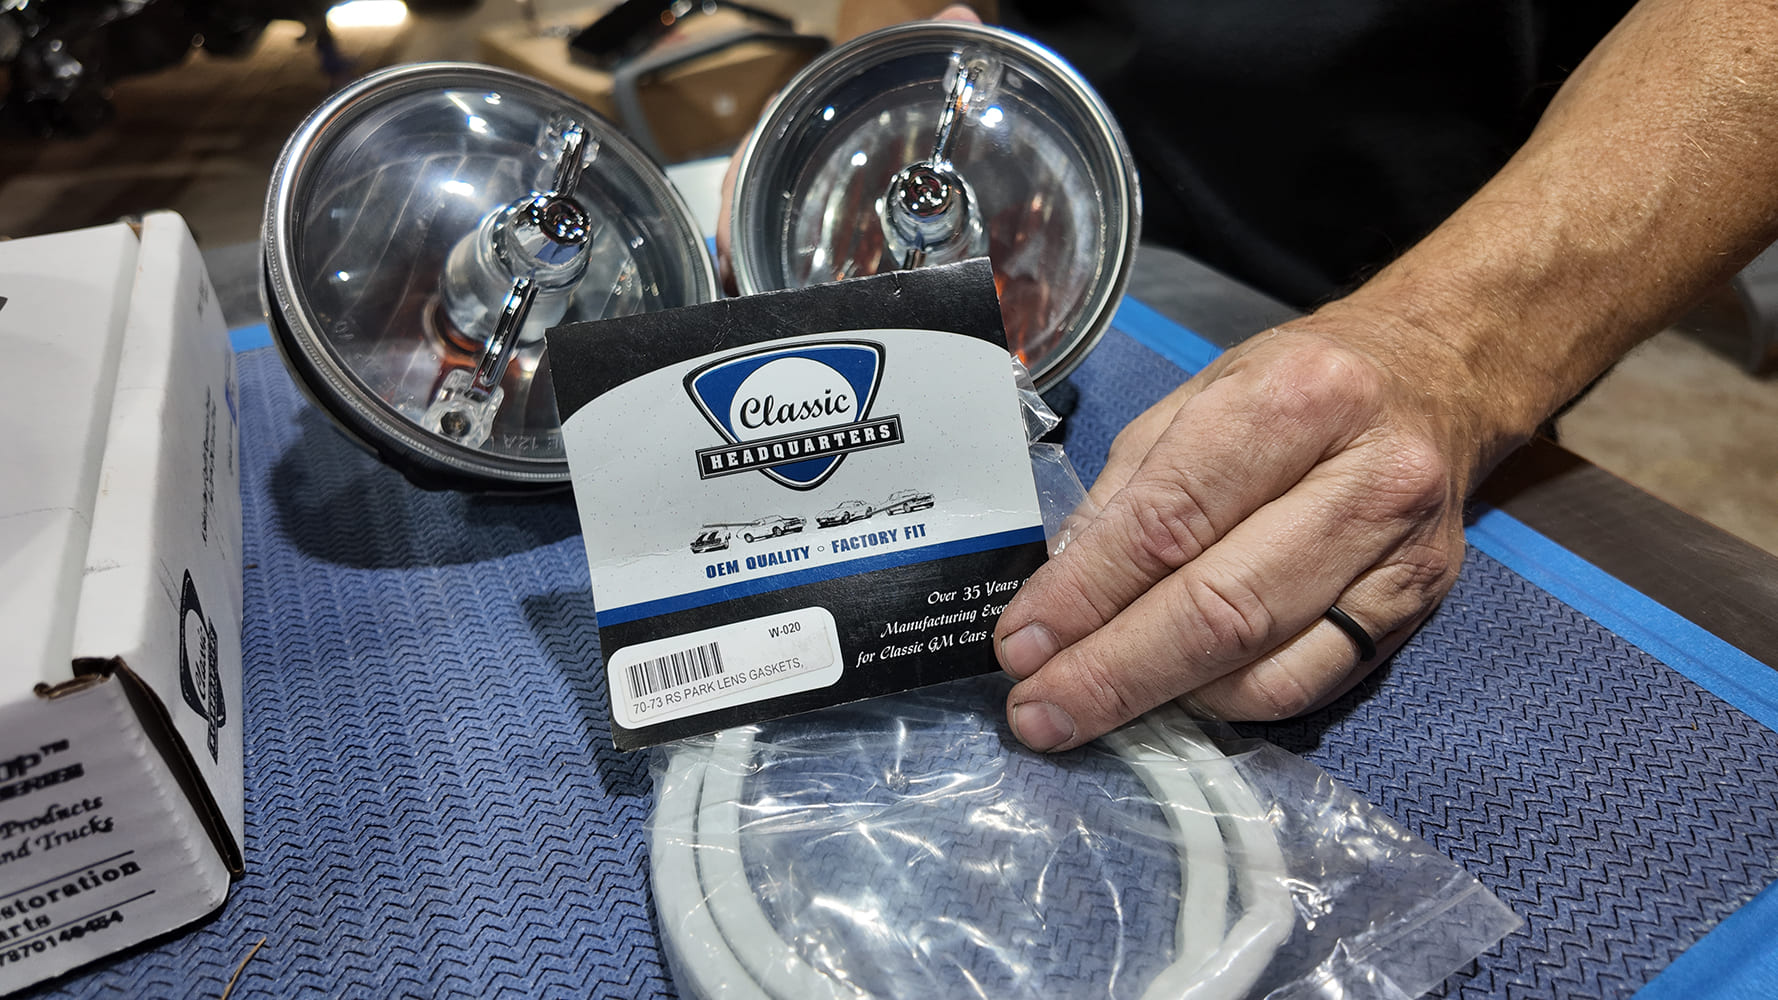
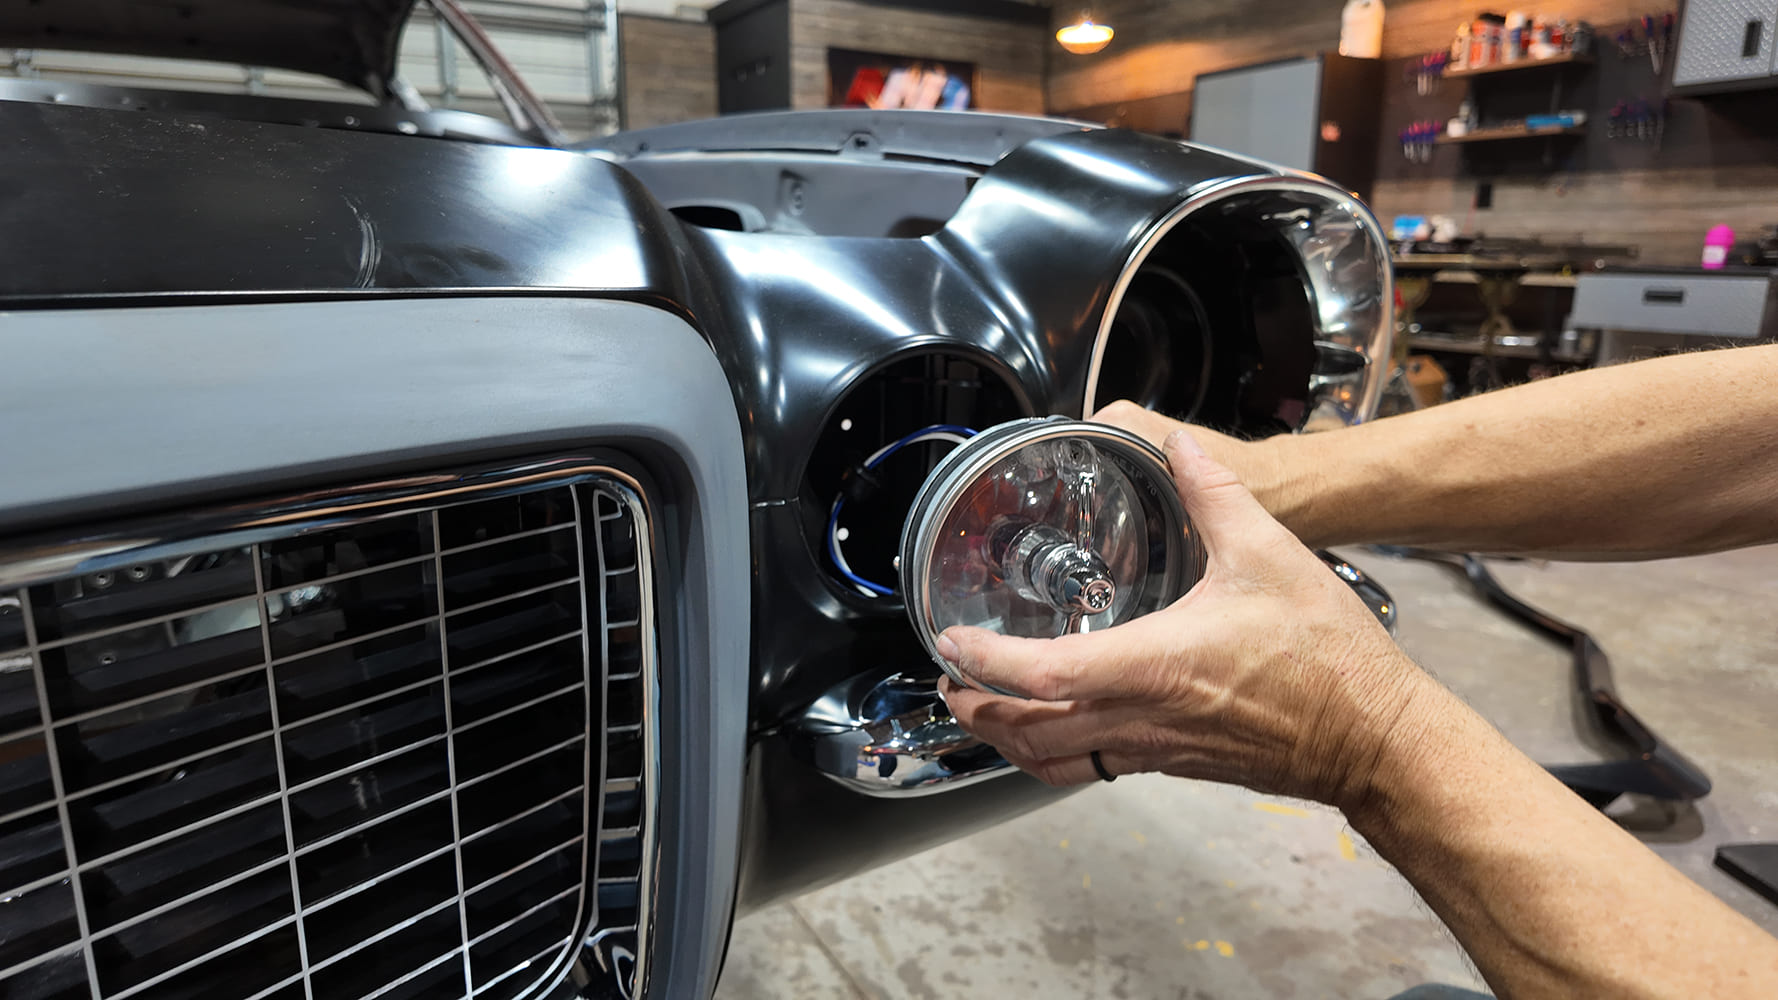
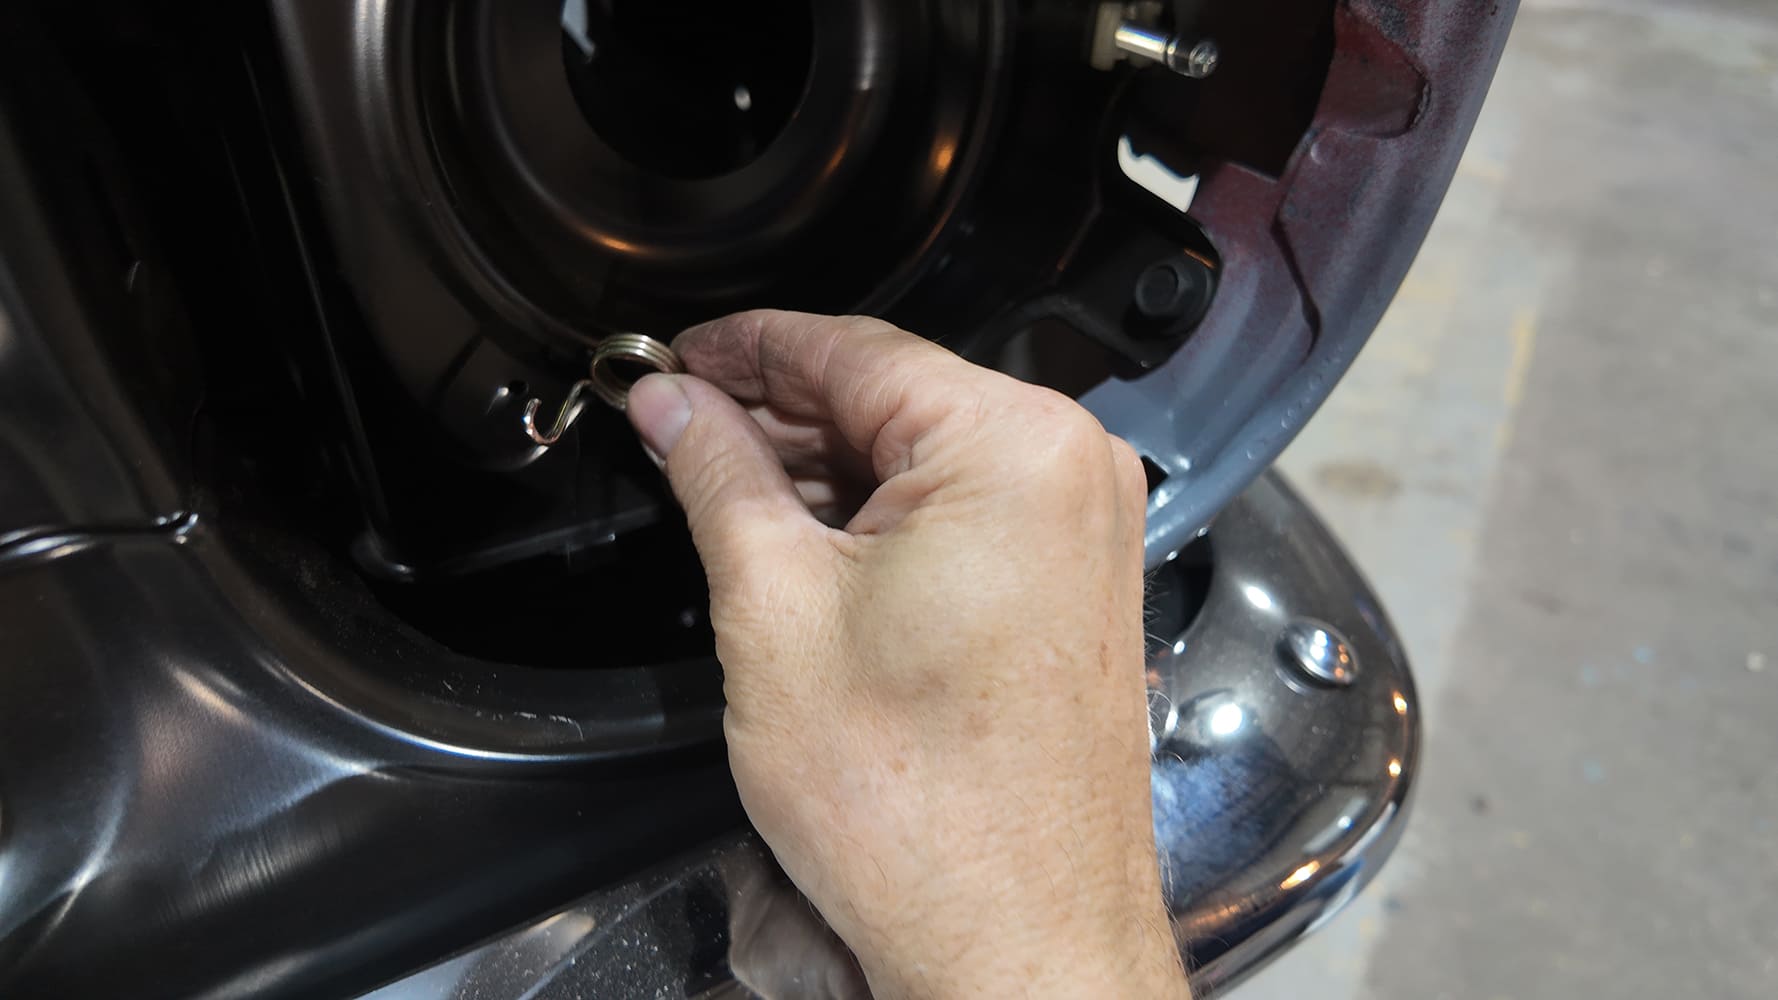
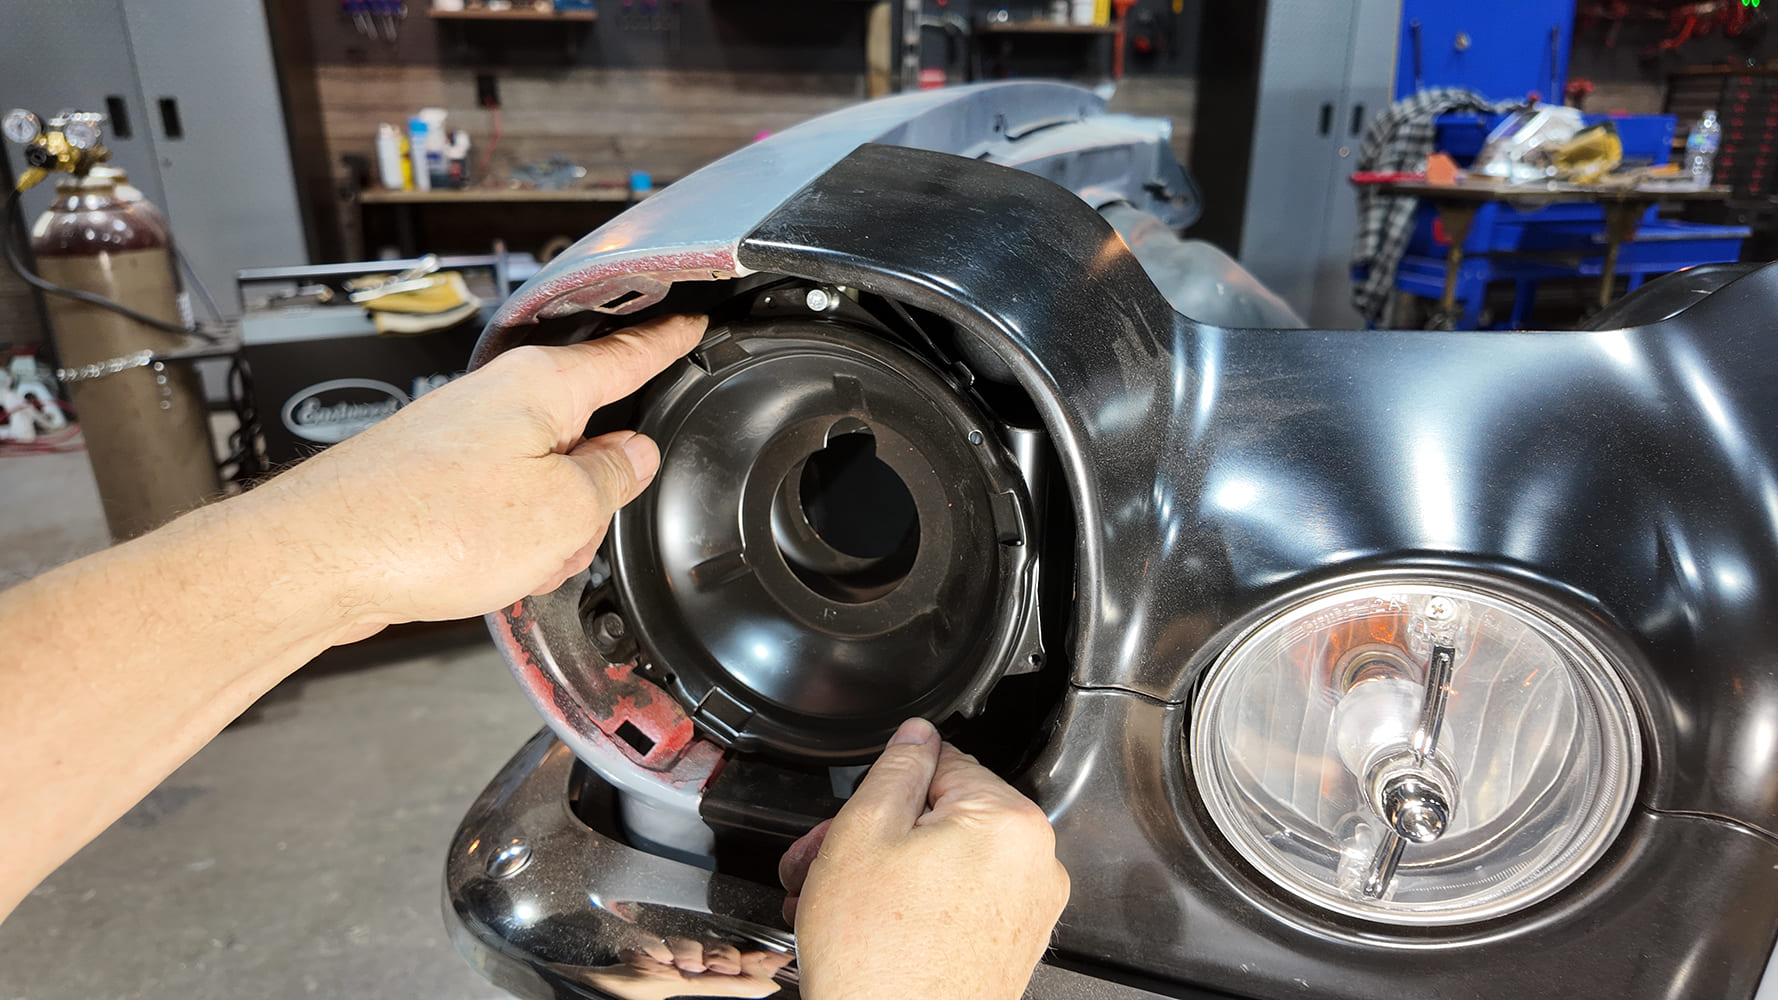
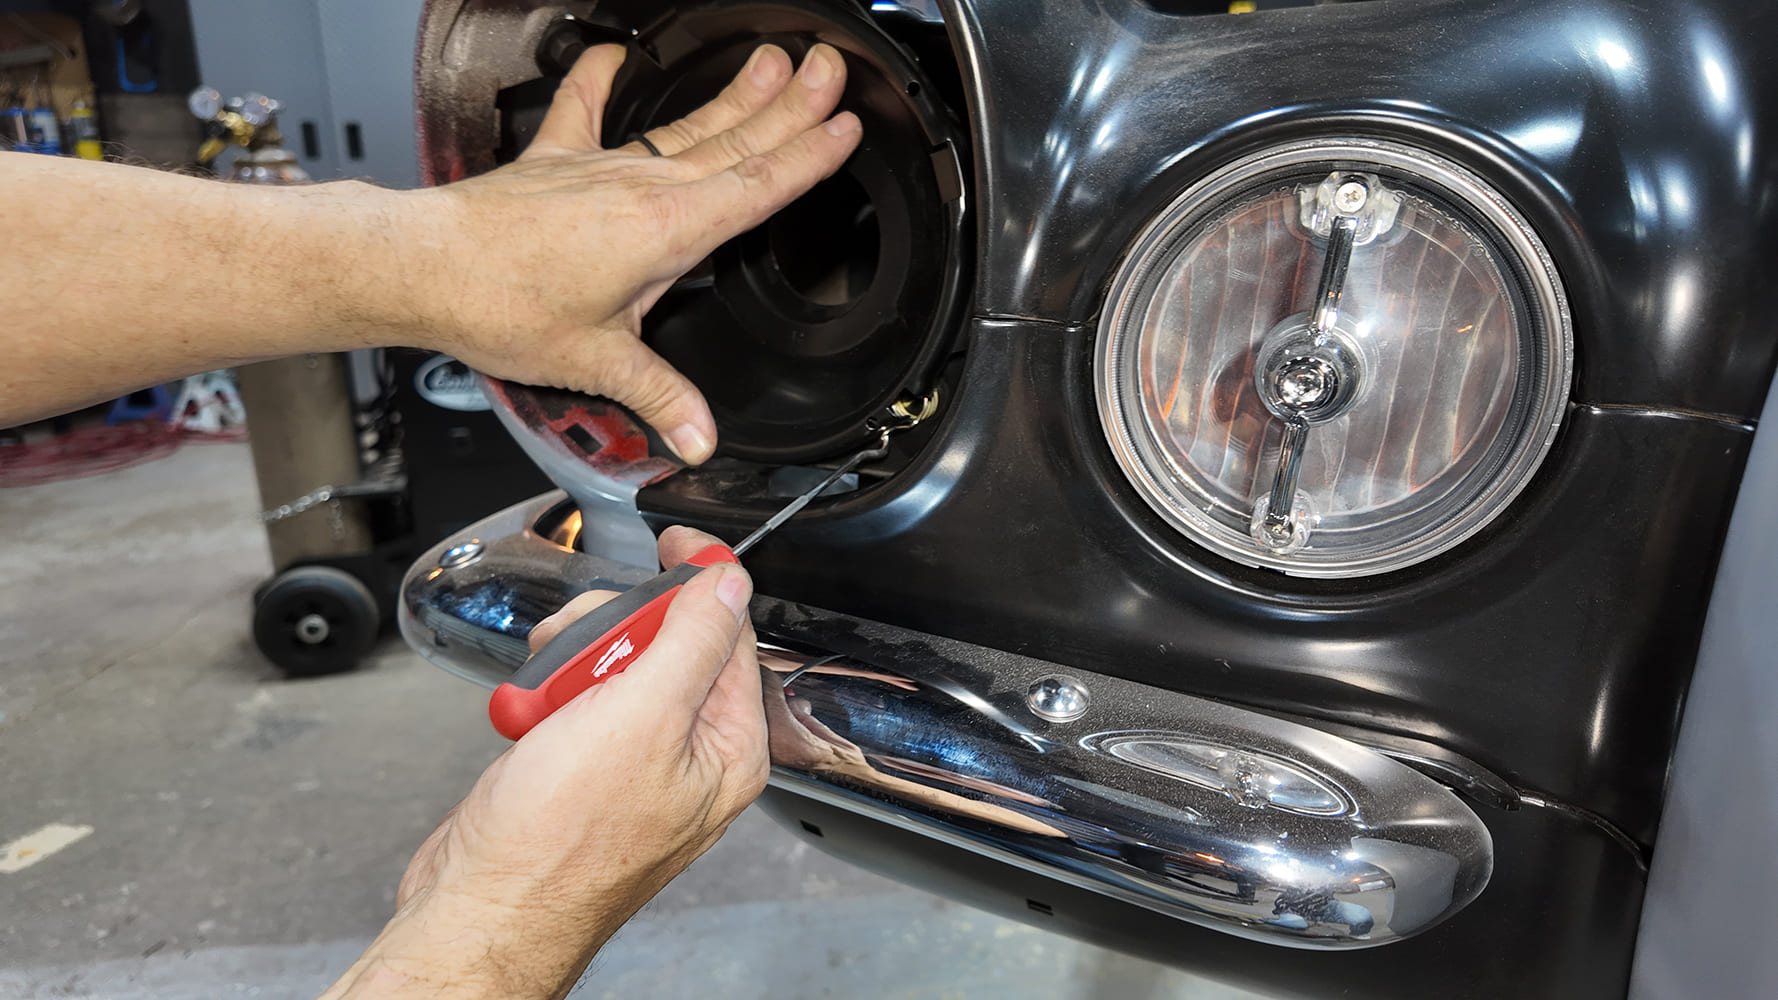
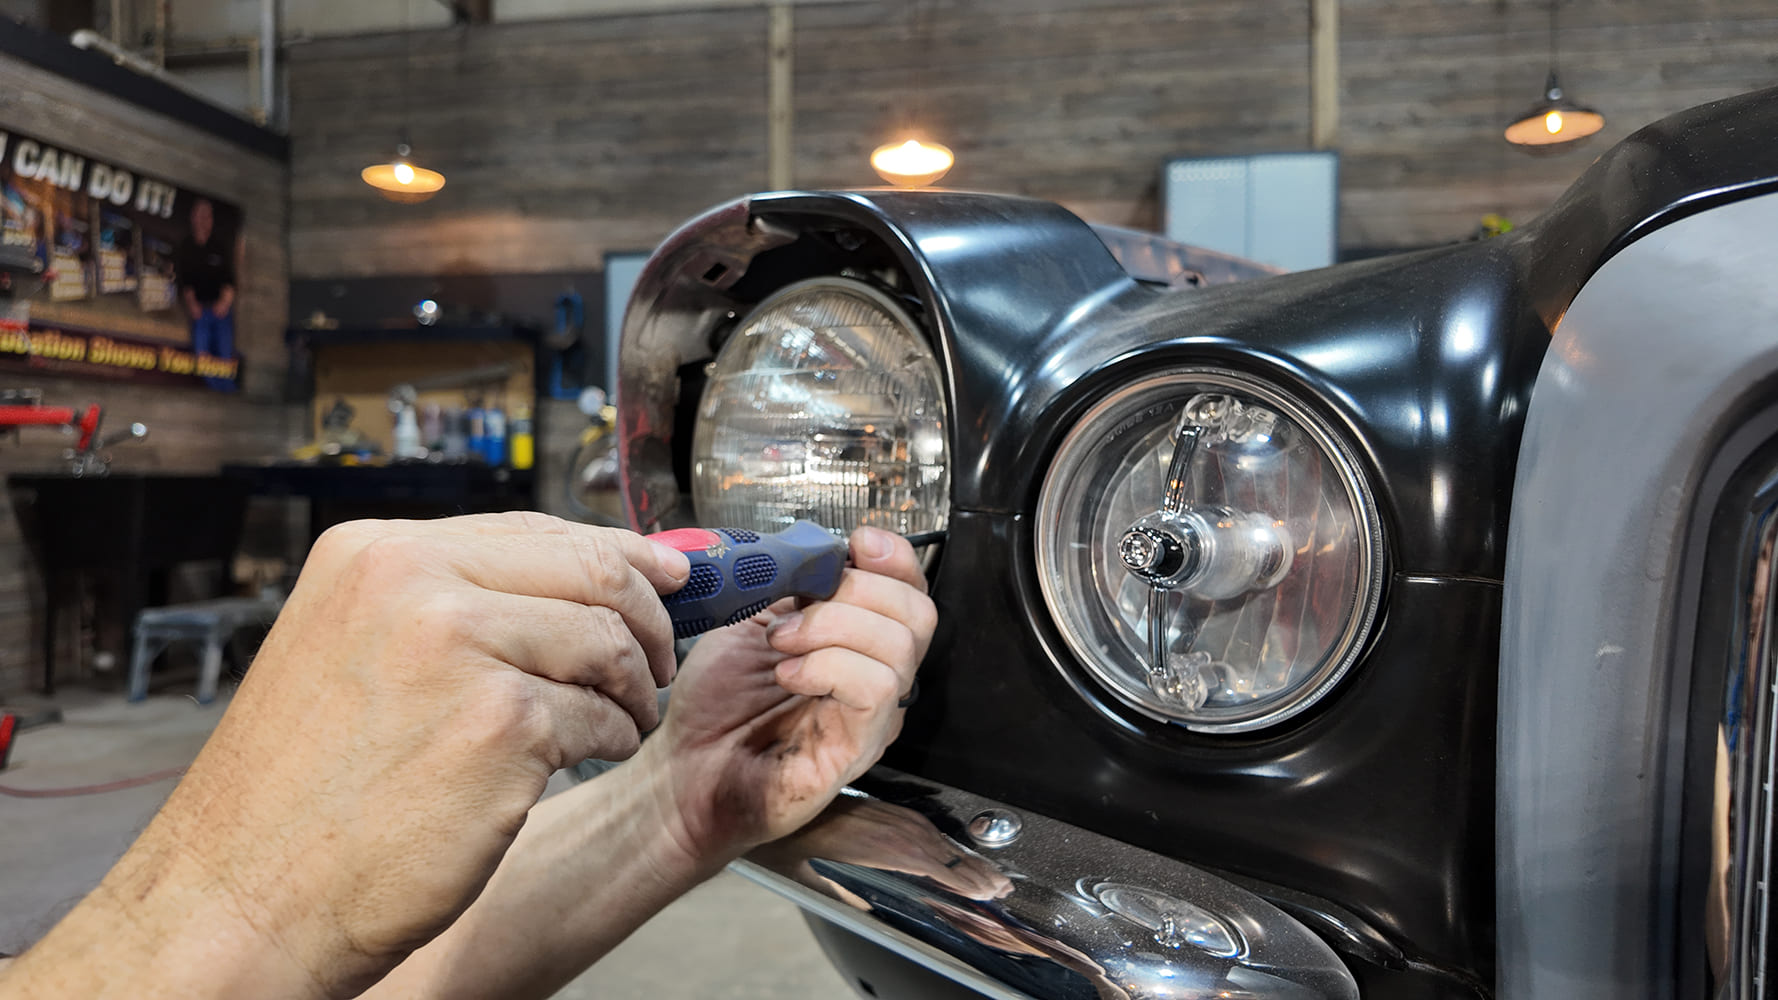
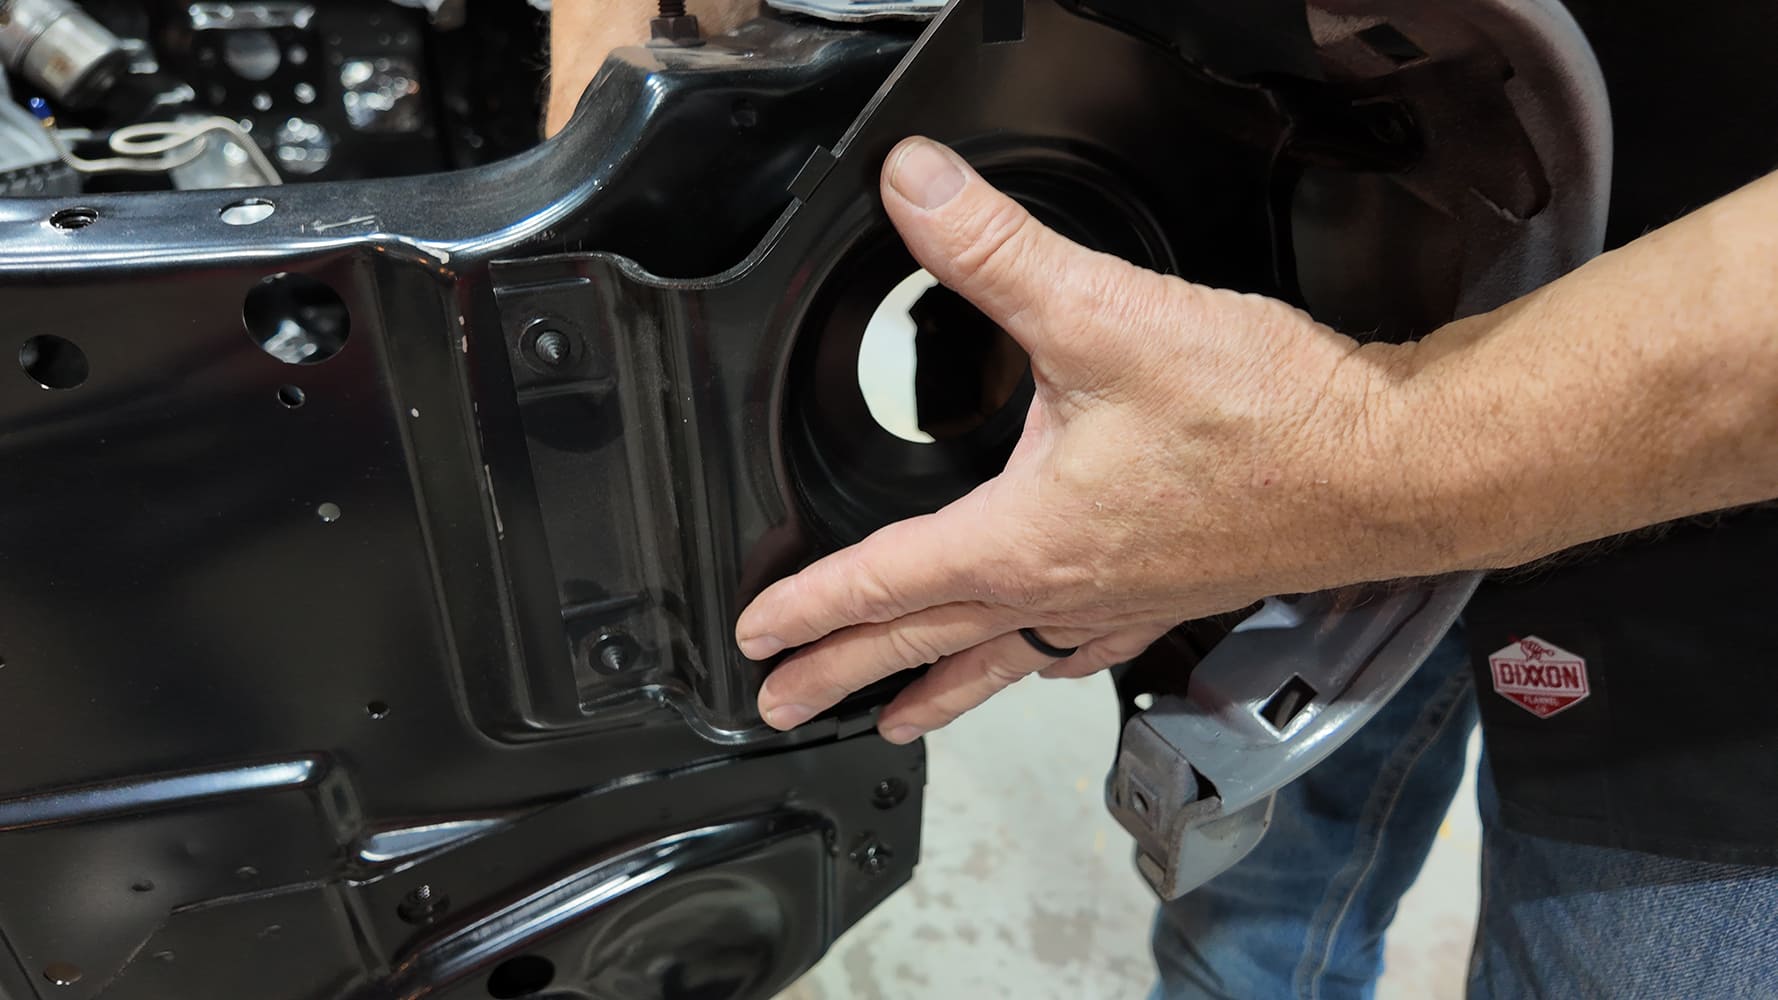
I was today-years-old when I figured out that GM changed the headlight buckets in 1974, and no amount of twisting or persuasion would make them work. We ended up ordering buckets, retainers, adjusters, and rings for 1970-73 cars. It took six days for the brown truck to show up, and about 14 minutes to install both sides. That’s why the doghouse is currently on jackstands—we had a suspension-installation deadline on our YouTube channel (Paintucation by Kevin Tetz) where this is an ongoing step-by-step project.
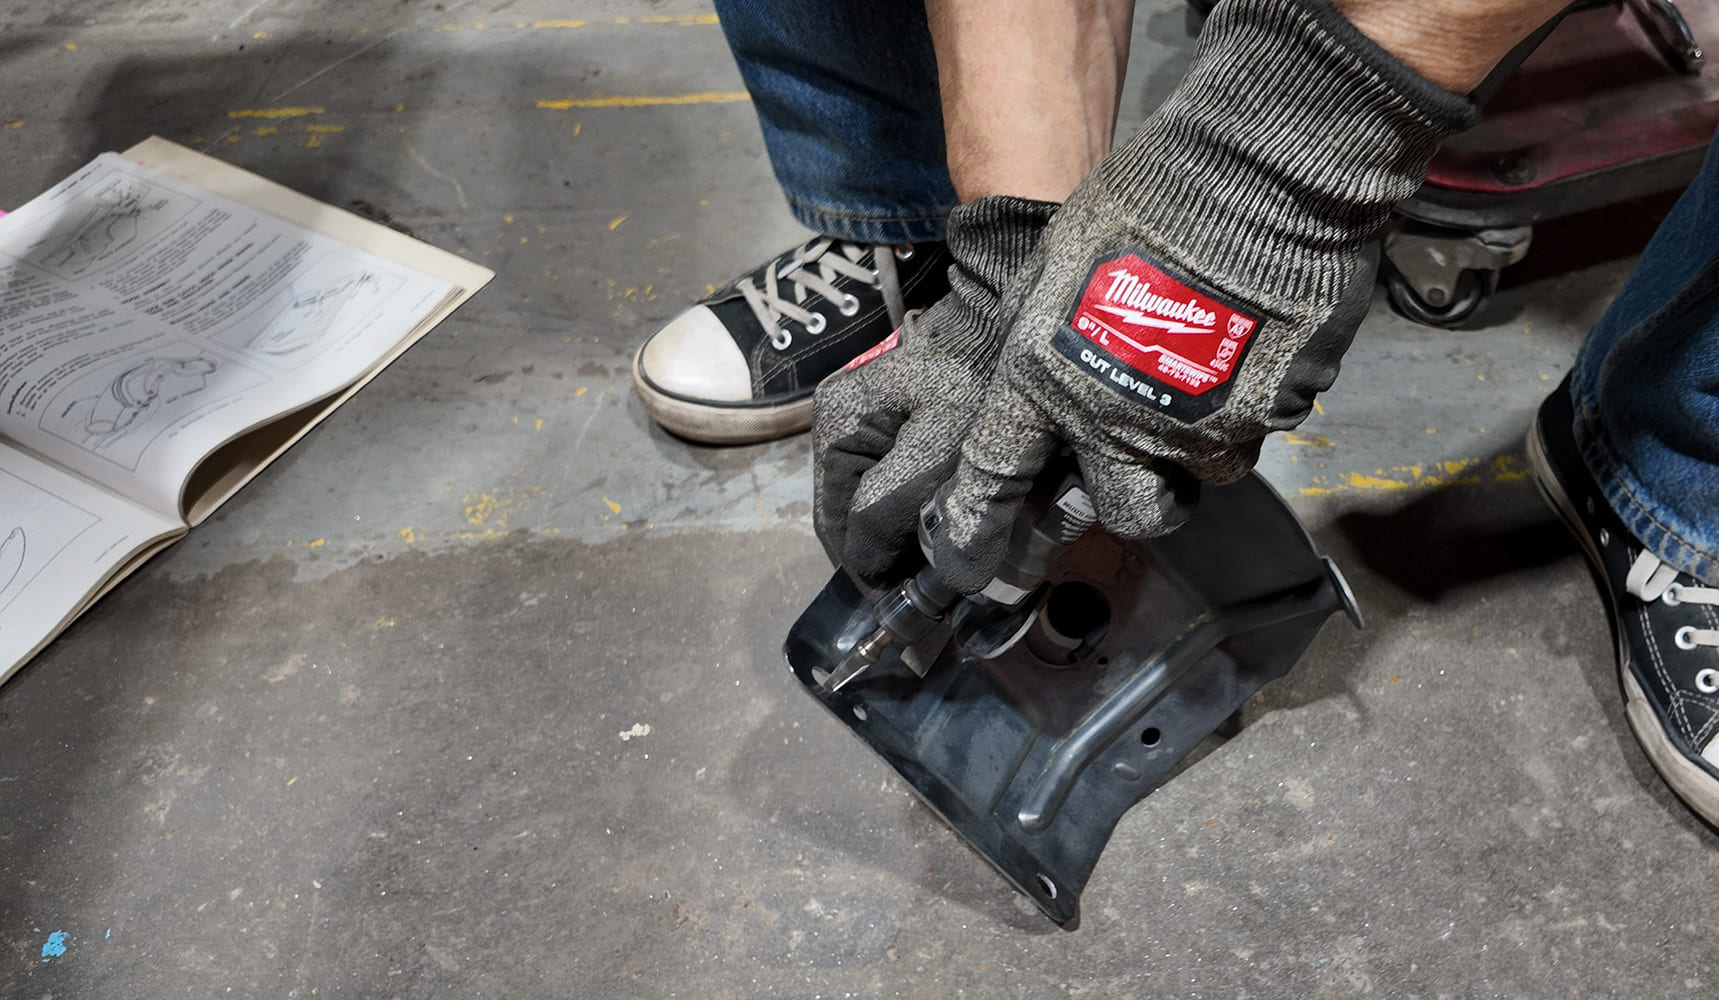
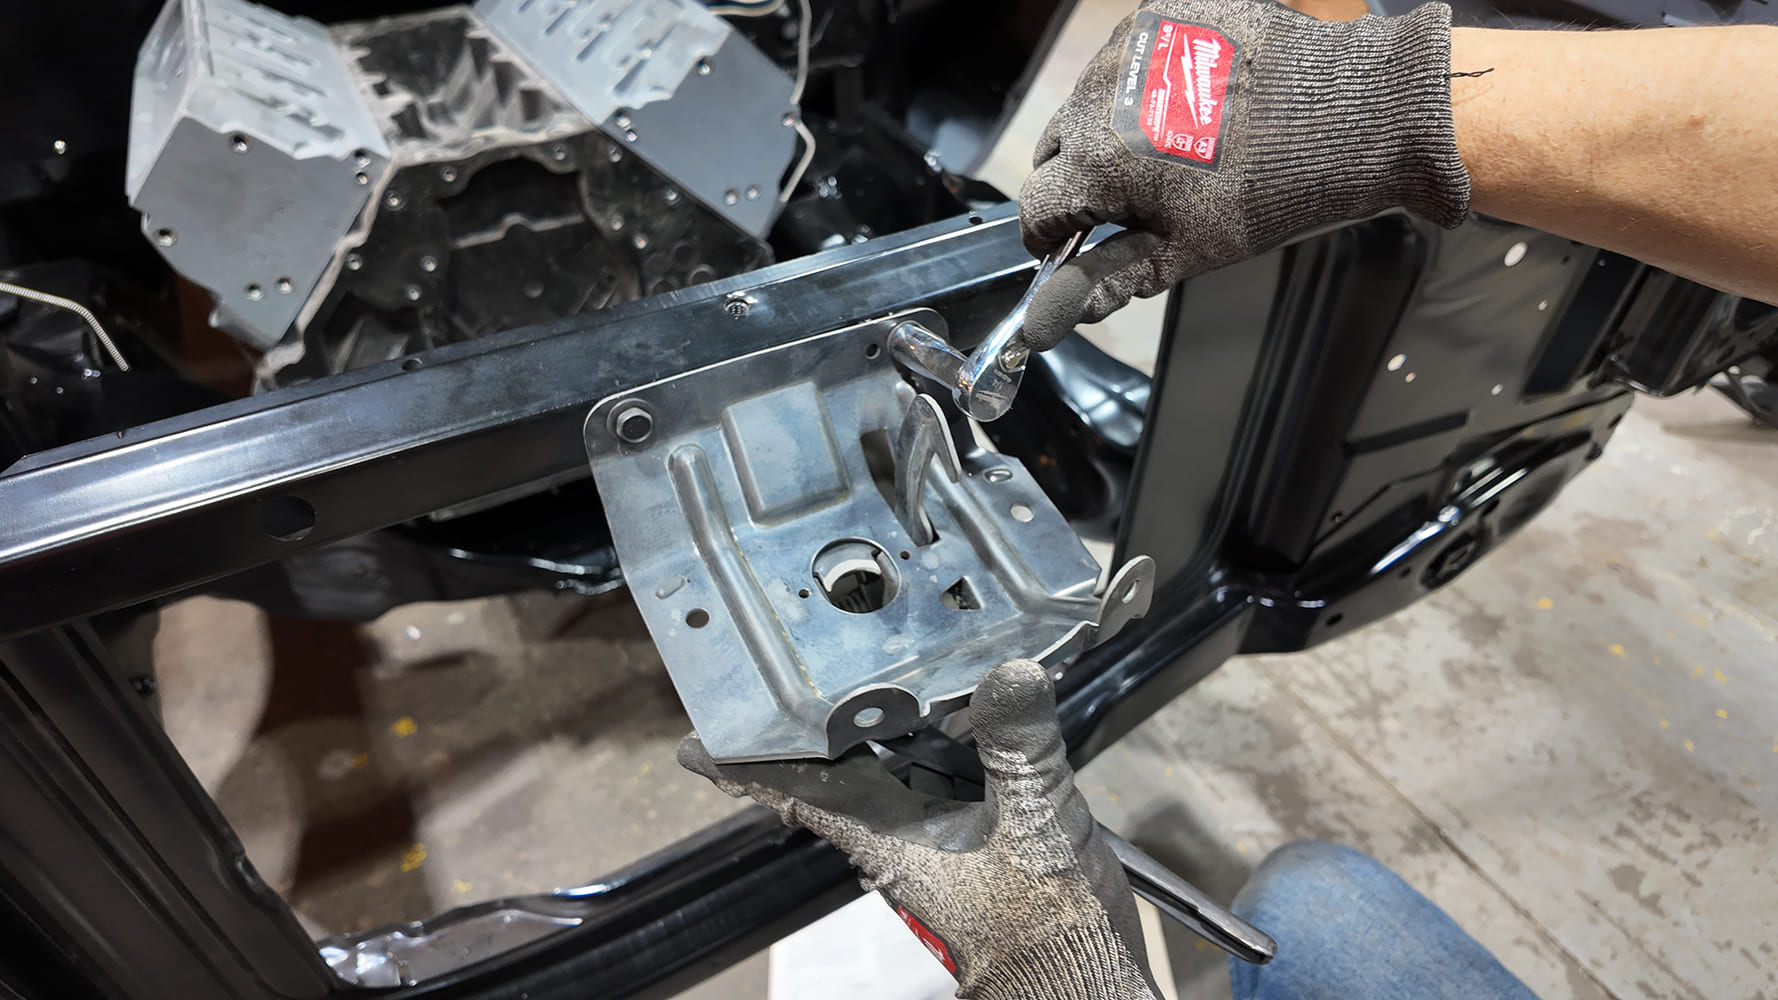 This was truly a bolt-in job that took about 2.5 hours, some futzing around, and a short list of extra parts we had to order. It makes me grin to see the beauty of this iconic front assembly—and to know it’s a simple DIY project that you can do on any second-gen F-body Camaro. For 1978 and later cars, you’ll need 1970-77 fenders, but AMD has those covered as well.
Check out this story in our digital edition here.