


By Ron Covell – Photography By Tin Man’s Garage
Brian Limberg of Tin Man’s Garage in Sycamore, Illinois, is no stranger to building top-level street rods. Of the many awards he has received, he is particularly proud of the Eric Black Design Award at The Gathering in Oklahoma last year for their team’s latest 1936 Willys sedan, dubbed “Gangrene.”
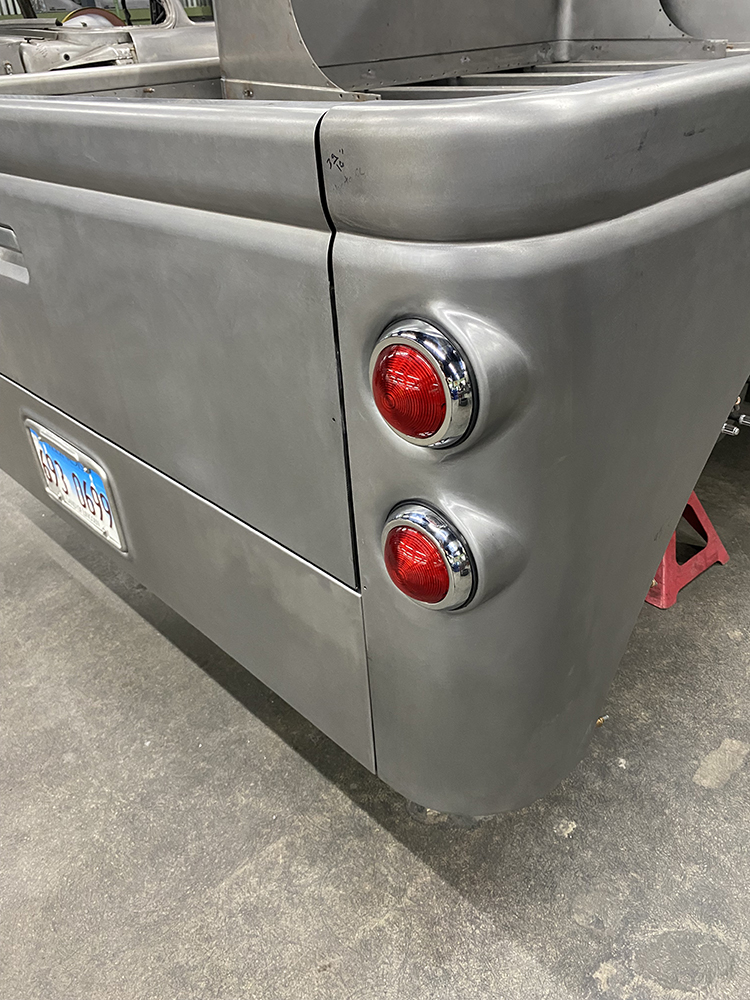
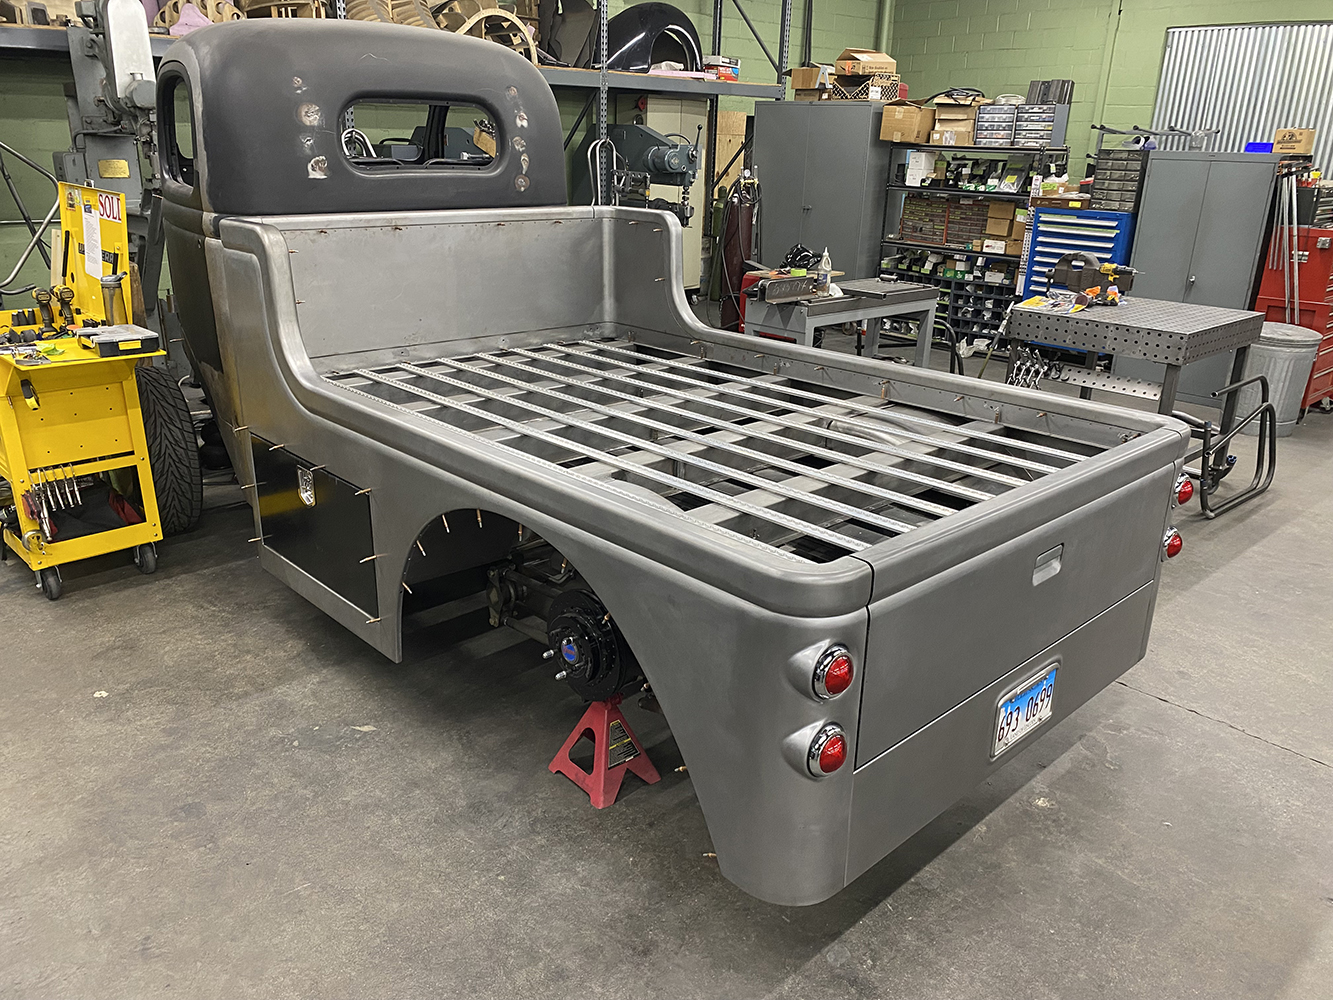
Limberg and his crew have been working on a 1937 GMC cabover truck; they completely hand built the bed. One of the finishing touches was mounting taillights to the bed; in this article we’ll look at how they approached this intricate project.
Metalwork is slow by nature, so it is often a good idea to use another material to quickly try out some different ideas before the cutting and welding begins. They glued together blocks of foam-building insulation to simulate one corner of the bed and then tried different taillight positions. There are a lot of subtleties at this stage—how far the taillights will be recessed, how close they should be to the edge of the bed, how far down from the top of the bed, and the spacing between them. They were ready to start the work with metal once they had worked these proportions out with the foam mock-up.
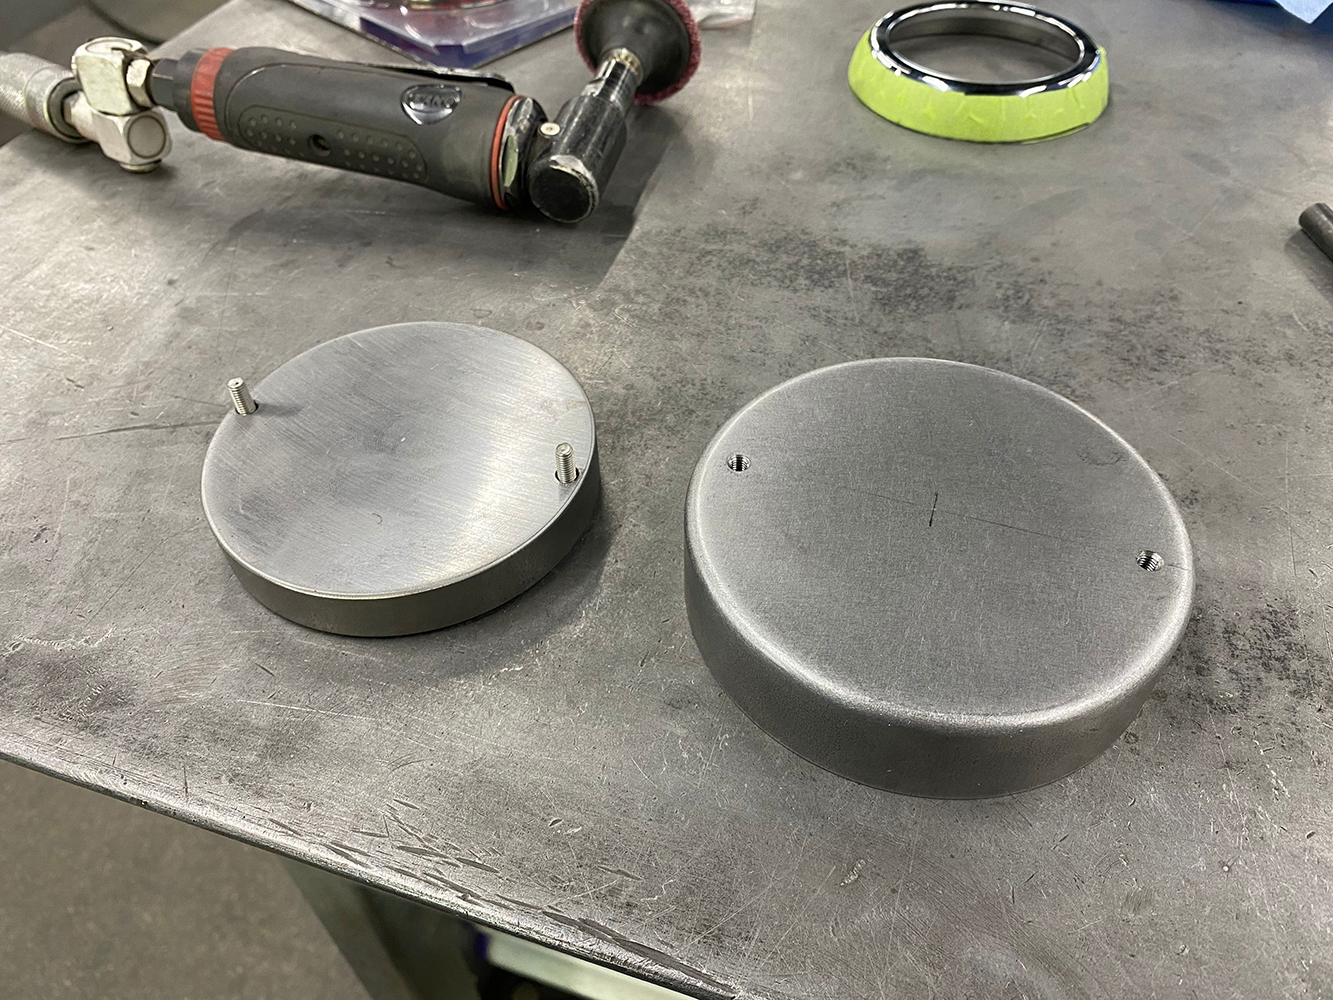
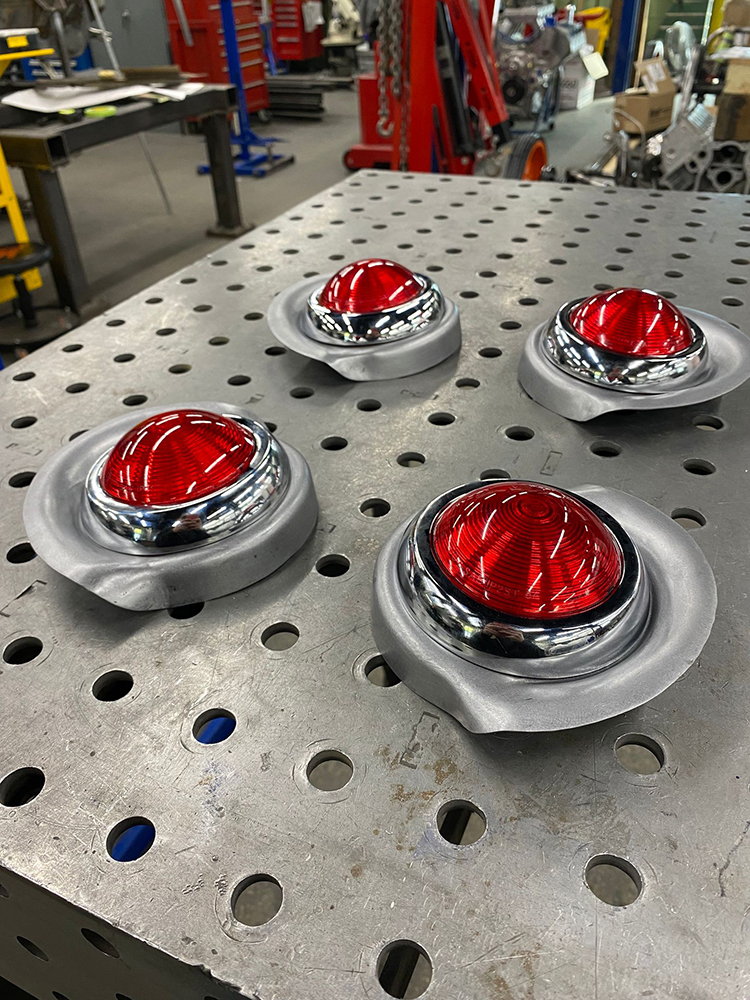
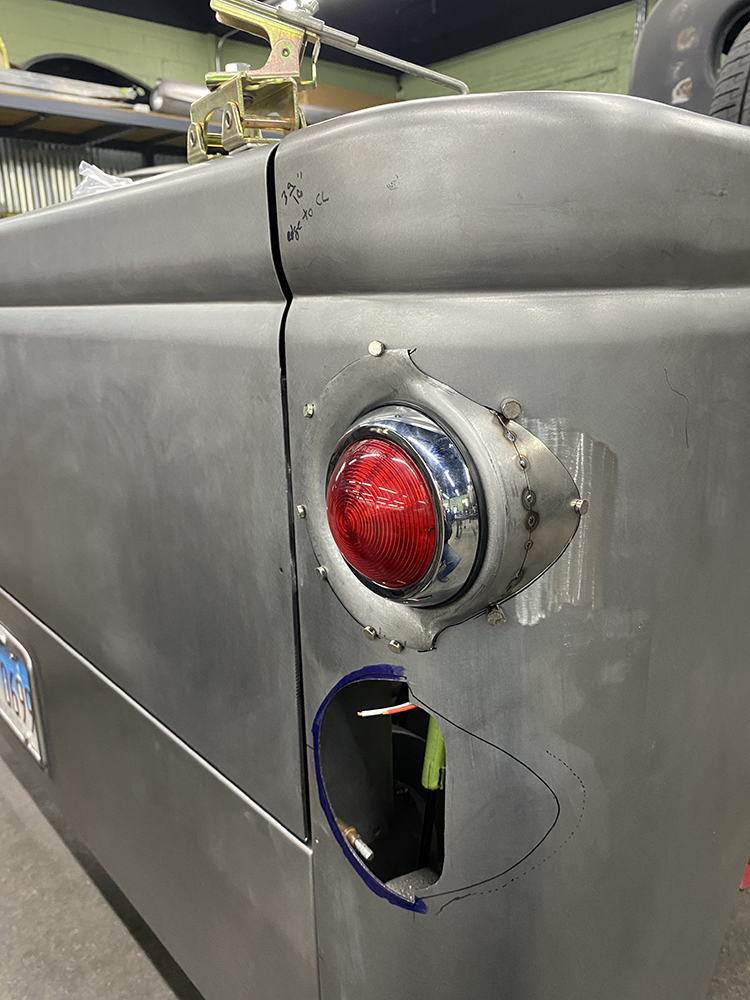
The first step was making the mounting surfaces to which the lights will attach. They chose clean, aftermarket, 1950 Pontiac-style taillights from Speedway Motors, and they require a flat surface for mounting. Since the lights are semi-recessed, the mounting surfaces need a complex shape on the edge—flared toward the rear on the inner portion and flared toward the front on the outer side. This required sturdy steel hammerforms, which made this tricky forming job much more controllable and repeatable.
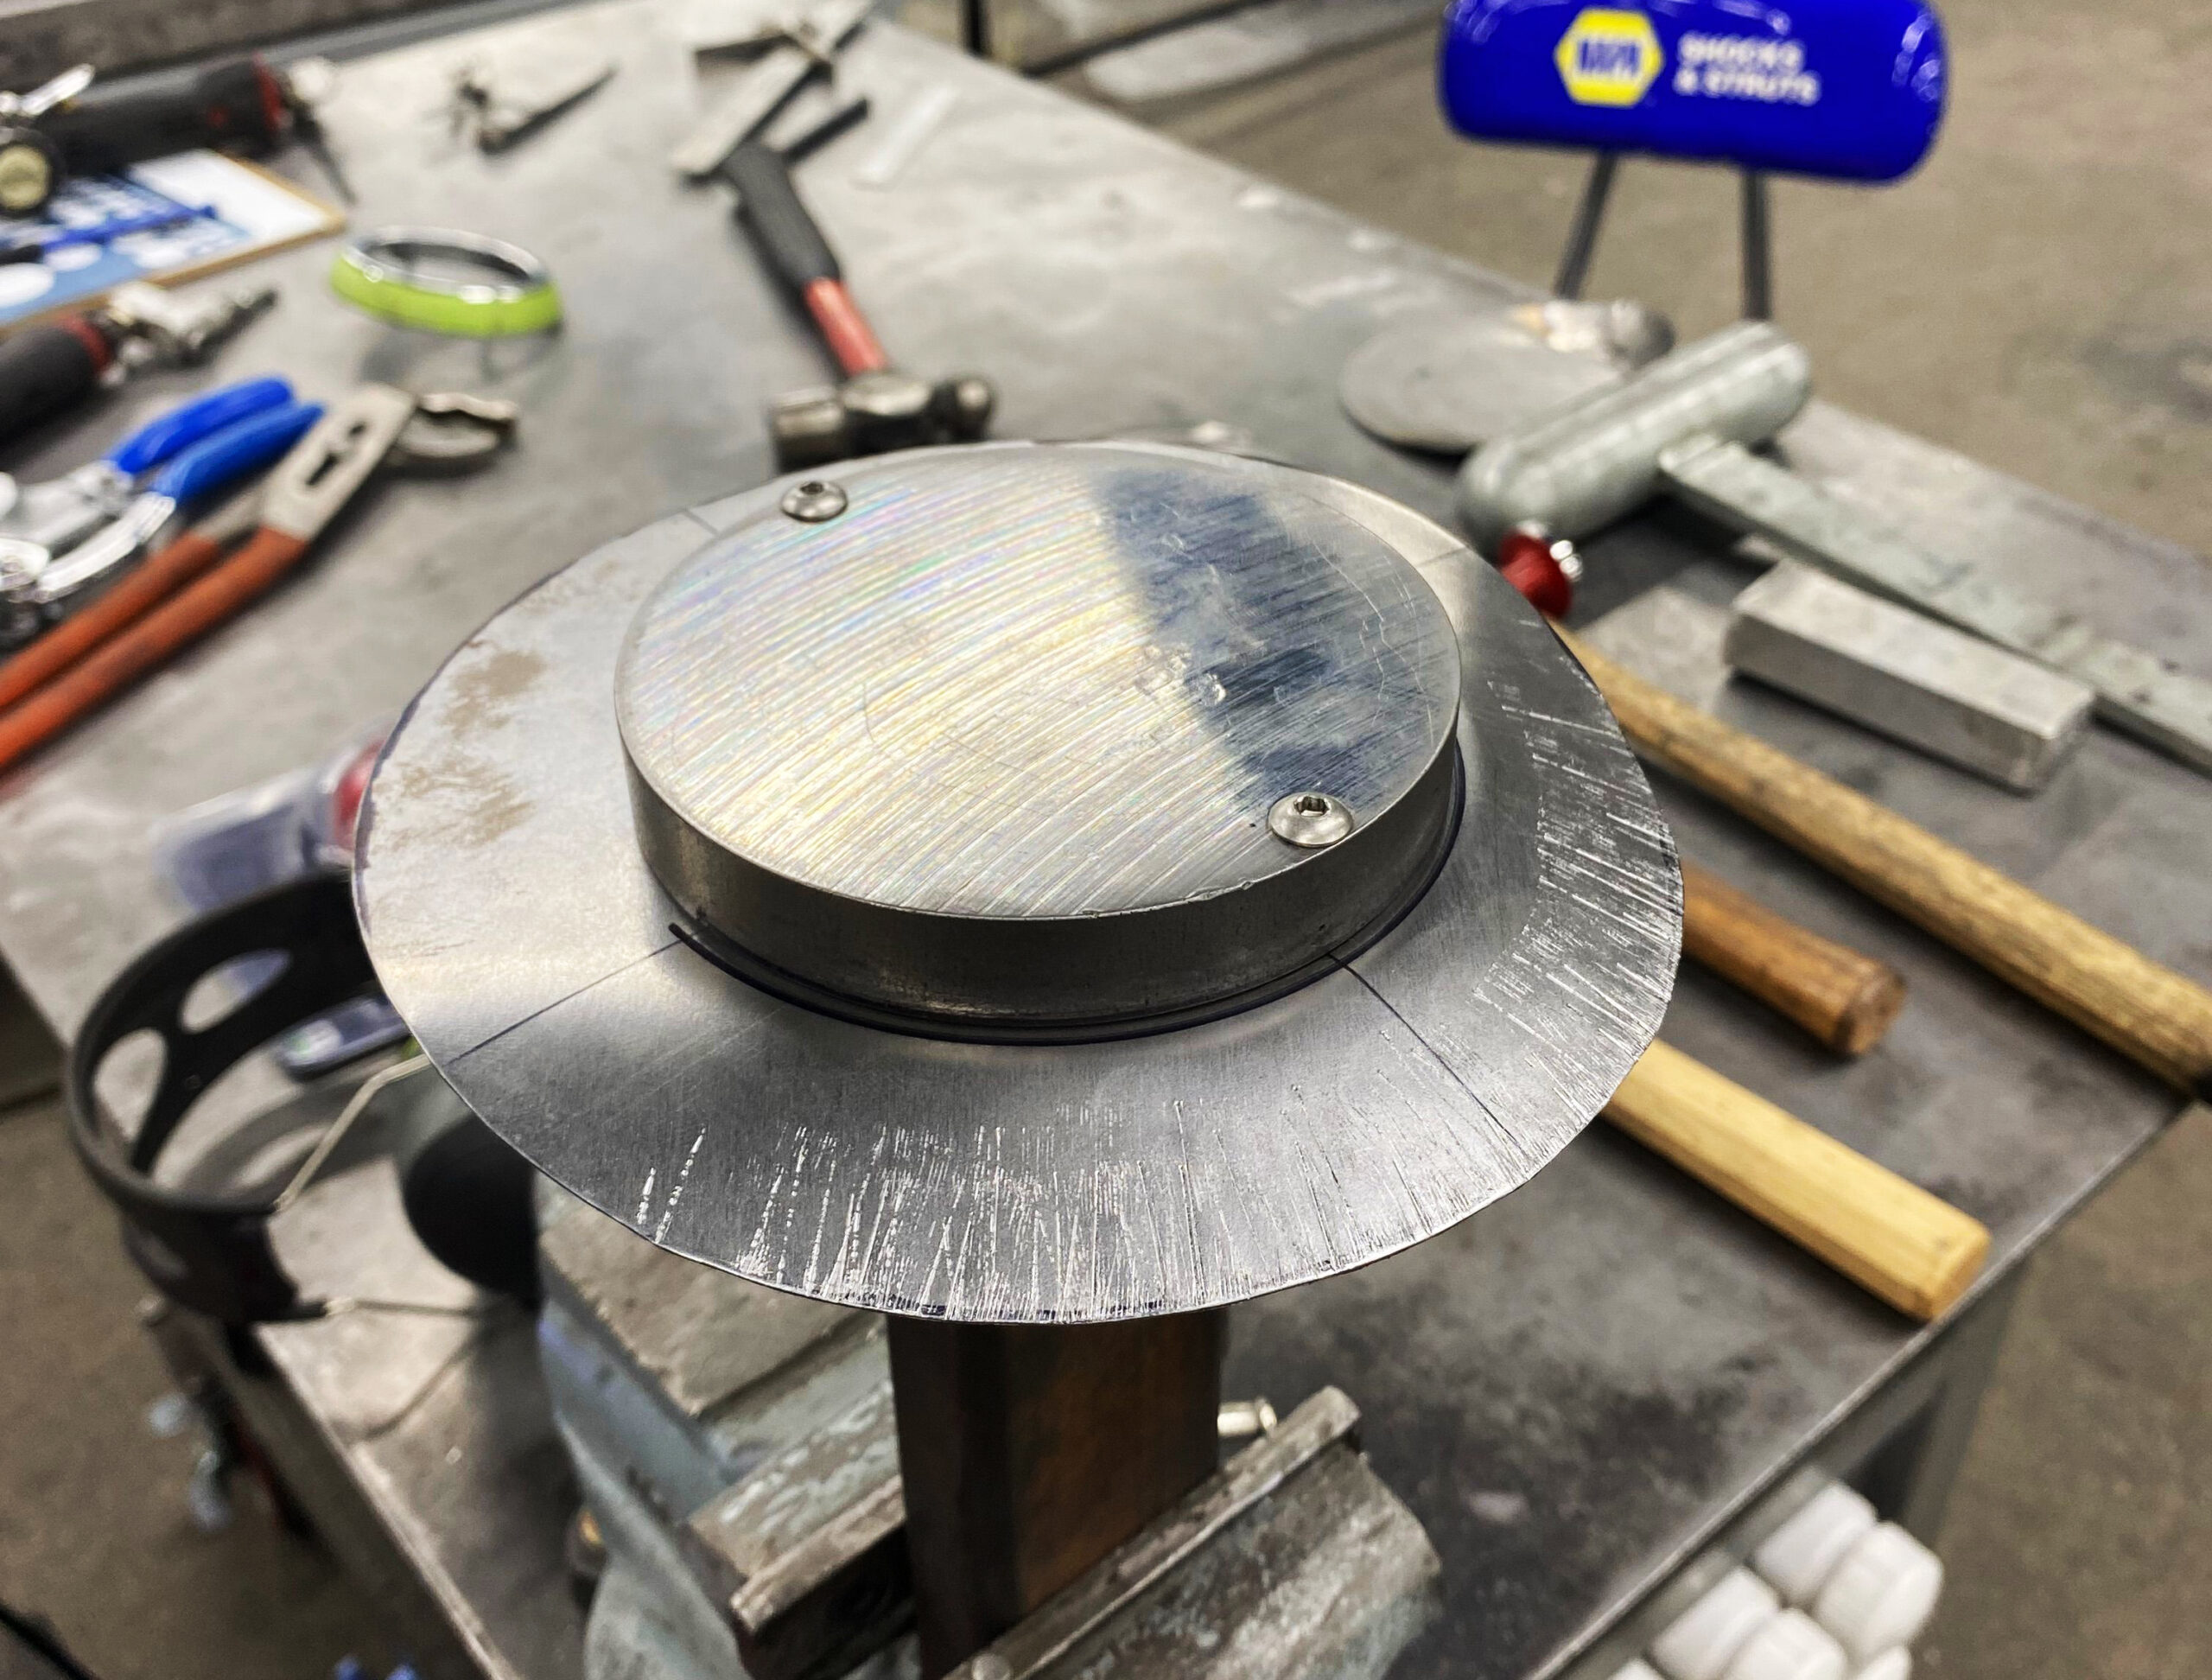
The rearward-facing flange fits quite close to the taillight bezel, so one of the forms was made to match this diameter. A flat disc of 19-gauge steel was cut about 2 inches larger in diameter than the form. One side was worked in a mechanical metal shrinking machine to start moving it down, and then the flange was hammered to about a 45-degree angle.
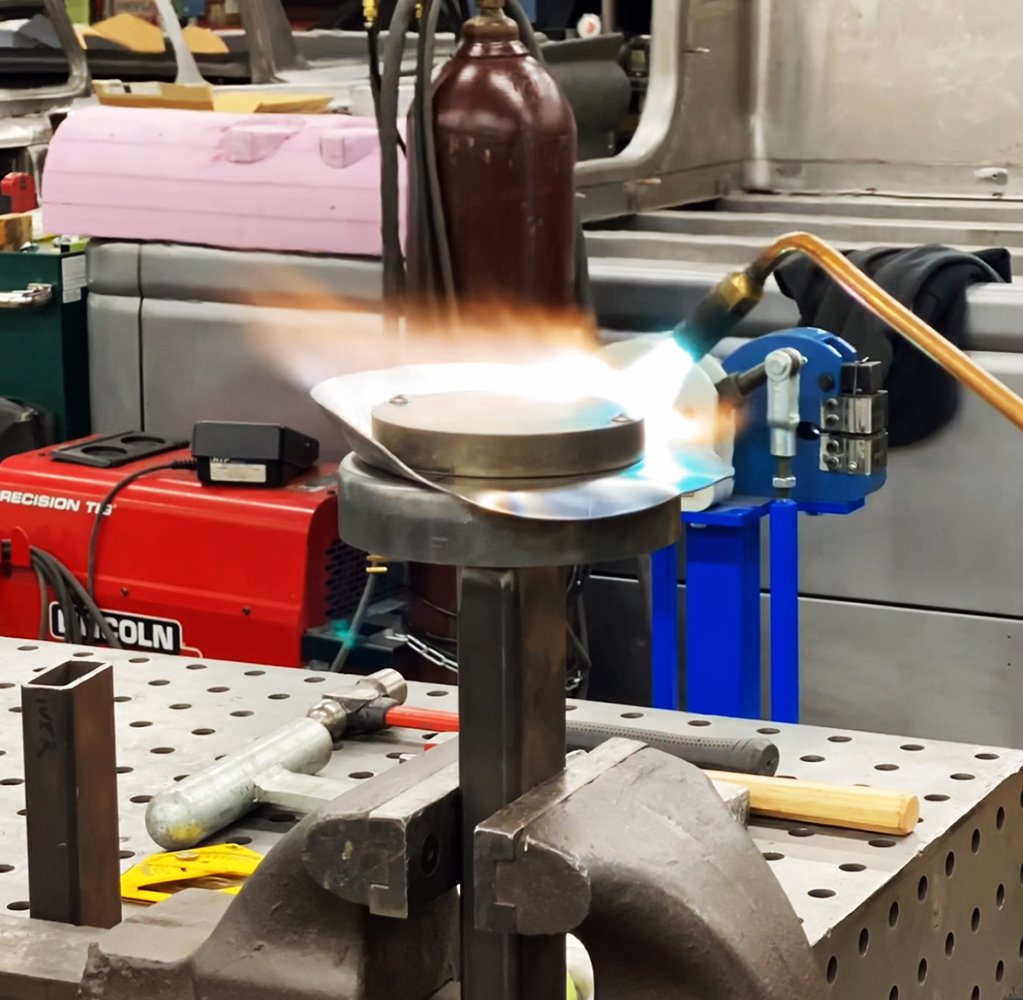
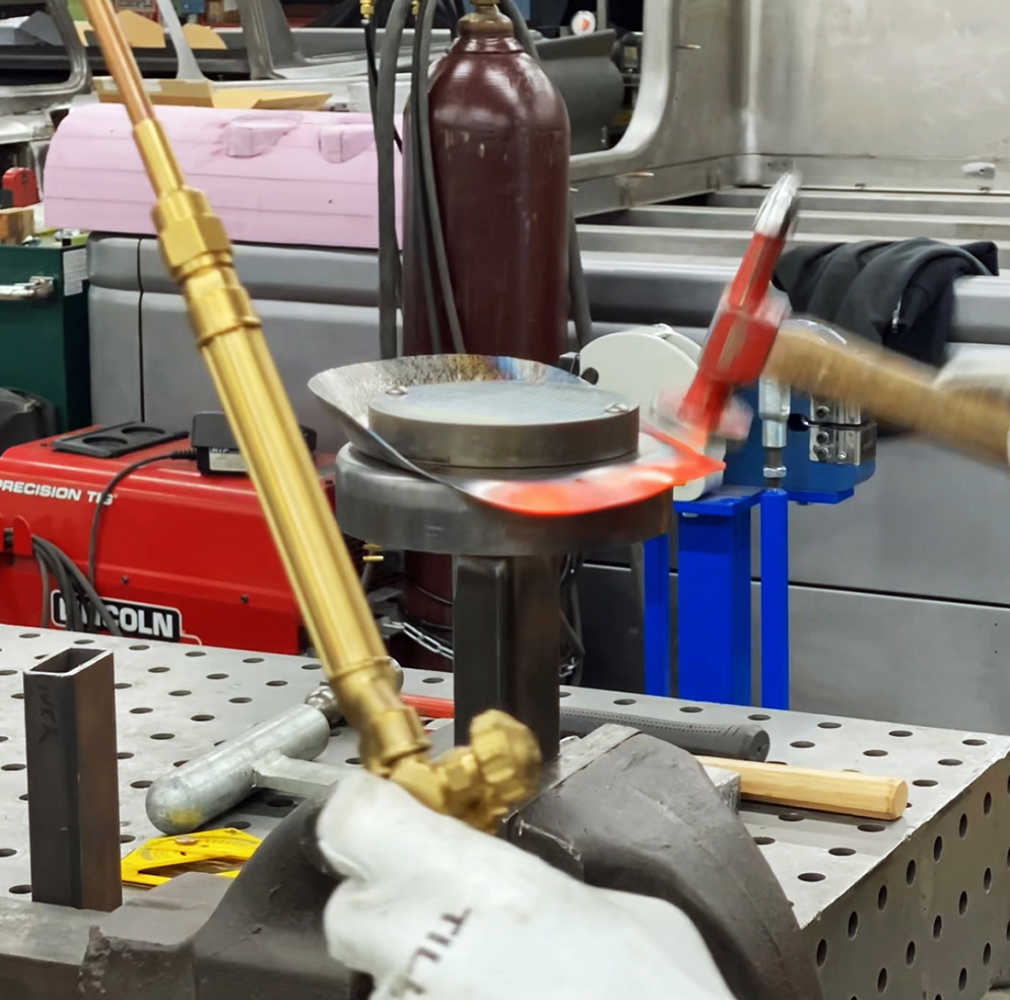
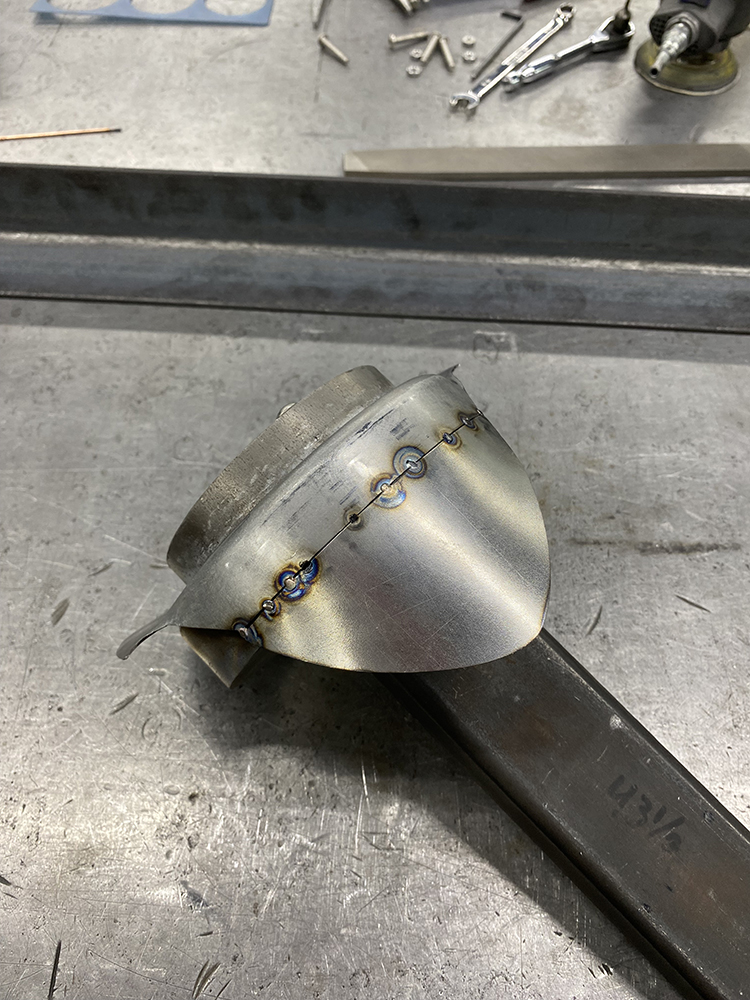
This rough-shaped form was then inverted and placed on the larger hammerform, which has the shape required for the larger-diameter needed on the outside edge of the mounting surface. Since the flange gets folded down close to 90 degrees, a great deal of shrinking was required on this part and heat was required to make the metal shrink this much.
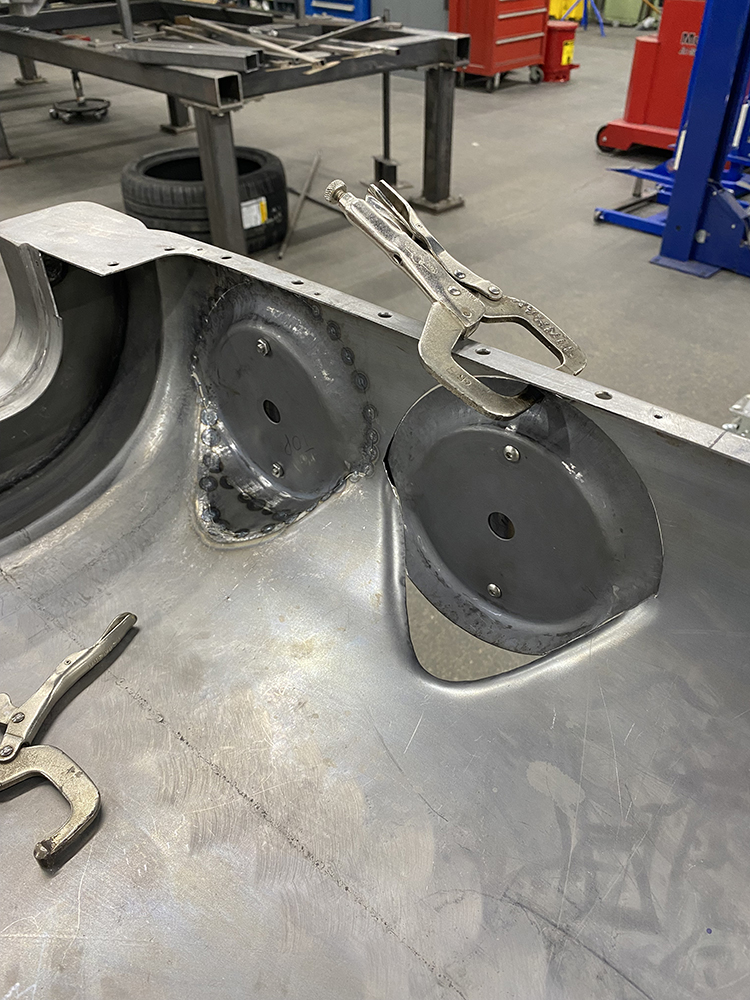
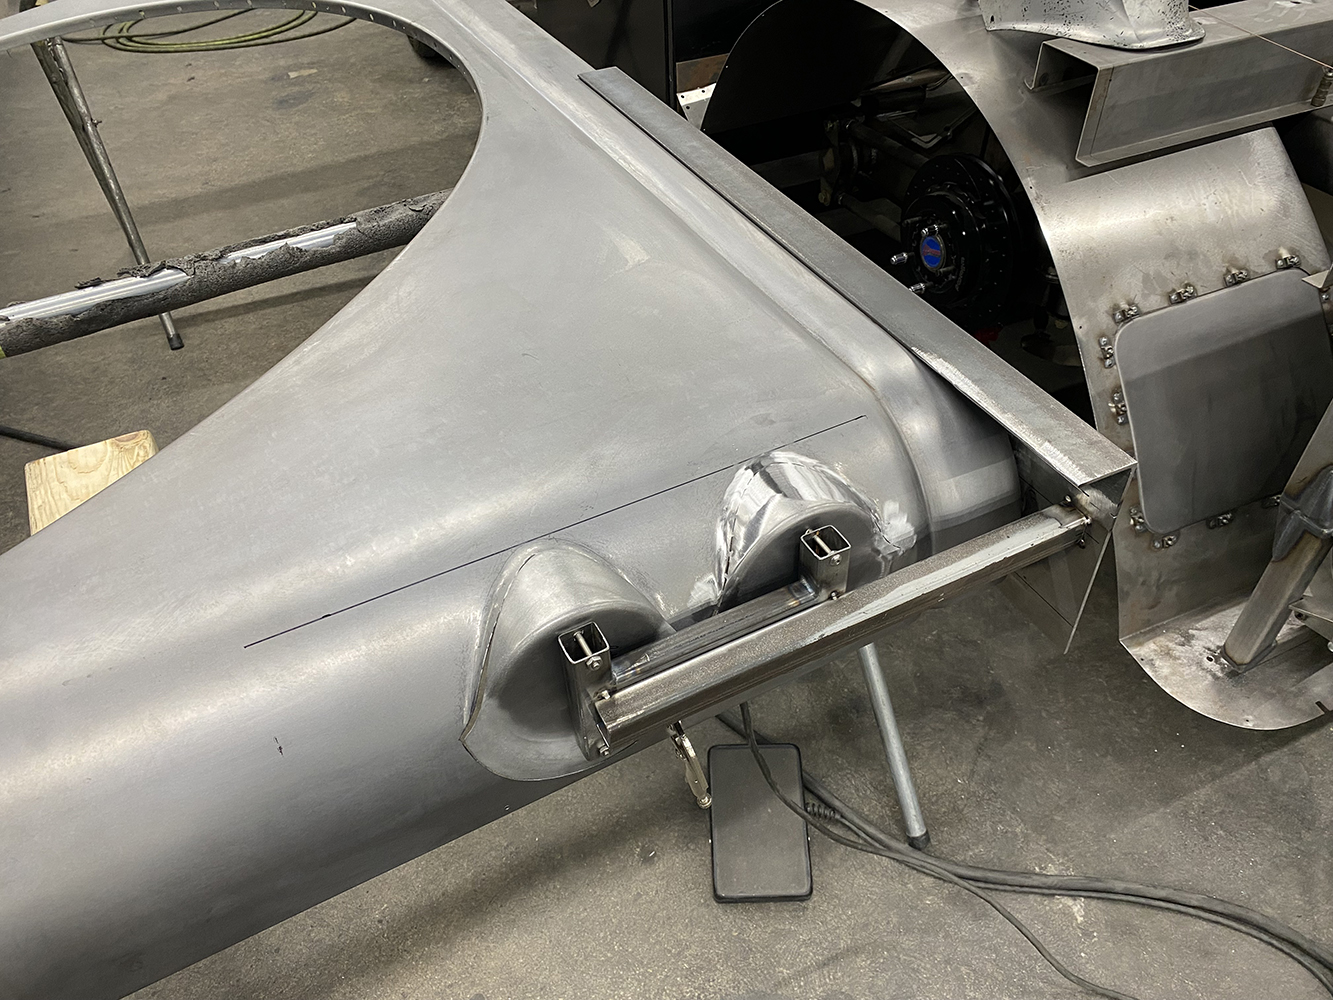
With rough-formed flanges, the inside flange was worked with a hammer and T-dolly to give the metal the required S-shaped curve. These parts were checked constantly while being formed to ensure they would precisely match the contours of the bed.

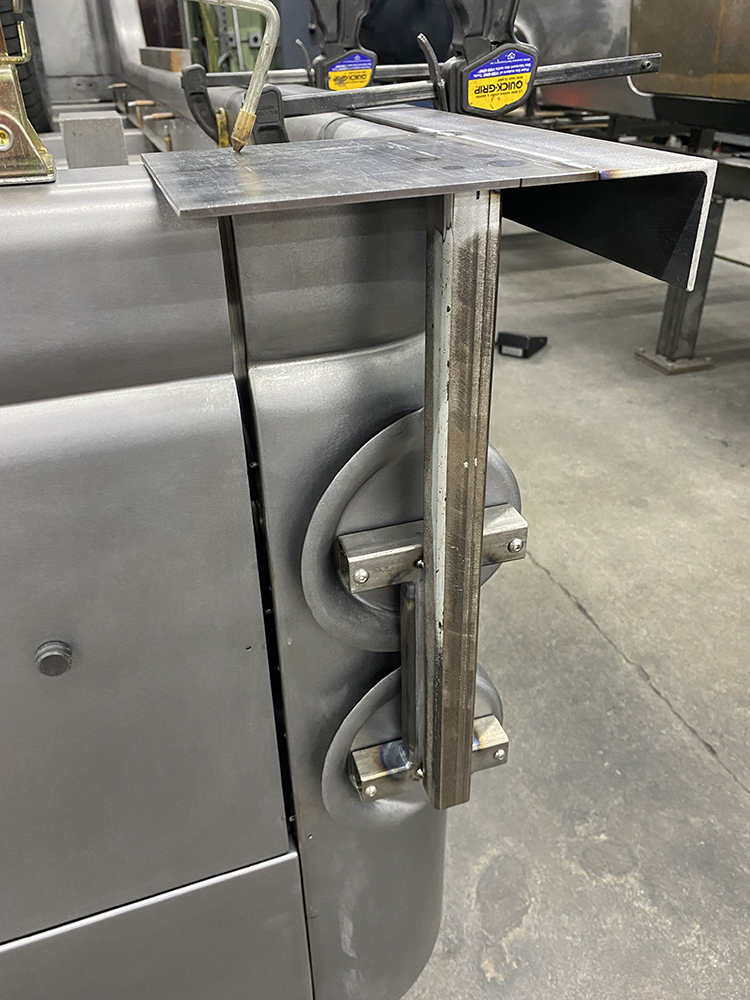
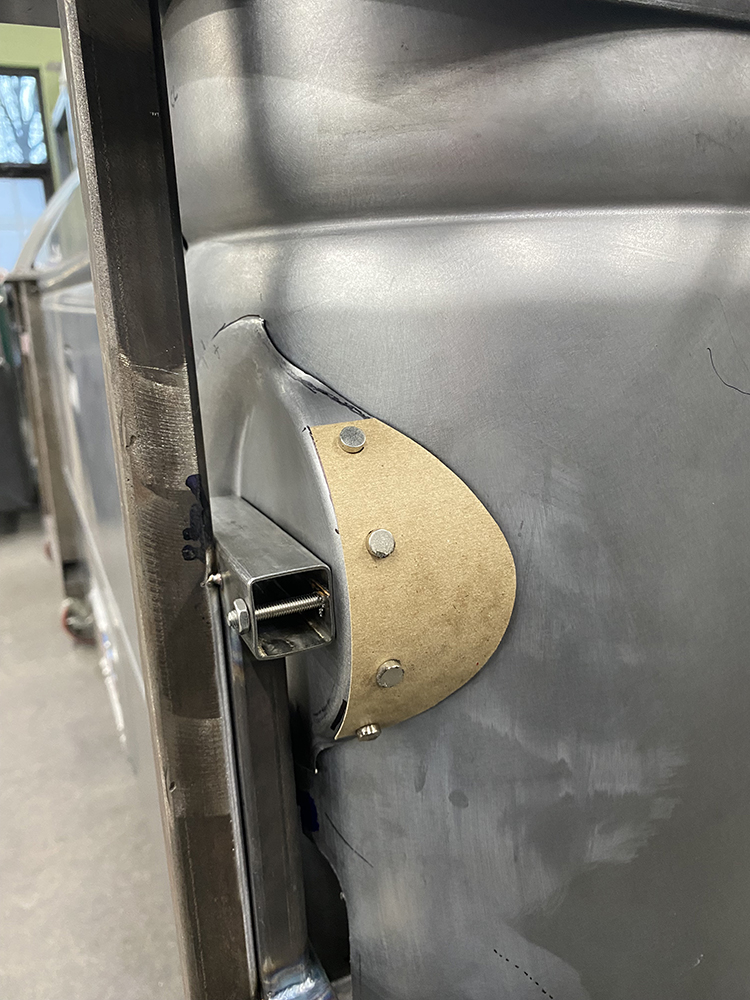
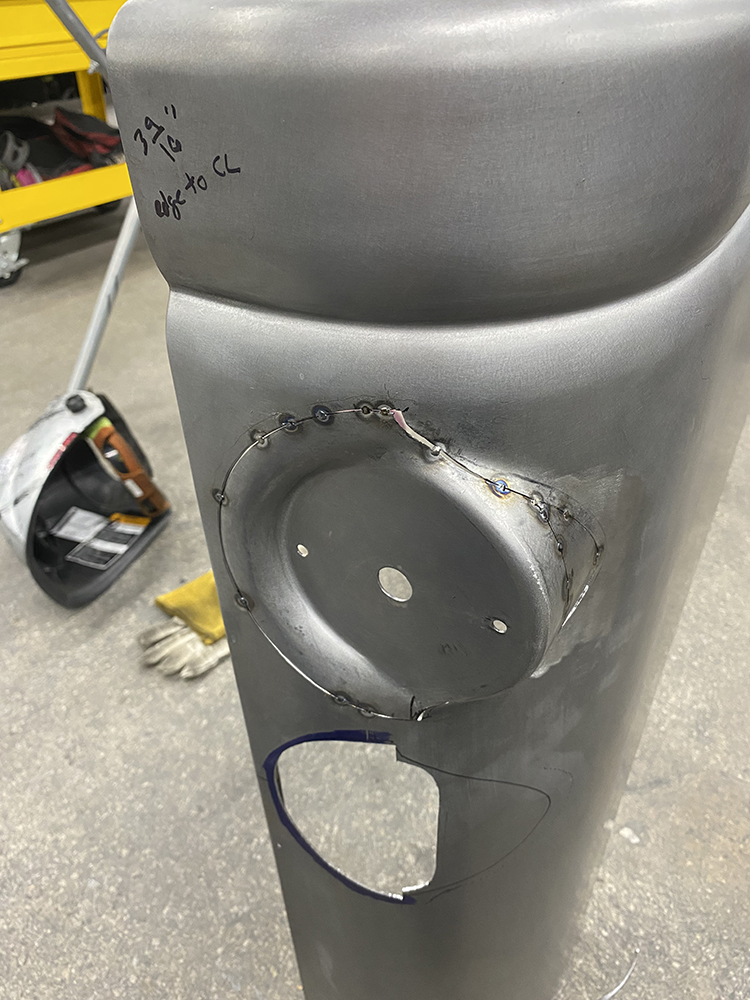
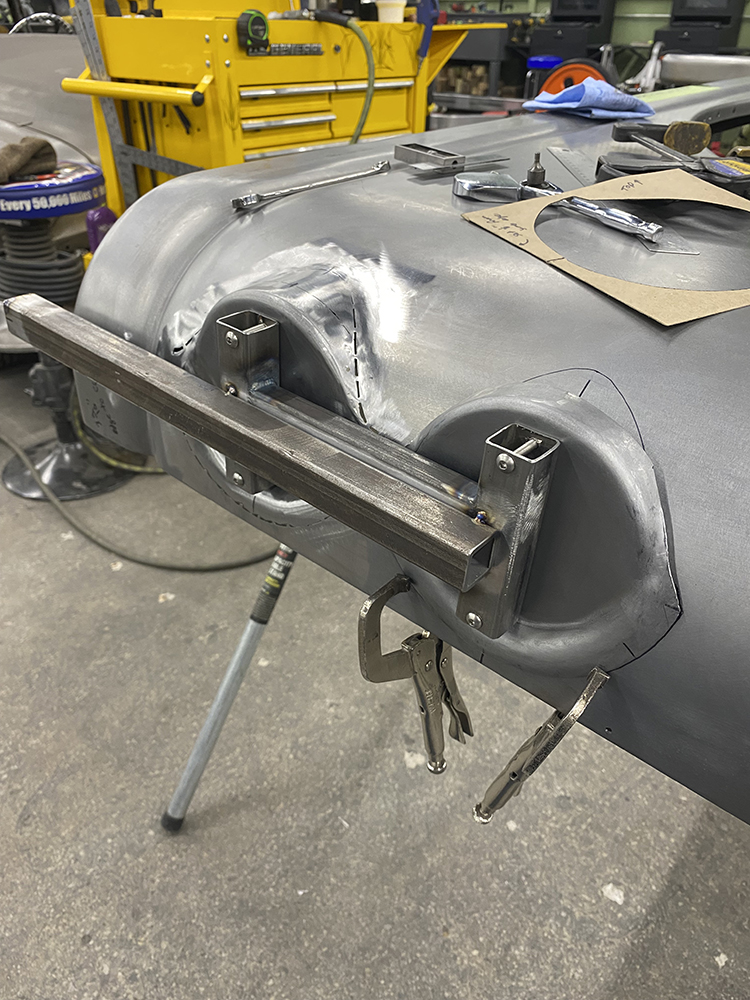
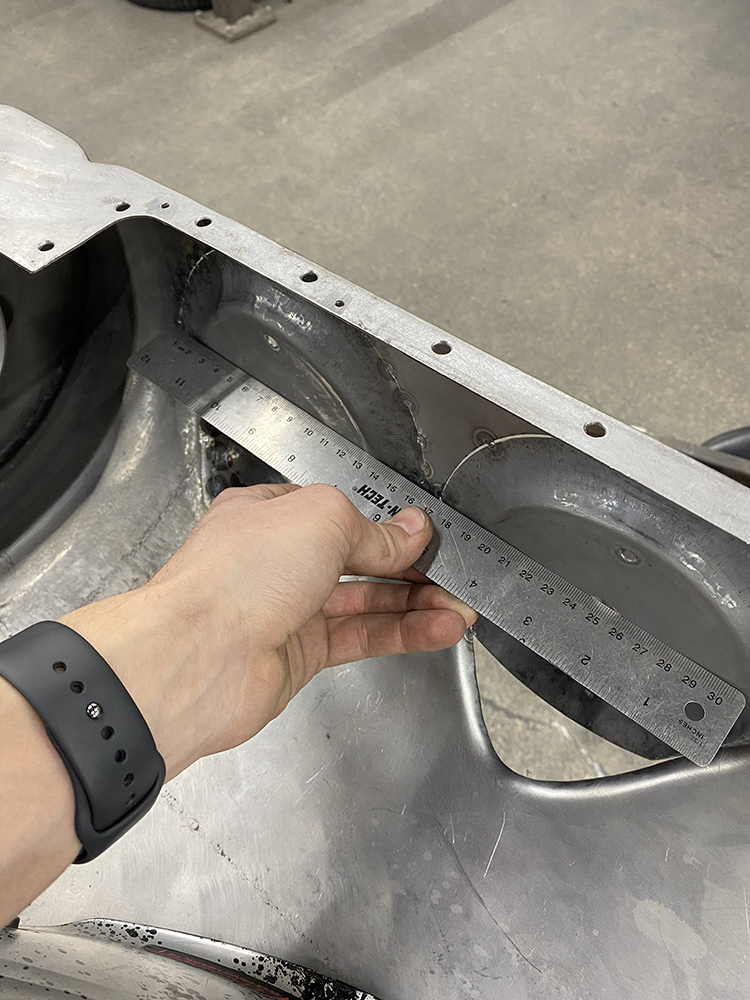
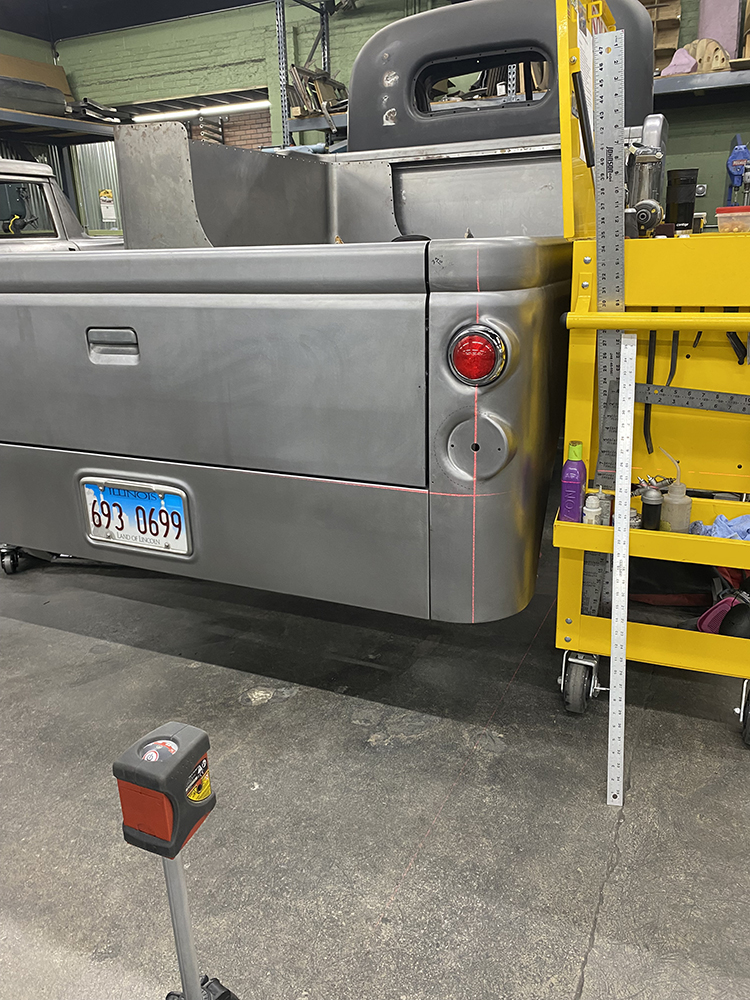
With all four mounting plates formed, it was time to position them on the bed accurately. A simple bracket was made that two of these parts were screwed to, and this assembly rested on the top flange of the bed. This held the parts in precise alignment while keeping the center distance constant as the right-to-left position was dialed in.
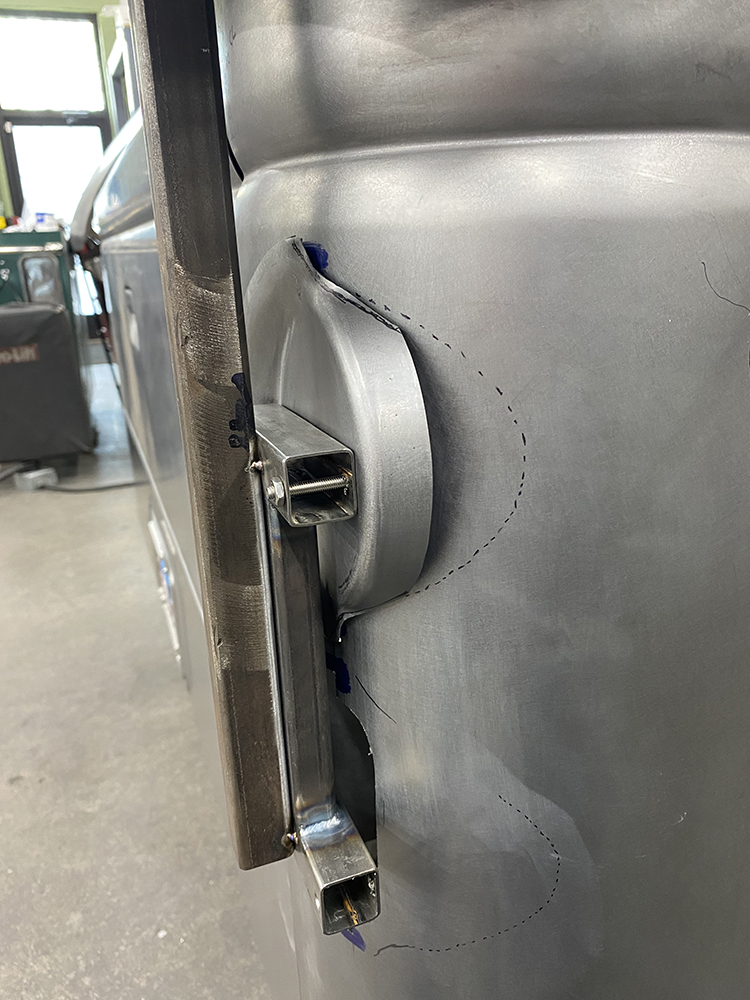
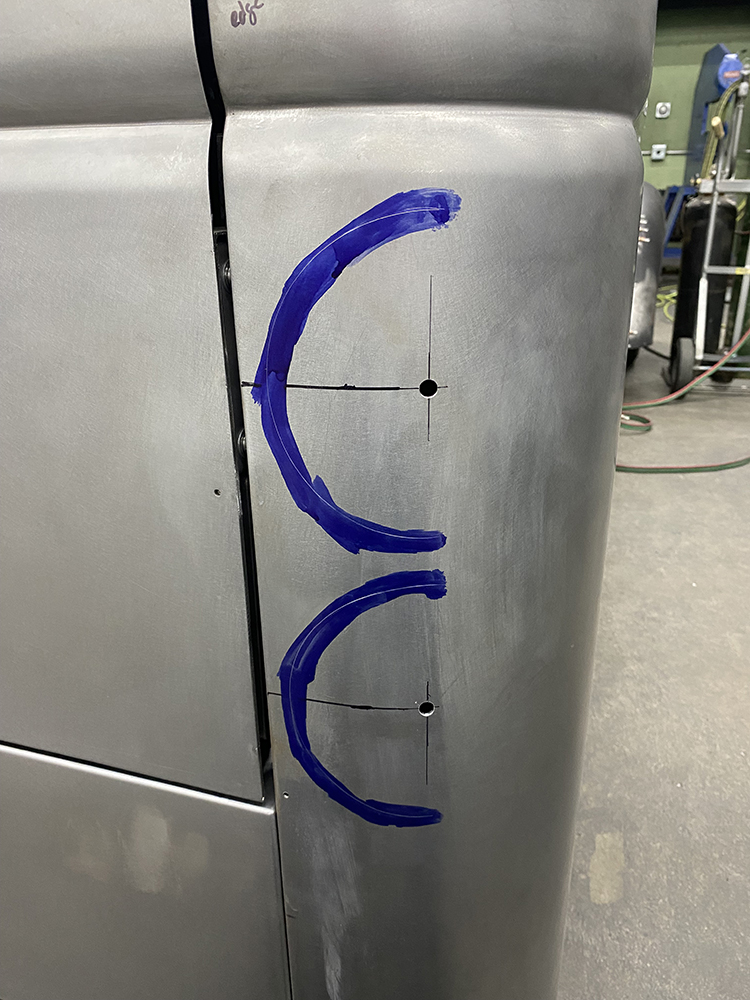
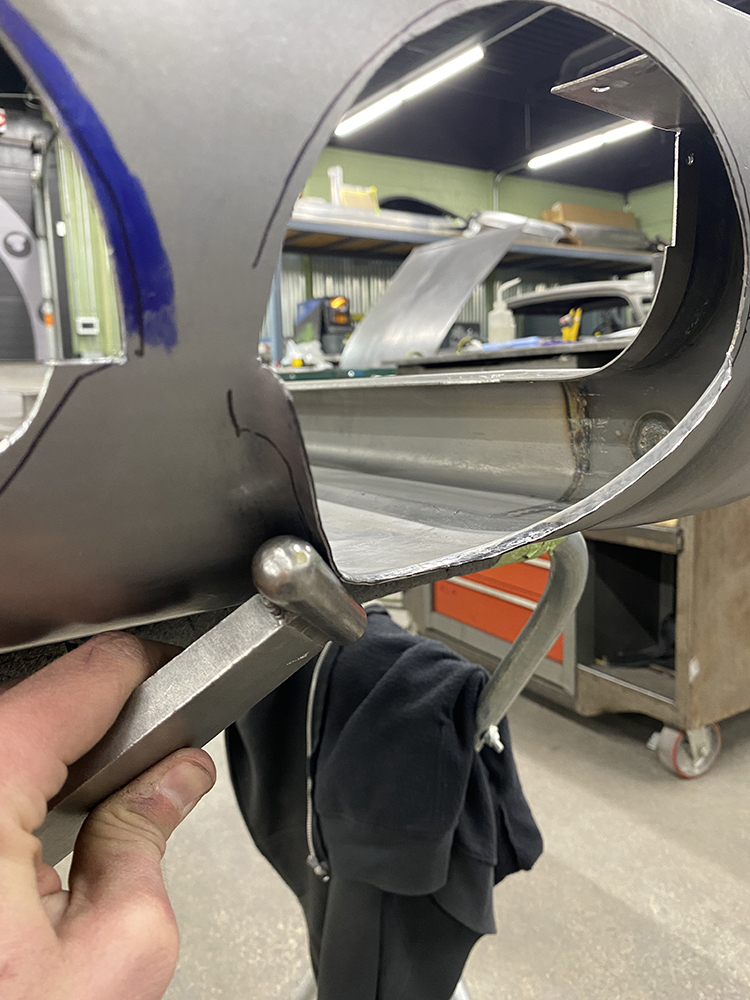
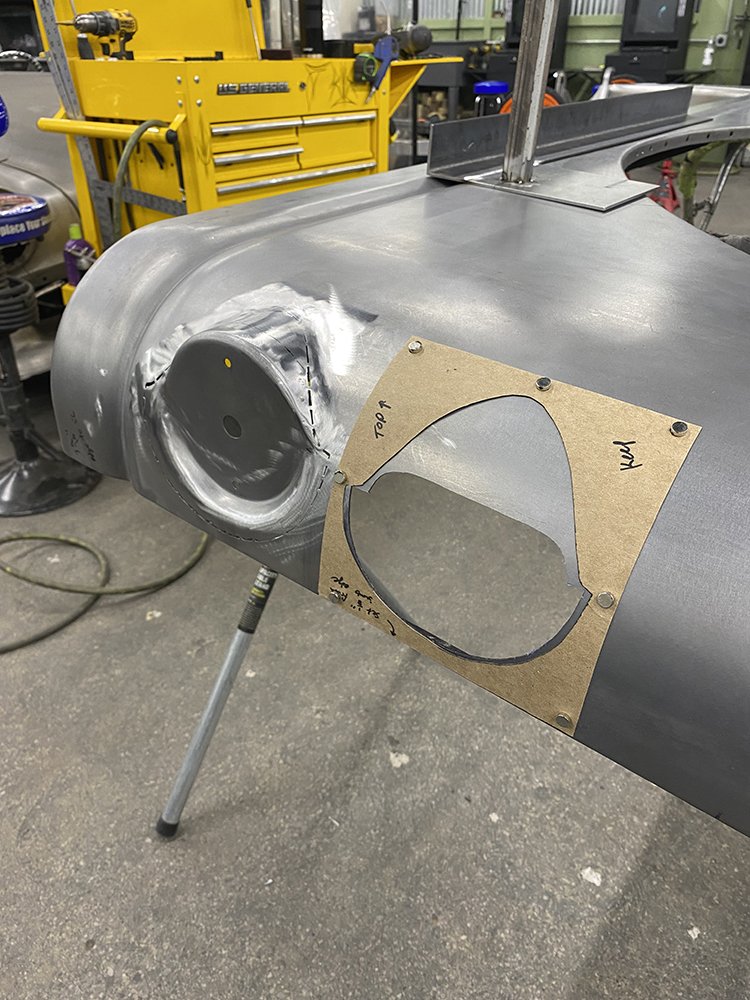
Once the position was finalized, openings were made in the bedside to allow the light mounting surfaces to nestle down toward their final resting place. Finally, the bed could be trimmed so the plates would fit precisely.
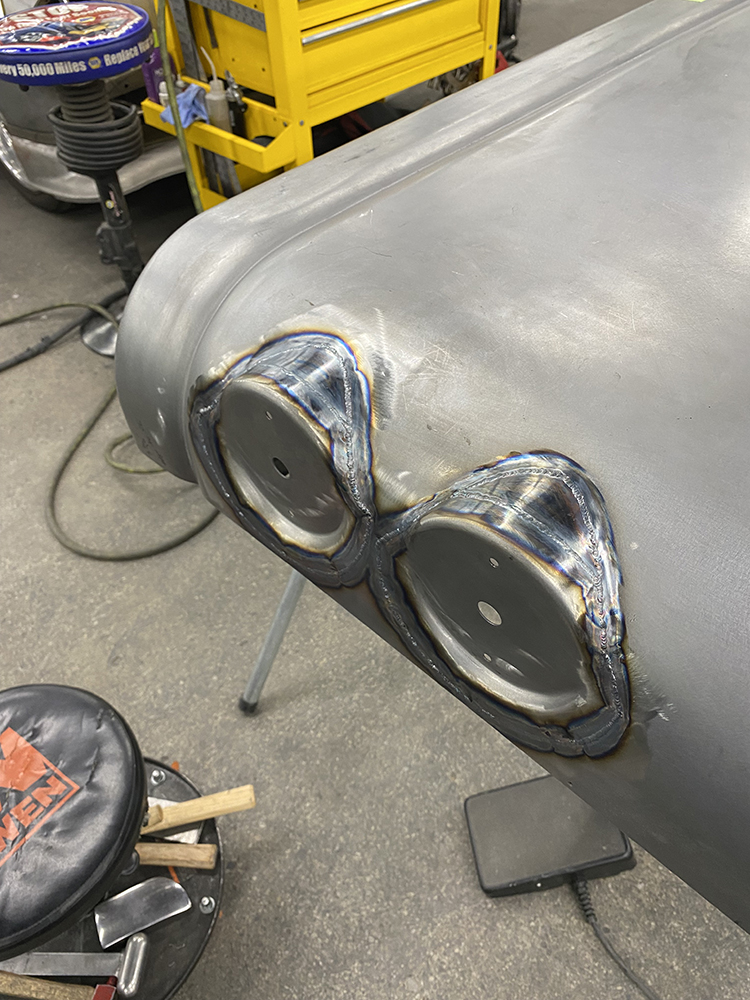
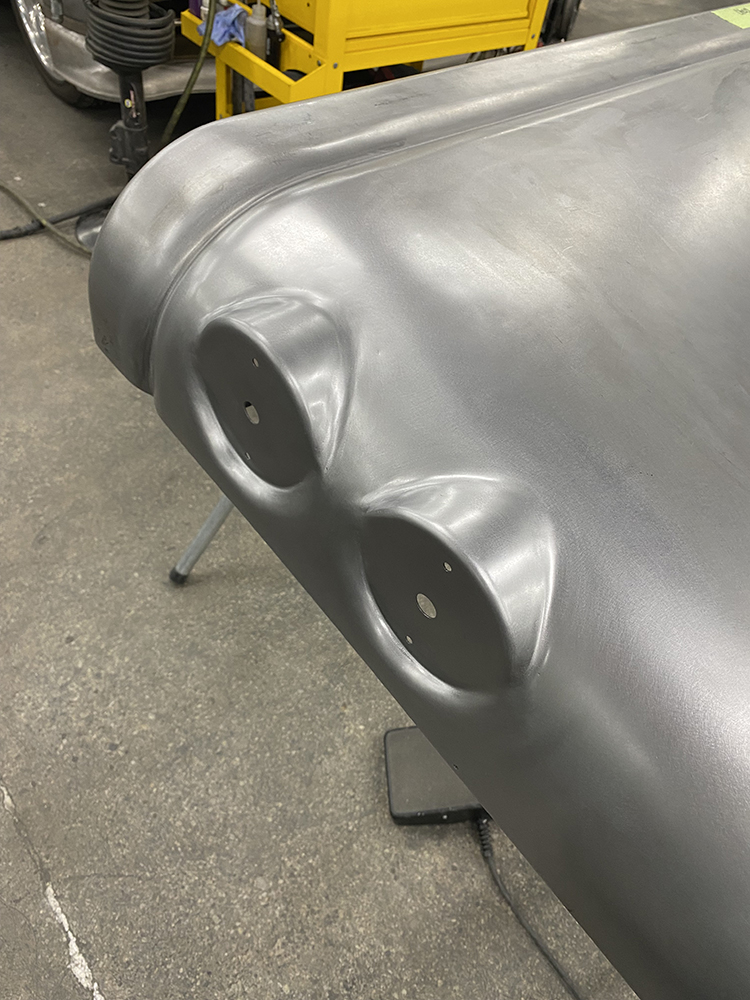
There was a lot more fitting, adjusting, welding, and smoothing required to finish the job, and the photos show the most critical steps. Work like this doesn’t happen overnight, but Limberg’s team has the focus and dedication to do work at this level daily. We’re sure you can learn many of the fine points of metalworking from following each step of their process, and the finished job speaks for itself.

Check out this story in our digital edition here.

MR
Source
Tin Man’s Garage Inc.
(815) 991-5308
tinmansgarage.com
tinman@tinmansgarage.com


