Time Made the ’82-88 Monte Carlo and El Camino cool. Vintage Air Made Them a Whole Lot Cooler.
I’ll admit, it seems a little odd to replace the factory climate-control system in an ’82-88 Chevrolet Monte Carlo or El Camino with anything else. After all, these were cars built by a corporation that owned Frigidaire, a manufacturer so renowned for refrigerators that some cultures still refer to refrigerators in general as Frigidaire. But there are reasons. Hear us out.
Can You Convert R12 to R134a?
As good as they are, GM’s systems aren’t without shortcomings. First off, they were designed to use R12. Can you convert the system? Yes. Should you? Probably not.
Yes, R12 is still available, but good luck getting any without a license. Sure, a system designed for R12 can be converted to operate on its replacement, R134a, however, it requires replacing every O-ring with compatible material, gambling that the old non-barrier hose won’t sweat refrigerant, replacing damaged or sweating old hose with new barrier hose, replacing the filter/dryer, flushing the system—including the compressor—filling the compressor with compatible oil, installing R134a adapter ports, and, in some cases, replacing the old tube-and-fin condenser with a more efficient parallel flow design—and that assumes everything from the original system remains and functions properly, which is unlikely after 40 years; less likely if the car sat for any period. Maybe a prior owner removed and lost critical components when the system stopped working. Or maybe in their haste they damaged or cut those critical components when the fittings that connected their hoses wouldn’t break free easily. Or maybe just all that plastic in the system finally had enough heat cycles and started to decompose. And let me tell you, it seems that cars from this era were made of nothing but plastic.
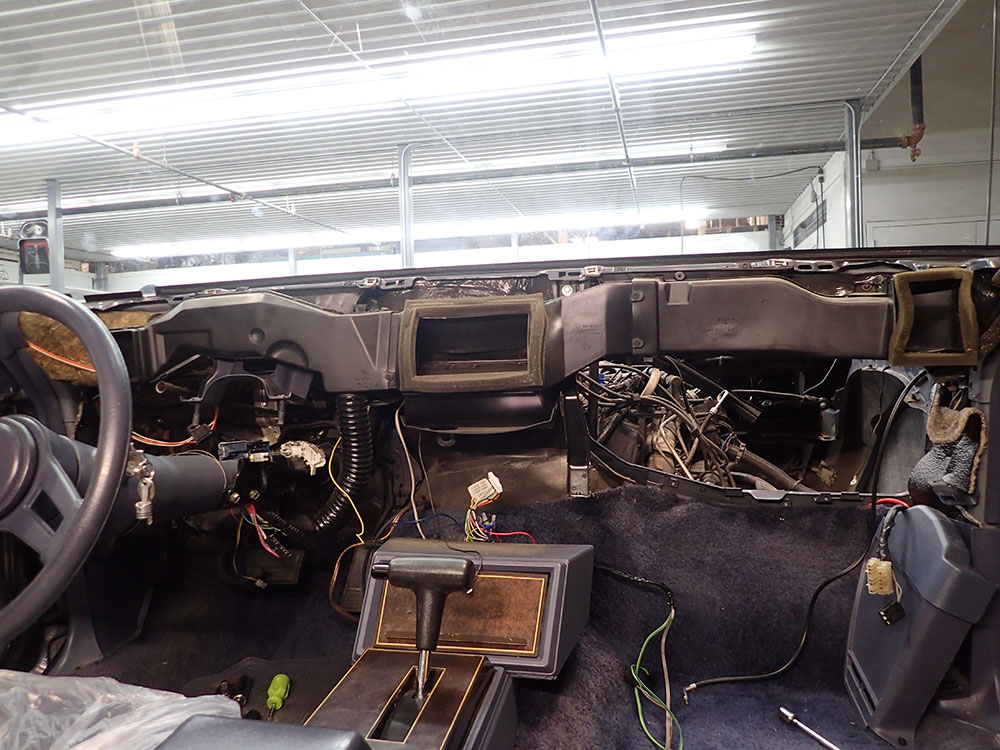
If any of the above even remotely describes your ’82-88 Monte Carlo or El Camino, you’re aware of the money required to bring a system like that back to life. Vintage Air knows it, so the company recently expanded its product line to include these cars. And we’re all the better for it.
Benefits Of An Aftermarket AC System
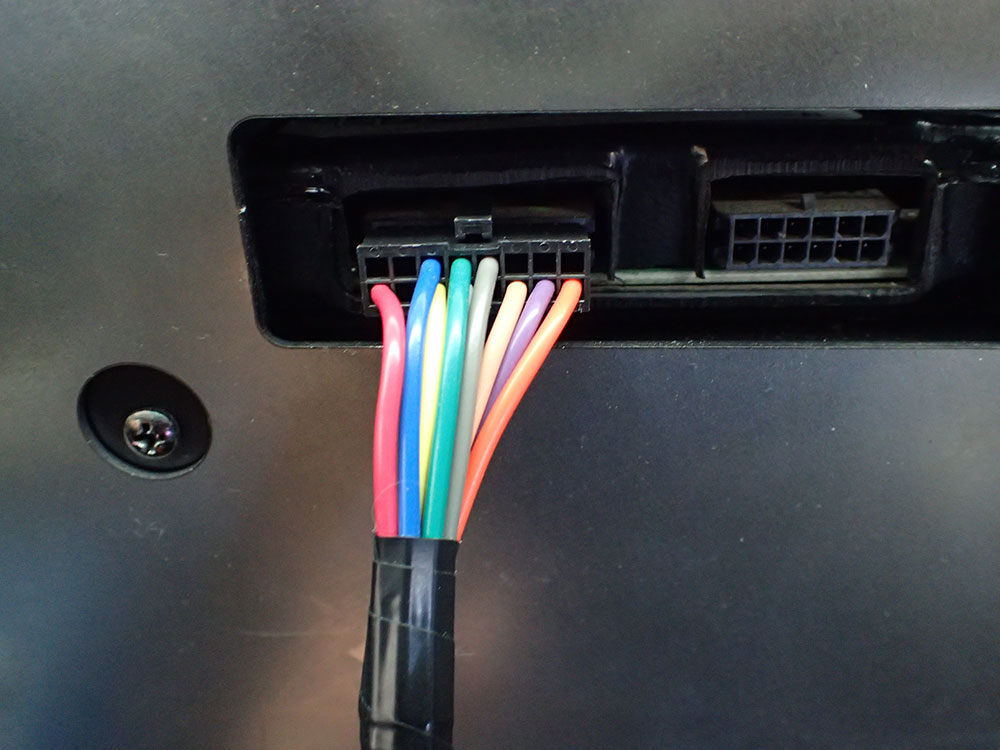
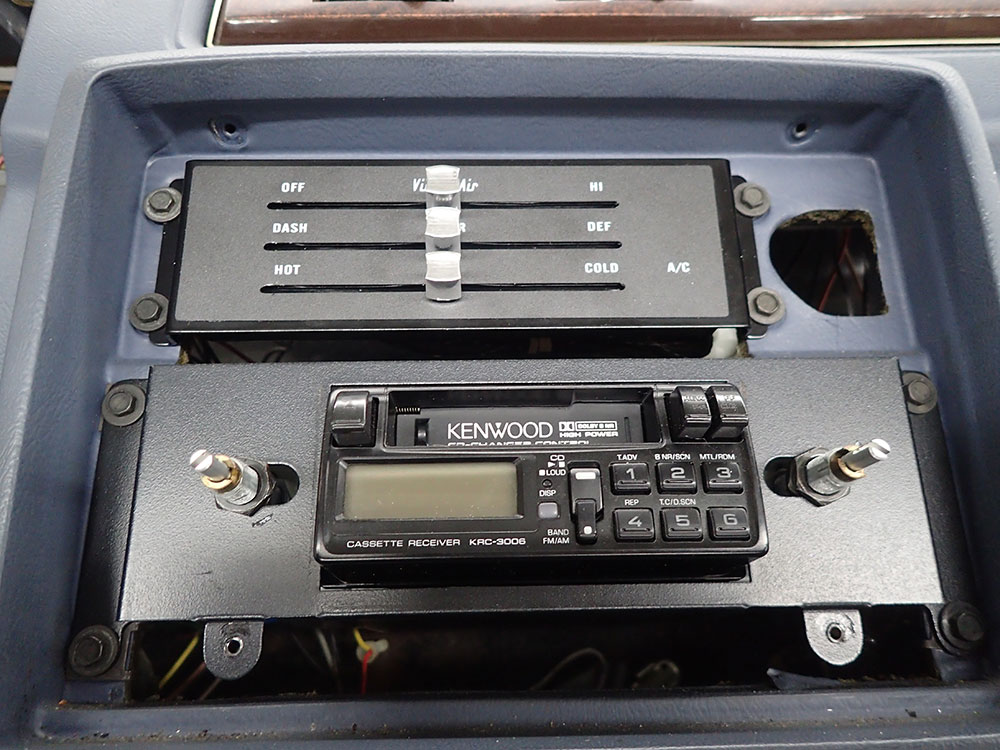
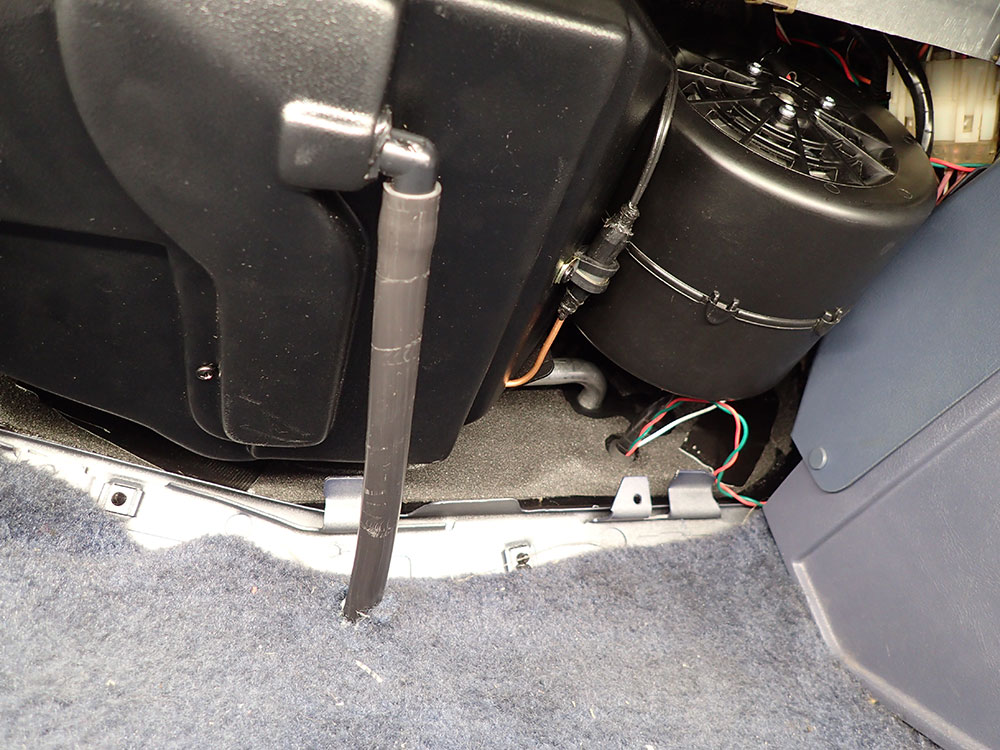
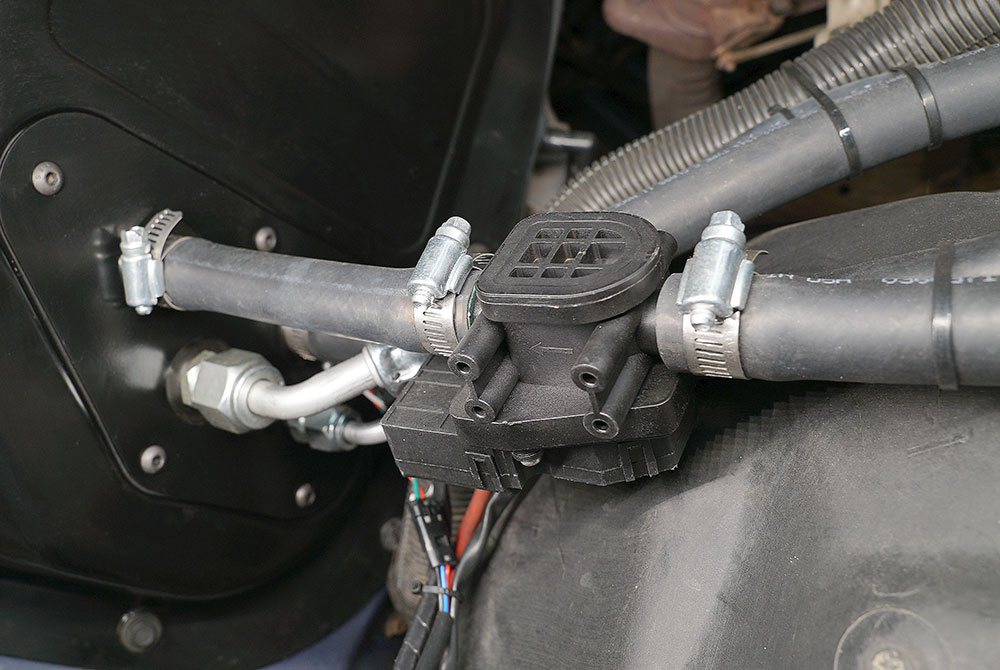
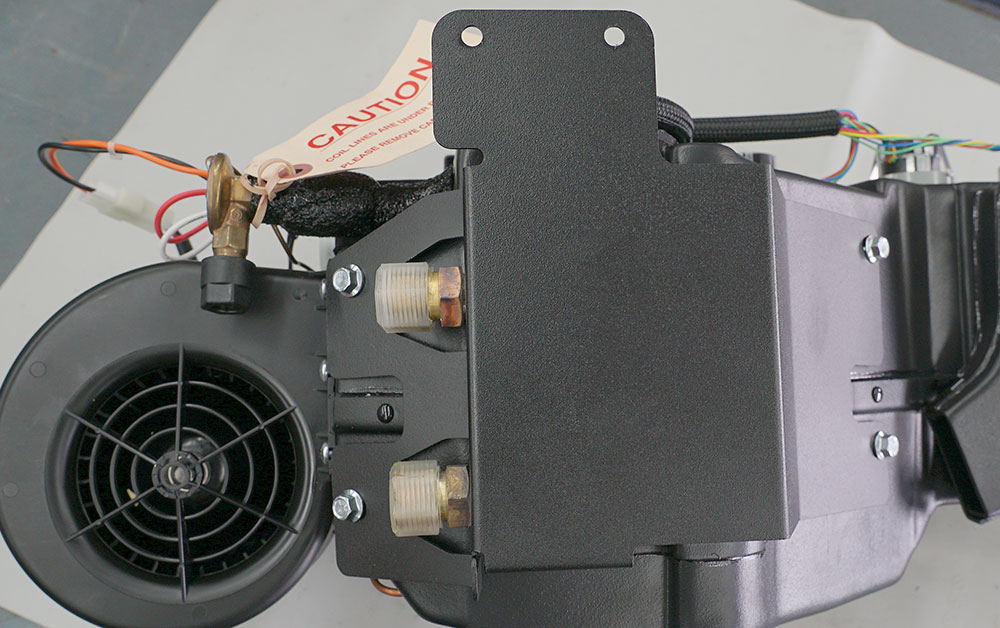
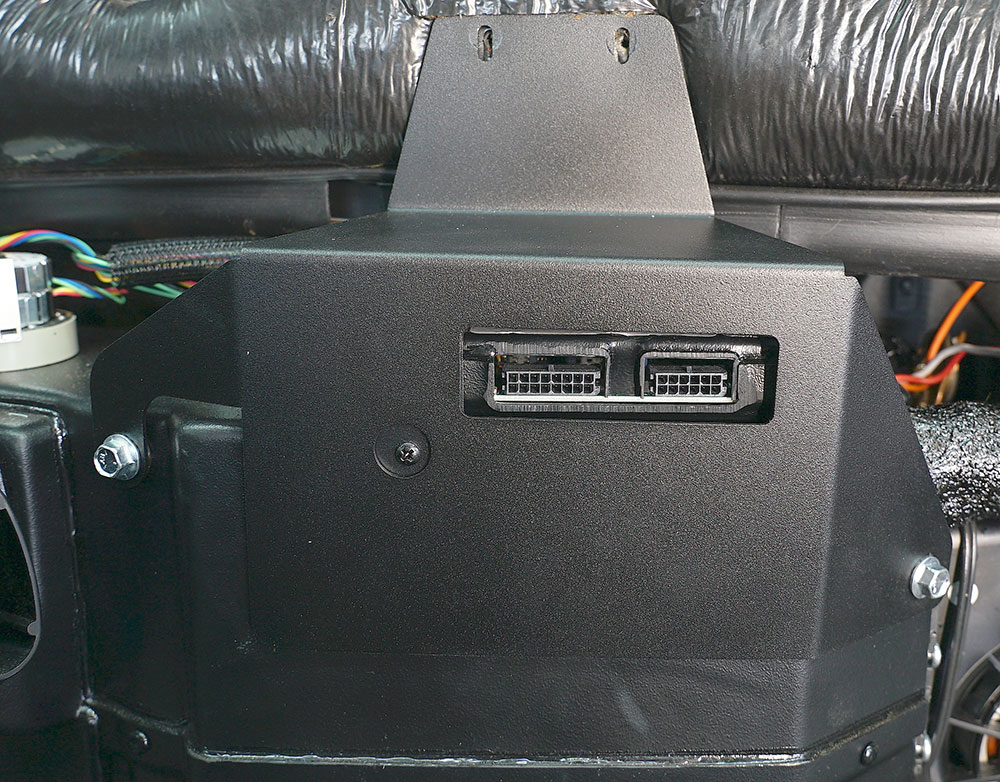
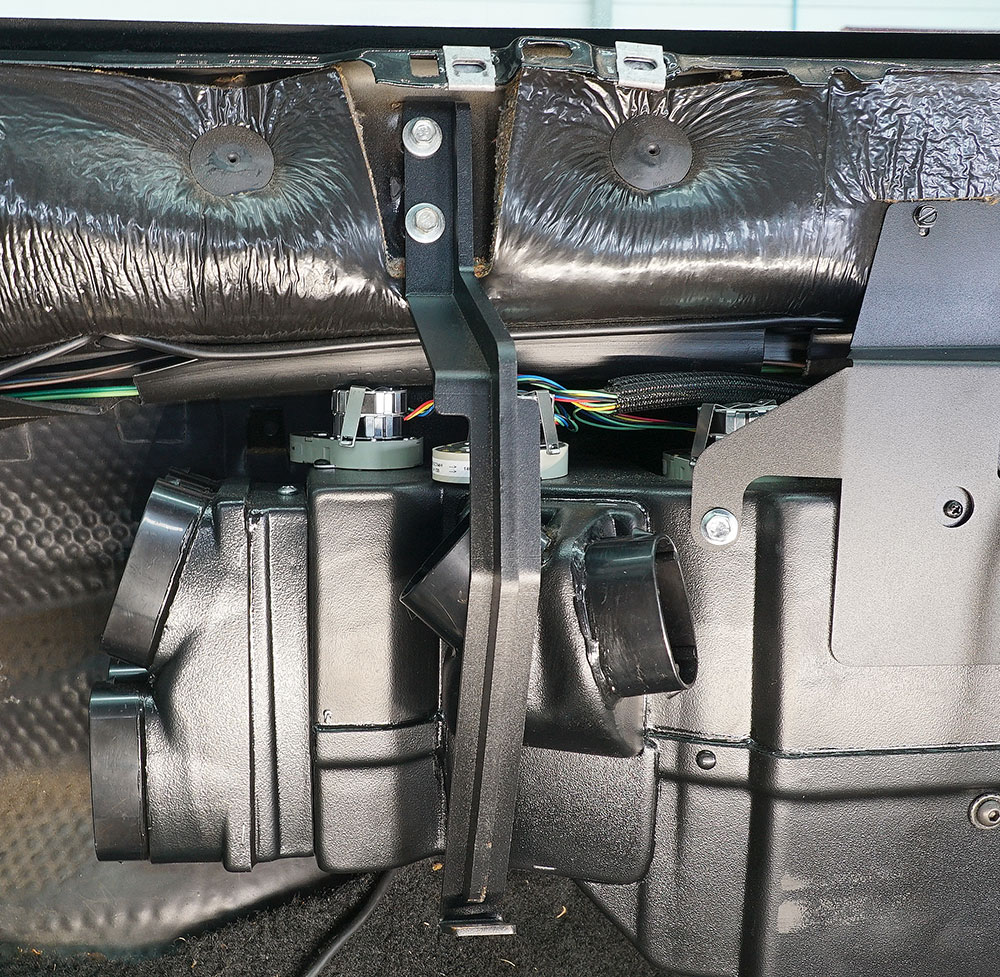
I know it sounds crazy, but we’ve learned a thing or two about climate-control systems since GM built these cars. Because of these technological advances, Vintage Air was able to design a system that performs better than the old Frigidaire systems yet weighs less and takes up less space—it even eliminates the factory air box that clutters the engine compartment. Smooth-operating electronic slide potentiometers mounted in a control panel that mimics the look of the OEM part, compact wires and stepper motors replace the various levers, cables, and manual shutter doors, making operation as effortless and precise as anything you’d find in a modern production car. And the company does it for less than what it costs to repair or restore the existing OEM system.
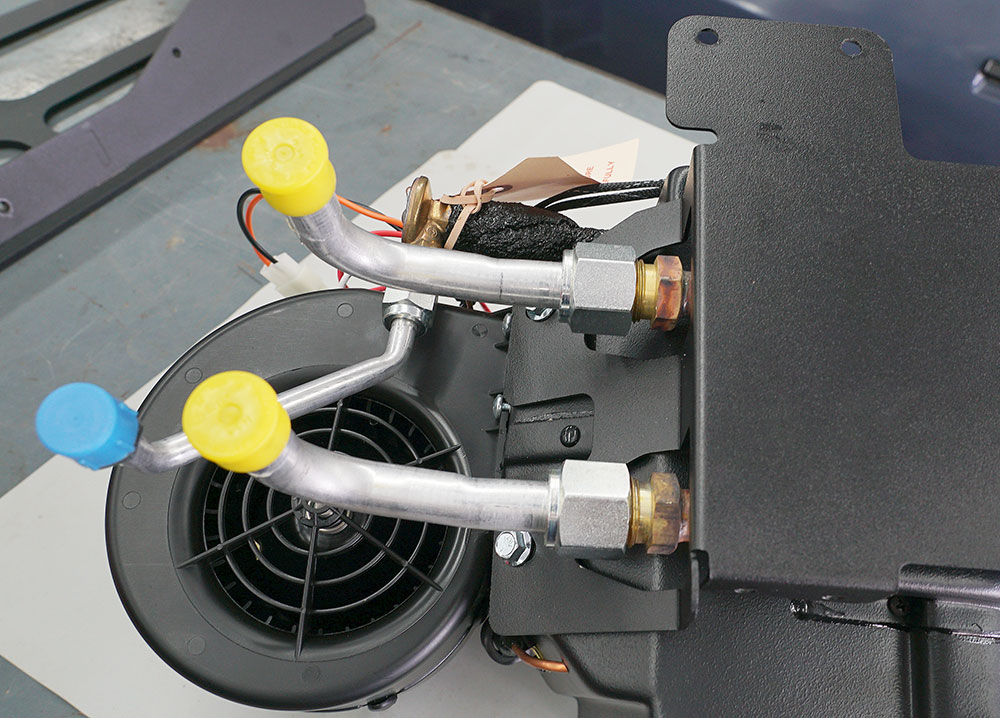
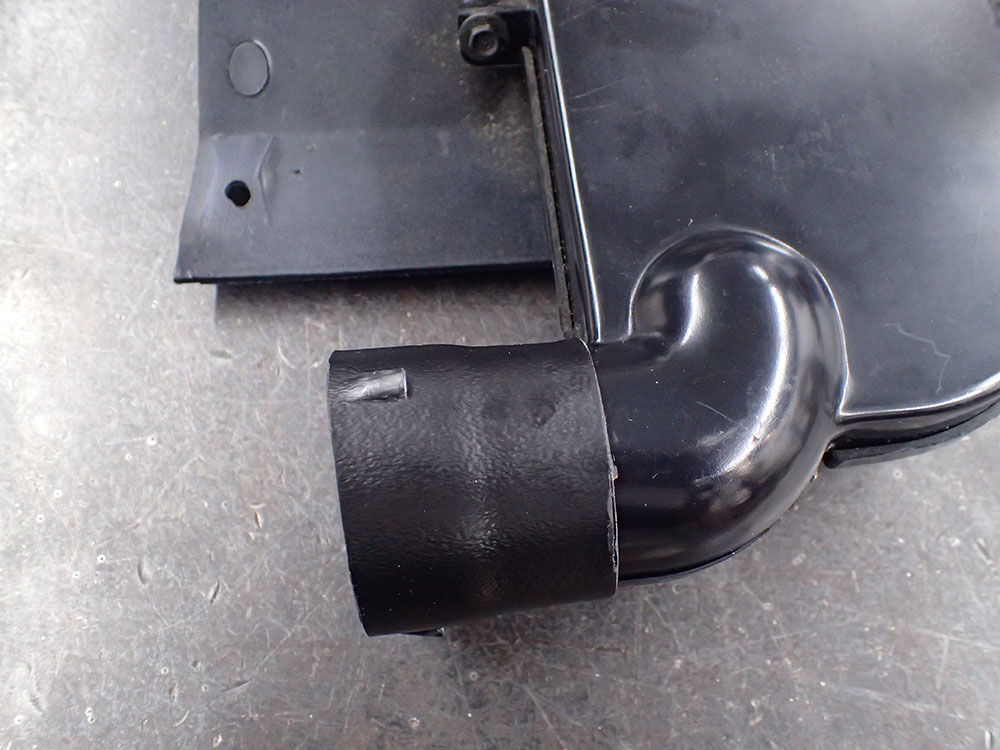
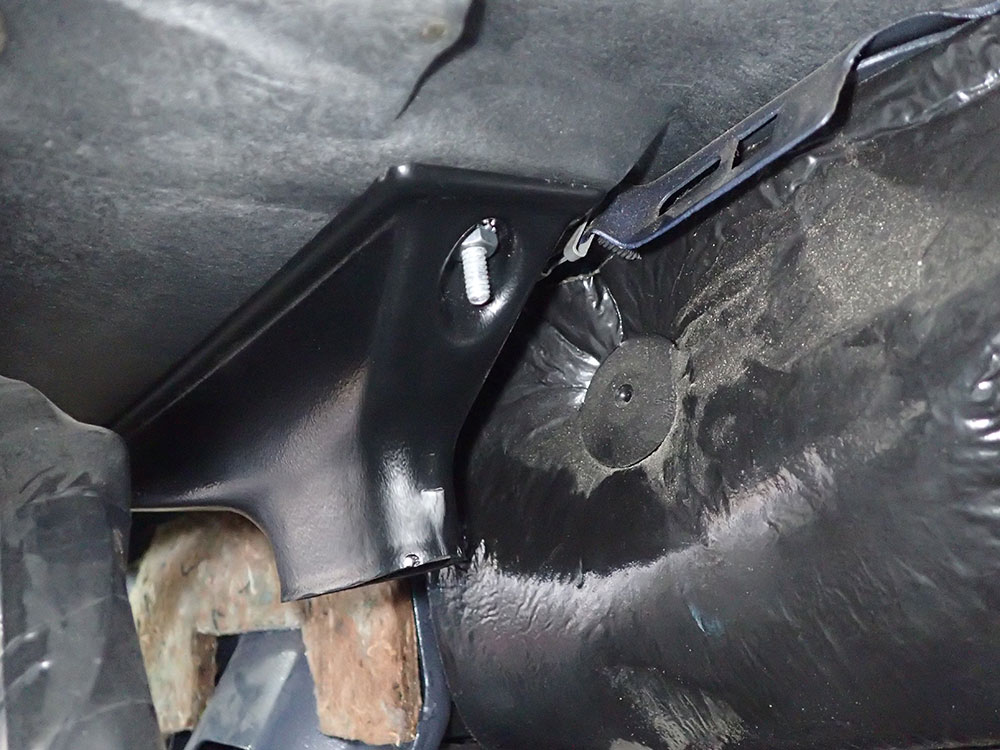
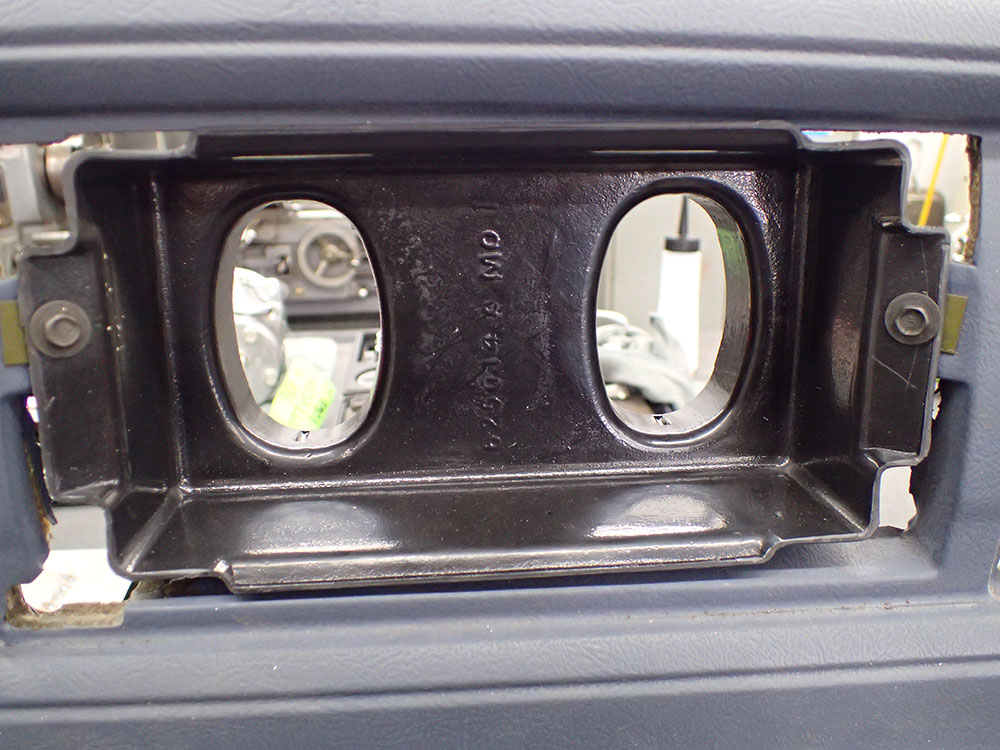
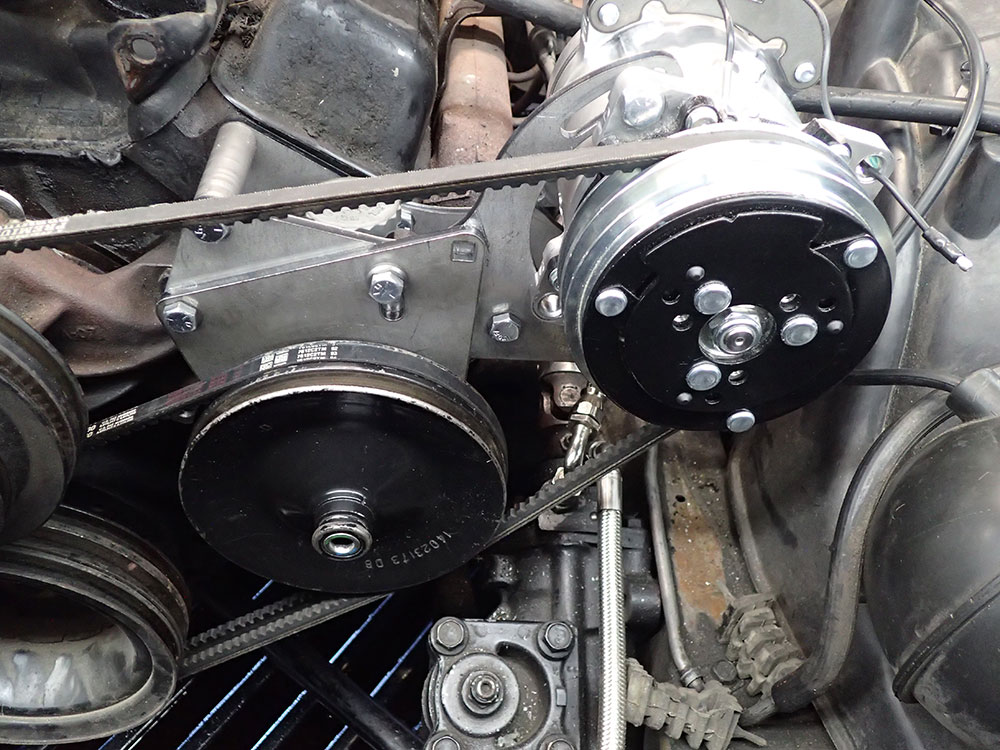
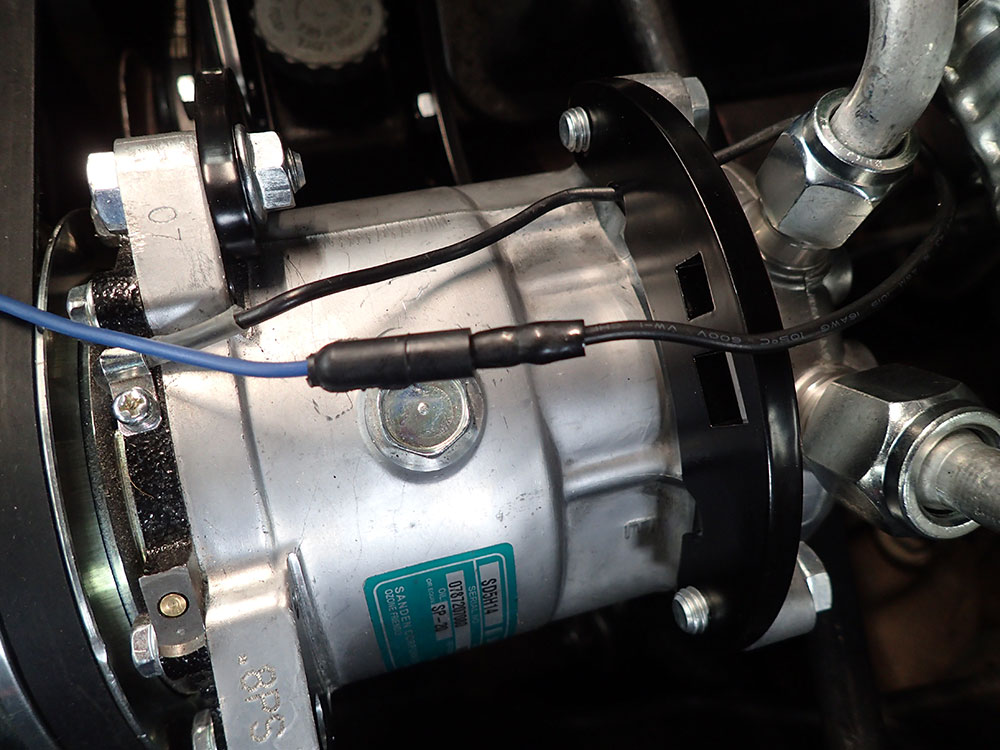
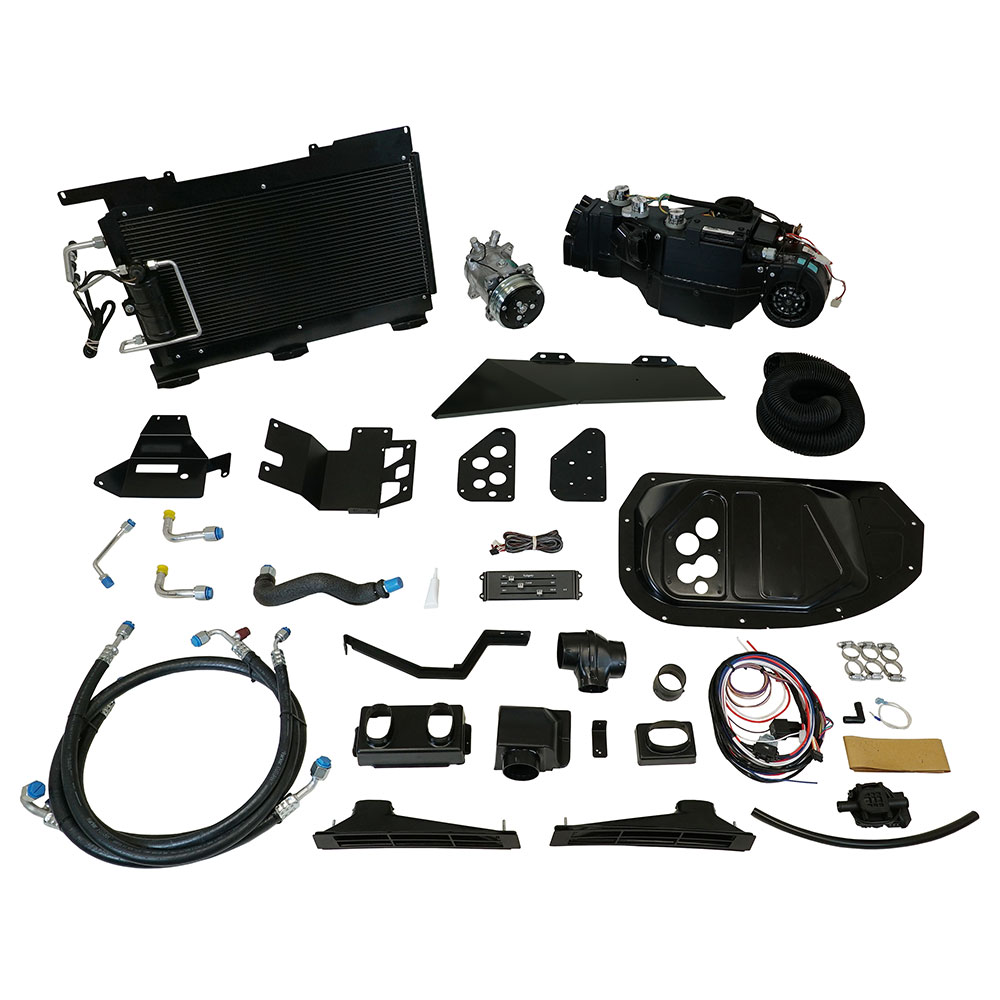
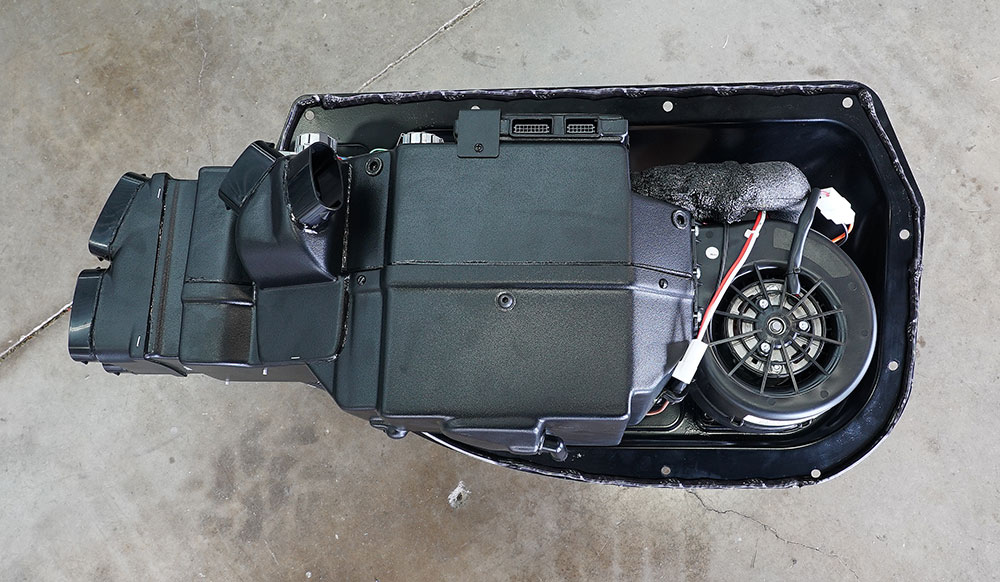
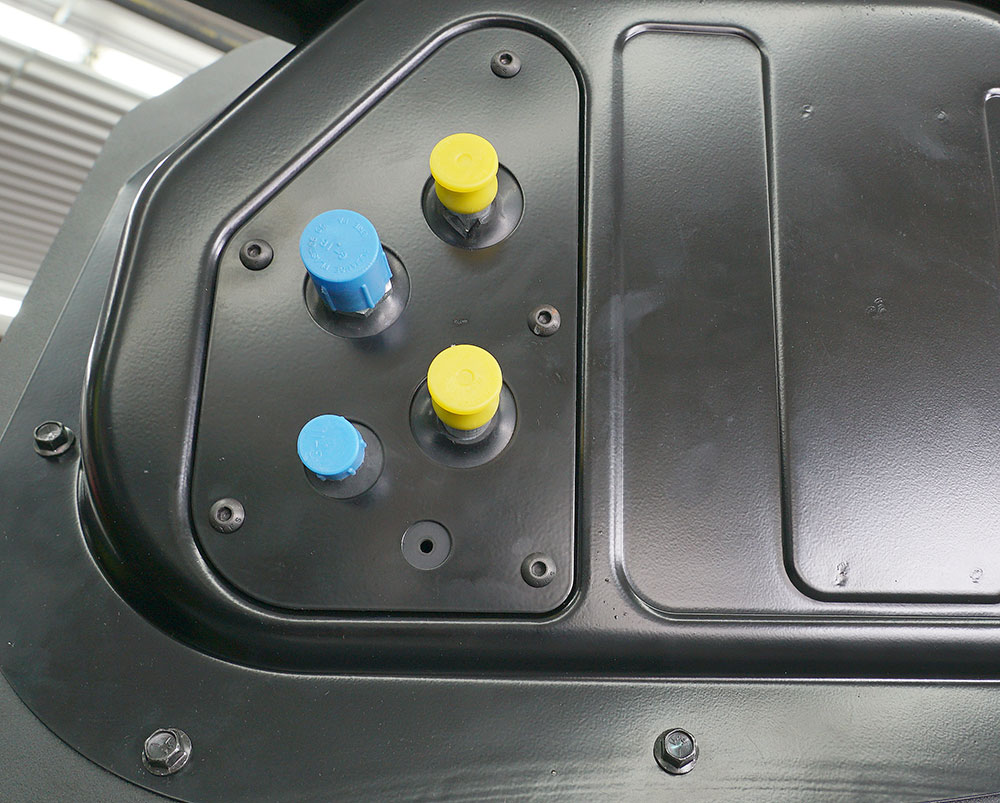
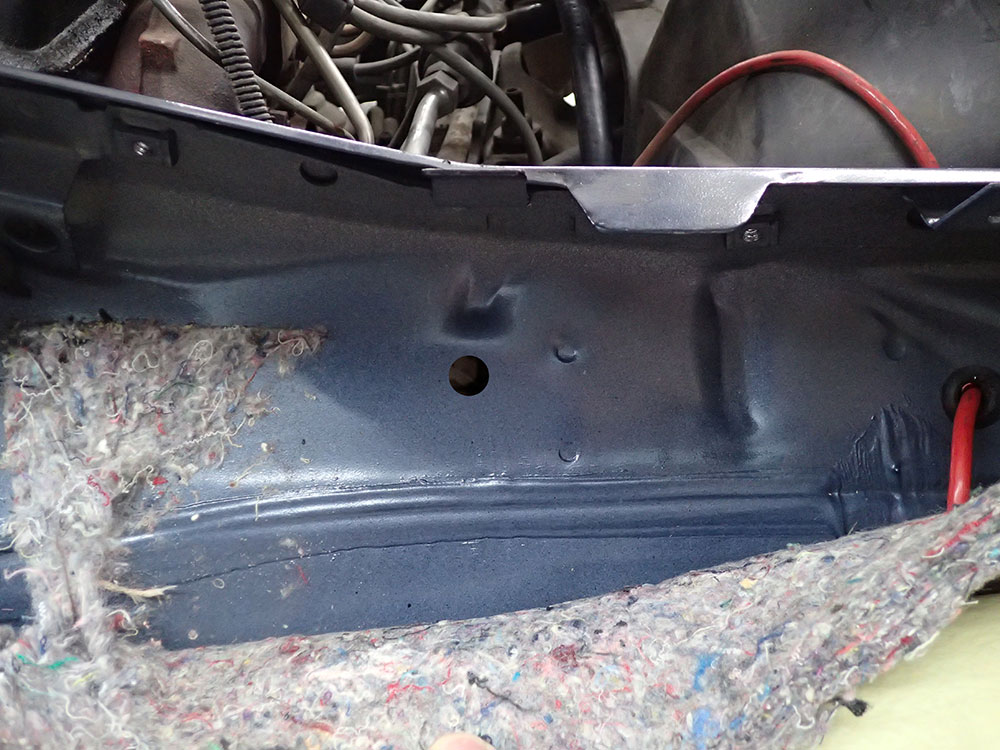
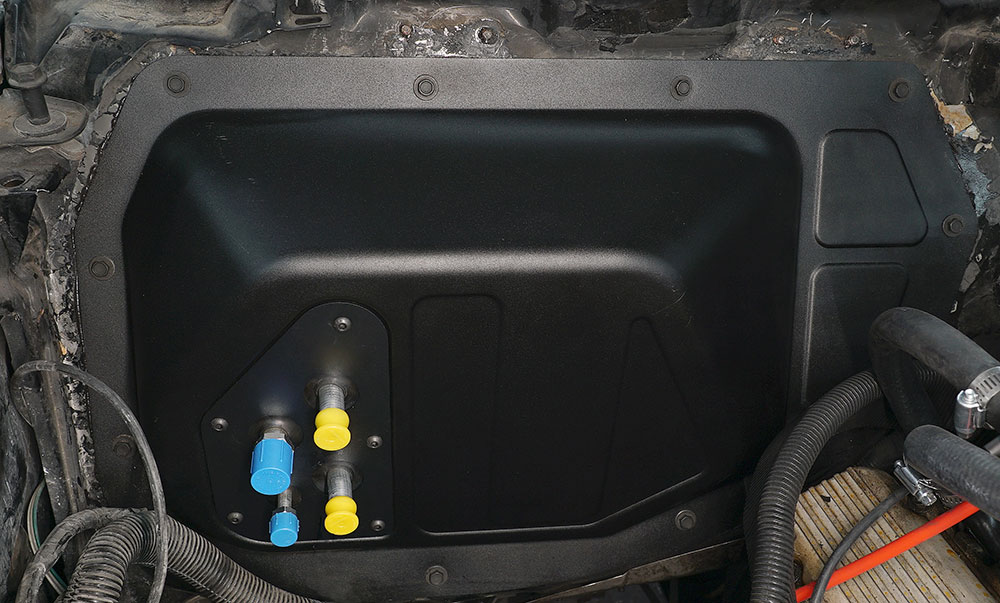
Vintage Air’s SureFit system for ’82-88 Monte Carlos and El Caminos (PN 965083) applies to vehicles that came from the factory with air conditioning. It includes the company’s renowned Gen IV evaporator sub case, the application-specific components necessary to install it, and panels to close the holes left by the old system. This kit includes a Sanden compressor and a parallel flow condenser to replace the antiquated R4 and inefficient tube-and-fin condenser; however, Vintage Air can tweak the kit to accommodate the R4 and has multiple bracket options, including its Front Runner to accommodate LT or LS engine swaps.
Read More: How To Install a Vintage Air Heritage Series AC System
These AC kits use R134a refrigerant exclusively and include filling specifications to take the guesswork out of system charging. Vintage Air supplies the kit with a binary safety switch; however, applications that use electric cooling fans require an optional trinary switch to provide fan engagement with AC system pressure.
Take the following as a general overview of what it takes to install a climate-control system. It’s not a definitive step-by-step installation—it took Vintage Air 32 pages to do that, and the results are well worth it (and available for free on the company’s website if you want a finer-resolution rundown). Installation requires somewhat intensive vehicle disassembly. While it’s unfair to call these cars complicated, they’re a lot like onions in the sense that they have many layers and peeling them apart without taking precautions can move one to tears. But the official installation manual covers every step and detail right on down to individual screw locations.
Dispose Your Existing Refrigerant
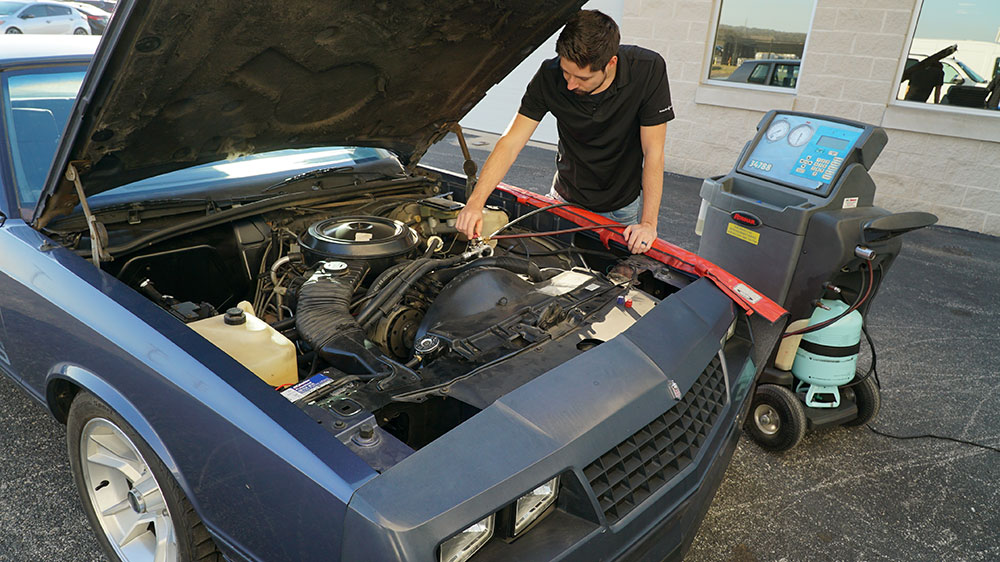
This overview assumes some steps that we don’t cover here. First, responsibly evacuate the existing refrigerant if present in the system. Federal law prohibits those not licensed to service refrigeration systems (that’s almost all of us) to evacuate R12 refrigerant even by the approved methods. Fortunately, licensed repair shops will do it for little charge and in some cases will buy your remaining R12 refrigerant.
Prepping Your Classic Car
Second, this job requires jacking up your car’s nose and supporting it with stands. Installation requires the removal of numerous components, like the passenger wheel and inner fender and the radiator, all things made easier (or just plain possible) with the car off its front wheels.
Watch More: Vintage Air EZ-Clip
Though somewhat involved, installation is straightforward, requires only basic hand tools, and thanks to Vintage Air’s engineering, lends itself to the enthusiast’s skillset. And most of all, Vintage Air takes the risk out of restoring ice-cold air delivery to your Monte Carlo or El Camino. No tears required.
[Sidebar] – A Word About Clean Power
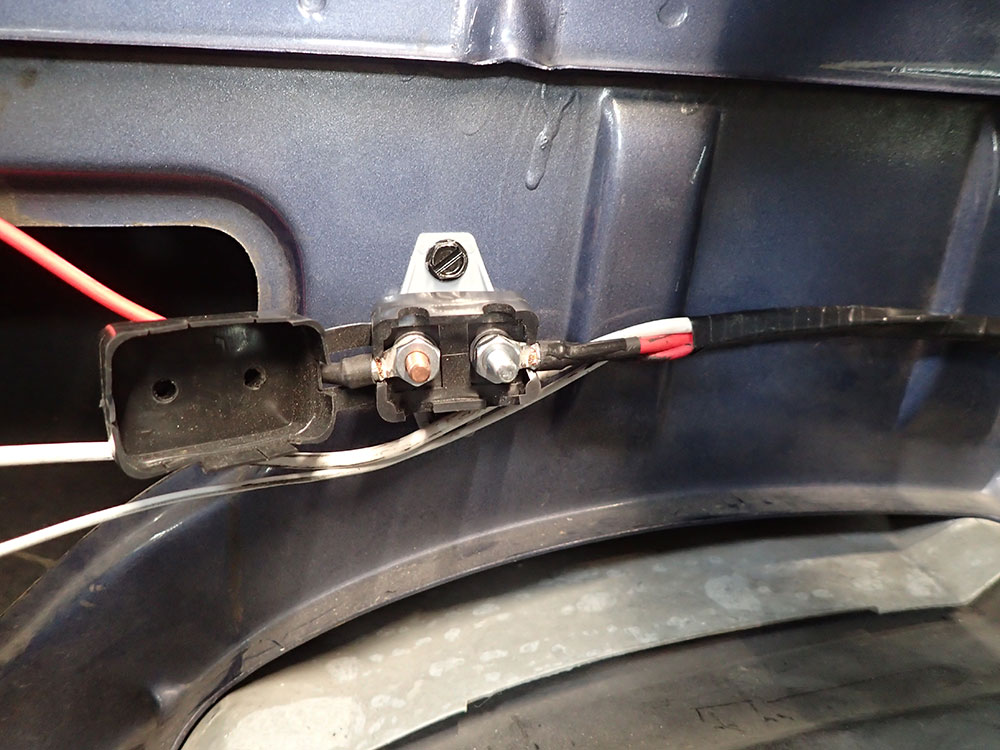
The pops, clicks, and whines present in a vehicle’s audio system may sound annoying, but they represent a legitimate threat to sensitive electronics in your car, including the ECU in the Vintage Air climate controller. It requires power free from ignition and charging-system interference and a direct path to the battery’s ground terminal.
Verify the condition of the battery leads, paying particular attention to the ground side. Ground the block directly to the negative terminal as the manufacturer originally did. Also ensure sufficient ground paths from the climate-controller’s ECU, the blower fan controller, the body, and the chassis to the battery’s negative terminal. Those ground wires needn’t connect directly to the terminal; they can meet at a secondary ground point, like the ground lead on the block, so long as there’s an unobstructed path of copper and terminals from it to the battery’s negative post.
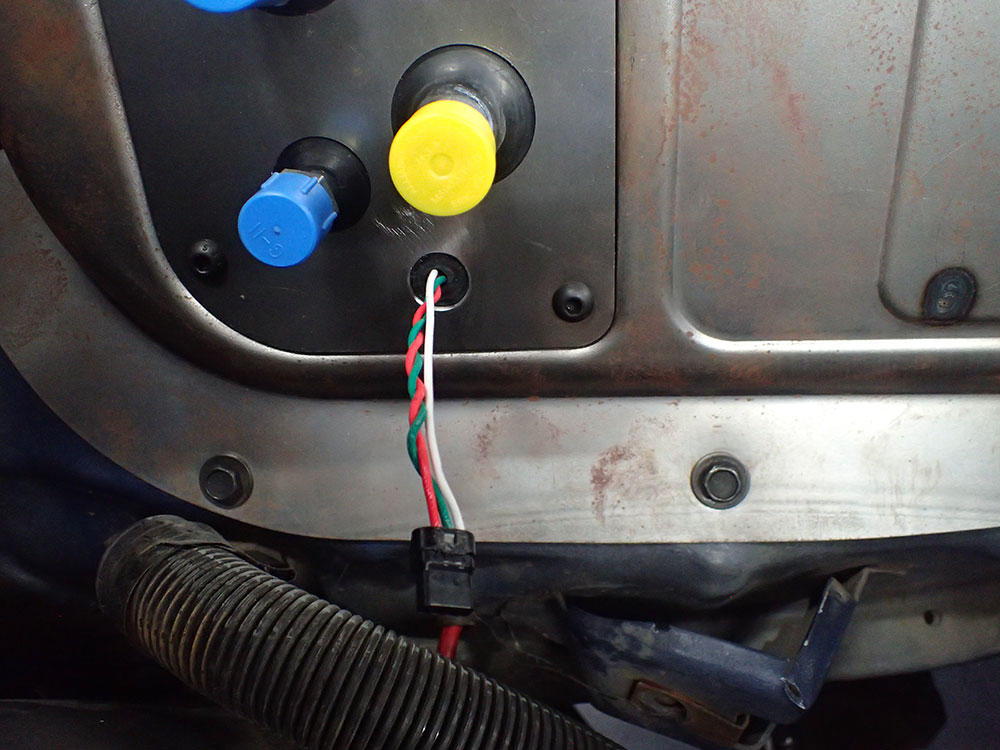
Manufacturers equipped vehicles from this era with capacitors in the ignition’s primary side and by using alternators with internal capacitors to suppress noise. However, well-intentioned prior owners often remove ignition capacitors and alternator remanufacturers can specify inferior parts. If your ignition lacks the capacitor on the primary side, install one. If the audio system still whines with the ignition capacitor in place and grounds sorted, wire an interference capacitor into the alternator’s battery terminal.
Read More: Coyote Swap with Vintage Air Front Runner
Taking these precautions to ensure a good, clean power supply to a vehicle’s electrical components does more than eliminate the pops, clicks, and whines that plague its audio system. They ensure the best possible performance and the longest life for your cool investment.
Source
Vintage Air
(800) 862-6658
vintageair.com


