By Mark Ehlen – Photography By the Author & Courtesy of Muscle Car Restorations
Restorations are paused for many reasons, but the most common is a lack of time or money. Many resume when those resources become available again; this often happens multiple times during the project’s life. For some, though, their restoration project turns out to be far more involved than they ever imagined, and they realize they have bitten off more than they can chew. Too many of those end up as basket cases at a swap meet.
The previous installation stopped after the welding was complete but not fully ground flush. The work was OK, and the original marker light location was even saved, but with the change in the model year, it was determined that the best plan was to replace most of the quarter.
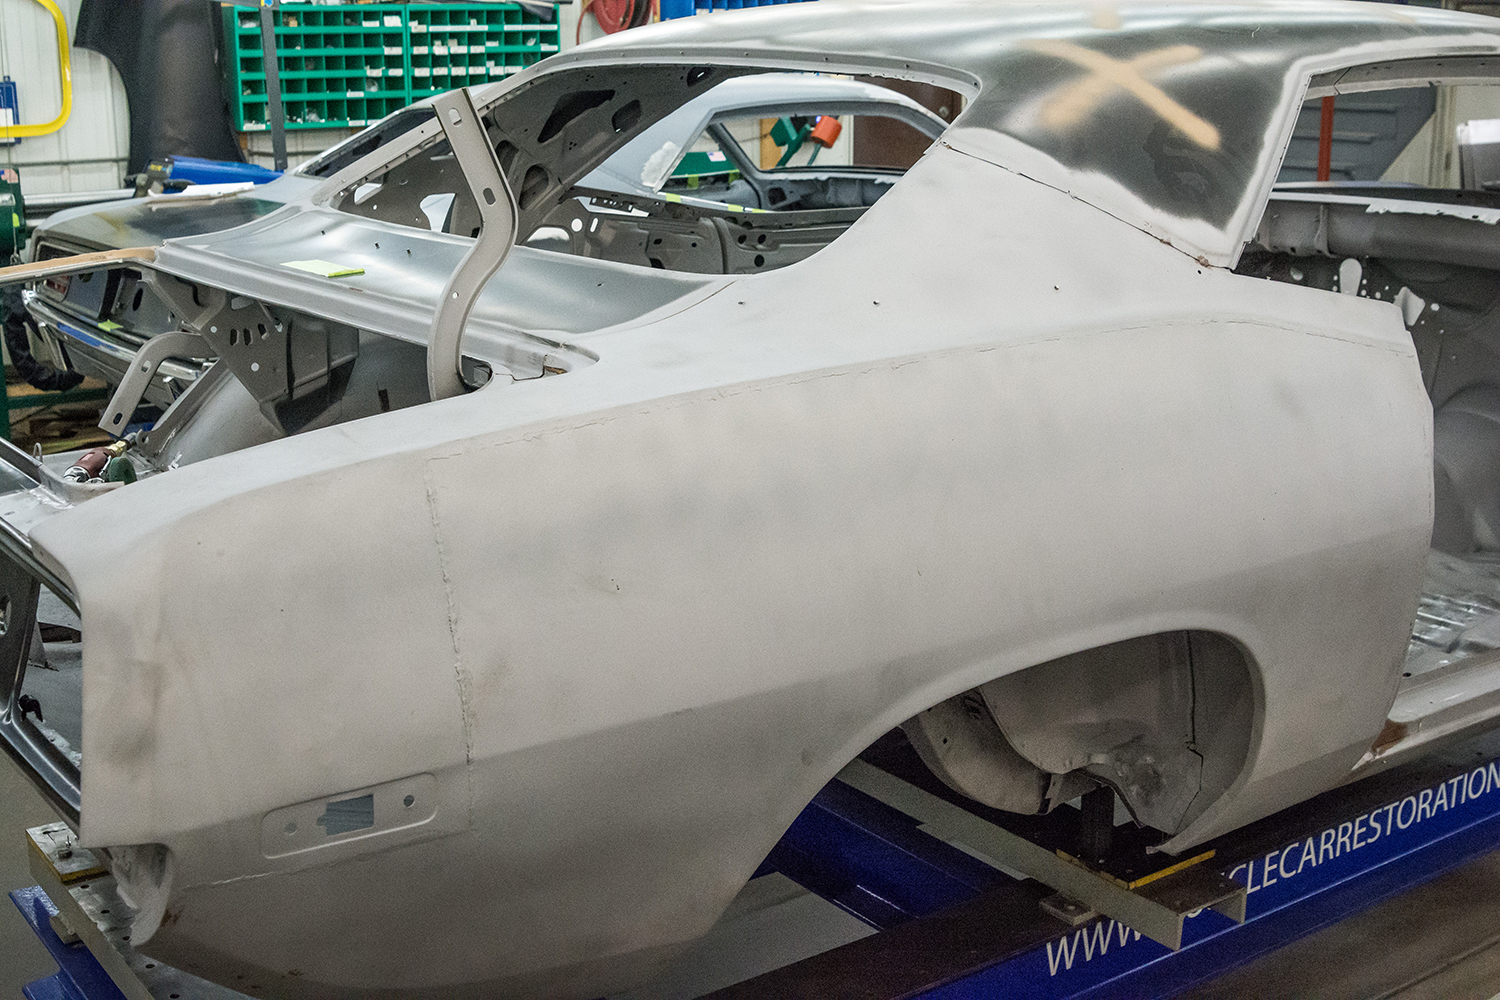
However, not all of them do. The pause button was hit on this 1973 ’Cuda more than 20 years ago, but the owner never gave up on it. Instead, it was properly stored away, waiting for the right conditions to move forward again.
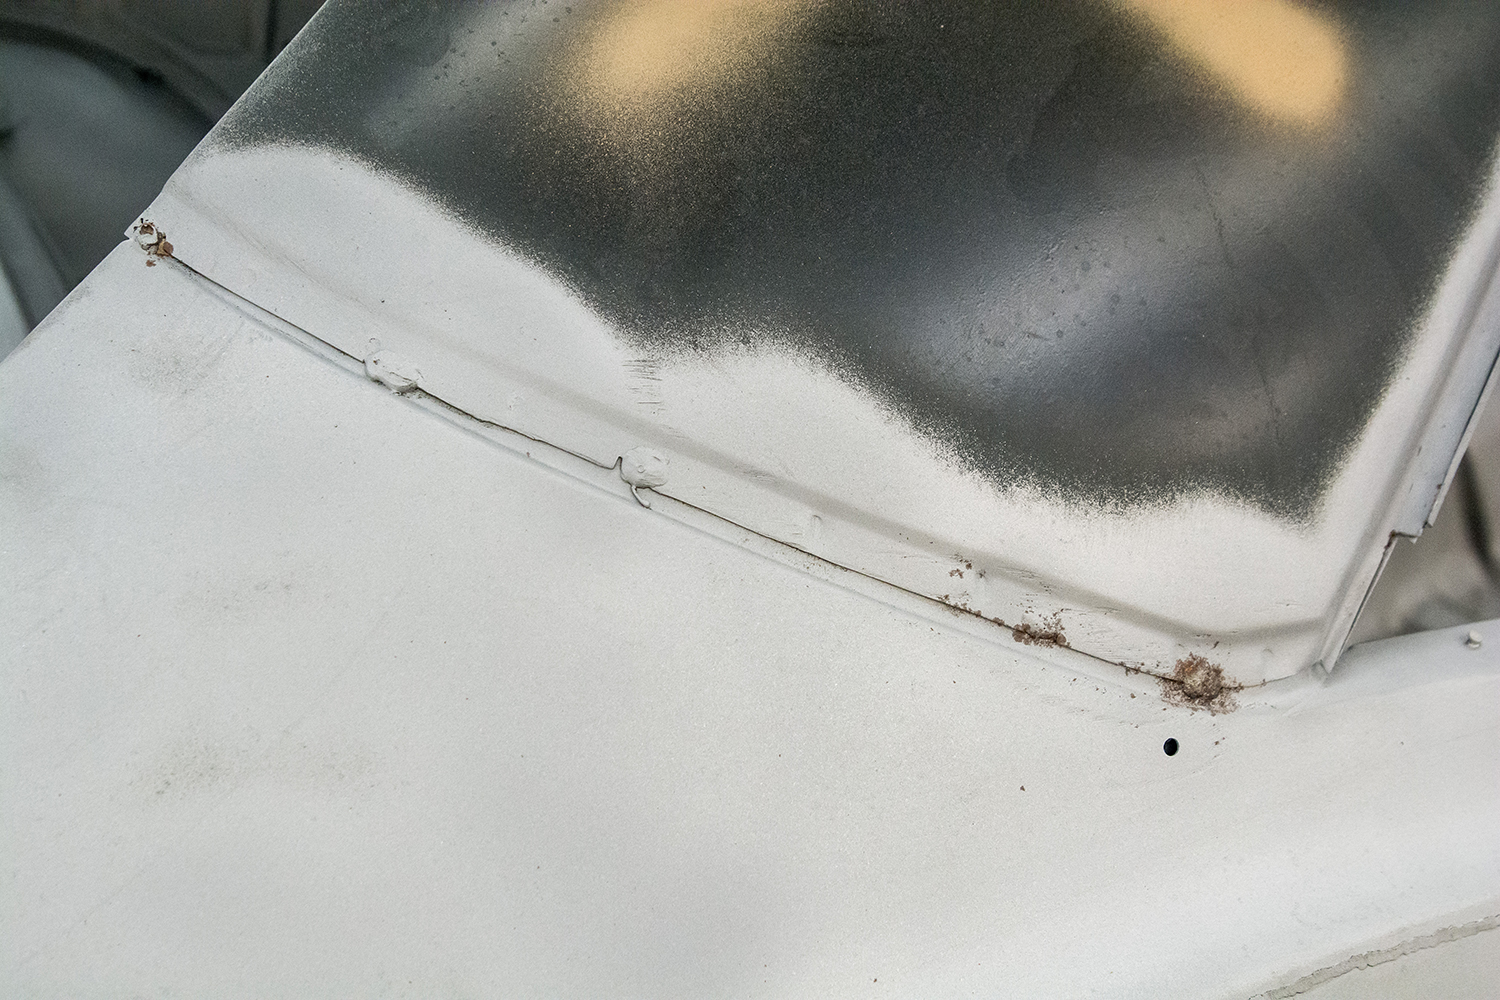
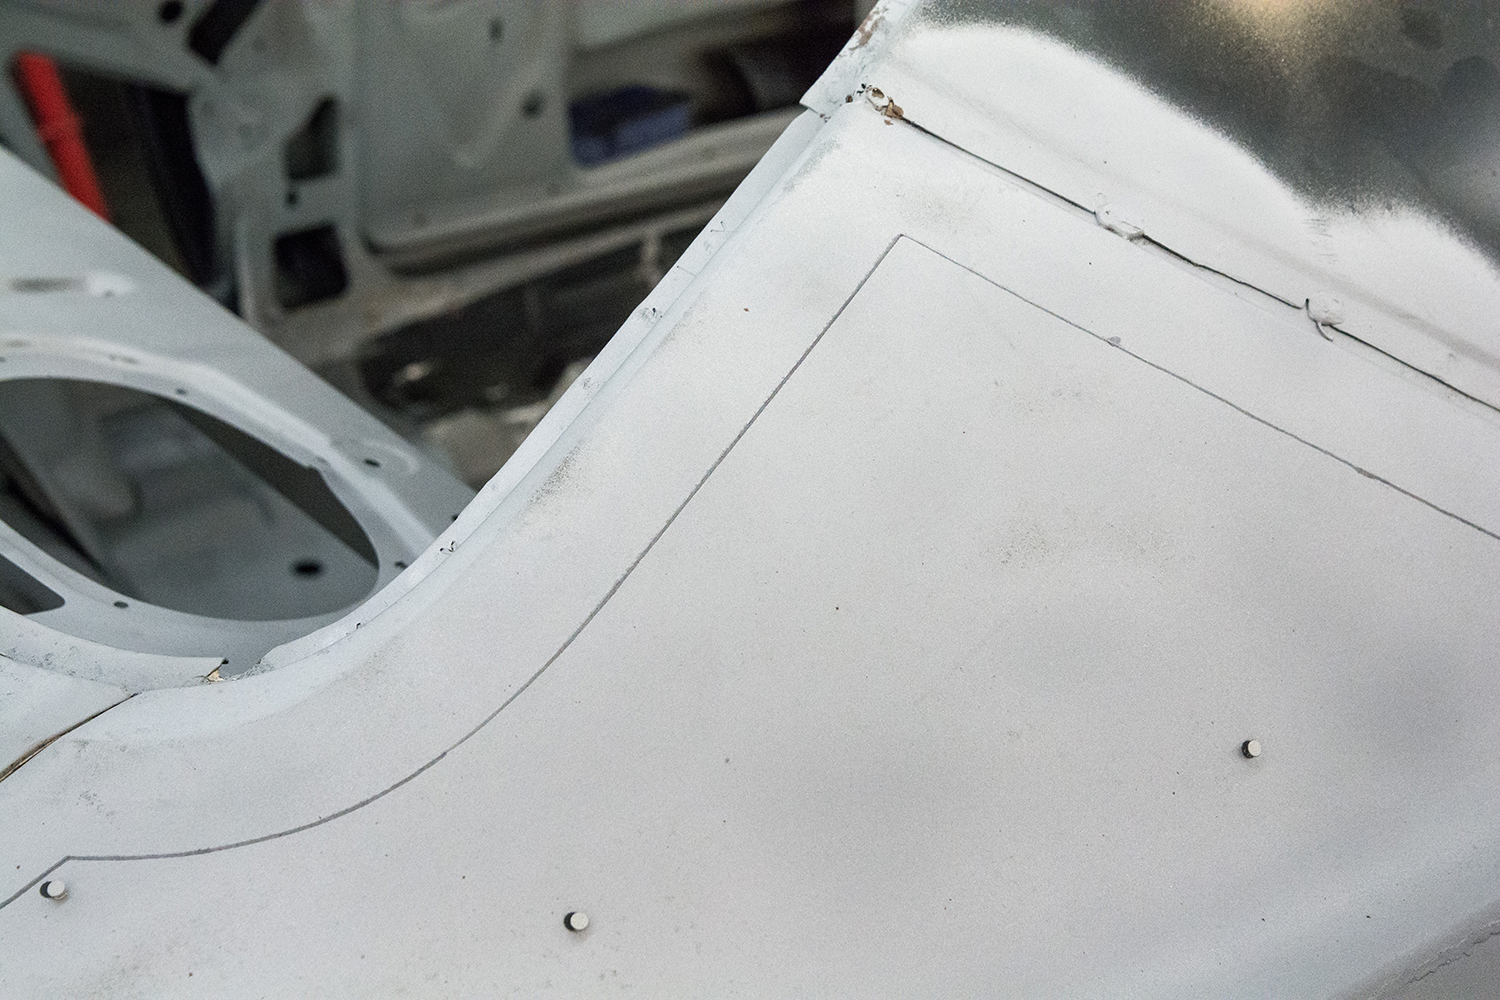
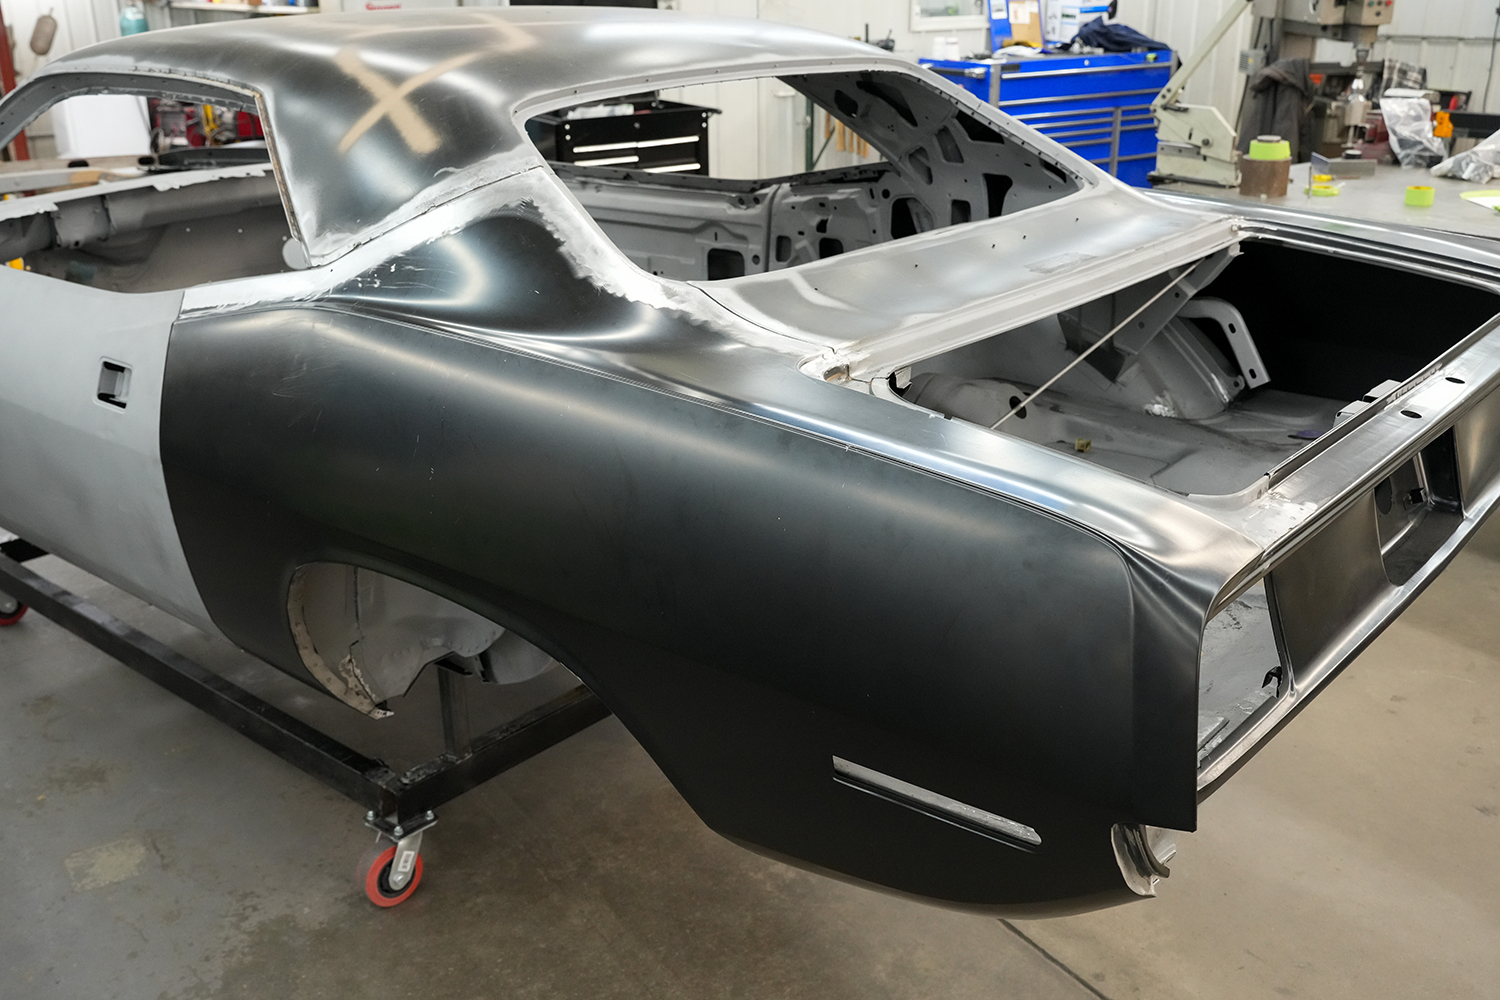
Note how the quarter slips under the roof panel. MCR will splice in the new quarter below this point to avoid disturbing the roof-to-quarter seam.
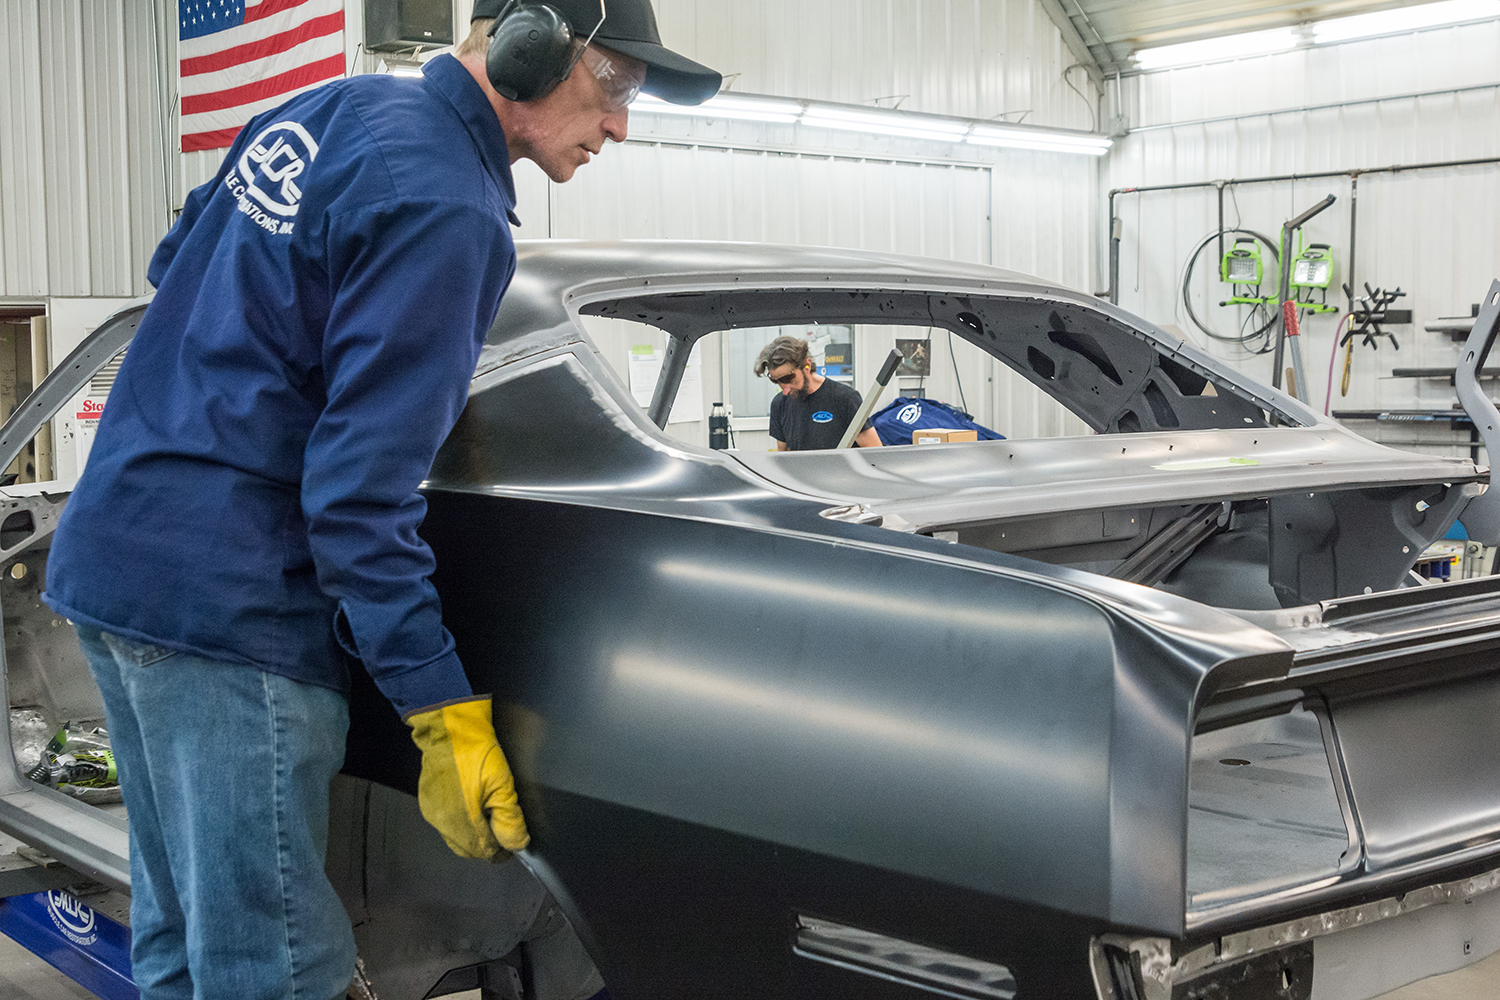
It arrived at Muscle Car Restorations (MCR) as a bare shell, with most of the metalwork done but not finished. New quarters had been welded on but the welds had not yet been ground flush. However, the owner eventually decided he preferred the look of the 1971s over his 1973, so the quarters needed to be replaced with the 1971 versions anyway. Since all 1970-74 ’Cudas share the same body, the new panels were a relatively straightforward swap. Auto Metal Direct (AMD) provided not just the rear quarters but also everything else needed to complete the change. For anyone wondering about this legality, the car remains titled as a 1973, so the changes are purely cosmetic.
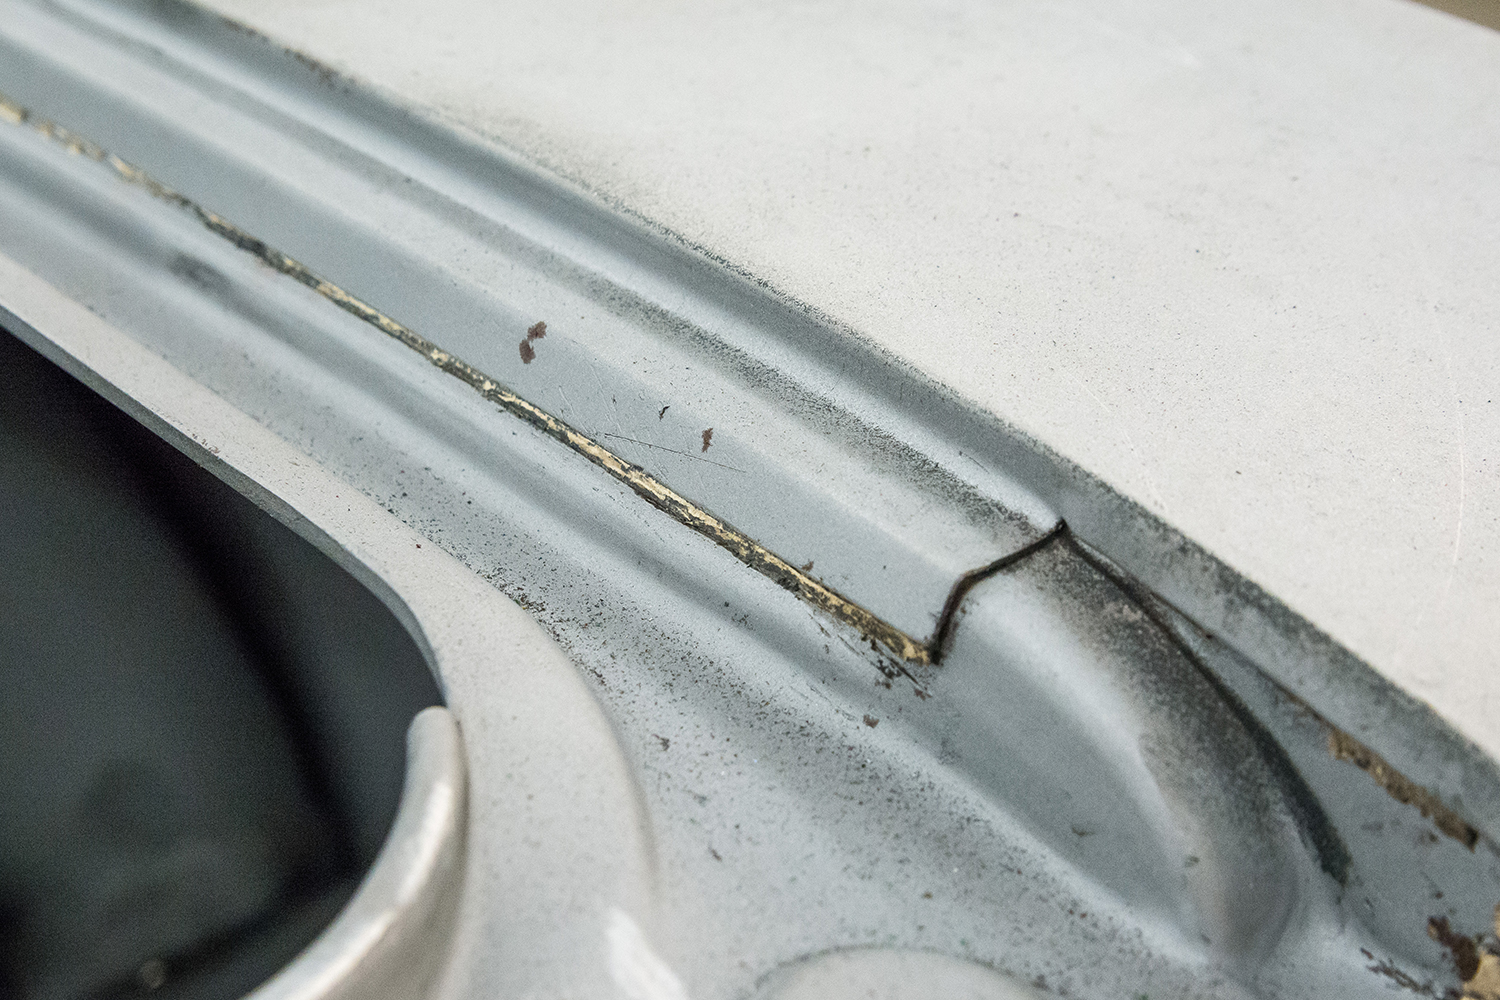
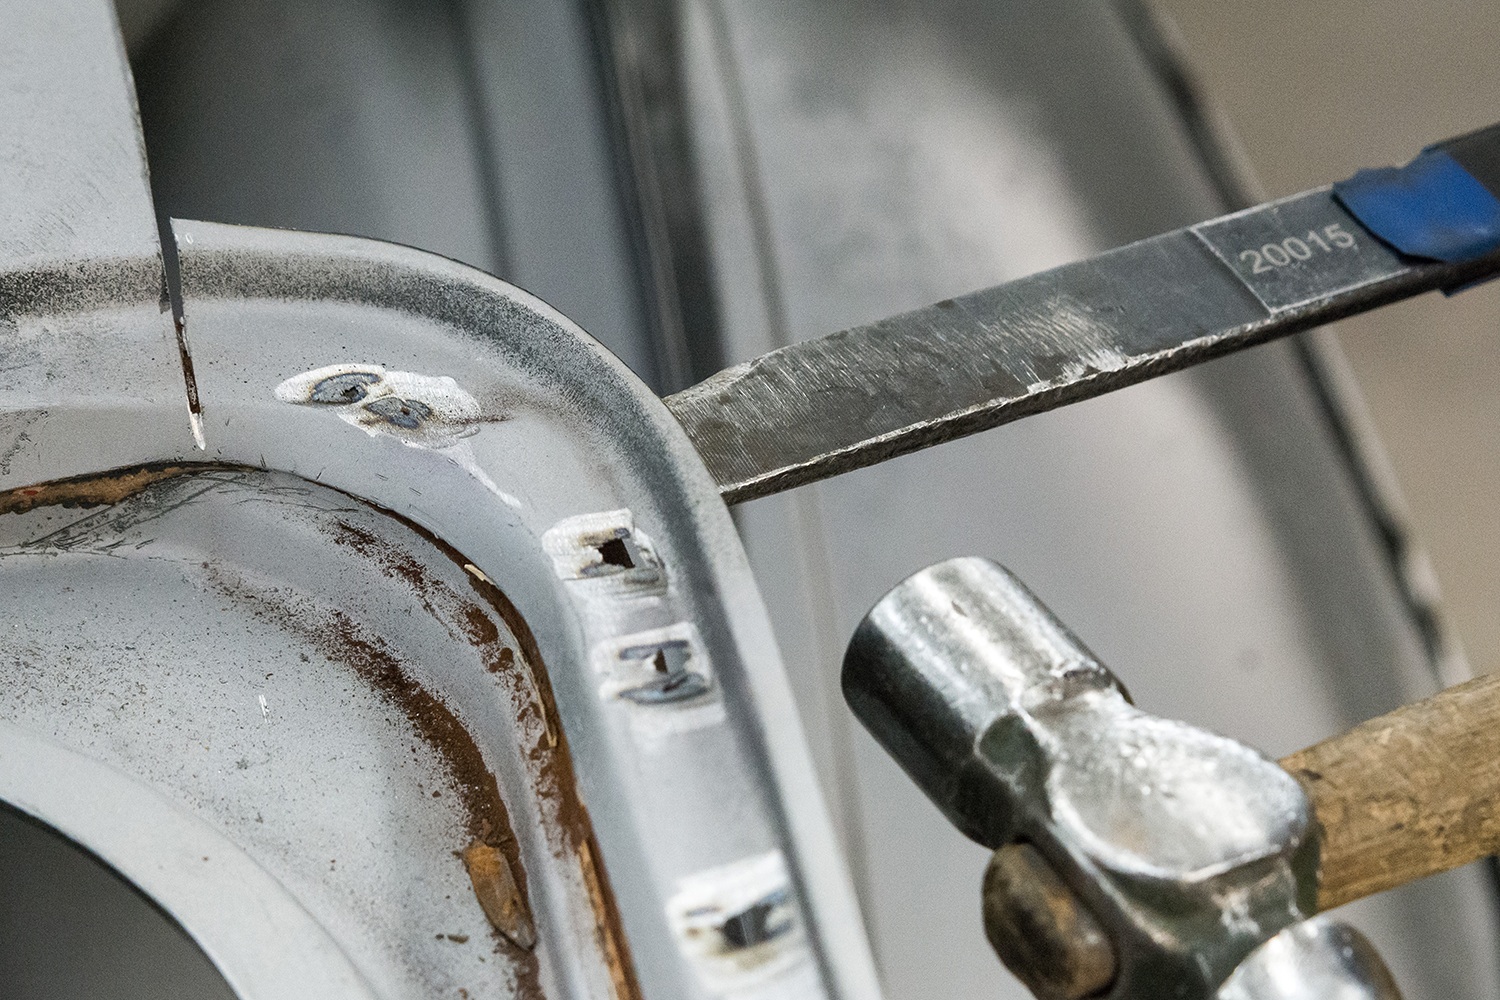
The quarter overlaps on top of the trunk gutter, so this portion is relatively easy to remove.
In most cases, MCR prefers not to replace full quarters unless there is a compelling reason to do so. It’s always better to keep as much of the original car as possible, but it goes beyond that. Reducing the number of contact points that need to be properly fitted greatly helps achieve a perfect fit. That is not always possible, as is the case with this car, but the more areas of any panel that can be left undisturbed, the better.
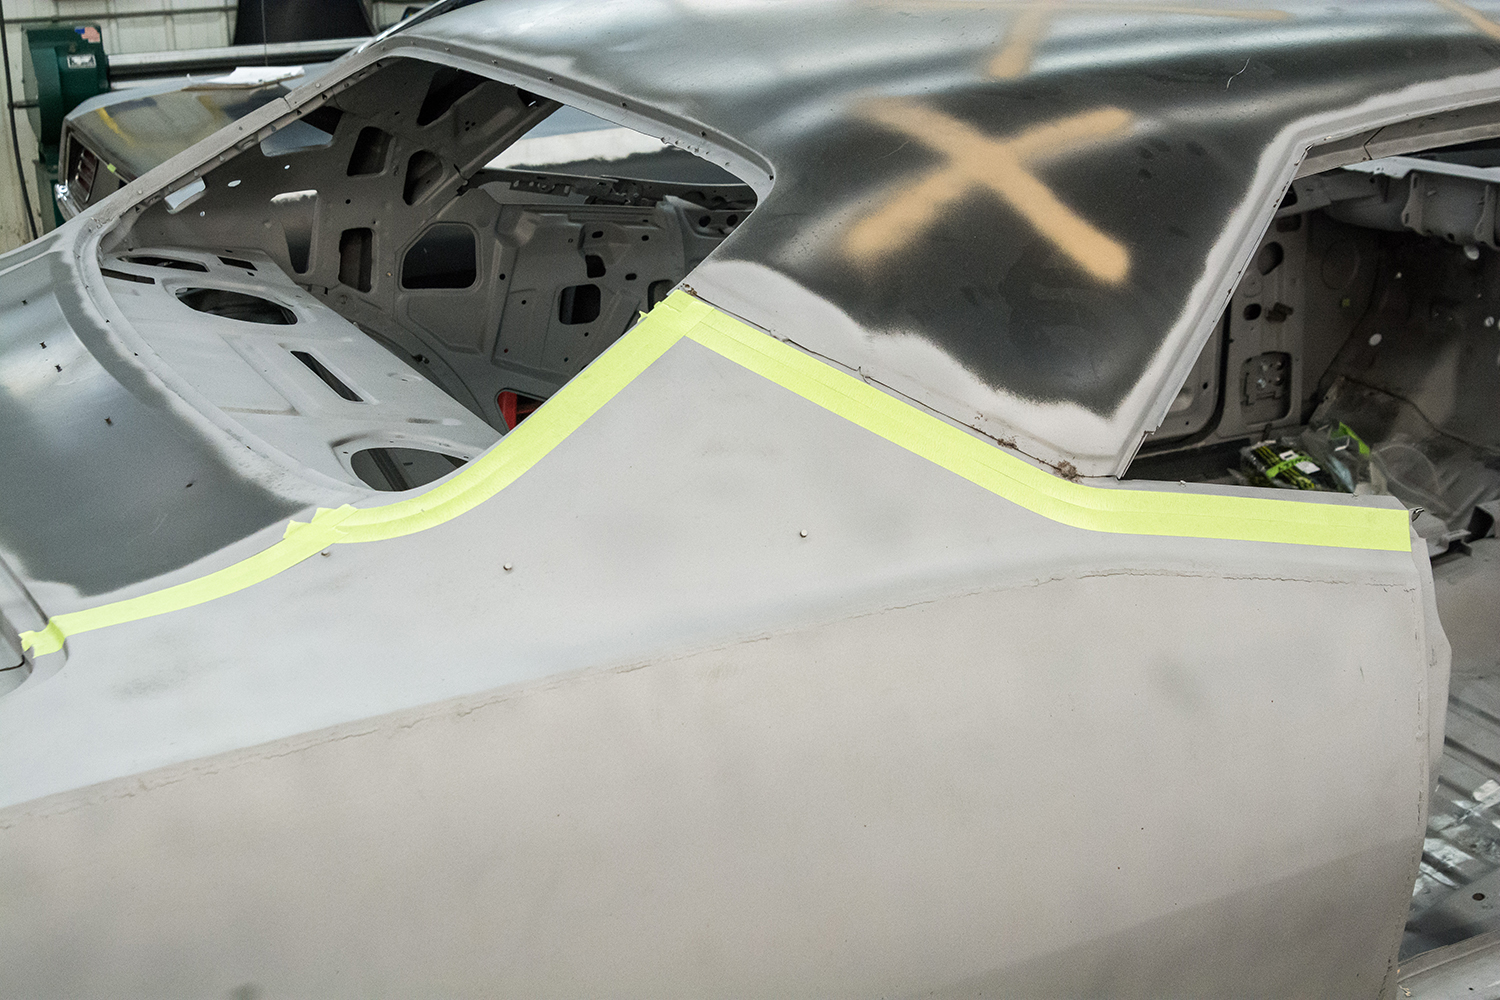
Two runs of 3/4-inch tape will mark the location where the quarter will be cut and joined to the new panel. The second run of tape provides about 3/4 inch of overlap with the new panel.
Removing a full quarter involves the door gap, quarter window, rear window, and trunklid gap fit with the tail panel, and, of course, the wheelwell opening. Additionally, on a ’Cuda, there’s that body line running through the middle of the quarter, continuing through the door. It’ll stand out like a sore thumb if that line isn’t right. Some might argue, “Well, if the panel is made correctly, it should fit just like the original, right?” That would be true if every car were assembled the same, but anyone who’s worked on one knows they are not. There are subtle differences from car to car that can affect the fit in any or all the mentioned areas. Any area that can remain undisturbed generally should be.
A line is drawn along the tape edge to provide a guide to cut the panel.
With that in mind, the craftsmen in MCR’s metal shop have used almost everyone’s sheetmetal parts over the past 35-plus years, but they prefer to work with AMD’s panels.
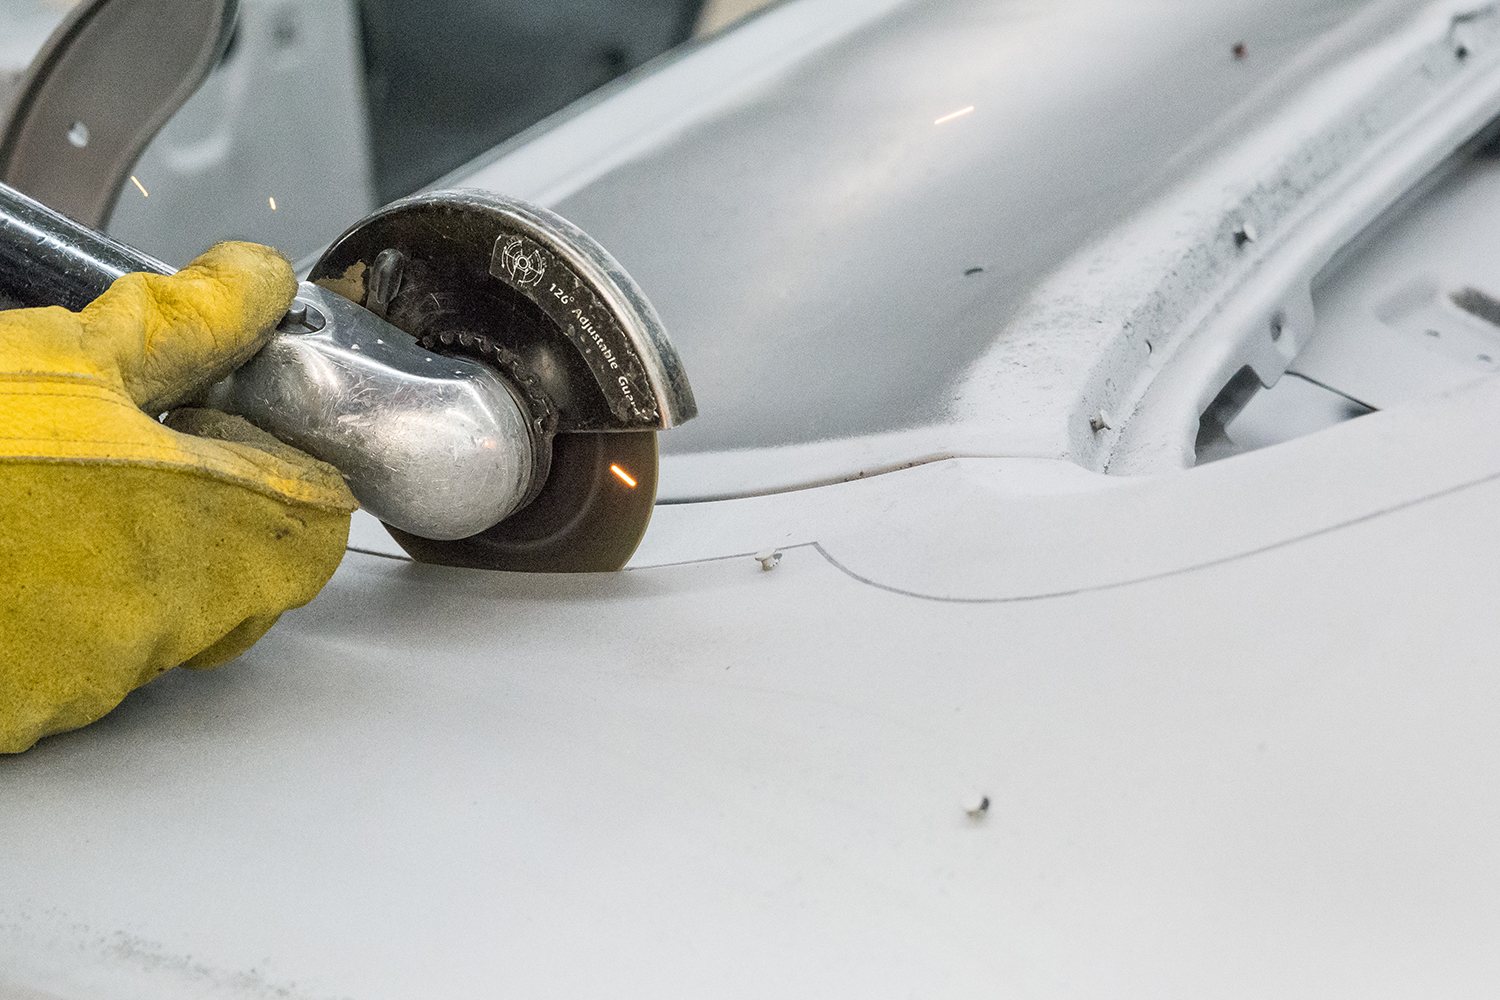
Making the cut about 1 1/2 inches from the edge allows about 3/4-inch overlap between the two panels to allow plenty of room for adjustment.
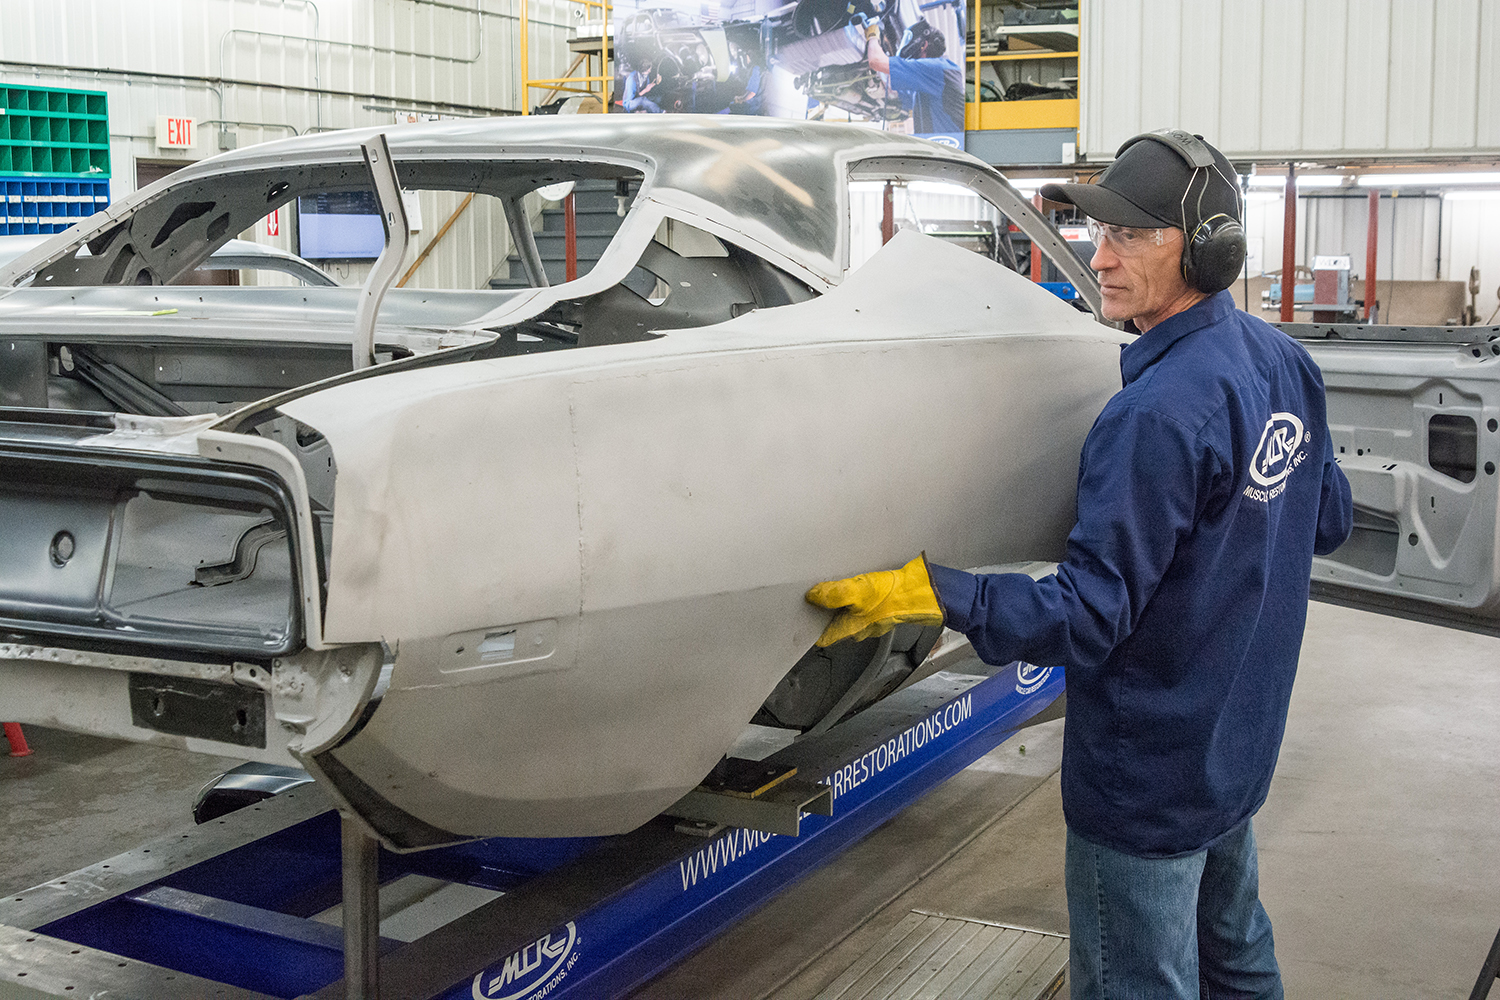
As you’ll see with this ’Cuda, most of the quarter is being replaced, but not all of it. You’ll also notice that halfway through the job we’re switching from one side of the car to the other. One side was left as is, while the other was fully prepped to receive the new panel. This was done solely to allow the job to be photographed in one day.
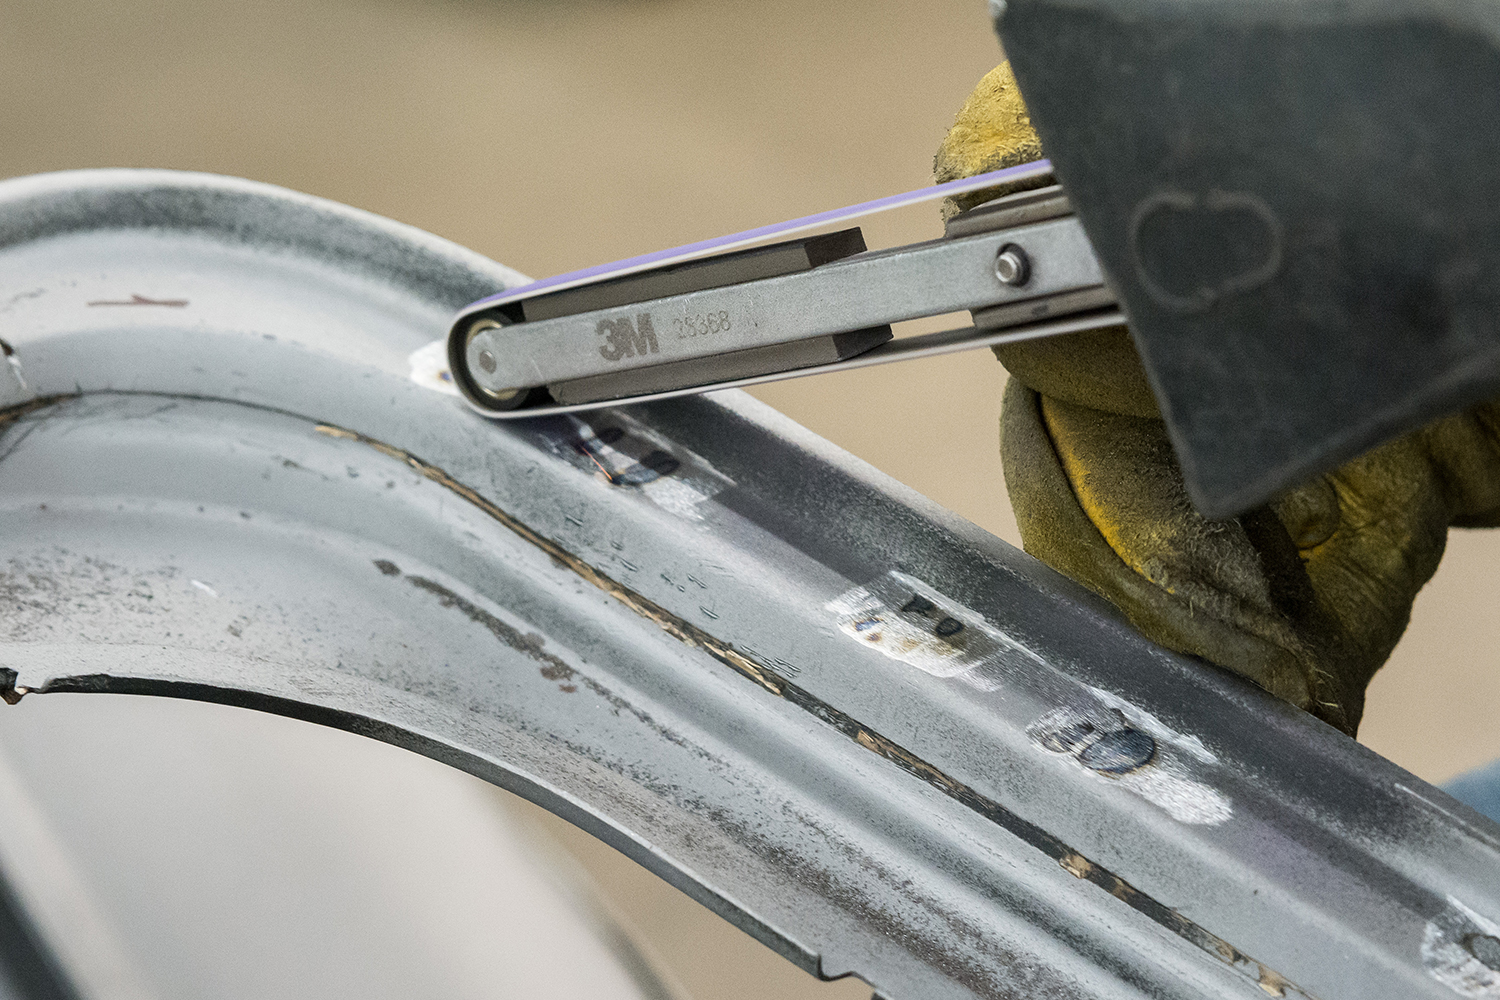
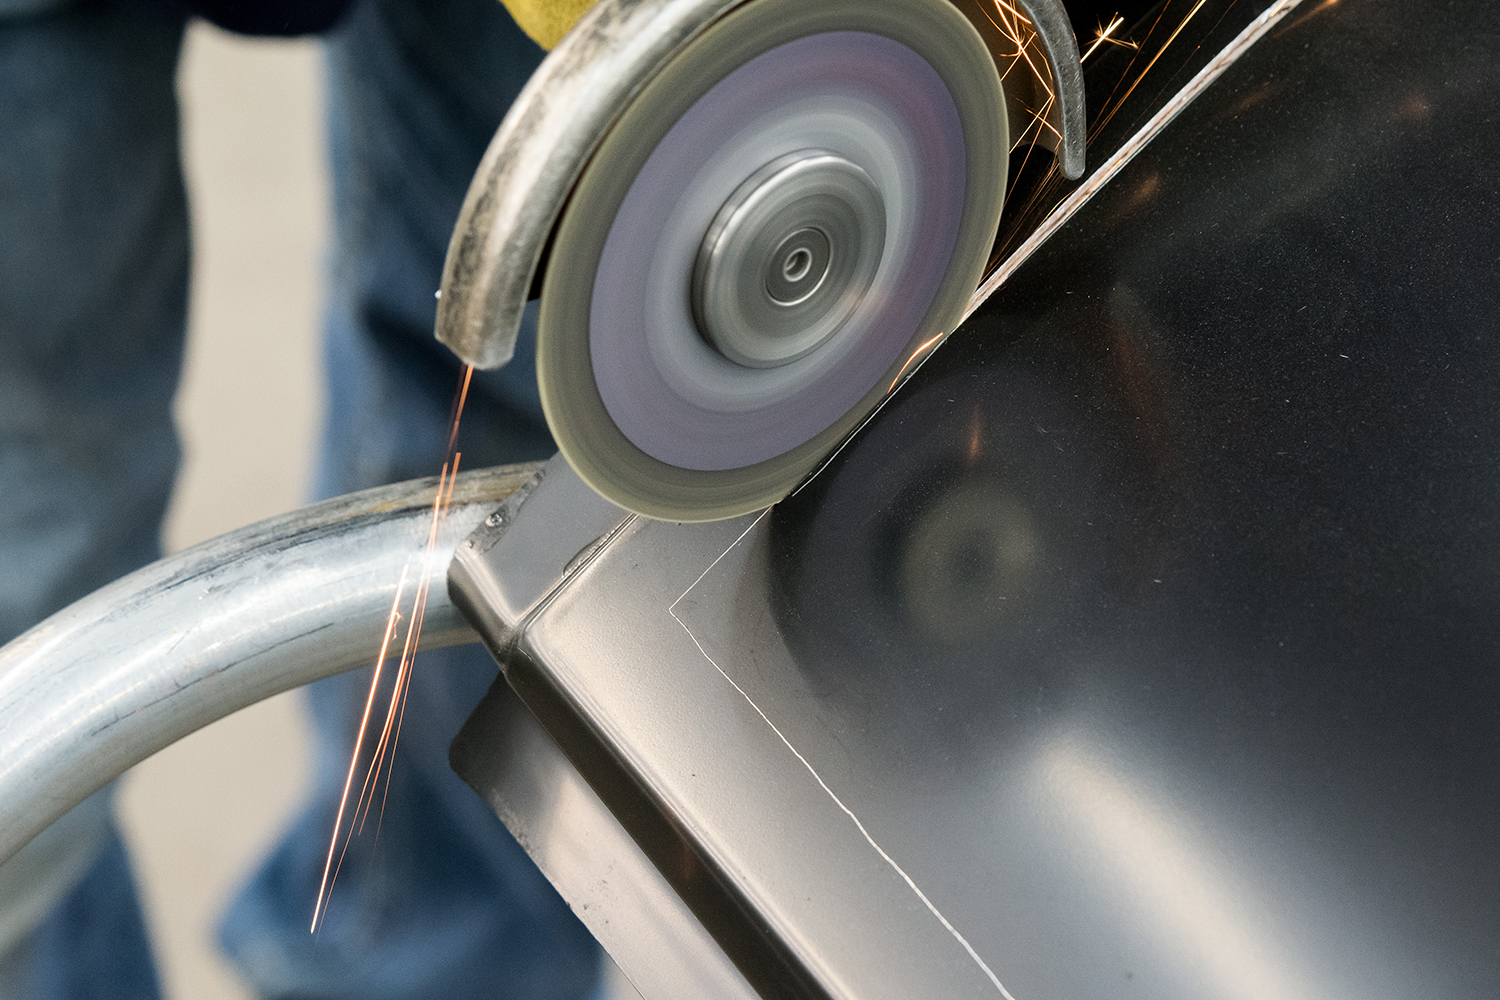
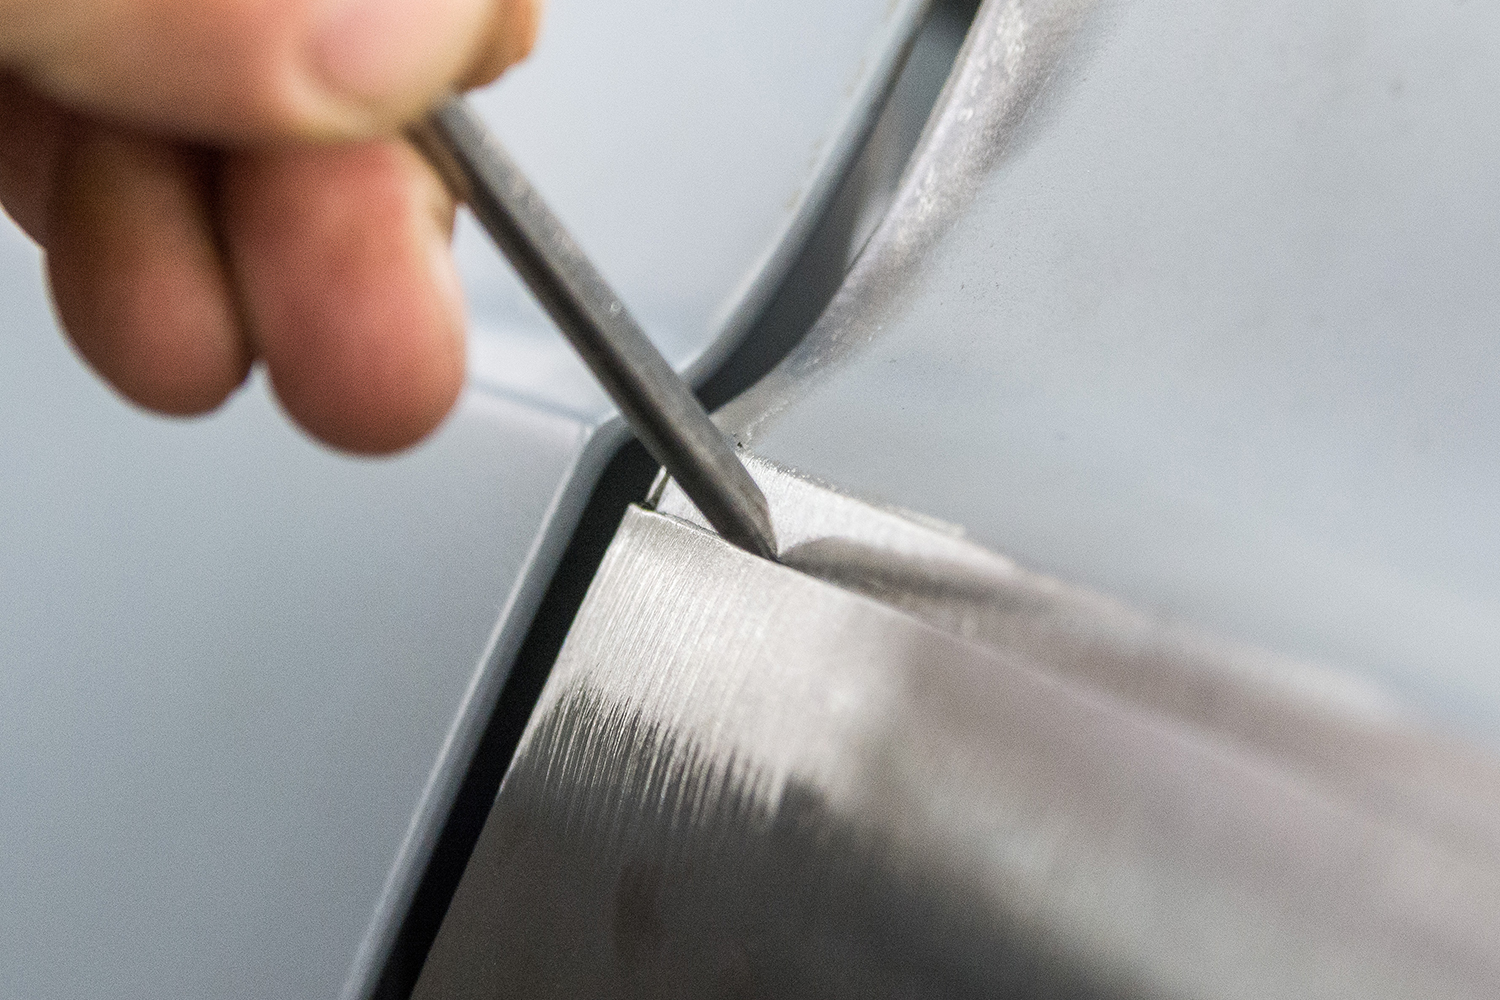
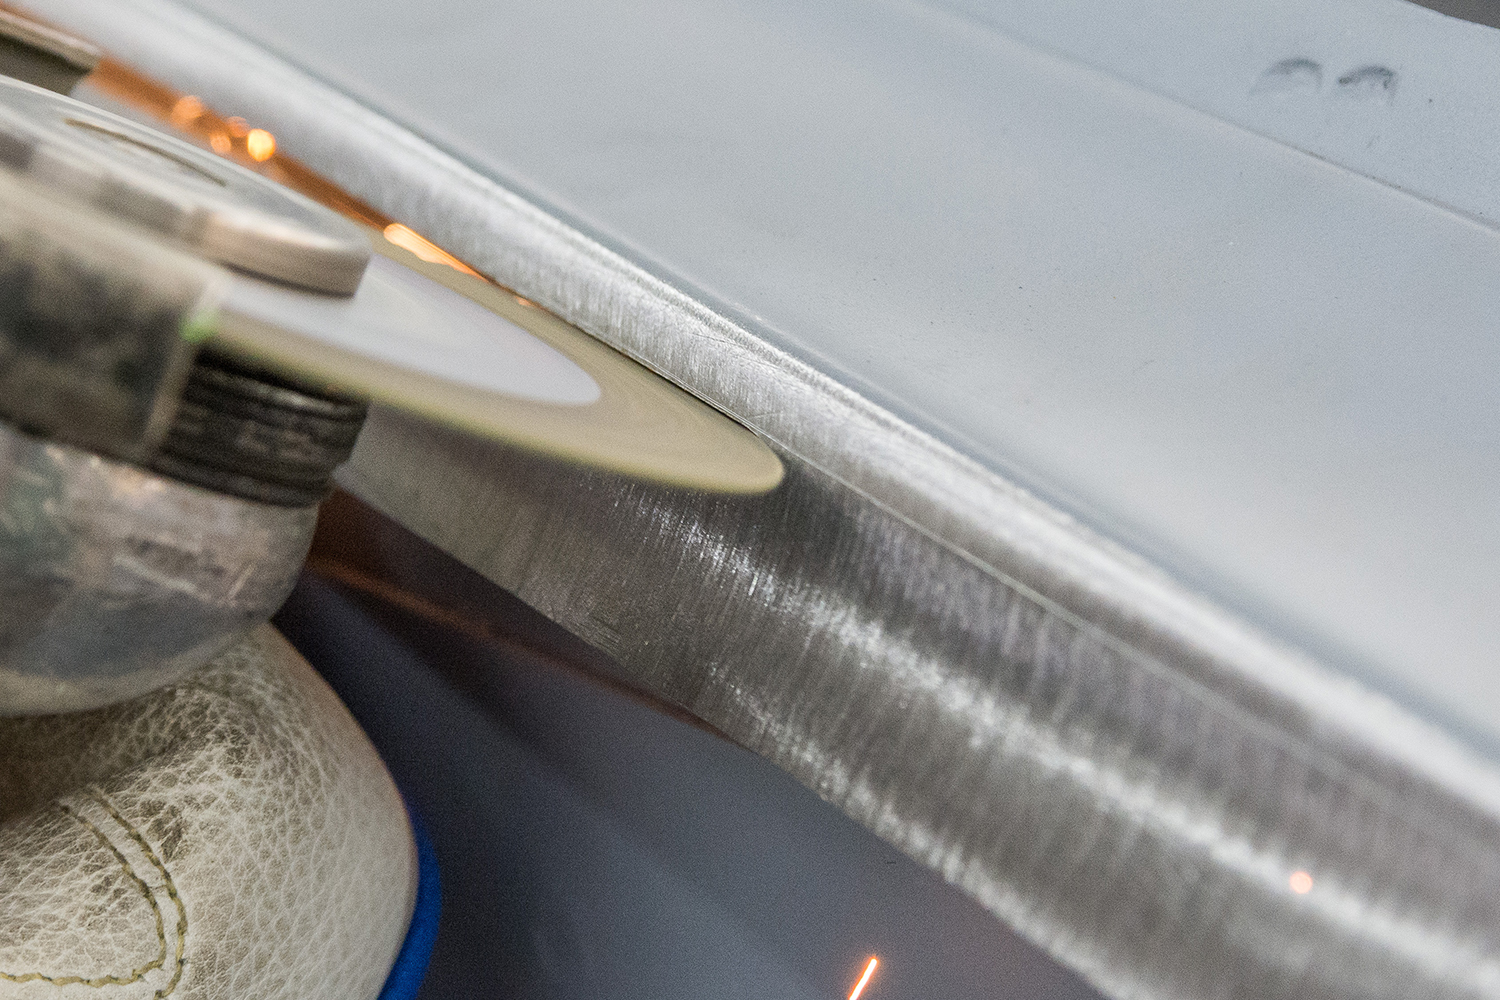
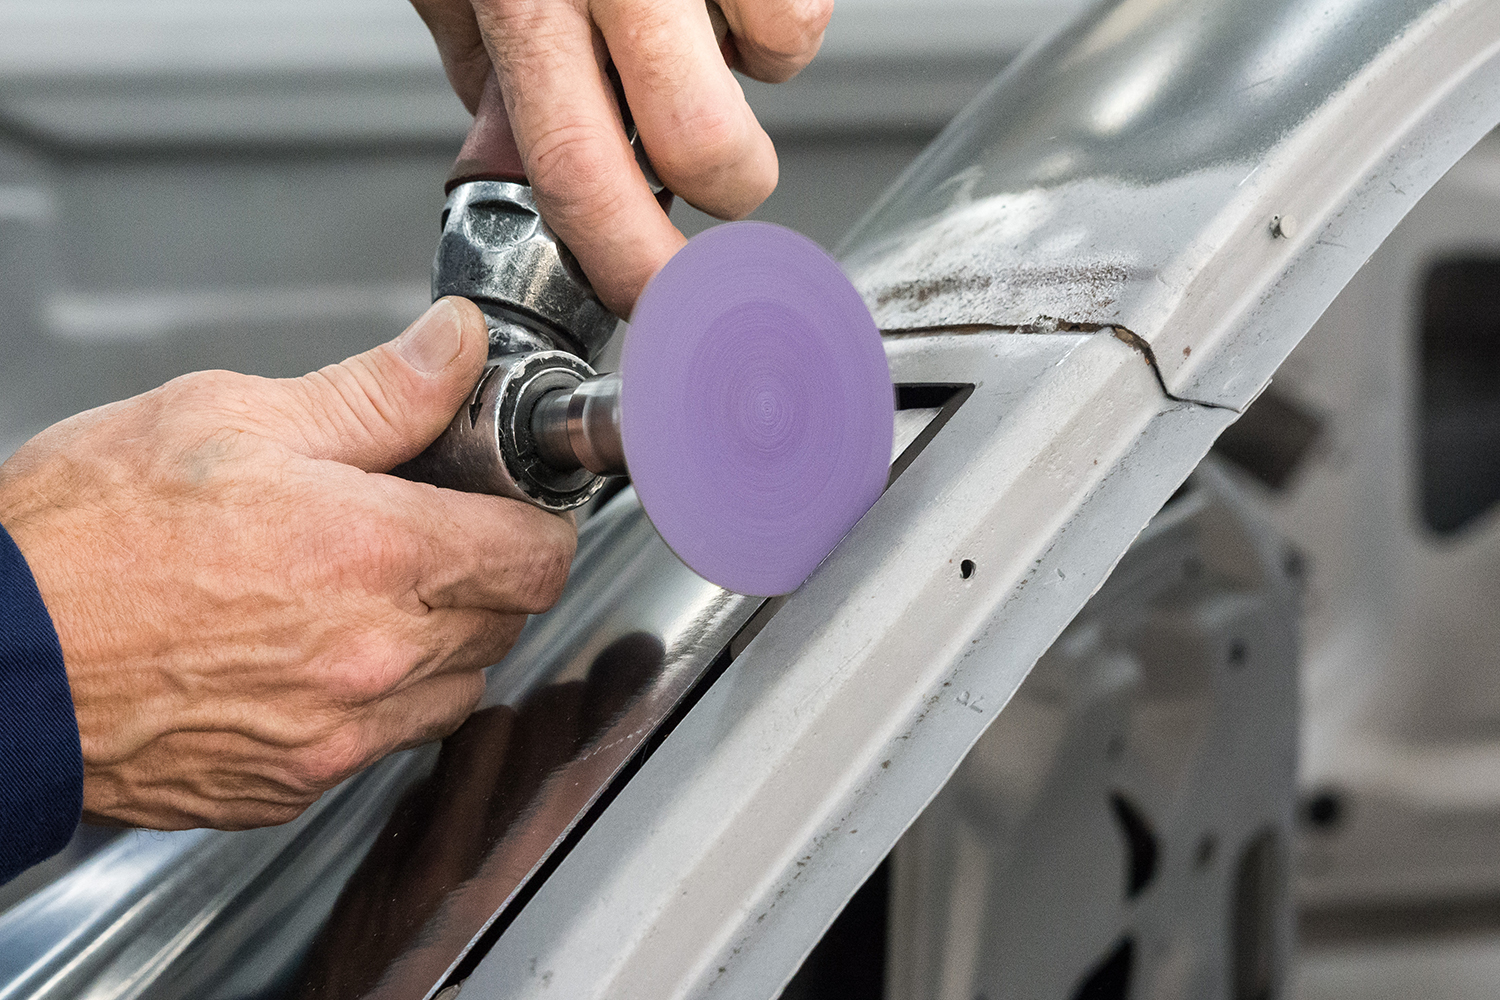
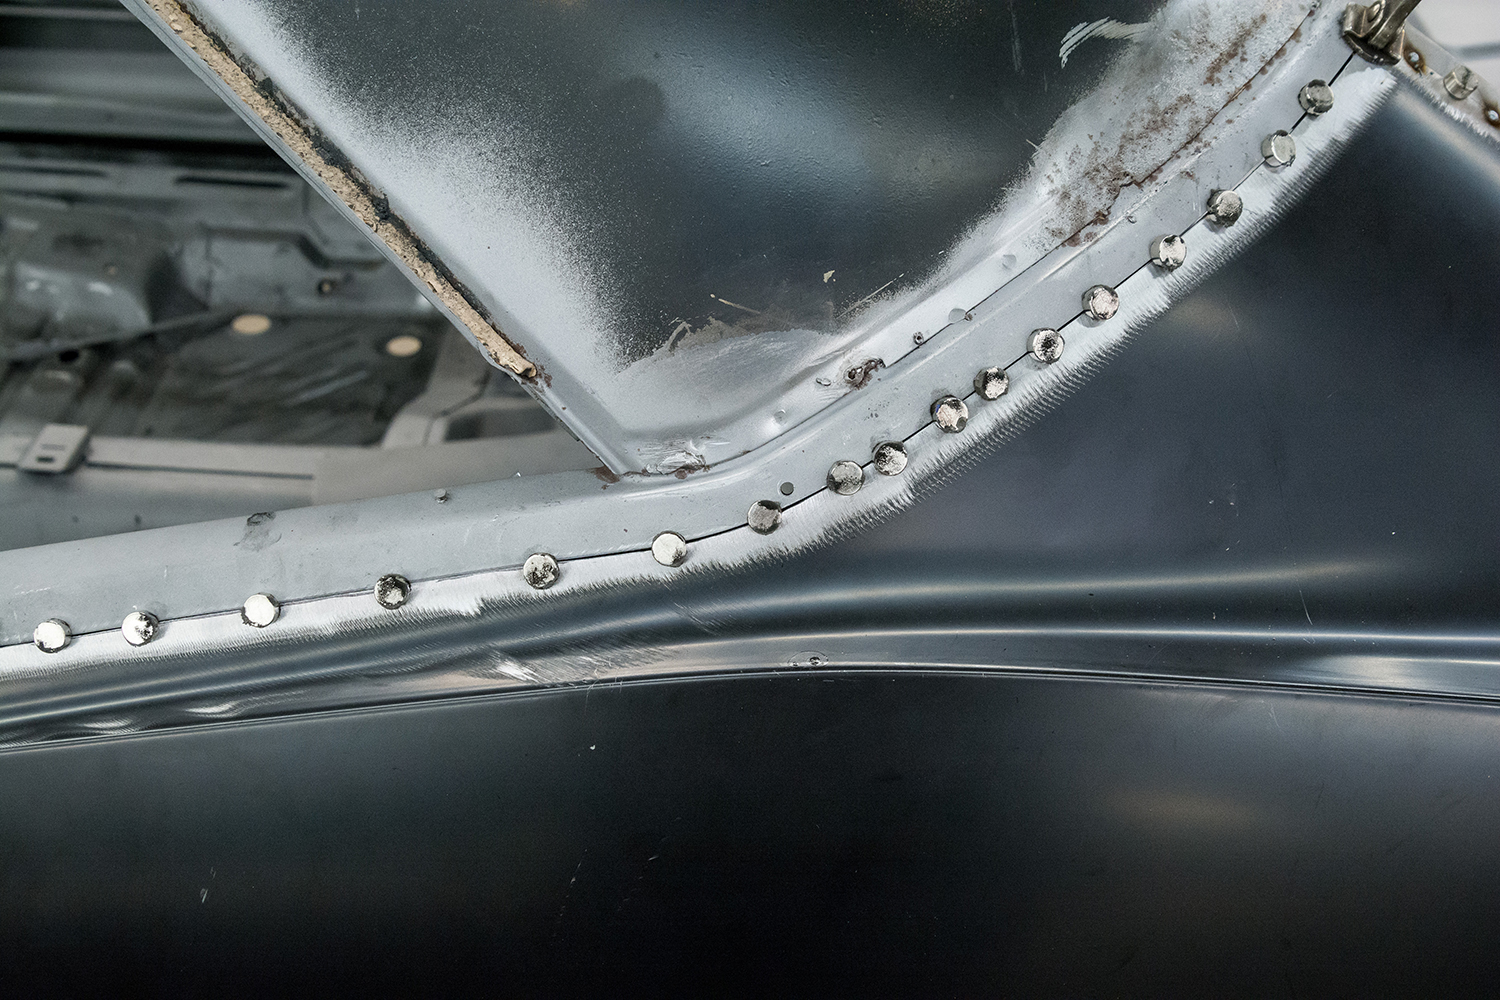
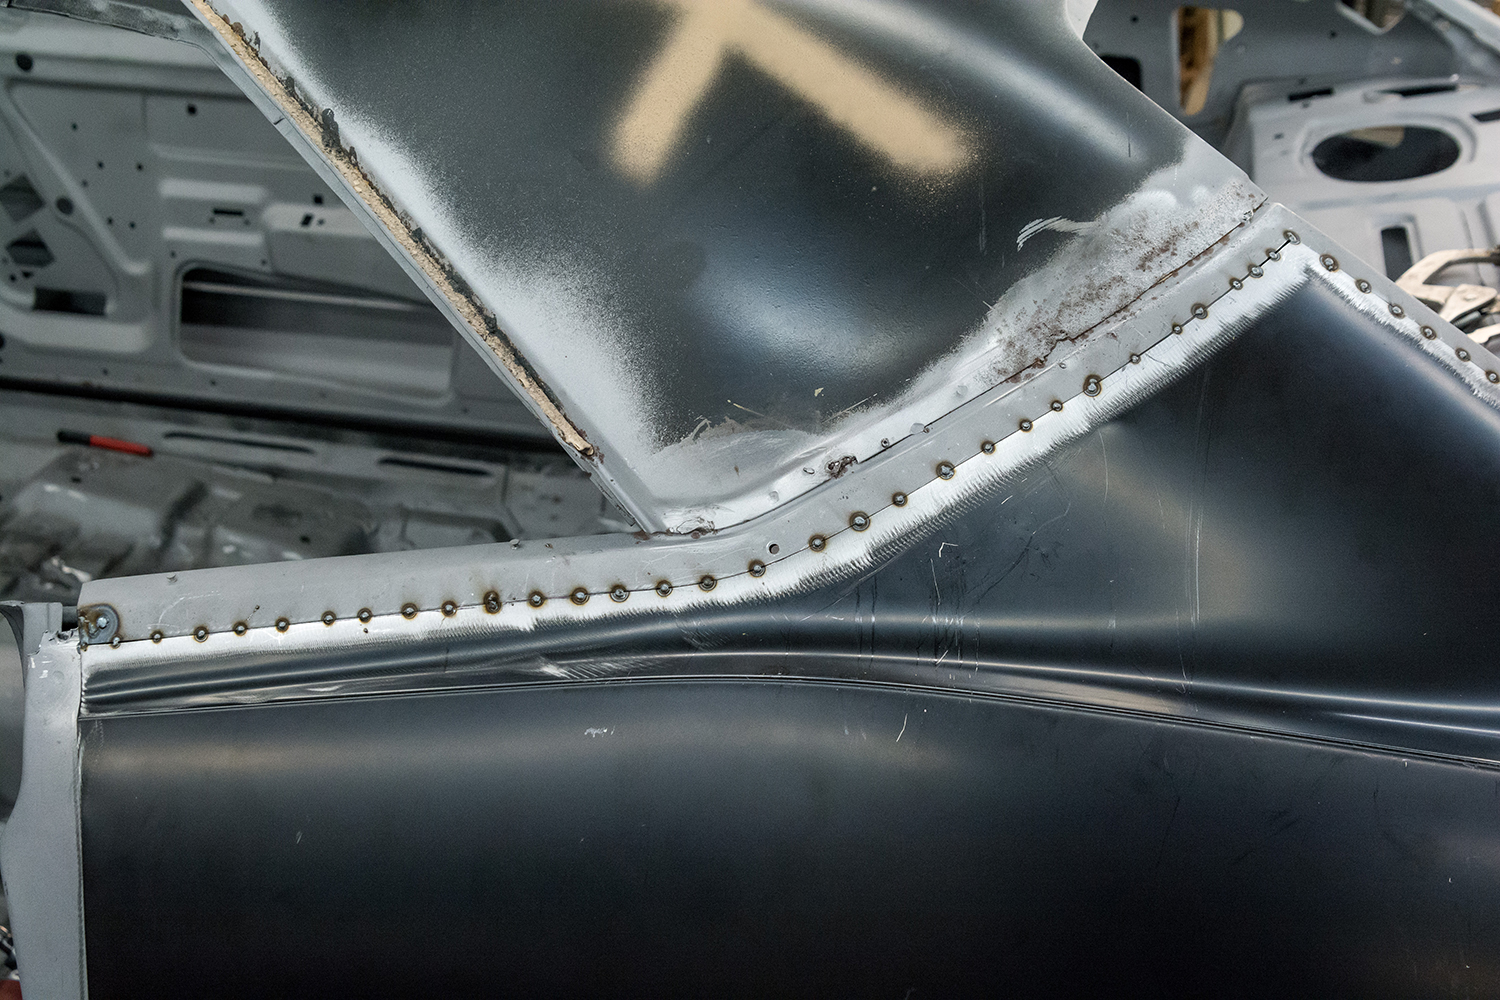
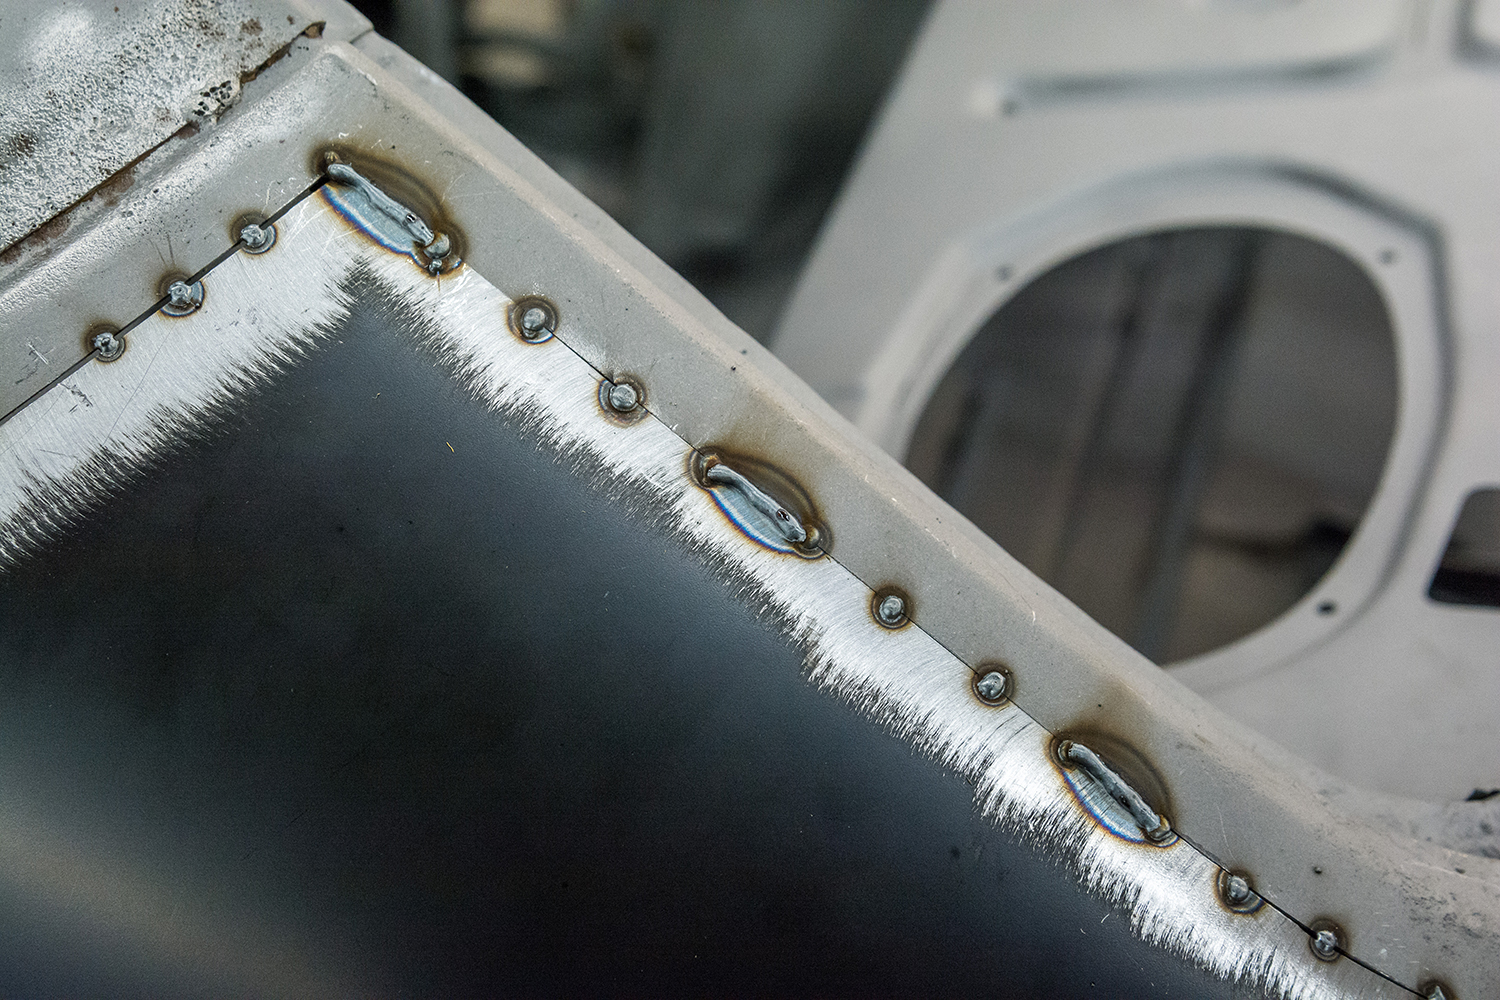
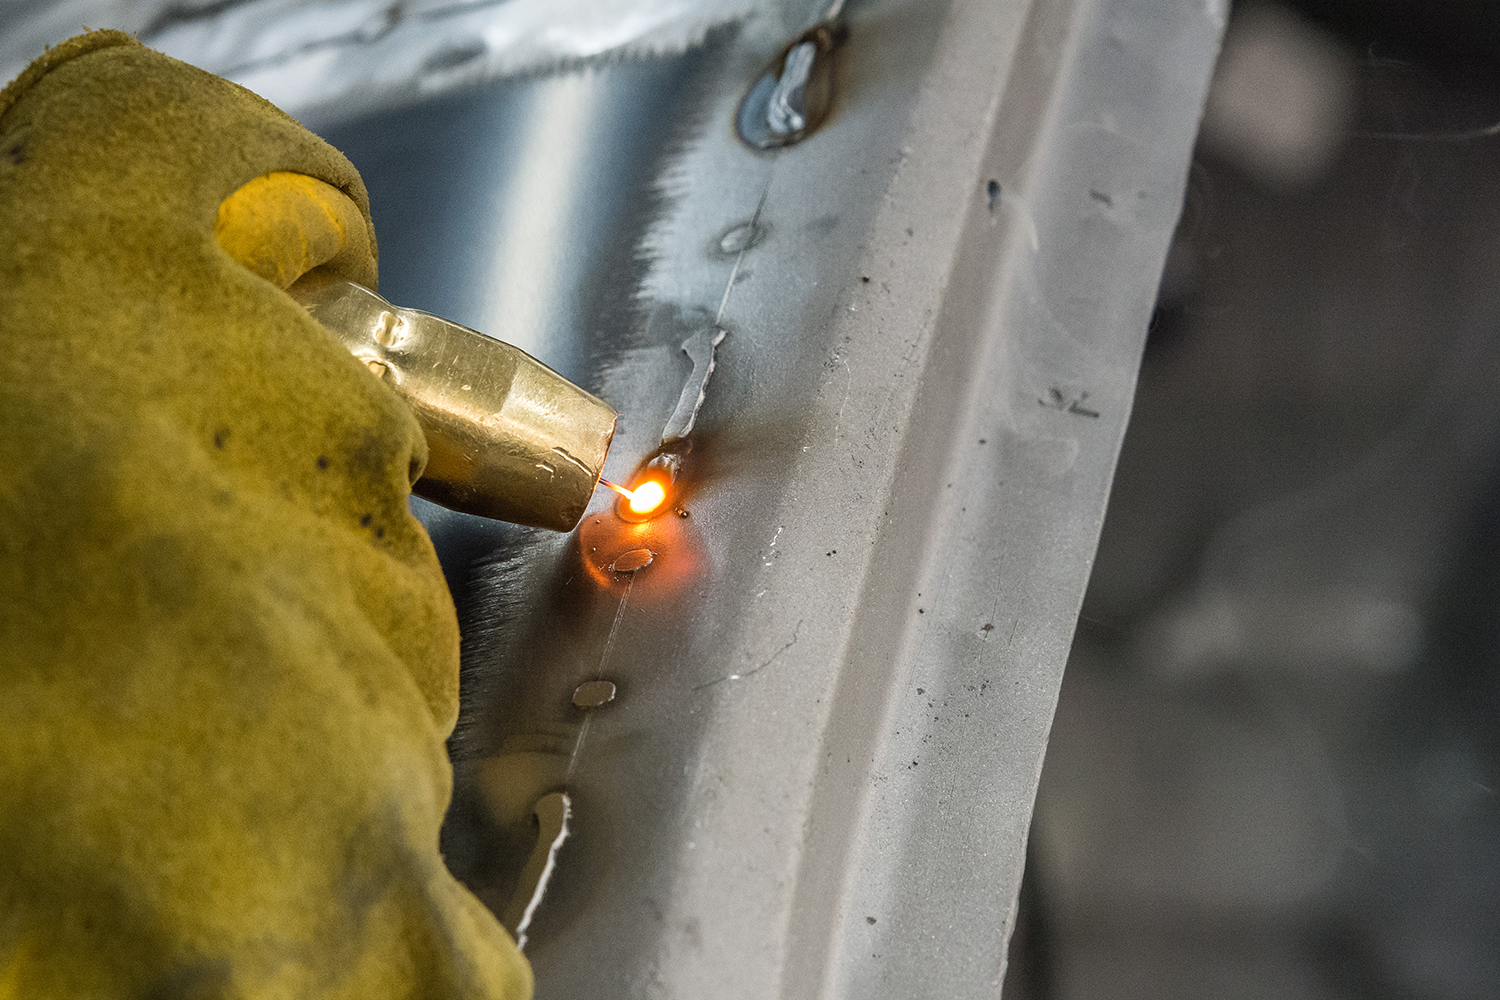
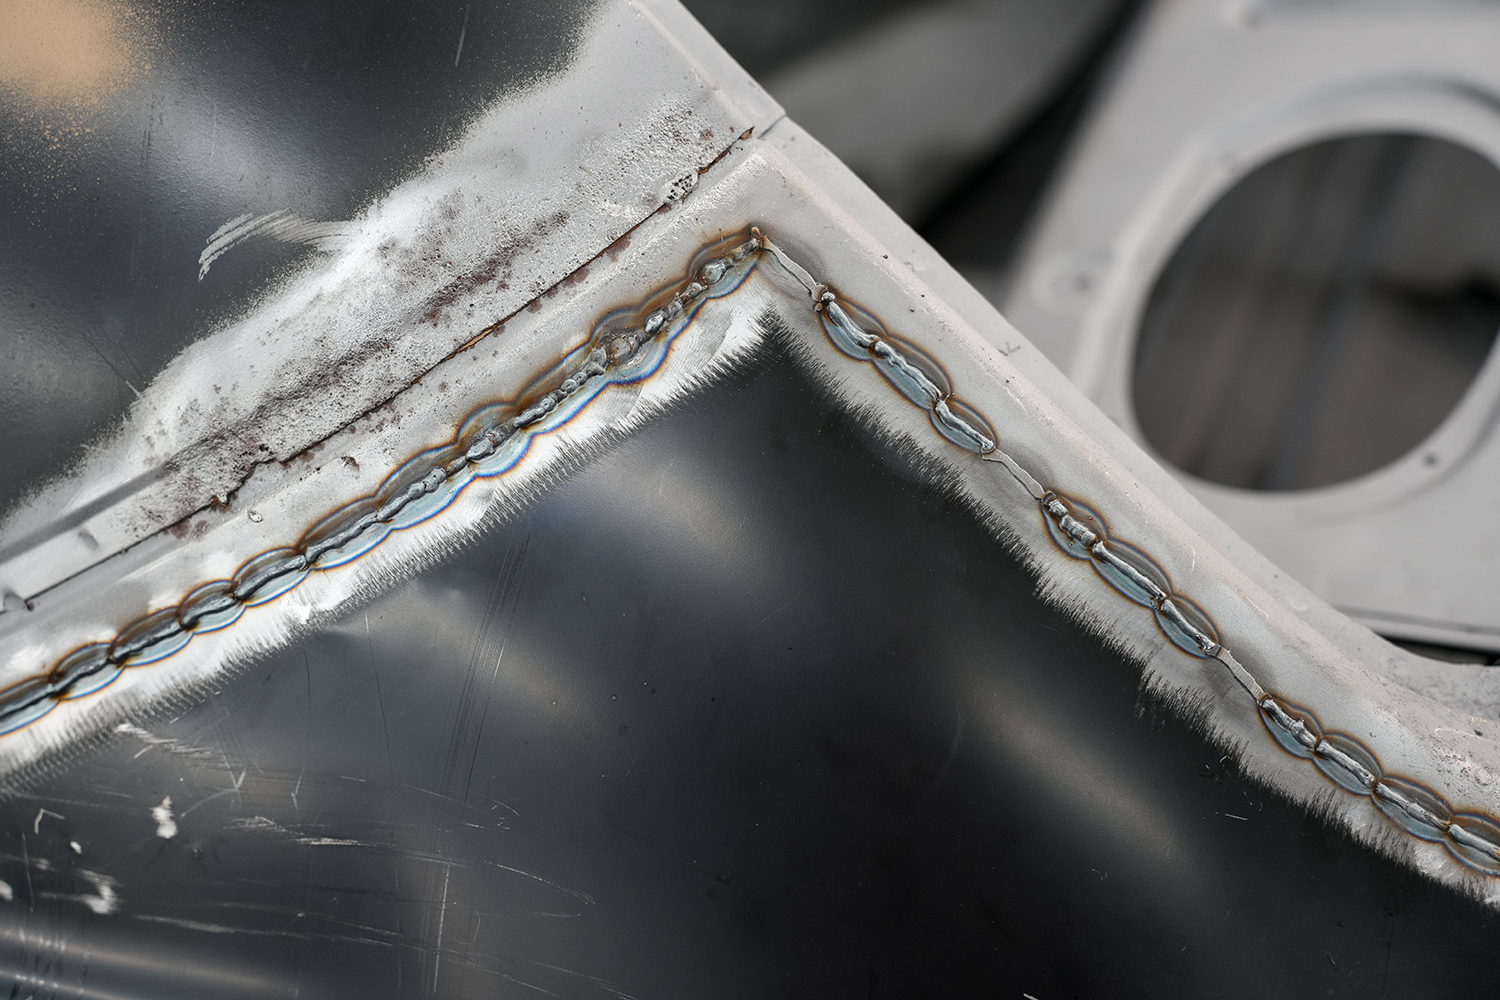
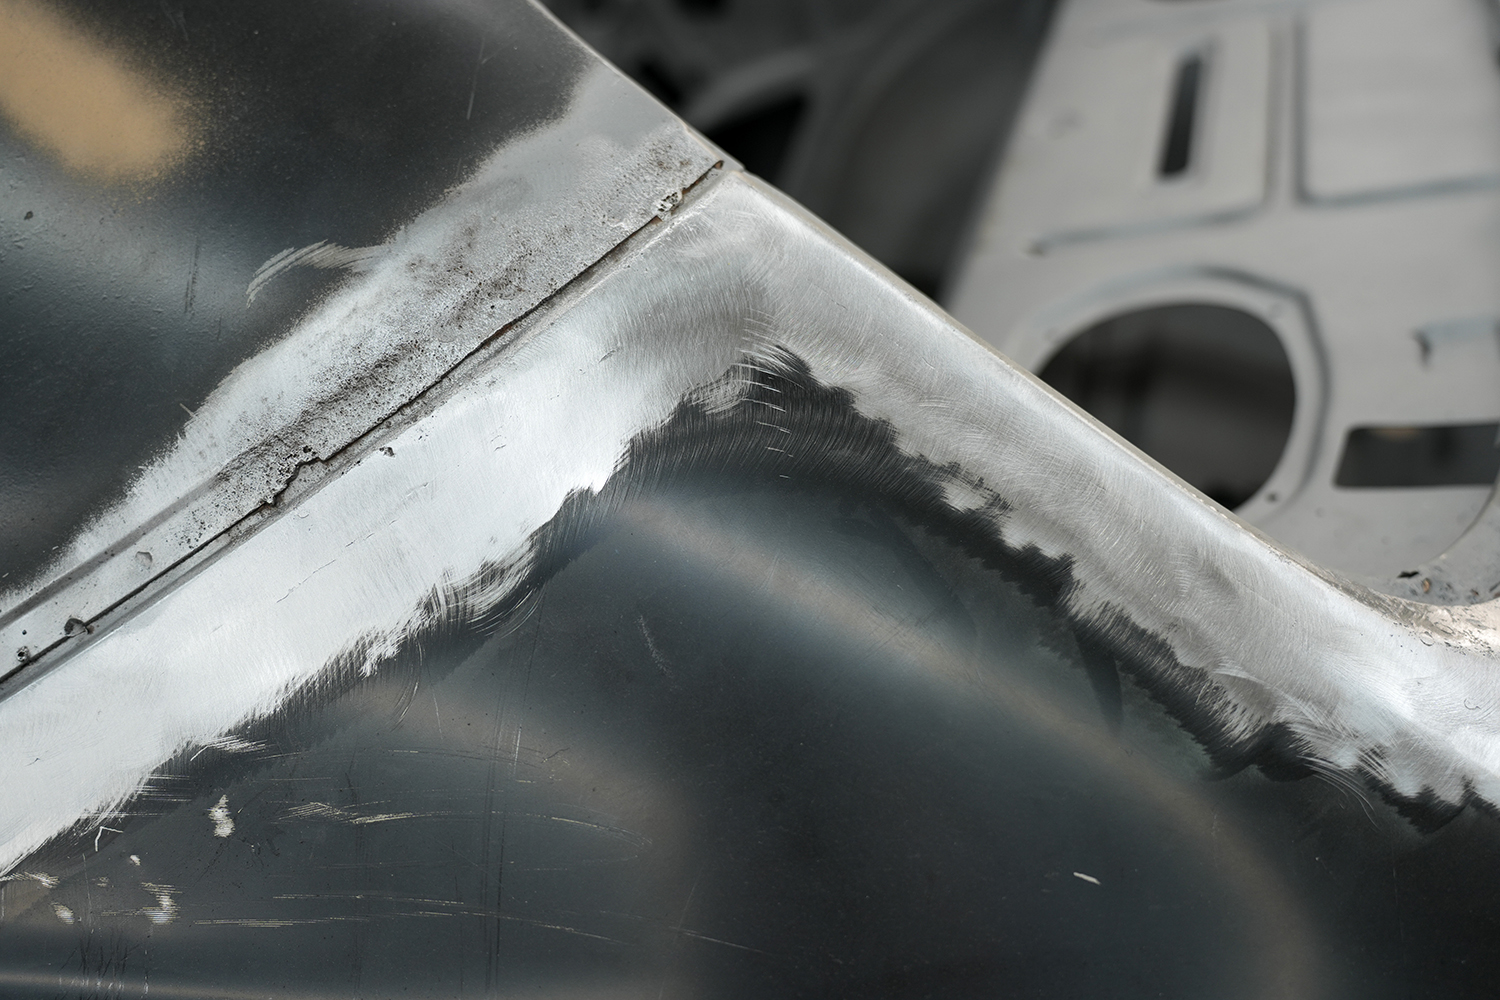
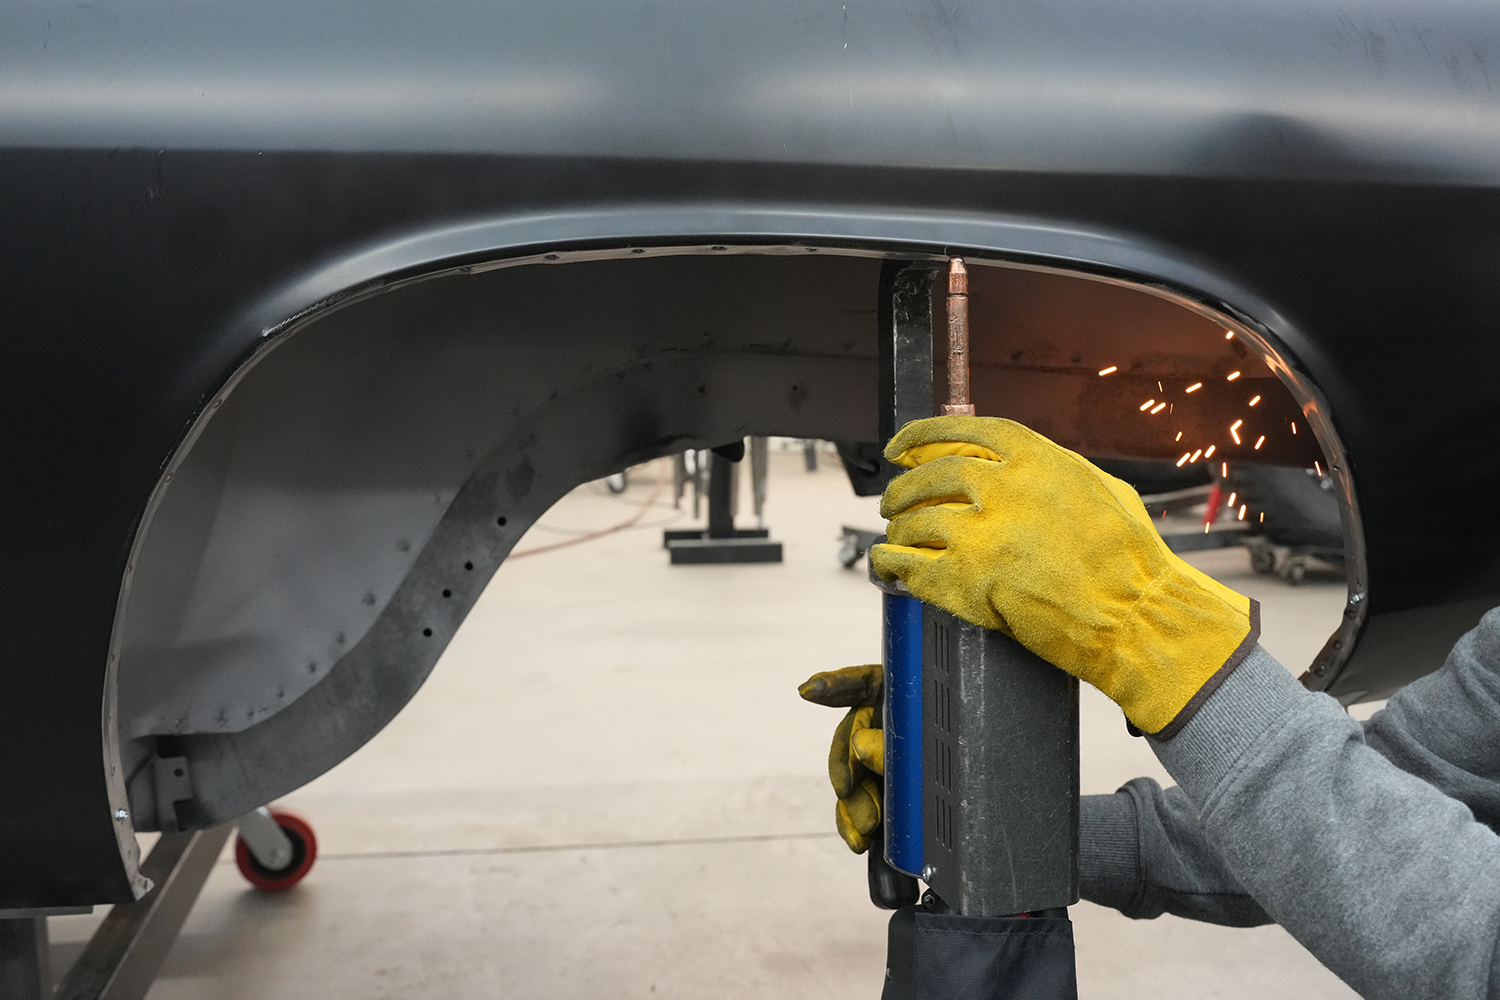
The rest of the quarter is cut around the edges to remove a significant portion of it to get it out of the way. Be careful not to cut too deep in some areas so the structures underneath are not damaged. Keep the cuts as shallow as reasonably possible. Note that the tail panel was replaced before work on the quarters began, as the quarters provided the proper reference for the new tail panel. Now the tail panel provides a reference for the quarters.An 80-grit 3M belt file does a great job breaking the spot welds to remove the remaining parts of the quarter.Use a seam-splitting tool to finish popping the welds without bending the part underneath.The new quarter is marked and then cut about 3/4 inch from the edge. This provides enough overlap to shift the panel to achieve a perfect fit.Once trimmed, the new panel can be set in place. Use clamps, 1/8-inch self-tapping screws, or Cleco pins as needed to position the quarter.Once the new panel is perfectly positioned, use an awl or scribe to scratch a line along the edge of the new quarter.Now, remove the new panel and use a 3M Cubitron 0.04-inch cutoff wheel to remove the last of the old quarter. Cut to remove the line and no more. When the new panel is reattached, this should leave a near-perfect gap between the old and new panels.A sanding disc can be used to clean up any irregularities or adjust the gap size, if needed.Once the quarter is back in position, 1/2-inch rare earth neodymium magnets are placed along the seam every inch. These magnets are very strong and will keep the two panels at a perfect level with each other. Note that the E-coat has been removed from the weld area of the new AMD panel. This is necessary to prevent interference with the welding process. MCR finds that a 3M Bristle Disc makes quick work of this.Be careful not to lean on the panel while doing this, and place single tack welds between the magnets. Move around the panel as you do to allow each area to cool completely. When finished, your tack welds should be between 1/2-inch and no more than 1-inch apart—closer to a 1/2-inch apart would be better for less-experienced welders.The next step is to spot-stitch the area between the tack welds. Start your weld on top of the tack weld. This should eliminate any pinholes between them. If your welder is set up right you’ll see a relatively small heat pattern around the weld. Air quench after each weld and move around the panel so each weld can cool completely.Butt welding sheetmetal panels is an advanced skill. Use an inverter welder like MCR’s Millermatic 211 and practice on scrap parts to get your technique and settings down just right.Continue filling in the gaps with stitch welds until the seam is completely welded.Another skill to be developed is being good with a sanding disc. It’s critical that the weld be ground flat and that the disc avoids all but incidental contact with the surrounding sheetmetal. Start with a 60-grit disc to remove the bulk of the weld and then switch to 80-grit when you’re getting close and finish off with a brown course Scotch-Brite surface conditioning disc. If all is done correctly, the seam should disappear and require a couple of coats of a good sanding sealer to finish it.MCR spot welds the remaining parts of the quarter, though plug welding is an acceptable alternative.The back half of this 1973 ’Cuda is now indistinguishable from that of a 1971.
We use cookies to ensure that we give you the best experience on our website. If you continue to use this site we will assume that you are happy with it.