When it comes to—oh, let’s say—building old pickup trucks, for example, the hands-on among us tend to have our comfort-zone specialties. While you might excel at this, I might excel at that, and so on.
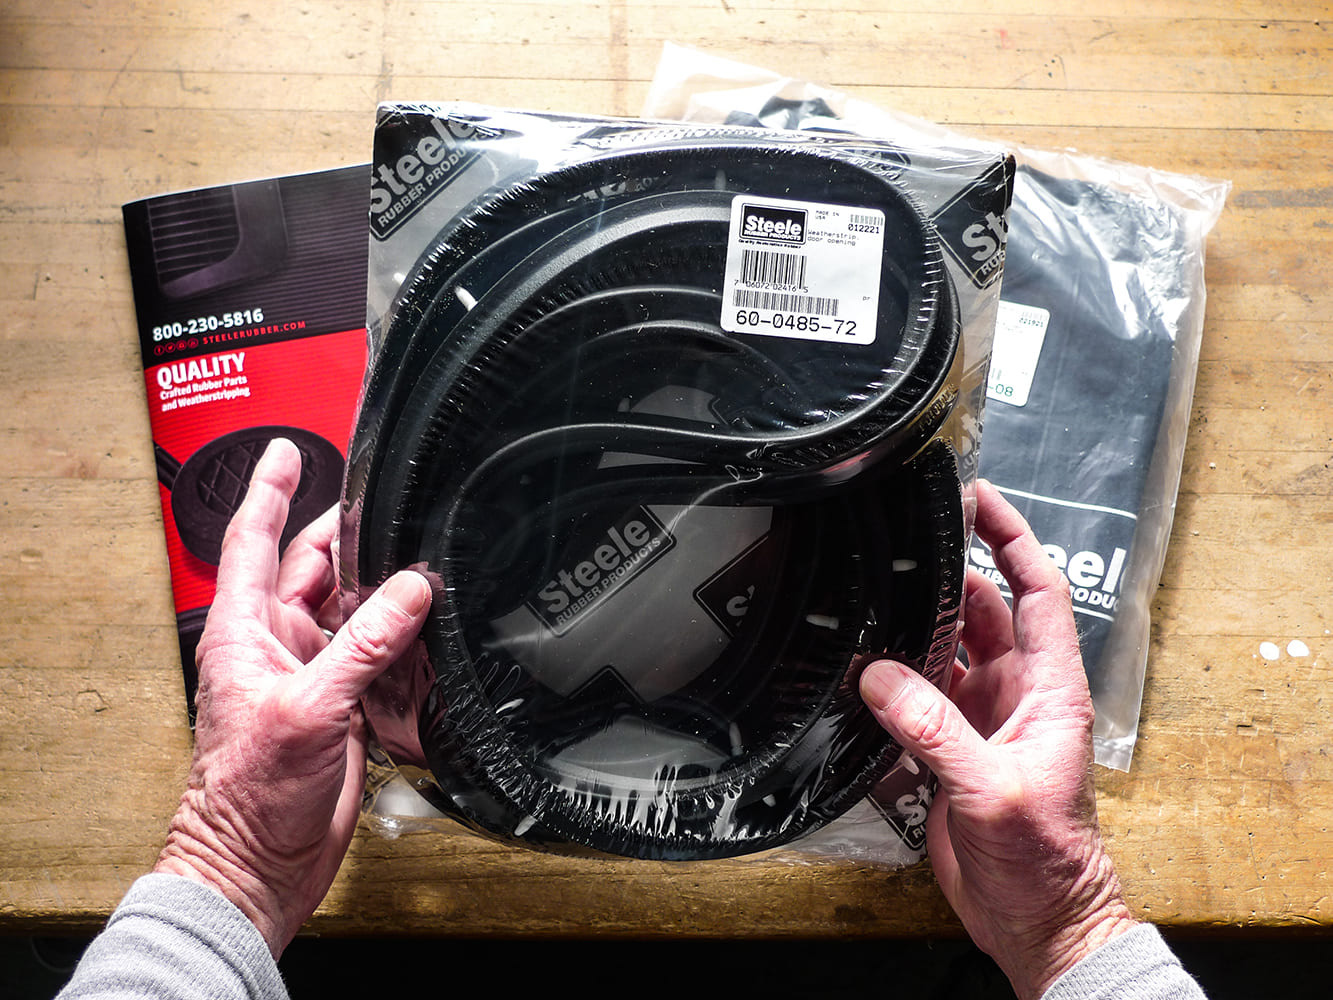
Just in from Steele, these are slightly slimmer than their OE-dimension offerings. Both versions have their places, but we’re opting for the easier break-in.
Now, I don’t know about you, but one of my least-favorite construction chores is the installation of door weatherstrips! If you’ve done it, you’ve likely felt some frustration, too.
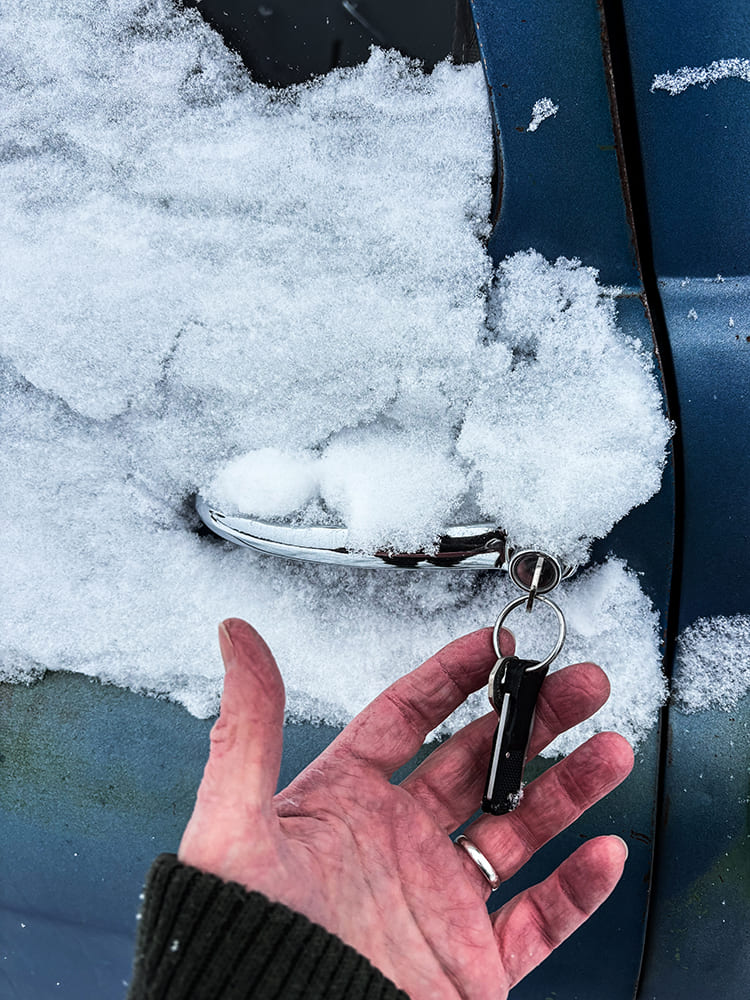
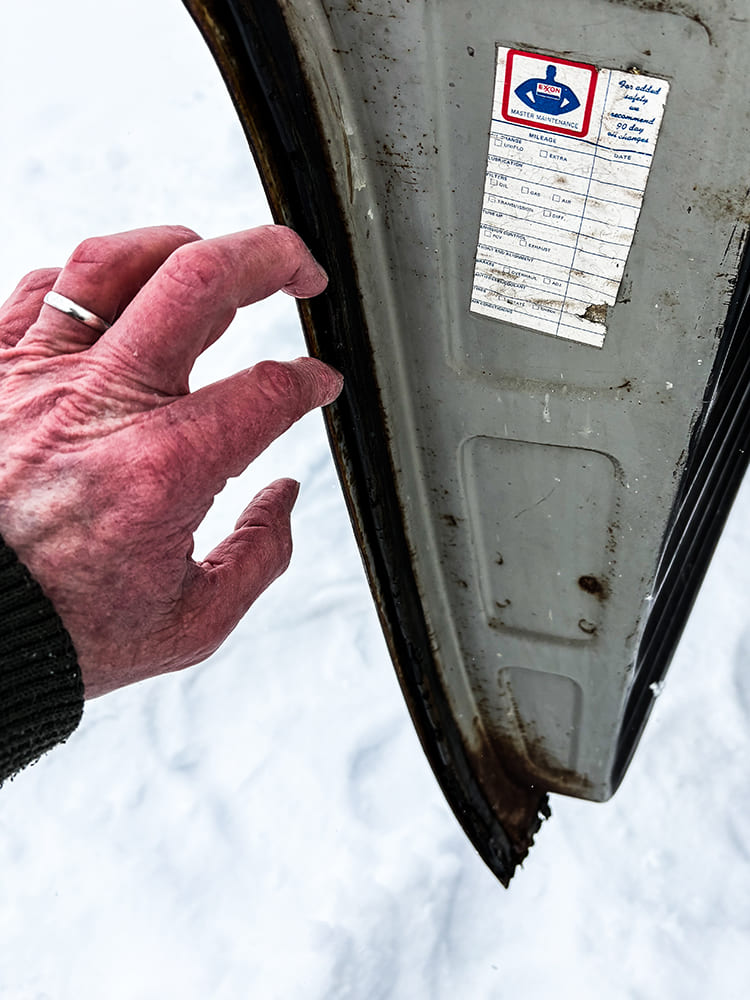
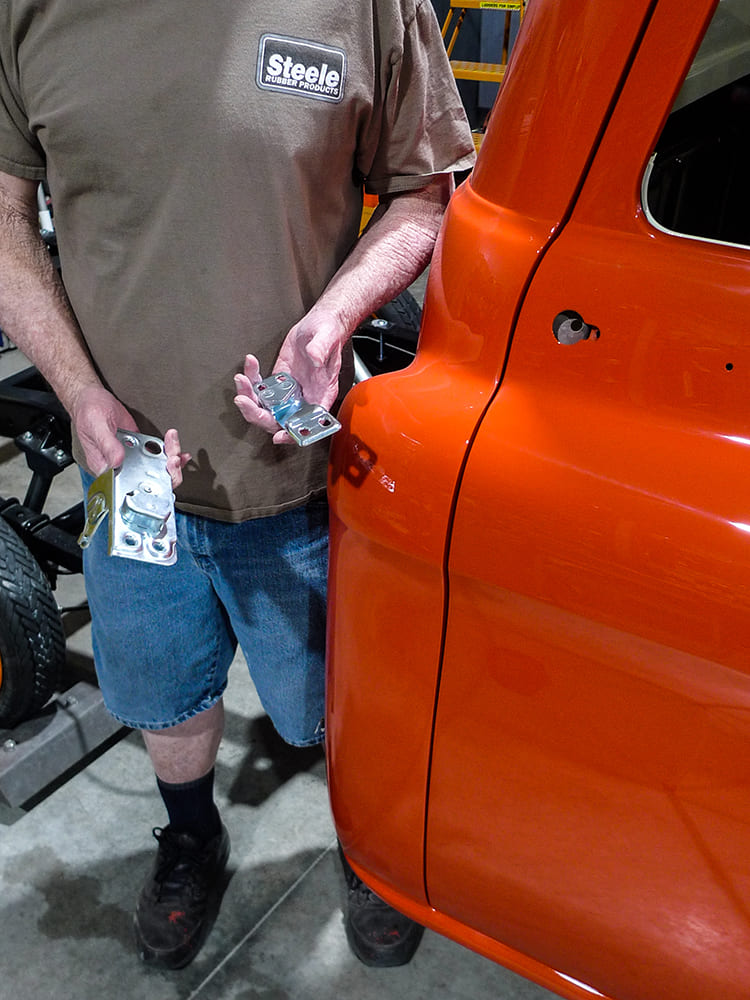
Now let’s think this out. Before we go much further, let’s be sure we’re installing the right (correct) weatherstrip on this left-side door.
Last time we covered a similar job, it was done in a very different way. Back in the May ’21 issue (# 9), our young truck building buddy Colten Hart was nearing completion of a spec-build 1959 Chevy project. Rather tragically, he’d purchased a pair of door weatherstrips from Brand-X online. If you missed it, those were too-dang thick at the cowl, which made break-in and eventual door latching all of impossible. As Brand-X met the trash can, a call for help went out to Steele Rubber Products.
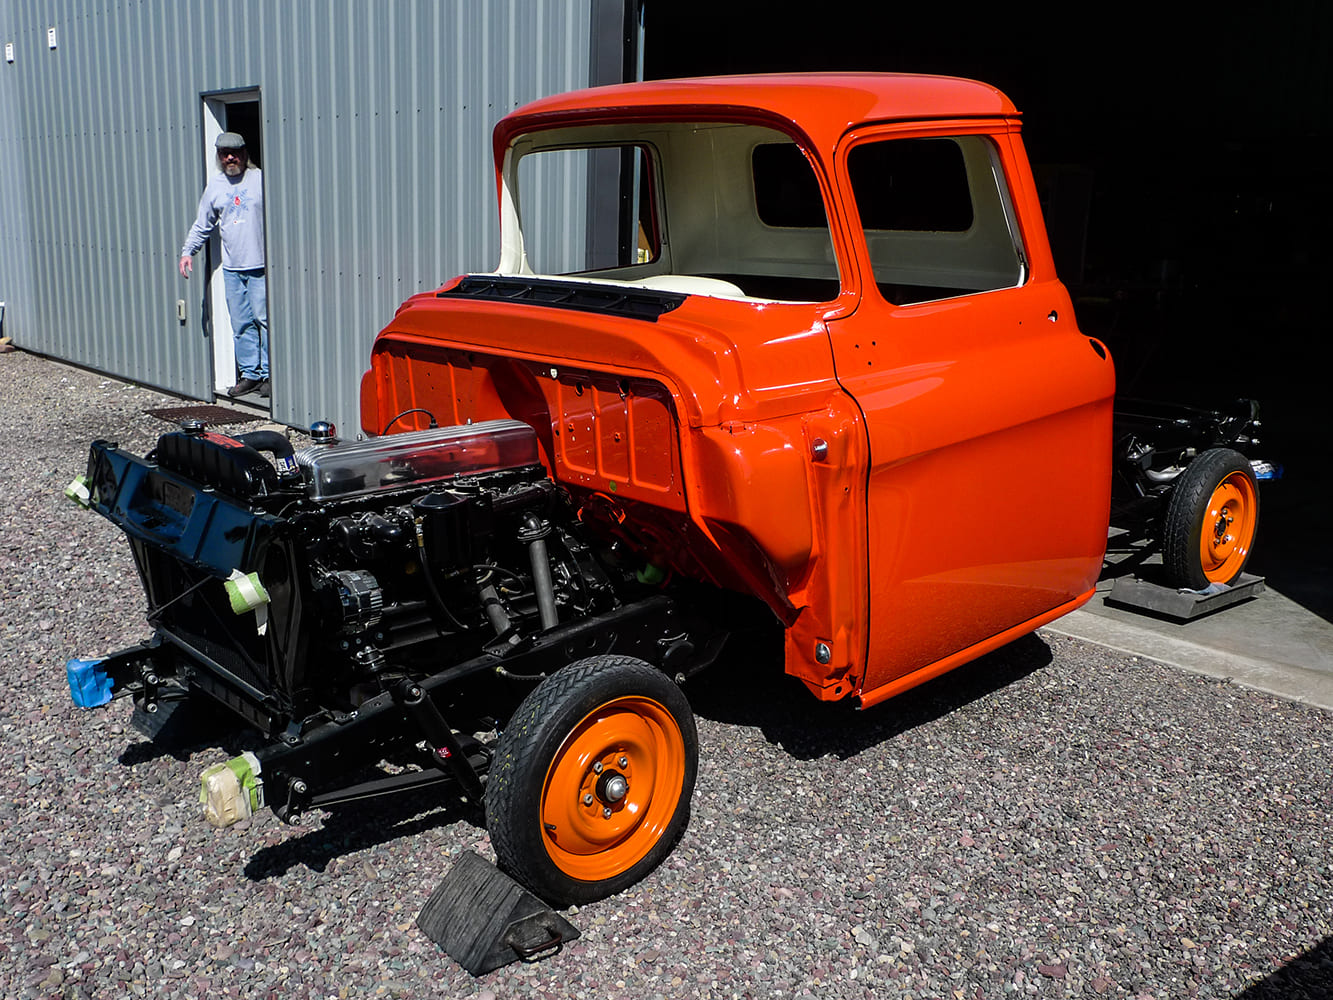
For times when shop manual illustrations aren’t quite clear enough, it’s good to have a reference truck that’s never been all apart.
For Chevy Task Force and Jimmy Blue Chip trucks, Steele Rubber offers two styles of door weatherstrips. One is made exactly to OE specifications, while the other is made slightly slimmer. Through the eons, we’ve learned that the slimmer version (PN 60-0485-72) provides a break-in advantage—as they certainly did last time for young Mr. Hart.
Confirmed here by OE rubber remains, our earlier guesswork was good. Back in the shop, our new Steele weatherstrip orientations are proper, so the thin-lipped sides contact the ’jambs.
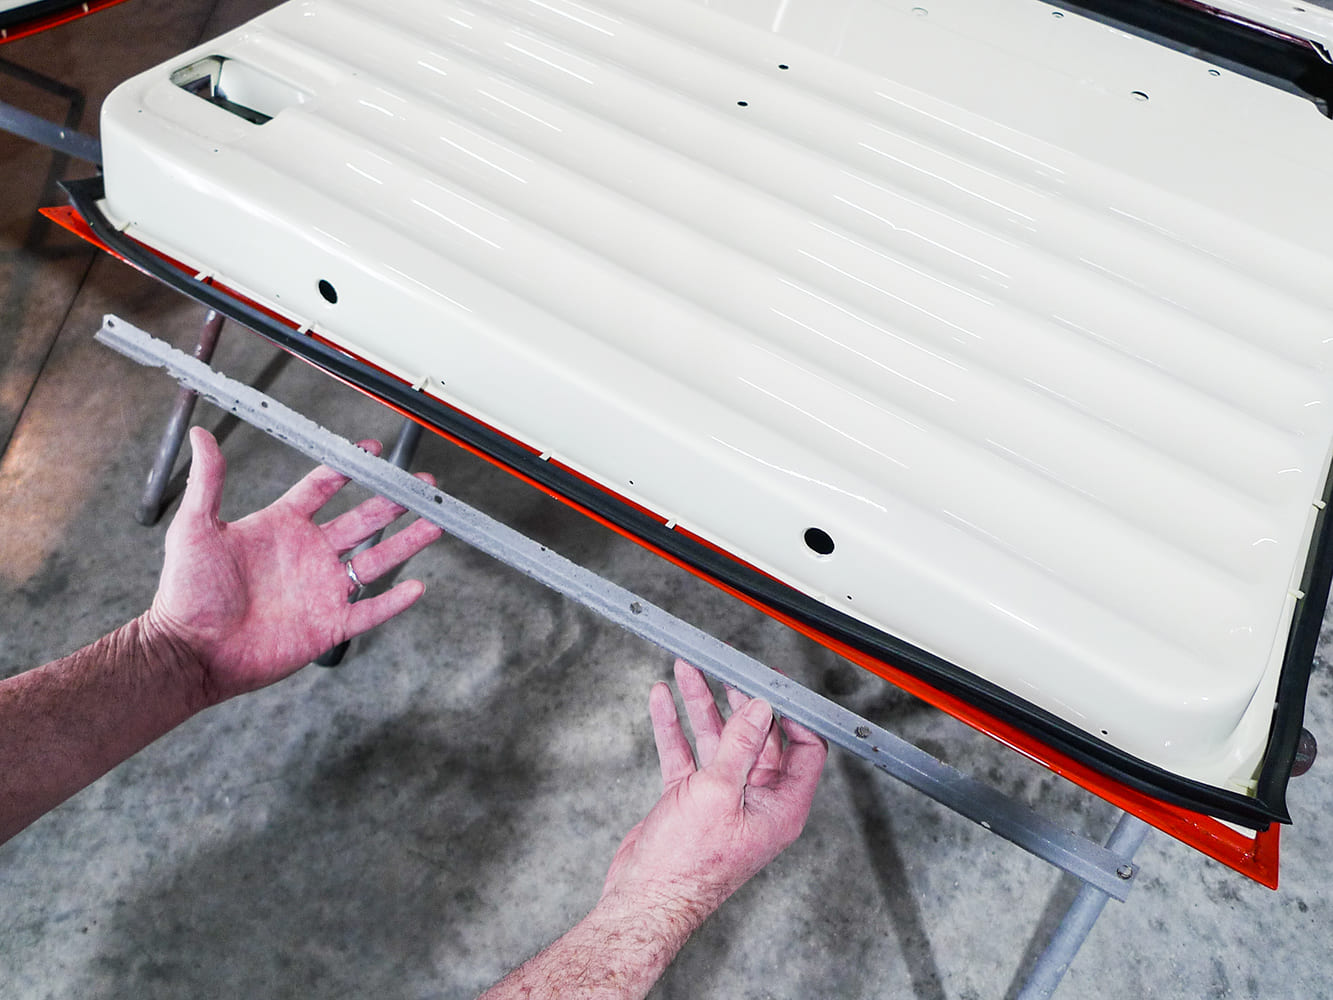
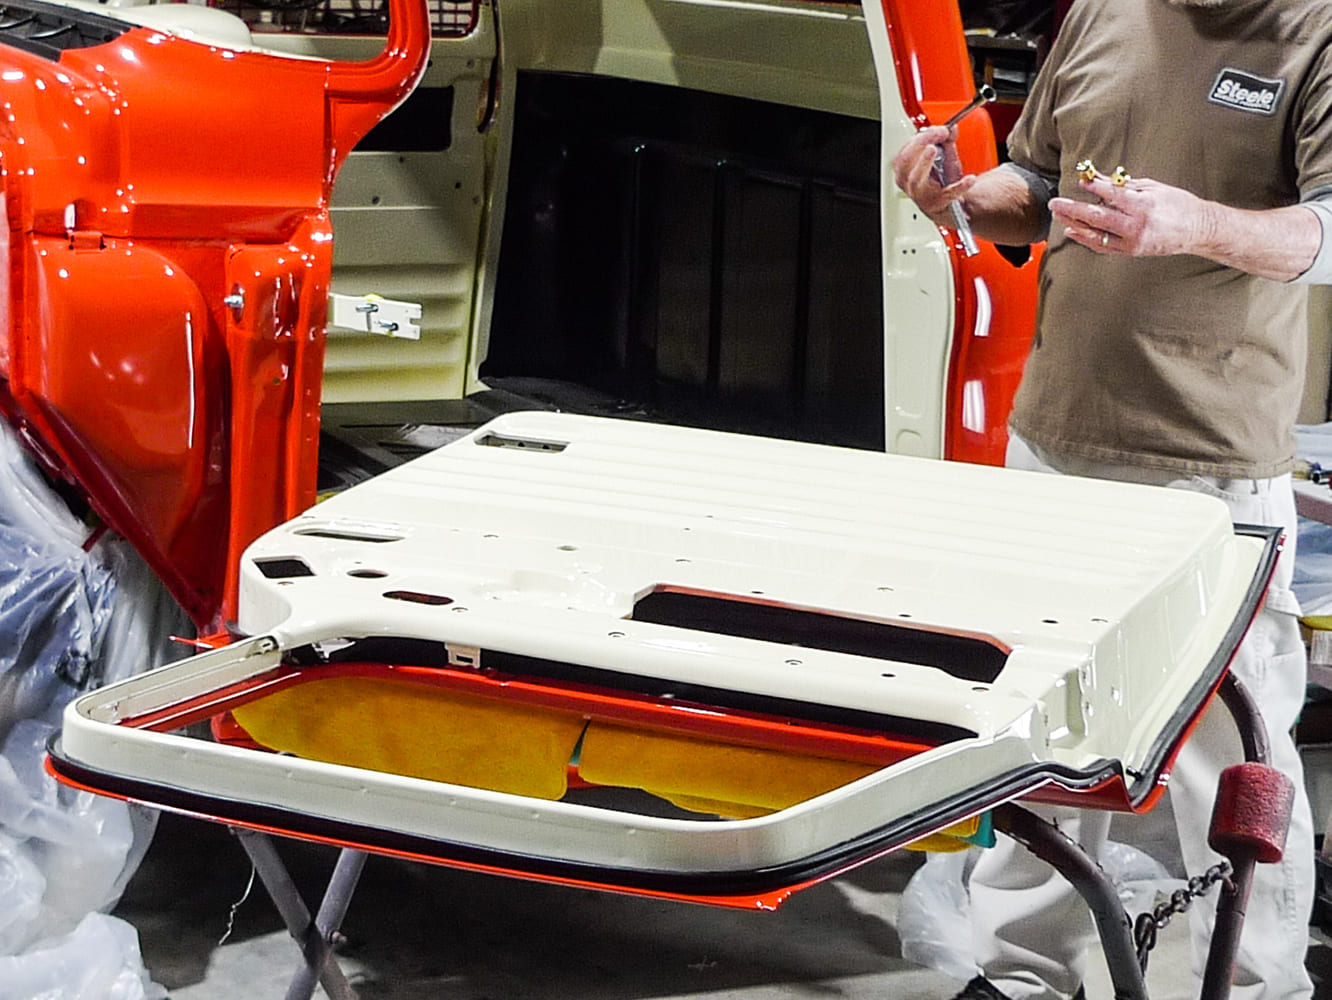
This time, we won’t be following an energetic youngster working knees-to-concrete with doors already bolted on. For the most part it’ll be elder, less-flexible me, and I’ll begin with doors off the truck, at a comfortable working height for the icky, sticky, gooey, gluey weatherstrip installation procedure.
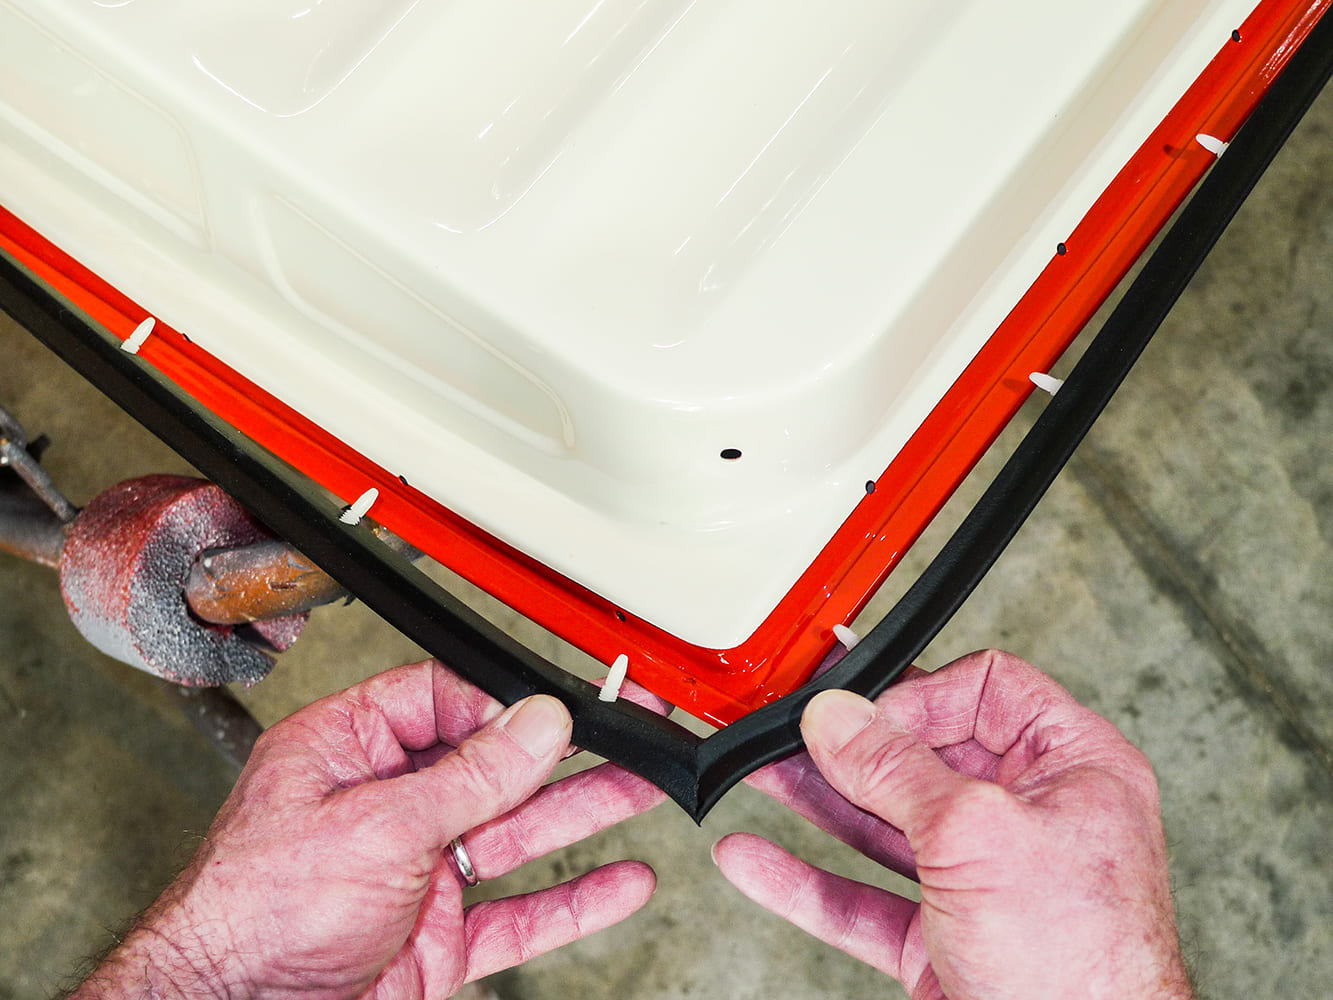
We’re not planning to reuse the OE lower retainers. For this rust-repaired area we’ll drill a few new holes, but elsewhere Steele’s preinstalled pushpins align perfectly with our OE door’s existing holes.
There will be other differences ’tween this time and last time. Perhaps most notably, our subject ’55 Chevy second-series project was a wreck. At some time during the old truck’s working years it was involved in a frontend collision, which crumpled its frame and Unisteel cab to match. Up front at the caved-in cowl, door gaps were goners. In addition to that, all four roof pillars had shifted to tilt further forward. Of course, we’ve worked to fix all that. Door gaps are now fairly uniform, averaging 3/16-inch, which is what our shop manual calls for, anyway.
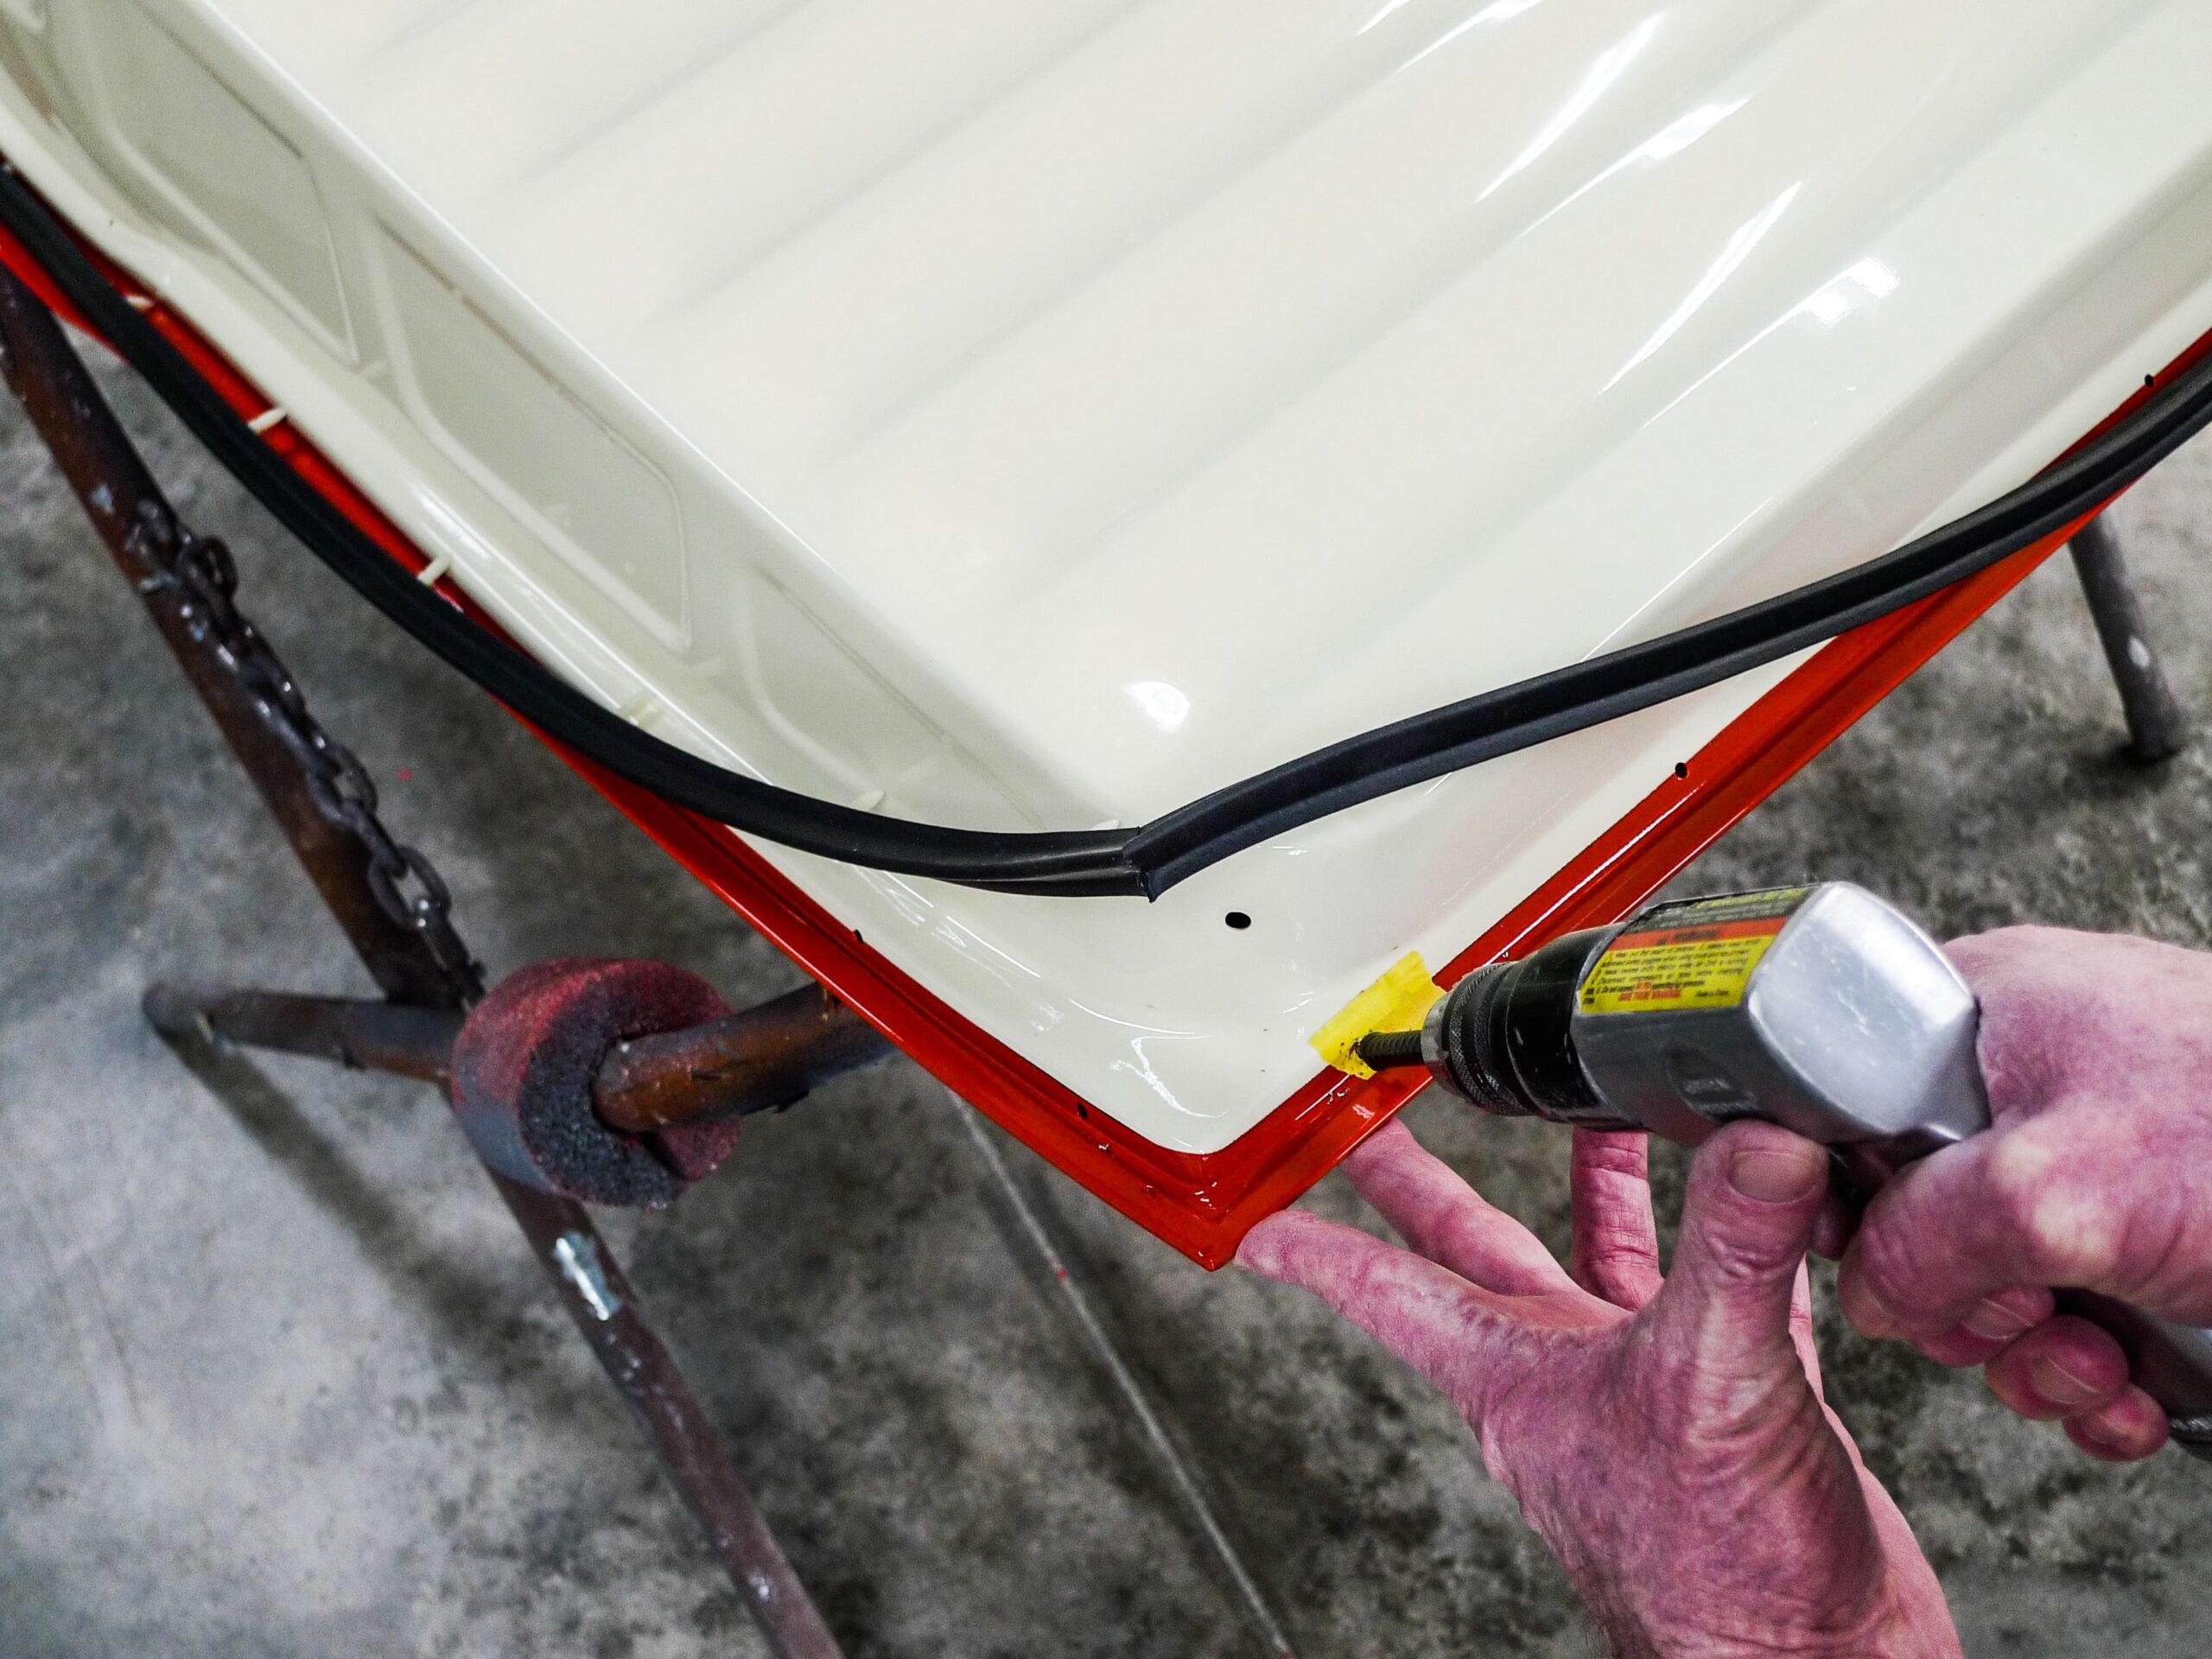
Here on the reproduction door we’ll have a little more drilling to do. This won’t be a big deal. With masking tape for starting traction and a vacuum hose drill stop, we’re drilling 3/16-inch holes to tightly accept pushpins.
In earlier issues, back in the bodywork stages, we took advantage of available aftermarket sheetmetal. The driver-side door is a brand-new reproduction from Brothers Truck Parts. The passenger-side door, however, is a repaired original. Step by step as we go, we’ll see if weatherstrip installation needs to differ at all from side to side.
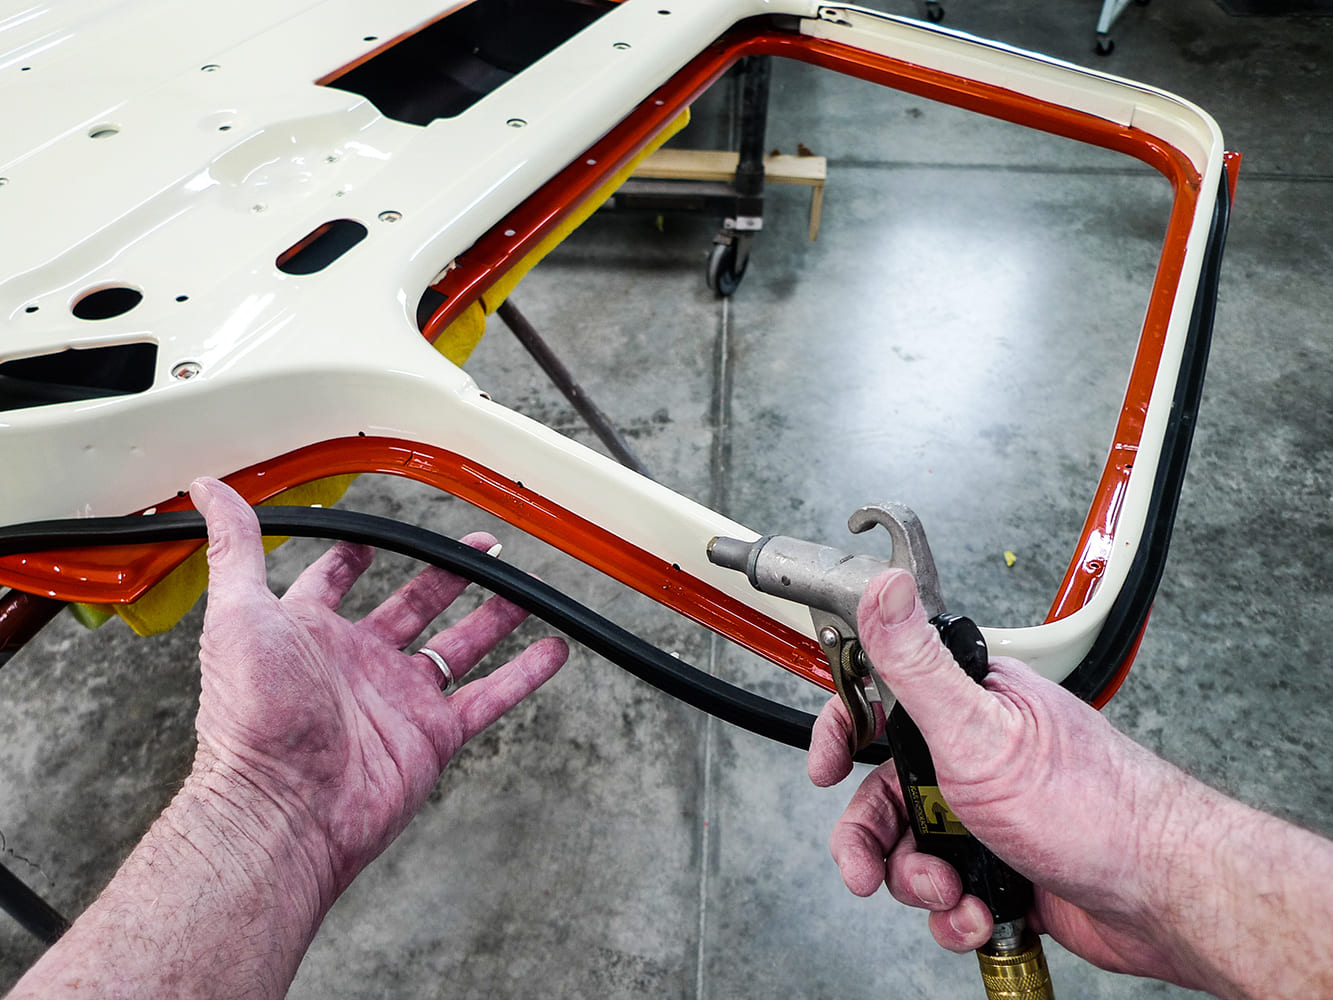
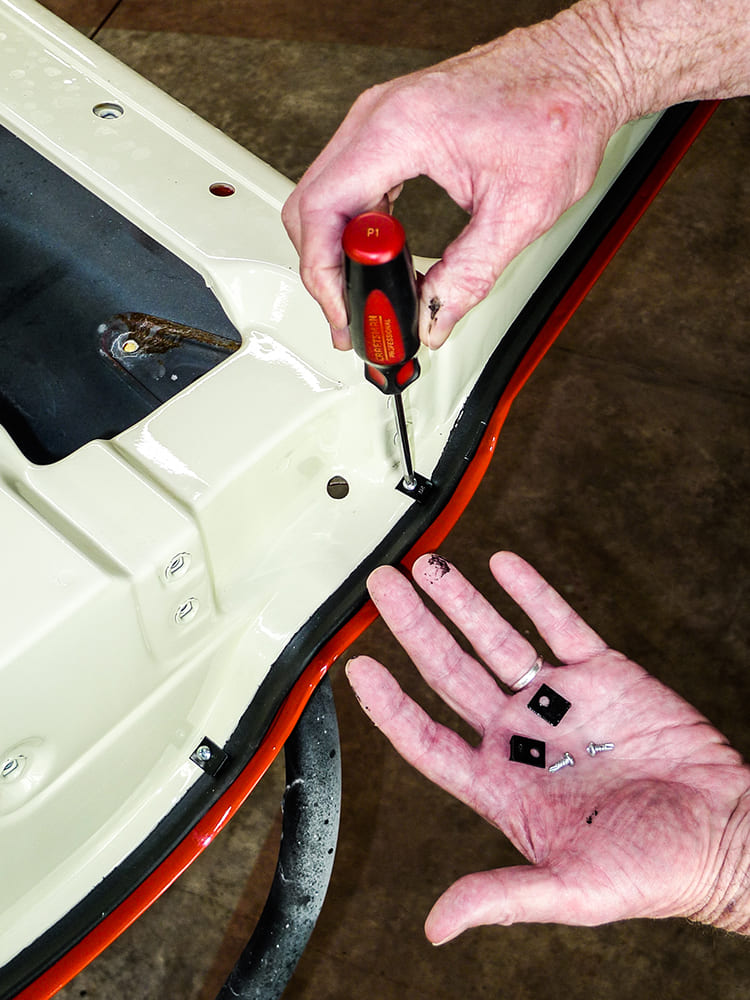
Since we’ve done some drilling and cleanout of paint buildup where holes align correctly, let’s blow our debris away before the next step—setting our pushpins.
Like last time, our main mission is to achieve new weatherstrip break-in without having excessive pressure placed upon hinges, latches, and striker plates. When we’re finished we’ll have doors installed, adjusted, and closing easily.
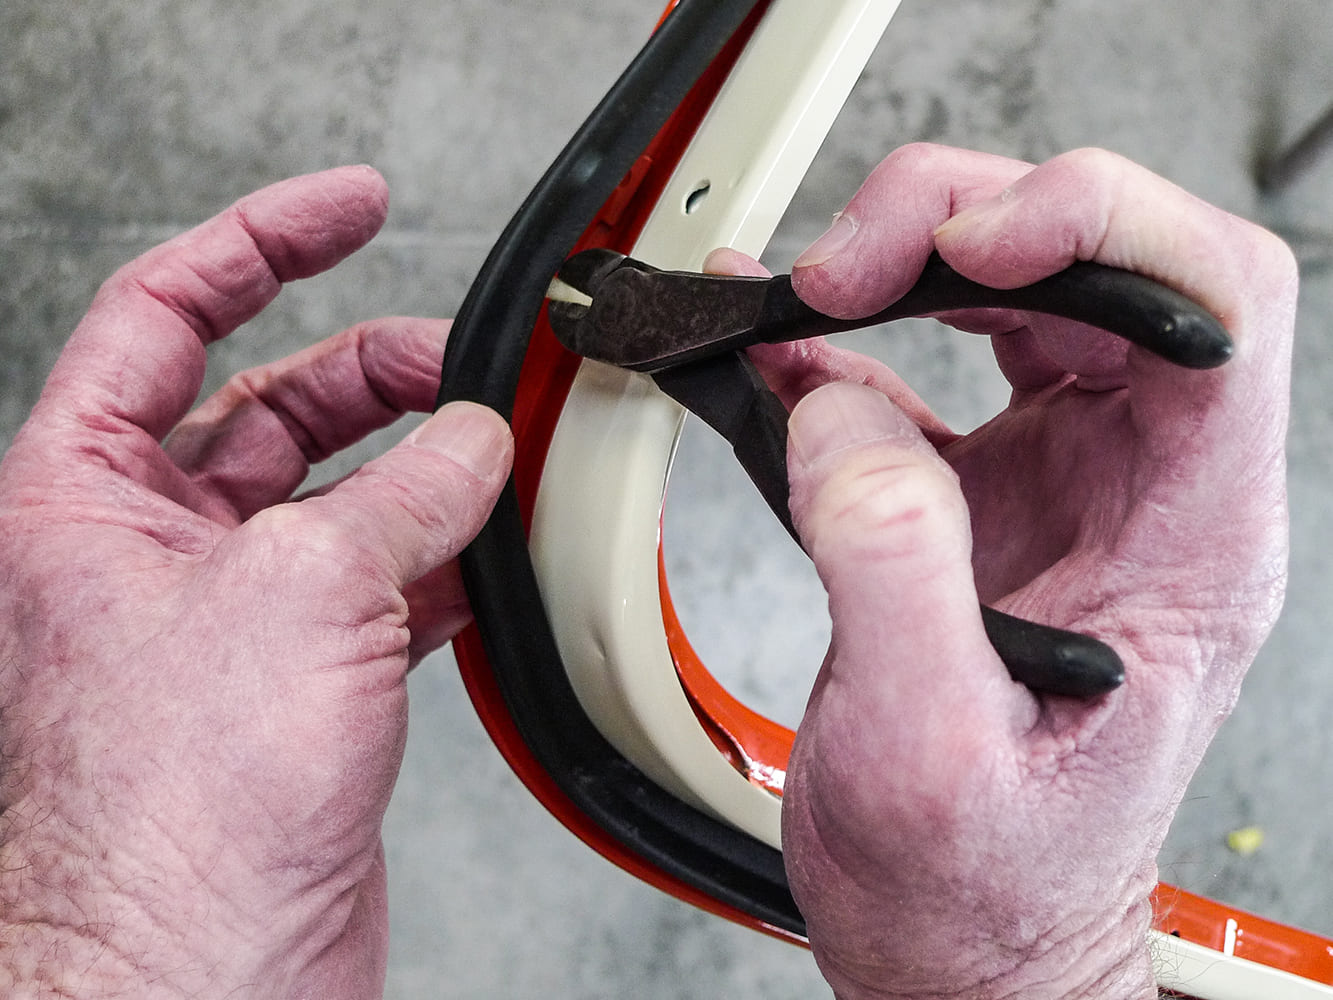
In one spot only, the door post cavity is a couple tads shallow. Snipping the end of this pushpin will compensate well for that.
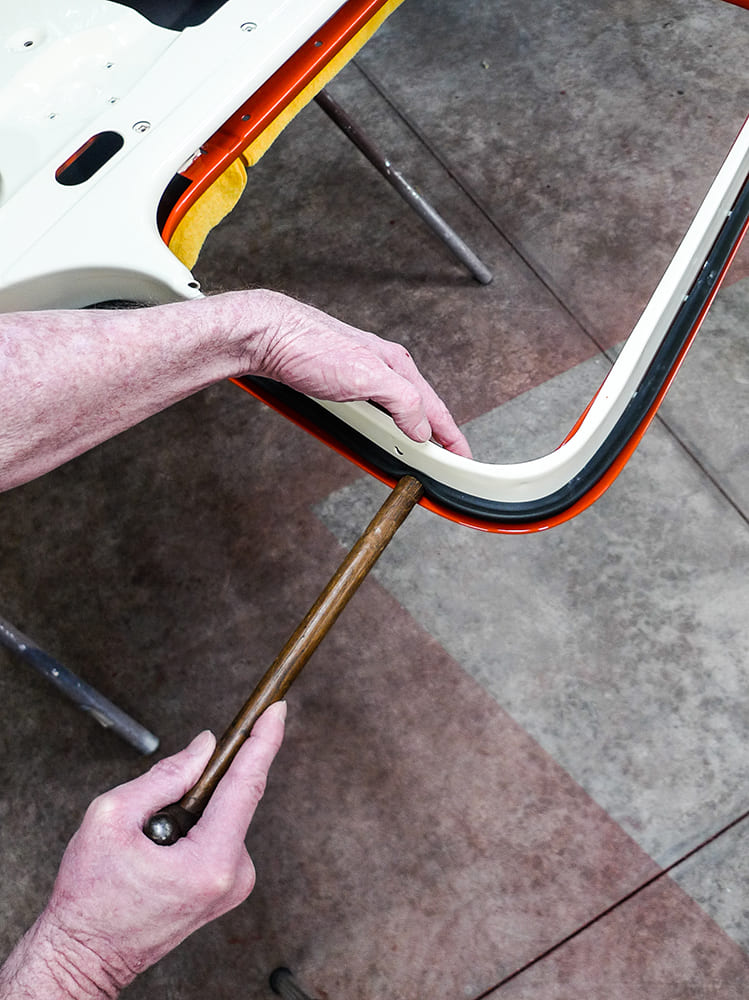
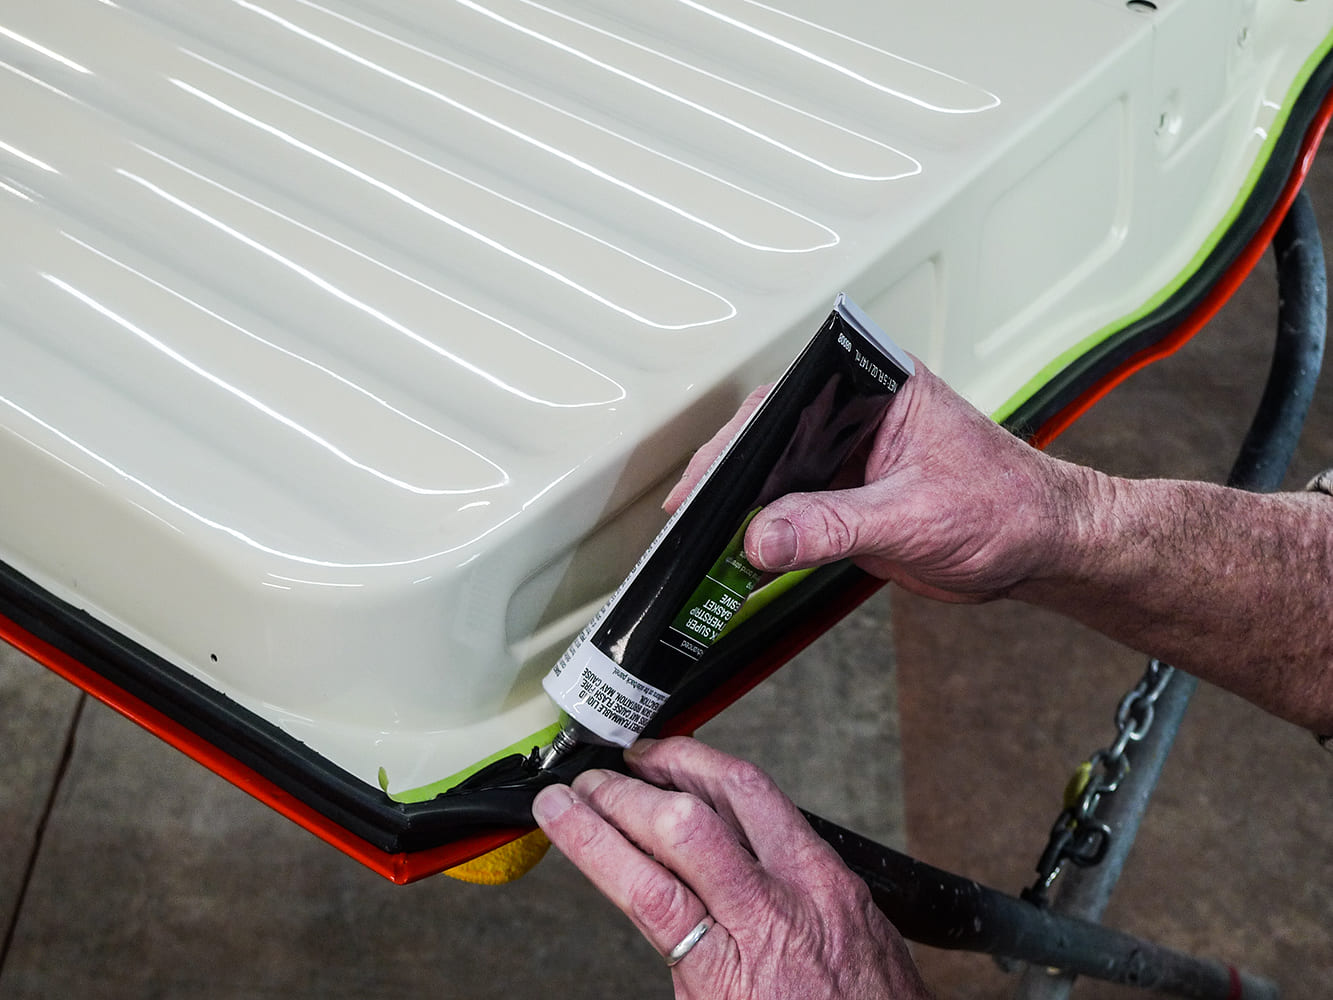
From here, the steps we’ll cover may likely get messy. It’s really not a lot of fun, but having done these jobs enough times through the eons helps a little. For Task Force and Blue Chip trucks, Steele’s slightly slimmer (PN 60-0485-70) weatherstrips help a lot.
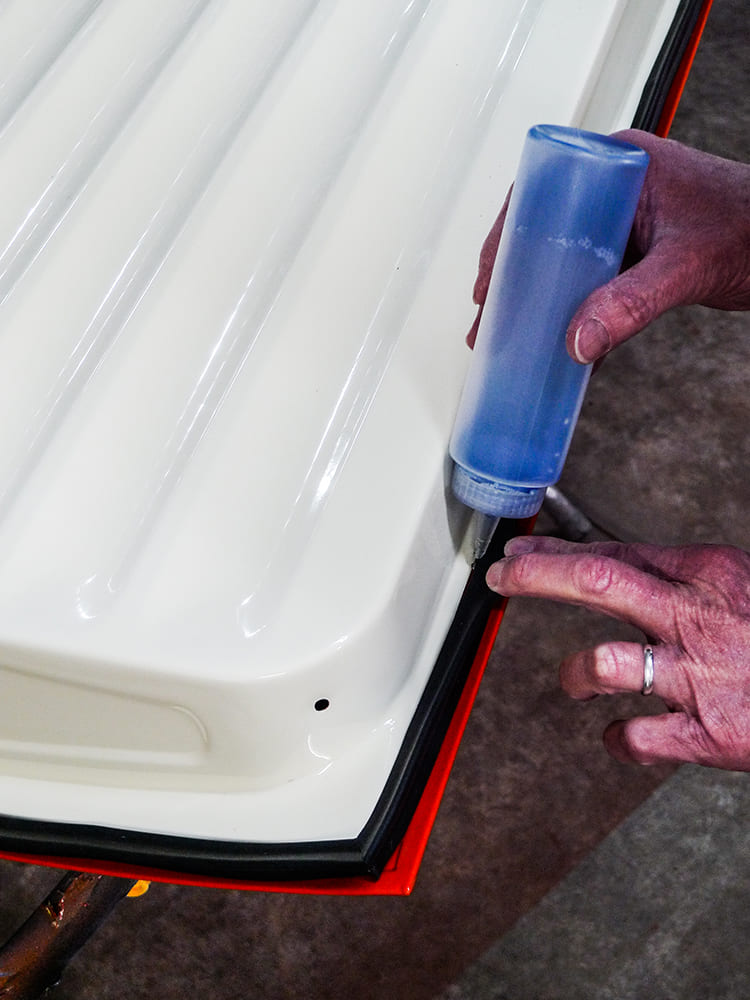
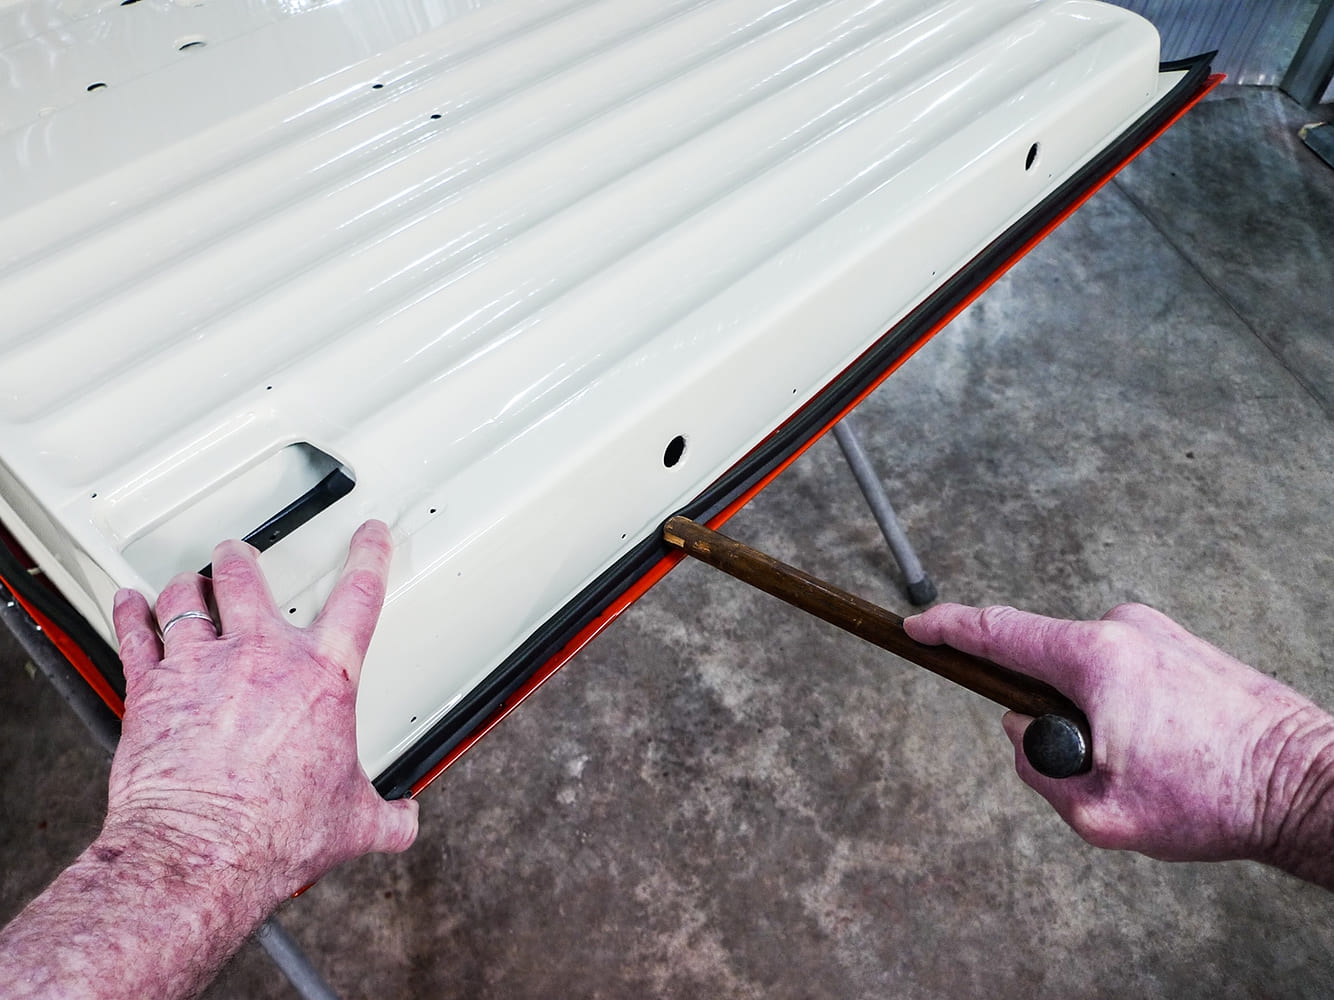
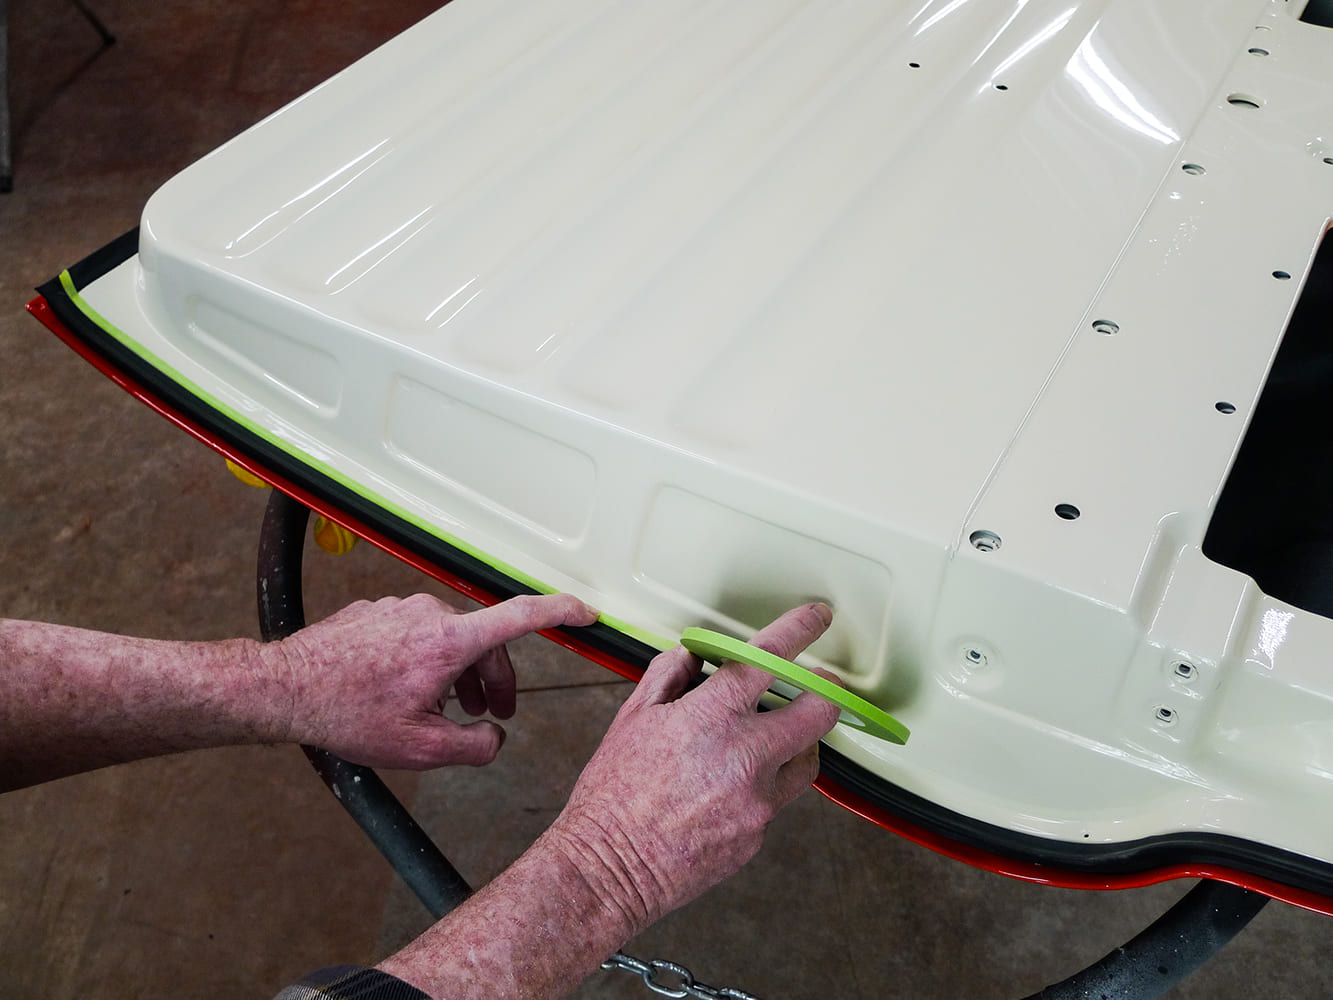
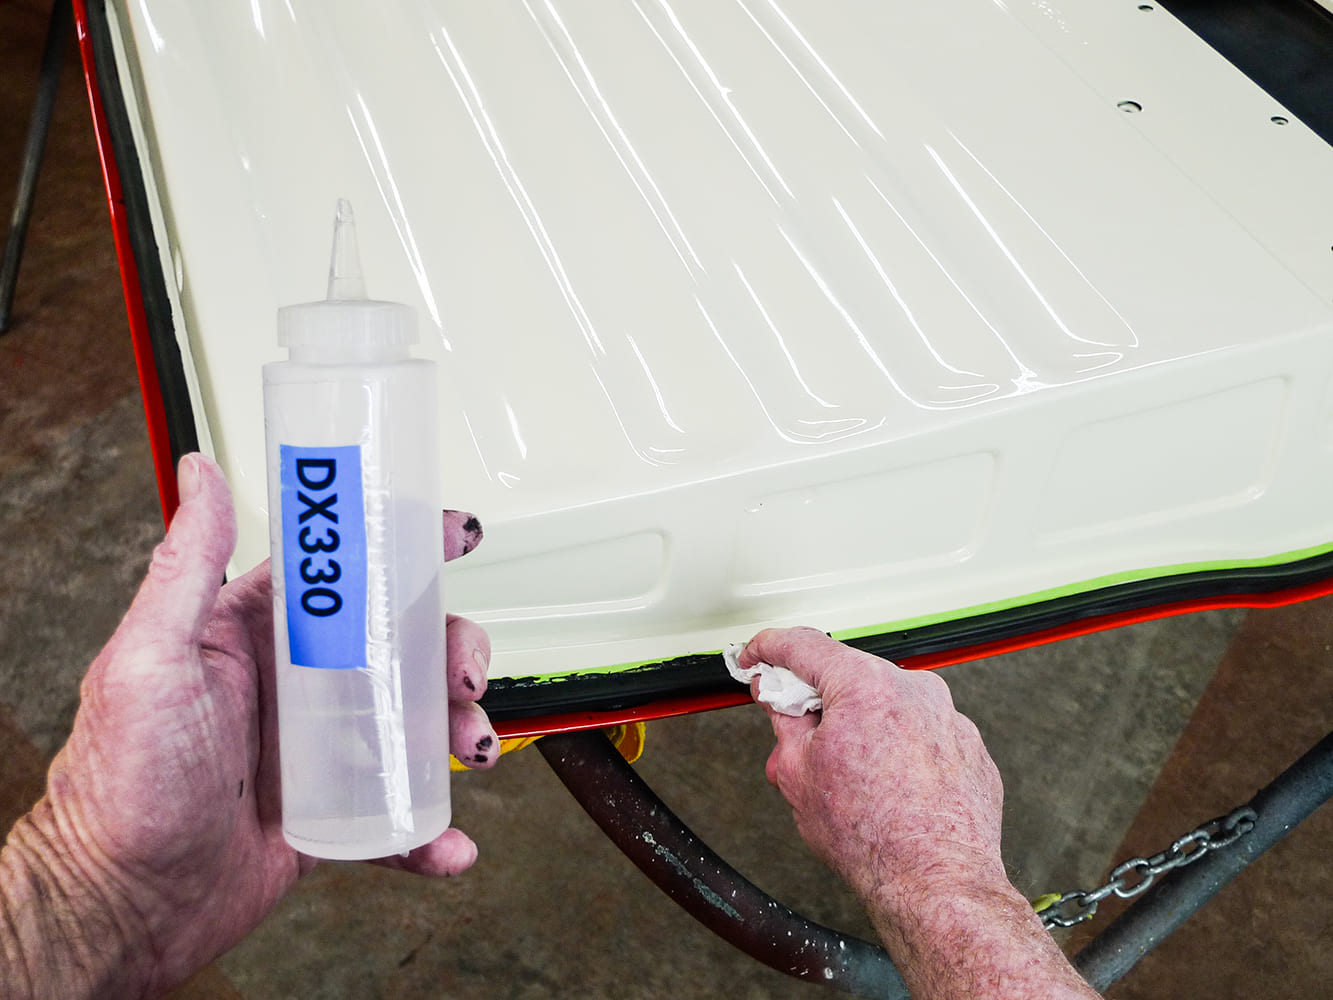
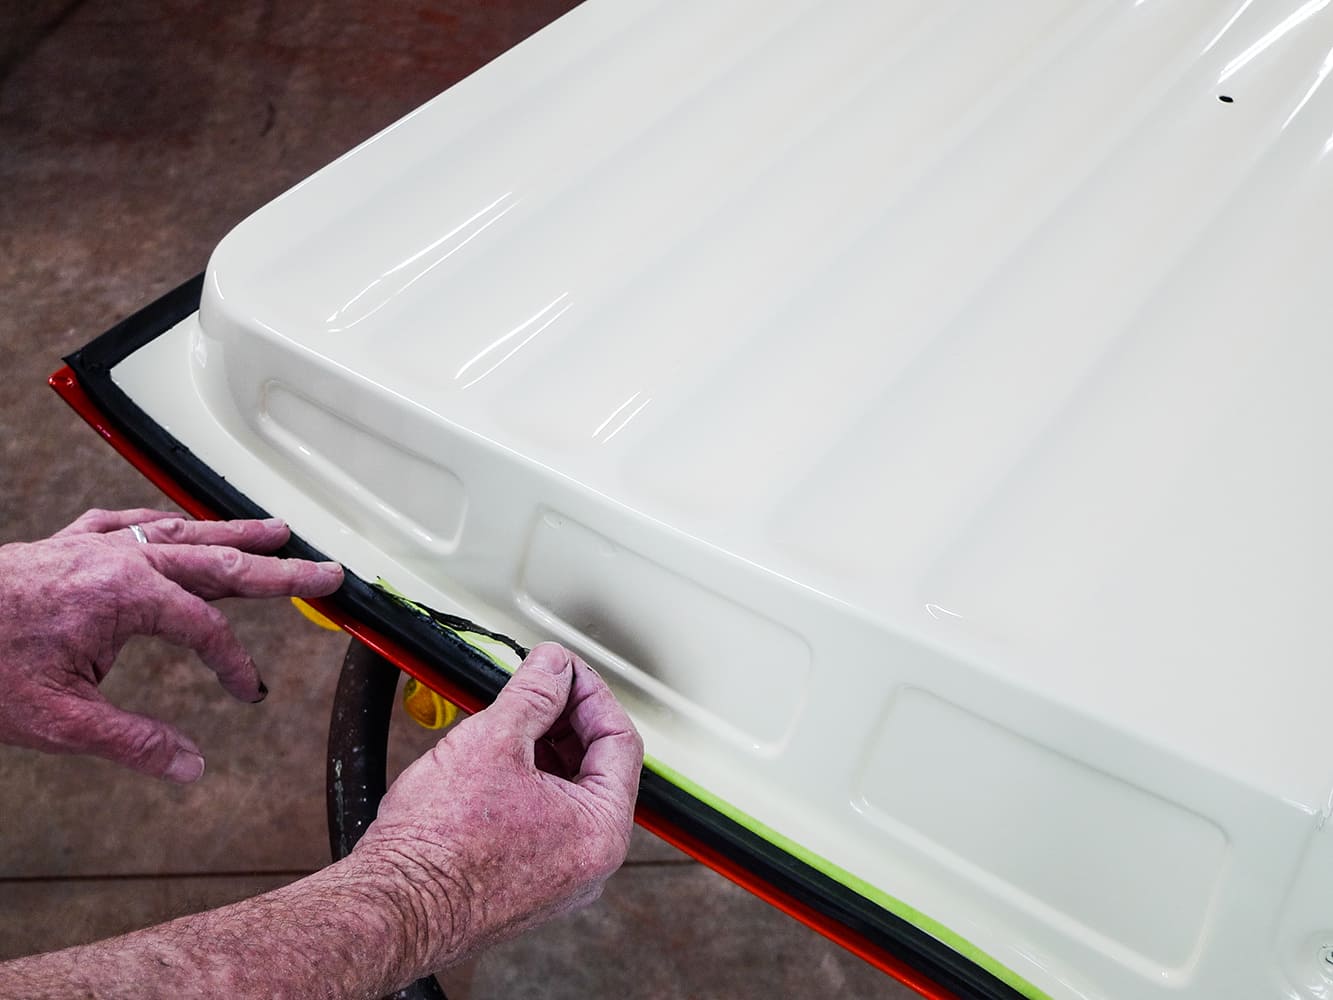
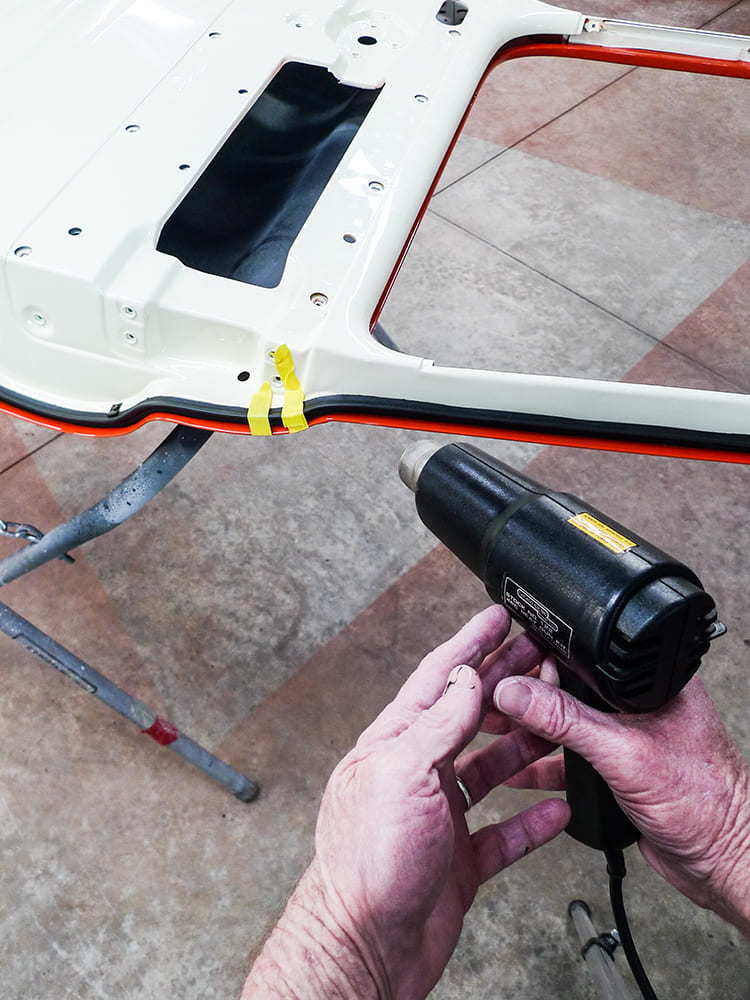
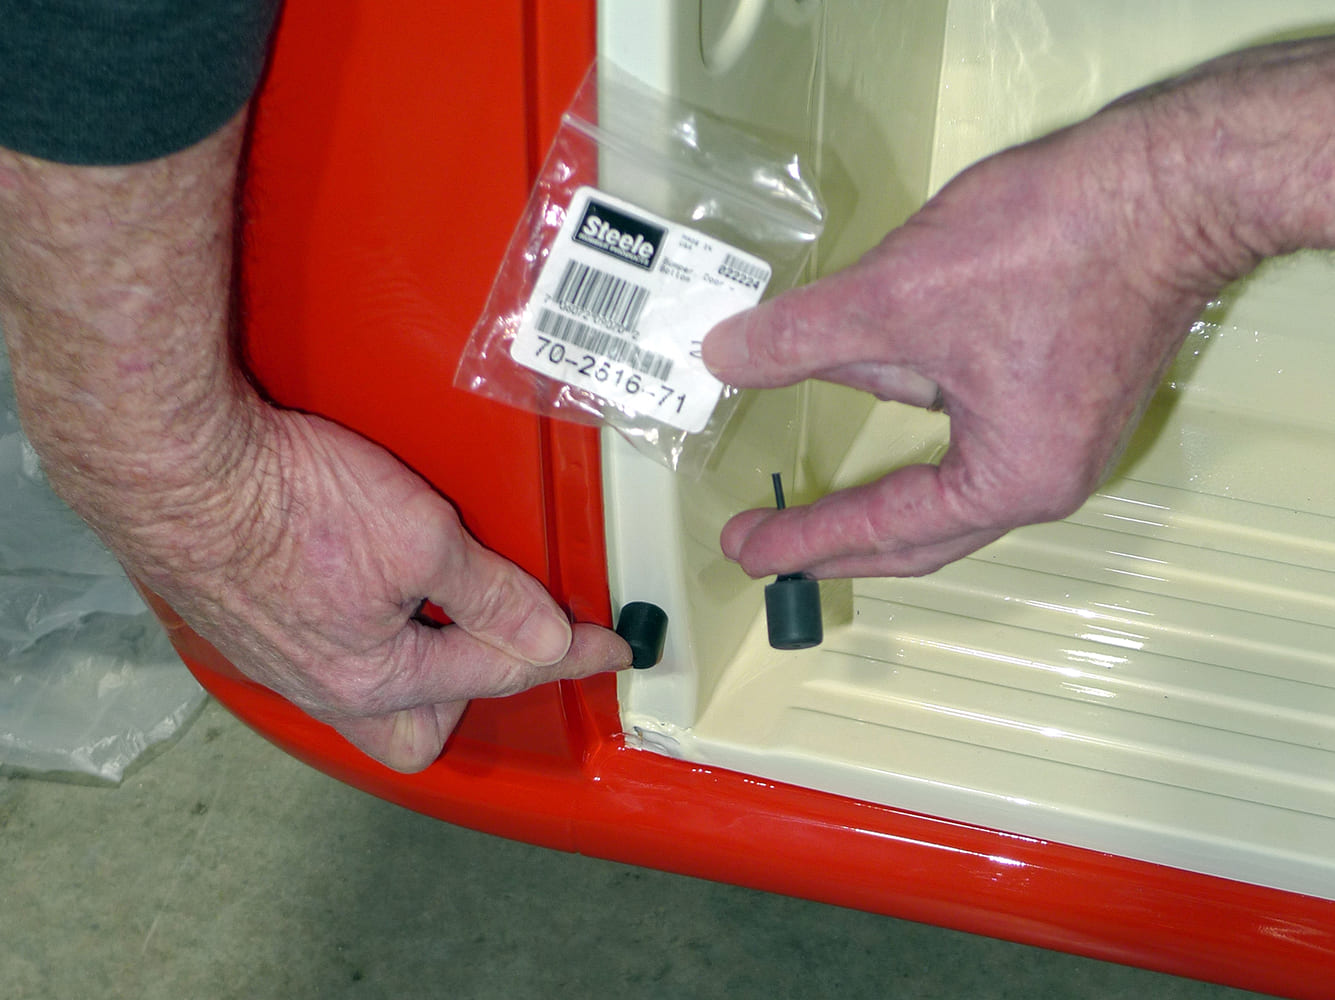
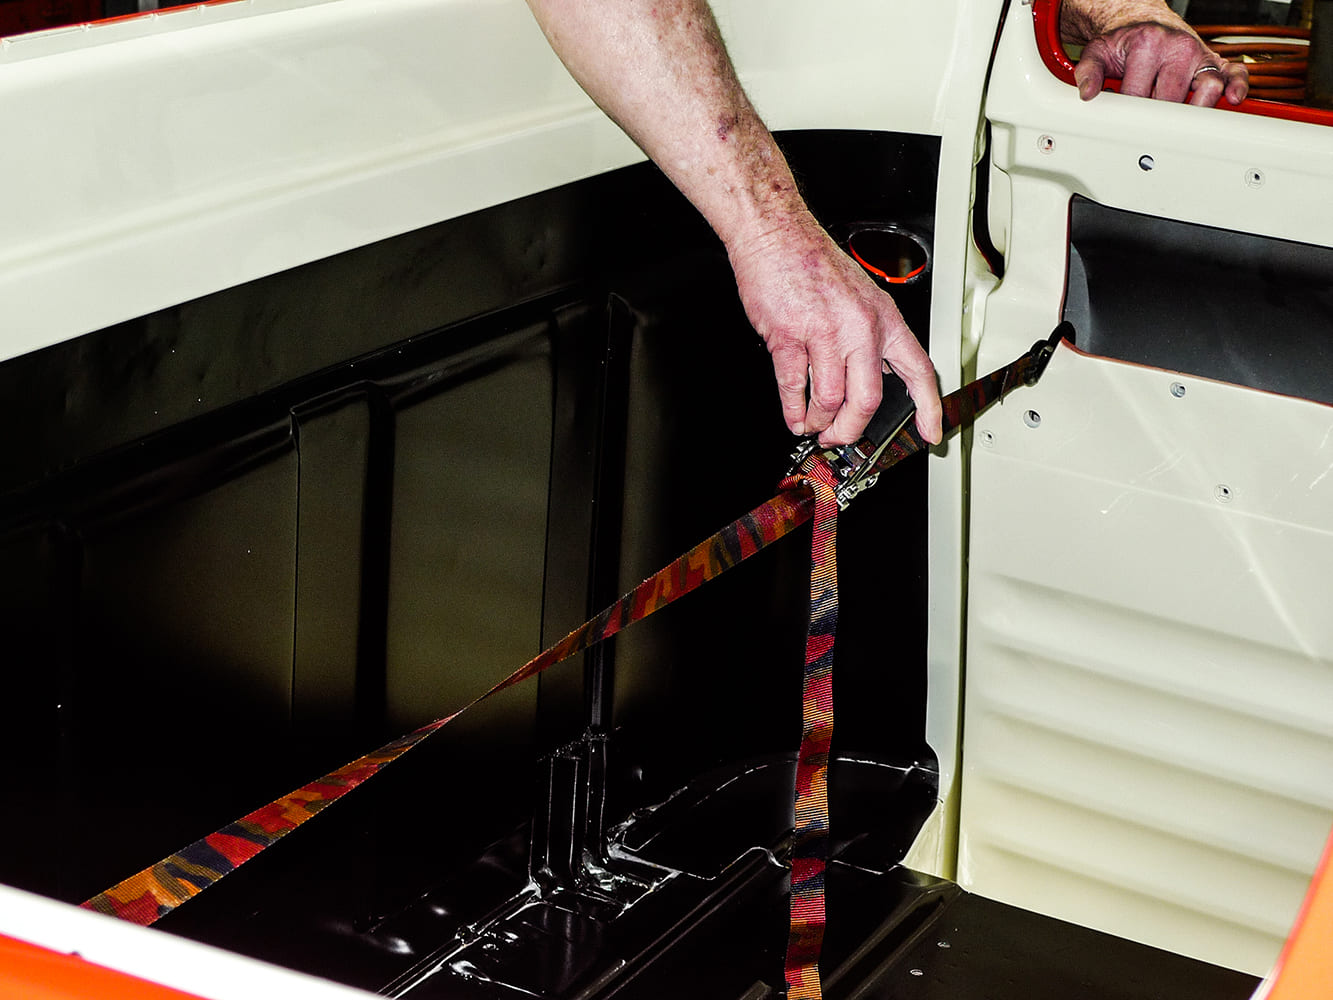
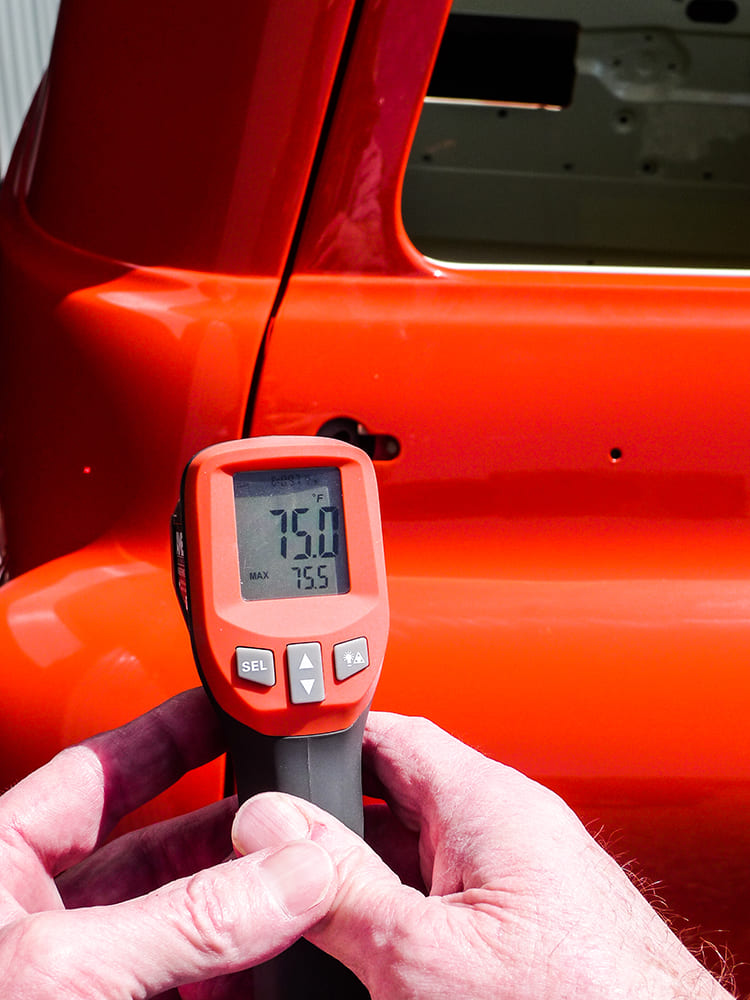
Our shop manual shows a special tool (PN J-5757) for weatherstrip installation. In the illustration, it roughly resembles a hammer handle, so let’s just use a hammer handle.Here one pushpin is being stubborn. For this, the smallest-possible droplet of leading-brand dish soap makes the difference.With our special tool (hammer handle) the remaining 84 of 86 total pushpins are easily persuaded, but we’re far from finished. Next comes the gooey, gluey part.Granted, there’s more than one way to cleanly achieve the desired results. As a personal preference, I like masking tape up top. Sometimes—it’s helpful.Available through Steele, this is 3M Super Weatherstrip Adhesive. Label instructions call for thin applications to both surfaces. With pushpins already set, that’s not so easily done.So, what I do is squeeze in a bead, allow both surfaces to contact, and then pull them back apart for as long as it takes to become tacky. Upon final contact there’ll likely be some excess mess to address.Again, there’s more than one way, but solvent-borne grease and wax remover works well for this type of clean-up, and we know it won’t harm our nearly finished finish.Minutes later, it might be time to pull the upper stretch of masking tape. If our timing is right, we might get a sharp line. If our timing is wrong, we might get a stringy mess.Providing it’s warm in your workspace, this won’t be so necessary. Here in Montana at this time of year it’s a little chilly in this stall. For the tighter turns, heat can be helpful.As a nice little finishing touch, we’ve restored these OE weatherstrip retaining tabs. Quite thoughtfully, our Brothers Trucks reproduction door came drilled for these, too.The very next day doors can be installed. How will we adjust them with weatherstrips on? Well, we have a little trick, but that’s another story—in the works and coming soon.With doors hung and located as we liked them before, let’s now install new rubber bumpers. Once these are in place, we can begin the break-in of our new weatherstrips.At least around here, break-in begins with a light-duty ratchet strap. With other parts to work on, we can take this slow and easy—like a click per day or so.By this time we’ve made good progress indoors, but today there’s sunshine! We’ve studied the sun’s trajectory, so we know that a day in this position will warm both sides.
By afternoon we’re win-wining. Let’s give our ratchet strap another click and keep the doors in traction overnight. Tomorrow we just might install striker plates and latches.And sure enough, today we’re in assembly mode! On this same job you could fight a lot harder for weatherstrip break-in, but why? Due propers for Steele, there’s the easier way.
We use cookies to ensure that we give you the best experience on our website. If you continue to use this site we will assume that you are happy with it.