


By Ron Covell – Photography By BBT Fabrications
There are many reasons why a car might need a hood scoop. You may require additional cool air inside the engine compartment. Sometimes, the engine has an induction system that rises above the hood line.
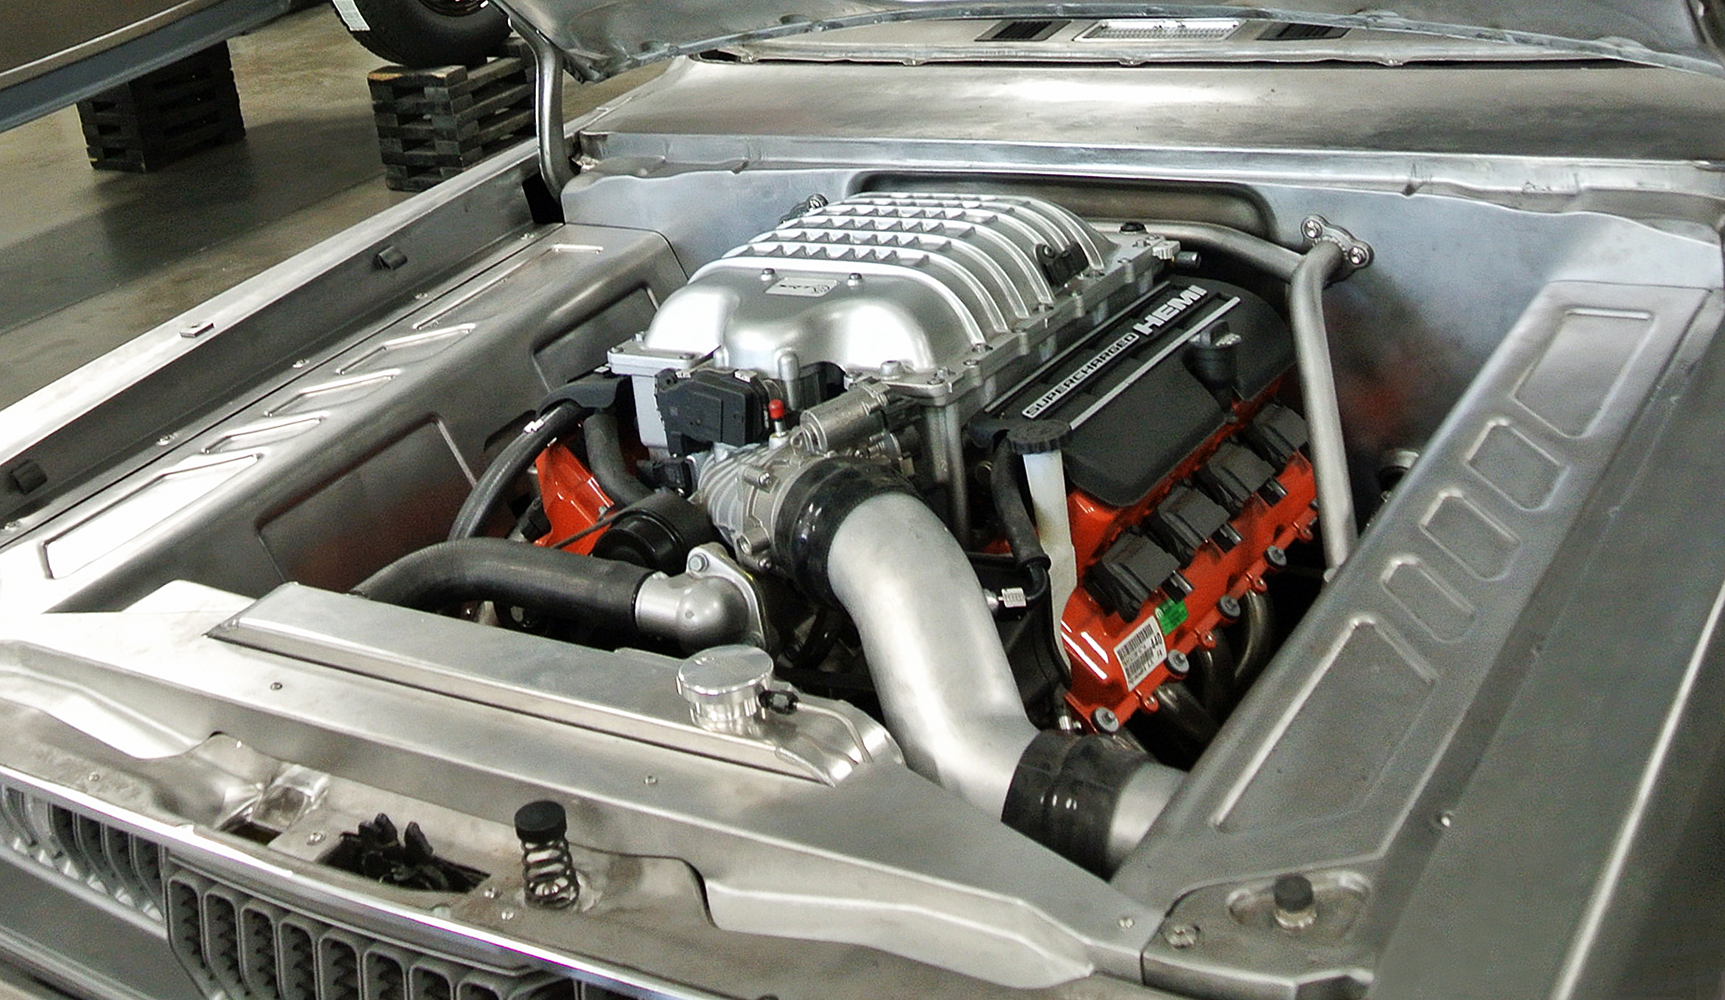
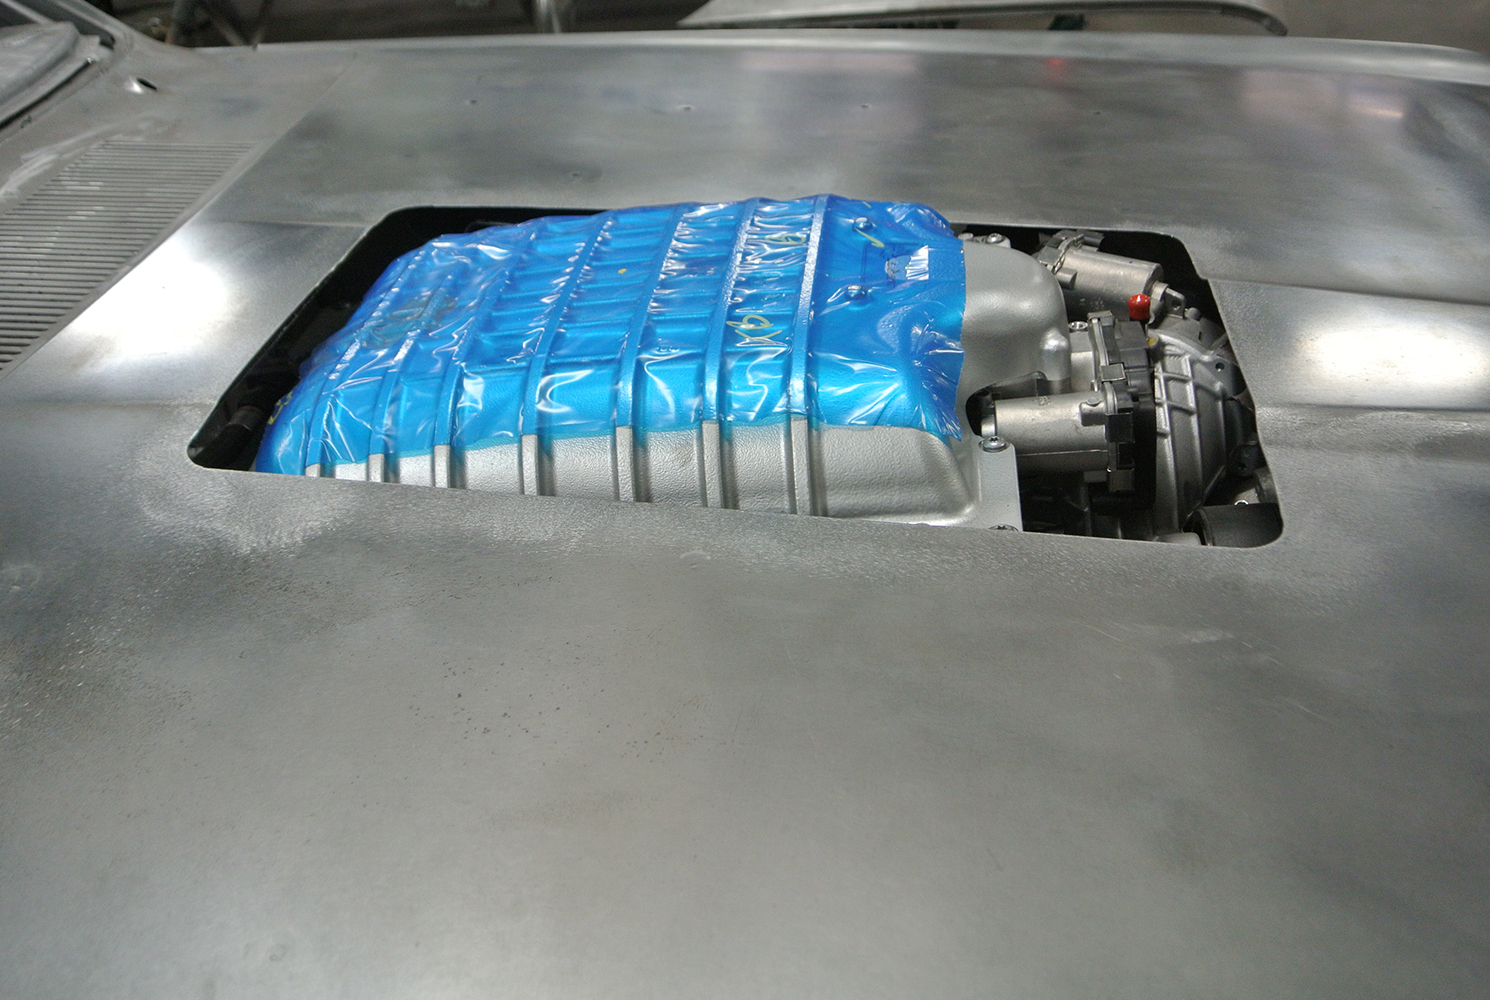
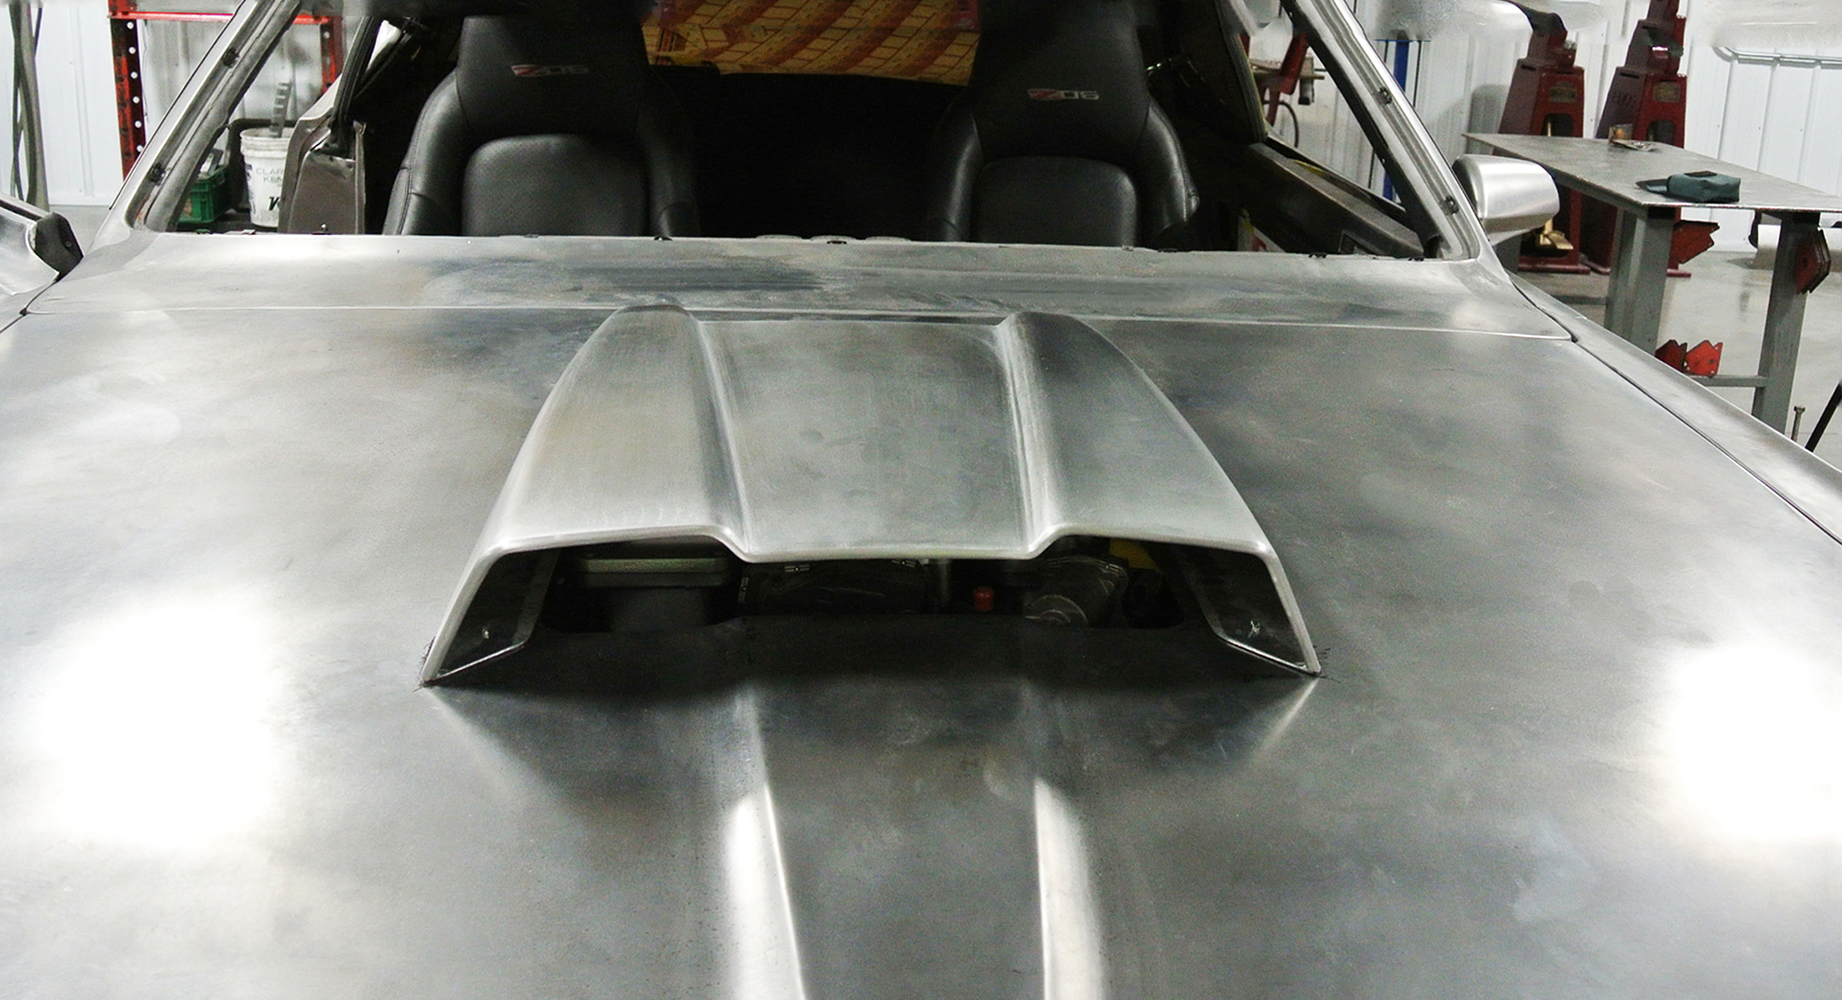
On this 1971 Plymouth Duster project being built at BBT Fabrications, they installed a Dodge Hellcat engine, and the blower was taller than the hood. In this article, we’ll show how a scoop can be made for virtually any hood, and you can modify the construction details to suit your particular car.
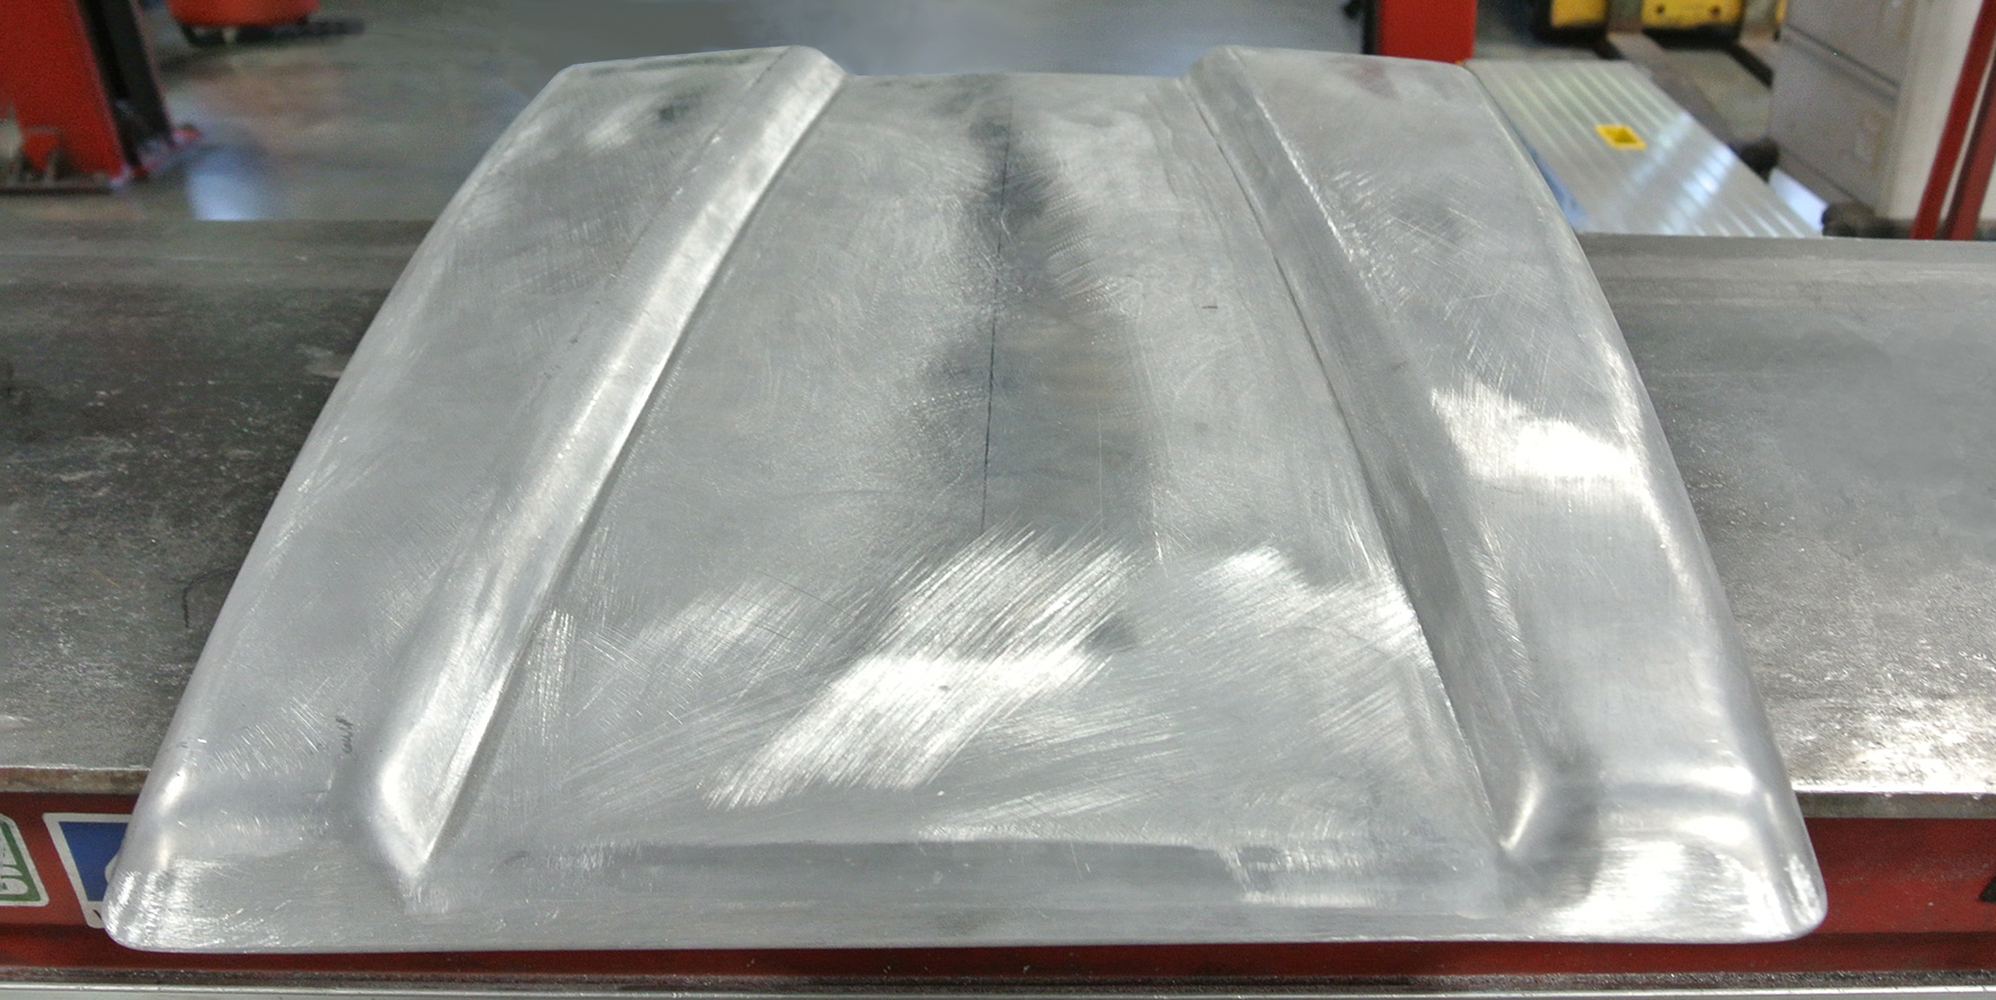
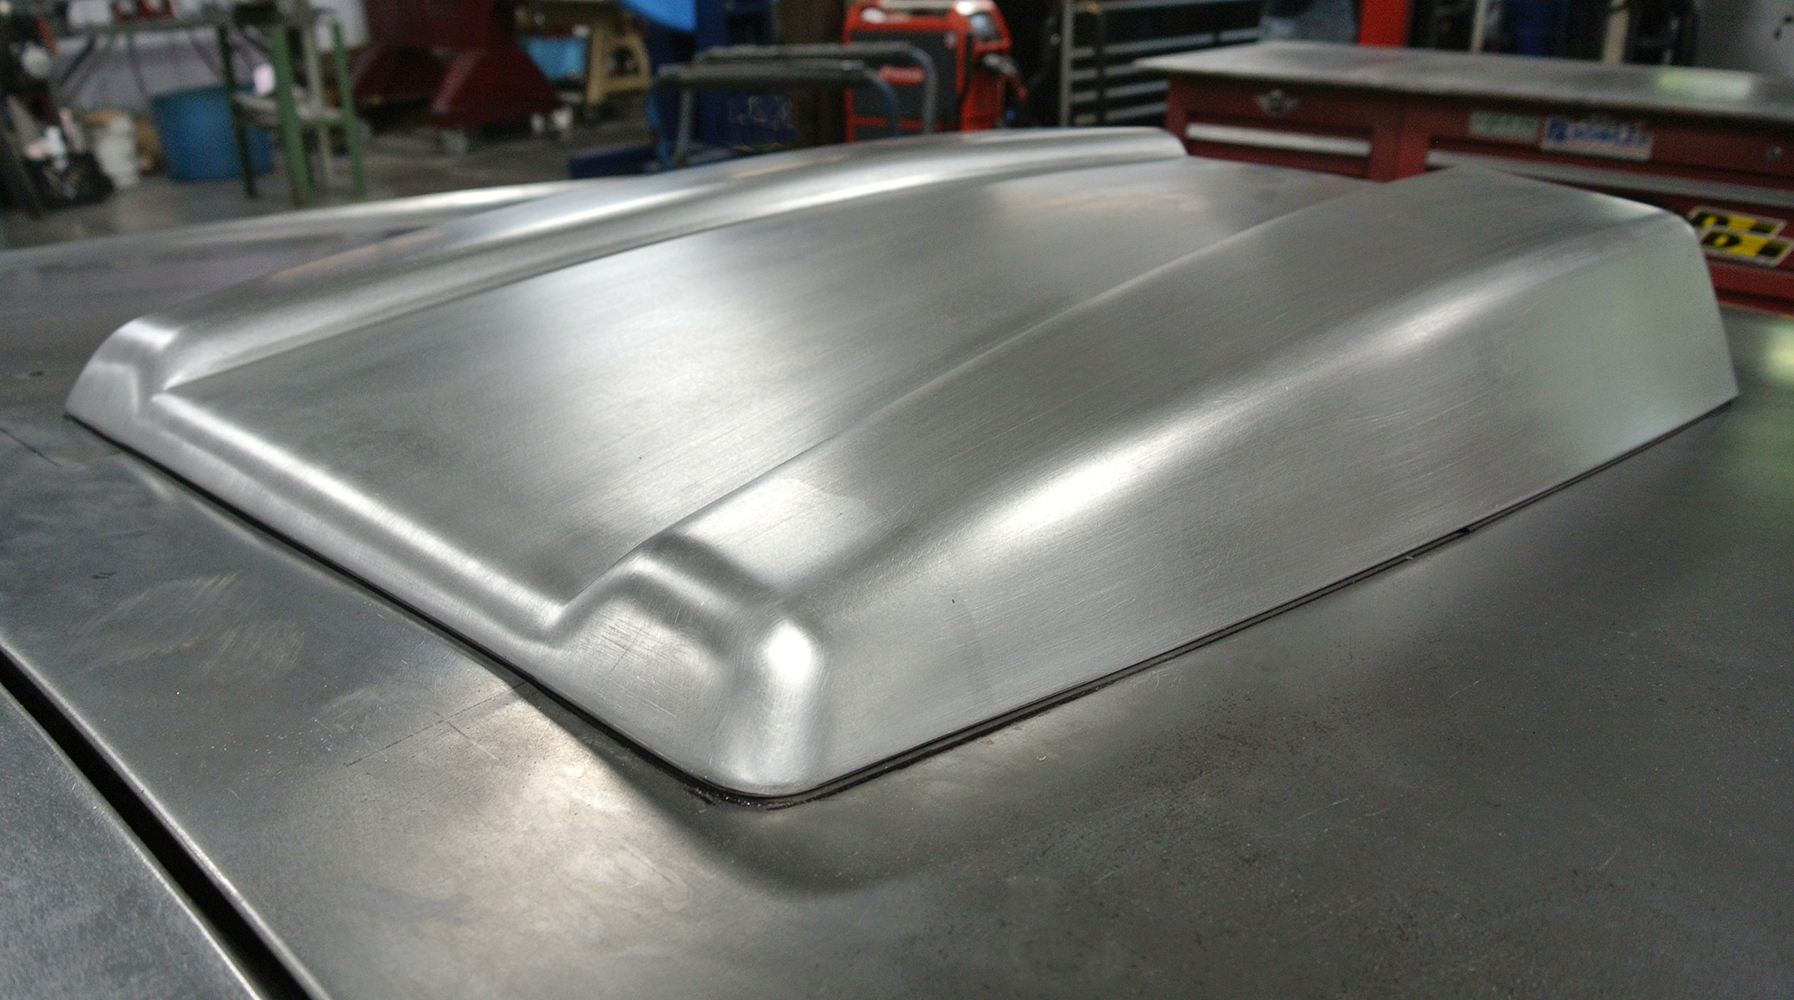
One of the goals of this project was to retain the flavor of the original car, which has a nice raised “plateau” going down the center of the hood. They decided to reverse this detail in the scoop, making a valley but keeping the width and tapering the same as the original hood. The car has a chamfered detail at the top of the front fender and door, and the sides of the scoop were positioned at an angle that complements that feature. Details like this go a long way toward making a scoop look like it belongs to a particular car, and it is important to give these styling cues sufficient thought before any metal is cut.

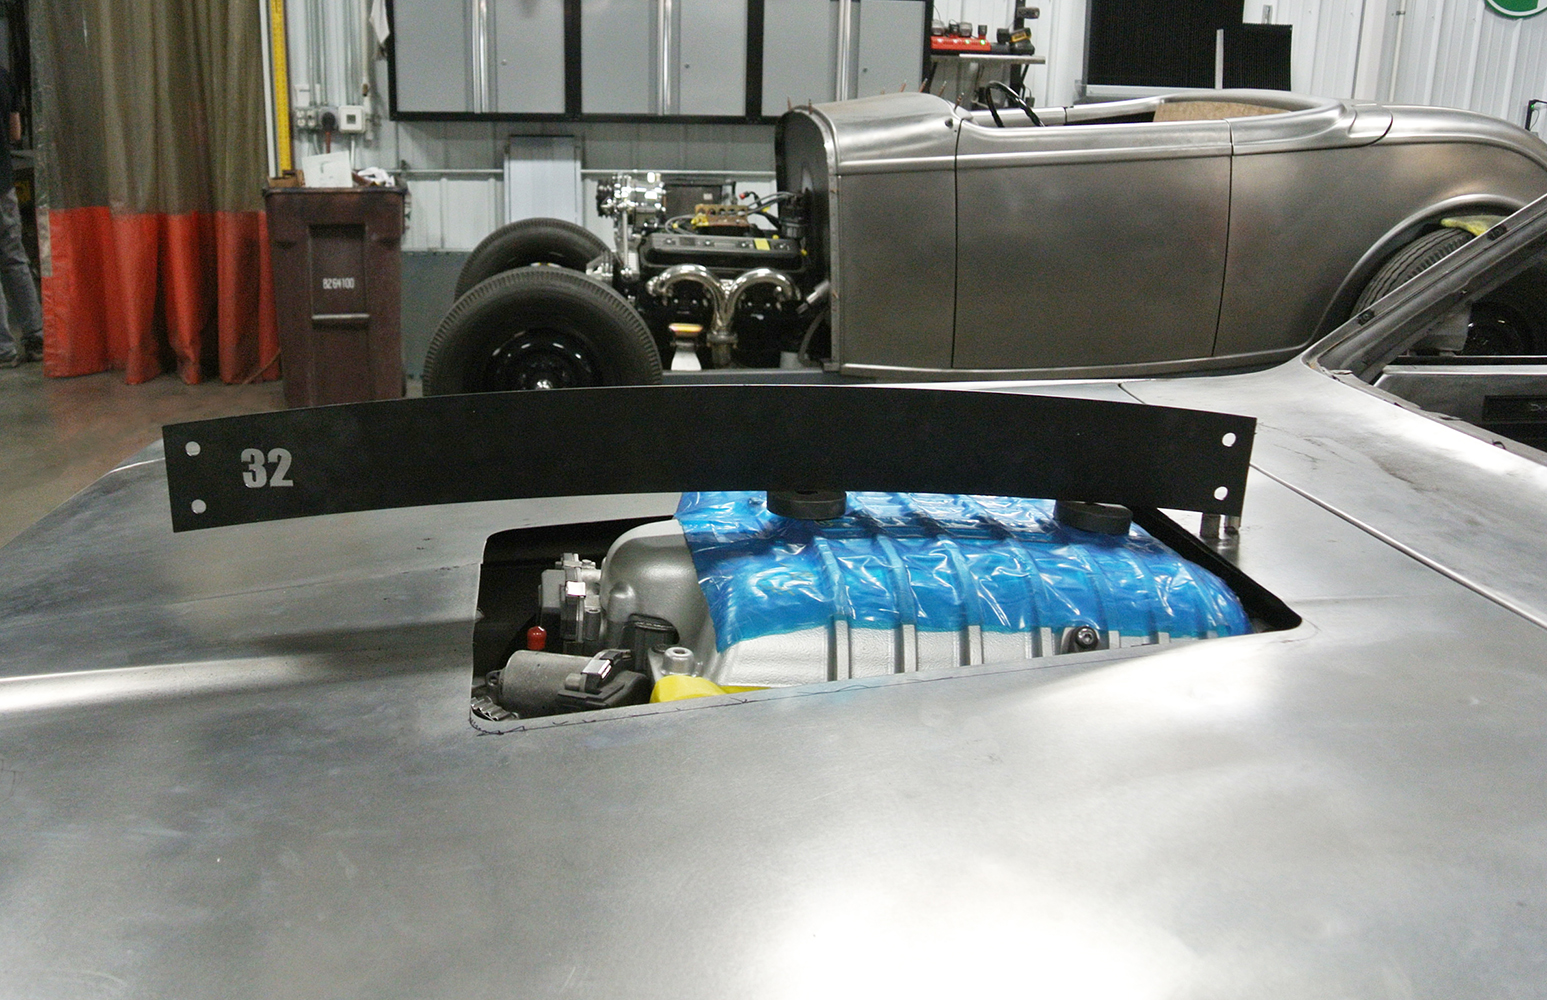
With the rough design in mind, it was time to delineate the shapes and dimensions of the scoop. BBT uses a set of metal sweeps to check contours for sheetmetal panels. After trying several different radii, they settled on a 32-inch radius curve, which established the angle for the leading and trailing edges of the scoop.
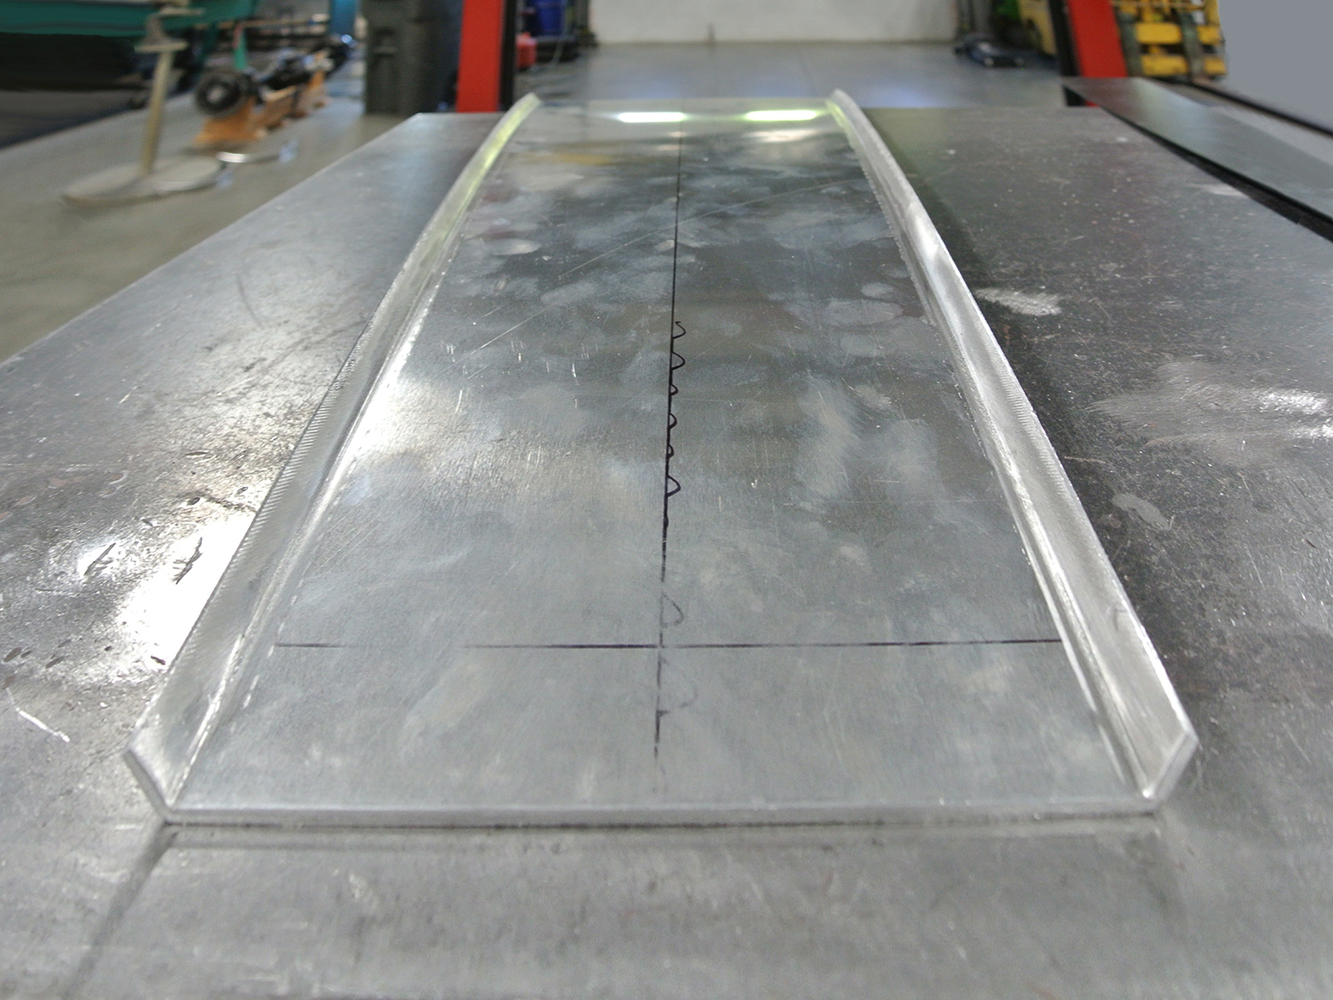
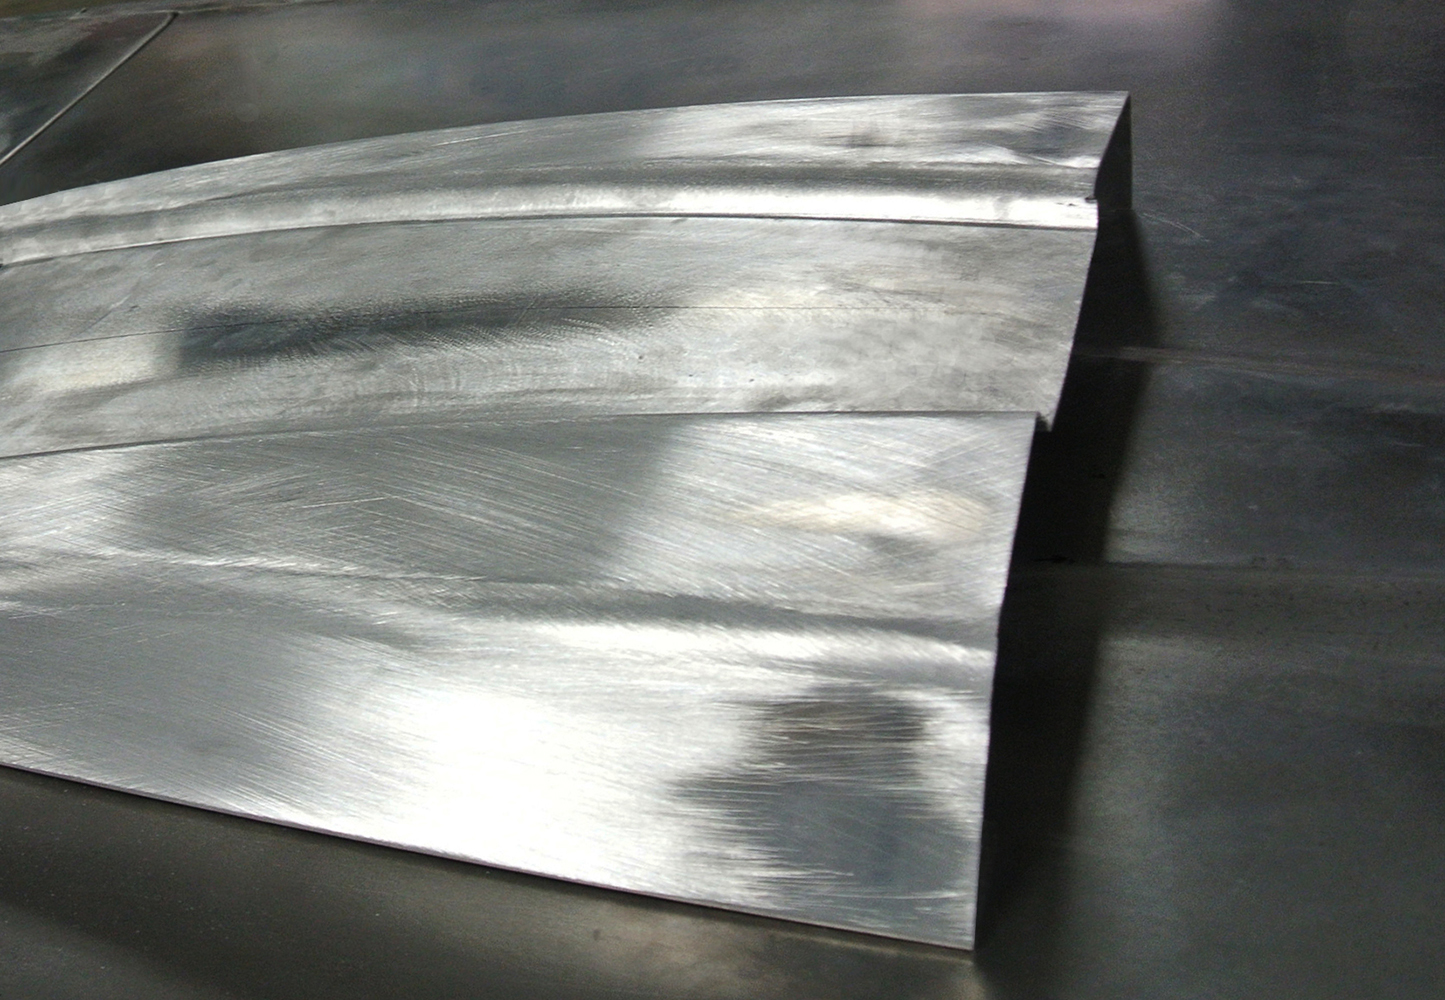
Having a target to aim for, the center valley of the scoop was the first part to be formed. A piece of aluminum sheetmetal was cut to the correct length and tapered, and the edges were folded with a bending brake. Next, the panel was contoured to match the curvature of the sweep.
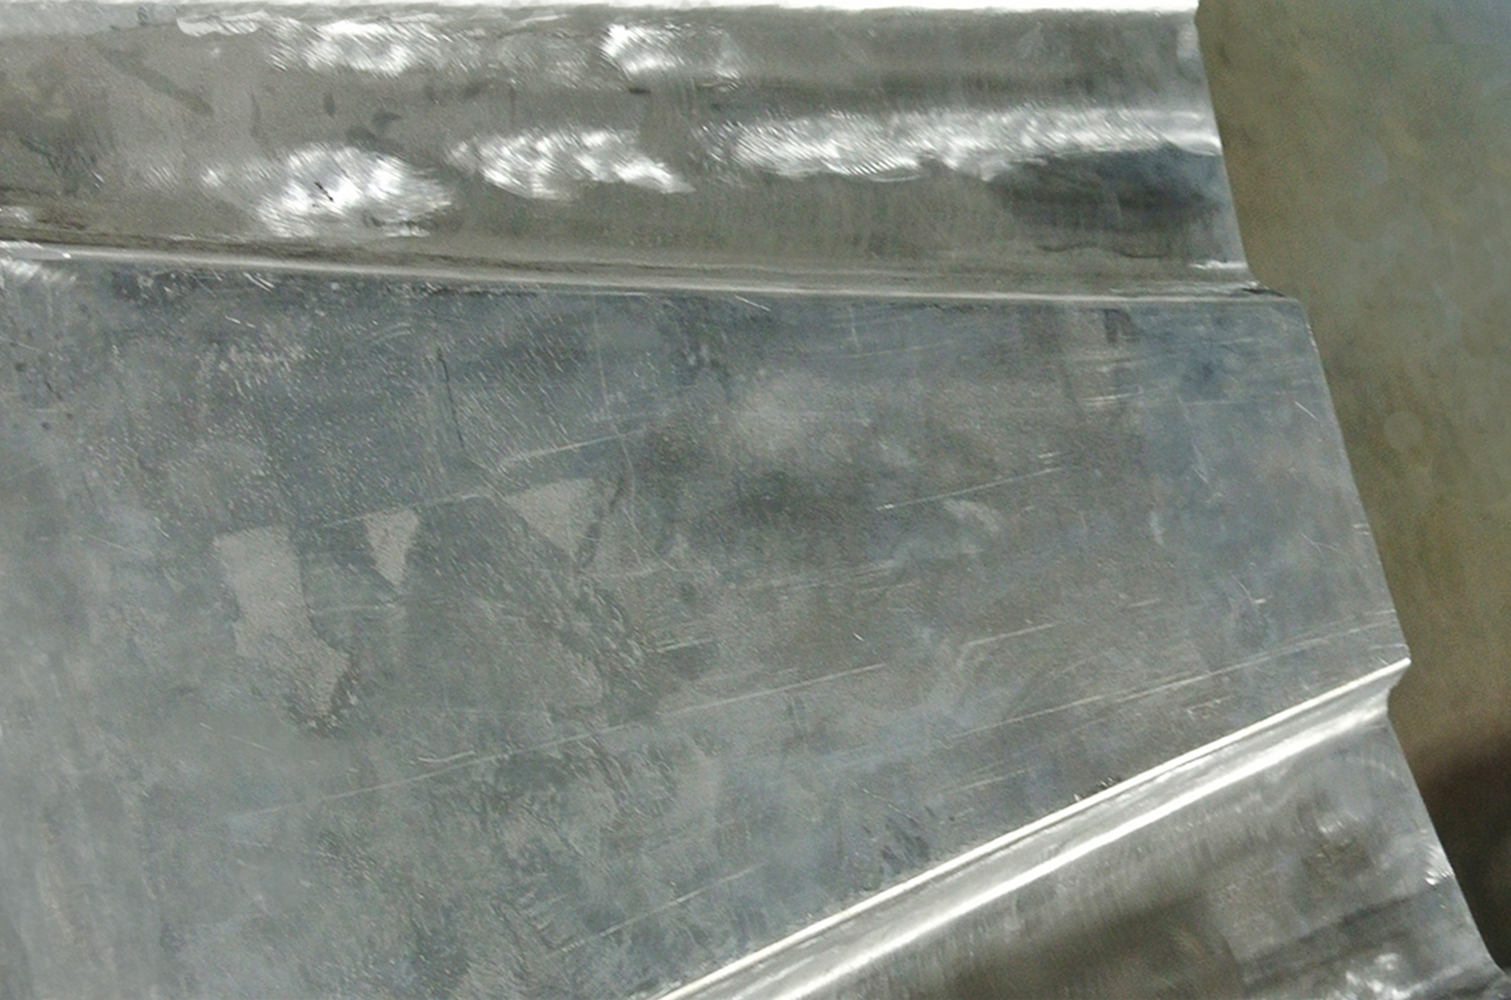
Next, an aluminum sheet was cut to make the raised sections that fit next to the center valley. These were domed very slightly and contoured to match the sweep.
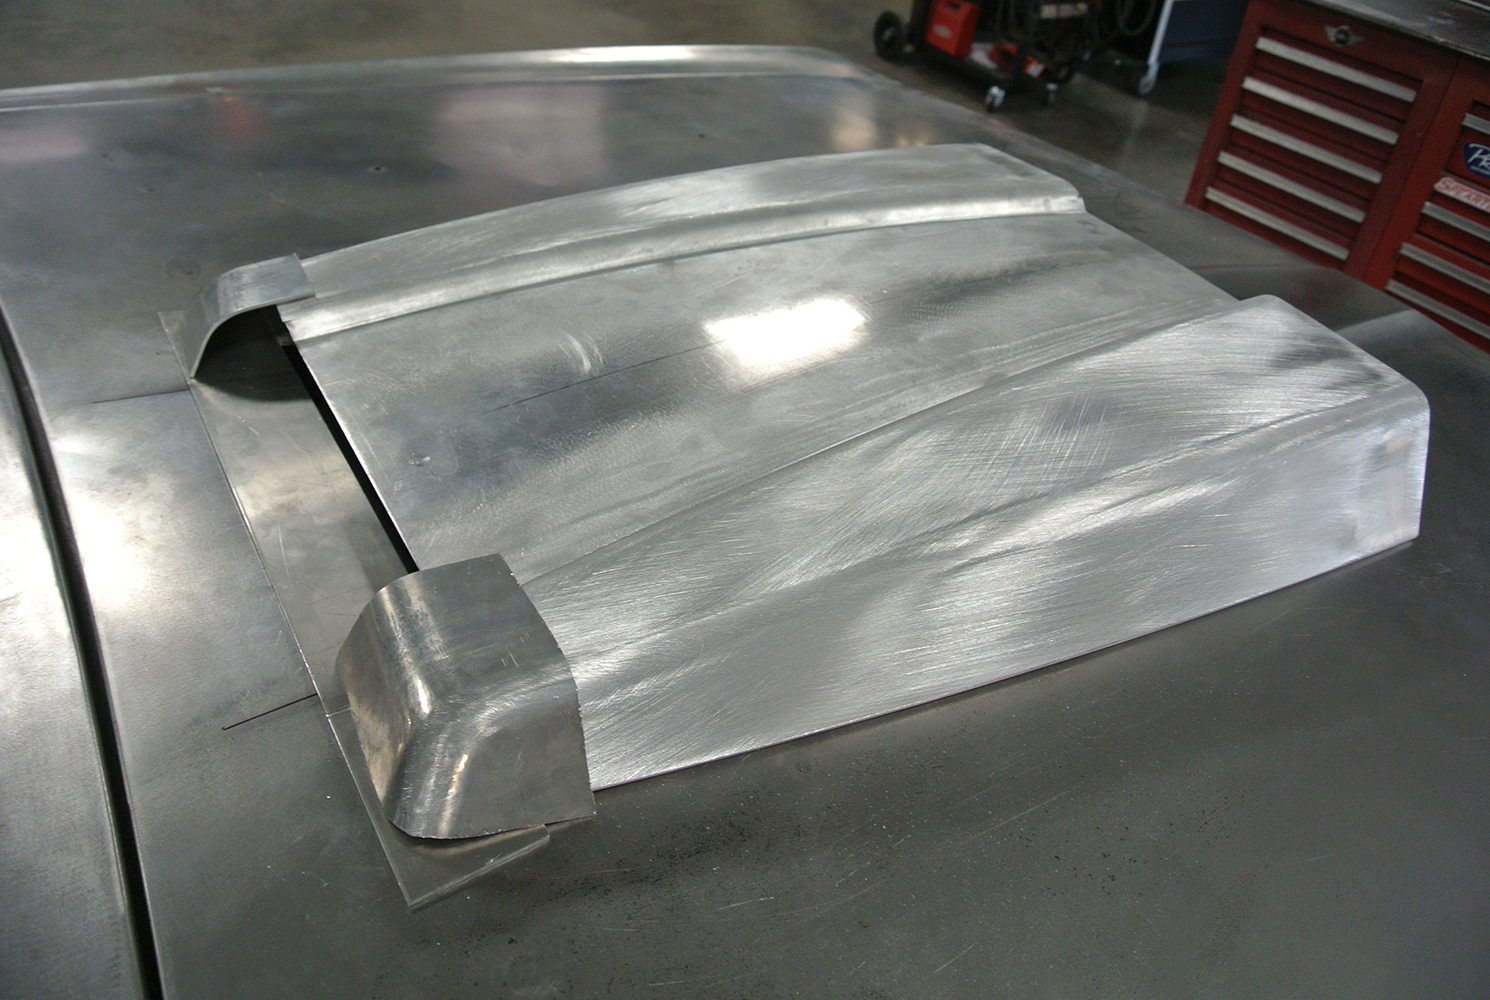
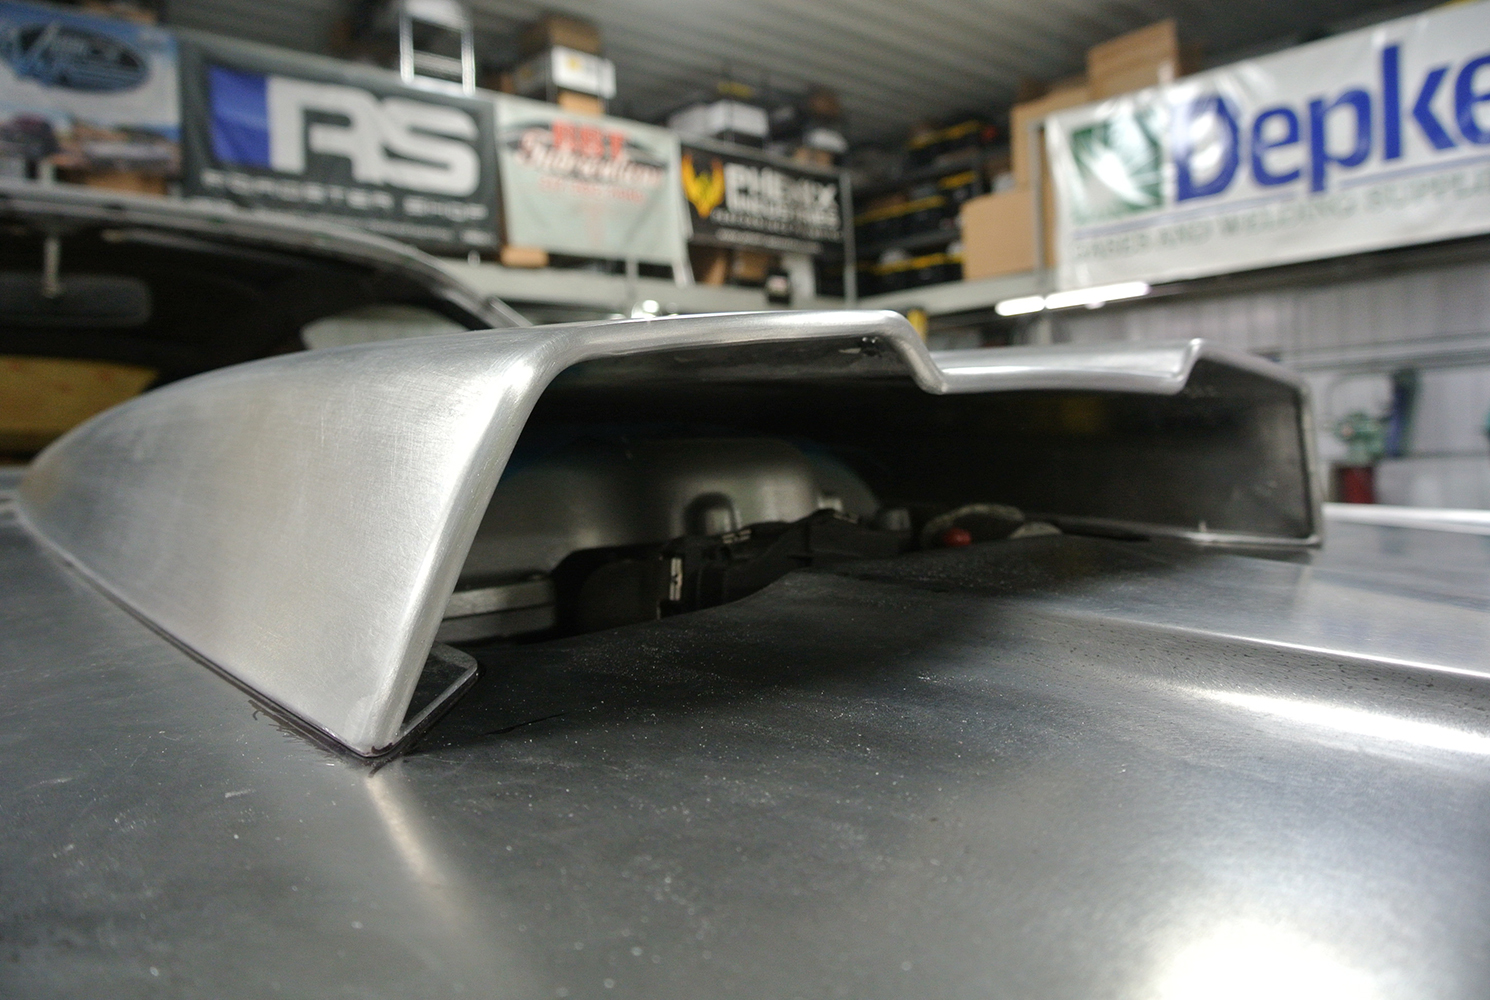
The sides of the scoop were formed next, taking care to match the angle of the chamfer at the top of the fenders. Once properly shaped, these pieces were joined to the center panels.

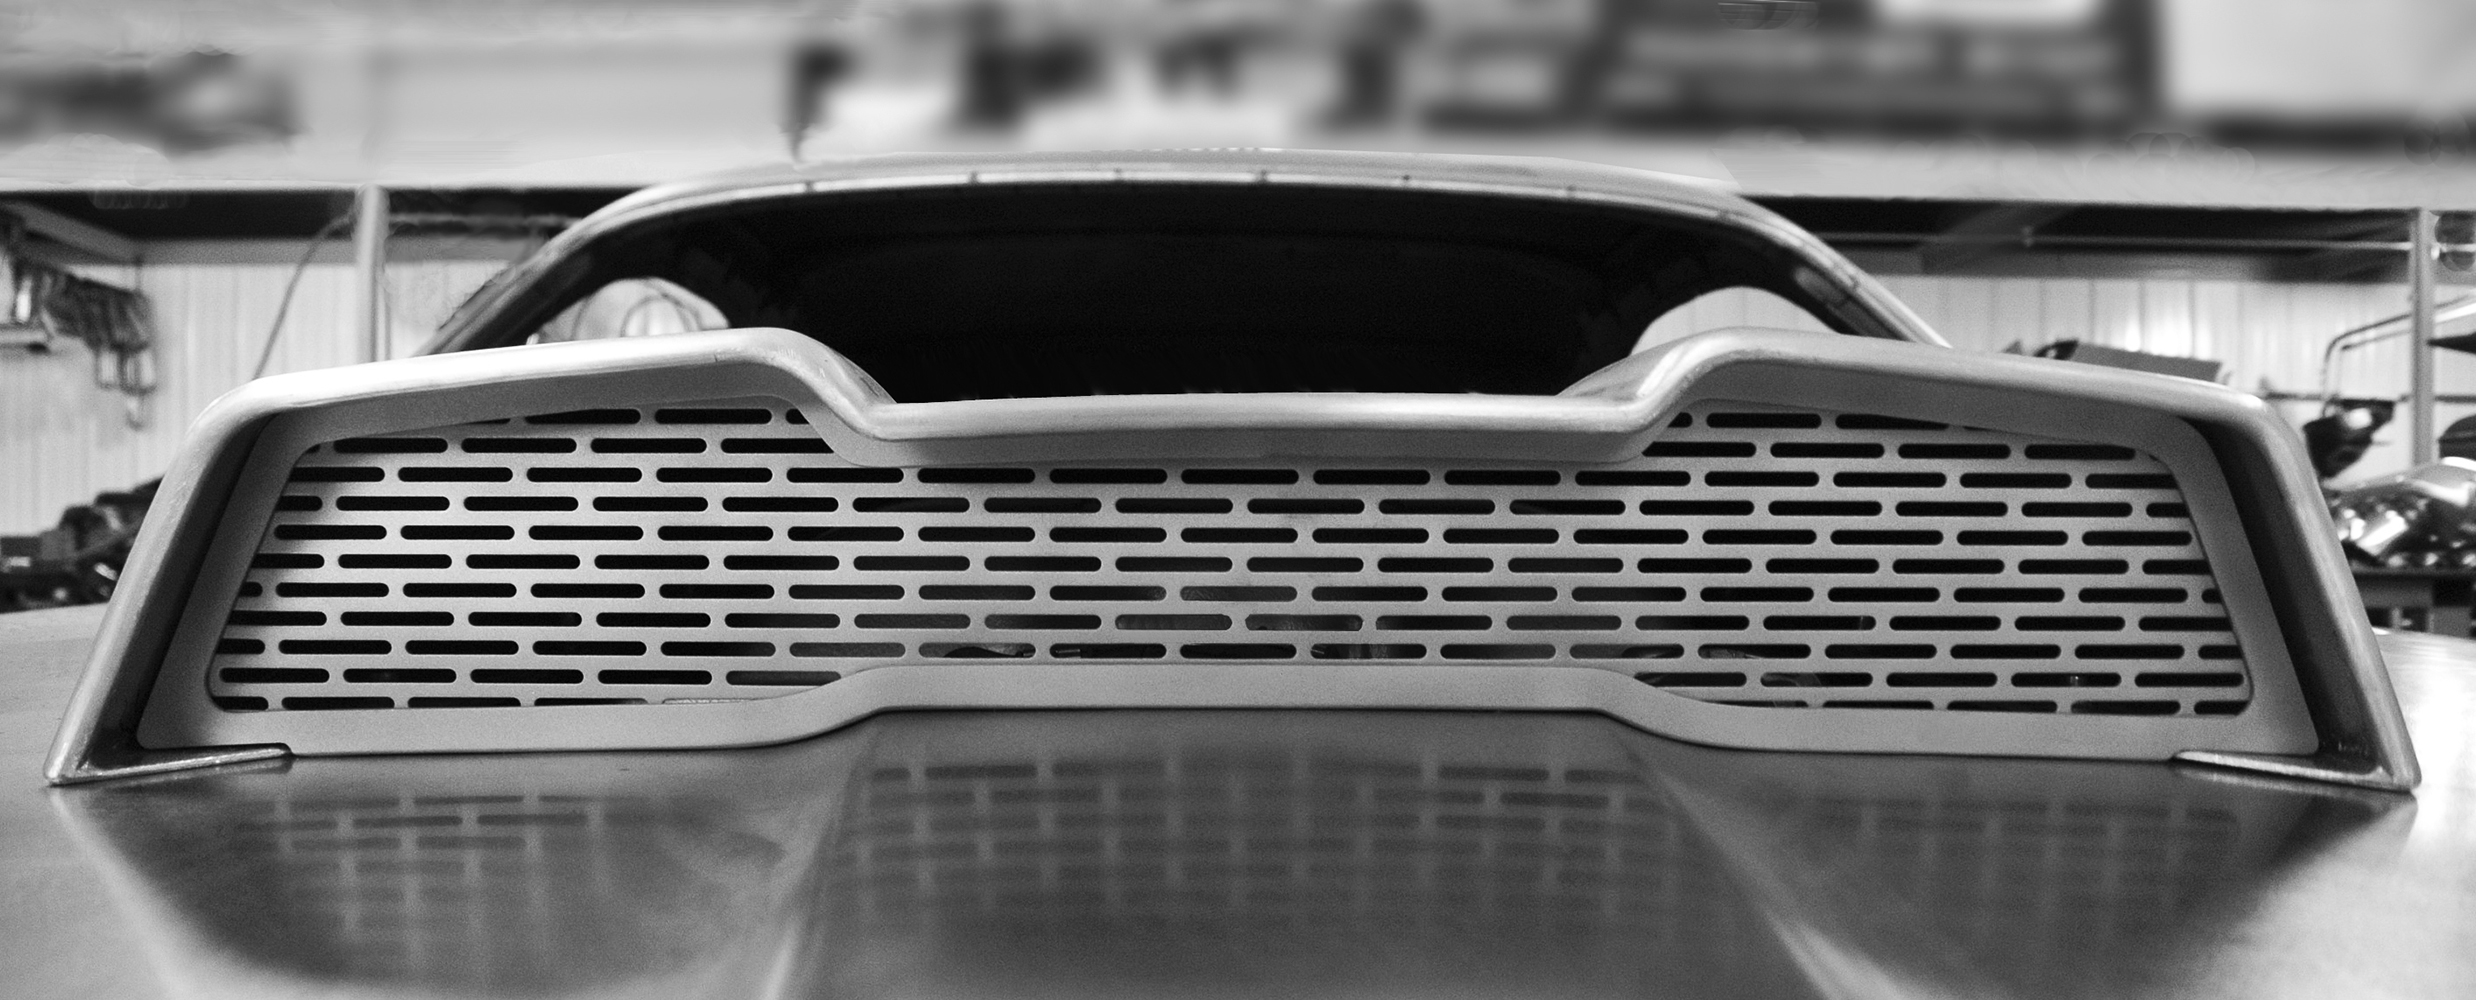
To ease the complexity of fabrication, the rear corners of the scoop were formed as separate pieces. These were fitted into place, and the rear wall of the scoop was made to bridge the gap between them.
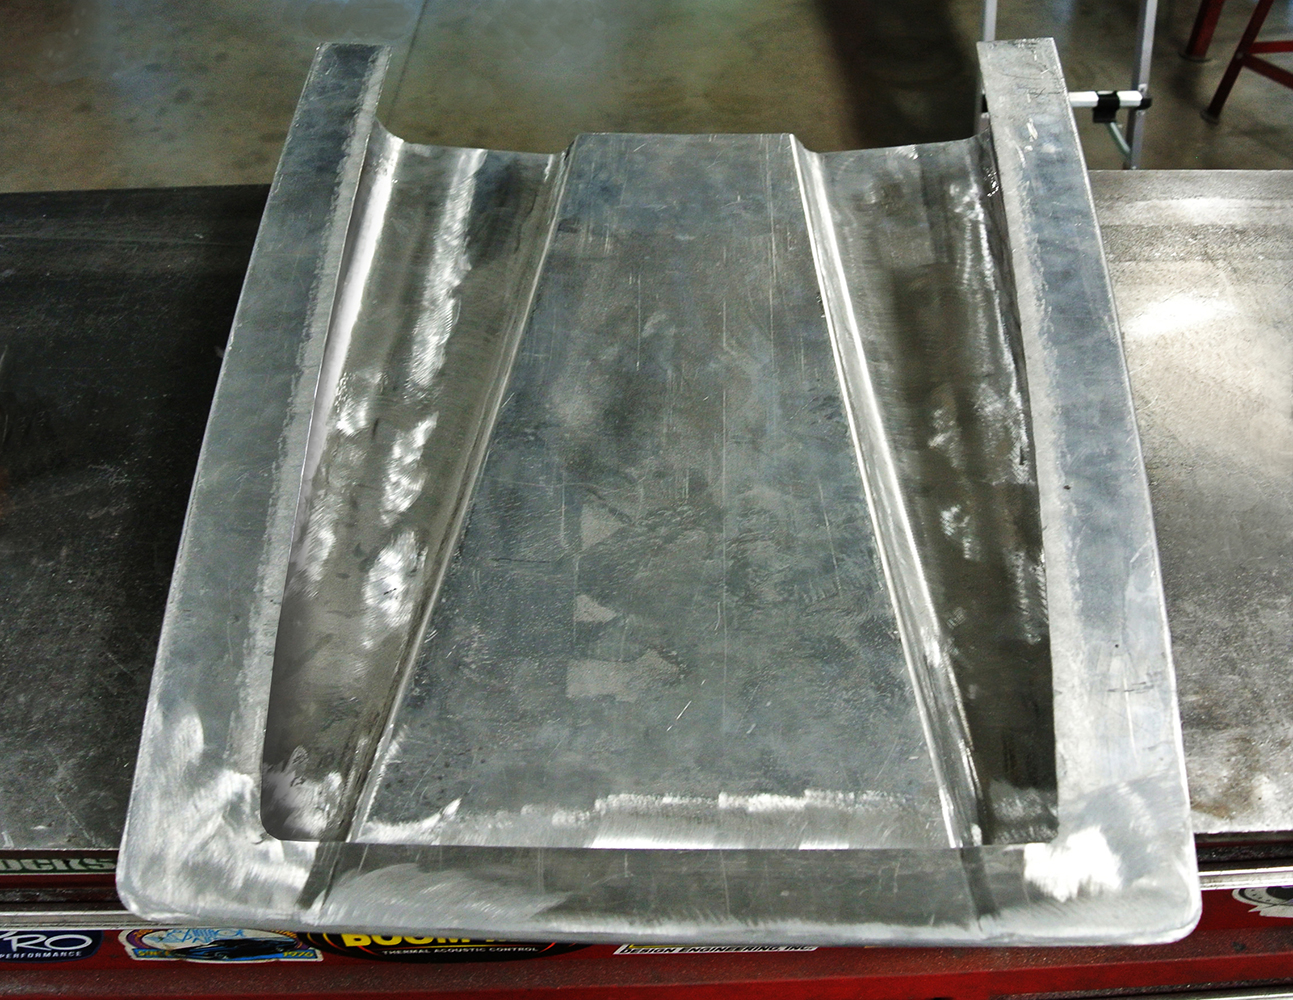
Last, a mounting flange was added to the bottom of the scoop, taking care to match the contour of the hood, both front-to-back and right-to-left.
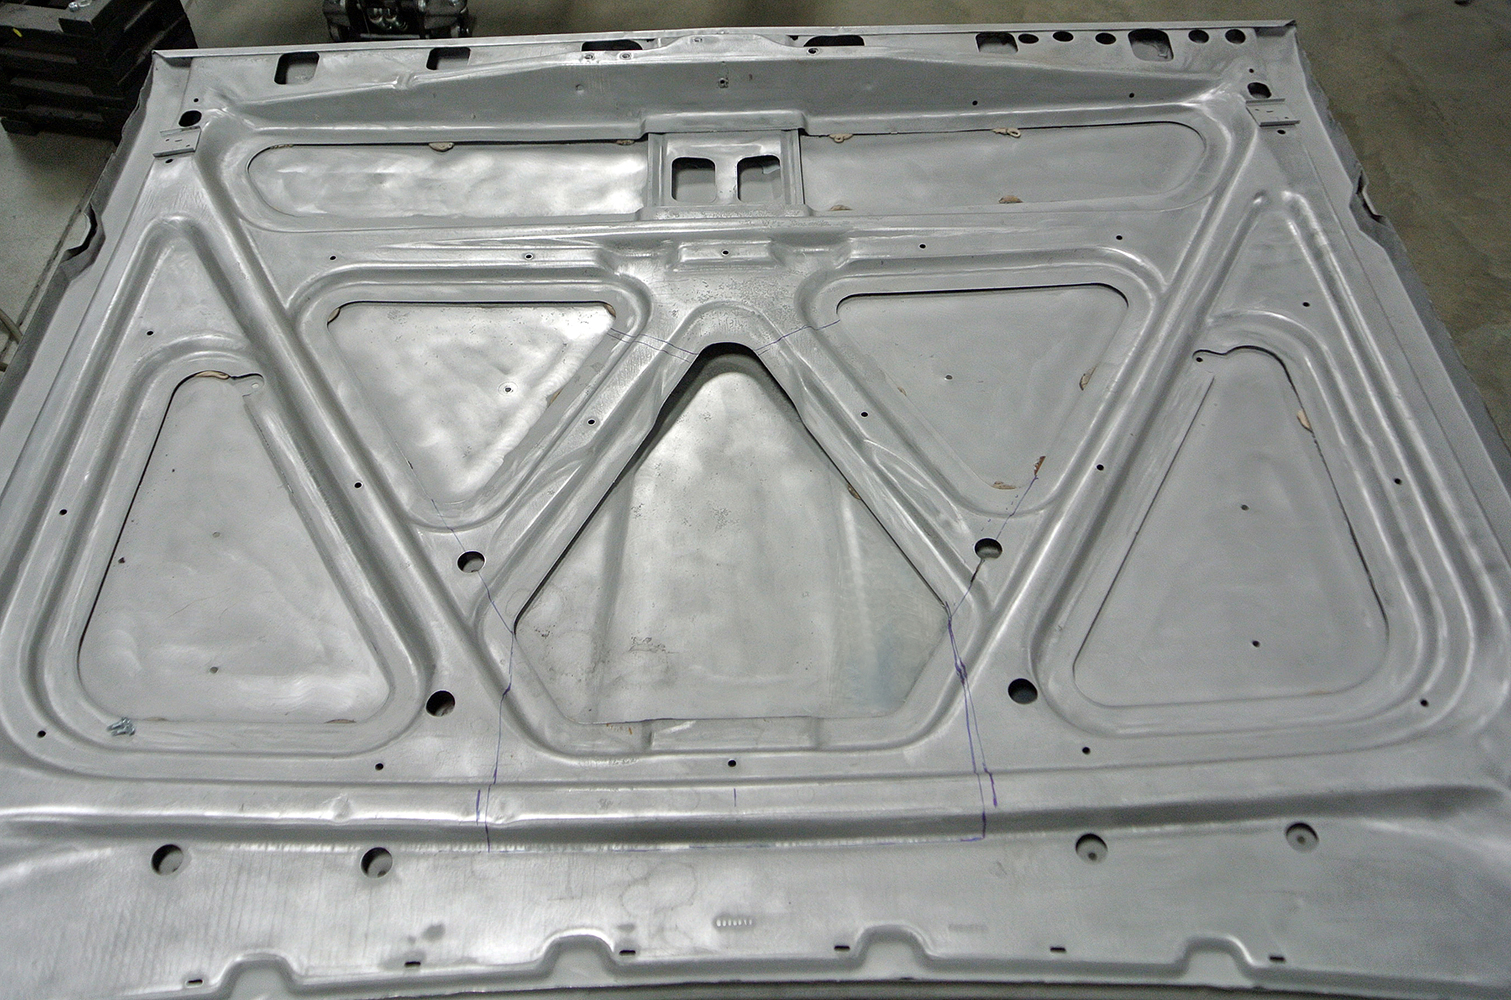
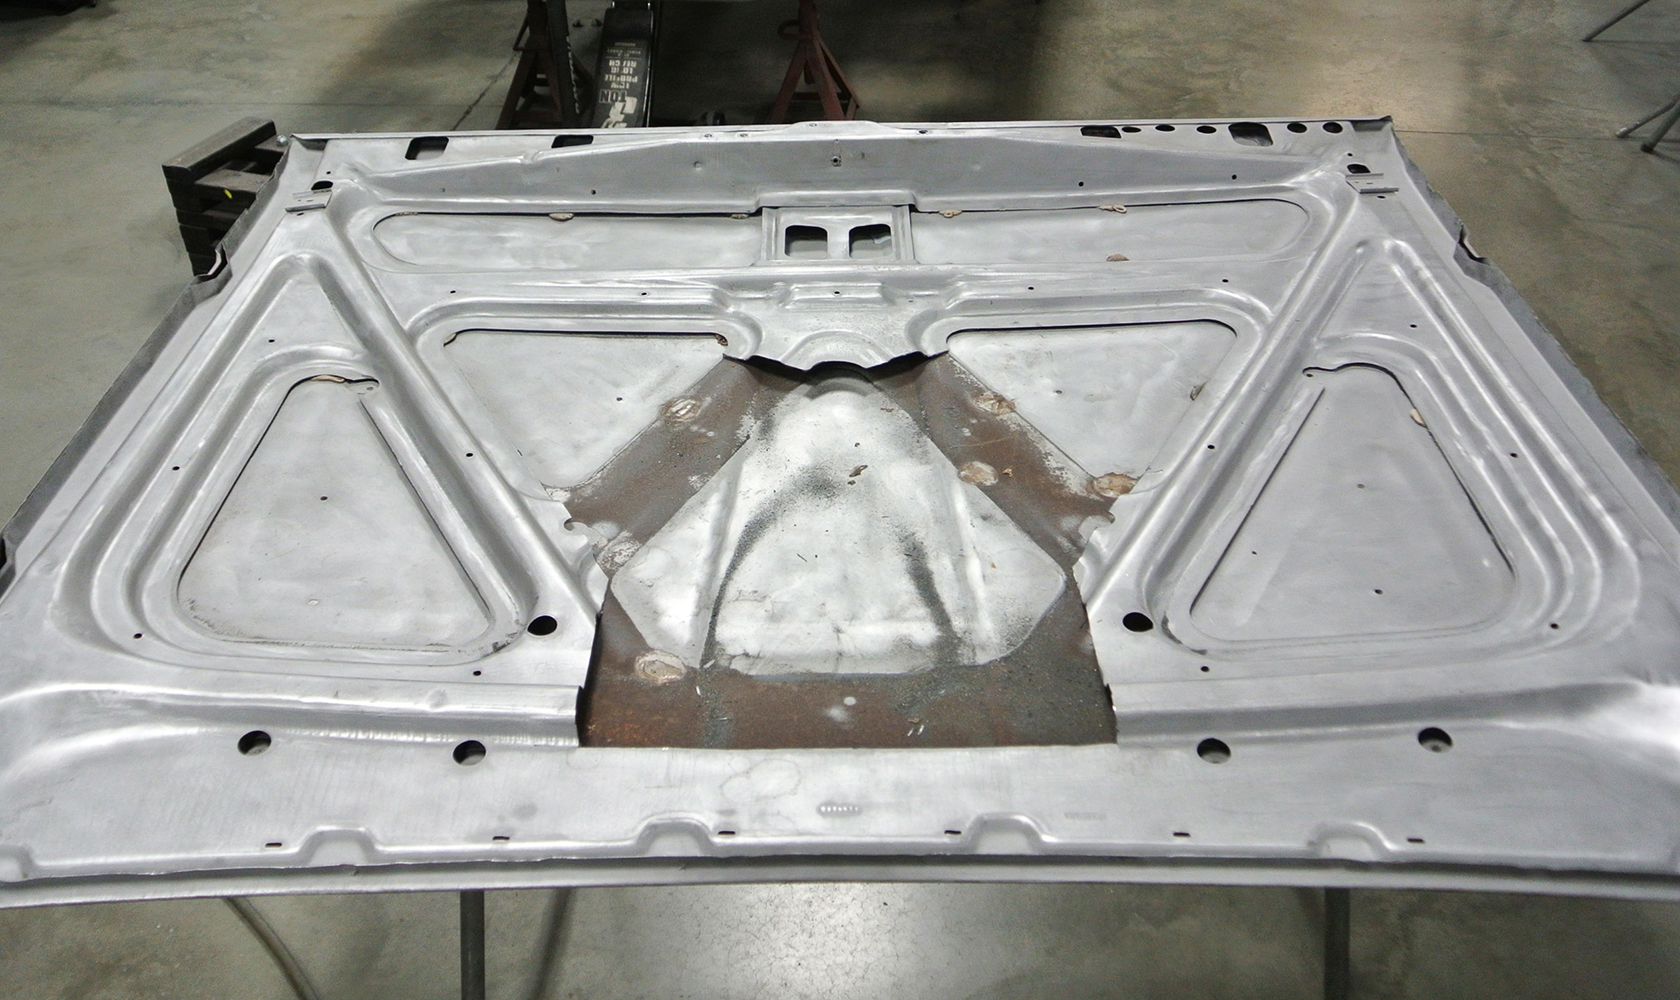
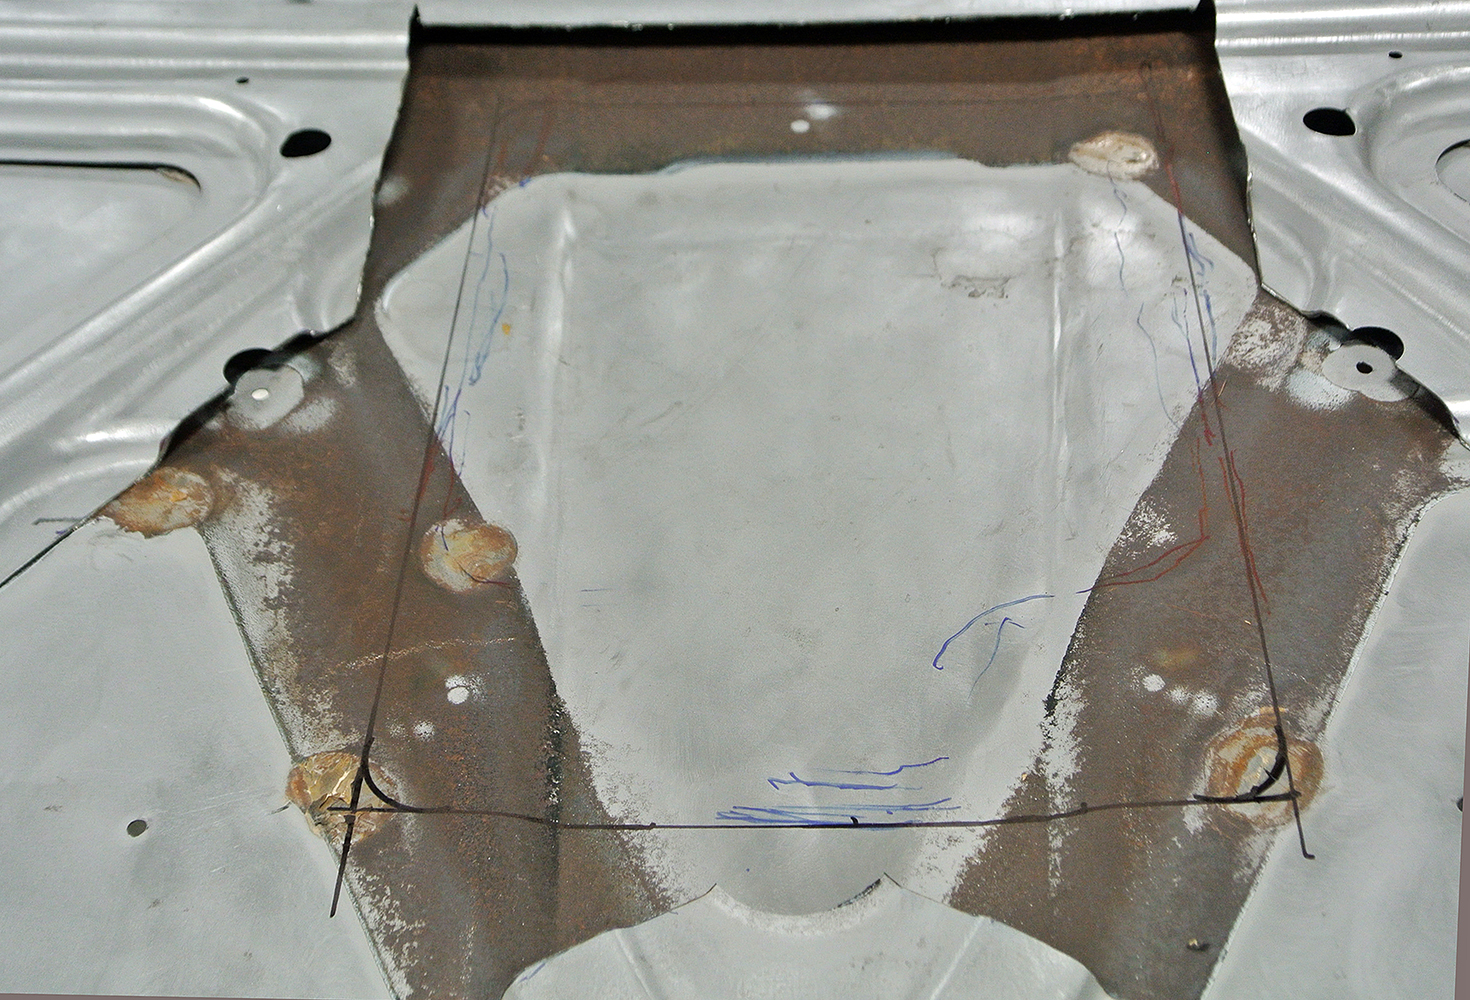
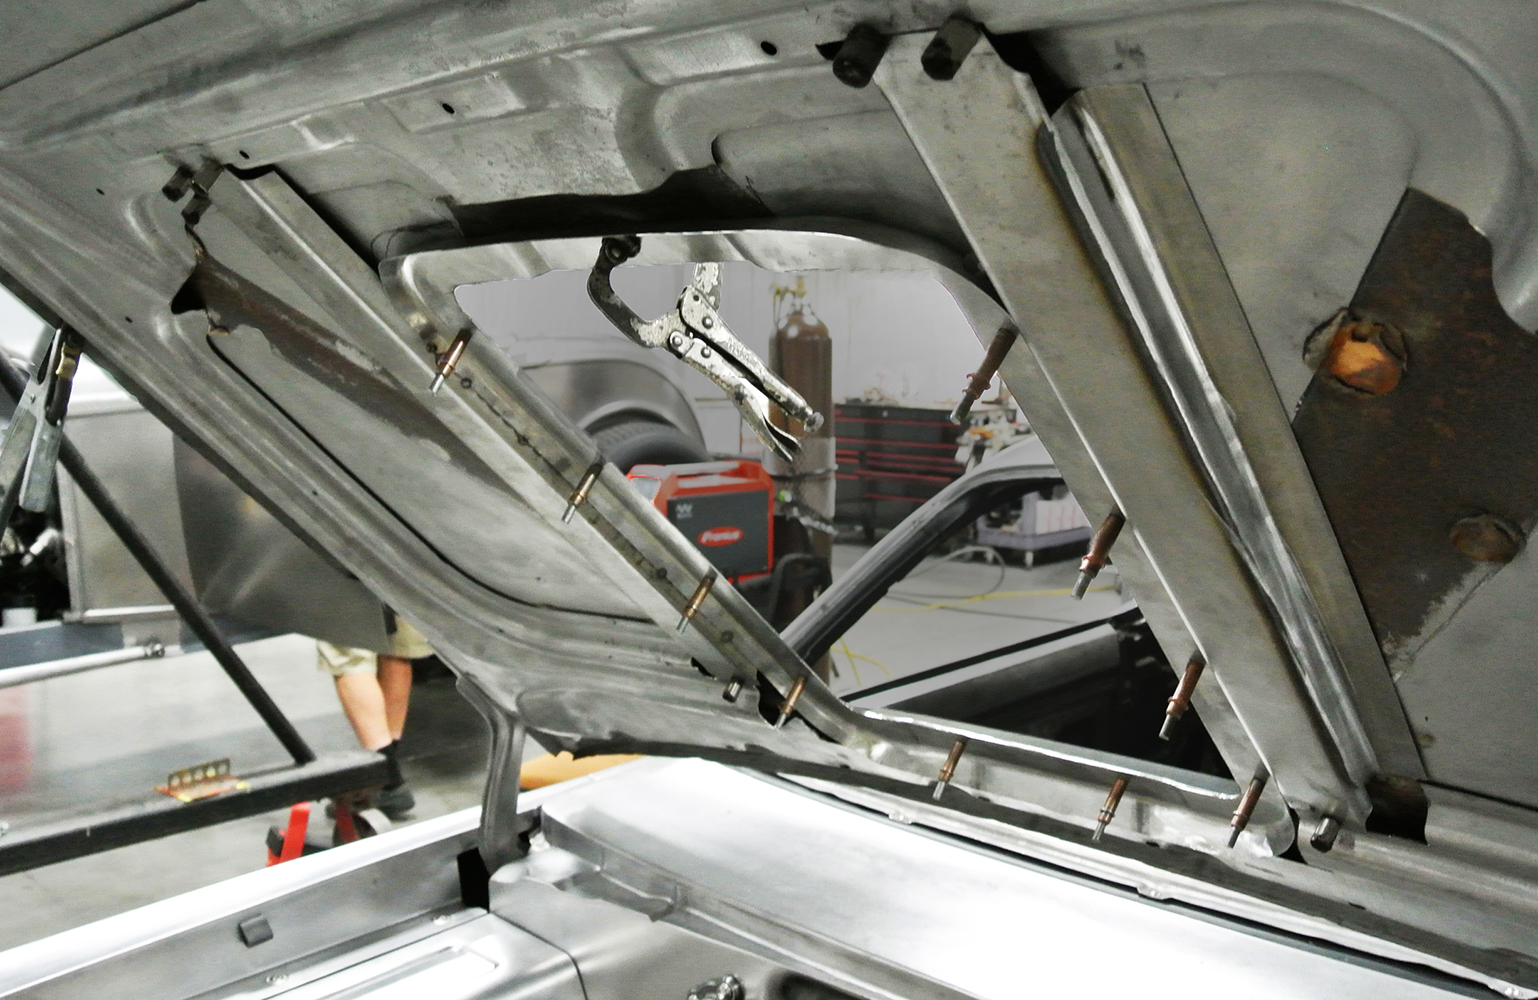
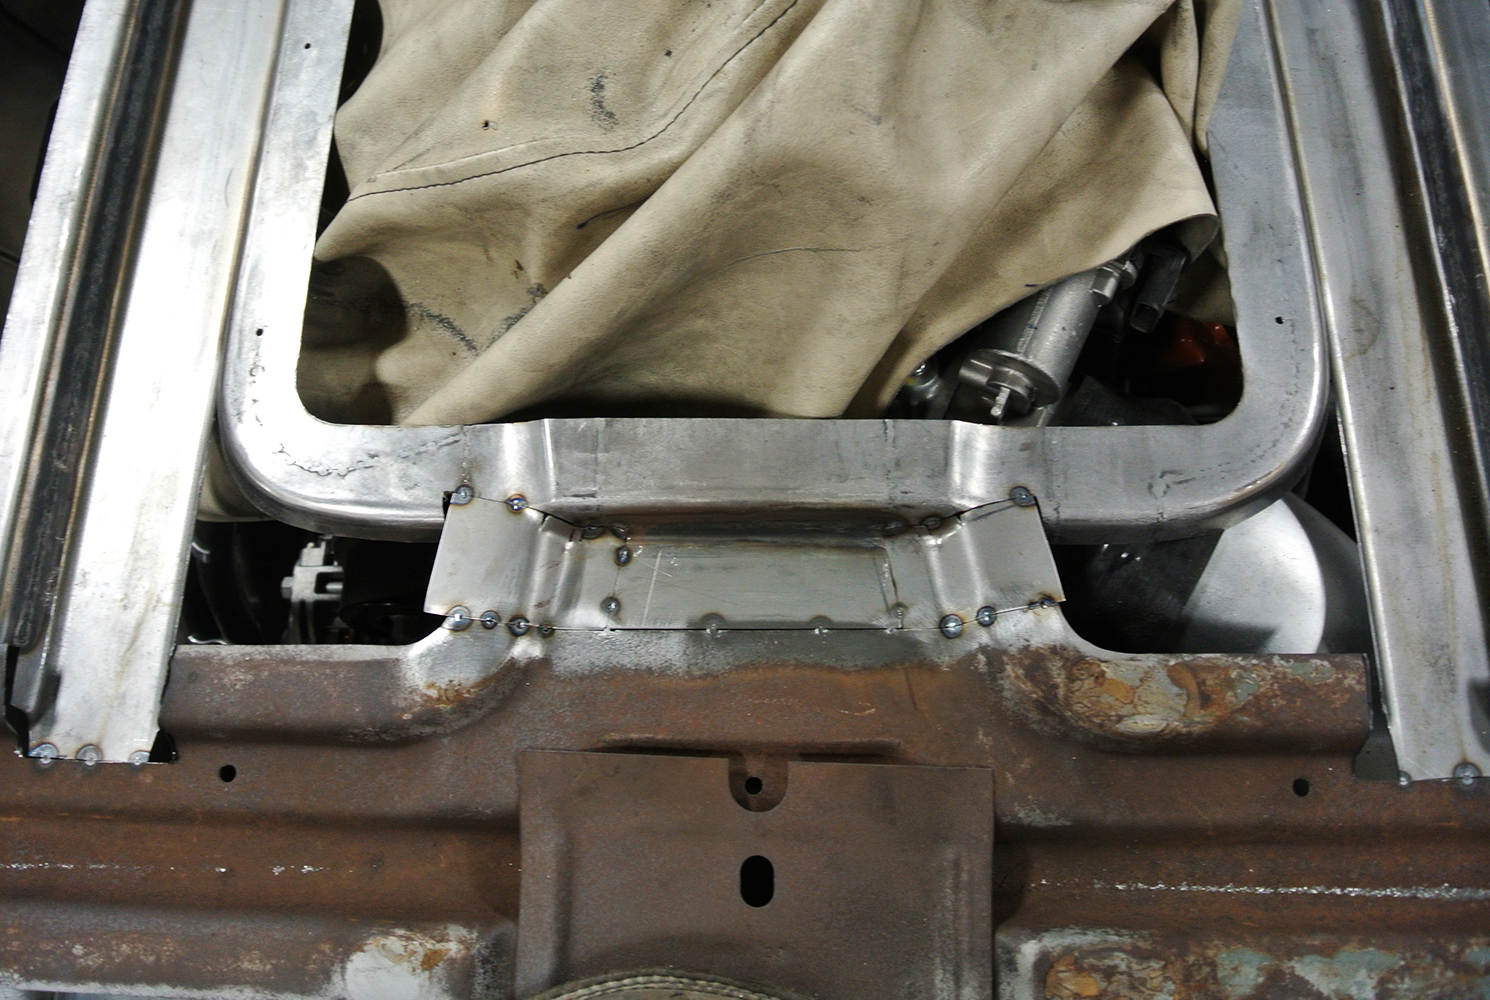
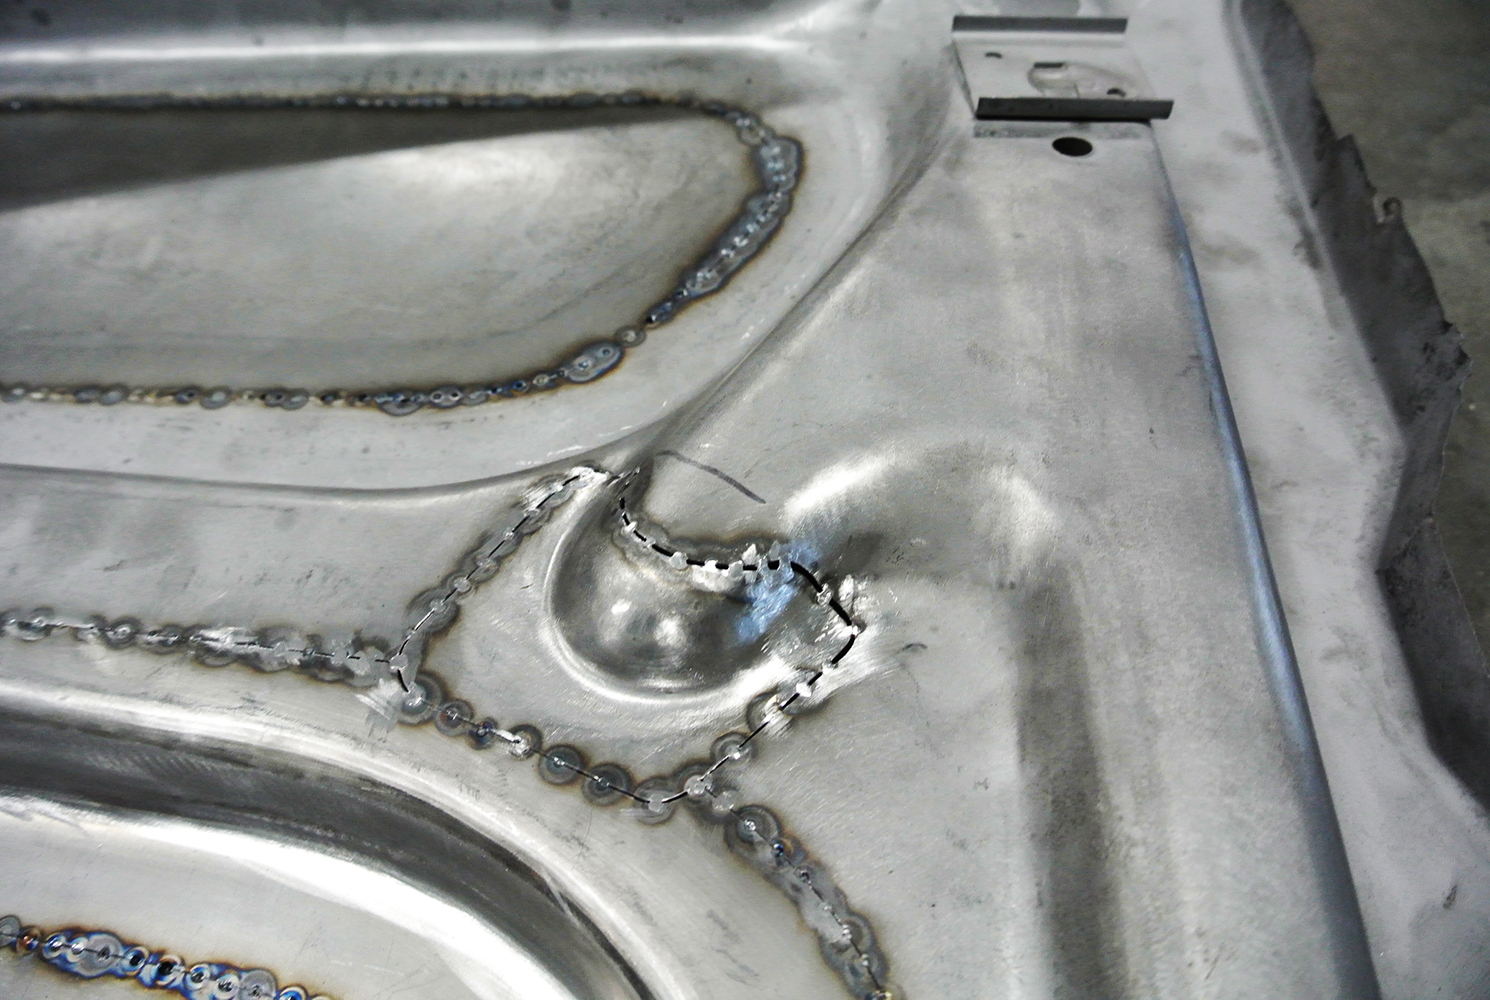
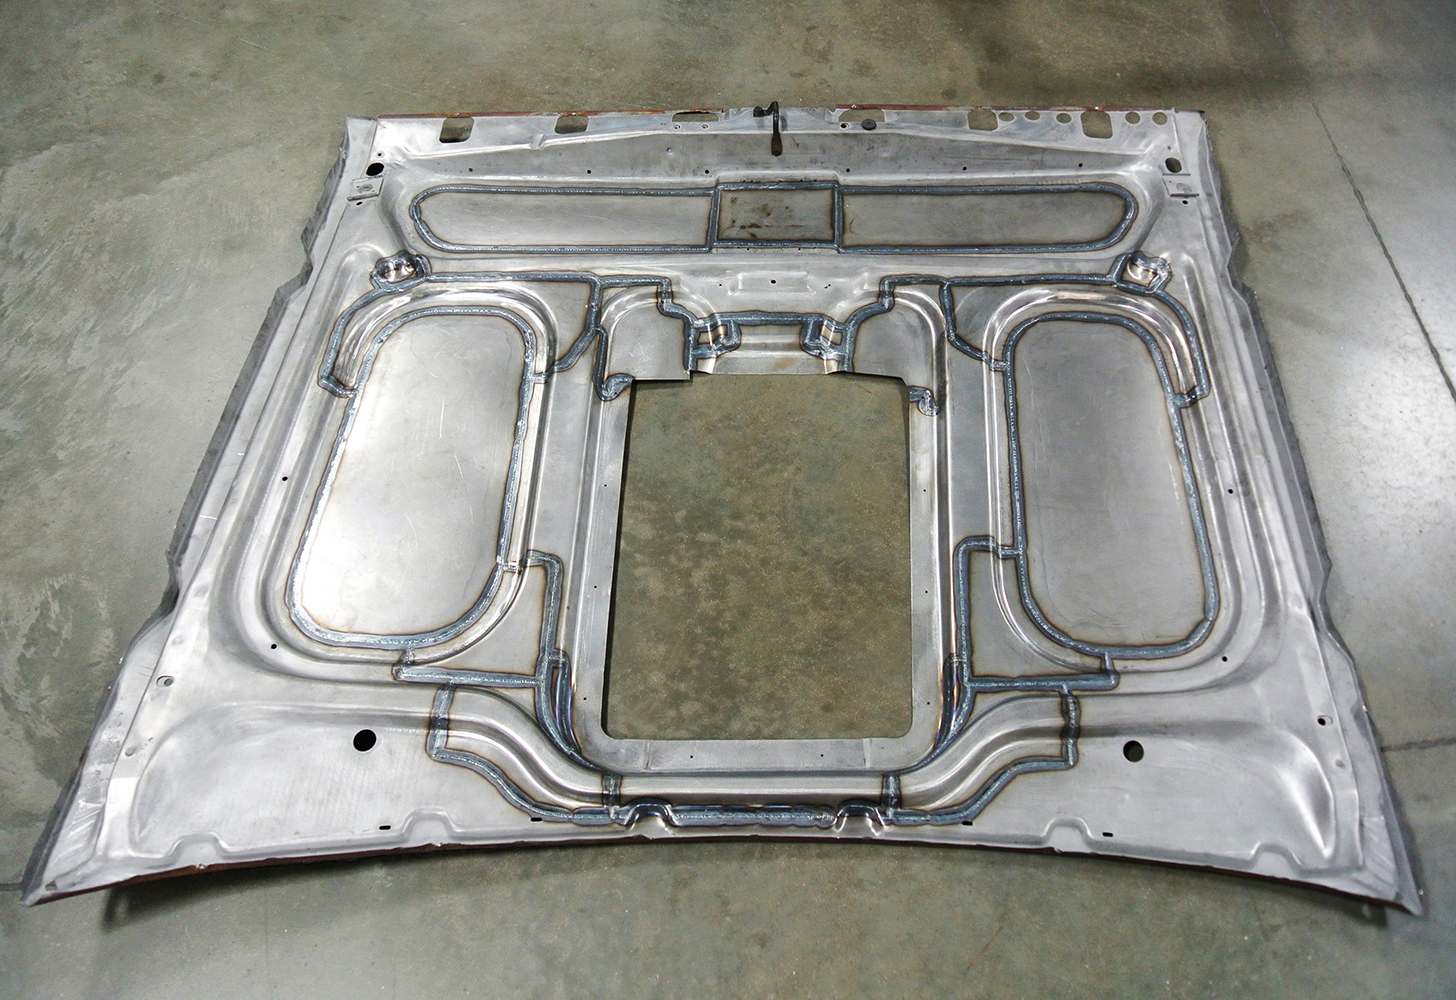
Reworking the inner hood panel, which was separated from the hood top to facilitate fabrication, required a lot of effort. The photos detail these extensive modifications, with the goal of making the panel appear factory designed.
There are many great ideas here, which could help you with a current (or future) project.

Check out this story in our digital edition here.
Source
BBT Fabrications
(217) 586-5699
bbtfabrications.com


