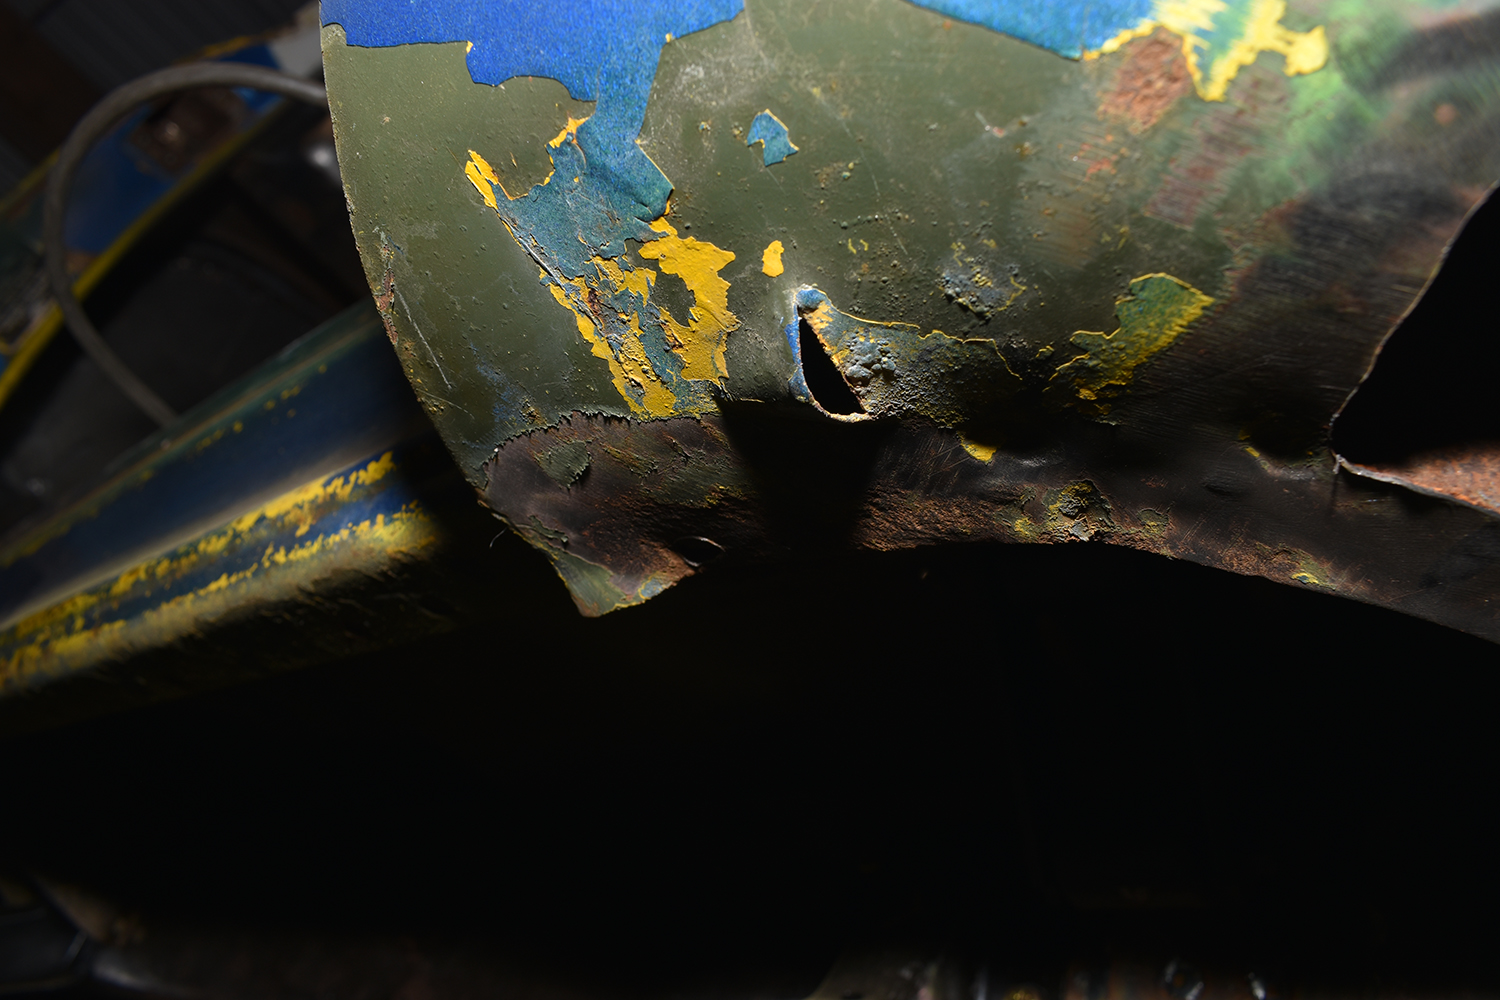
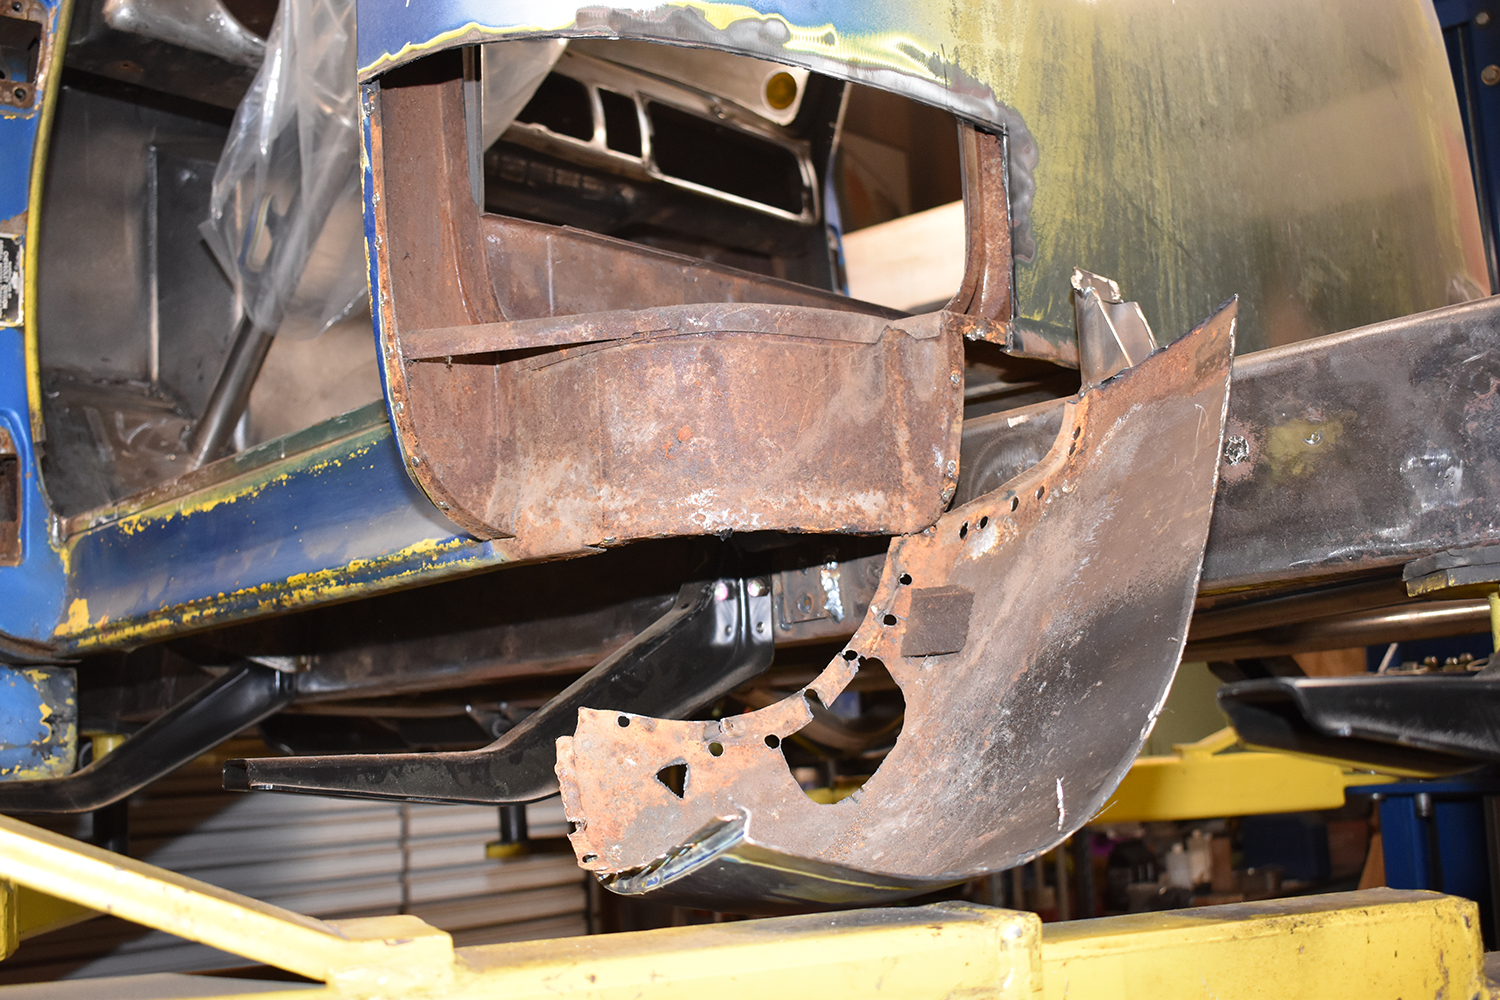
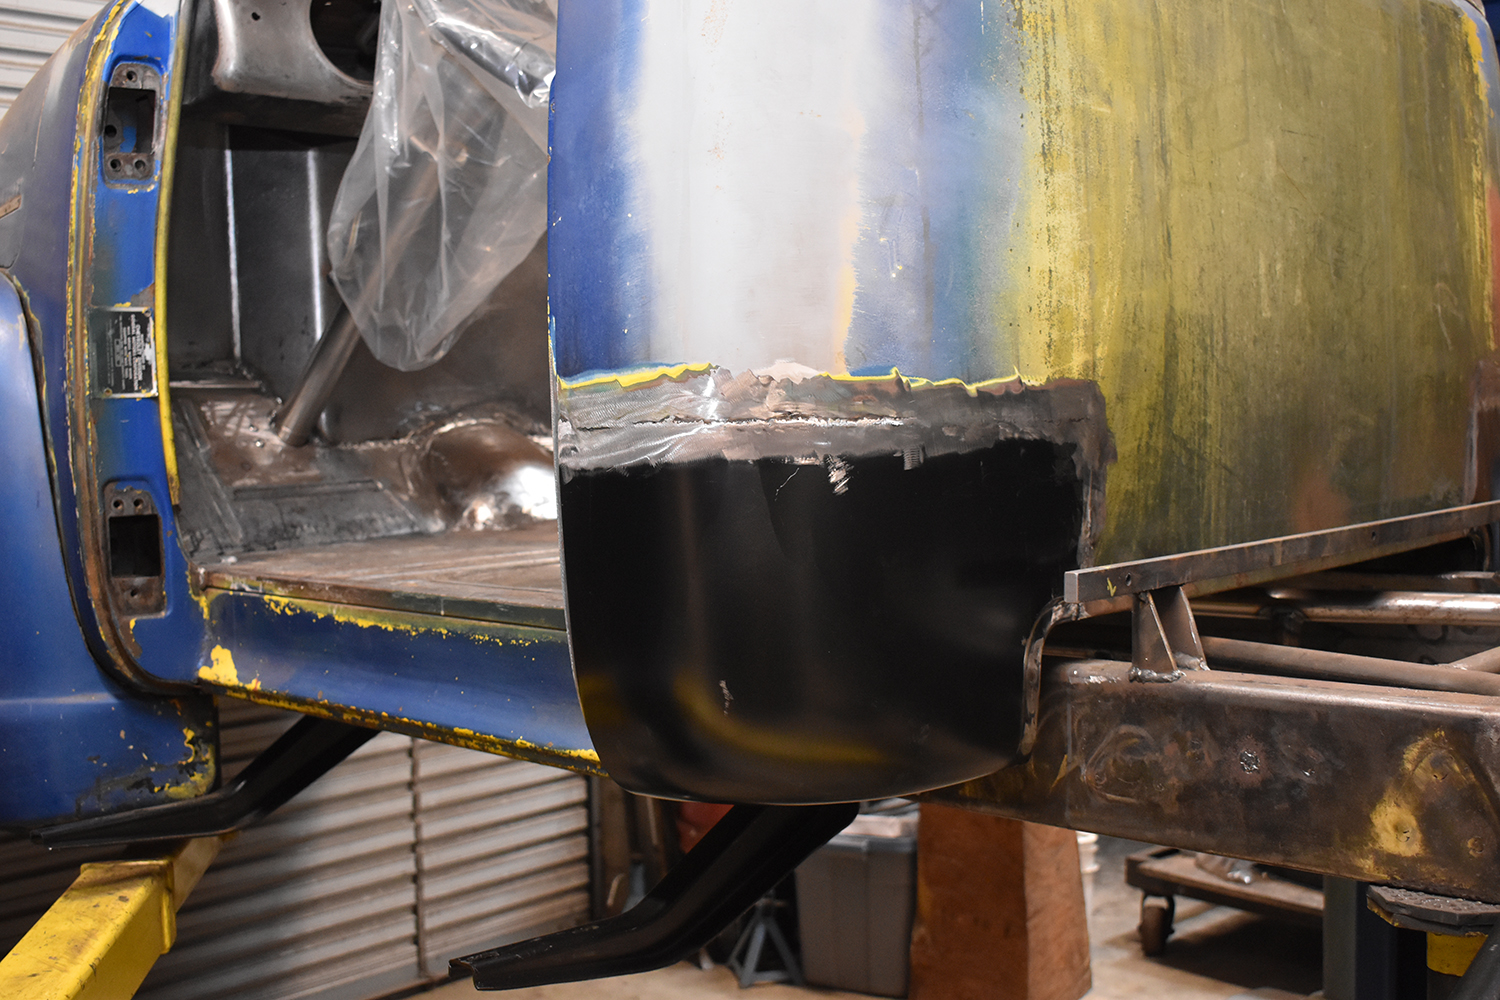
It’s rare indeed to find a vintage pickup that doesn’t suffer from the ravages of rust in one place or another. Very often corrosion can be found in the rear cab corners as these areas are natural collection points of dirt and moisture. Paul Wilson’s 1952 Chevy pickup is one of the best examples of an original early truck that we’ve seen in a while, but even it needed repair in the form of new cab corners from Chevs Of The 40’s.
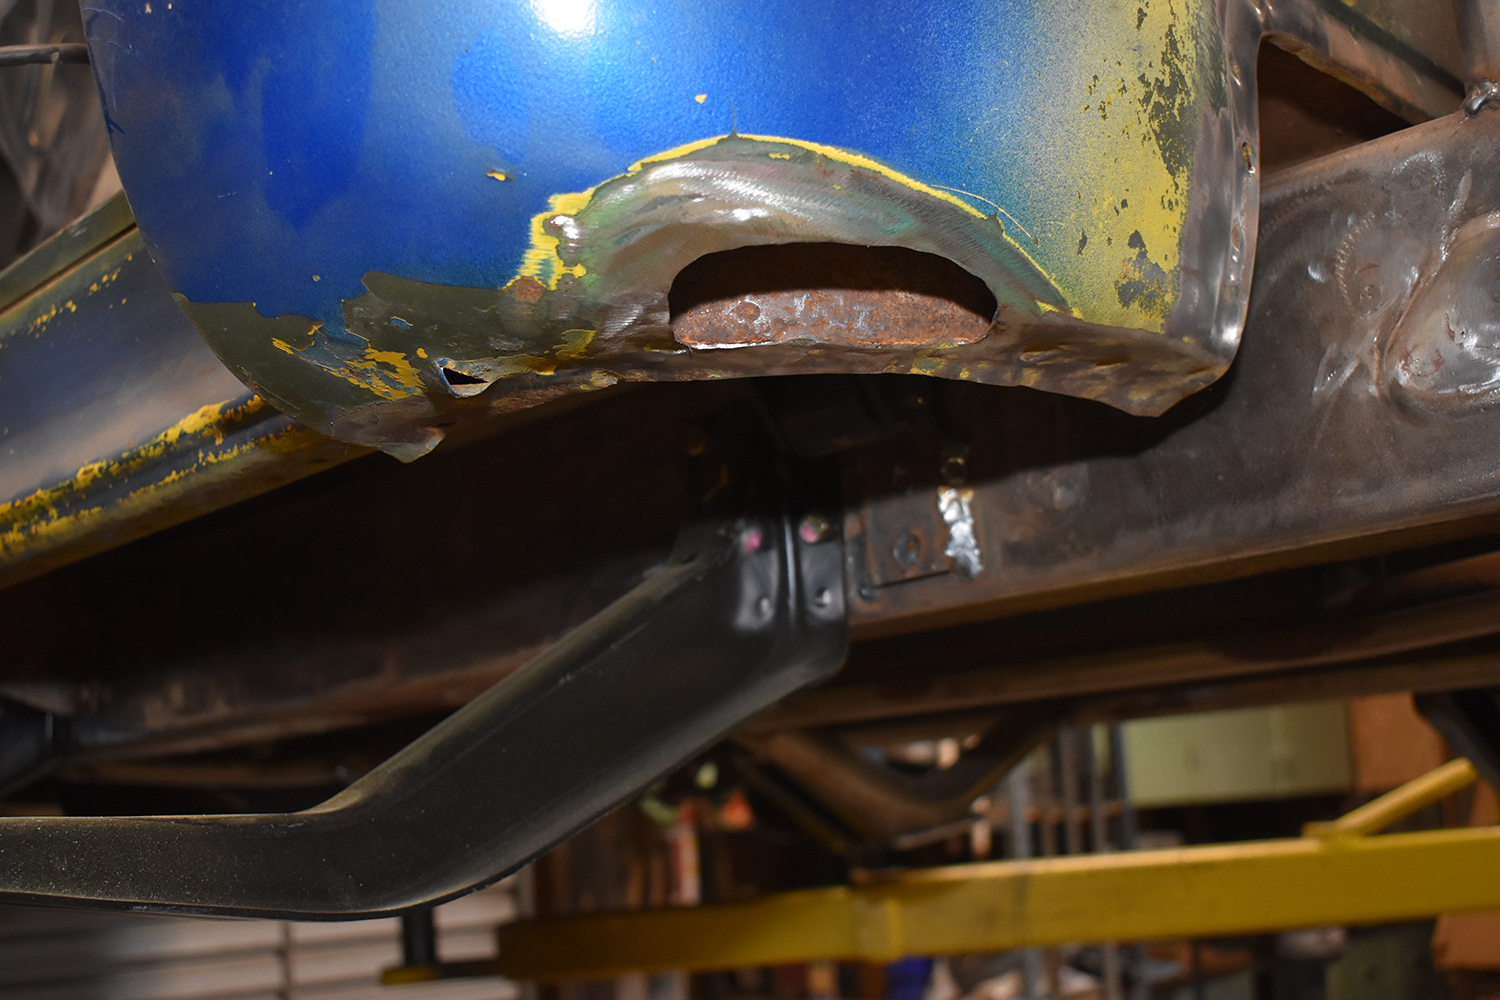
While the good folks at Chevrolet saw fit to put drain holes at the bottom of the cab corners in these early pickups, they often became plugged with dirt and debris. Not to mention the cab corners were a great spot to stash gloves, rags, and all sorts of stuff, which collected moisture and inevitably led to rust.

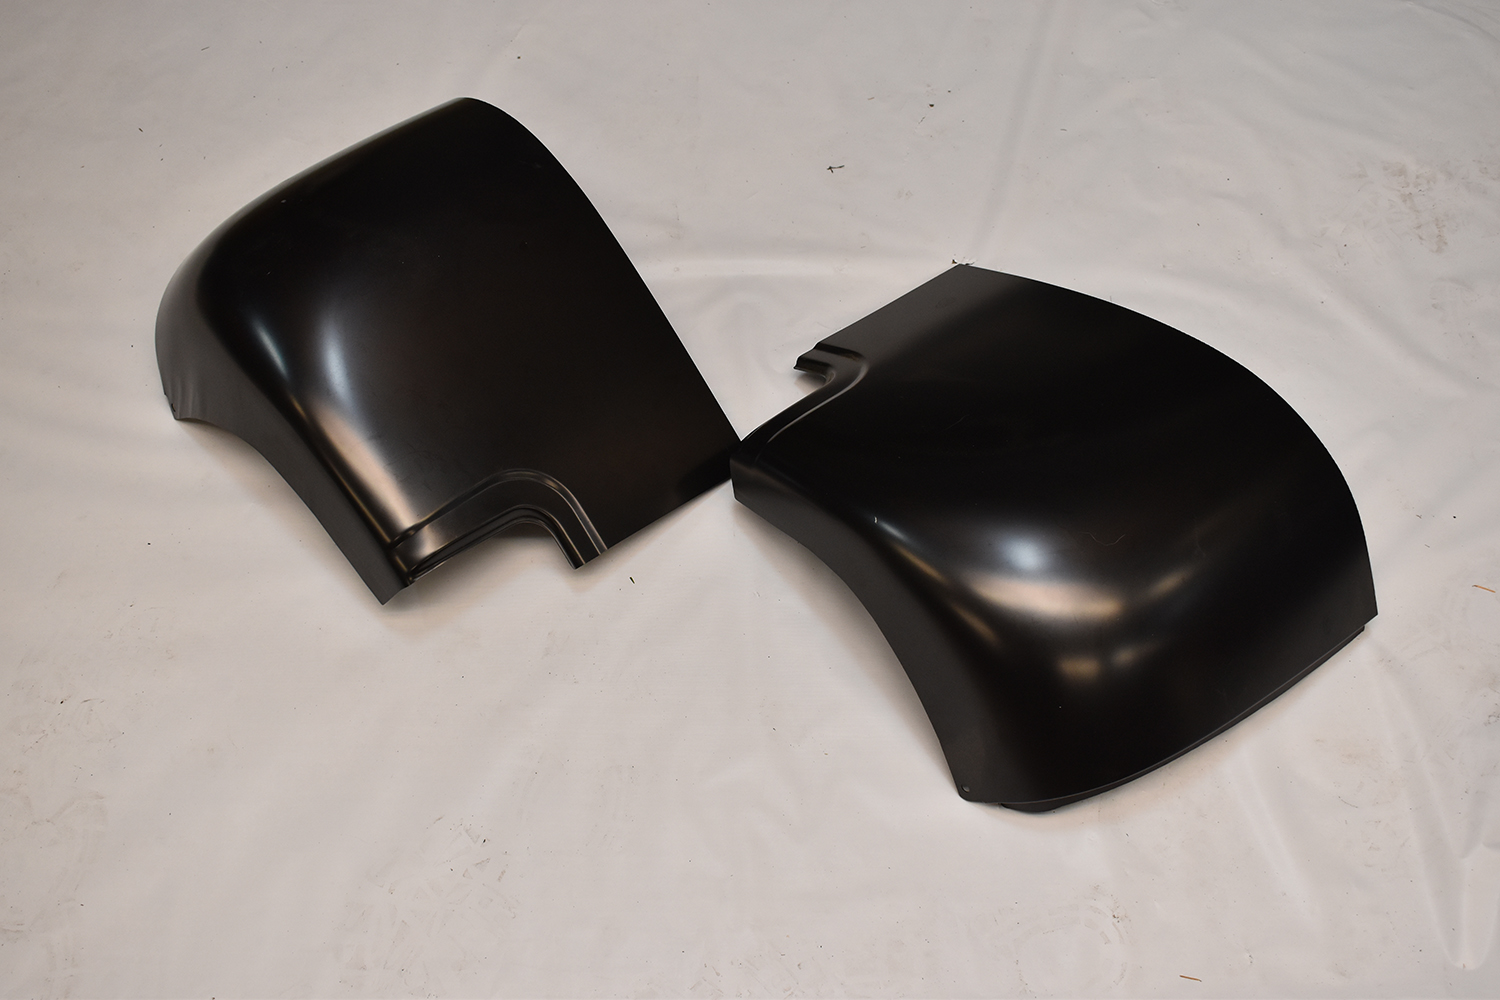
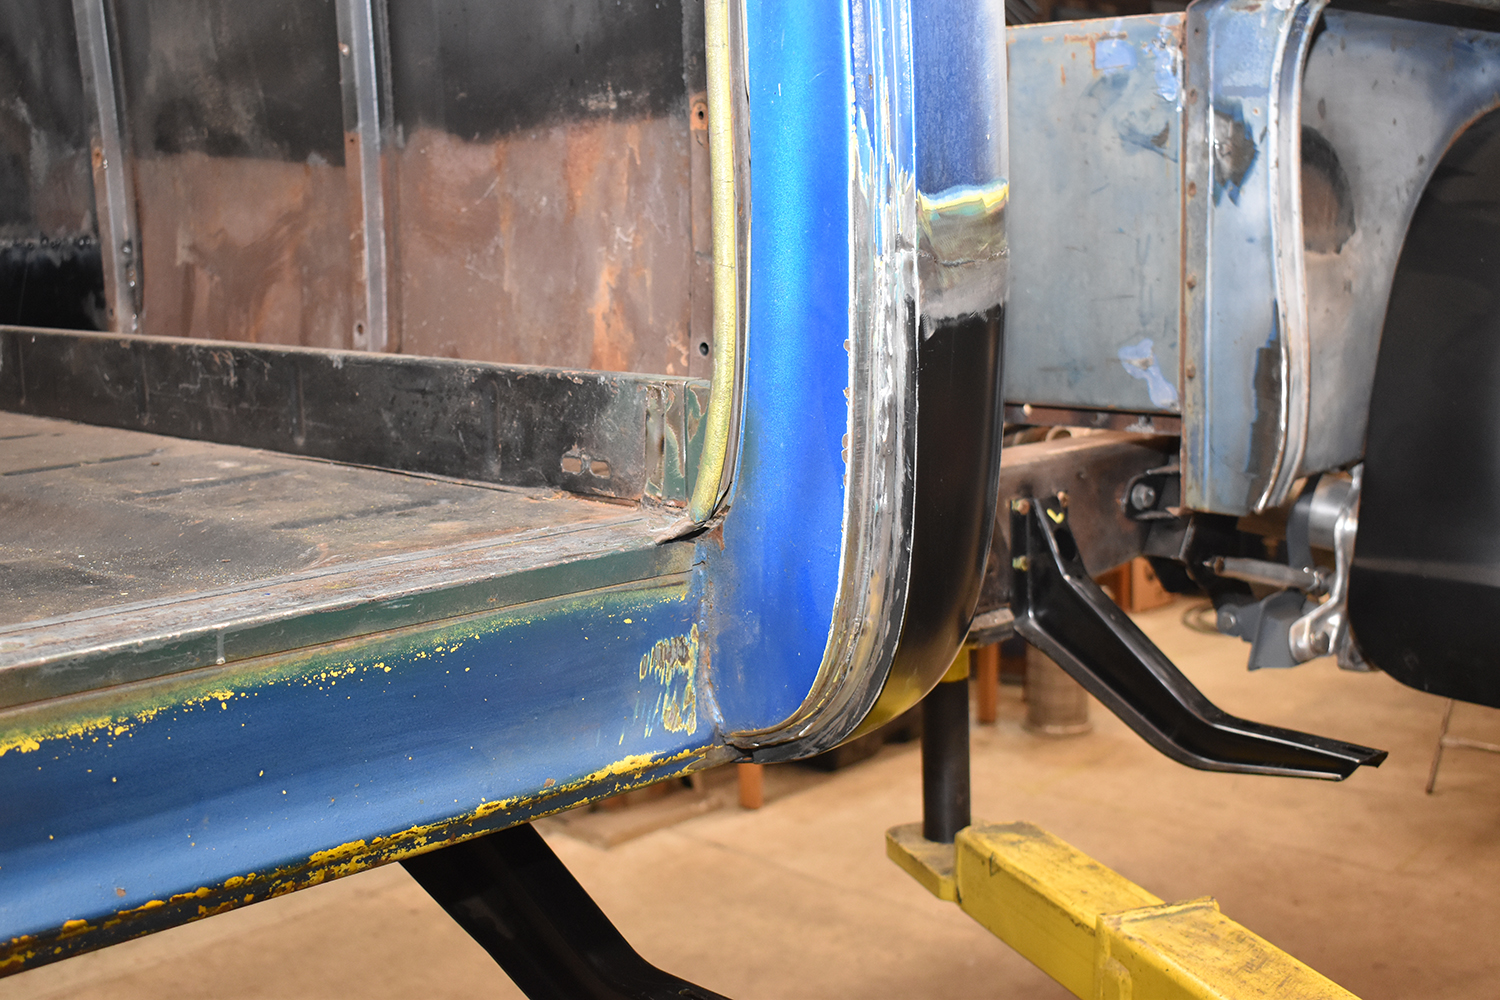
In the case of Wilson’s truck the damage to the cab corners wasn’t severe, but rather than patching the damaged areas the decision was to use replacement panels; Chevs Of The 40’s PNs 3693003A for the left side and 3693002A for the right. These patch panels are applicable to 1947-54 Chevy pickups and can also be used on first series ’55s as well. What causes some confusion was Chevrolet’s decision to continue production of the redesigned 1954 Chevy pickups into early 1955; these are known as first series trucks. In March of that year the all-new Task Force series trucks, or the second series trucks, were introduced, which can cause some problems when ordering parts. To avoid confusion some parts, such as these patch panels, are not listed for first series ’55s but can be used (always check compatibility of first series parts with the team at Chevs Of The 40’s).
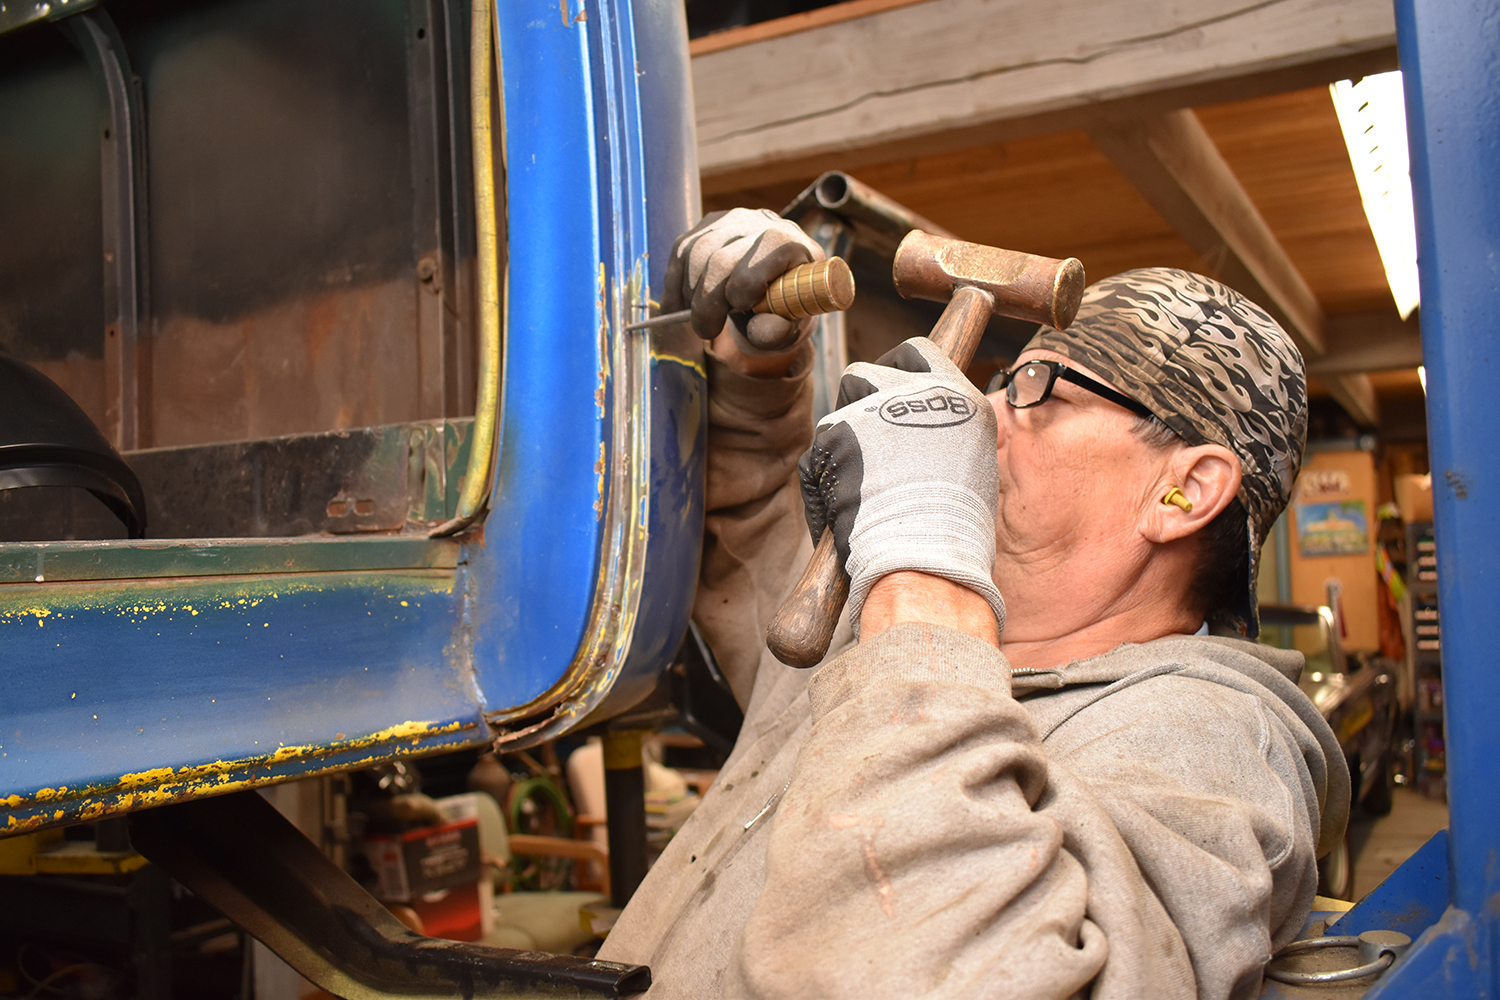
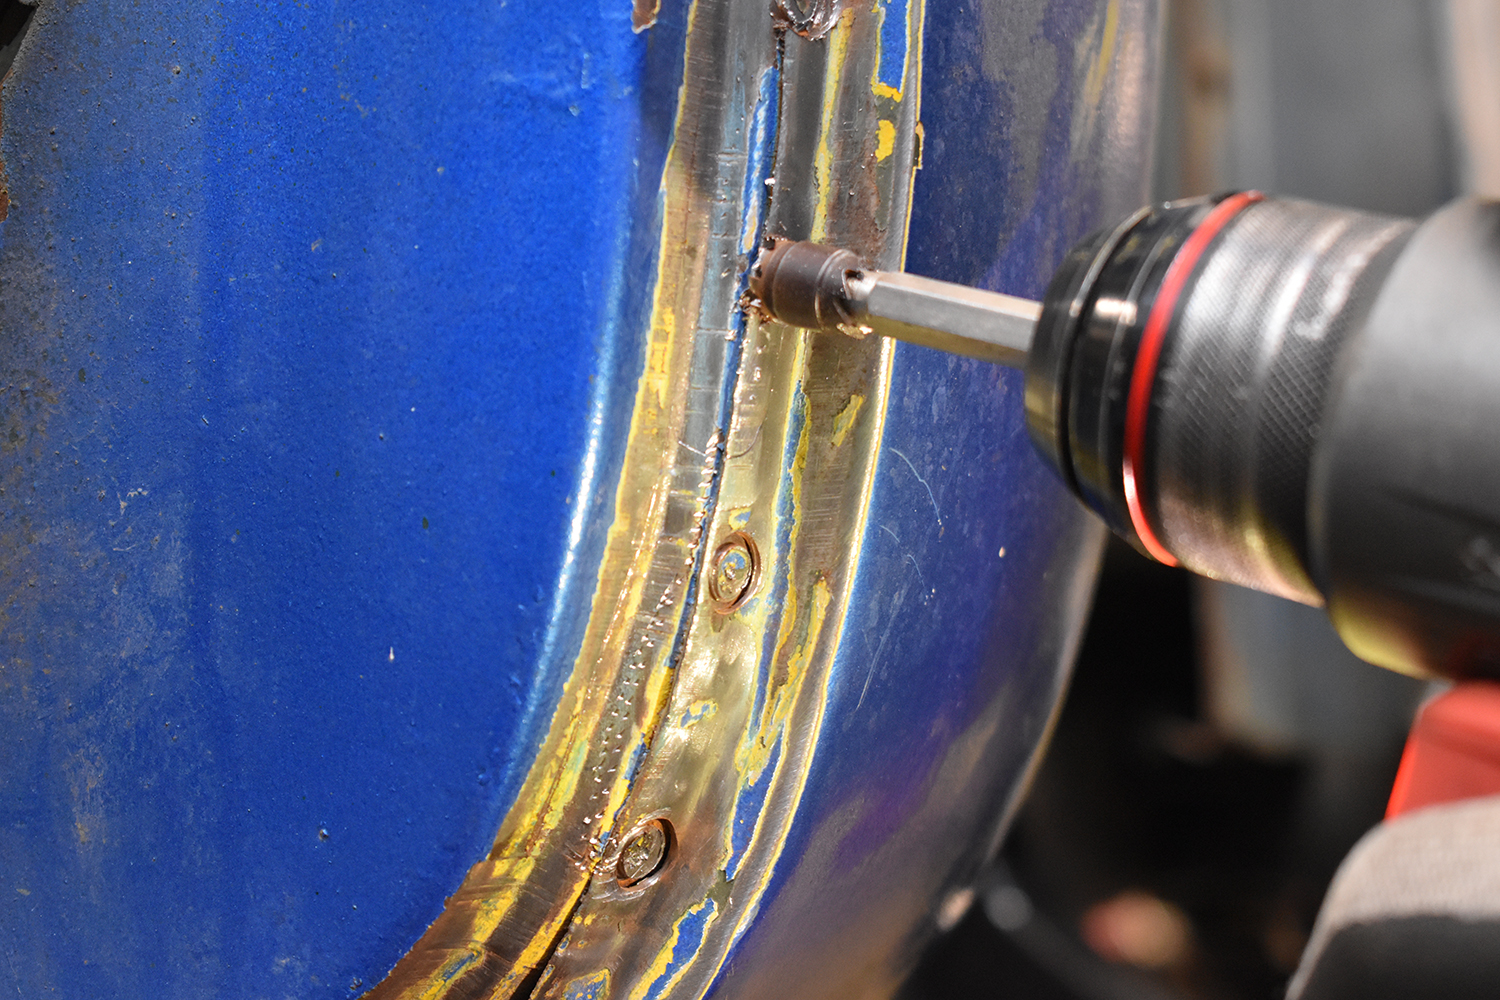
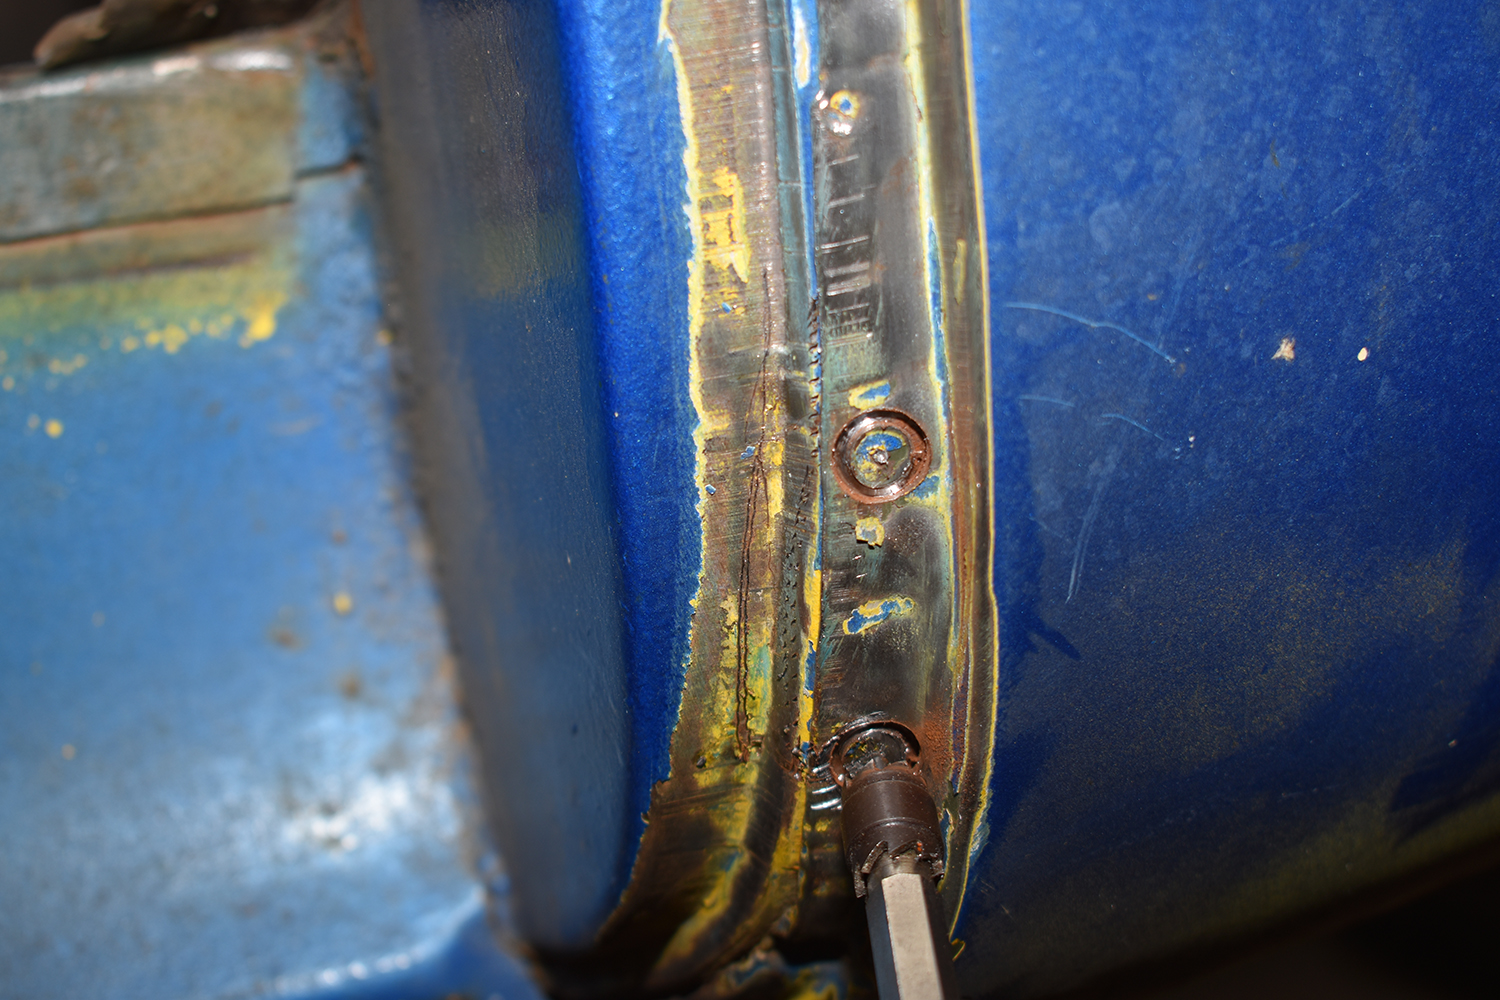
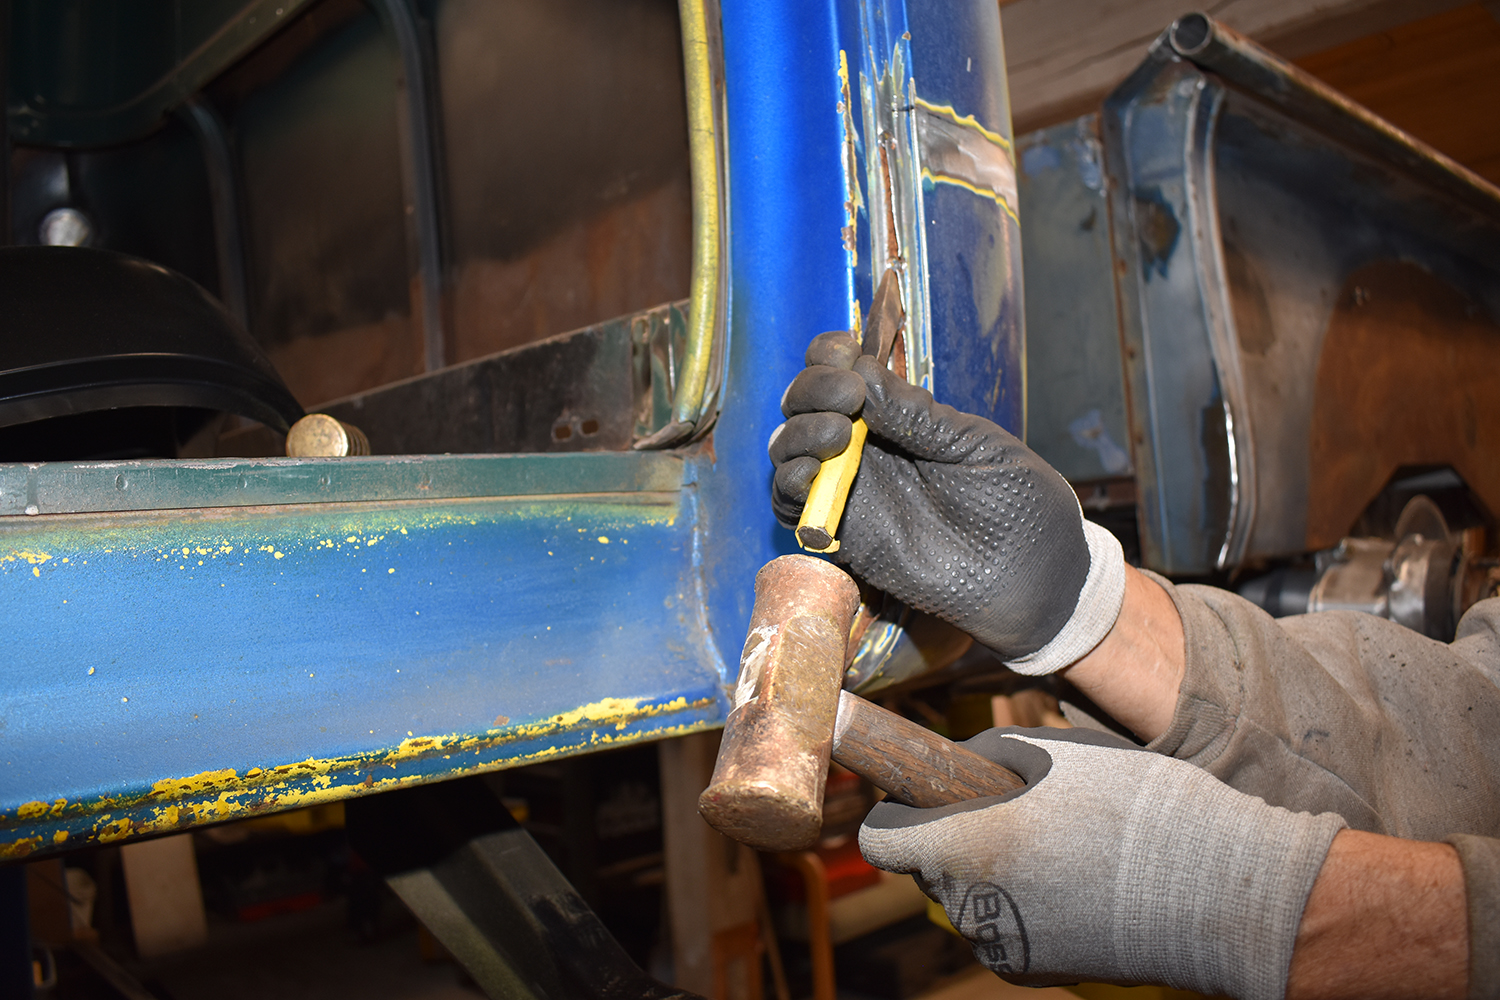
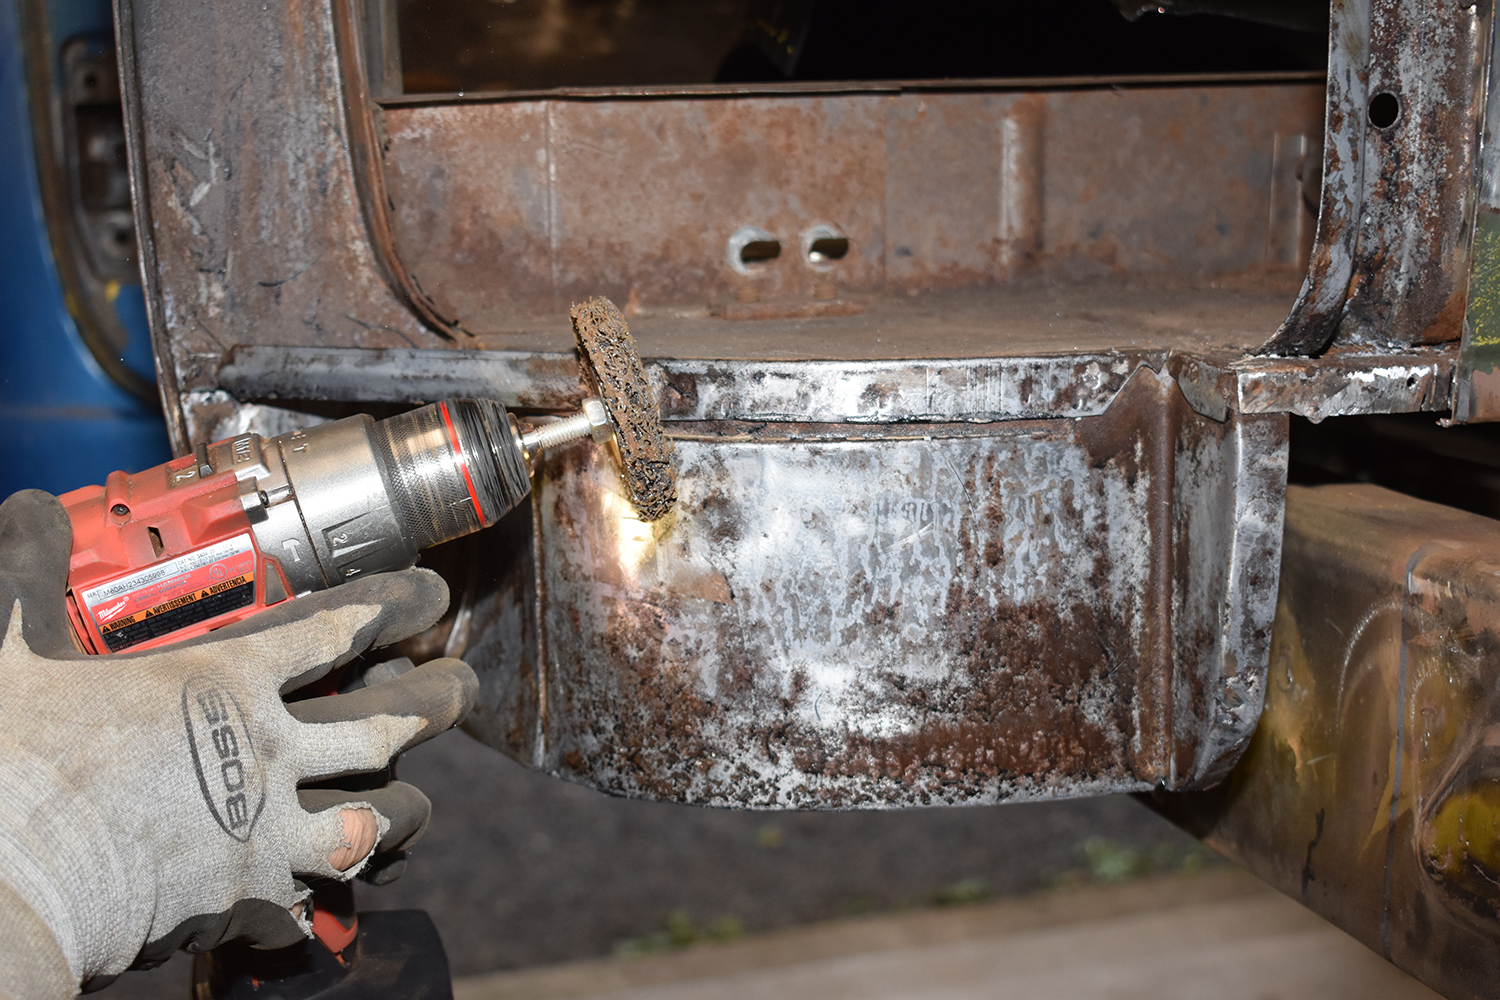
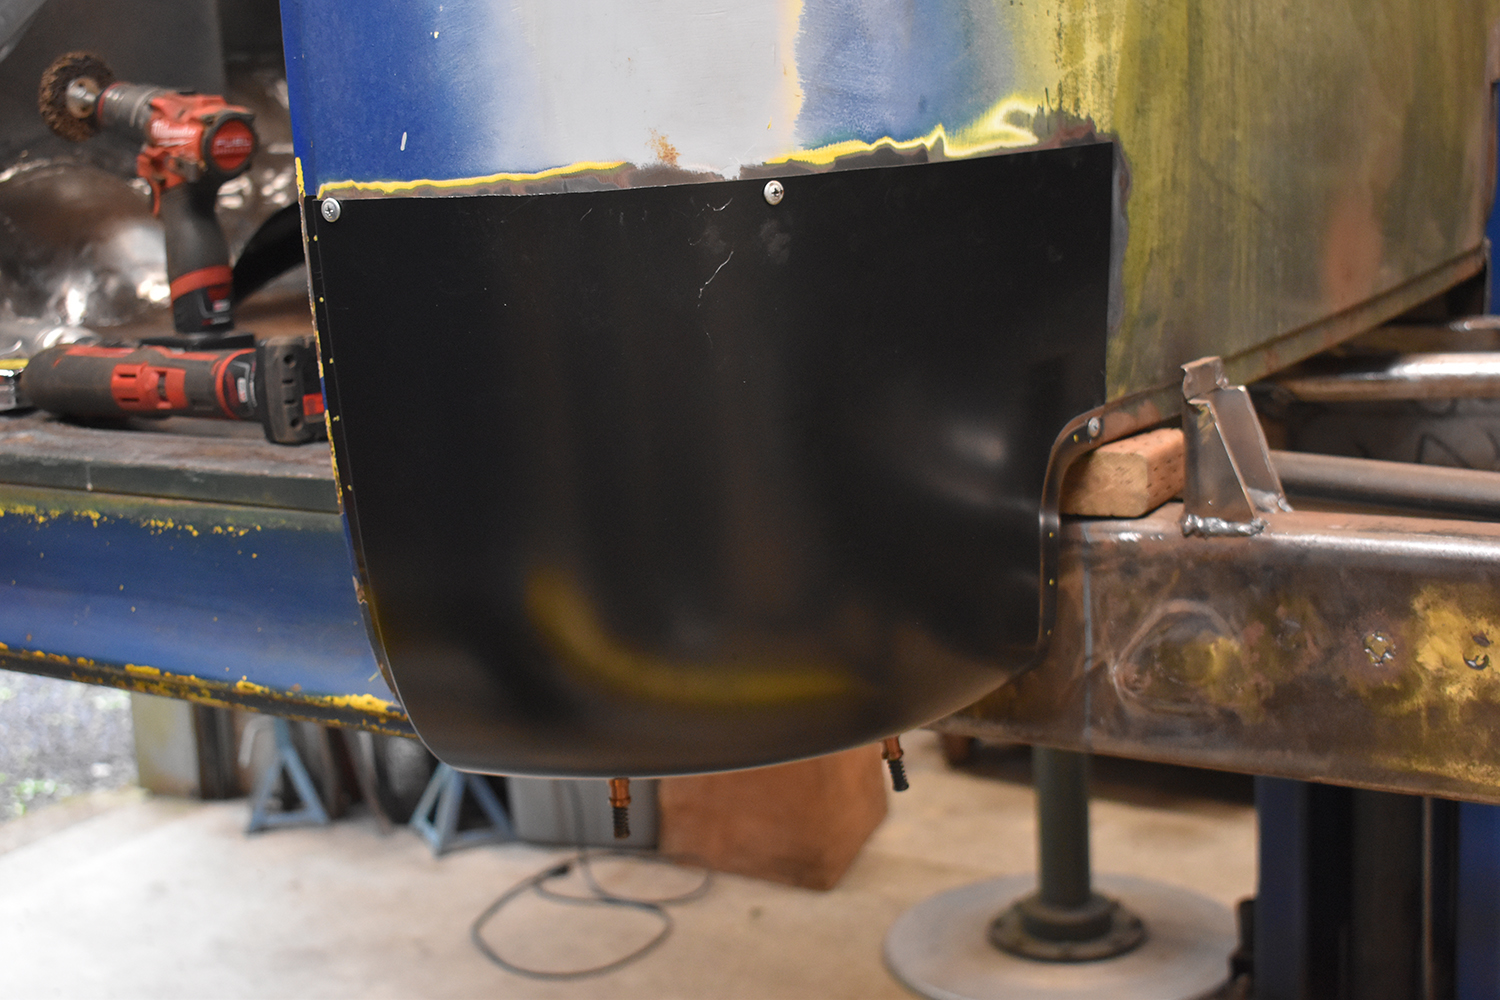
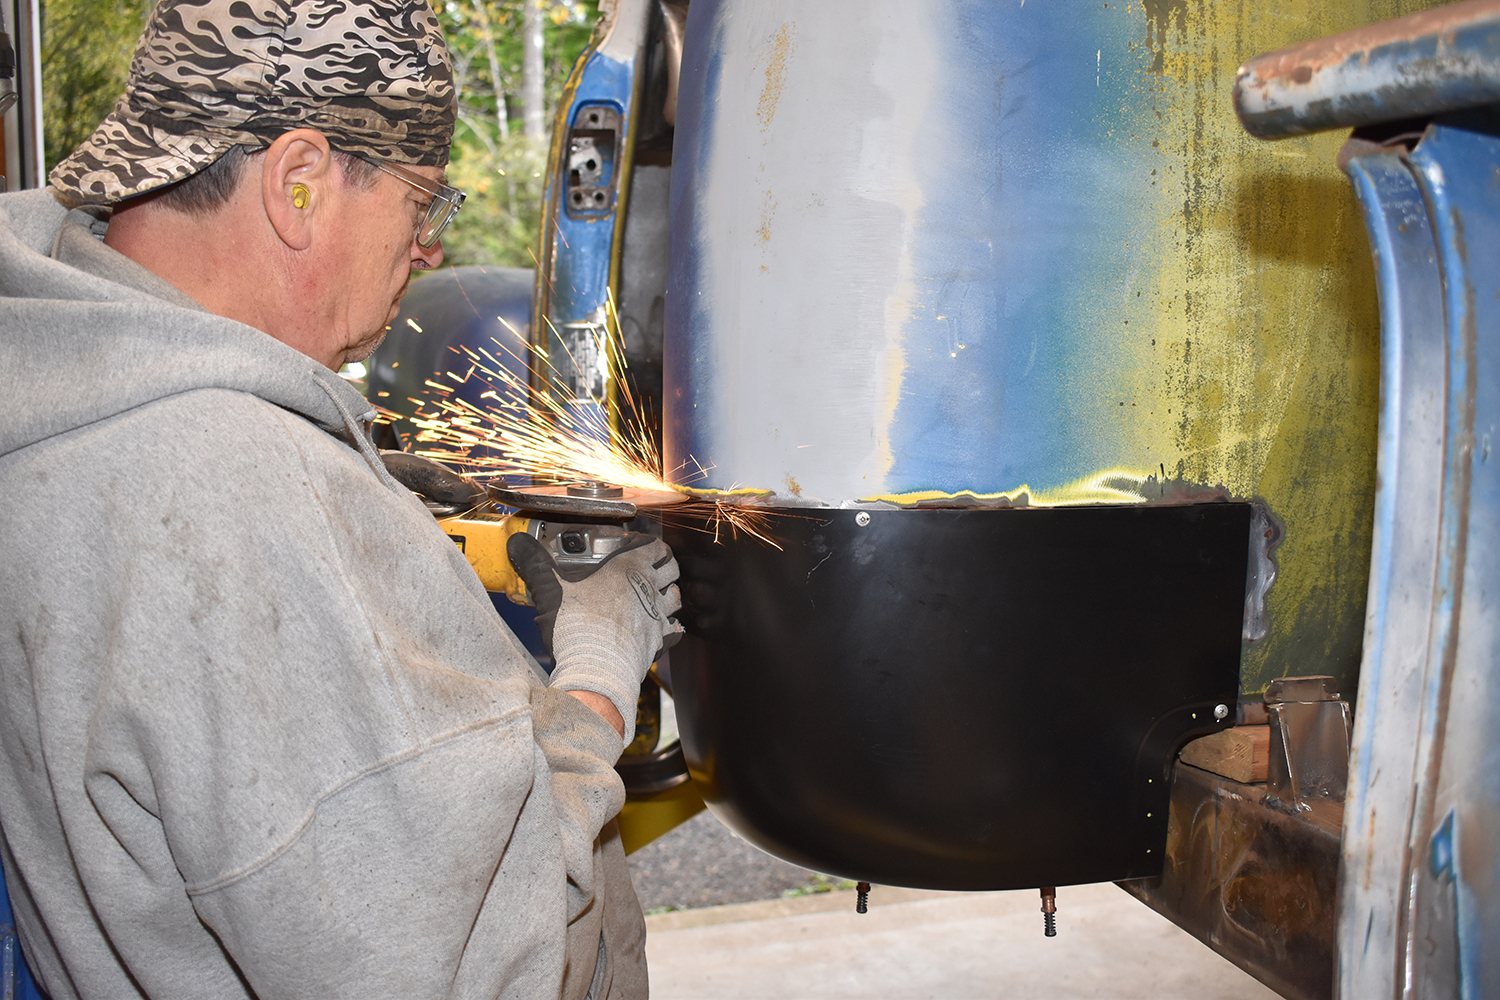
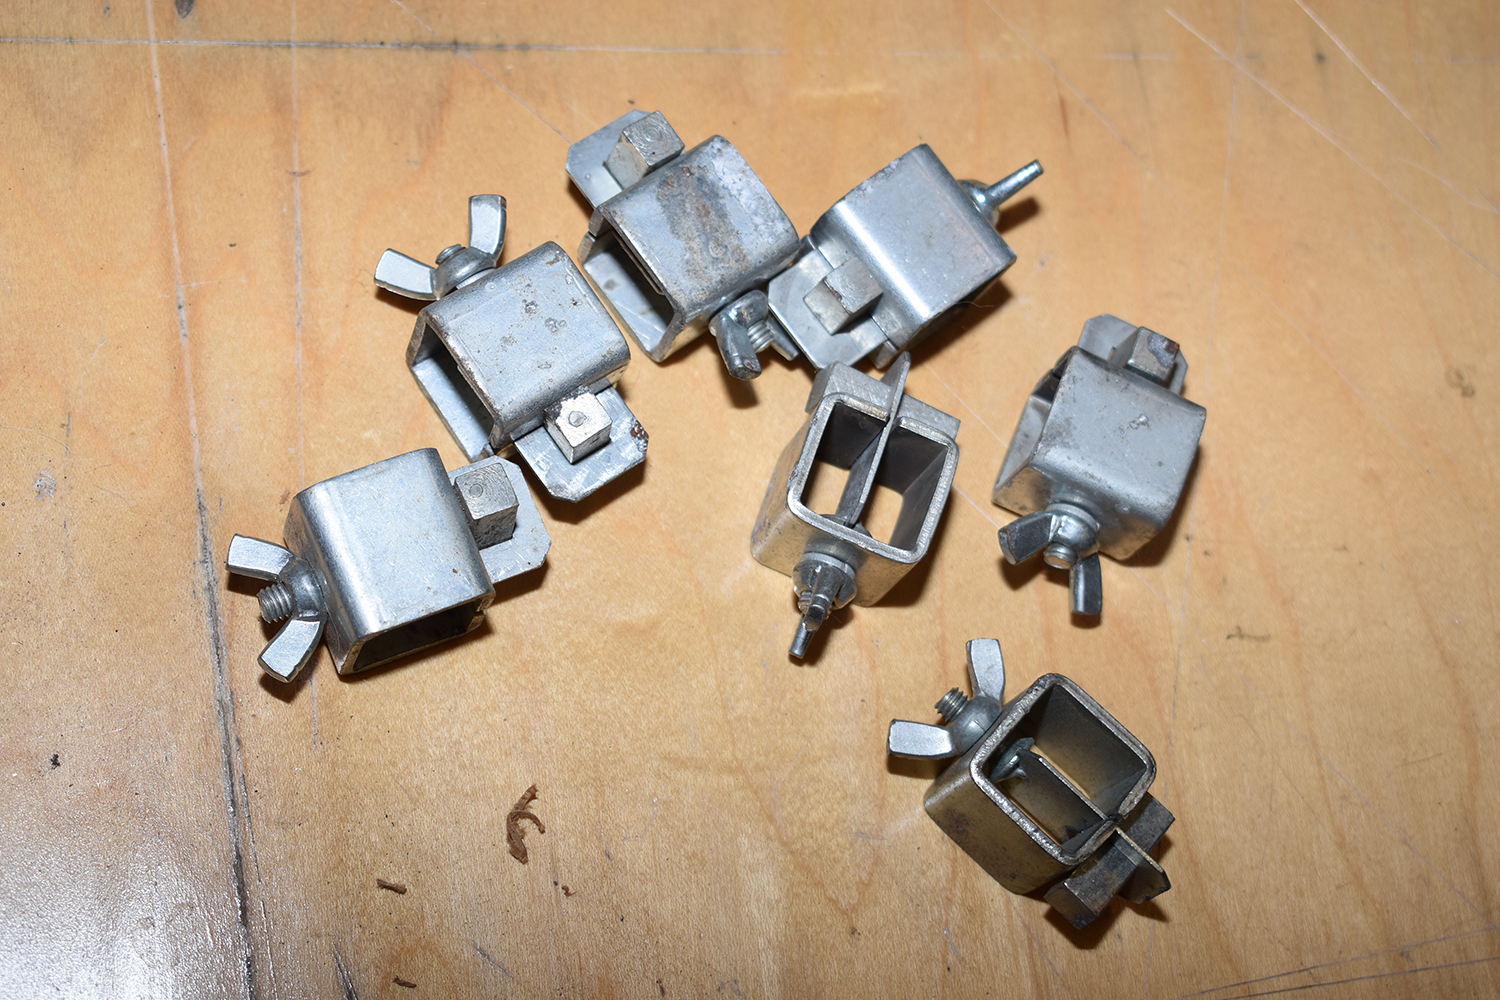
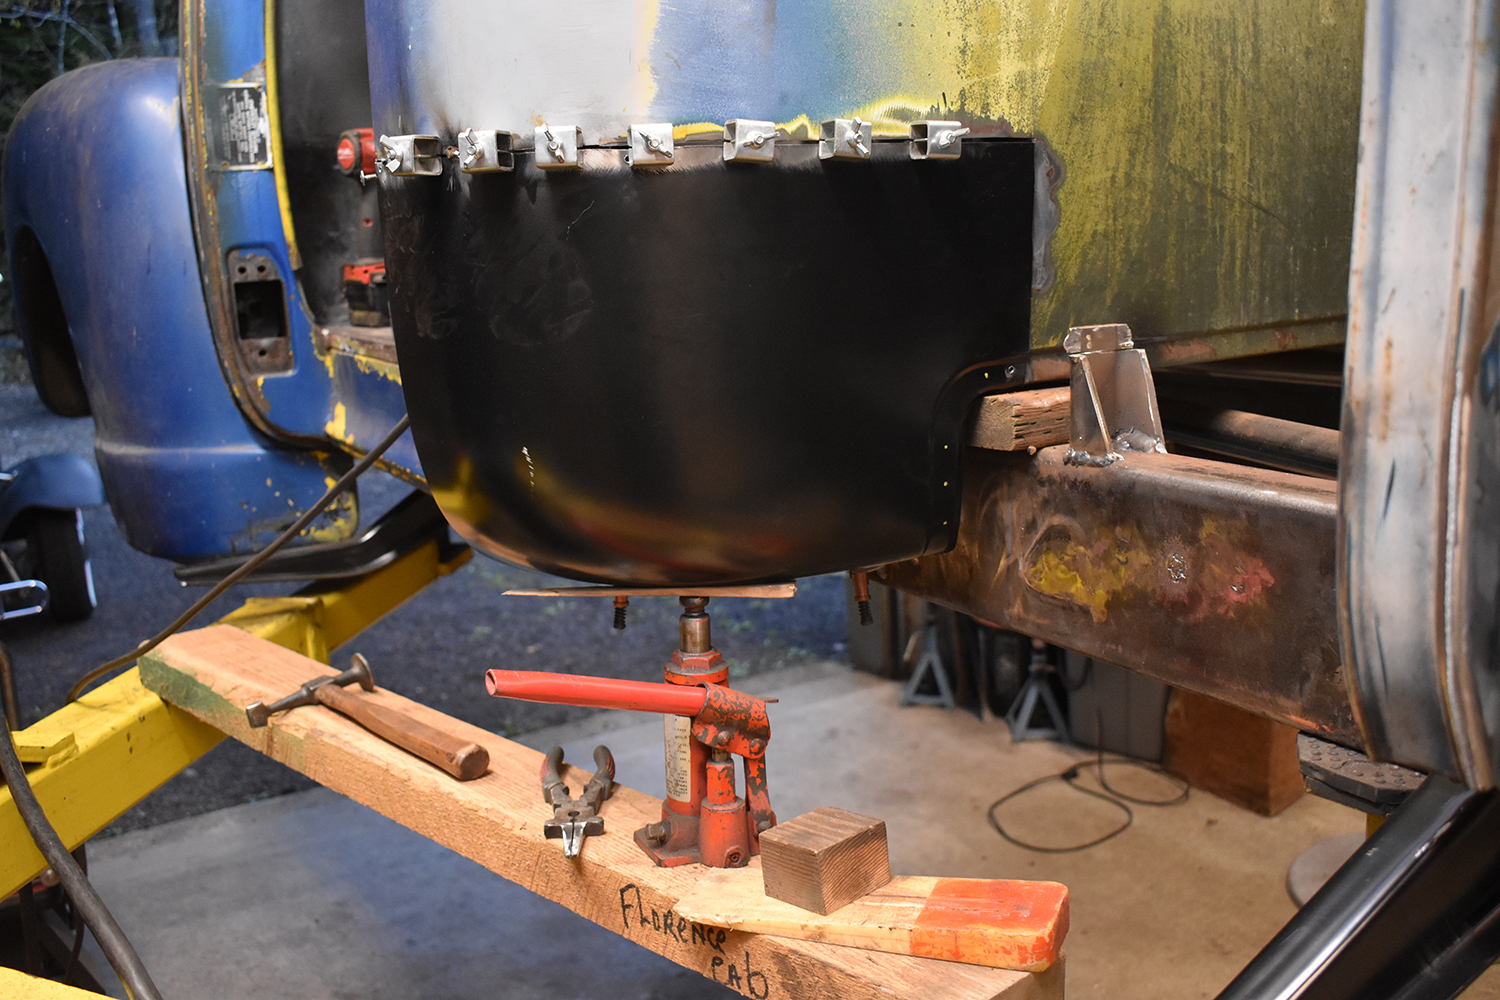
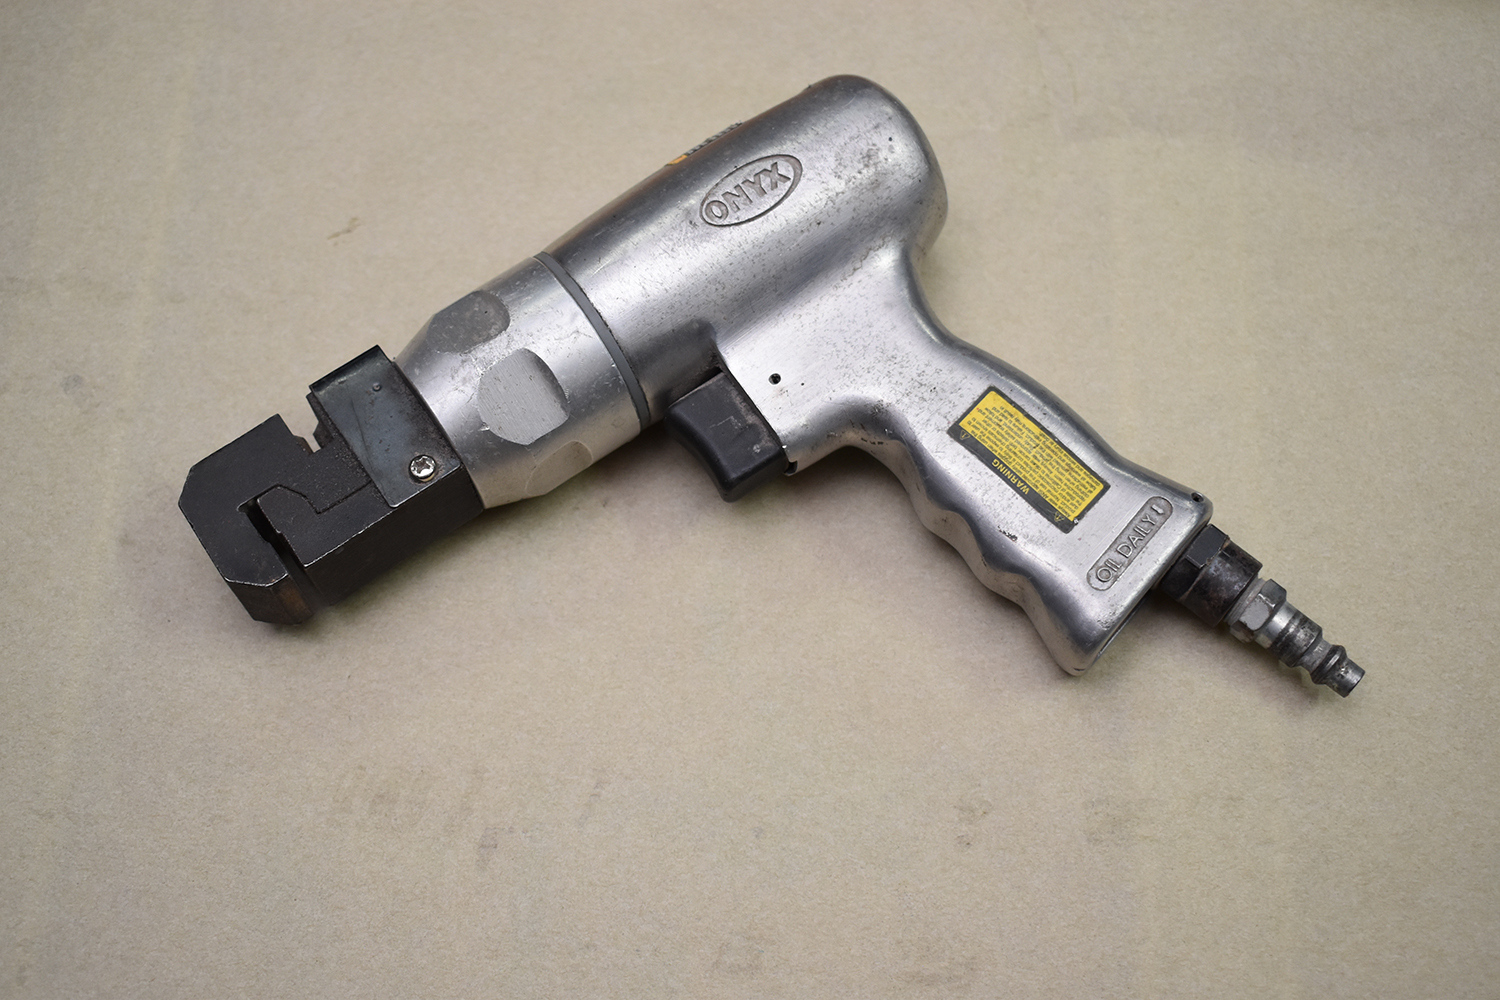
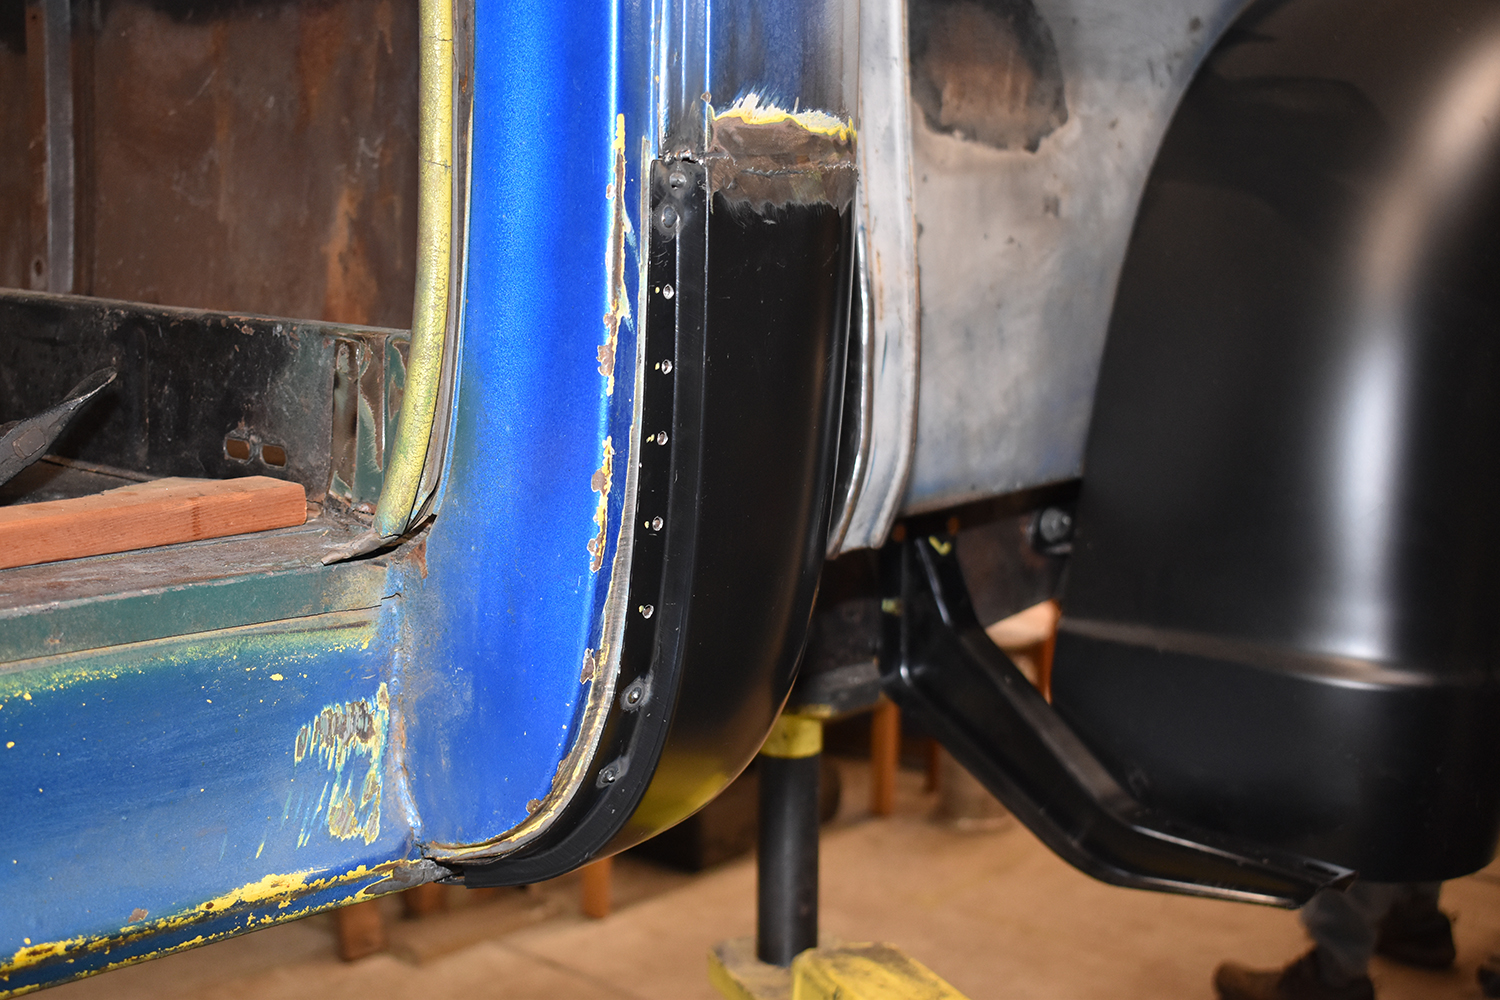
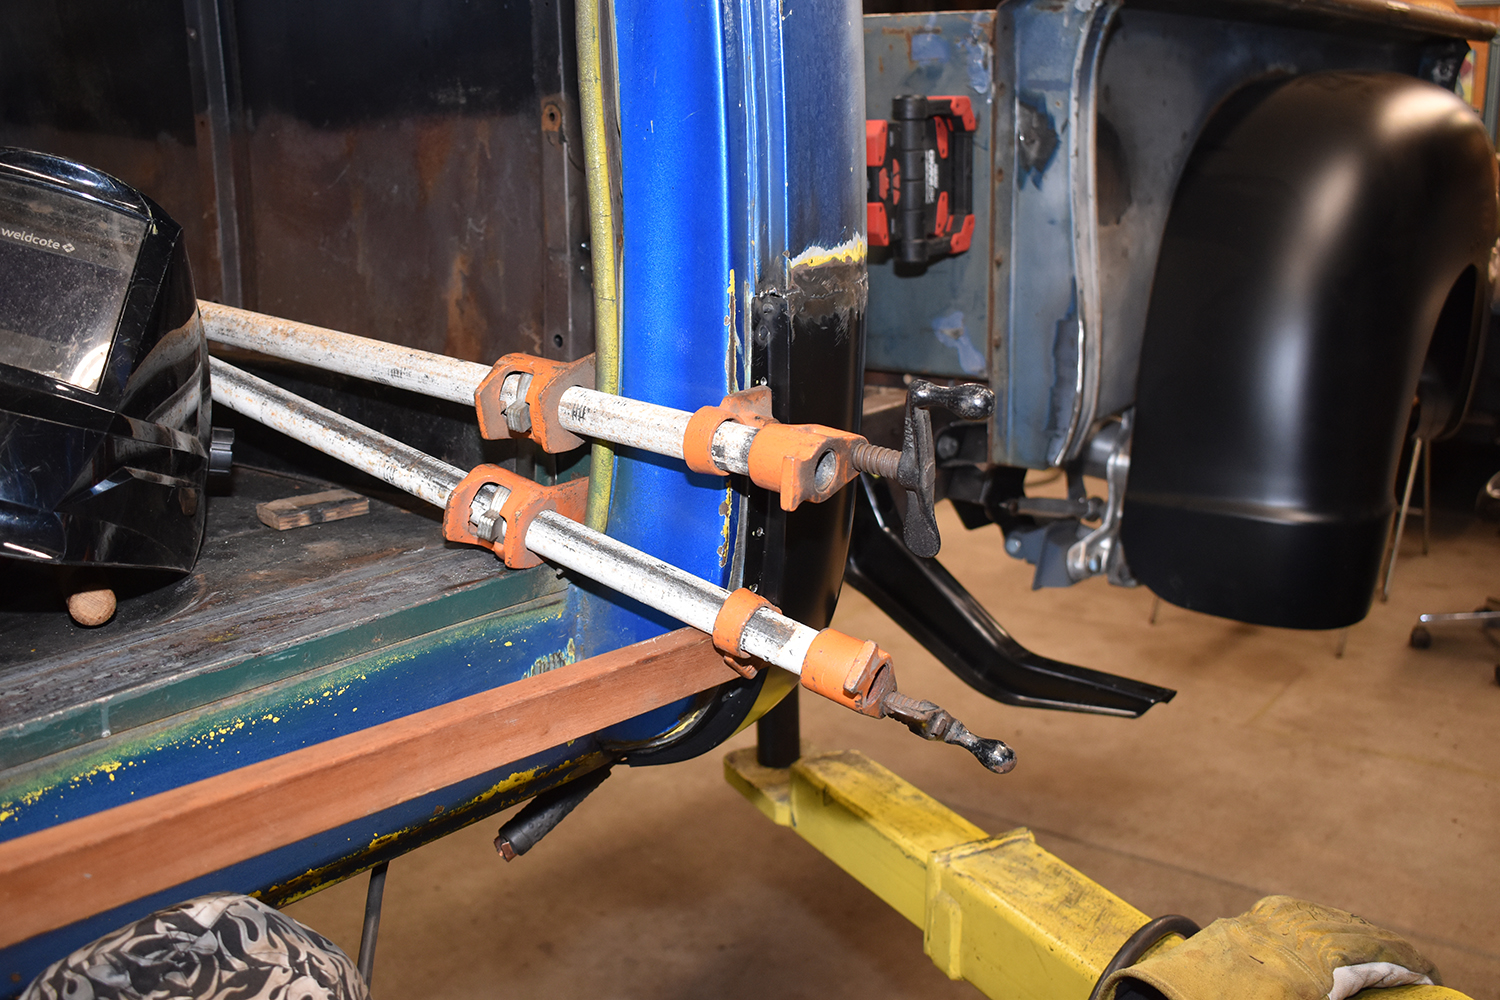
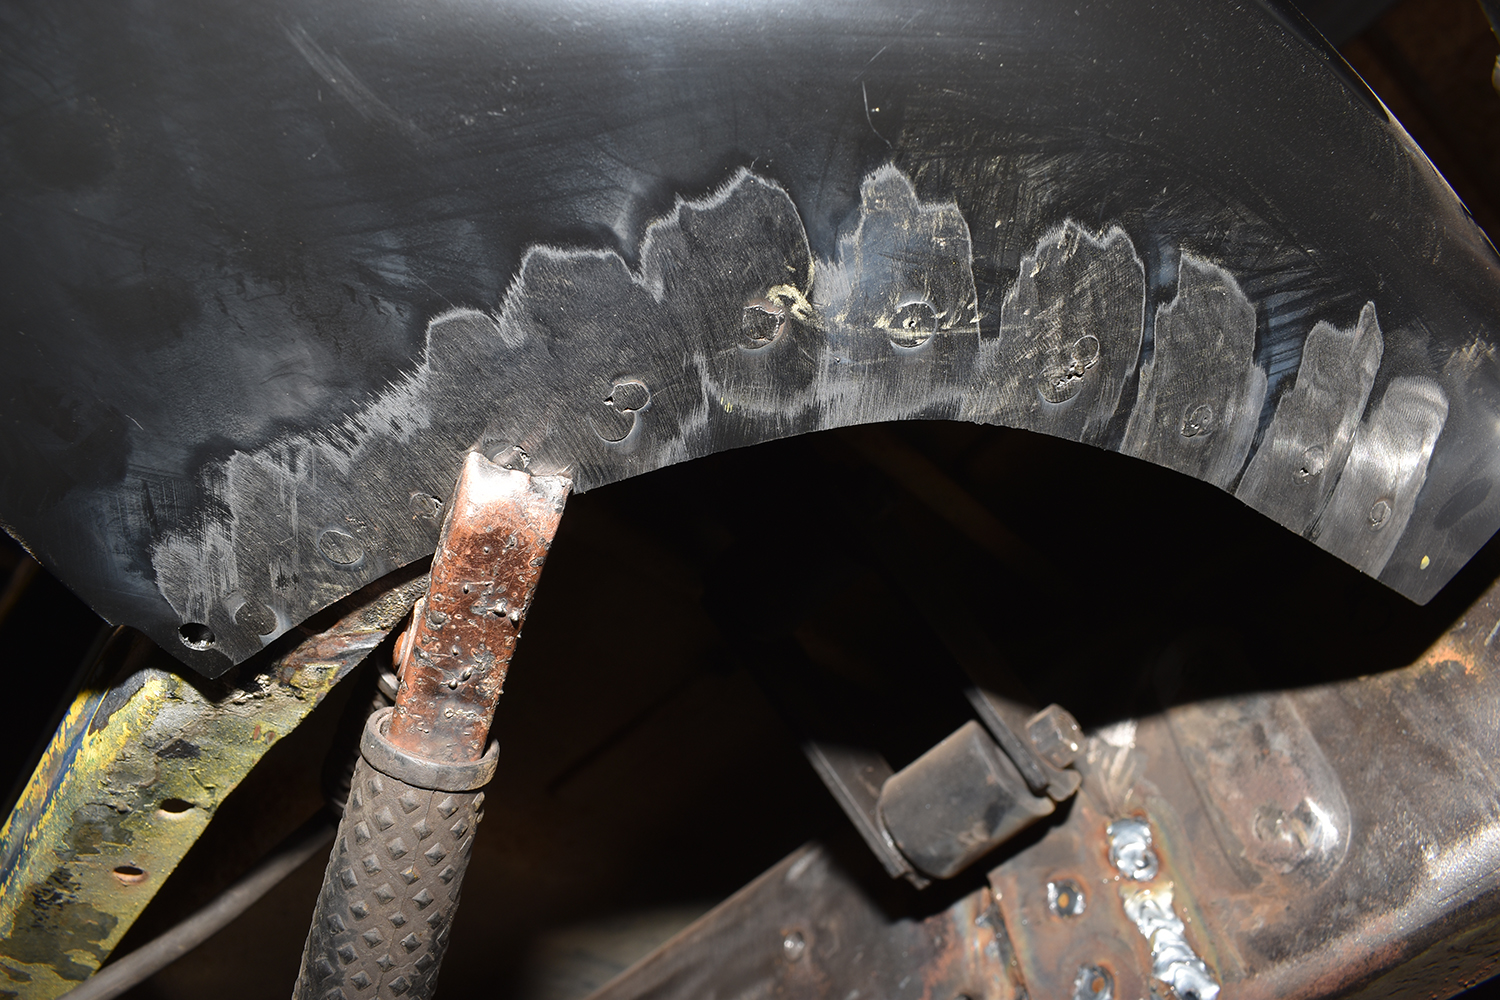
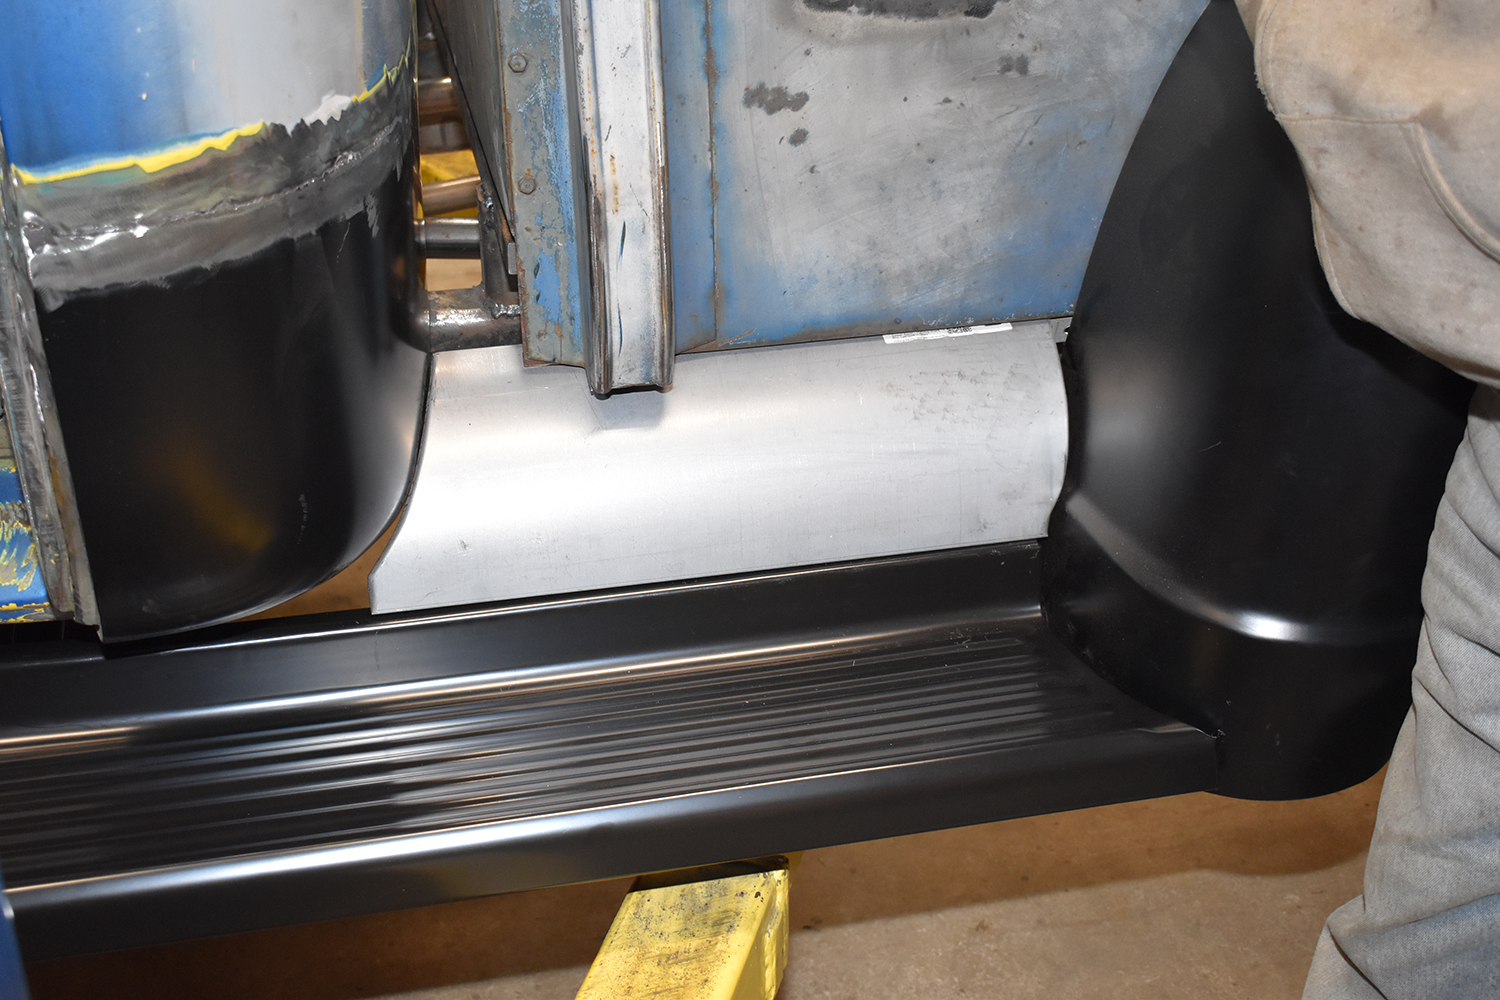
Like most things, there’s more than one way to replace cab corners. We’ve seen the new cab corners installed so they overlap the existing sheetmetal and then filler is used to cover/blend the uneven surfaces—not something we recommend. In some cases it’s possible to use a flanging tool to make a recess that accepts the replacement panel, making the two surfaces flush, but Wilson passed on that plan, too. Instead, the new corners were used to mark the areas to be removed from the cab. Those first cuts were made to allow more precise trimming to be done later. Once cut to the exact size the replacement sheetmetal was tack welded while being held in place with panel clamps. These clamps provide the perfect gap for welding and are easily removed when no longer needed.

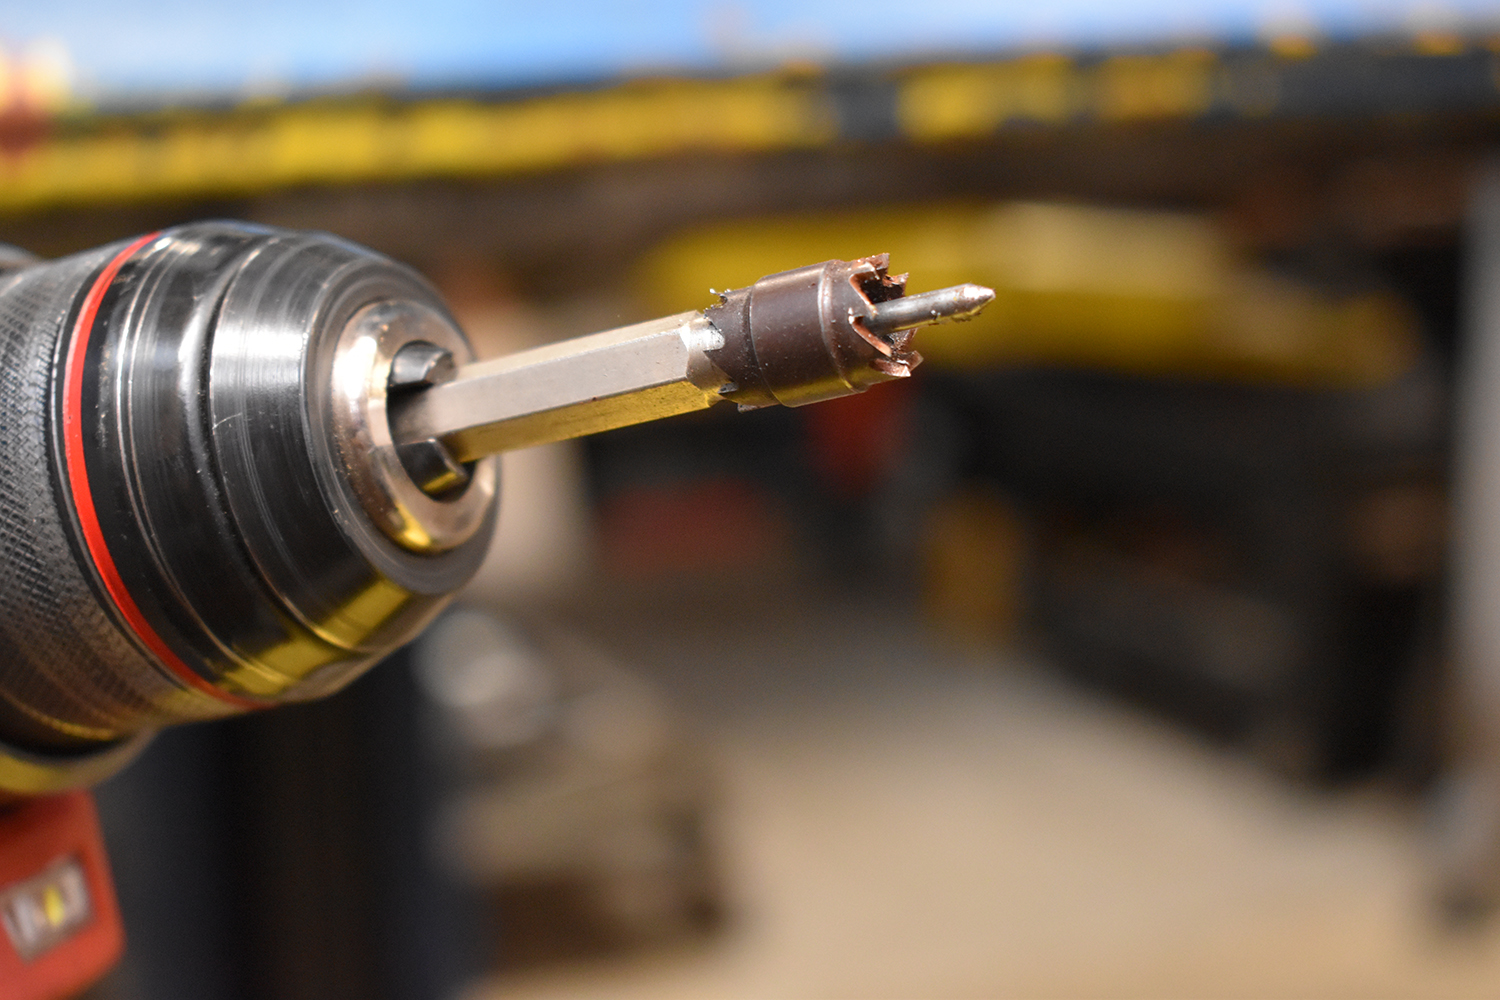
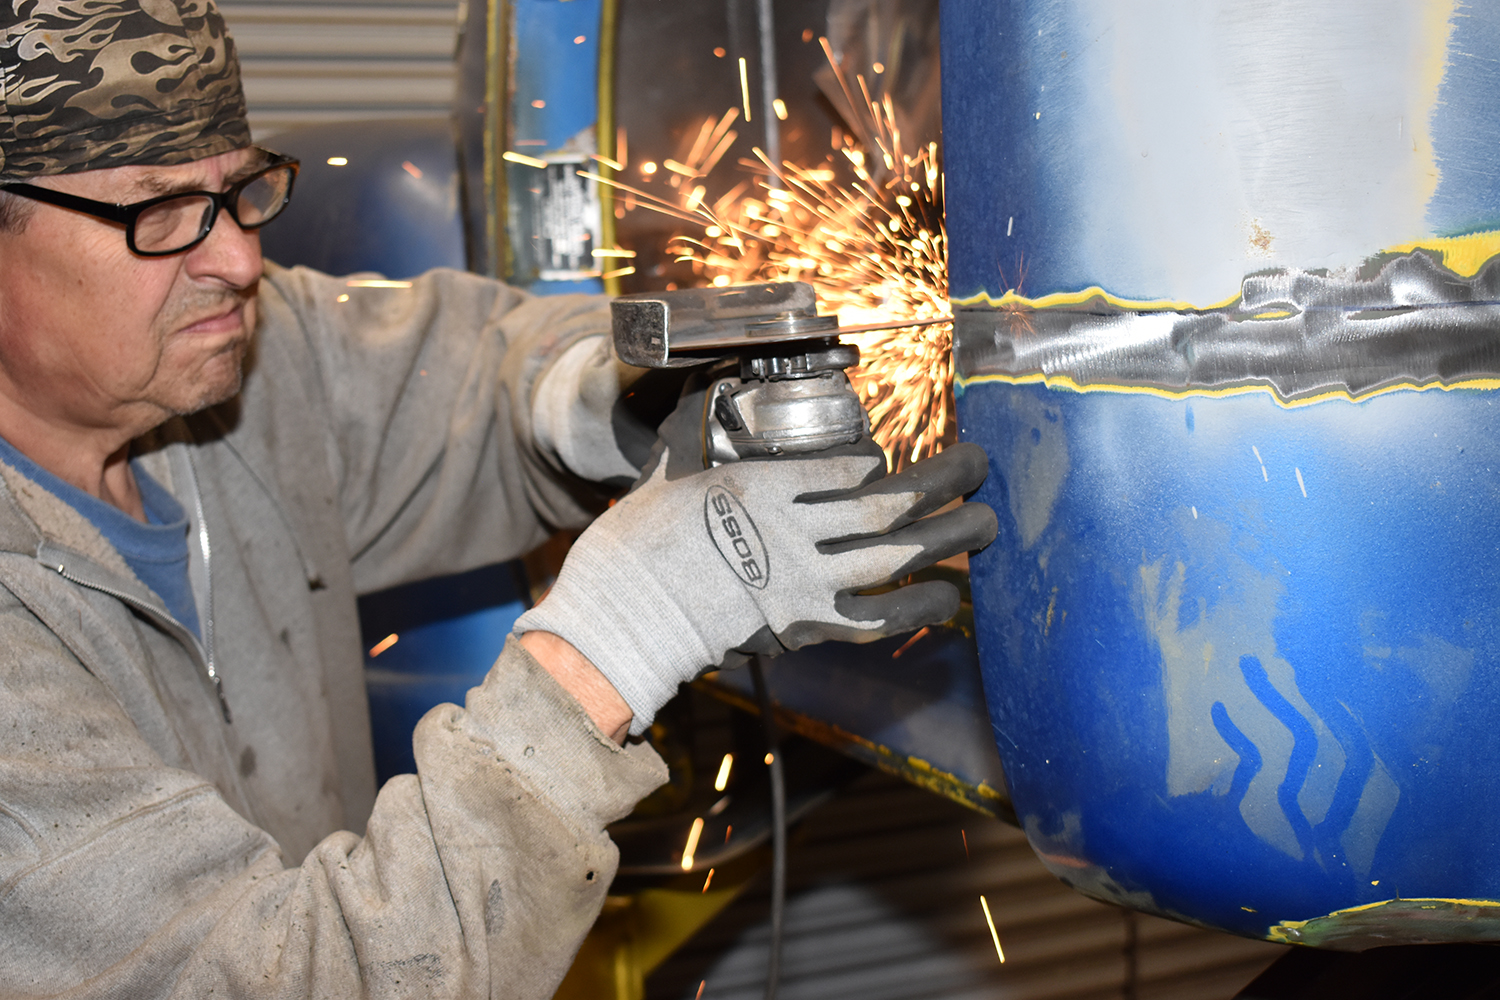
On the subject of welding, to make life easier it was all done with a MIG welder using ESAB 0.023 Easy Grind wire. As the name implies, this wire is soft enough to grind easily without building up the heat that can cause panels to warp when grinding “harder” welding wire while still providing more than adequate strength.

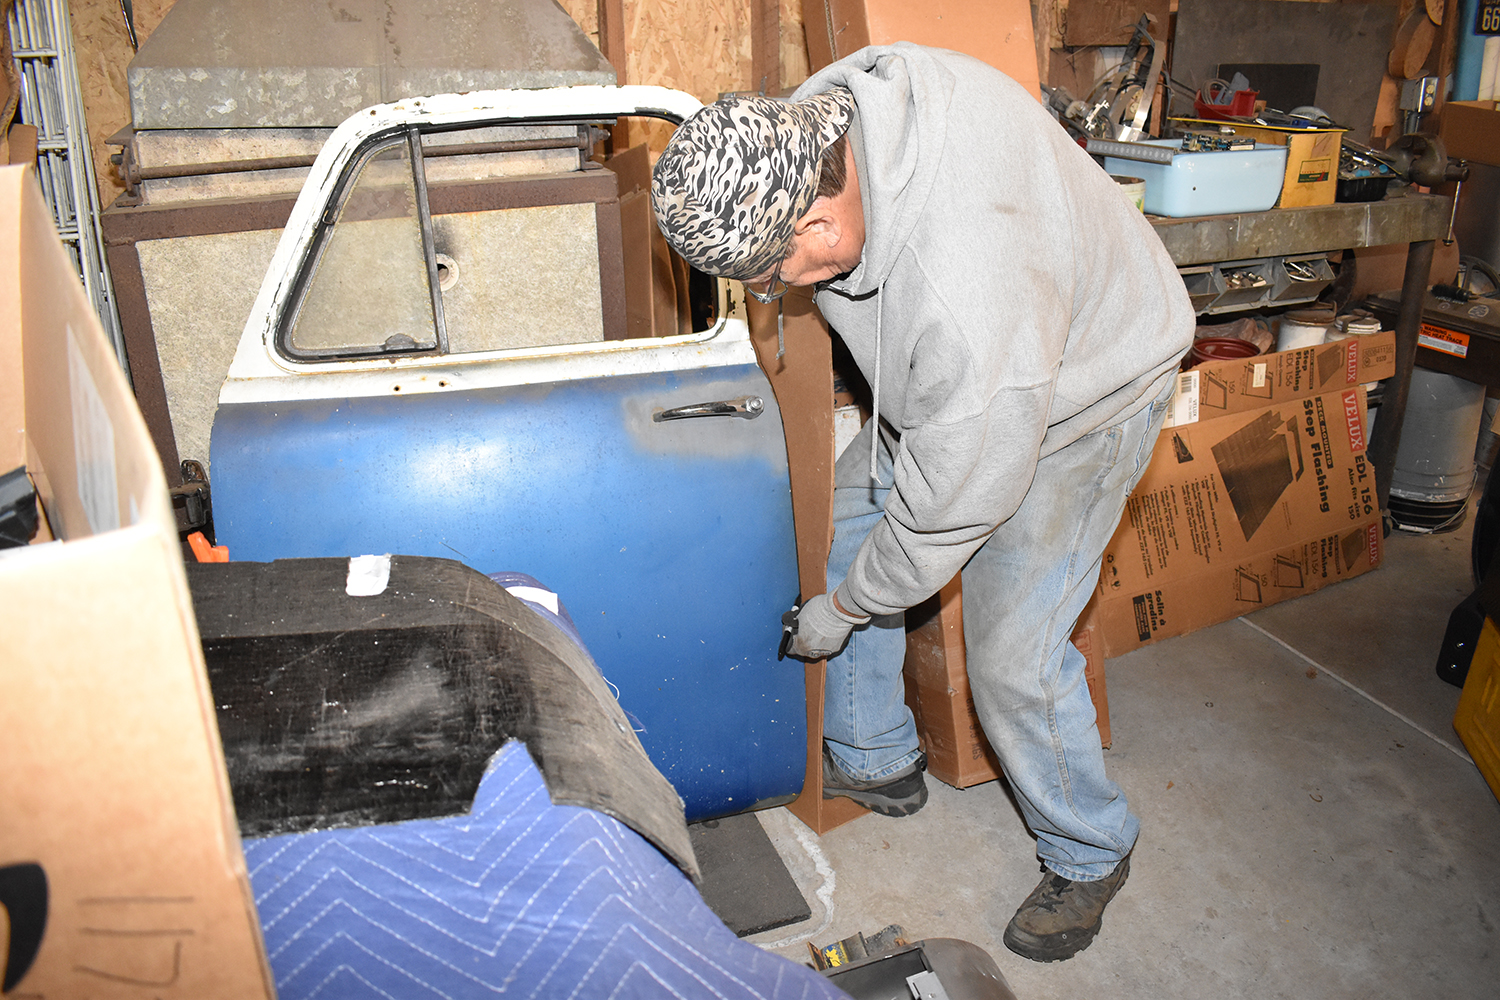
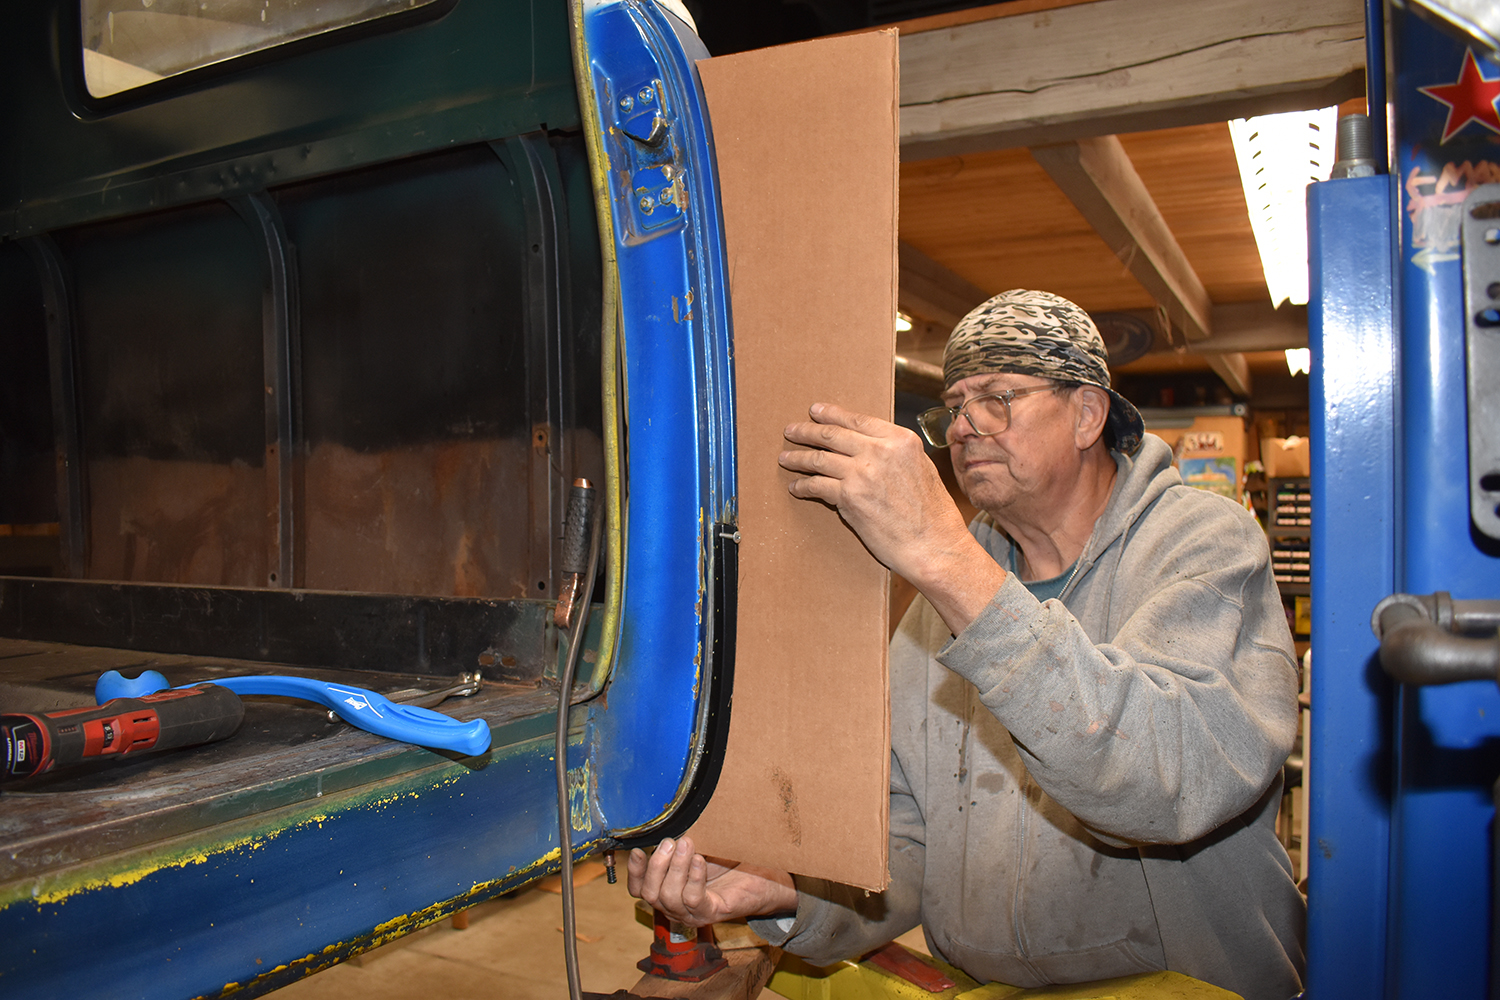
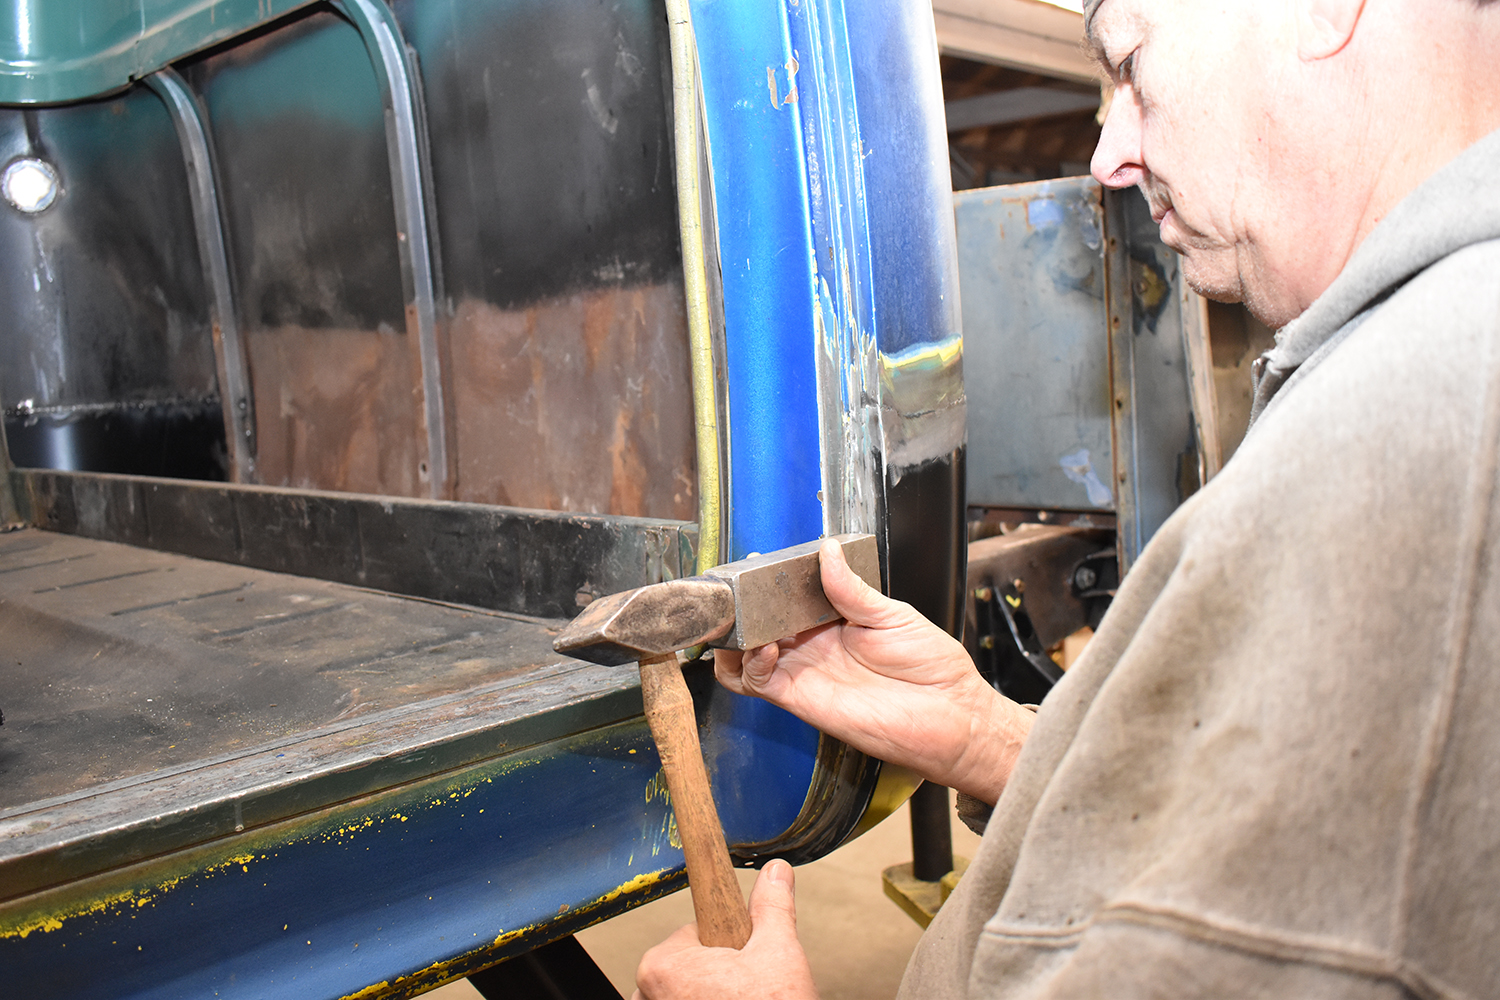
One common challenge when replacing cab corners is matching their shape to the contour of the doors. Classic trucks often don’t fit that well to begin with, so Wilson made a template of the doors to verify the doors and cab corners fit correctly. It’s much easier to make the cab corners fit properly during installation than after they are welded in place.
Repairing cab corners isn’t difficult. Take your time to fit the replacement panels precisely, skip around the edges when welding to avoid warpage, and use care when grinding for the same reason and you’ll find cutting corners is a good thing.
Check out this story in our digital edition here.


Source
Chevs Of The 40’s
(800) 952-8156
chevsofthe40s.com