Part of the allure of vintage cars is that sensation of nostalgia that only comes from driving one. However, vintage electronics, especially in the gauge department, can leave a lot to be desired. Their sole purpose is to keep your engine safe, battery charged, and fuel tank visibly full enough to not strand you on the side of the road—all things any driver will appreciate.
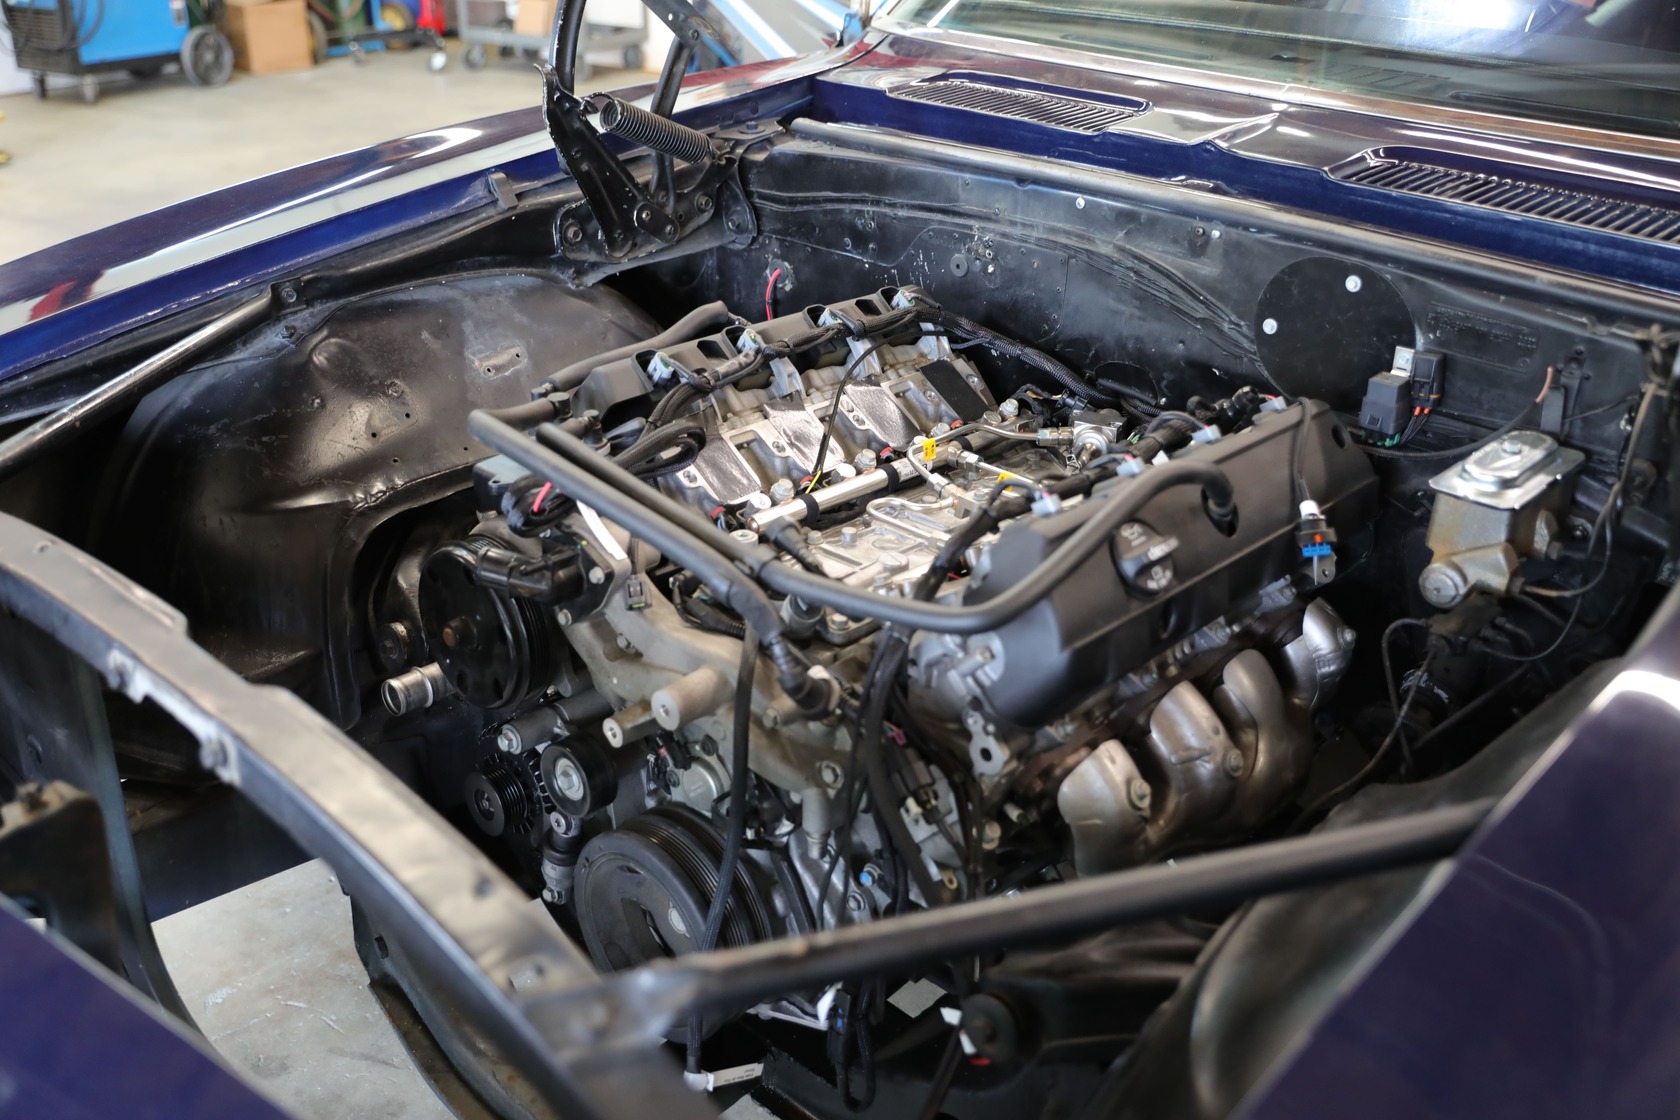
The powerplant of this Camaro, an ex-drag car being returned to street duty, is an LT1 Gen V V-8. It will be topped with a take-off LT4 supercharger. The late-model engine needed some high-tech instruments to properly monitor its vitals.
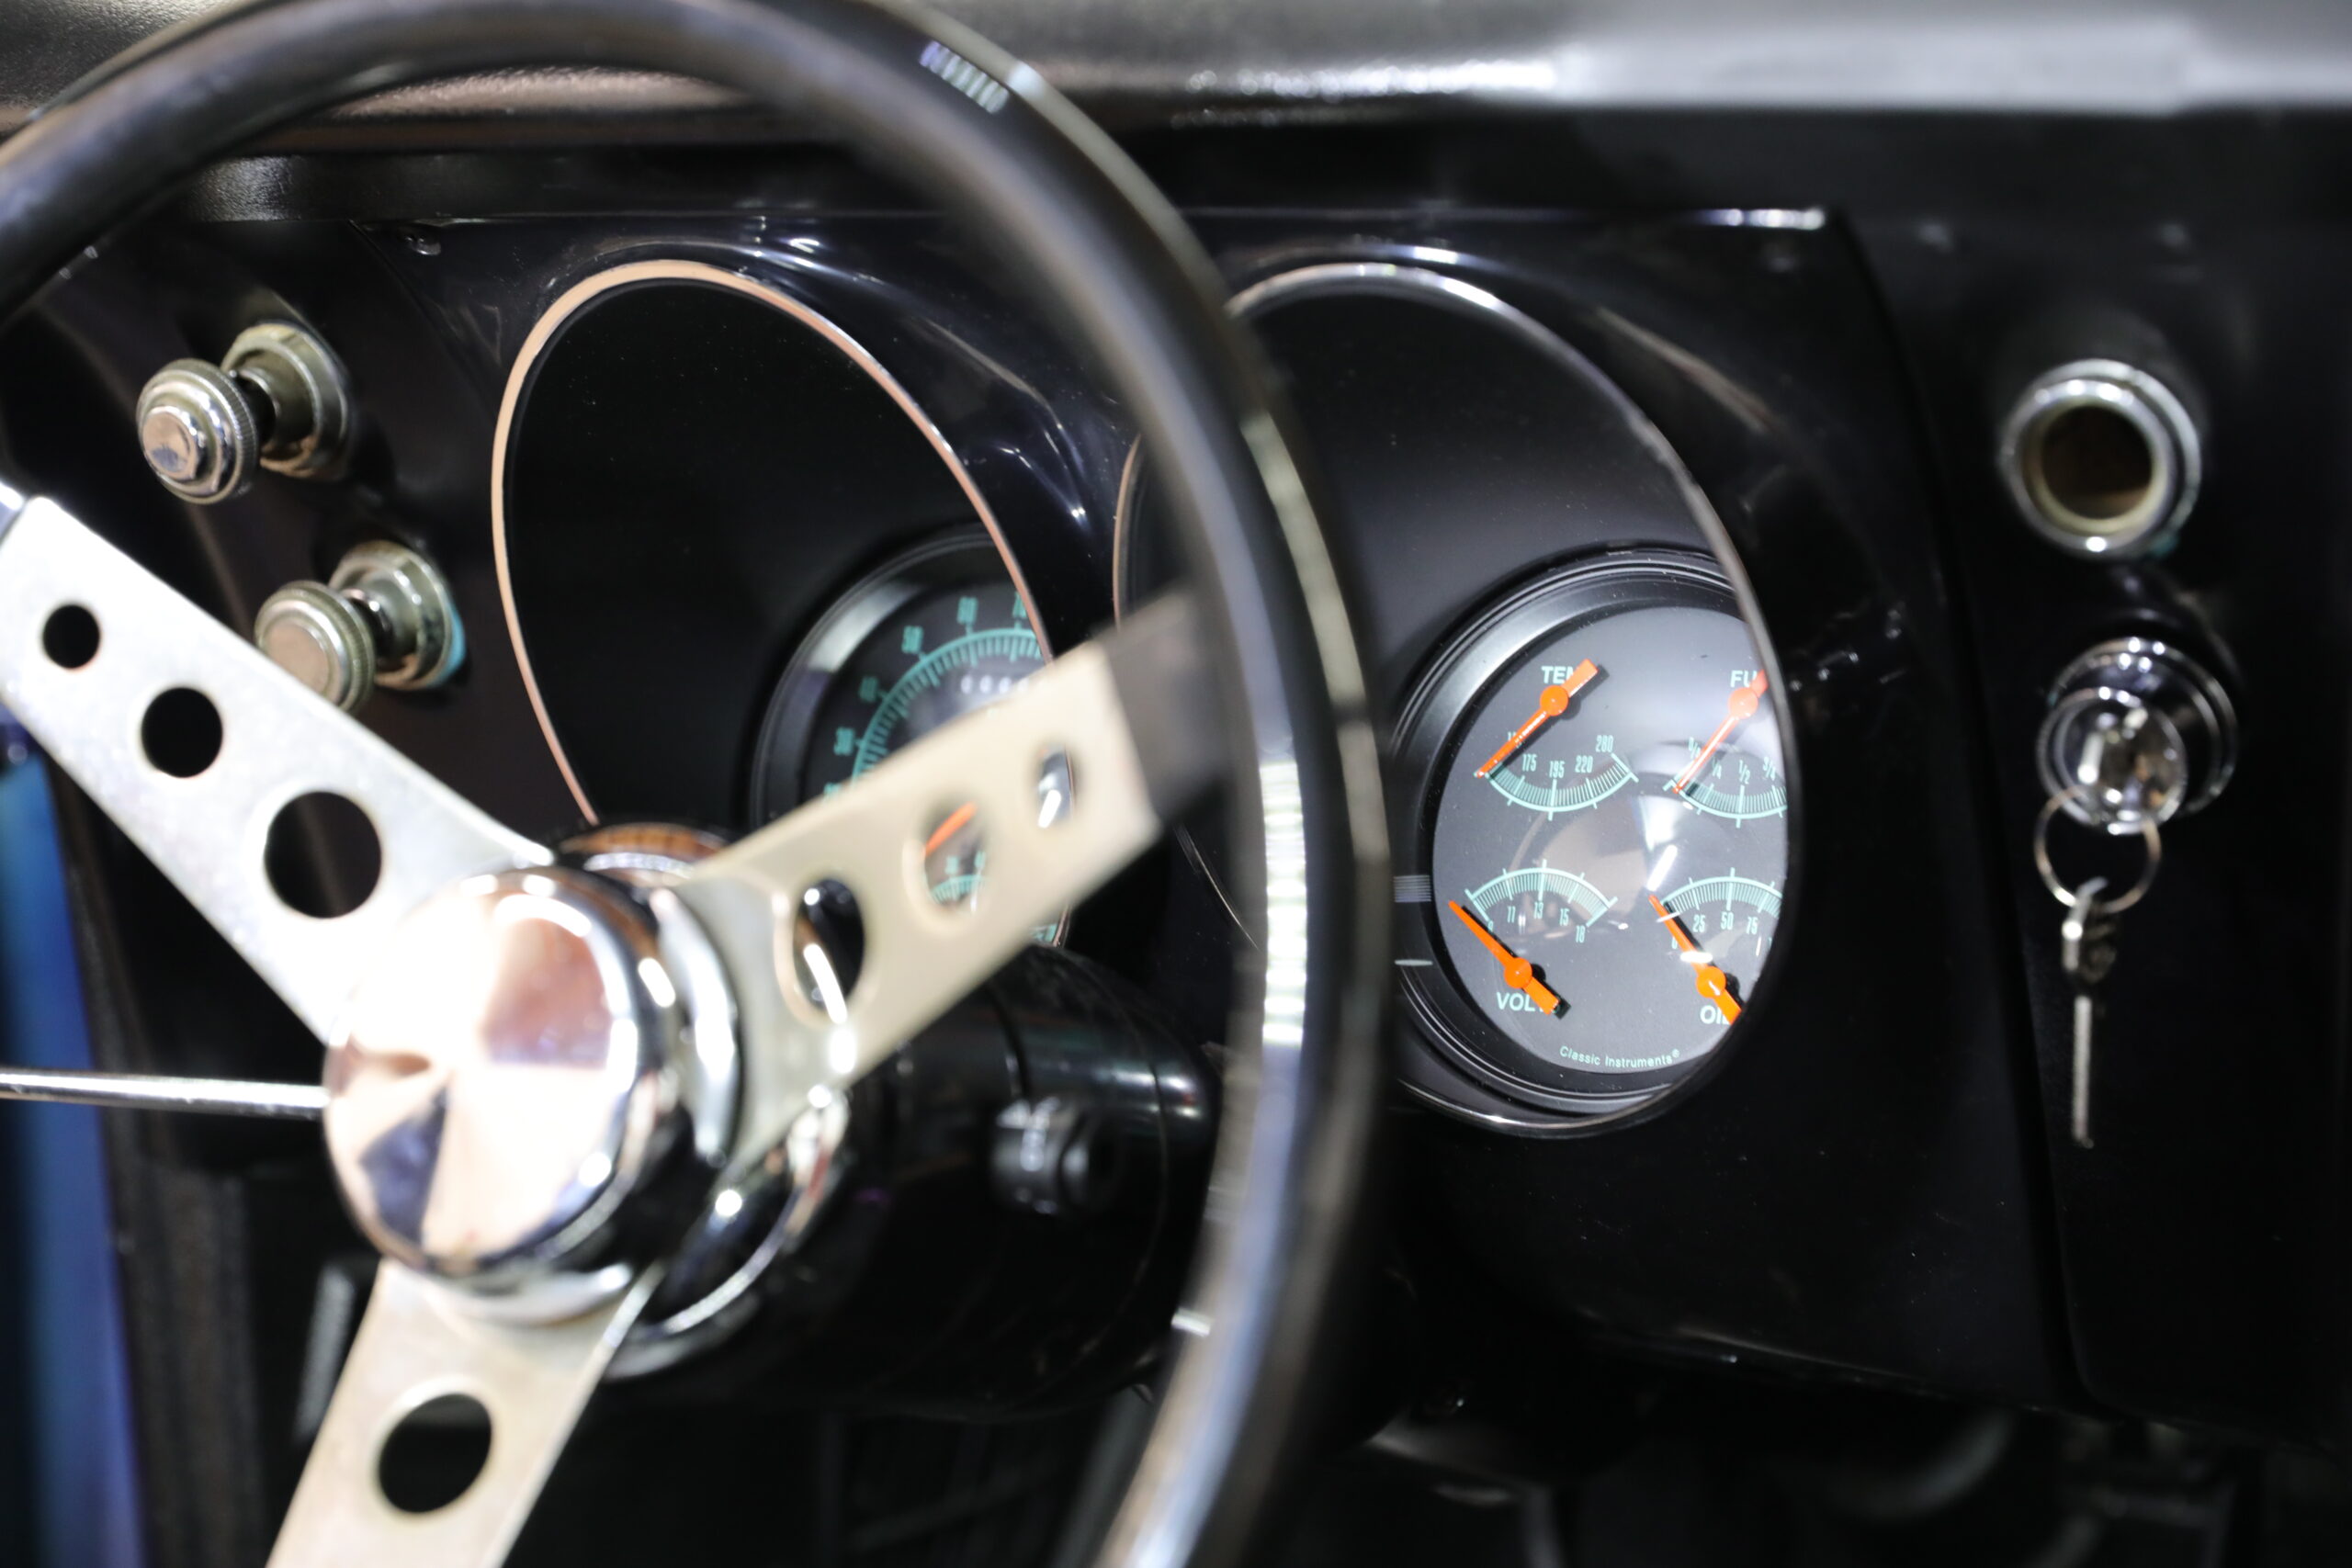
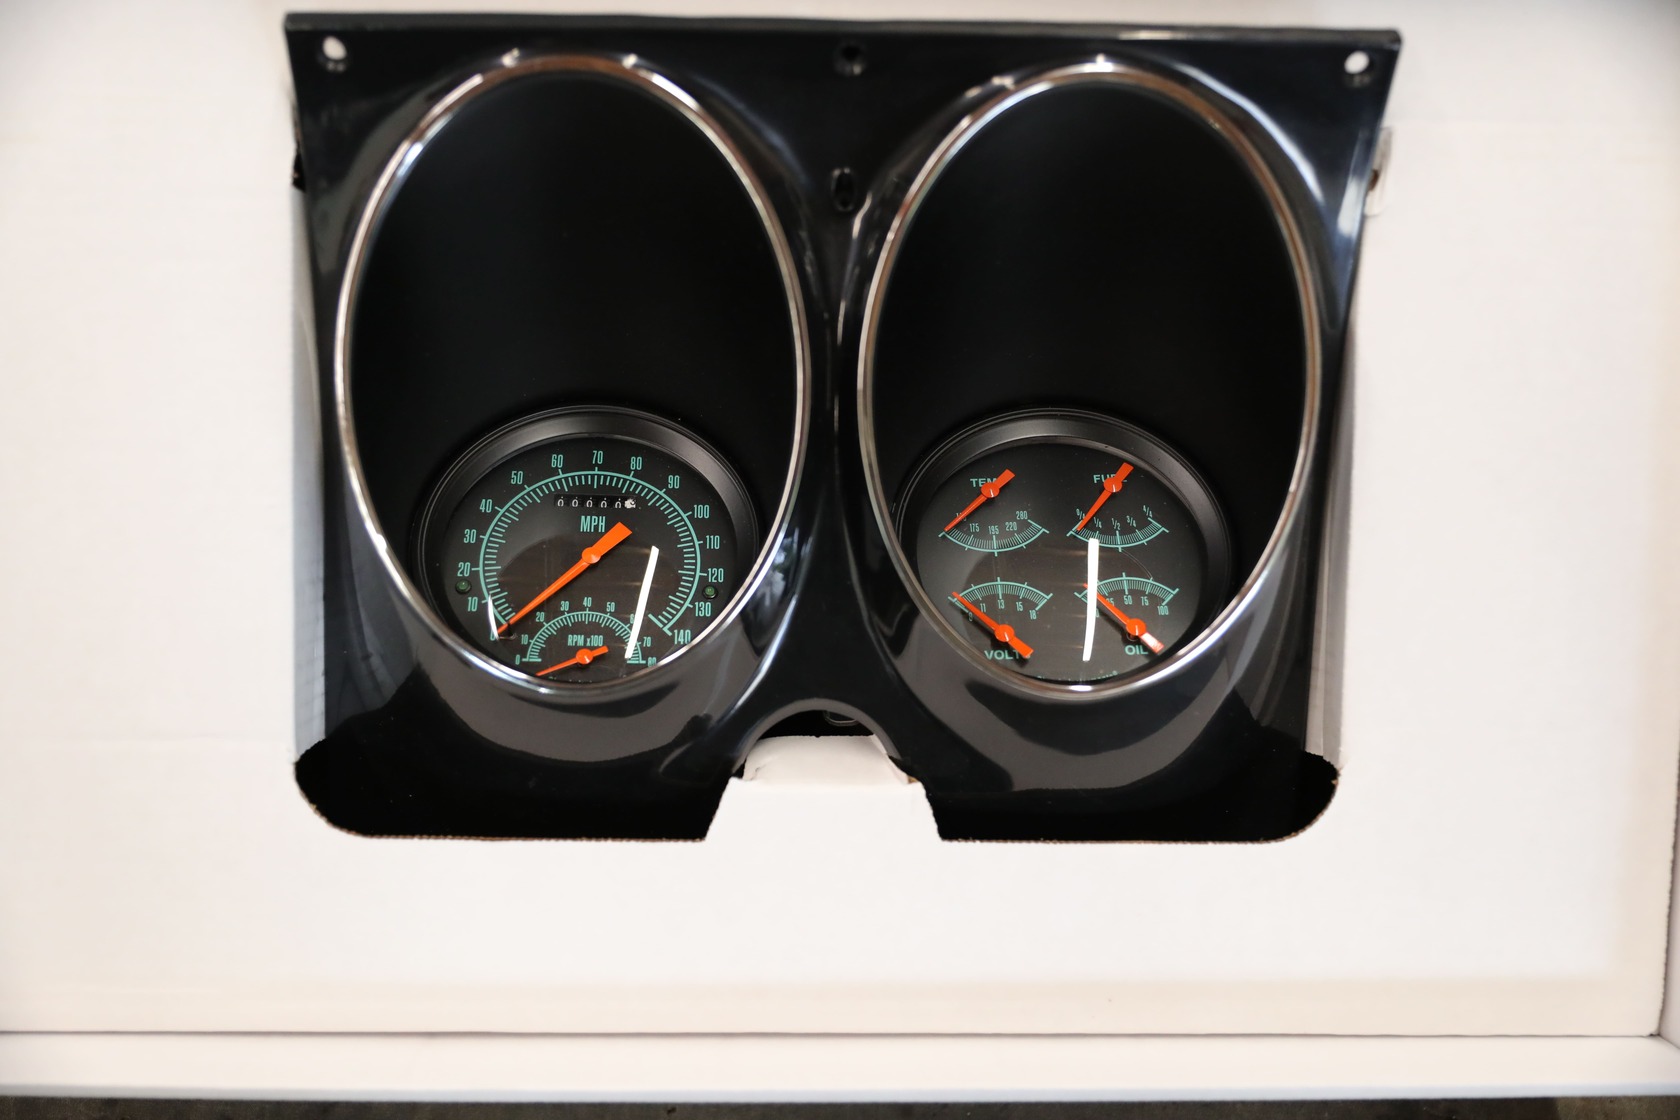
Modern, digital gauges bring surgical precision to monitoring vehicle parameters that their predecessors simply can’t. For this LT-swapped Camaro project, being built at Stoker’s Hot Rod Factory, the crew turned to Classic Instruments for one of their G-Stock instrument clusters. These pair a high-end dash bezel with a 4 5/8-inch Speedtachular (combination speedometer and tachometer) with a quad-gauge containing coolant temperature, voltage, oil pressure, and fuel level. It brings significantly more peace of mind to the table than the factory offering and installs much more quickly than individual gauges could.
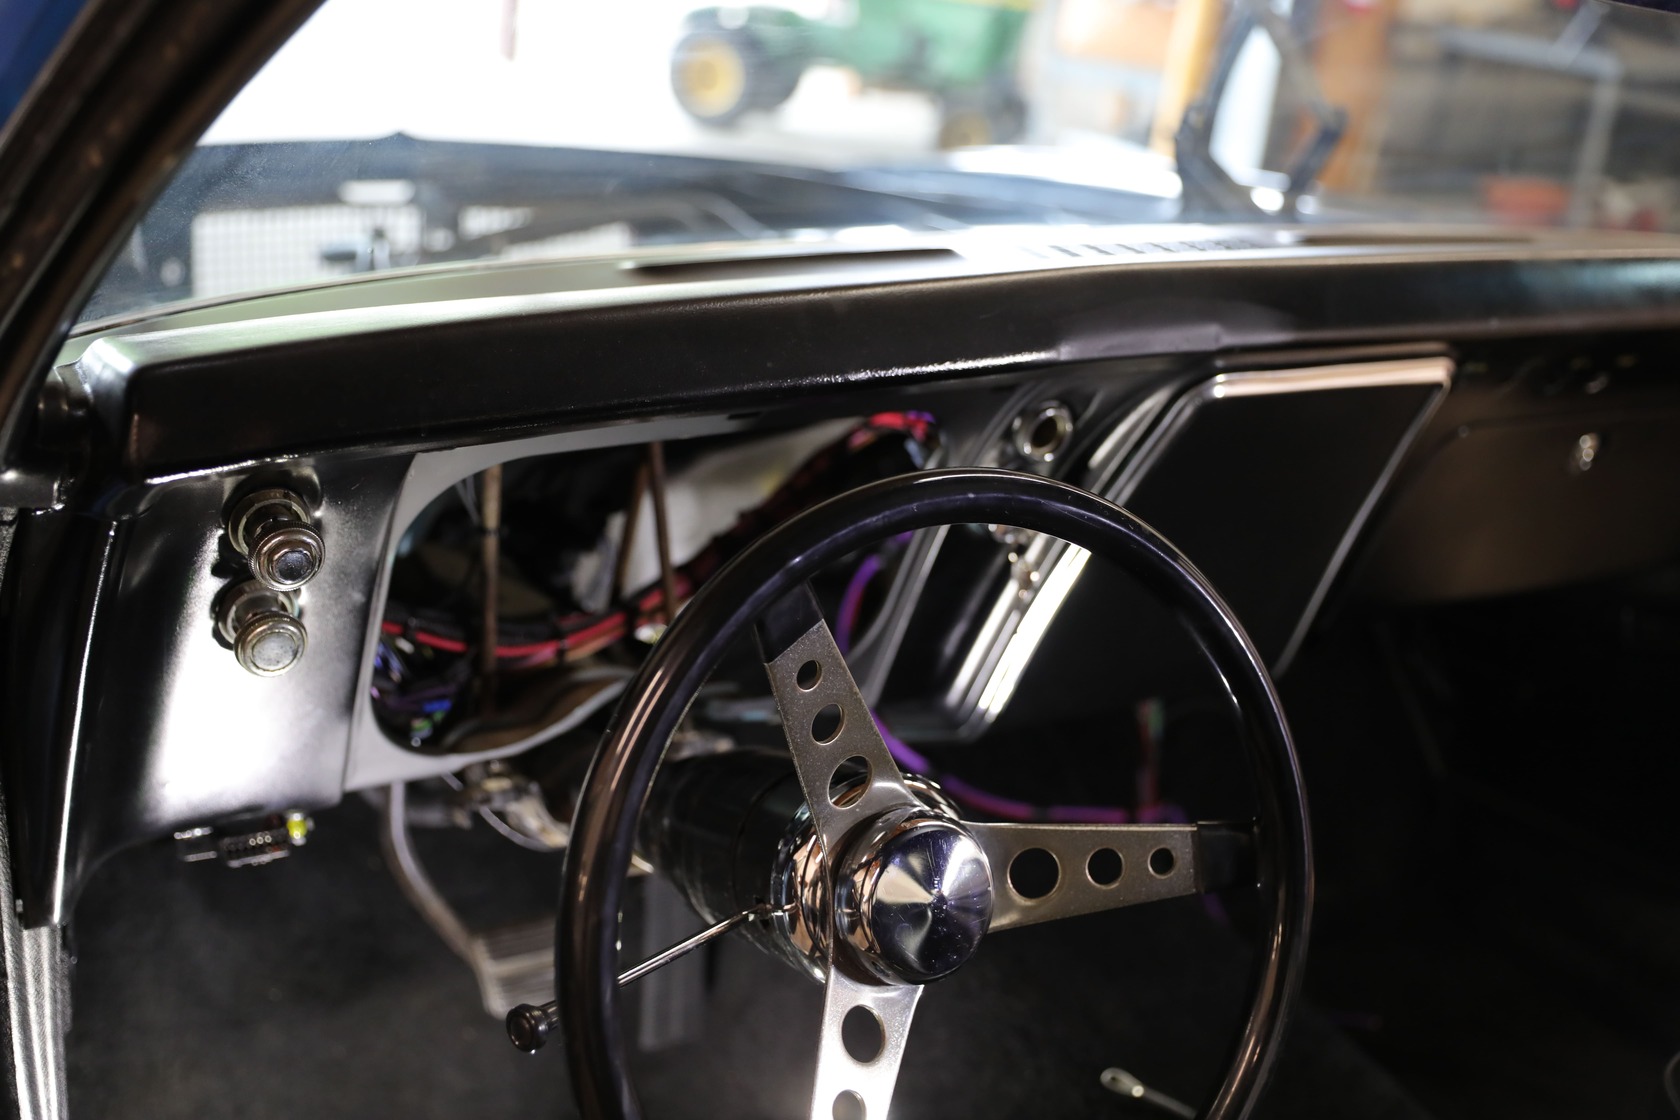
The whole assembly is ready to bolt in place of the factory gauge bezel, saving even more time on wiring.
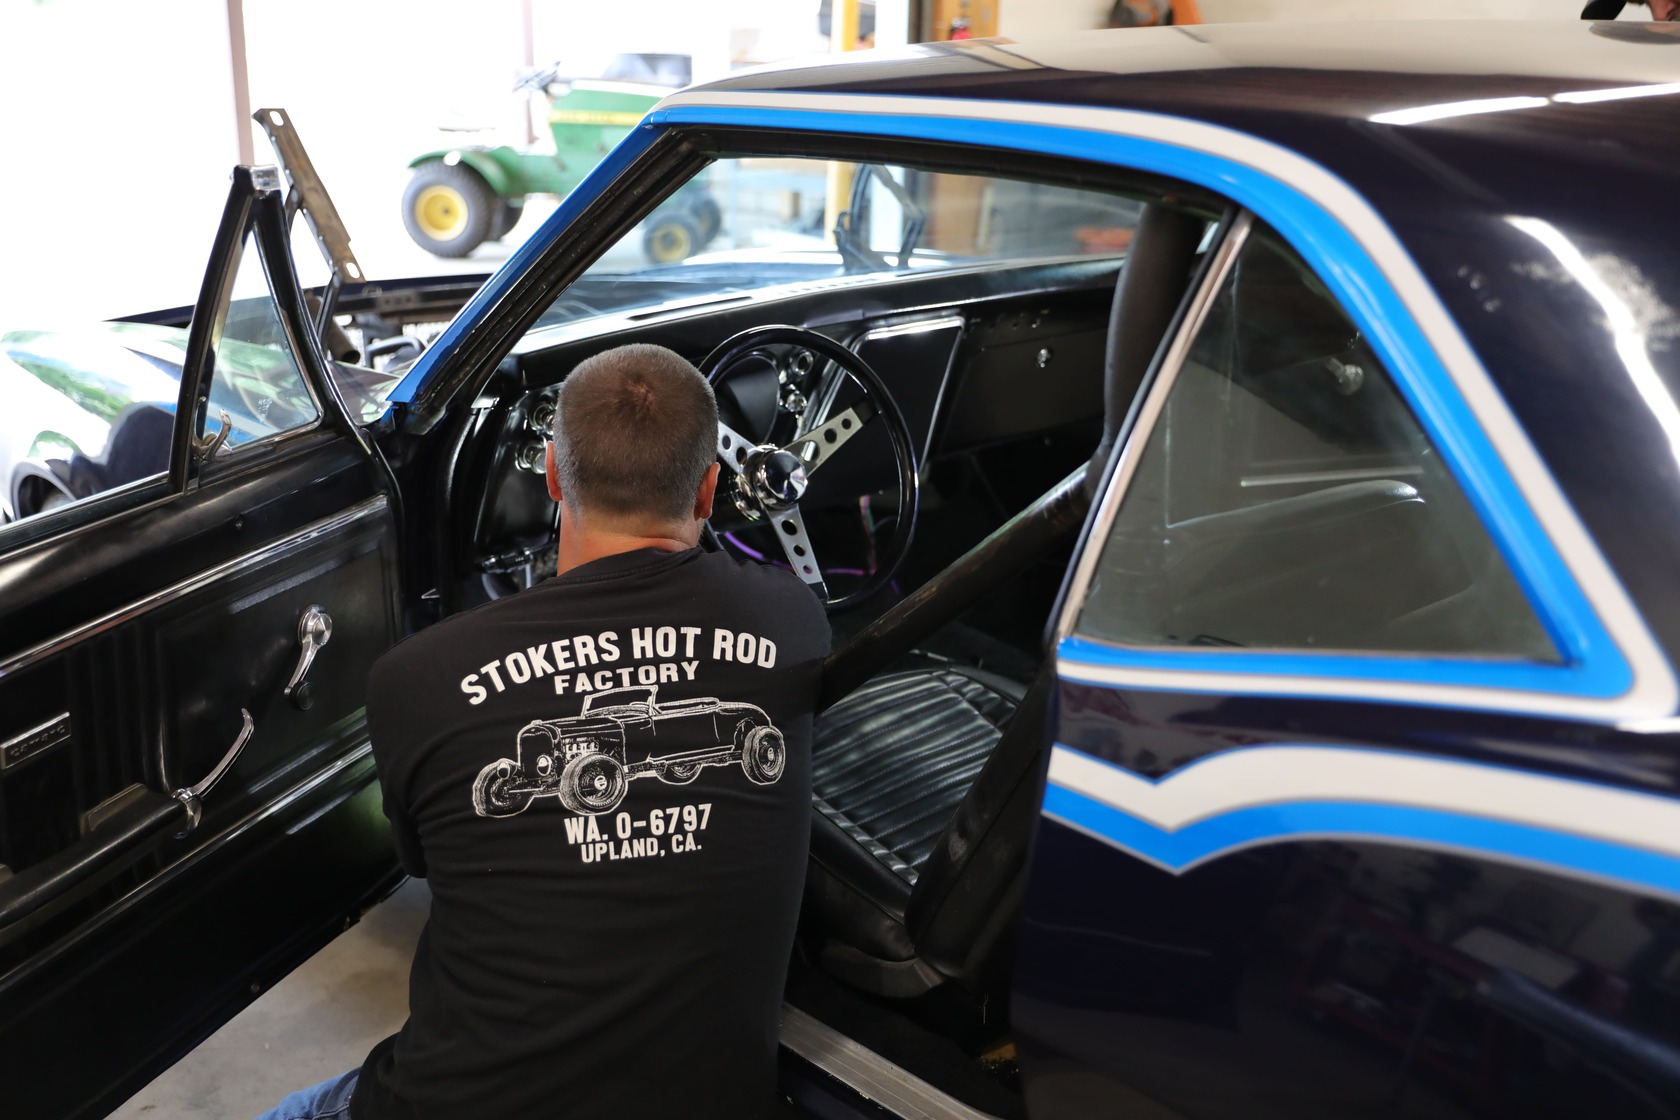
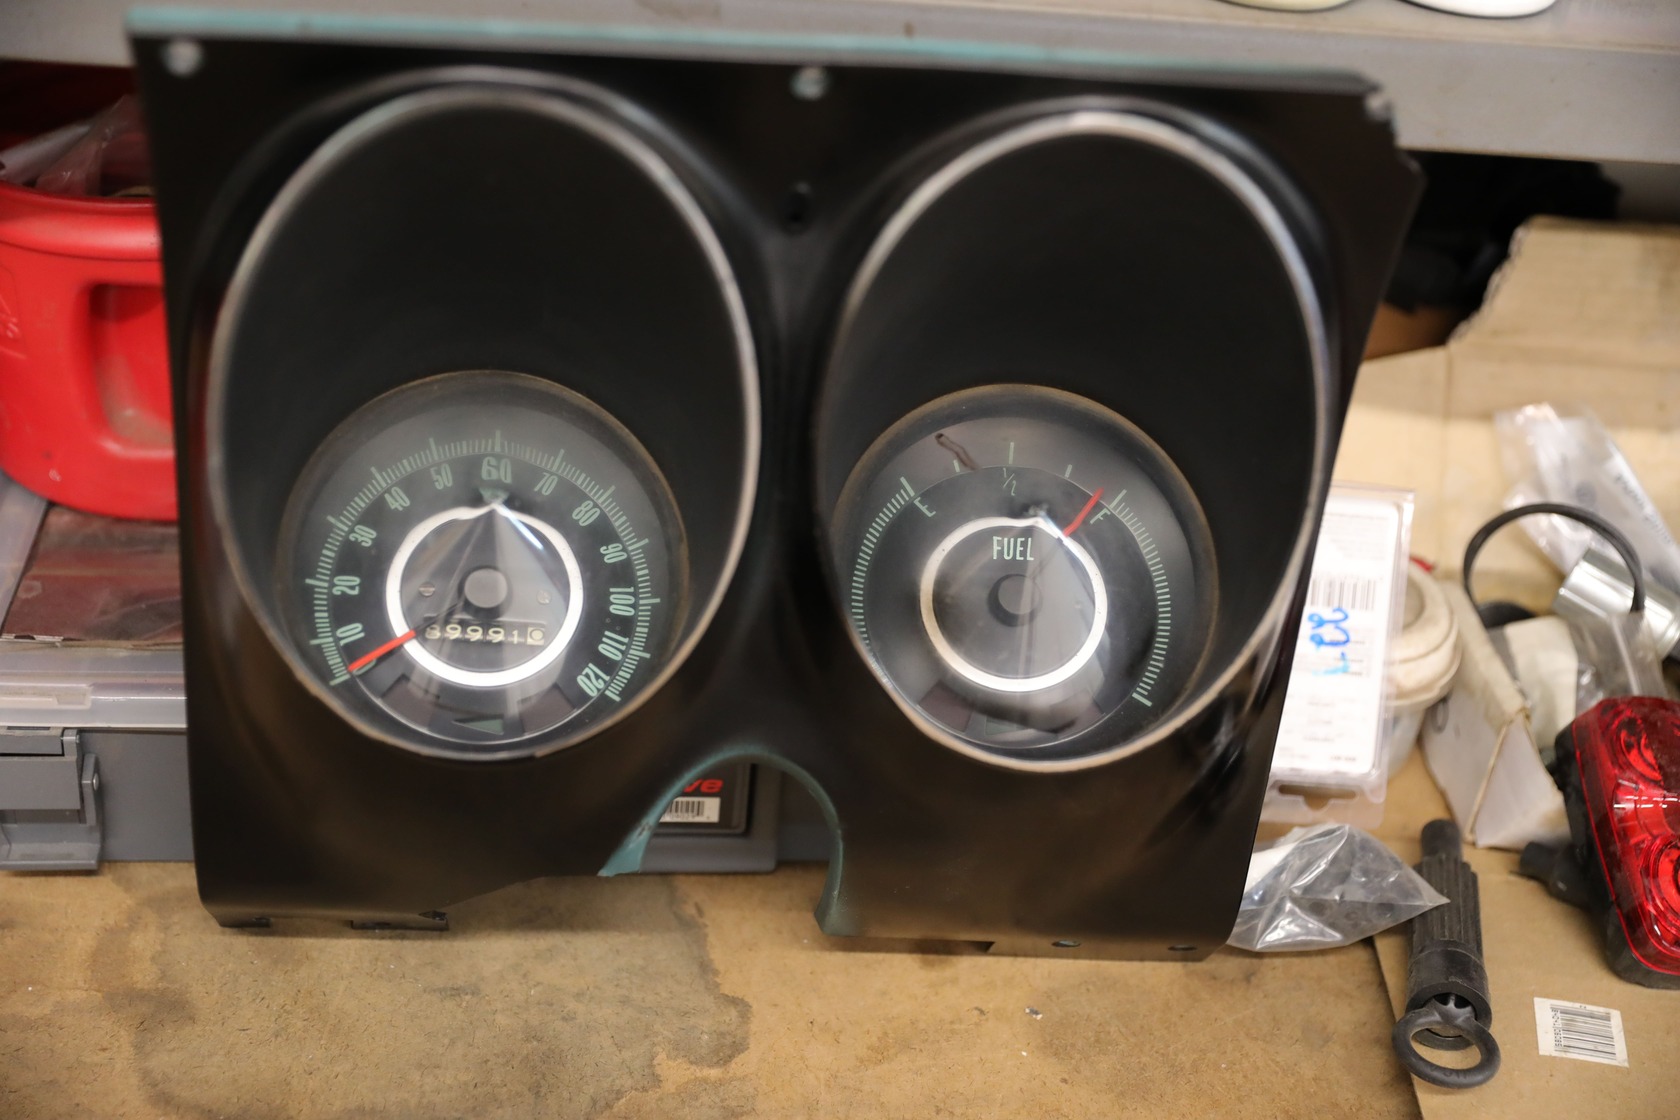
David Stoker of Stoker’s Hot Rod Factory got to work removing the car’s factory gauge bezel.
Follow along as David Stoker of Stoker’s Hot Rod Factory installs the setup, bringing this ’68 F-body one step closer to late-model performance.
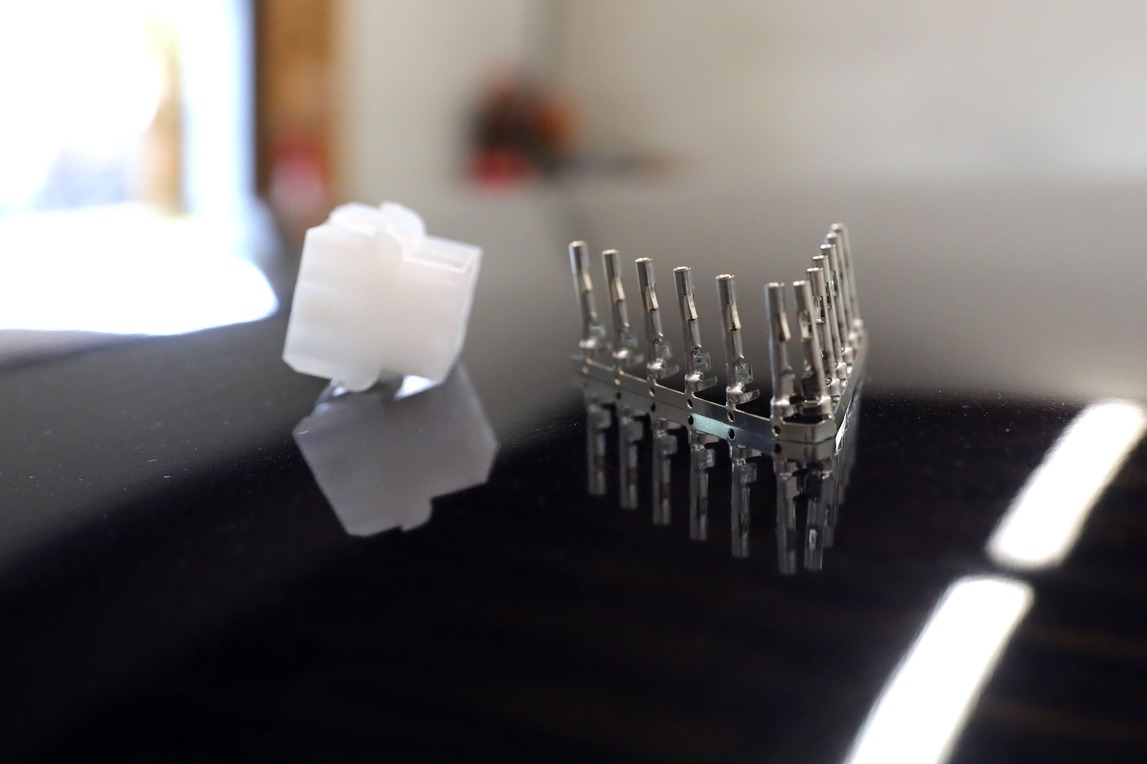
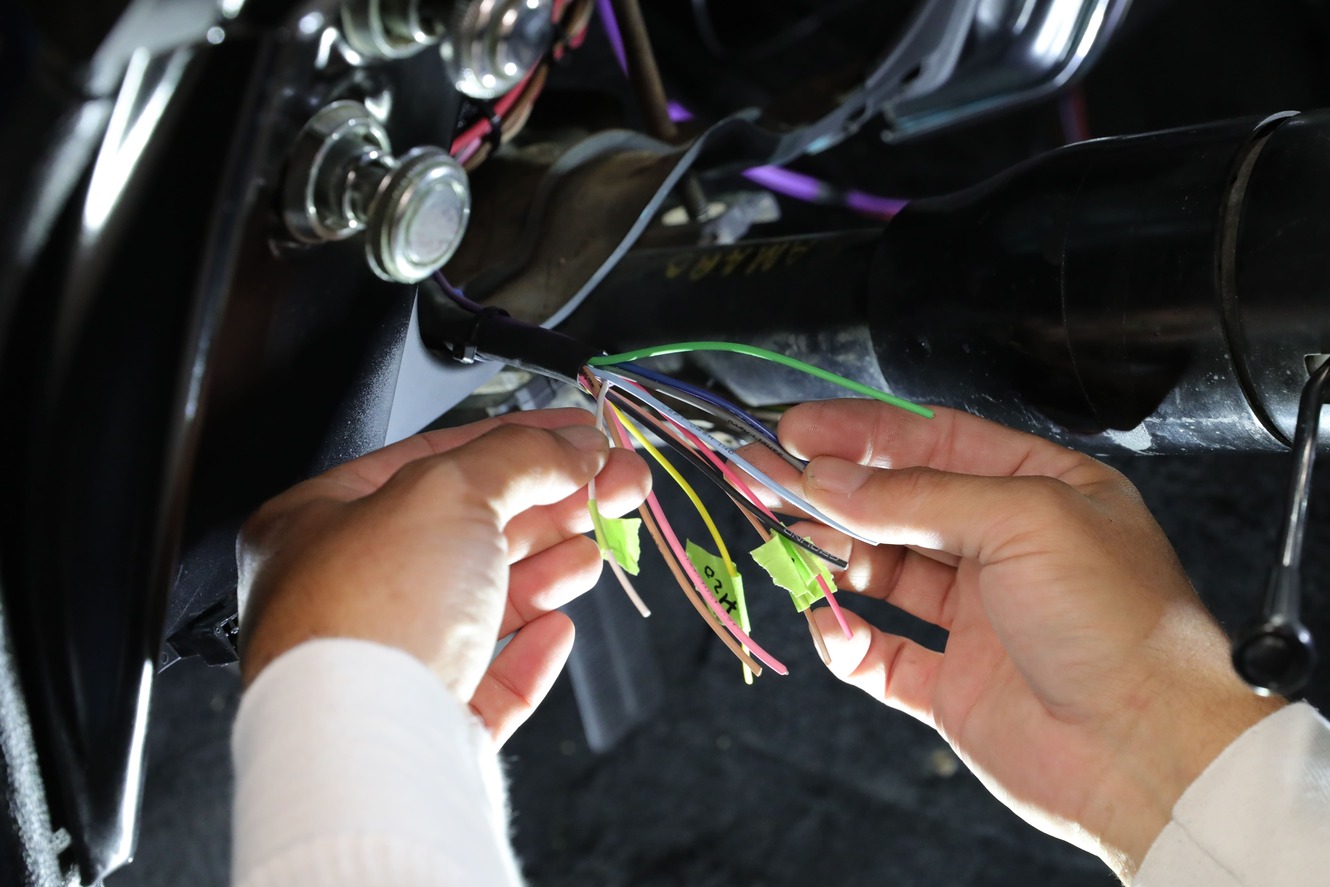
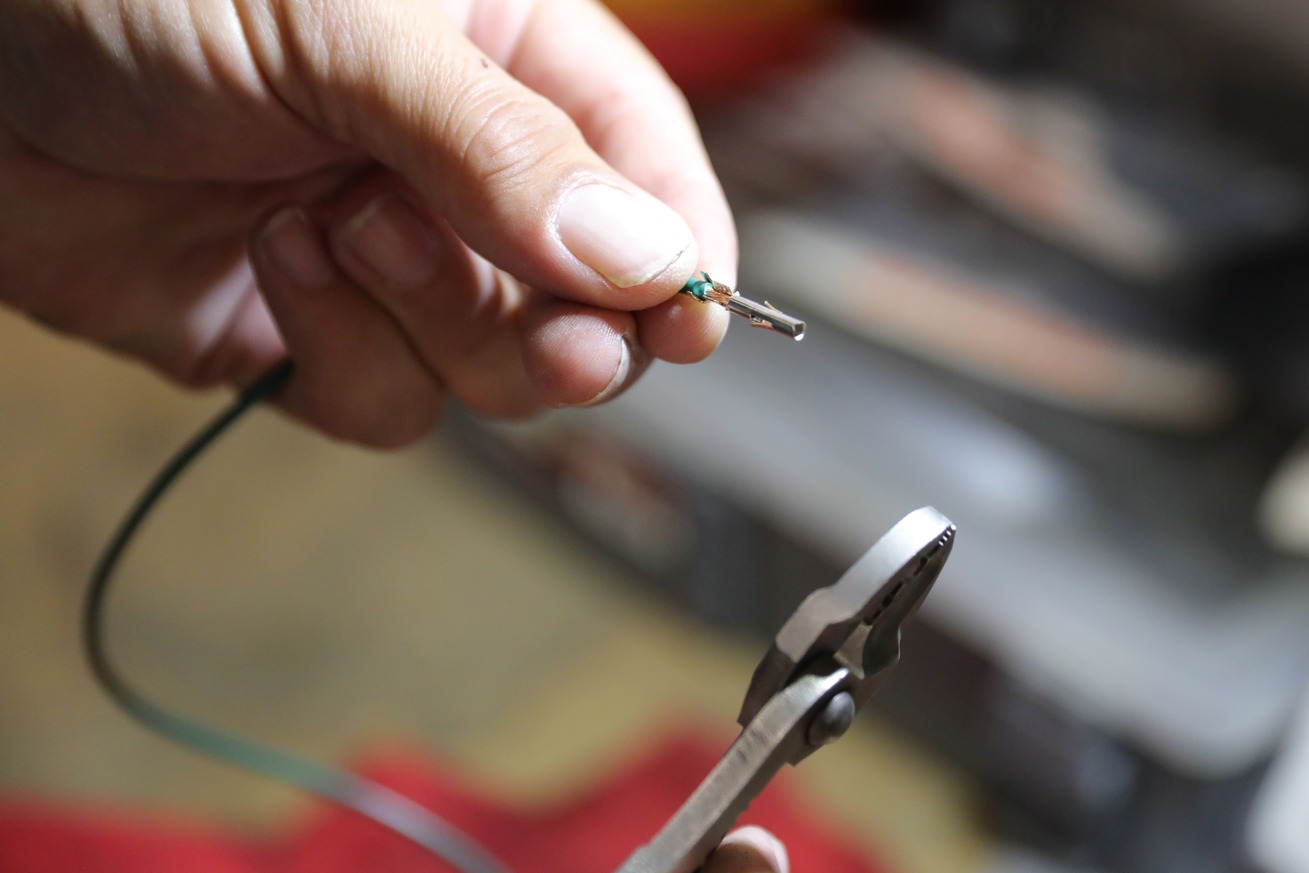
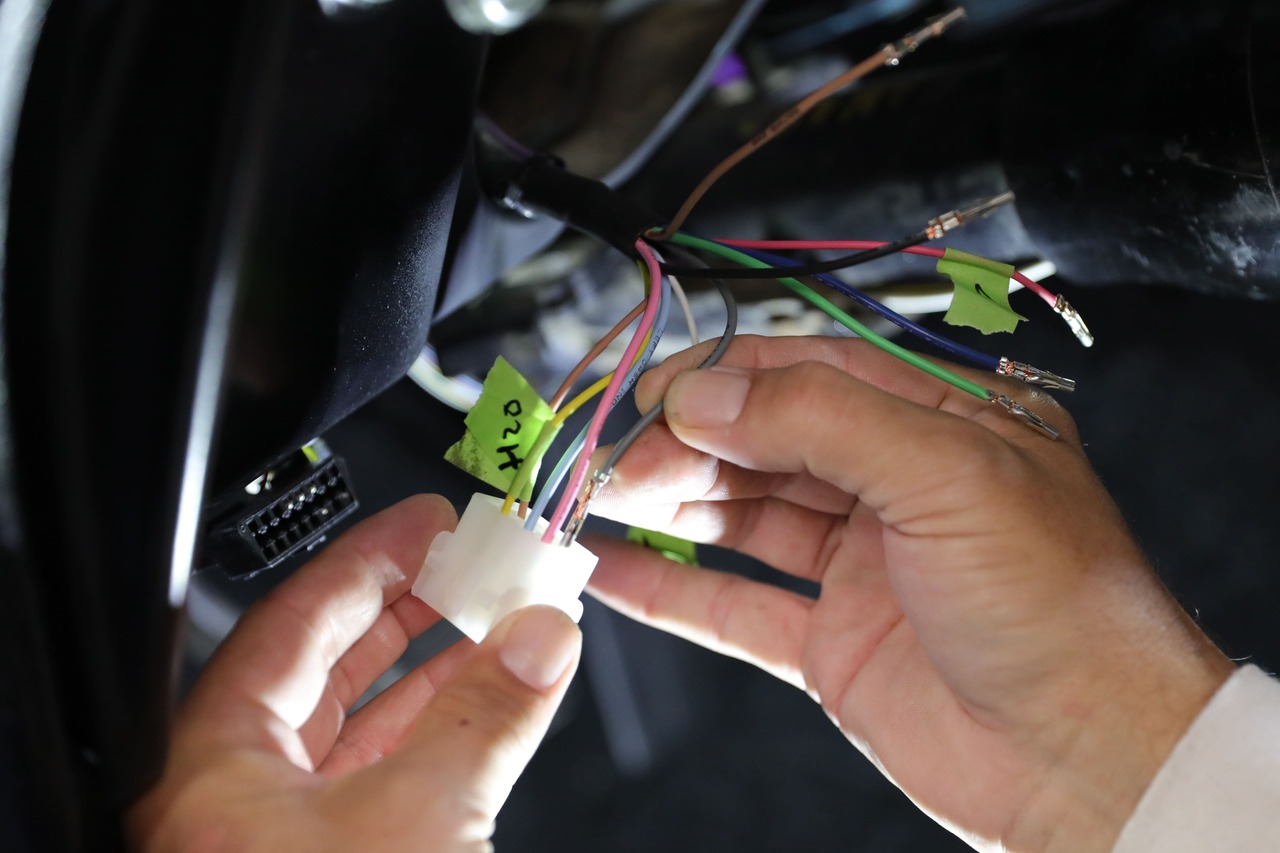
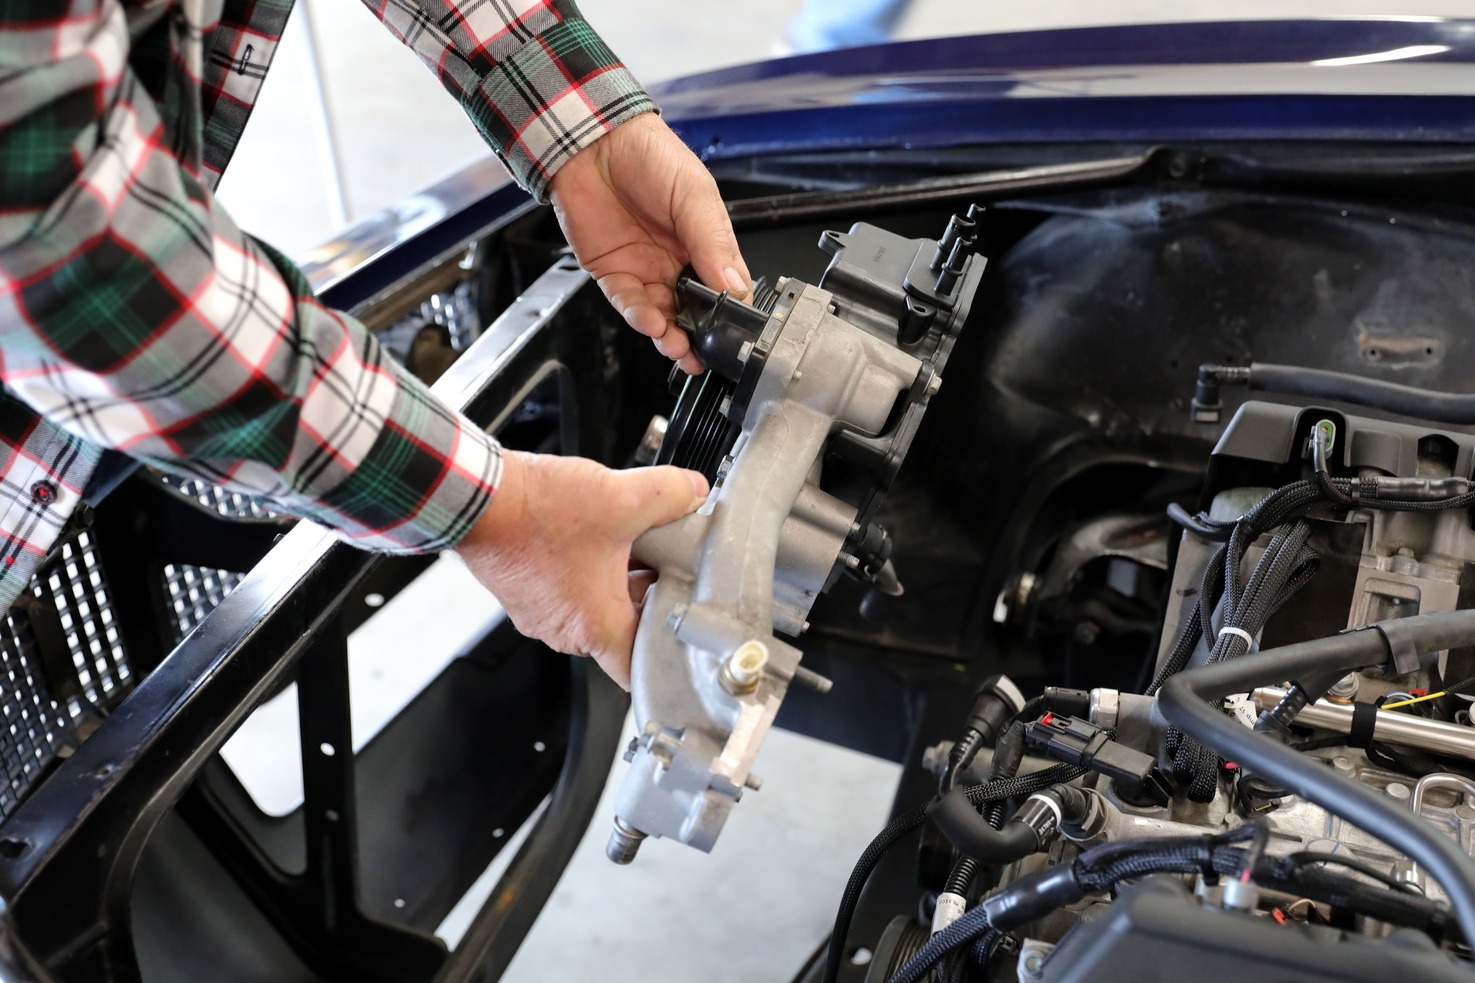
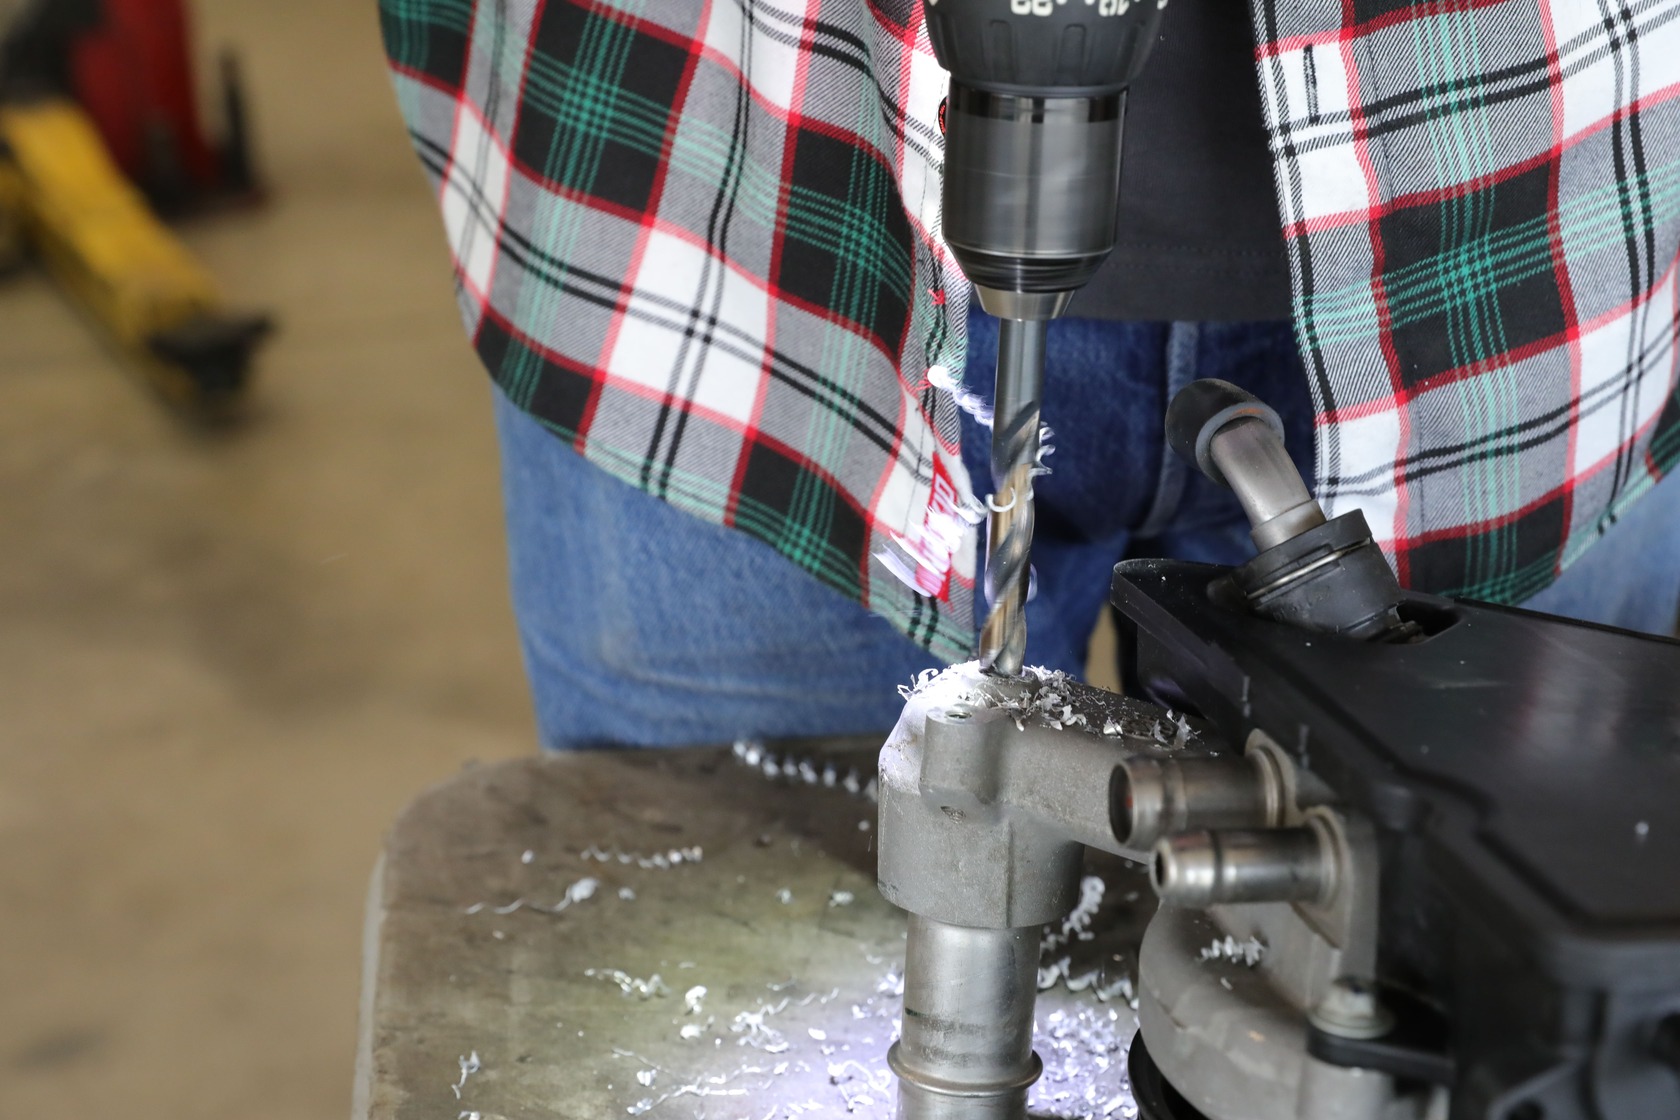
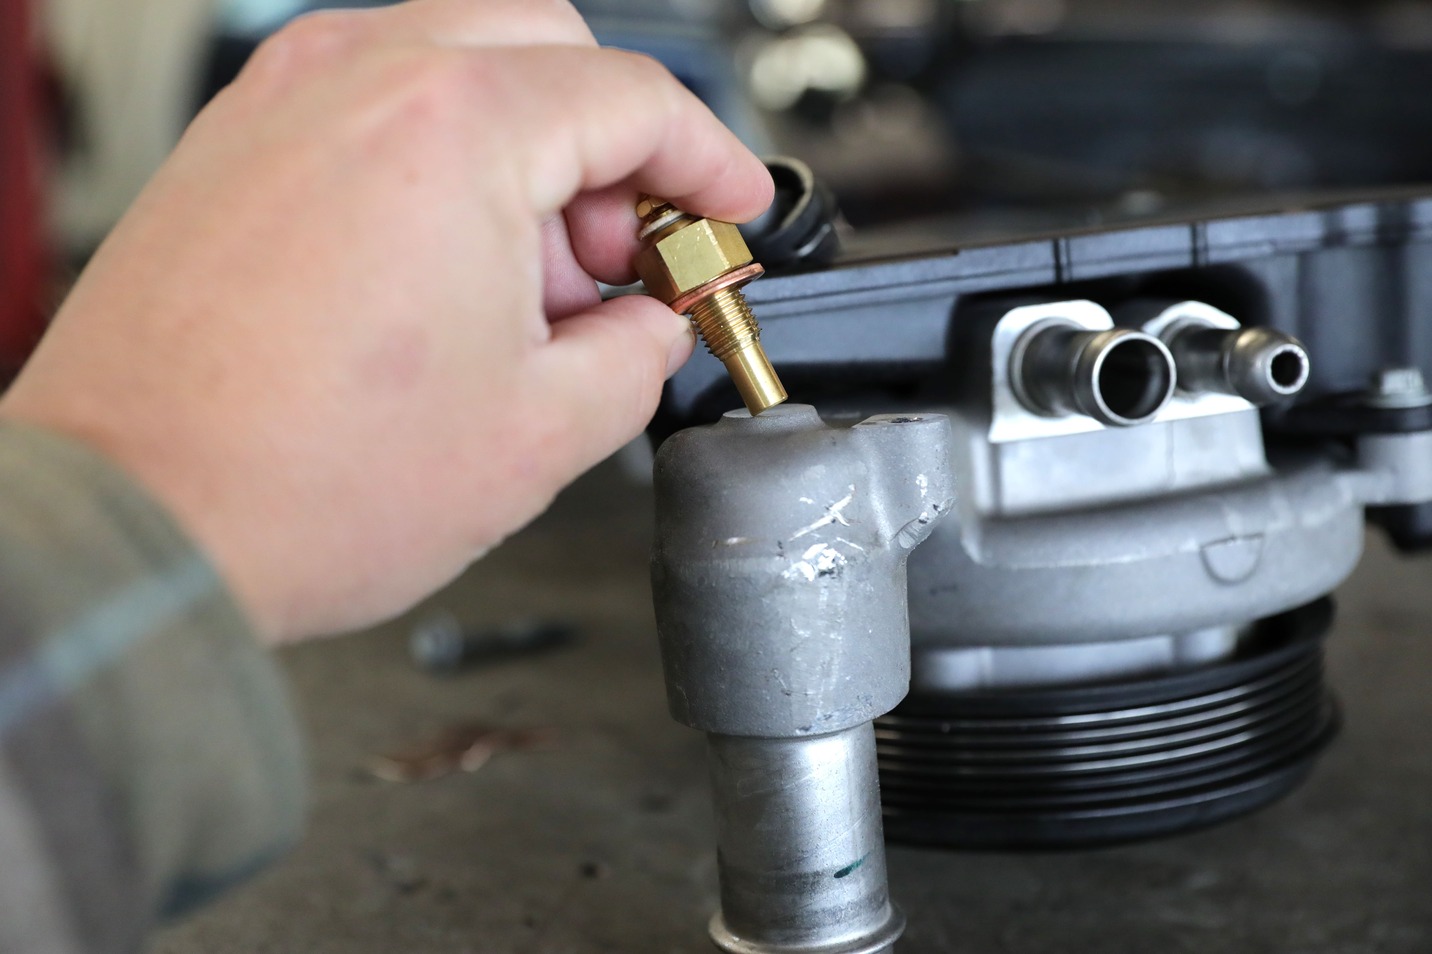
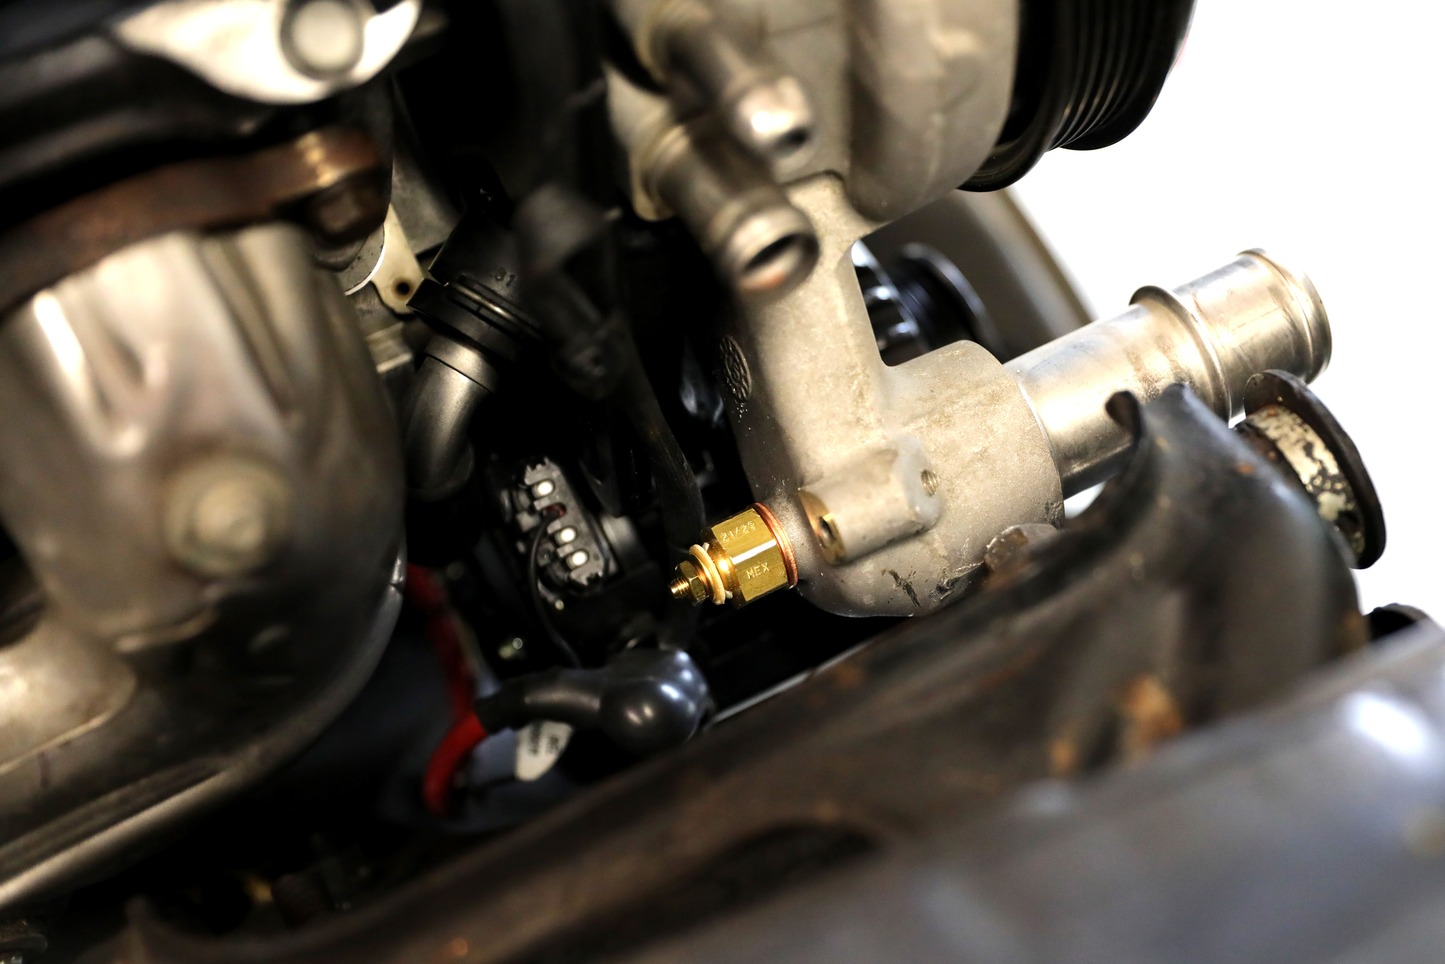
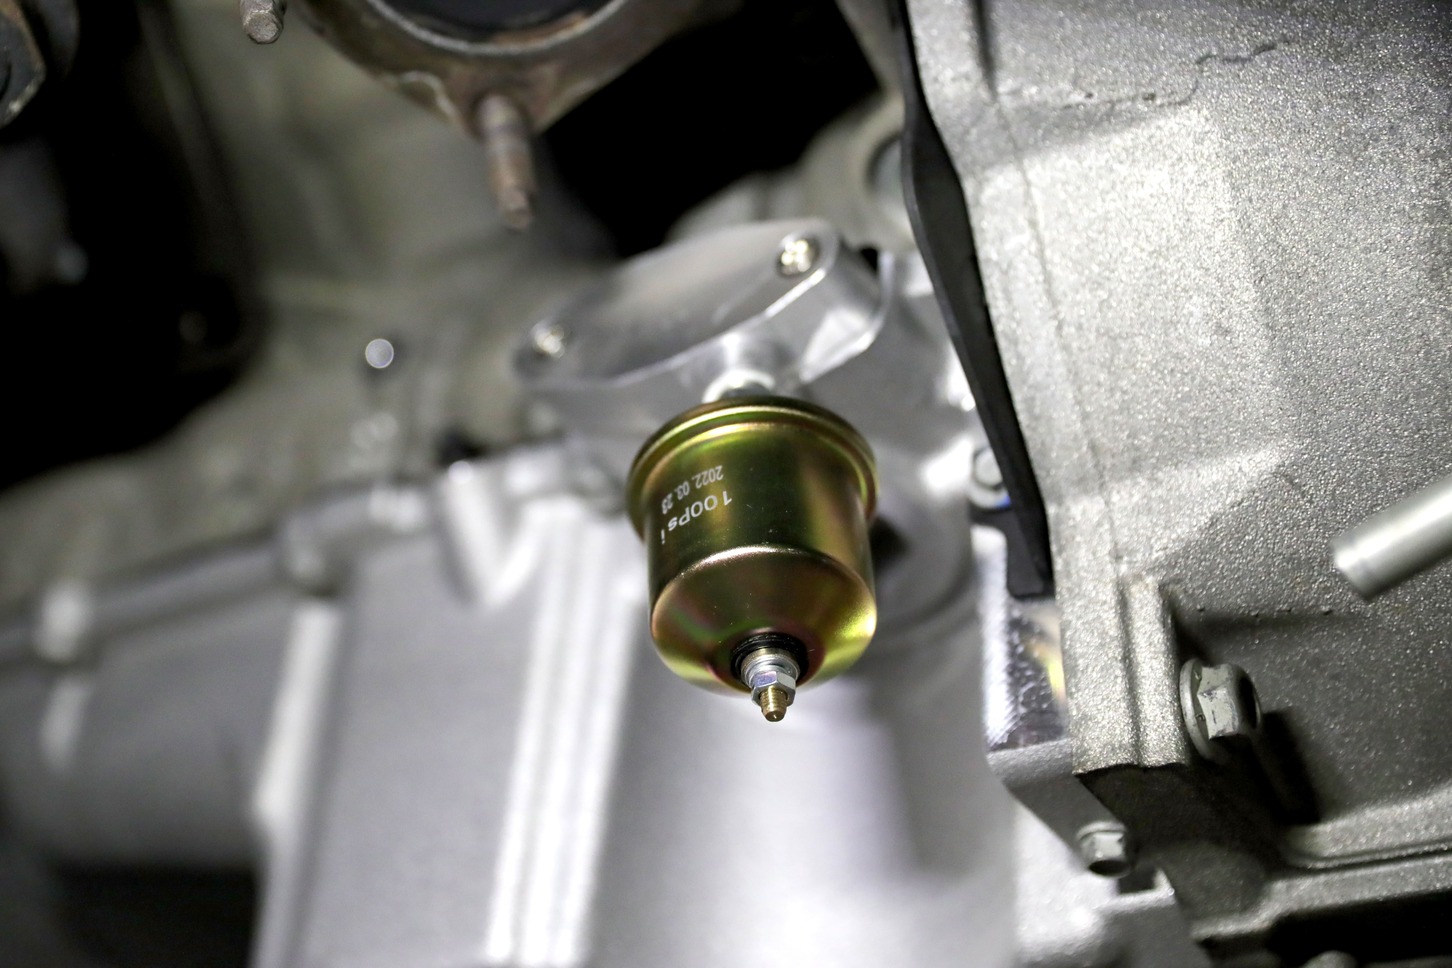
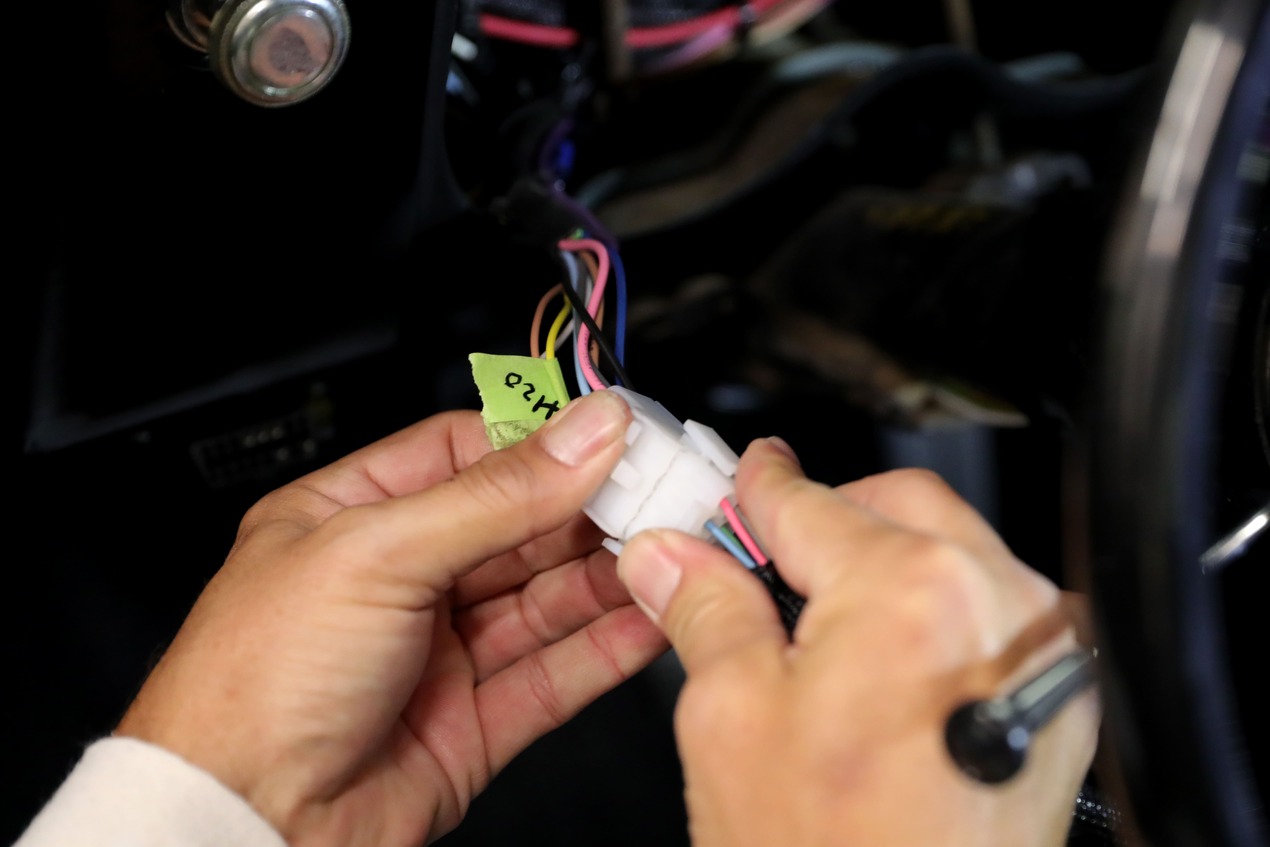
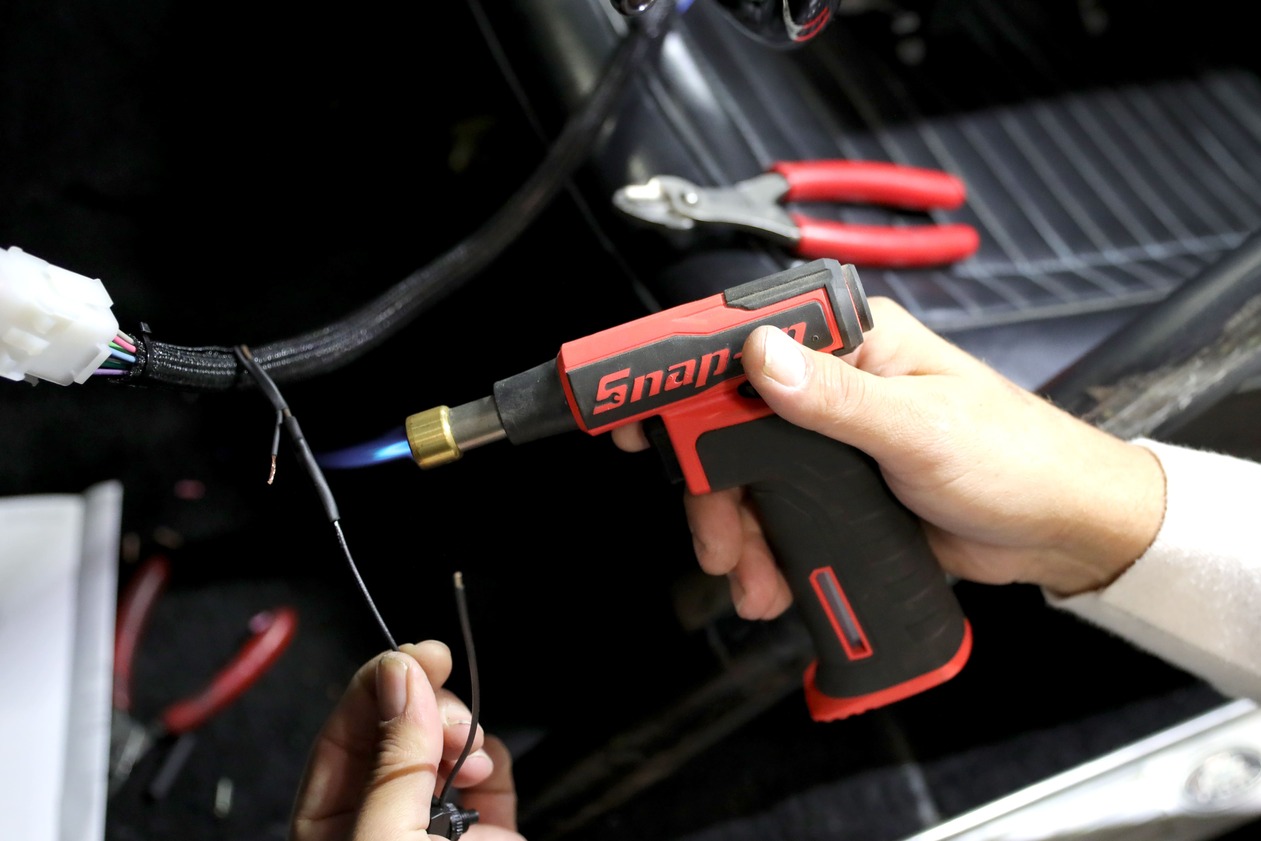
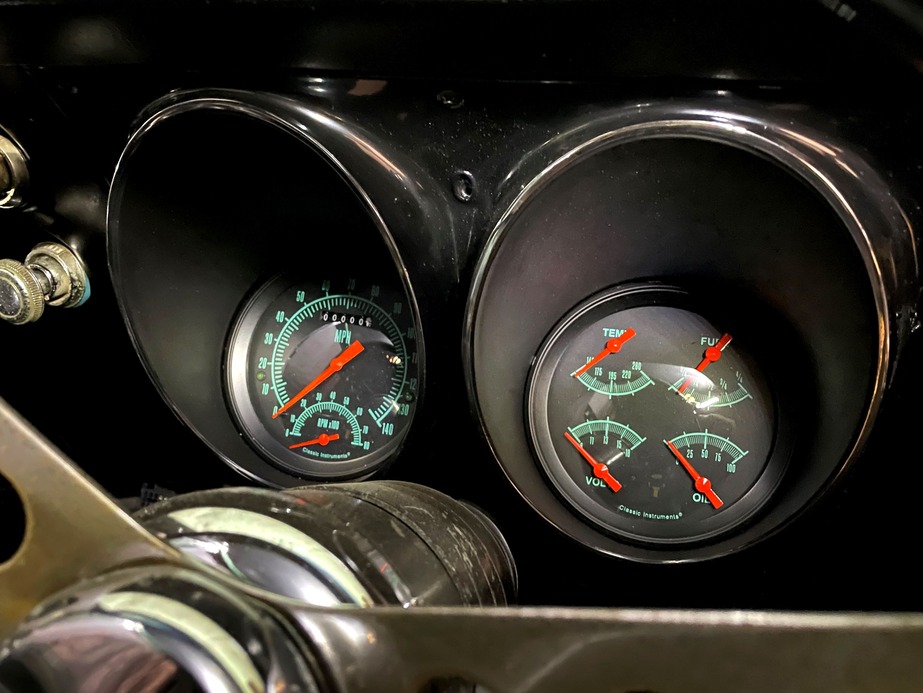
The factory gauges monitored only speed and fuel level, leaving a lot to be desired.The G-Stock instrument cluster from Classic Instruments covers mph, water temperature, fuel level, oil pressure, rpm, and voltage, giving David much better visibility over the Camaro’s operating parameters.The G-Stock cluster includes all the relevant senders, which in this case are oil pressure and water temperature.The G-Stock has a single pig tail that neatly packages the necessary wiring. It includes these crimp-on pins so that a companion connector can be attached to the vehicle harness.David had all the vehicle harness wires labeled so they could be properly pinned into the harness.Each wire received a pin, then was slipped into the harness.From this point forward the gauges and bezel can easily be installed or removed.The Classic Instruments setup required a new water temperature sender be installed. Terry Stoker removed the LT1’s water pump from the engine to make the install easier.The back of the water pump has a boss from the factory that is perfect for the sender placement.It was drilled, tapped, and the sender installed.The water pump was reinstalled and there is more than adequate clearance to access the sender.Unlike a traditional small-block that has 1/8-inch NPT ports all over the block, oil pressure is pulled from the oil pan on an LT.Terry found this aftermarket aluminum block that was pre-tapped for a sender, but the factory plate can easily be drilled and tapped.With all the wires pinned and installed in the connector, David snapped the male and female sides together in preparation for the completed gauge bezel.There are only two wires that are not part of the connector. One is the main ground and the other is the wire used to calibrate the speedometer.Here is the completed cluster installed in the dash. It’s a perfect blend of late-model capability with a vintage aesthetic that fits perfectly in the interior.
We use cookies to ensure that we give you the best experience on our website. If you continue to use this site we will assume that you are happy with it.