If you have been following along, we’ve covered the teardown of this rubber bumper to steel bumper Camaro conversion project. We removed the entire back end of the car, except for the roof, package tray, and framerails. With minimal modifications, this conversion can be done with a solid, general working knowledge of body panel replacement. This time around, we cover the modifications to the roof skin as well as welding up the body panels now that they are located properly.
Craig Hopkins of the Installation Center partnered with Auto Metal Direct to supply all the needed parts. He elected to reuse the roof skin, as it was in pretty good shape. The modifications to the roof are straight forward in order to turn this big back window into the smaller early design from GM. Hopkins gets us started on this modification and shows us how he aligns the AMD panels to make this conversion a breeze.
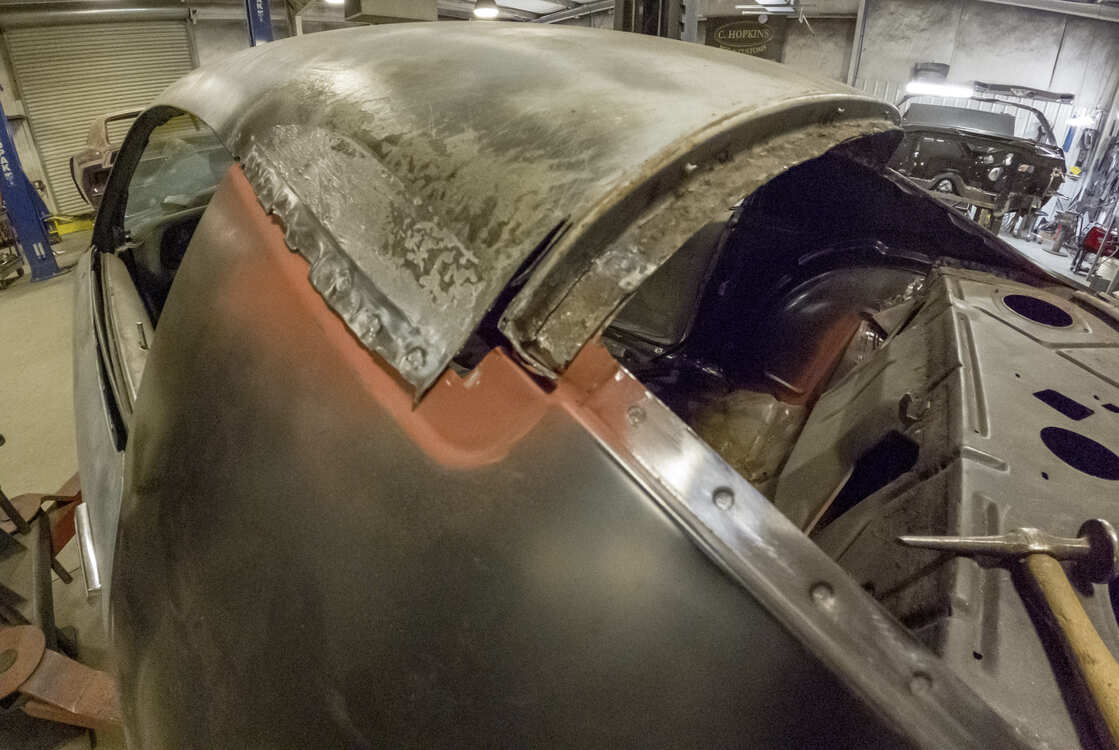
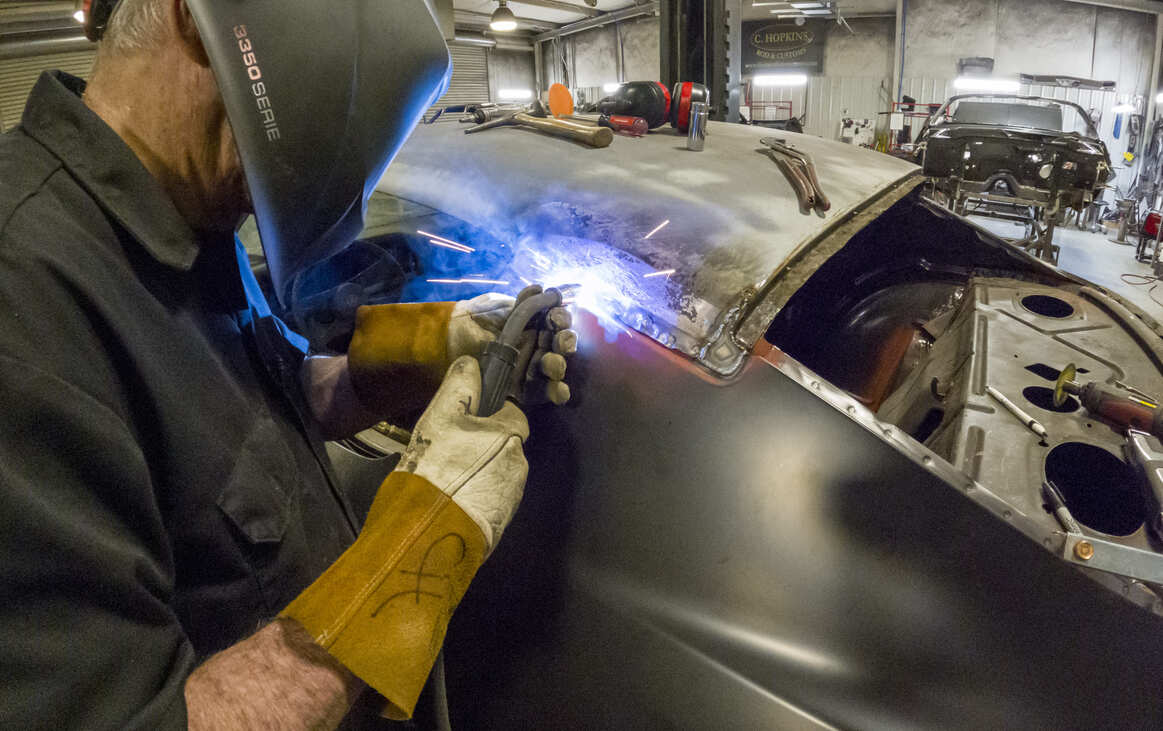
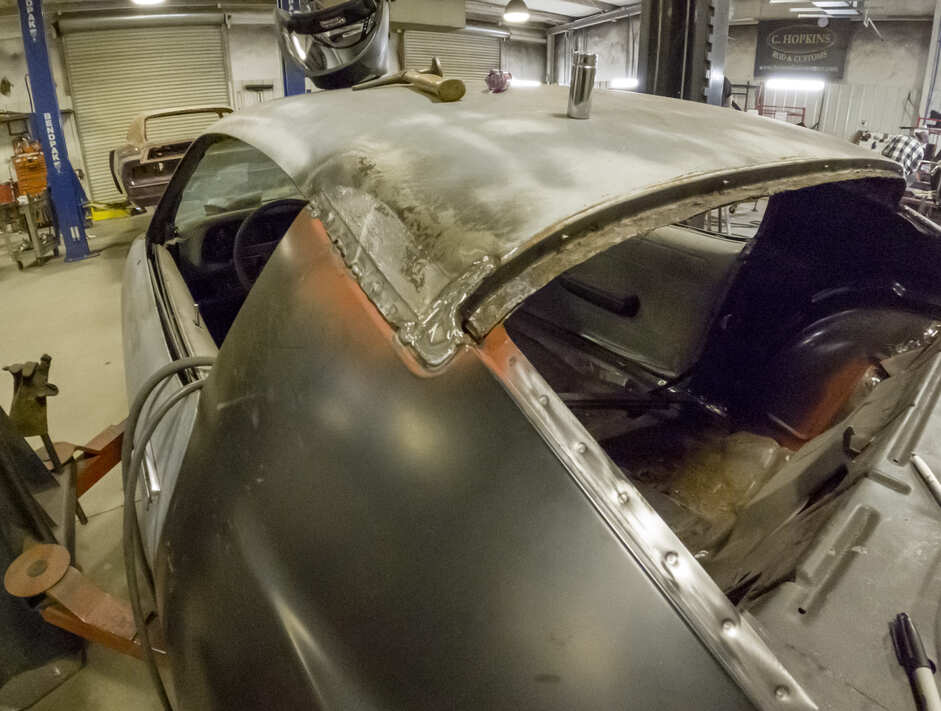
With the quarter-panels mounted in place, Hopkins shows how you will need to cut the original roof to fit the new sheetmetal.
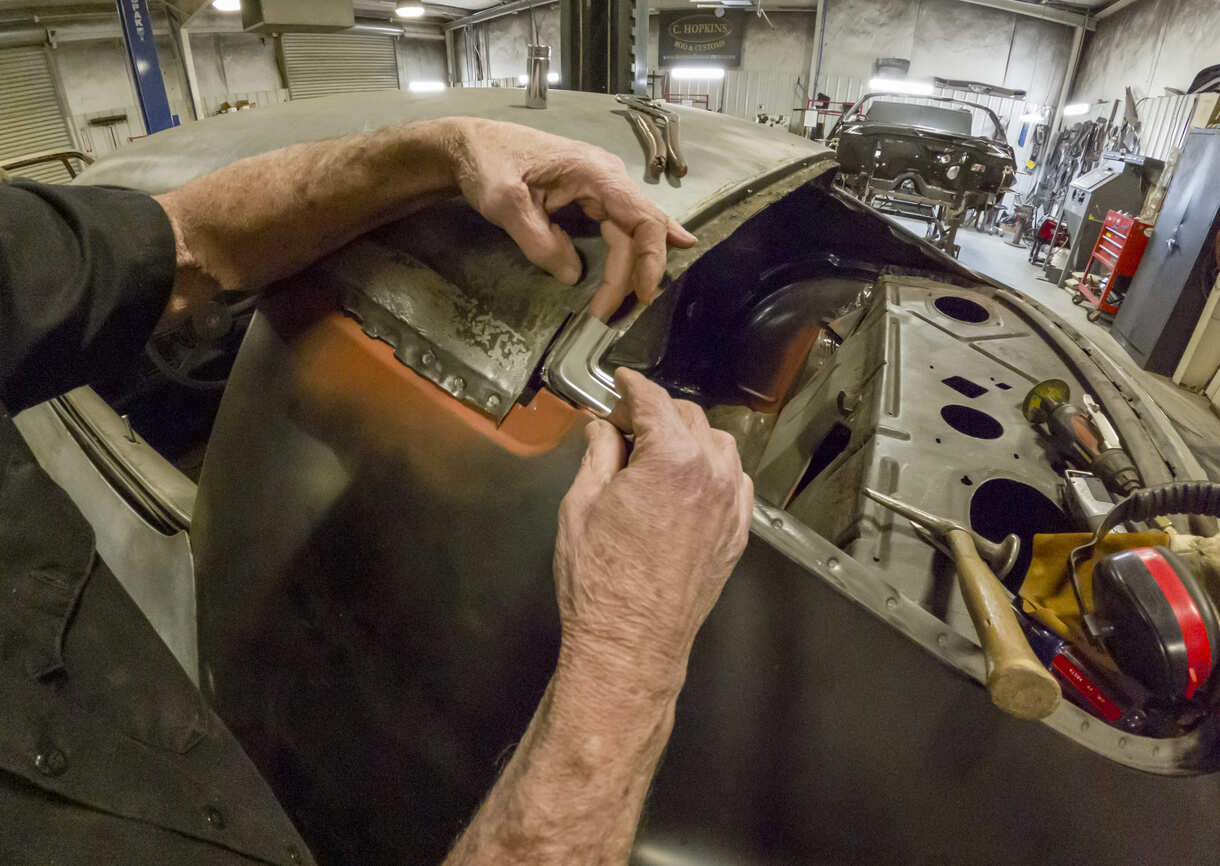
A vertical cut is made along the window channel. This will allow for enough movement to get our filler piece dialed in.Having the new back glass window trim from Auto Metal Direct (AMD) comes in handy to make sure that the modifications are a perfect fit before welding.A filler piece is cut and test fitted in place.
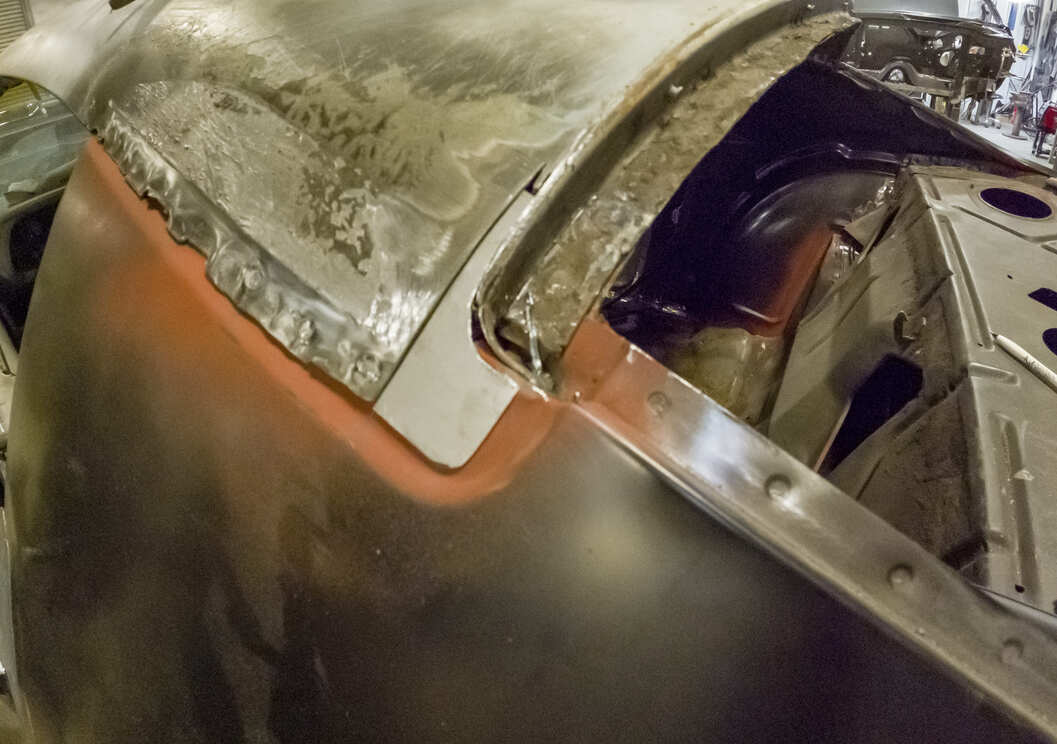
Once he is happy with the filler, Hopkins tack welds the new metal into place.
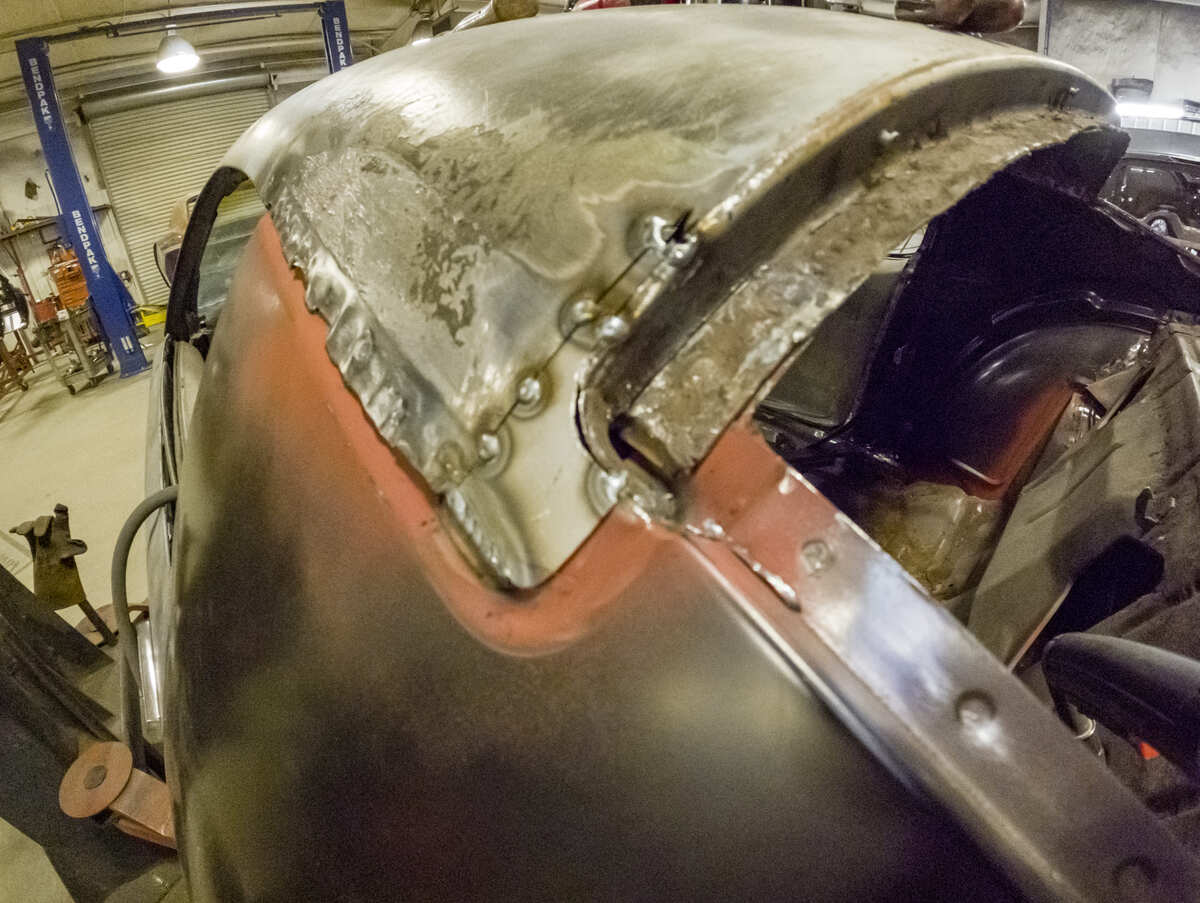
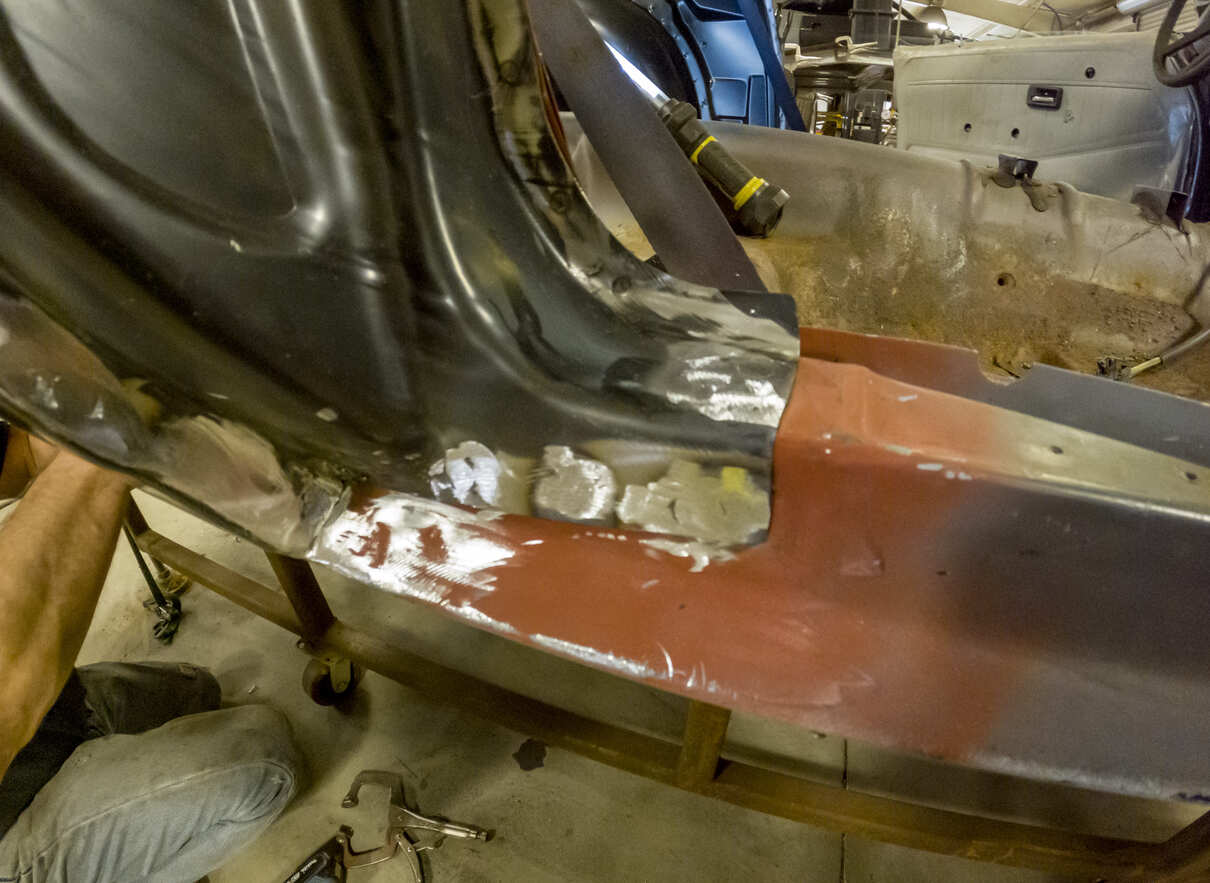
After trying the glass trim one more time, Hopkins continues to weld the patch to the roof skin.With everything lined up, he can finish welding in the quarter-panel to the roof.With the welding completed, Hopkins takes the welds down with a grinding wheel.The grinding wheel is followed with a 36-grit sanding disc and then an 80-grit to blend everything nicely.The corner of the glass channel gets filled and its ready for the Medallion E-coat in a can treatment to prevent rust and corrosion prior to bodywork.
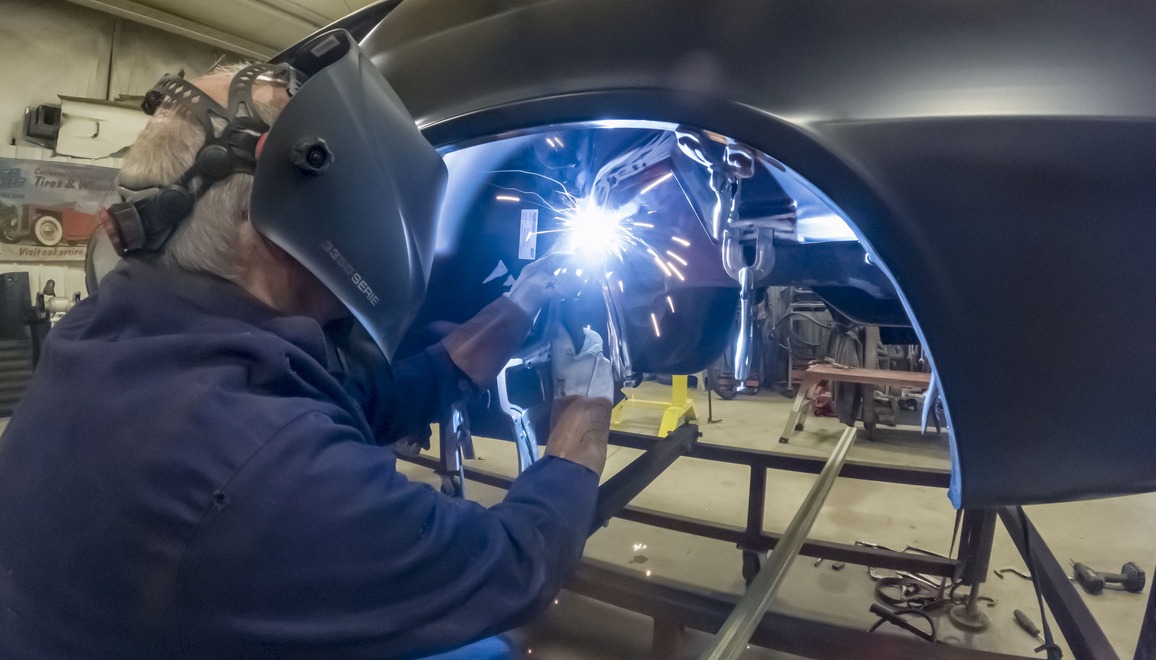
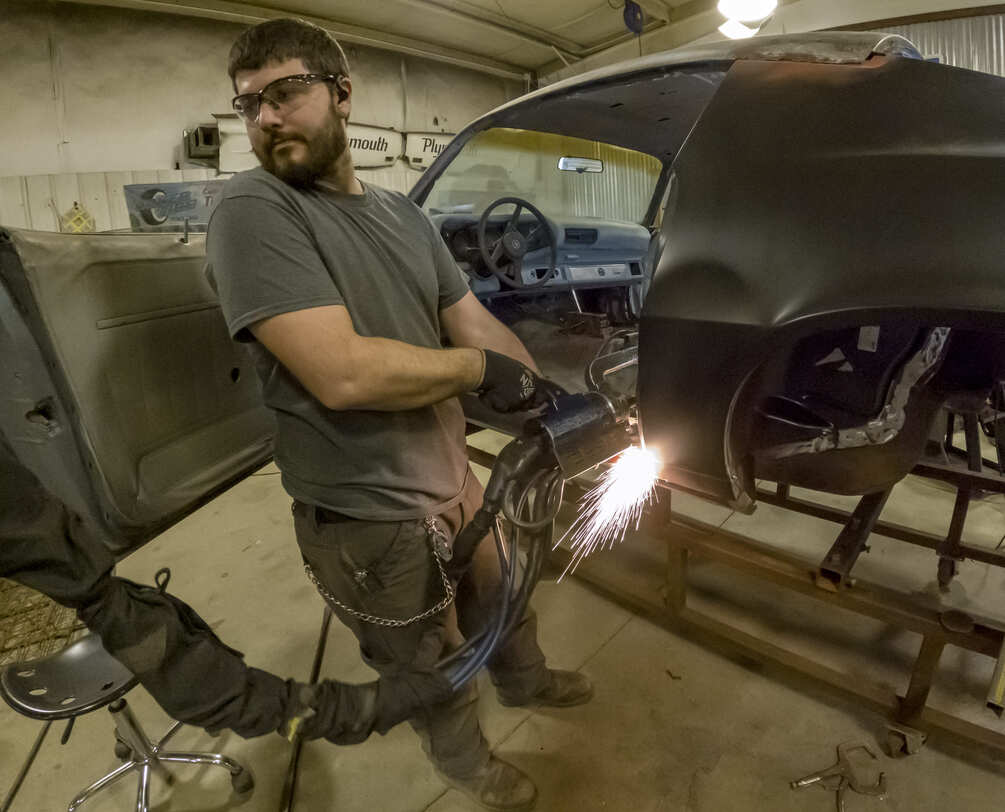
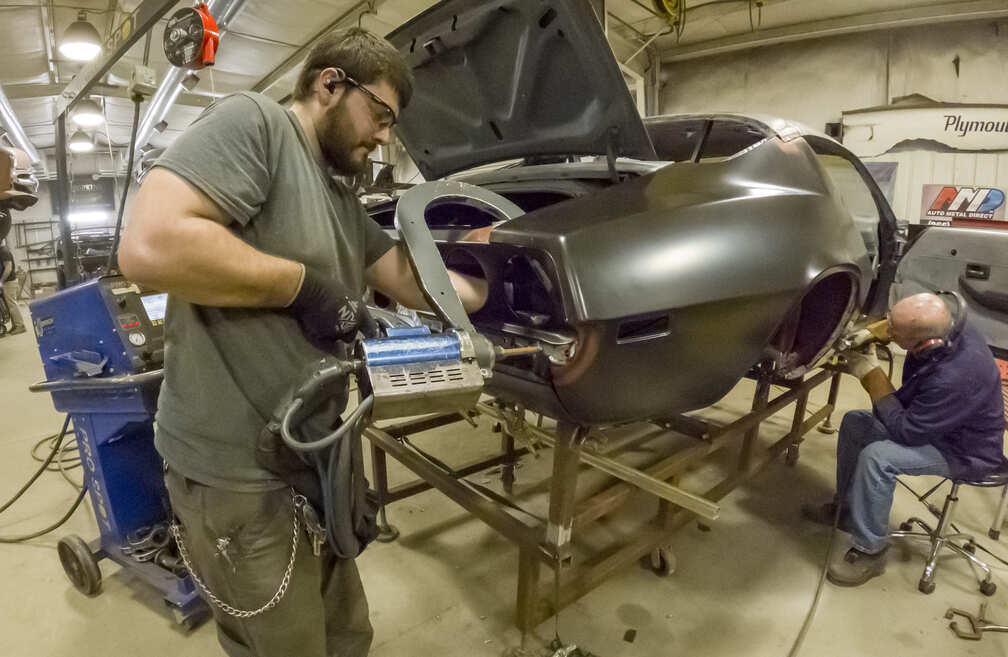
Moving onto the rest of weld, Hopkins finishes off the inner wheelhouses with some plug welds.The bottom of the quarters gets the same plug weld treatment.The Installation Center replaces body panels; it’s what they do. Using a spot welder, Hopkins recruits Brandon Lethiot to marry the outer wheelhouses to the quarter-panel.
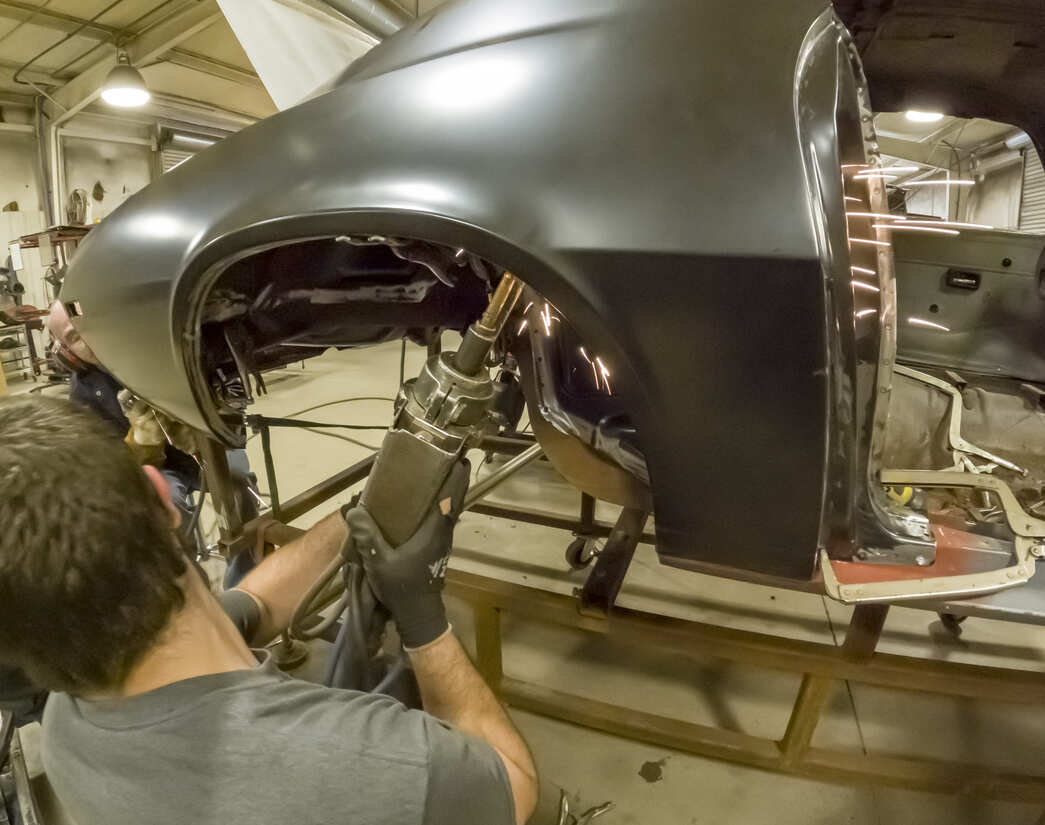
The spot welder reduces installation time and replicates the factory process and gives an OE look to the new panels.Lethiot continues the spot weld process around the perimeter of the quarter-panel.With the quarter-panel in place, Lethiot moves onto the tail panel.
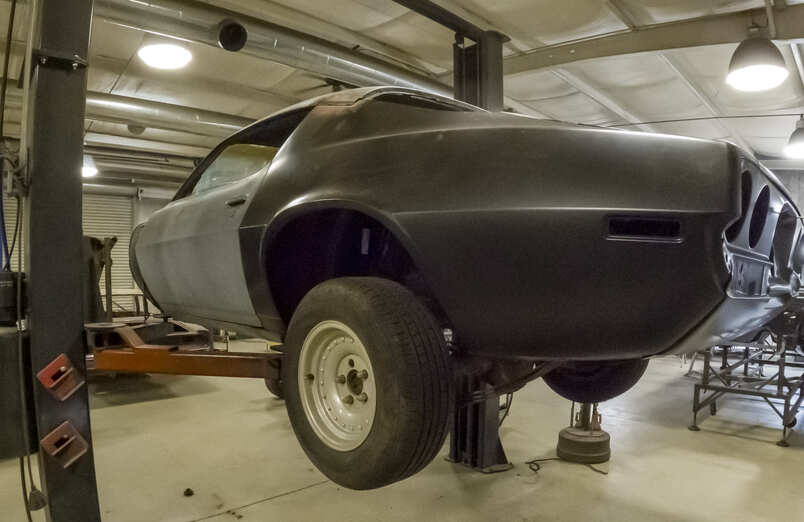
Not all locations can be reached with the spot welder. Plug welds are used instead and blended in just like the roof skin.With the new AMD metal in place, this rubber bumper car now has that iconic round taillight rear end.In the next issue, we will reinstall the front crossmember and show you how to convert the front end on this Camaro.
We use cookies to ensure that we give you the best experience on our website. If you continue to use this site we will assume that you are happy with it.