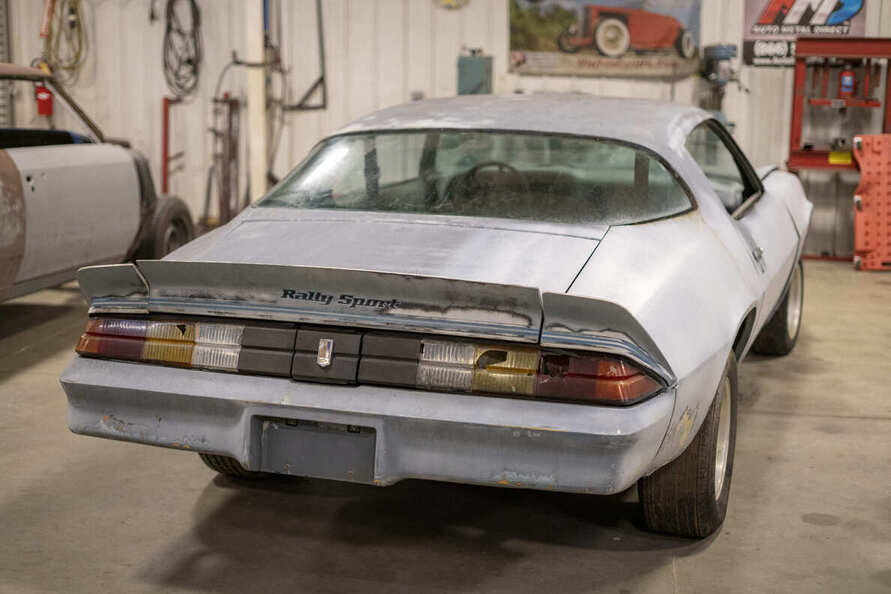
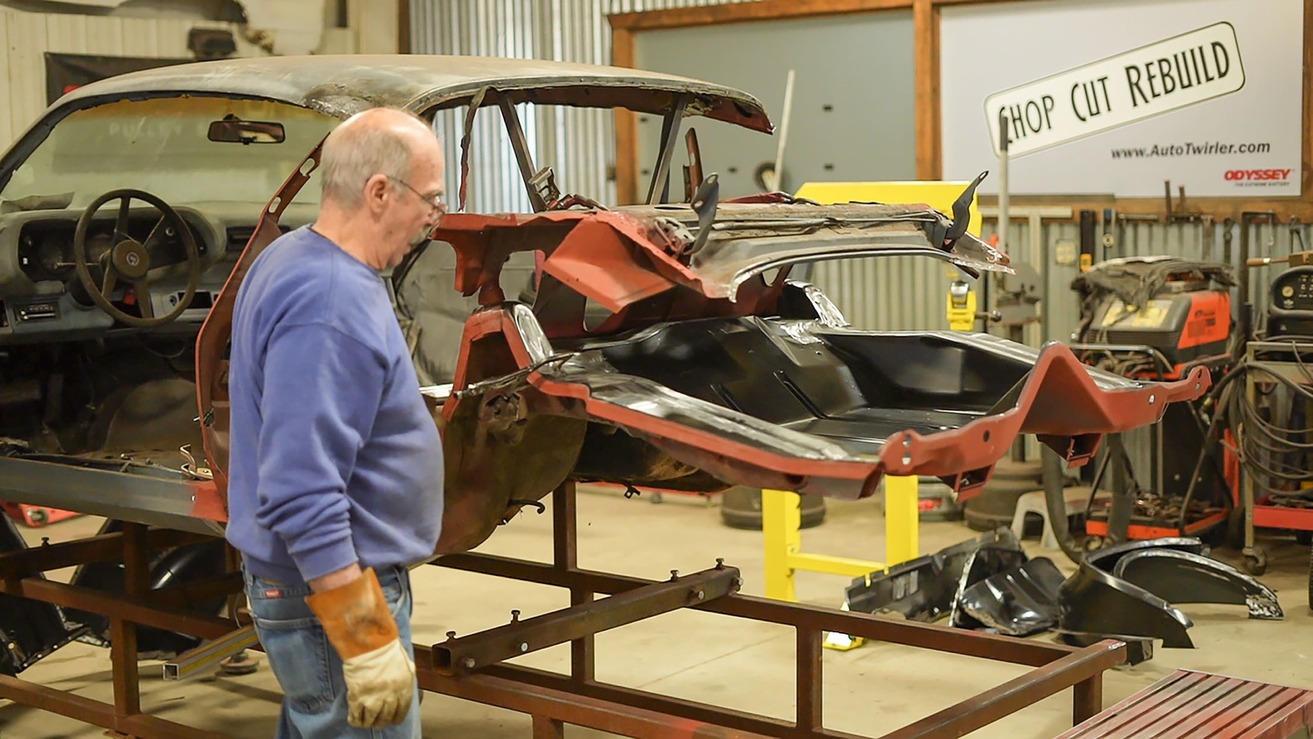
Welcome back to our multi-part series on our second-gen Camaro conversion. Last time we covered this project we addressed the teardown of our 1978 Camaro that we are converting to a 1971-73 steel-bumper car. It is a pretty straightforward process where we removed the entire back end of the car with the exception of the roof, package tray, and framerails. You can catch that in the June ’22 issue of All Chevy Performance.
This time around, we cover the modifications that you will need to make to both framerails, proper location of the trunk floor, prepping the panels for installation, and mocking them up properly to get those gaps nice and tight.
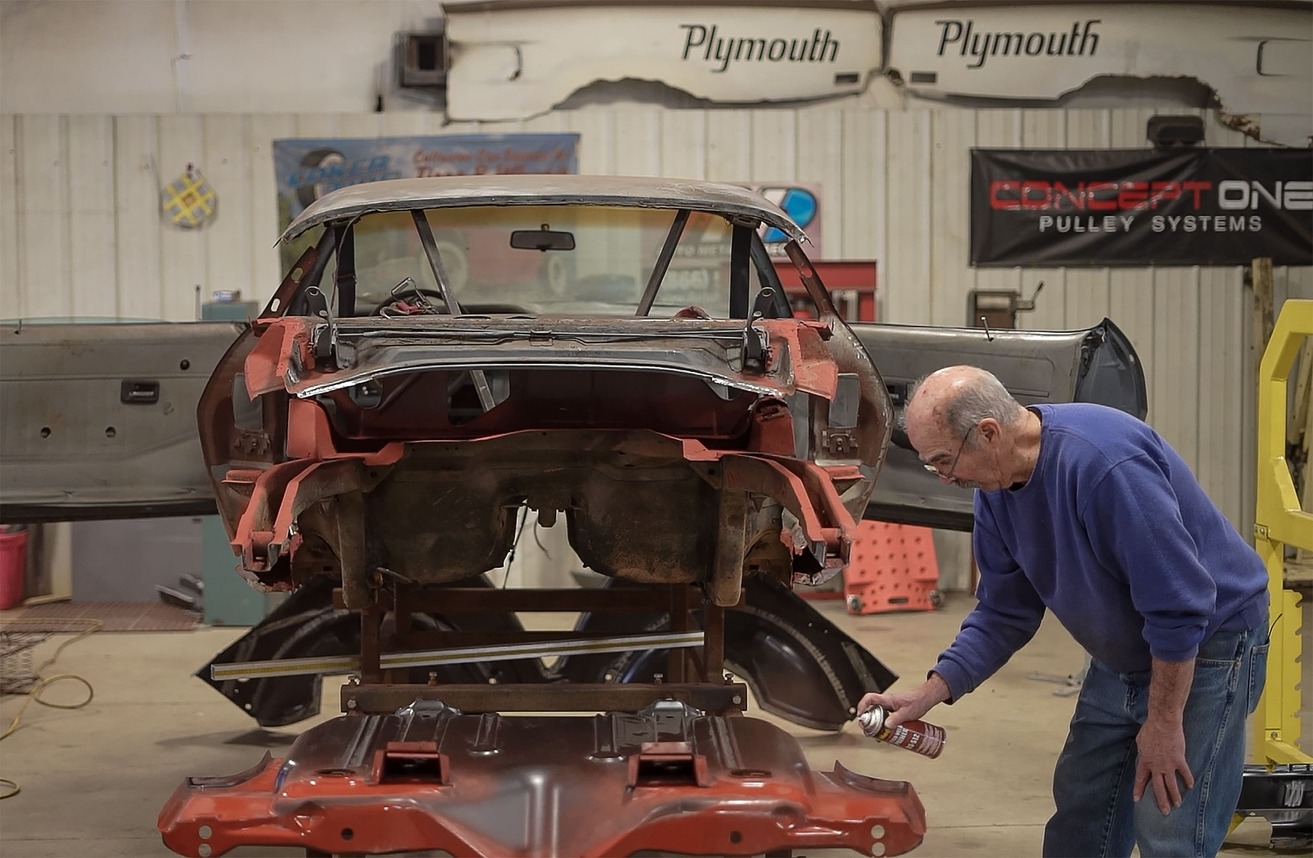
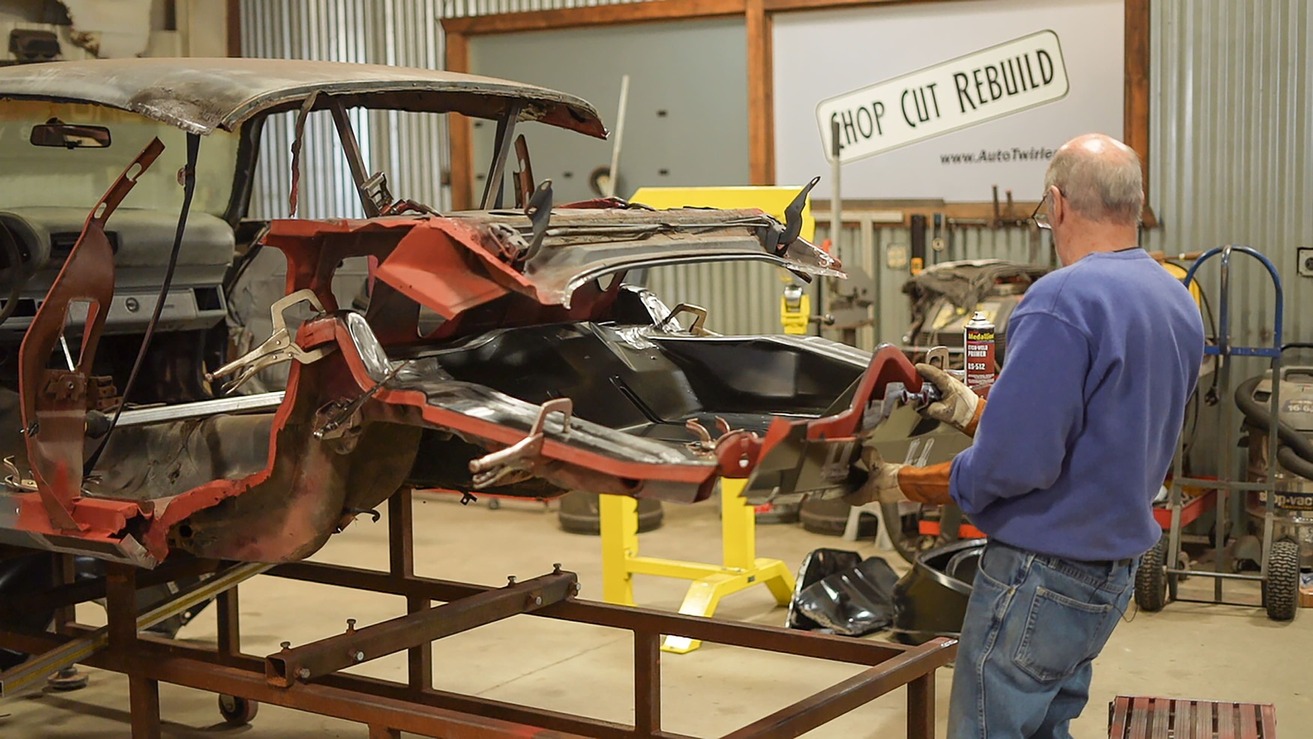
With the car prepared for reassembly, Craig Hopkins lays down a coat of Medallion weld-through primer to all the mating services. You may notice the mods to the framerail at this point.
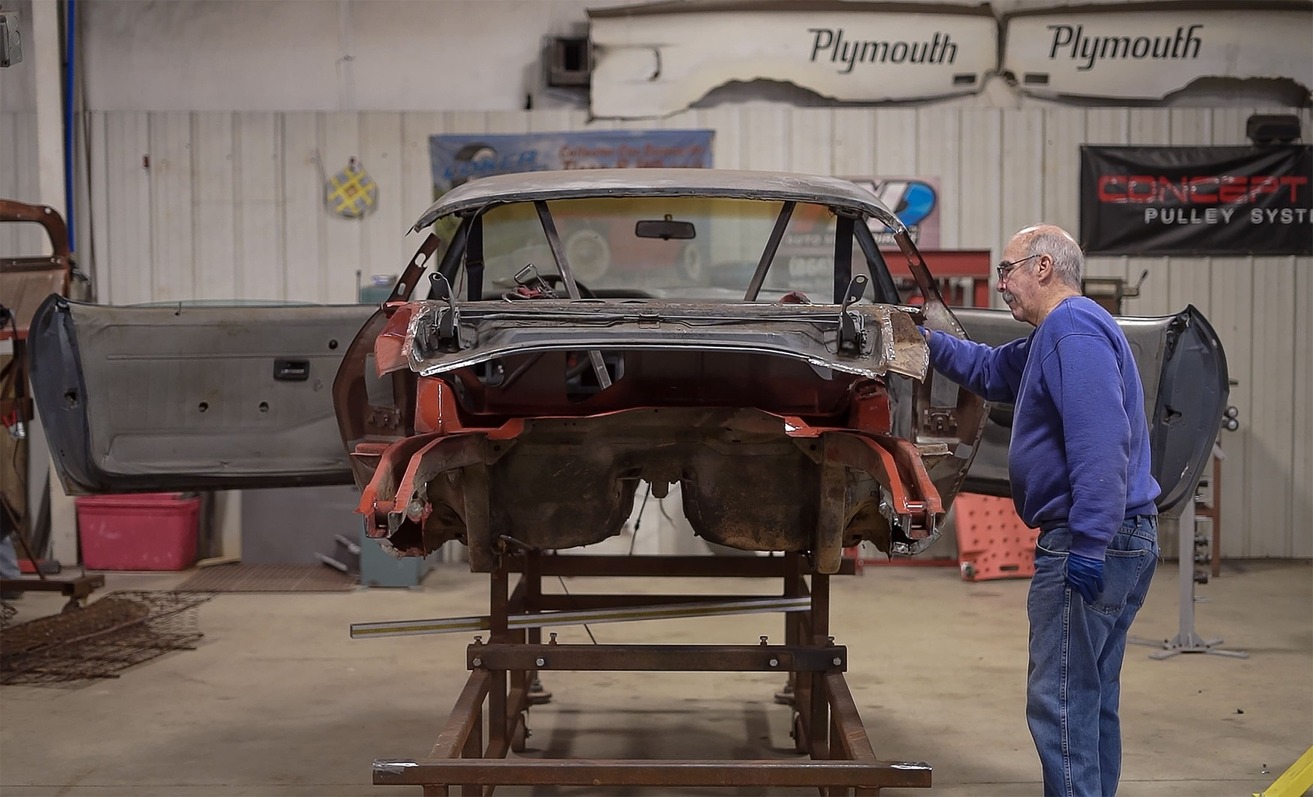
With this conversion there isn’t a ton of fabrication needed, making it a very approachable conversion. We are back with Auto Metal Direct and Craig Hopkins of The Installation Center. We’ll follow along to see how Hopkins tackles that framerail situation and how he aligns the AMD panels to make this conversion a breeze.
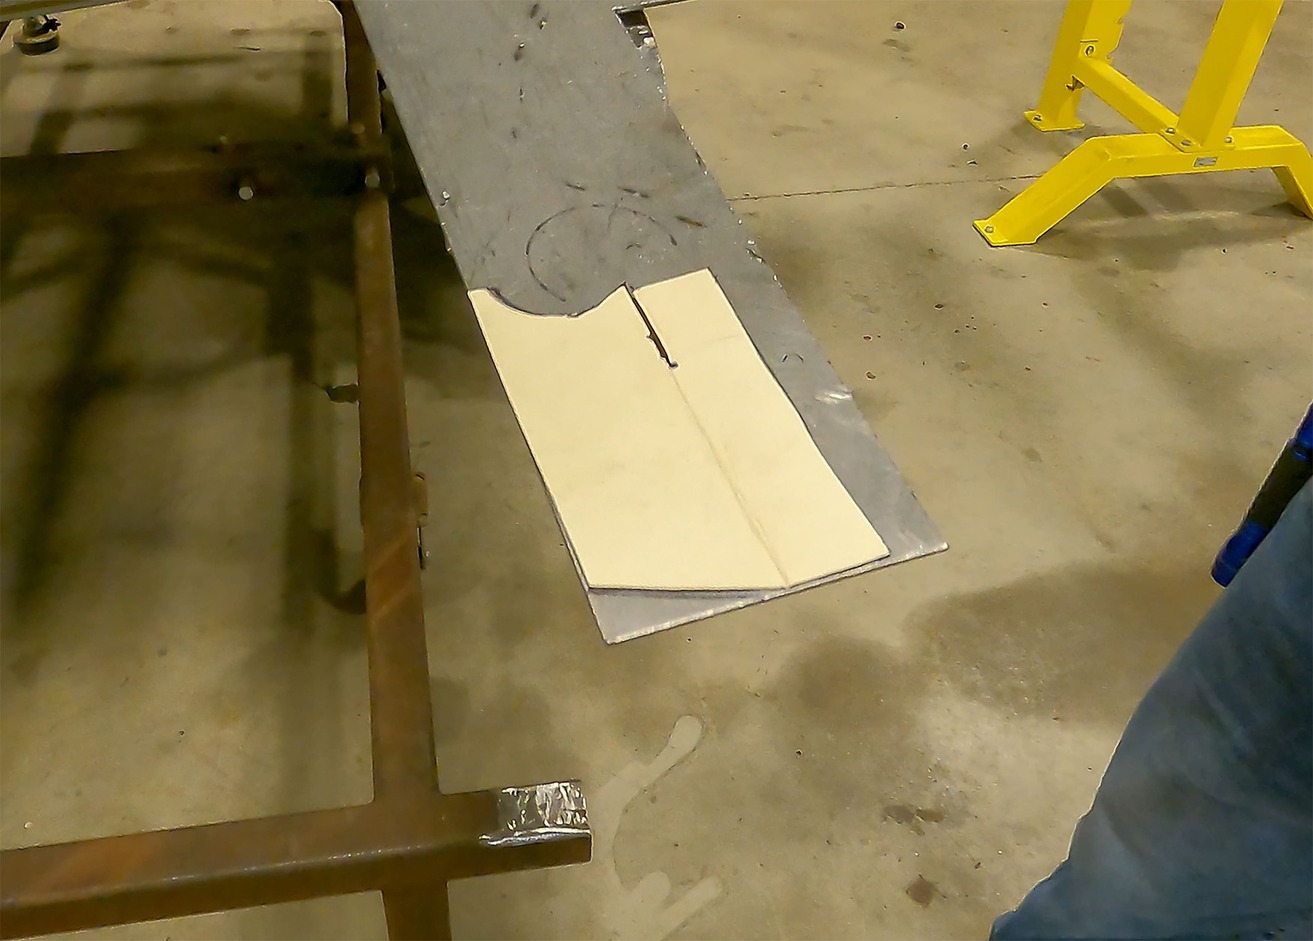
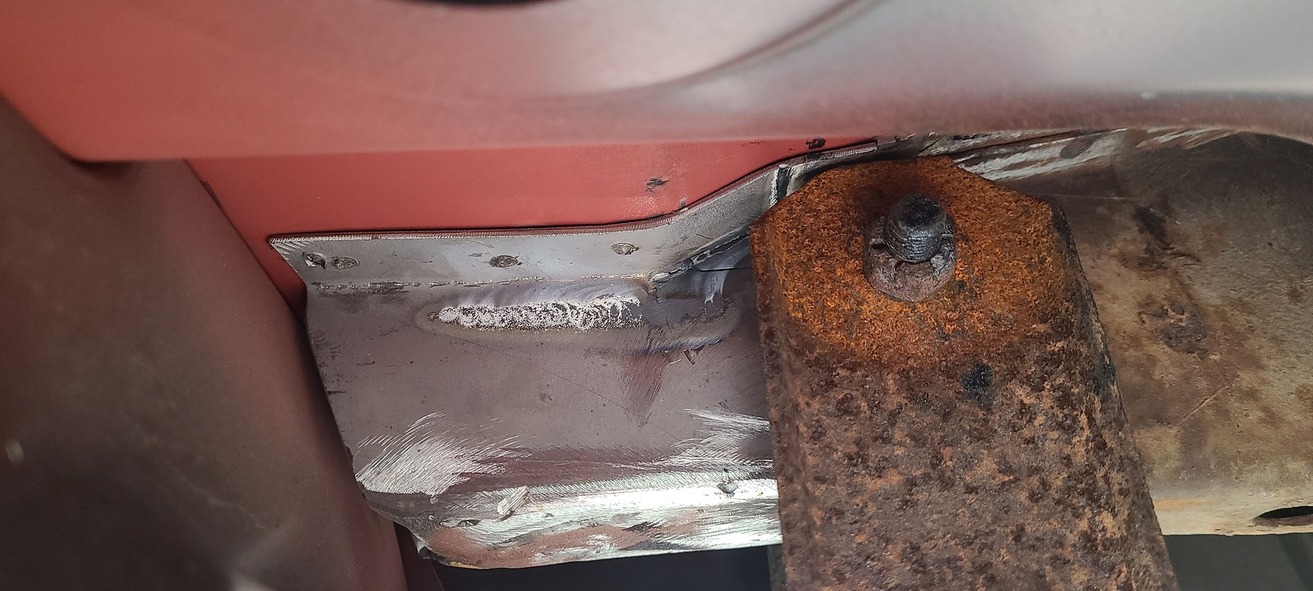
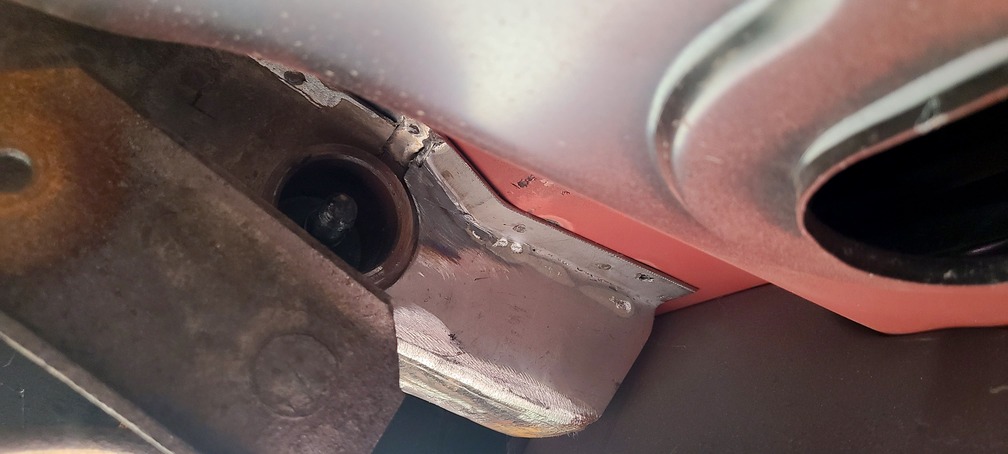
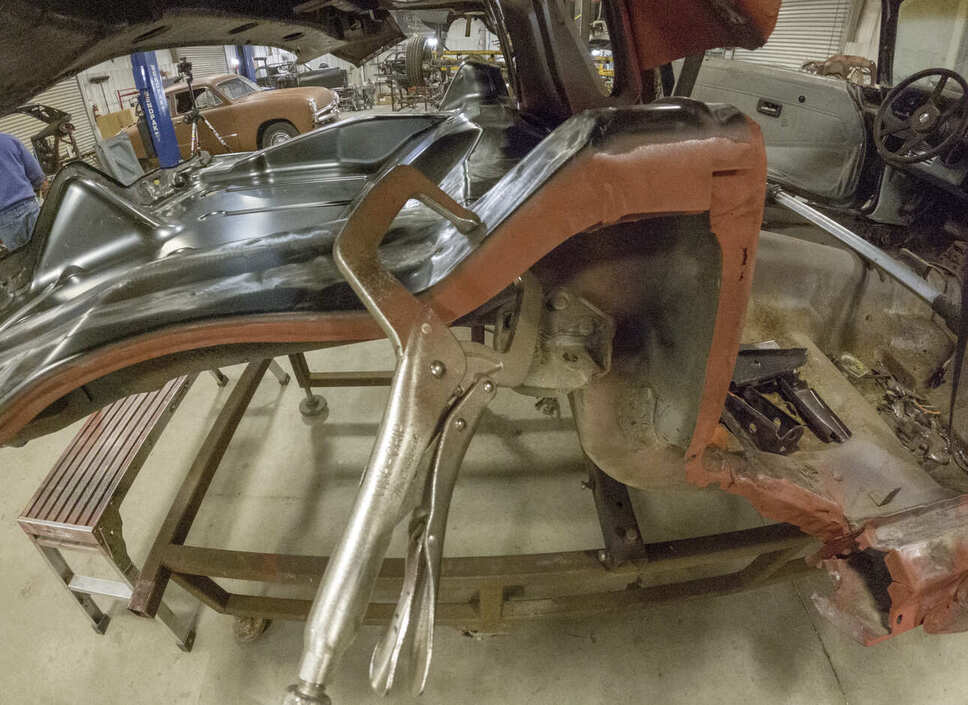
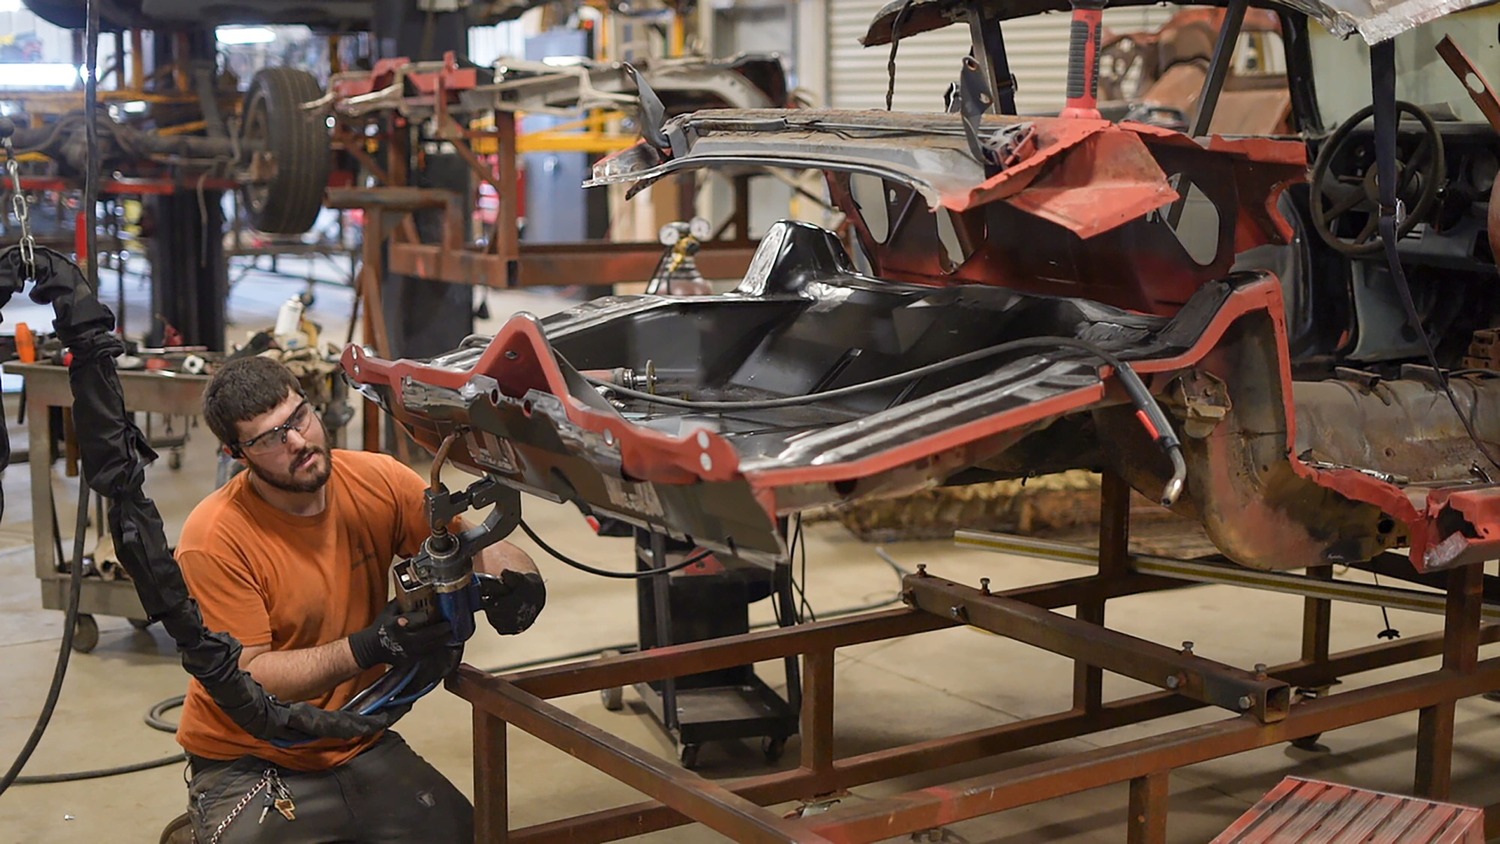
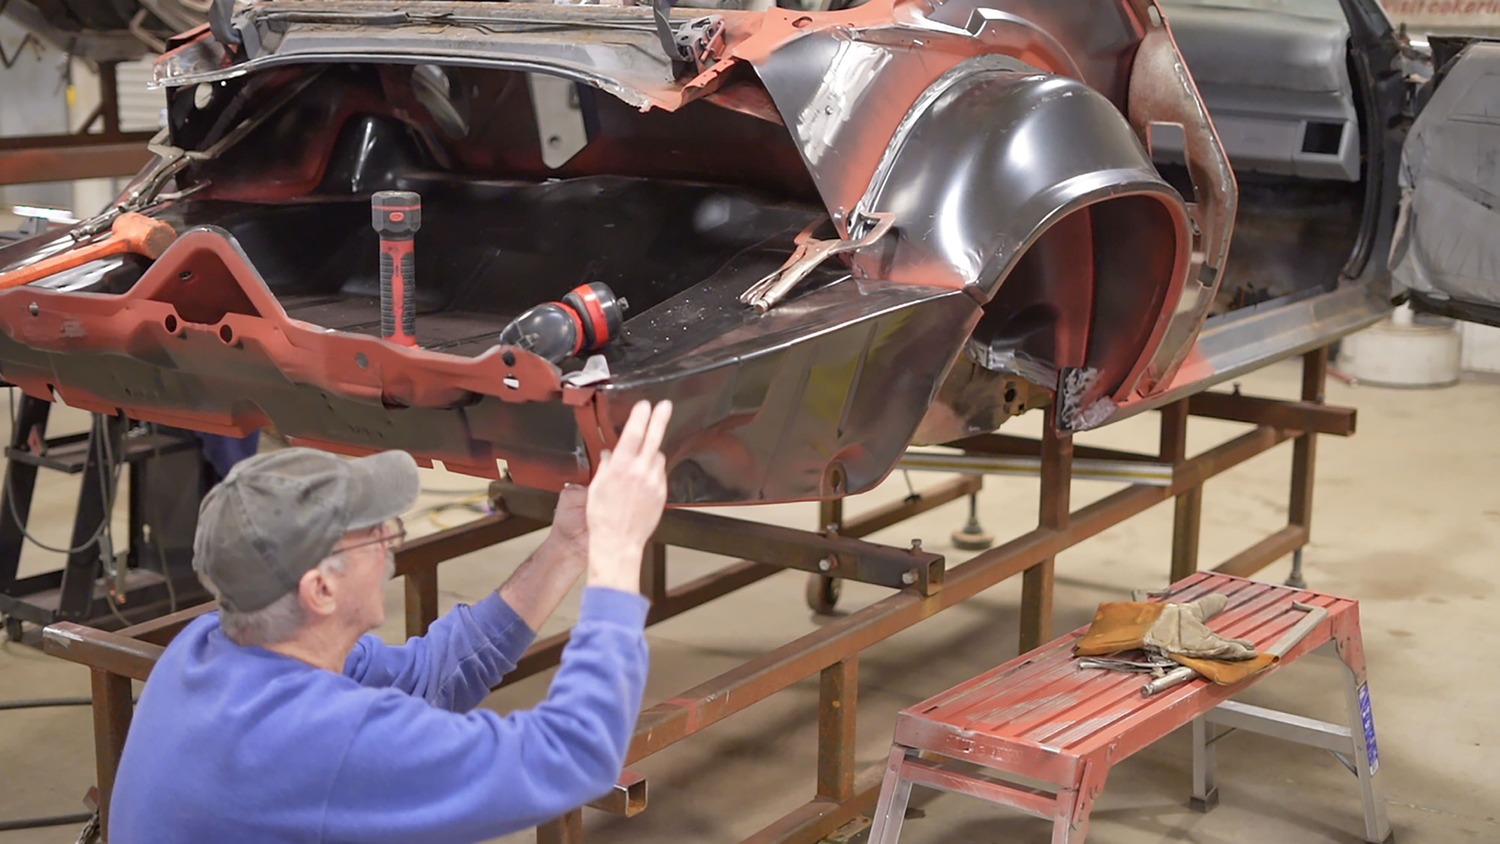
The 1974-81 cars have a flat rear framerail, so we need to do some modifications. A template is drawn to mirror the new trunk floor to accommodate this. It is cut and bent from heavy-gauge metal.
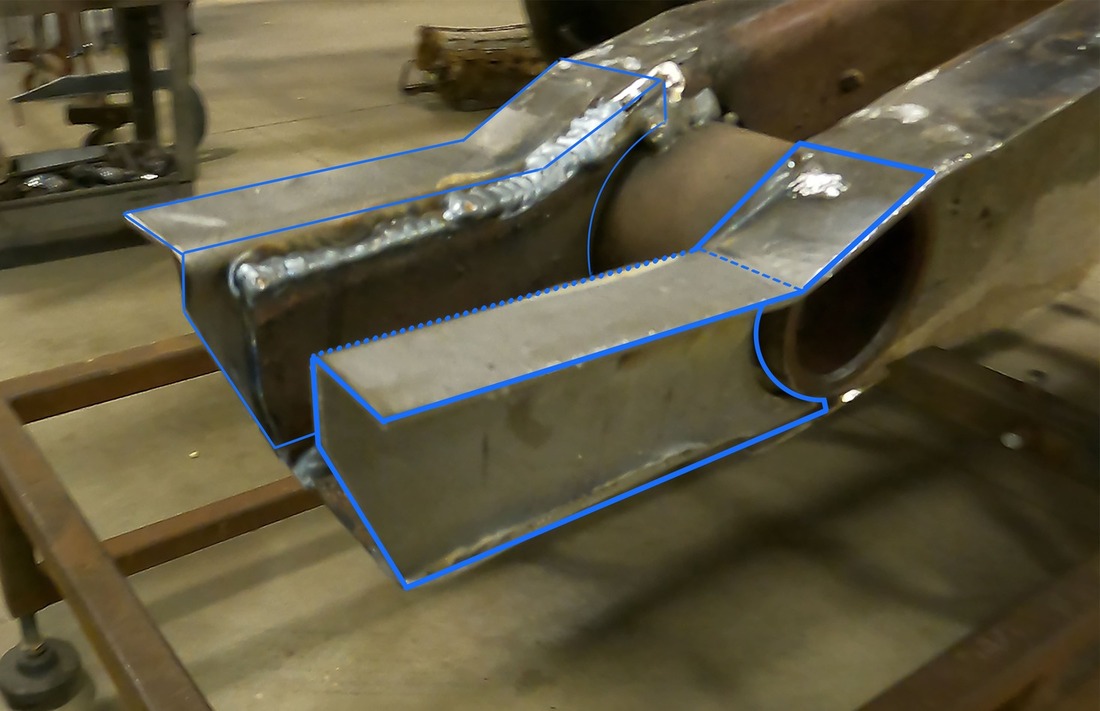
As you can see here, the new framerail ends match the contour of the new trunk floor just like we need.As you can see here, the new framerail ends match the contour of the new trunk floor just like we need.With the framerails corrected, Hopkins applies weld-through primer to the new AMD trunk floor.
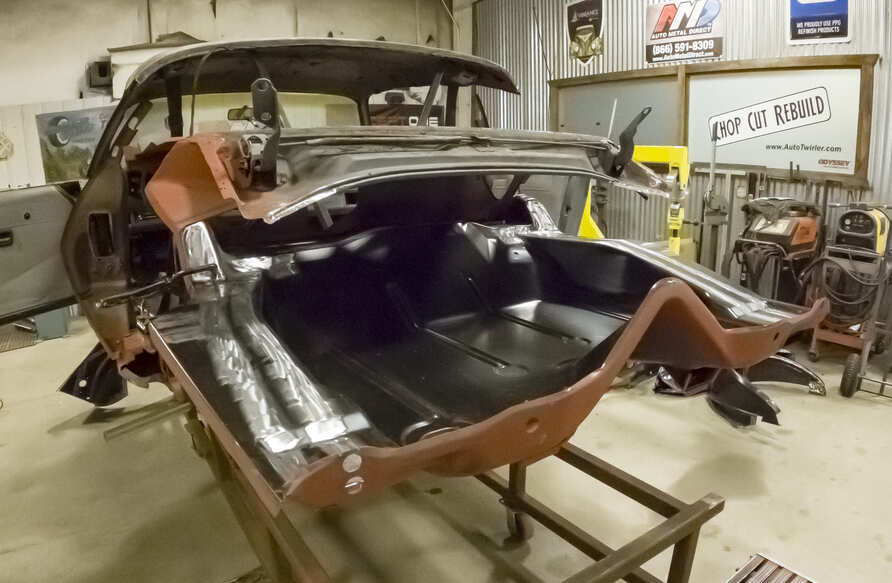
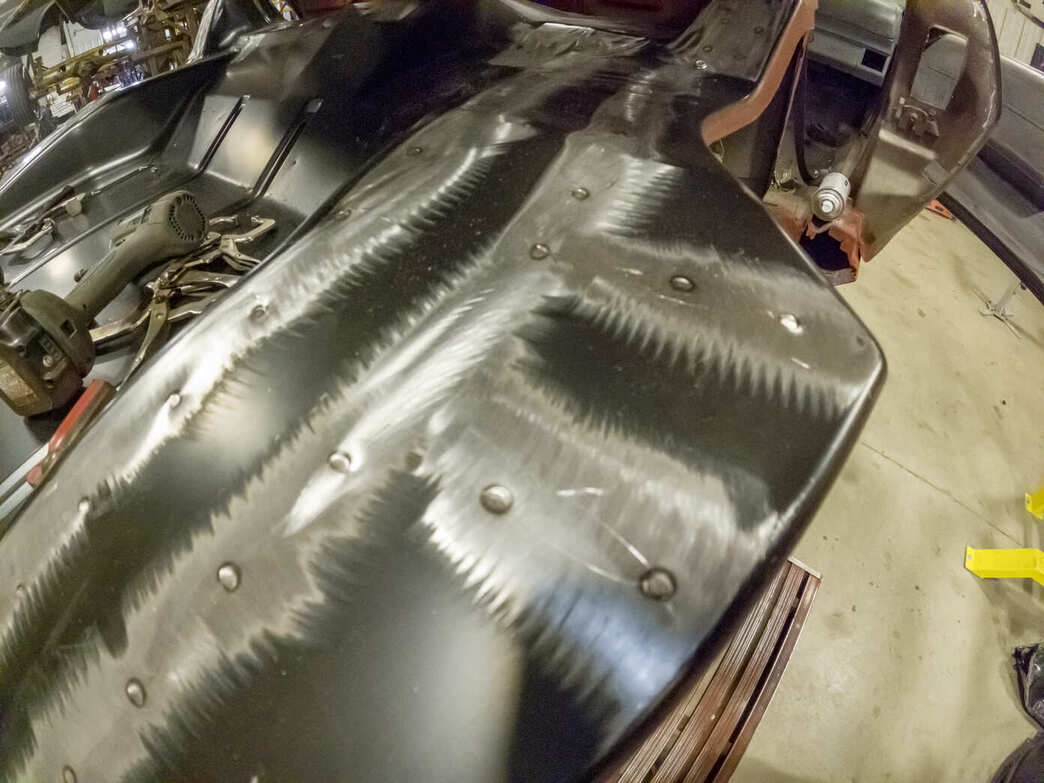
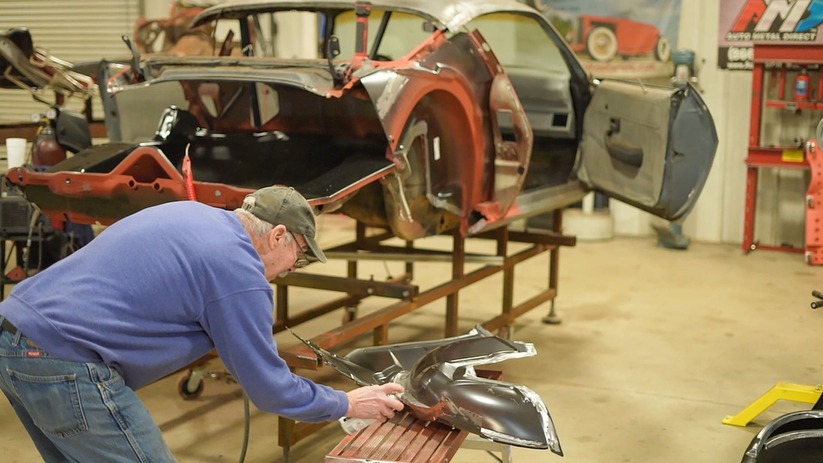
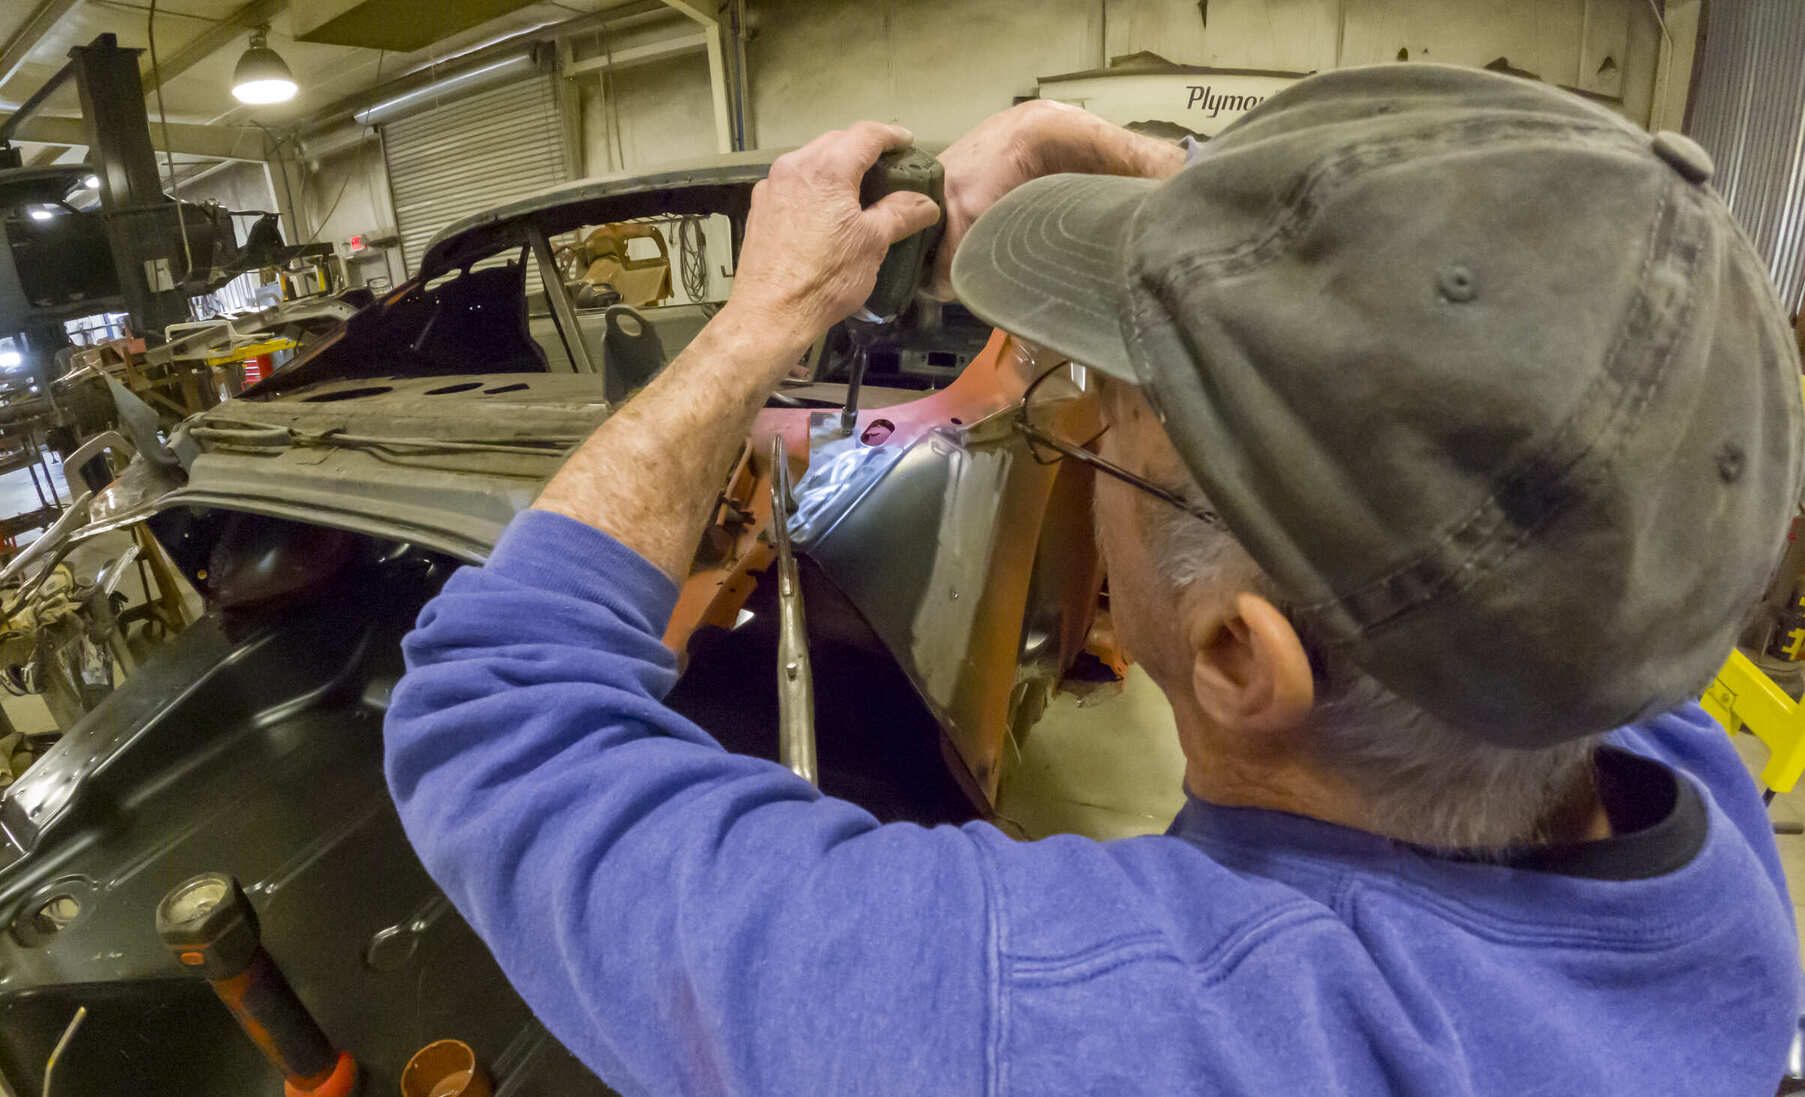
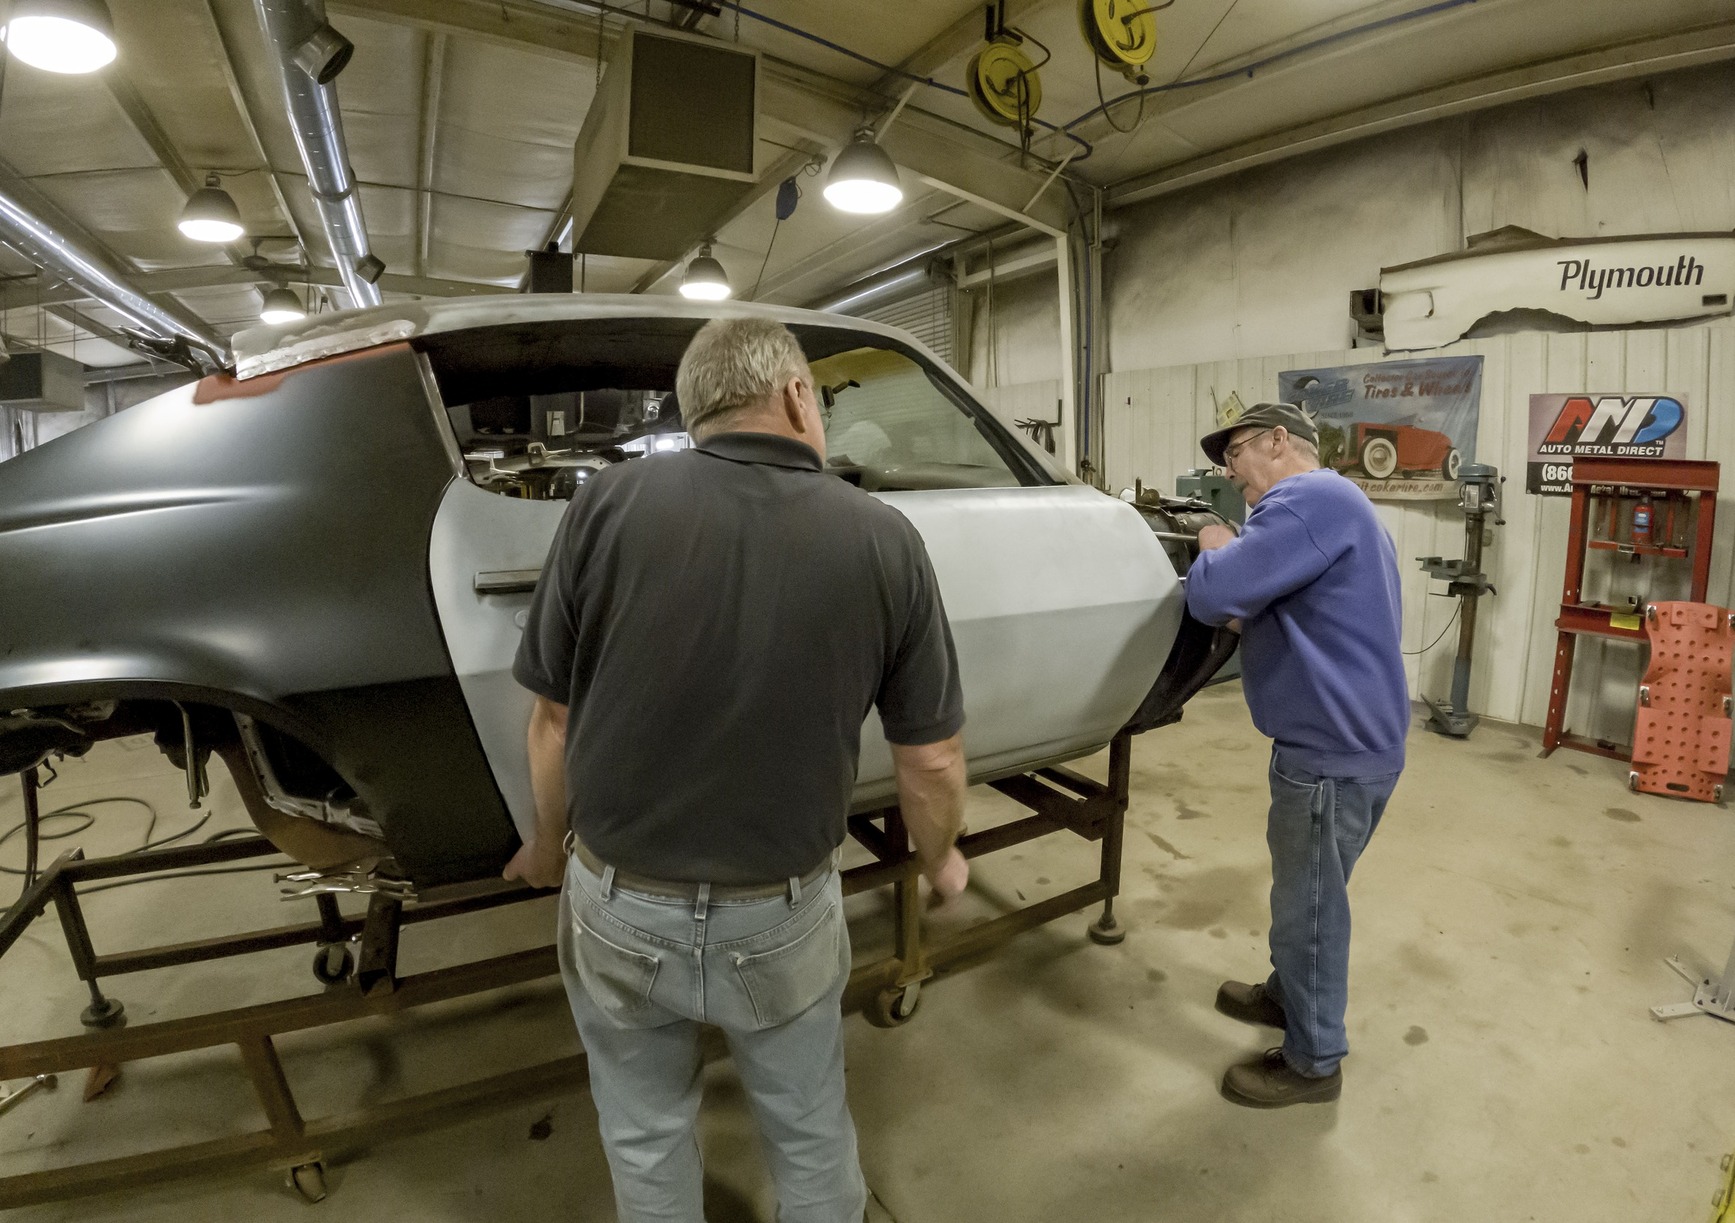
The new AMD trunk floor slides right in. Hopkins lines it up using the factory locator holes and starts clamping the panel in place.
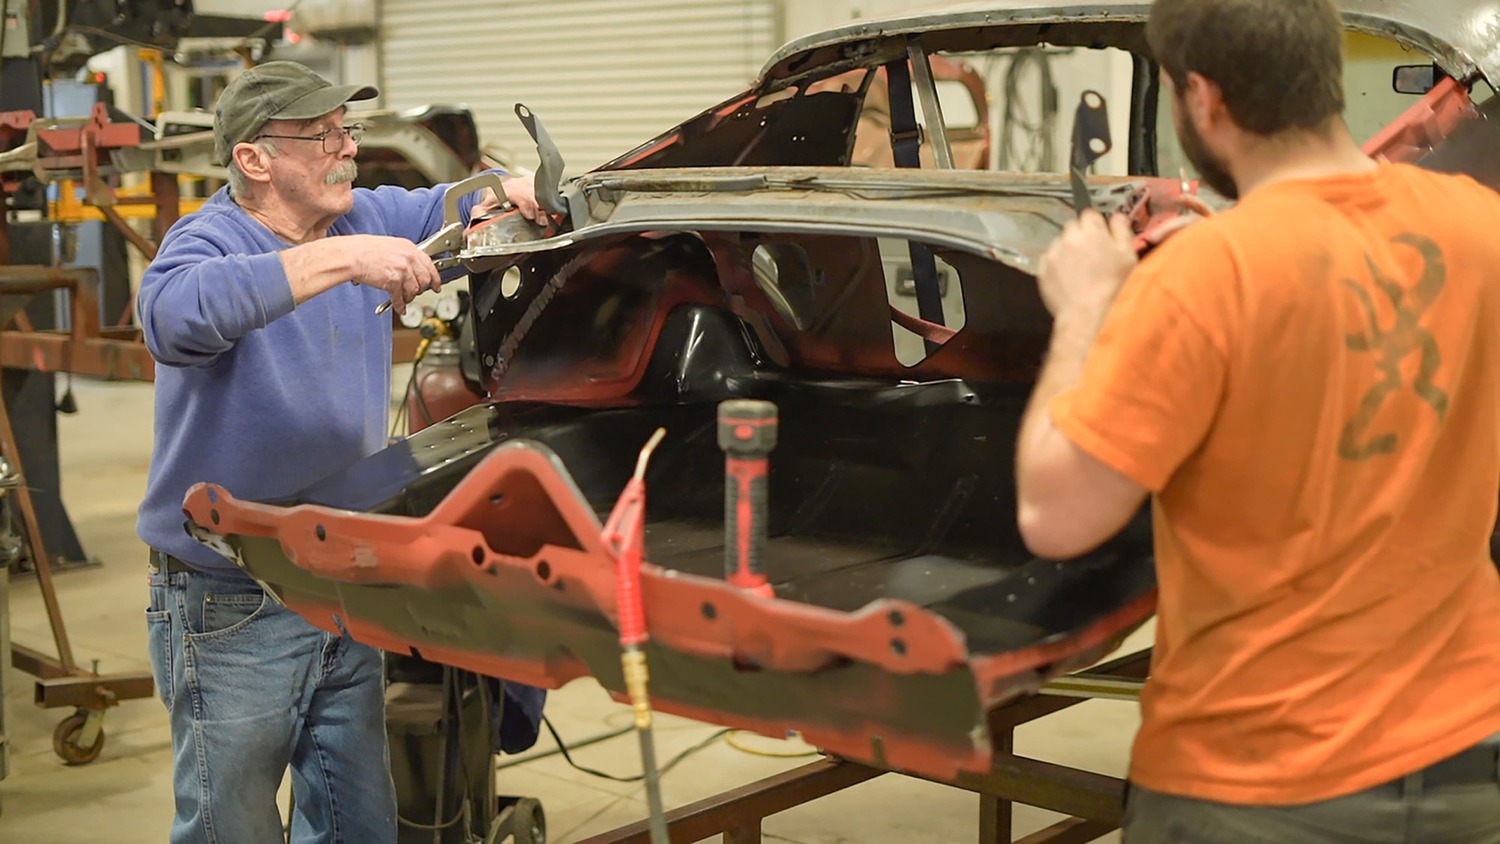
The secret to a good weld is a tight fit. Body clamps and tech screws are your friend here.
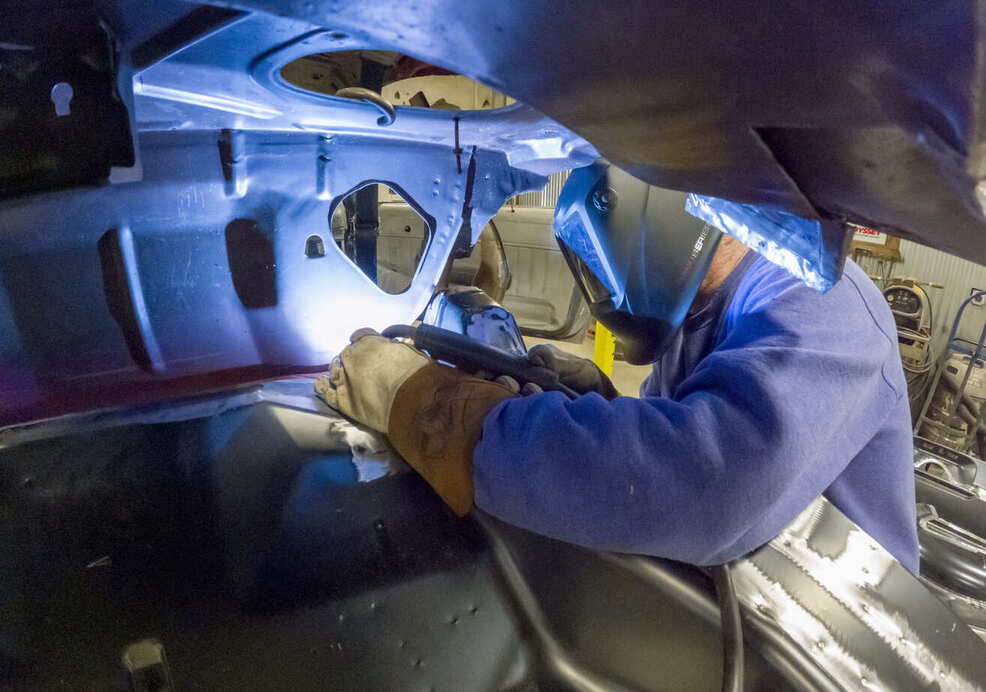
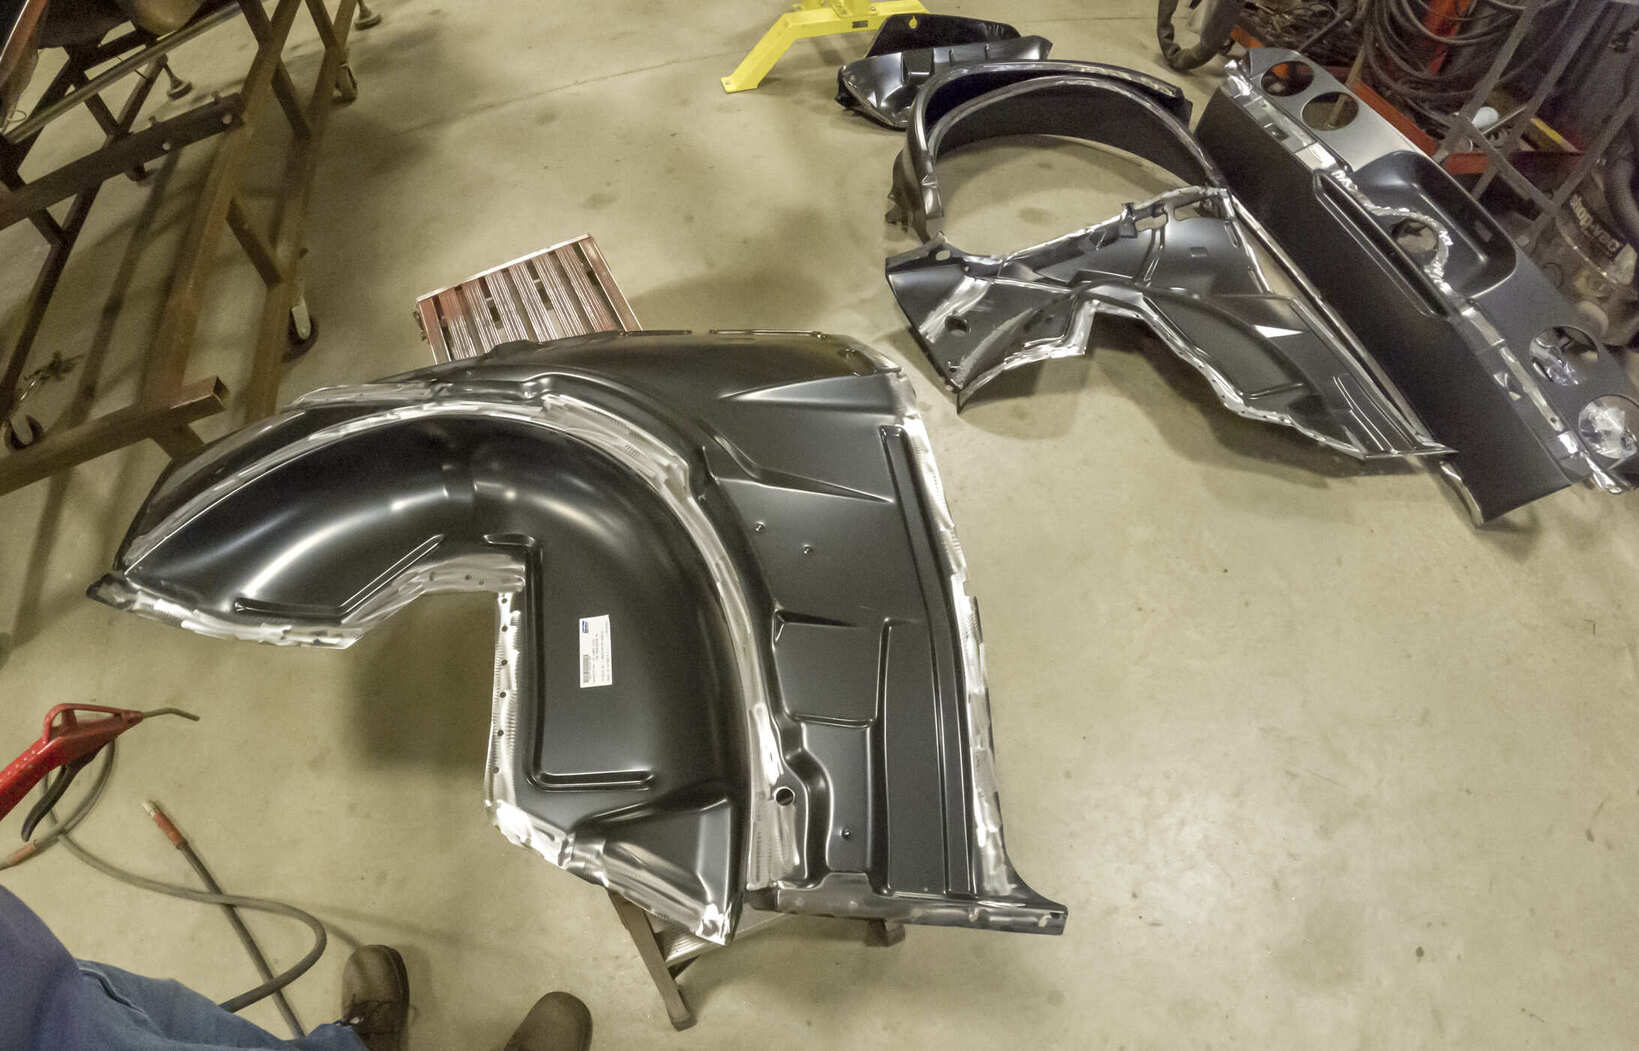
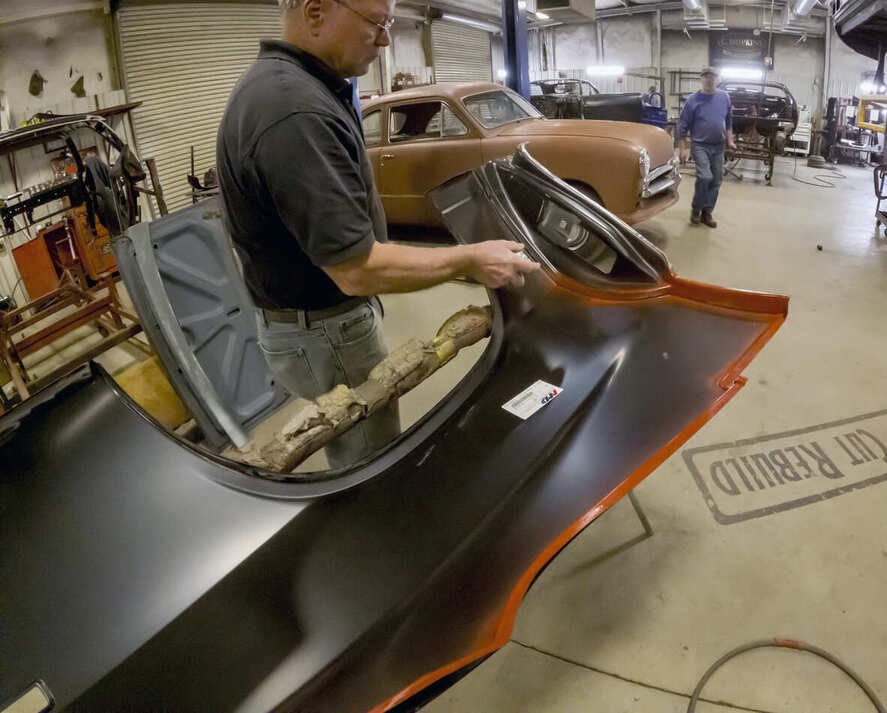
The Installation Center rebuilds bodies. It’s what they do. Using a spot welder gives you that factory finish. If you’re doing this at home, pre-drill the holes so plug-welding the panel is easierNot all areas can be reached with the spot welder. Hopkins plug welds the harder-to-reach areas with his MIG torch.With the trunk floor in, Hopkins can mock up the rear frame crossmember from AMD.With the trunk floor in, Hopkins can mock up the rear frame crossmember from AMD.Hopkins gets some help from Brandon Lethiot and the spot welder to install the rear frame crossmember.Pro tip! Prep your panels before installing them. AMD panels come EDP coated to prevent rust and corrosion prior to installation. This will need to be removed beforehand at all the points of welding. Take note on each panel where you will be plug welding and predrill your holes prior to installation.Weld-through primer is a staple at The Installation Center. Hopkins applies a coat to the new inner wheelhouses.
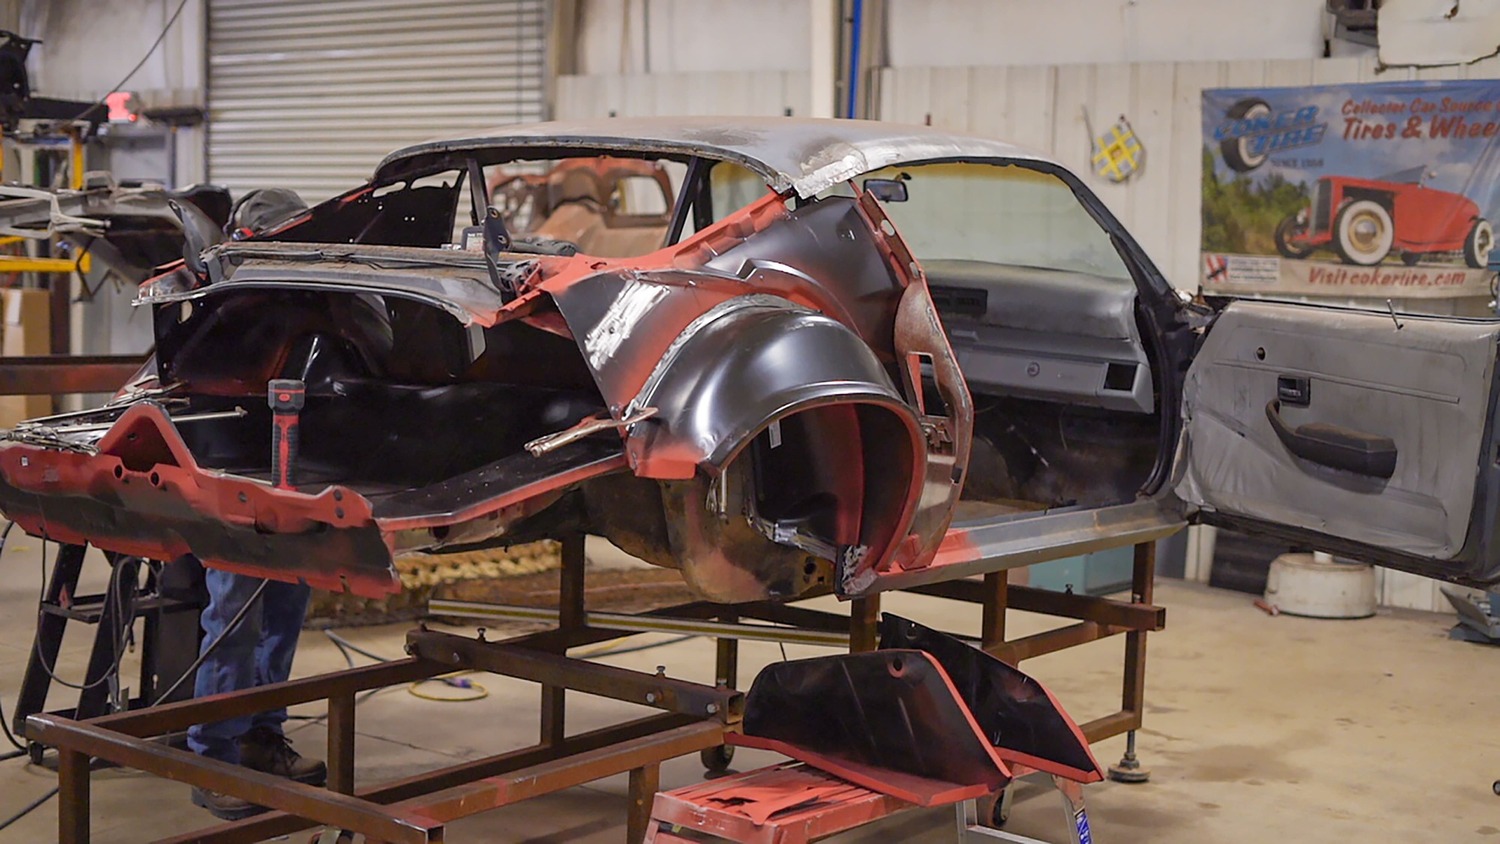
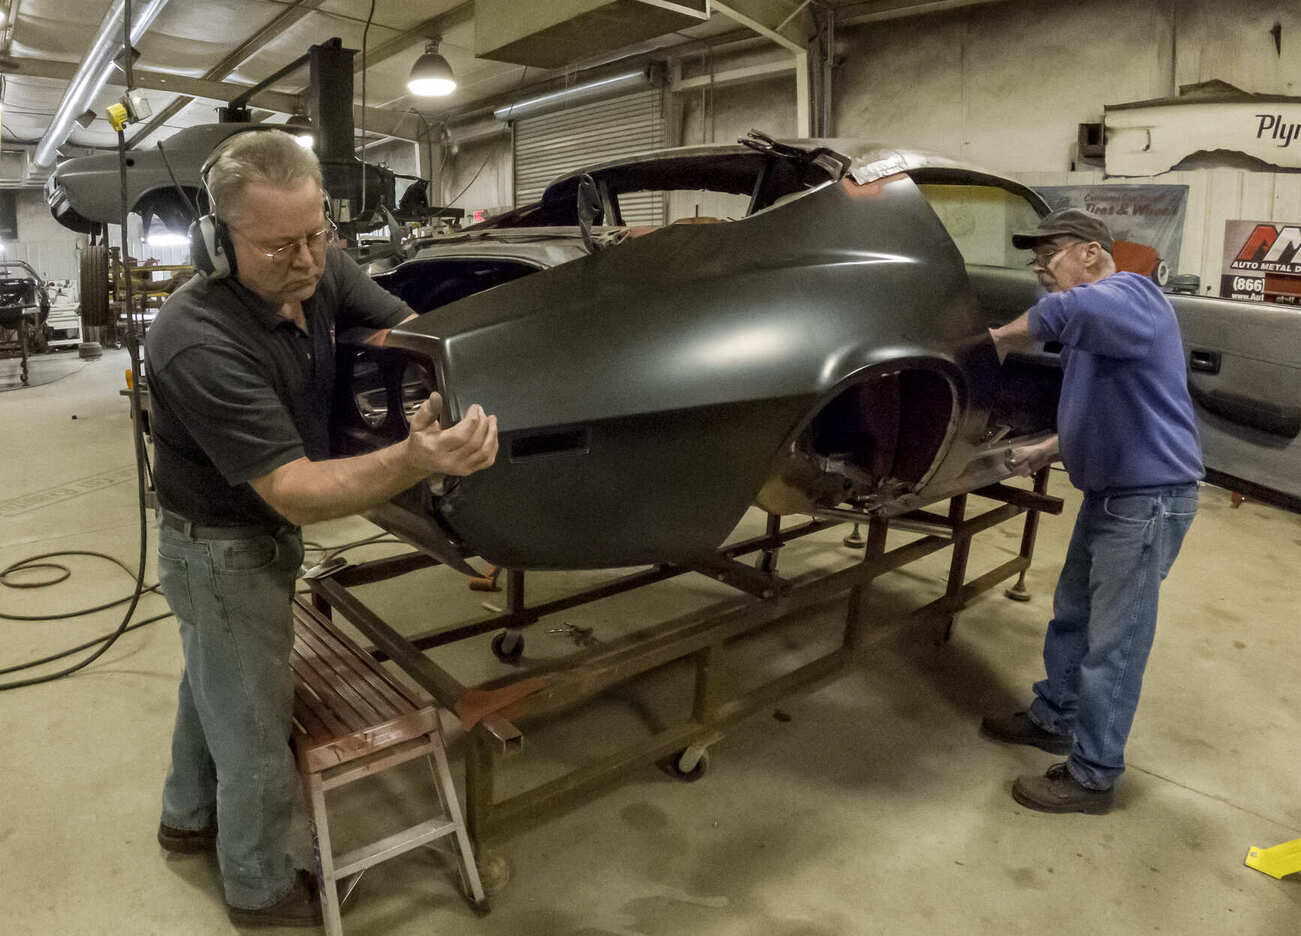
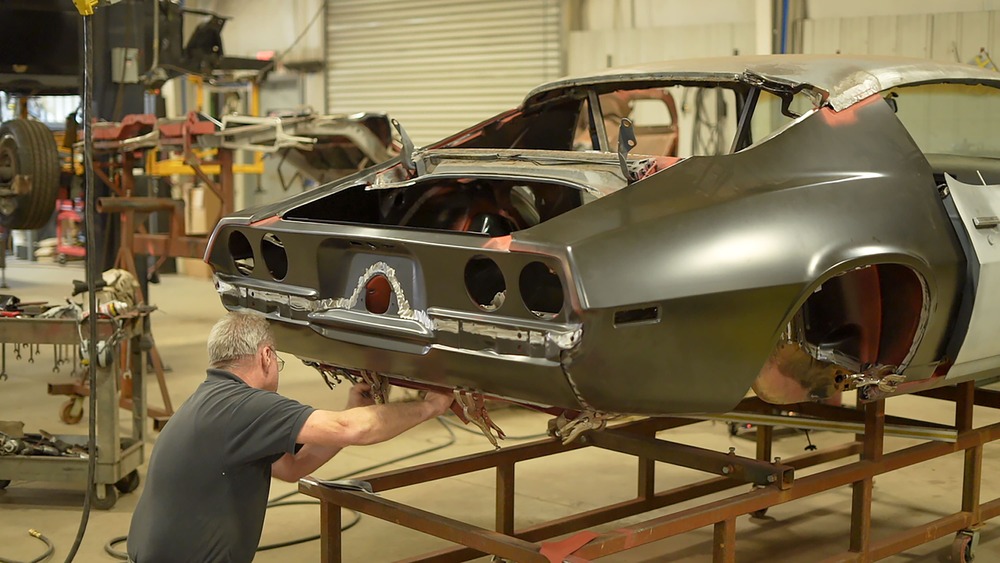
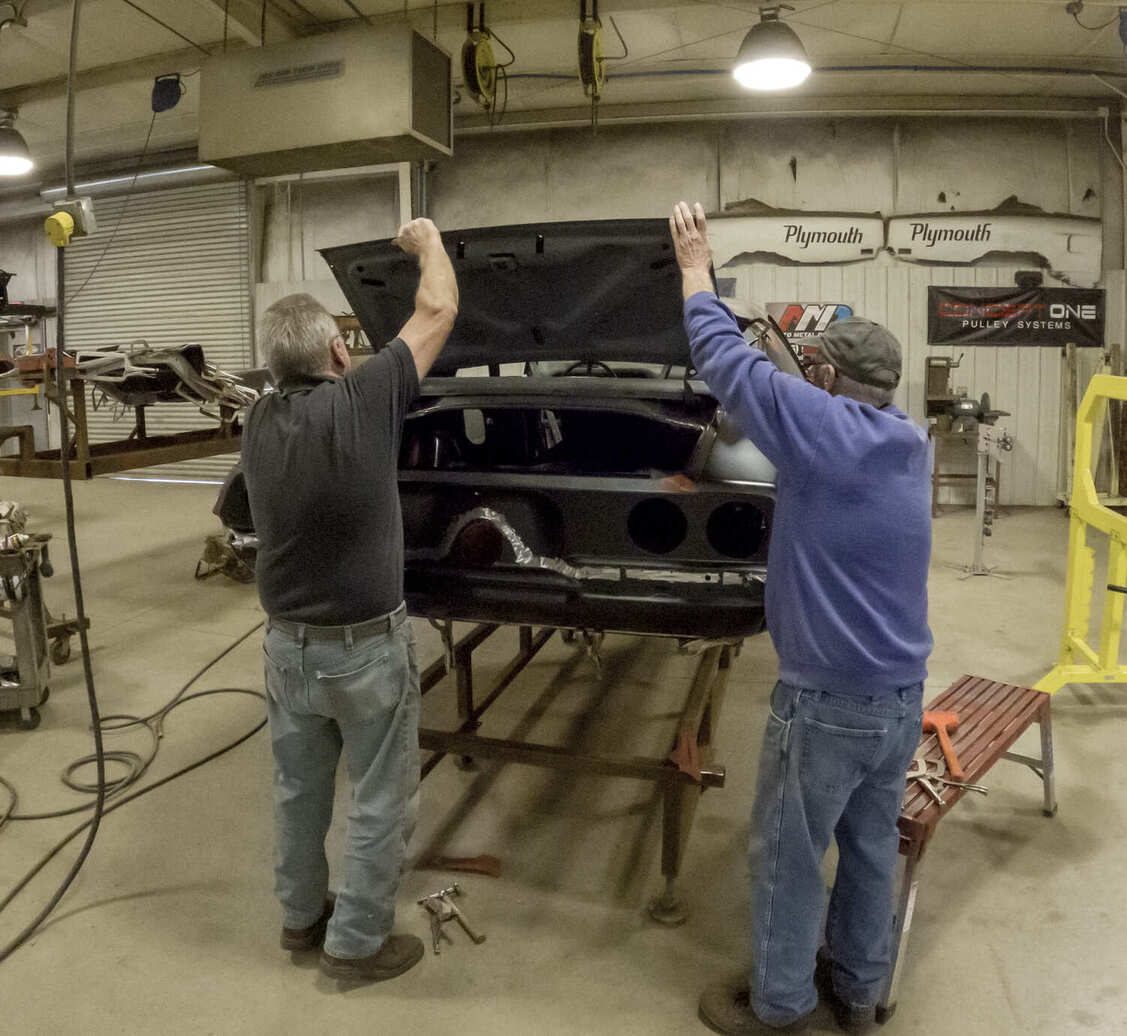
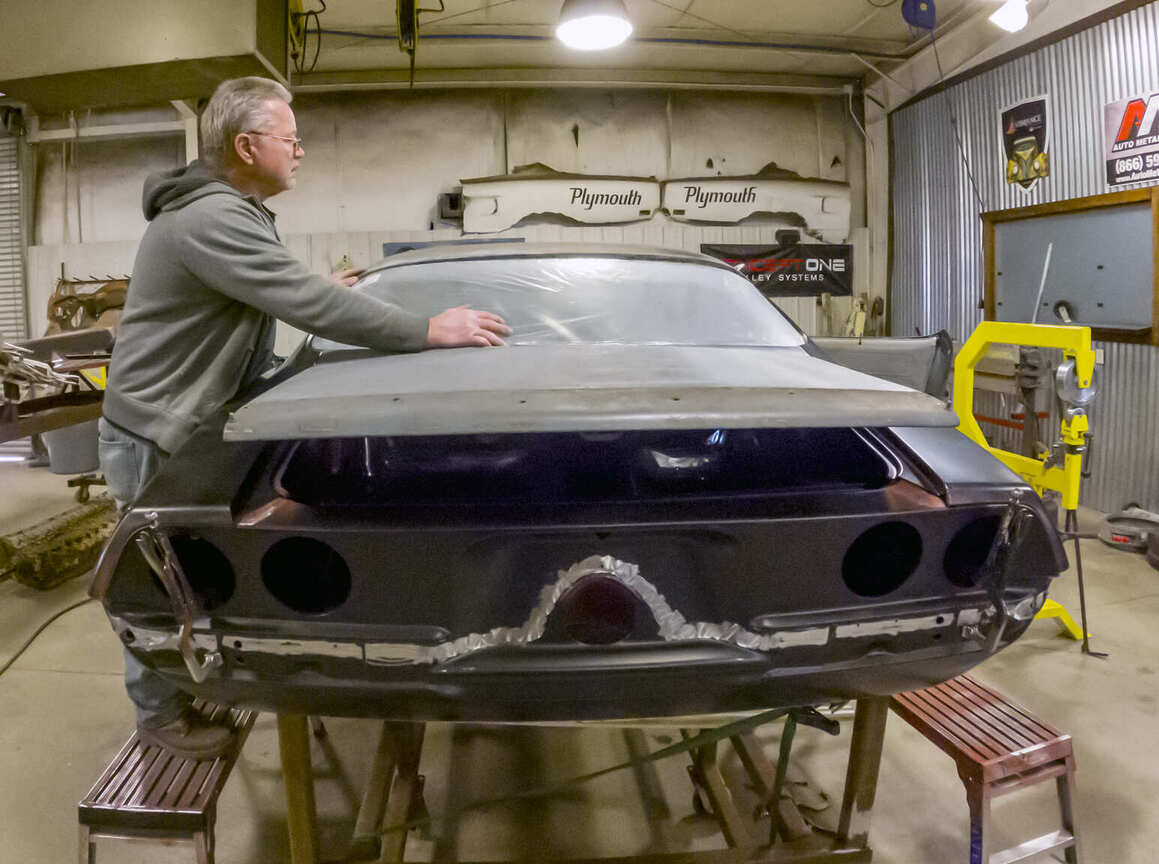
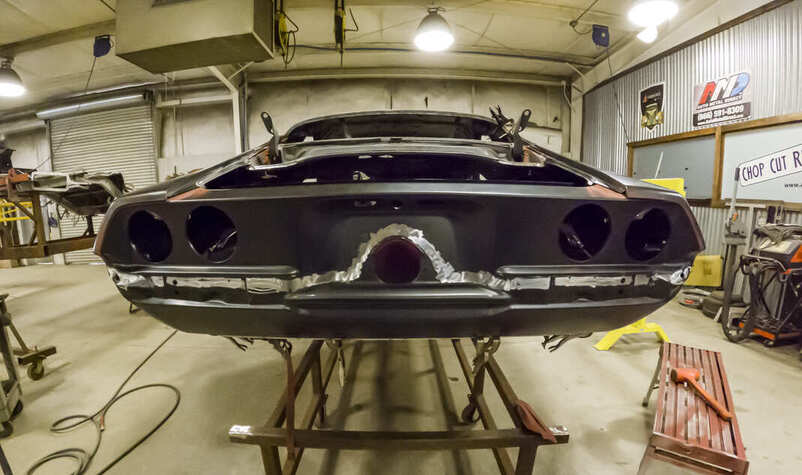
Hopkins and Lethiot mock up the inner wheelhouses. The AMD 1970-74 Camaro inner wheelhouses include the upper roof structure just like original, making installation a breeze.The panels are temporarily screwed into place. This is a temporary hold to give us the ability to adjust our gaps as needed.The rear of the car is starting to take shape and the outer wheelhouses are clamped into place.Hopkins mocks up the trunk floor extensions to align with the outer wheelhouse and the rear frame crossmember.All helping hands on deck with this one, Wesley Kennedy applies weld-through primer on the quarter-panels prior to installation.Hopkins and Kennedy line up the AMD quarter-panels and mock up the rear tail panel.With the quarter-panels in place, Kennedy can fine-tune the taillight panel exactly where he needs it.With all the new AMD sheetmetal in place, Hopkins and Kennedy can start dialing in the placement of the panels by test-fitting the decklid.Adjusting the doors is a good idea at this point. It’s a lot easier to adjust now as needed before final weld up on the quarter-panel and doorjamb.One last thing we want to check is the back glass. The early second-gen Camaros have the smaller back glass, and we want to make sure it is going to fit with ease. Take into consideration the glass seal and trim when checking this area.With the new AMD panels exactly where he wants them, Hopkinds is ready to move onto welding the rear of this one up. Be sure to check it out in the next issue of All Chevy Performance magazine.
We use cookies to ensure that we give you the best experience on our website. If you continue to use this site we will assume that you are happy with it.