ITGMw
SUBSCRIPTIONtext
ProgressArrows
digital issues
ProgressArrows
online store
ProgressArrows
SUBSCRIPTIONtext
ITGMw
ACPnew header logo
CTP LOGOs
all cars

Paint Run Repair

By “Rotten” Rodney Bauman   –   Images by the Author

It’s often said that the best painters are those who can fix their mistakes. As a painter myself, I’d like to think there’s a little more to it than that.

01 Preparing sanding and polishing tools including wet sandpaper and blocks
With softened water trickling from a garden-variety drip system hose, we’ll end up color-sanding, wet, the old-fashioned way. This story, however, is only about run repair.

As an apprentice in the 1970s I did a whole lot of prepwork. During that time I saw painters come and go. On one memorable occasion a guy claiming to be an experienced painter approached the boss, seeking employment. The interview went something like this: “Do you get runs?” “No,” replied the applicant. “Then you’re no painter,” retorted the boss.

02 Comparing different sanding blocks for precise defect removal
So, here’s a pair of nib files. Available through Summit, these can be helpful head-start tools for flat or convex panel imperfections. These should be used dry.

You could say it just goes with the territory—even the very best painters get runs, sags, curtains, hangers. Some painters call them gravity tests. Others call theirs flow indicators. In our own shop we like to call them “rod runs”—and as the designated painter, I do indeed get them.

03 Using flexible sanding blocks to refine uneven paint surfaces
Sections of sanding blocks are musts for most of our run repairs. We’ll also employ a couple of erasers. Around here, with 1,200-grit, these should be used wet.

It’s not unusual for the topic of run repair to be touched upon in paint-related tech. Perhaps I’m missing something, but so far I don’t recall anything really step by step or in-depth about it.

04 Magnifying paint defects for detailed correction
Escaped from the downturned driprail, see the drip? We know we’ll need to block-sand this, wet, but we can begin dry with our nib files—at least for the globular tip of the drip.

These days, of course, we do have online tutorials to weed through. Is it me, or is the videography too-commonly nauseating? How can we learn when we must look away?

05 Applying masking tape to protect surrounding areas before sanding
For this first step we’ll try hard not to scratch the surrounding surface. Mainly as a visual guide, we’ll be applying masking tape for the filing strokes only.

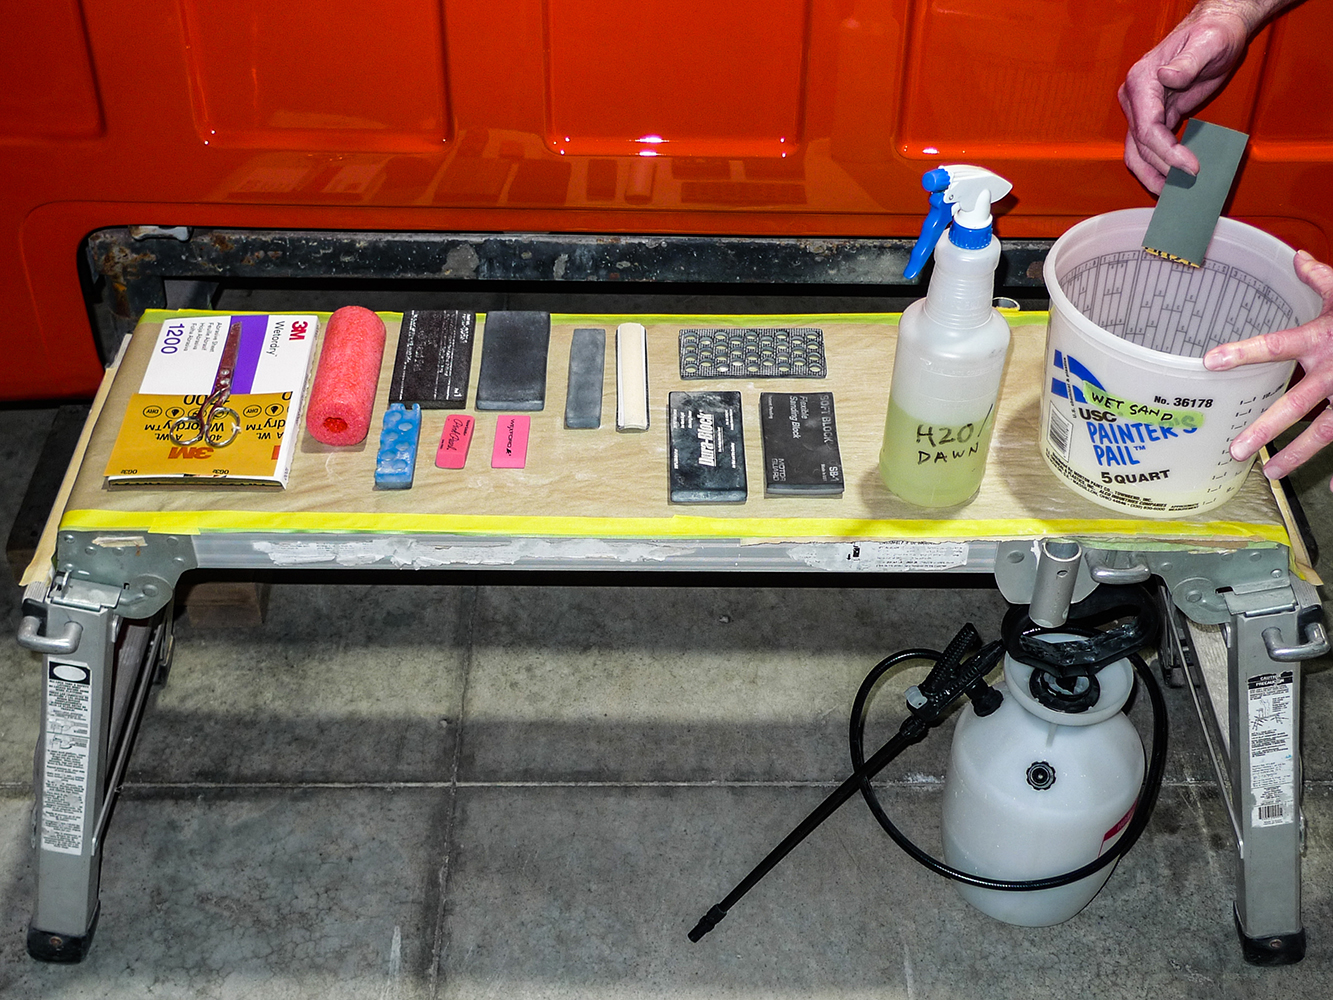
On those notes, we know the upcoming technical portion of our own little run repair how-to had better be easy to follow. It should be. It’s been well-thought-over. Truth be told, this one’s been on my to-do list for quite a long time.

06 Sanding down the paint run carefully with a precision tool
Since this is a vertical-type of run, we’re filing mostly in short, vertical strokes. We’re also checking progress frequently as we go.

Back when the notion was new, I contacted a few of my painterly pals. I asked each of them to give me a call next time they got a run. That was quite a while back. Time’s gone by; nobody’s called. So lately I’ve been thinking, this might as well take place in our own shop!

07 Checking the sanded area for uniformity and smoothness
So, this is about as far as I’d personally care to go with the nib files. The globular tip of the drip is leveled enough that tape can now be removed for soapy wet blocking.

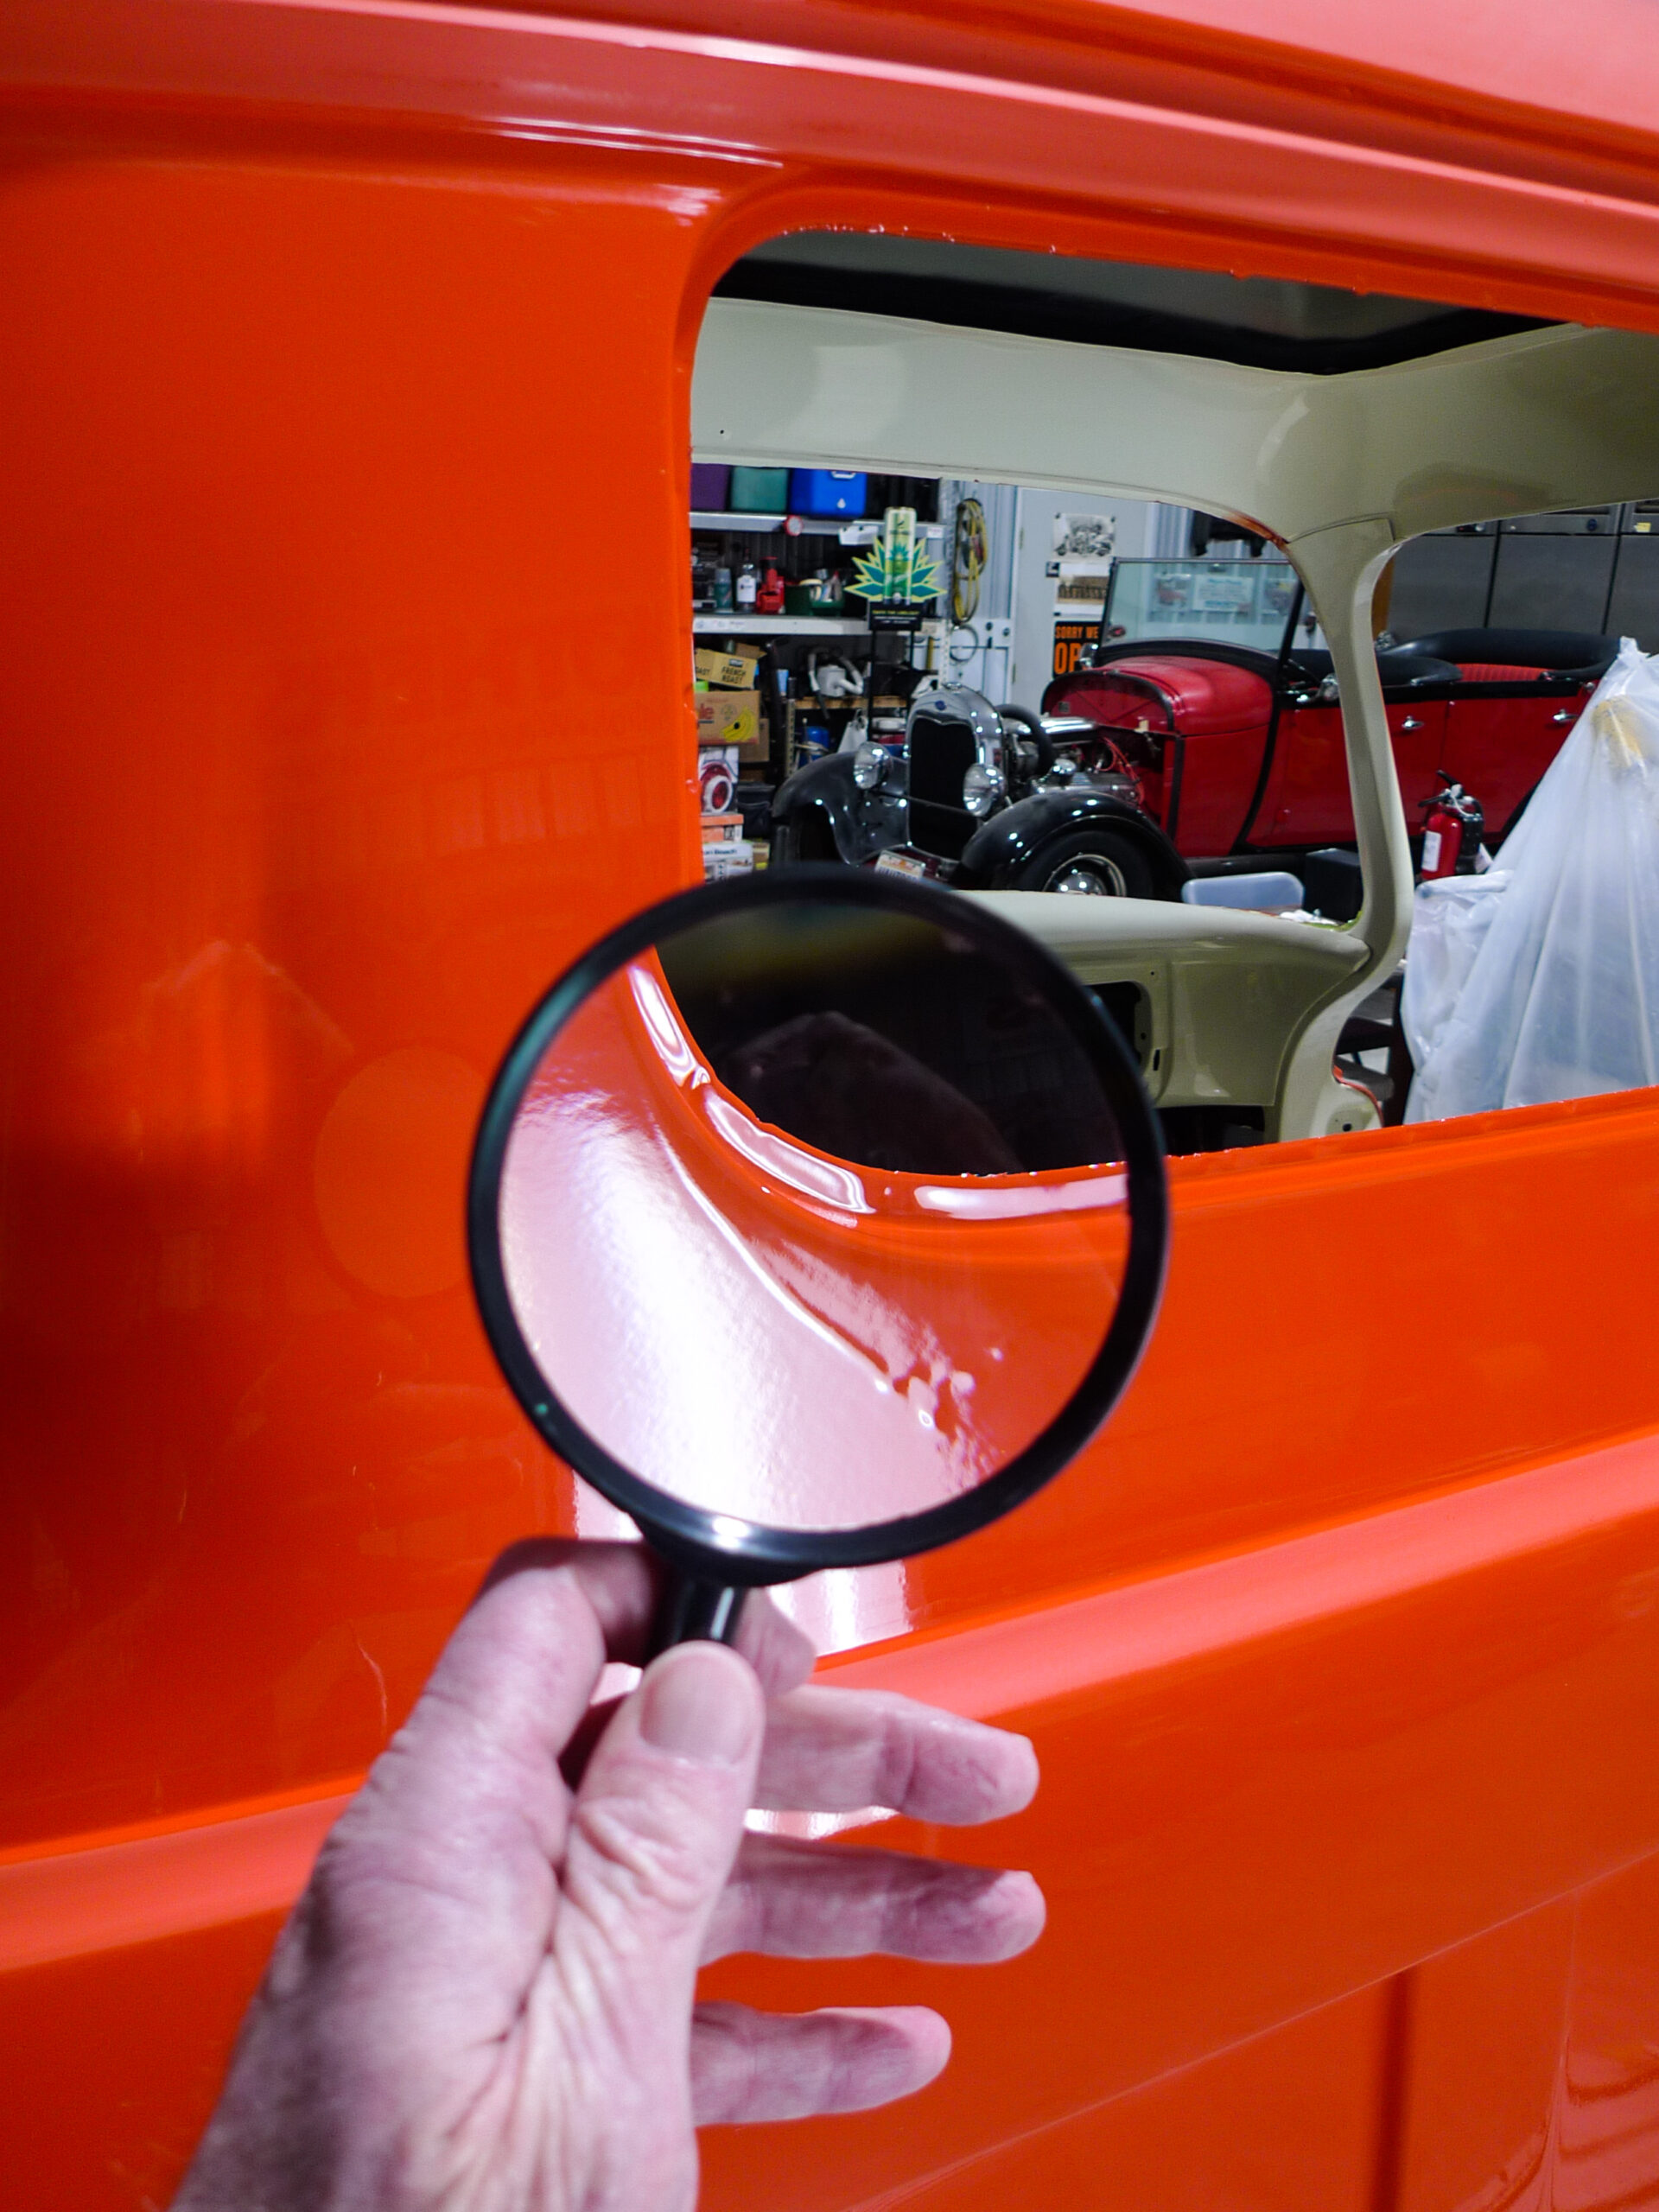
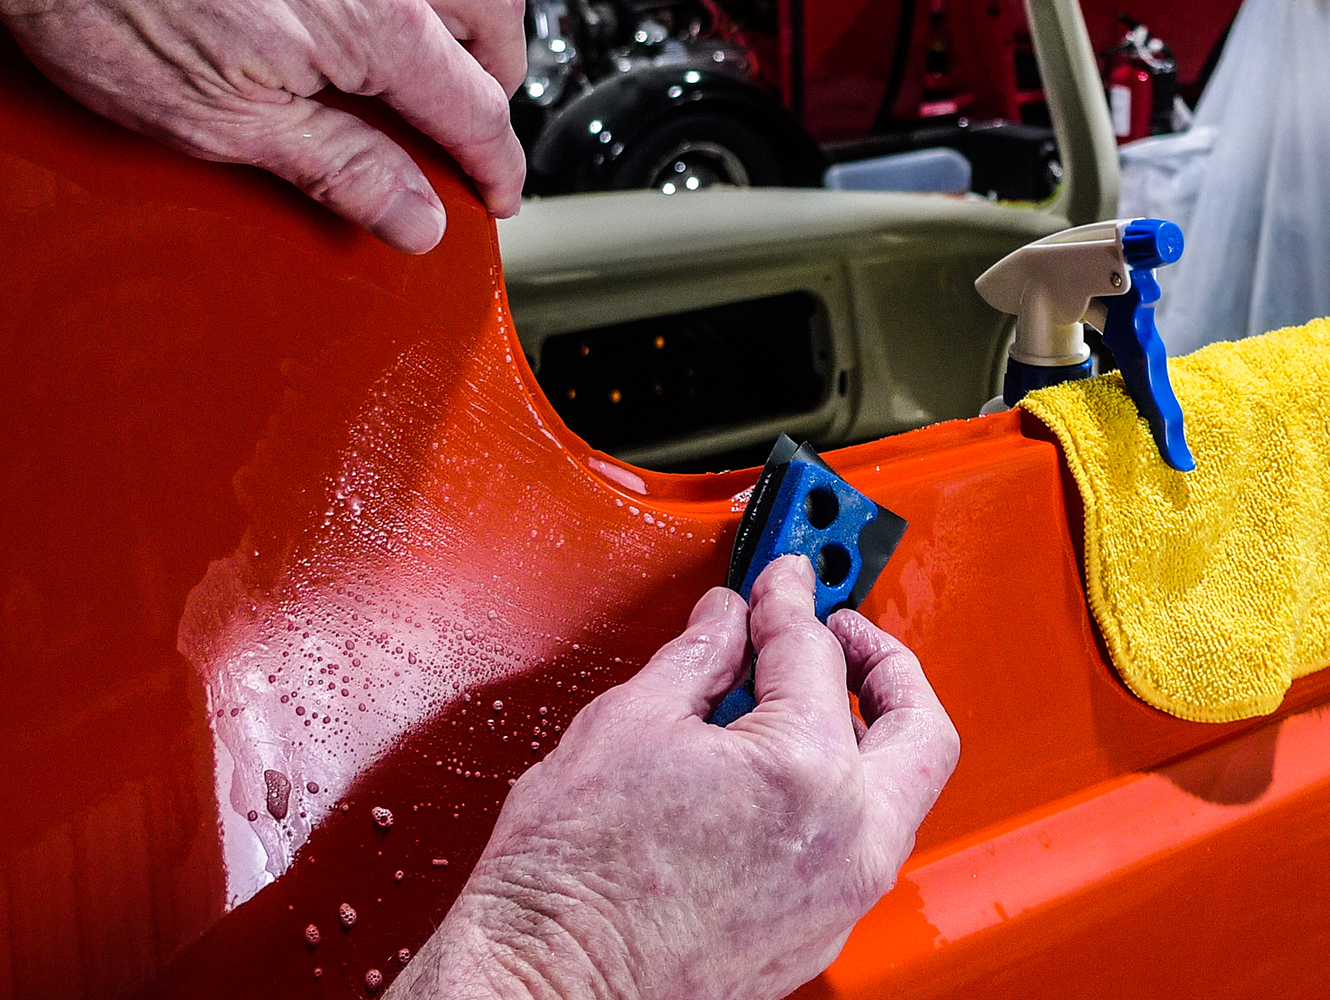
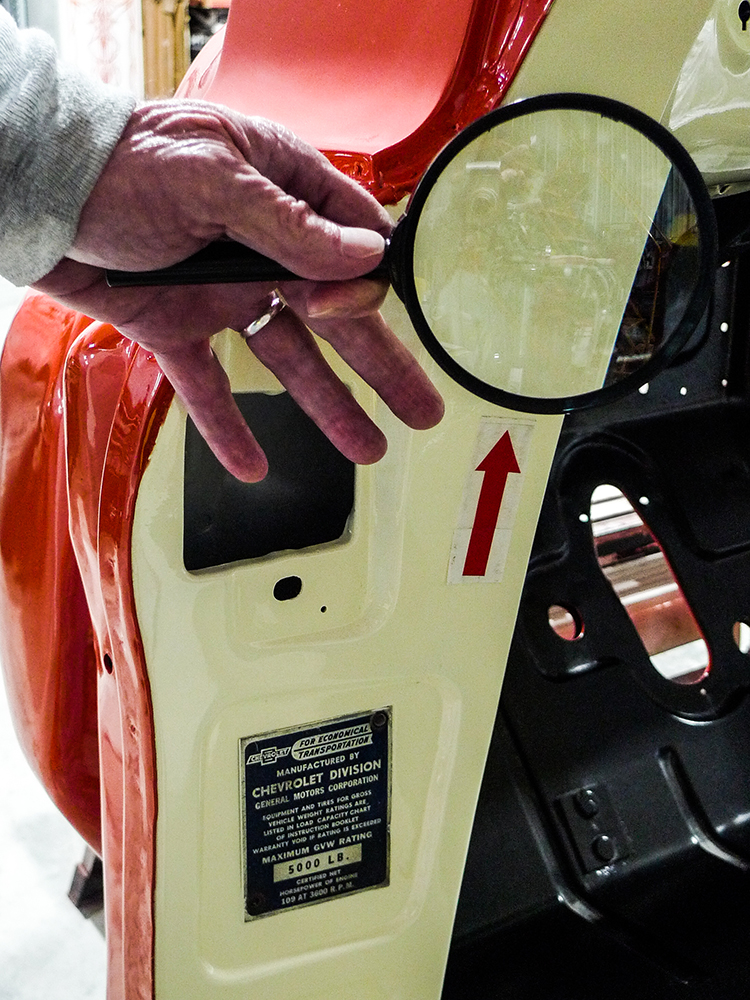
If you’ve been with us, you might recognize our 1955 Chevy Second Series build as it’s provided subjects for CTP tech before. At the time of this typewriting, we have a cab, doors, fenders, and the B-side of a hood all in color. Sort of fortunately, I got a few little runs in the final coat of clear.

08 Refining the surface with a finer sanding block
From here we’ll use the smooth side of this trimmed block. This one’s fairly stiff. With a wrap of 1,200-grit, it’ll get us real close. For the fine-tune strokes we’ll wrap an eraser.

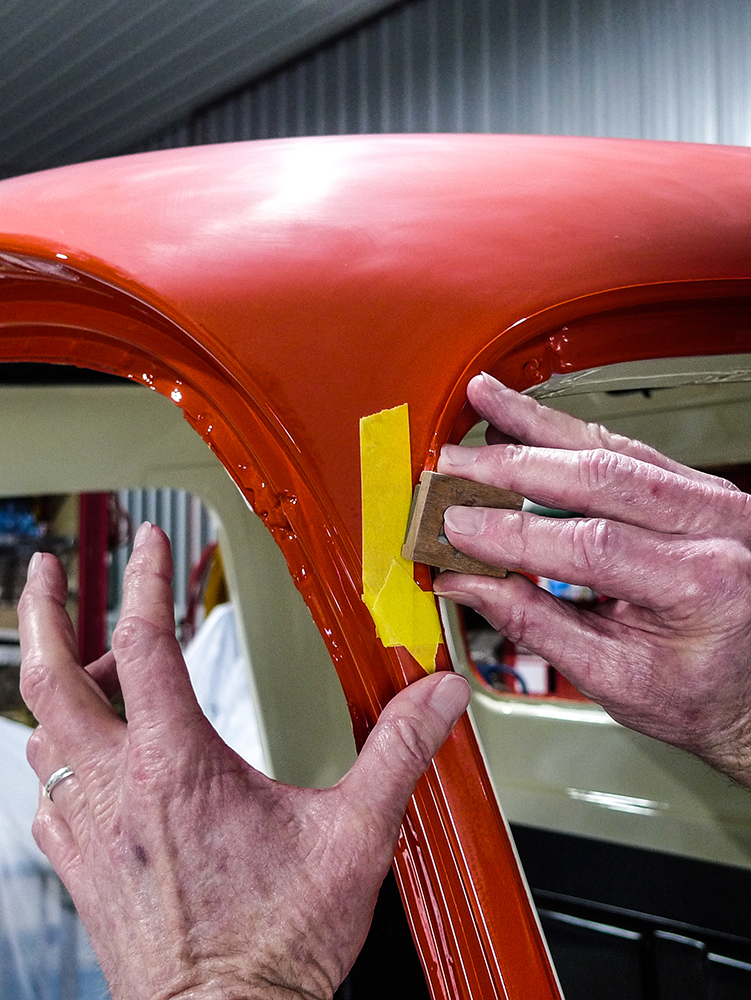
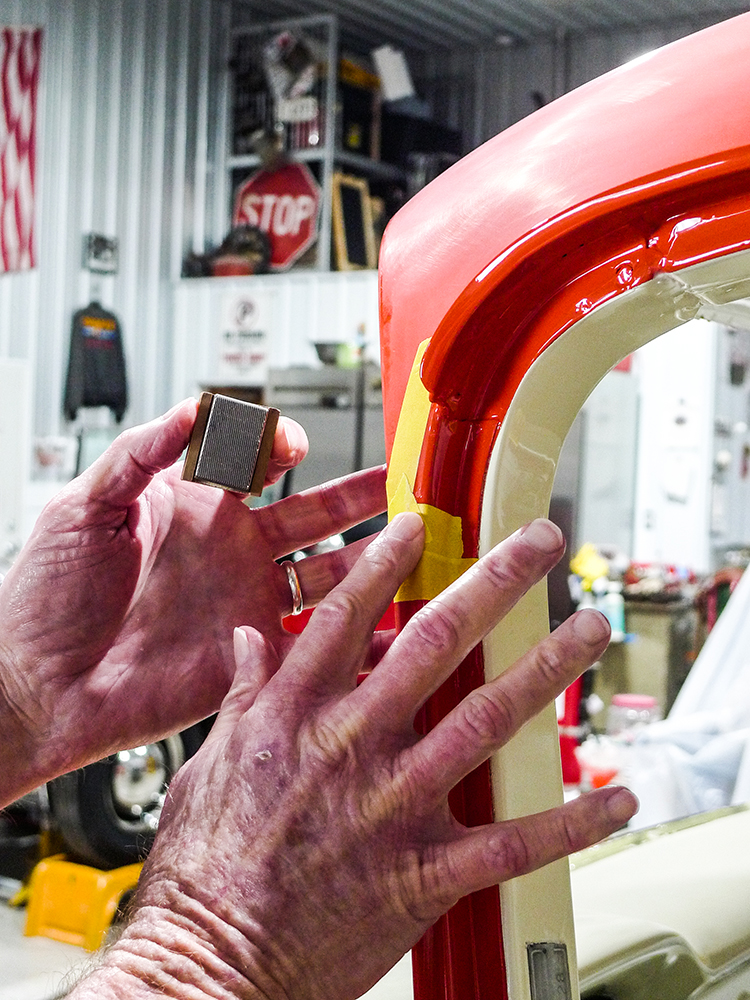
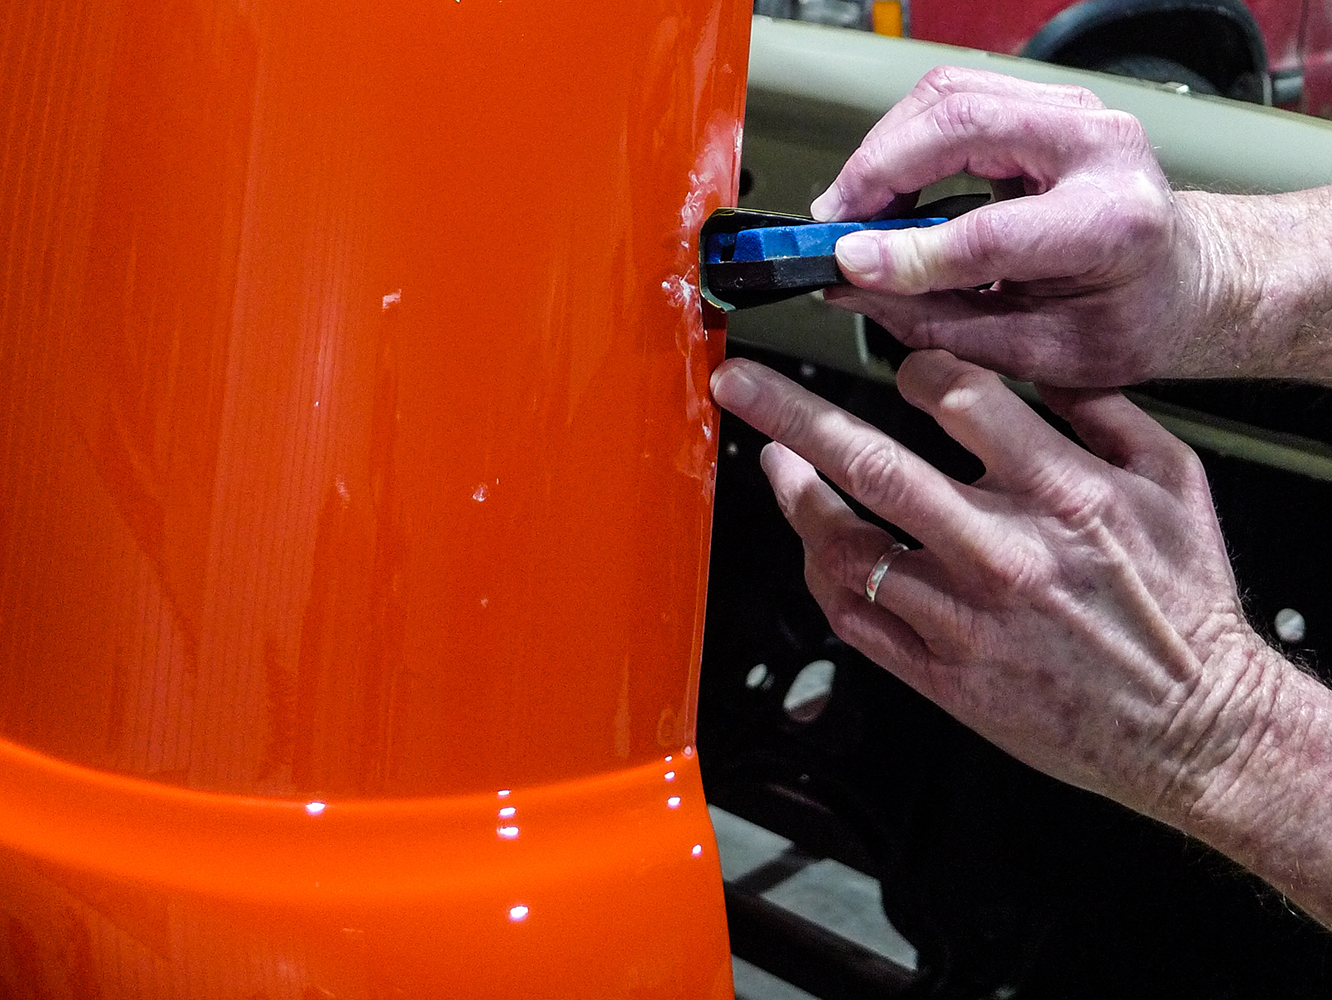
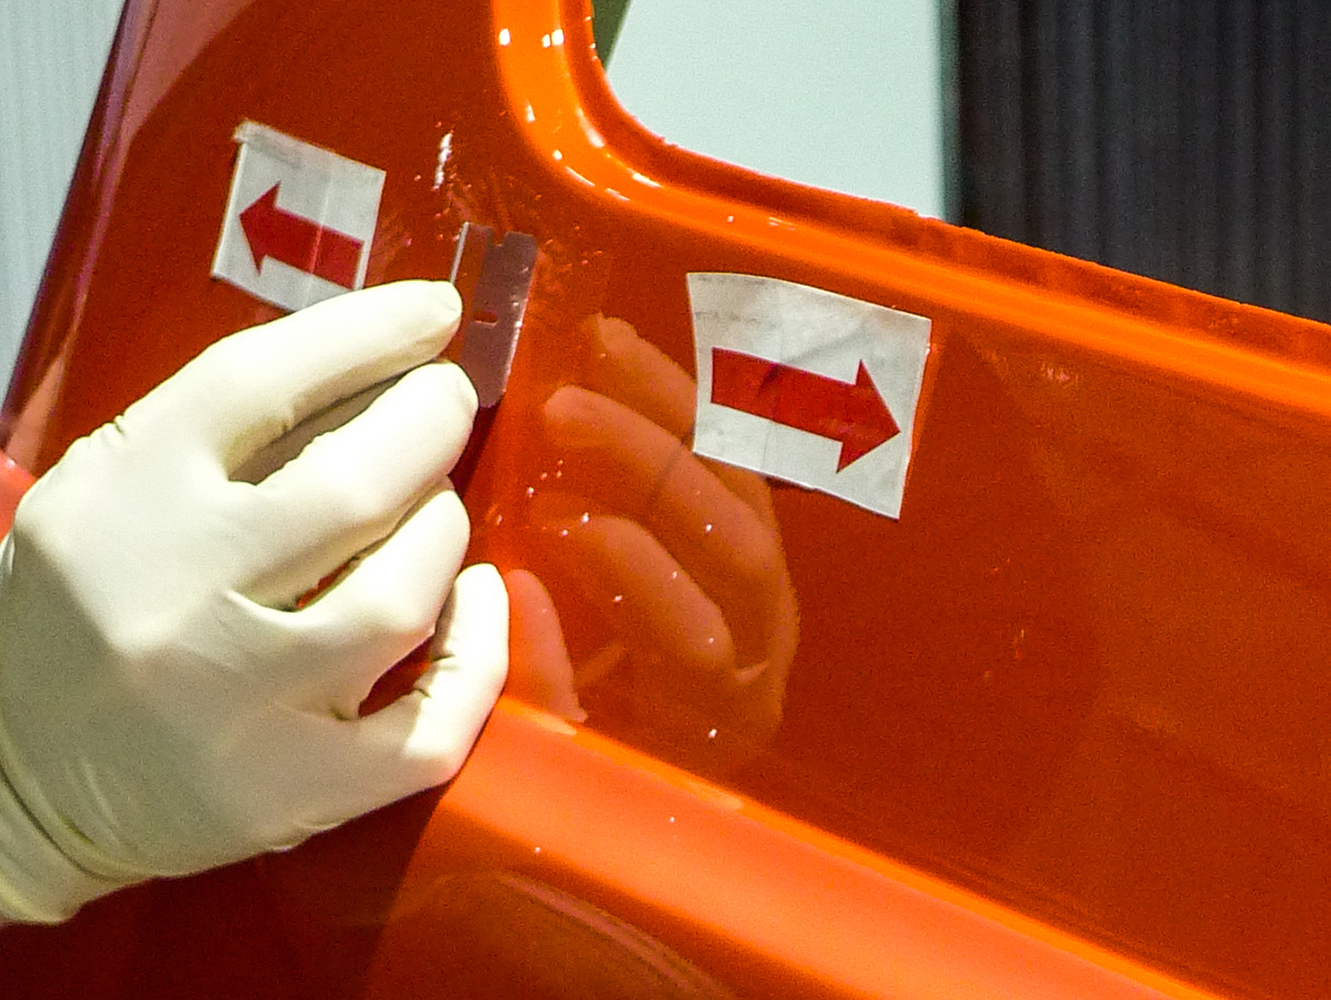
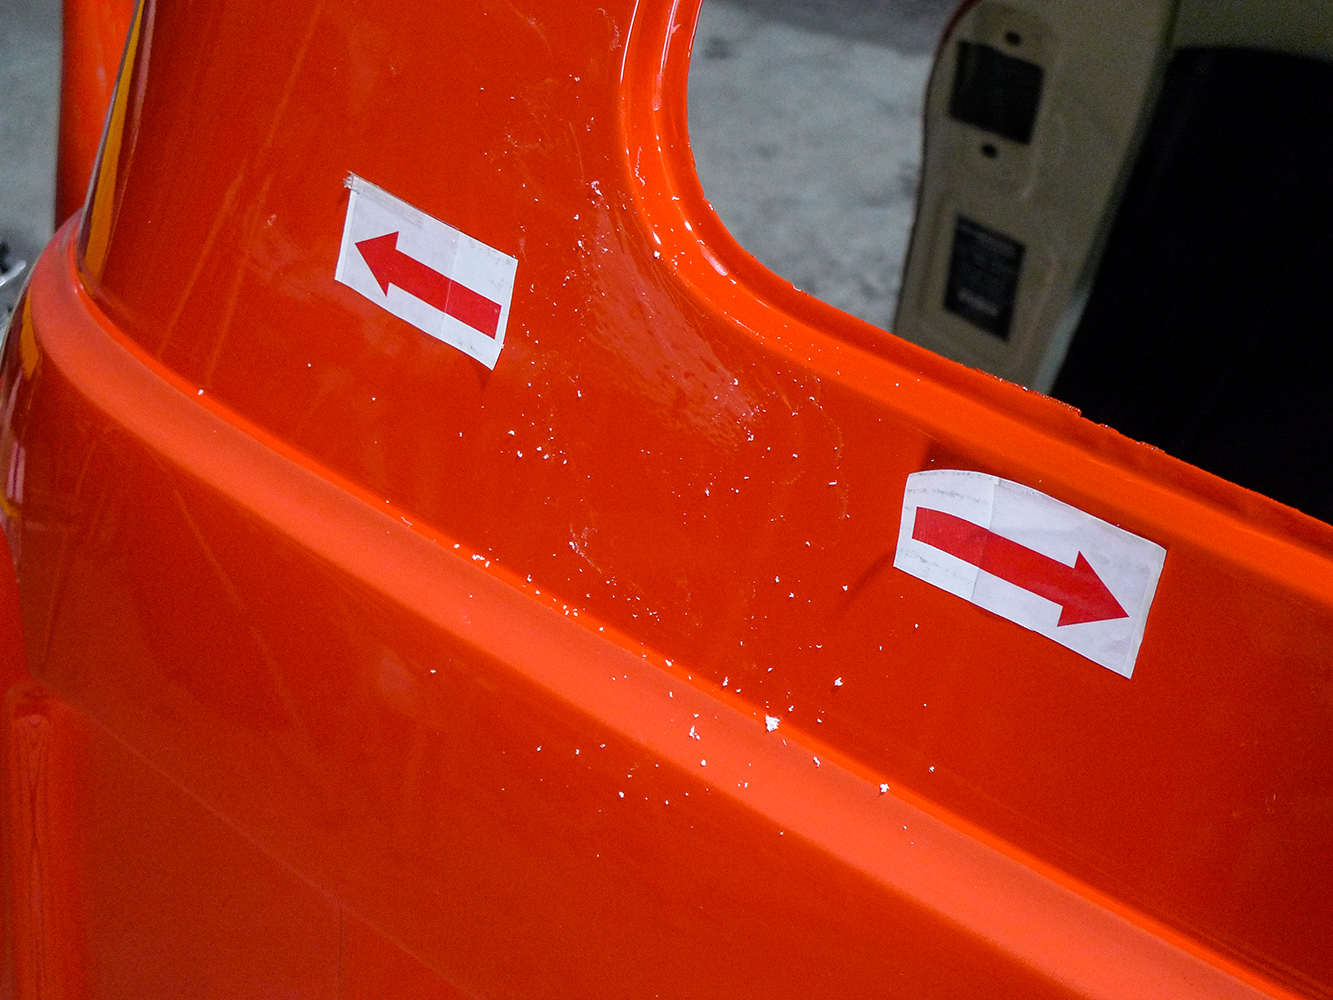
Just as it’s flowed from the gun, the largest run is at the left-lower corner of the back glass. The left-side A-pillar has minor dribbles on its edges, and there’s a similar dribble on the right-side B-pillar doorjamb’s edge.

09 Buffing and polishing the repaired paint for a flawless finish
Starting at the top, the roofskin was color-sanded a day or two before. Now that our dribbling drip is erased, color-sanding could continue—except for a couple other things.

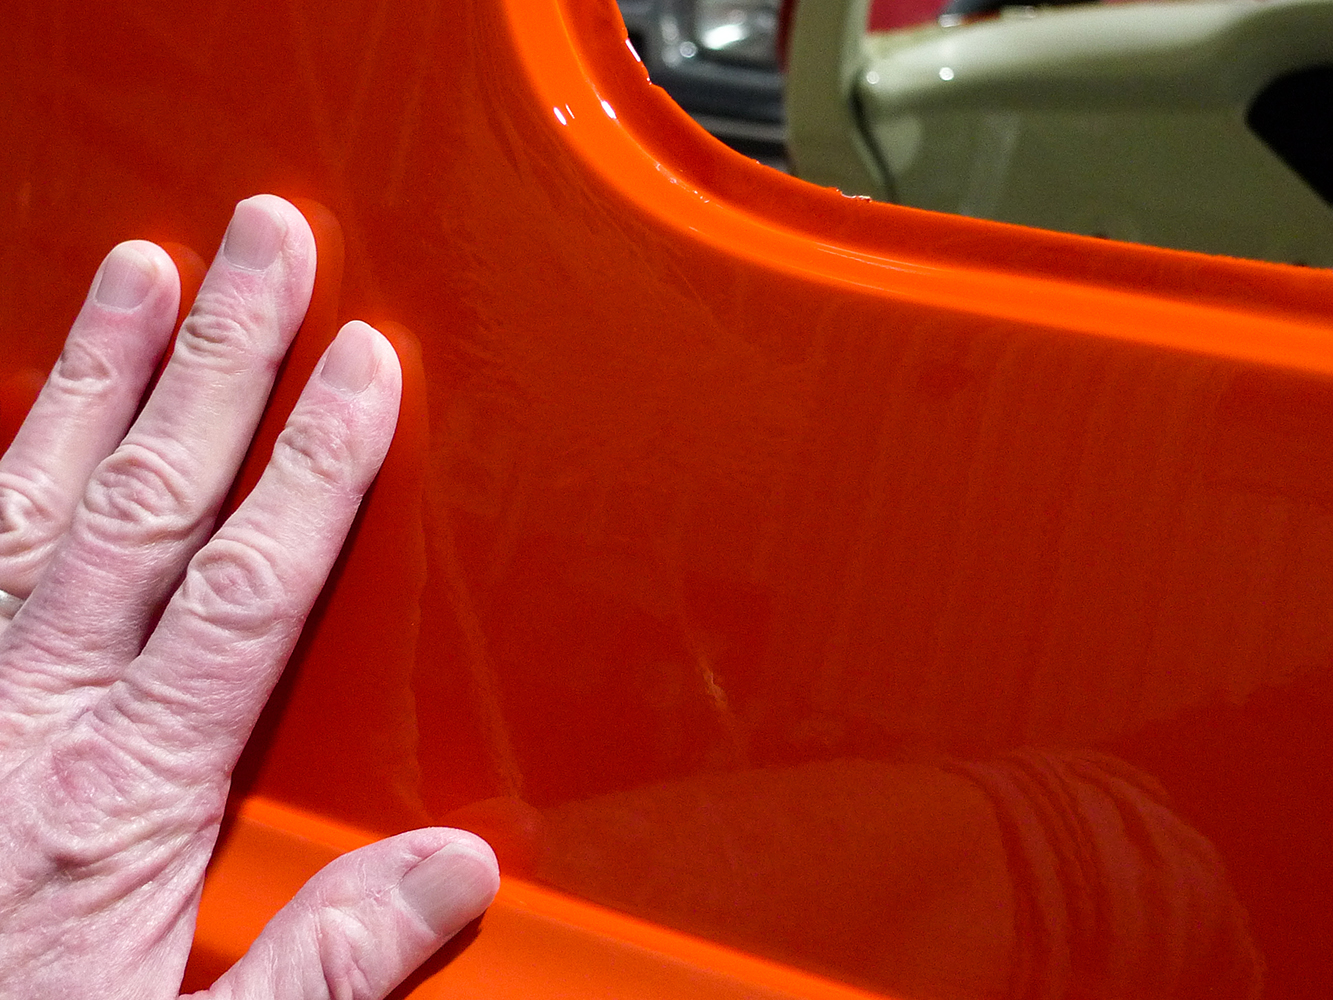
All in all, to this point our paintwork has gone pretty smooth. For the stage we’re in, it’s about as slick as we’d ever hope for—and like other painters I know, I’d rather have a run than a dry spot. Large or small, runs can usually be repaired.

10 Scraping off excess paint buildup with a precision tool
Here we have a smaller dribble on this B-pillar doorjamb’s edge. This time let’s begin with 1,200-grit, wet. To level the globular portion, the smooth edge of the block fits well.

Here, mainly just for a dramatic effect, I kind of wish my runs were larger. On the other hand, I can’t help being happy that they’re not. If you’ll give me a chance, however, it could still happen. This paintjob is far from finished.

11 Smoothing the affected area with a sanding block
After initial leveling, the trimmed block’s full-remaining footprint is utilized, pretty much as we’ve seen just before.

Out back in our car barn, on pallet racks, still in their boxes, there’s every piece of a complete shortbed assembly just waiting for attention. It’s all brand-new/reproduction stuff that I went and picked up at Premier Street Rod.

12 Using a flexible sanding pad for refining edges
Inside the jamb, there’s still a bit of leveling to do. Yes, erasers can be helpful for fixing our mistakes. Ours sure have been for fine-tuning the run repairs we’ve done so far.

If you have the opportunity, a Premier open house is an impressive pitstop. My own last visit took place on a weekday. It was worth the trip for me just to get the bigger stuff in stock here on our own shelves.

13 Cleaning the surface with a microfiber cloth and spray solution
Here with the same microfiber toweling, and the same diluted mixture of leading-brand dish soap in softened water, let’s clean this up. We might as well see how we’ve done.

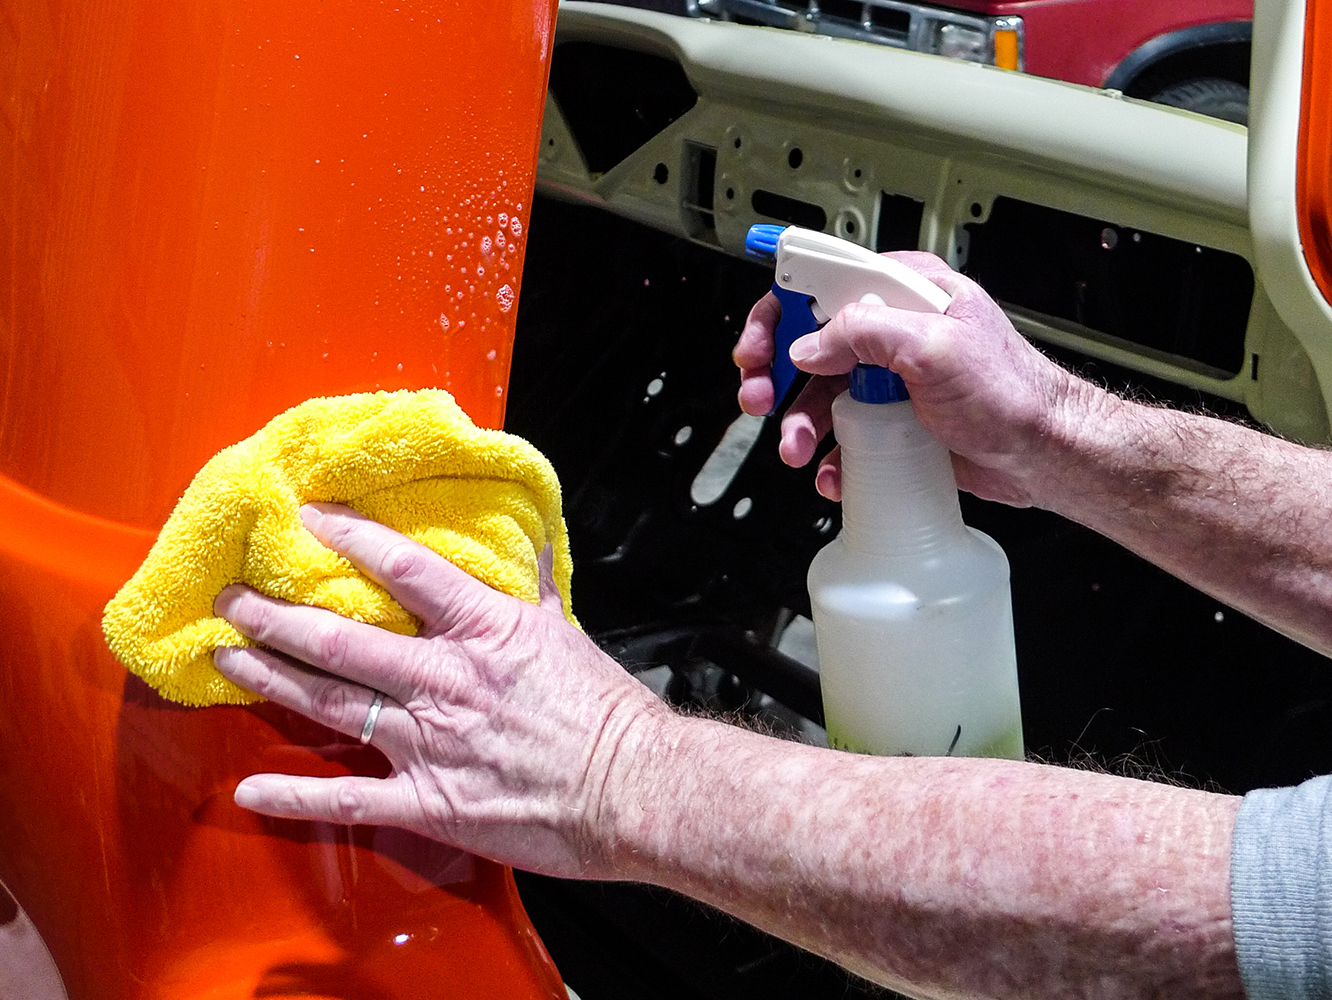
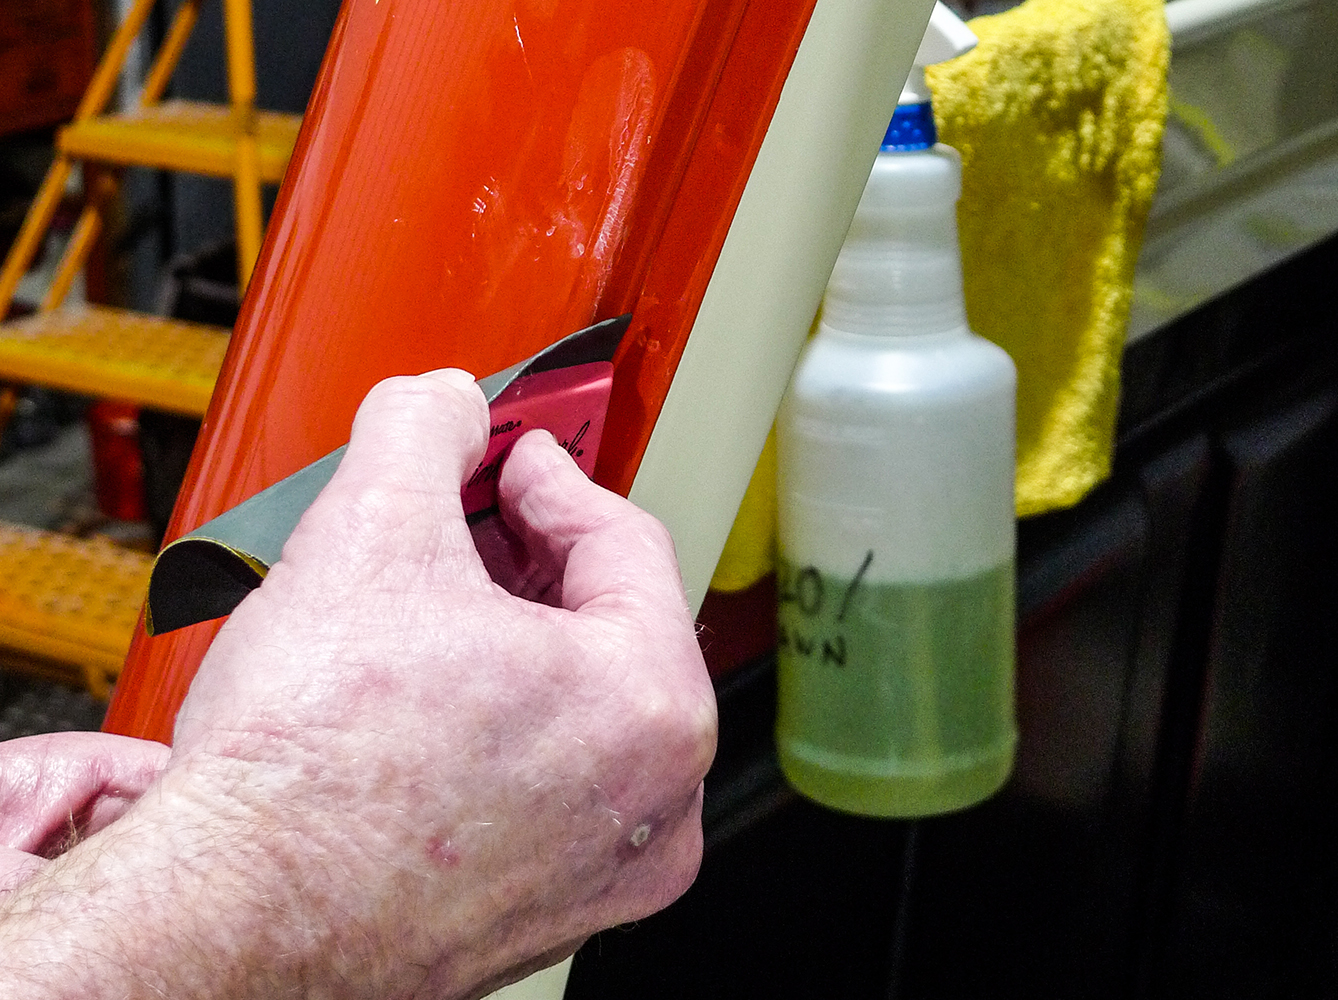
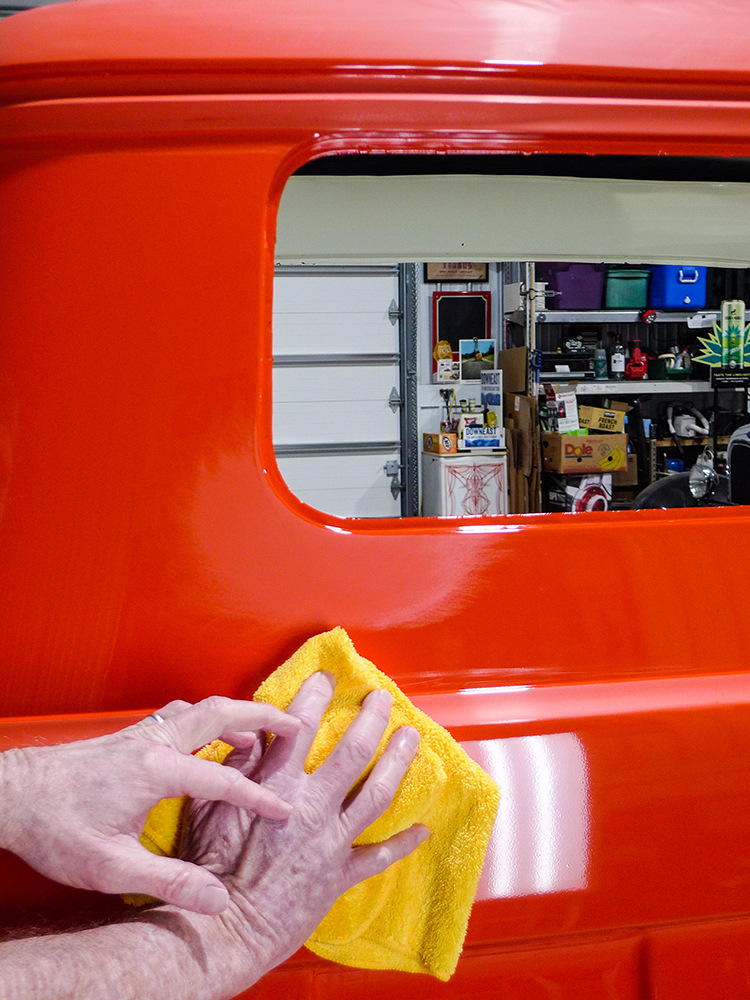
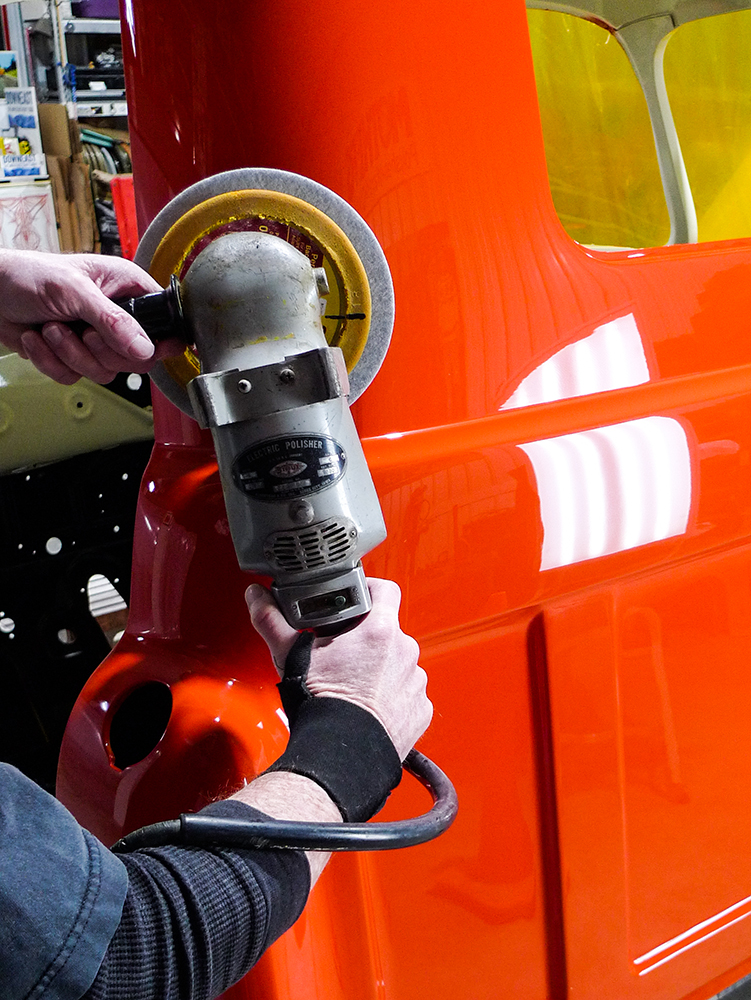
As a personal preference, I like to paint body panels in the types of positions in which they belong. For example, I wouldn’t paint doors with their skin-sides up. I’d hang them vertically. In certain instances, that’d be for color consistency, but for this job it’s mainly so texture is consistent with that of adjoining panels. Runs or no runs, it all gets cut and buffed anyway, but I still like that consistent texture to begin with.

14 Inspecting the paintwork closely with a magnifying glass
For this job, two coats of clear is quite adequate. By addressing our problem spots (our runs) first, ahead of color-sanding entire panels, we’re less likely to color-sand too far.

So, a little later on, with new/repro bedsides hung from fixtures in their natural, vertical positions, I just might run them off big time! If that doesn’t actually happen, it’s OK. We’ve already got a good variety of shapes in need of run repair.

15 Identifying additional imperfections in the panel's finish
How about one more? I’ve had bigger runs, but for illustration this’ll do nicely. Apart from the tools we’ve used so far, there’s another good one that we all should have.

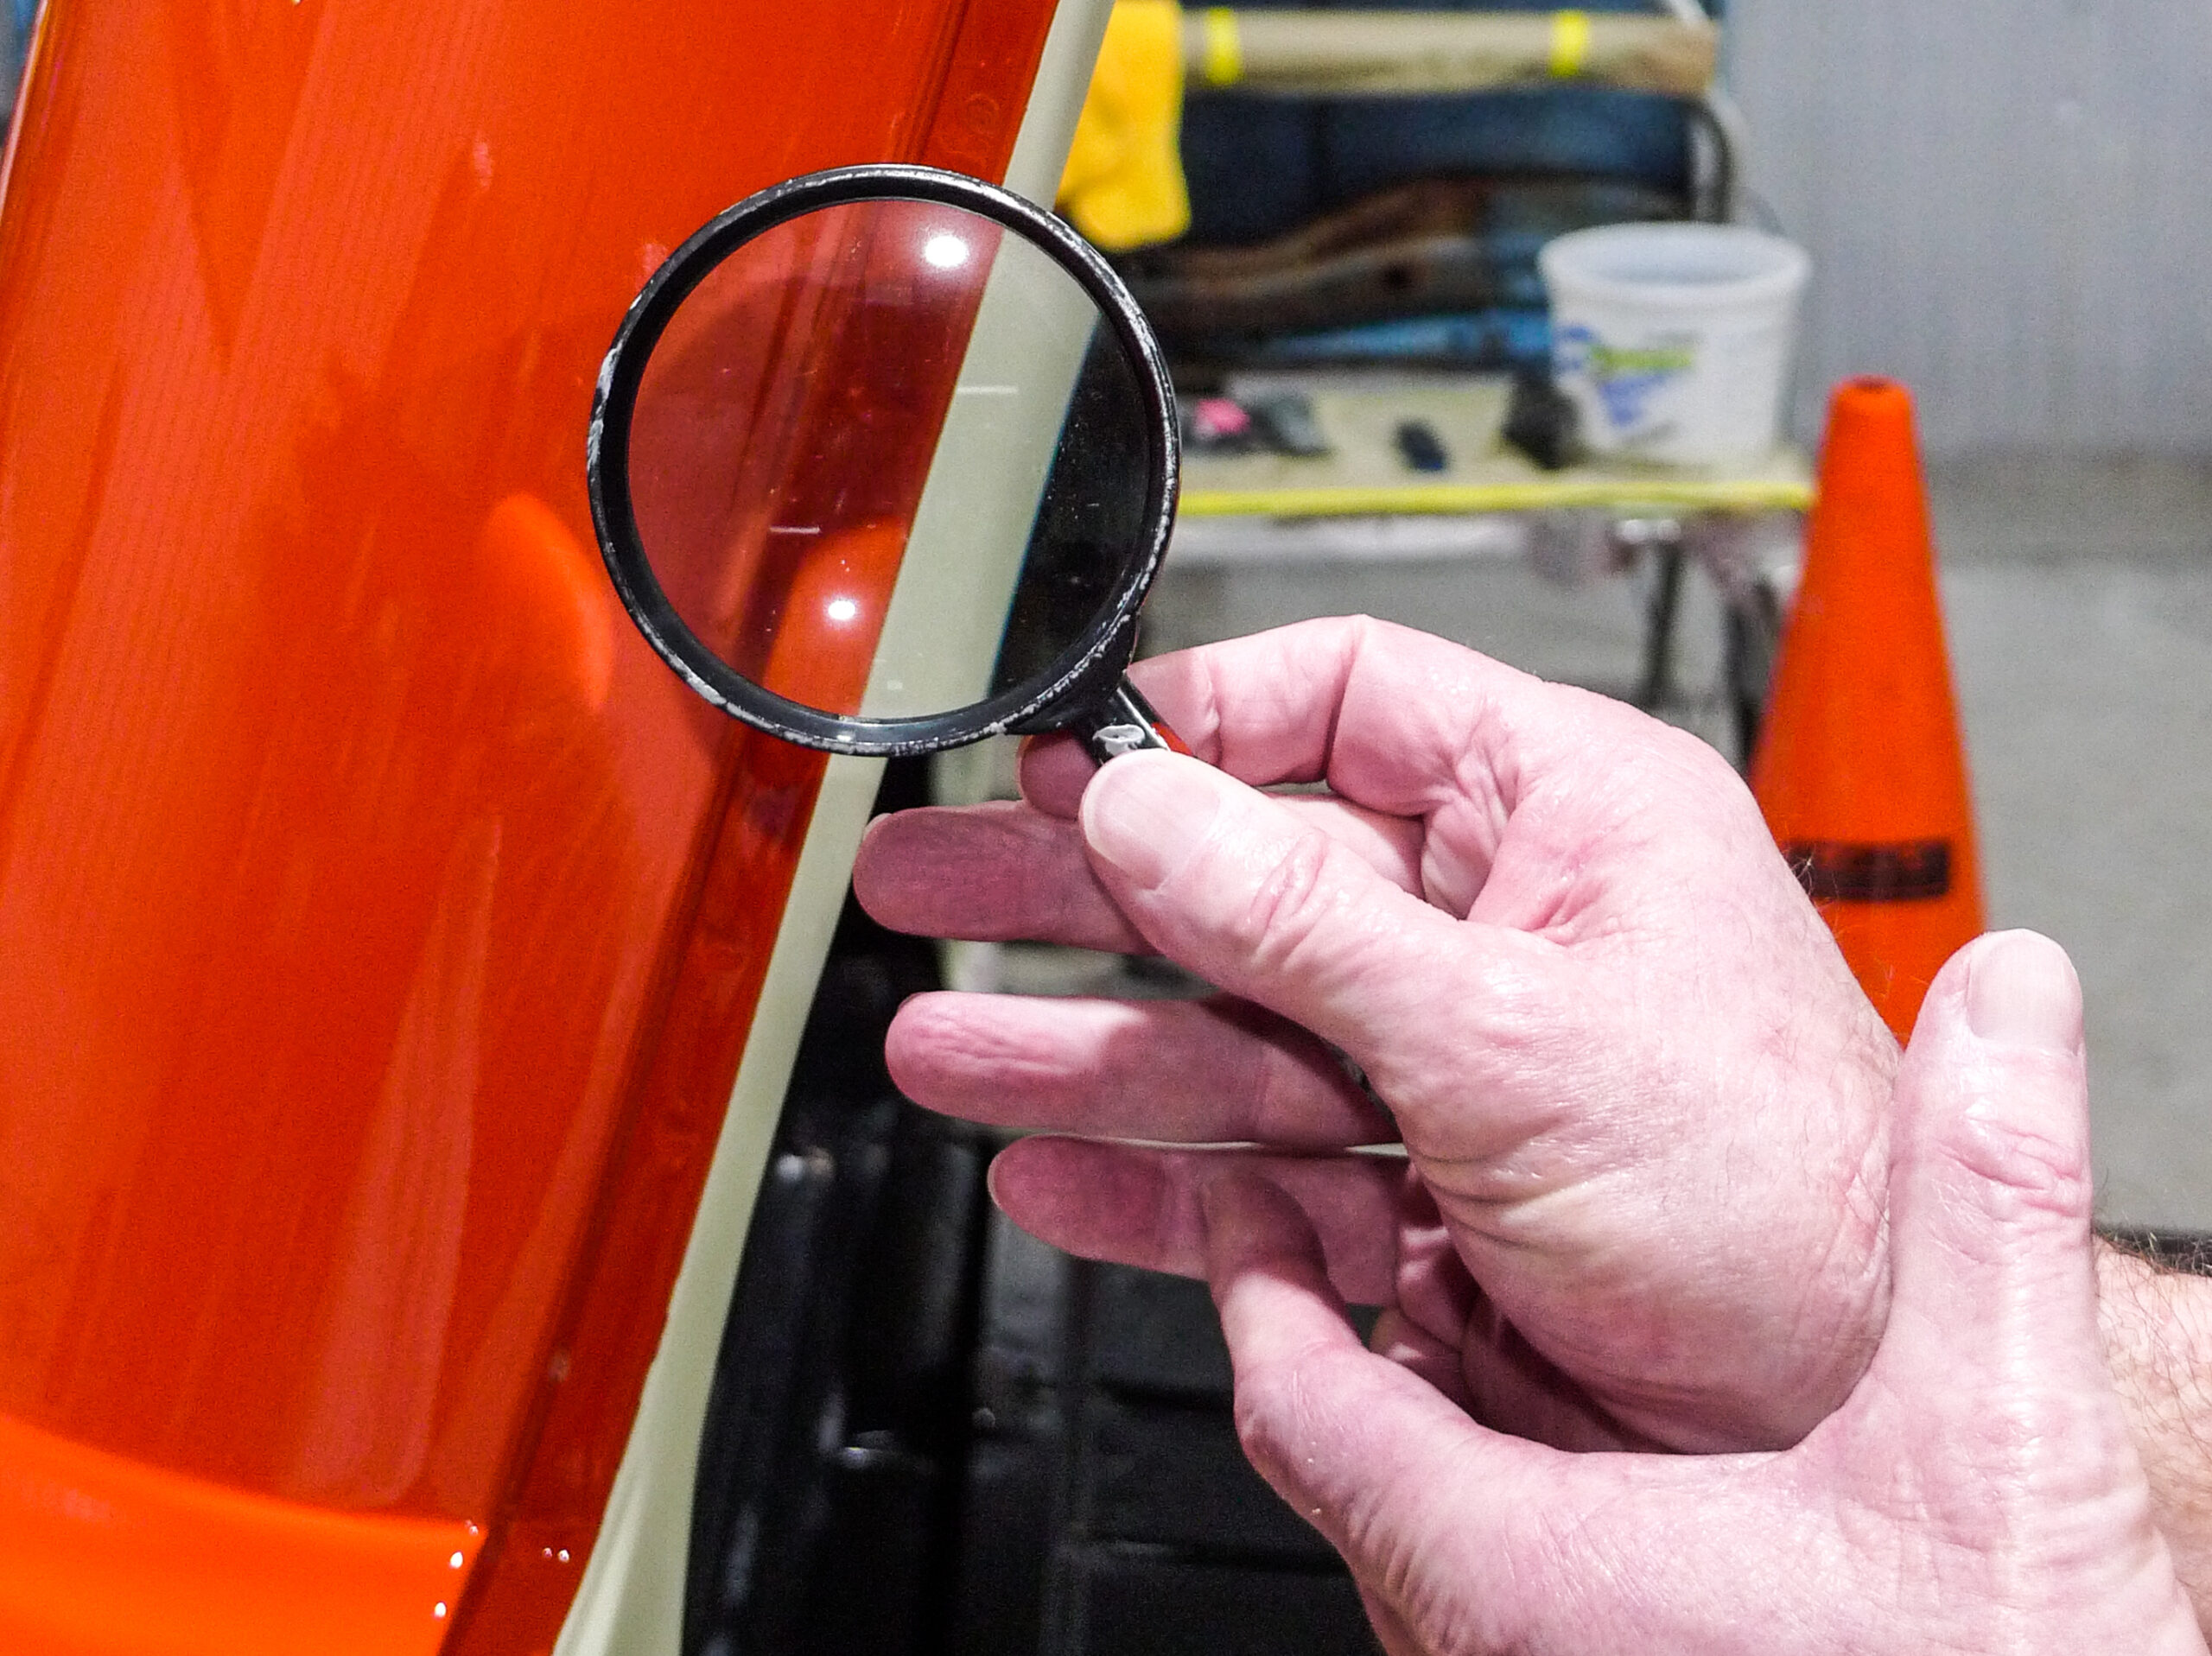
Now, as we actually begin, this won’t be just to demonstrate how one old painter can fix his own mistakes. This is mostly meant to demonstrate how you can fix yours, too.

16 Sharpening a razor blade for precise paint correction
With pointy corners slightly rounded, a single-edge razorblade can be a versatile run remover, too. There’s a technique for it, however.
17 Carefully scraping paint runs to level the surface
The blade should be held near a 45-degree angle. A light side-to-side motion levels the run. These strokes should be parallel-as-possible with the length of the run.
18 Checking for remaining imperfections after initial sanding
Here the traces of powdery substance are shaven urethane clear. When you try this, keep a close and watchful eye. Don’t shave away any more than necessary.
19 Achieving a flawless smooth finish with a final touch up
Blown clean, we get a better look. We’ve stopped shaving at the right time, just before contacting surrounding normal texture.
20 Wet sanding the freshly painted surface for smoothness
Following the initial shave, the steps are quite similar to what we’ve seen. With the same lubricant and abrasives, the smooth side of the same block fits the bill again.
21 Wiping down the panel with a microfiber cloth
We’ve checked progress a couple times along the way. Here we have a good stopping point. We can now cut and buff the entire cab without much worry of redoing anything.
22 Machine polishing the paint to a high gloss
The buffing is another story, but long story short Old Sparky and I are getting too old for this type of work. On the upside, our subject runs are gone!
23 Inspecting the factory identification plate for authenticity
But, what’s this? Right about now you might be thinking I’ve missed a little run, right near the data plate in this ’jamb. Nope, I’m just proud of myself—and this is my signature.

Check out this story in our digital edition here.

Sources

Premier Street Rod
(800) 447-5000
info@premierstreetrod.com

Summit Racing Equipment
(800) 230-3030
summitracing.com

- Advertisement -

Related Articles

Search Our Site