Confident stopping power is a must in a high-performance Chevy. In addition to big rotors and multi-piston calipers, the power-assist system helps deliver that feeling of immediate responsiveness.
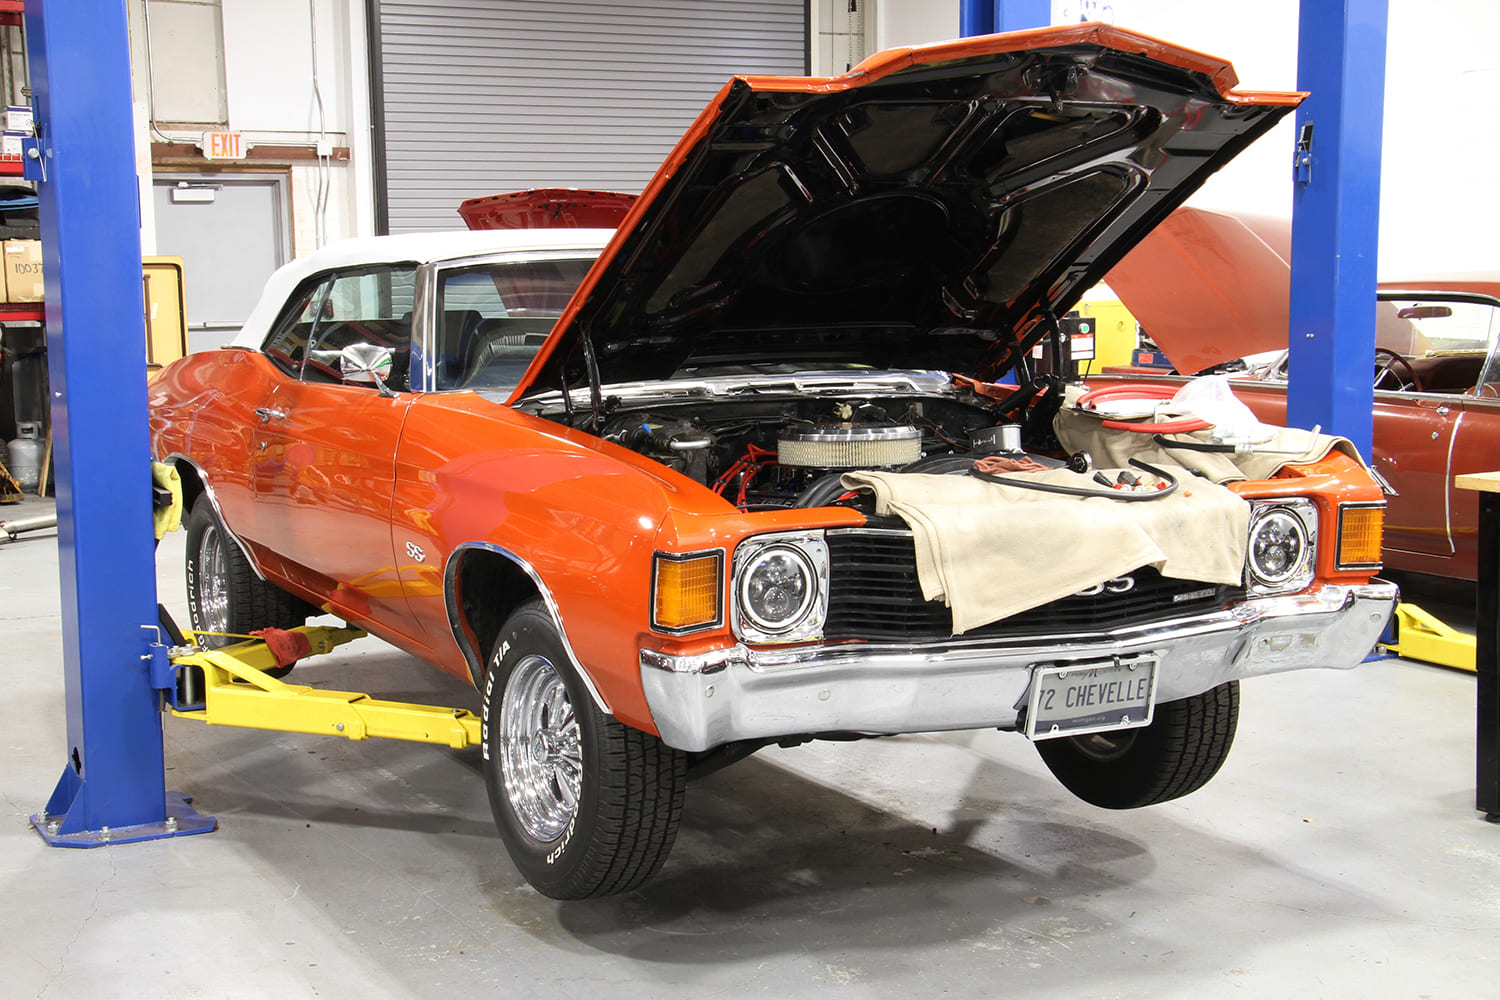
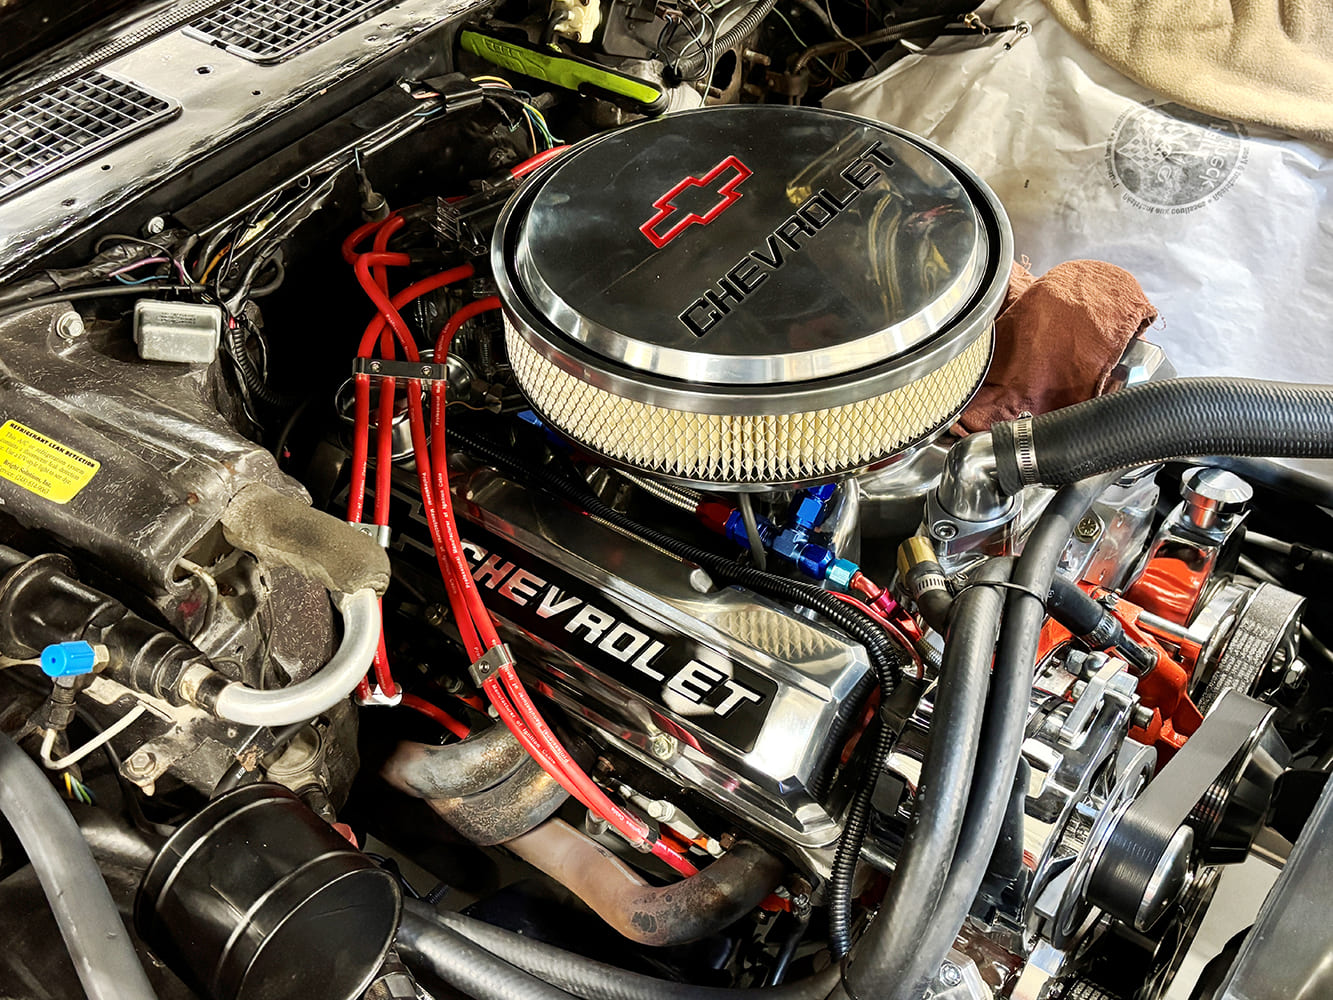
The project car for the hydro boost installation is a 1972 Chevelle convertible with a 383 stroker small-block underhood and an automatic transmission paired with it.
From the factory, the power braking system on almost all classic Chevy models comes in the form of vacuum assist—a simple and effective method that uses vacuum generated by the engine to multiply the driver’s force on the brake pedal. On stock, naturally aspirated engines it is an excellent system and, apart from the occasional failed diaphragm or faulty check valve, it’s largely bulletproof.
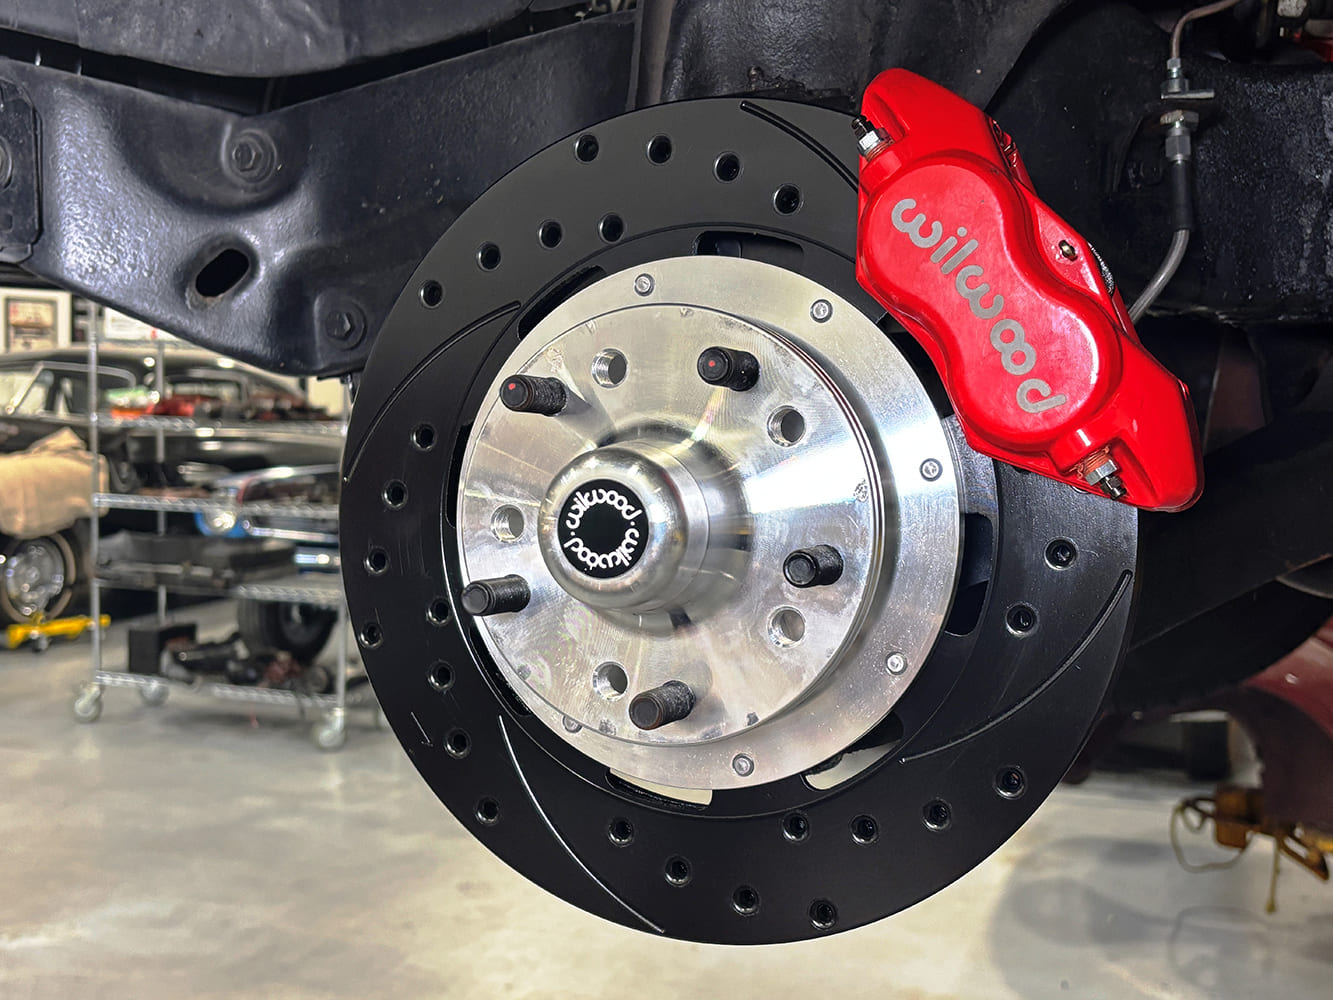
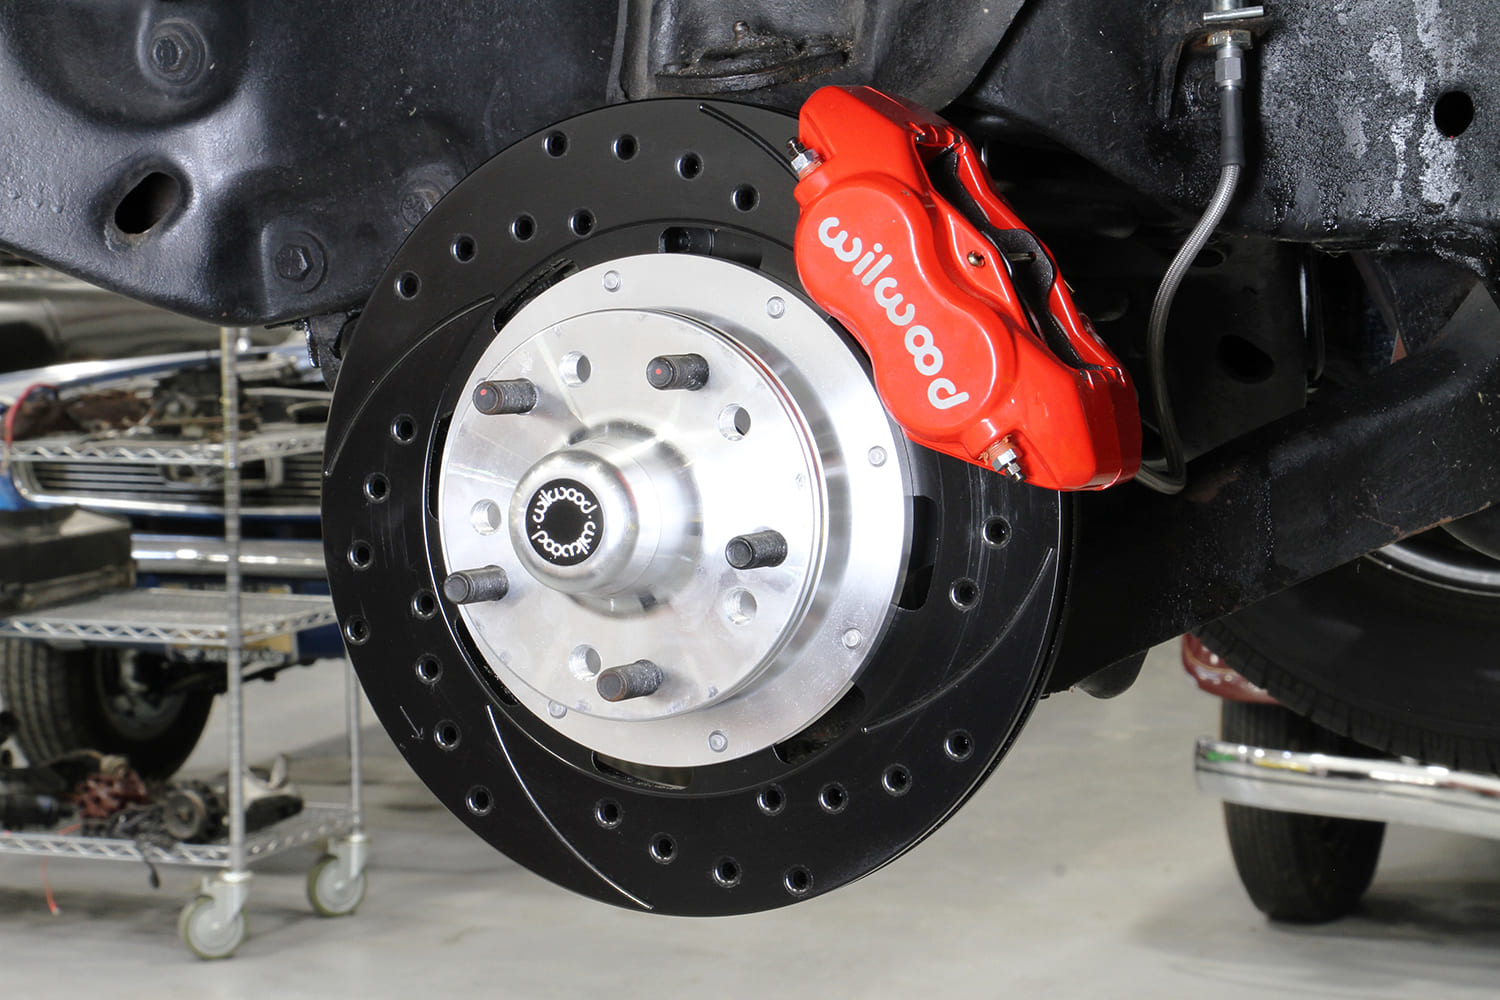
Among its recent upgrades was a conversion to Wilwood front and rear disc brakes with four-piston calipers and 11-inch drilled-and-slotted rotors.
The dynamics change with performance upgrades such as an aggressive camshaft with big duration specifications or a power adder such as a supercharger or turbocharger. They typically reduce or all but eliminate the vacuum necessary for effective power braking assistance. The same goes for diesel engines.
The new brakes would have worked with the existing power-assist system, but it was the low vacuum production of the 383’s big camshaft that prompted the change. It was already an issue prior to the brakes’ installation and adding them was the perfect time to swap out the vacuum-boost system.
Vacuum canisters and even electric vacuum pumps can help, but hydro boost assistance is an increasingly popular choice that eliminates vacuum altogether and instead relies on the power steering system to pressurize the brakes. As with vacuum-assist, hydro boost is not a new technology and has been used for years mostly in heavy-duty truck applications. In performance cars it offers a couple of significant advantages, including increased braking power and improved braking feel.
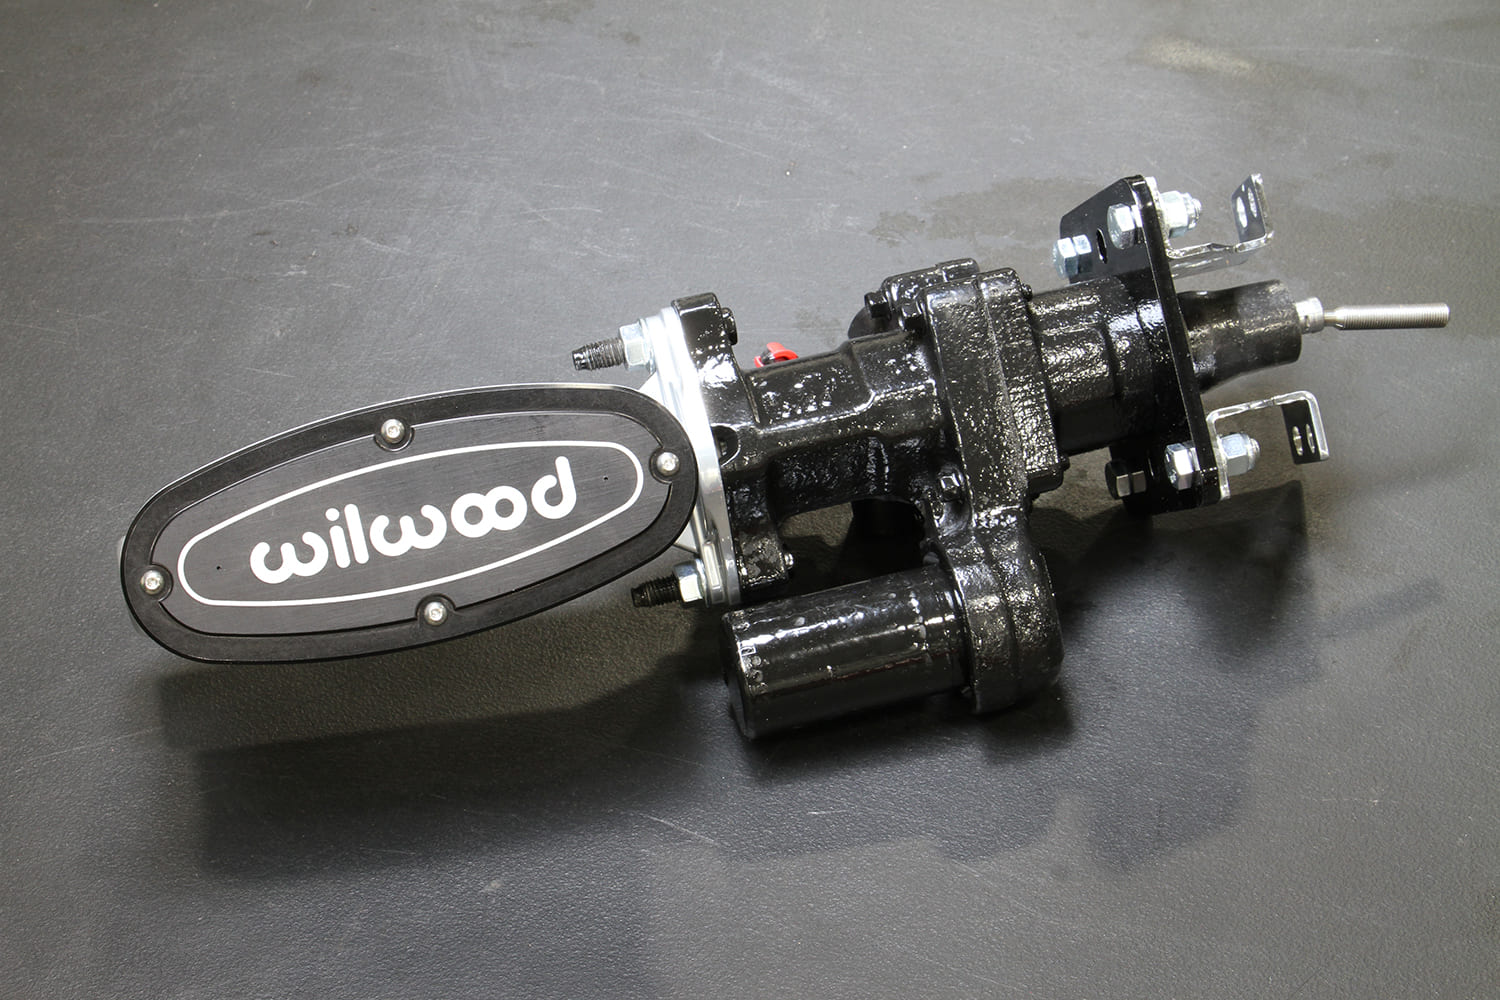
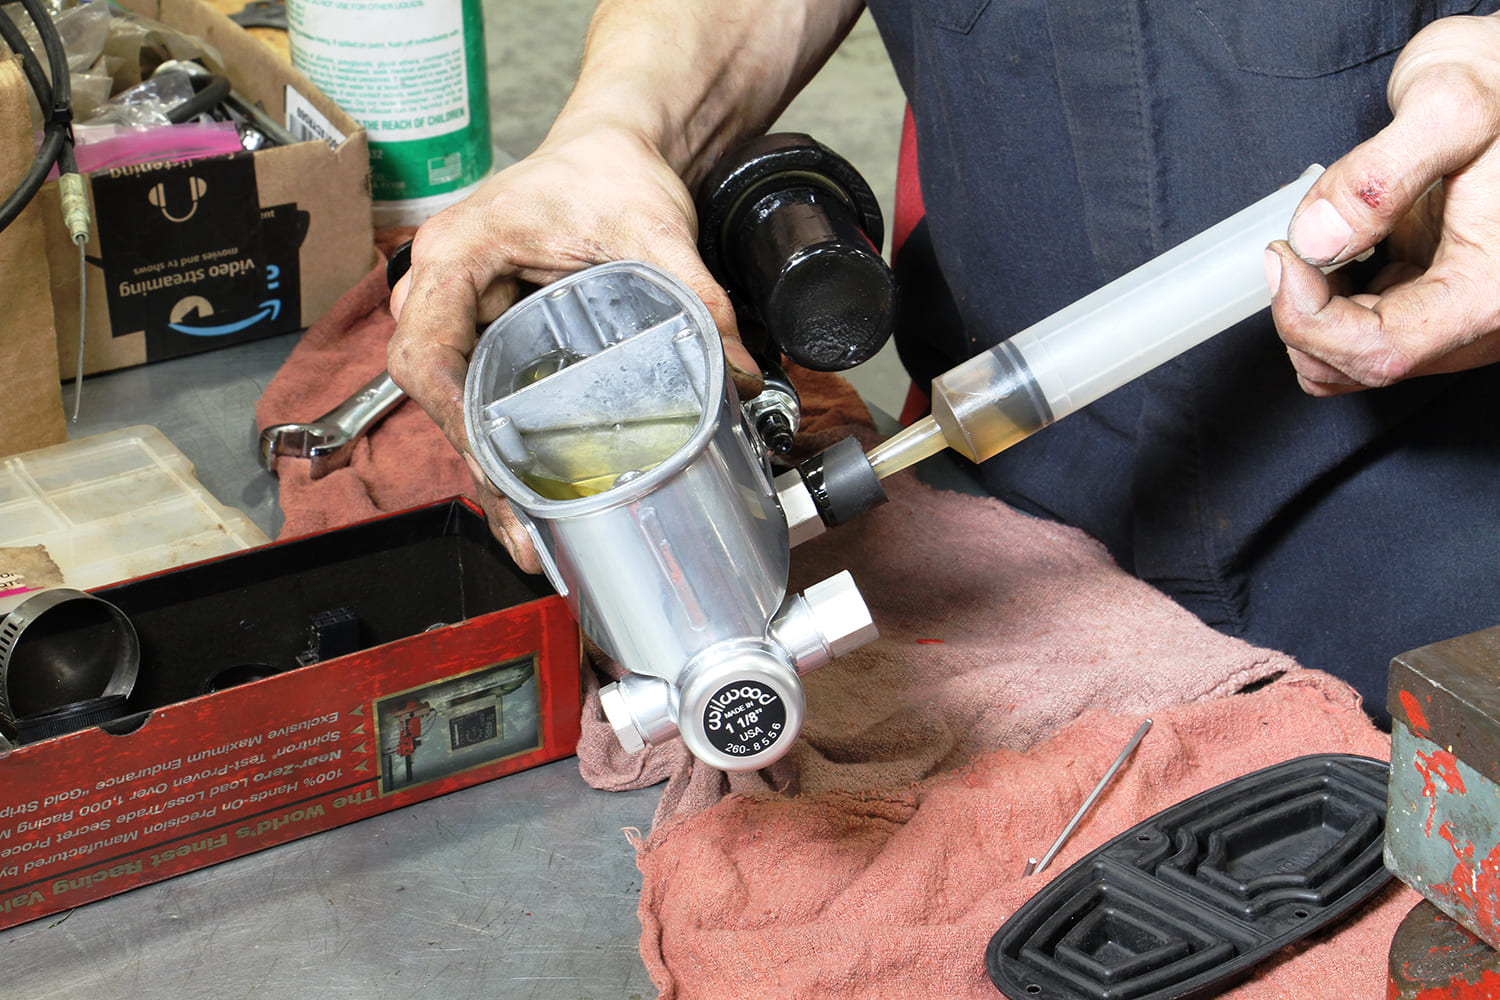
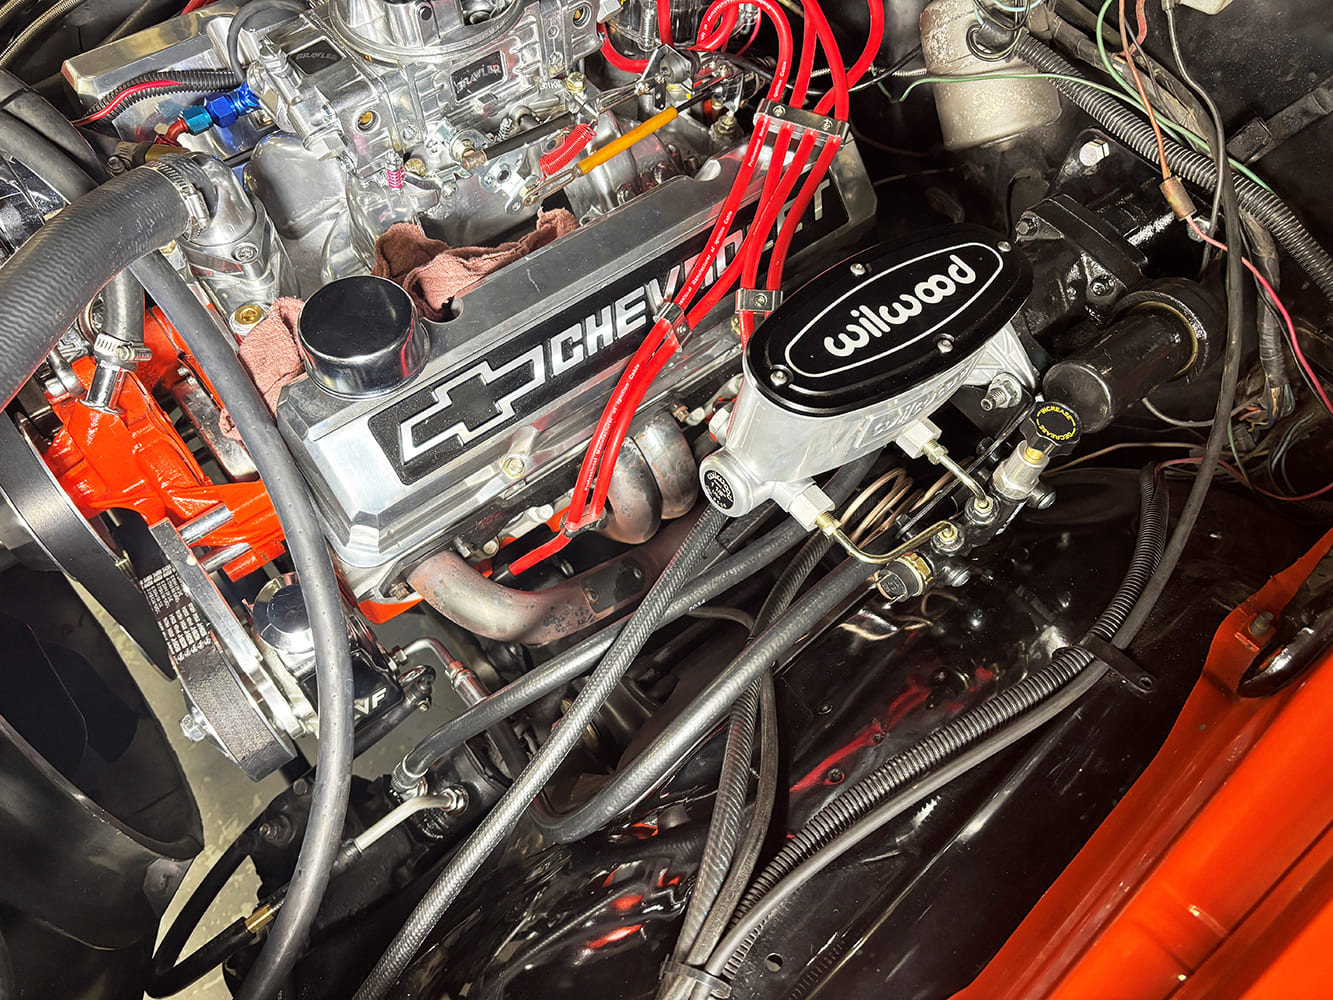
The two basic components of the upgrade in this project include the hydro boost system and a Wilwood tandem master cylinder. The booster works only with master cylinders featuring a bore larger than 1 inch. Wilwood offers them with 1- and 1-1/8-inch bores, so the larger version was used. Not shown is a separate hydraulic hose kit with fittings that link the power steering pump with the booster.
Because the hydraulic pressure generated by the power steering pump is much more powerful than the engine-generated vacuum—between 800 and 1,400 psi—the hydro boost system typically delivers much greater braking force. That translates into a much more consistent and responsive pedal feel that is also generally more precise and can be modulated more effectively. A hydro boost system also does not put a load on the engine, as does a vacuum-based system. That can provide a marginal boost in performance and efficiency.
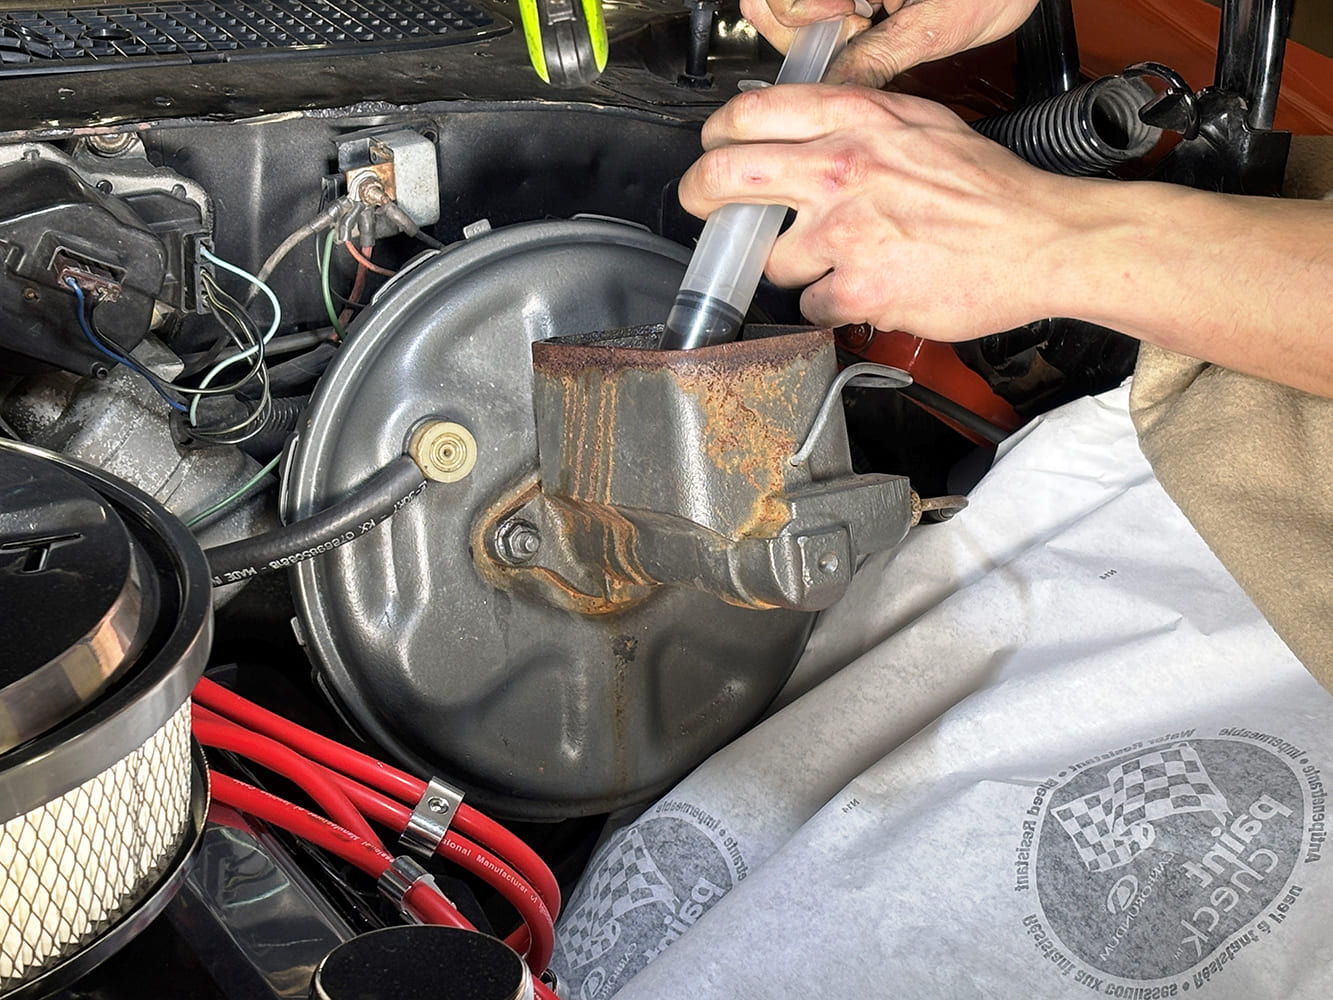
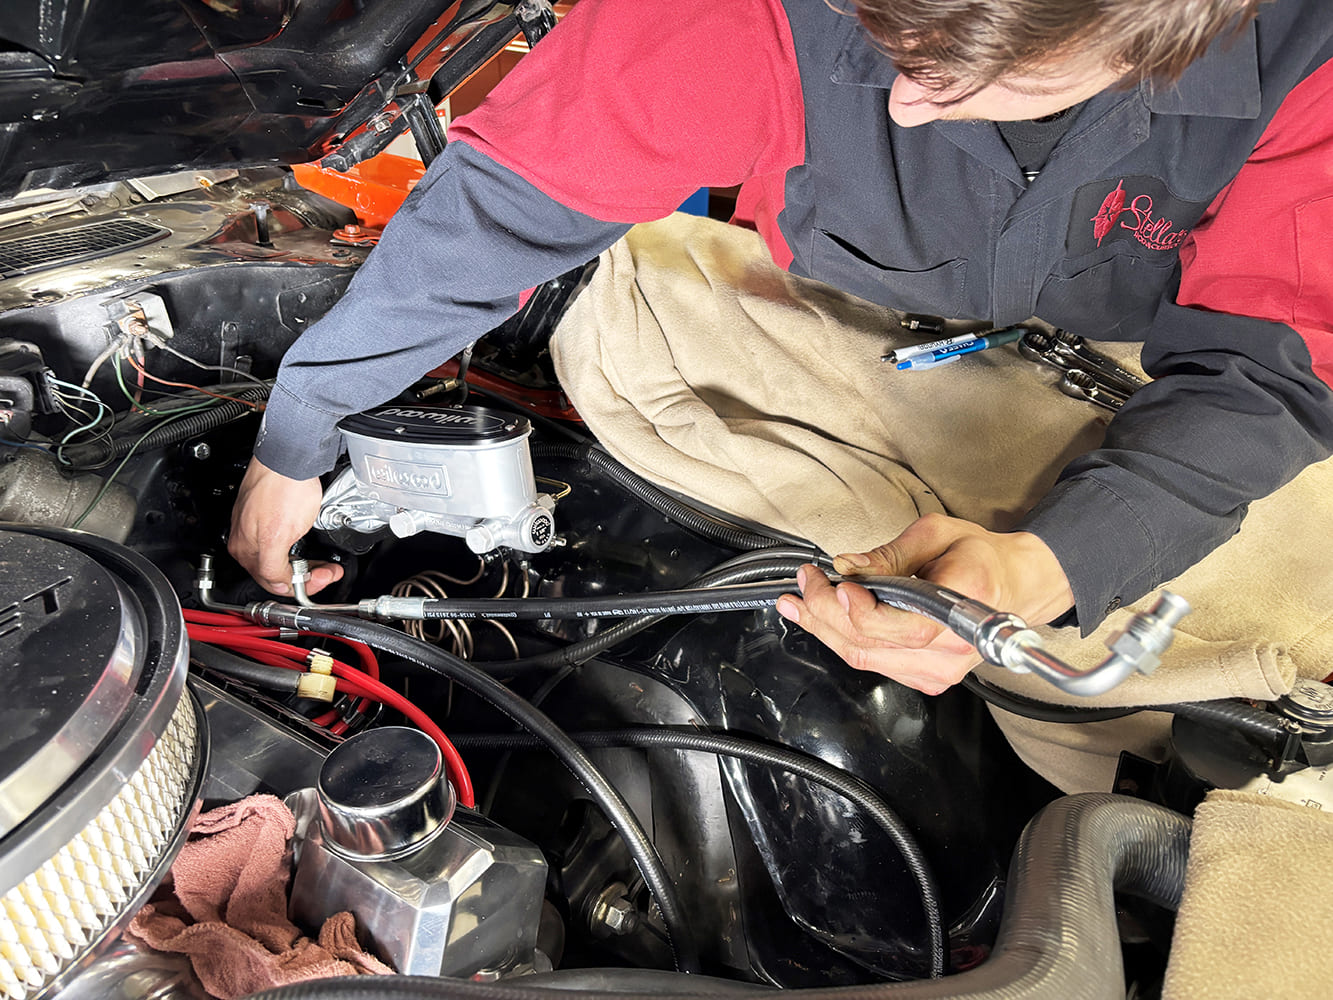
Before the new booster is installed, the existing one needs to be removed, and that starts with draining as much brake fluid from the master cylinder as possible. A big syringe is really helpful but care must be taken to prevent fluid from dripping onto painted surfaces in the engine compartment. It will damage them. That’s why there’s lots of paper laid beneath the master cylinder here.
Beyond the performance benefits, a hydro boost system also eliminates the need for a bulky power booster behind the brake master cylinder. Consequently, there’s more clearance under the hood of many vehicles to accommodate the valve covers or exhaust manifolds/headers of big-block and LS swaps. The hydro booster used in this project, for example, was no wider than the Wilwood-supplied master cylinder.
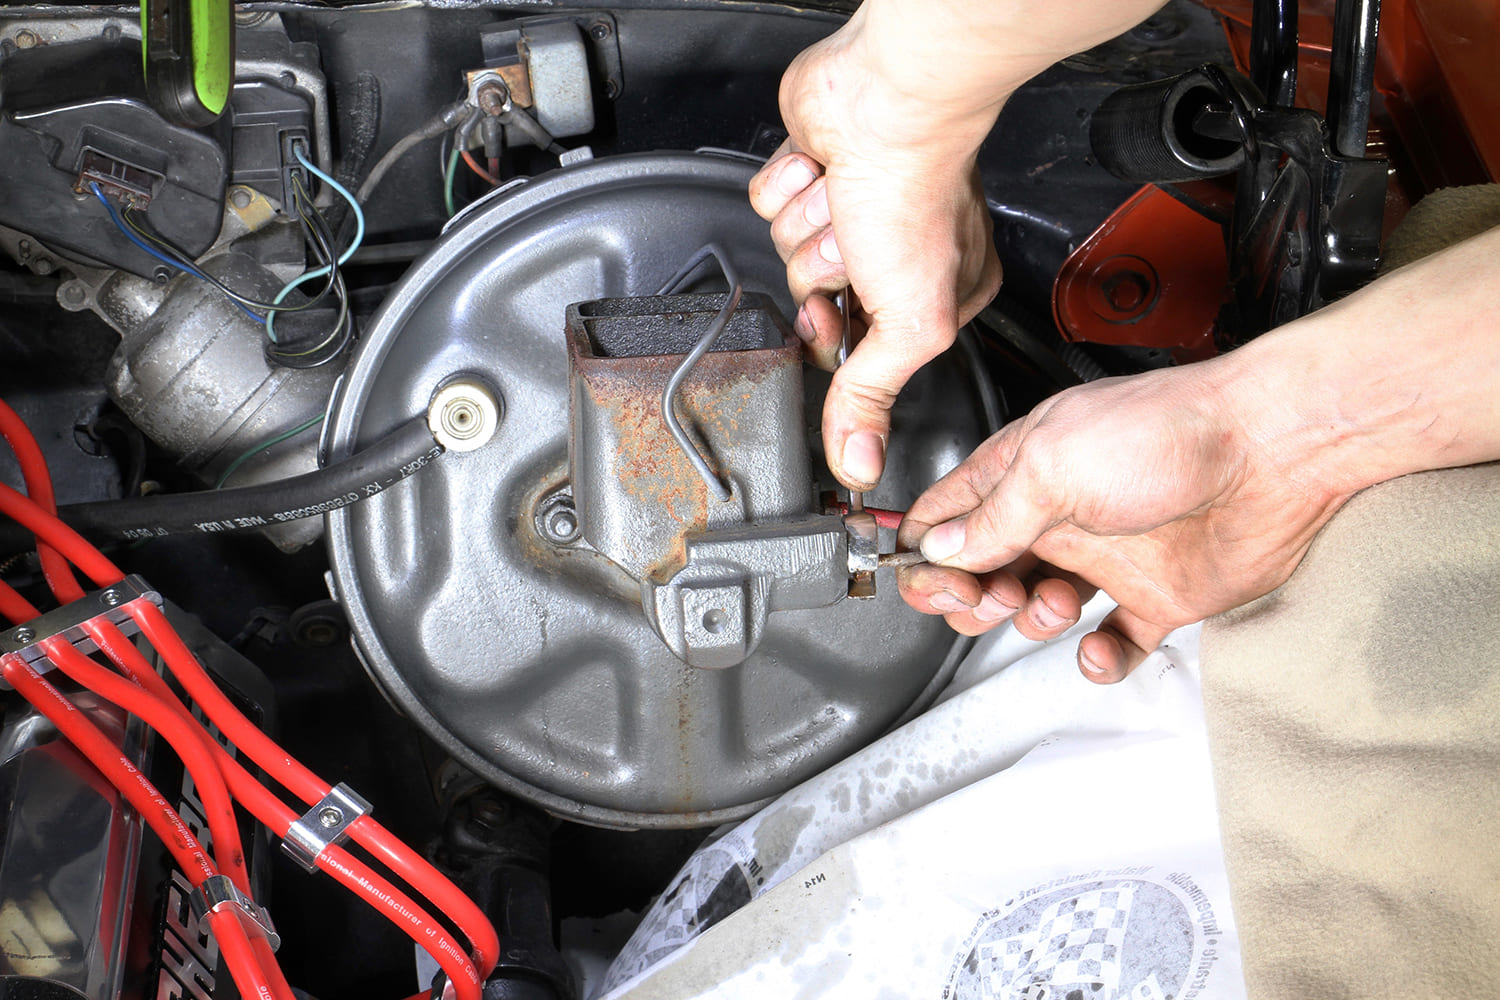
The brake lines are also disconnected from the master cylinder. In most cases, they will not line up with the ports on the replacement booster.
Speaking of the project, it was the low-vacuum production of a lopey camshaft in the 383 small-block of a 1972 Chevelle that prompted the change to a hydro boost system. It coincided with an upgrade to a Wilwood-based, four-wheel disc brake setup, all of which were installed at Detroit-area Stellar Rod and Custom. The hydro boost kit cost about $510 but another $350 or so in a separate hose-and-fitting kit was also required.
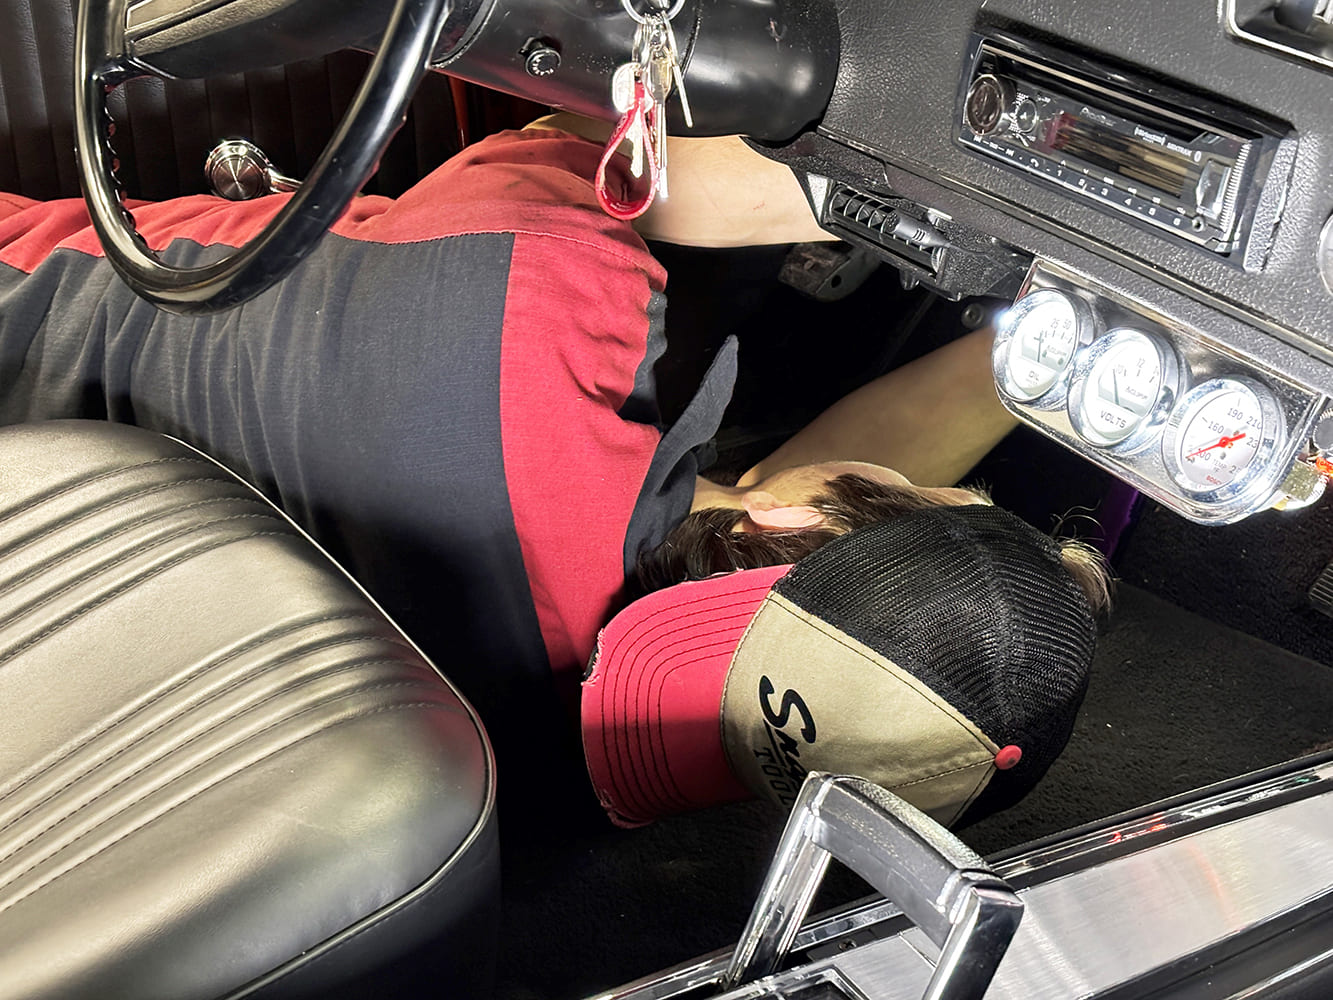
There’s also a quick slide inside the car to disconnect the master cylinder’s pushrod from the brake pedal. The master cylinder won’t let go without doing this.
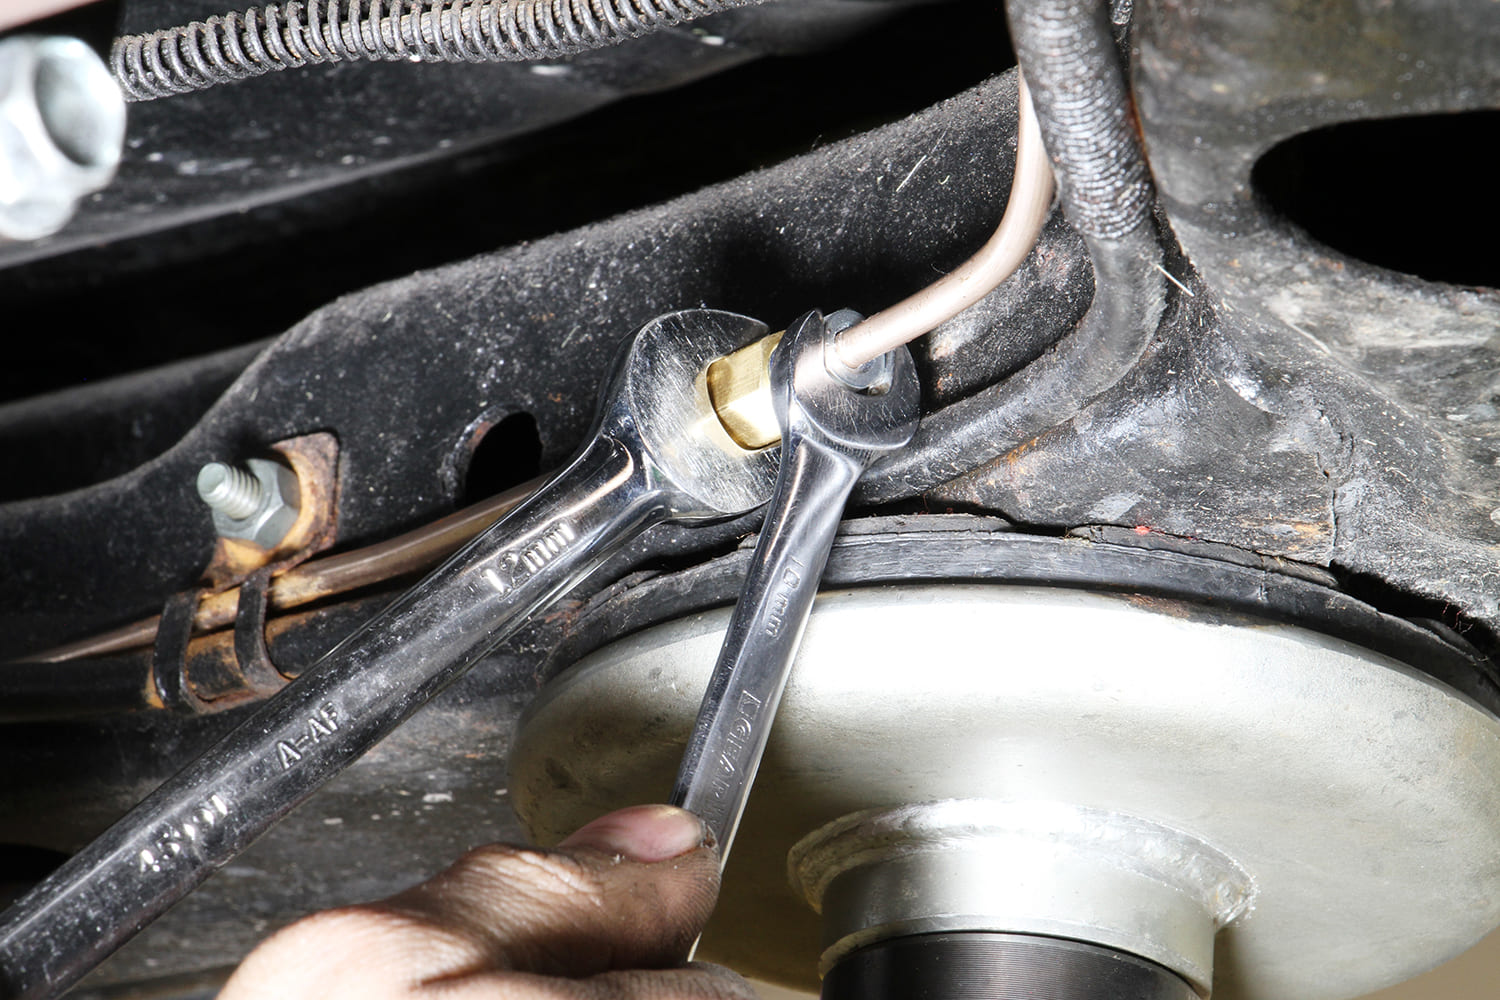
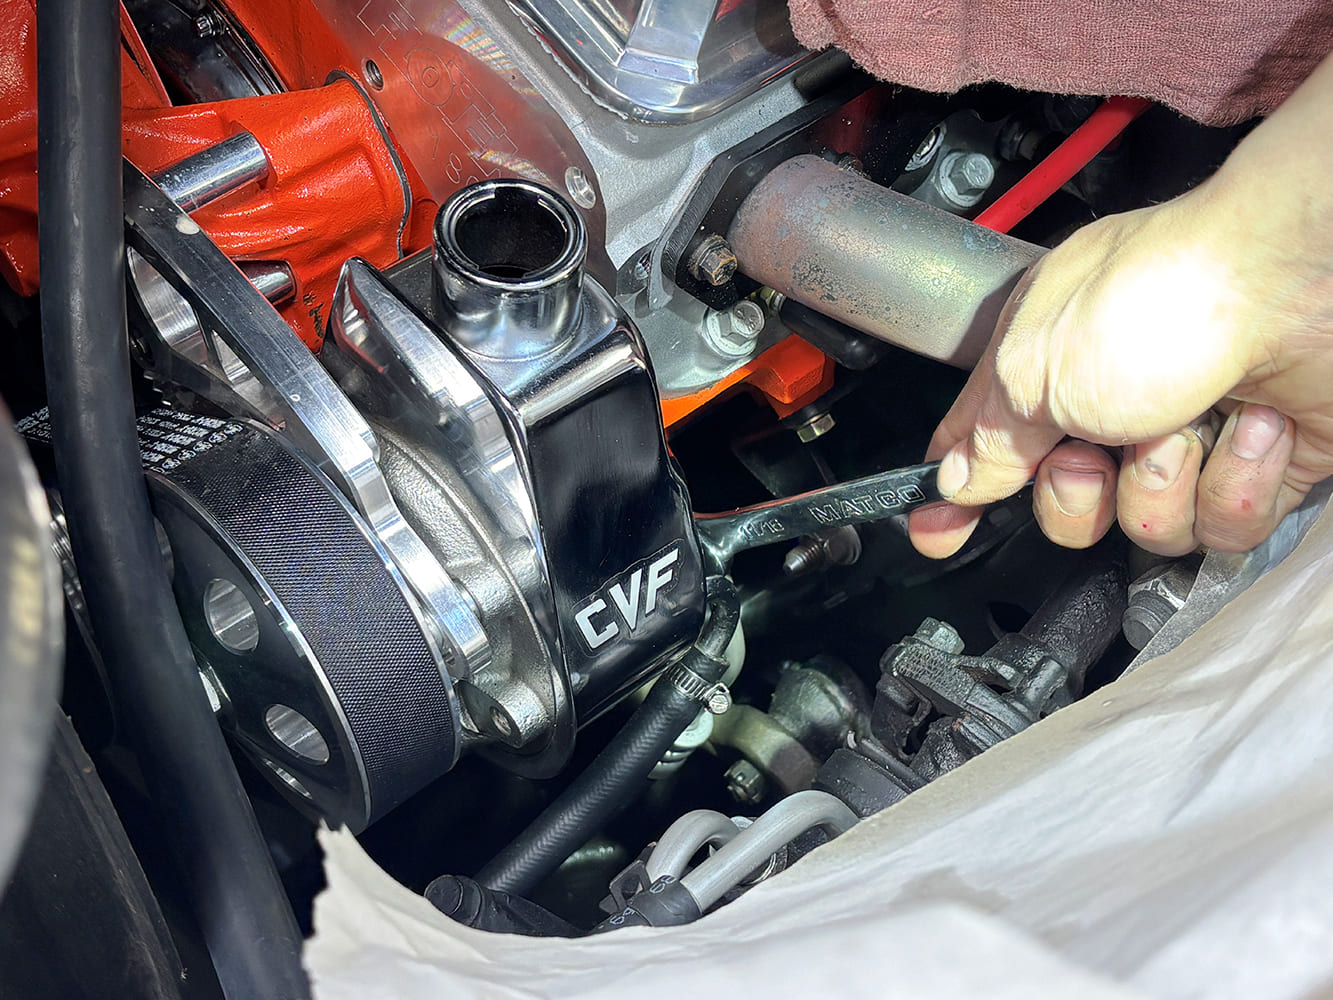
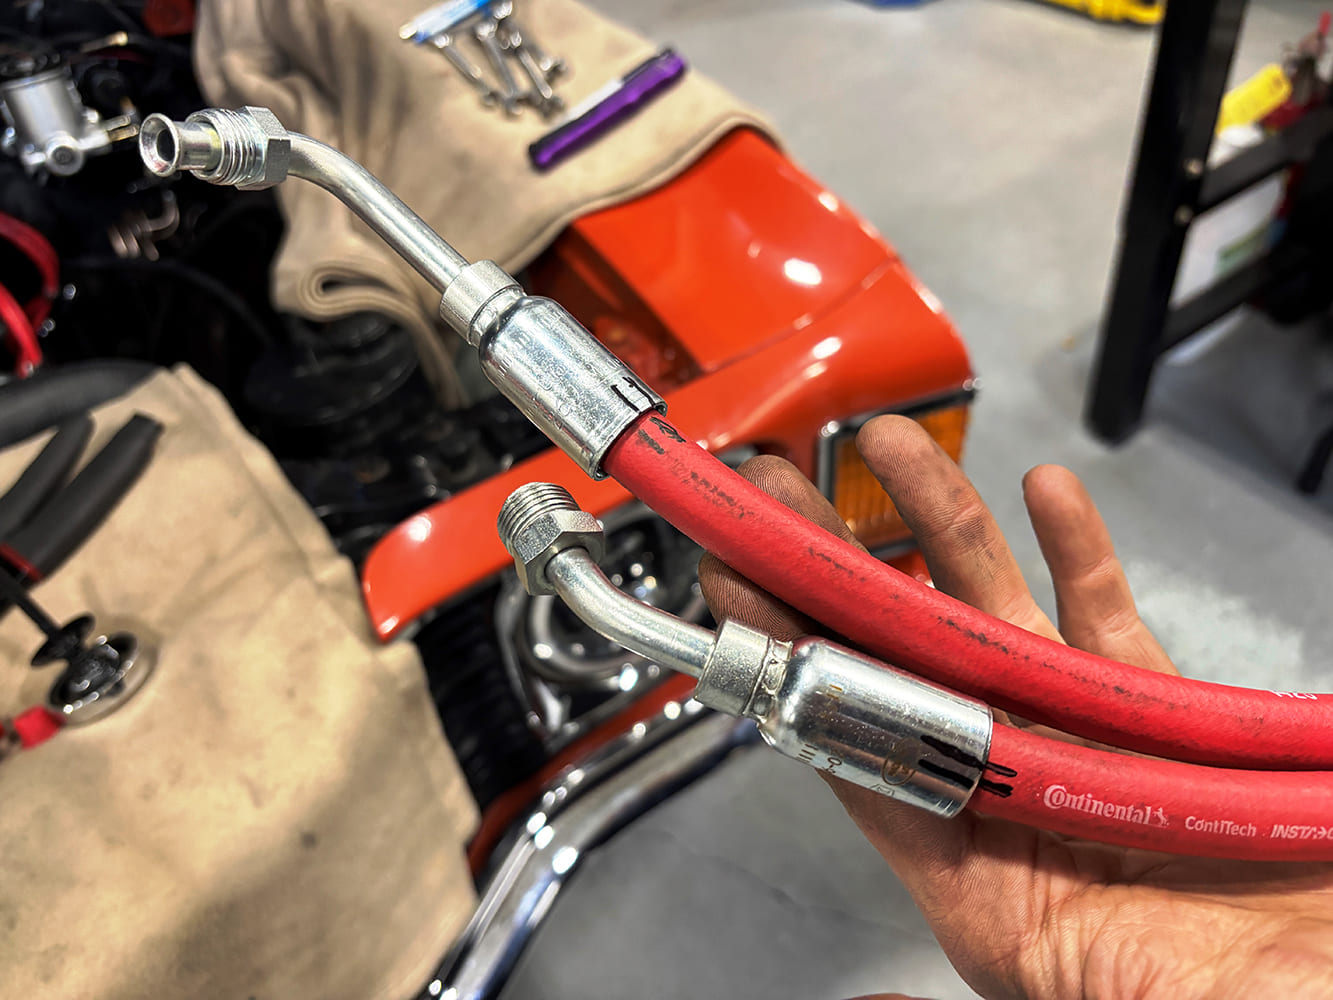
With a typical Saginaw-style power steering system featuring a three-hose setup, the hydro boost takes a high-pressure feed from the power steering pump to the brake booster to provide the power assist and routes it back with another high-pressure line to the steering box for the power steering assistance. That’s two of the hoses. The third is a low-pressure return to the pump.
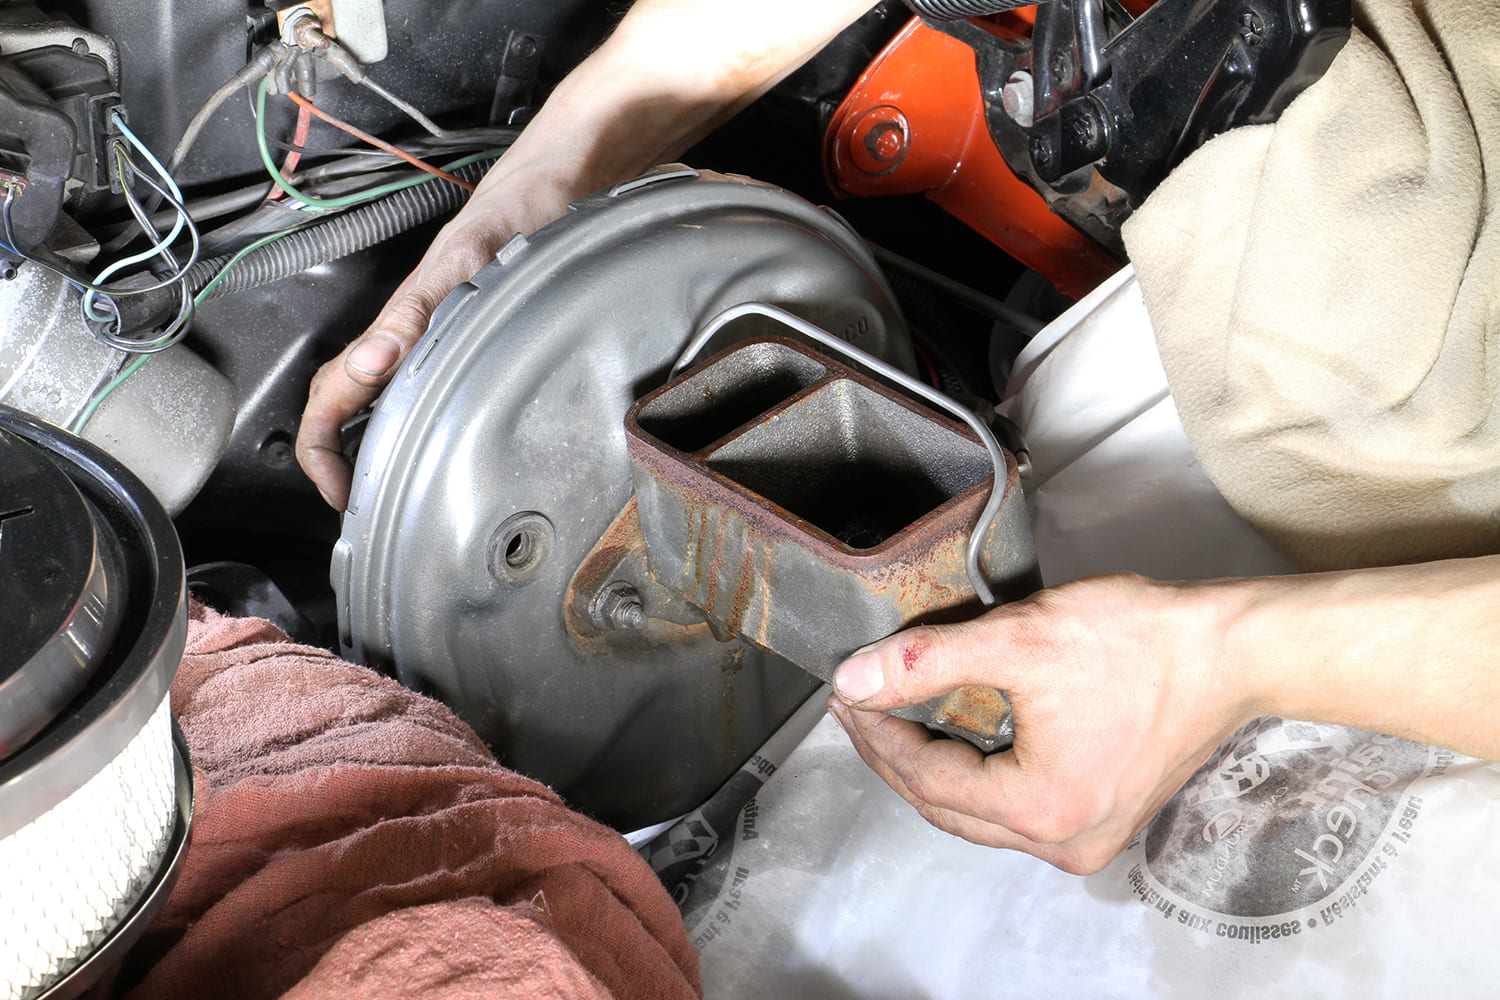
Because the booster and master cylinder are replaced in this project, they can be removed as a single unit. The fasteners holding the booster to the firewall are typically difficult to reach, but once they’re loosened the booster pops off pretty easily.
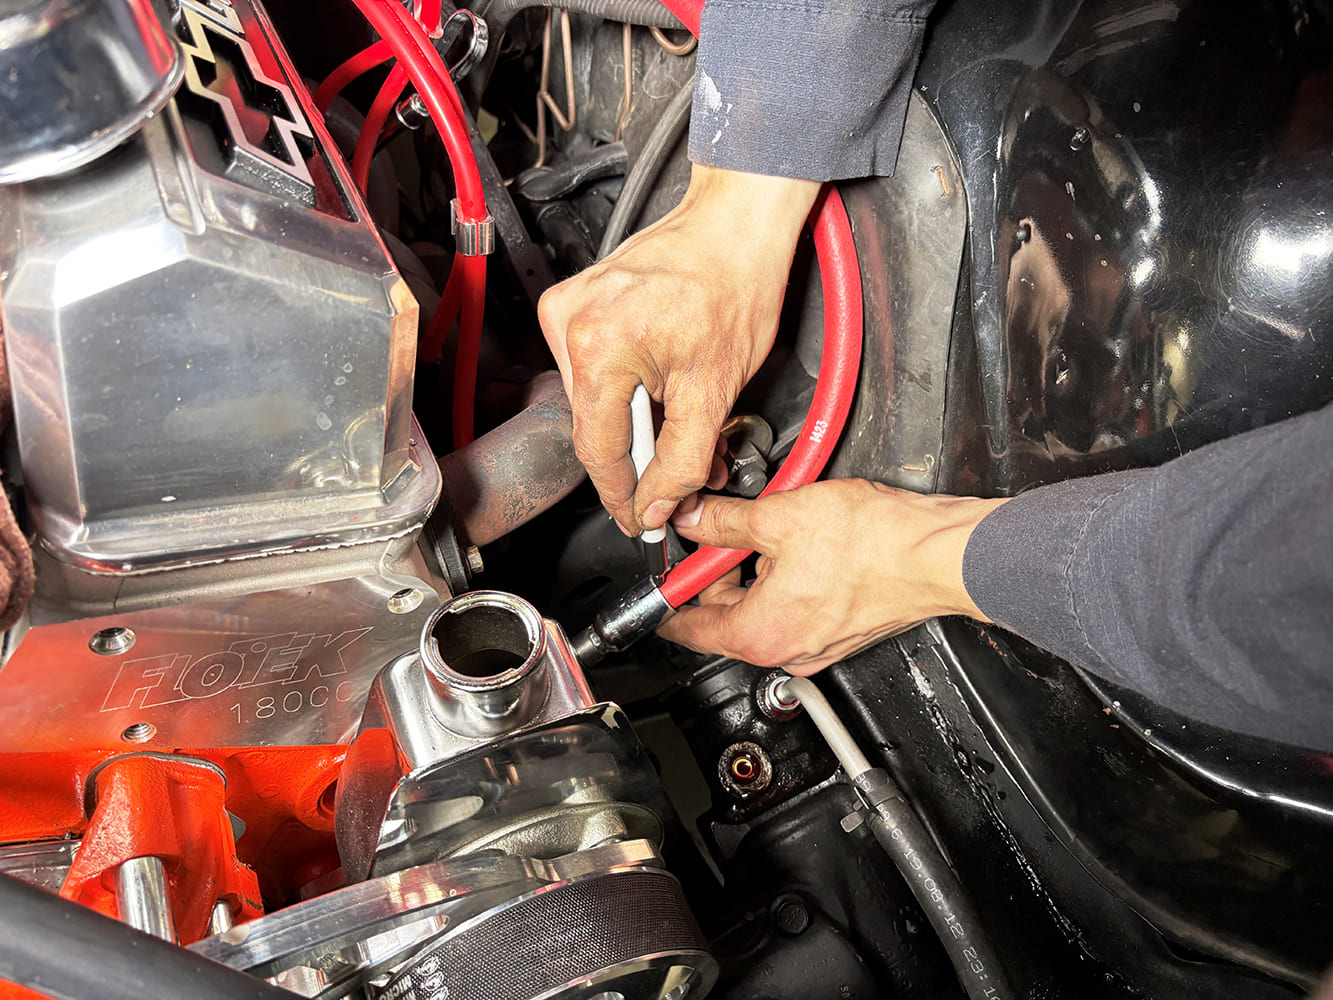
Installation isn’t particularly difficult from a wrench-turning perspective, but it involves bending several new hard lines for the brake system as well as adding a couple new hydraulic hoses. For this project, the shop had the requisite hard line benders but had to send out to get the supplied hydraulic hose fittings properly crimped. We suspect most home enthusiasts would be in the same boat. Fortunately, many tire/rubber shops can do the job while you wait.
In preparation for installation, the new master cylinder must be bench-bled. There are a couple of ways to do it, but the syringe method works as well here as removing the fluid from the old master cylinder.
In the end, the Chevelle’s all-new braking system feels remarkably more responsive. In addition to the capability of the Wilwood four-wheel discs, the hydraulic power of the hydro boost system adds an assuring degree of confidence when the foot hits the pedal. It’s high-performance braking for a high-performance muscle car.
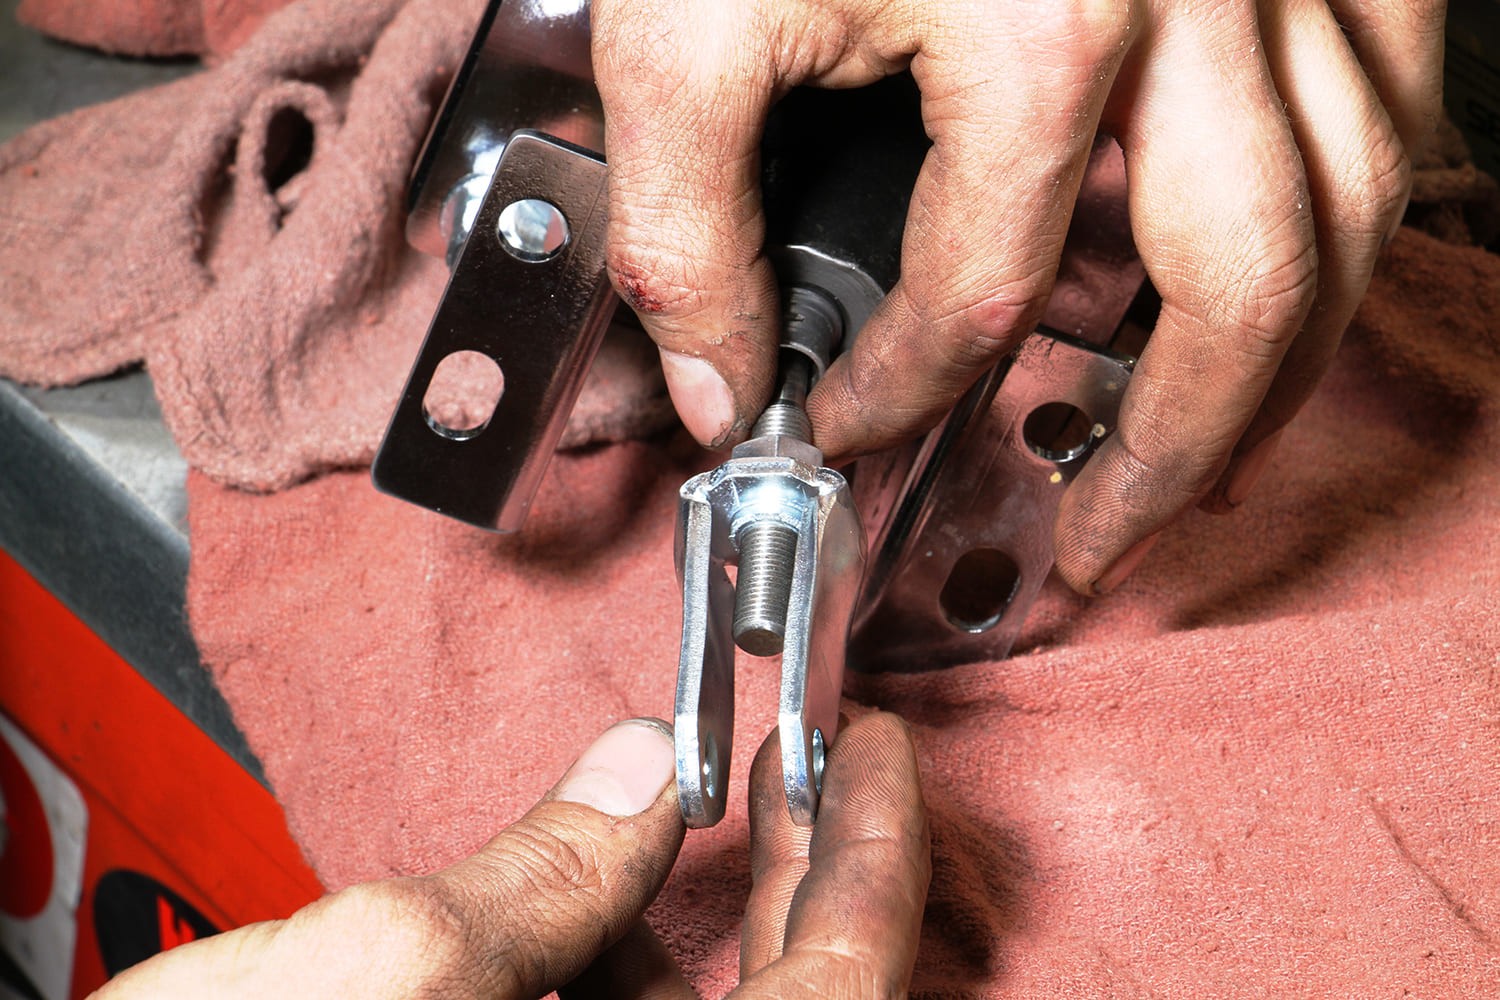
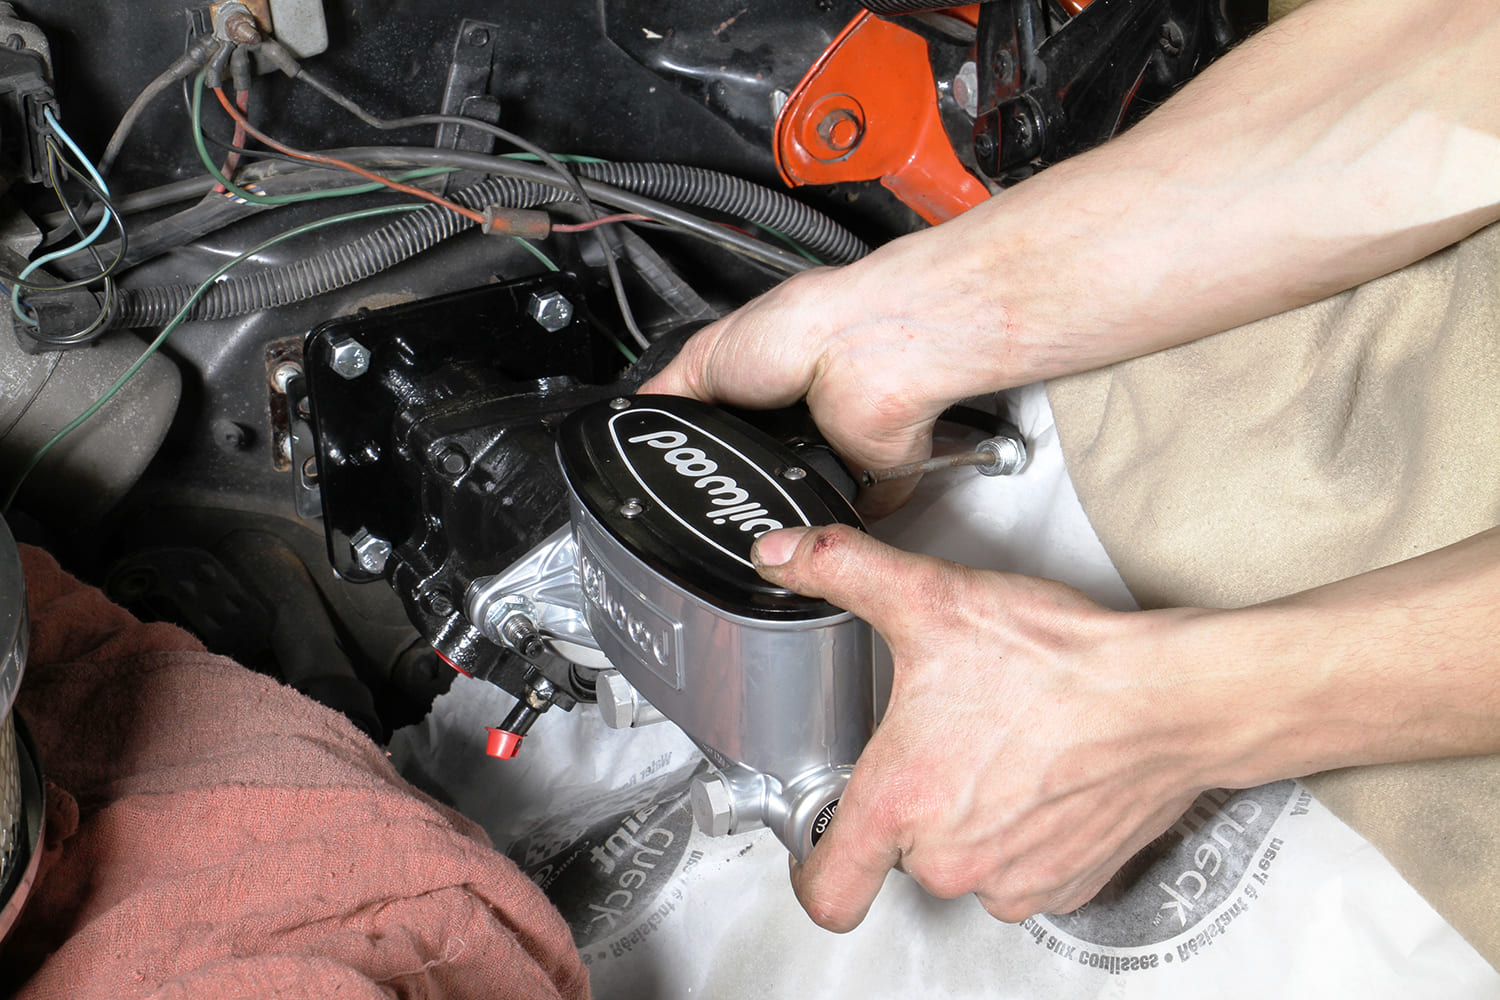
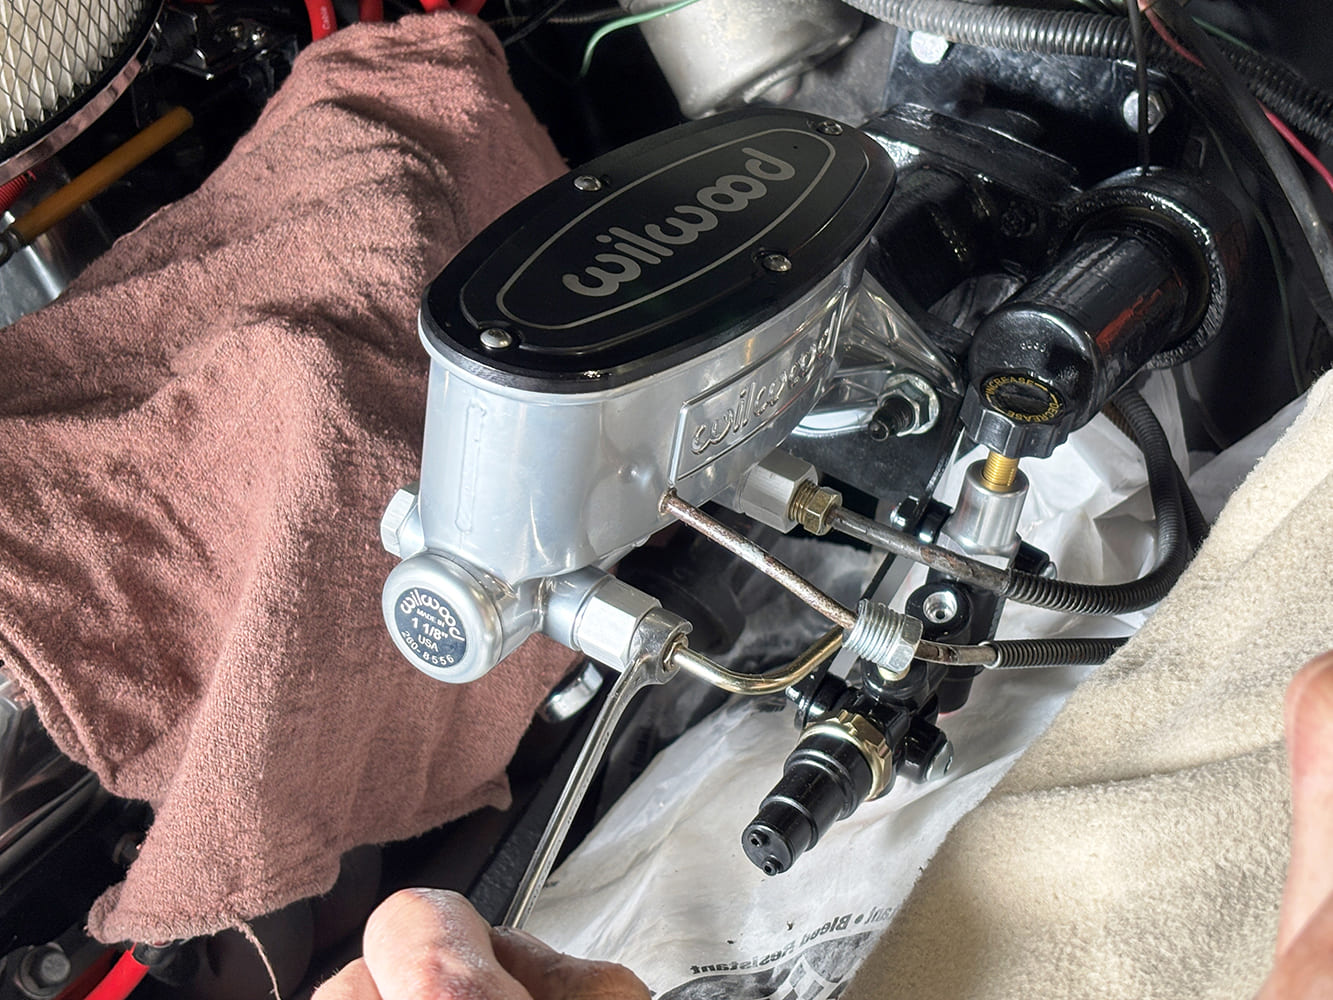
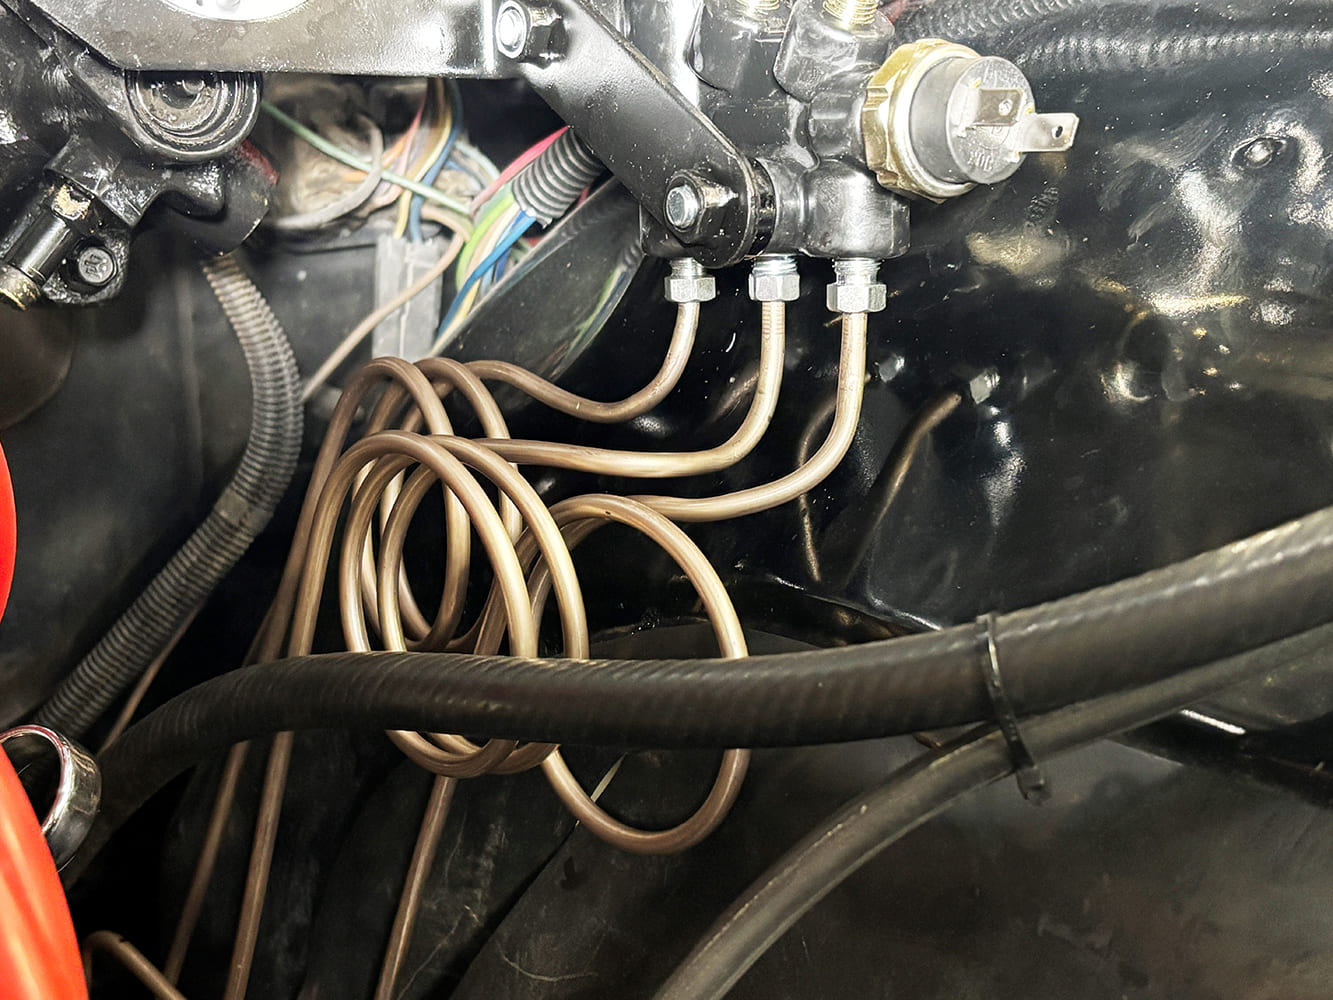
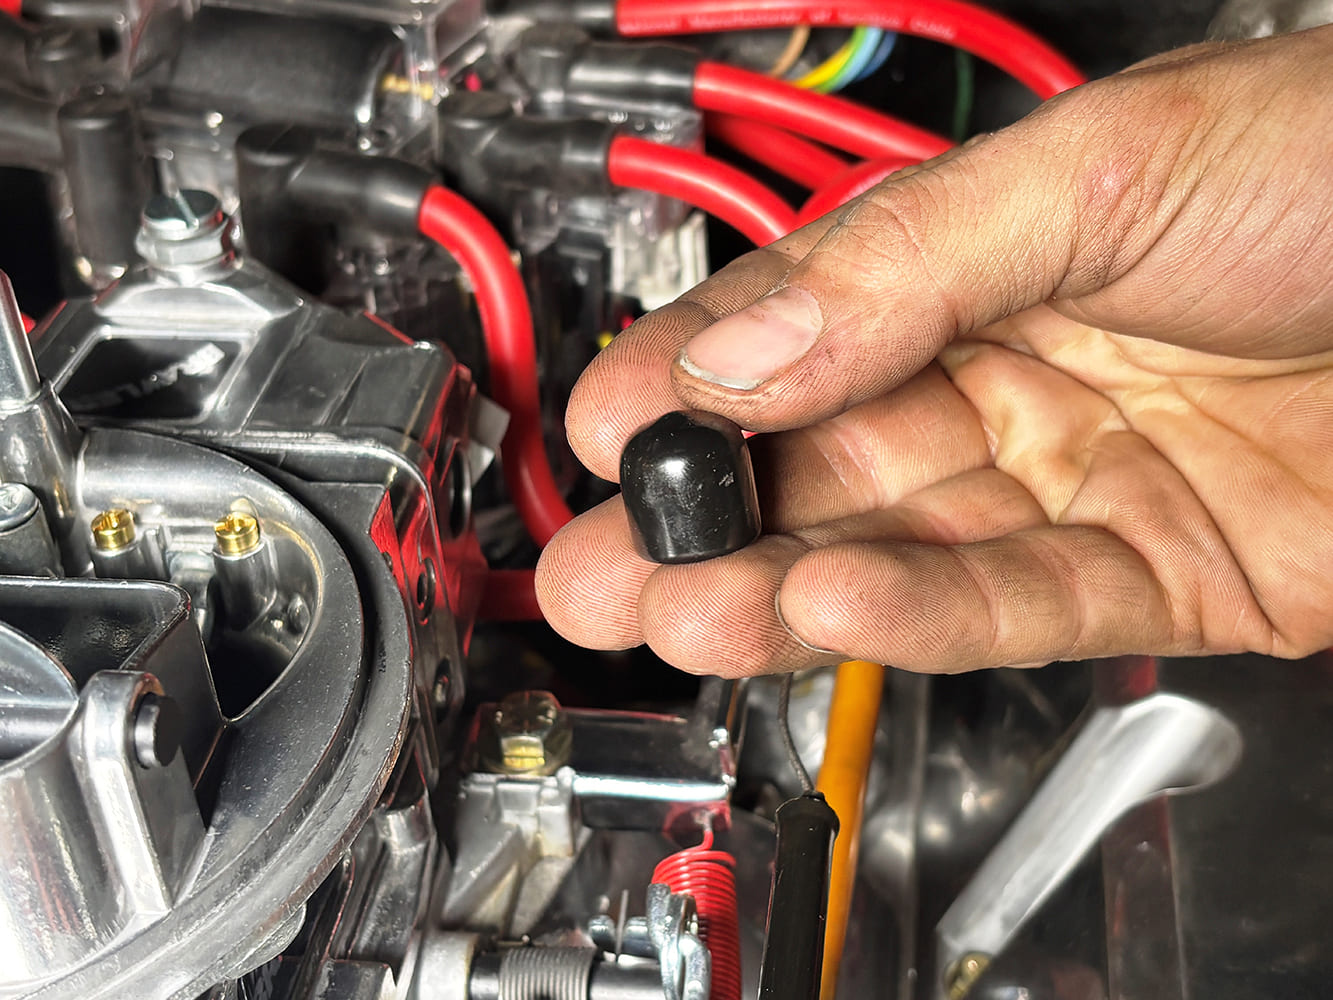
Also prior to installation the clevis that connects the master cylinder pushrod to the brake pedal arm must be installed. Later, all the adjustment procedures for optimizing the pushrod’s length will be followed.Next, the booster/master cylinder assembly is slipped in place and bolted up in the same mounting position as the original booster. The new booster is obviously slimmer, but it’s also notably longer than the vacuum booster, pushing the master cylinder farther away from the firewall. That will affect the routing of the brake lines.Another upgrade for this system is the addition of a brake proportioning valve, which limits pressure to the rear brakes to prevent lockup. It installs on a bracket sandwiched between the master cylinder and booster, with lines routed from the valve’s distribution block to the master cylinder.The original brake lines no longer fit with the new booster, master cylinder, and proportioning valve installed. For vehicles with older or even original brake lines, it’s a good opportunity for replacements. On this vehicle, new lines had already been run for the Wilwood disc brakes, so a junction was spliced into the new rear brake line and linked to the master cylinder/proportioning valve.At the proportion valve’s distribution block, the lines for the rear brakes and separate left- and right-front brakes are shown bent, routed, and installed. The lines are coiled to provide a measure of flex, which is helpful in a body-on-frame vehicle with rubber body mounts that flex themselves.Work now moves to the power steering side of the project, with the reservoir drained and the lines disconnected. With Saginaw-type three-hose systems, the conversion takes a high-pressure line from the pump to feed the booster, while a second high-pressure line runs from the booster to the steering box. There’s also a low-pressure return line from the booster to the steering pump.New, longer hydraulic lines must be created to replace the originals. Dummy lines were run to gauge the proper length, while the new GM-style inverted flare fittings were installed to determine the proper clocking positions for them. The hoses and fittings were part of a separate kit and it included a T-fitting that’s required to splice the low-pressure return line into the return from the steering box to the pump.The lines made on the fittings and hoses with a marker provided an installation guide for the new lines.After a quick trip to the nearby tire-and-rubber shop where the fittings were crimped onto the hoses, the new hydraulic lines were installed.In this shot, all the new lines have been installed. At the pump, the feed line routes to the booster, while the second high-pressure line is seen routed into the steering box. At the left is the T-junction (arrow) that takes the return lines from the booster and steering box and flows back into the pump.Of course, the vacuum port in the intake manifold for the original brake booster cannot be left open, so a cap is inserted on it at the rear of the intake manifold.The rest of the project includes the basics of bleeding the brake system and ensuring the brake pedal is adjusted properly with the new master cylinder pushrod.Finally, the hydro boost system also needs to be bled. It’s the same process as bleeding the power steering system: After the fluid is added to the pump, the steering wheel is turned from lock to lock to purge air from the system. After that, it’s job done!
We use cookies to ensure that we give you the best experience on our website. If you continue to use this site we will assume that you are happy with it.