Just when you think Dakota Digital’s got the coolest retro-style gauges, they go and come out with an even more retro’er cluster: the RTX Series! They themselves couldn’t have described it better: “ … [our] latest is focused on retaining that stock look without sacrificing the late-model features … every effort has been put forth to incorporate OEM design elements regarding the layout, face styling, and indicators. A casual glance may dismiss these as original equipment, but once you hit the switch and the LED backlighting comes on in your favorite color scheme, all doubts will be removed.”
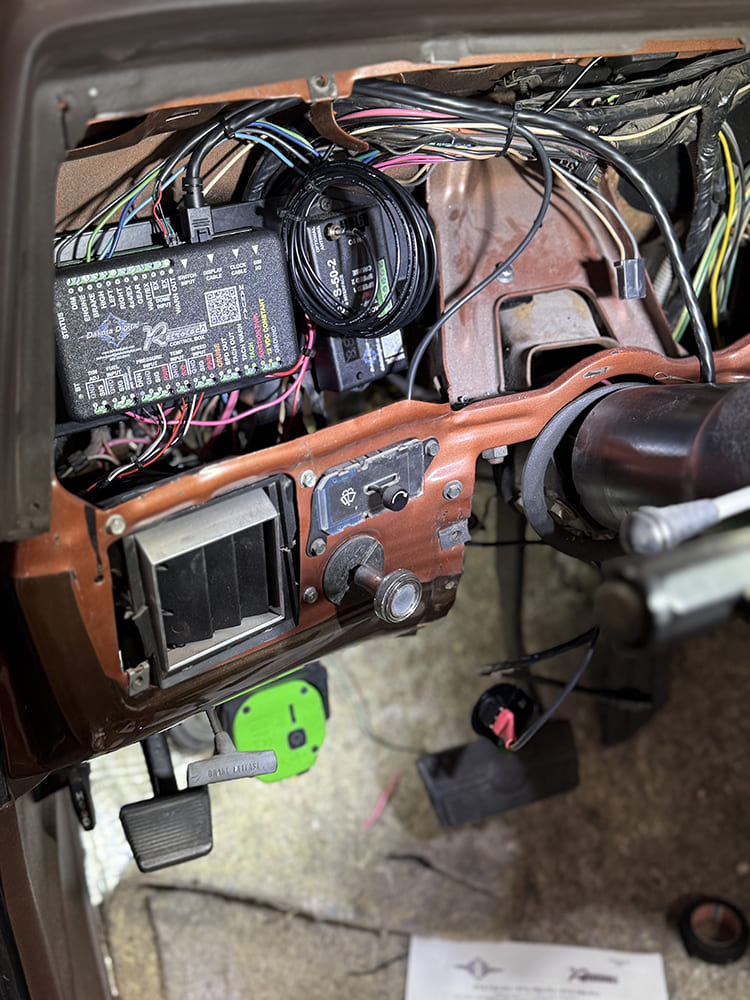
Dakota Digital’s latest Retrotech offering for the third-gen C10, the RTX Series (RTX-79C-PU-X for 1979-87 shown with optional GPS-50-2 Interface). “A casual glance may dismiss these as original equipment, but once you hit the switch and the LED backlighting comes on in your favorite color scheme, all doubts will be removed.”
This past Christmas, when my neighbor and fellow old truck afficionado Eric Michaud (better known to many of you as Edog) was telling me that he’d just purchased one of Dakota’s HDX systems off Amazon for his ’82 C10 build, I told him to return it ASAP because we were going to install their all-new RTX-79C-PU-X 1979-87 cluster kit instead! Similar to his ’65 F-100 we featured not too long ago (July ’22 issue), Michaud’s Squarebody is rather retro in its multi-hued exterior finish, so the RTX’s stock-looking but color-customizable features were perfectly suited for his similarly fashioned interior.
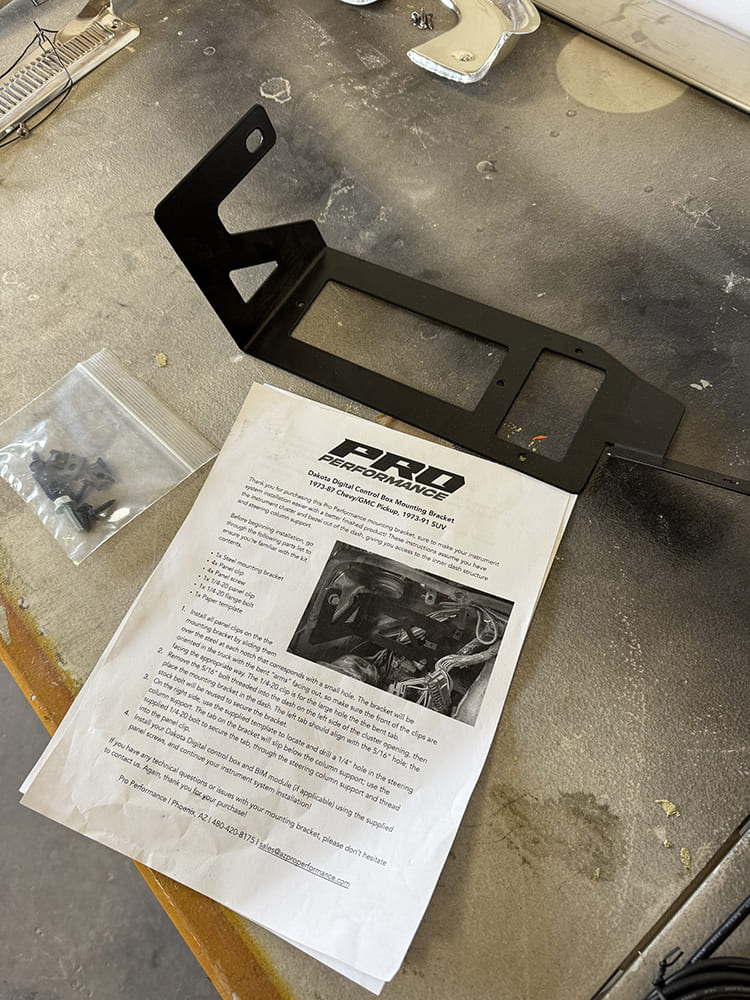
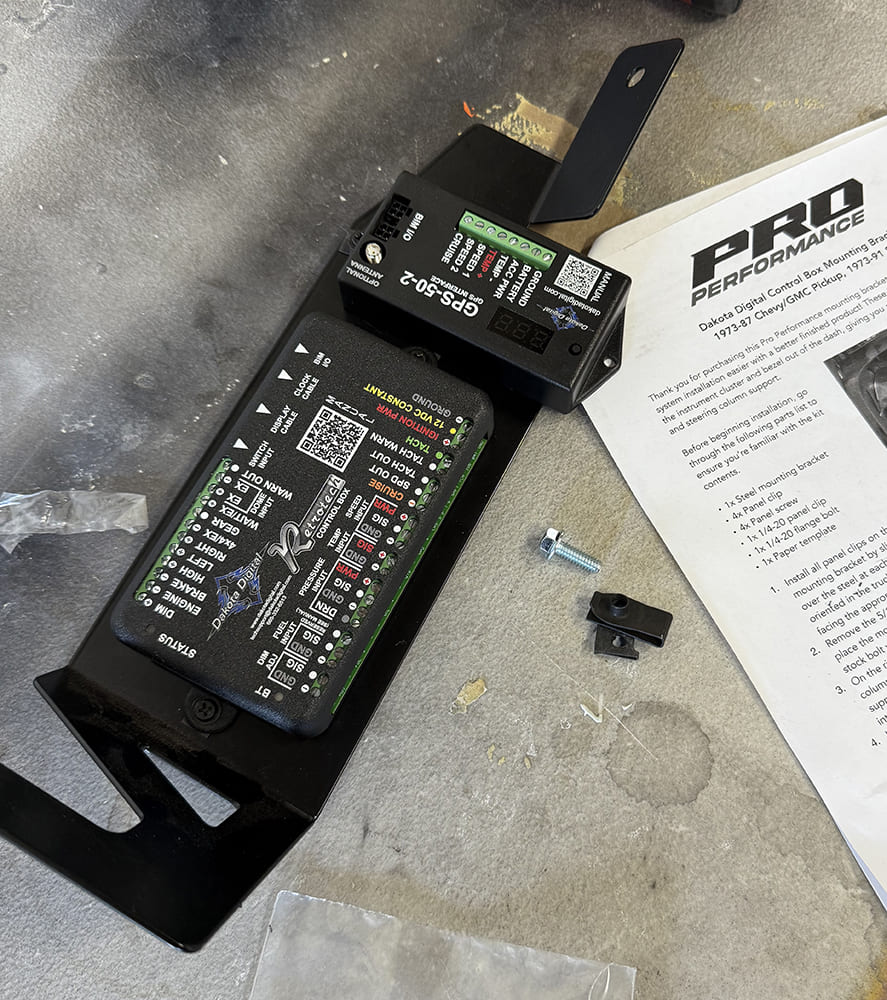
Making the install that much easier, we acquired one of AZ Pro Performance’s Control Box/BIM/GPS mounting brackets, which attaches directly underneath the dash, eliminating the need to find a suitable location for the modules to mount.
It obviously didn’t take much coercion to convince Michaud, and once the new gauge cluster kit had arrived from Dakota we set a day for the install. To make things go as smoothly as possible, he commissioned he wiring guru buddy from Arizona, Nick Sanchez, to handle the hookups. In his travels out to SoCal, Nick stopped by AZ Pro Performance to grab one of their trick Control Box/BIM/GPS mounting brackets, making that portion of the job that much easier—and cleaner.
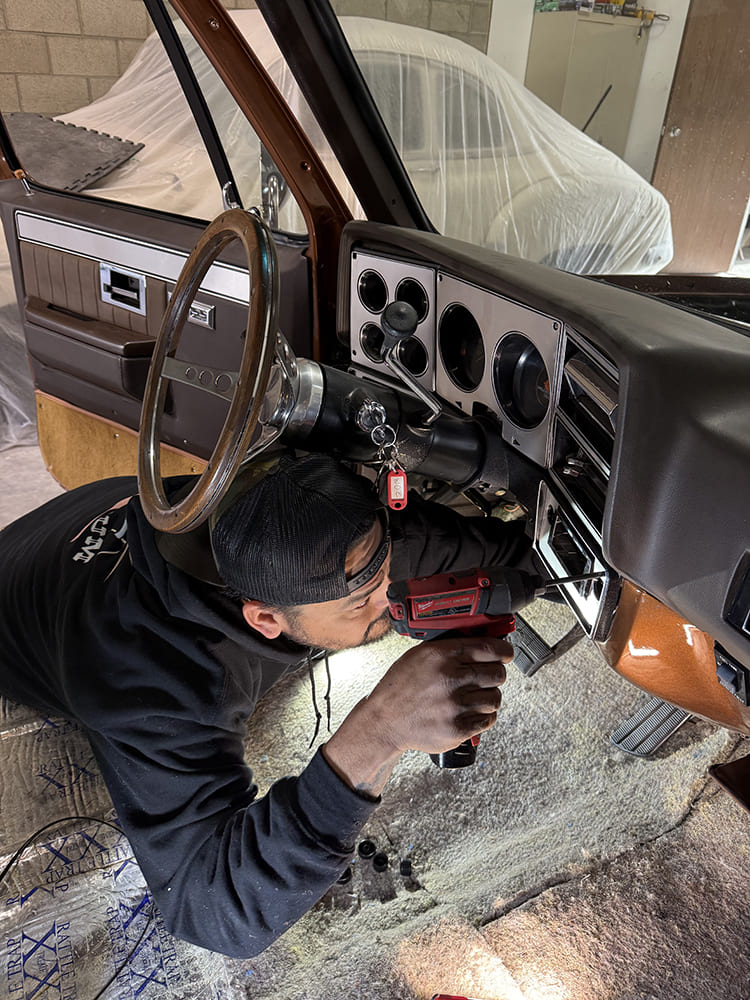
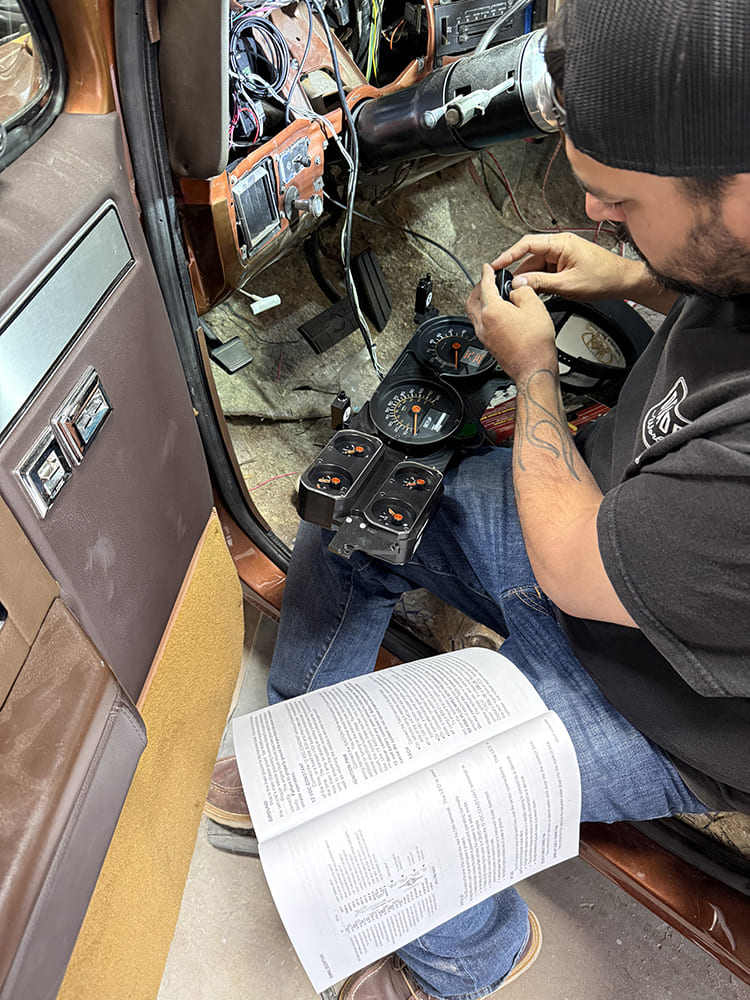
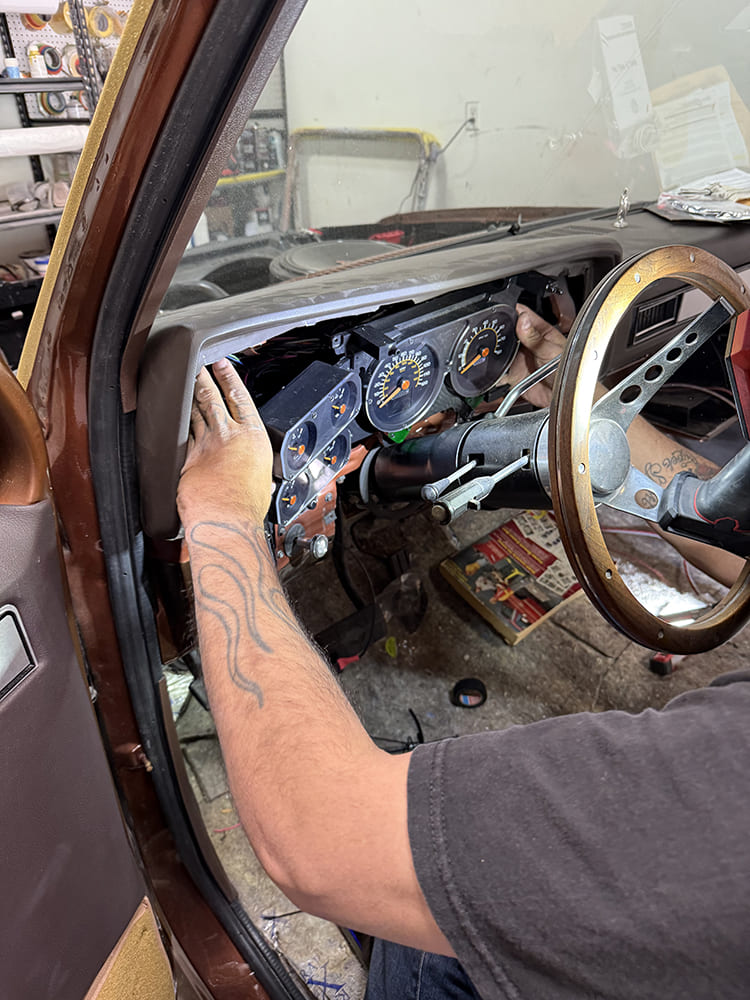
With the bench seat out of the way (Eric Michaud was also having a sound system installed at the same time—we needed all the room to avoid bumpin’ elbows), our electronics tech, Nick Sanchez, got busy breaking down the Chevy’s OE gauges for our RTX install.
Of all the Dakota Digital installs I’ve taken part in the last few years, this is the first factory wiring integration I’ve had the pleasure of working with (versus using an aftermarket harness). Having a factory or Haynes repair manual to aid in tutoring alongside the accompanying instructions goes a long way, especially if you’re not familiar with OE Squarebody wiring. Ultimately, it was just like all the previous installs: a headache-free day’s job with the results you’d expect from any of Dakota’s line of digital-analog systems (easy to navigate, user friendly). I particularly like their dual TFT message centers (situated in the center of the speedo/tach) that can be custom-tailored to display a number of various functions—and ultimately, the display color options tied in the whole ensemble of Michaud’s C10 perfectly!
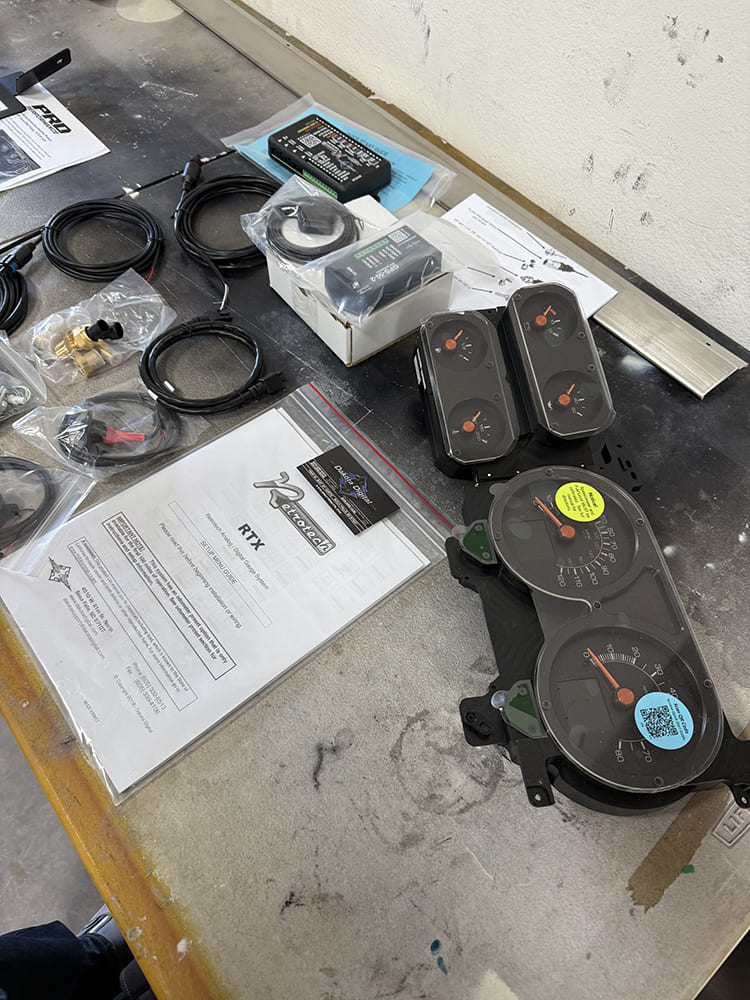
Our RTX-79C-PU-X kit came complete with the instrument cluster (with control module, sending units, and wiring) and GPS-50-2 Interface, which along with using GPS for calculating speed, can also provide location, altimeter info, and clock accuracy (as well as outside temperature with the appropriate sensor). For additional features, the RTX platform also benefits from Dakota’s BIM Expansion module, which allows the user to add in upwards of 16 specialty gauges (temps, pressures, lighting, OBD, even a FiTech EFI interface!) without having to do any modifications to the dash/gauge bezel.
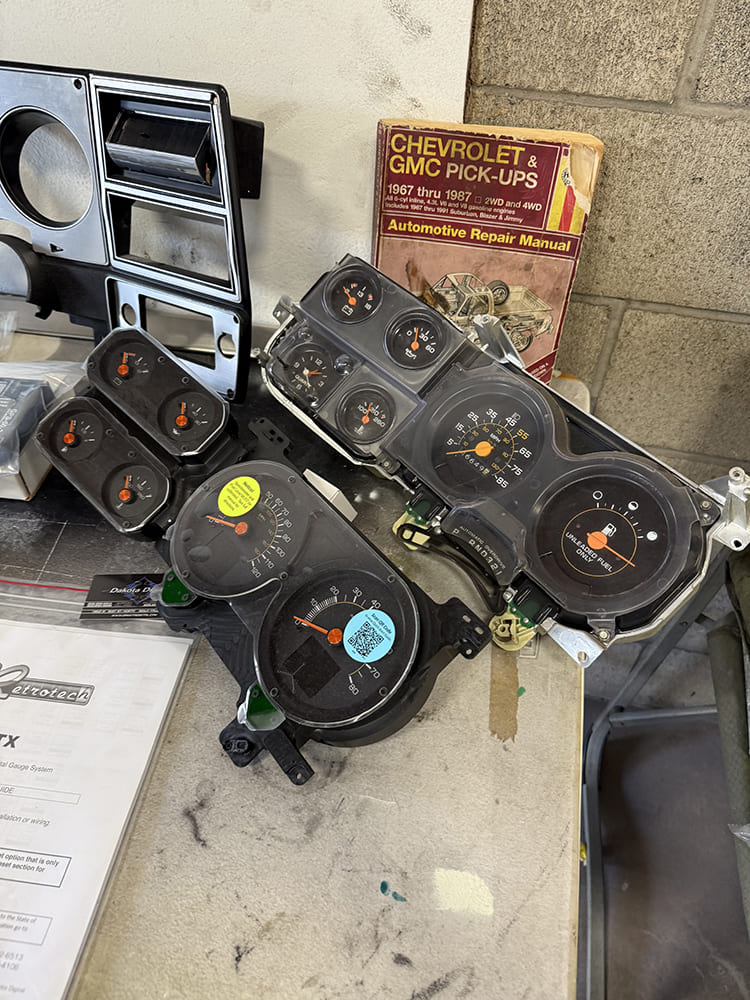
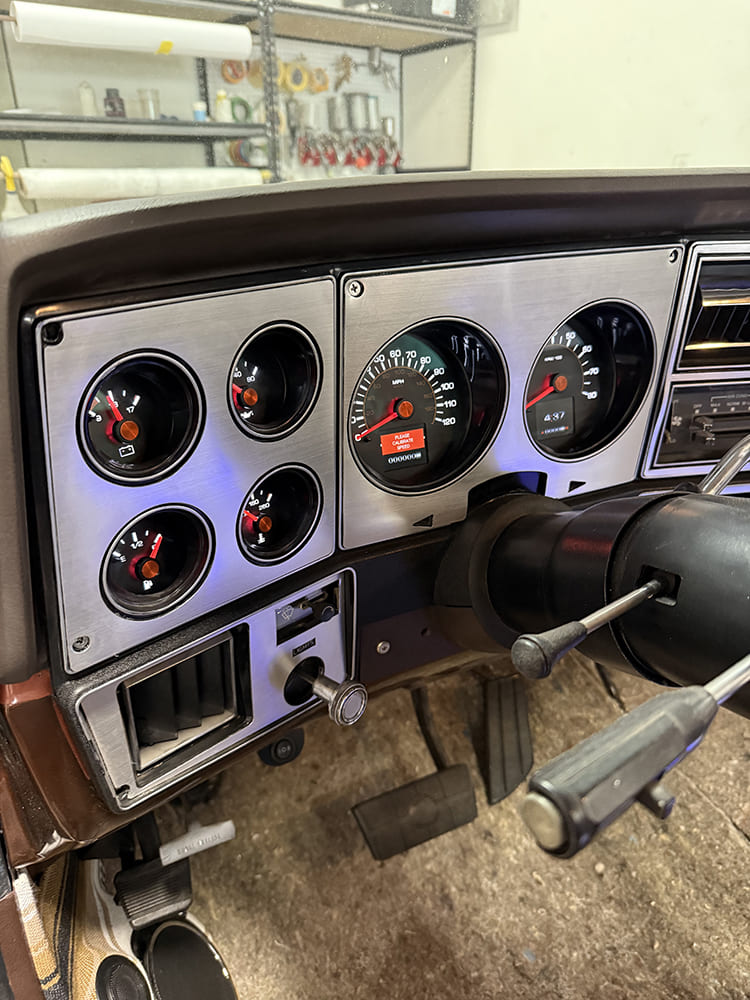
A quick comparison between OE and RTX. Notice Dakota Digital has appropriately utilized the “large” fuel gauge location for a tachometer (which is wired directly to the distributor)—the new fuel gauge replaces the stock clock, which is now integrated into the TFT window. Oh, and no more printed circuit board to deal with!
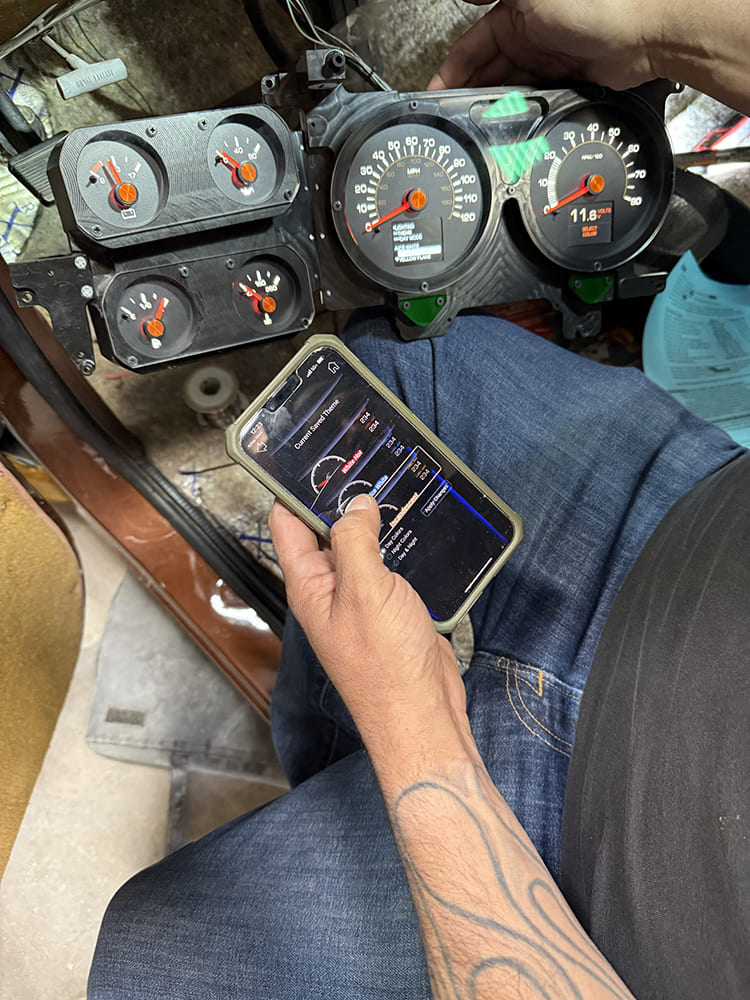
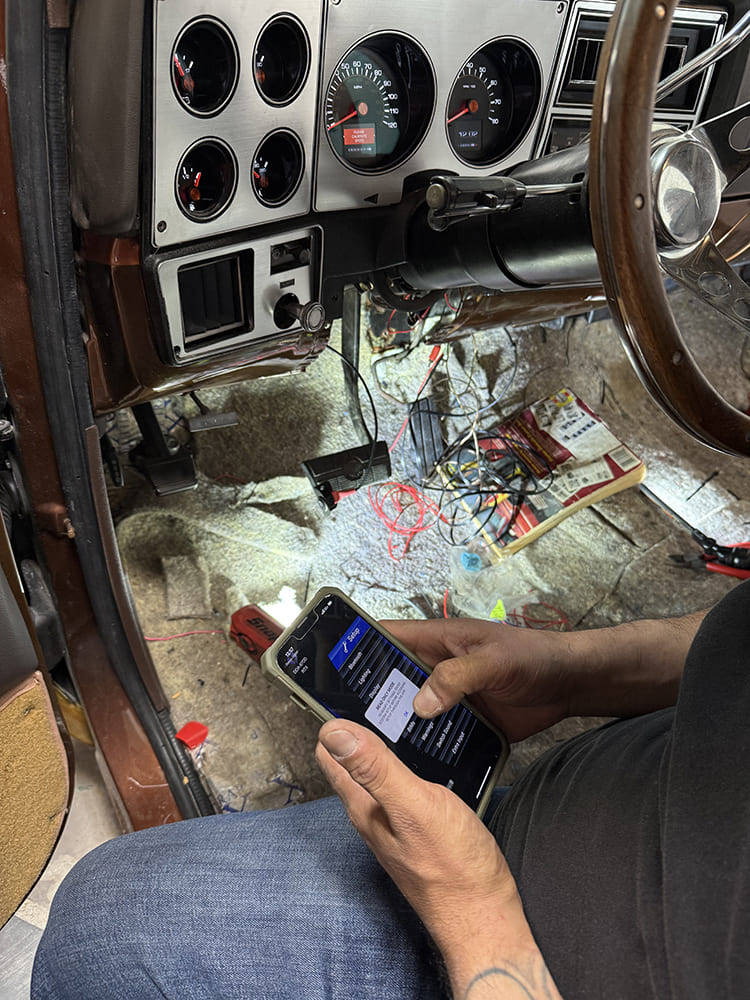
Michaud had already acquired a new gauge bezel from LMC (plus the dashpad was newer), so the three of us were good to go and spend a Saturday acquainting ourselves with the new RTX platform. Besides the wiring, the other new thing for me was the final setup, which Nick did remotely via iPhone after scanning the control module’s QR code. I love me a good learning experience!
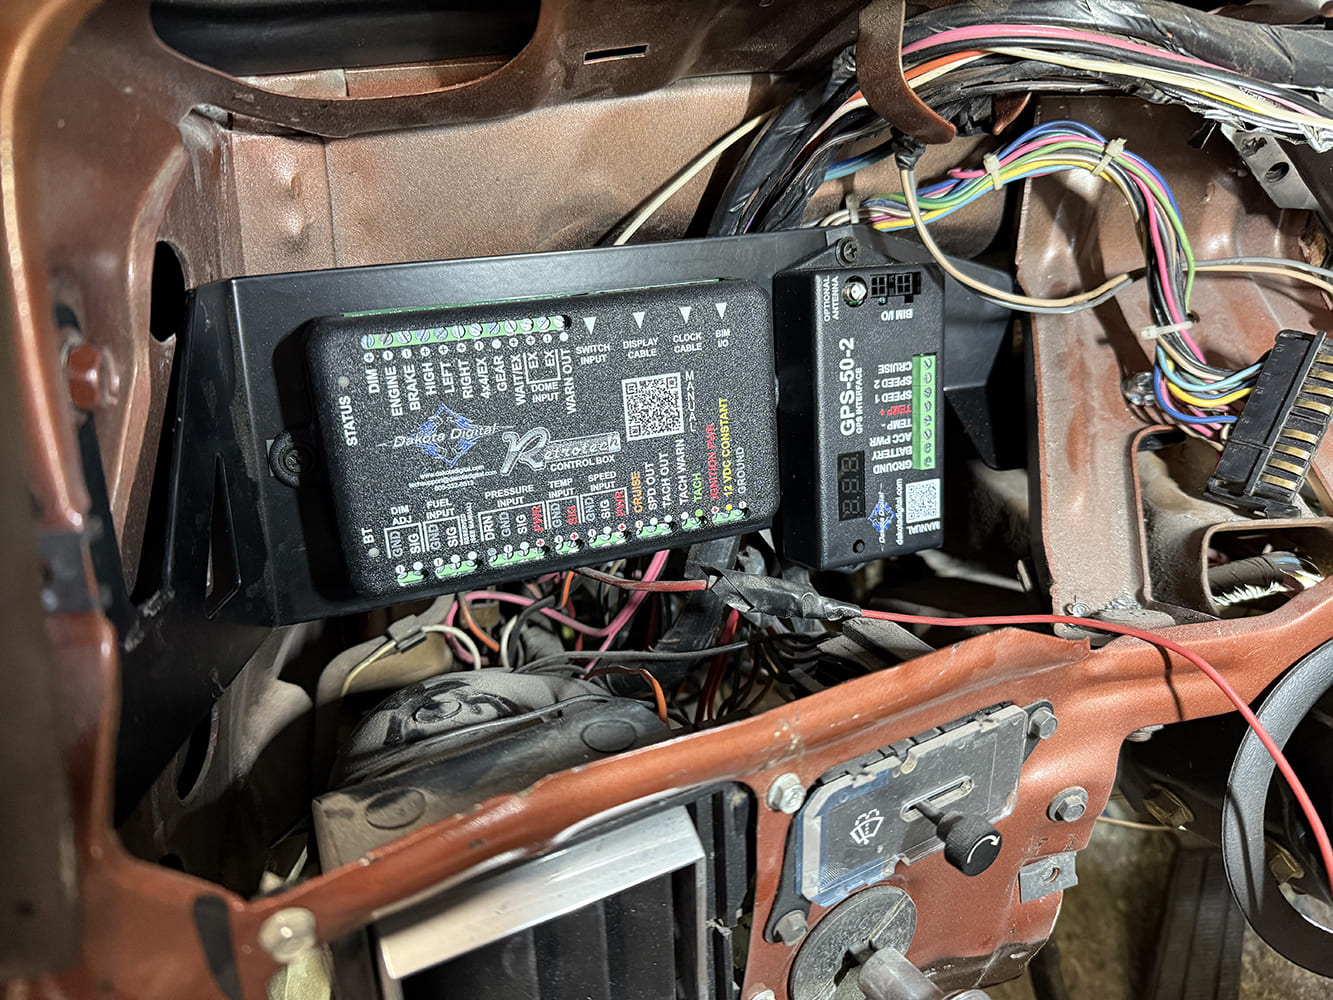
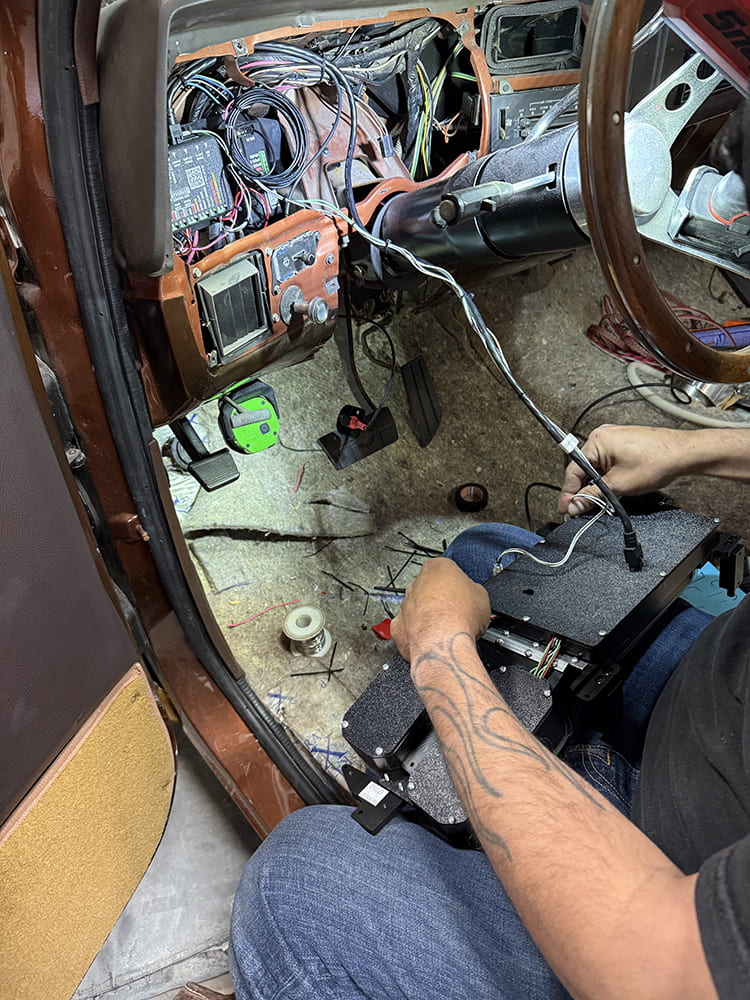
With the factory cluster out of the way, we mounted the controller and GPS modules to the Pro Performance bracket then proceeded to install in the designated area to the left of the steering column (a template is provided for drilling one hole in the column support to mount the right-side ear of the bracket).
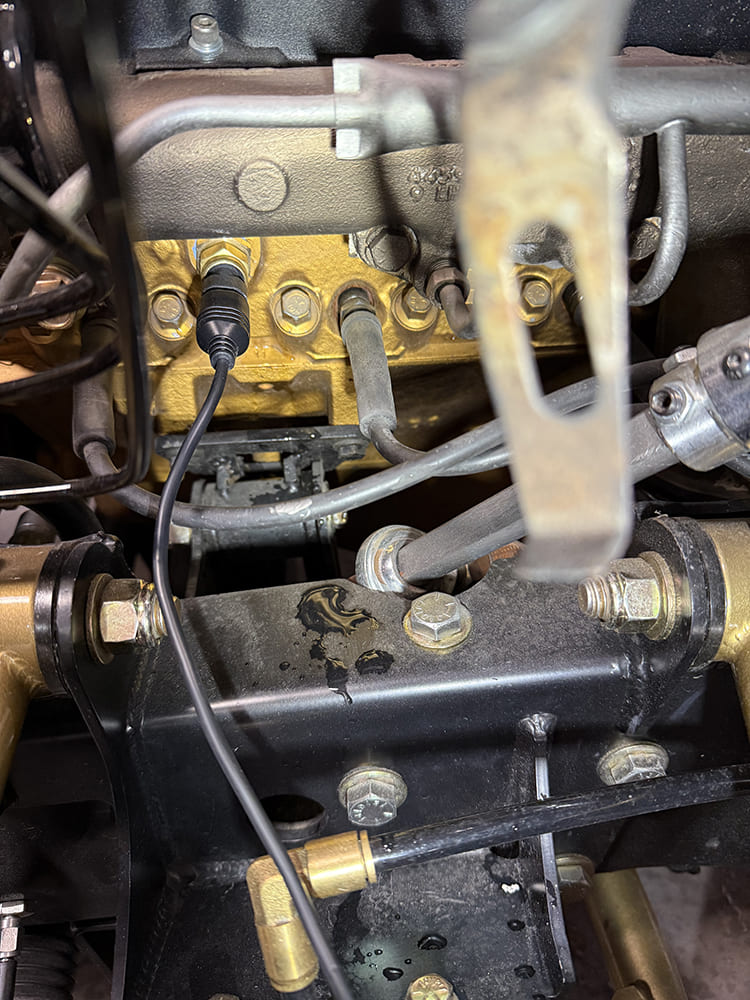
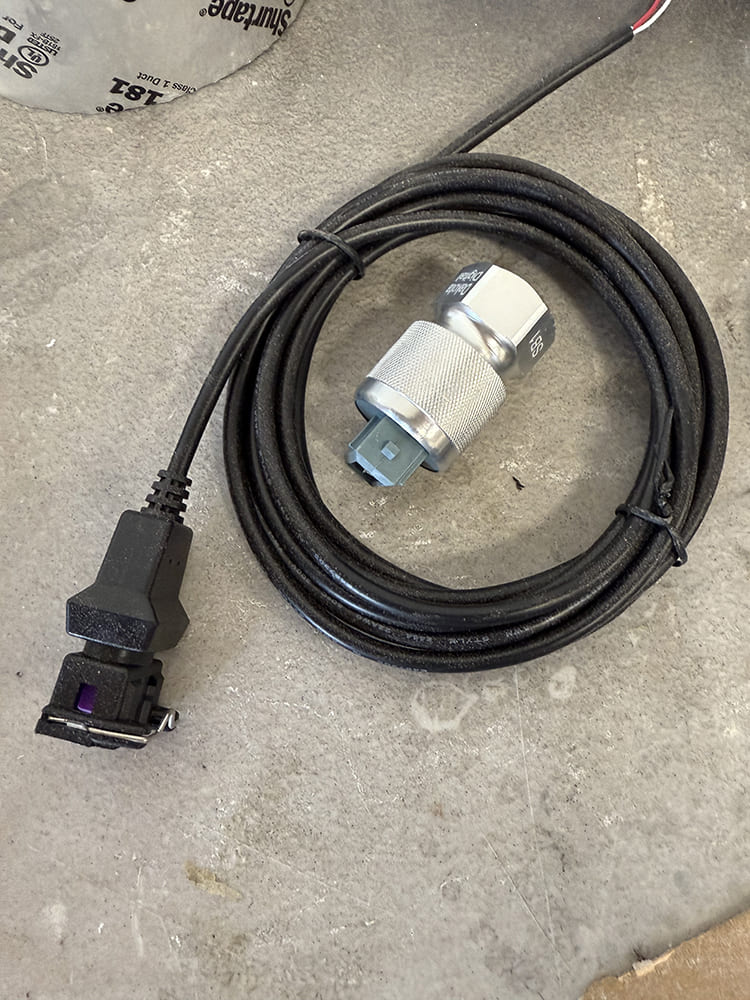
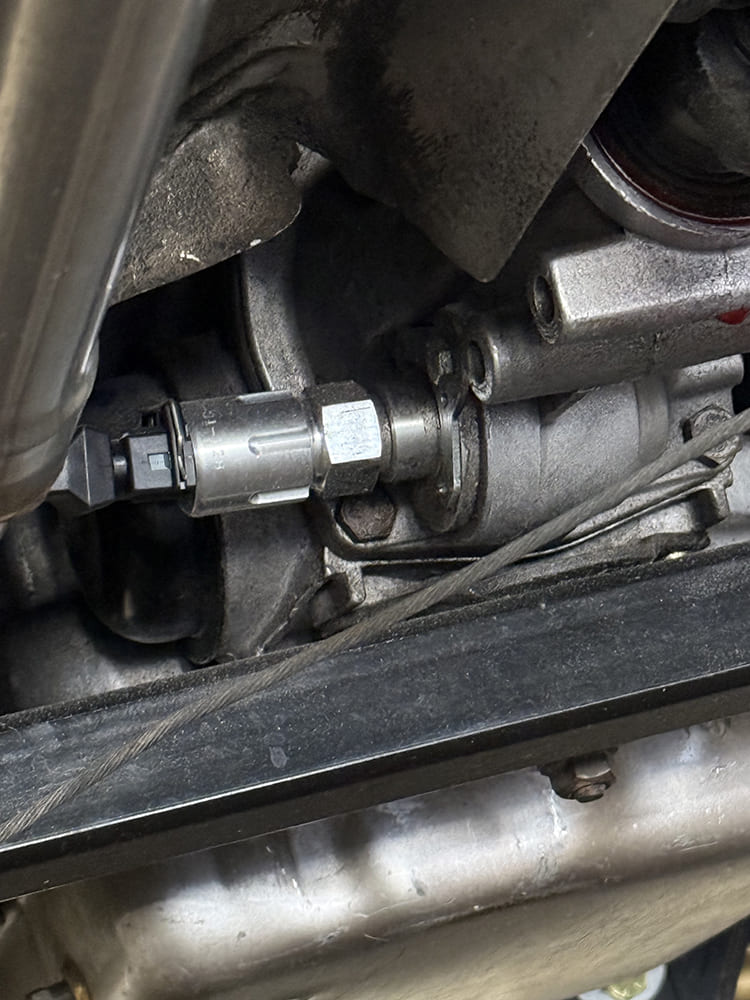
Next up, installing the various sending units (oil pressure, water temp, and so on—the fuel gauge uses the stock level sensor) and “neatly” routing—and housing—the wiring back into the cab of the truck. Sanchez used a nylon-based split loom and fabric-type tape.
Though we do have the GPS interface to monitor the speed, the RTX also comes with the traditional transmission-mounted pulse generator to replace the speedometer cable.
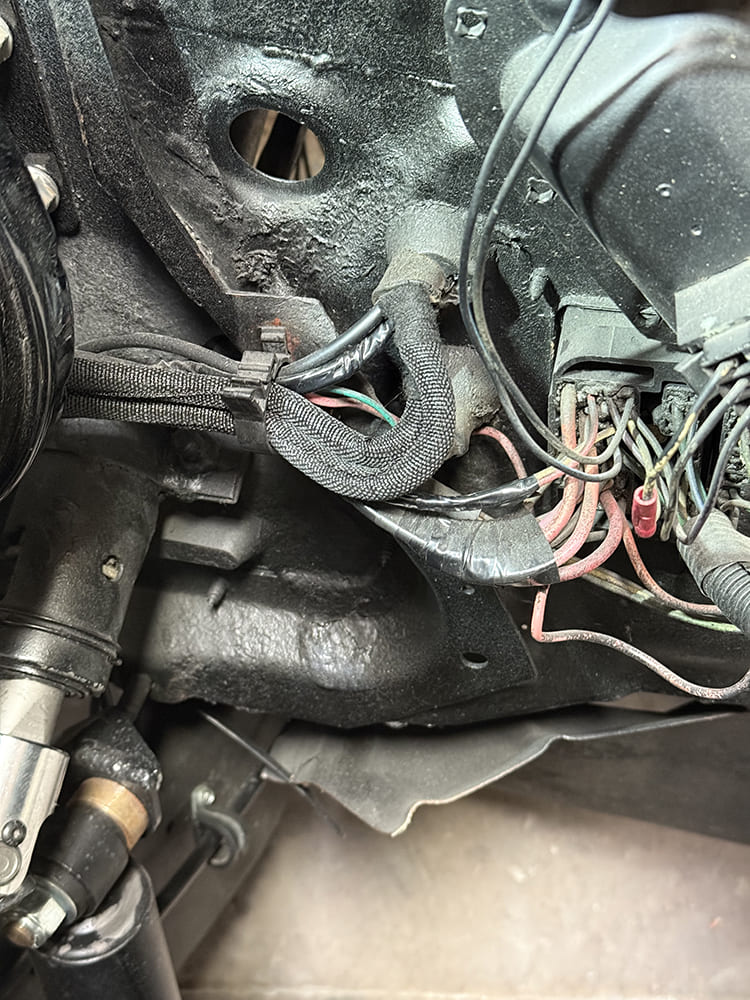
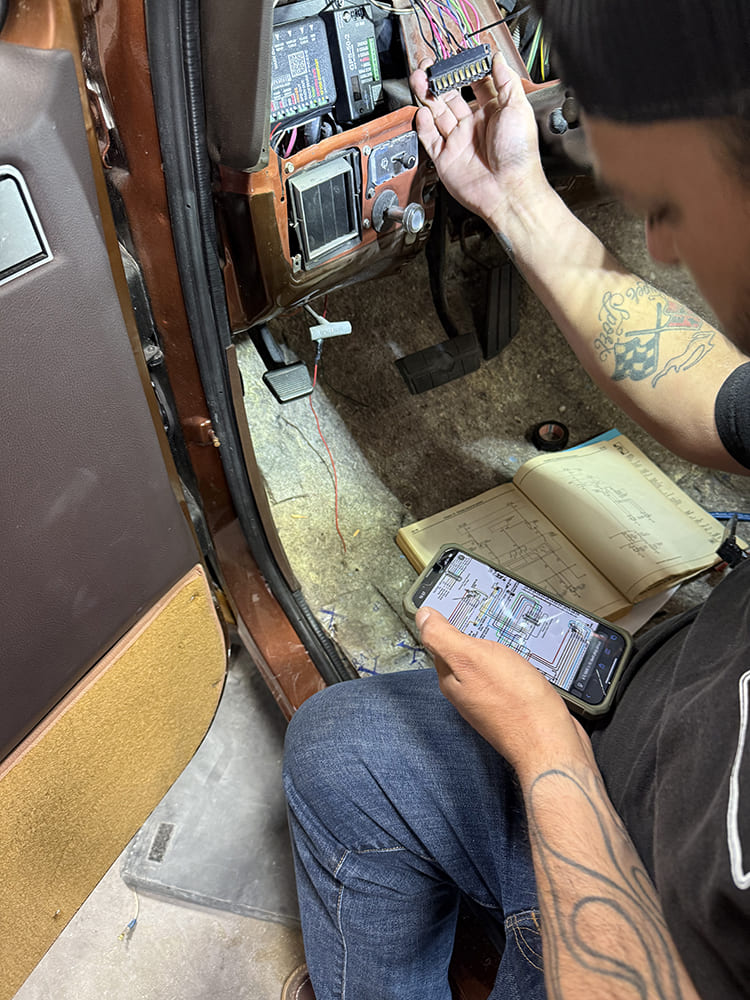
The RTX system comes with very explicit directions—both printed and digitally accessible. However, the aid of both printed and digitally accessible factory wiring schematics is highly recommended! Sanchez individually dissected the required wires from the stock harness, leaving the cluster plug intact to help with reference—and made sure to test every lead to ensure functionality!
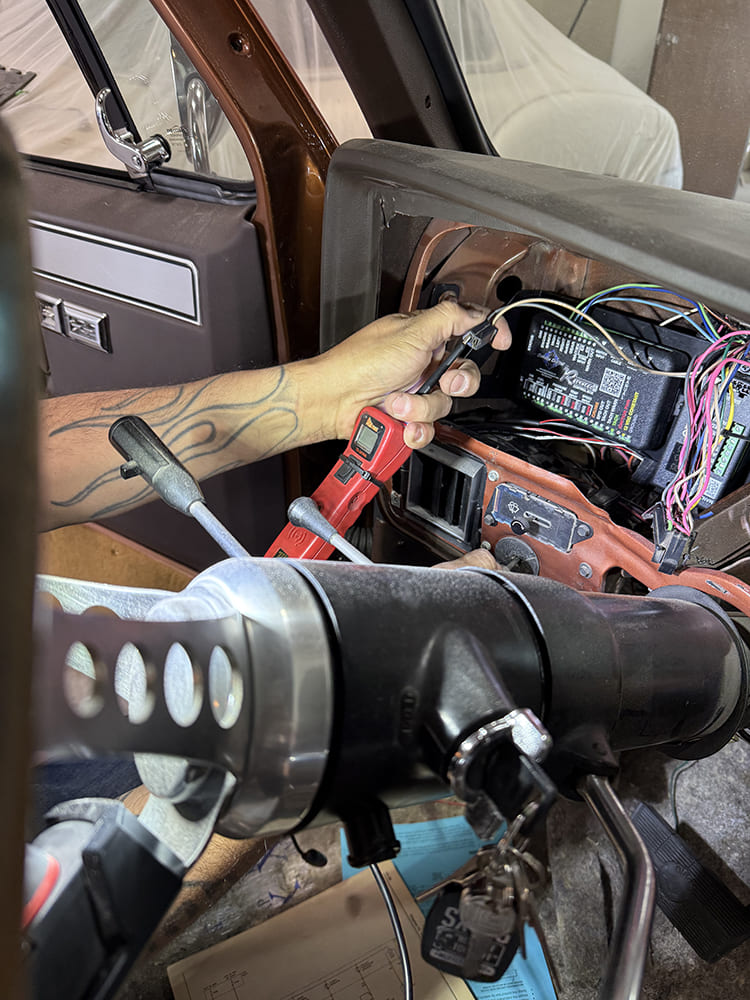
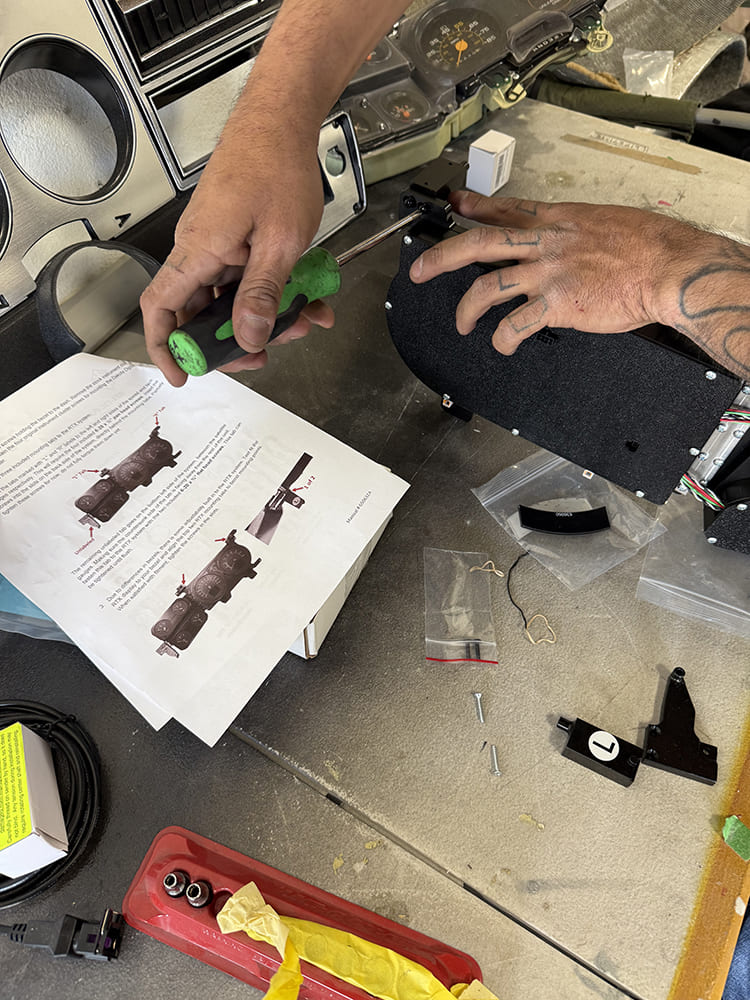
There were a couple instances where the mount may need to be removed to better route/install the various wires, but when all’s said and done, it ought to look this neat and tidy! (The antenna wire was looped and zip-tied in place for future use.)Before hooking up and mounting the RTX cluster, the provided “ears” must be installed.Sanchez attached the single input cable and turn signal leads (which allow the use of the factory indicator arrows in the gauge faceplate) and then powered up the ignition to initially test the unit.
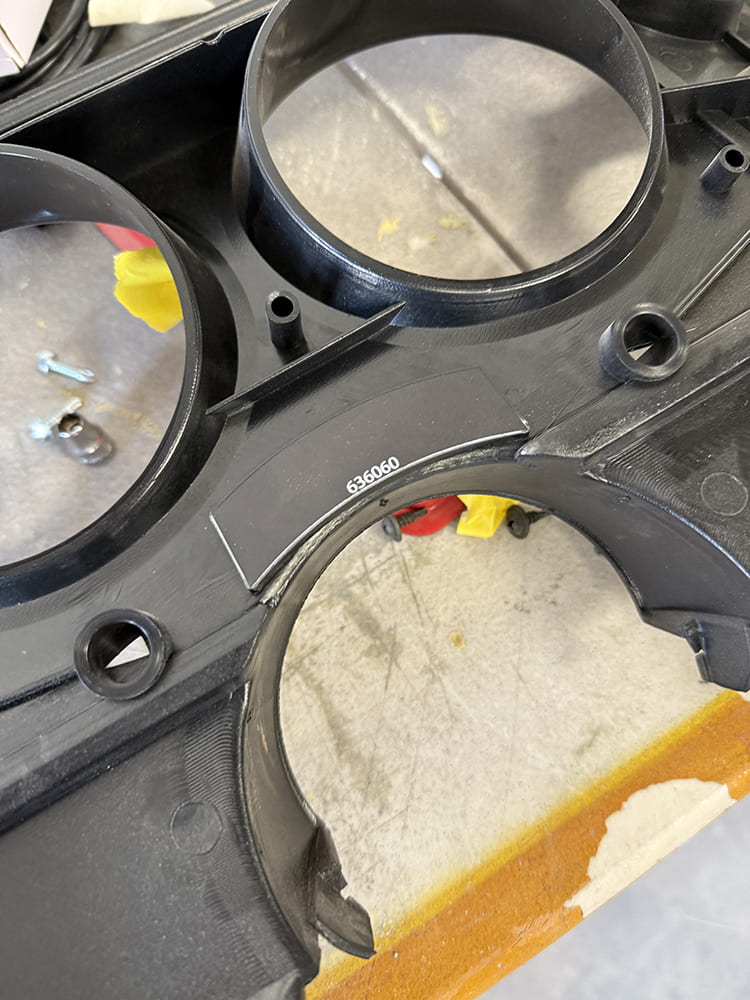
With all functions minus speed/odometer calibration a go, the gauges can be set up directly via the unit by beans of the provided switch, or …… via your smartphone simply by downloading the Dakota app by scanning the QR code on the unit.After setup, the cluster went into the truck’s dash for good, with all wiring neatly secured.With the 1973-87 Squarebody, the user needs to supply his/her own bezel (if needed) and as mentioned, Michaud had already sourced a new one from LMC. However, prior to installing, the shift indicator window needs to be “blacked out” with the provide plastic cover, which is glued in from the rear.
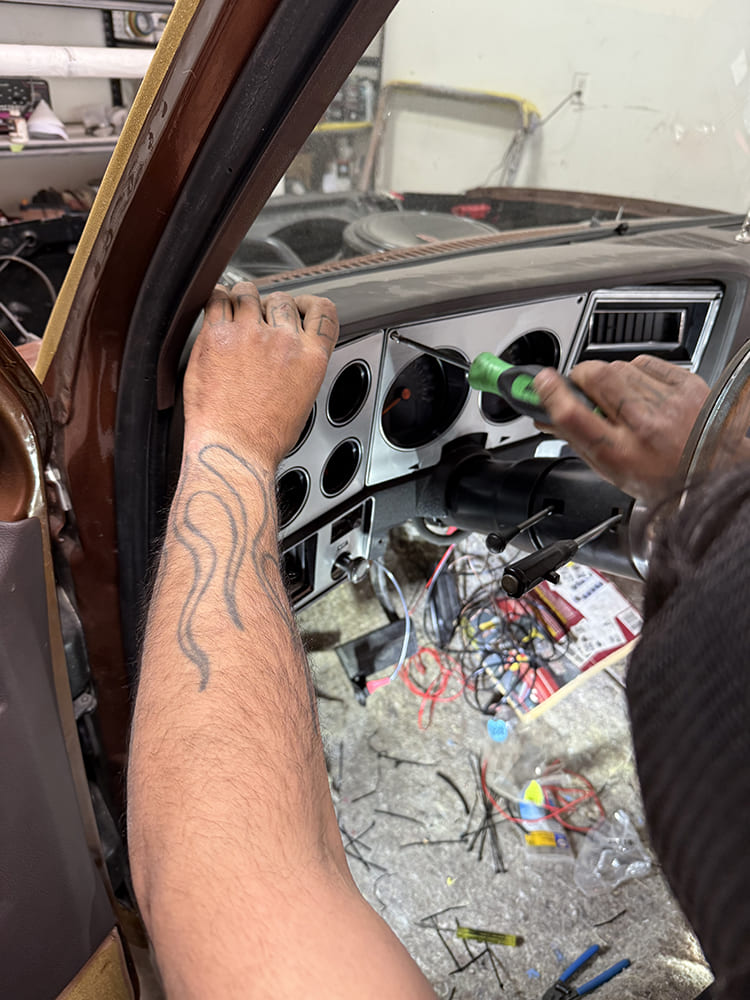
One last fine-tuning with the displays and settings, and …… she’s good to go! Just when you think the retro gauge game has reached its highest level, Dakota Digital raises the bar even higher with their RTX Series!
We use cookies to ensure that we give you the best experience on our website. If you continue to use this site we will assume that you are happy with it.