Nothing makes your classic truck stand out from the rest more than customization. It’s the personalizing of your ride through changes regardless of whether they are subtle—think stance along with wheel and tire combinations, or more advanced including sheetmetal fabrication, driveline upgrades, exotic bed wood, and even a cutting-edge chassis. Seeing that trucks were purpose-built mostly for utilitarian use, it’s easy to see there’s plenty of room for enhancement, including adding a bit of art to their lines.
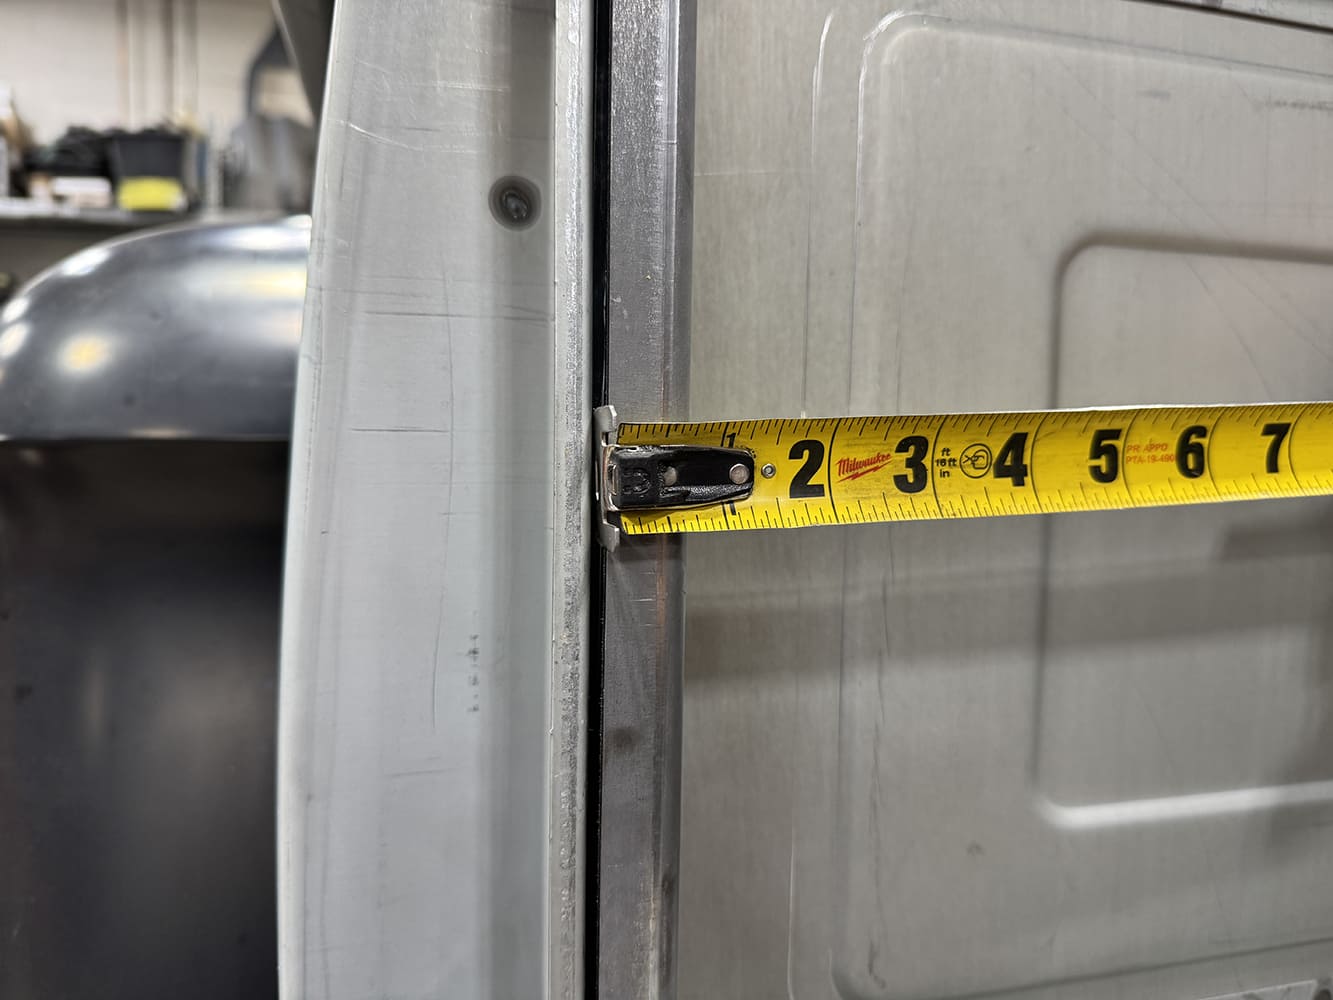
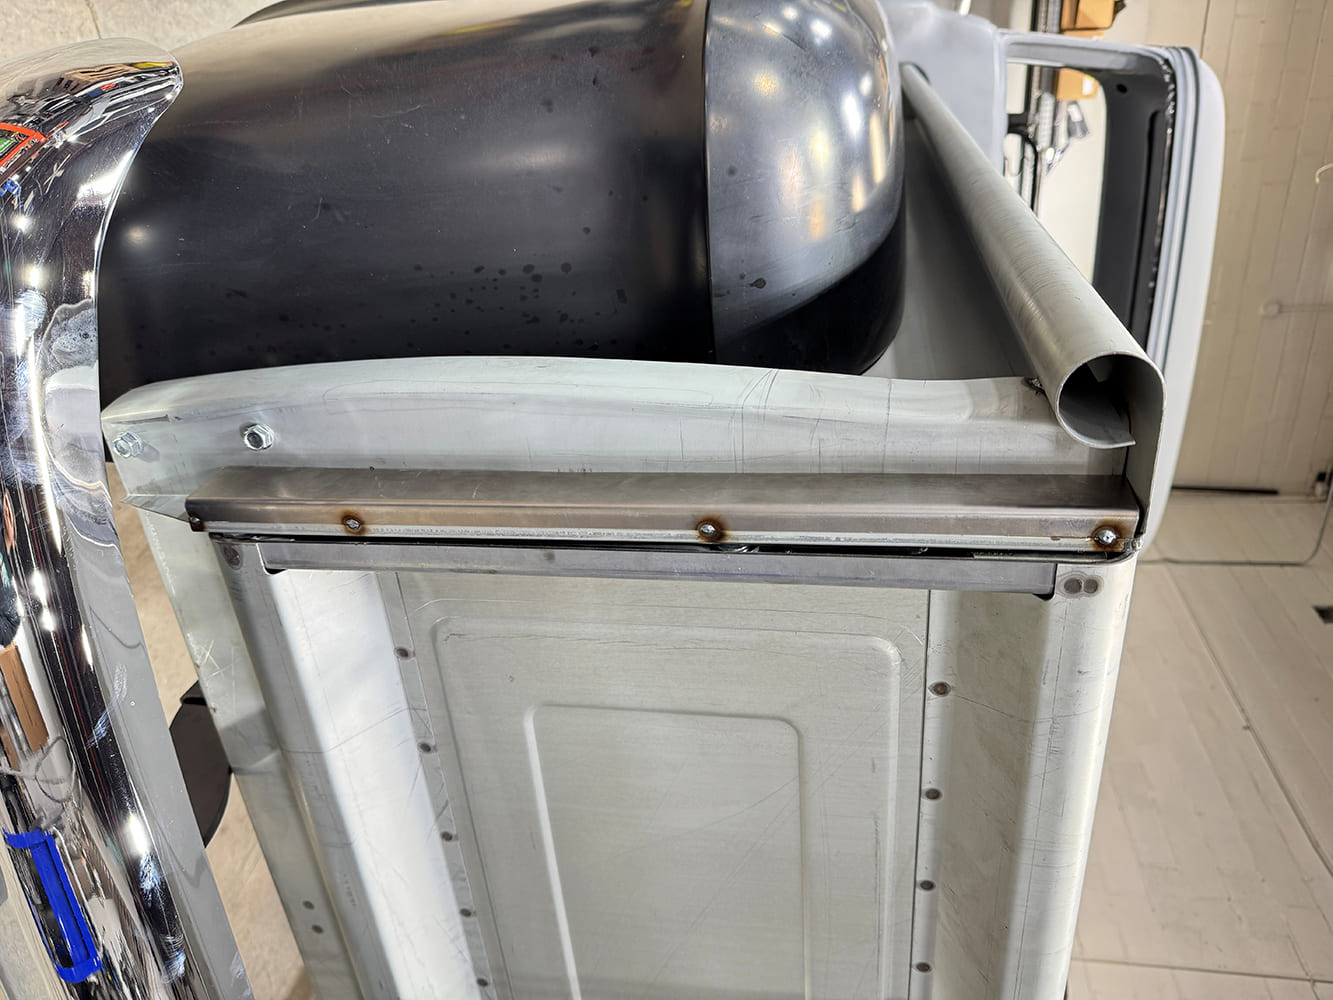
Getting started, Chris Cerce Customs (CCC) team member, John Breault, began with taking measurements of the stake pocket area and tailgate to fabricating a filler panel to create a perfect balance of both areas.
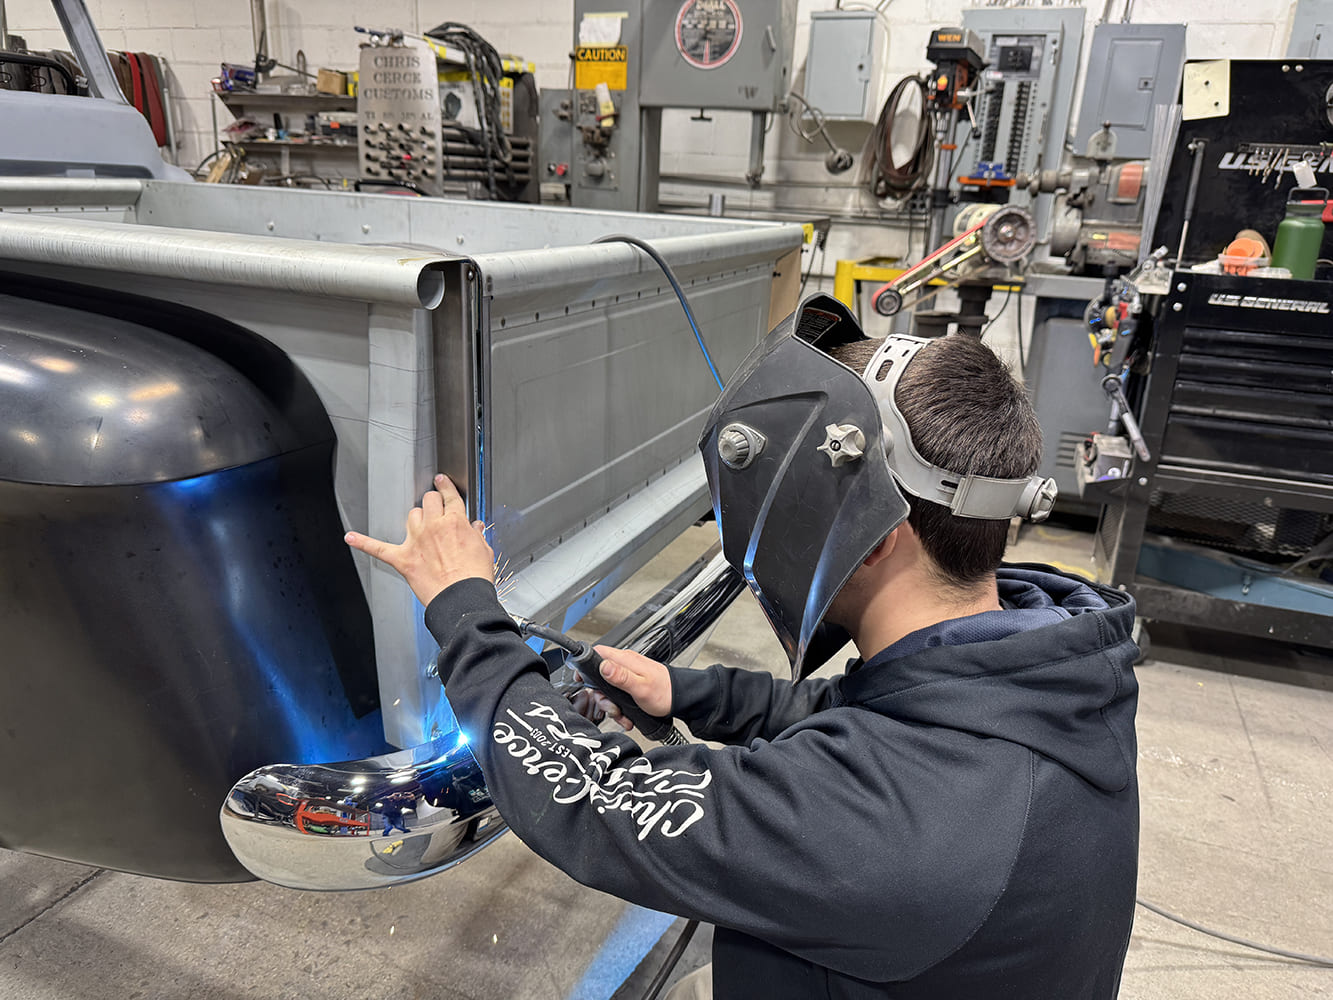
On a recent visit to Chris Cerce Customs (CCC) in Taunton, Massachusetts, we were introduced to a 1956 Chevy Task Force truck that was in for a full build, including a Choppin’ Block Stage 3 Performance chassis, 755hp Chevrolet Performance LT5 supercharged V-8, and plenty of well-thought-out details that CCC is known for. When studying the fresh sheetmetal replacement bed from Classic Industries, it was a perfect opportunity to tidy up the back of the bed by updating the stake pocket areas while also incorporating a hidden tailgate latch kit to delete the unsightly chains and trunions. Let’s follow along as CCC team member John Breault works his metal magic to craft a truly subtle upgrade to the area, bringing it to the next level.
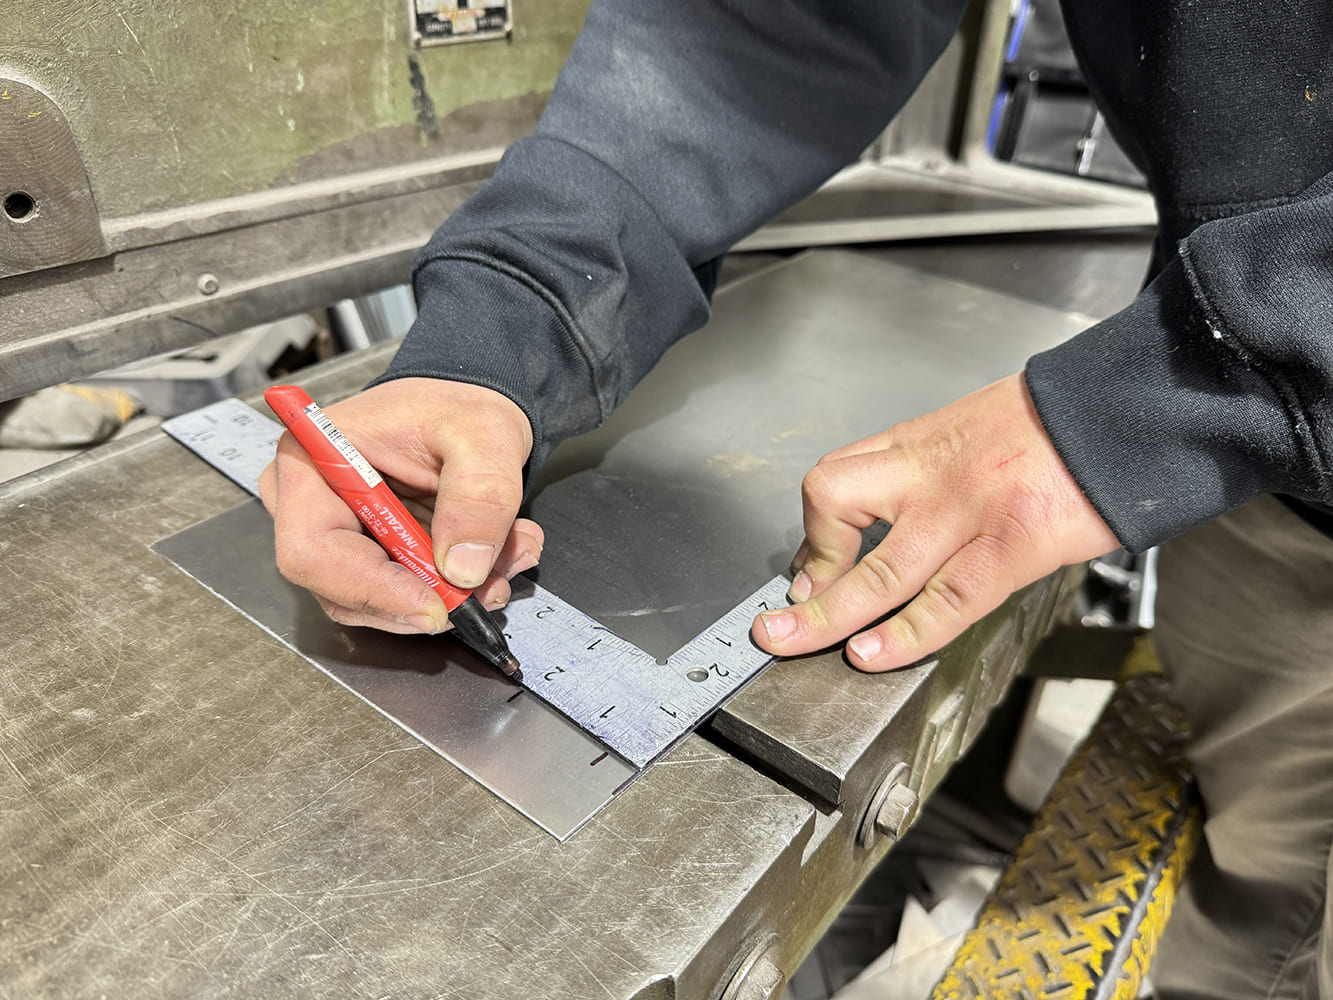
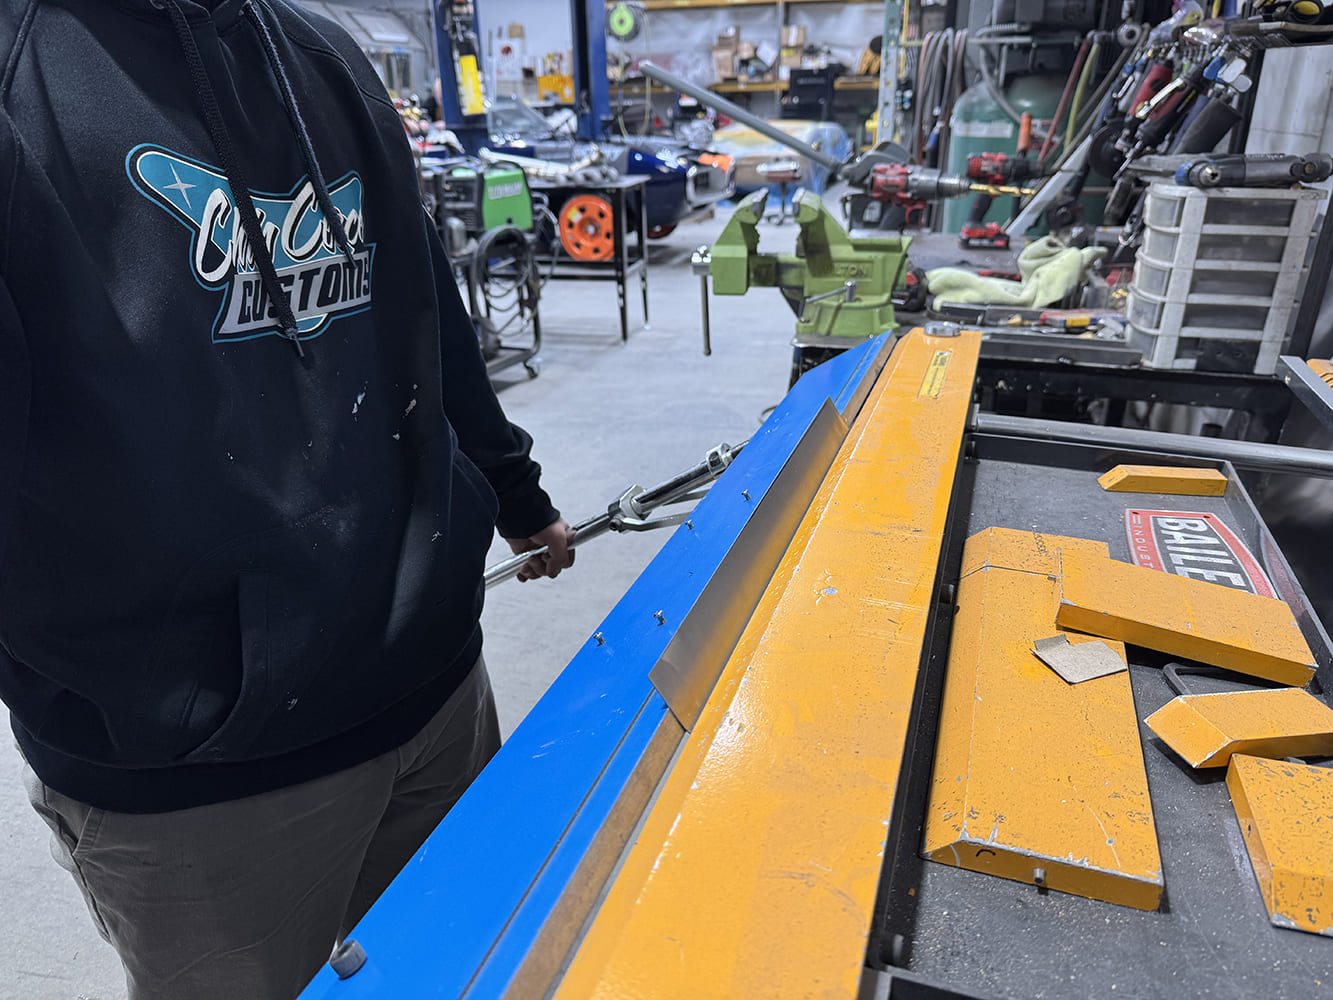
The measurements were then transferred to 18-gauge sheet steel.The panel was then trimmed using a foot-operated sheetmetal shear. The section was then bent to specification with a sheetmetal brake.
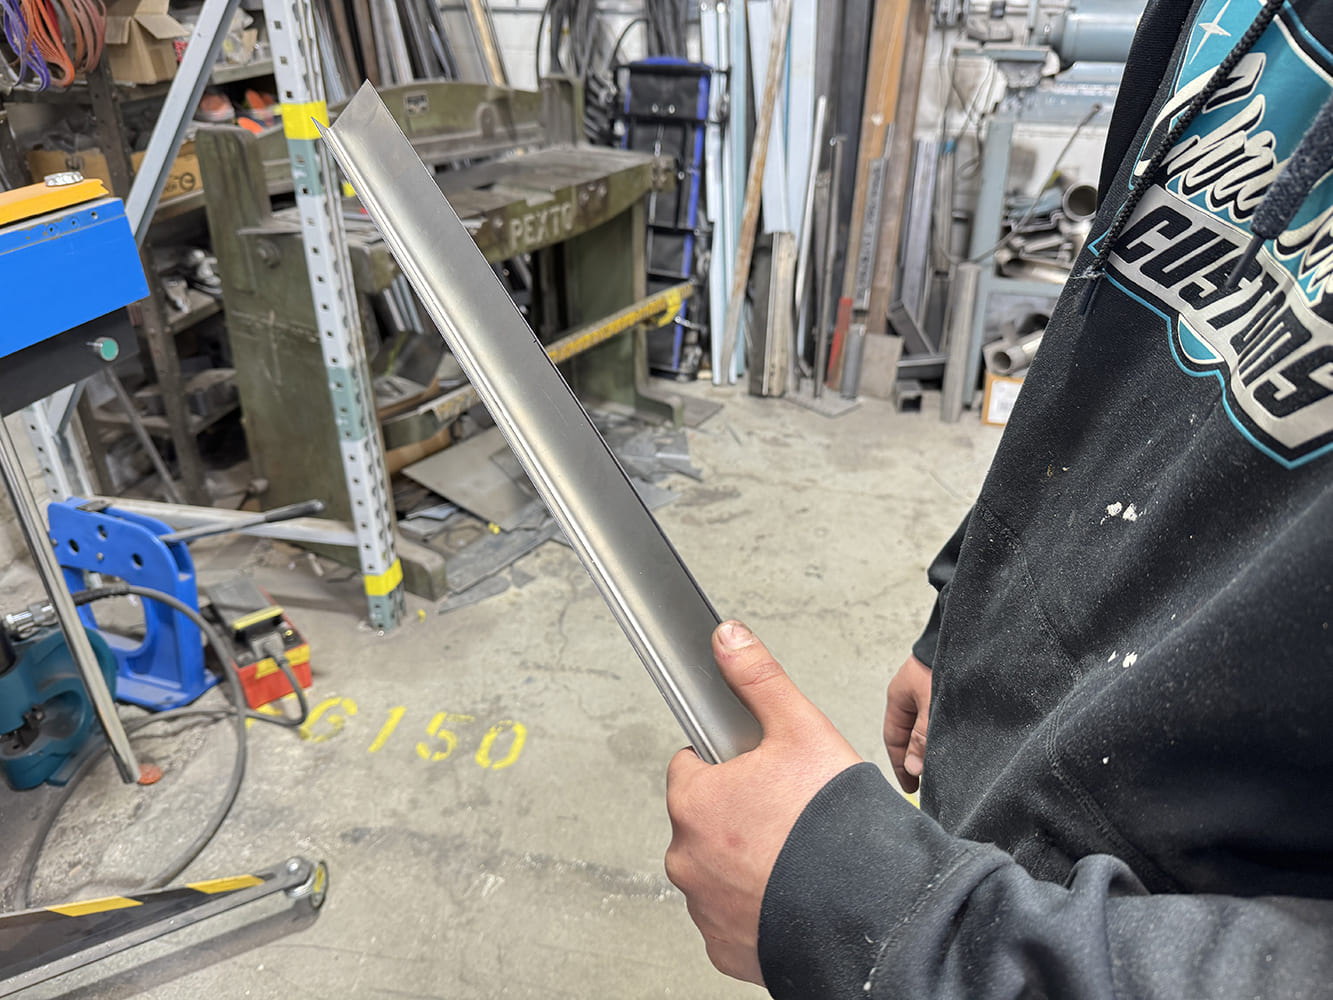
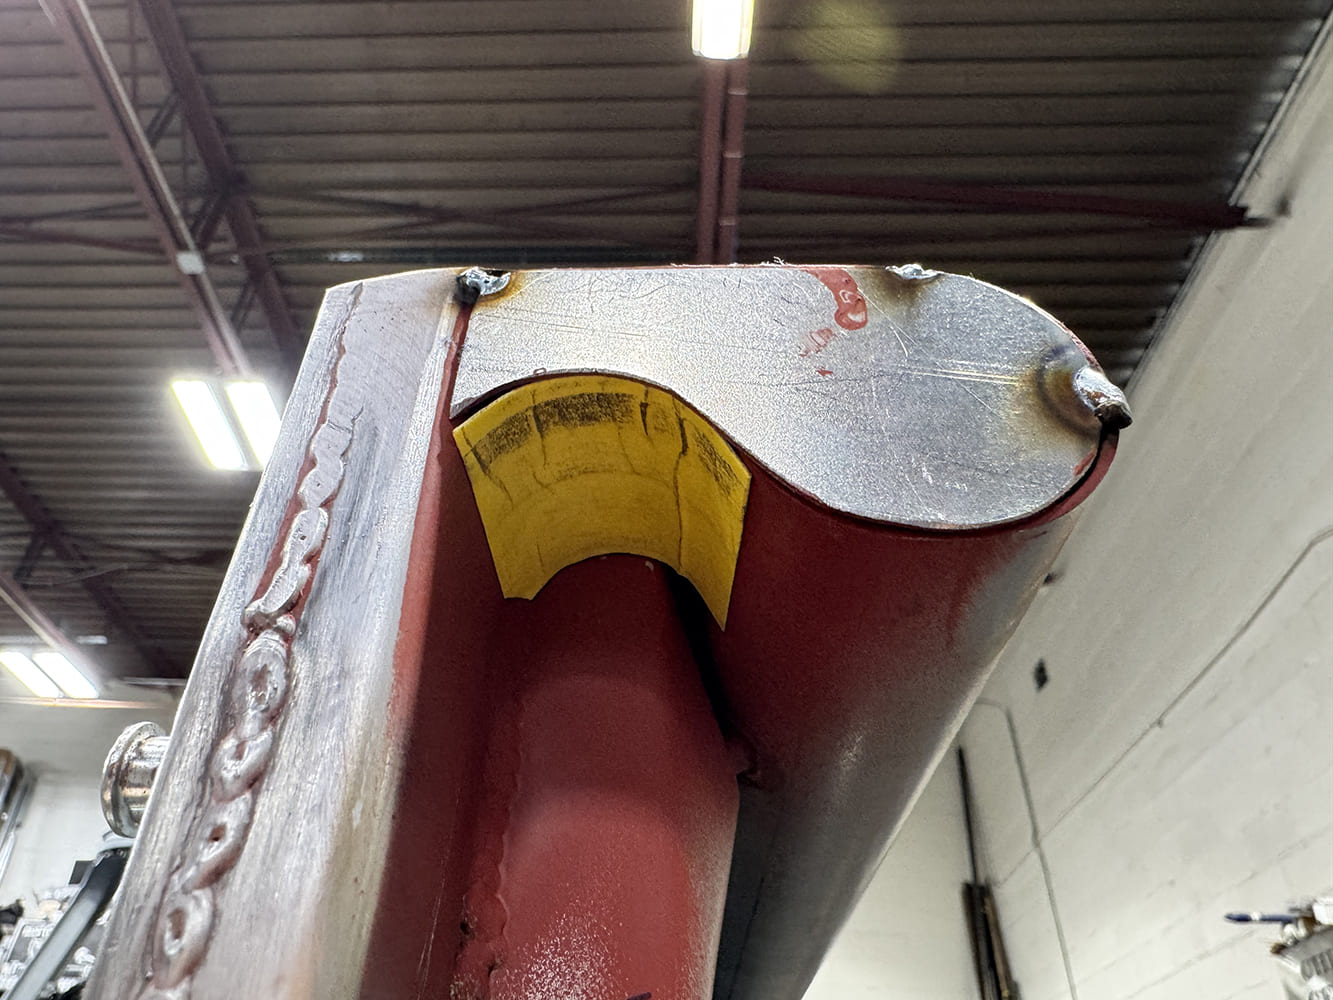
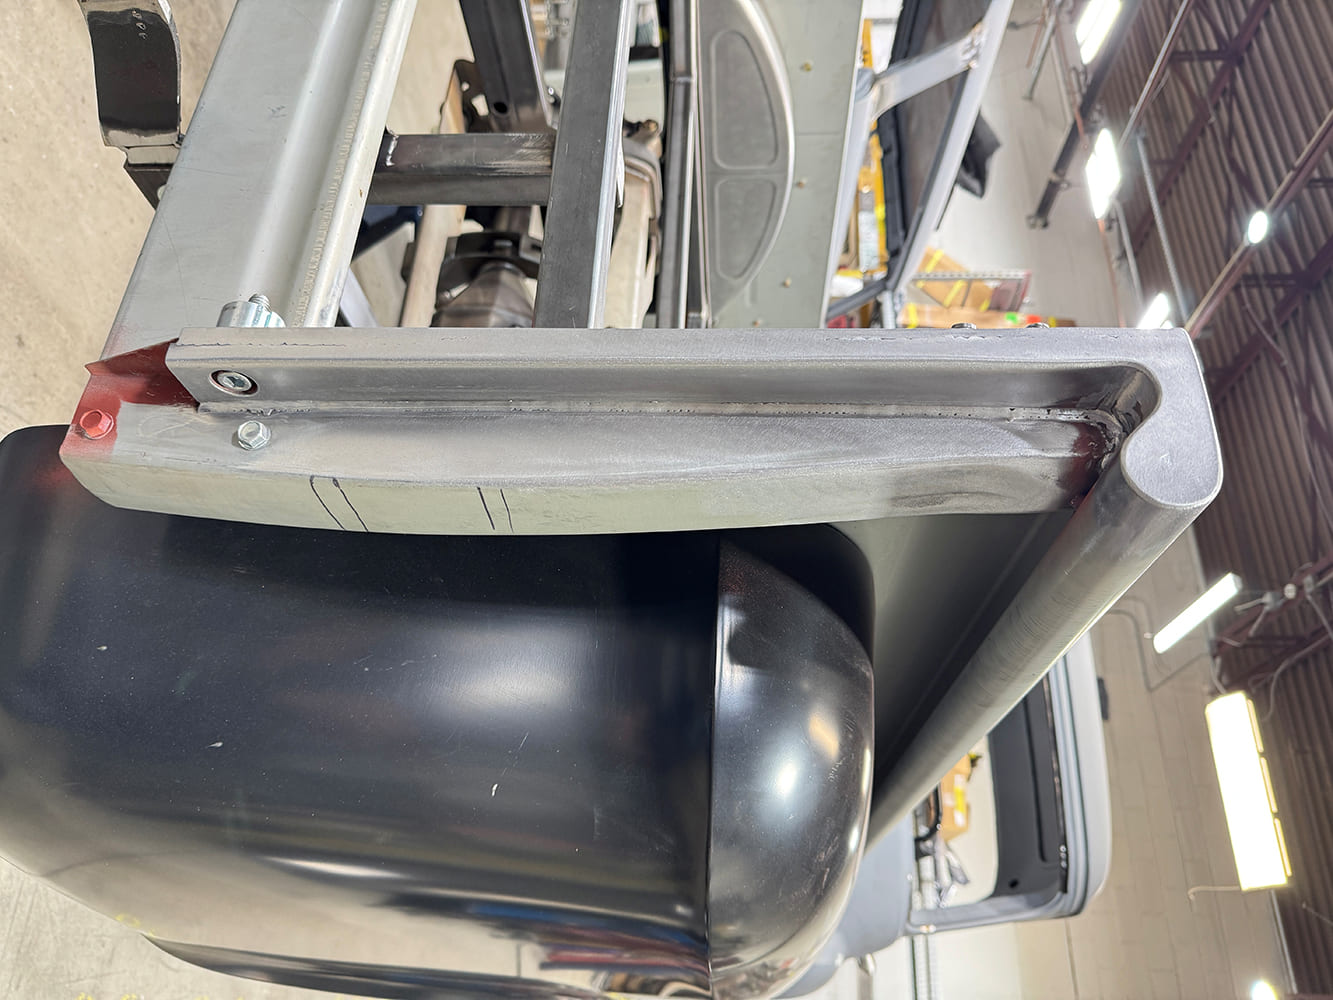
Here you can see the finished filler panel ready for fitment to the stake pocket area.With any needed adjustments completed, the panel was first tacked in place and then finished using a MIG welder.Here you’re able to see the difference with the addition of the filler panel on just how nice it balances the area to the tailgate.
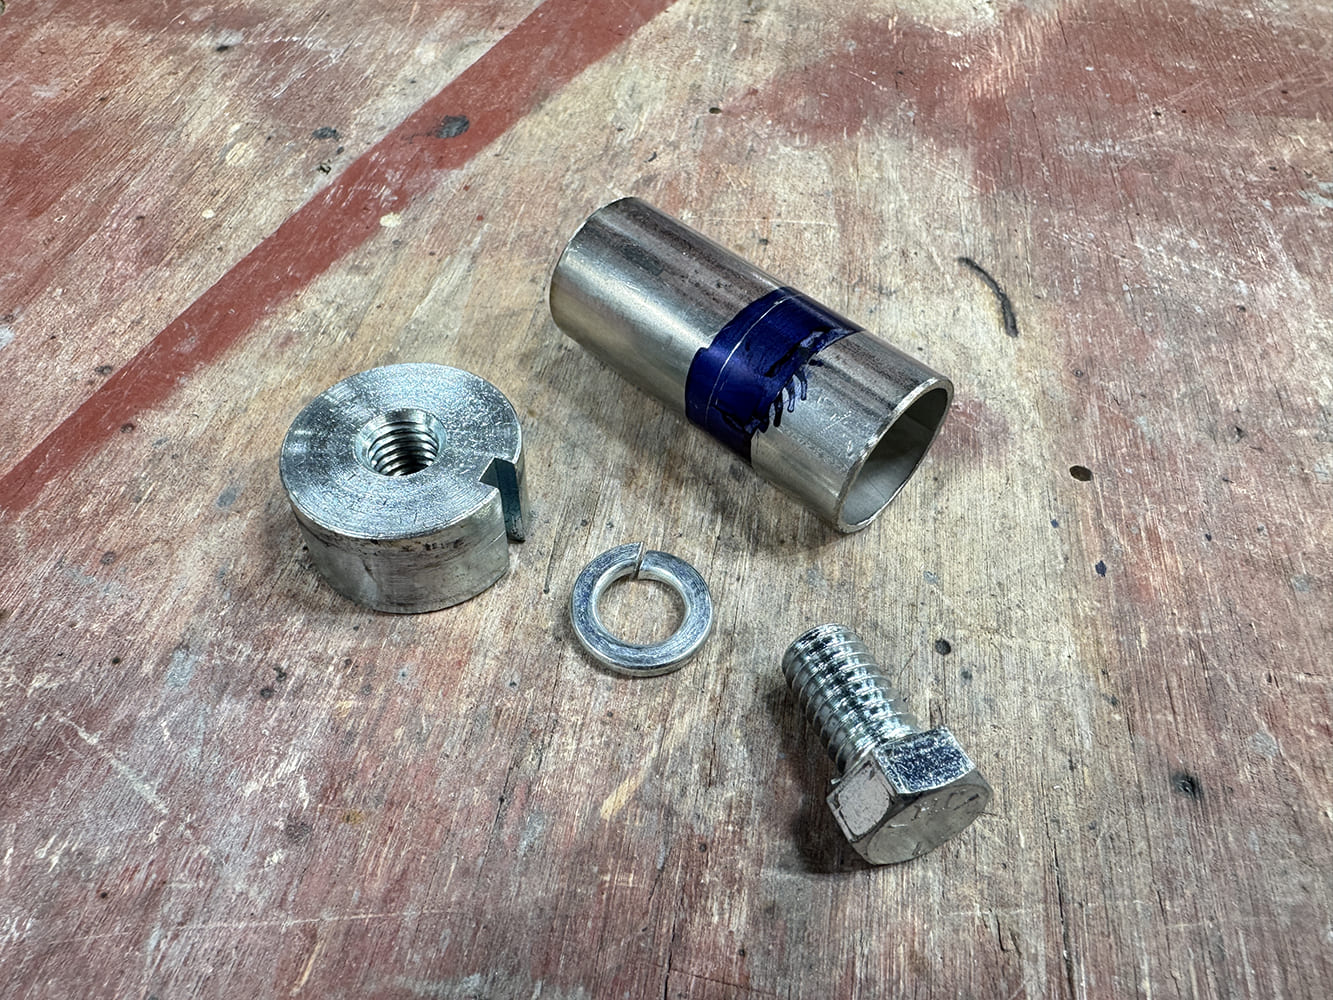
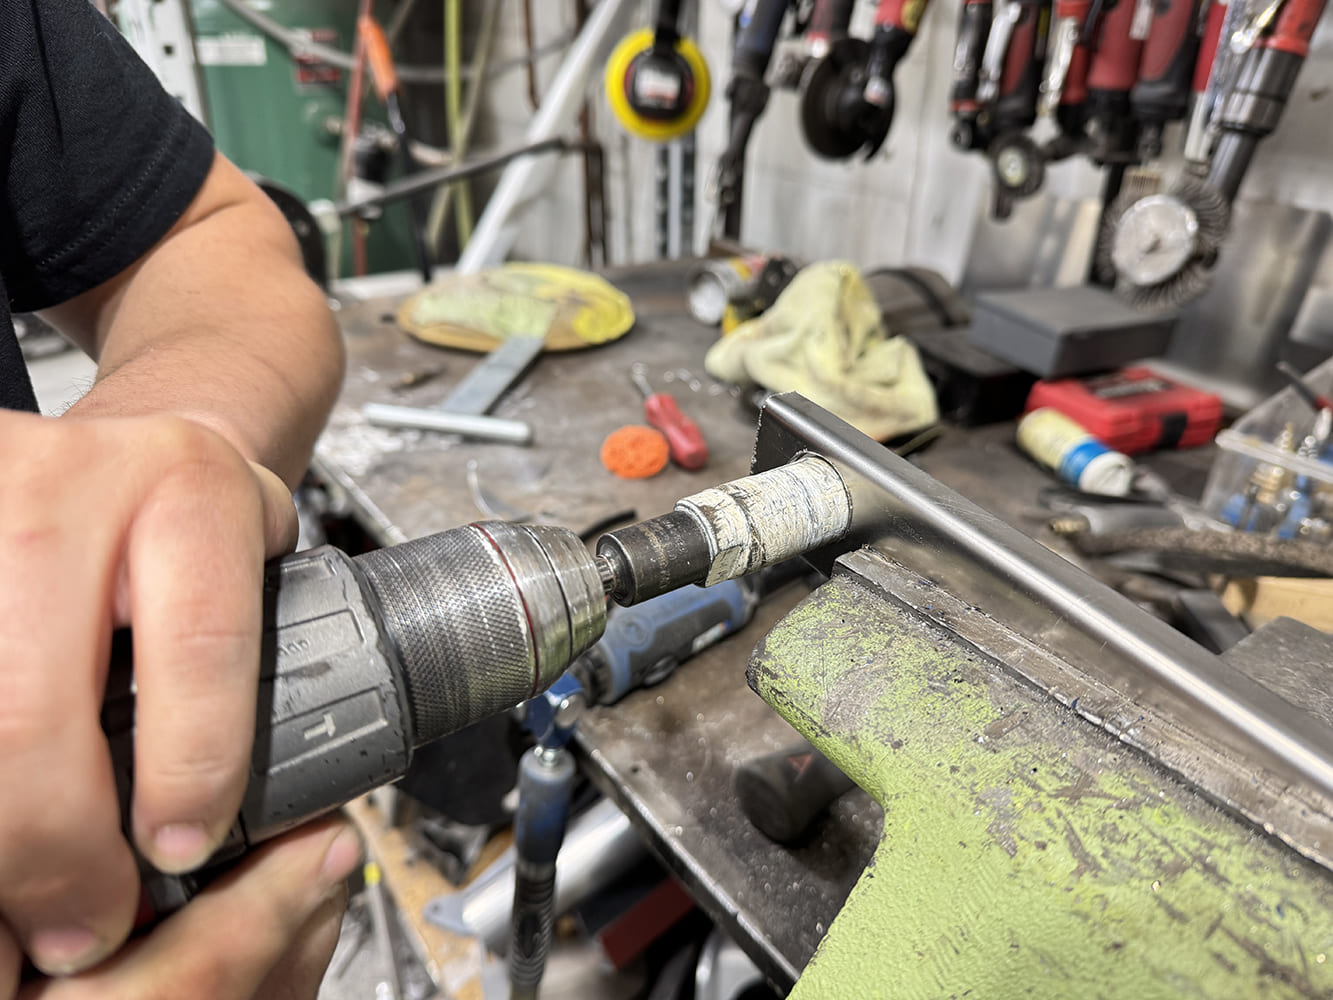
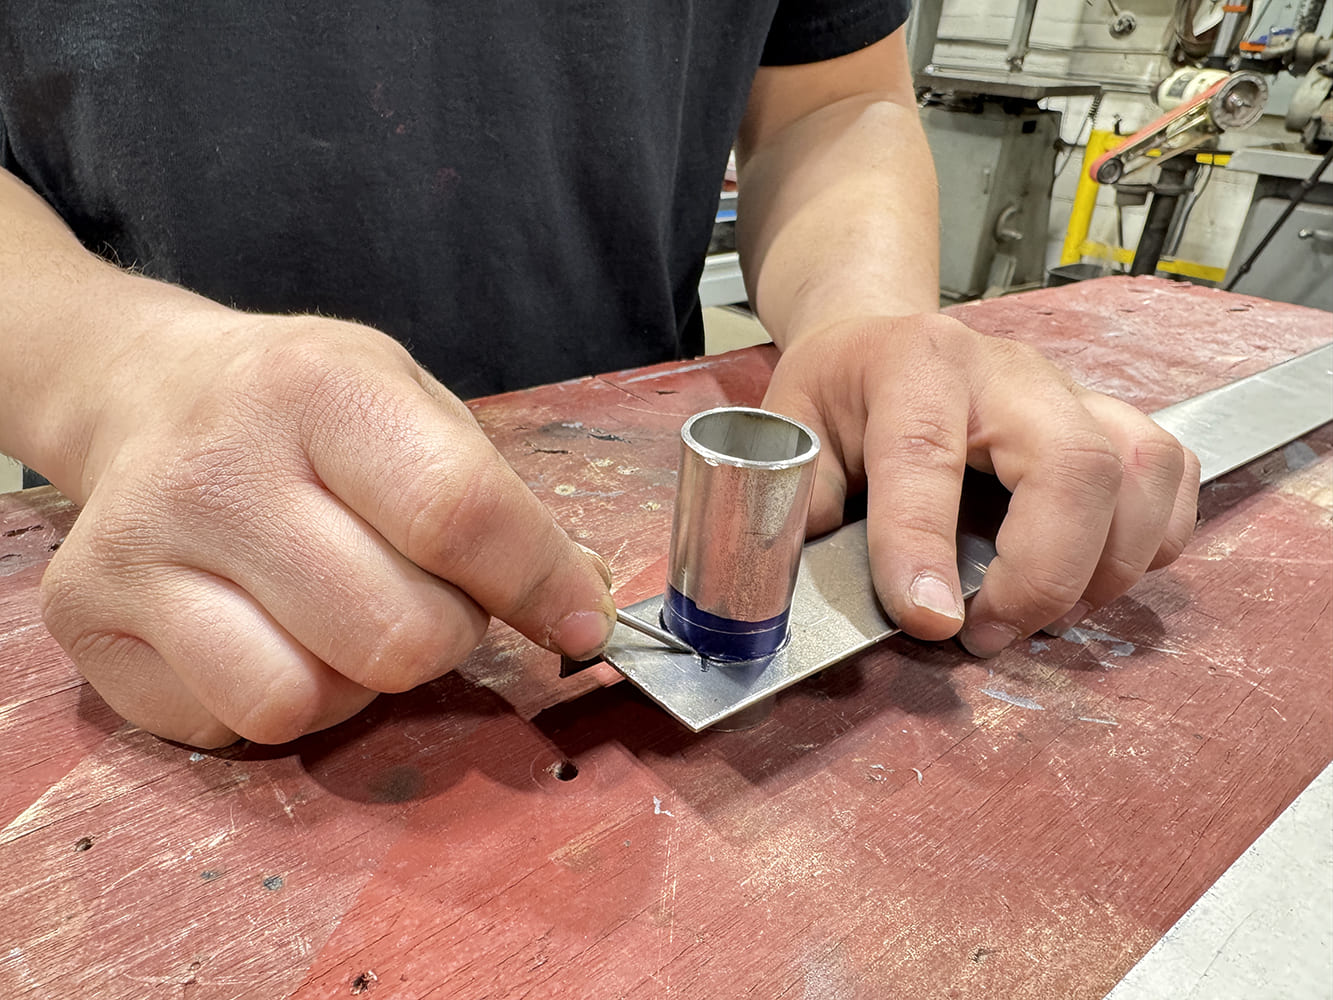
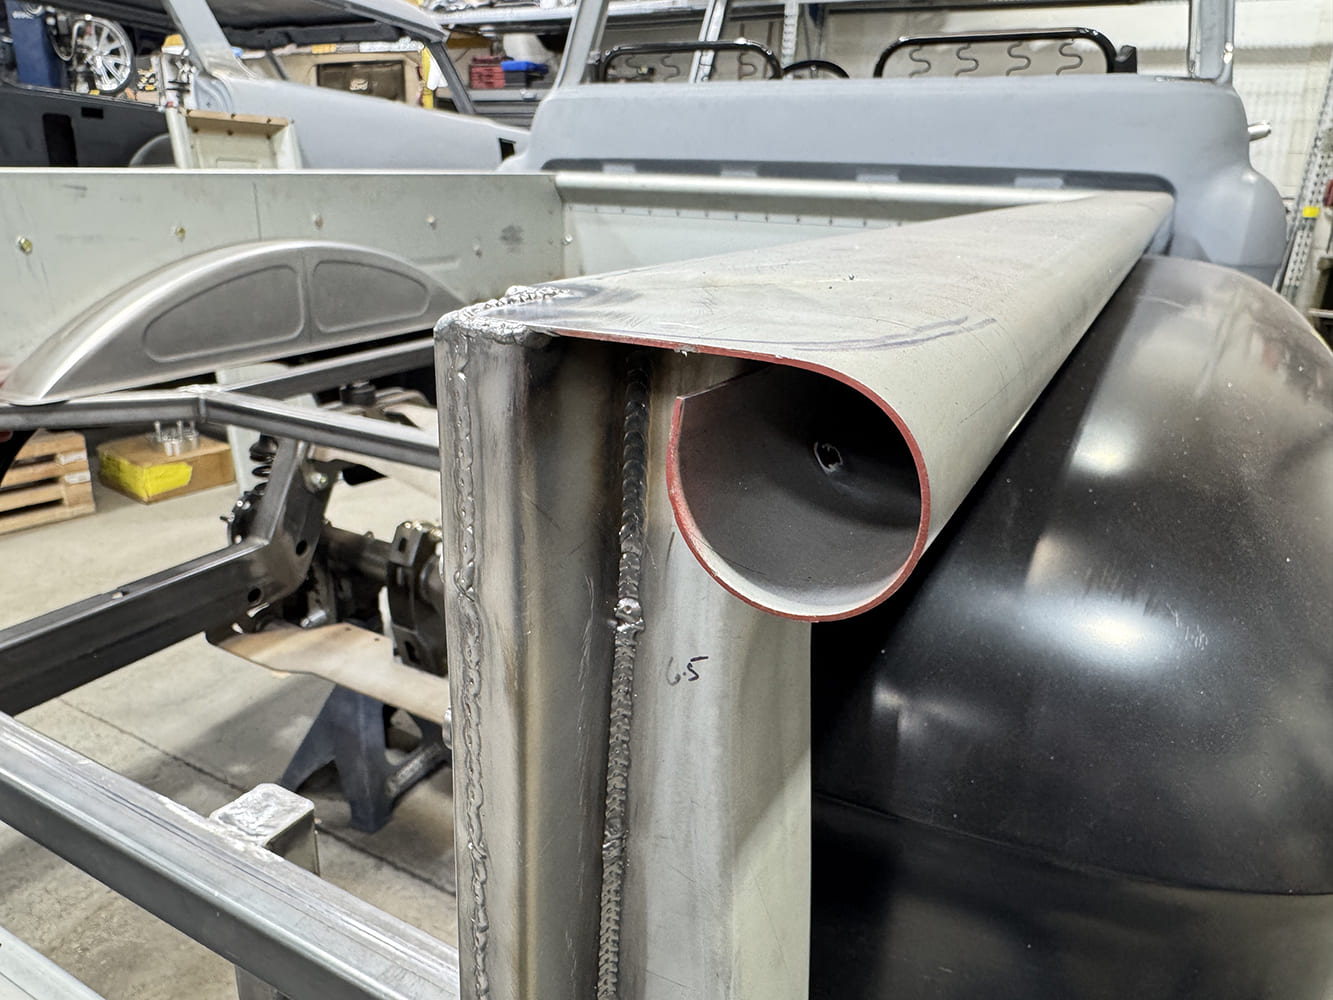
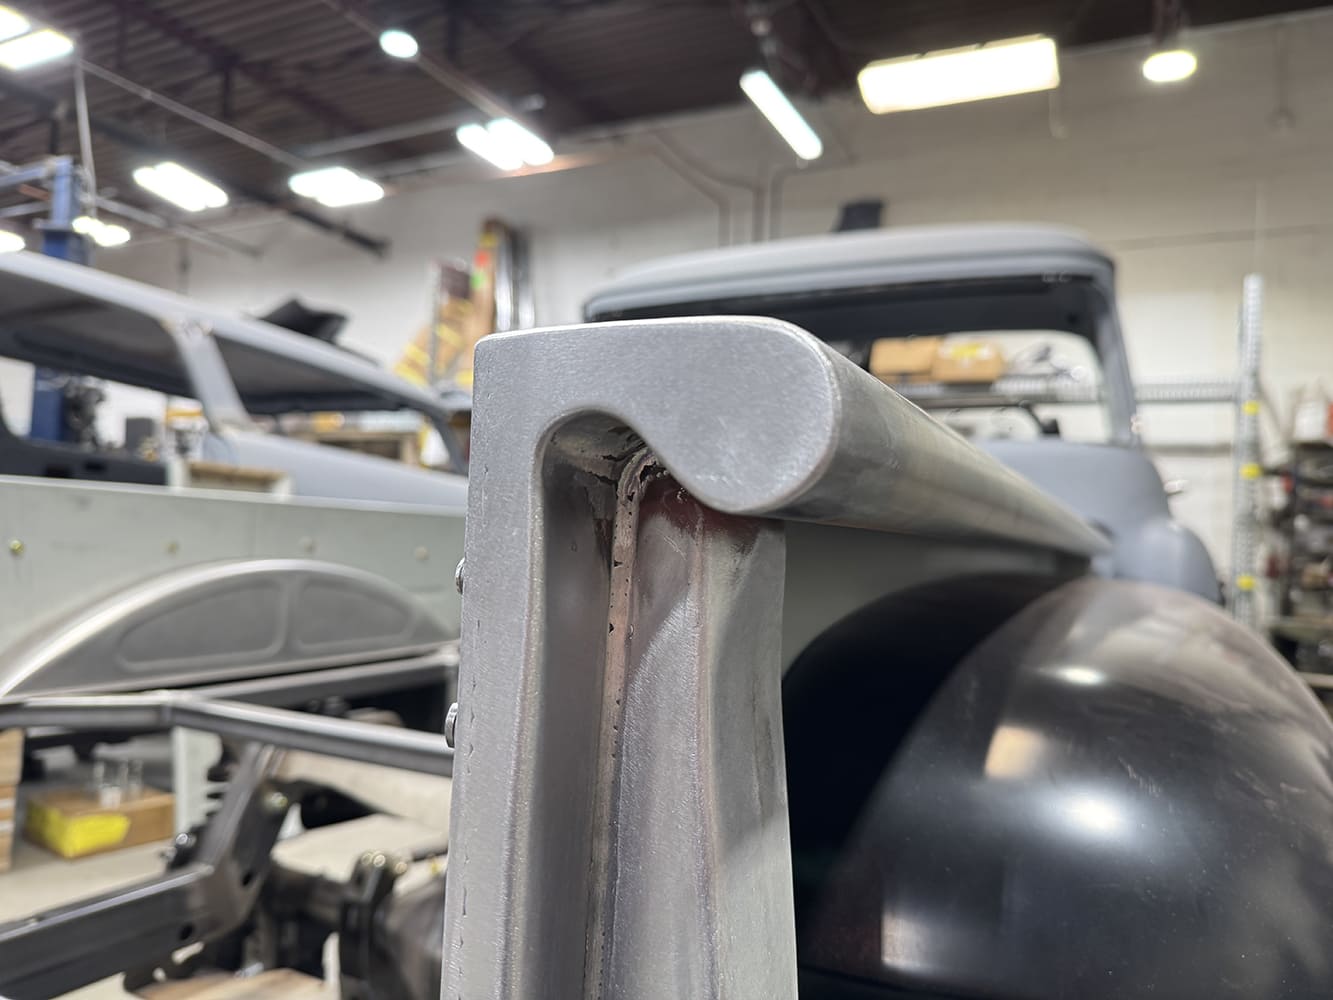
As a part of tidying up the rear stake pocket area, the stock lower replacement trunions will be modified to be mounted on the inner side of the stake pocket. Here you can see the replacement unit from Classic Industries (from their hidden tailgate latch kit) along with fresh hardware and section of 1-inch od mild steel pipe.Once measured for placement, the fresh filler panel was secured in a bench vise. A 1-inch hole saw was then used to open access for the pipe section fitment.The steel pipe section was then set in place, measured, and marked for fitment using a scribe.
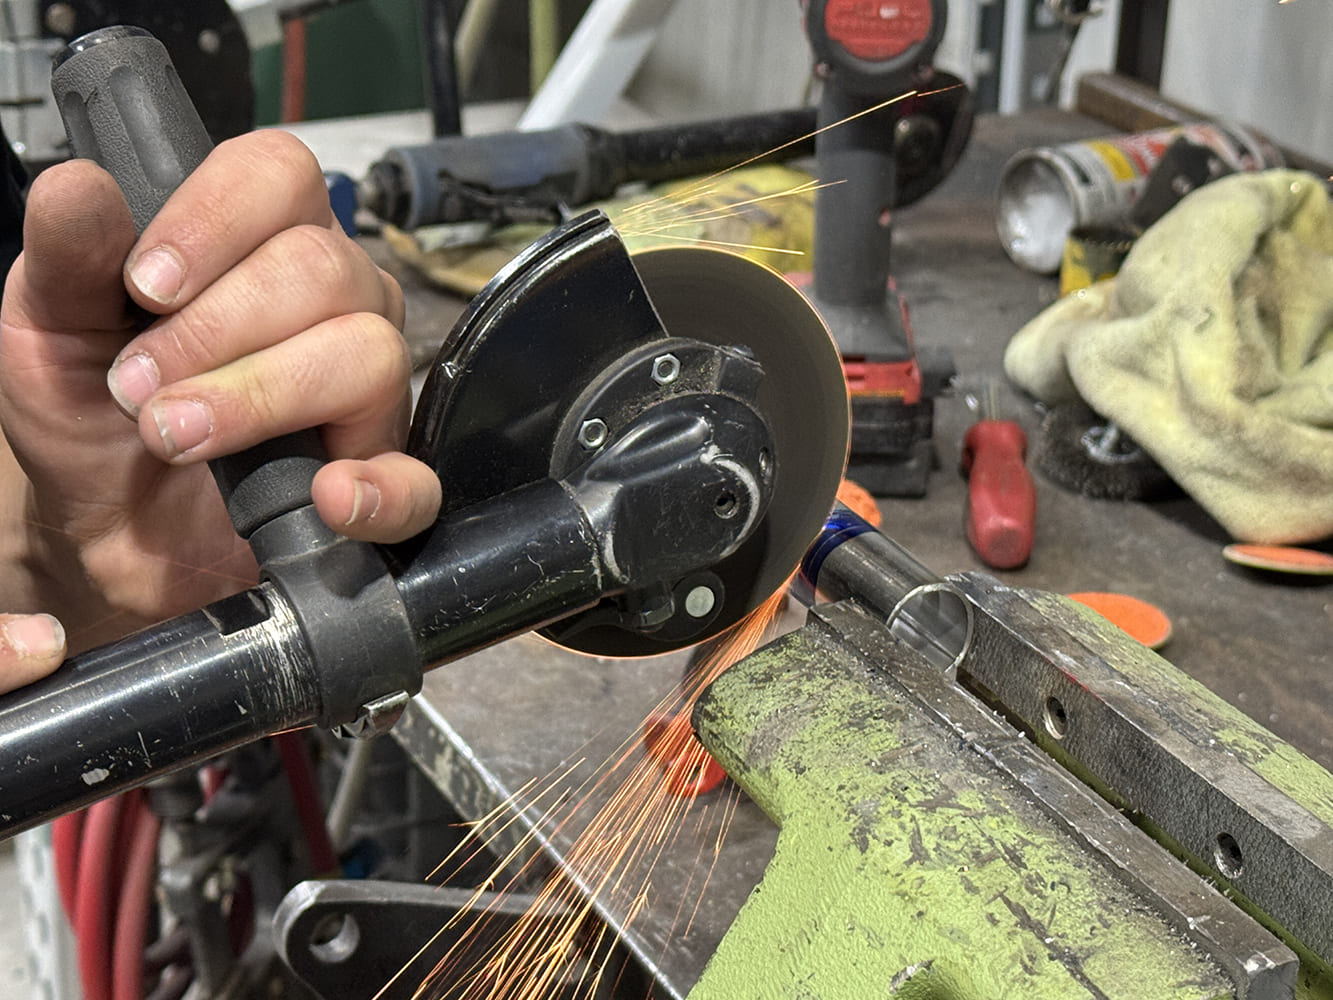
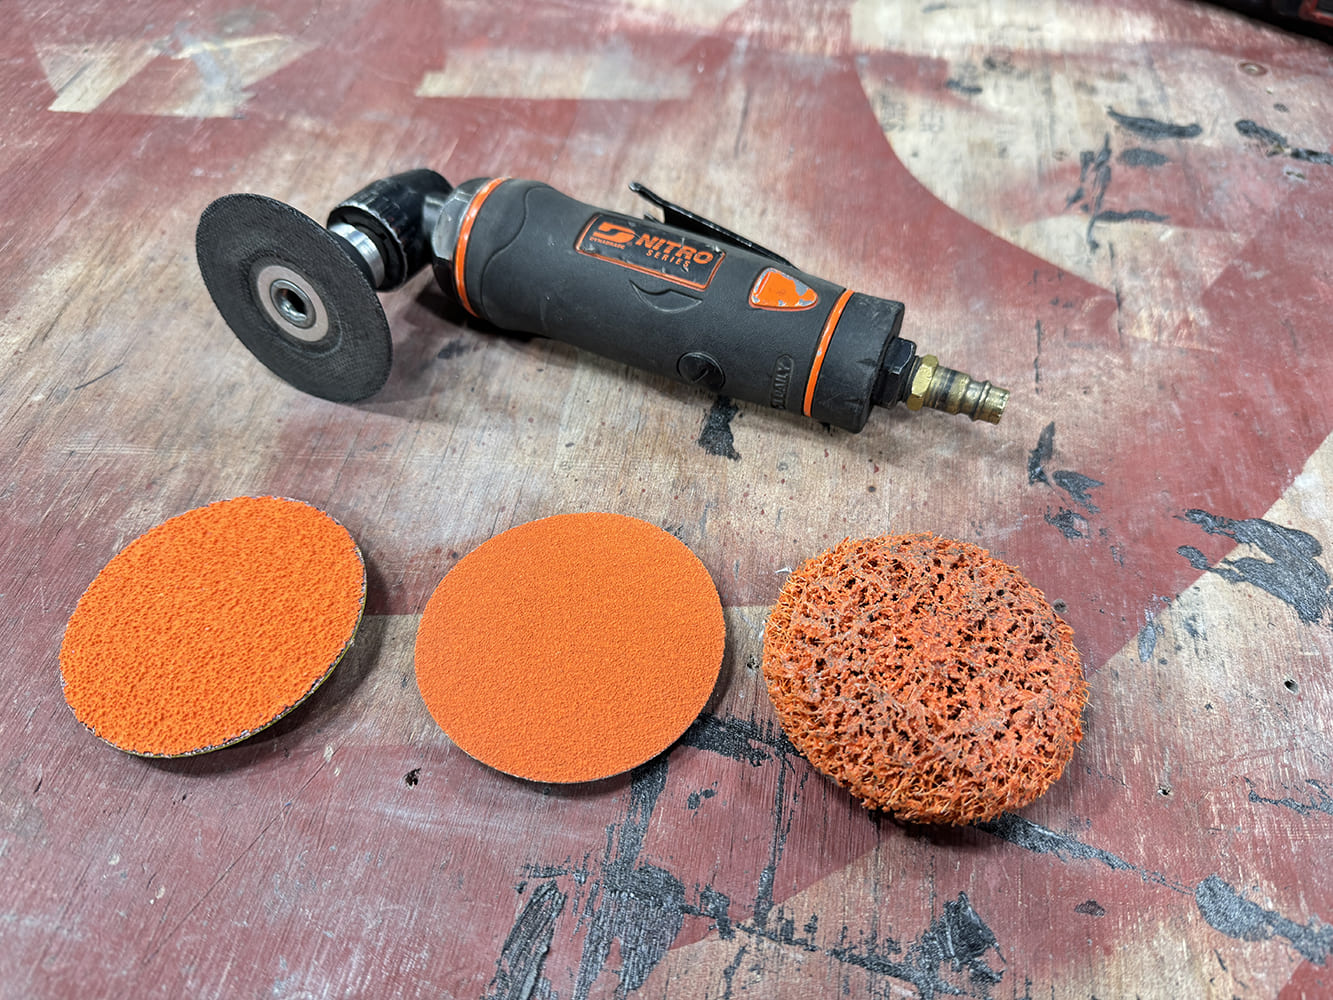
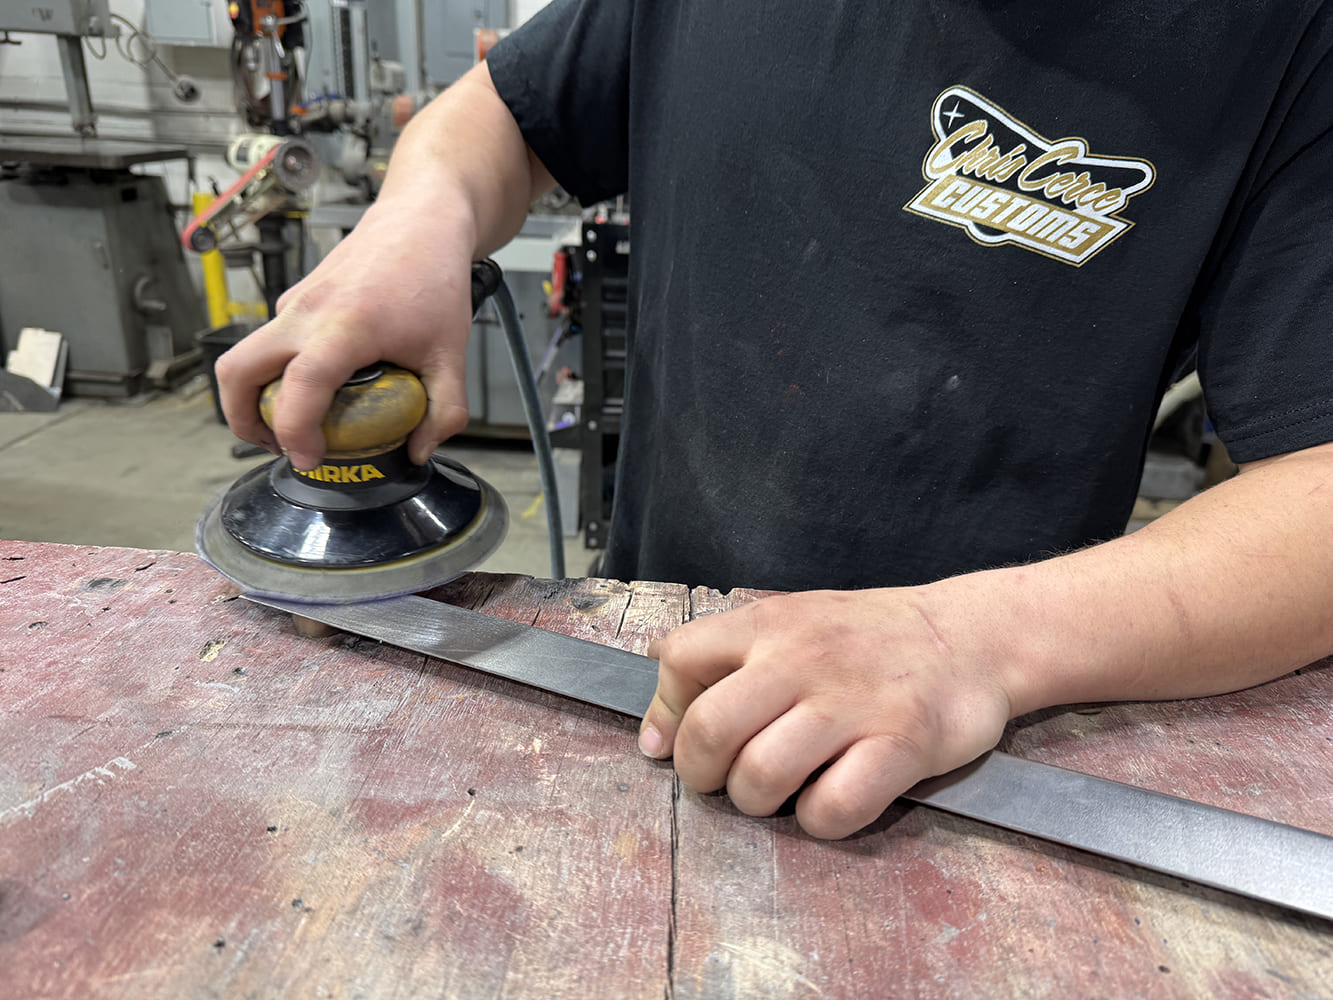
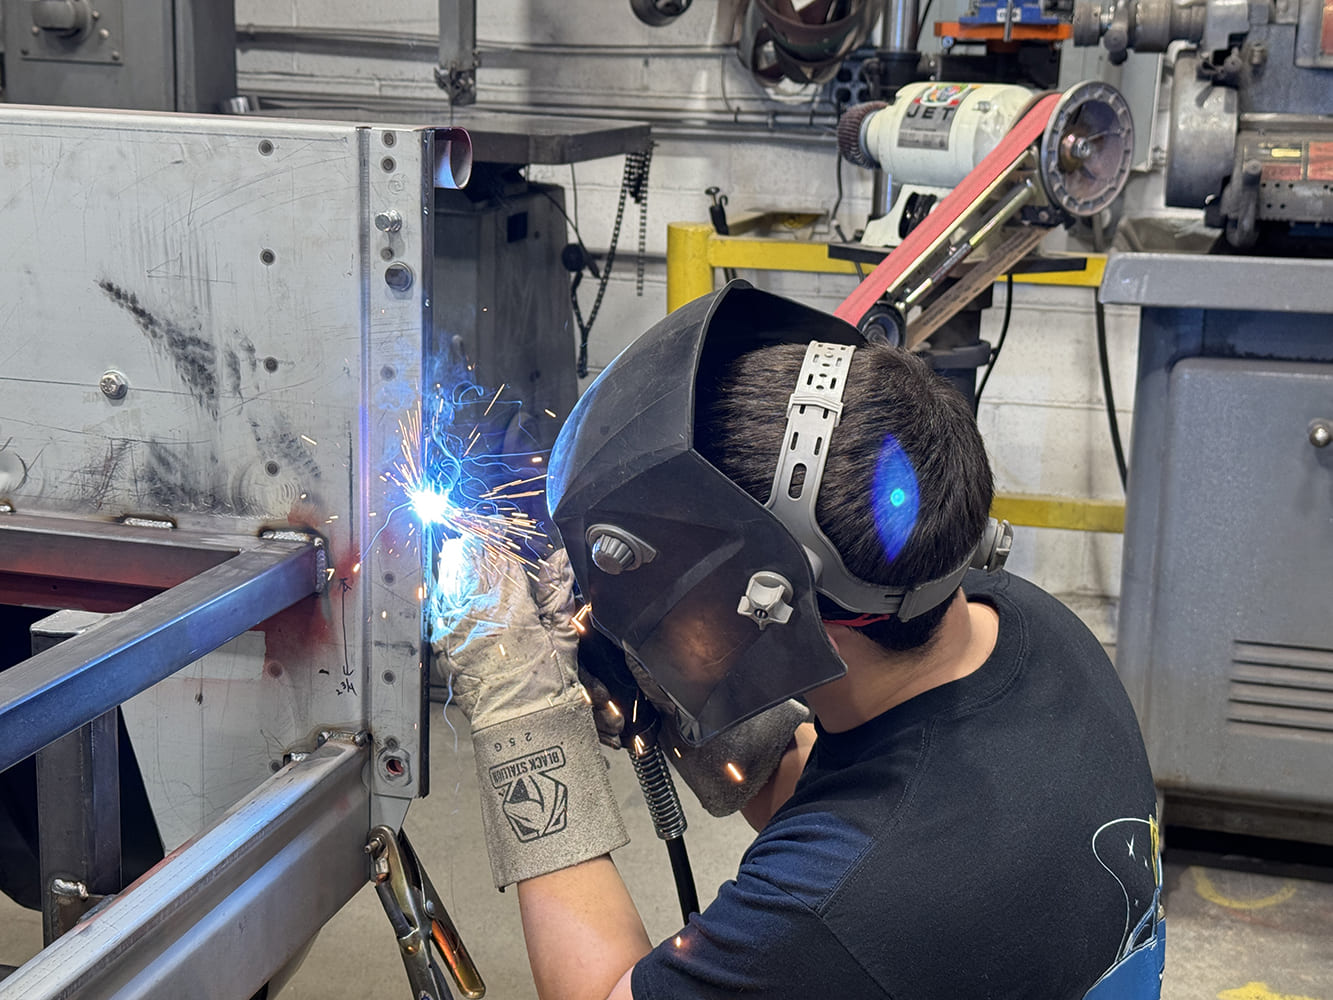
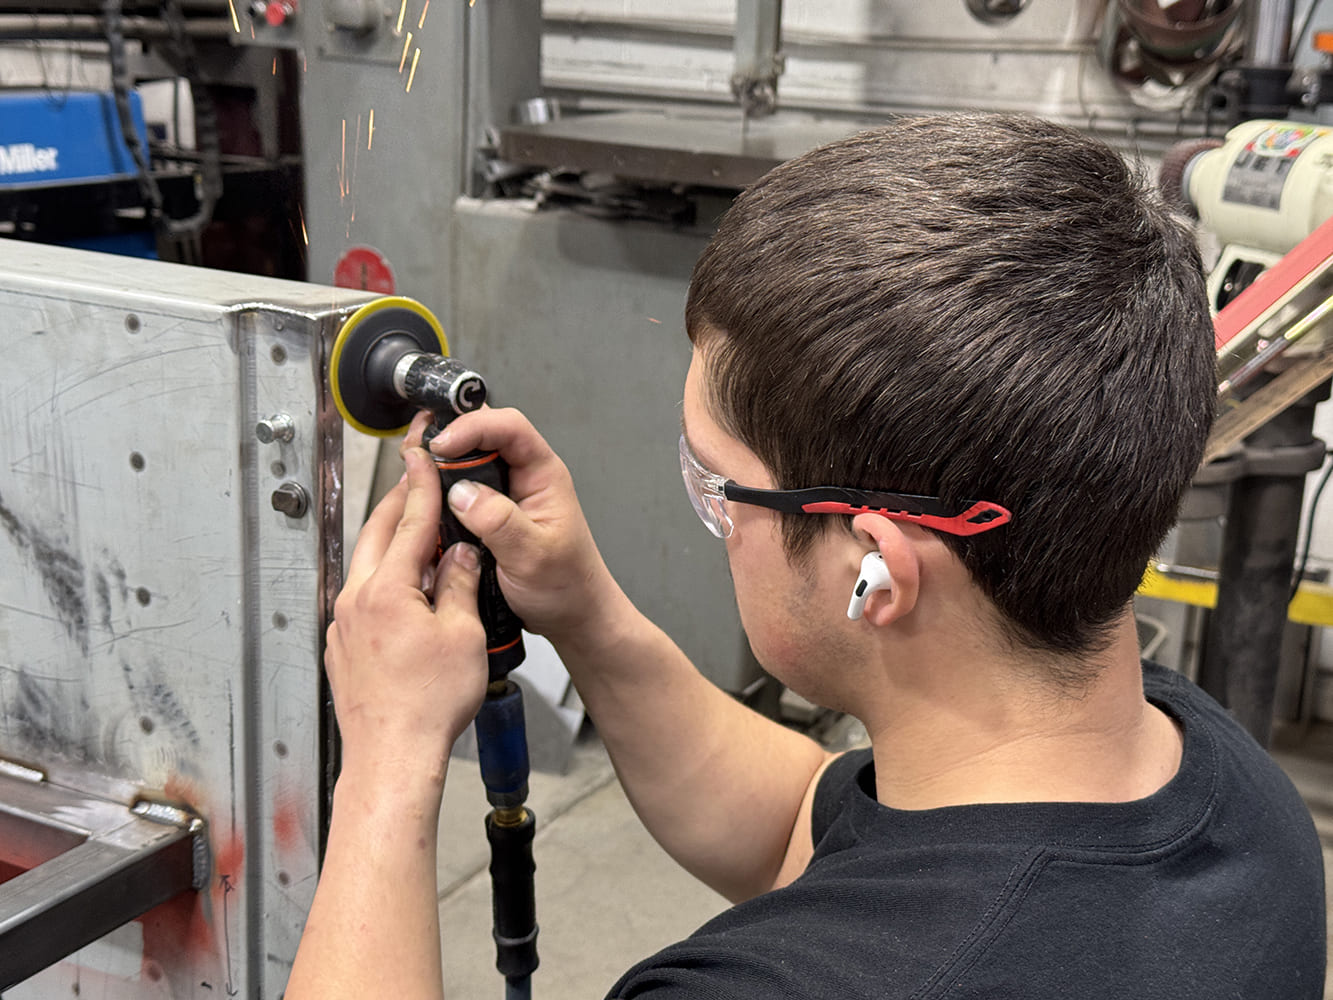
Using a cutoff wheel, while wearing safety glasses, the pipe section was trimmed and deburred to prepare it for the next step.The pipe section was then tacked in place using a MIG welder. Once test-fitted, the final welding was completed.As with all custom fabrication at CCC, to bring the filler panel update to completion for final installation the welded area goes through several steps. Surface prep starts with 36- to 80-grit and then a Scotch-Brite disc for completion.
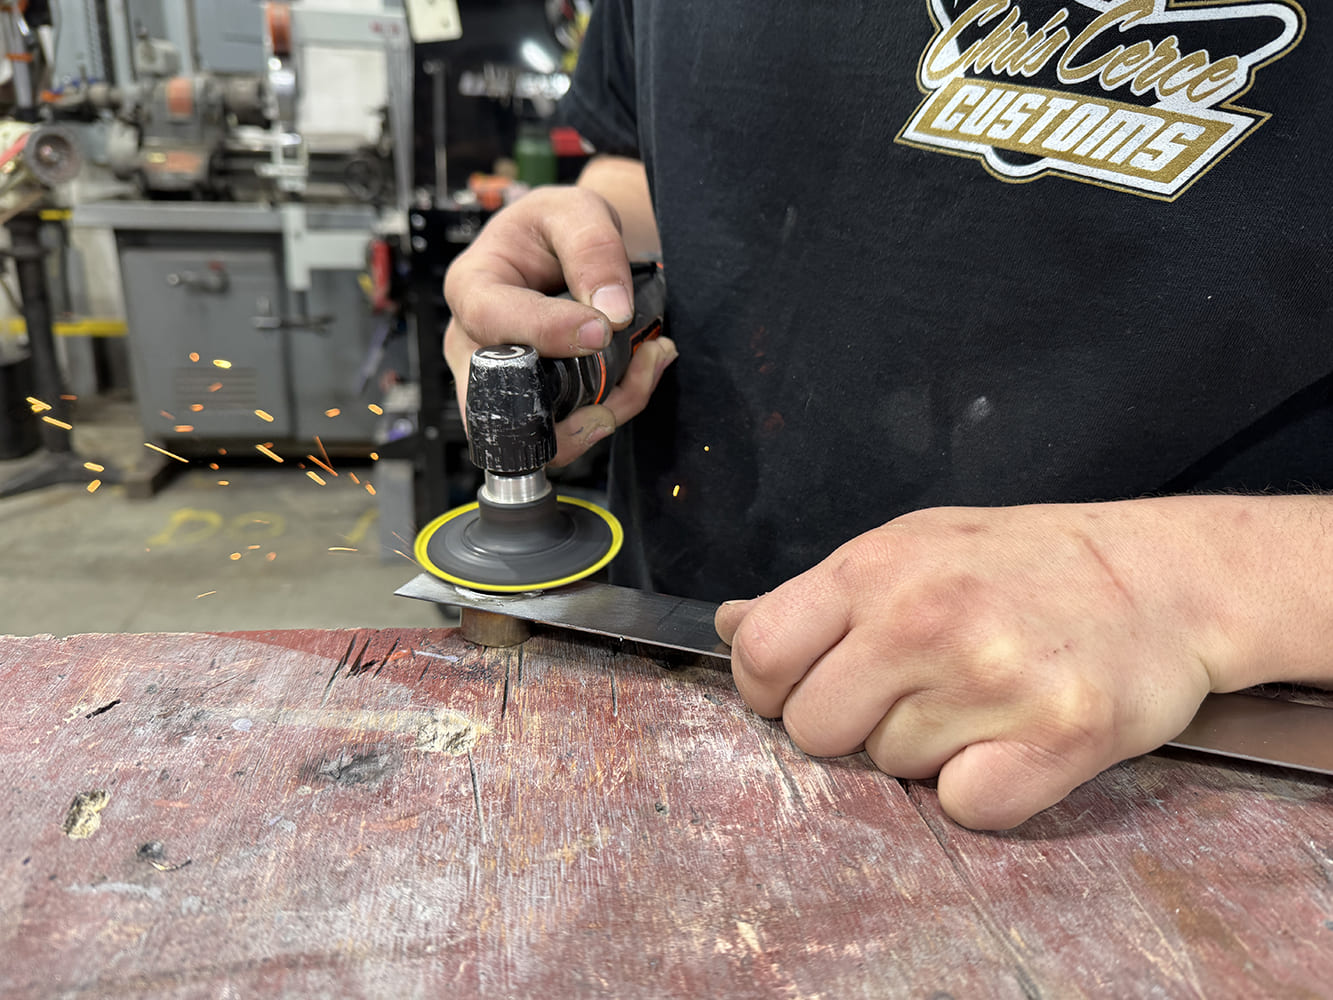
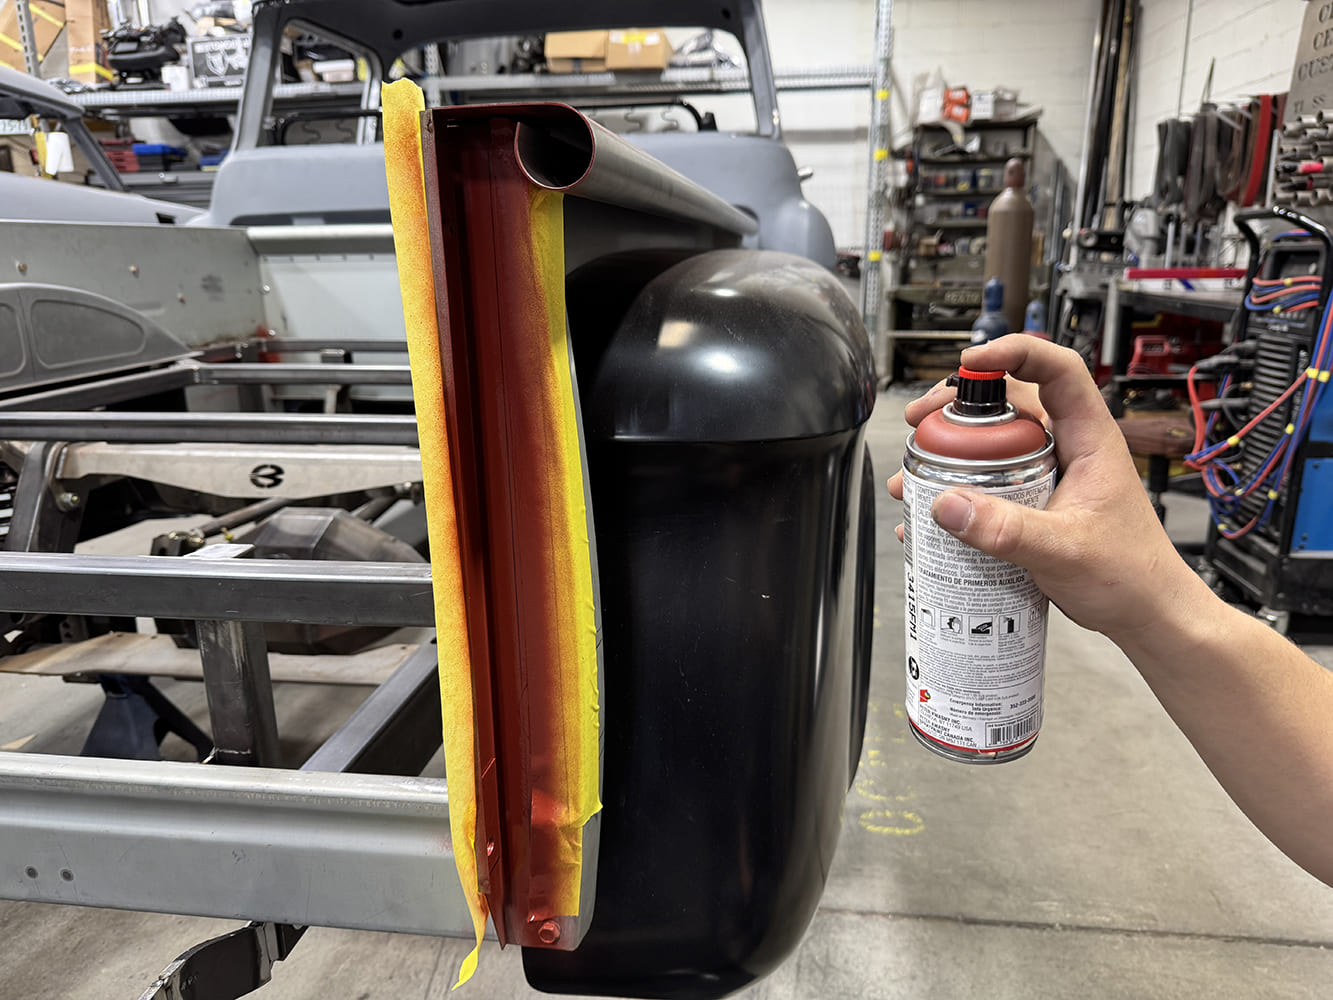
To complete the surface prep, a D/A was used for final finishing with 80-grit. The inner-hole area was also hand-filed to ensure perfect balance and flow for its use.All internal areas of the stake pocket and fresh filler panel were then masked and treated to a coating of self-etching weld-through primer and allowed to thoroughly dry before the next step.
The filler panel was then tacked into place using a MIG welder. Here you can see just how nice the hidden mounting area was finished.The MIG welding of the filler panel was then completed, allowing ample time for proper metal cooling while the job proceeded.The trunion was then installed to check for final fitment.
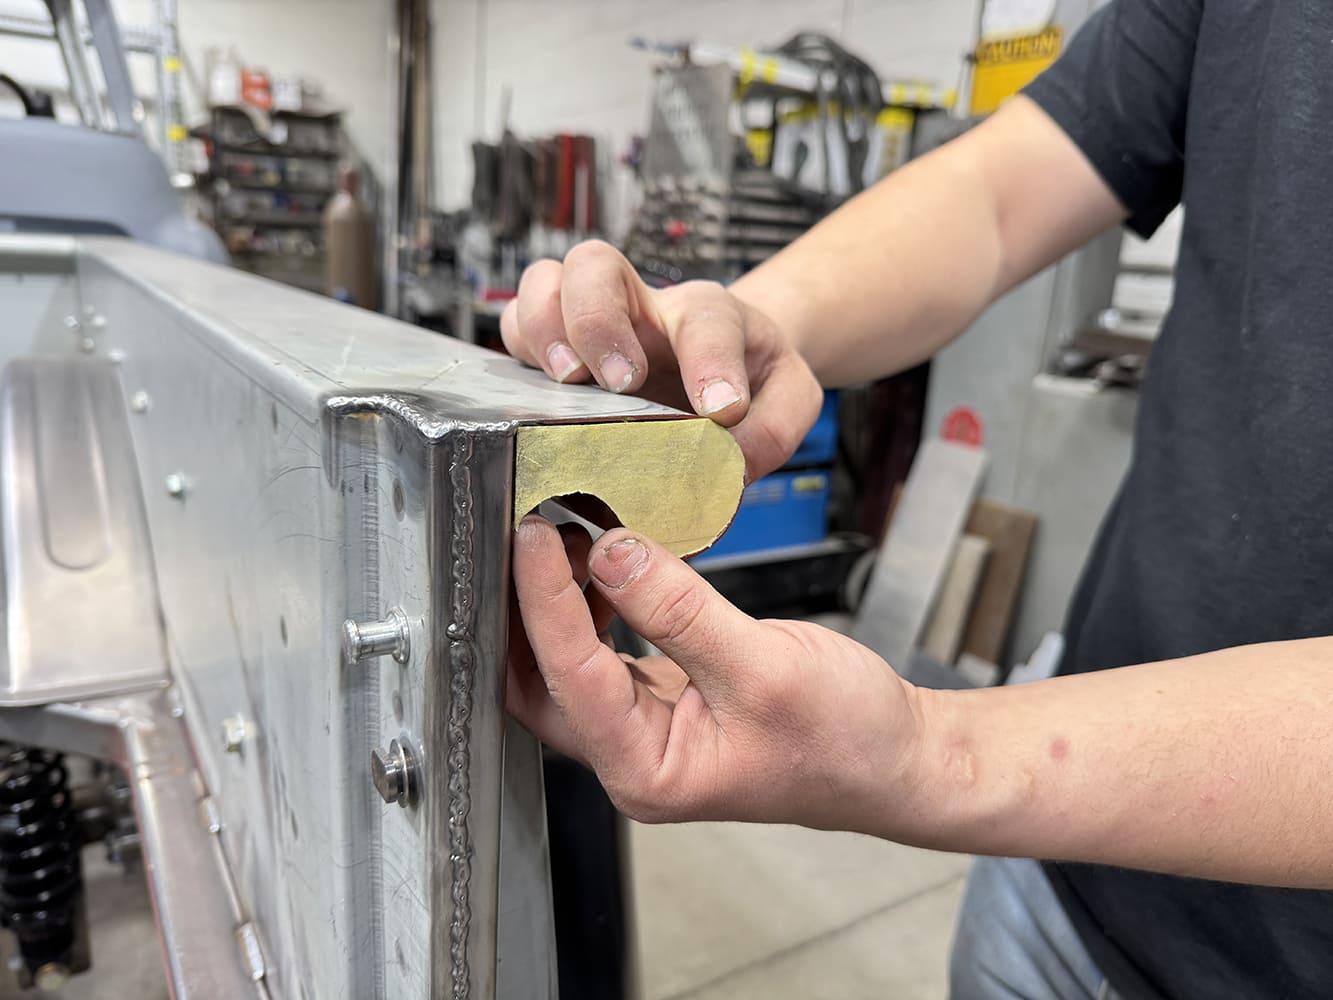
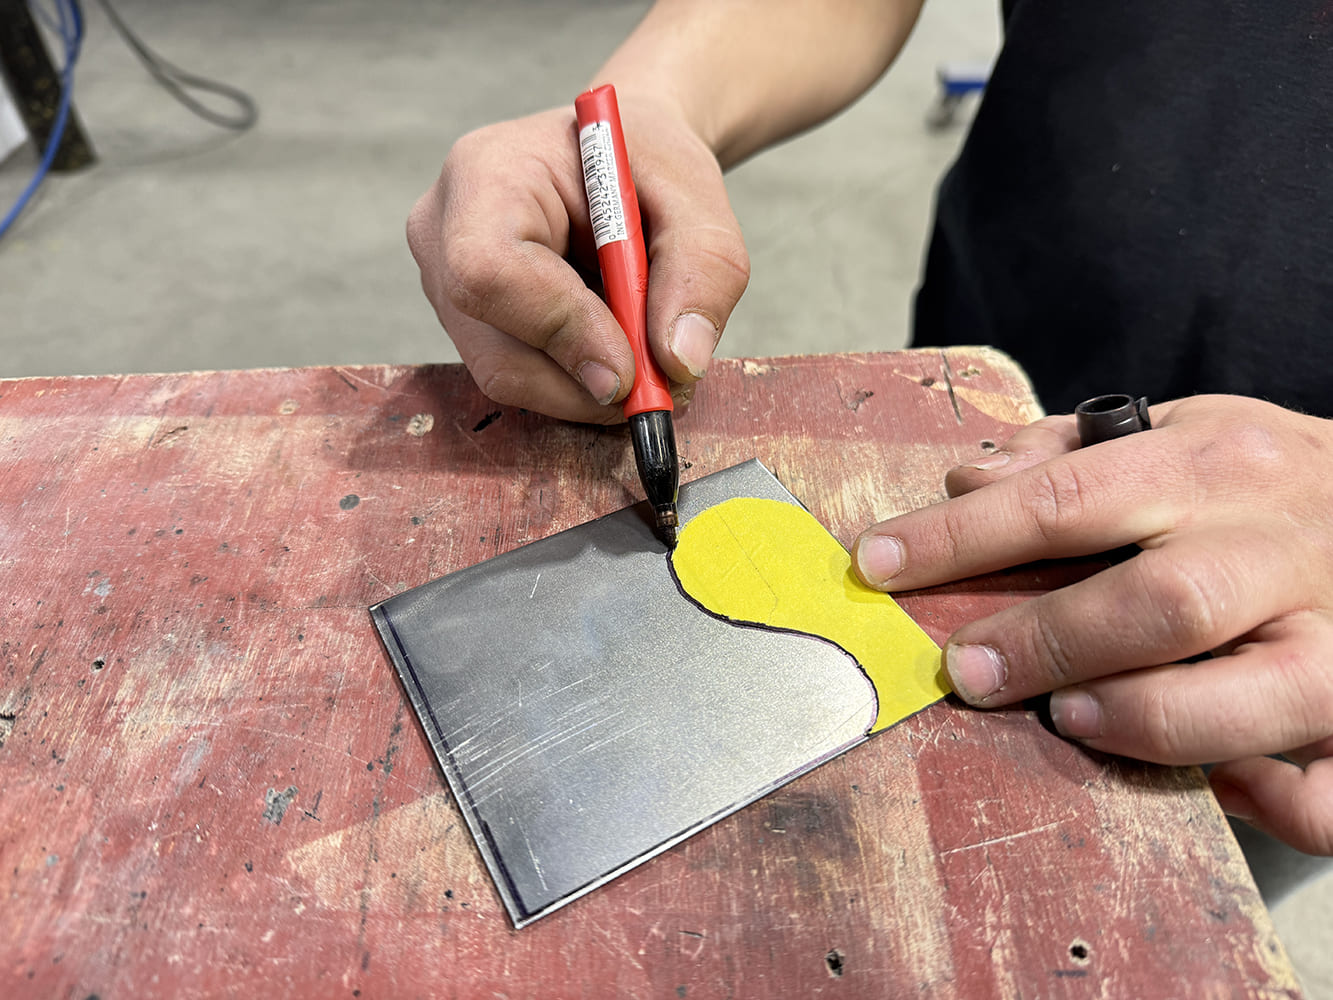
Next, it was time to tidy up the bedside end-hole area and give it a fresh new look.To create a filler template for the area, masking tape was used and trimmed closely with a razor knife.The template was carefully removed, adhered to a section of 18-gauge sheet steel, and marked using a Sharpie.
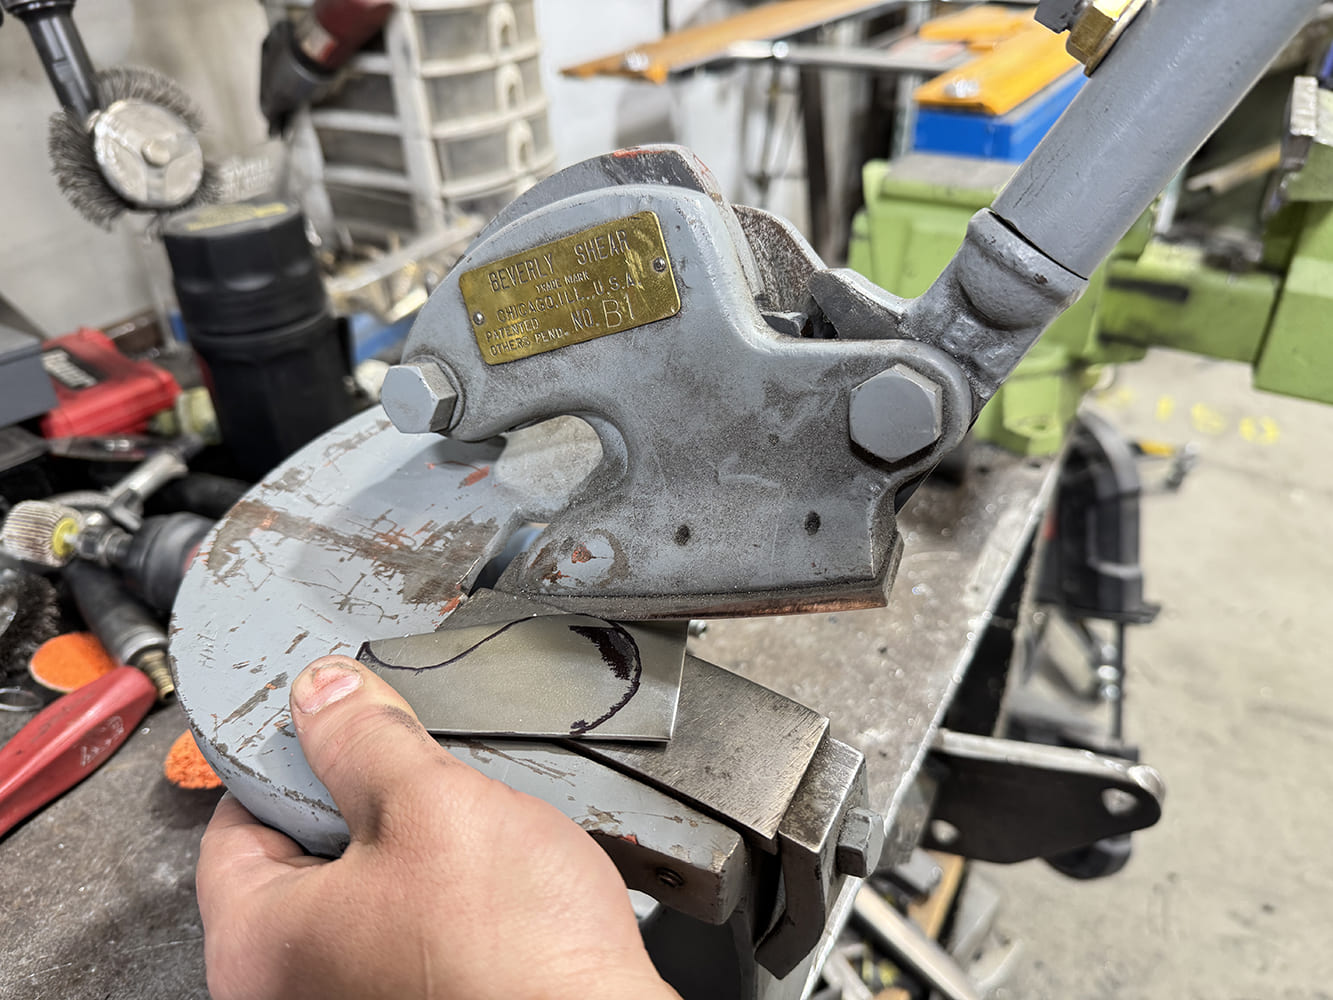
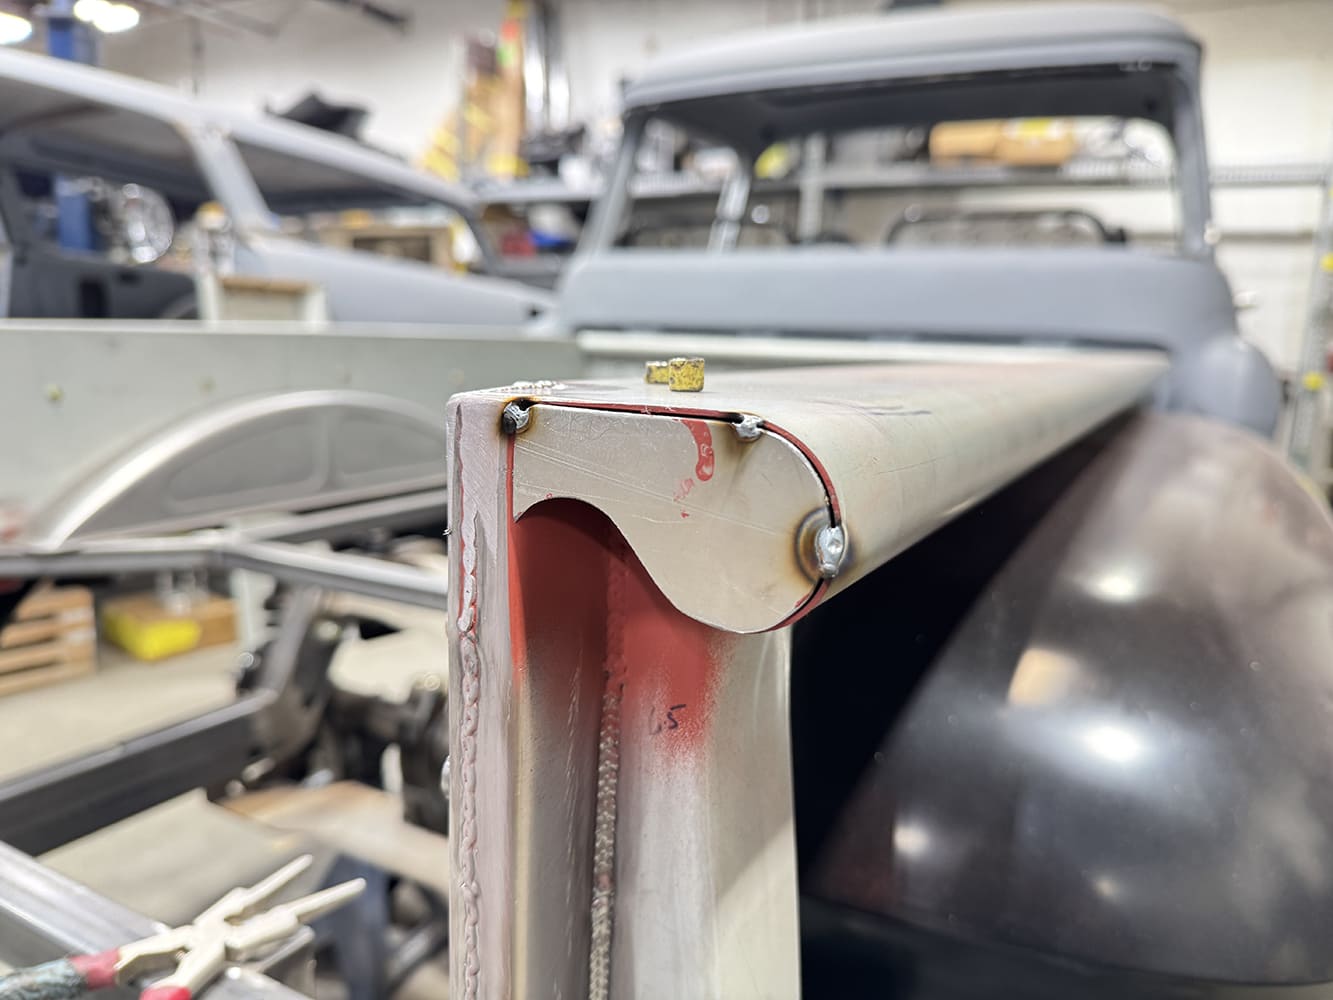
A Beverly shear and band saw were then used to carefully cut out the section and prepare it for installation once finished with a grinder.The filler piece was then test-fitted using magnets. Once confirmed, the end-hole area and back of the panel were coated with self-etching weld-through primer and allowed to dry. The panel was then tacked in place using a MIG welder.
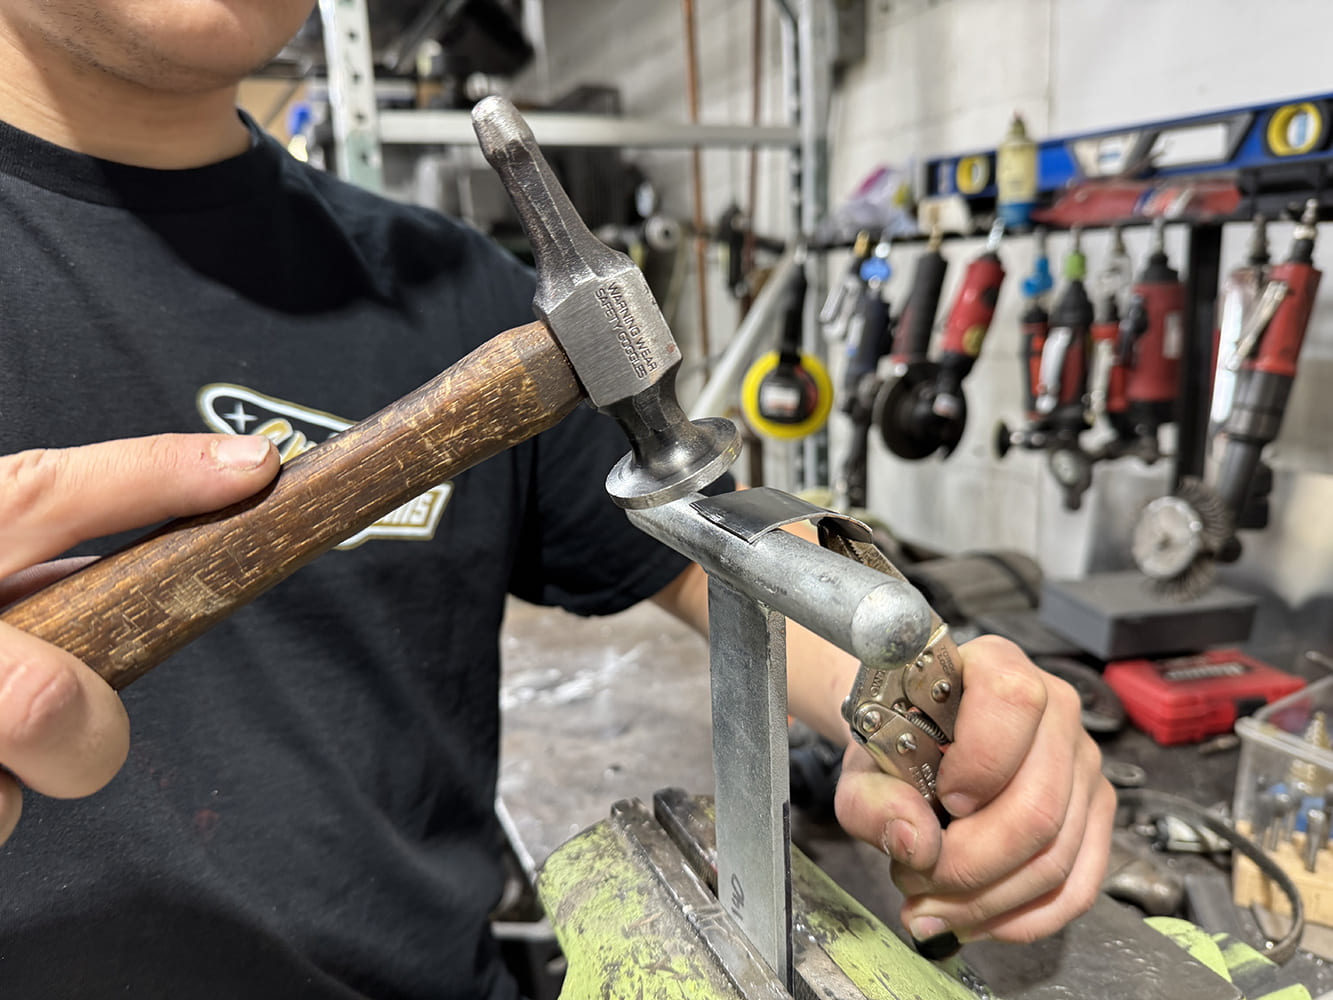
To complete the transformation and add a perfect flow to the area underneath the end-hole a filler template was fashioned using masking tape.The template was transferred to a section of 18-gauge sheet steel and then hammer formed to fit.The filler piece was then test-fitted, tack welded in place, and completed with a MIG welder.
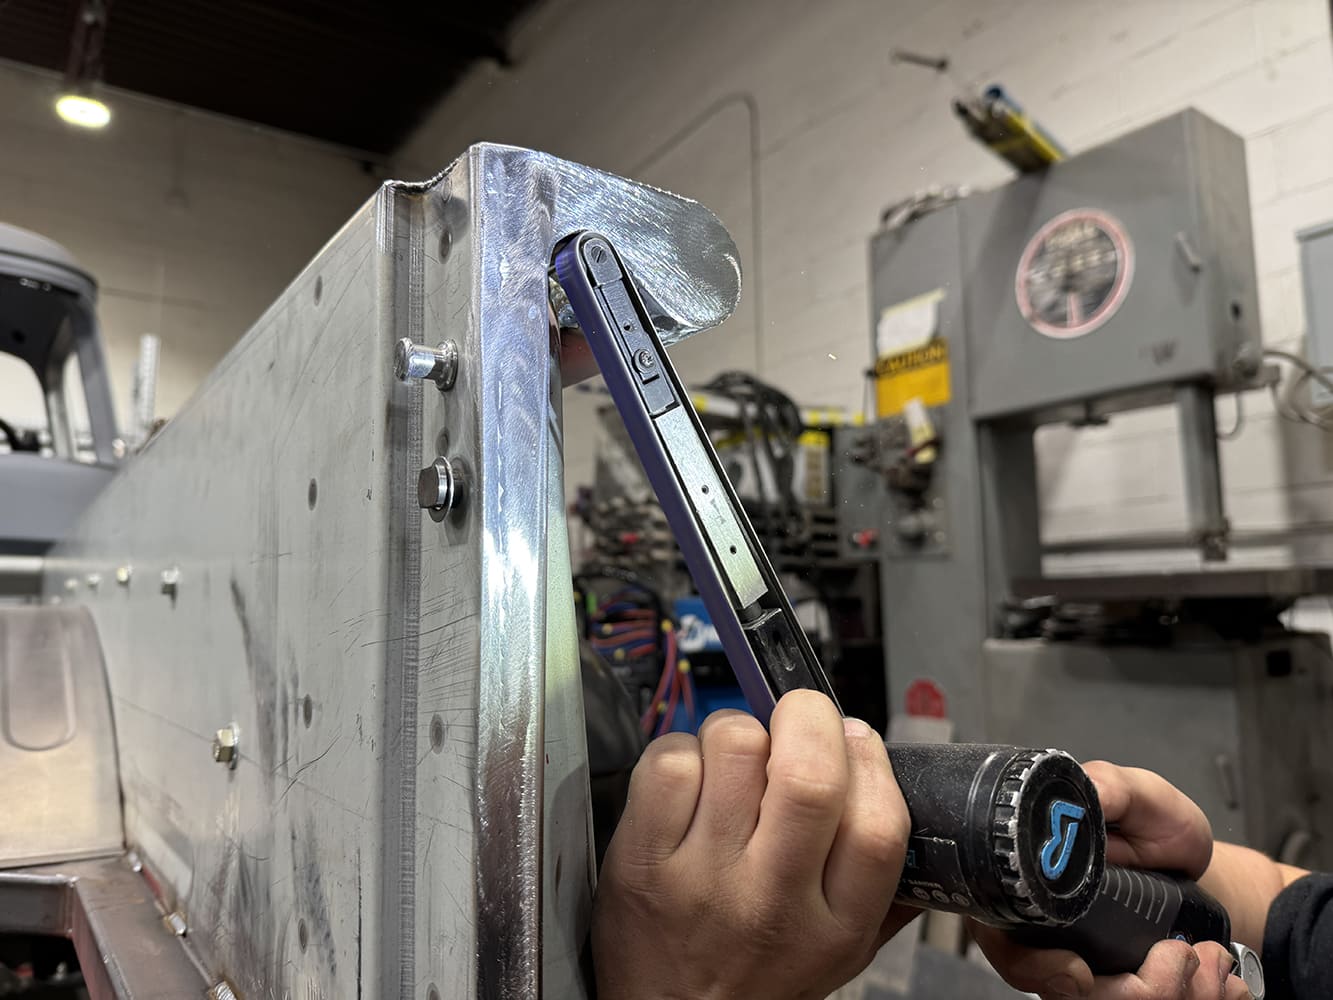
With all welding completed, it was time to start the final metal finishing starting with 36-grit then onto 80-grit till completing it with a D/A with 80-grit.To properly metal finish the underside of the end-hole area, a Dynabrade air-powered belt sander with pivoting head and ½-inch-wide belt was used to bring a mirror-like finish to the area.
The completed area brought a once utilitarian stake pocket to a totally new level, giving the bed of the truck a truly enhanced look, and we dig it!
We use cookies to ensure that we give you the best experience on our website. If you continue to use this site we will assume that you are happy with it.