


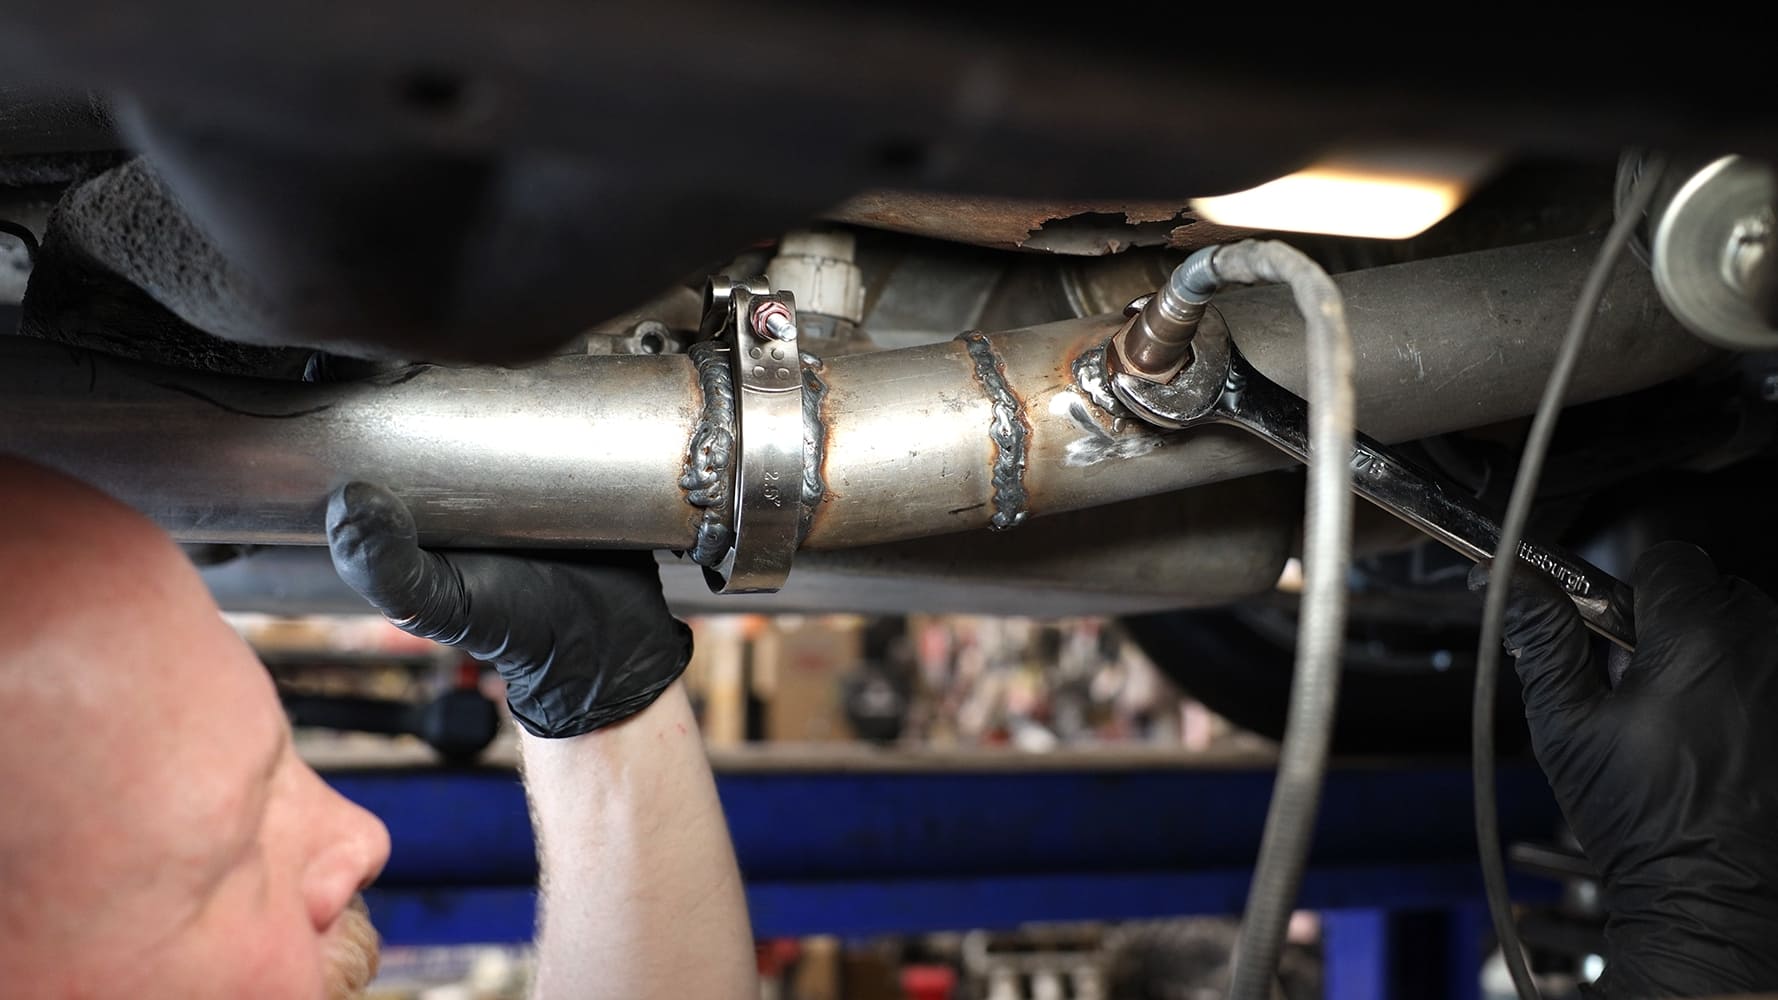
By Jefferson Bryant – Images by the Author
Fuel injection technology has made leaps and bounds over the last 20 years. The original Holley Pro-Jection systems were complicated to install and even harder to tune. While seasoned tuners could work the system, it was much harder for the average gearhead. Having installed just about every version of Holley (and a few other brands) aftermarket EFI systems, we can tell you they have truly come a long way. In fact, the newest Holley system, the Sniper 2, is just about as plug-and-play as we have seen, while still being customizable.

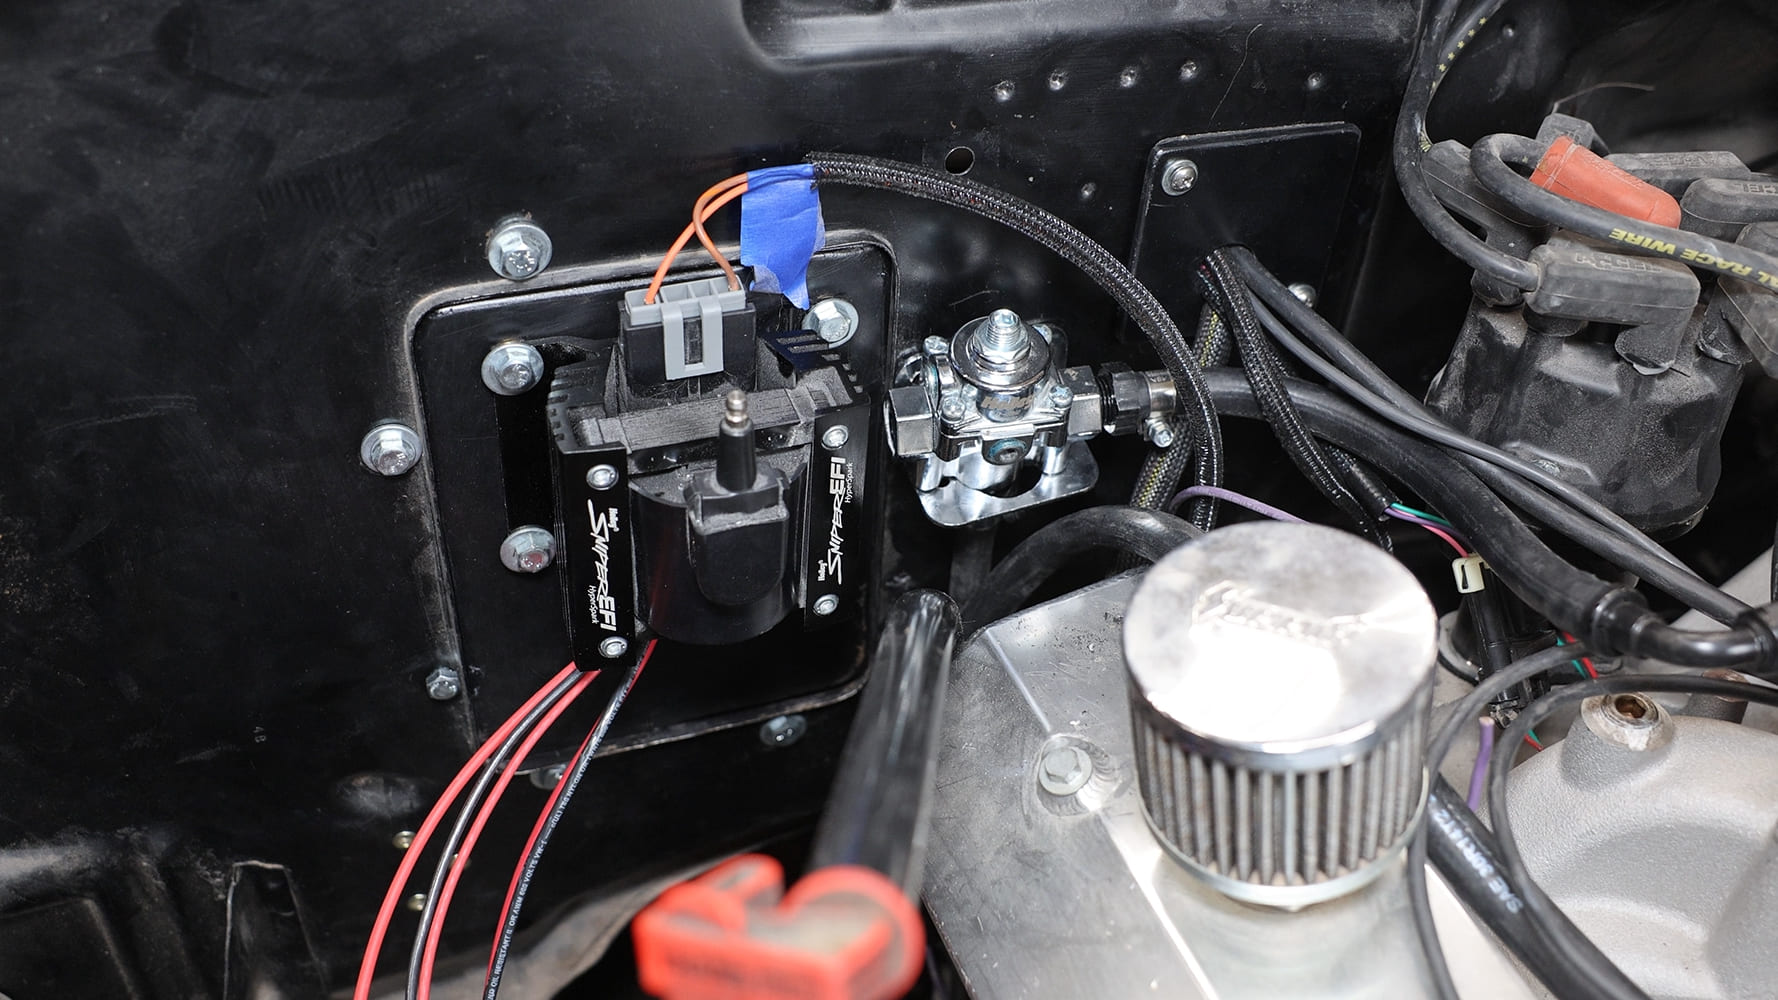
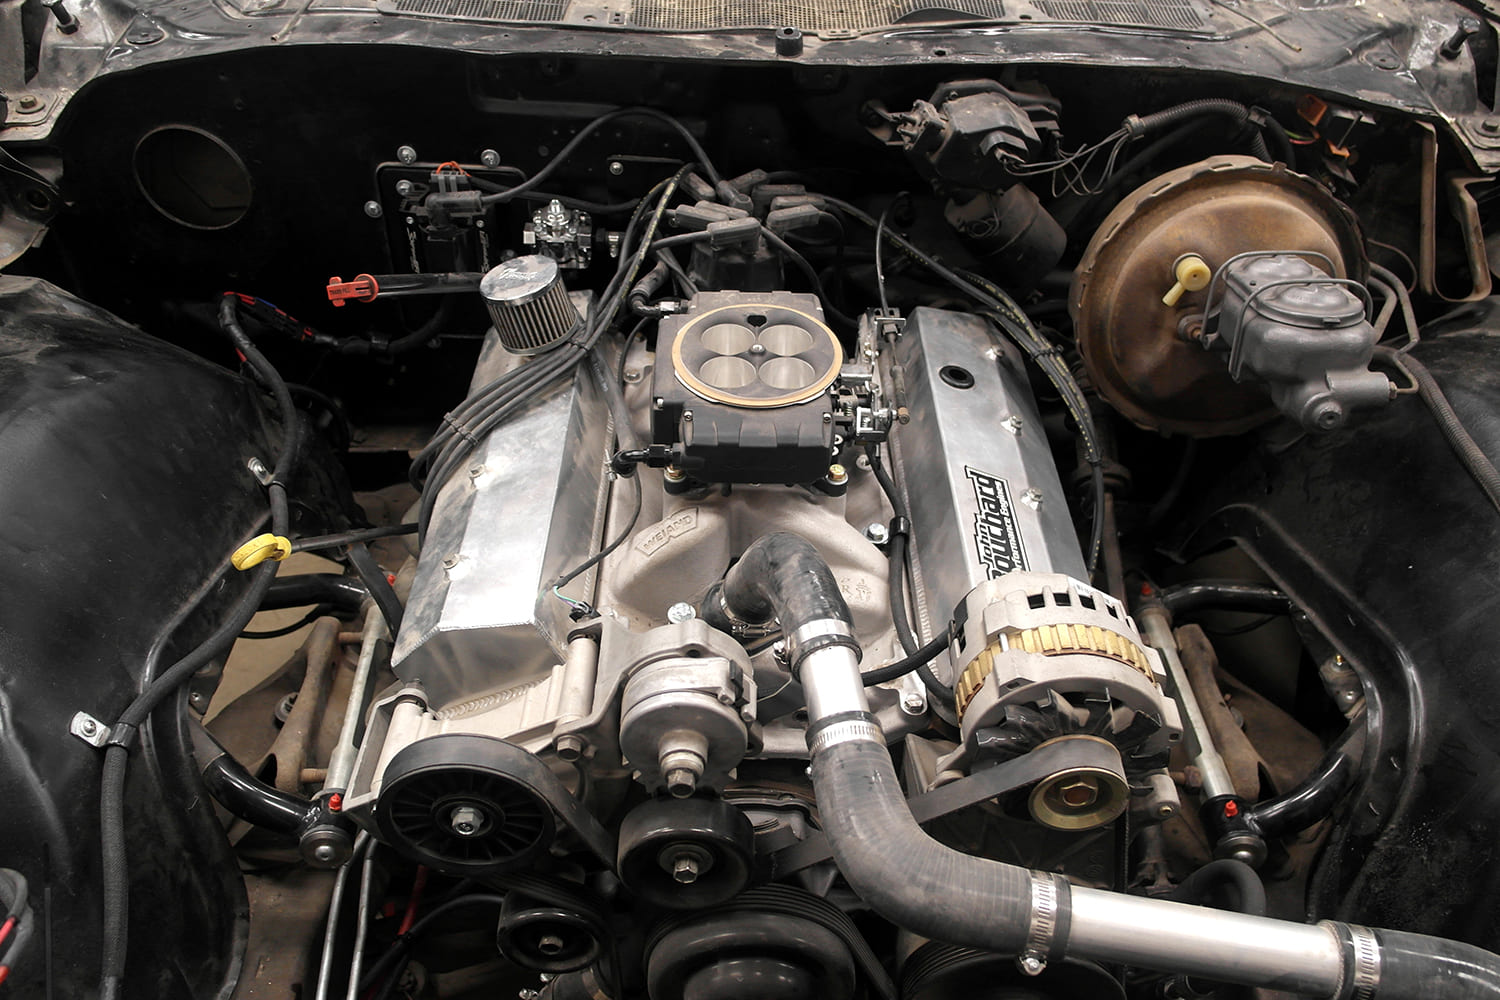
Our kit is a bundle, which includes the all-in-one Sniper 2 throttle body, Hyperspark ignition system with distributor, and the coolest part of all, the PDM (Power Distribution Module). We opted to stick with the smaller 3.5-inch handheld, but for just $150 more you can get the larger 5-inch screen. Our 1974 El Camino already had an in-tank fuel pump, so we did not select the Master Fuel Kit, but we did use the Holley regulator. For around $2,000, we had everything needed to install EFI on our 383 stroker.
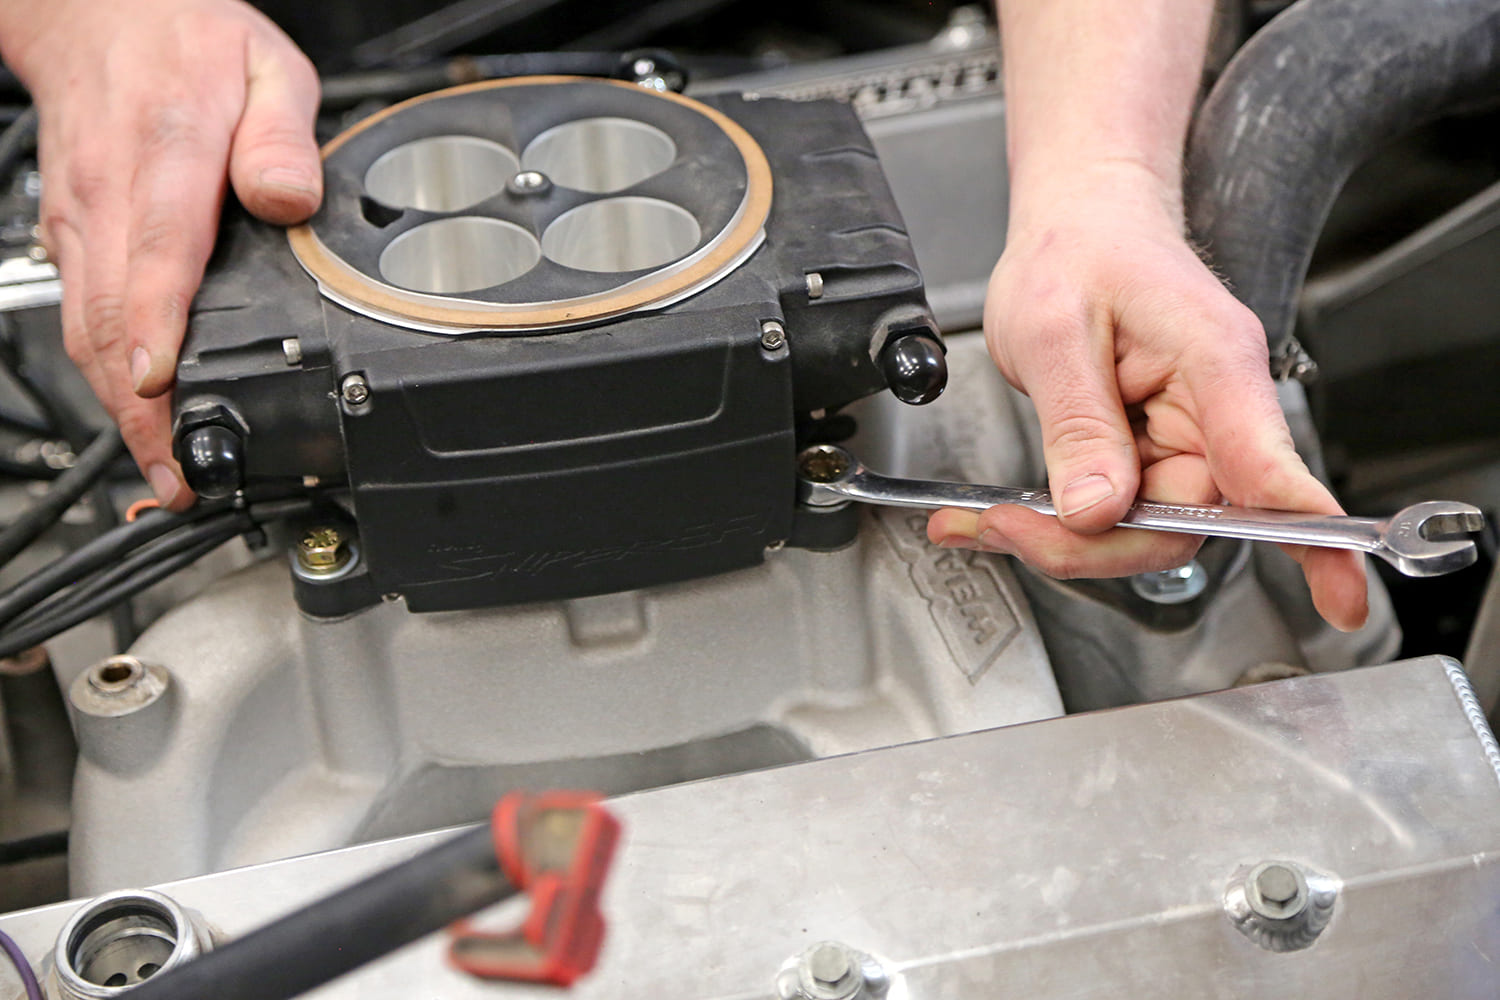
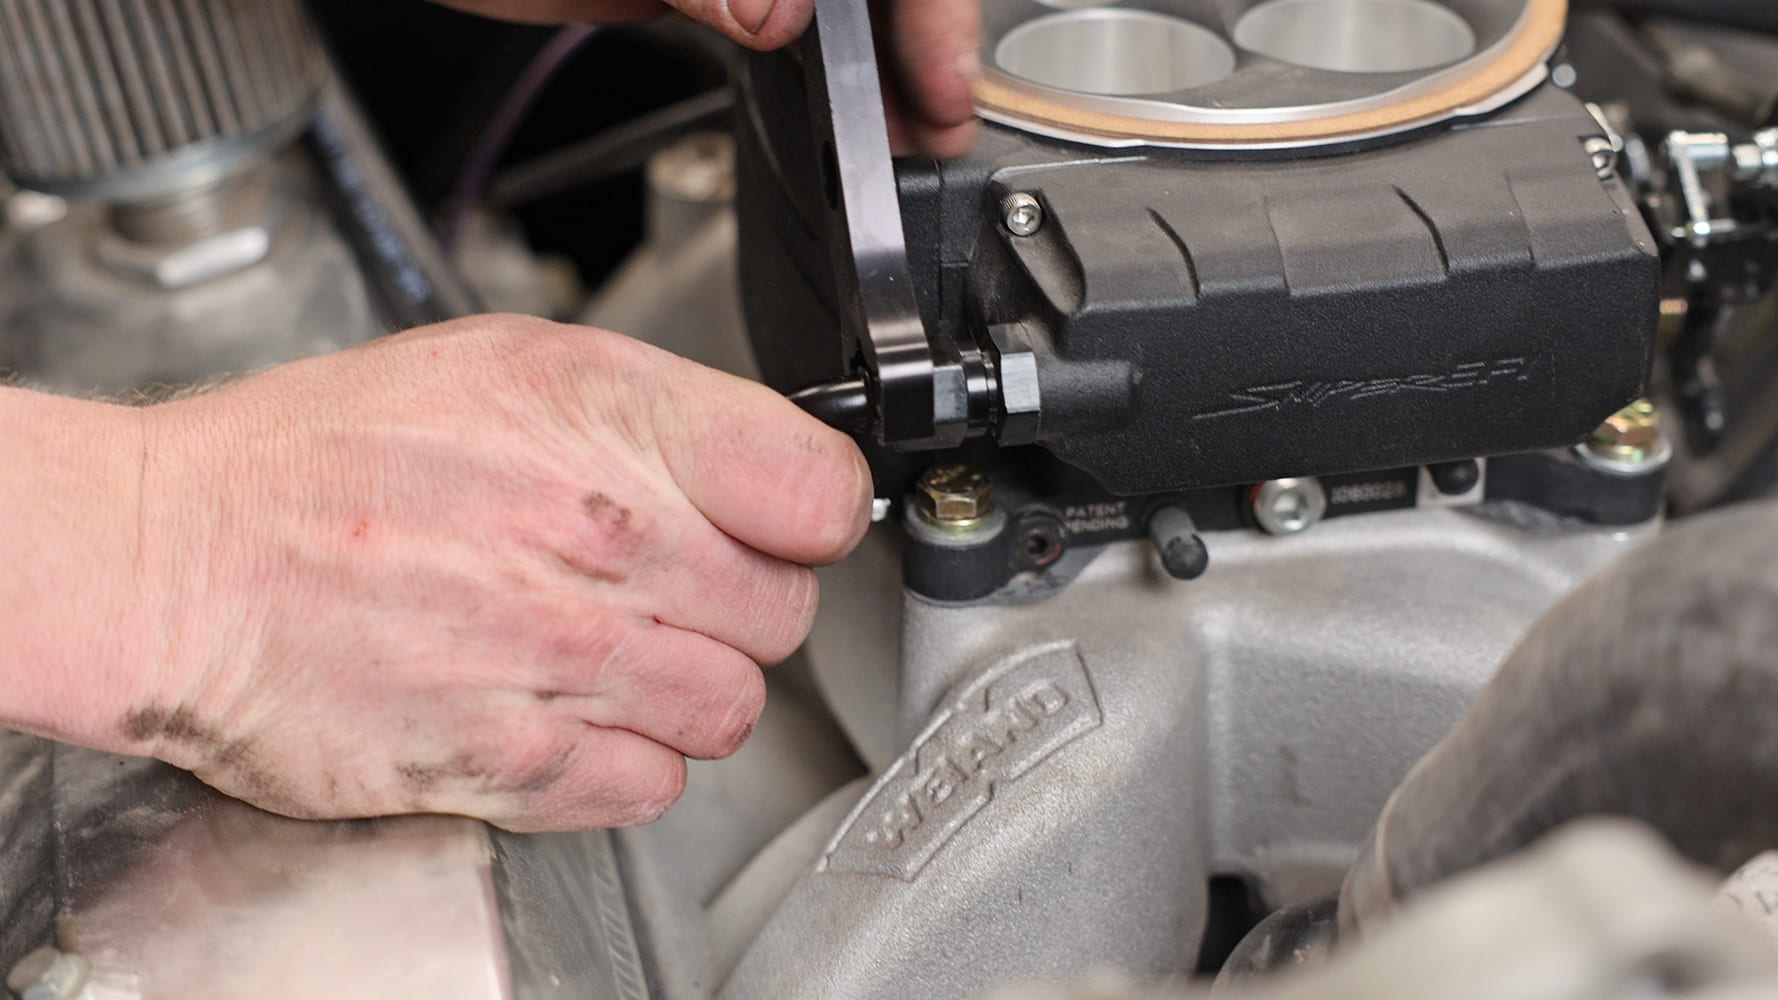
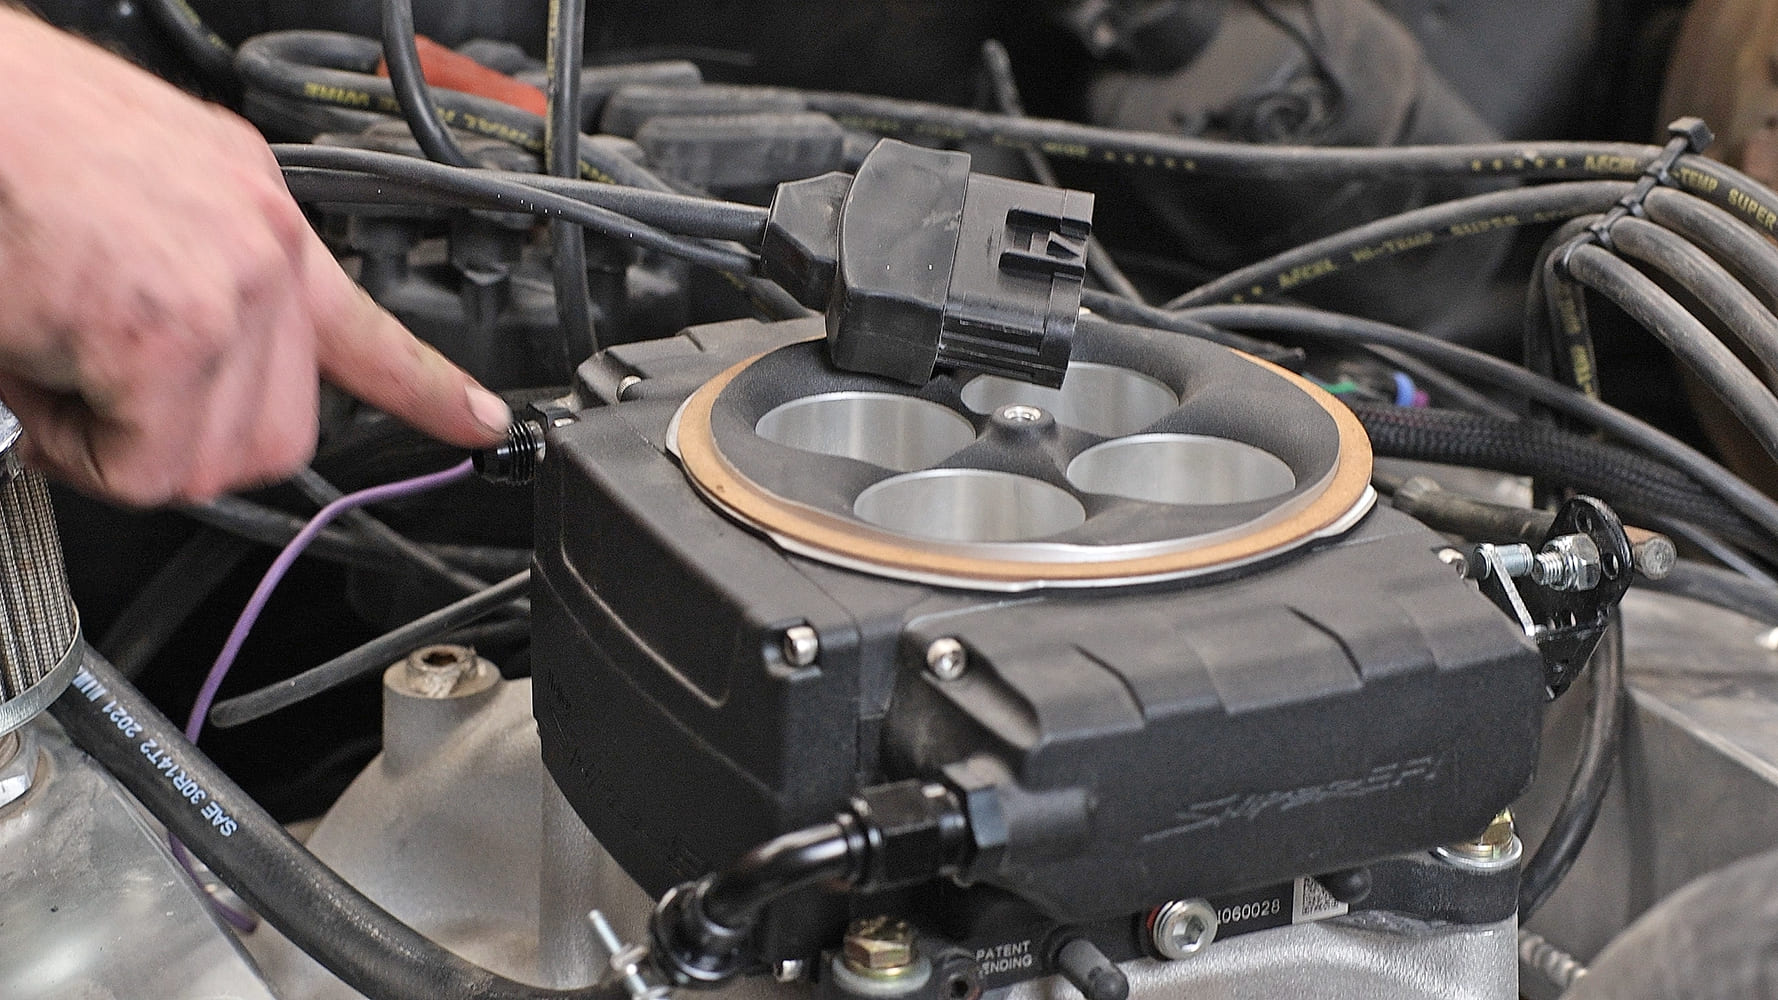
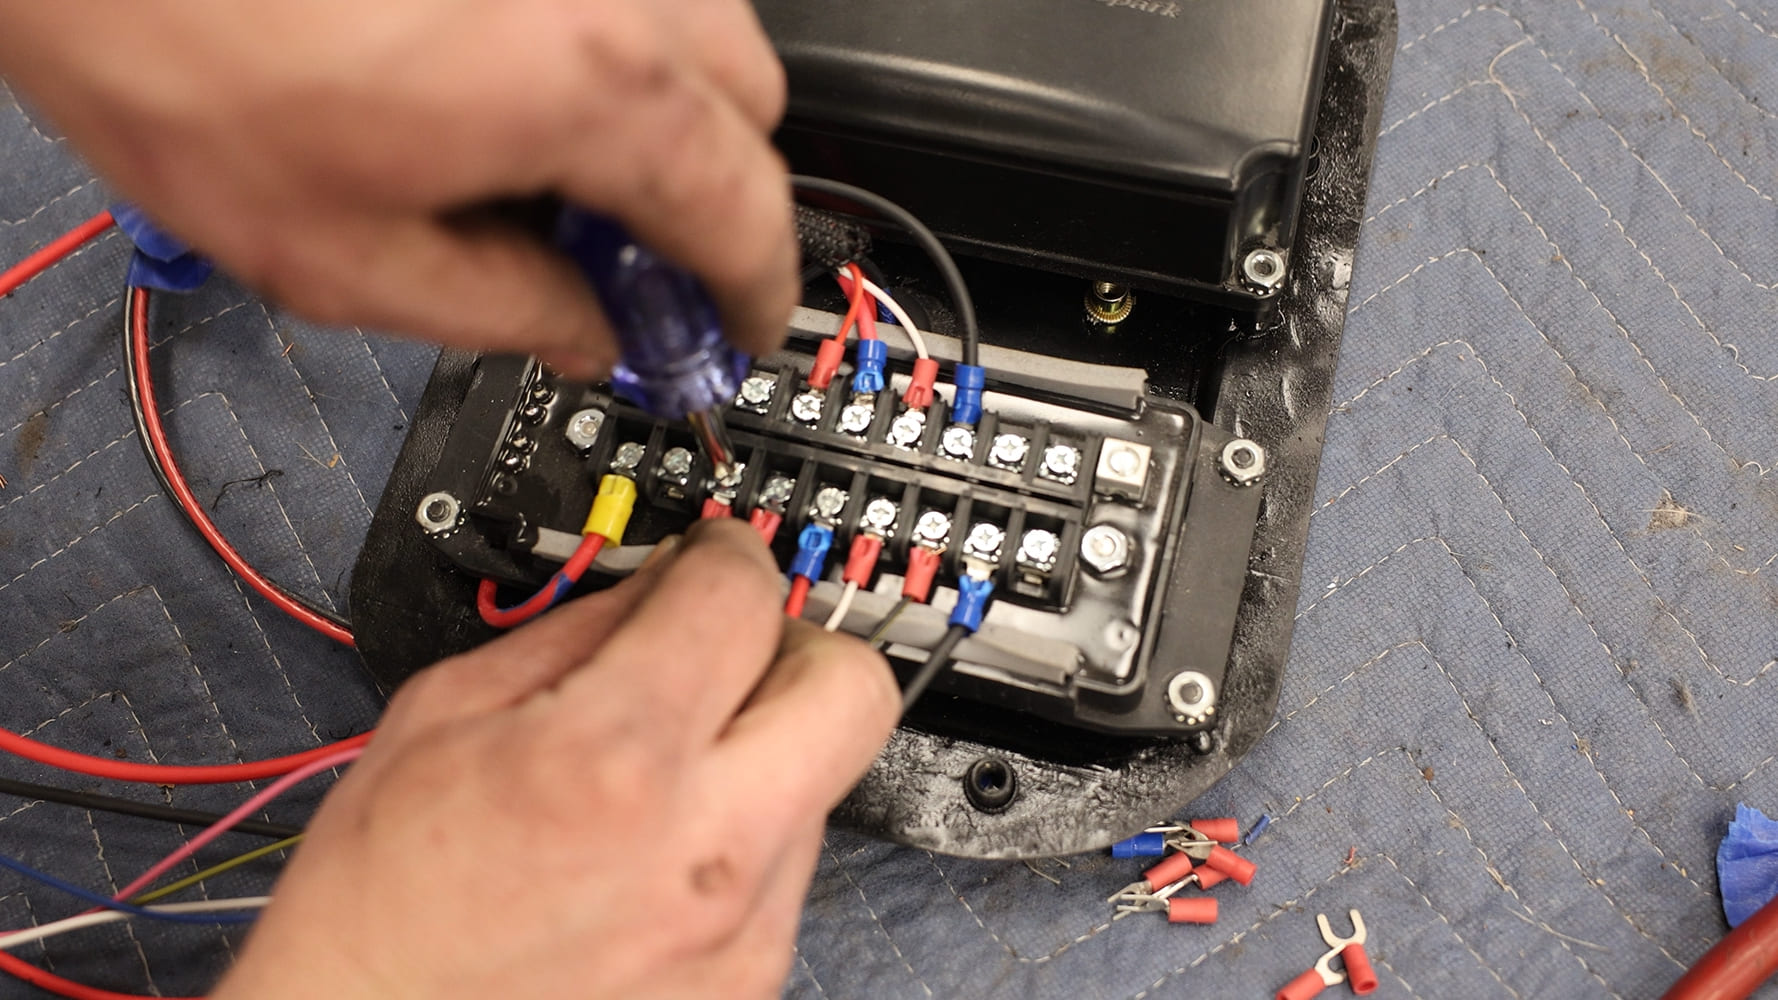
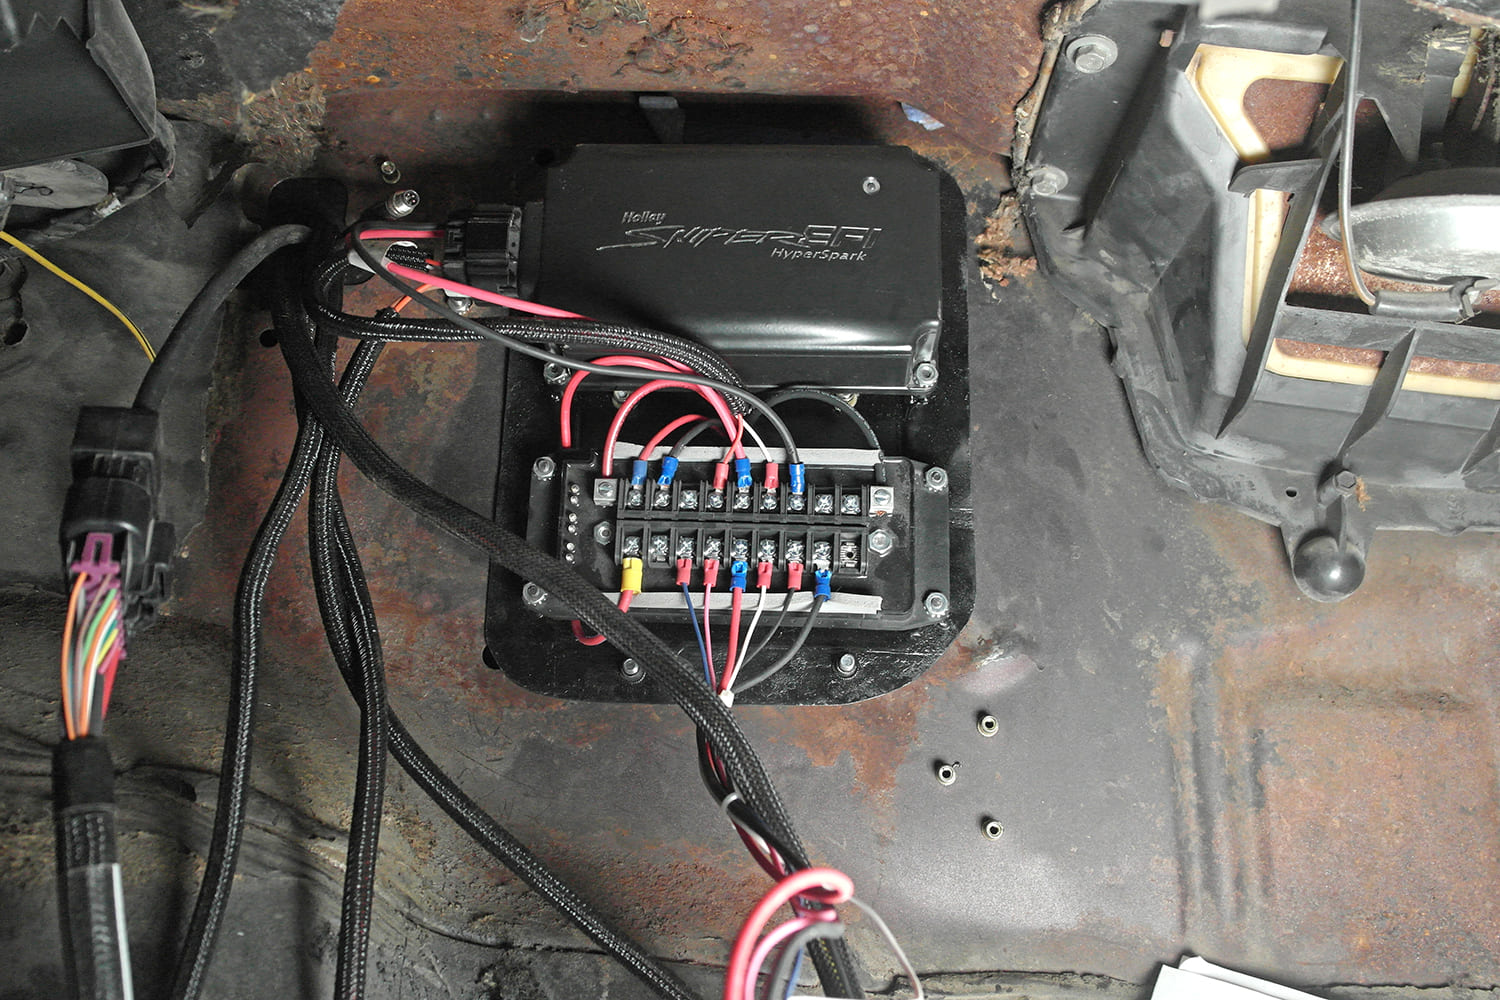
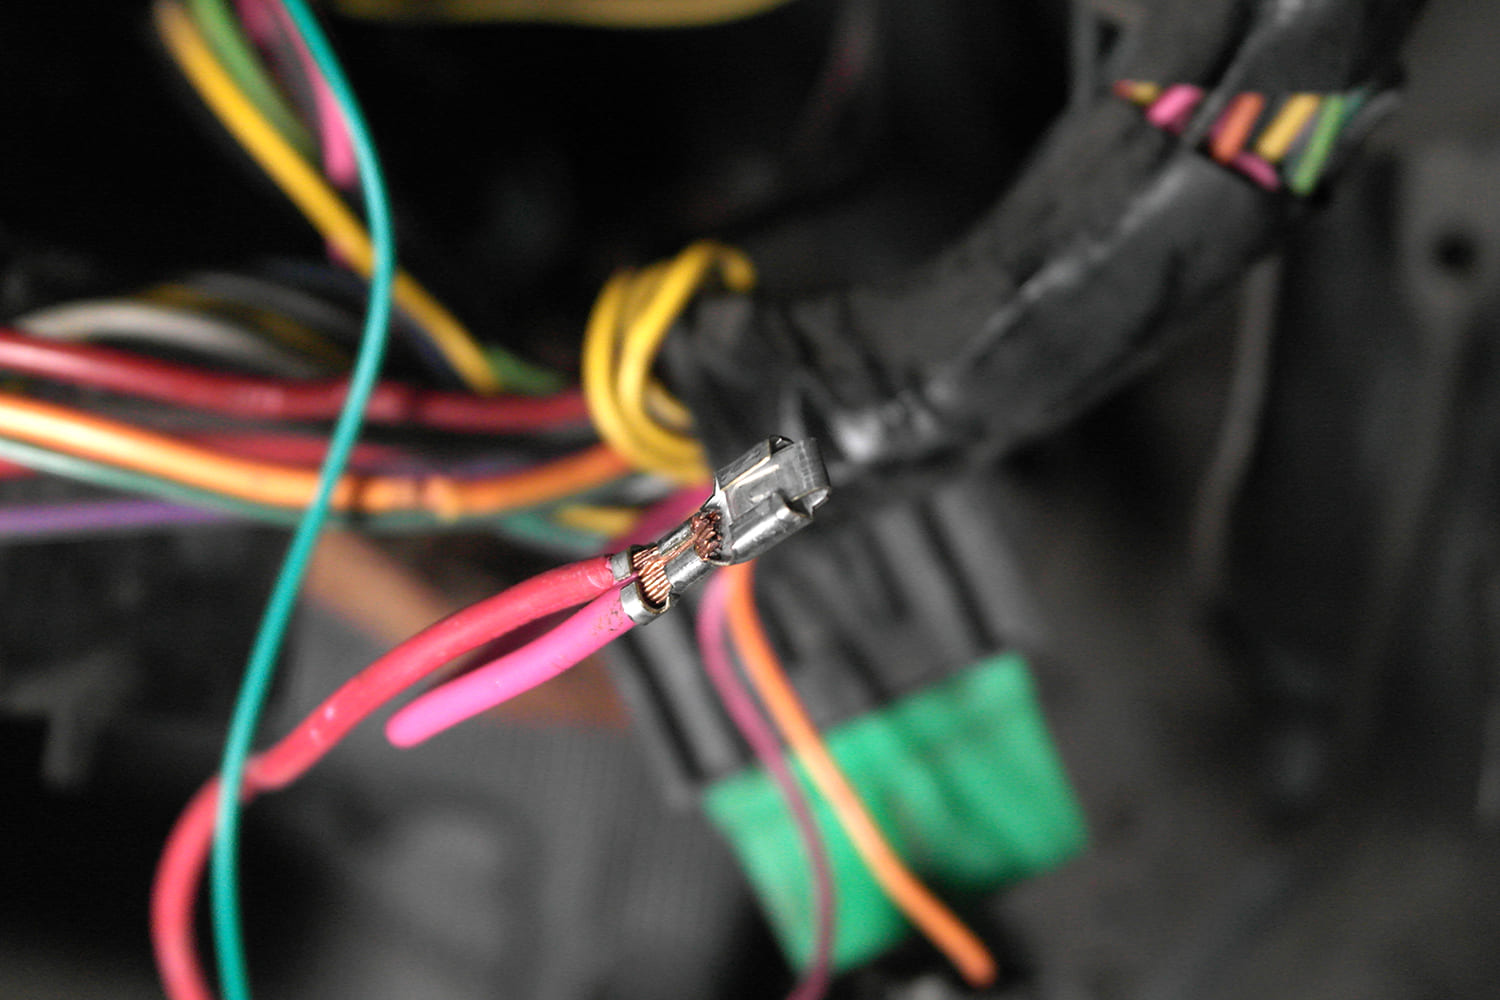
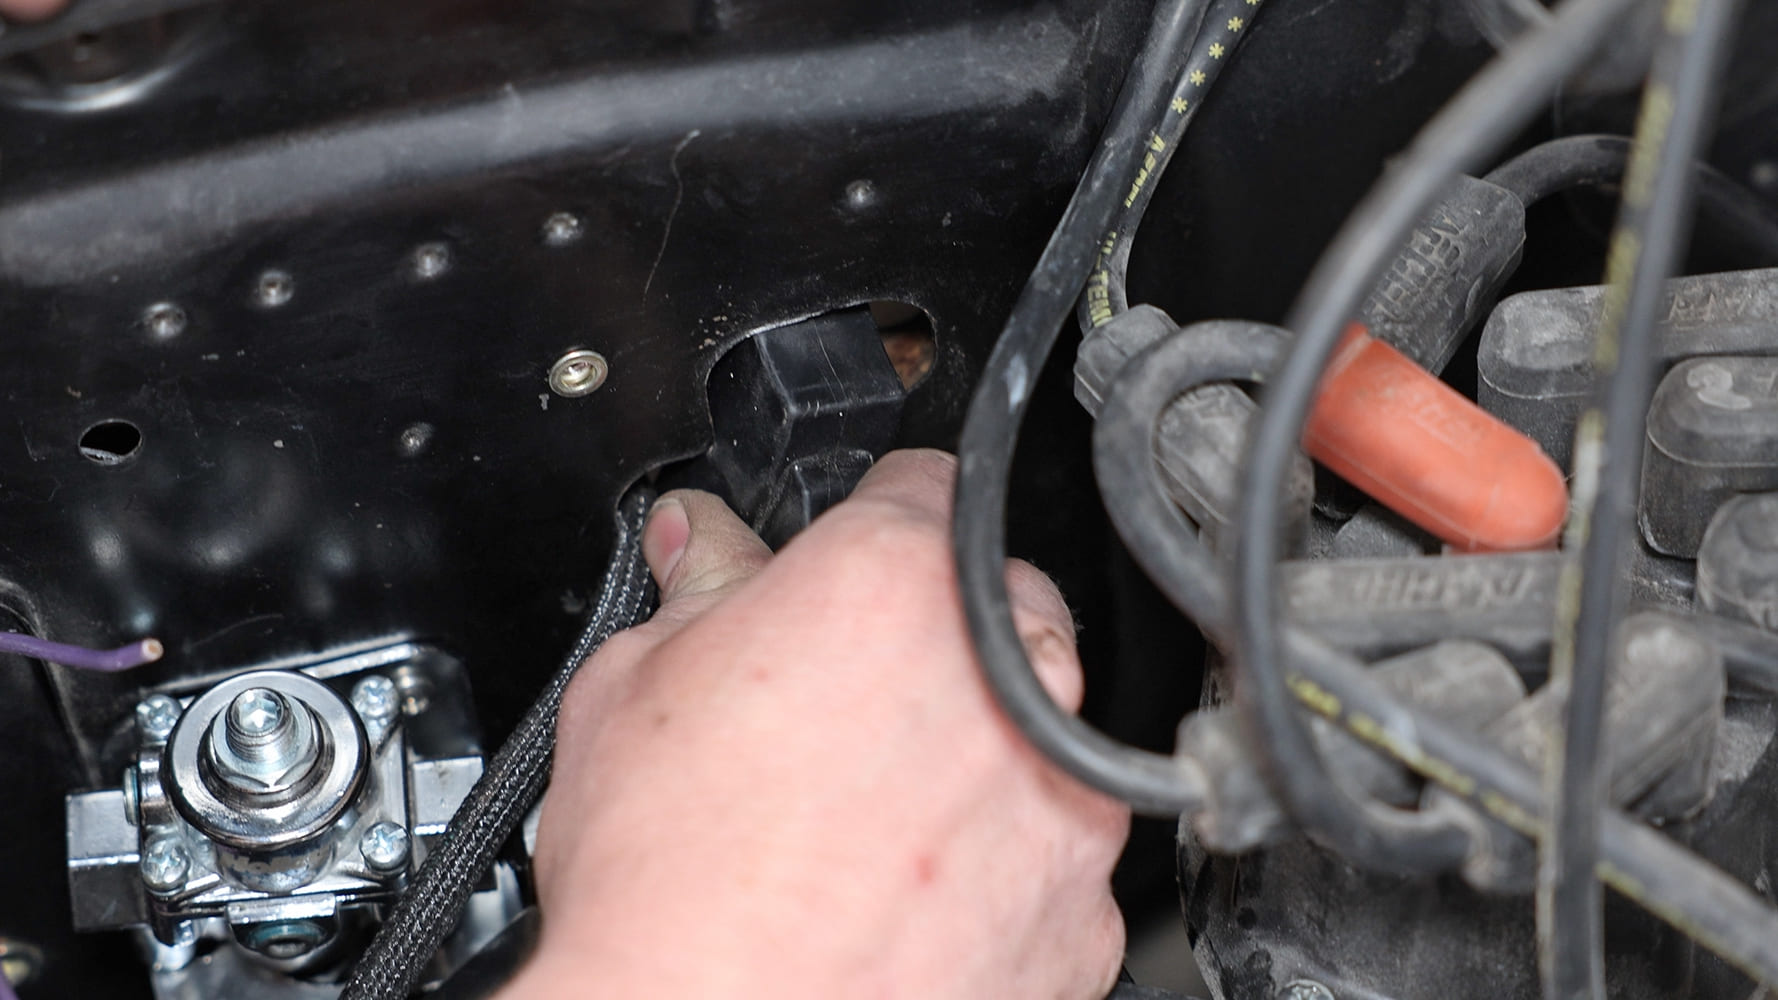
There are a few interesting features to the Sniper 2: The ECM is located in the throttle body, which is not new, but this throttle body looks really good. The issue is that the plug for the main harness is very large, as in over 3 inches wide. We were able to use the large hole in the center of the firewall for the A/C hoses, but you would have to cut a large hole otherwise. We made a custom aluminum grommet plate to cover the hole. We mounted the ignition box and PDM on the inside of the firewall on a plate that we made to fill the A/C box hole in the firewall. The car will eventually get an aftermarket A/C system.

Because we opted for the Hyperspark ignition package, the whole install is greatly simplified, as everything wires up to the PDM and there are only a handful of wires that must be wired up. No relays are needed as long as the fans and fuel pump do not exceed the amp ratings on the PDM. We were able to wire up 90 percent of the system on the bench. The distributor installs at TDC and that’s it. The rotor is locked in place with an alignment cap, which is removed after installation. This sets the timing at 0 degrees, and the ECM does the rest.
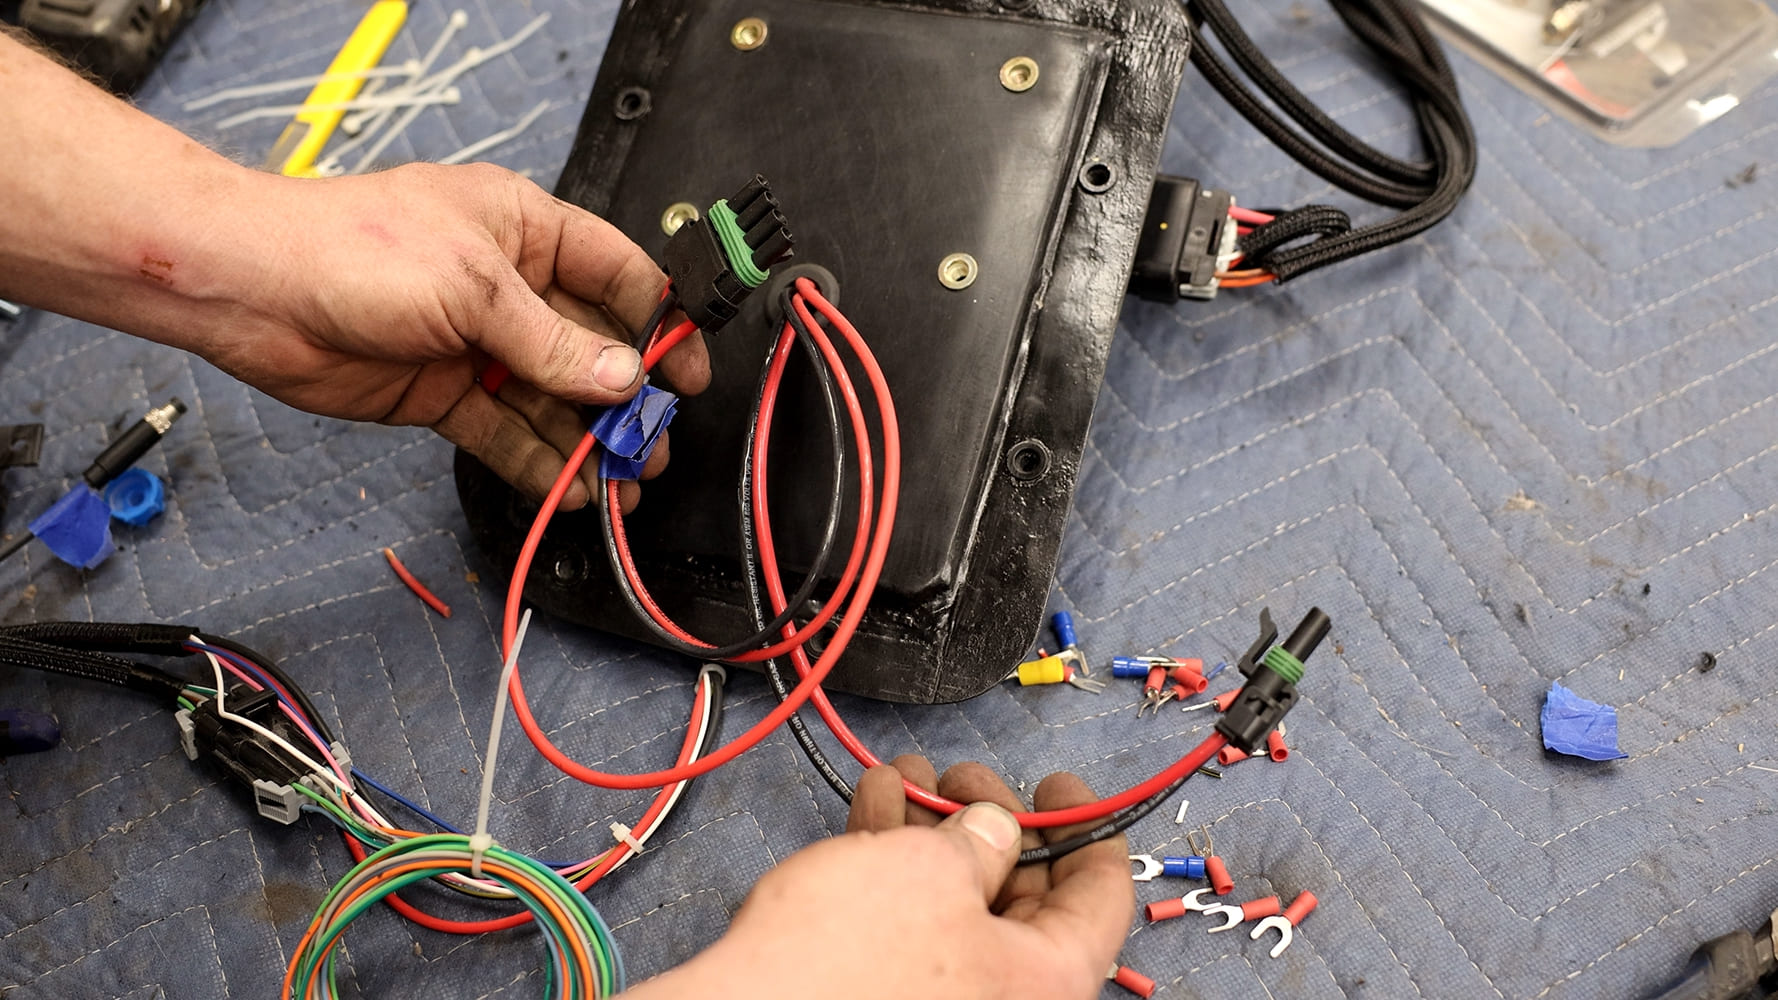
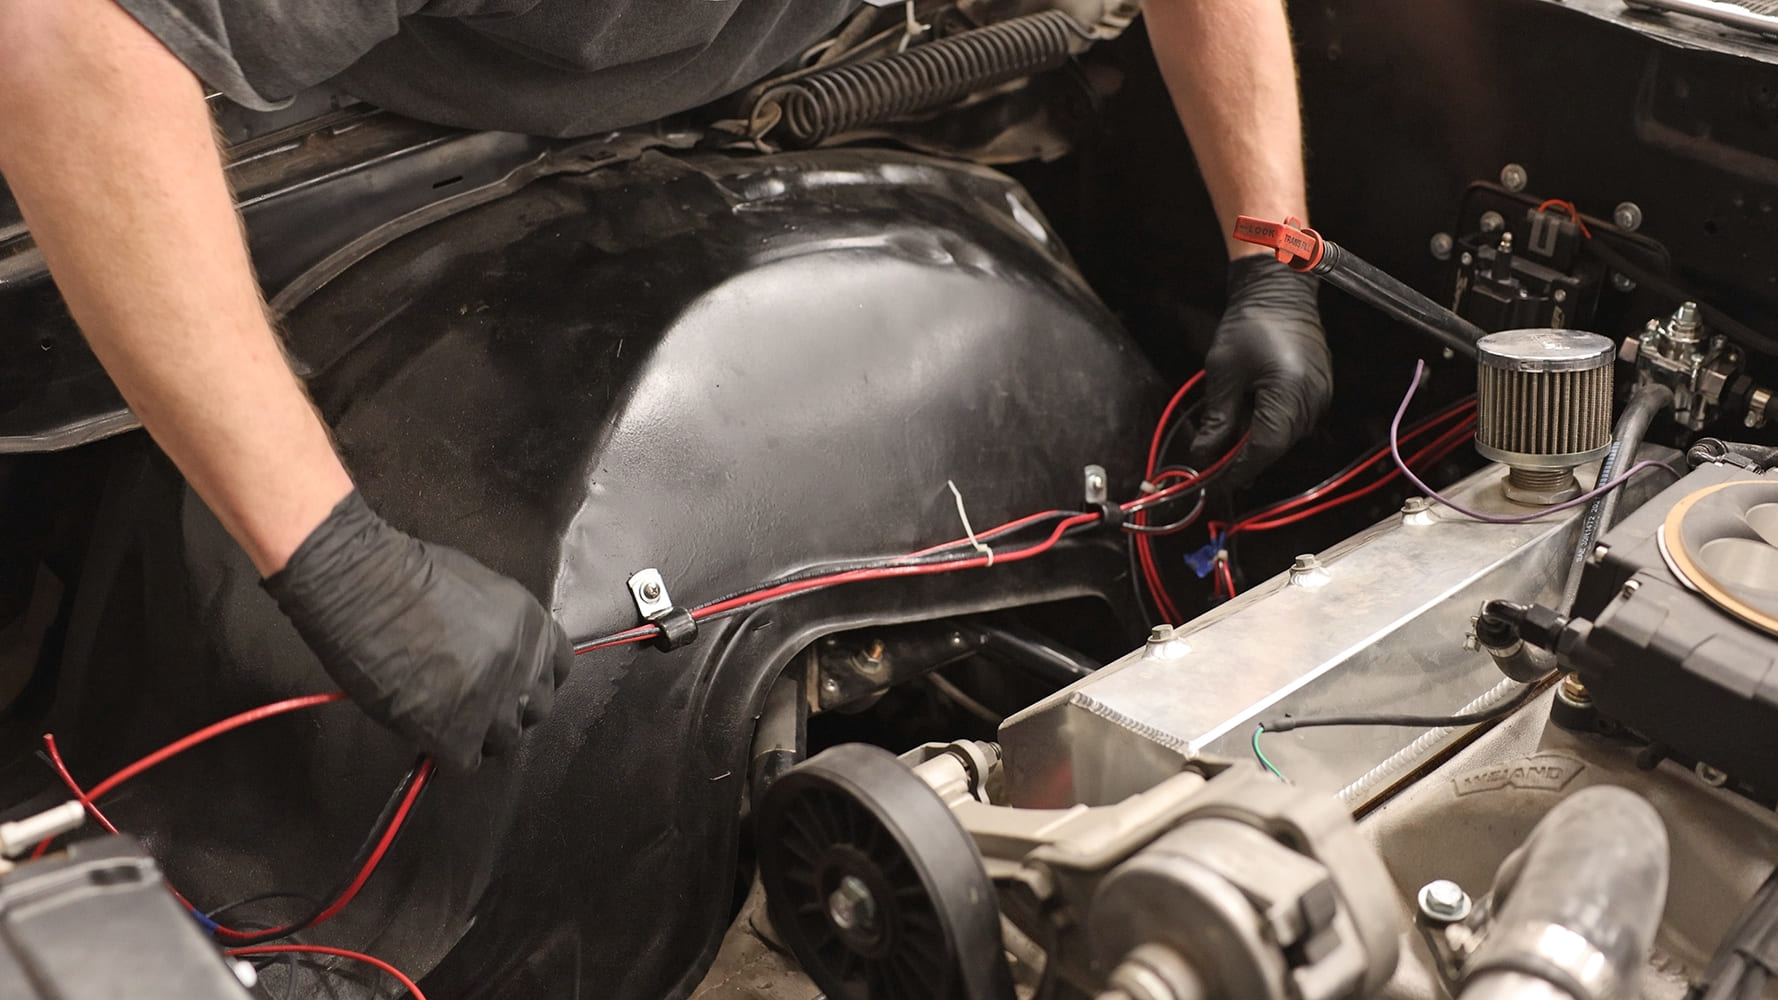
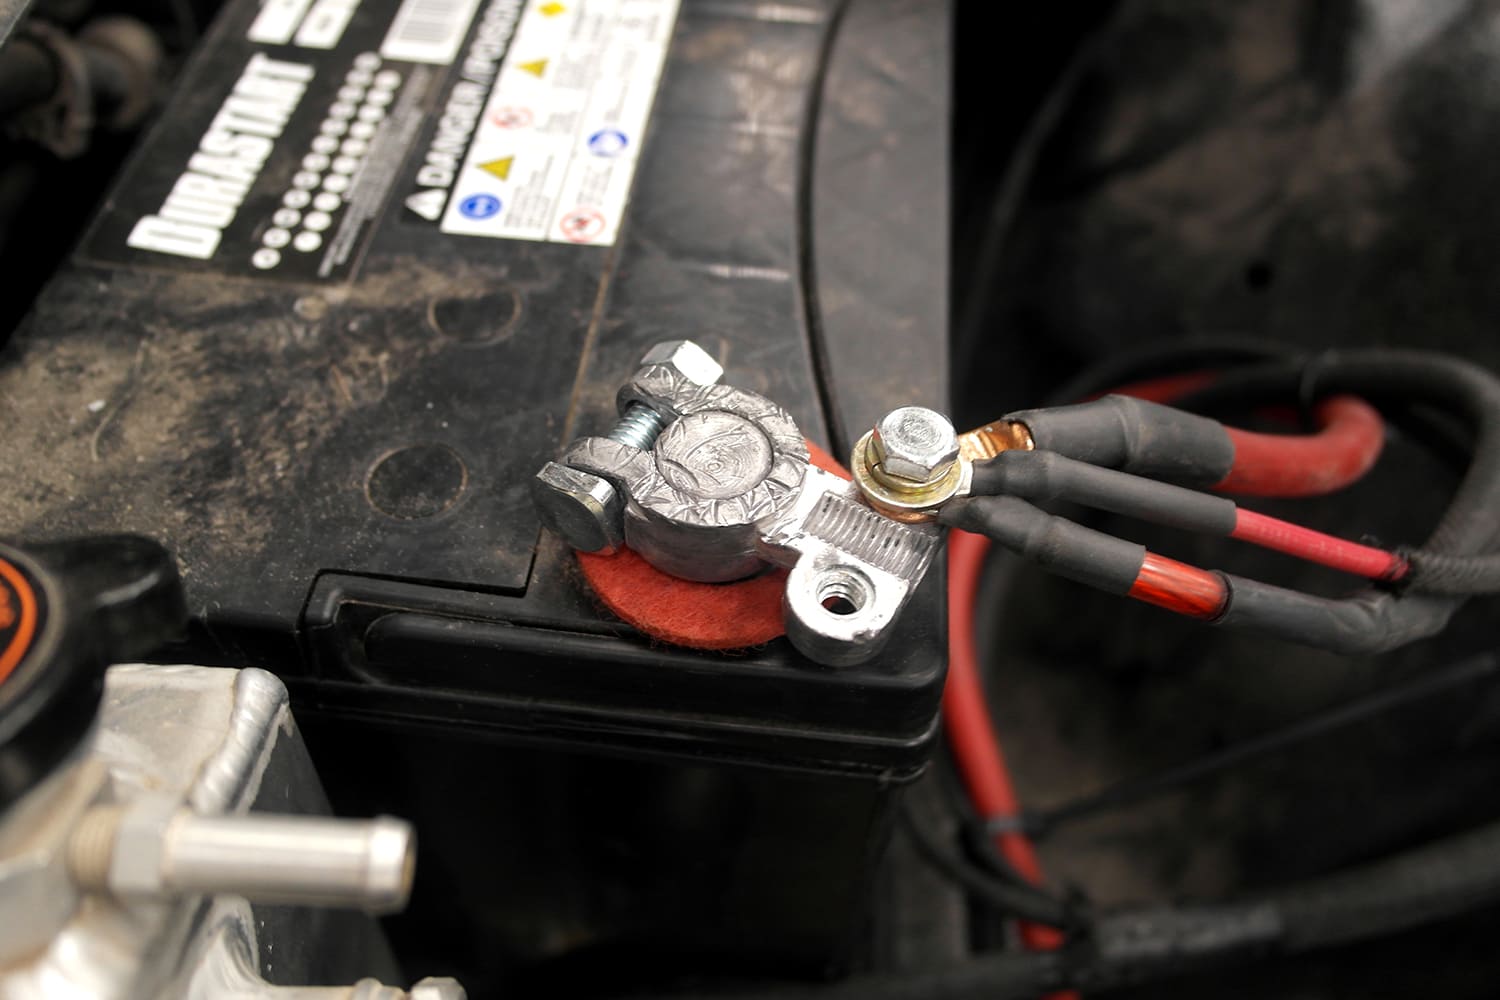
Wiring is always the most frustrating part for most gearheads, especially on an EFI system. The PDM module is super easy to wire up as it handles all the power and ground points, so you can eliminate the jumble of wires on the battery post, and because we put the unit under the dash, it is pretty clean as well. The PDM also has LEDs for troubleshooting. This leaves you with main power and ground, 12V-plus ignition, fuel pump, and fans to wire up. We highly recommend pre-wiring the unit on the bench before moving to the vehicle to get an idea of the routing and wire bundling for a clean install. The rest of the wiring is plug-and-play for the coil and sensors.
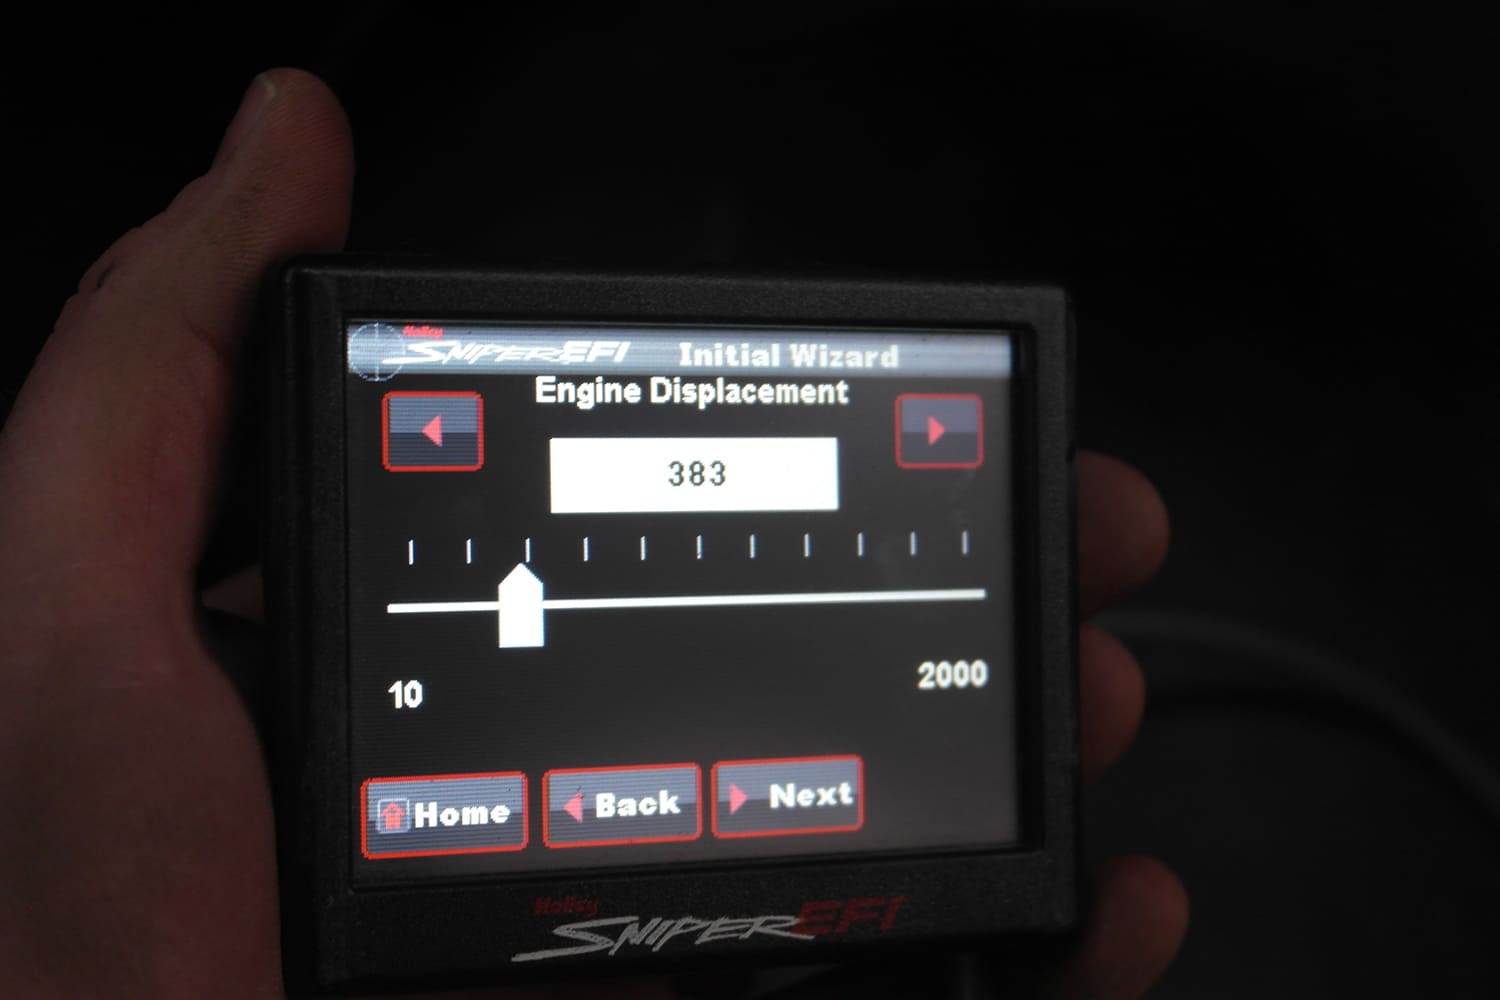
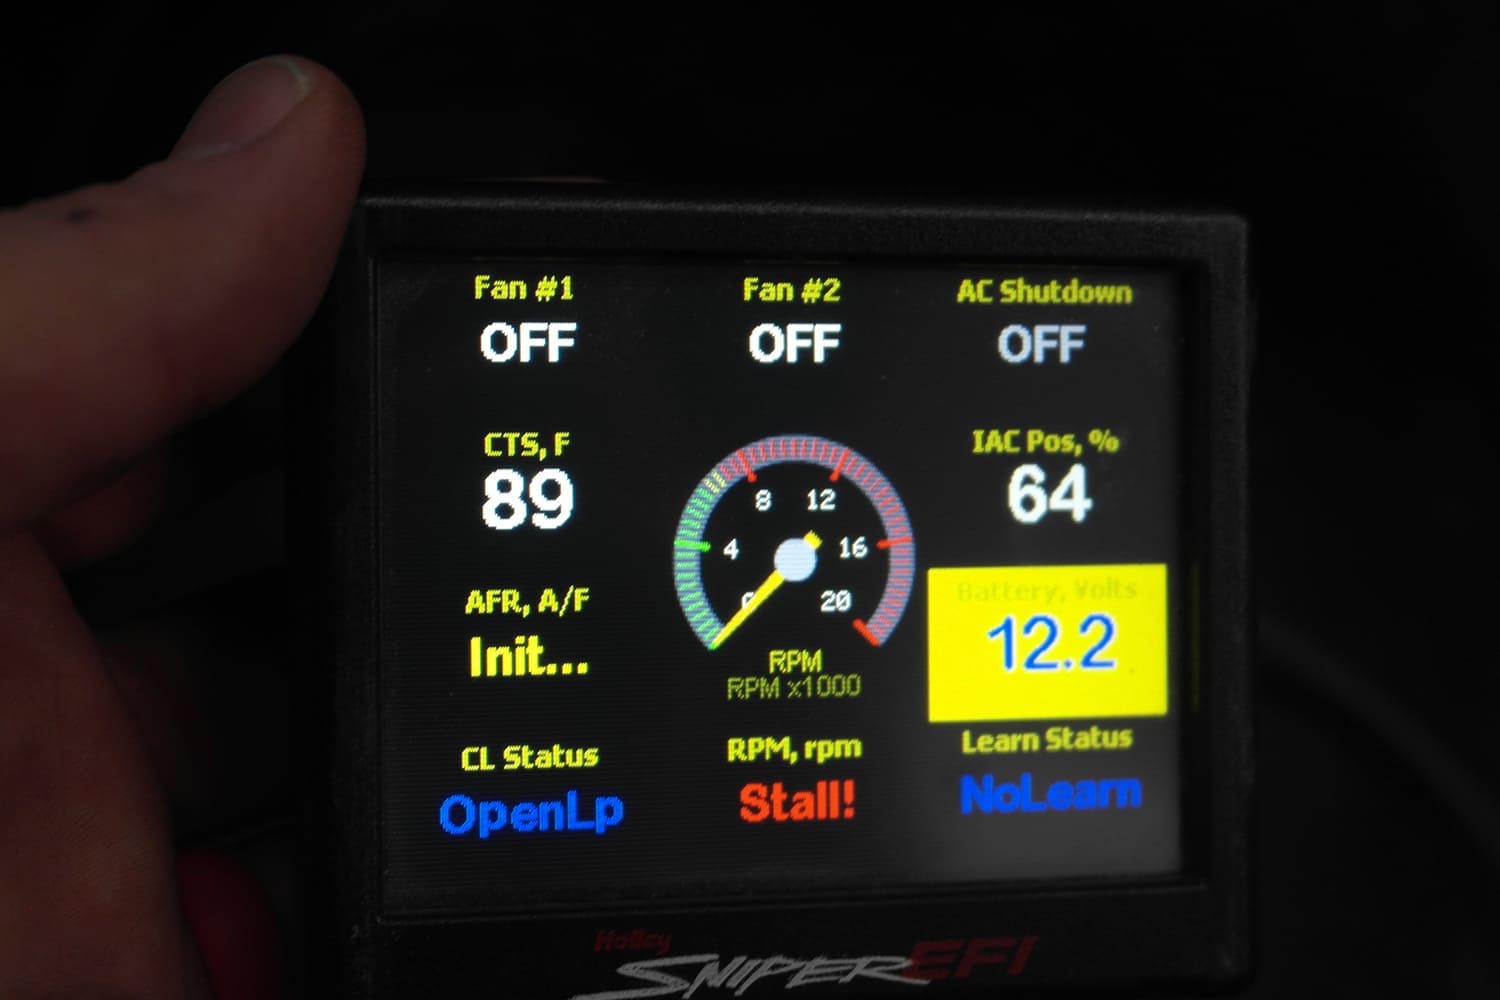
After finalizing the wiring we turned the key and the handheld powered up. There are 10 steps to programming the Sniper 2, selecting the basic engine parameters, a generic stock/street/race cam profile (based on vacuum, 8-13 inches use Street/Strip, 7 inches or less use Race), power adder, ignition, desired timing, and then save. Once the tune is saved, the engine is ready to start. As mentioned at the beginning of this article, we have installed a lot of EFI systems, aftermarket and OEM swaps. This is the first time any EFI system fired on the very first try—and in about three rotations at that. Color us impressed, it ran well off that base tune, wasn’t pig rich like most initial starts are, and the idle smoothed out quickly. This is a self-tuning system, so over the next 1,000-1,500 miles, the engine will run better. You can also tune the ECM with a laptop, which allows you to access the advanced menus for fuel and timing maps, and so on.
Sniper 2 supports up to 650 hp NA or 575 hp with boost. This kit is simple enough to install over a weekend, so you can drive it to work on Monday. Fuel injection systems can be very complicated, but Holley has this one fully sorted; it is easier than you might think to install the full system. If you have been considering an EFI conversion for your carbureted engine, fix your crosshairs on the Sniper 2. It is a great all-in-one TBI kit.

Check out this story in our digital edition here.
Source
Holley Performance Brands
(866) 464-6553
holley.com


