


By Kenneth “Stress Ball” DeKissere – Images by Camren Beattie
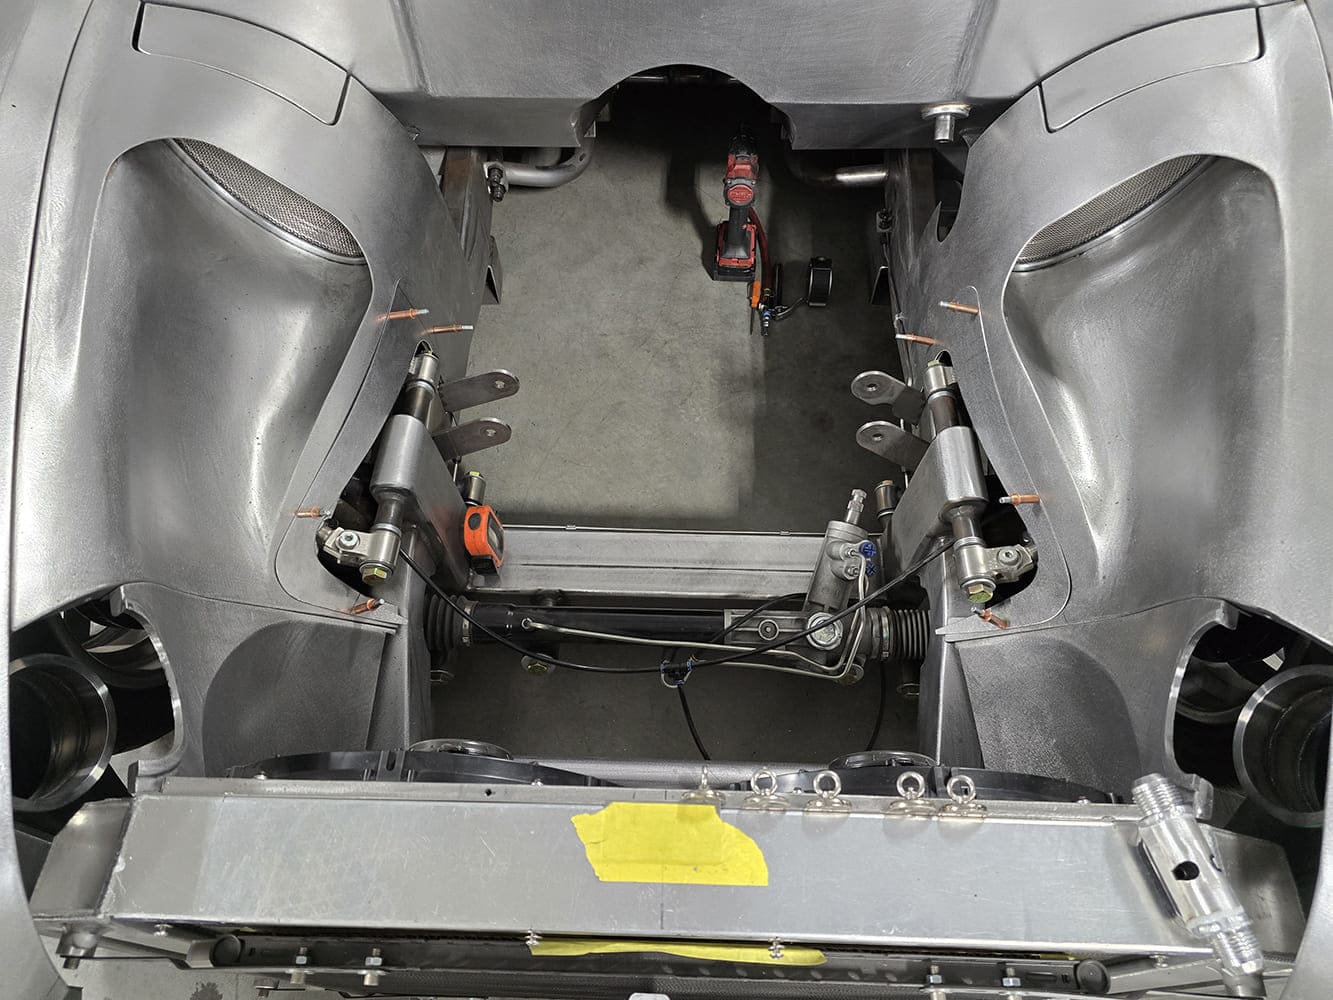
Editor Rob keeps nudging me to write another article for you guys on the truck, so let’s talk about some of the final engine bay details. With only a couple weeks before Scott’s Hotrods ’N Customs’ Open House, I decided to completely rip all the front sheetmetal off the truck and rip out the 1,100hp Wegner Motorsports 427 LS and TREMEC six-speed. This allowed me all the room in the world to weld up all the miscellaneous holes left on the firewall and toeboards, as well as fully weld in and silicon bronze the steering column mount. I added some center gussets to the motor mounts and then put the front flip back on so I could figure out how I wanted to finish out the bottom of the inner fenders and surrounding filler panels.
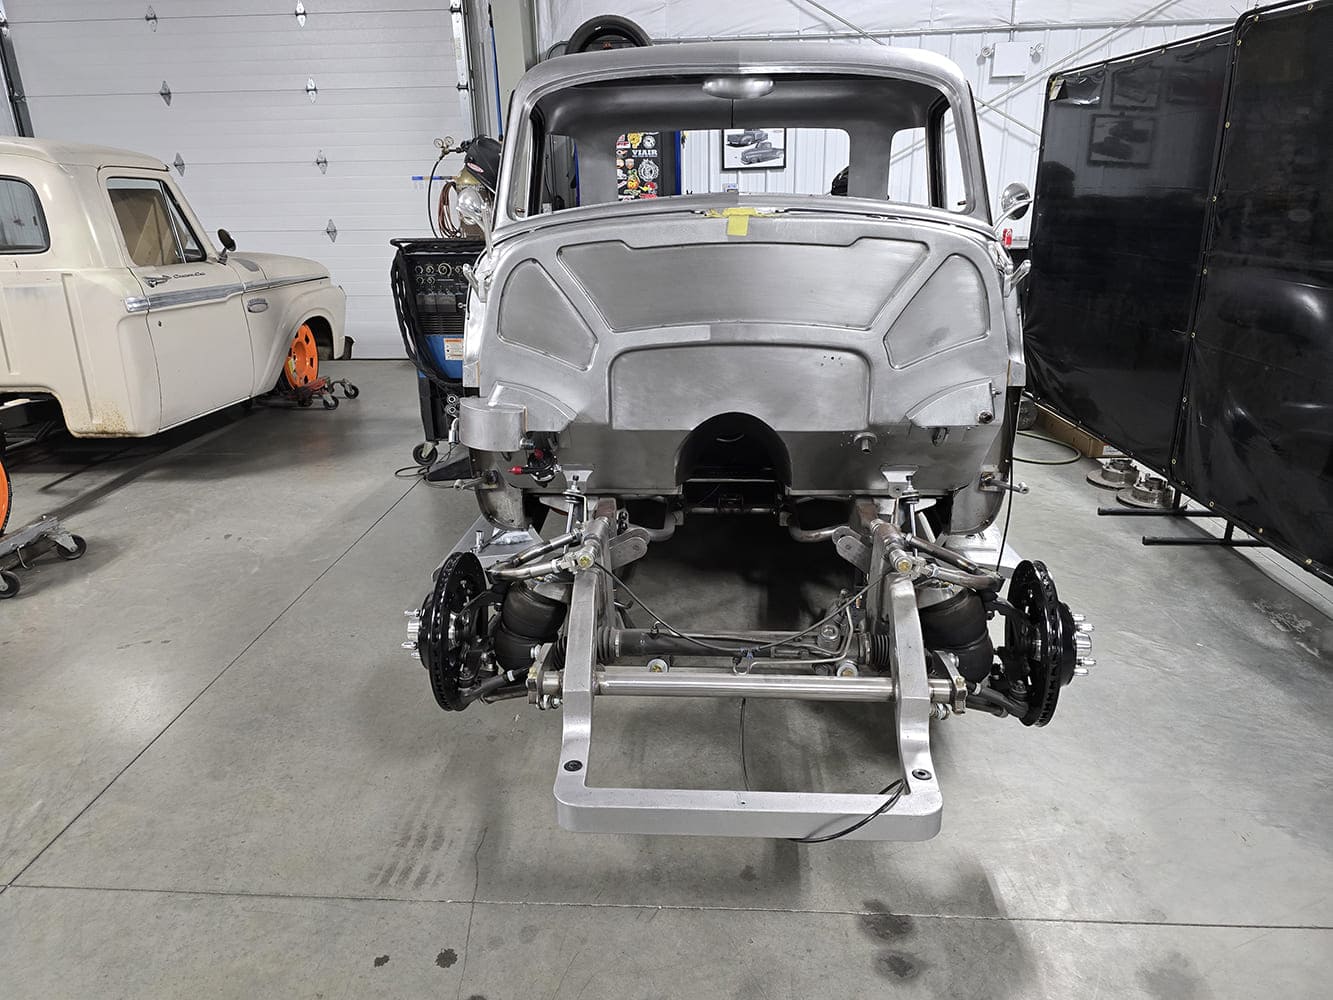
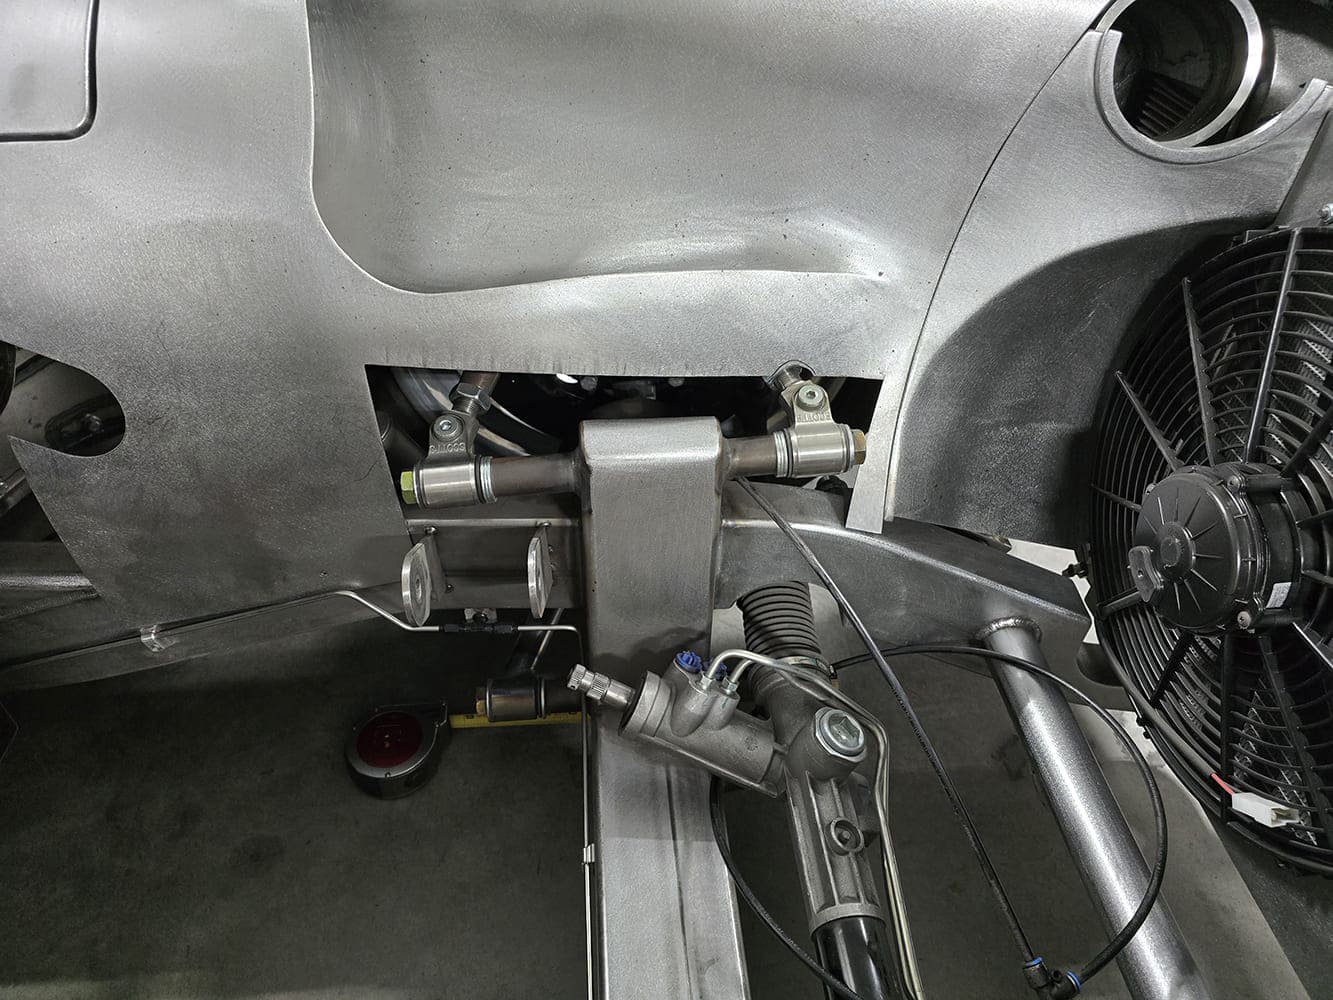
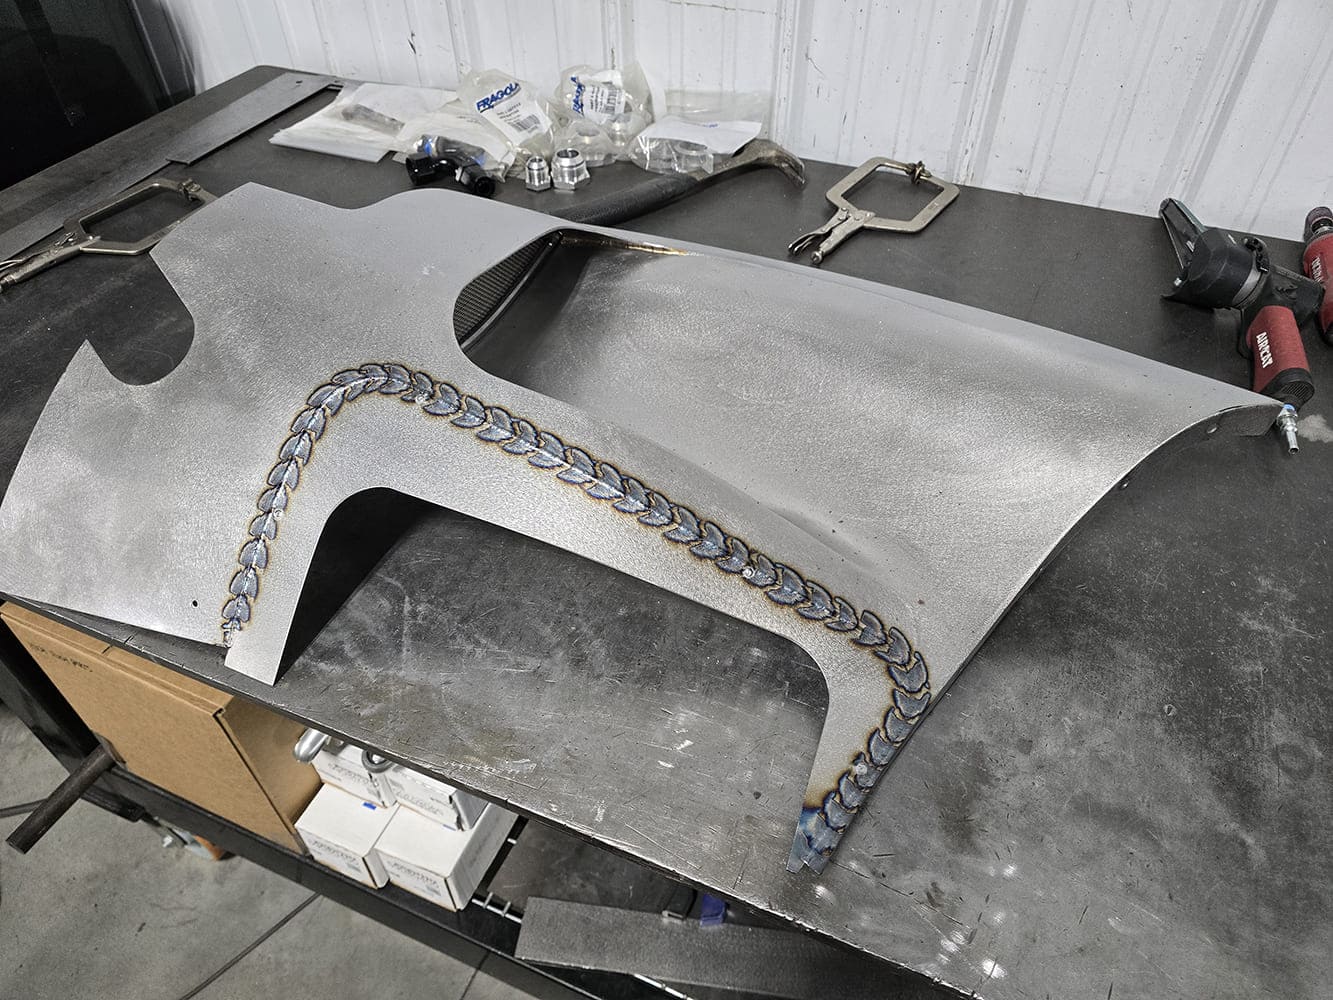
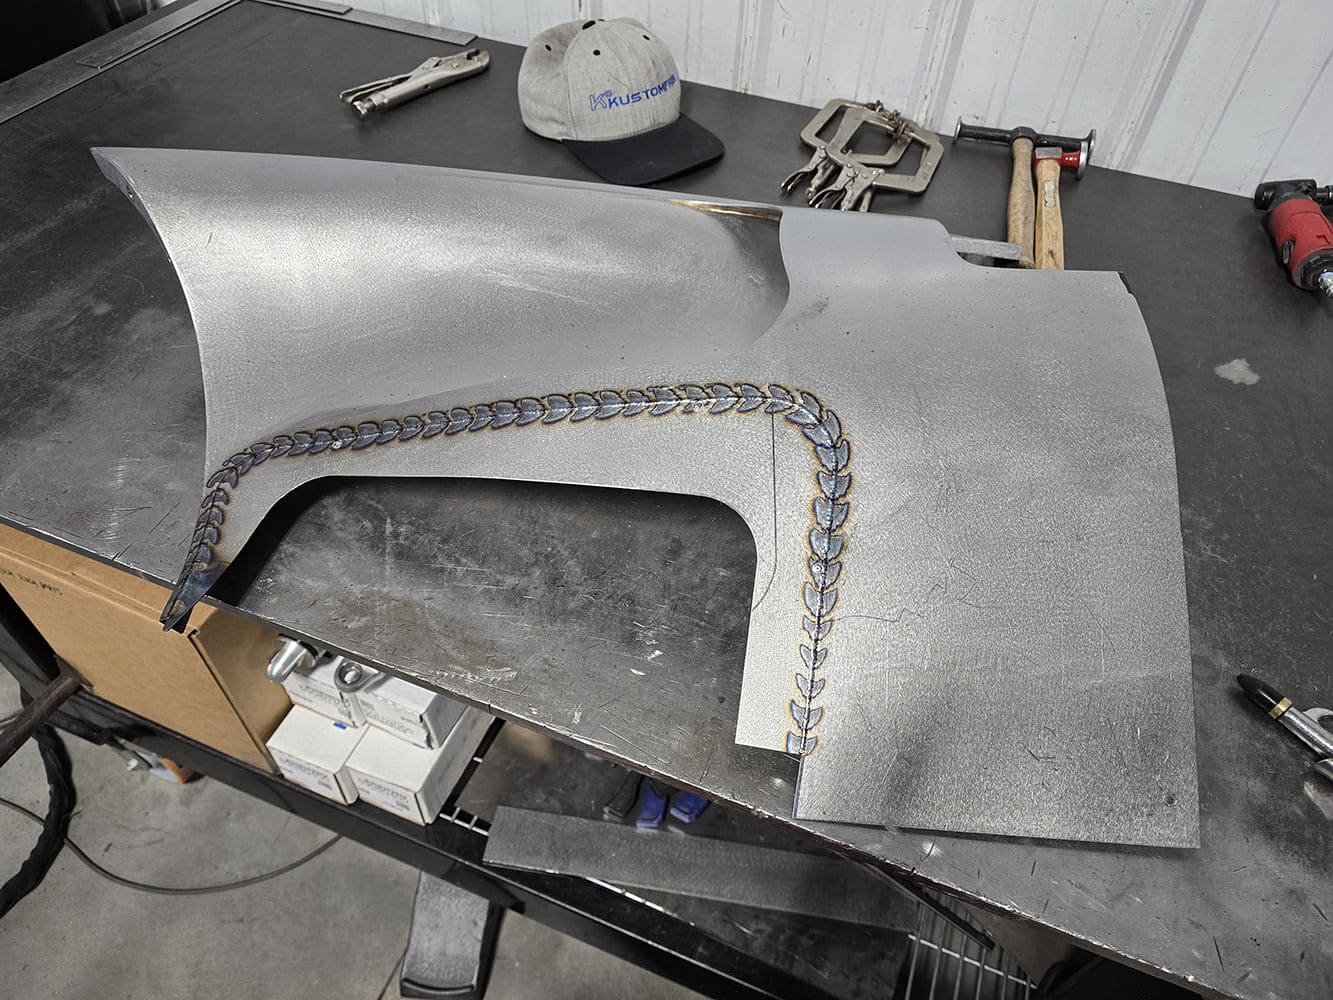
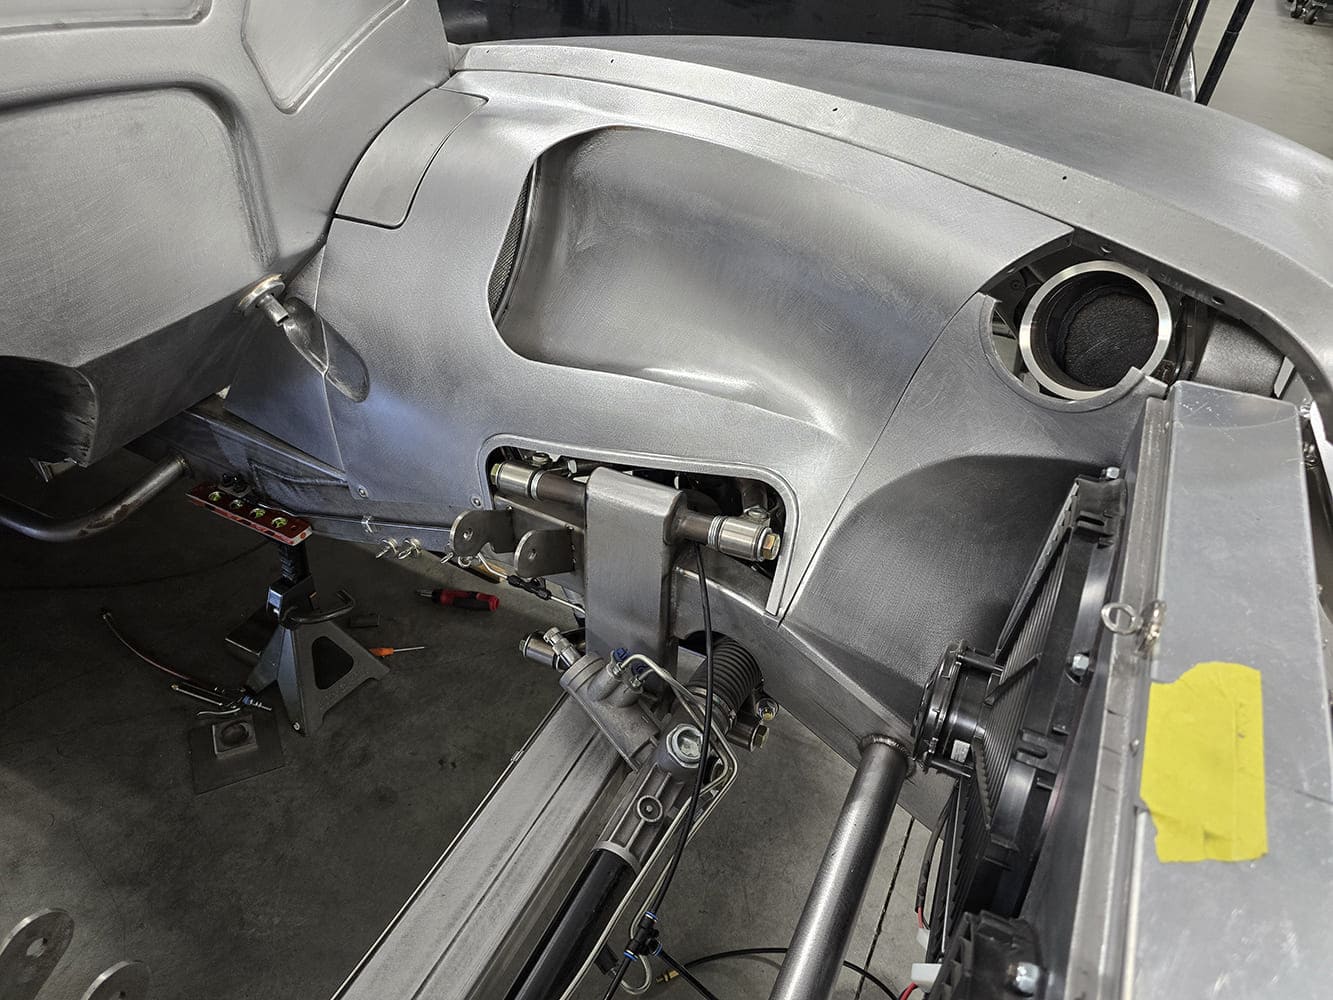
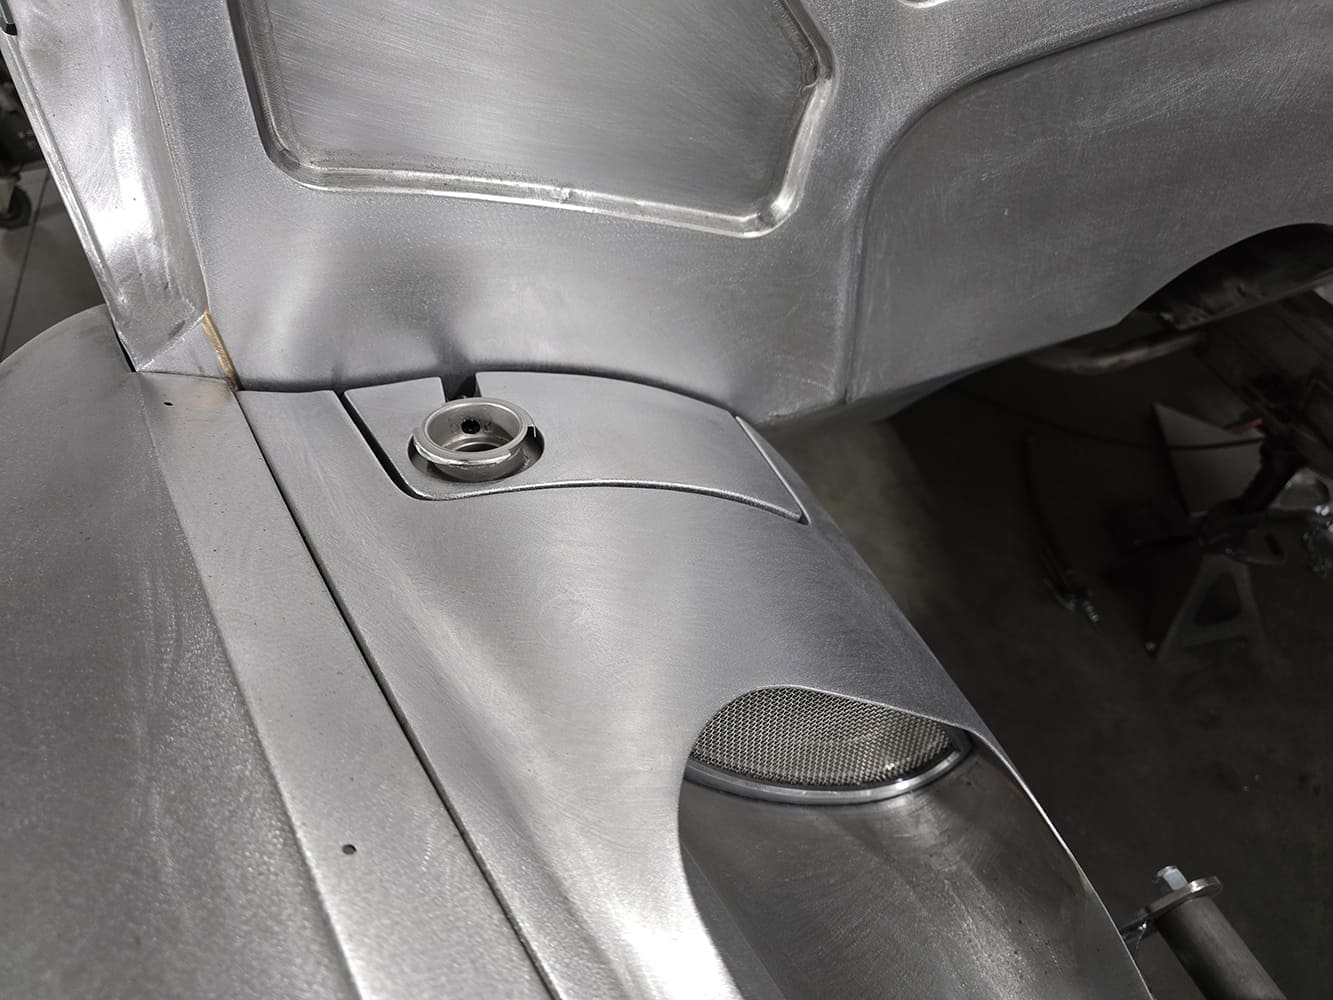
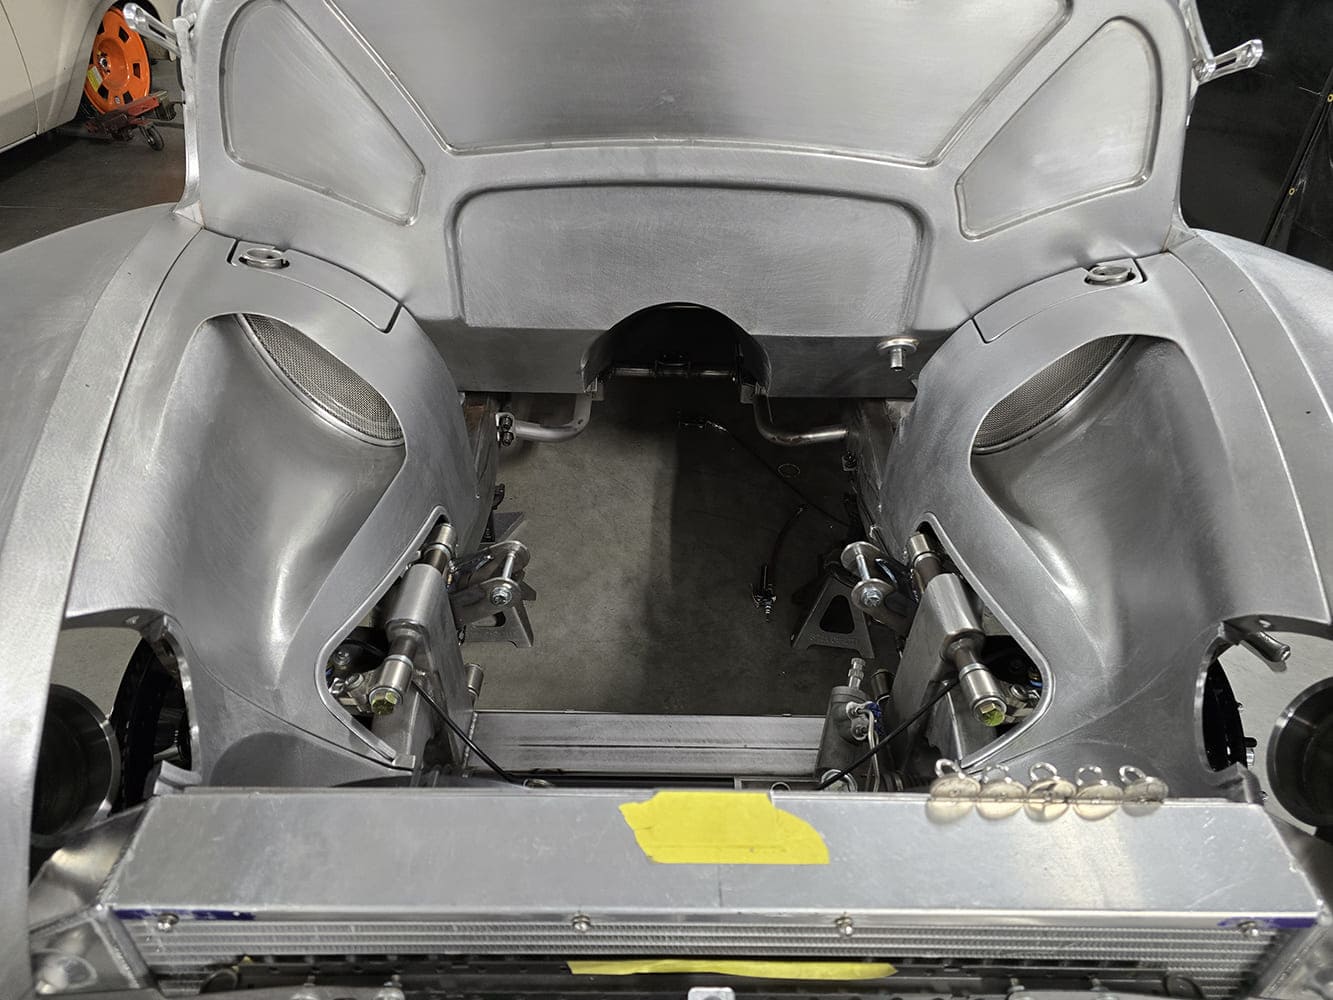
I originally wanted to build covers to fully cover the upper control arms and top of the crossmember, but the engine bay is pretty tight with the headers installed, so I opted to leave the space open as usual. I shaped up a quick piece that conformed to the shape of the inner fender with the opening shape that I liked, then clecoed each piece on to make sure I liked the result. With everything looking good, I cut in, welded the pieces in, and then made the new stepped bottom sections for the front filler panels surrounding the electric fans to cover the framerail. Once those were finished, I made some trim rings for the control arm openings just to add a little bit more detail. From there, I made the rear filler panels as well as a clearance pocket to gain a little more room for the top steering joint.
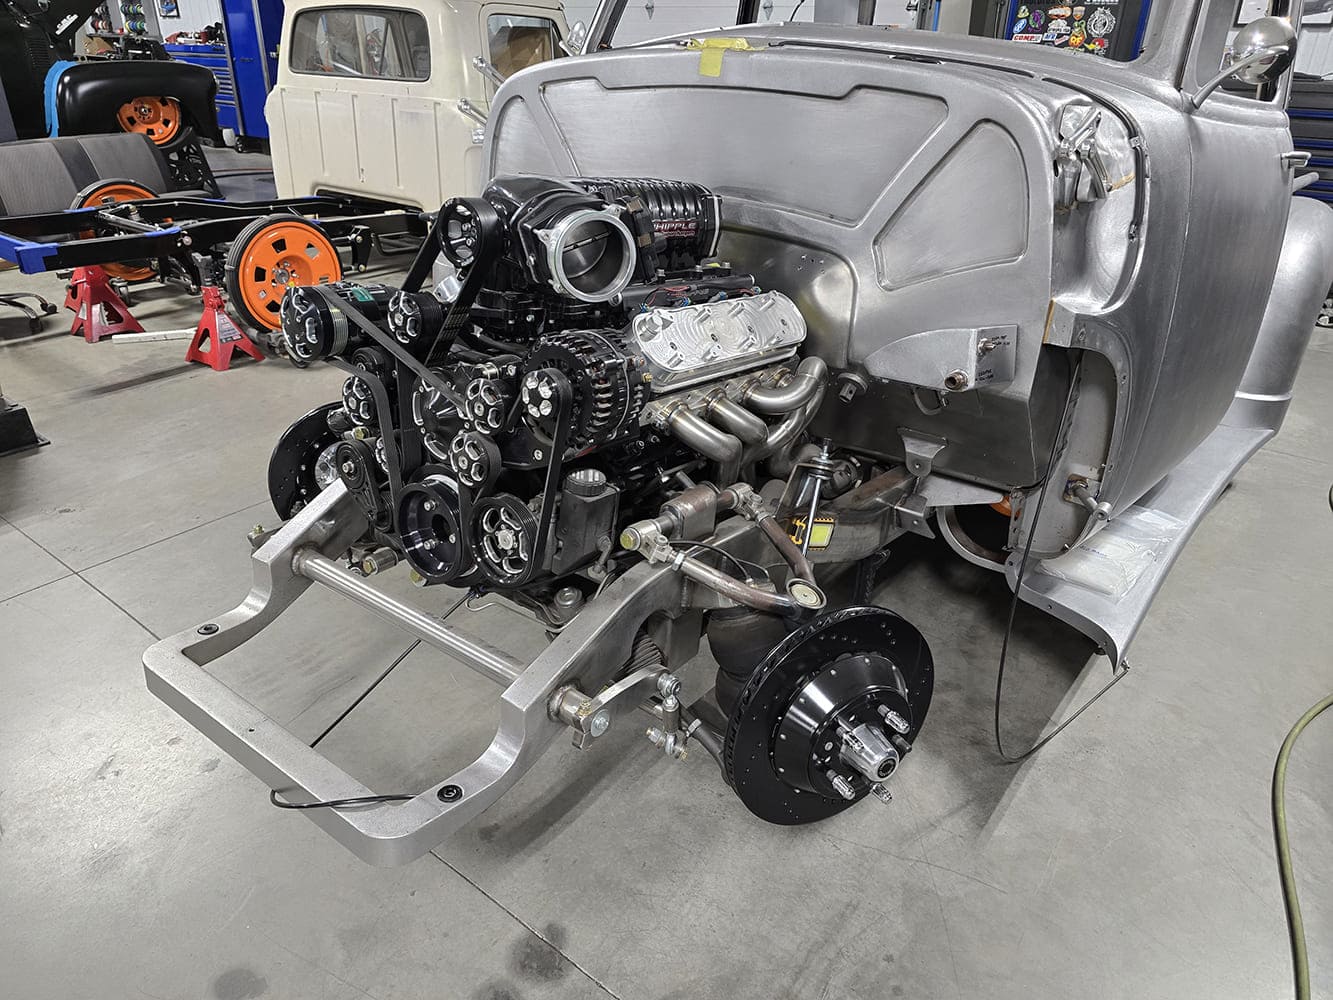
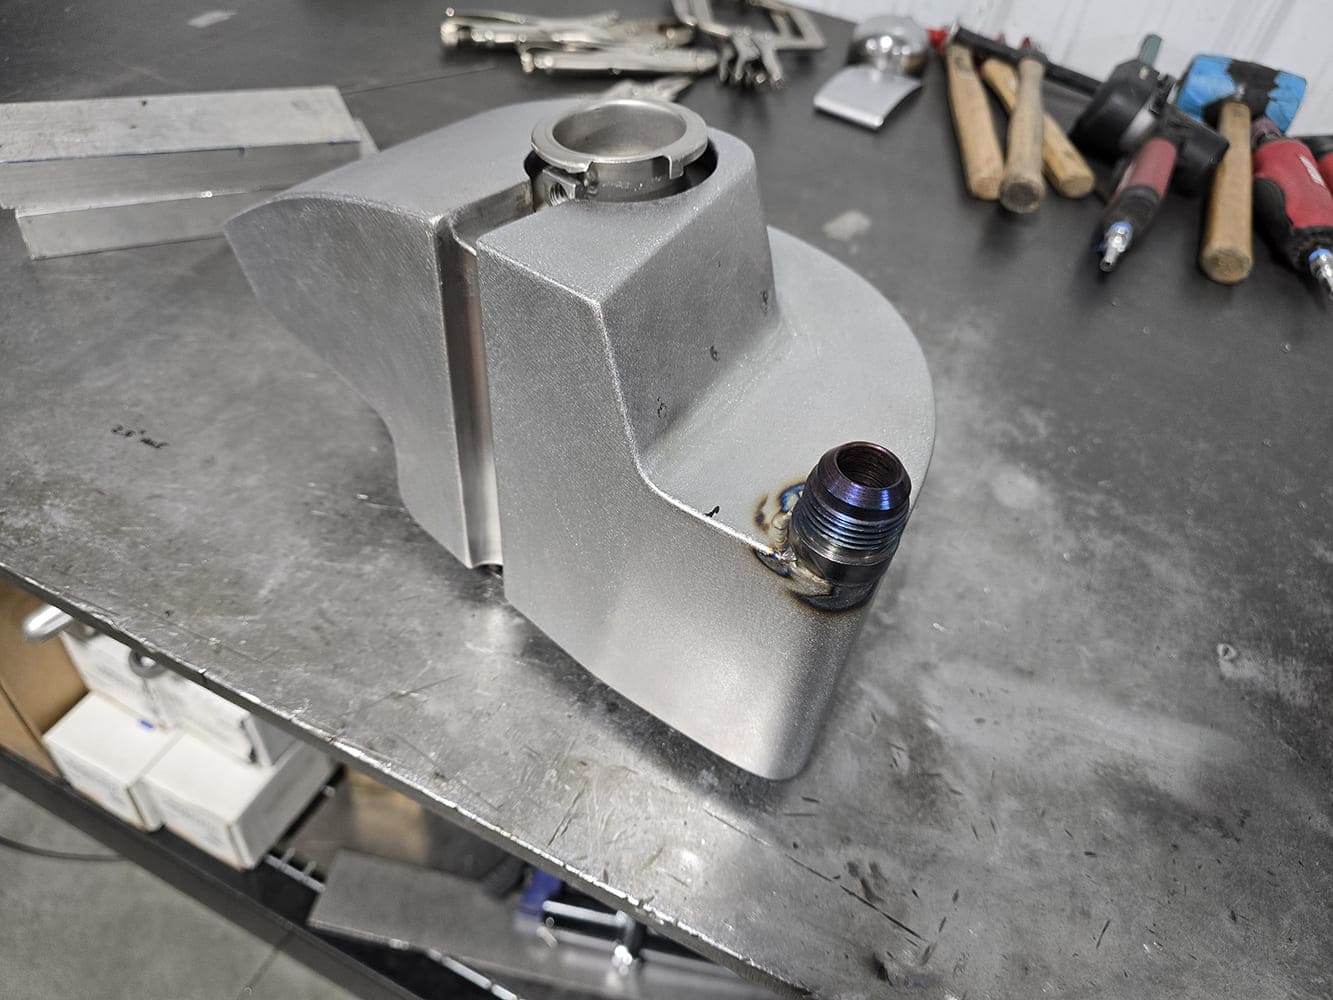
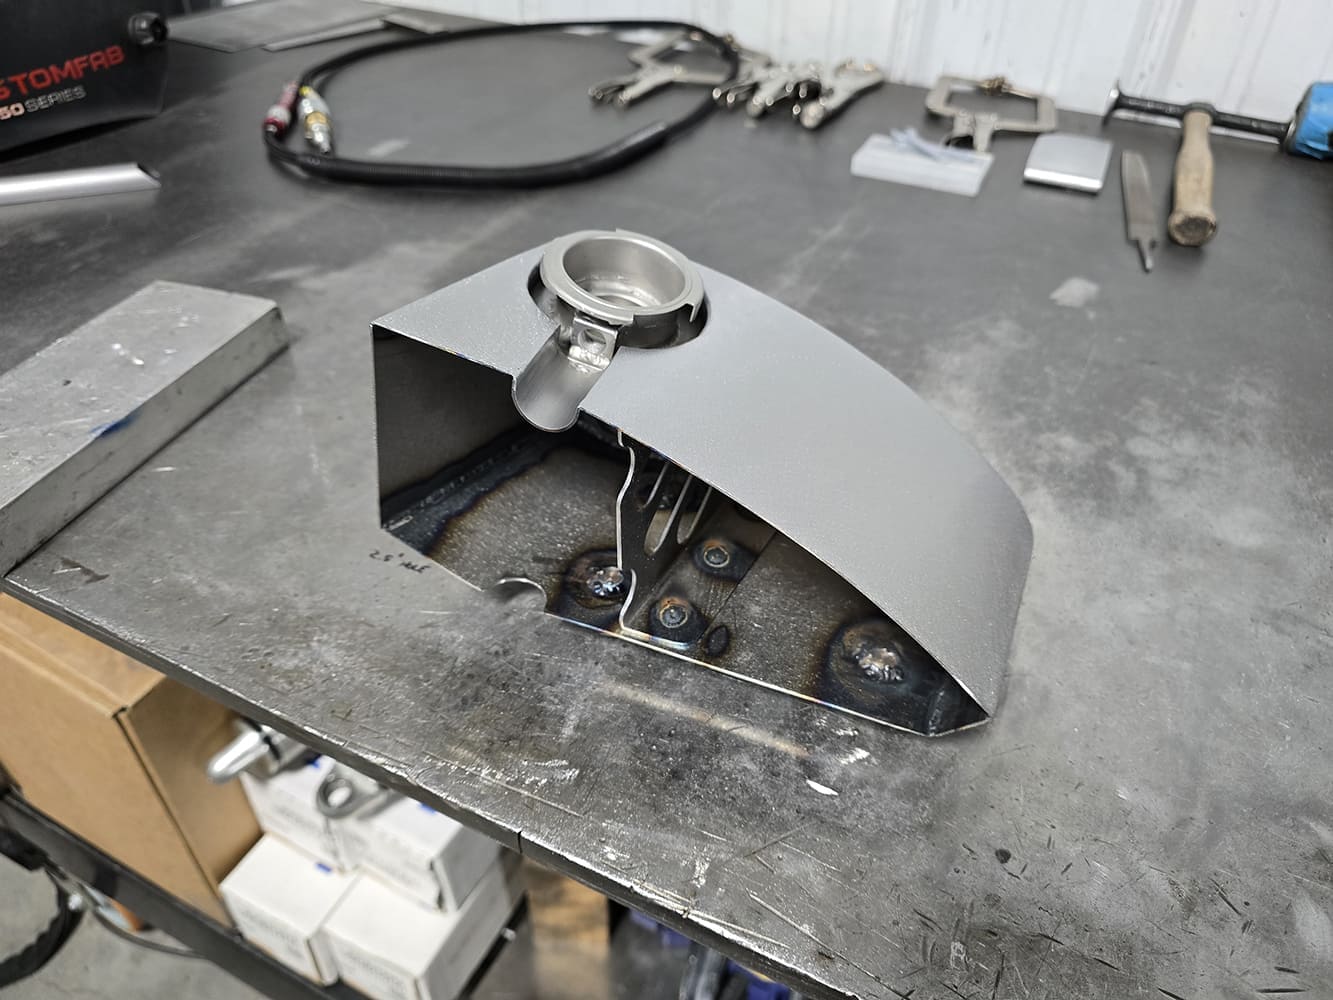
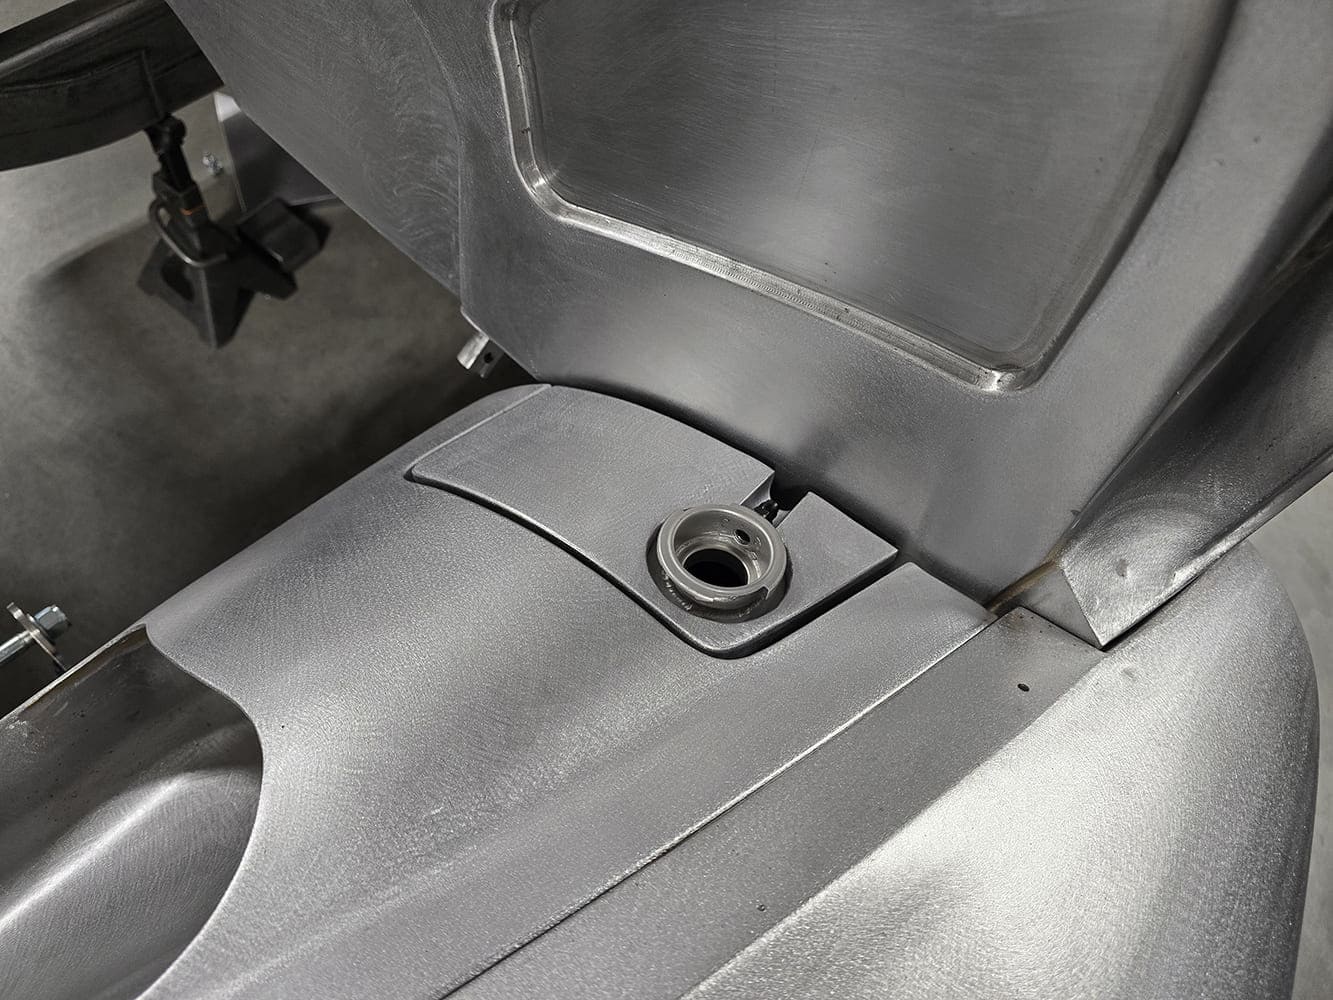
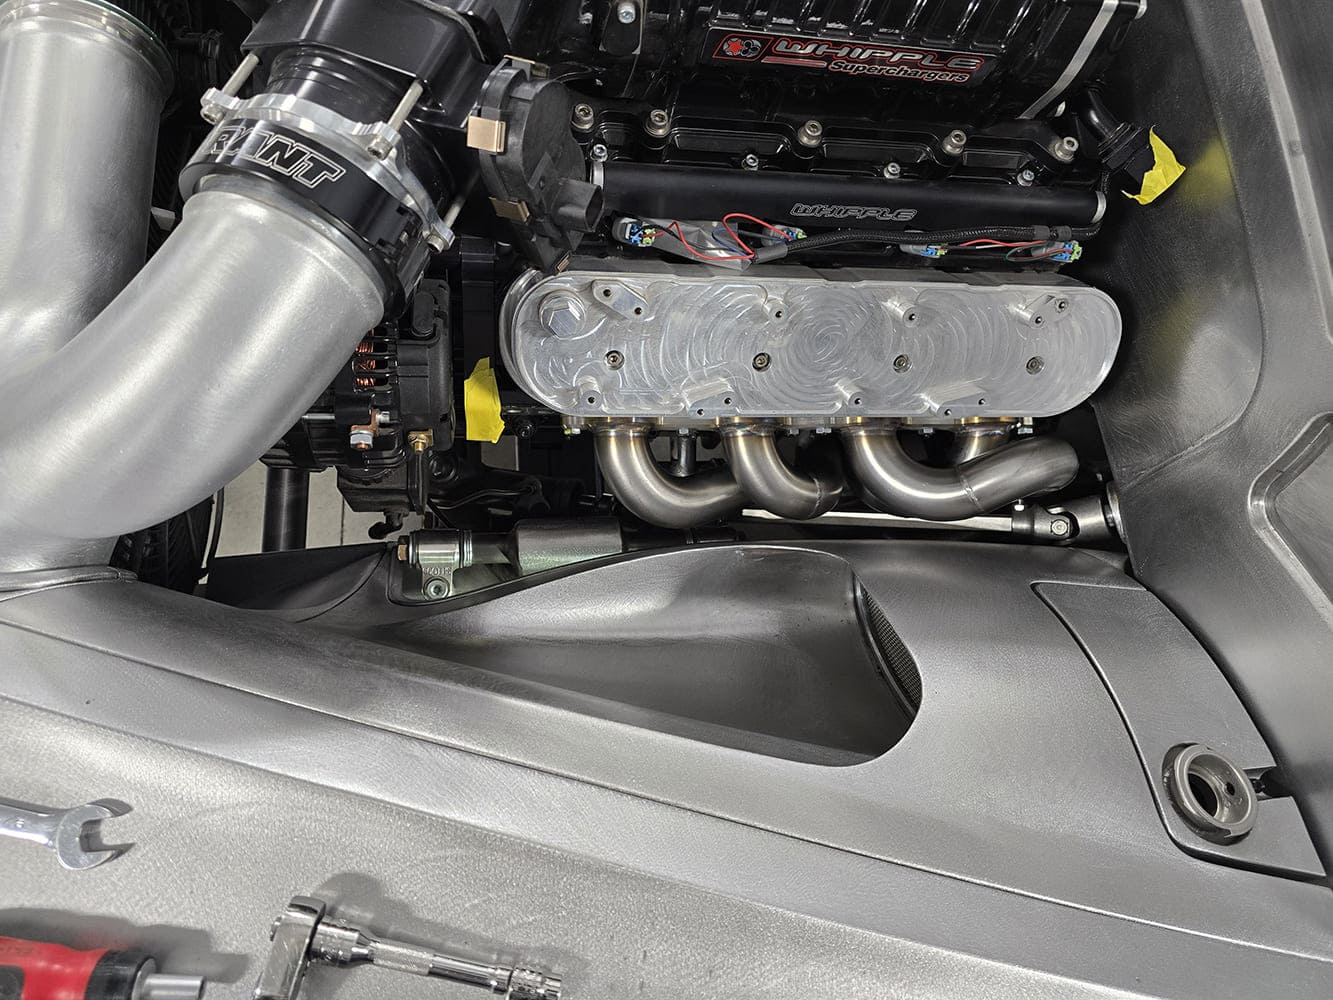
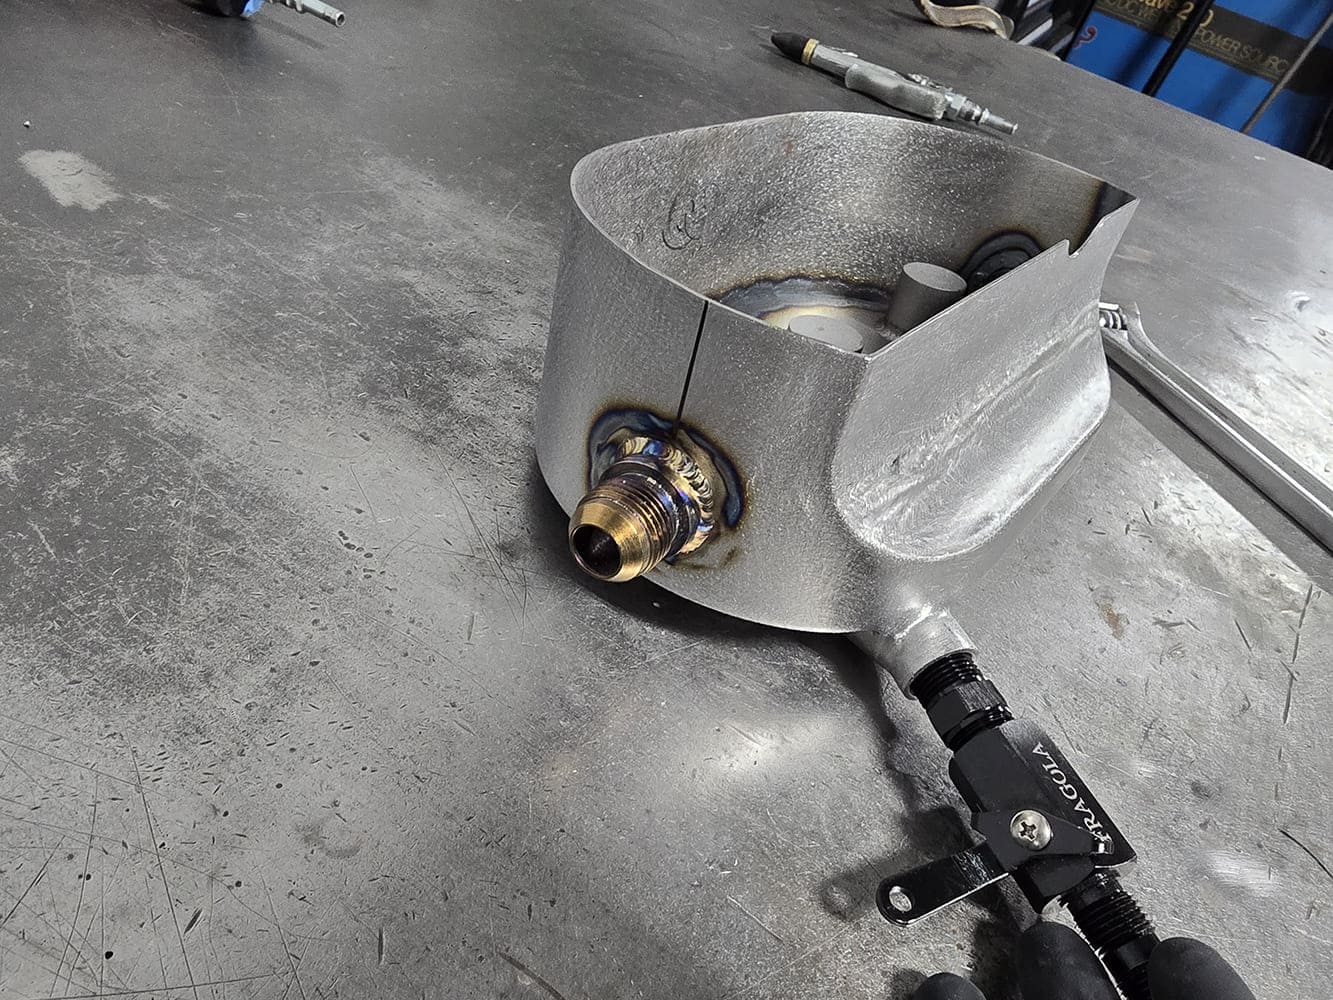
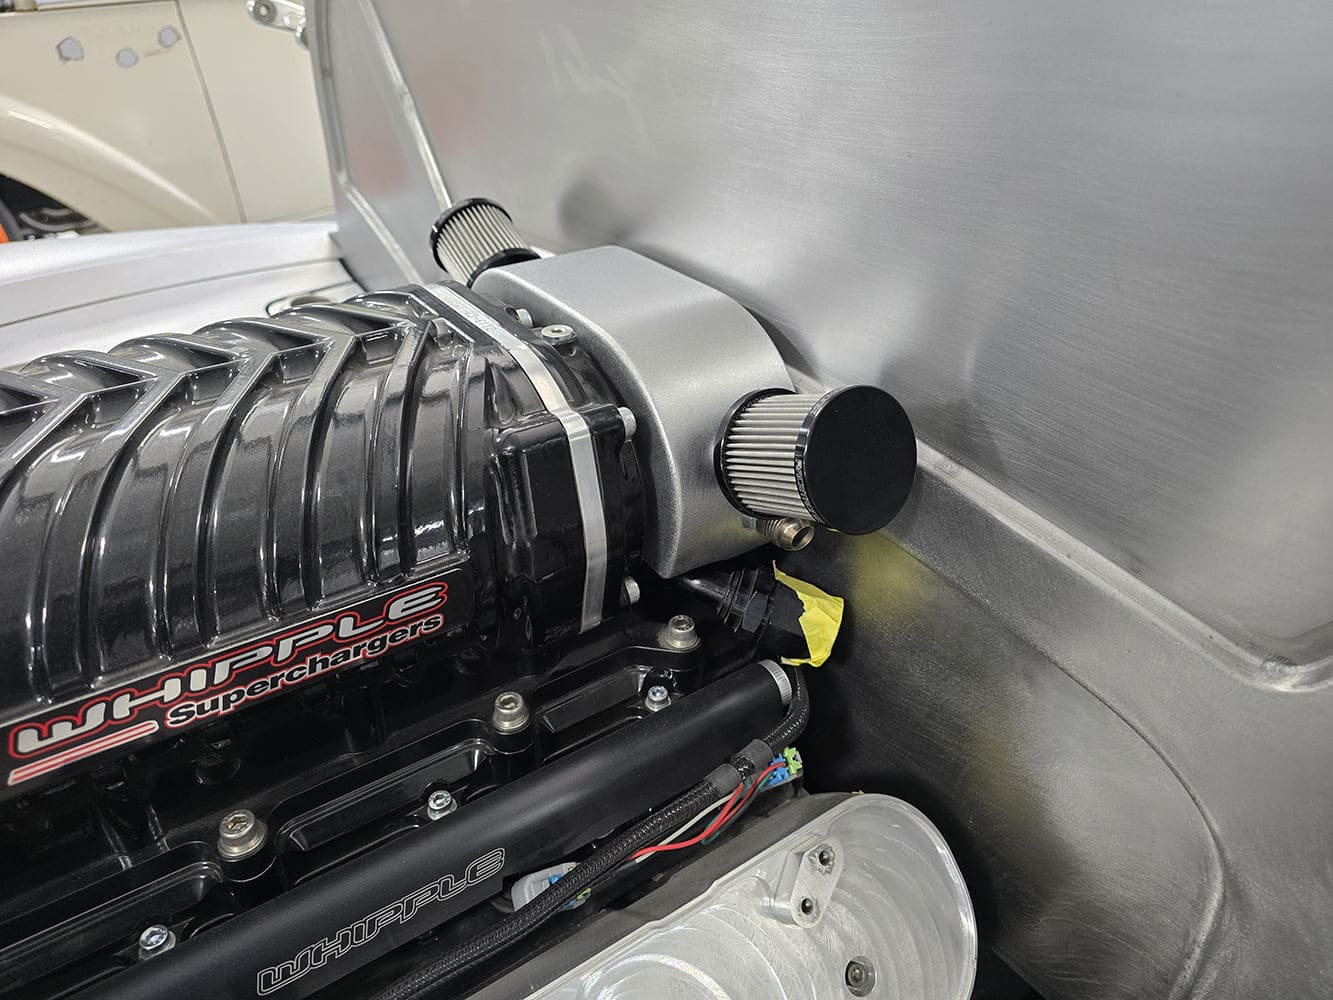
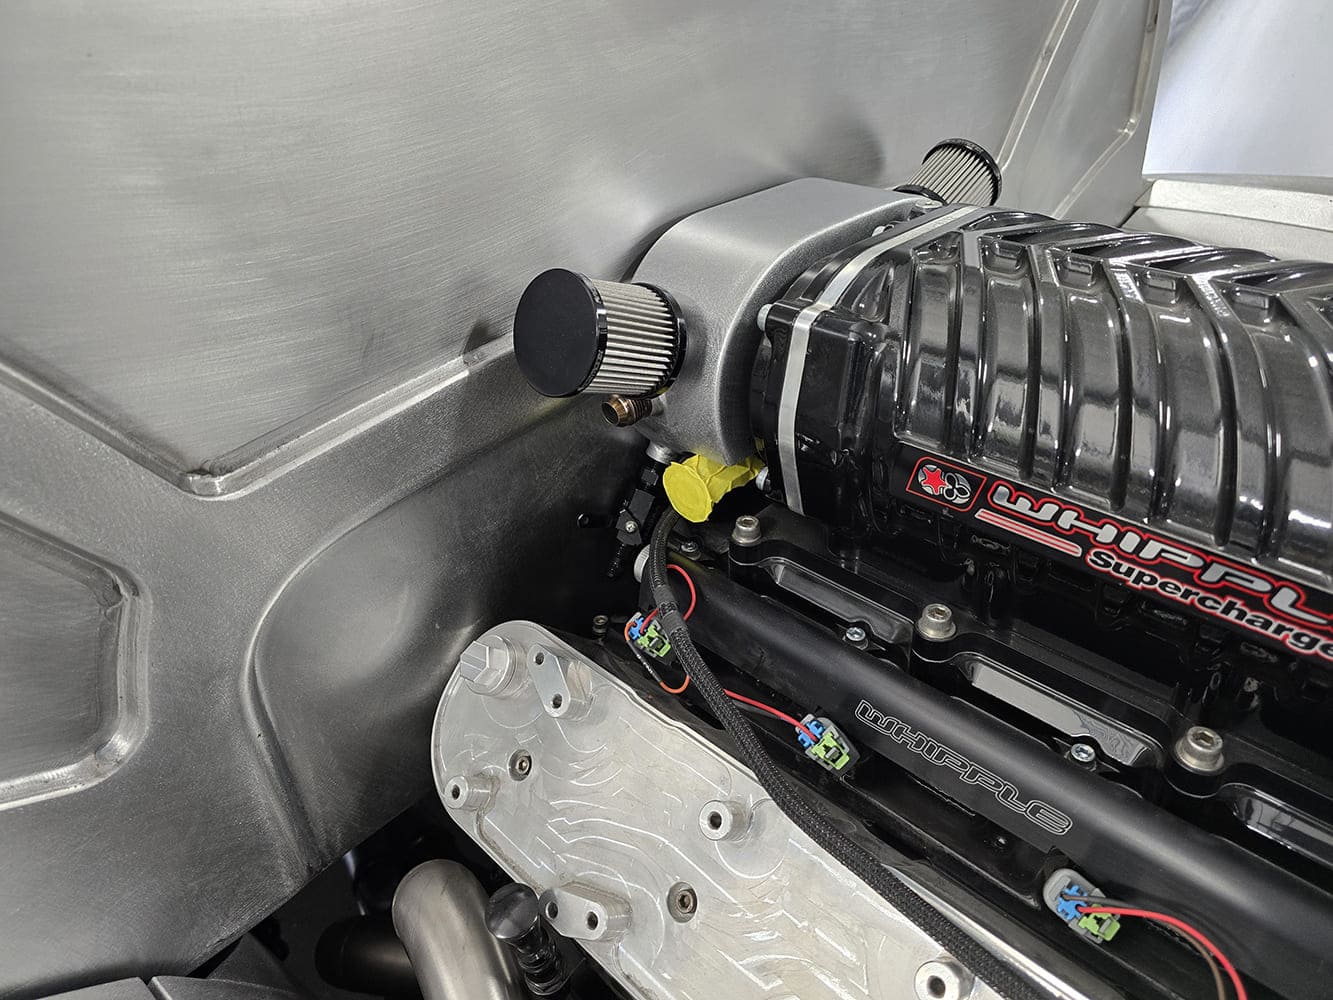
After getting the inner fenders and surrounding filler panels wrapped up, I moved onto finishing the supercharger and radiator coolant tanks. I made recessed pockets for the filler caps with a channel wrapping around the backside of both tanks so we could route the -3AN overflow lines cleanly. Once the fill caps were finished and welded in, I welded on all remaining AN ports for both tanks, made and welded in the interior baffles, and then welded on the back of each tank, fully sealing them up. And yes, they are made from steel, but don’t worry, we will be treating the insides of both tanks, as well as the catch can, with POR-15. I made the tanks out of steel not only because I’m more comfortable with it, but also because a lot of the details are just really difficult to shape and form out of aluminum, not to mention all the metal finishing. Once these tanks were finished, I started building the catch can much in the same fashion. I mounted the can directly to the firewall and positioned it behind the Whipple Supercharger, mimicking the overall shape of the supercharger case. The can will be plumbed directly to both valve covers via -10AN lines and has dual breathers and a drain that will be plumbed to another area of the truck where it can safely and easily be drained. I also modified the Whipple coolant block to accept -12AN lines and made a literal map on paper on how to plumb the coolant tank to the pump to the first heat exchanger to the second heat exchanger on the other side of the truck then to the supercharger and back out to the coolant tank properly.
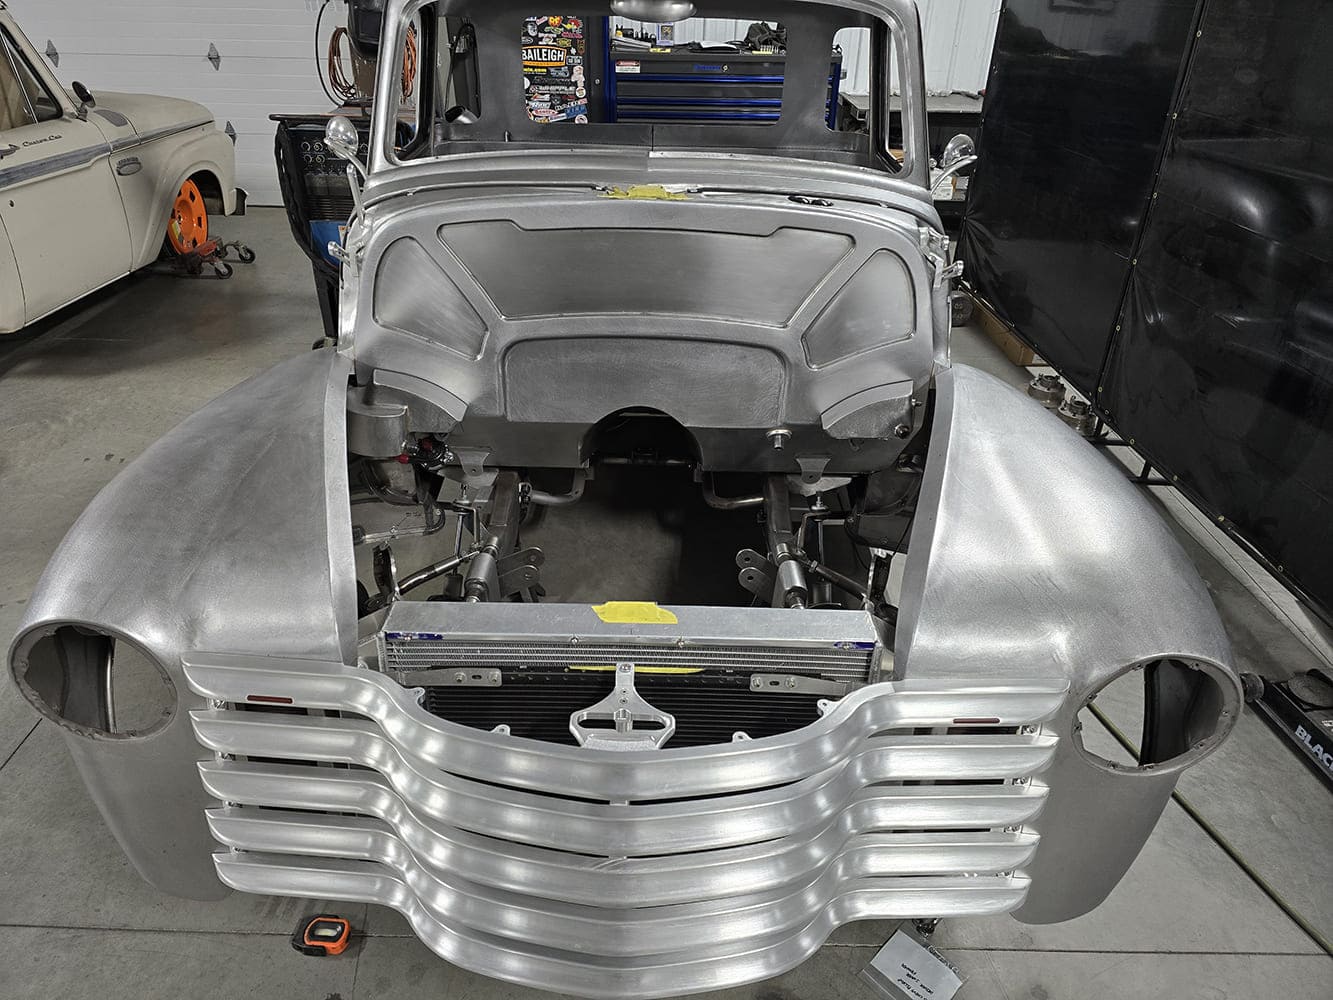
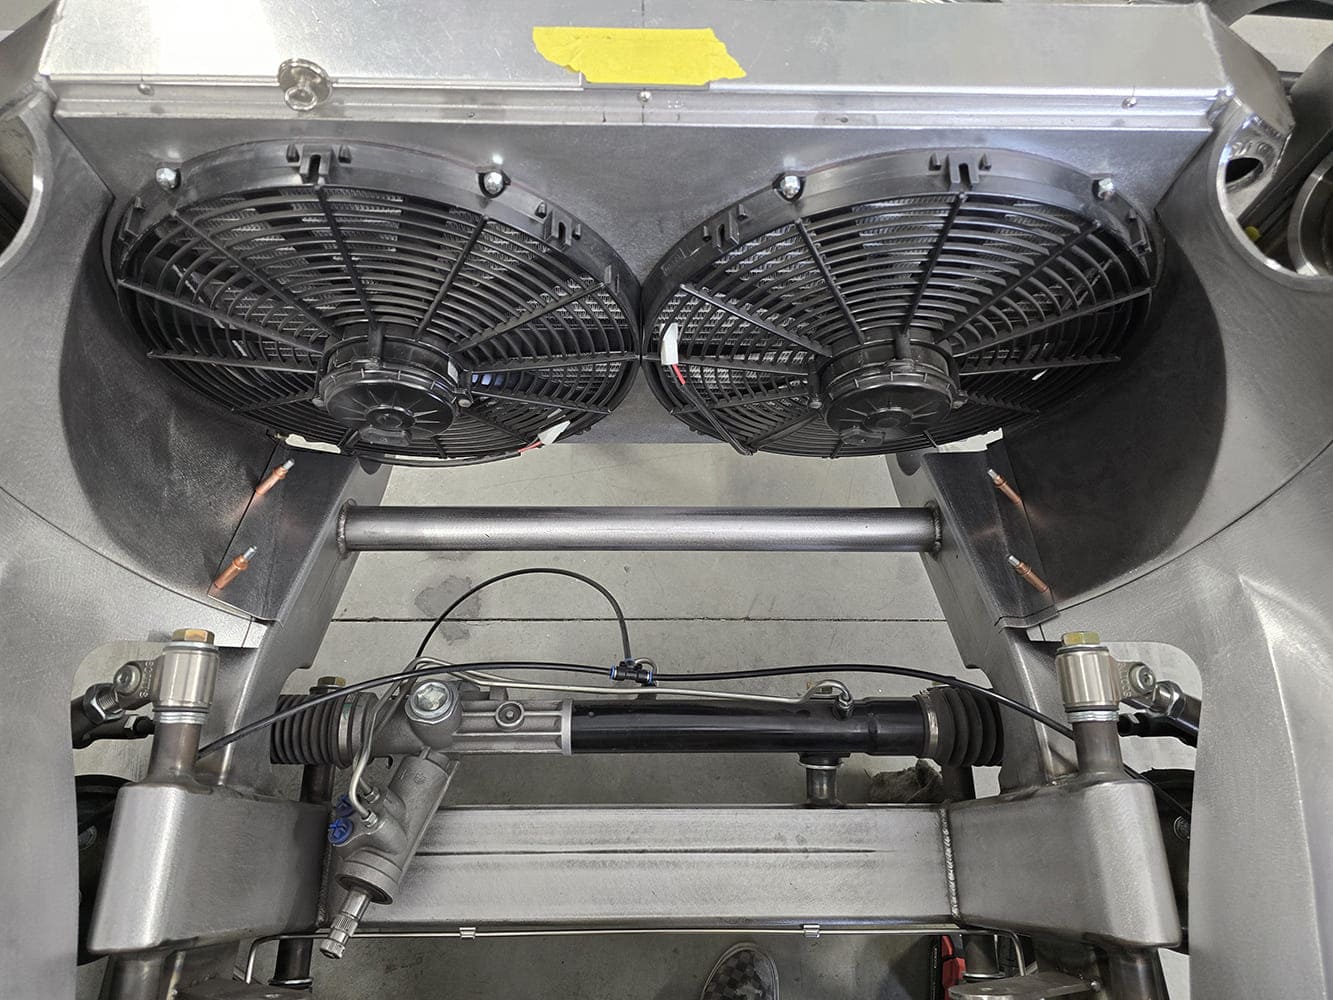
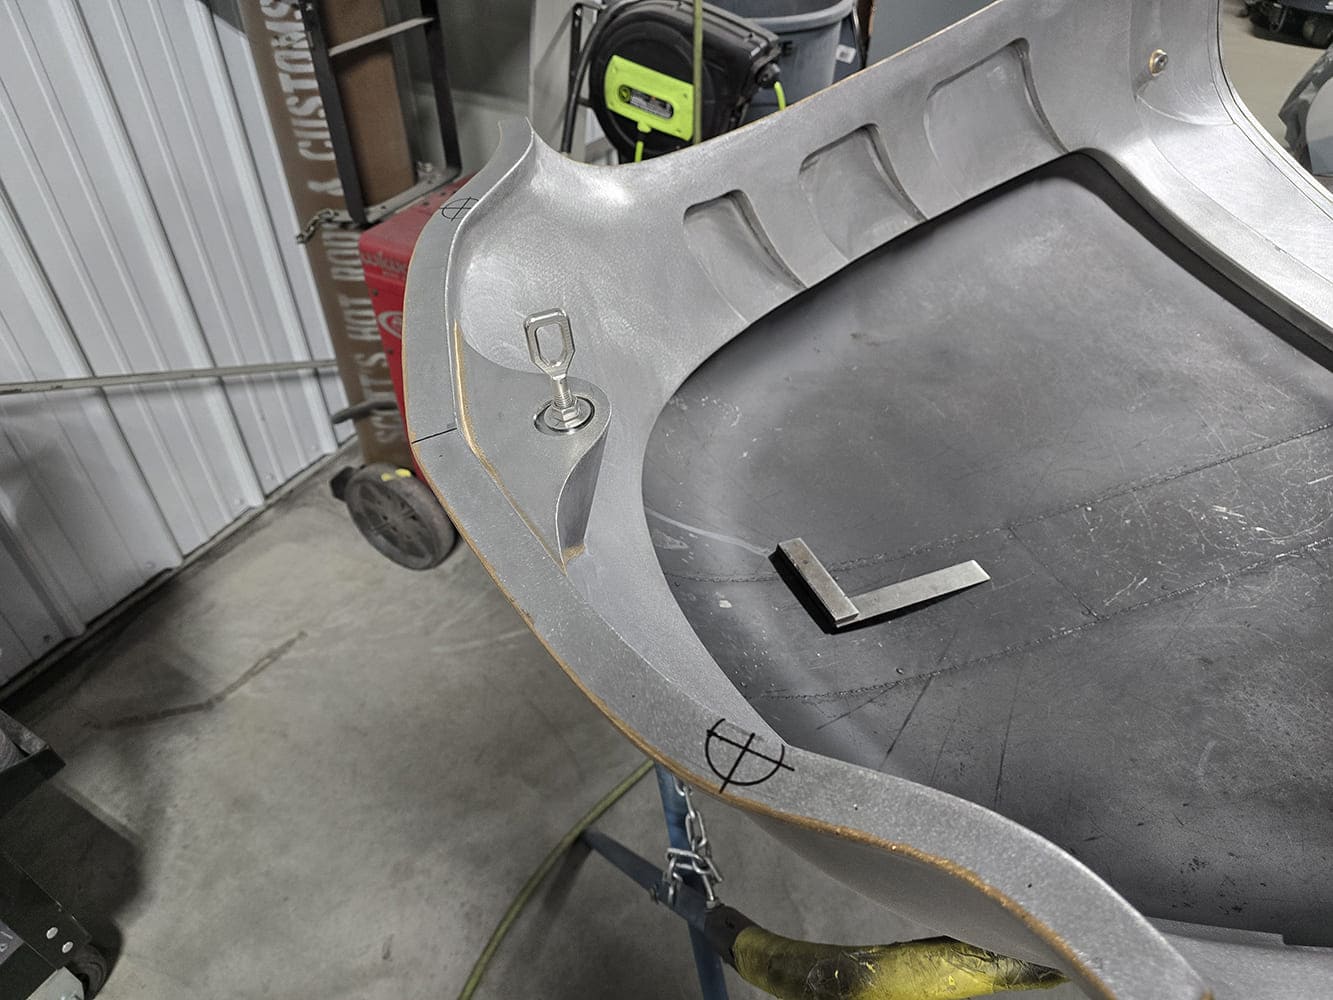
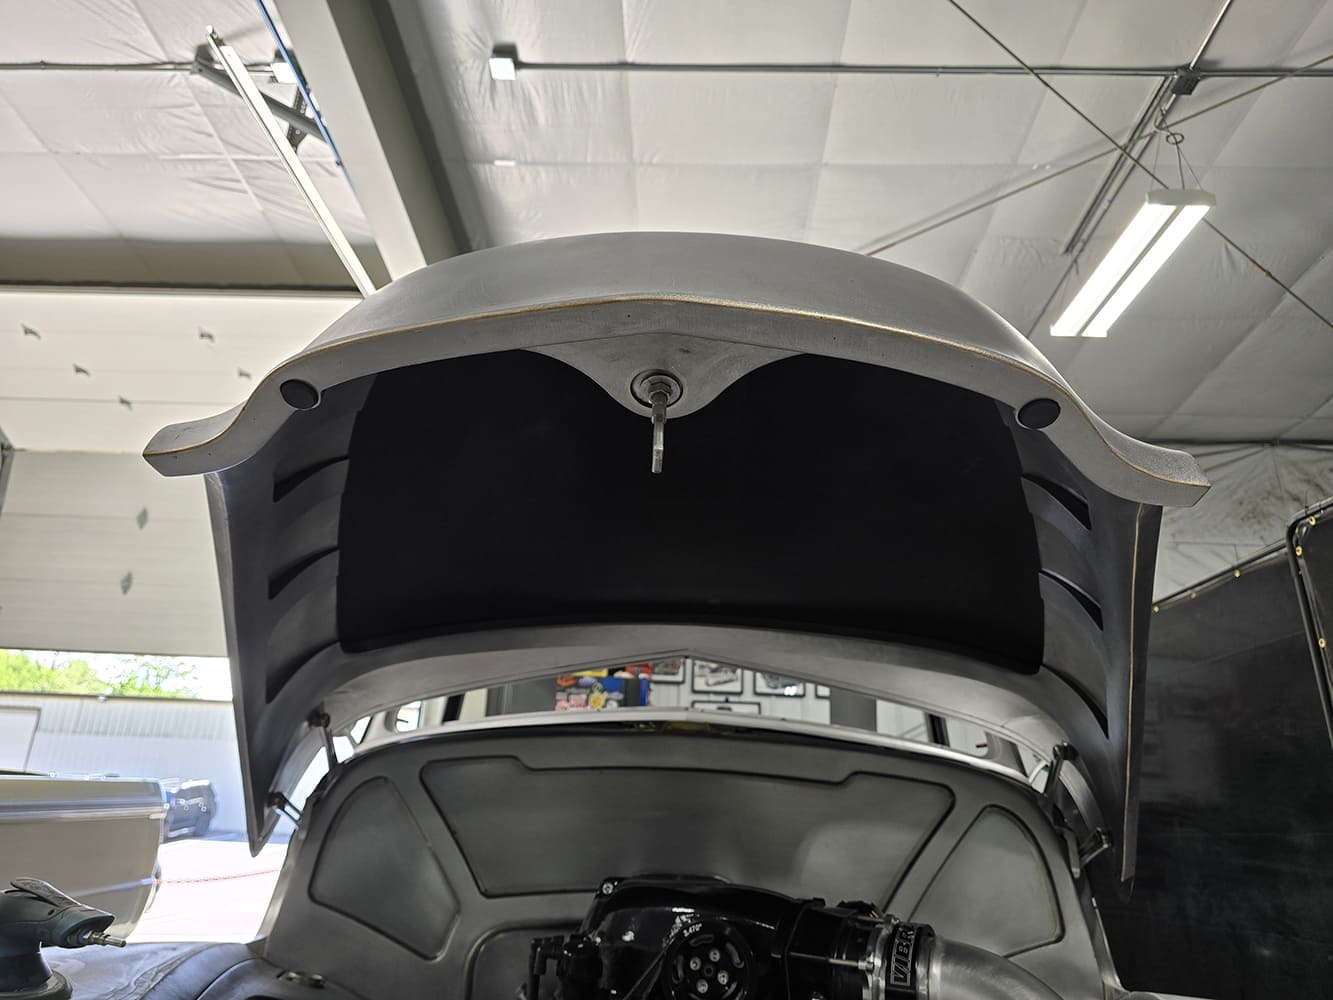
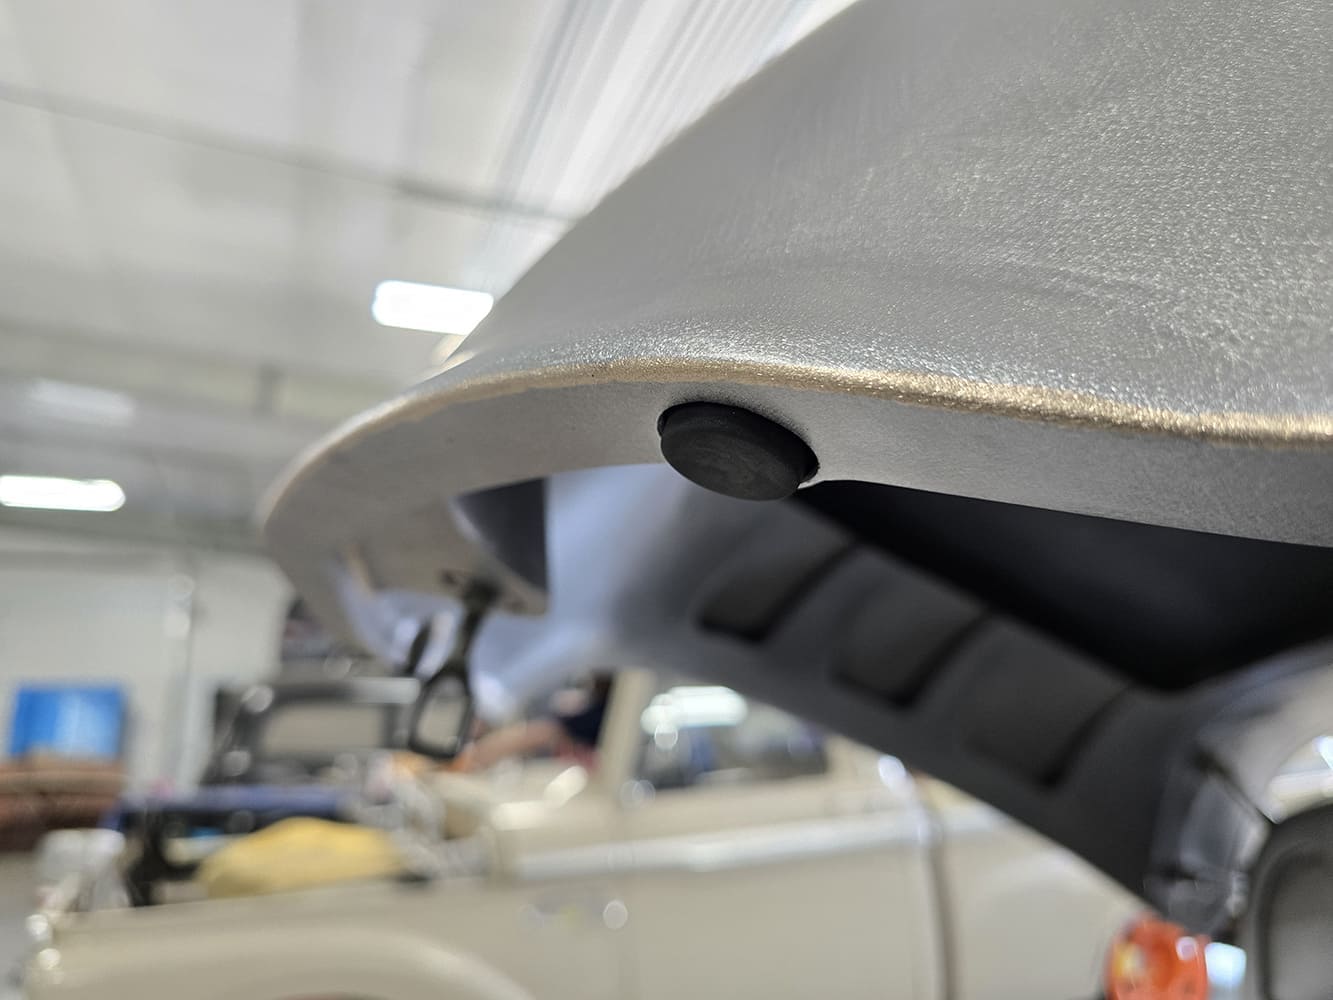
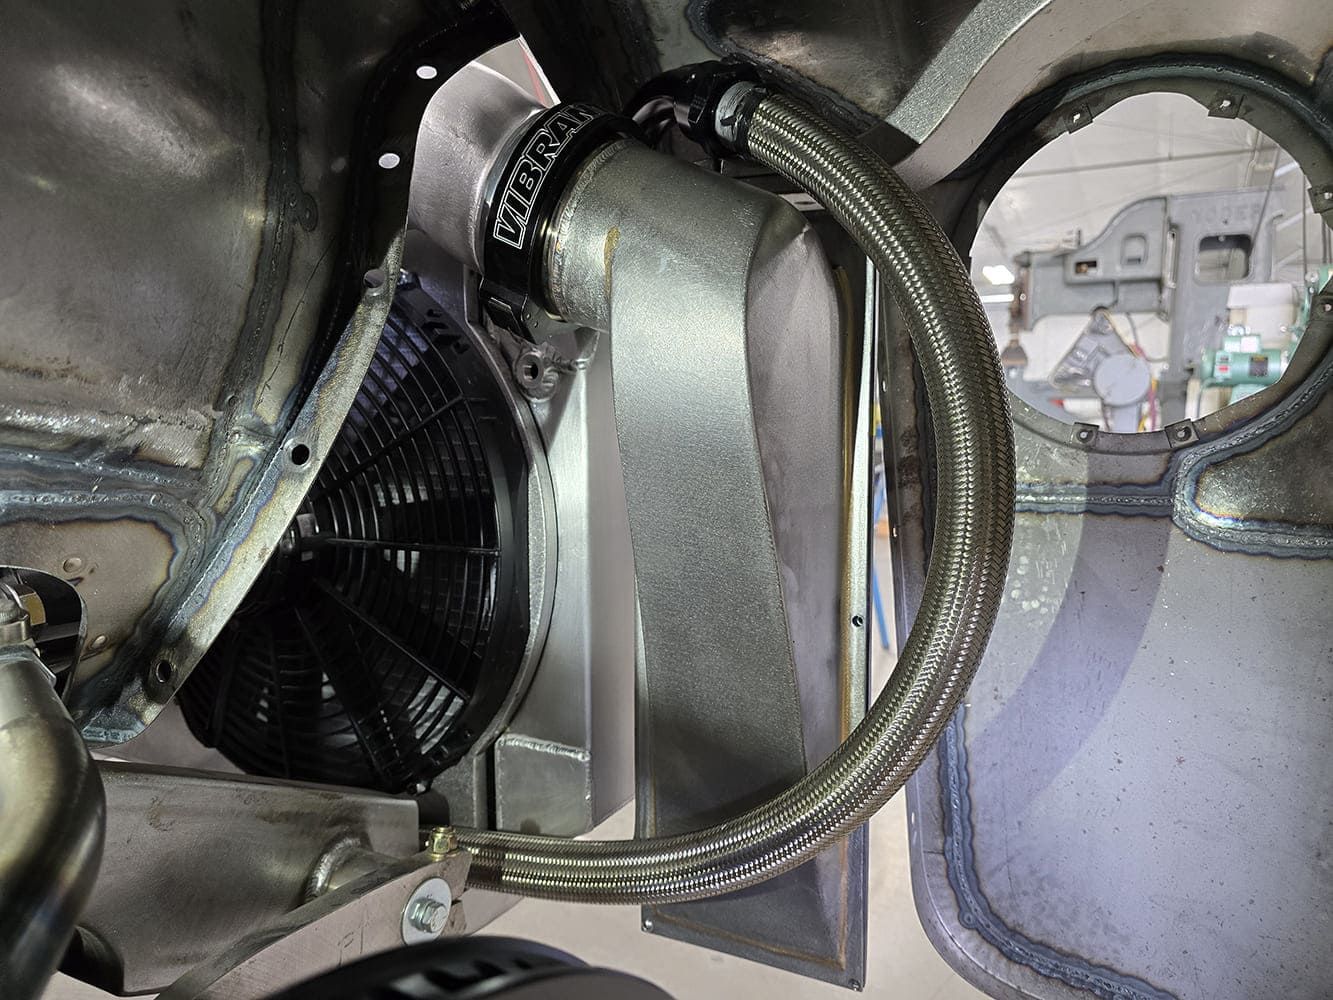
All that was left at this point (other than machining custom valve covers and other miscellaneous parts) was to modify the thermostat housing, water pump, and radiator to accept -20AN coolant hoses. I honestly ended up ruining the factory thermostat housing (oops), so we ended up ordering one that was already machined for -20AN and that worked great. At that point, I started building the lower radiator hose first with Fragola fittings and their stainless braided hose that we plan to Cerakote. Building the hose itself wasn’t all that tricky but trying to figure out where and how the port for the radiator was going to be was a bit of a chore. Space is super tight in this area, but I managed to sneak the lower hose fitting right above the torsion sway bar arm and between the electric fan and air intake filter box. With the lower hose figured out, I started building the upper hose and very quickly figured out that there was only one spot I could put the -20 port on the radiator tank, and that was on the very top of the tank with a 90-degree hose end to wrap the hose around the air intake filter box and shove the hose between the framerail and electric fan. This way I only needed to cut one pass-through hole for the lower hose into the front filler panel. I opted to finish the upper hose and weld the -20 port on the water pump when we completely disassembled the truck for paint because it didn’t make sense to rip the entire front of the engine apart just to do 10 minutes’ worth of work when we can strategically work that in at a more opportune time. The last thing I tackled was hood bumpstops, which I preferred to cut into the bottom of the hood and recess them in for a cleaner look instead of installing them on the front grille closeout panel.
Check out this story in our digital edition here.


Source
Scott’s Hotrods N’ Customs
(800) 273-5195
scottshotrods.com


