By Brandon Gerringer – Images by Taylor Kempkes
Keeping with our Old Anvil Speed Shop (OASS) “theme” of tasking the individuals responsible for the work to describe each procedure in their own words, this month, OASS’s Brandon Gerringer gives us his 2 cents-plus on their recent 1965 Chevy C10 big window conversion, where they utilized local supplier Classic Industries for an aftermarket rear backlight panel to ease the process rather than locate and resuscitate an original piece. Take it way, Brandon! –Editor
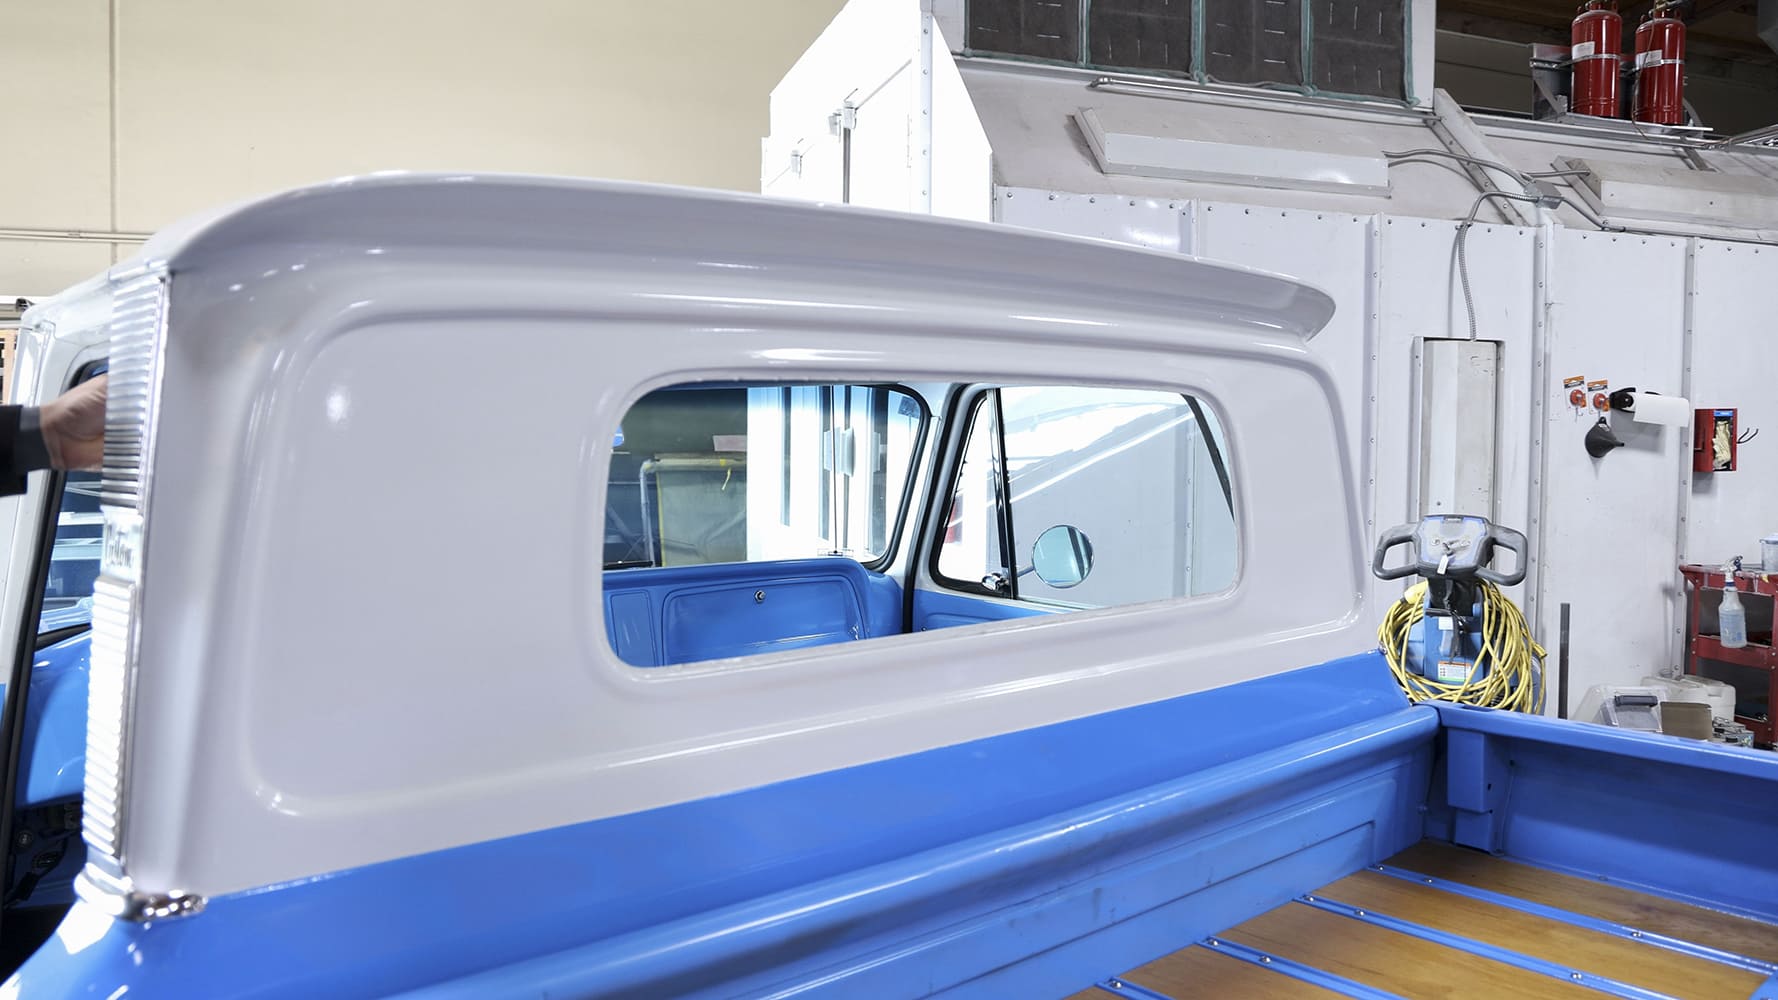
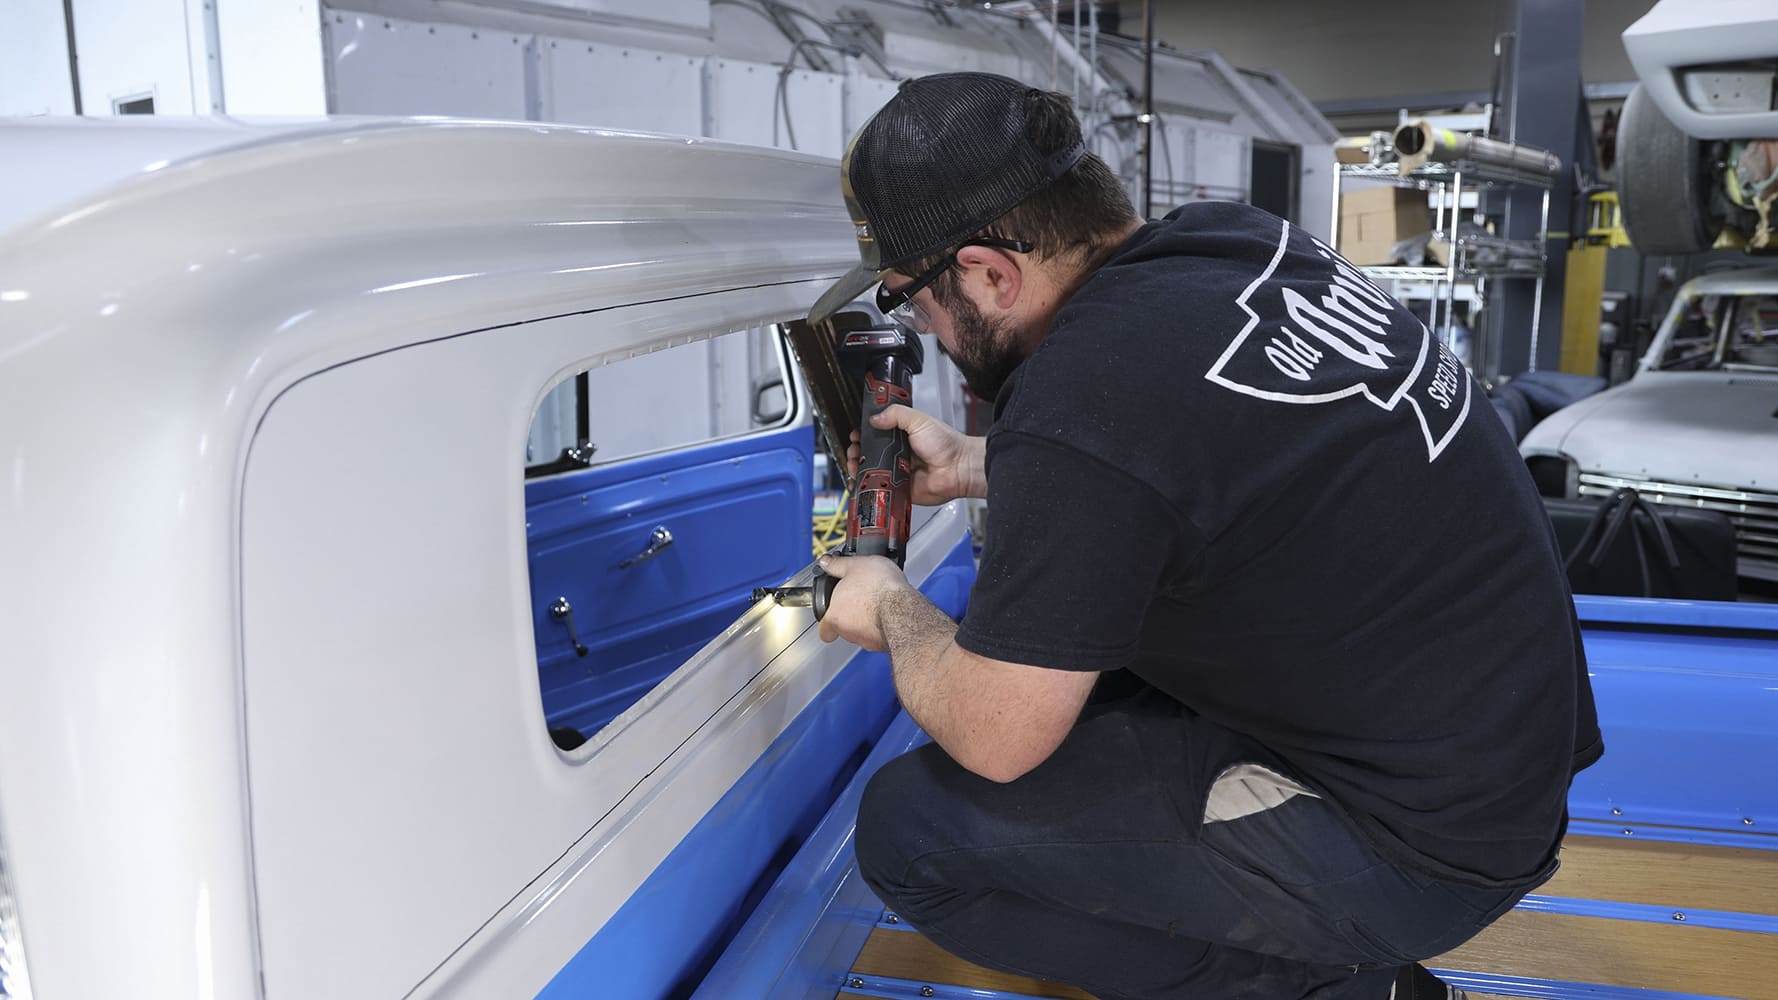
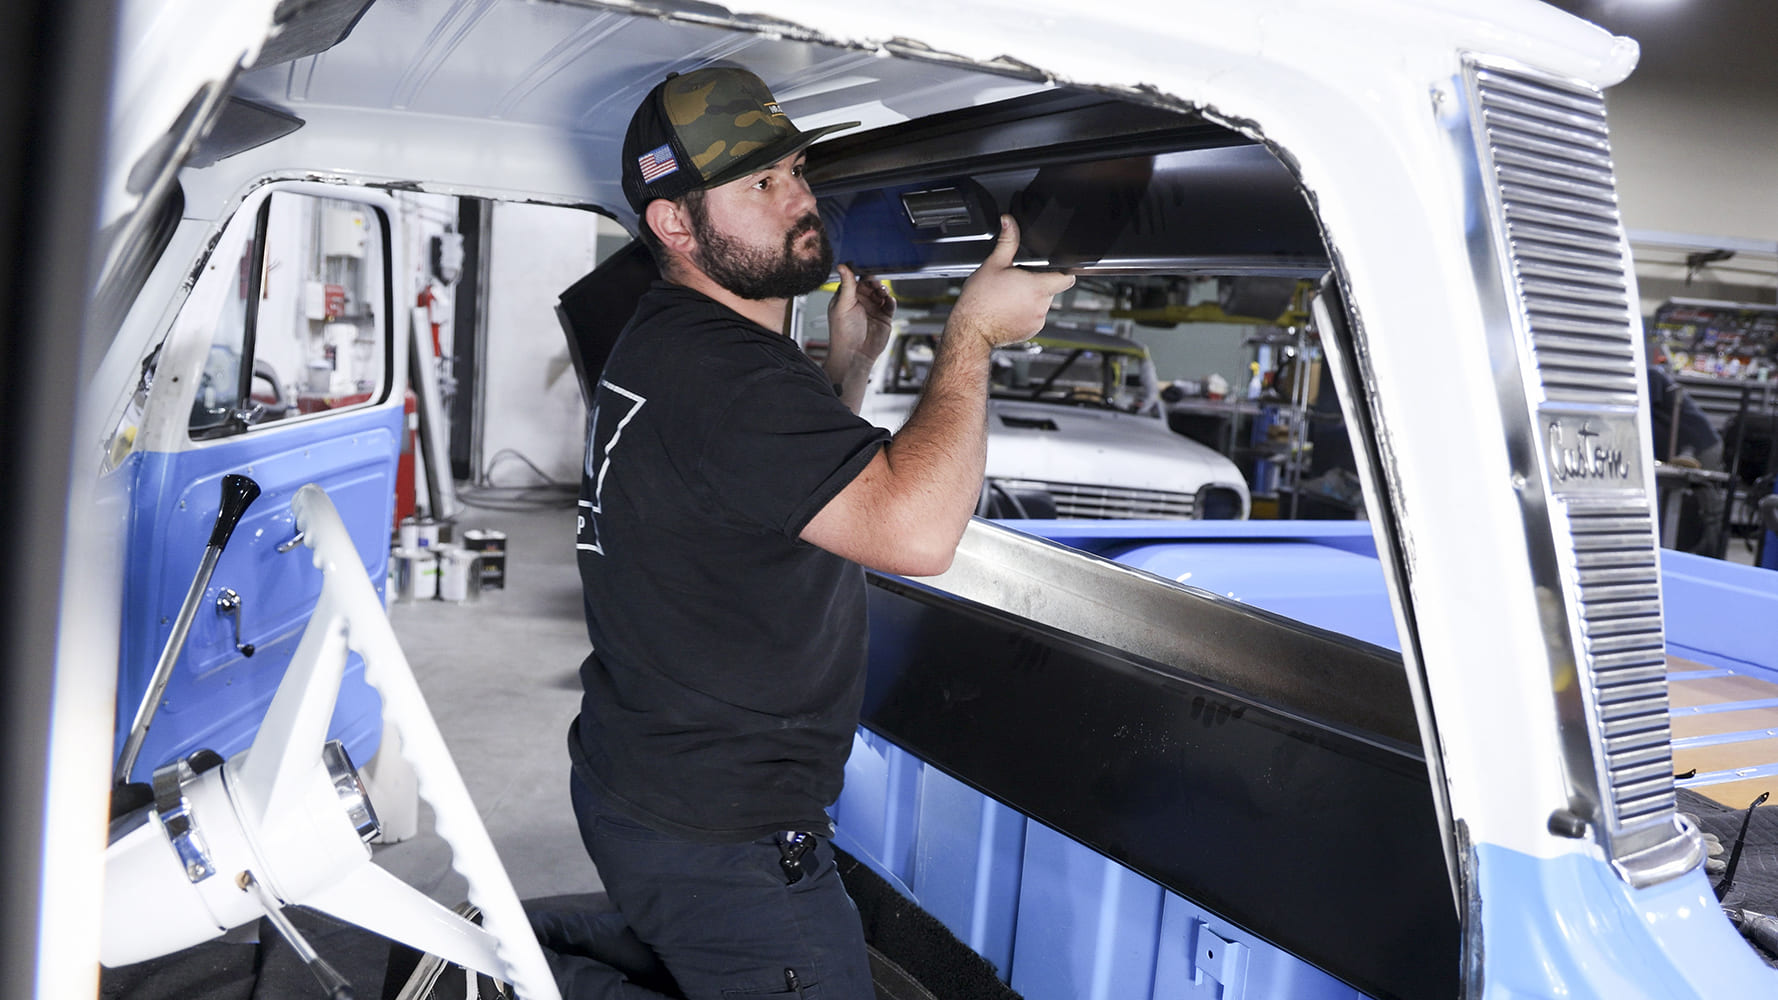
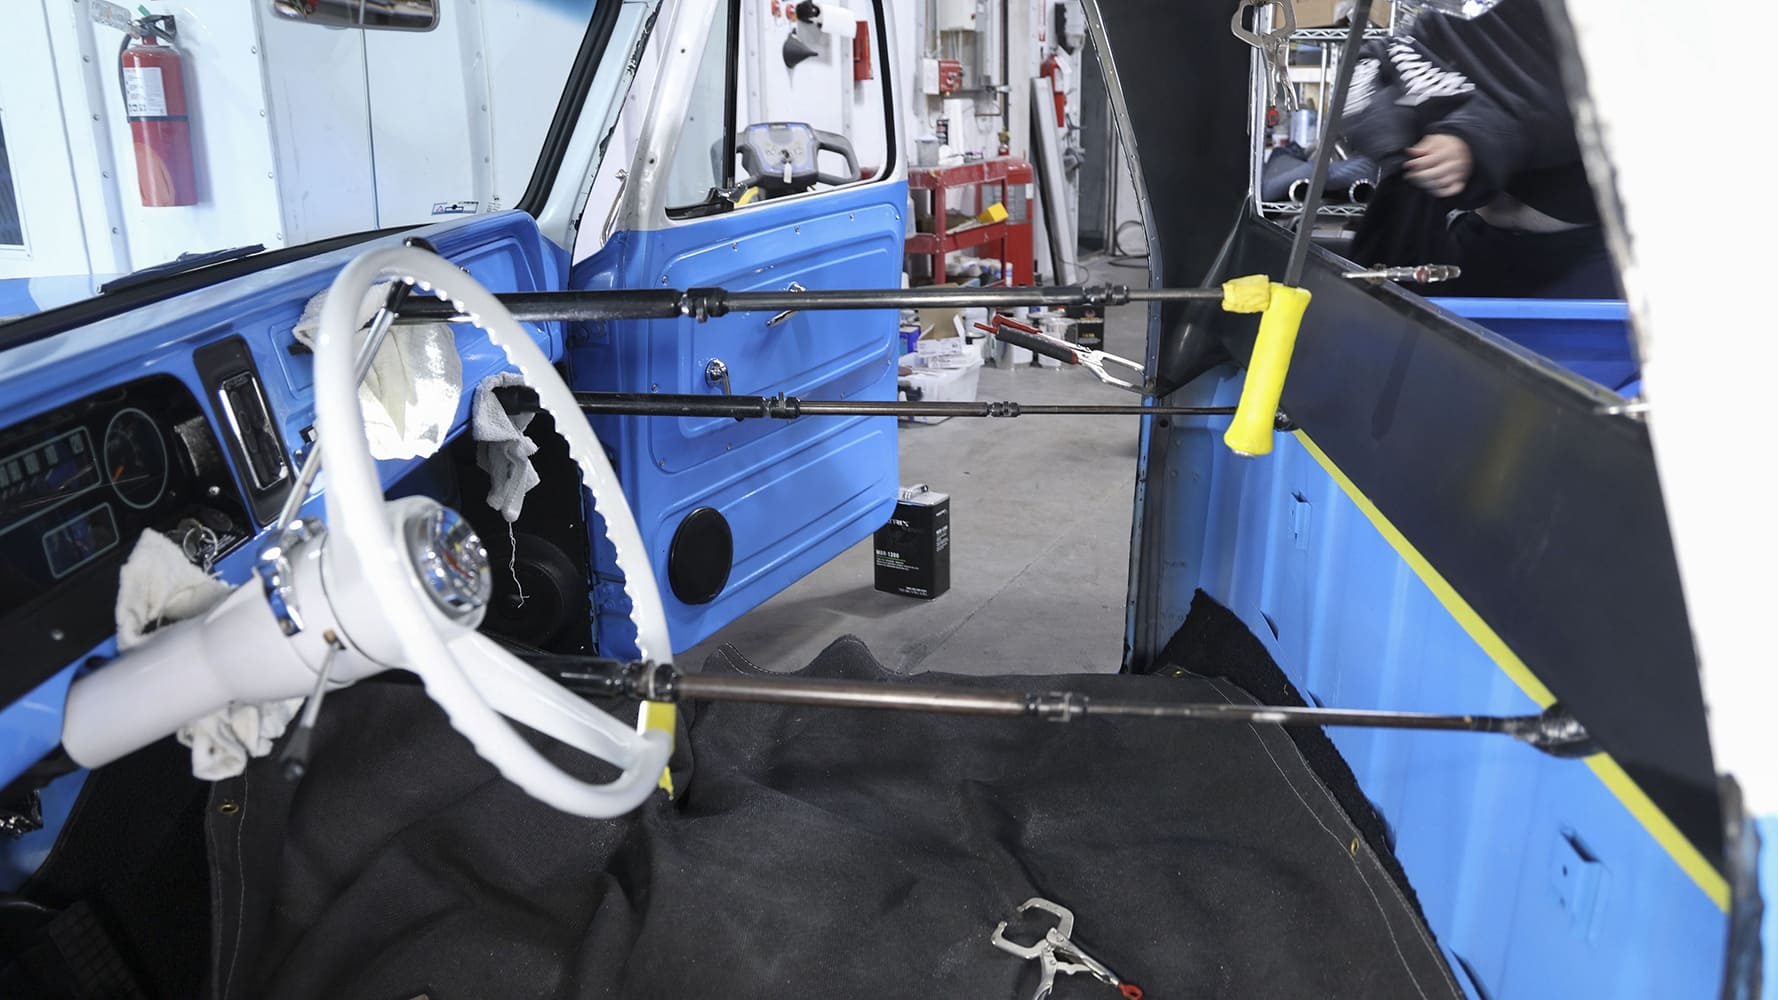
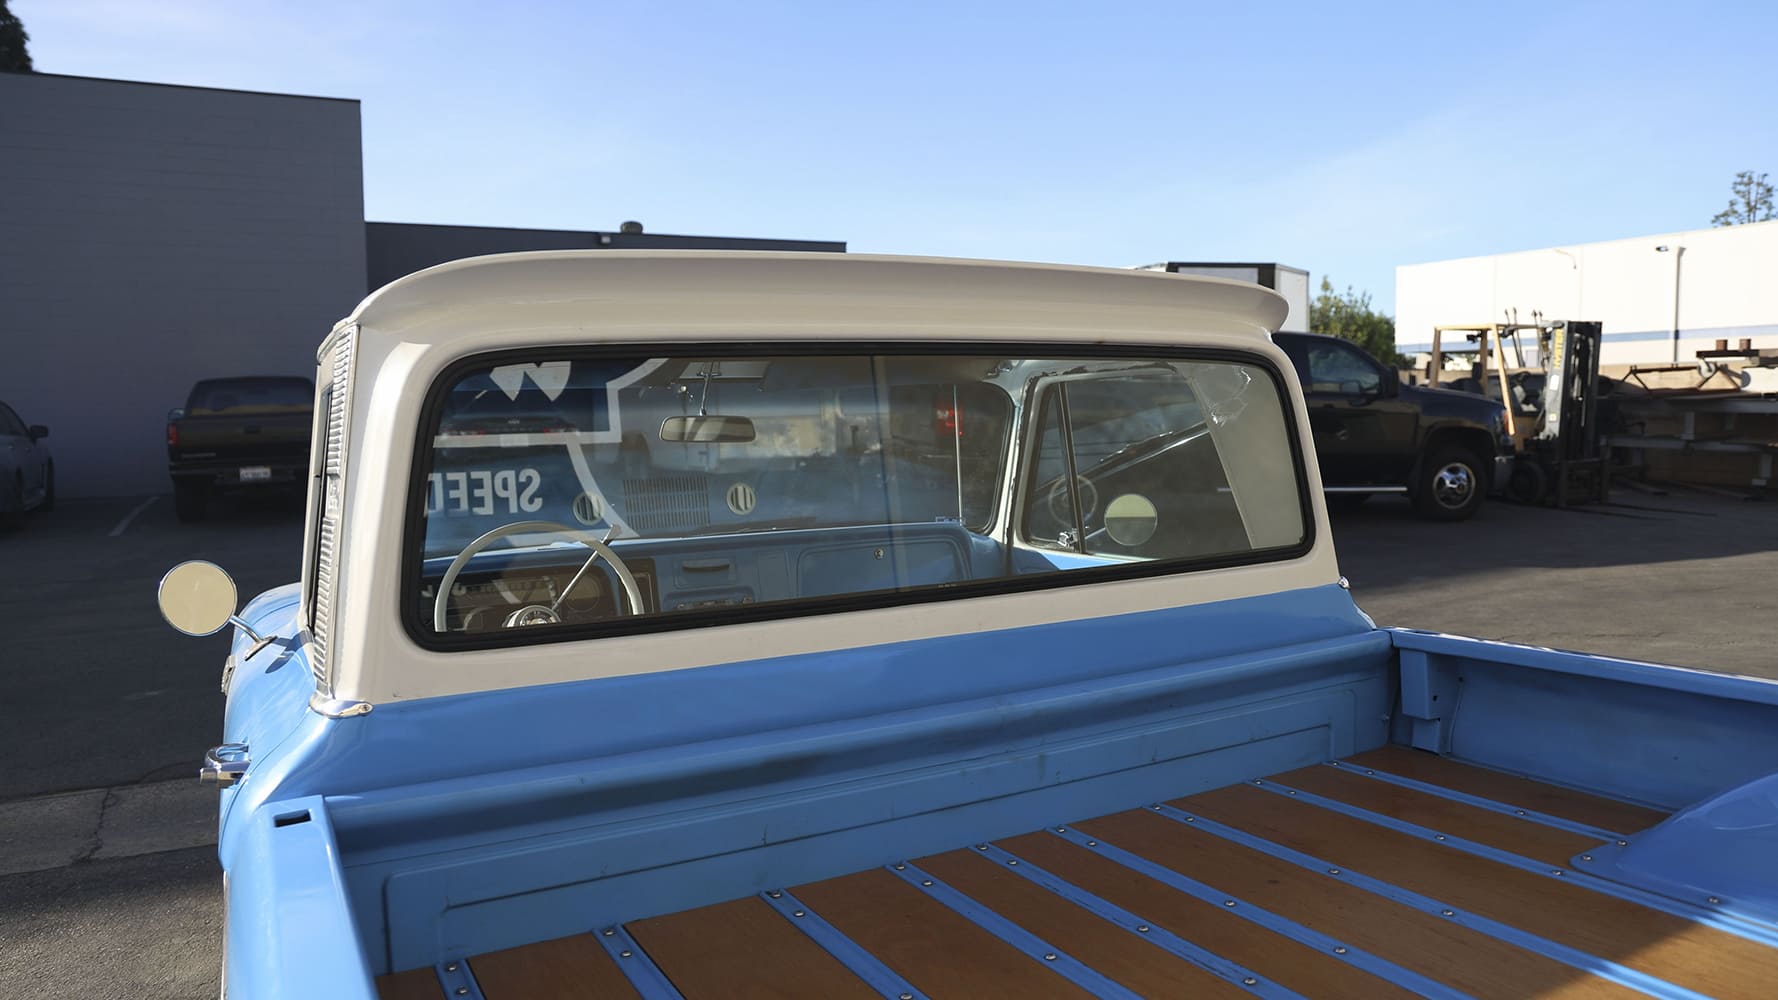
“This was my first time doing a big back window conversion on a 1960-66 C10 and I couldn’t have asked for it to go any smoother. GM’s rear cab design makes the layout for doing this swap a piece of cake.

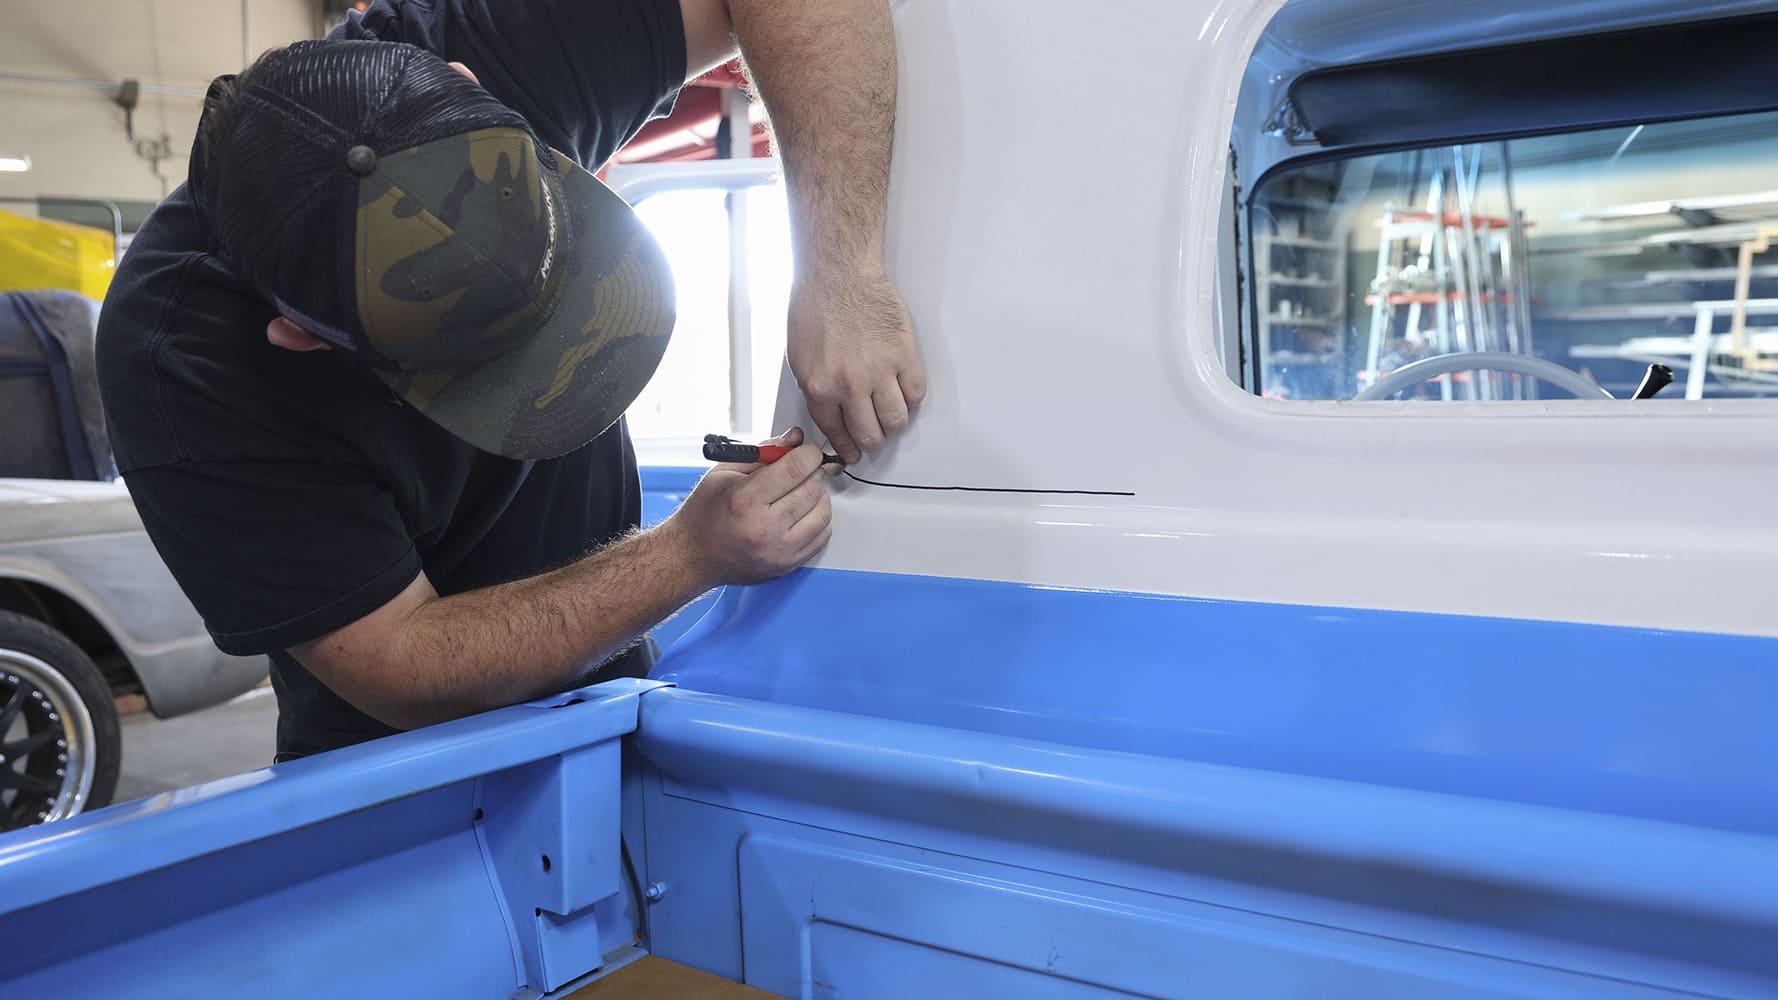
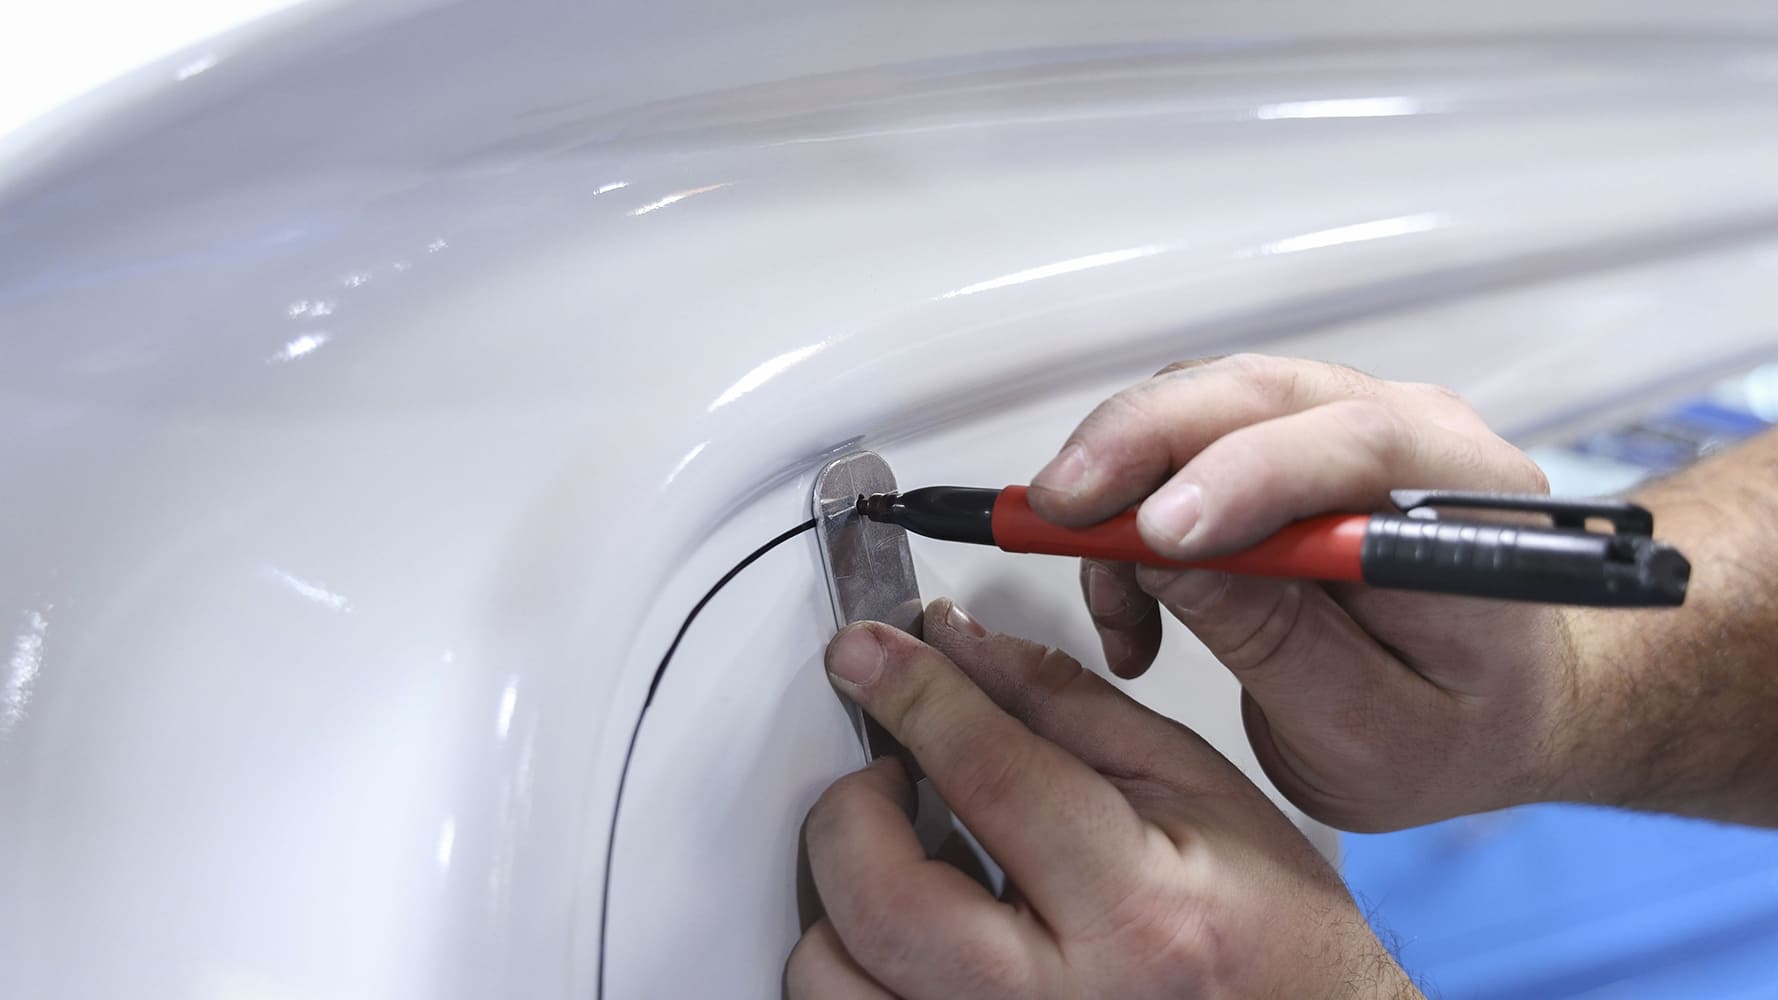
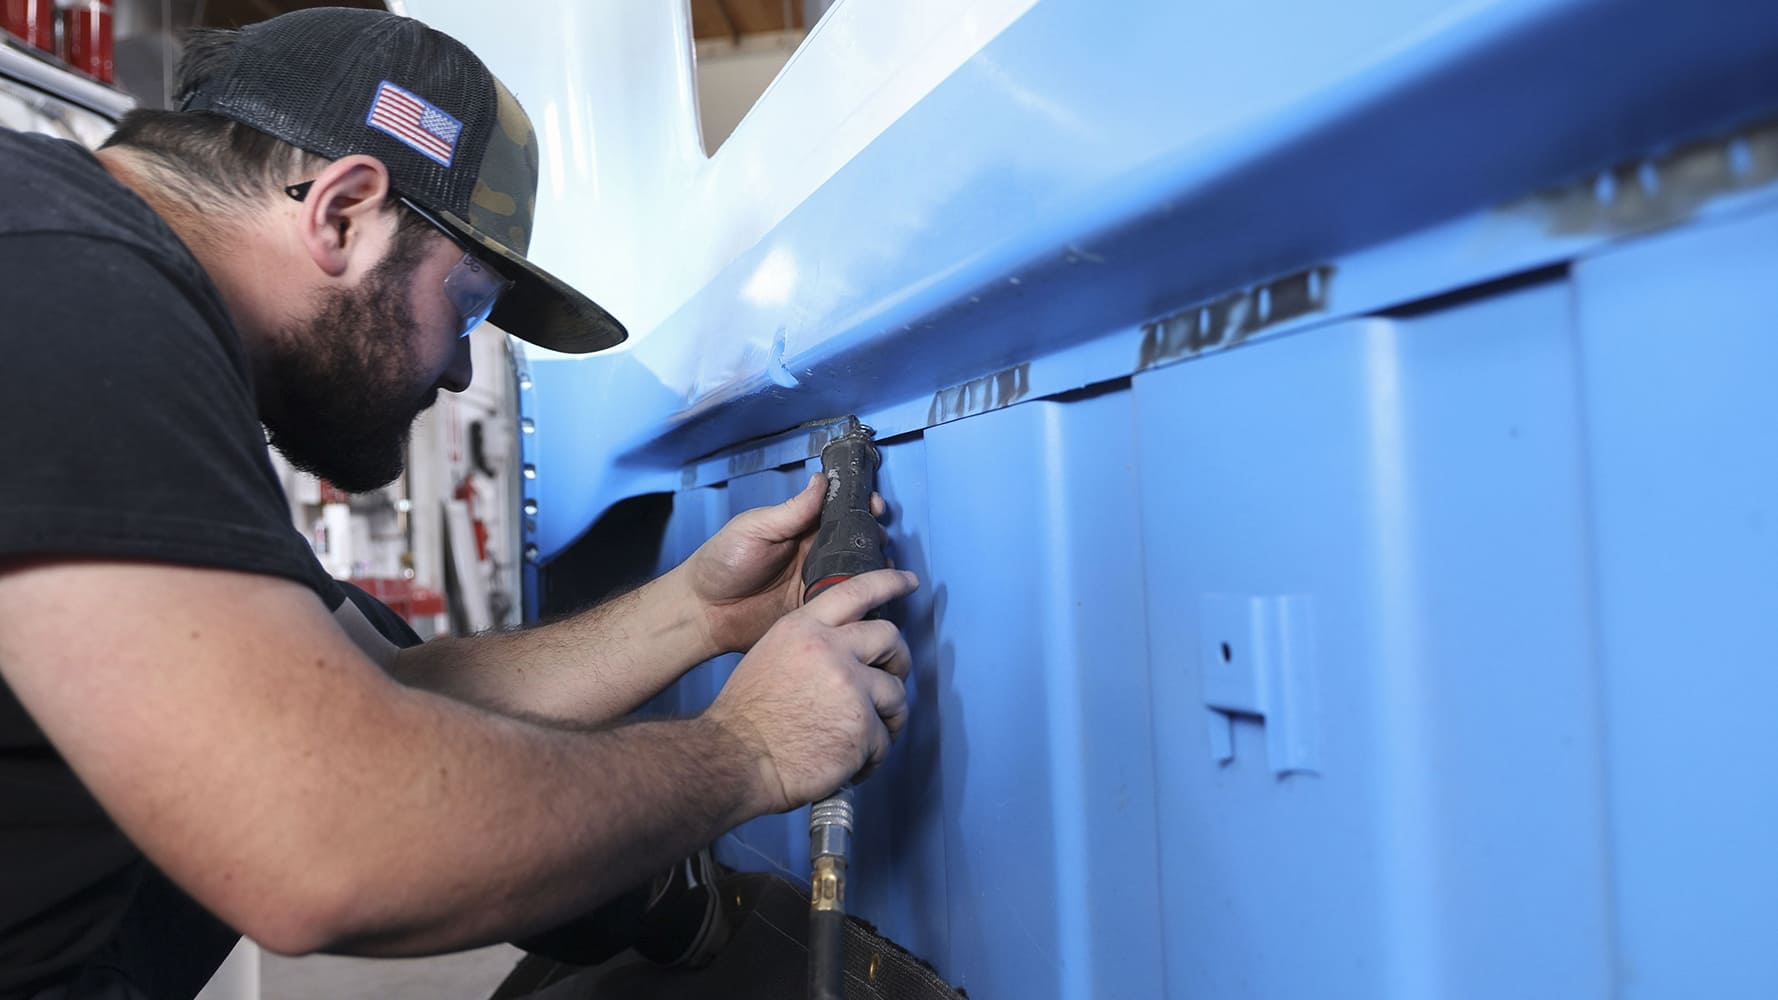
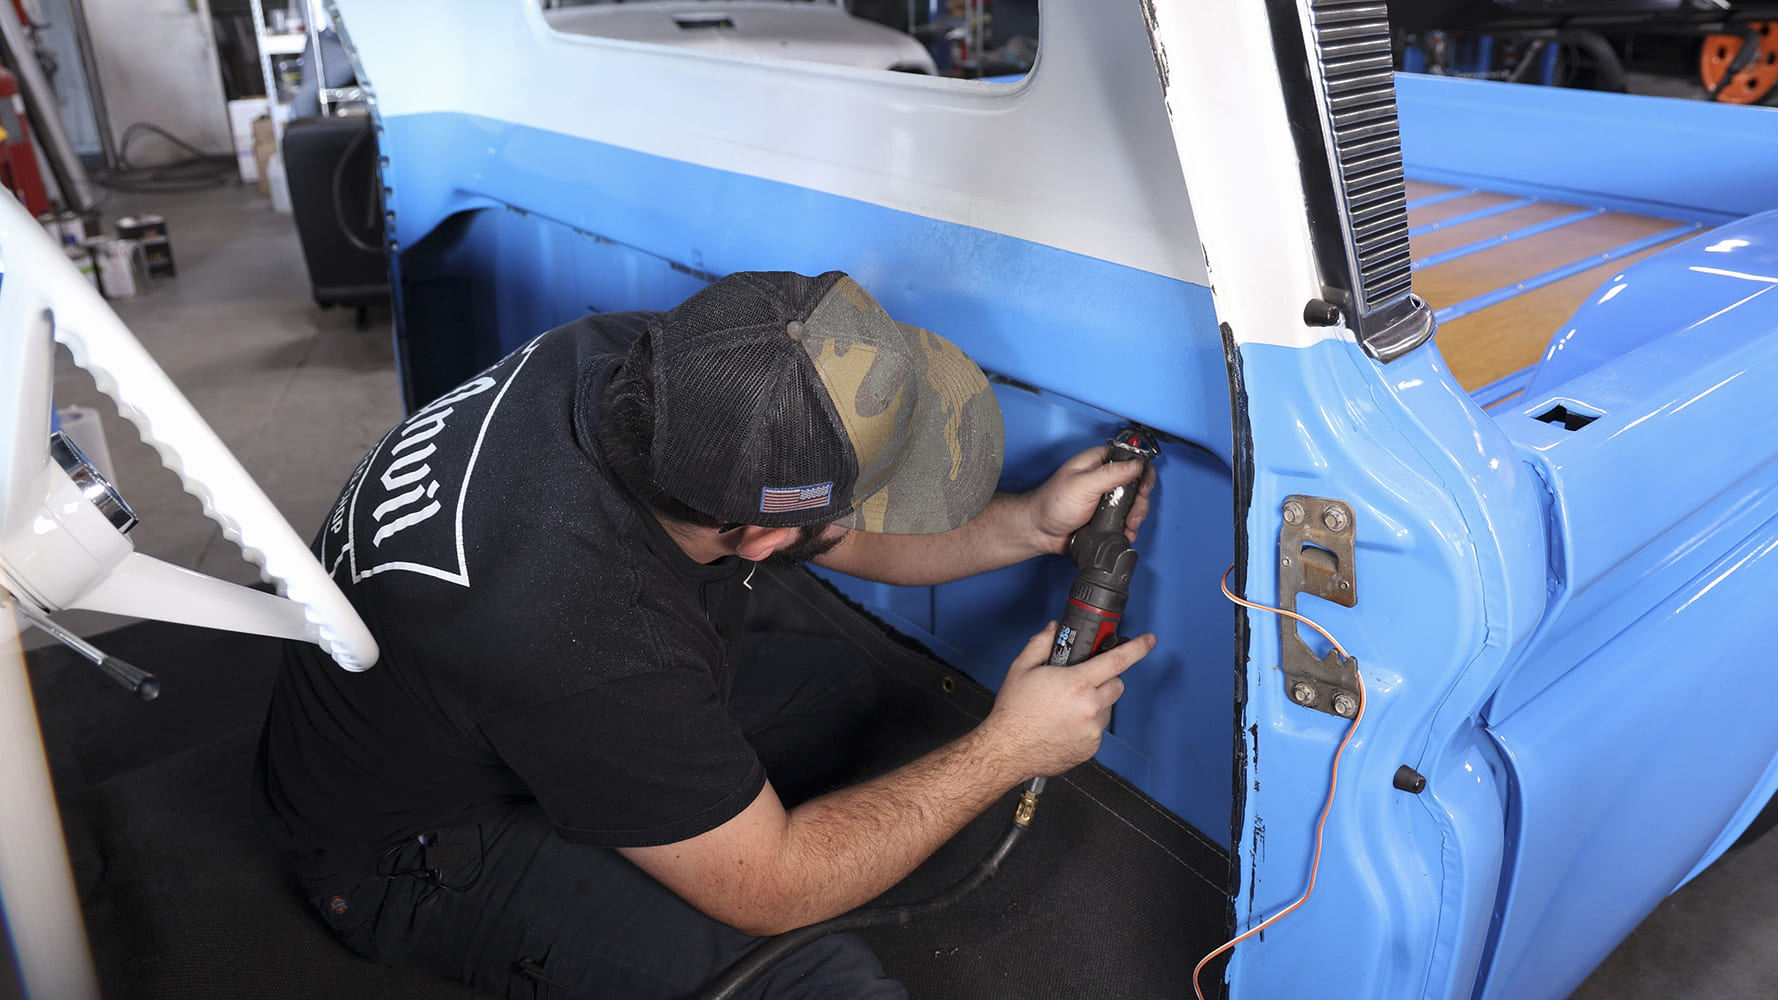
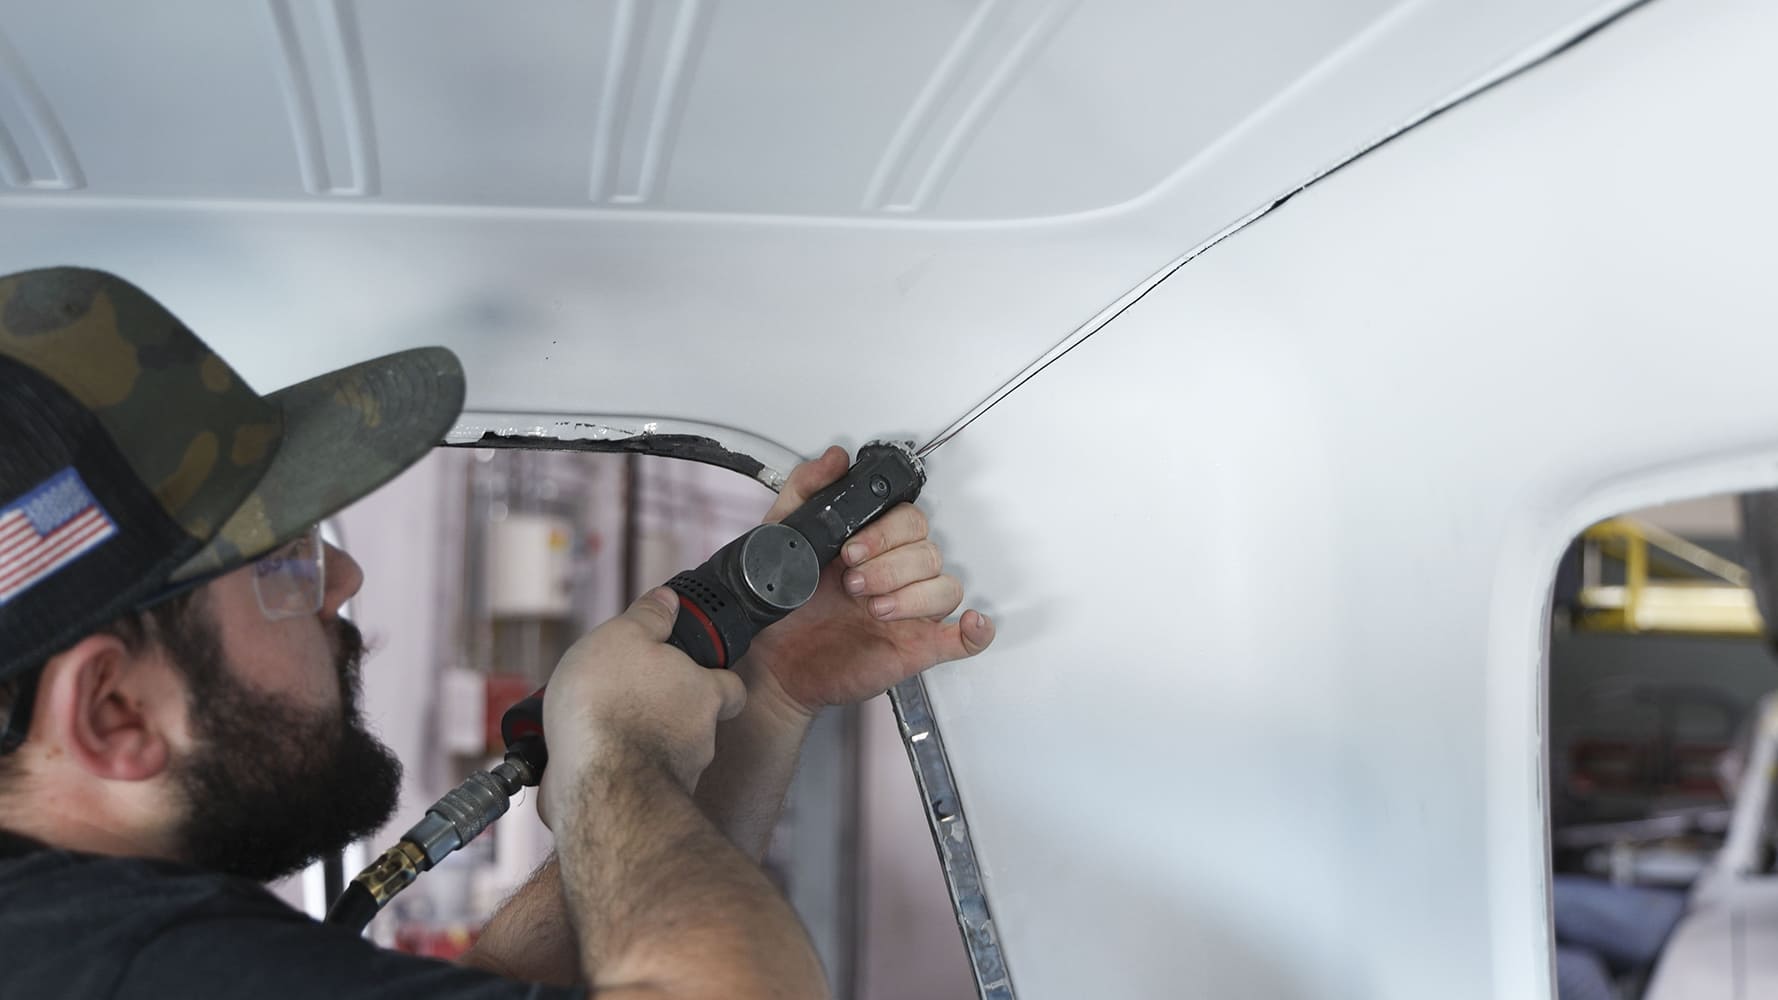
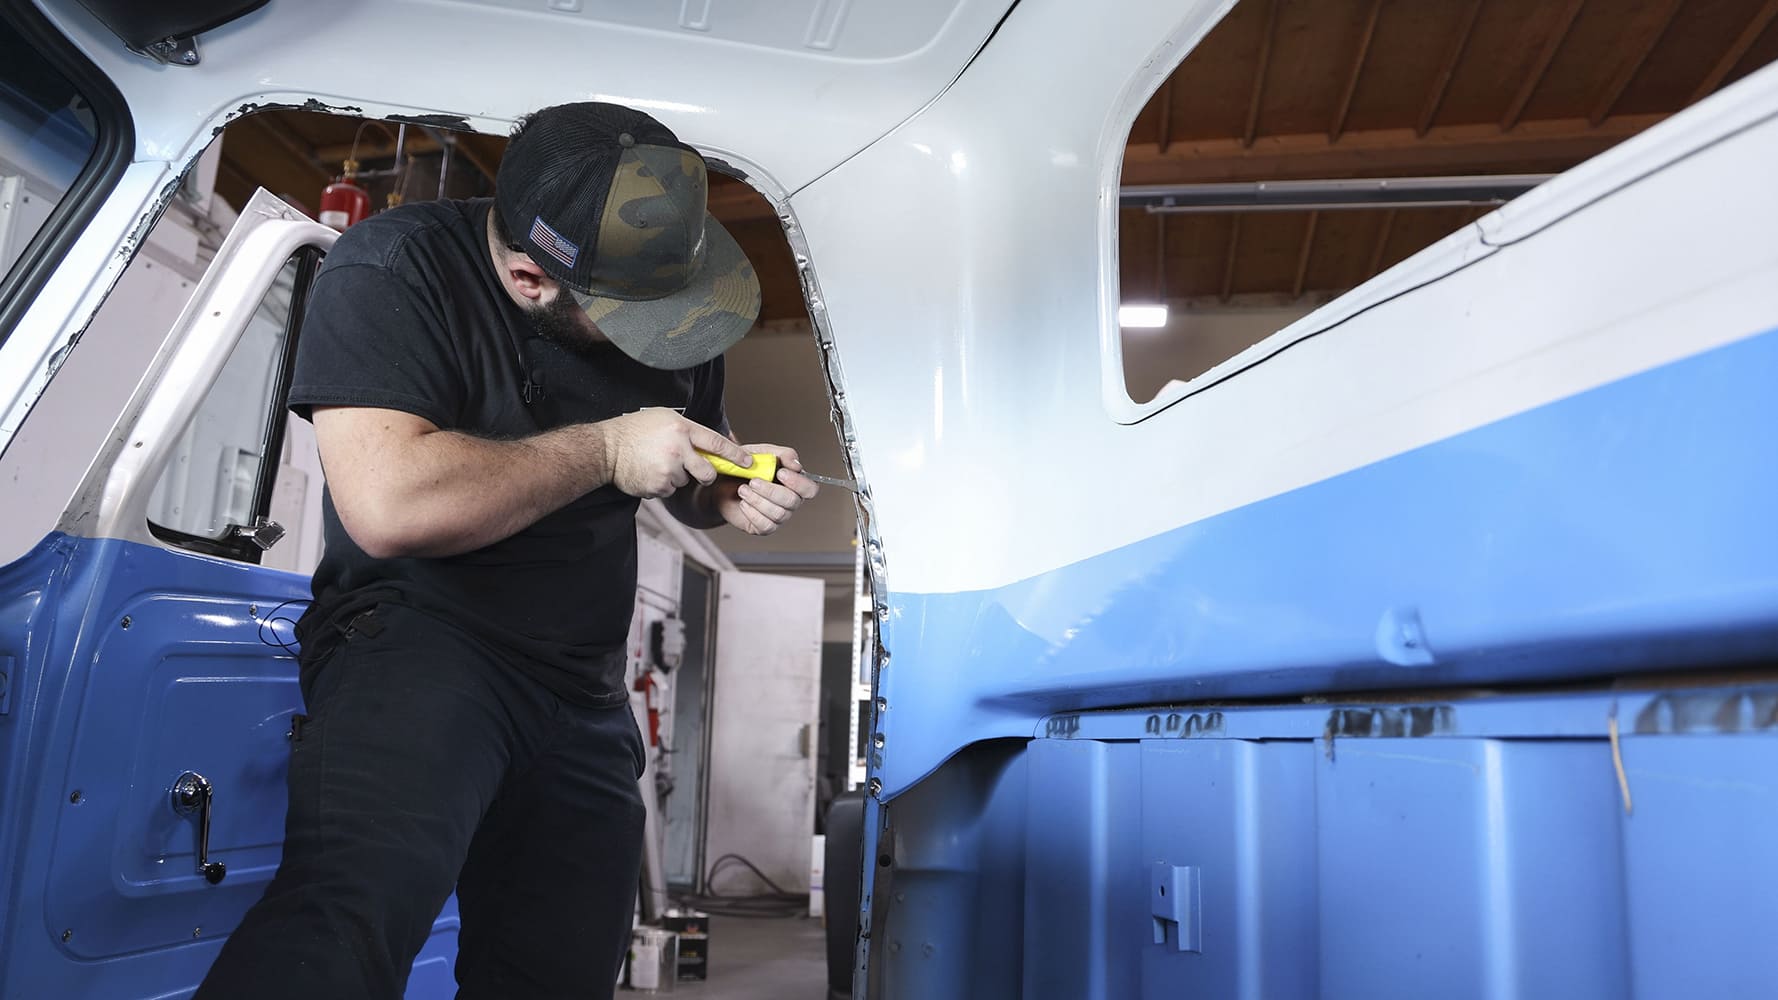
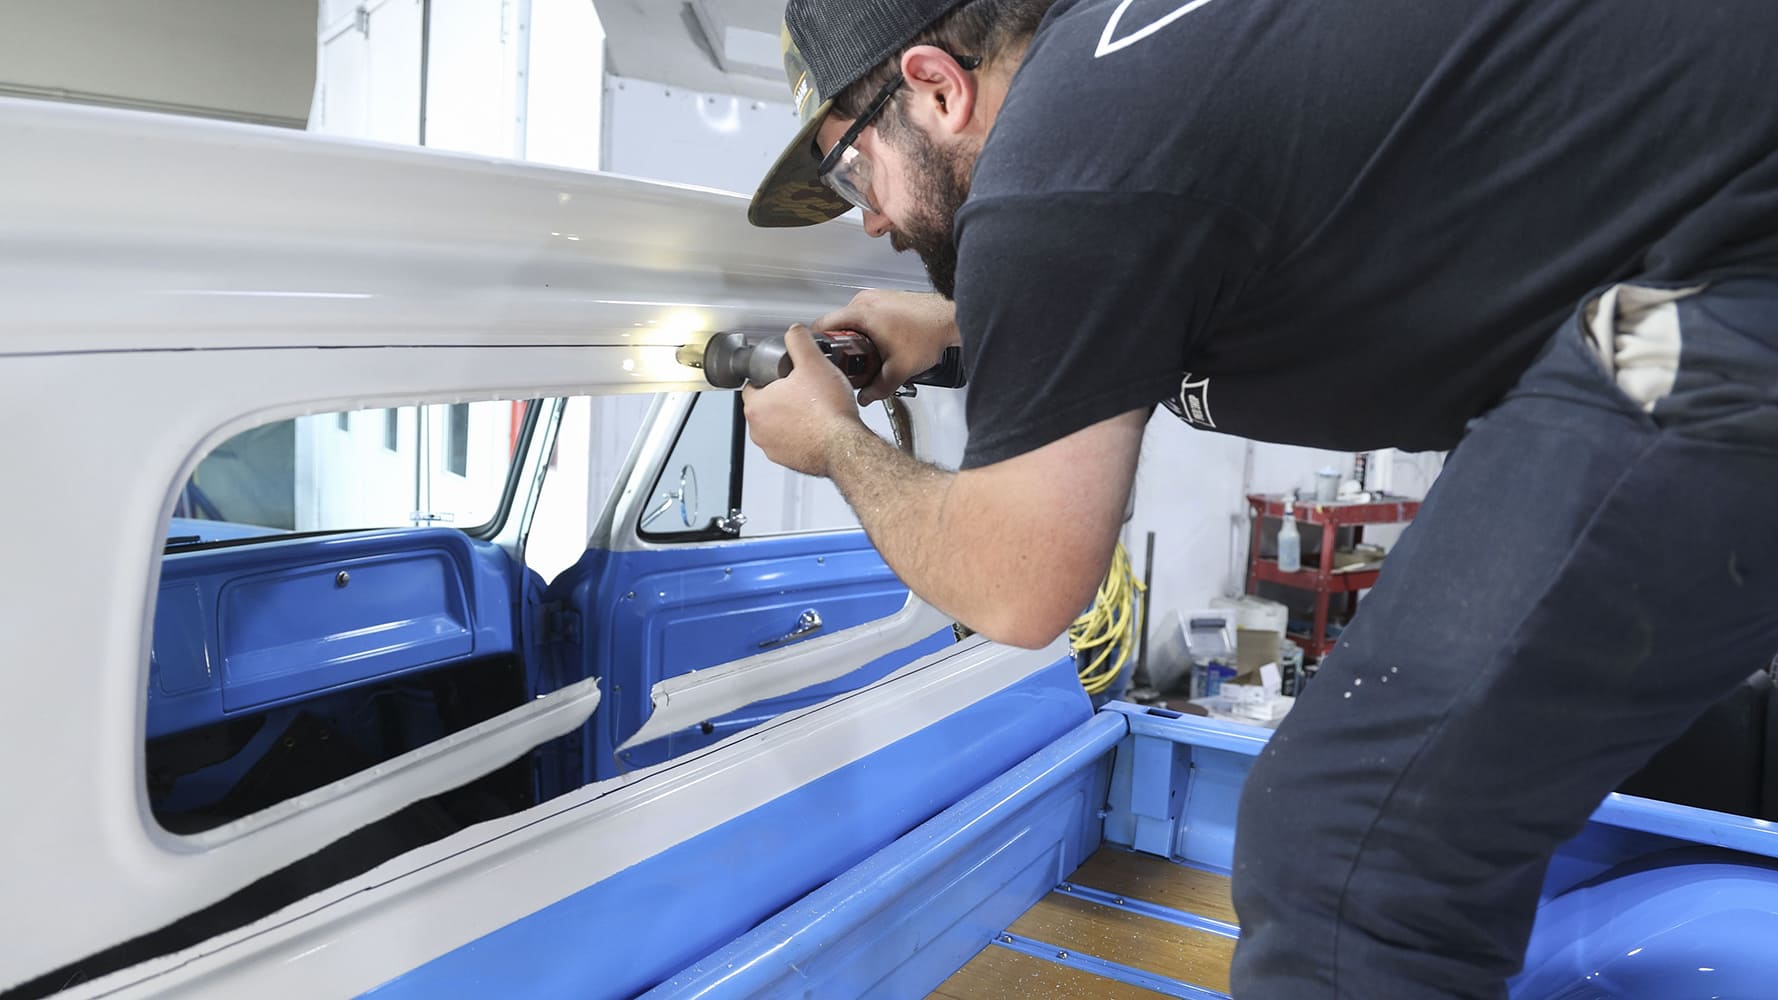
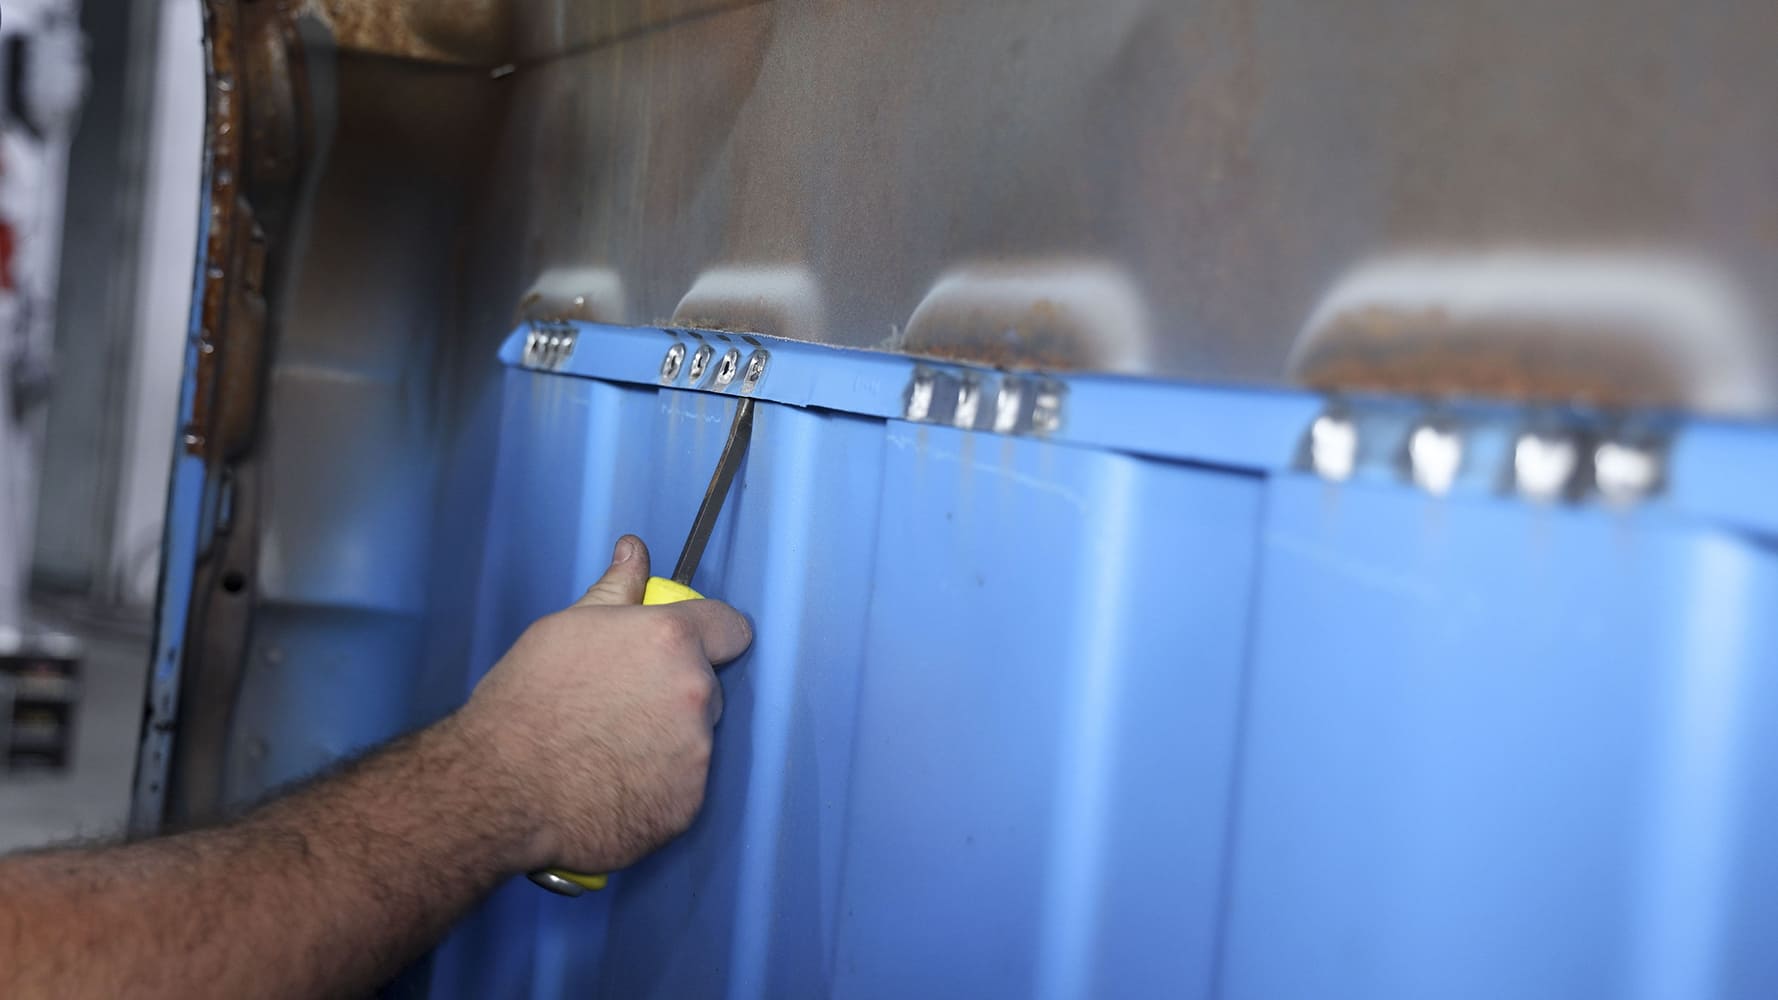
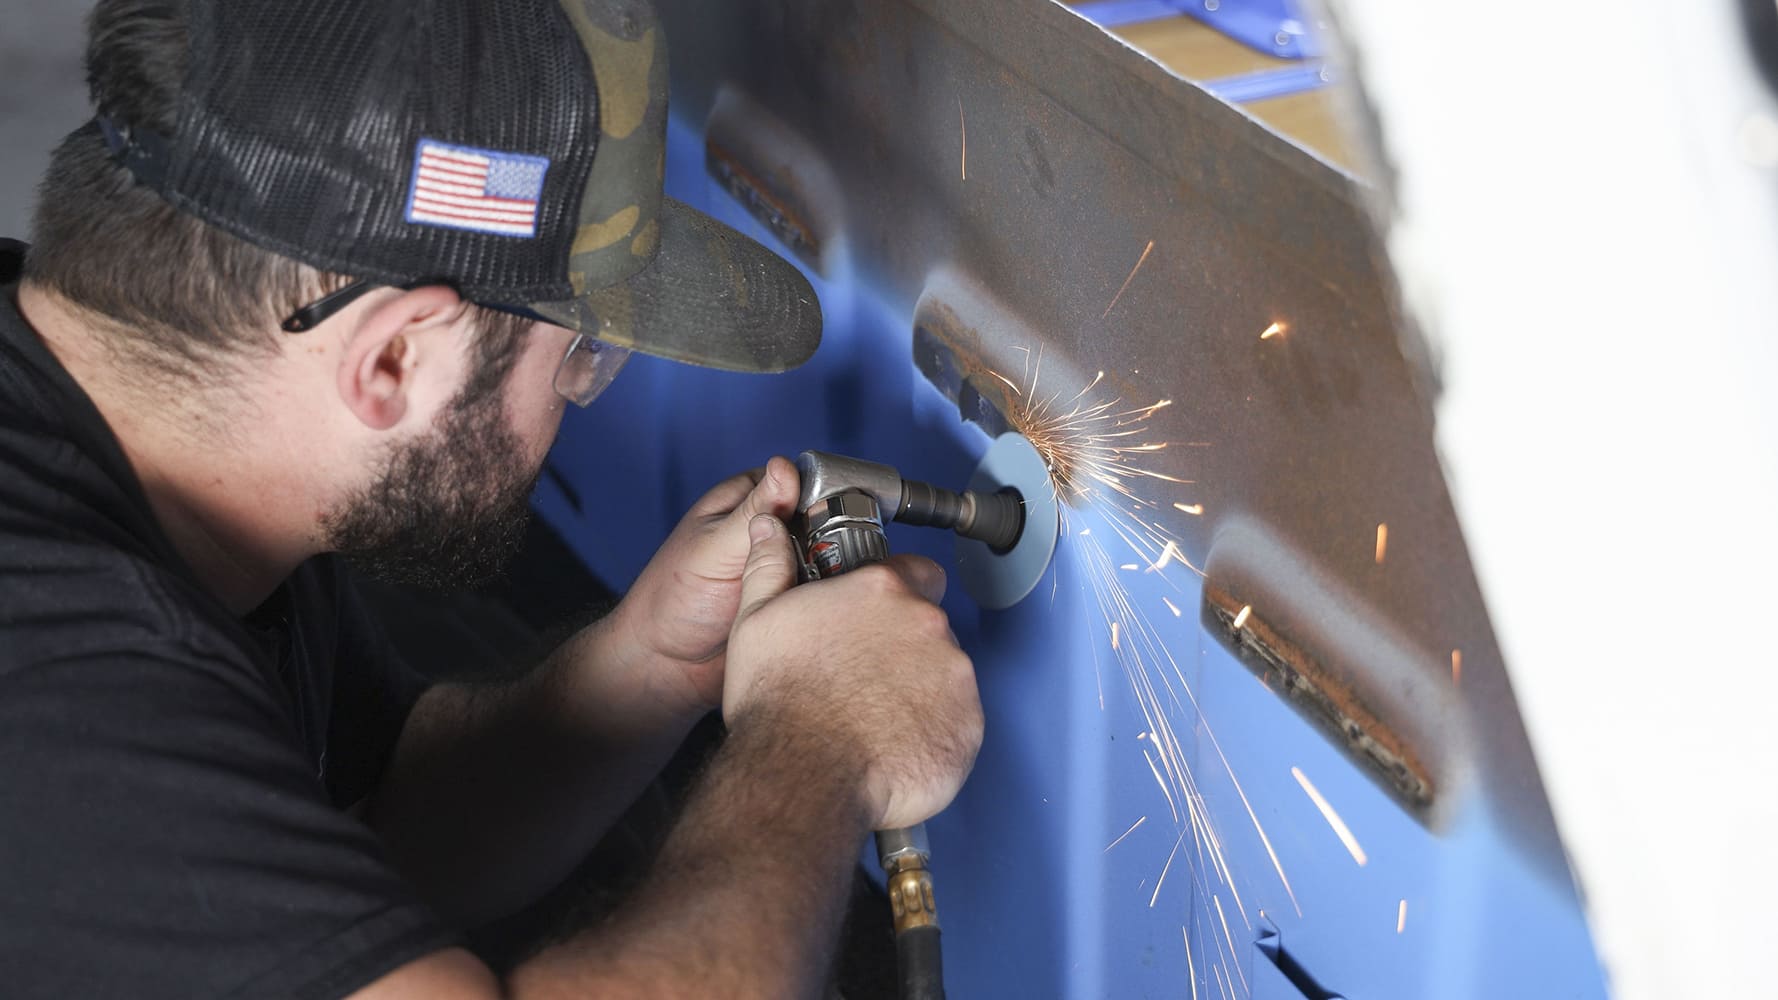
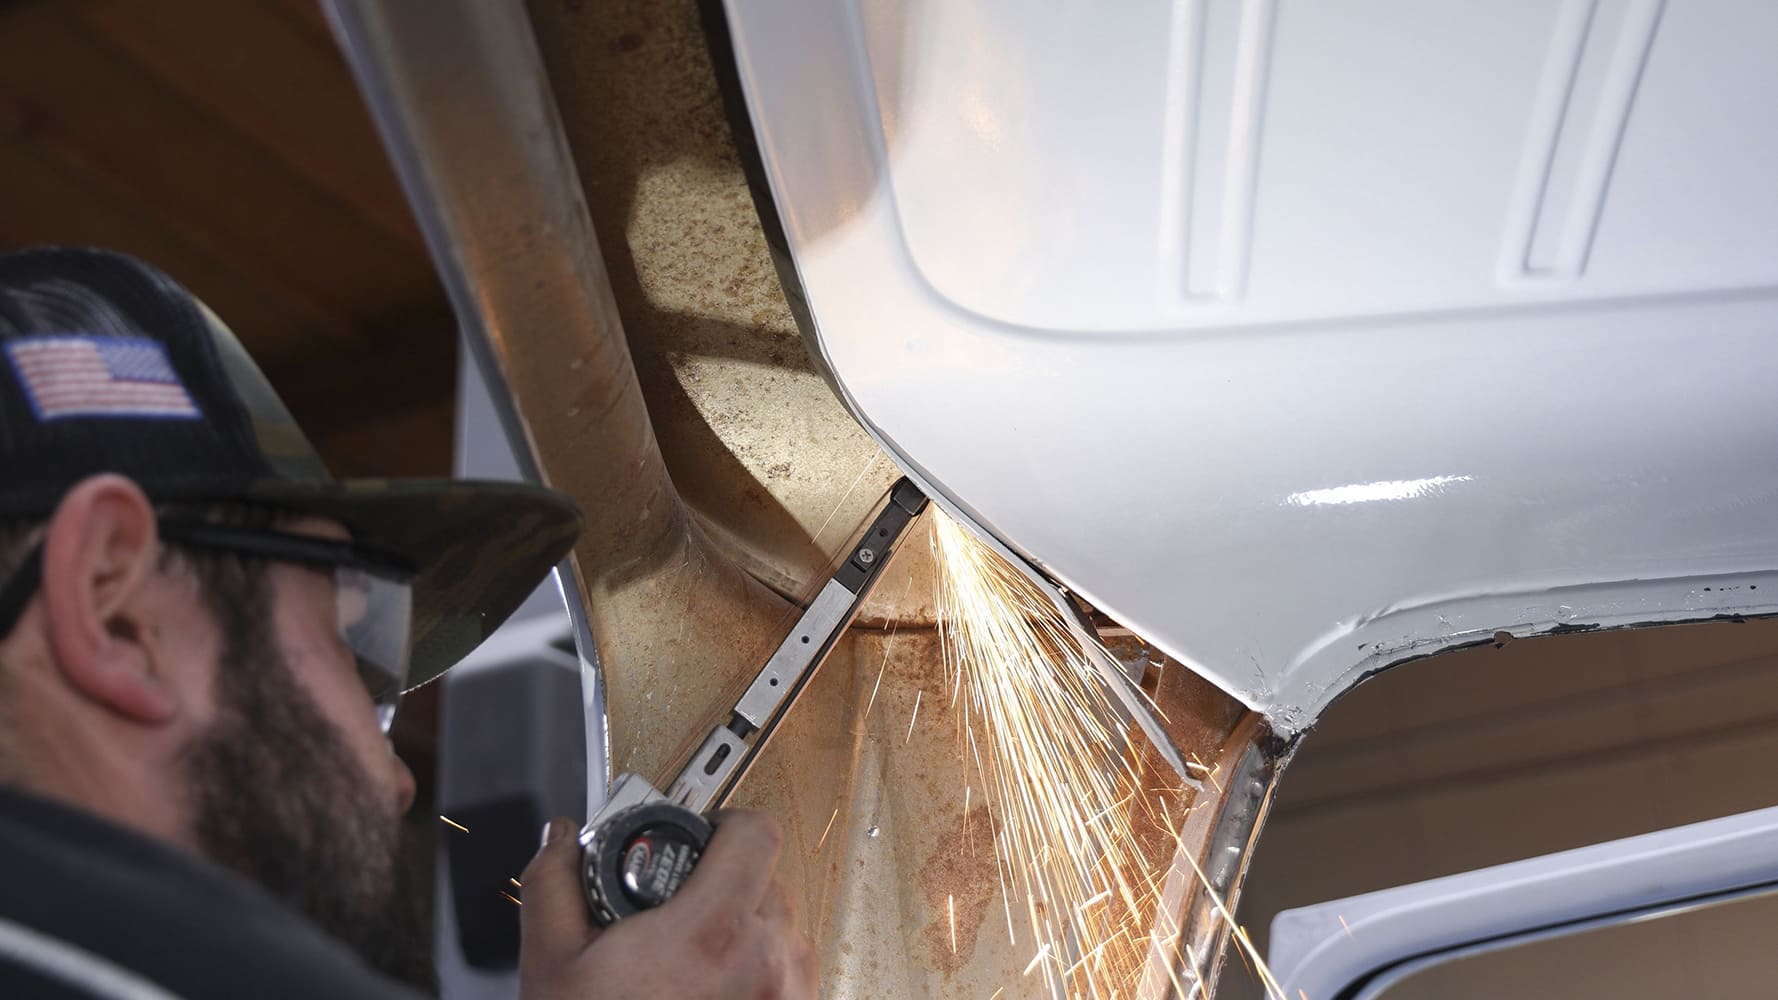
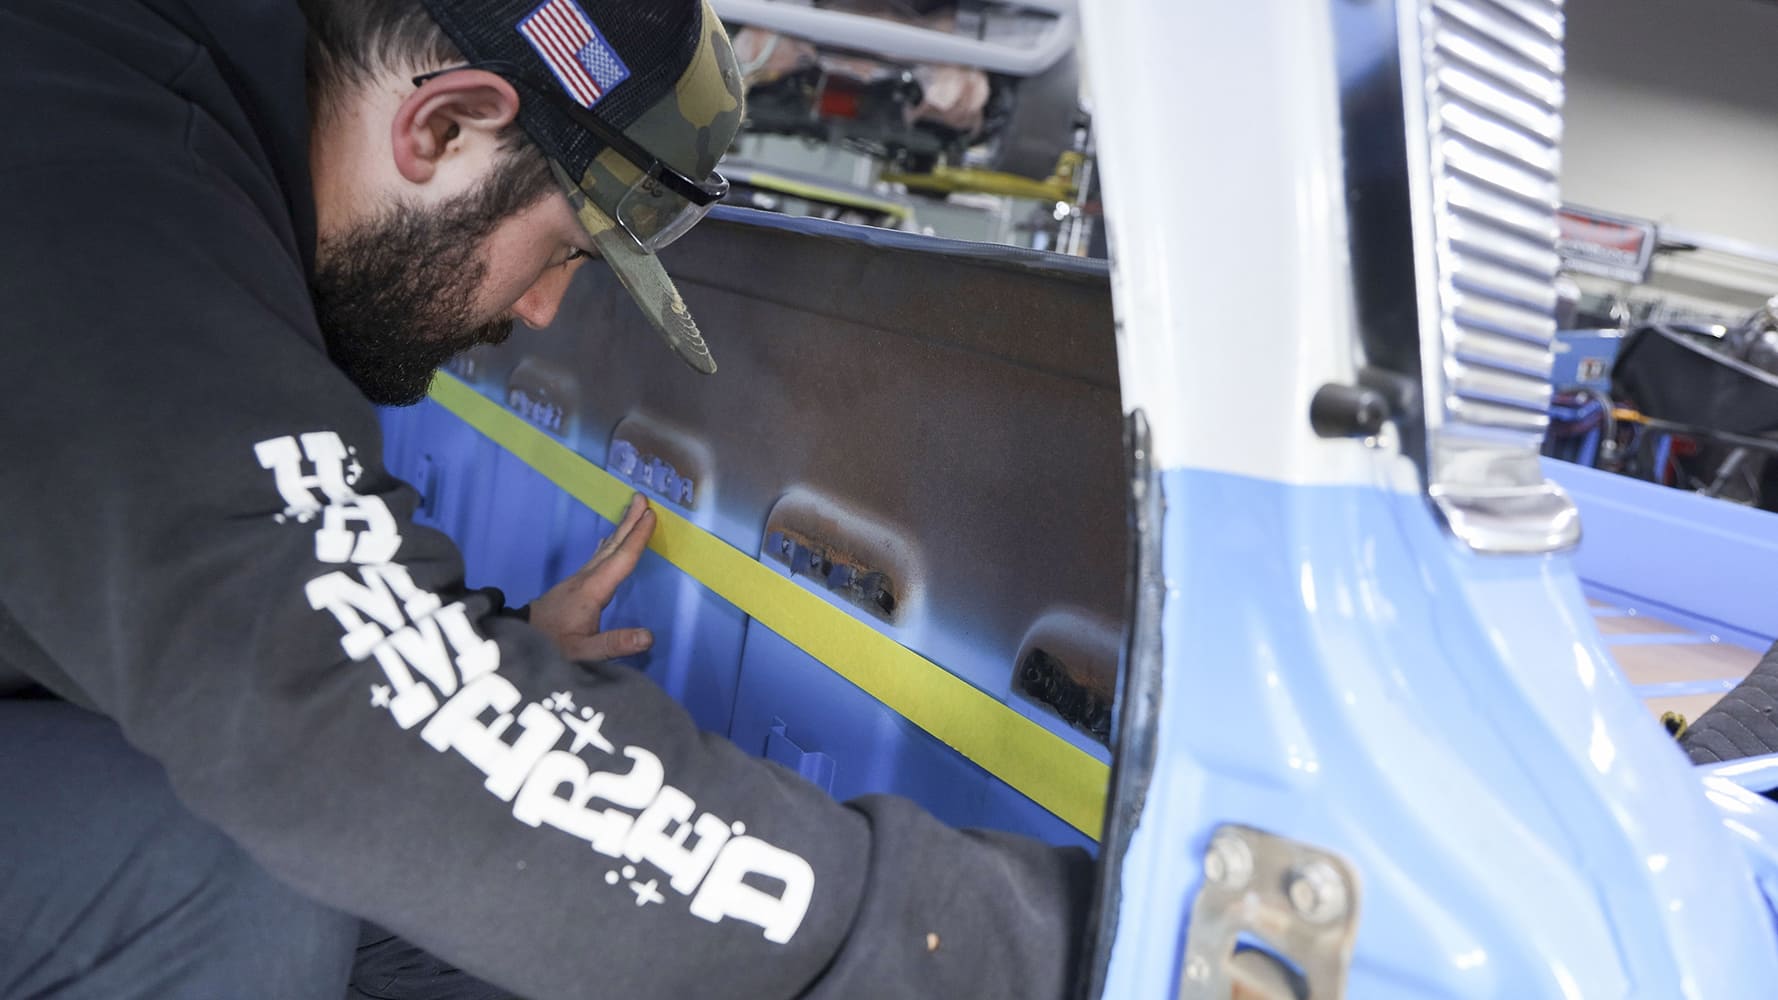
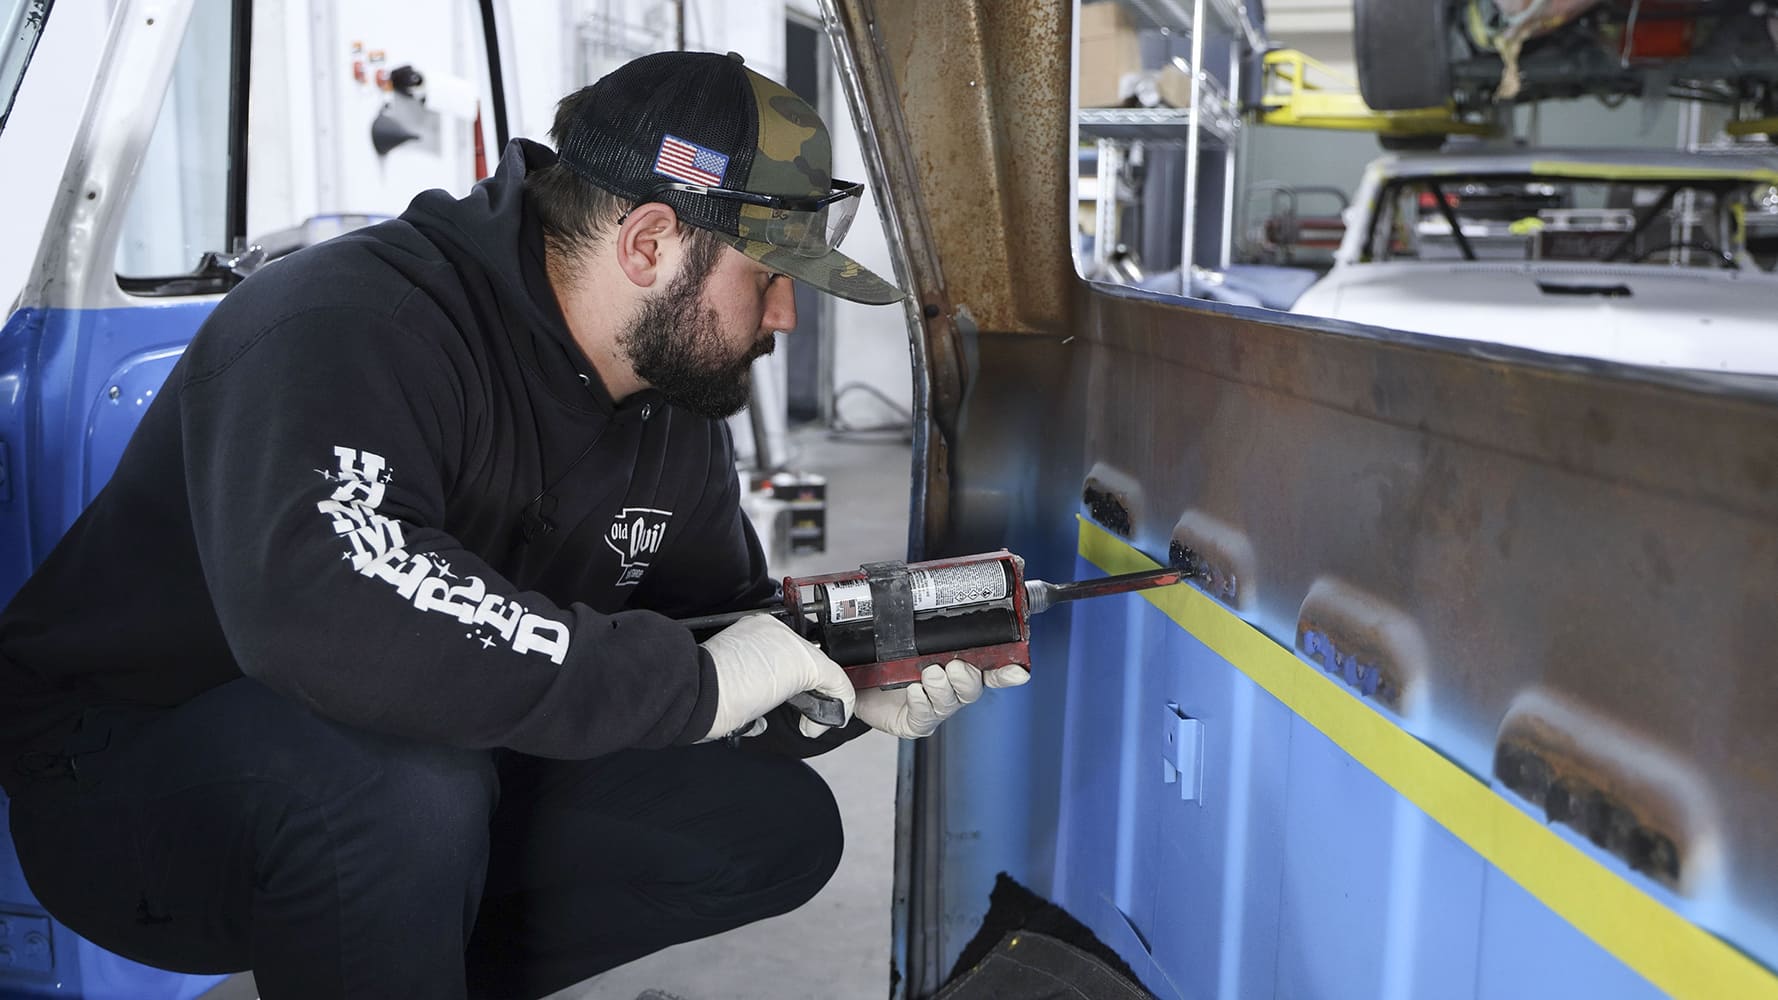
“I started by laying out a new 3/8-inch flange around the outer body line, which is exactly where an original big back window would fit. I carefully ground all the spot welds on the inner panel to the back of the cab and where it met the doors. Since the roofskin was on the truck, you have to cut the top seam where the rear window panel meets the inner roof panel. Once that is cut, you can grind the exposed spot welds and remove the rest of the panel. Then, go back to the outside of the cab and cut to that new flange line.
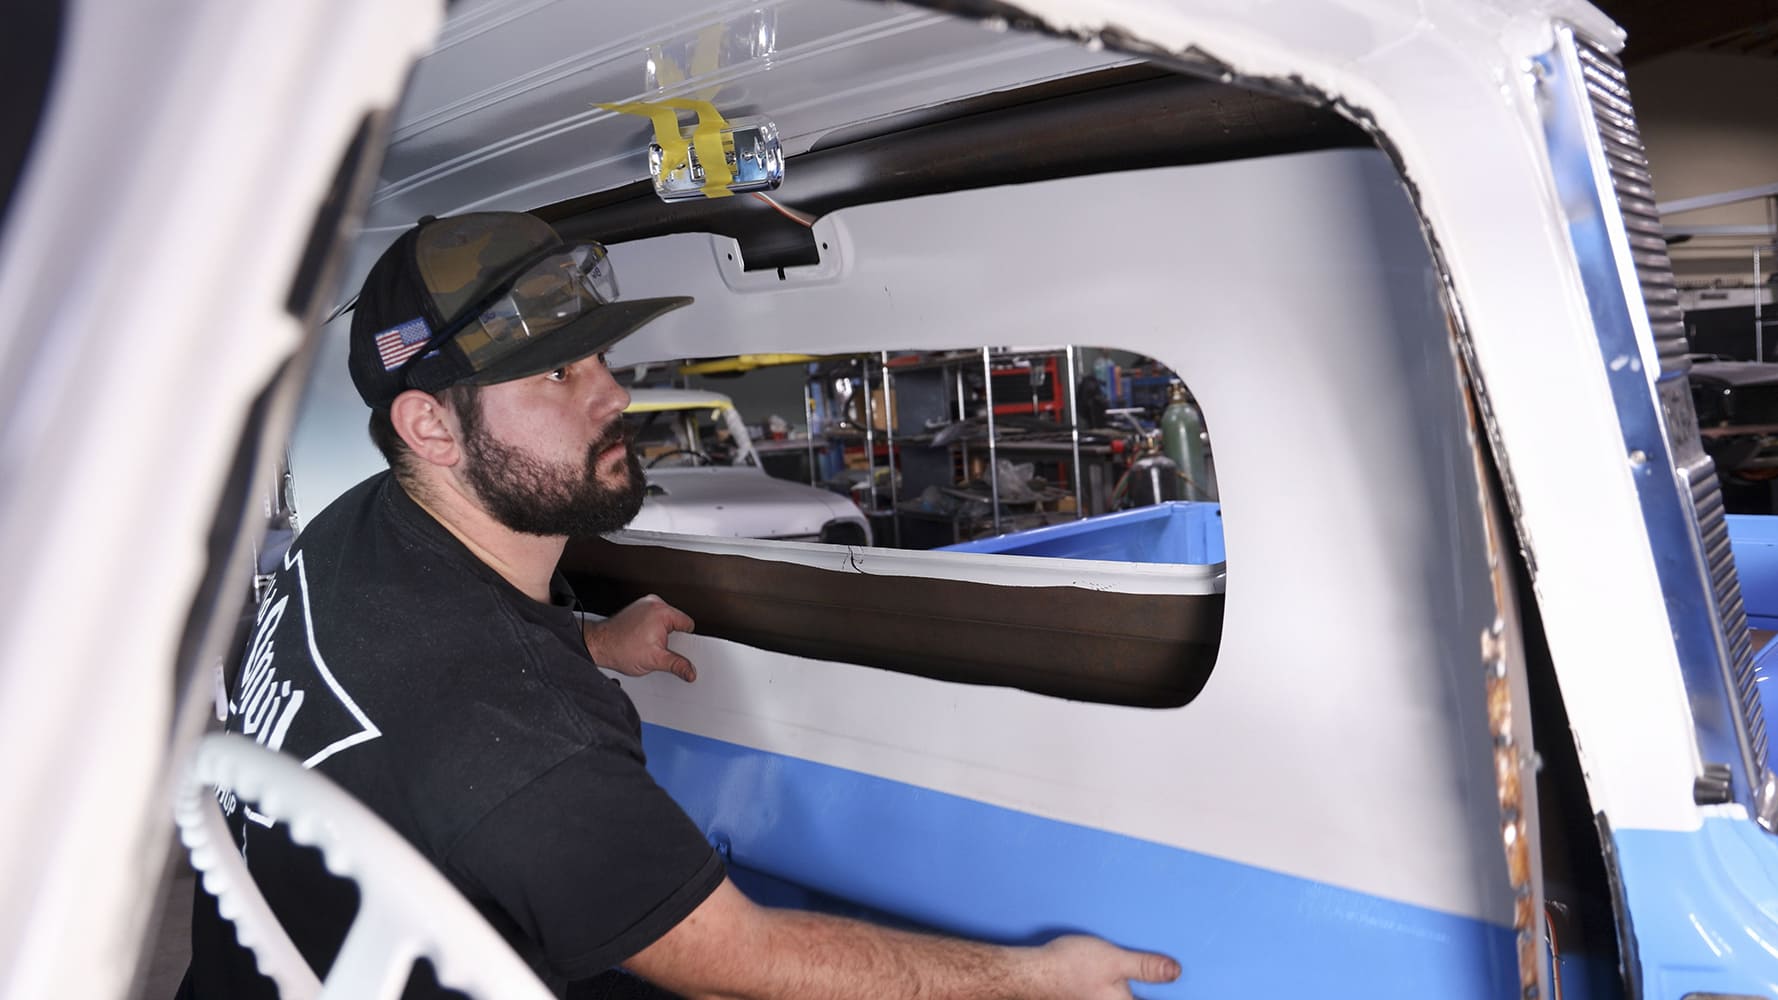
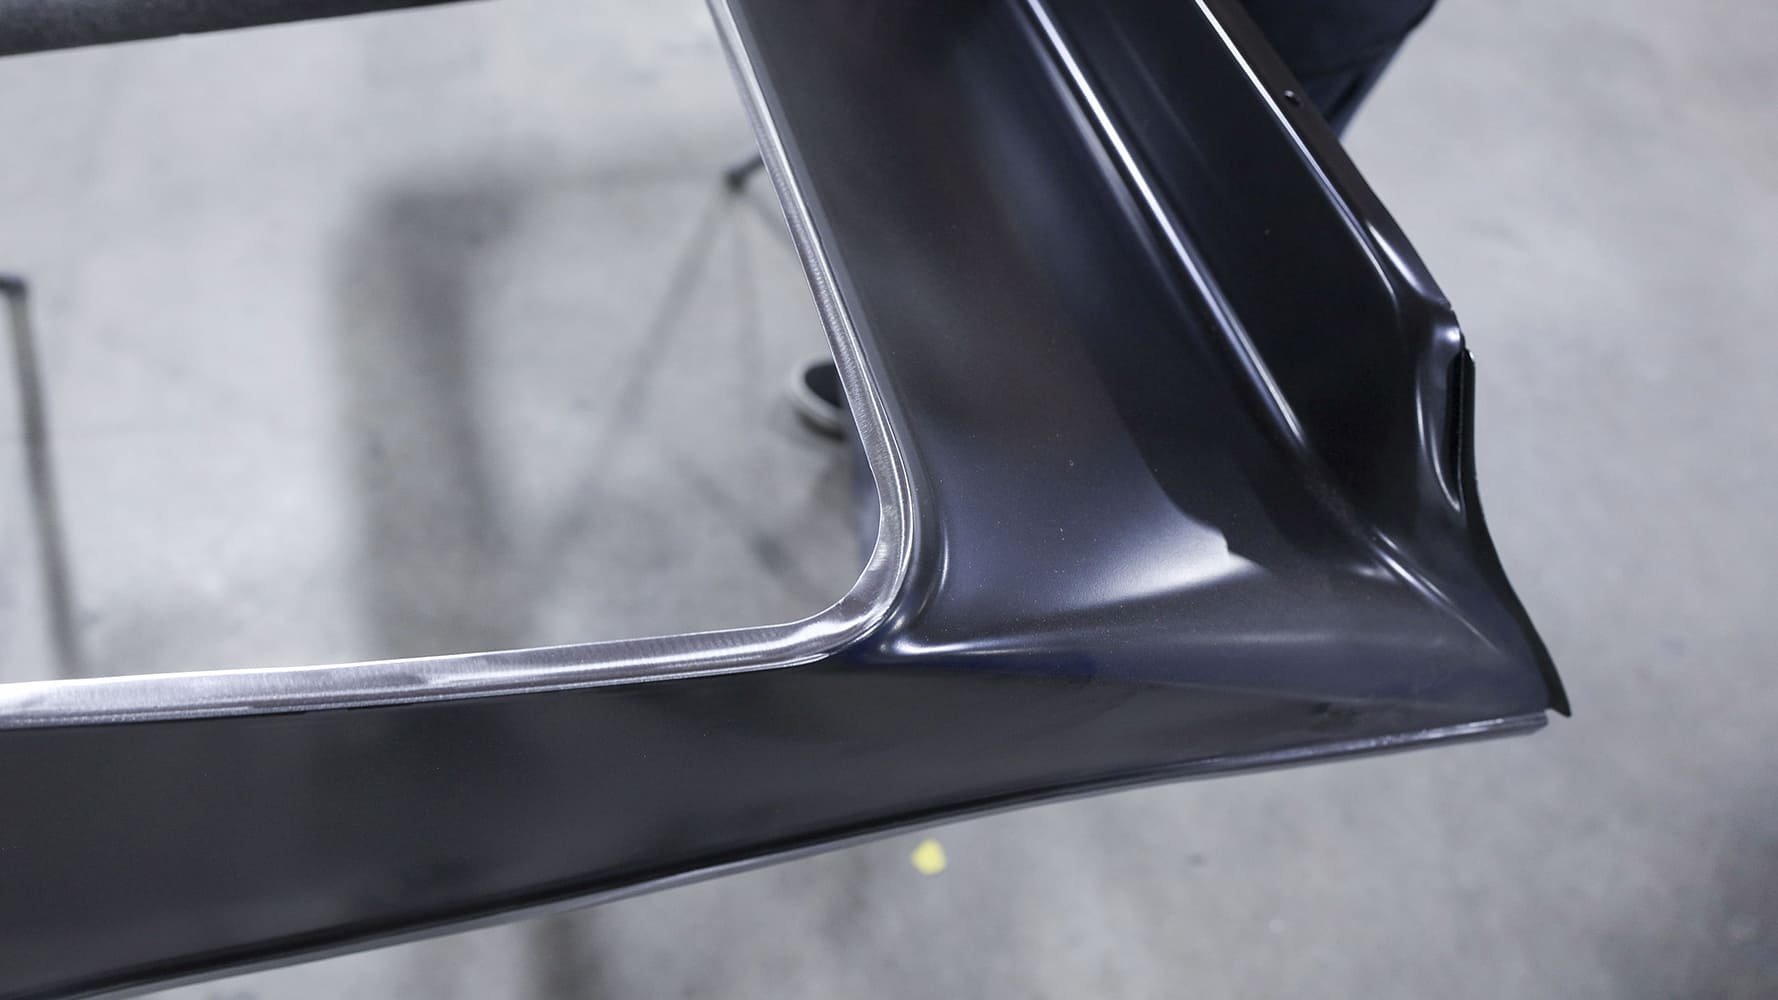
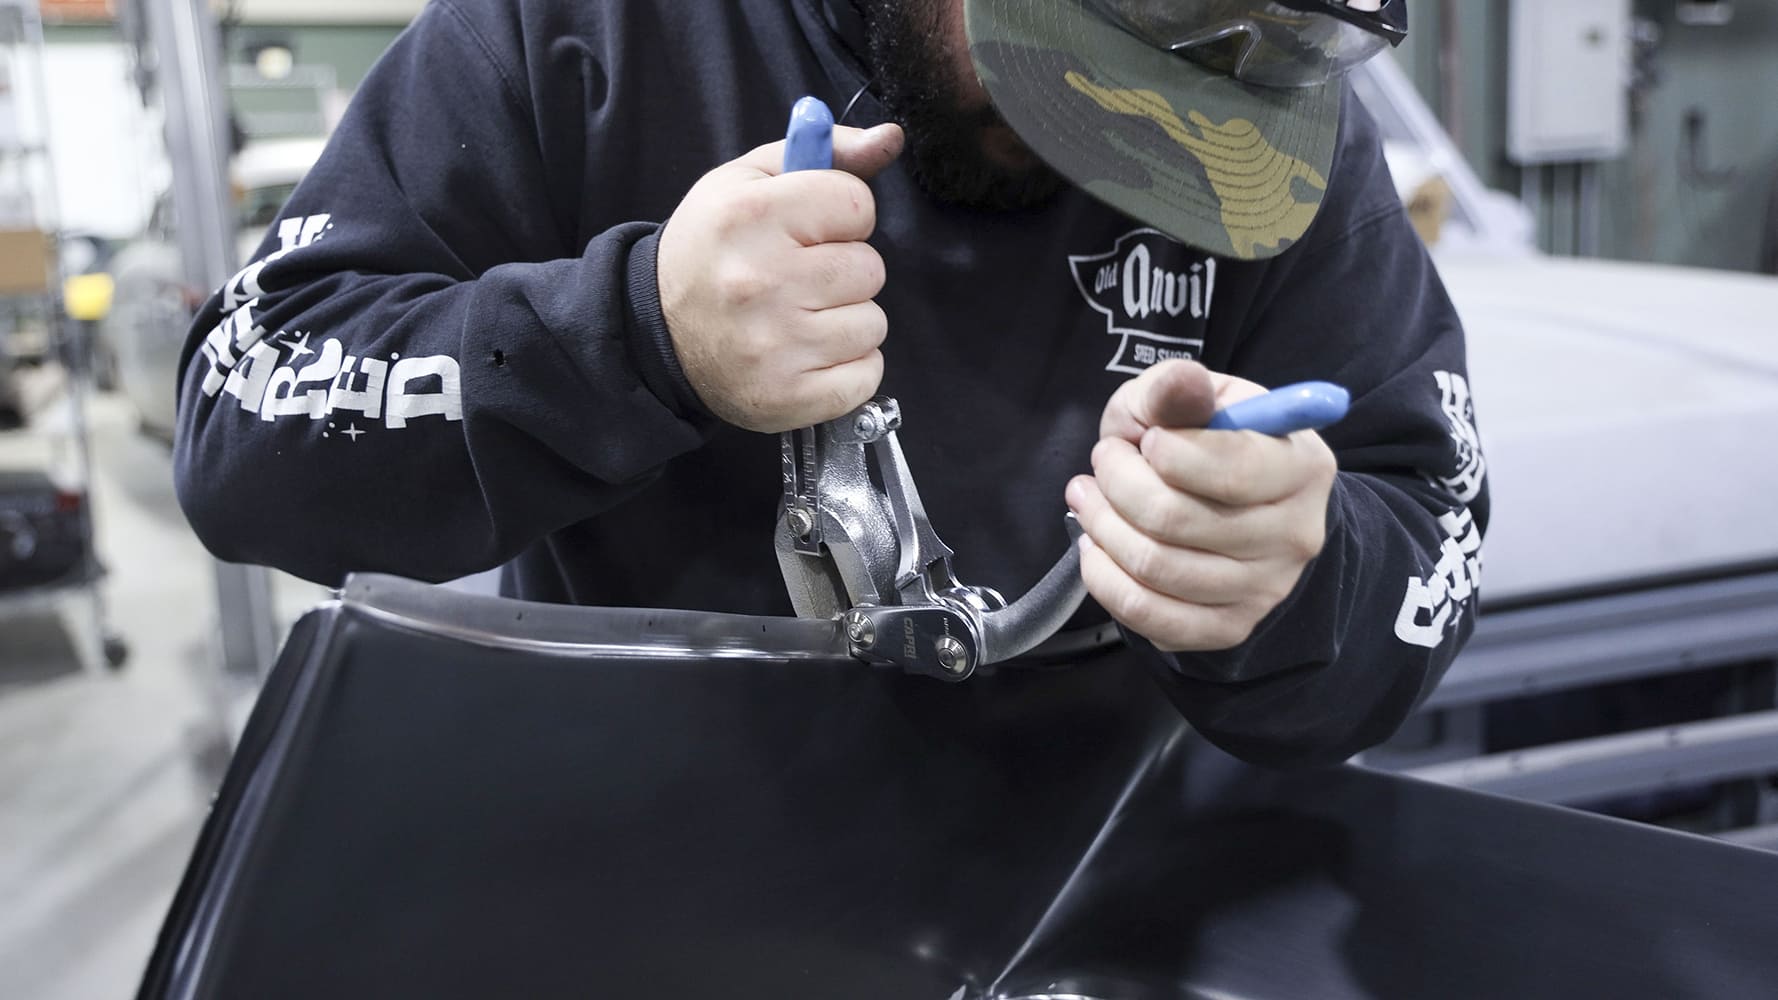
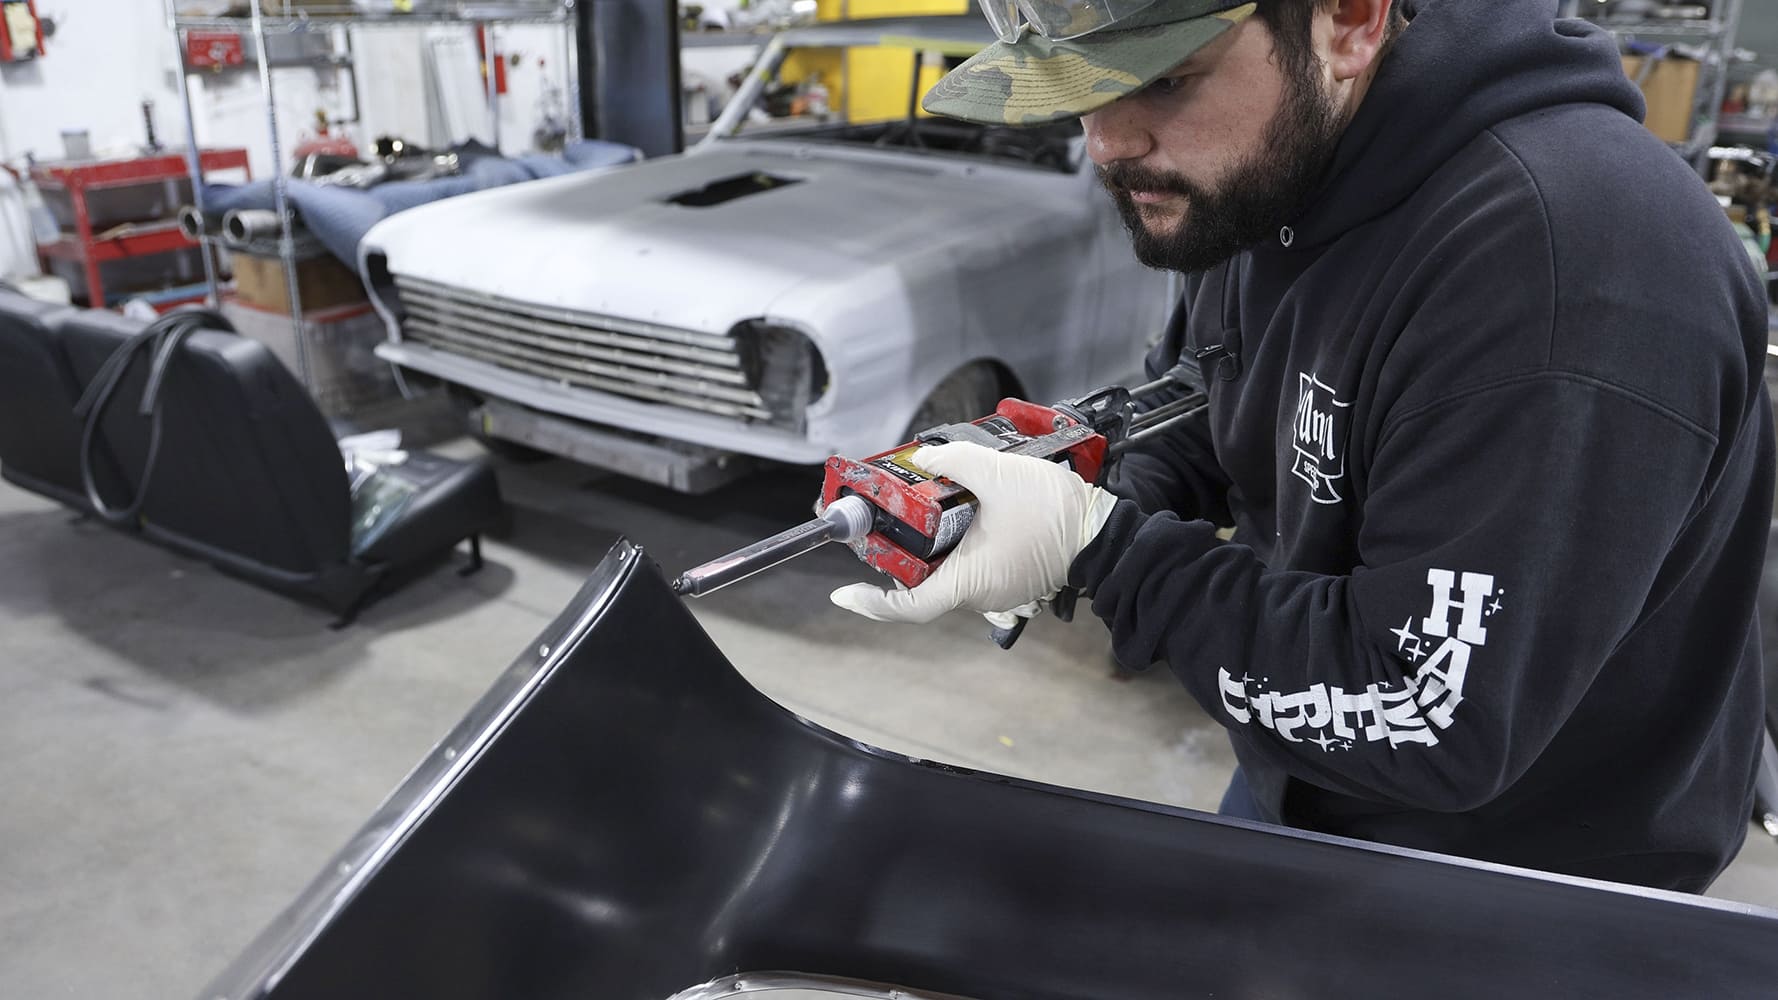
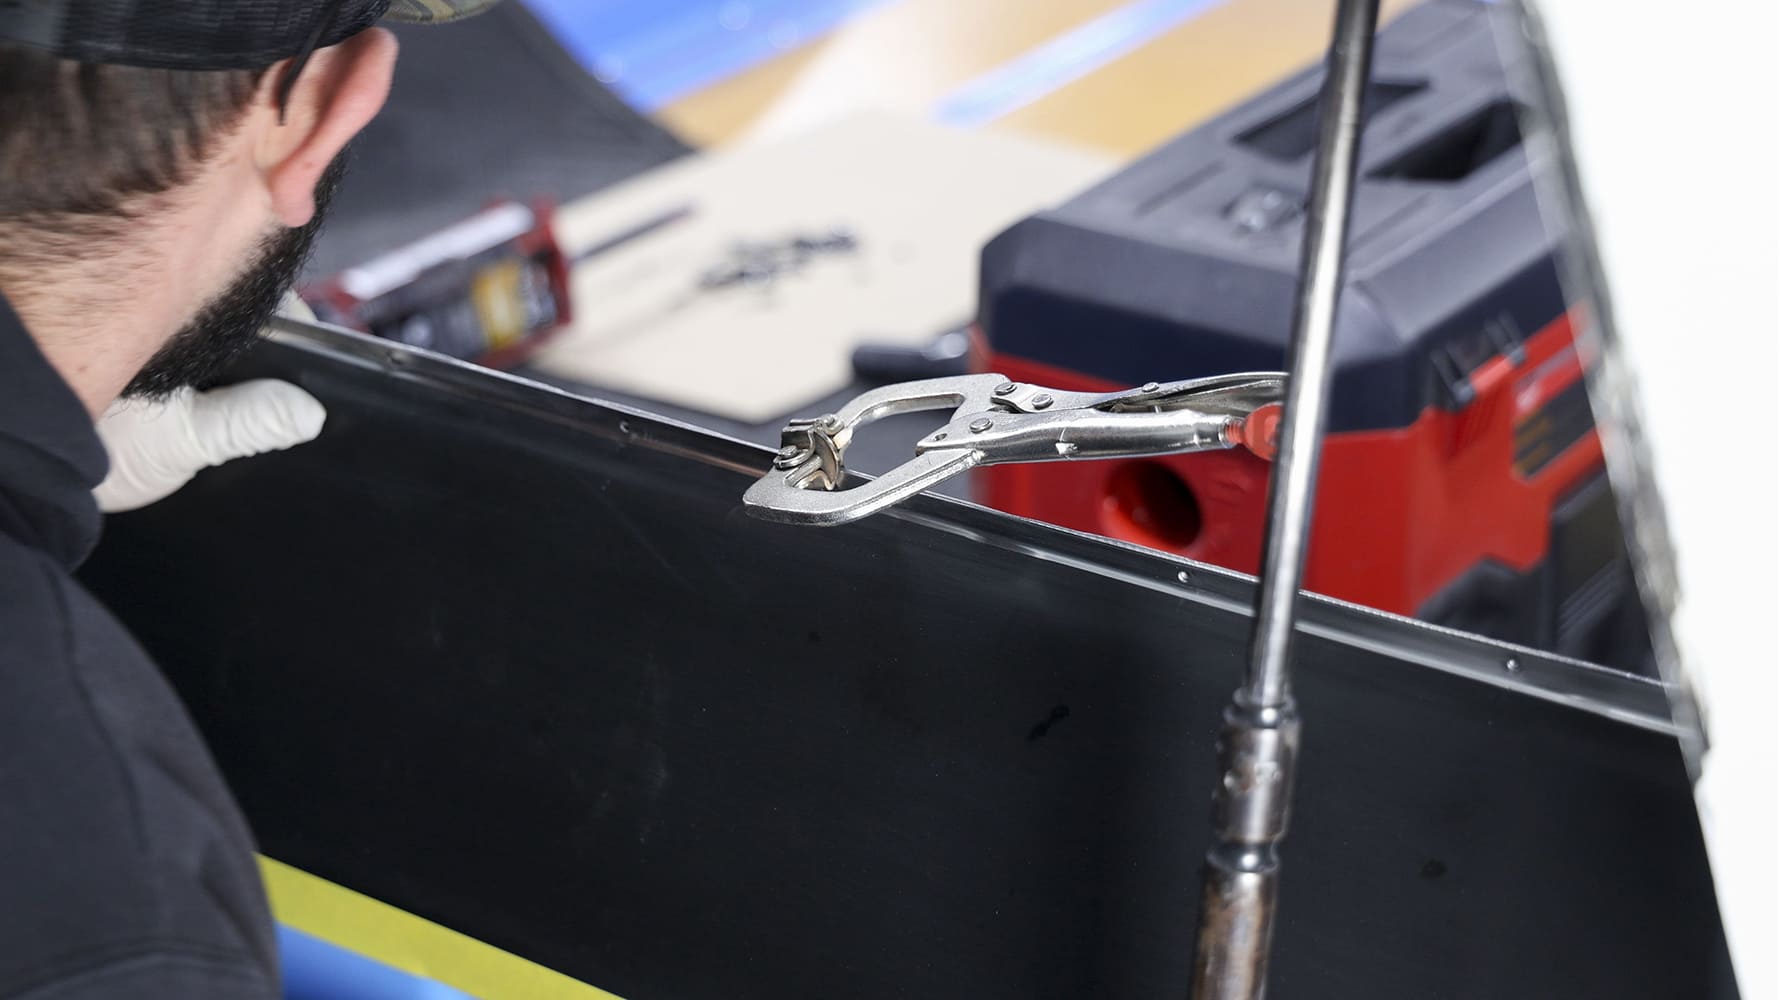
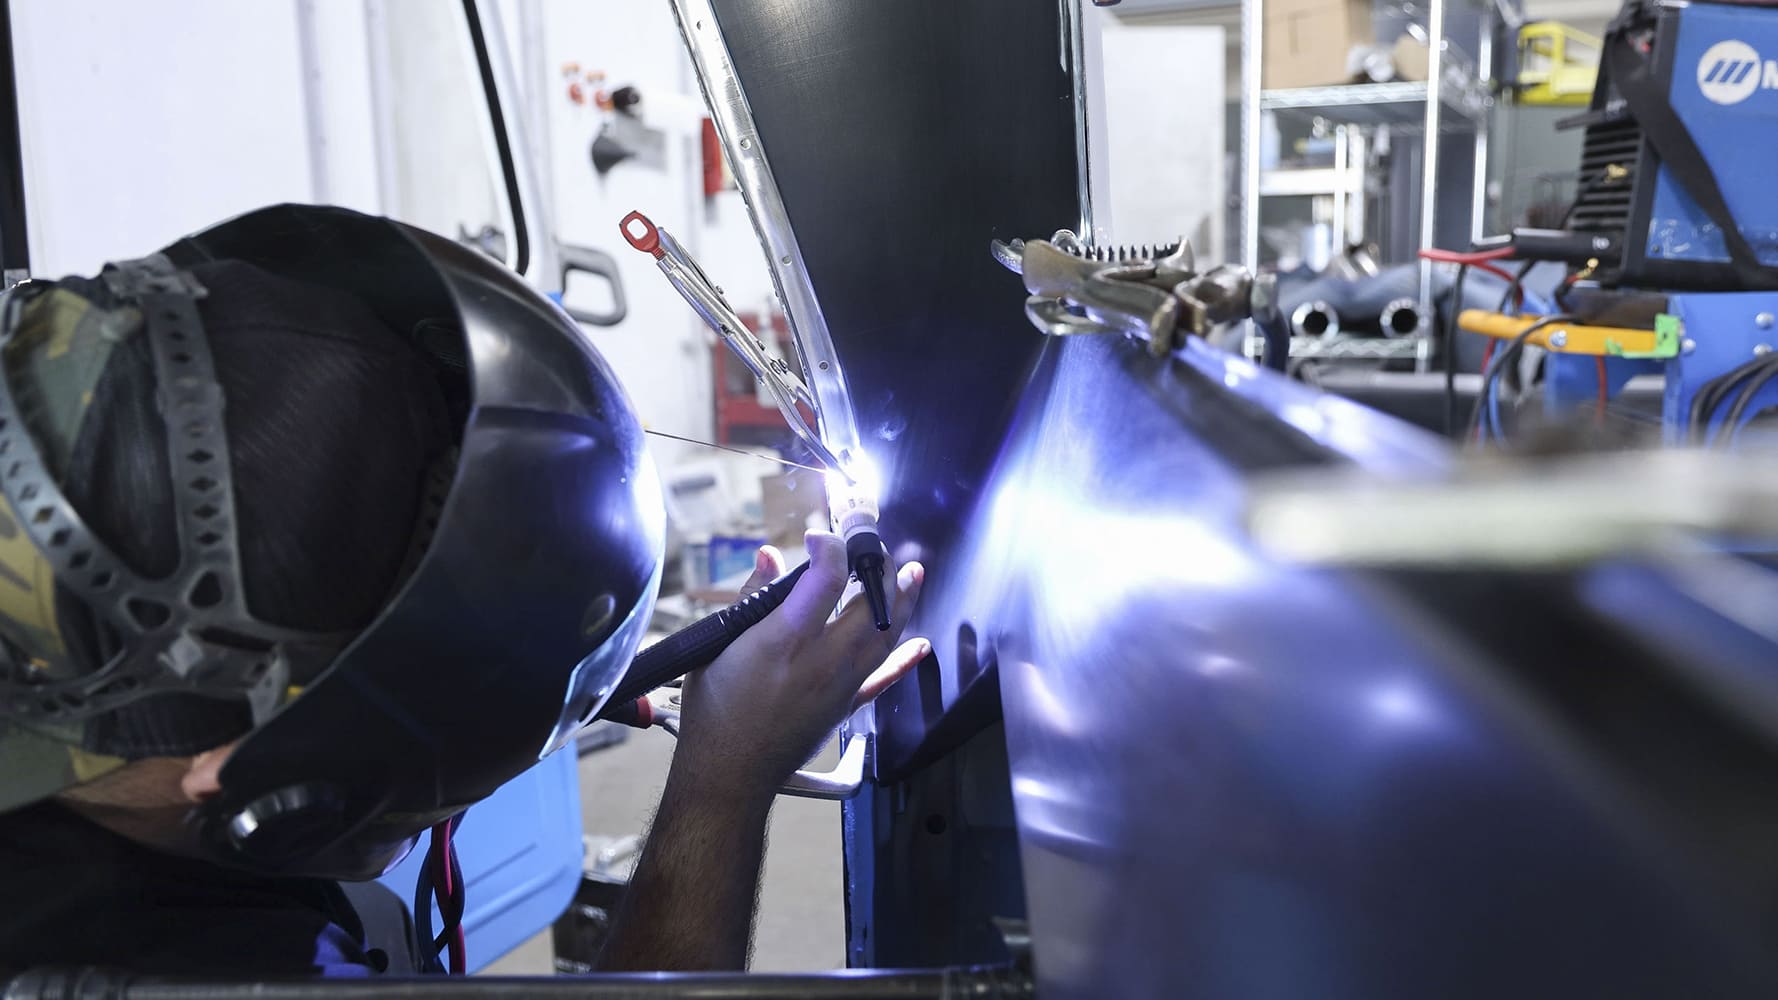
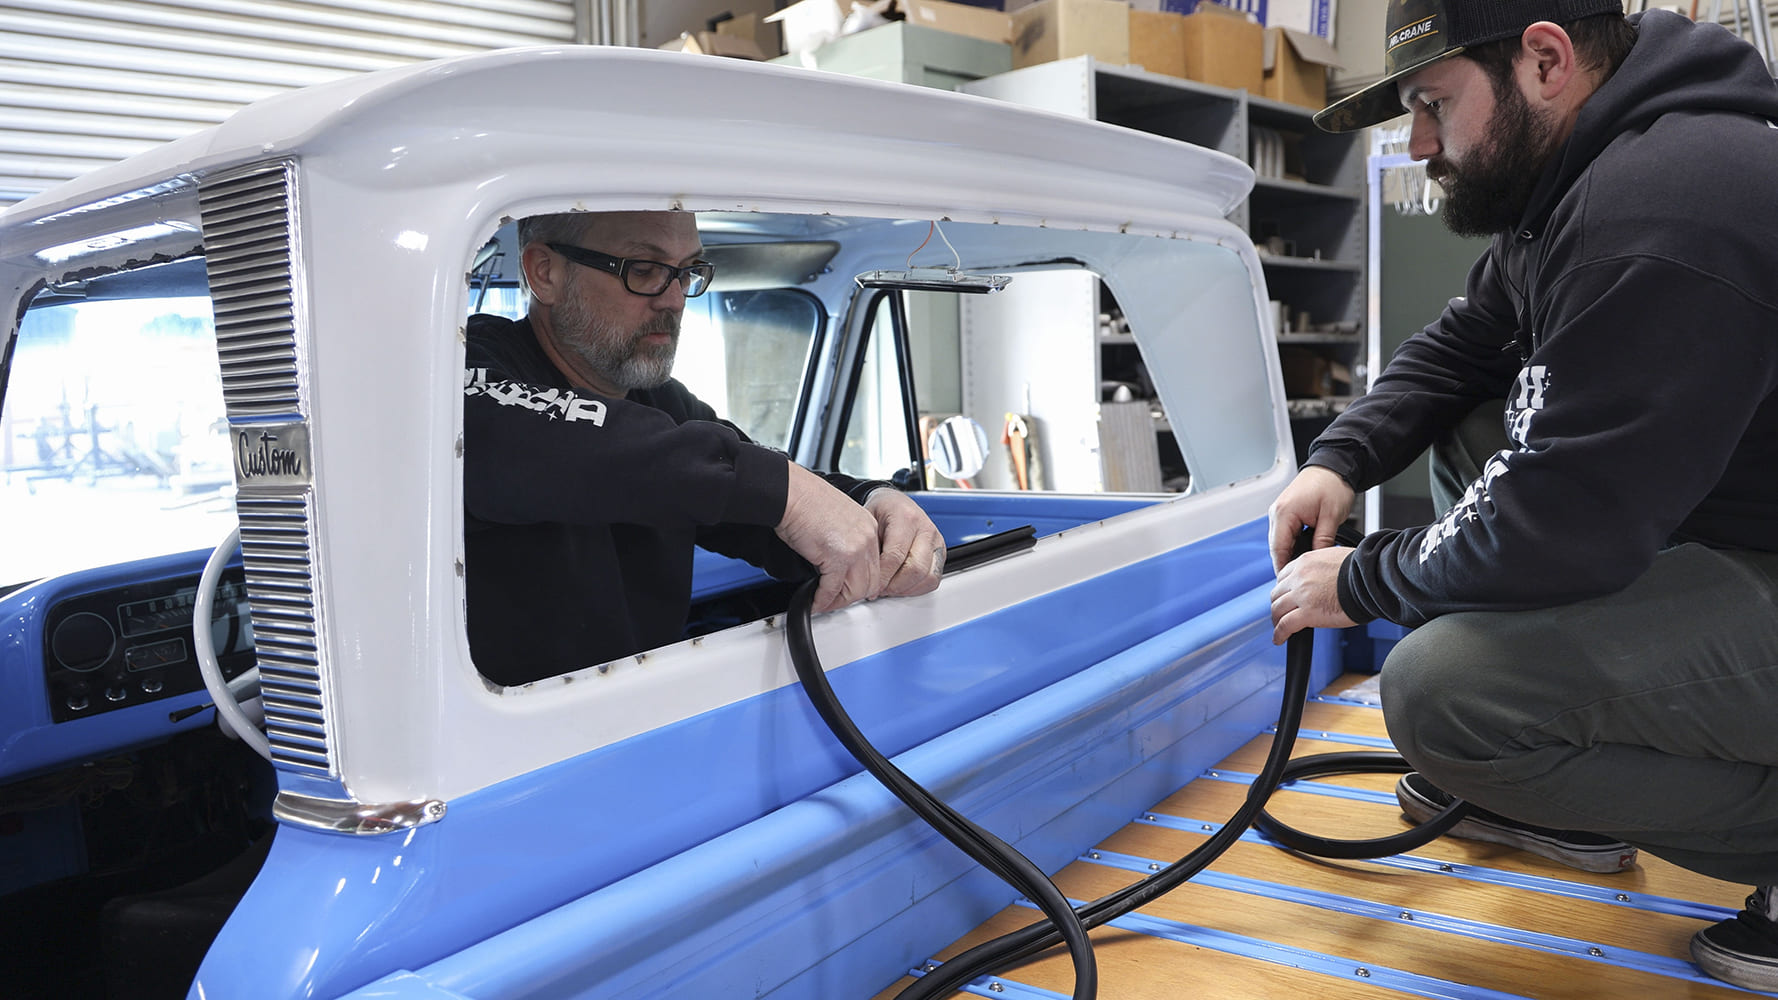
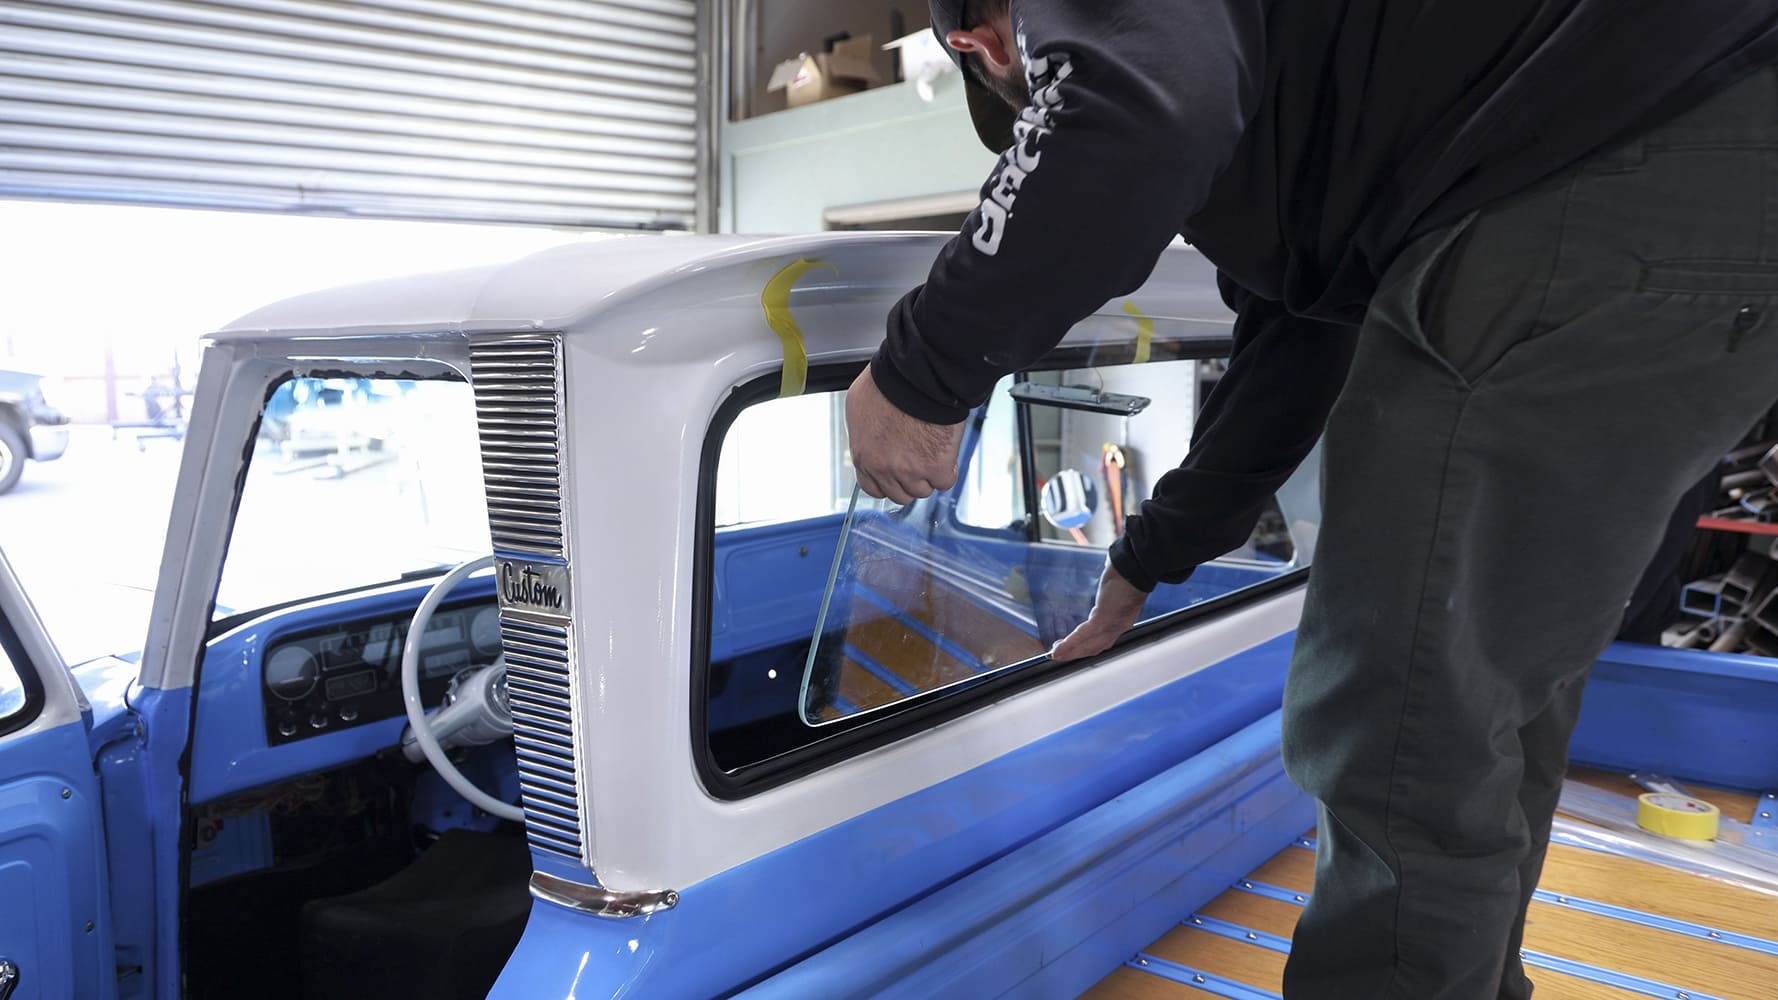
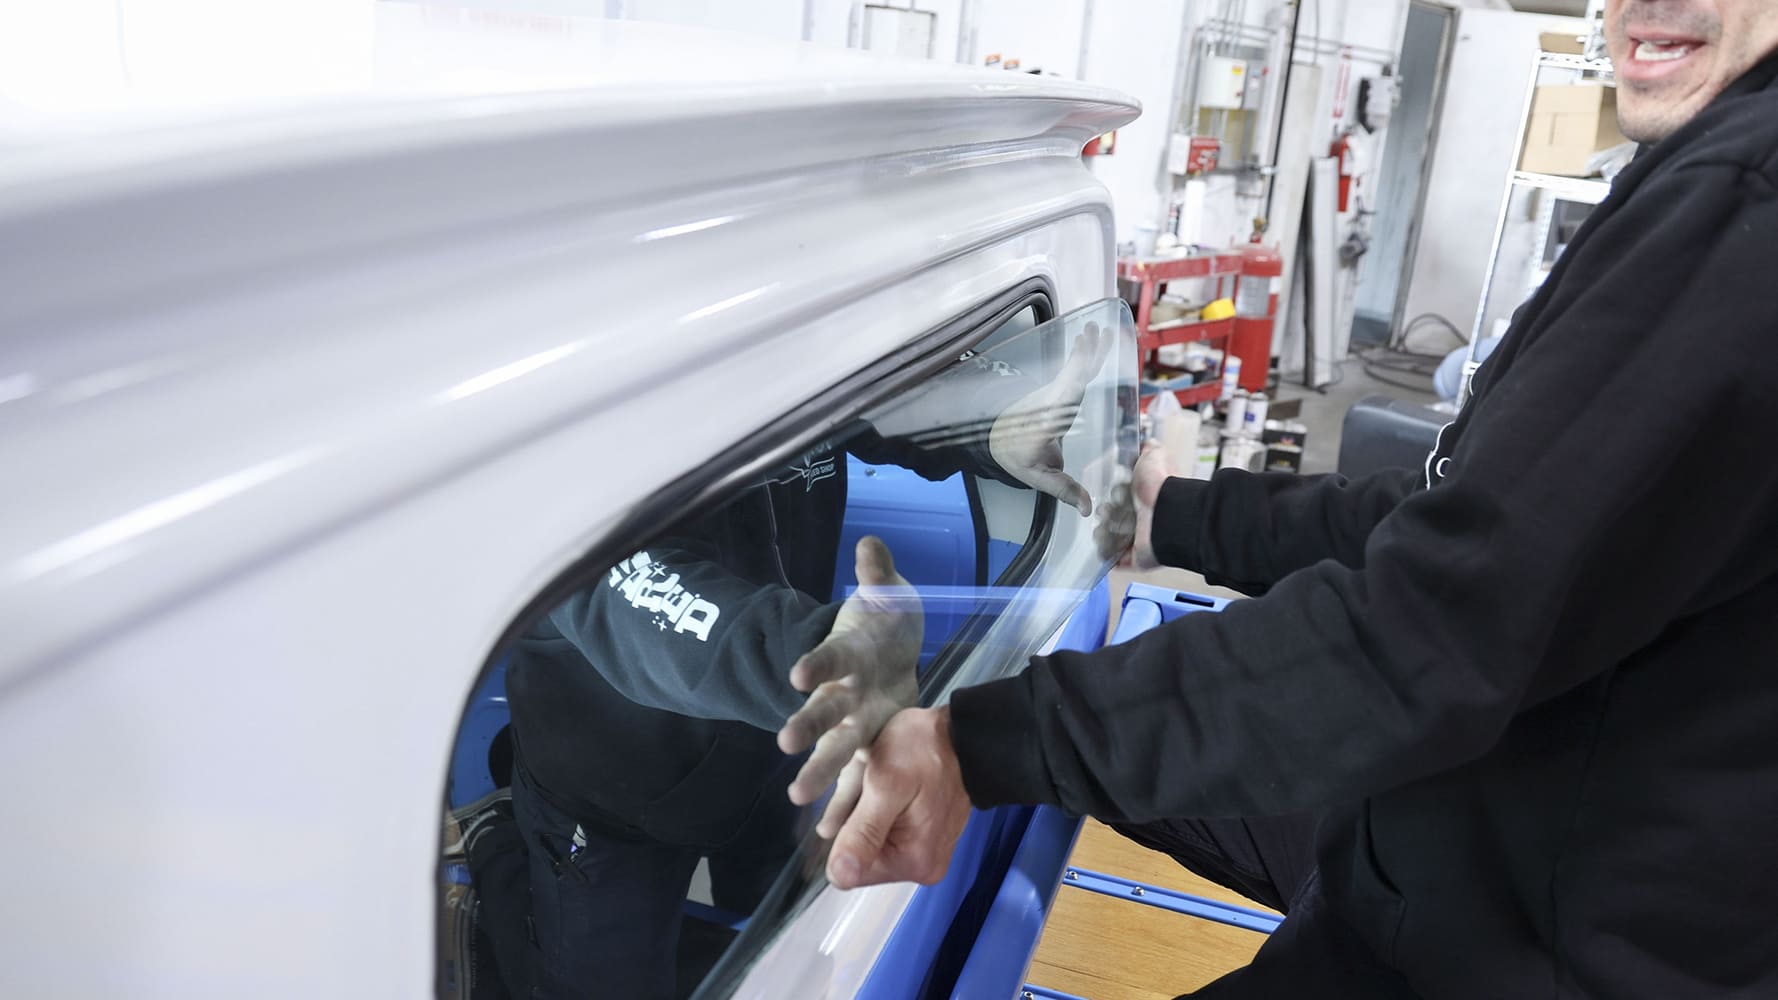
“After getting everything prepped I did a quick test-fit of the new panel (which came from Classic Industries; fit great!). If I was doing this job on a bare metal truck, I would have spot-welded the entire panel in. In this case, the owner wanted to keep as much of the paint intact as possible. In order to do this, we opted to panel-bond the upper and lower flanges, and spot weld the inner/outer window flange, as well as the flanges at the doors because those get covered with rubber.
“The big back window swap is becoming as common as cutting down a longbed, and I completely understand why. No more blind spots and a much better look! I can’t wait to cut up another one!”
Check out this story in our digital edition here.