


By Evan J. Smith – Photography By Ryan Foss – Videography By Ryan Foss Productions
Embed with video: https://www.youtube.com/watch?v=SobQAIO3YmY
Hot rod engine swaps are nothing new, and if you’ve tried one, you’ll agree that there’s no such thing as easy. There’s an art to fitting engines and drivelines into cars and trucks that never came with them from the factory. These projects will undoubtedly challenge your skills as a mechanic, engineer, and fabricator. Each one brings its own set of challenges, but once you finish, there’s no better feeling of accomplishment.
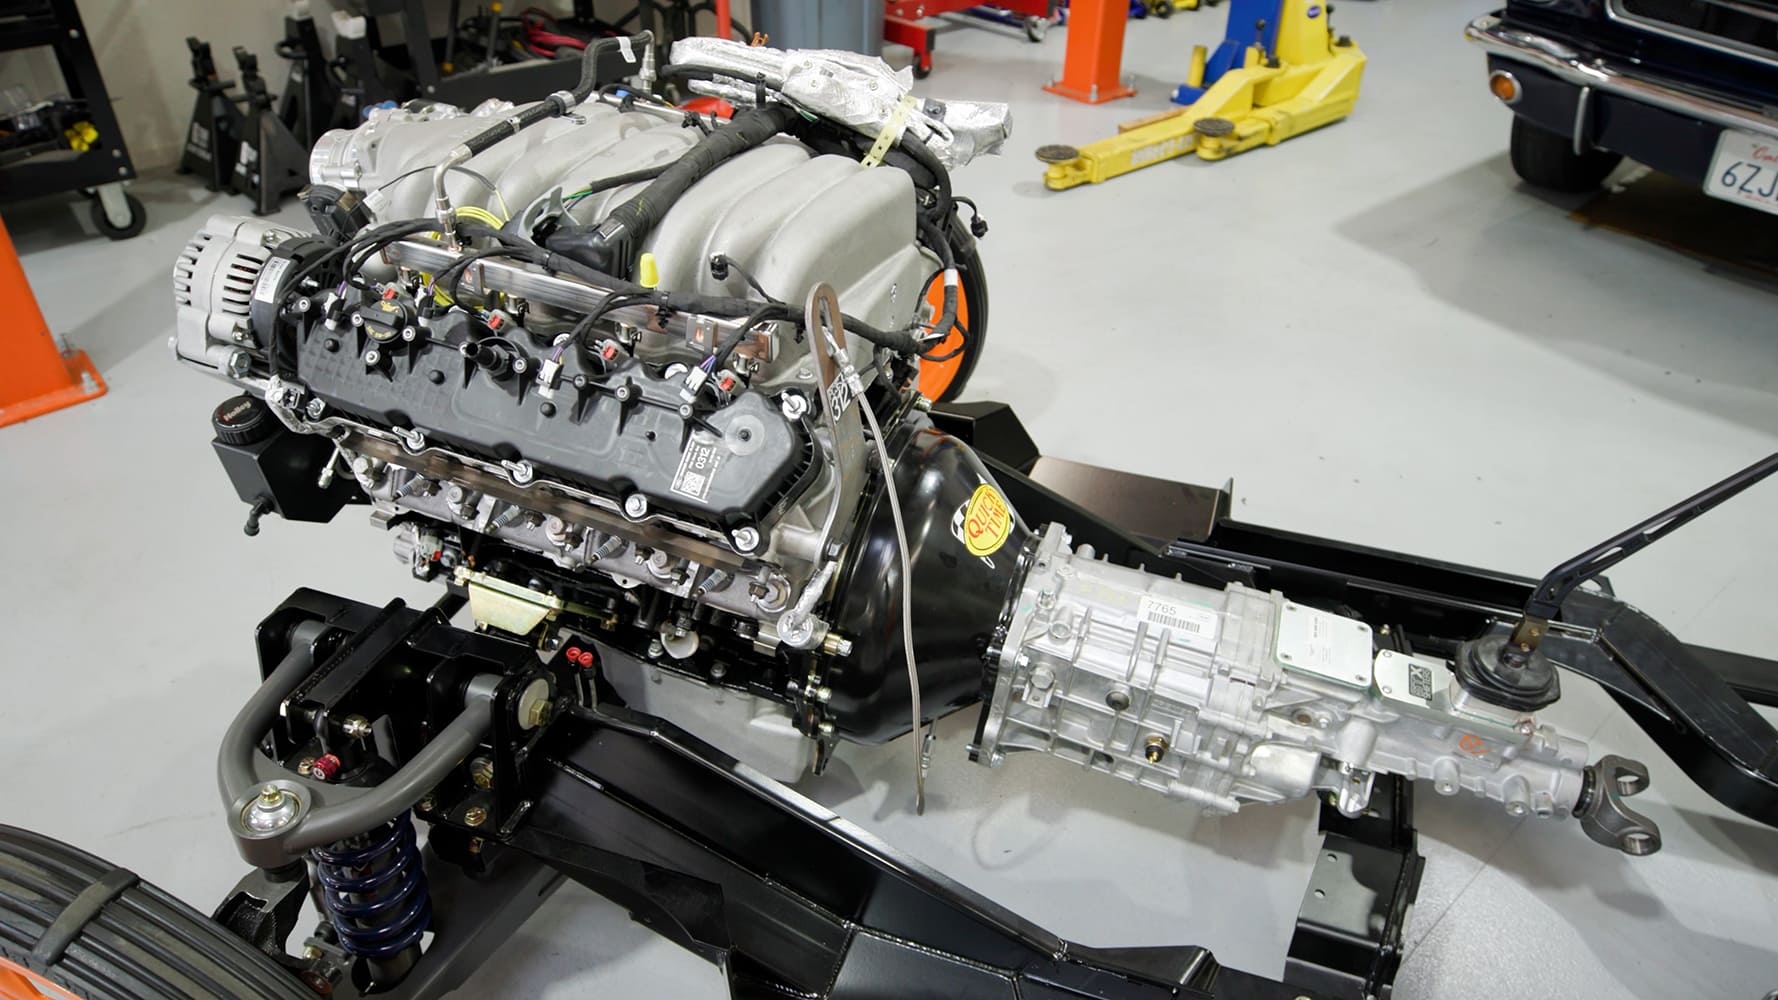
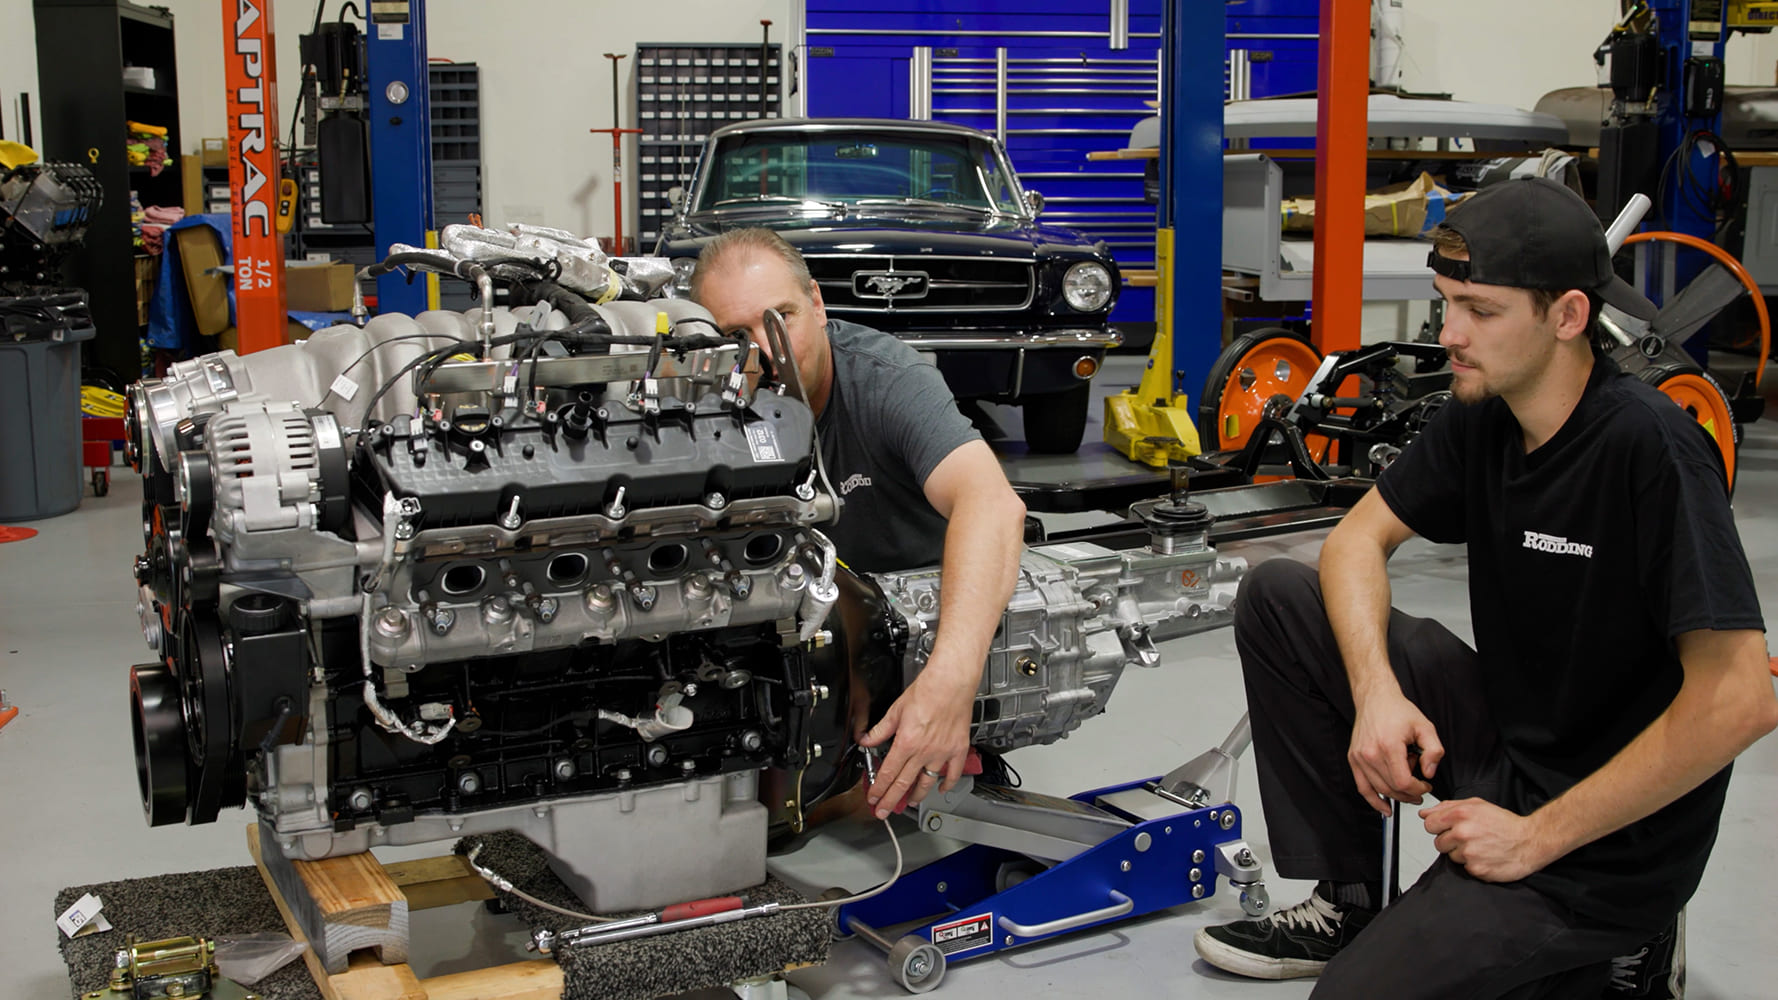
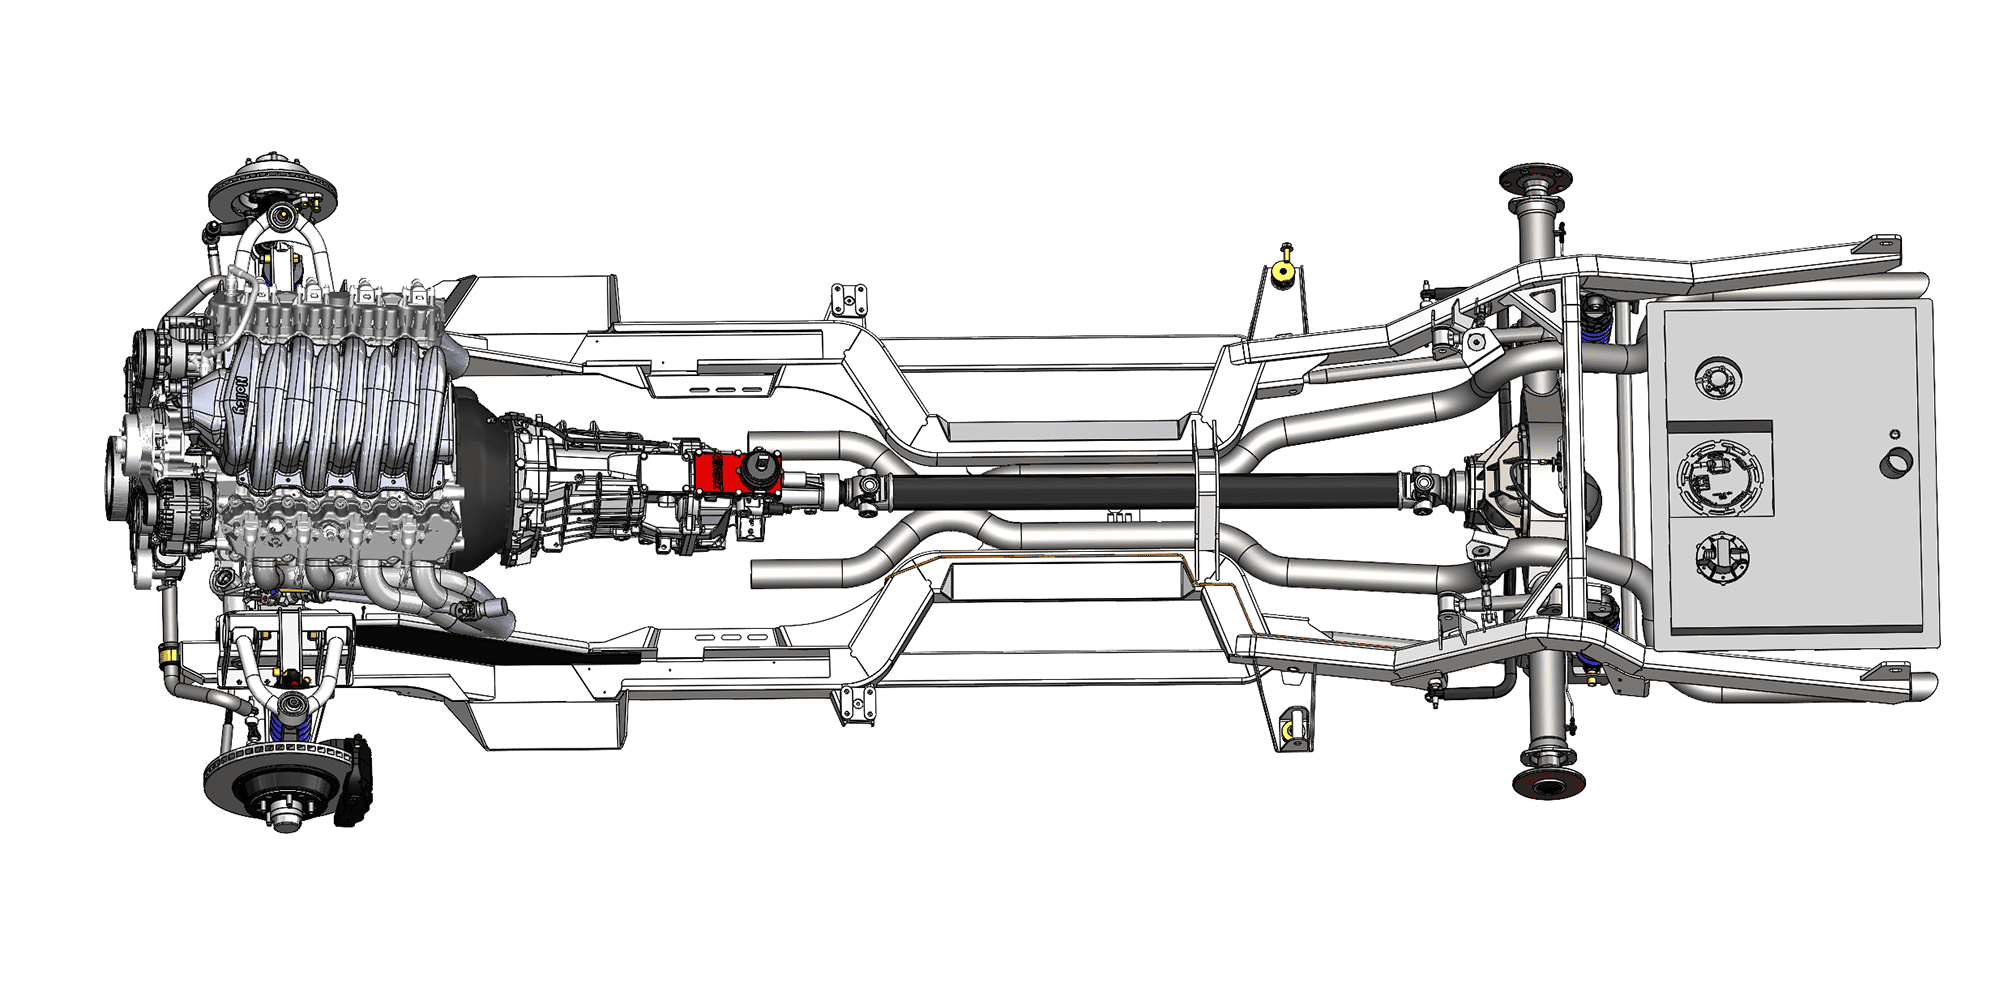
In the case of our Modern Rodding 1965 Mustang Fastback, we’re taking it a step further by adding a Roadster Shop chassis along with the 7.3L Ford Godzilla and the Silver Sport Transmissions (SST) TREMEC TKX swap kit. The Godzilla should significantly motivate our lightweight, manual transmission–equipped 1965 Fastback, and we’ll pair that with the fun only a manual transmission can deliver. The First-Generation Mustang has eye-catching lines, and with a modern powertrain, suspension, and brakes, we expect it to grip and rip.
Driveline Expertise
If you’ve been following our build, you’ve seen us boost the Godzilla V-8’s power with Holley parts; now we’ll show you our plans to transfer that power to the ground.


Looking for an all-in-one package, we turned to SST, which specializes in driveline components and swap solutions. SST kits remove the guesswork from selecting a transmission, clutch, bellhousing, and installation parts (crossmembers, hardware, hydraulic throwout bearings, and so on). The team at SST are industry experts in street performance, off-road, drag racing, and road racing, and they’ve created kits tested on real-world builds. Because of this, SST can get it right the first time, ultimately saving you time and money.
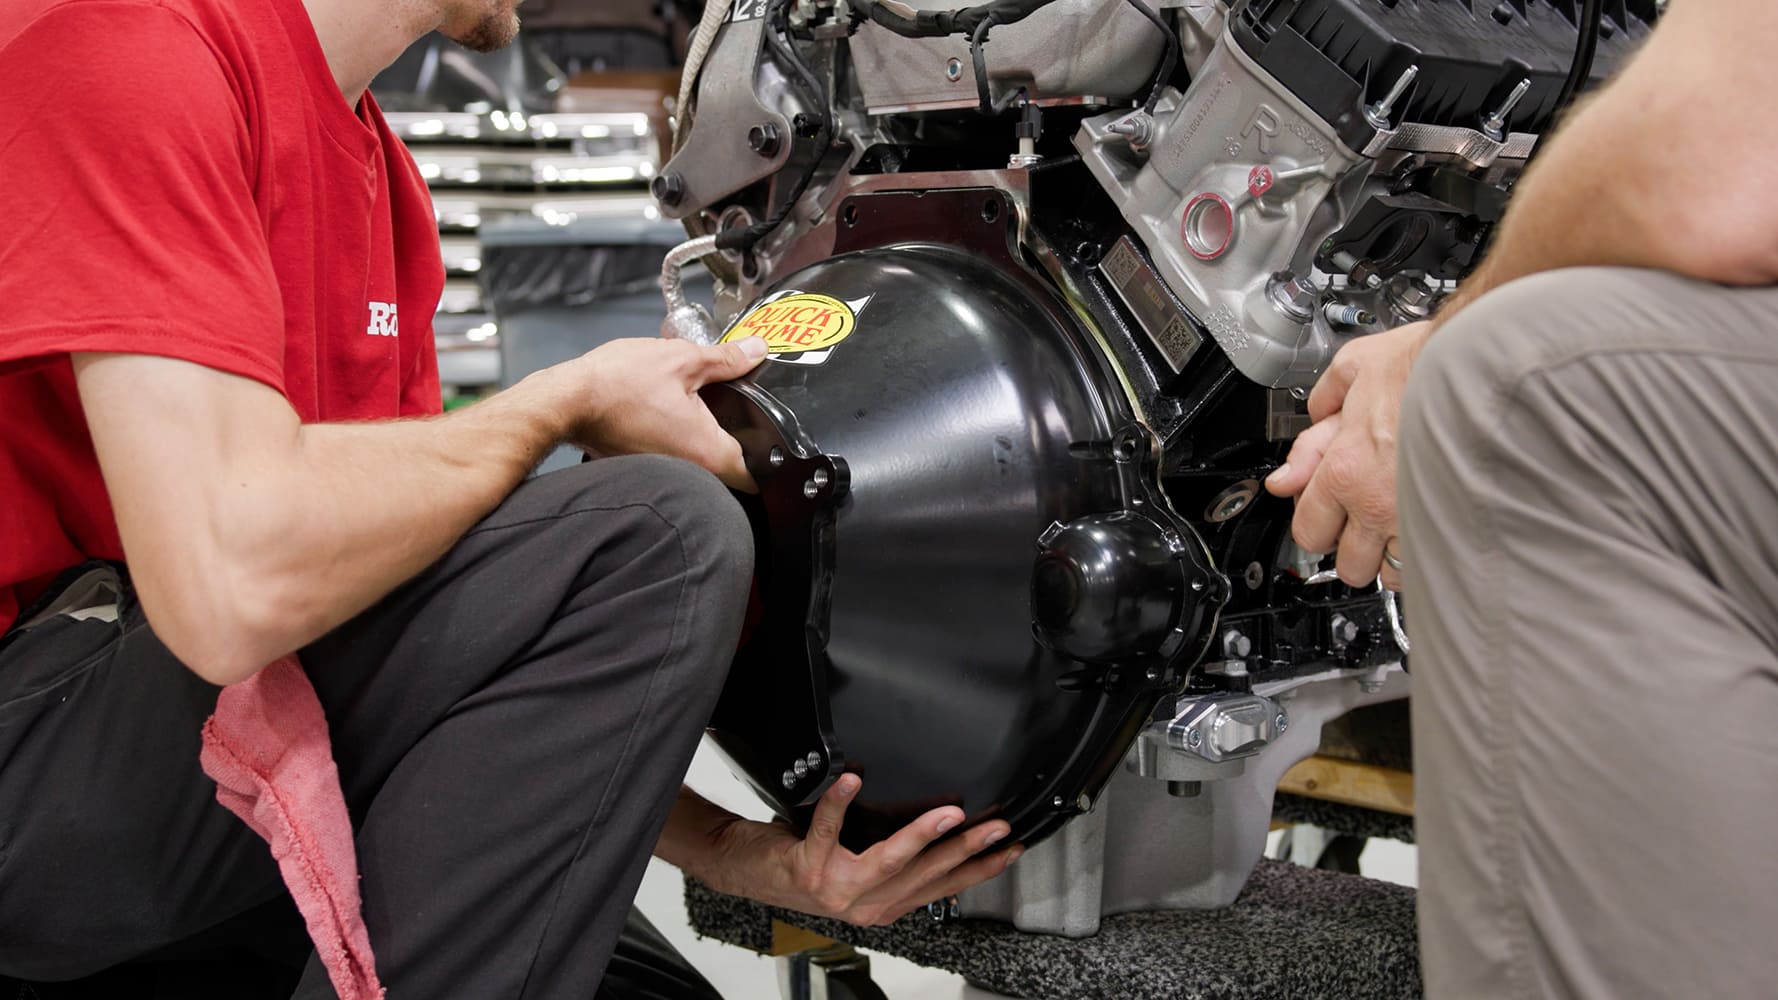
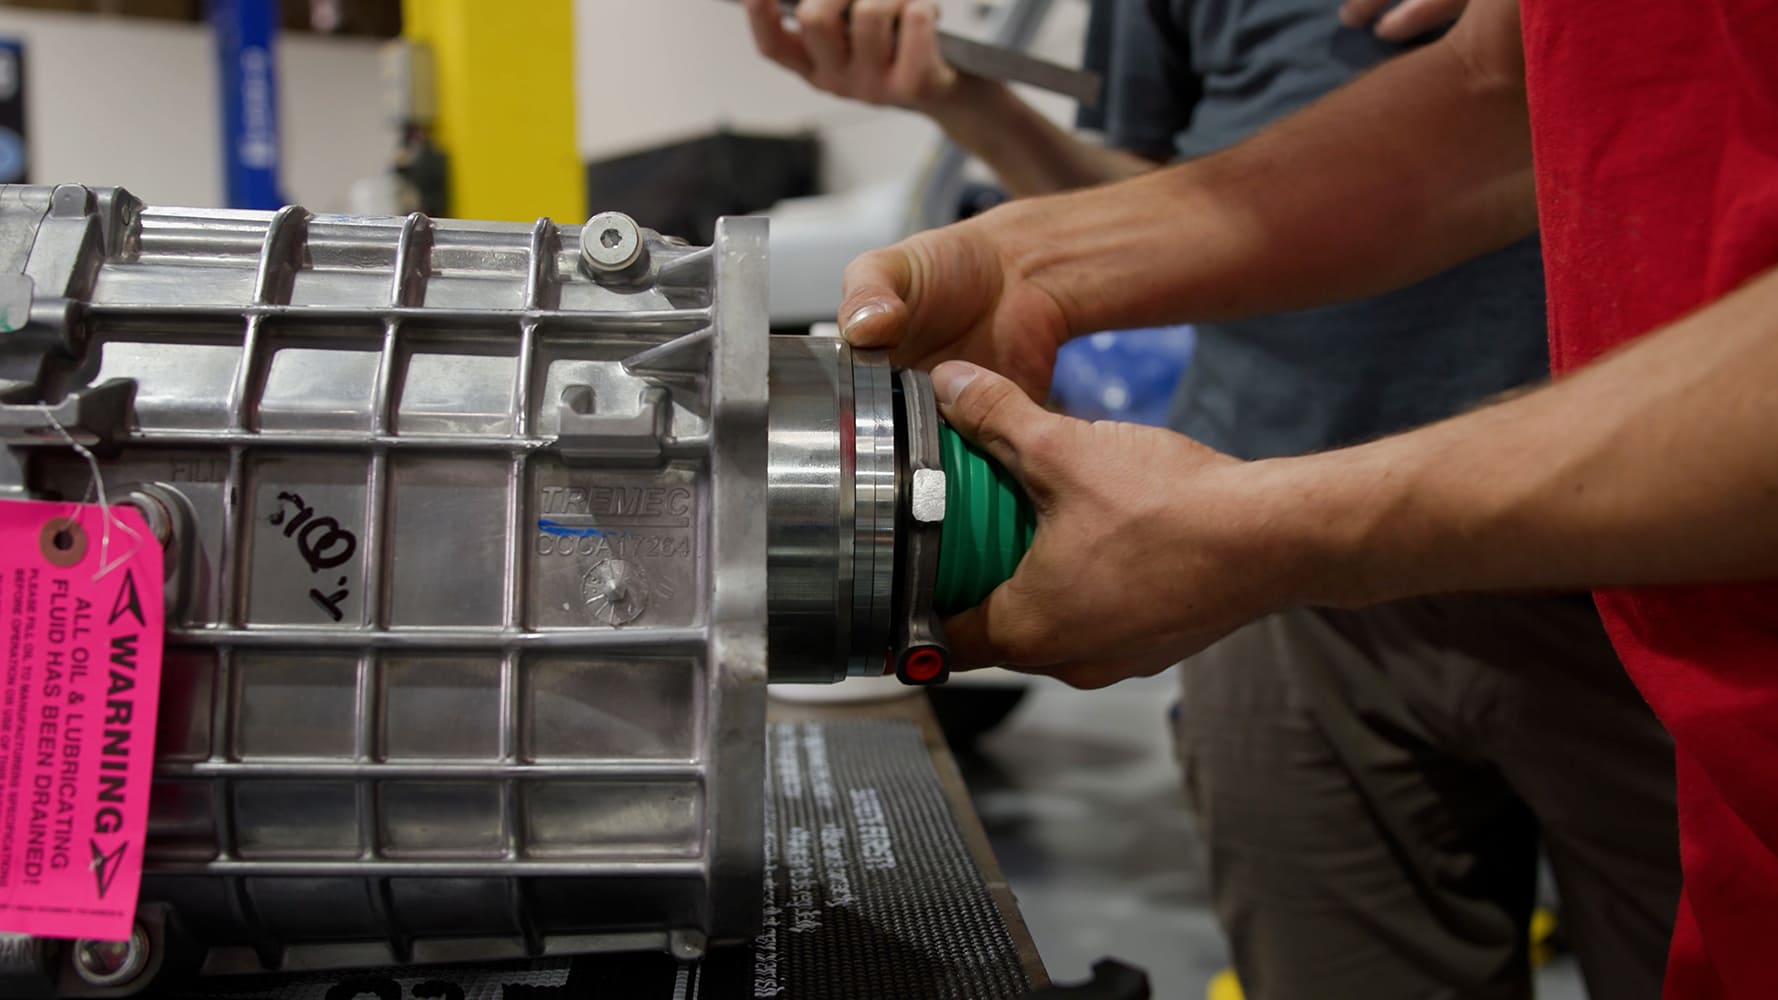
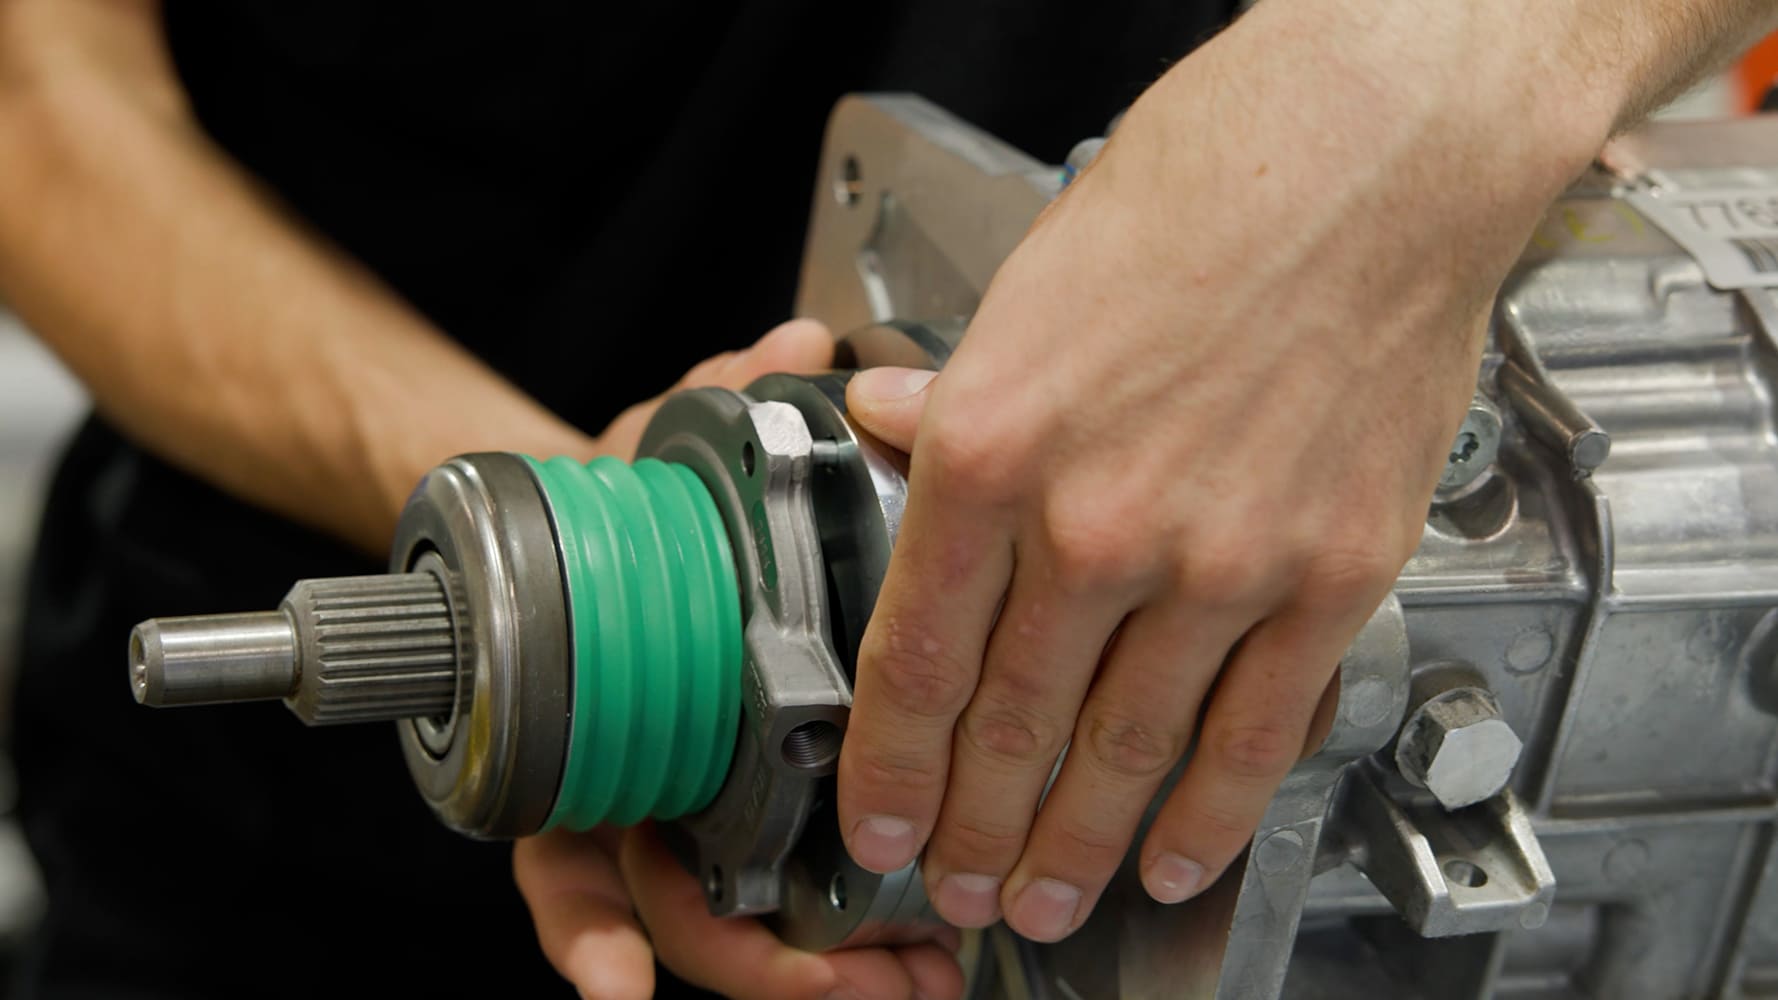
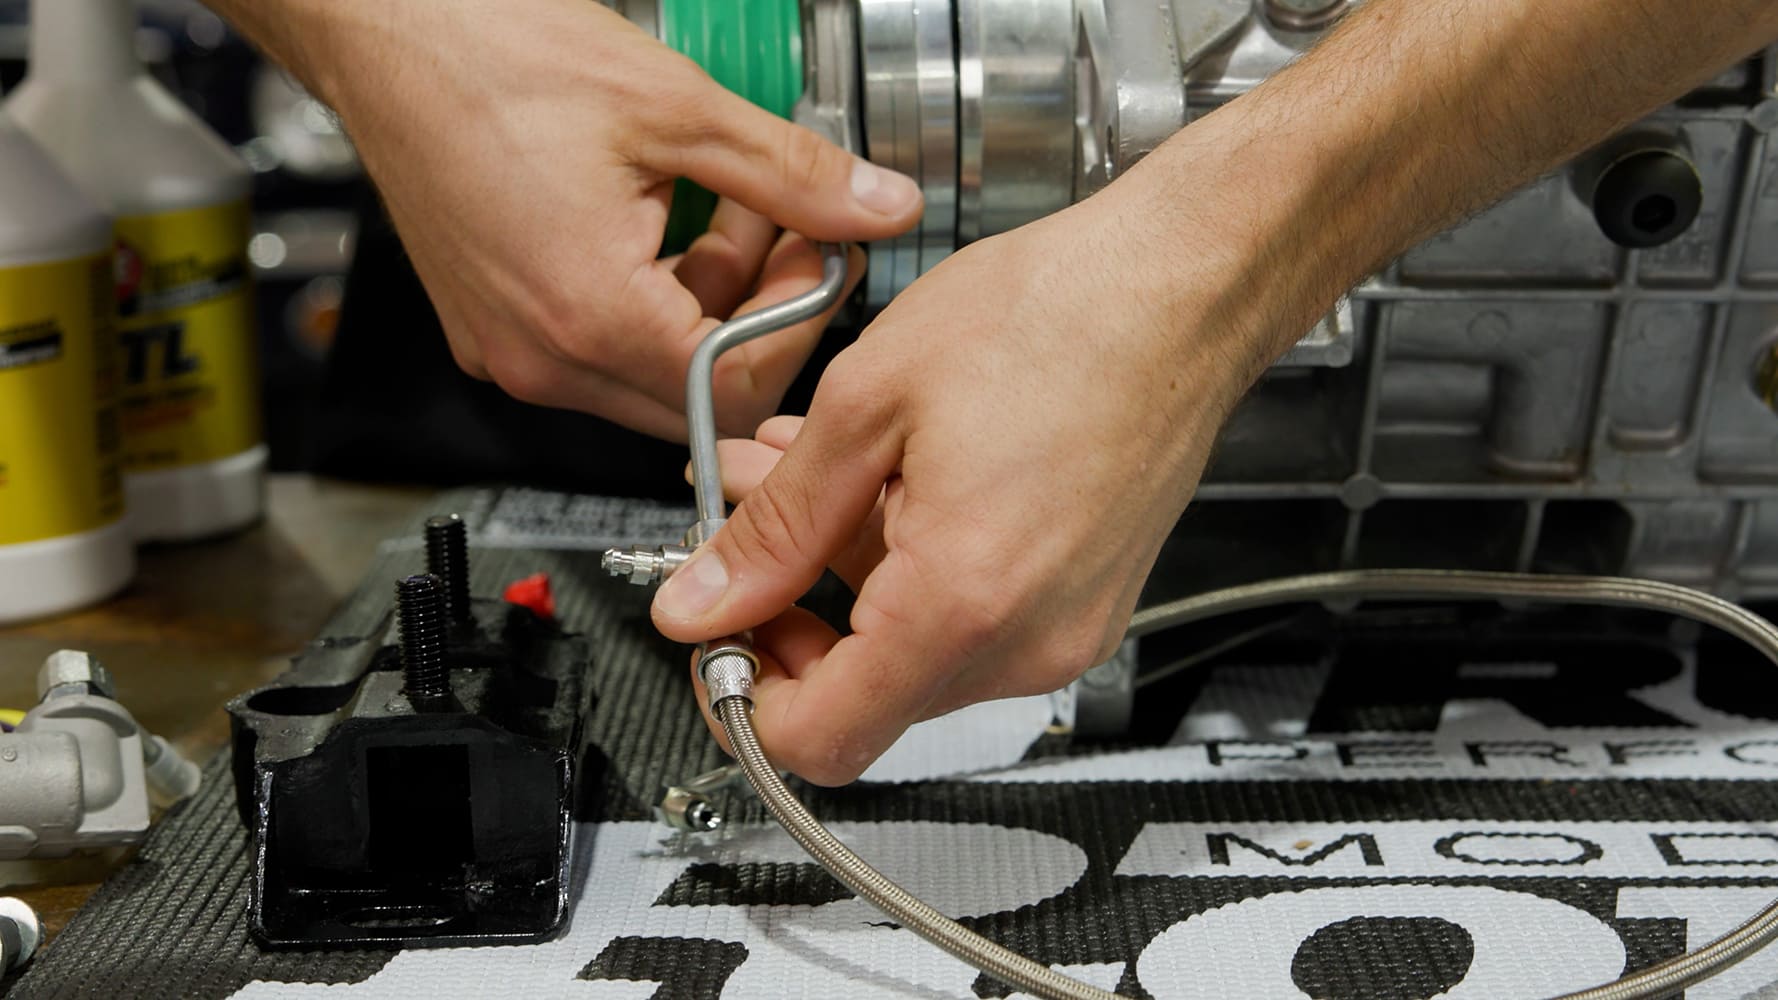
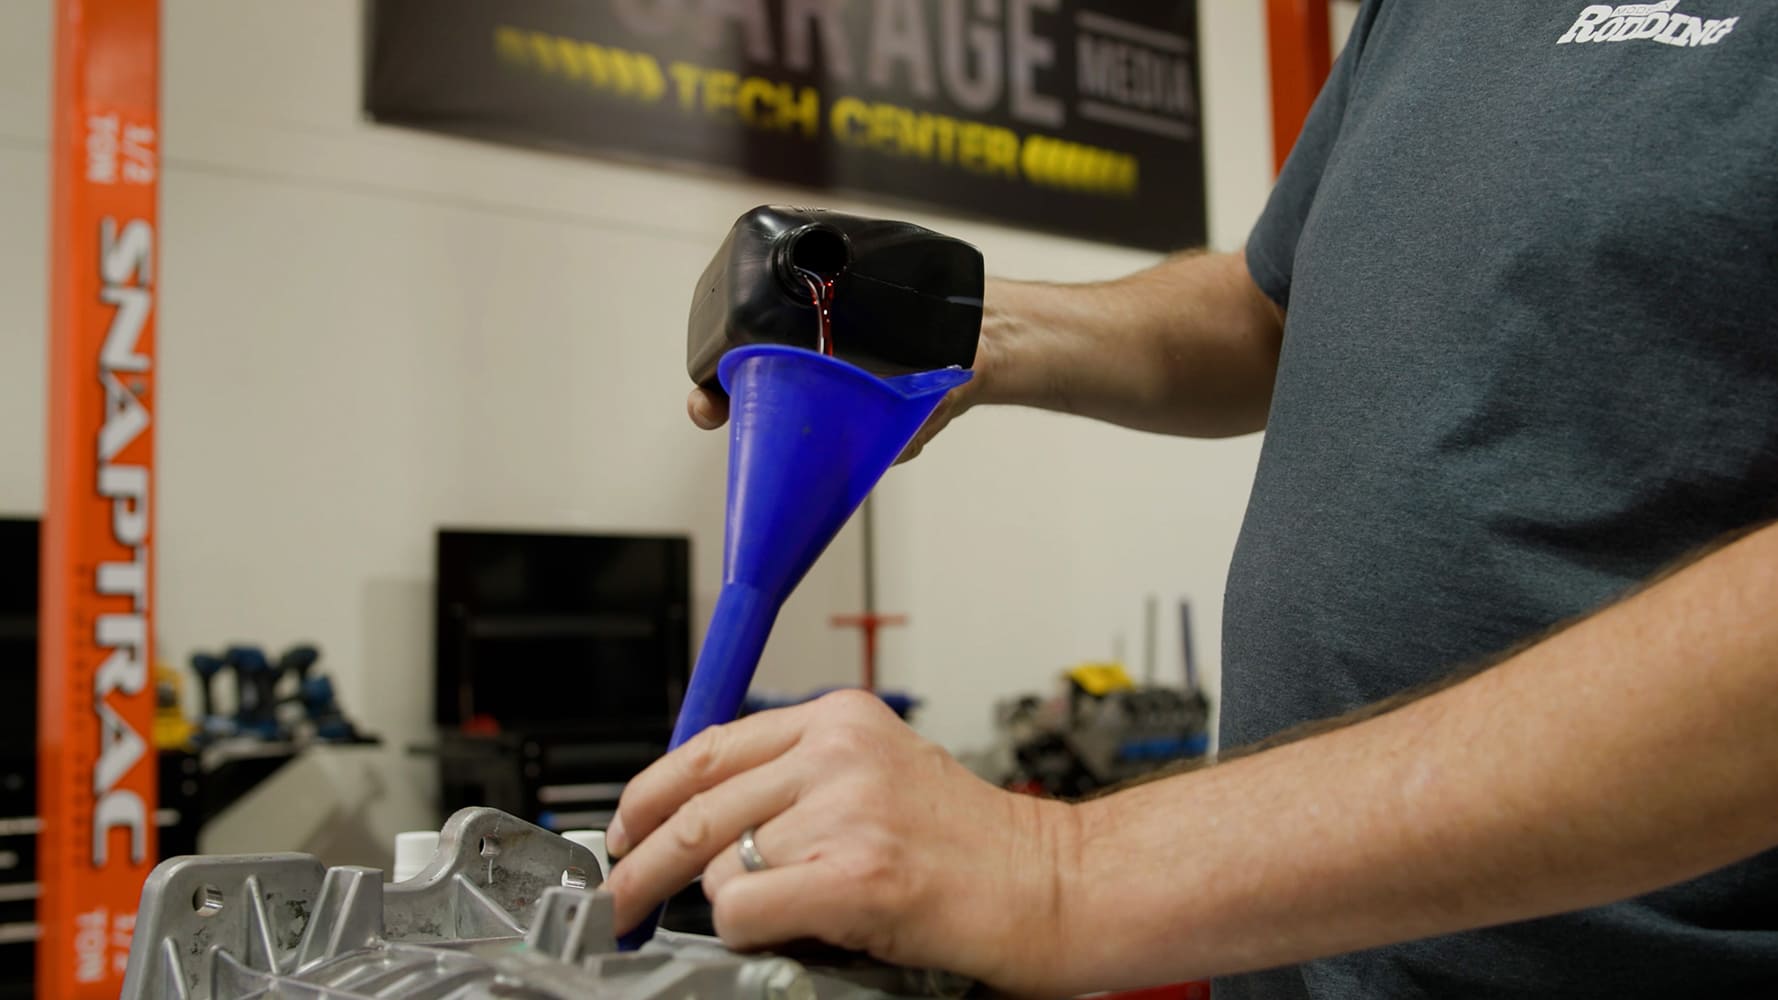
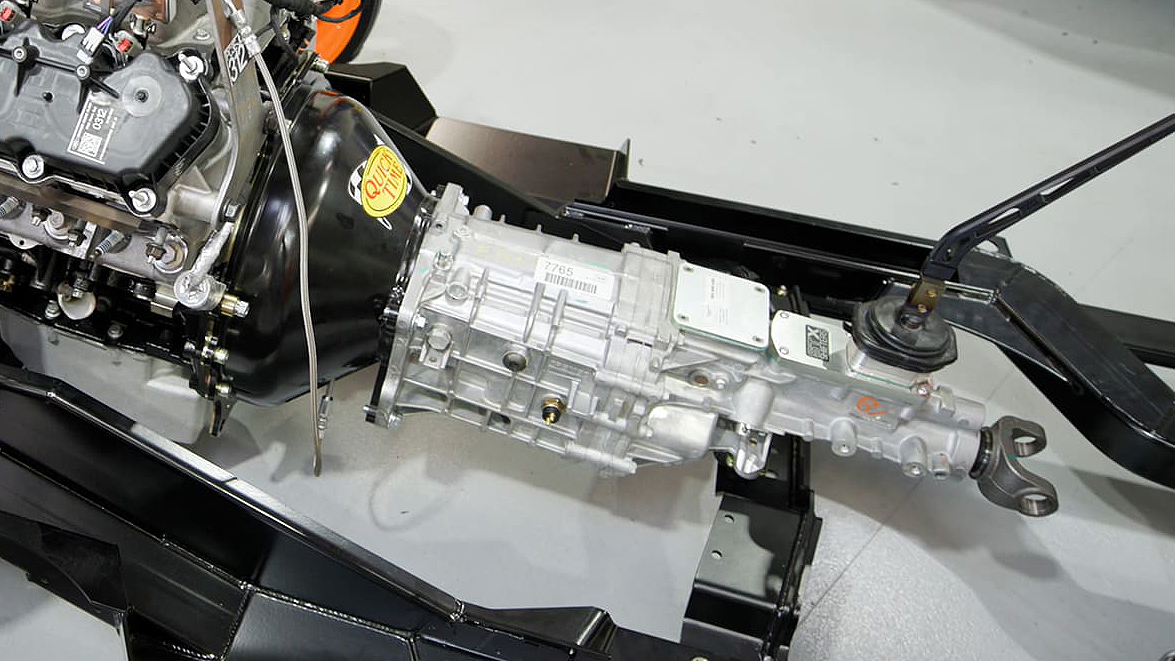
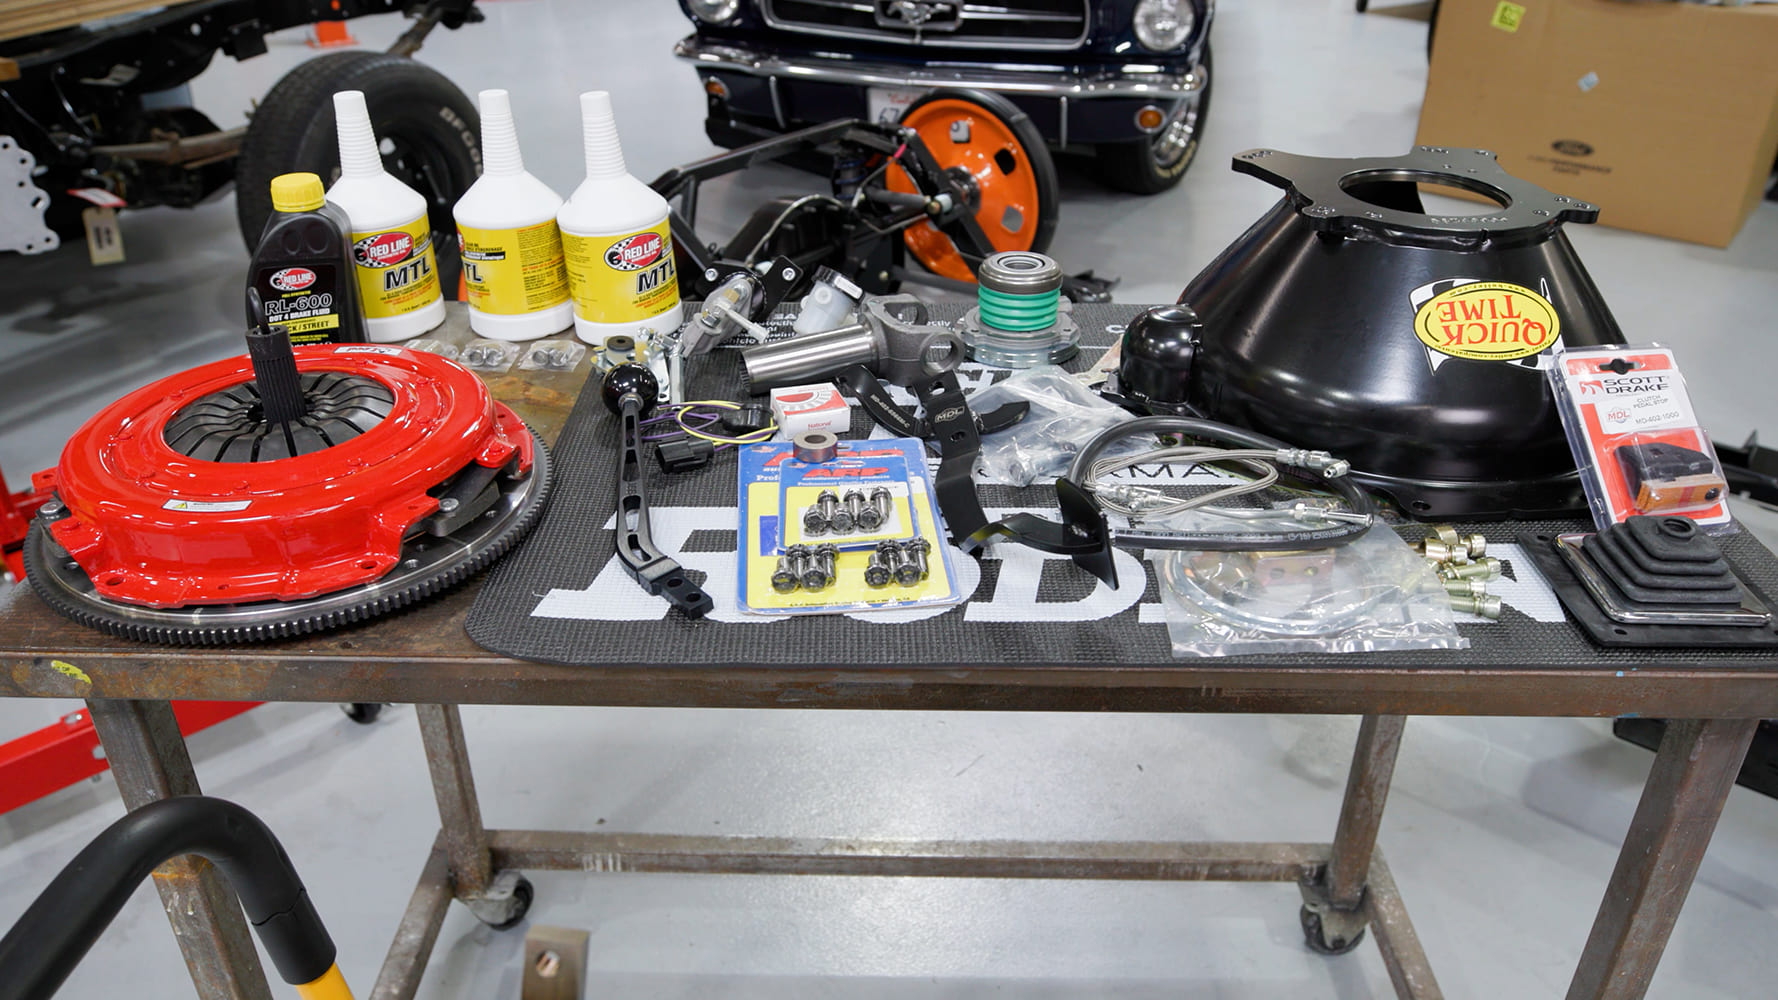
As shown in the photos, our Mustang’s kit includes a TREMEC TKX five-speed transmission, McLeod clutch, pressure plate, flywheel, SFI-approved Quick Time bellhousing, and additional supporting parts. The kit is so comprehensive that it even includes transmission fluid for break-in and regular use.
Bell Check
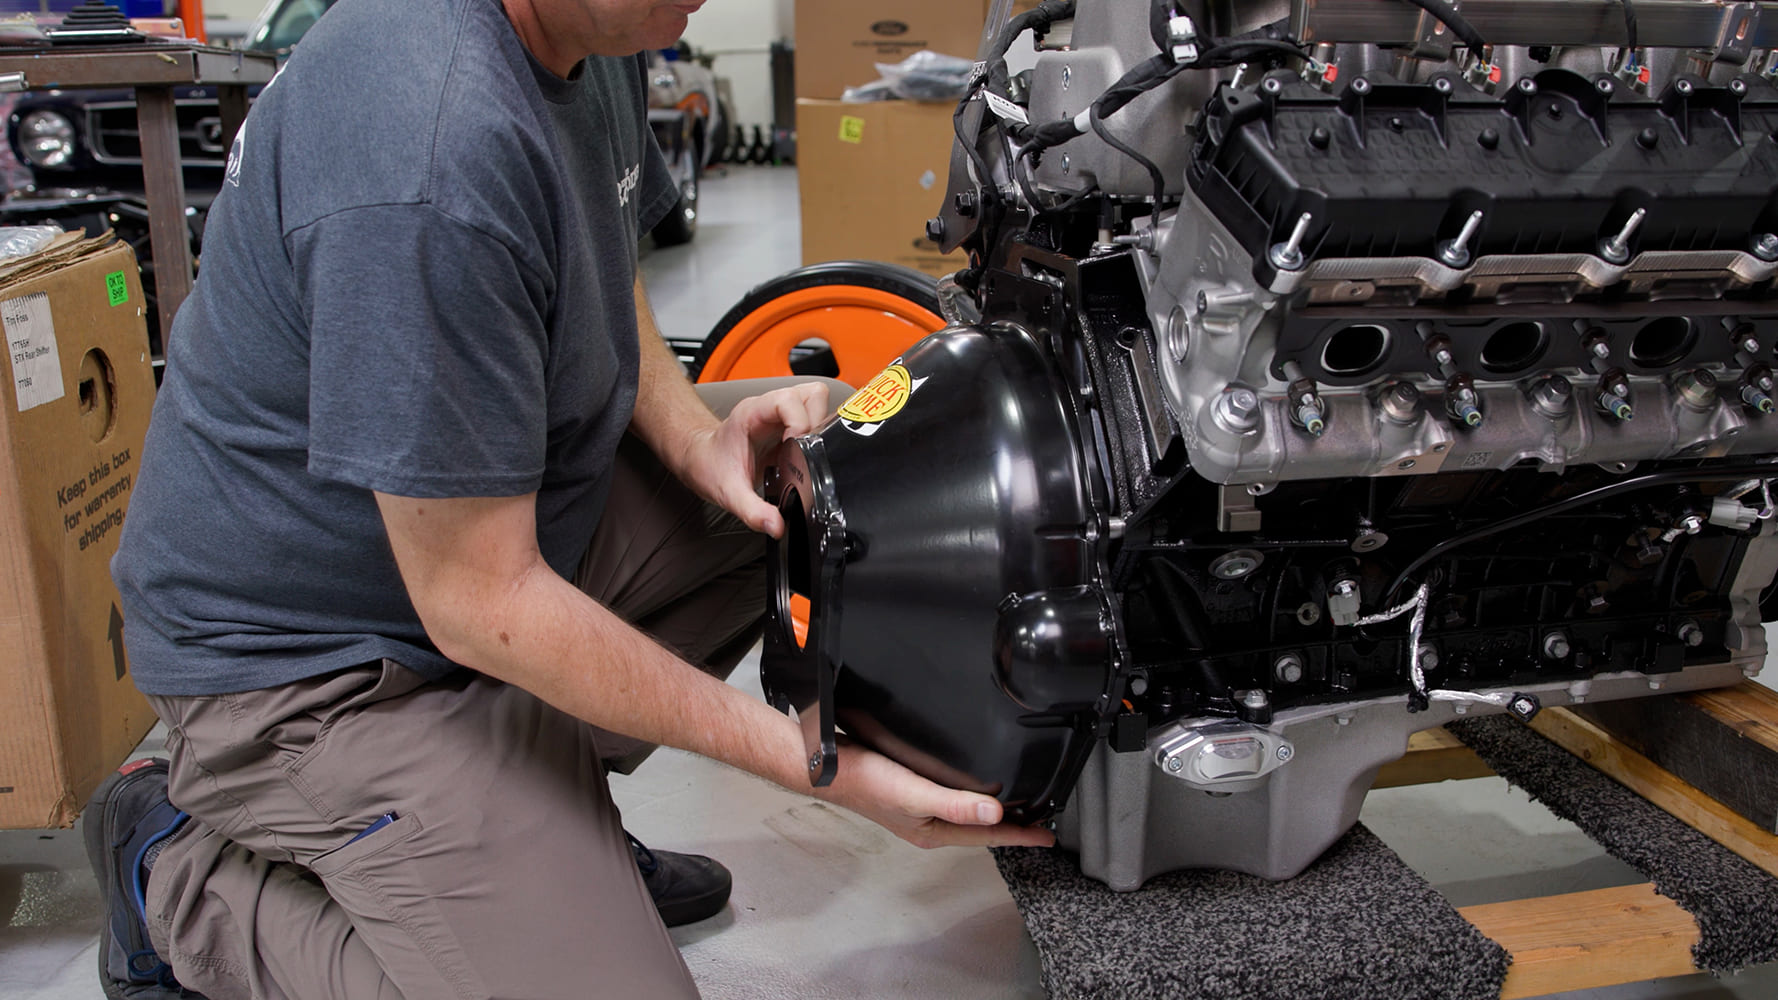
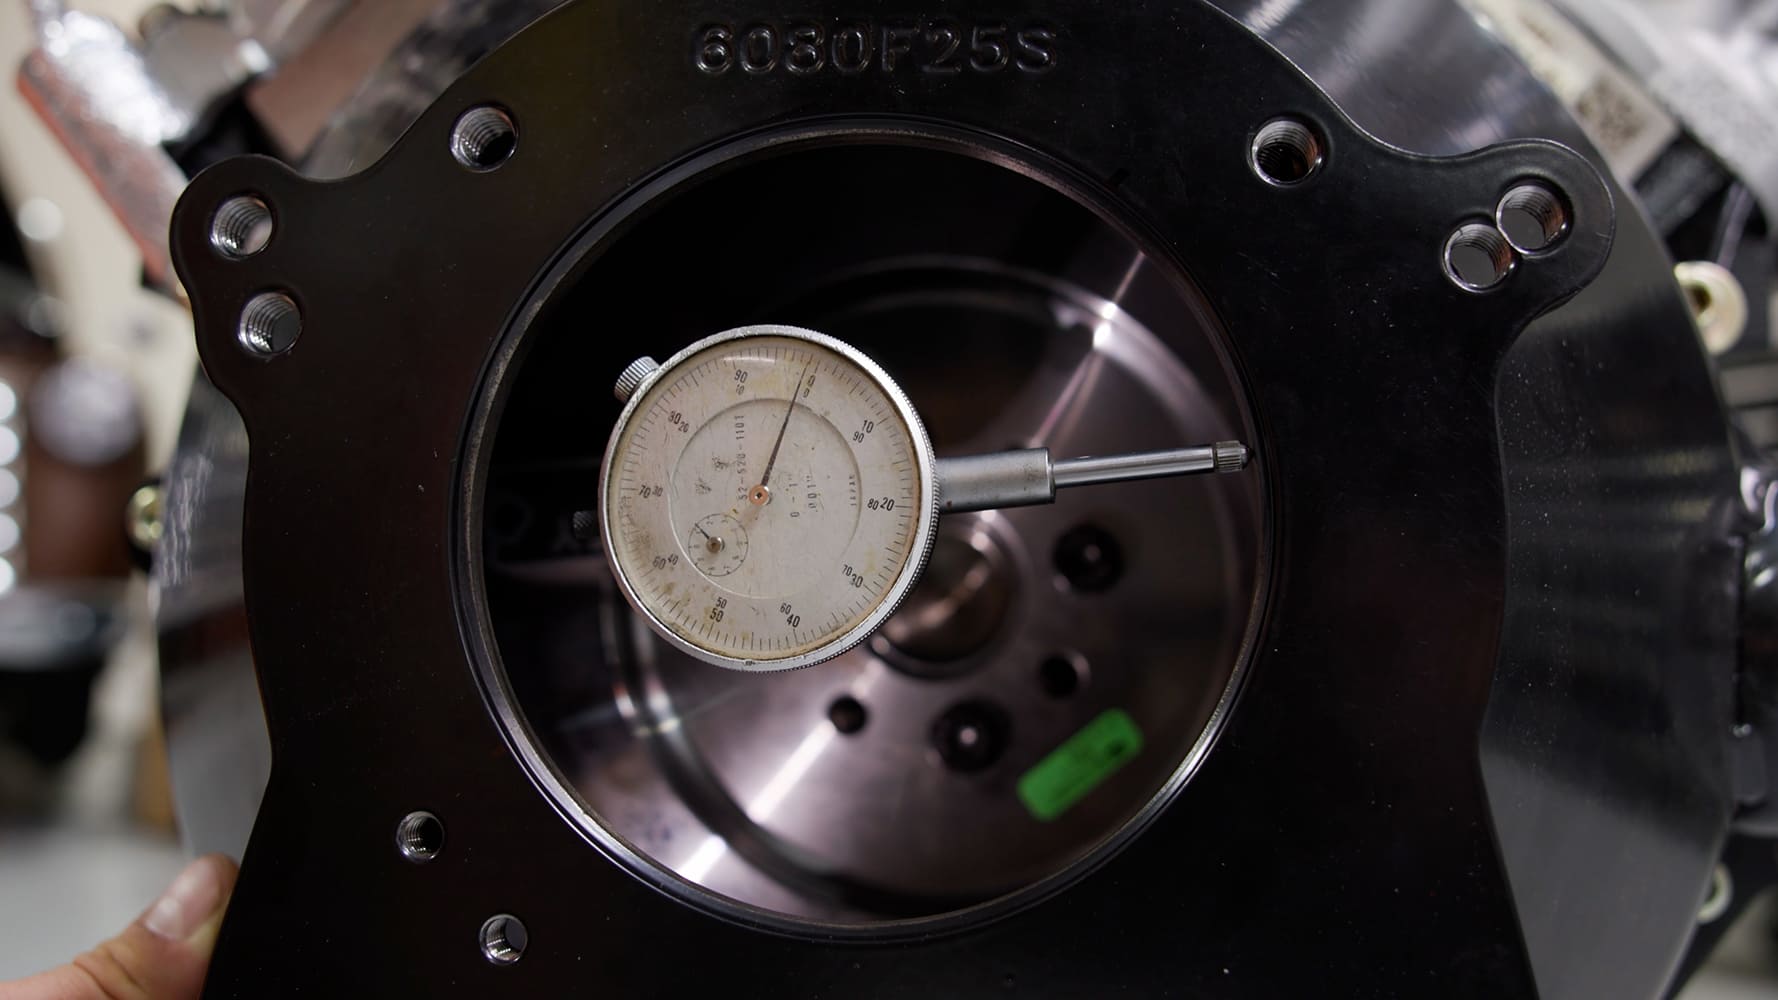
When performing manual swaps or installing an aftermarket bellhousing, it’s crucial that the bellhousing is correctly aligned. In simple terms, it’s very important that the opening for the transmission in the bell is properly centered around the crankshaft centerline. Misalignment can cause premature wear on the crankshaft main bearings and the transmission.
In many cases, the bellhousing bolts into place without alignment, but it’s important to check the “runout.” This involves installing the bellhousing without the clutch and using a dial indicator to measure runout.

In our application (since each engine and bellhousing varies), we measured a total runout of 0.006 inch. This measurement is split in half, yielding a final value of 0.003 inch. This is within specifications, allowing us to install the bellhousing as-is. If the runout had been excessive, we would have used offset dowels to “center” the bellhousing.
Clutch Installation
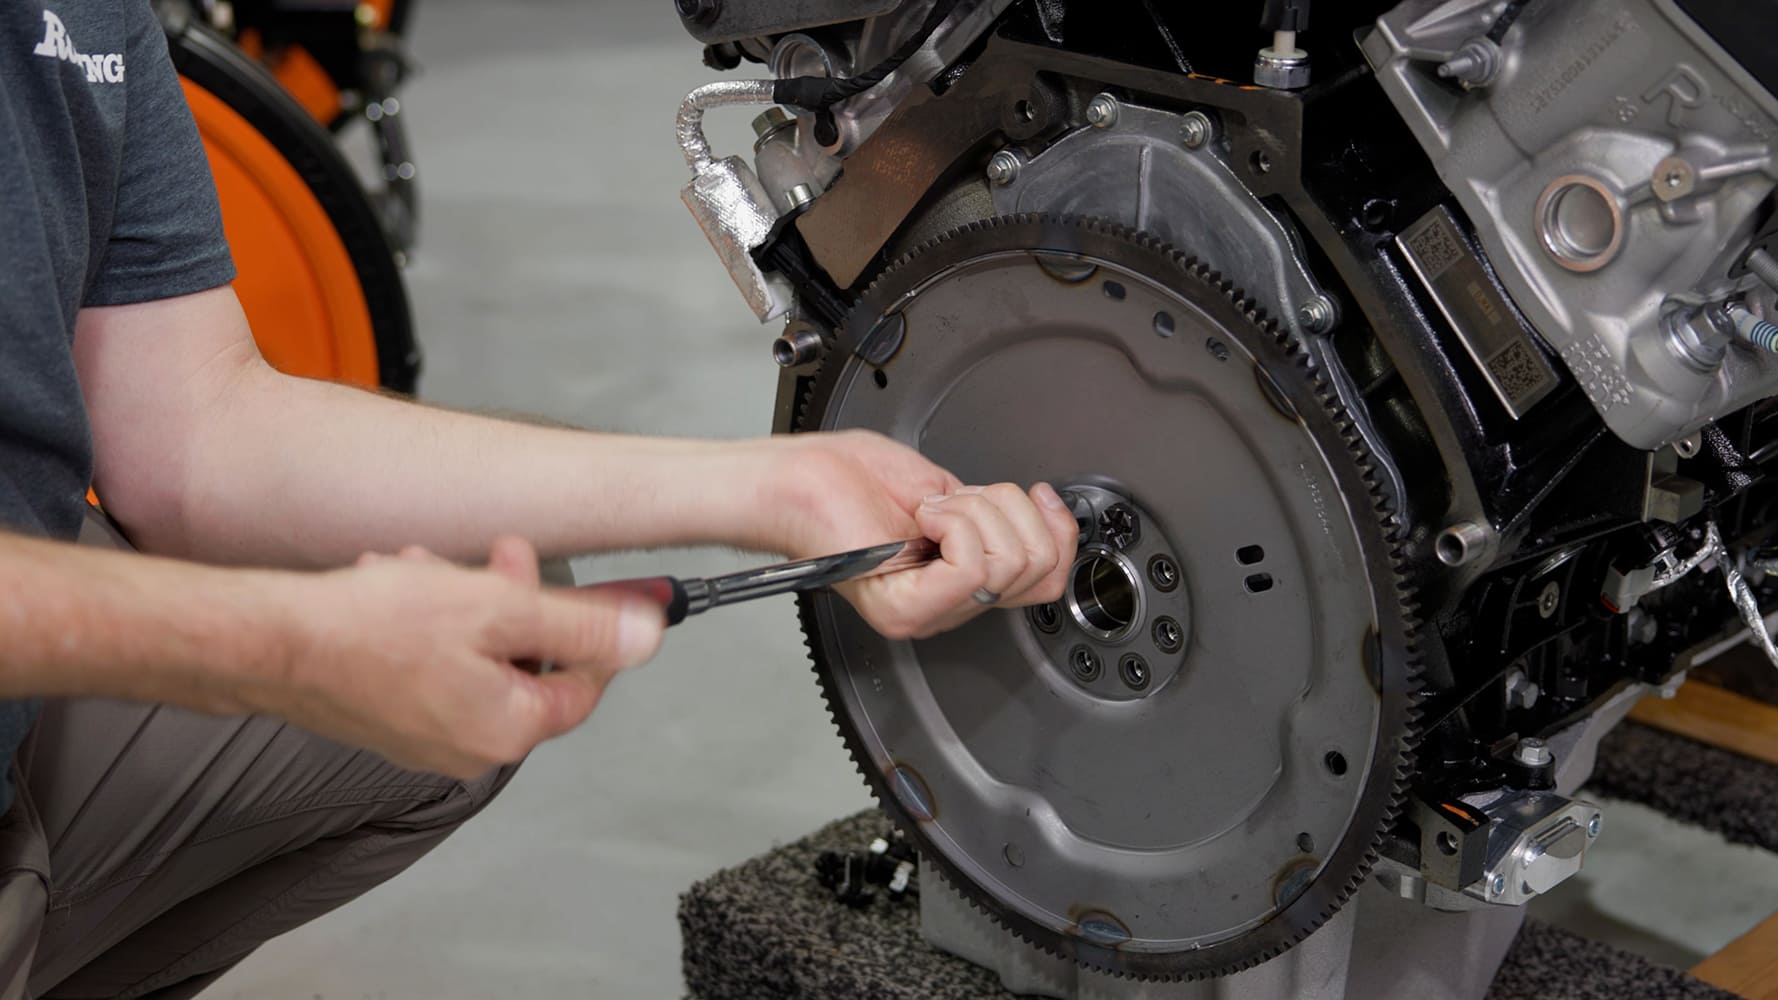
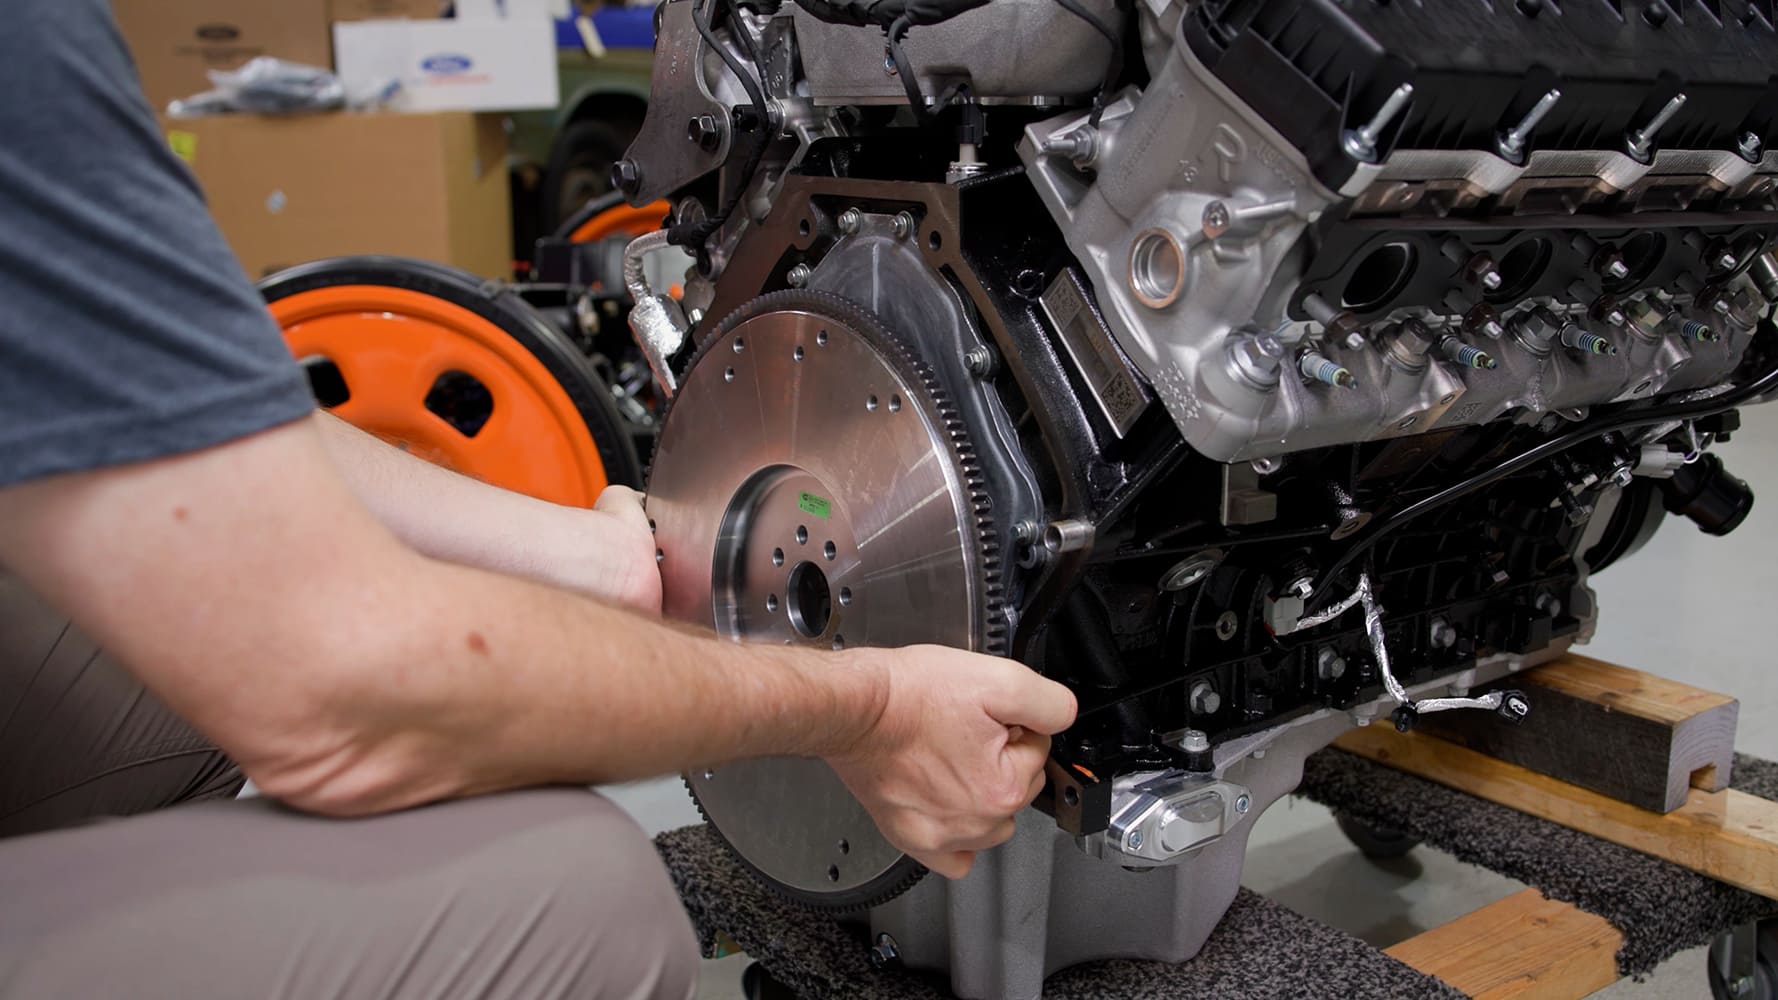
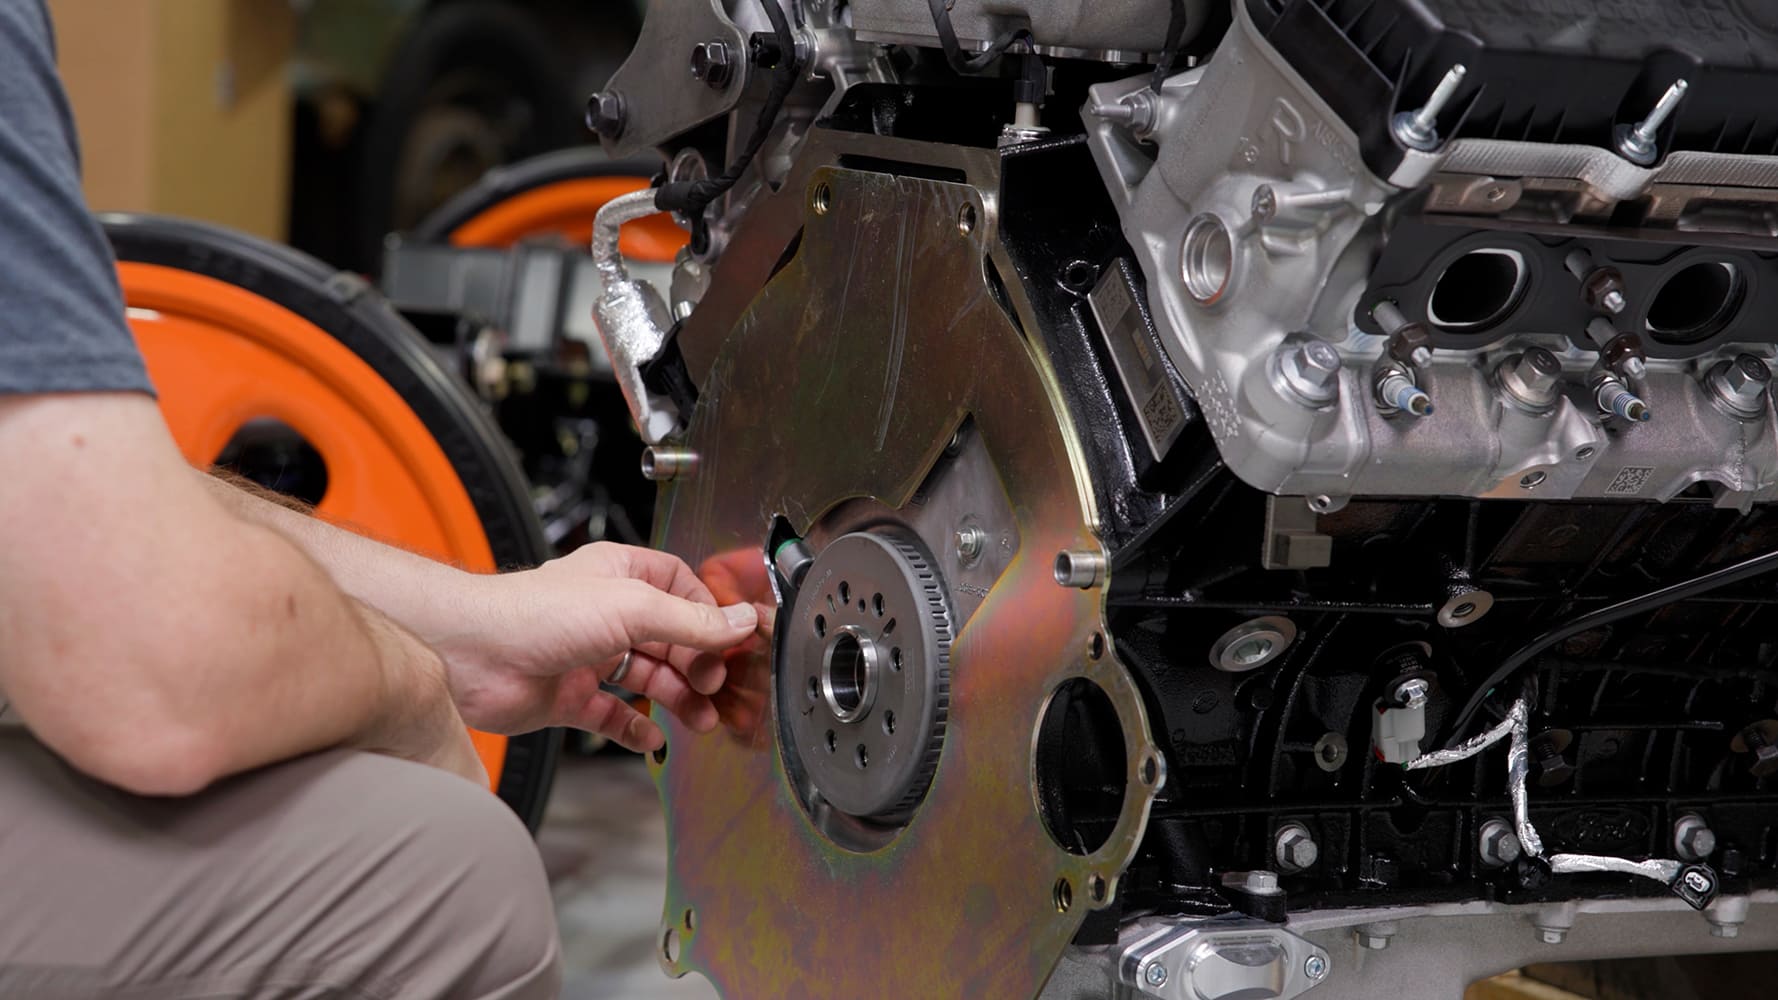
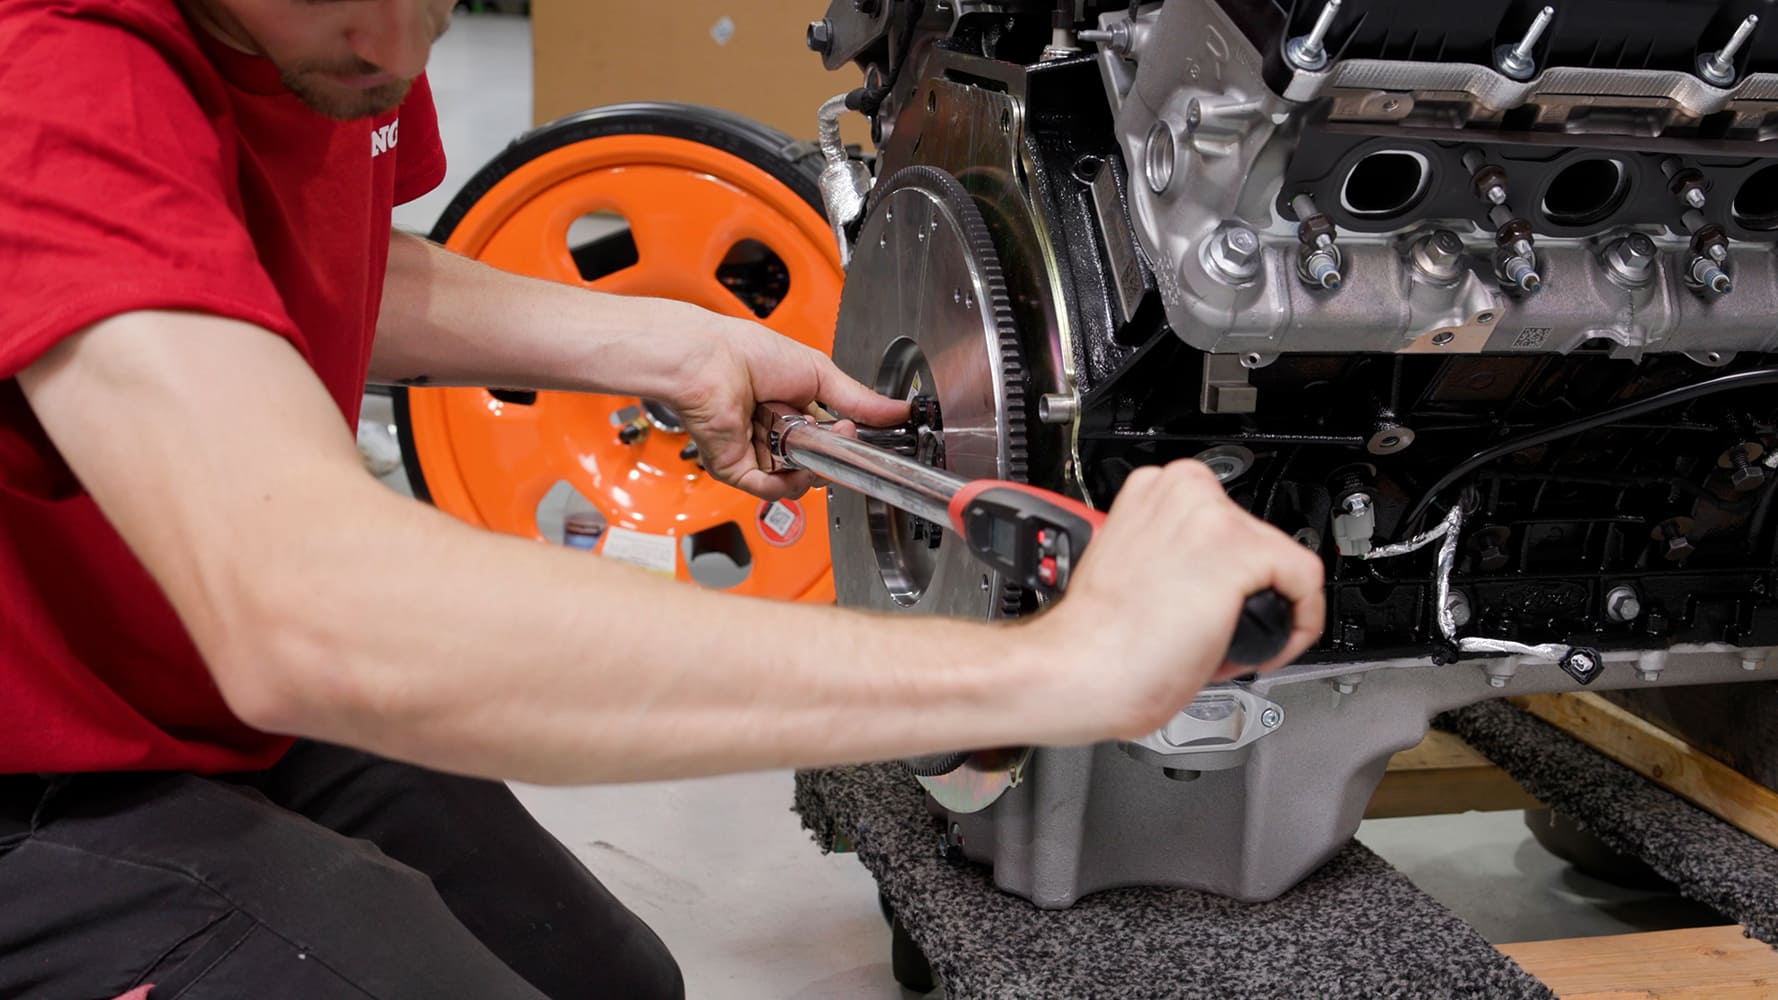
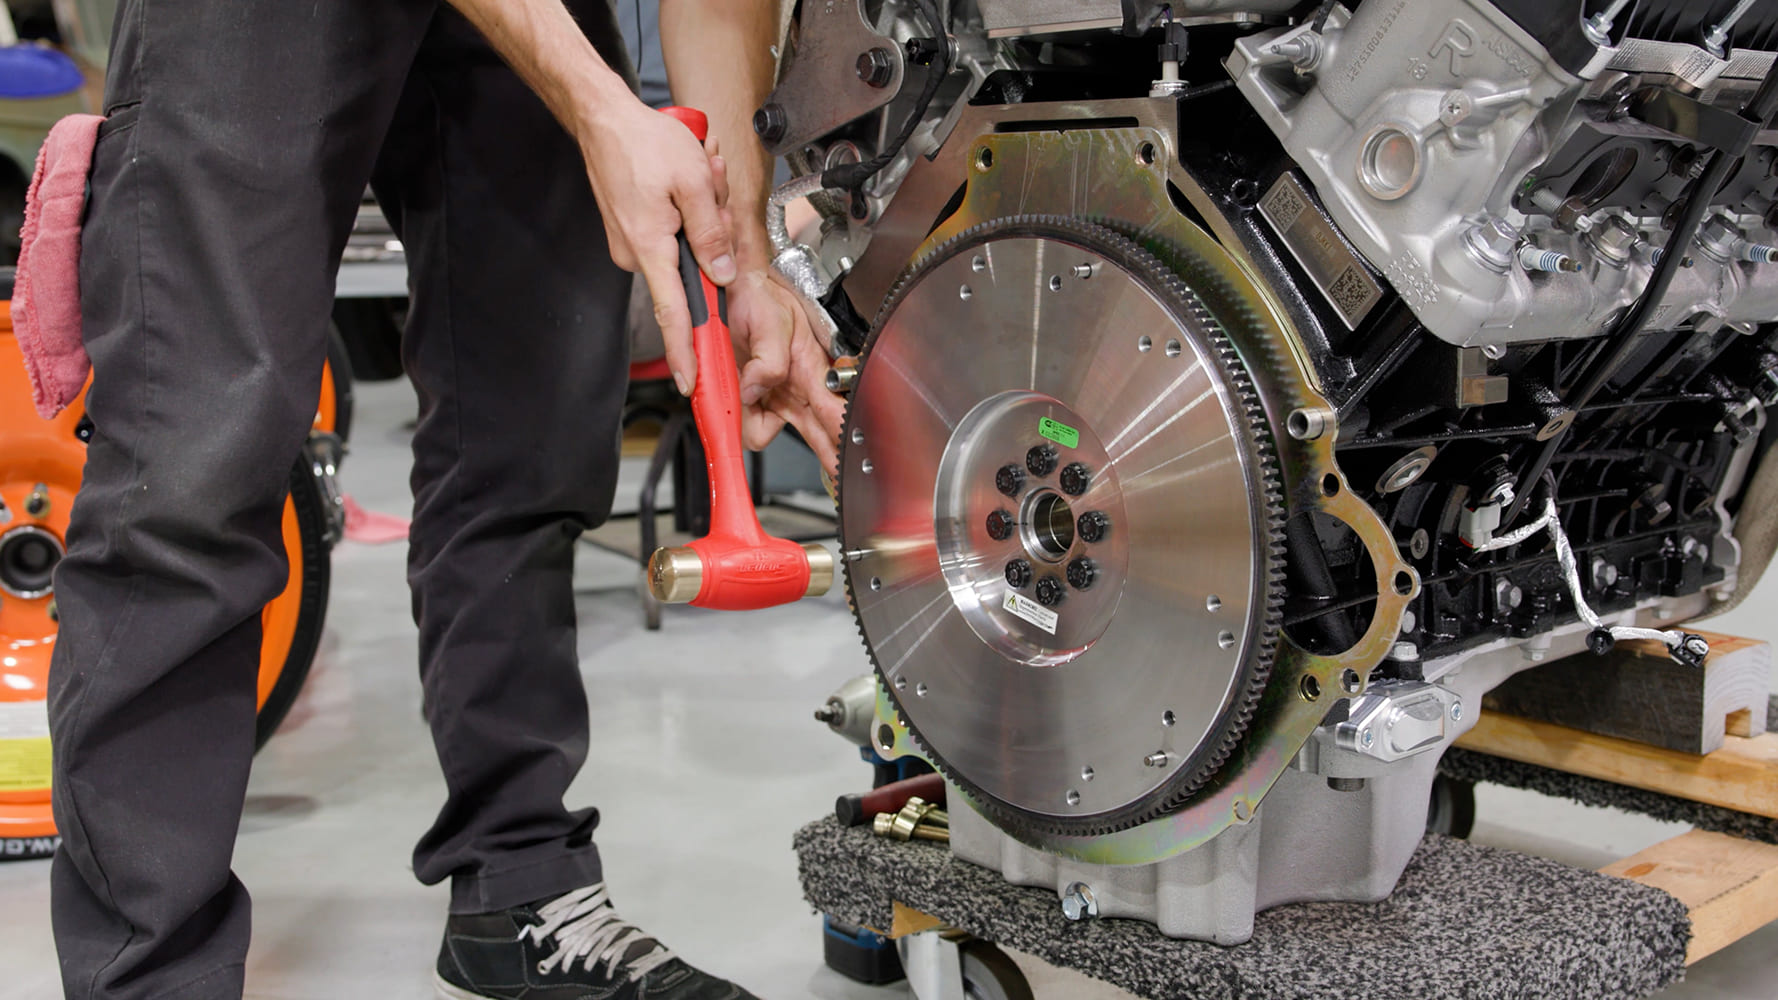
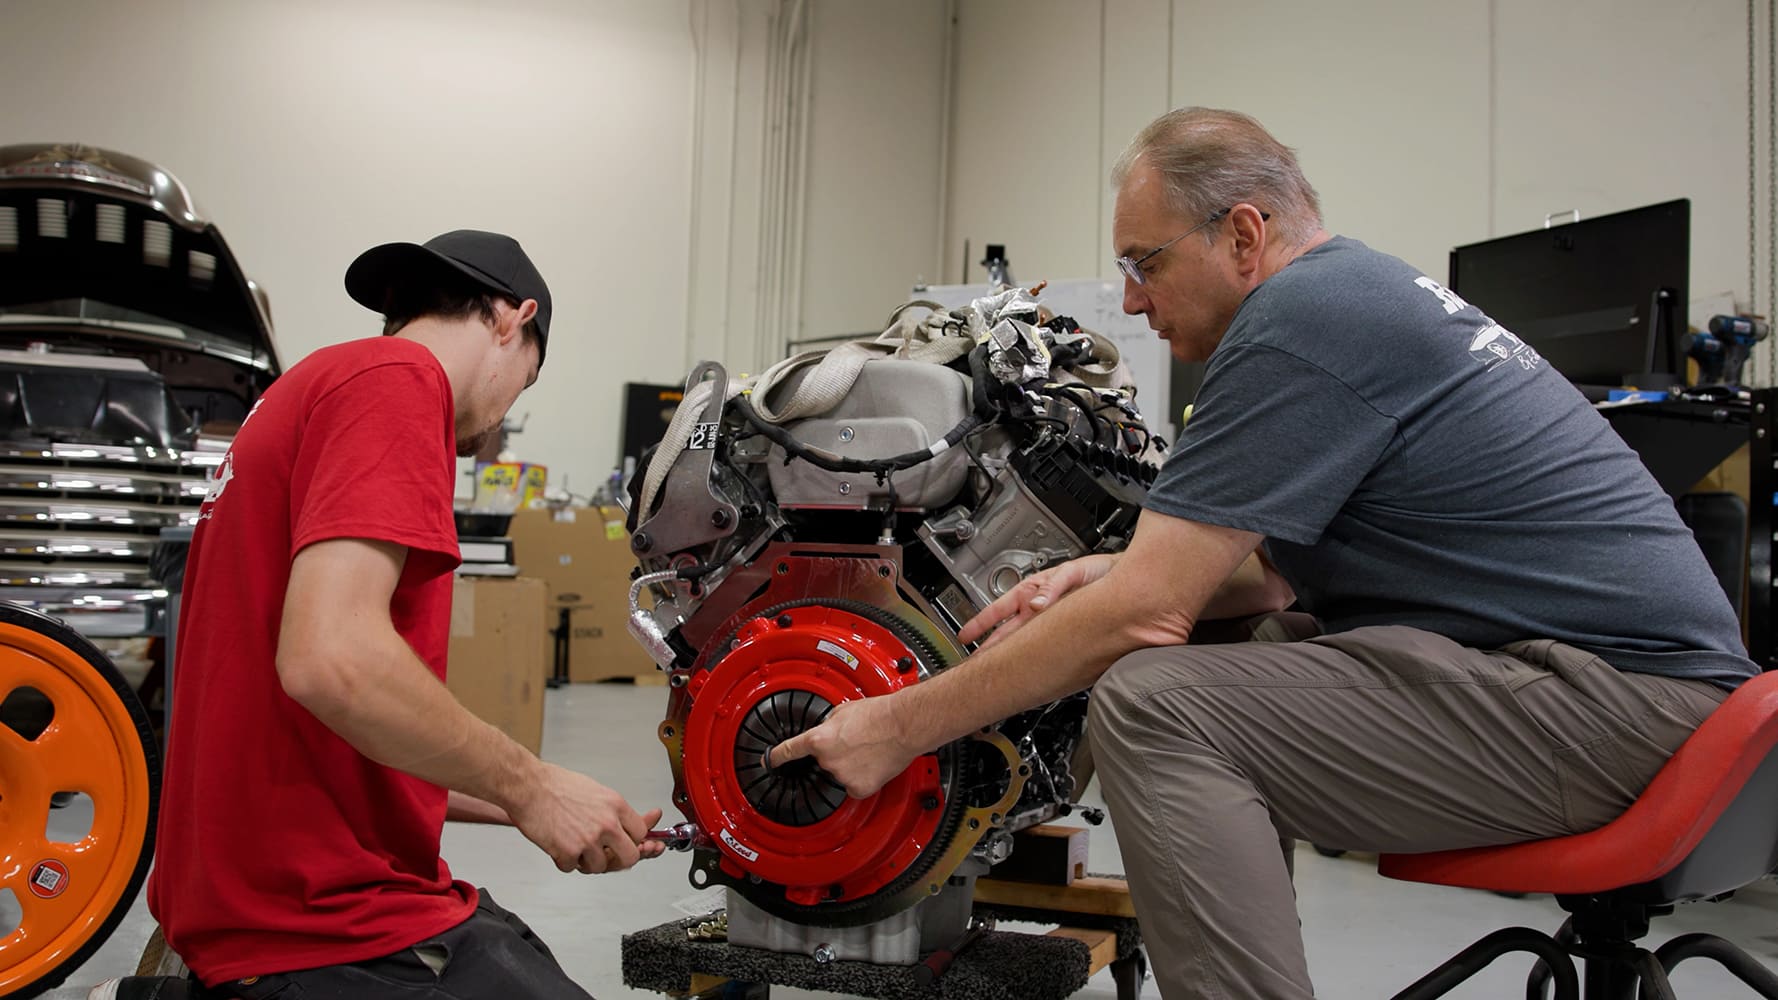
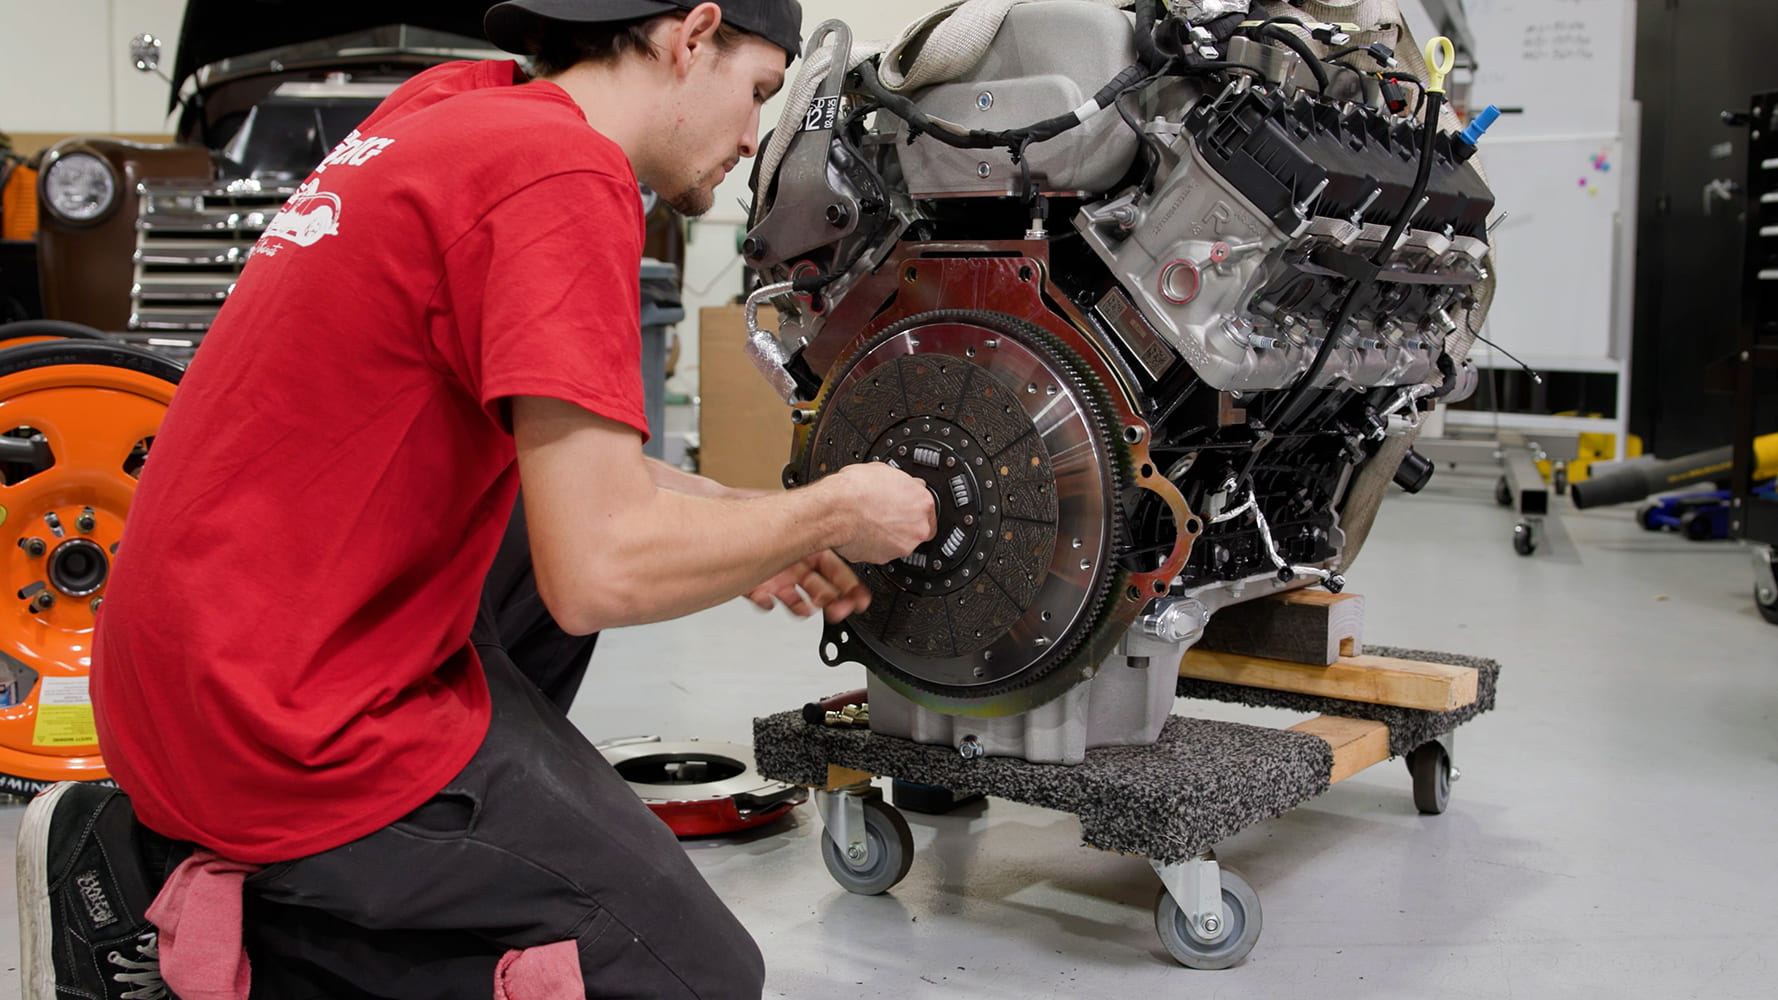
Installing the McLeod clutch on the Godzilla engine is straightforward. Ford cleverly used the modular (4.6-, 5.4-, 5.8-, and 6.8L)/Coyote bolt patterns for the flywheel bolts, providing a wide range of clutch options. We chose an SFI-rated unit that only bolts on one way.
With the flywheel torqued to spec, we installed a pilot bearing at the back of the crank and used the supplied alignment tool to align the clutch disc. With the alignment tool still in place, we carefully tightened the bolts on the McLeod diaphragm pressure plate. When doing this, it’s important to use a cross pattern so the pressure plate is drawn evenly to the flywheel. Once the bolts were snug, we used a torque wrench to tighten them properly and ensured the alignment tool could slide in and out smoothly.
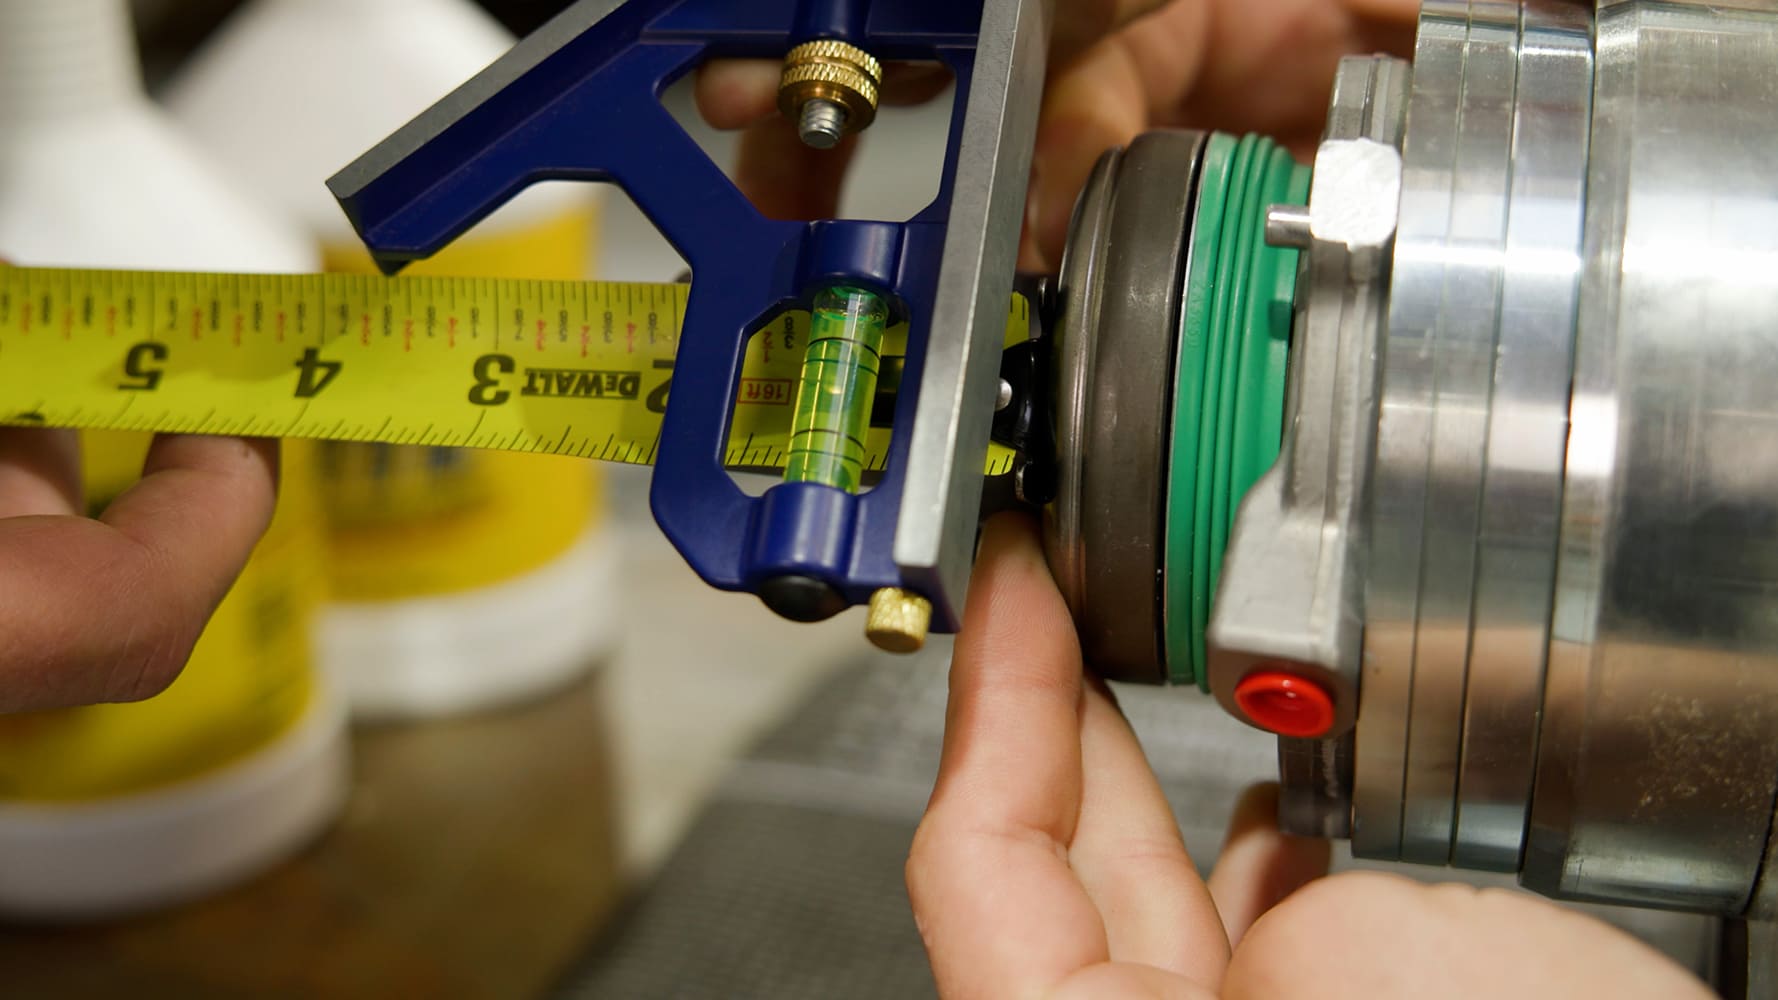
Next, we installed the Quick Time bellhousing and checked the clearance between the throwout bearing and the pressure plate fingers. After a few adjustments, we finished installing the kit and attached the TREMEC TKX to the Godzilla.
Our project is progressing and becoming more fun. Our powertrain will find a new home in the Roadster Shop chassis, and we’ll move on to the next step!
Check out this story in our digital edition here.