

By Jefferson Bryant – Images by the Author
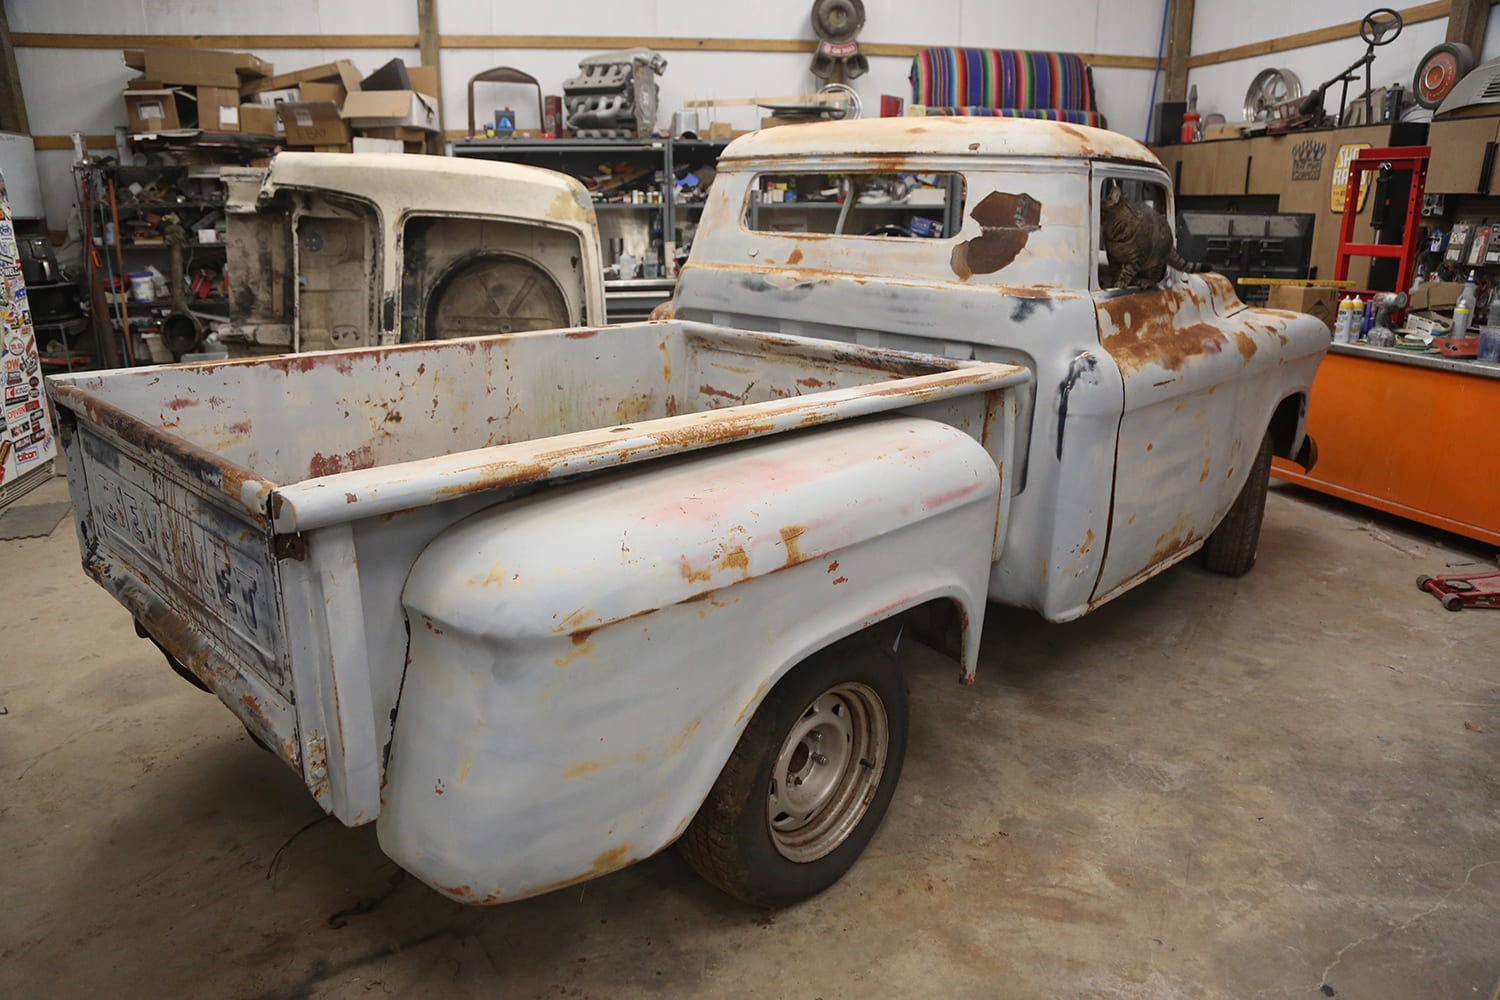
Buying an old project is exciting; a new project gets your creative juices flowing, especially if it is something you have wanted for a long time. However, that doesn’t mean that you won’t be scratching your head wondering why someone would do something so dumb. Enter our “Kustom” 1957 3200. This truck was built as a Kustom in the late 1970s/’80s, as evidenced by the lack of wire-feed welds on the big mods, such as the 4-inch top chop (looks great but was executed poorly) and suicide doors, which were brazed with brass rod. At one point it had a flip-forward front clip, but that has been welded shut (with the hardware intact), and the fenders welded to the cab. It is a bit of a mess, but we are up for the challenge.
This truck needs a lot of attention. The top chop looks good, but the welds are terrible and they just paved over it with body filler. It doesn’t look as if this truck was ever operational; it has sat in a garage (and eventually a field) for decades, where moisture has crept beneath the filler and caused more issues. That is the first thing we need to tackle: fixing the rust. There are two main areas we are focusing on first: the tailgate and the cab floor.
Bodyworking a Tailgate
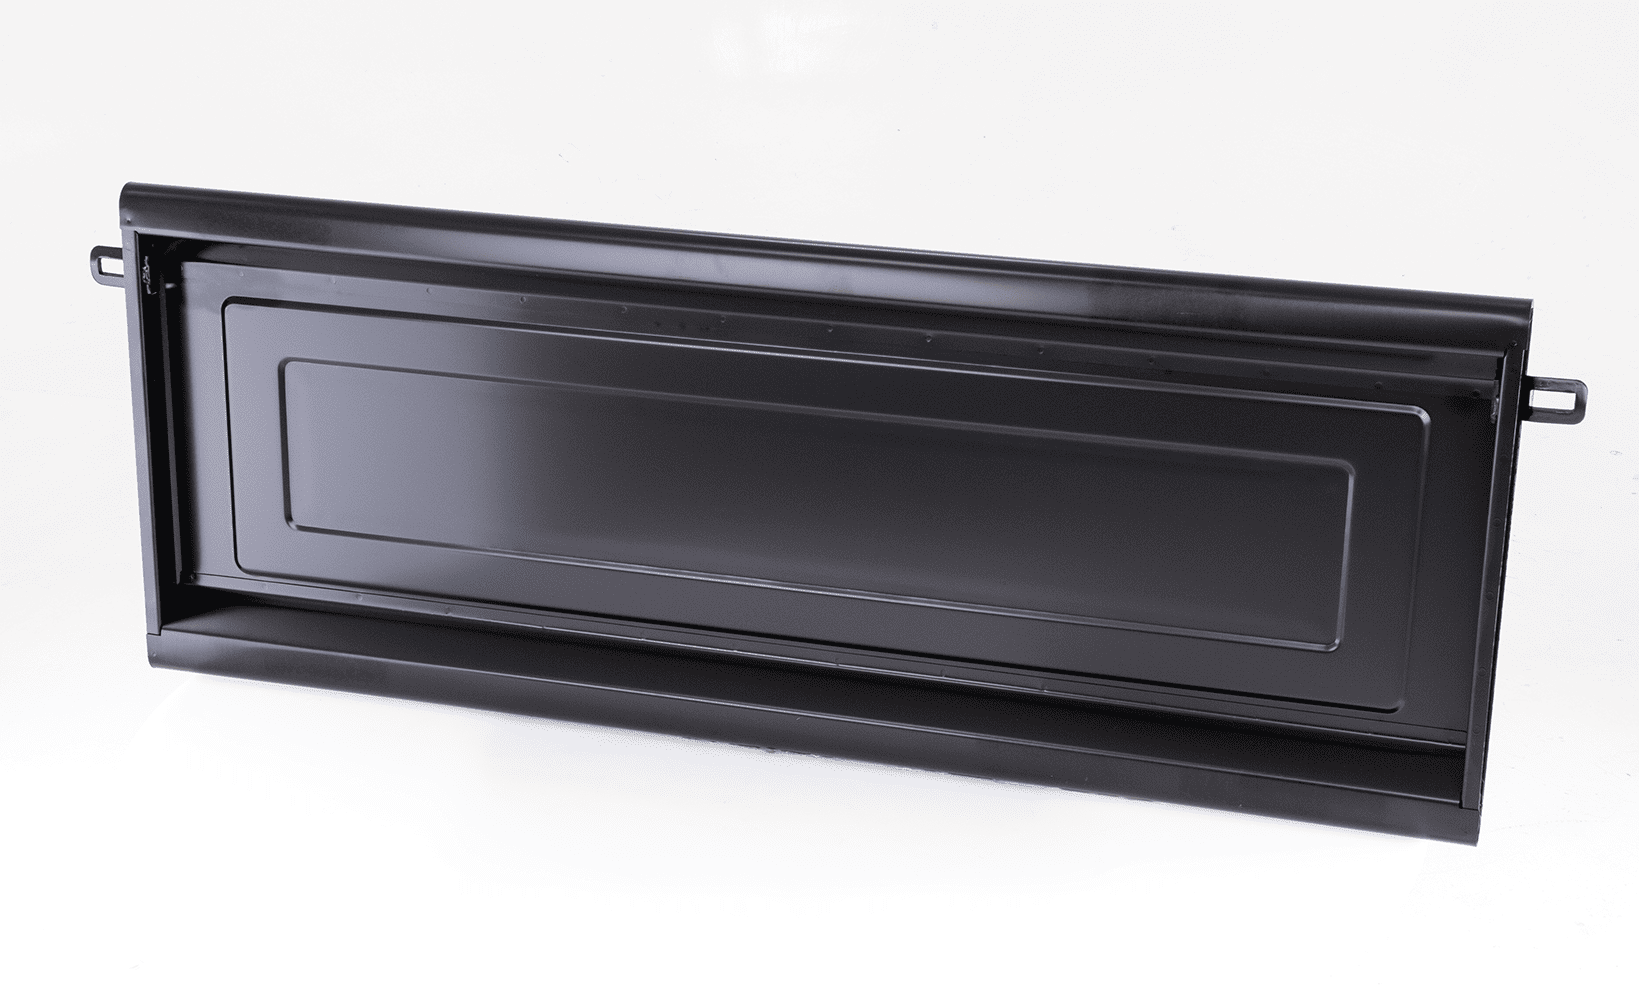
The reality is that we will likely replace the tailgate with a brand-new one from Auto Metal Direct, but we figured we would show you how to fix a tailgate rail dent. The tailgate rail is the one area that is most troublesome for DIYers. Luckily, GM used the same Stepside bed design for 33 years (1954-87); relatively few changes were made during the entire run. The tailgates remained identical for Chevrolet, and the only difference for GMCs are the letters. Finding an original tailgate that fits your classic Chevy is fairly easy, but chances are, it is going to be banged up a bit, especially on the top rail.
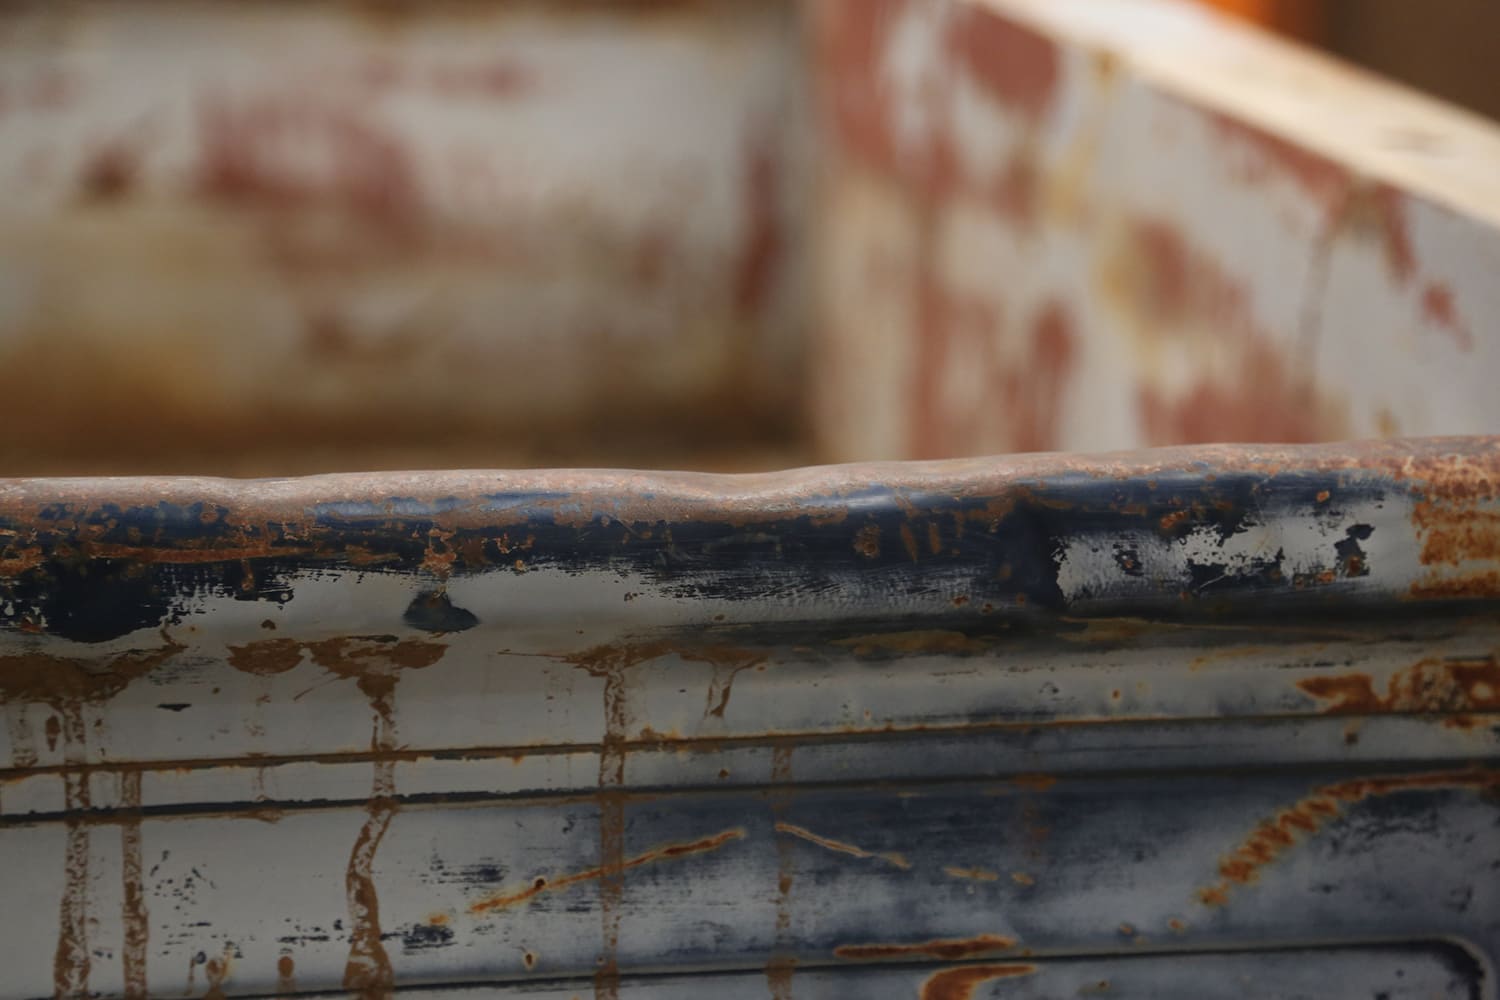
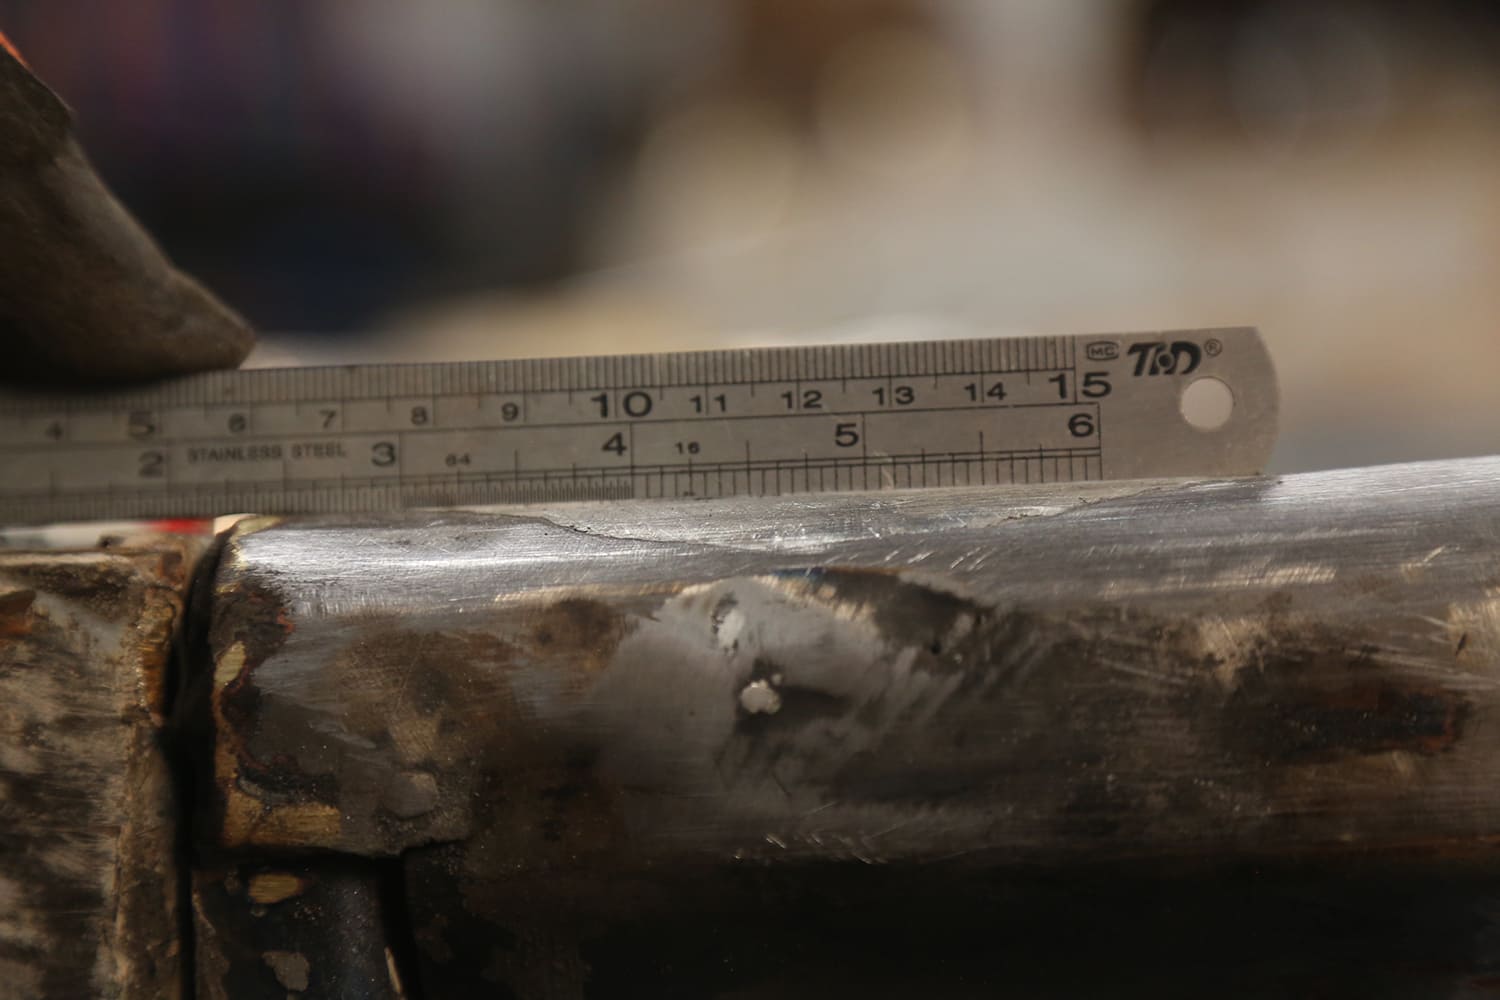
This is the single-most difficult area to repair on a tailgate. Because it is fully rounded over, there is an inherent strength to it, making it harder to get dented and even more difficult to fix said dent. The steel is very thick, about 14-gauge for most models, which is quite tricky to move across a small 1.5-inch radius. Additionally, the radius is not quite fully round; it is more of an offset teardrop. This shape tends to push the flat sides out as the rounded top moves in, making reshaping the rail tough to work.
Bondo vs. Metalwork
Most of the time you see a repaired tailgate the dents on the top rail have been filled with bondo (workable) or Duraglas (better) instead of pulling the dent. That’s because pulling a dent here is not easy. The problem is that the metal is thick and rounded, while also being fully enclosed, so you can’t get inside the tube to push the dent out. You could cut access holes underneath each dent and weld them up later, but that still won’t get you all the way there and you have more work to fix the new hole. Filling a dent on the rail works for a truck that is never going to see a 2×4 across the tailgate, but even then, the filler will shrink and lift eventually. The best repair requires working the steel back into shape.
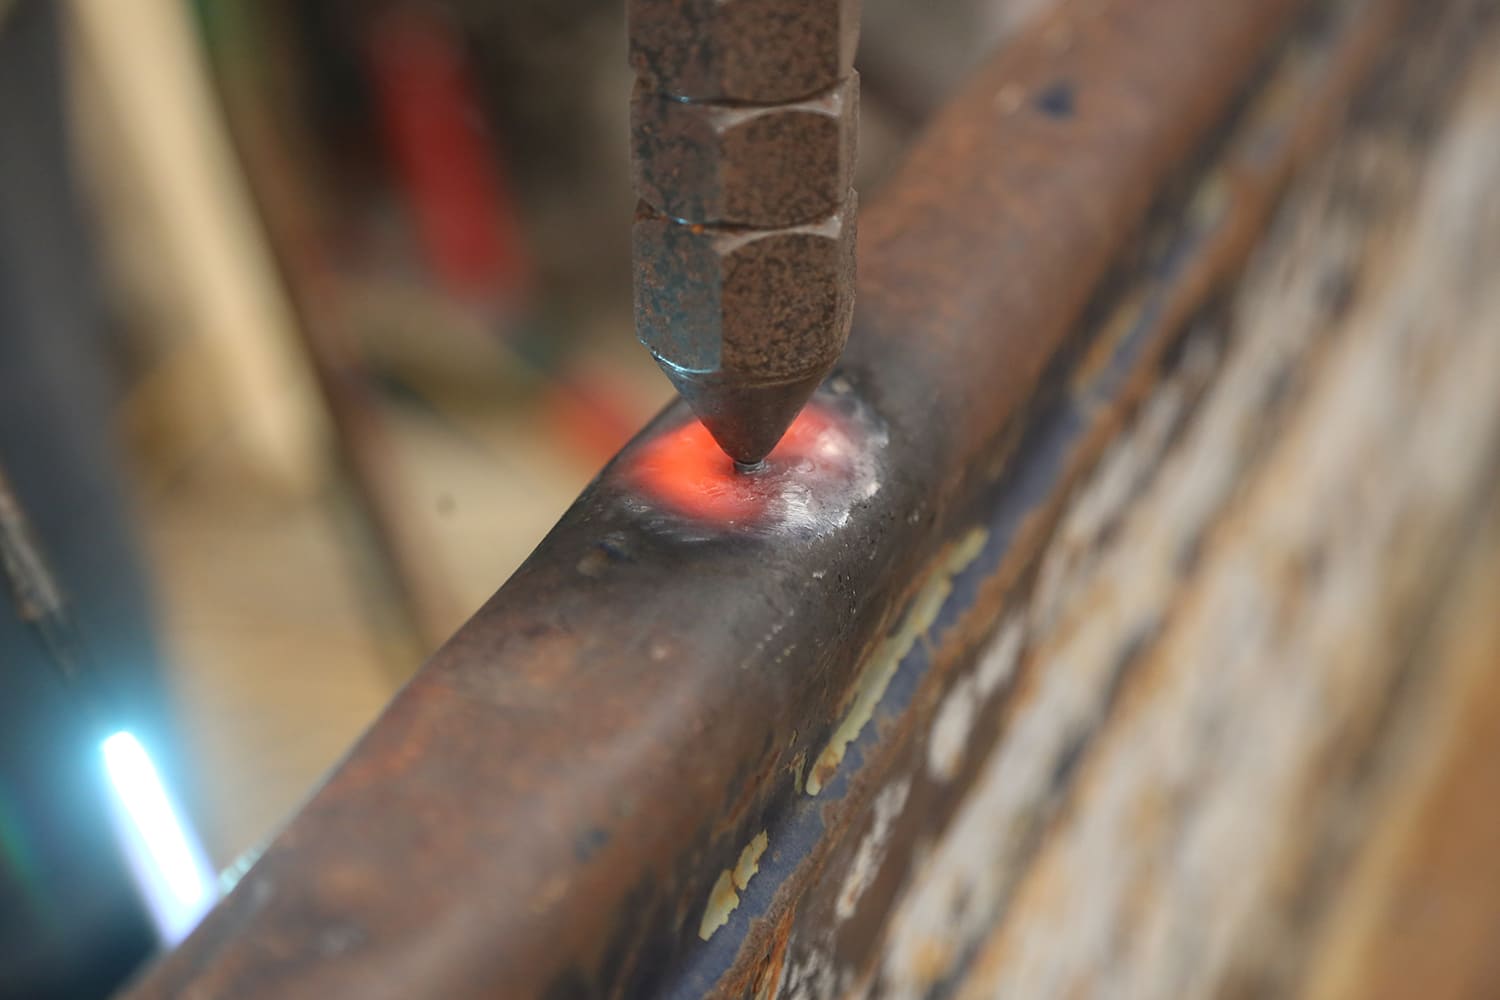
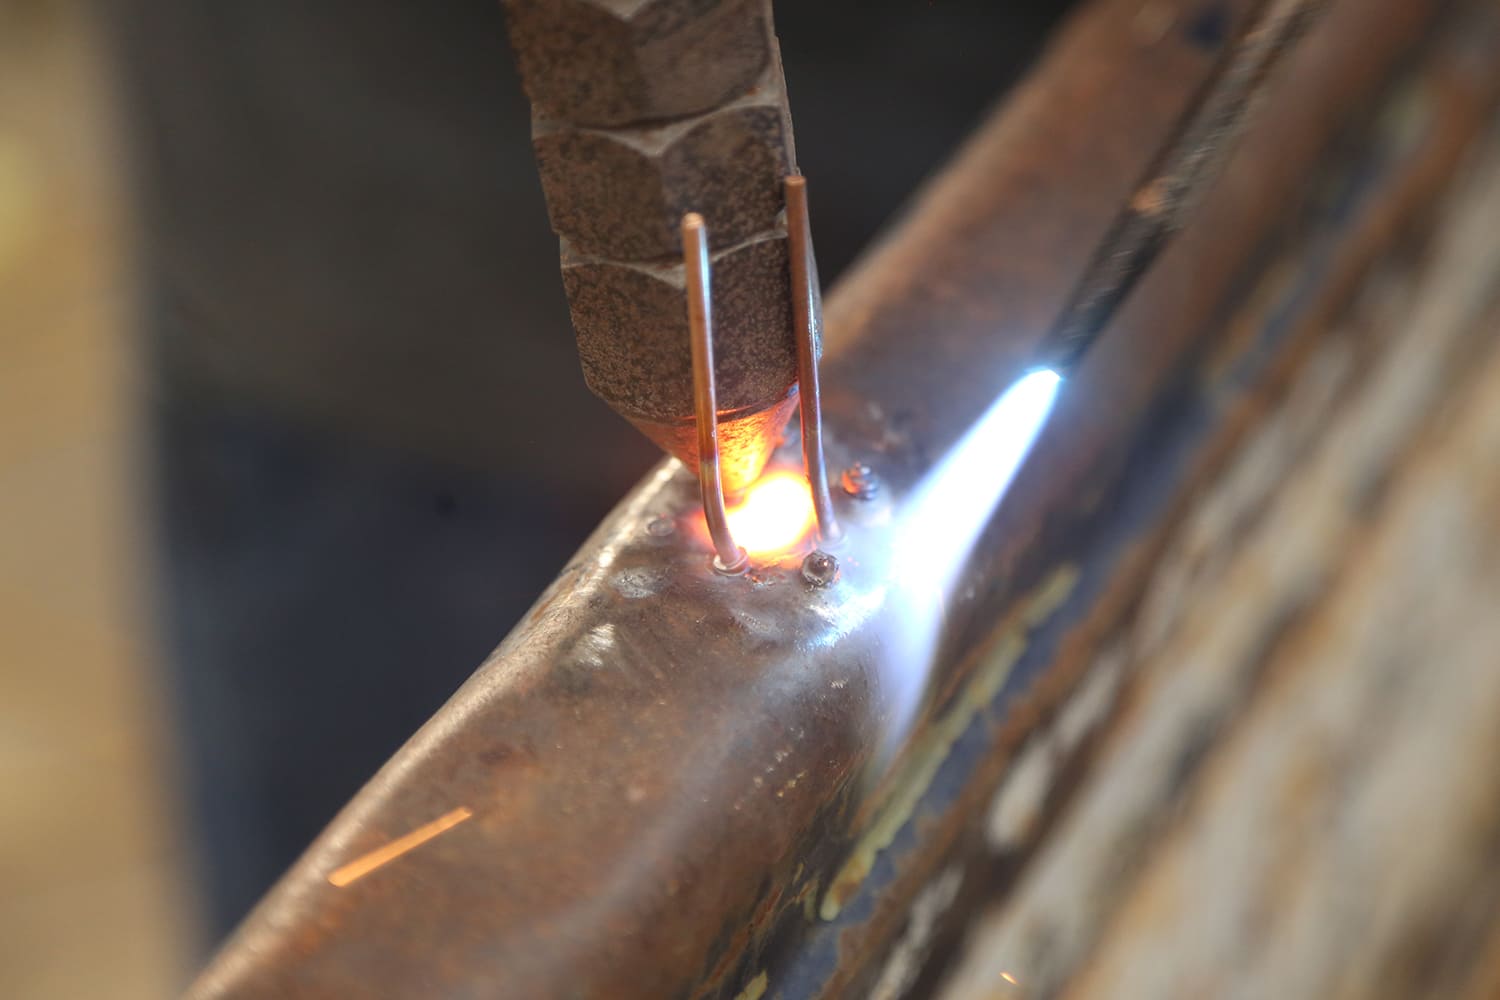
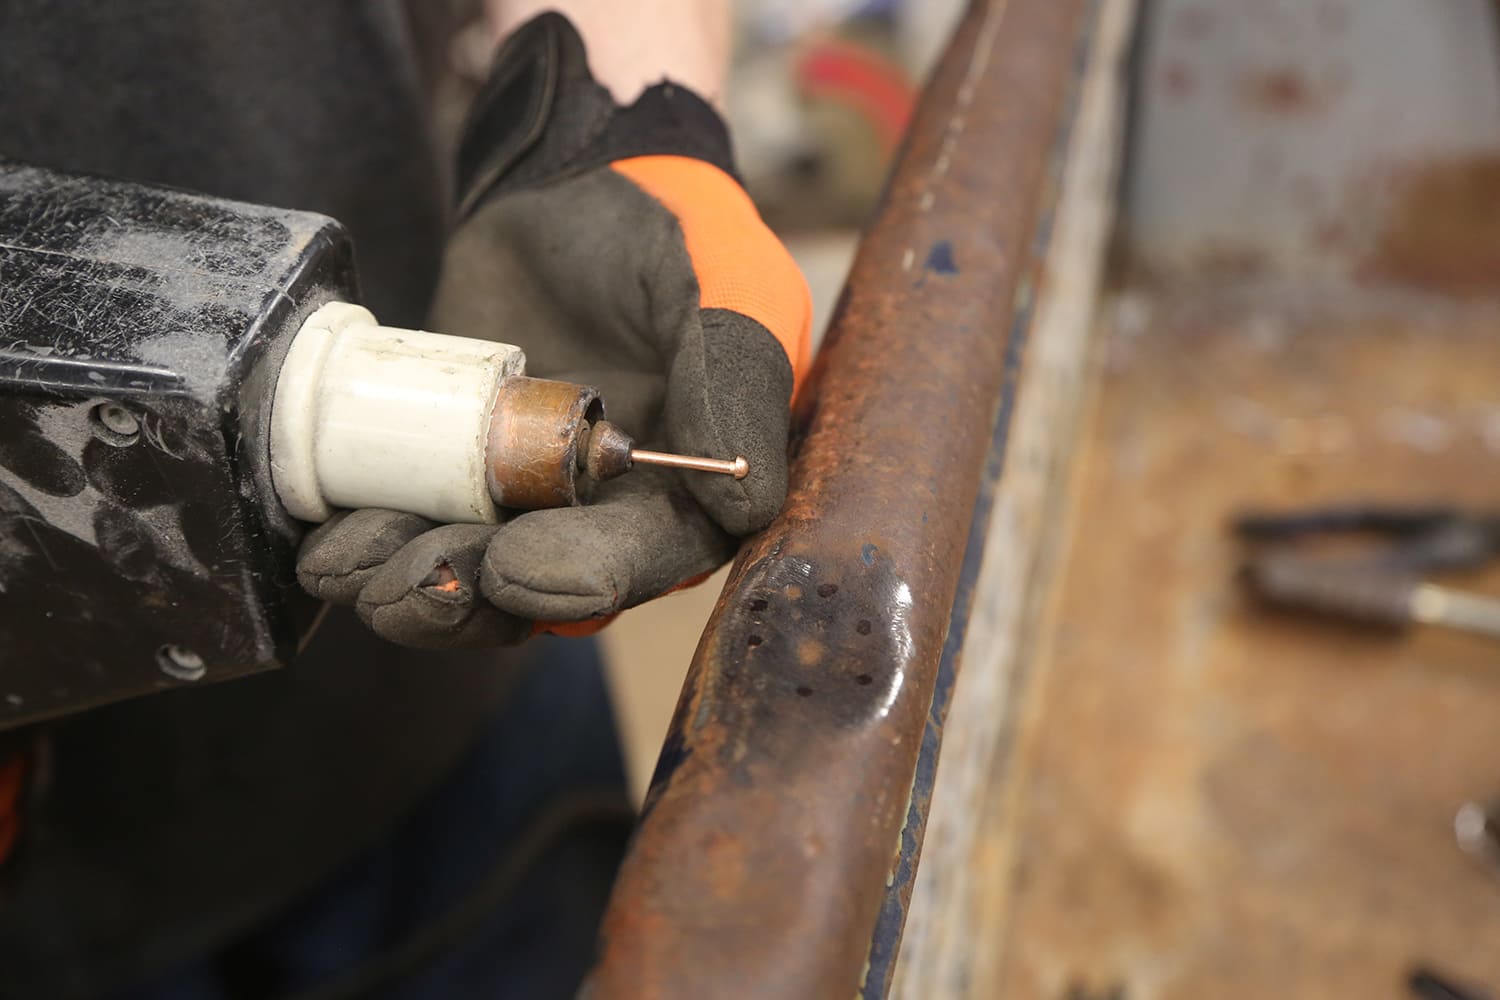
You can’t push the dent from the inside so you got out the stud gun and slide hammer. This is pretty basic stuff, but because the top of the tailgate is rounded, you can’t just slam the slide on the hammer and expect a 1-inch dent in 14-gauge steel to just acquiesce and come back into shape. A little heat from a torch helps convince the thick steel to yield to your demands and move where you want it. We used an oxyacetylene torch set with a rosebud tip to heat only the area we wanted to move, which works quite well. You won’t get it absolutely perfect, but it should be close.
You may be tempted to weld a stud in the center of the dent and pull. For small dents, that can work, but for dents in radiused metal we find it best to work from the outside in. This is because the slide hammer has a tendency to pull a little nipple in the center, which can create other issues. Pulling from the outside of the dent toward the center, the center will naturally come up as you go, reducing how much the metal stretches. As you experiment with your repairs, you will develop your own process.
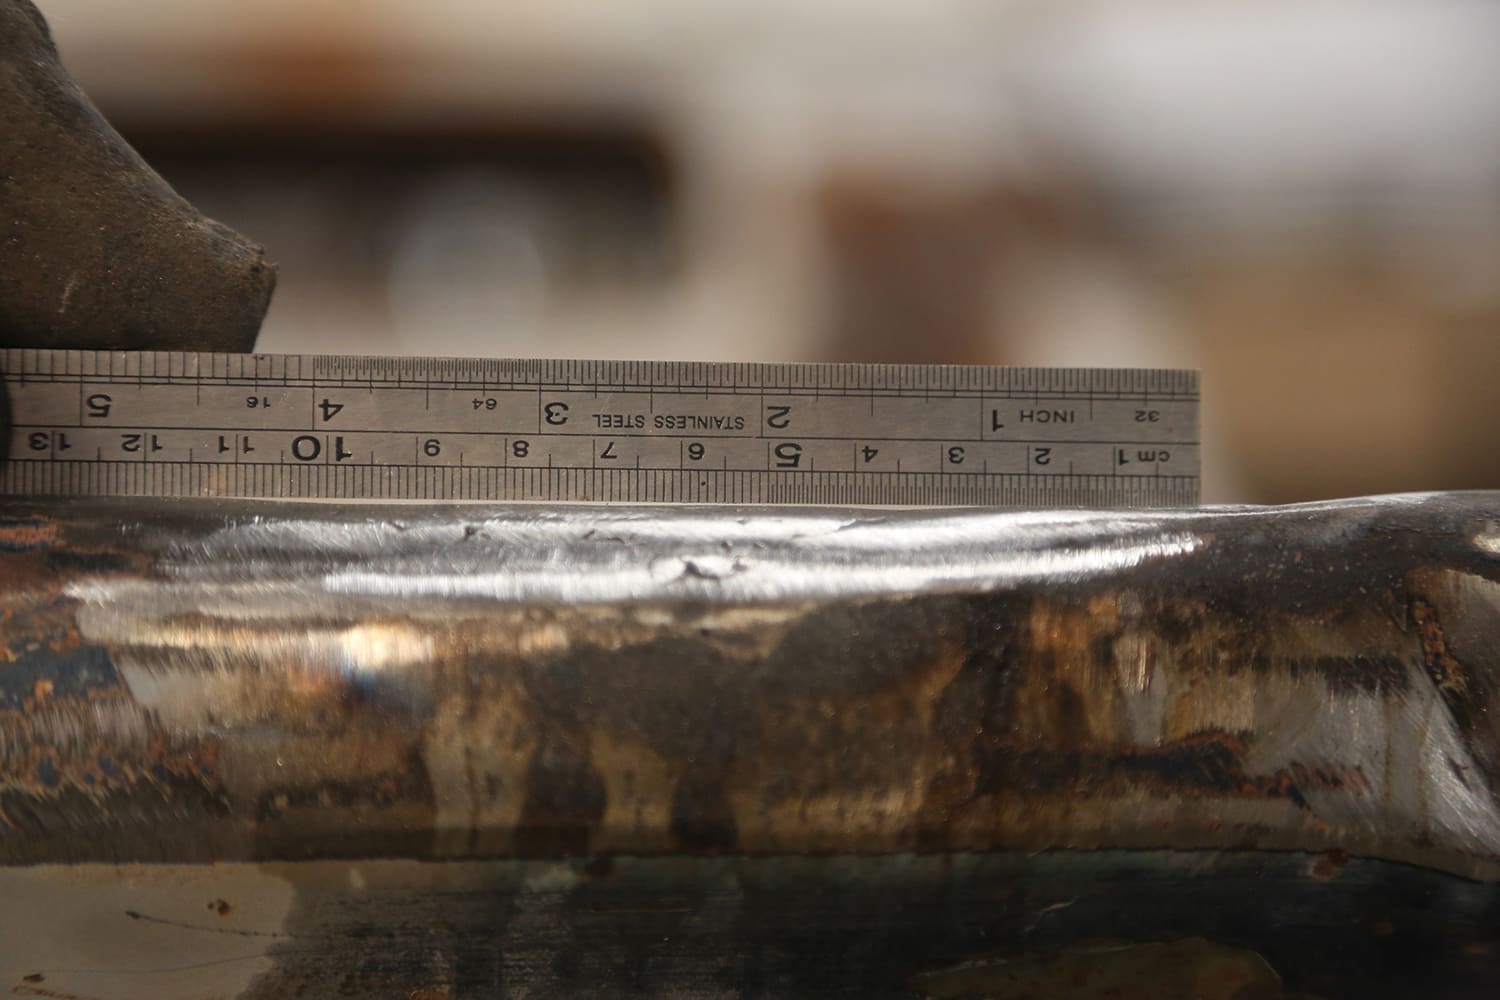
Adding heat loosens the steel so it will move. The best part is that you control where the heat goes, so you can leave the shallow edges cold and only heat up the deeper areas to get more lift where you want and minimal lift in the cool areas. This is very much an art, but you don’t have to be the Michaelangelo of metal; just remember less is more and you’ll be fine. You don’t need very much power to pull a dent in hot steel, so a small 3- to 5-pound slide hammer is perfect for this job. A large crease may warrant a heavier slide, however.
Tools Needed For Dent Pulling:
- Oxyacetylene torch with rosebud tip
- Stud welder (preferred) or MIG welder
- 2-3mm weld studs
- Slide Hammer (5-pound is sufficient)
- Straightedge
- Body hammers
- Grinder/sander with 50-grit disc
Finish Him!
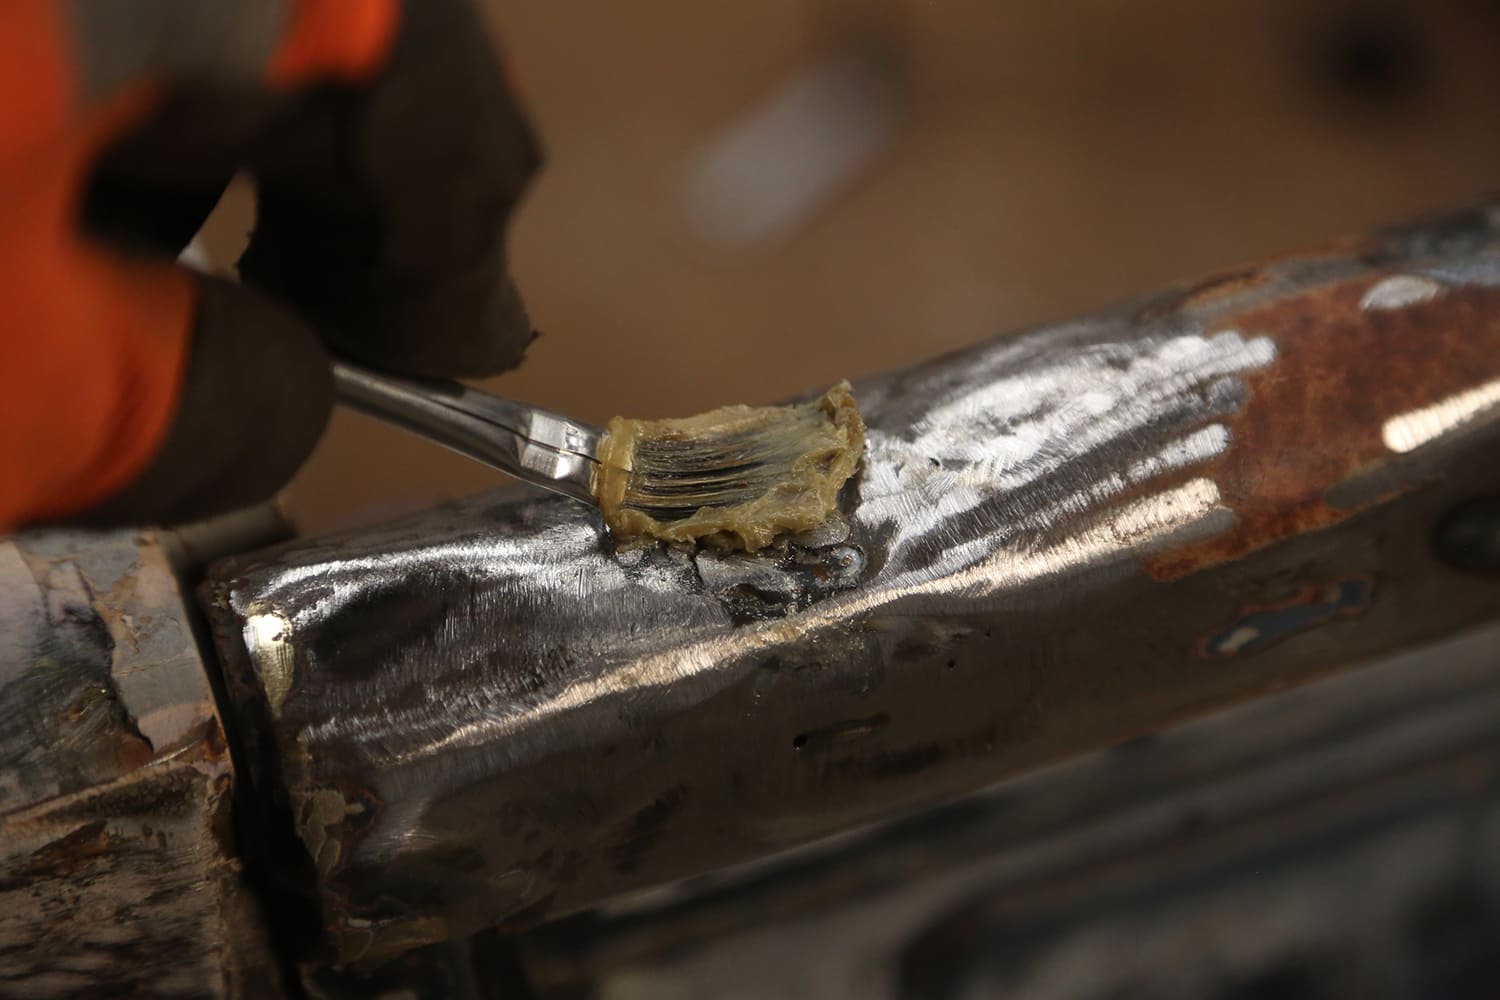
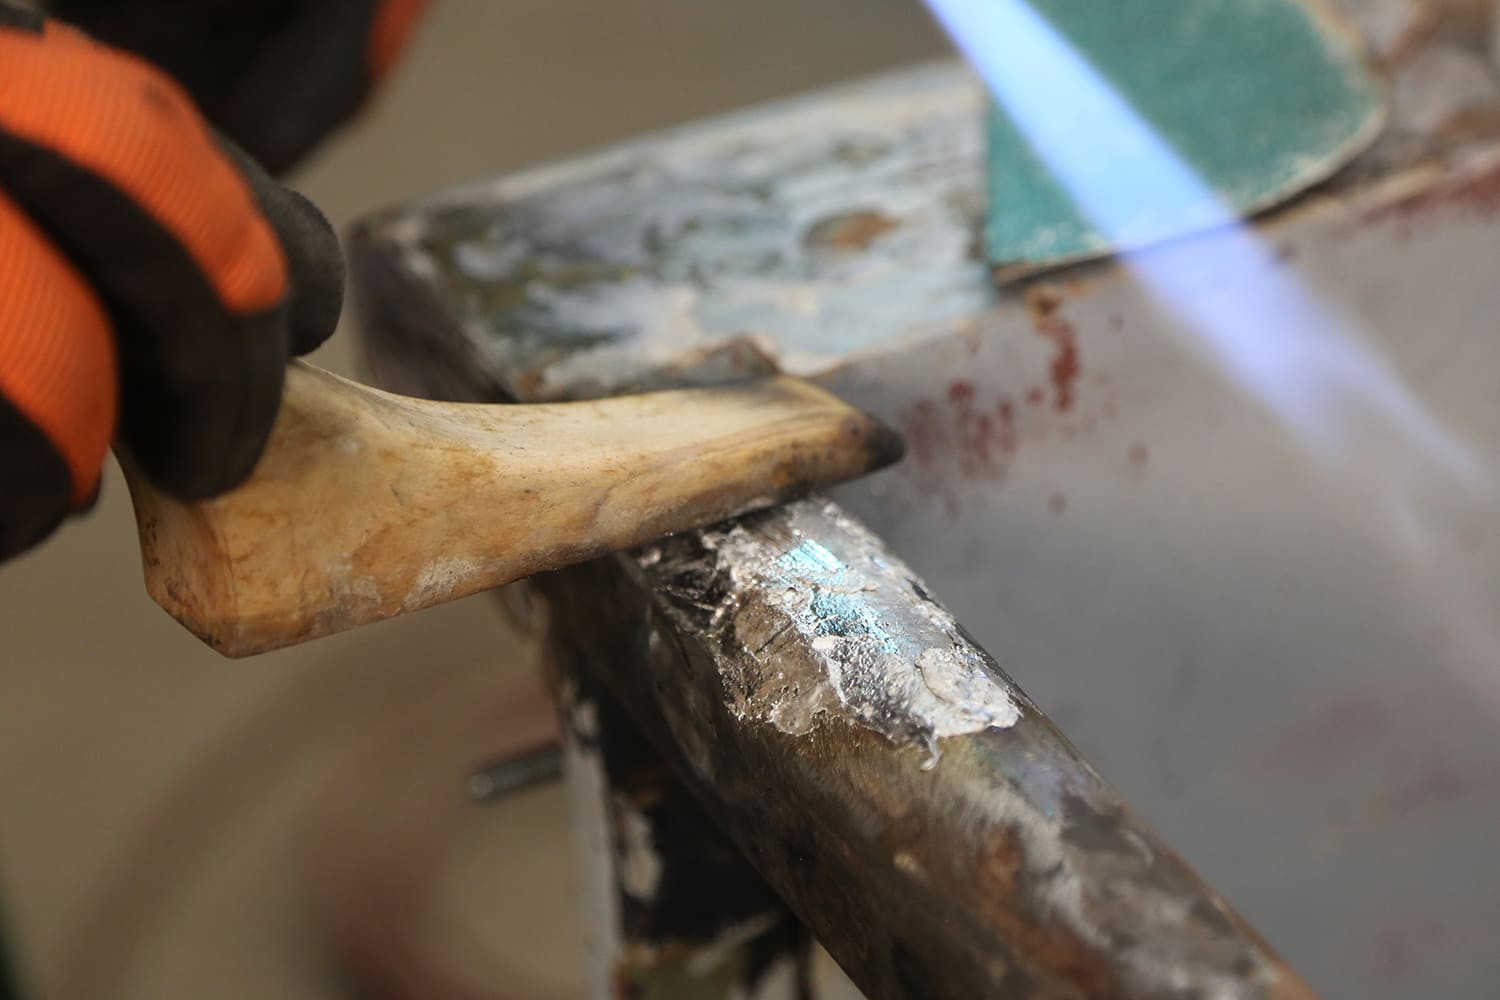
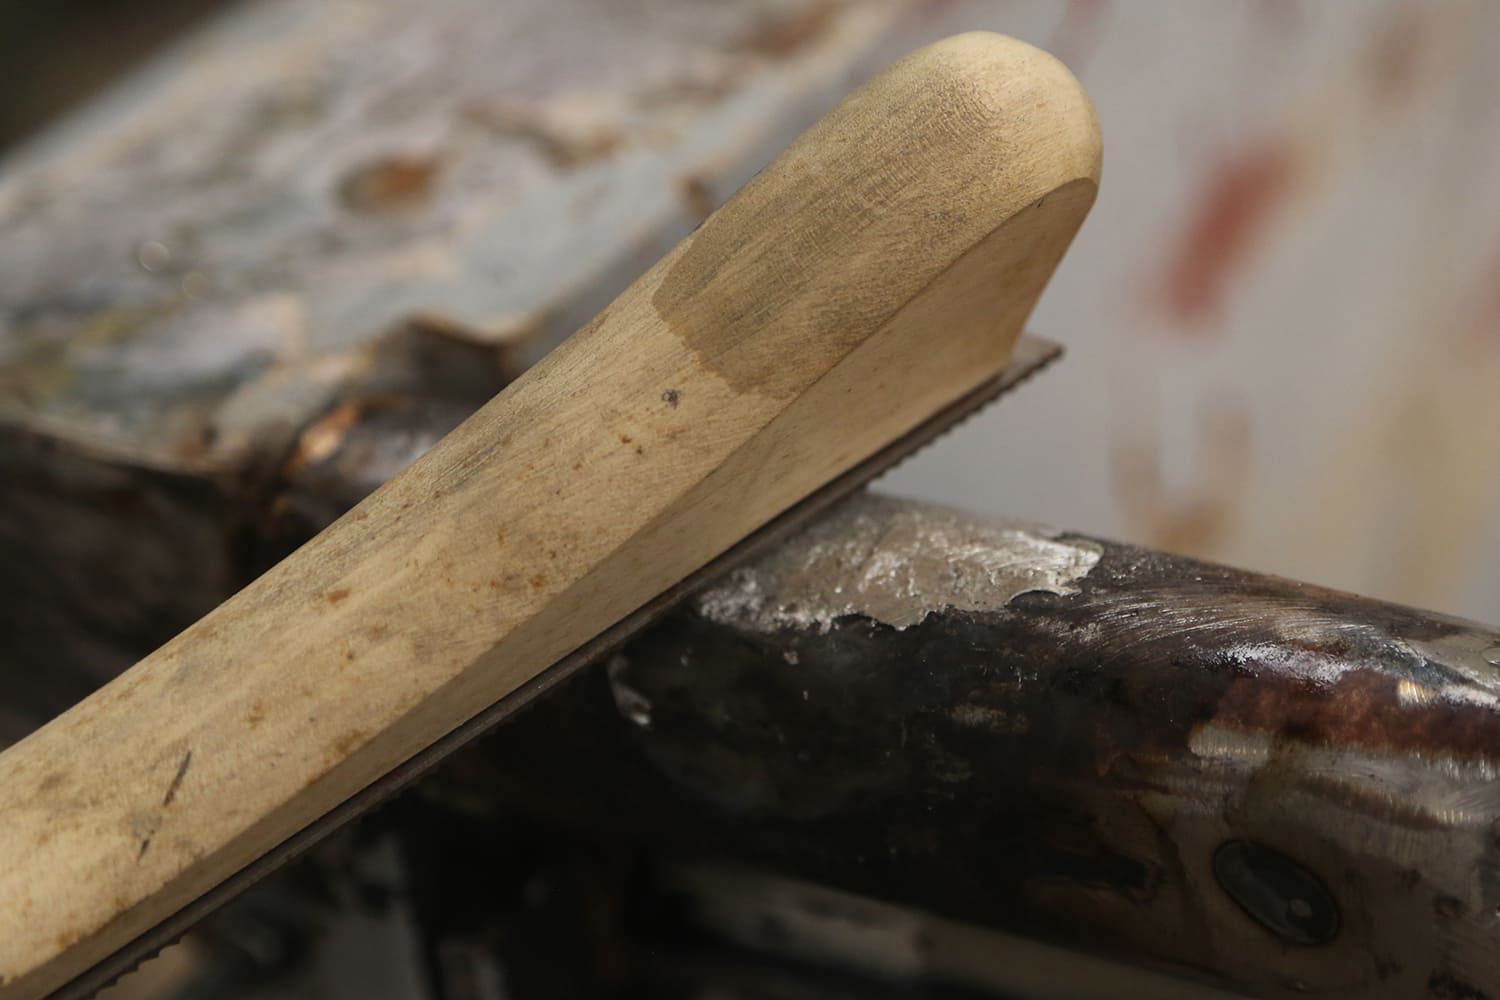
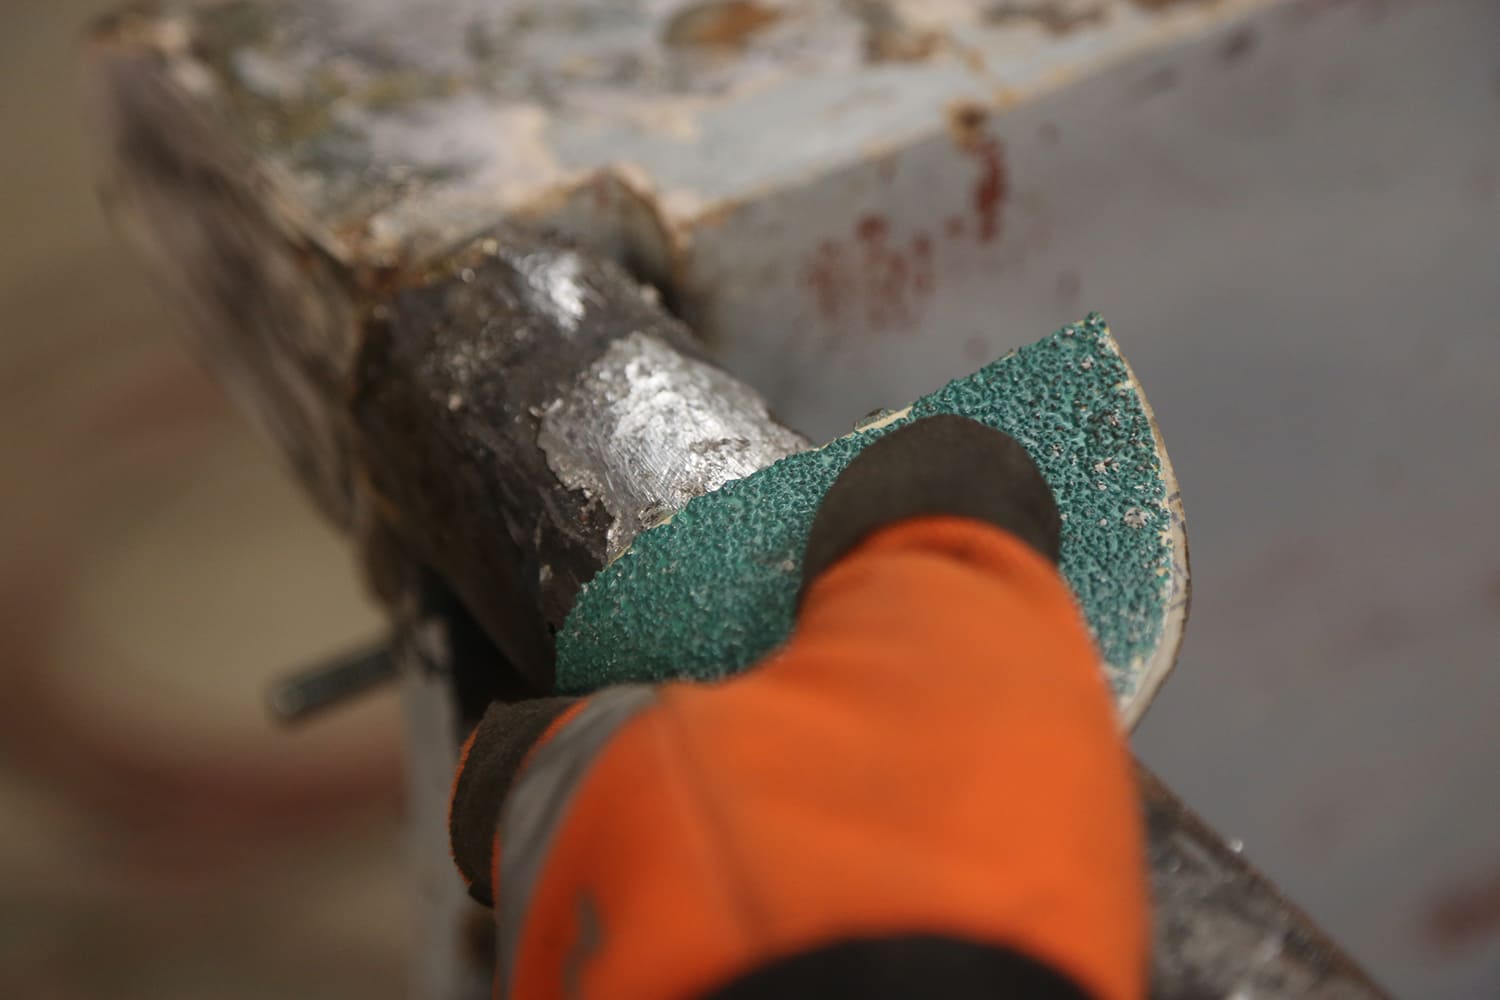
To keep things old-school, we ditched the plastic body fillers and went for some human-friendly, lead-free body solder. This solder has a much wider plastic heat range (where it is malleable), making it easier to work, and unlike bondo you can fix any issues with a bit more heat and reuse the stuff that lands on the floor. Body solder is a different animal from plastic fillers, so there is a bit of learning curve, but it is not as hard as you think it is. The main caveat with body solder is that you must tin the metal with flux before the solder will stick. Body solder is also much more durable than bondo. You can skip the body solder and use plastic fillers. If you go that route, we recommend using a fiberglass-reinforced filler, such as Duraglas on high-impact areas.
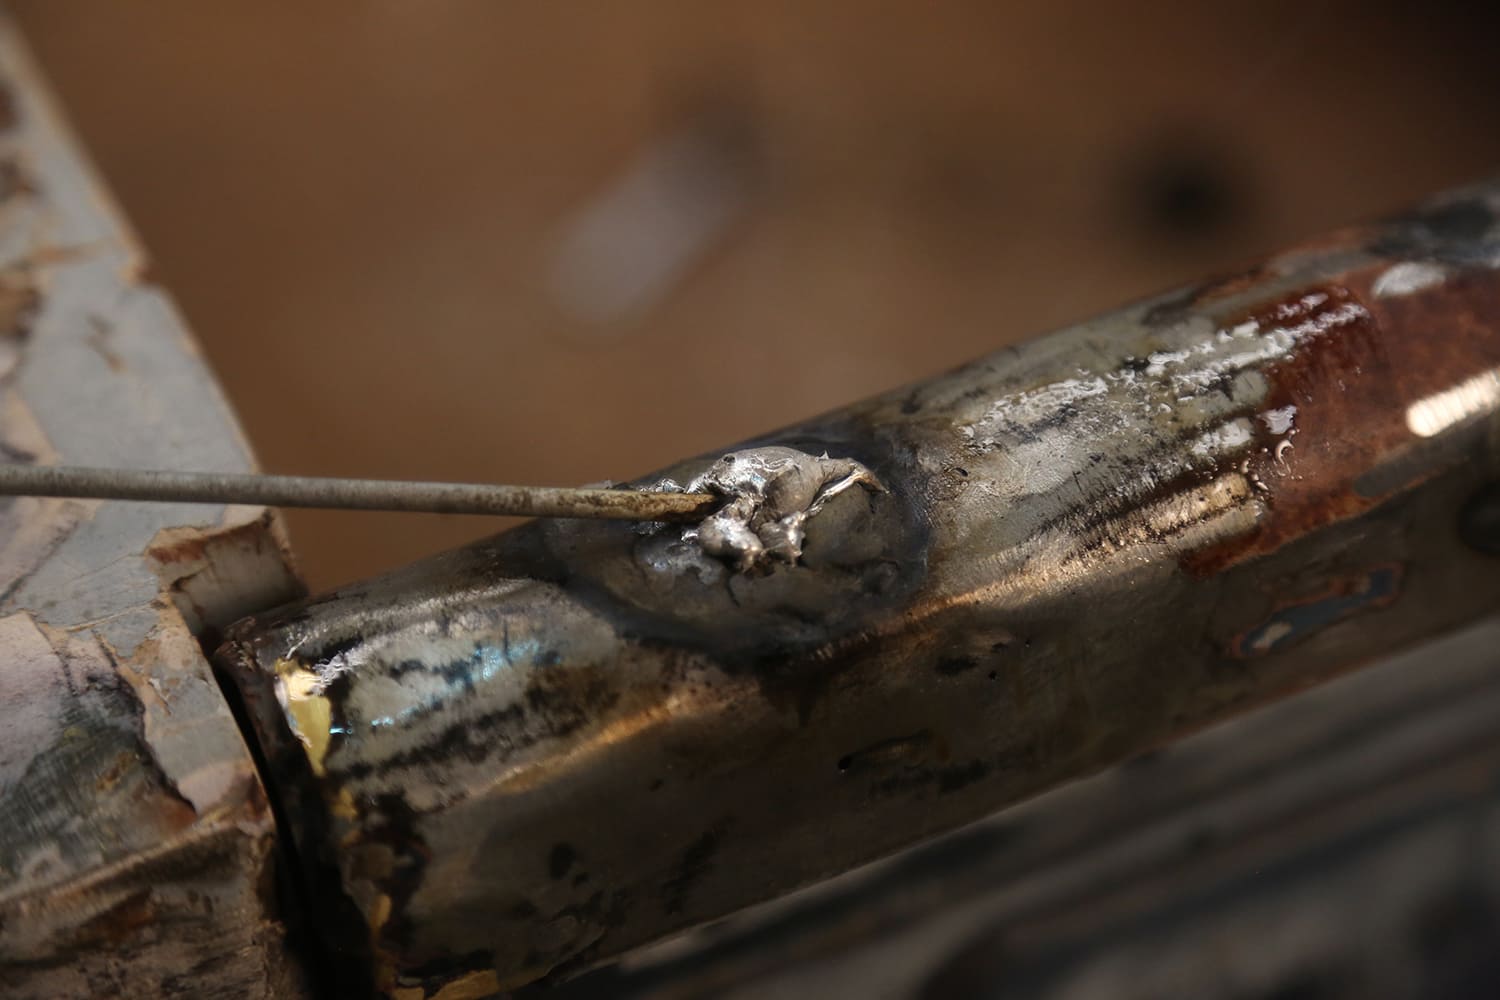
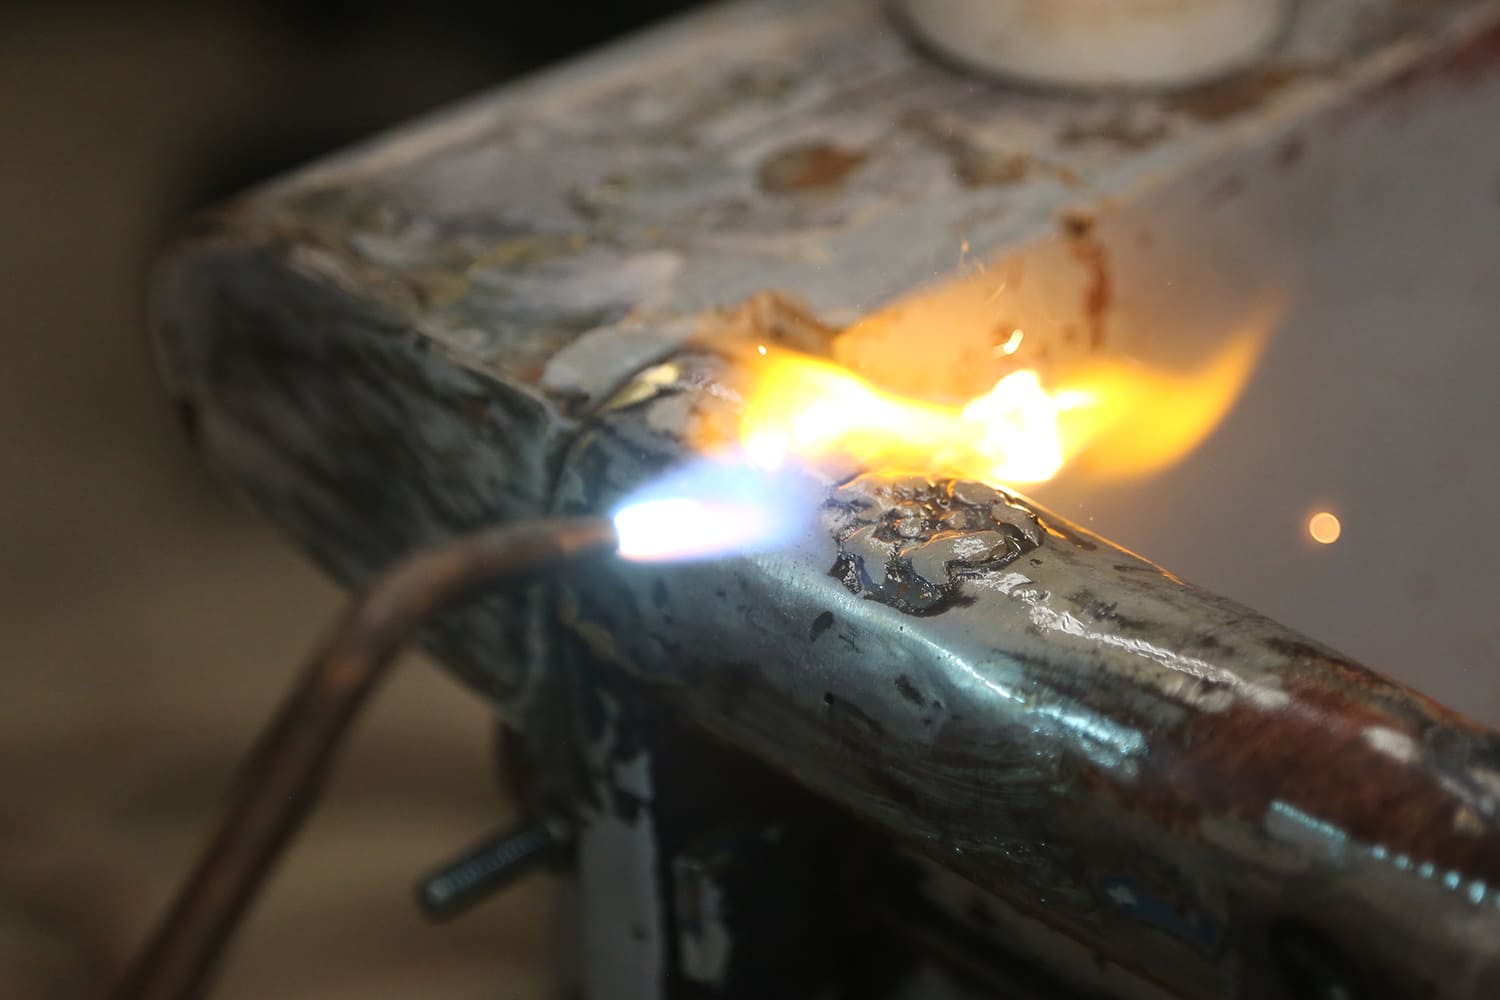
We used the same torch for the body solder. The keys to body solder are to use just enough heat to make the solder flow but not melt. You will melt a bit here and there, but you’ll figure out how to properly heat the solder in less than 5 minutes of working with it. Lead-free solder is the best solution, as it is not as toxic as lead (you still want to avoid breathing the dust) and stays “plastic” longer, from 430- to 930F, whereas lead is only “plastic” (spreadable) between 535- to 660F.
The same flux works for both lead and lead-free solder. Flux is brushed on and then the metal is heated until the flux flows out and then wiped clean. Solder only sticks to fluxed areas, so you have to take care that the entire repair area is fluxed. Body solder is an under-utilized material for repair and custom projects; it is harder to use, but it lasts forever, doesn’t rust, can’t absorb moisture, and has more “give” than plastic fillers, so it can take more impact without cracking or separating from the base metal.
Required Body Solder Supplies:
- Lead-free body solder
- Tinning butter with acid brush
- Wooden spreader spoons
- Body files
- Oxyacetylene torch
- Find the Foundation
It’s supposed to be “four on the floor,” not “foot through the floor.” Floorpans are a common rust area for just about any vehicle, and the Task Force series is no exception. Due to the multipiece design, these floors tend to rust out at the seams on the main floor, and the rocker threshold often gets the worst of it. Luckily, these are relatively large, flat floors that are easy to replicate in just about any shop. Floorpans are one of the best ways to develop your fabrication and welding skills, so don’t be scared of the process.
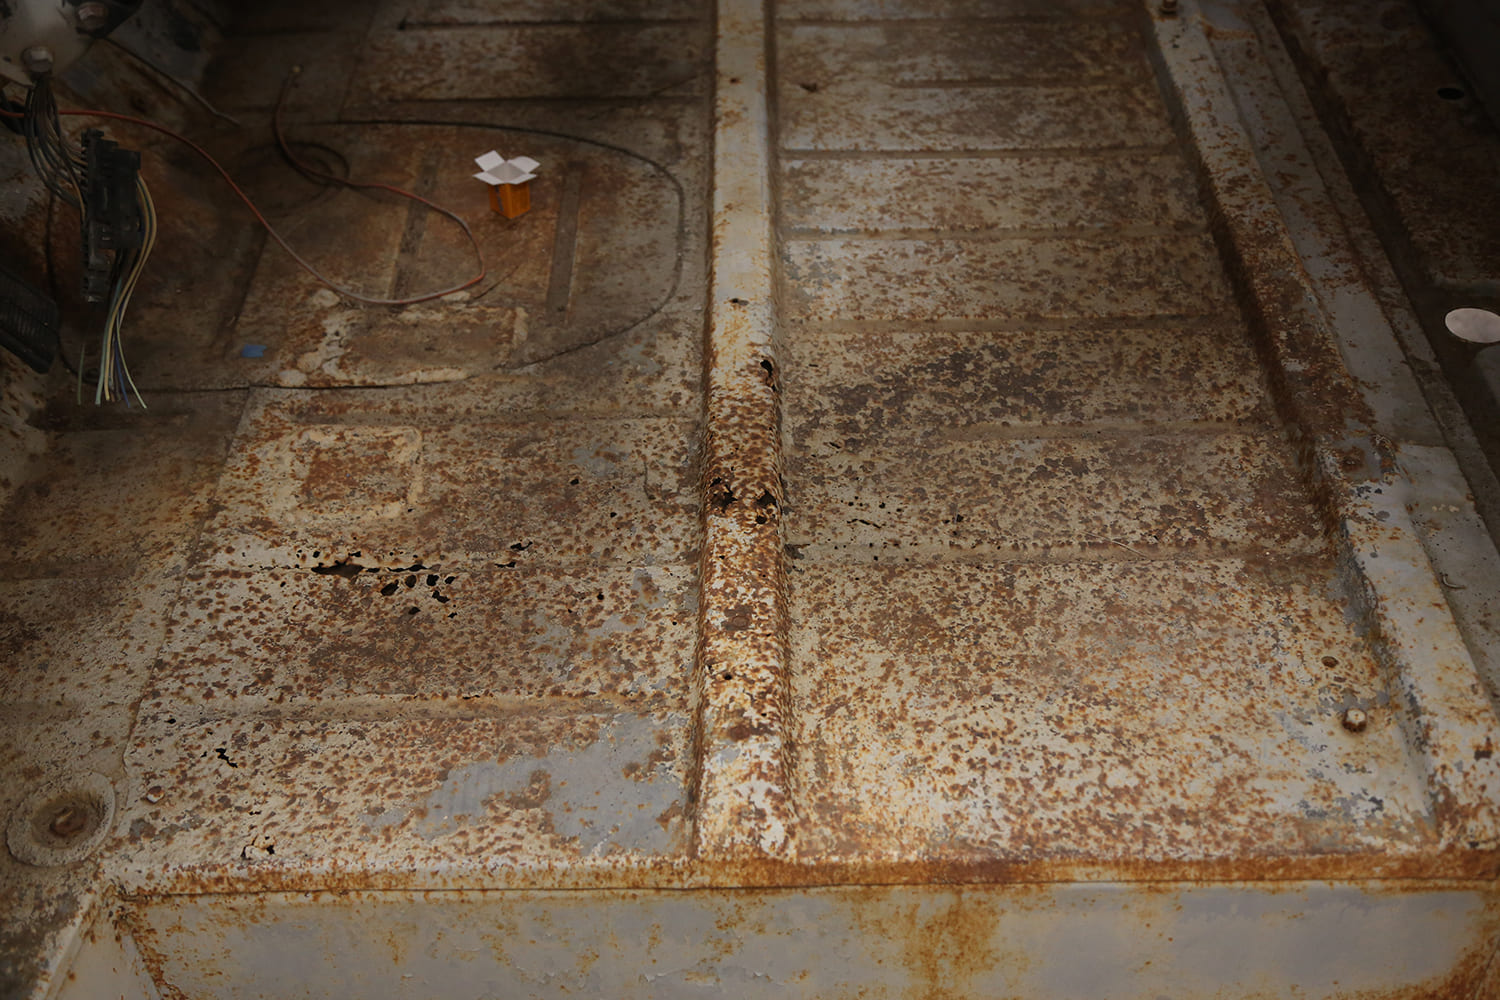
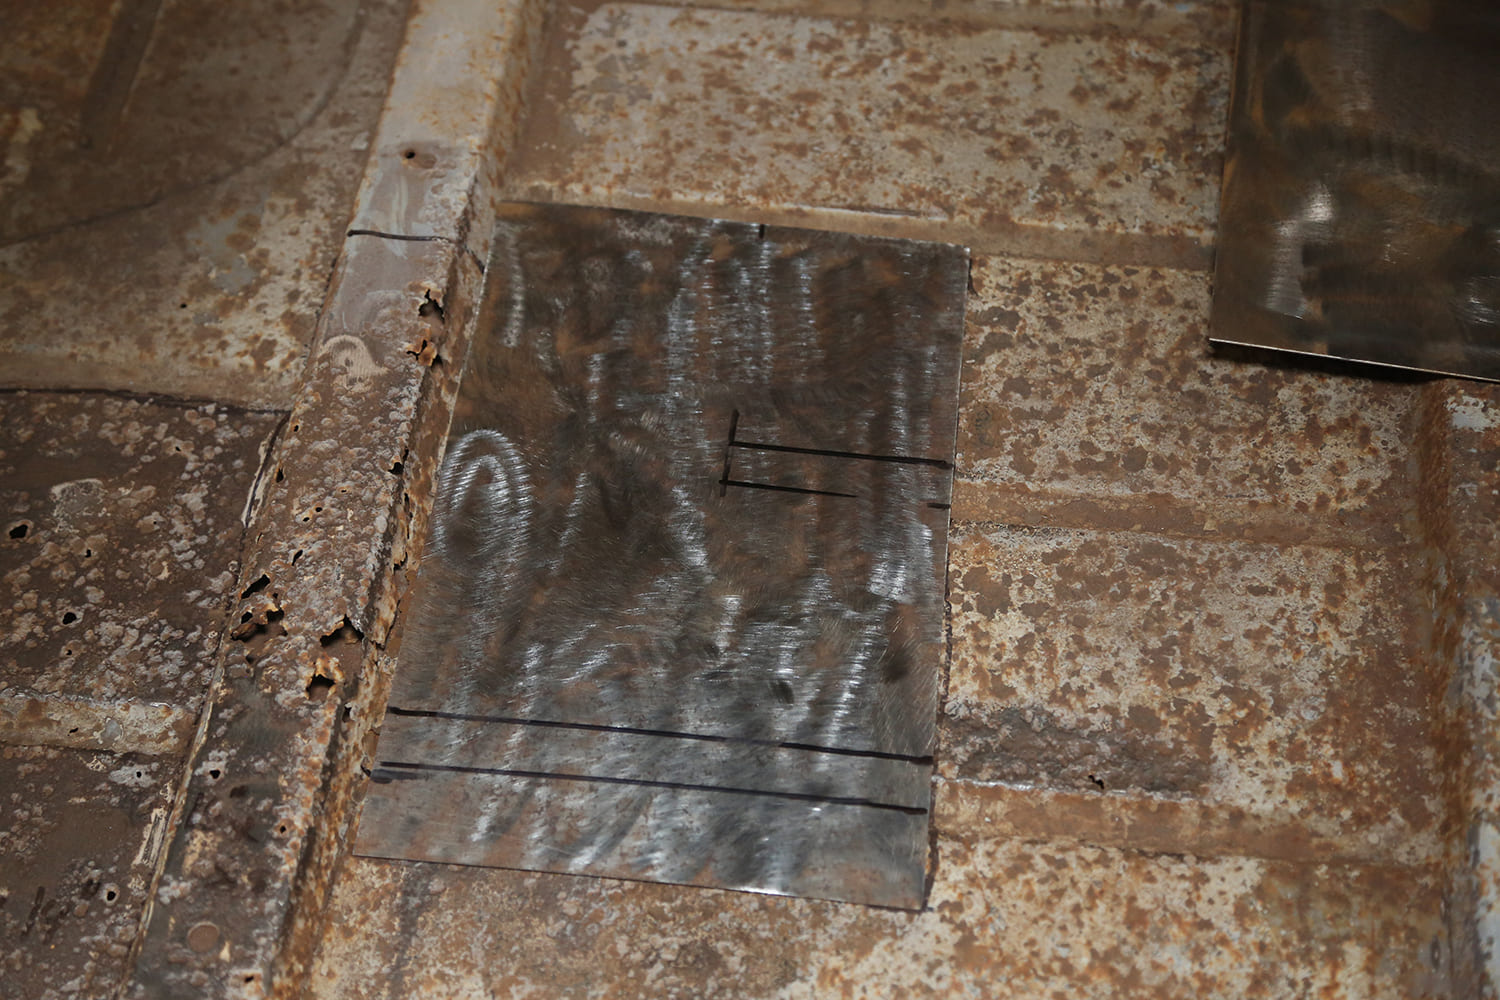
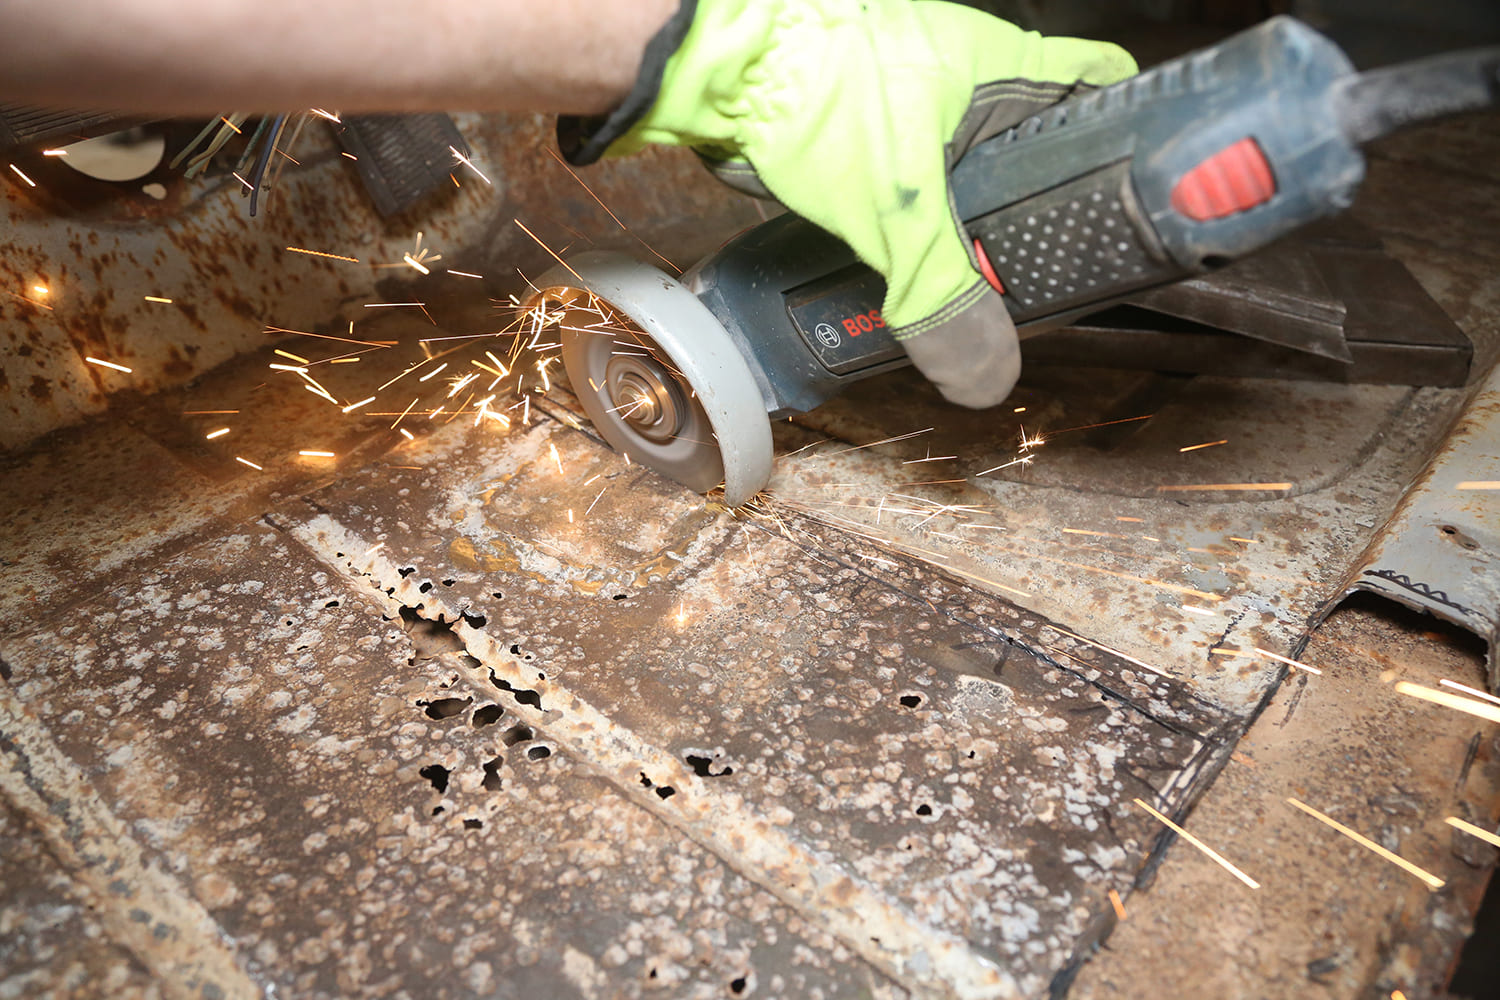
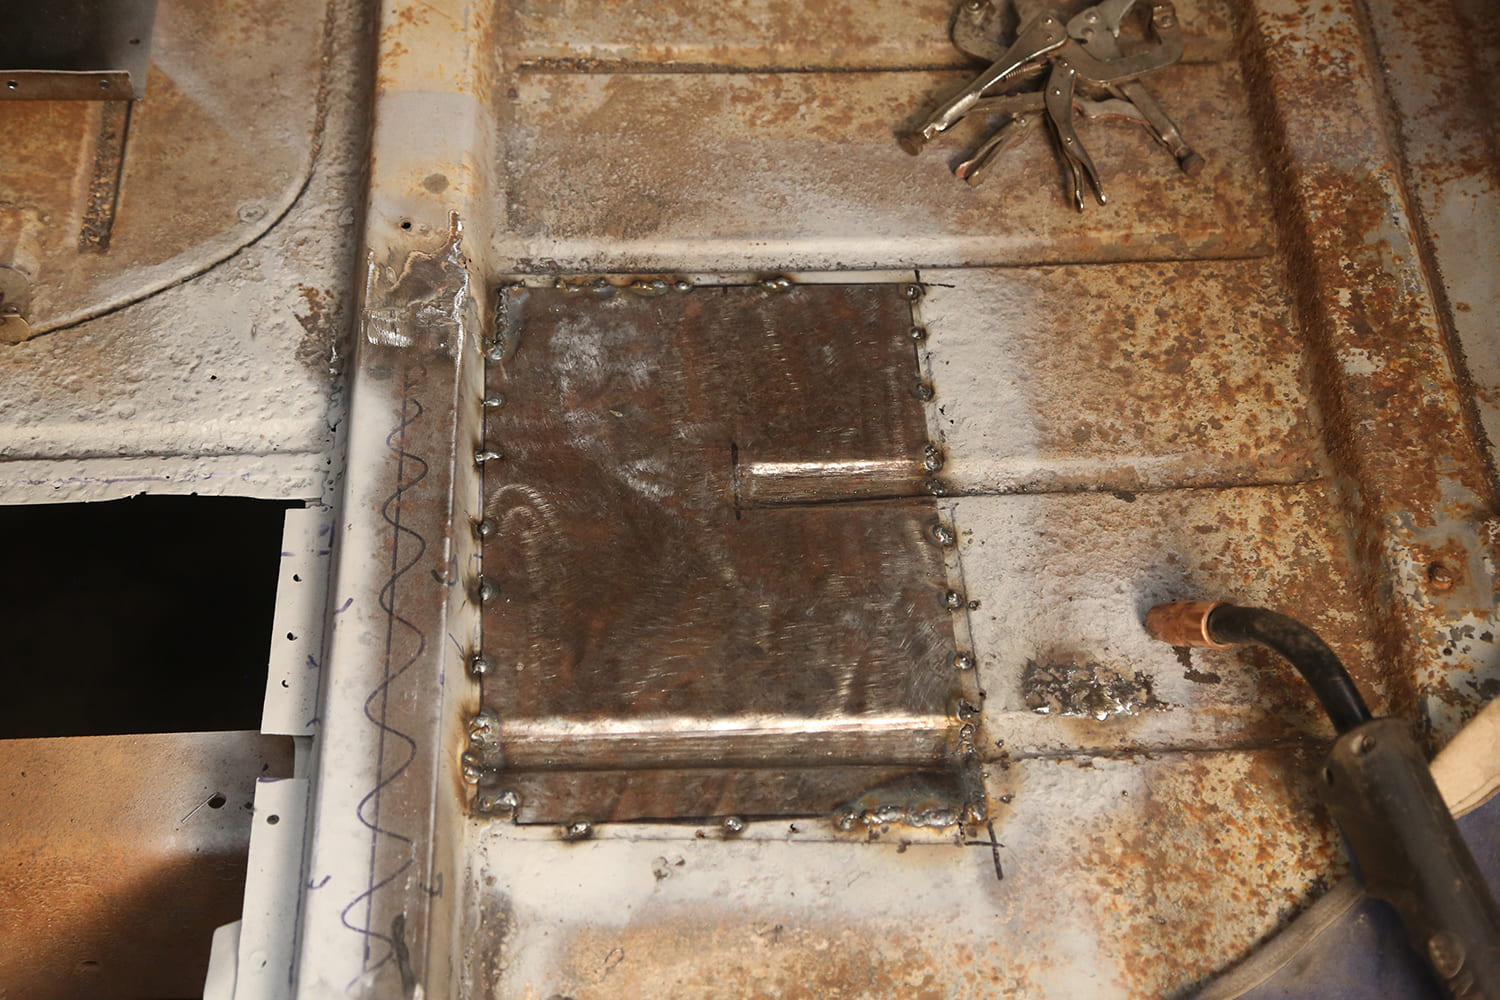
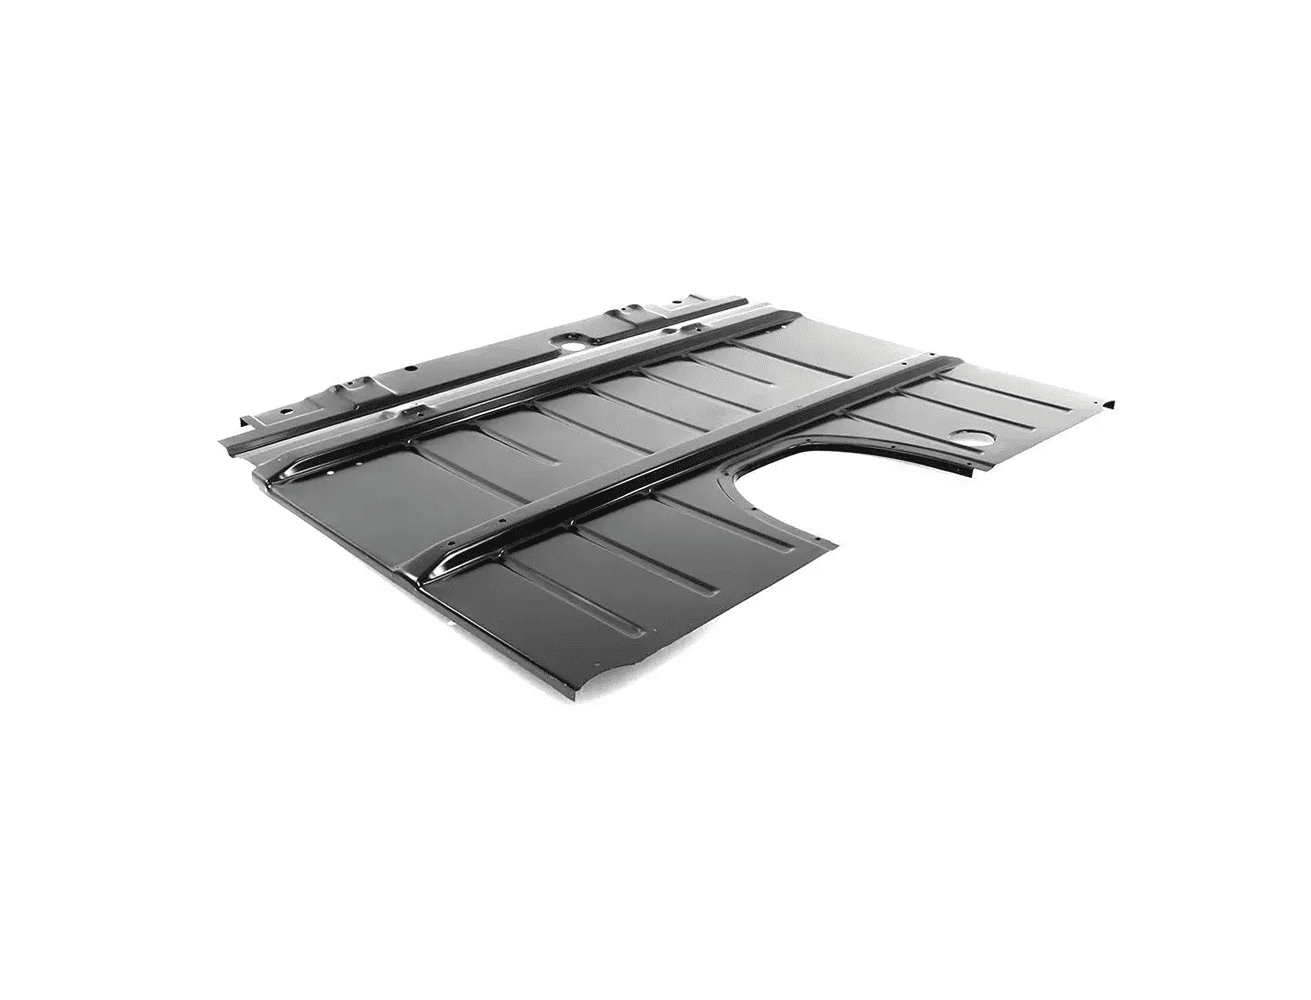
The floorpans in this truck are not terrible; in fact, there is just a bit of through-rust on the driver side and that’s about it. If these floors were completely rotten, we would just order up a set of new stampings from Auto Metal Direct (AMD), but ours only needed a relatively small area repaired. The only way to get the pieces we need is to either buy a complete floorpan for $200 and scrap most of it or install the whole thing, which is much more work. We opted to show you how to fab a quick floor patch so you can spend your hard-earned money on things like fenders and bedsides.
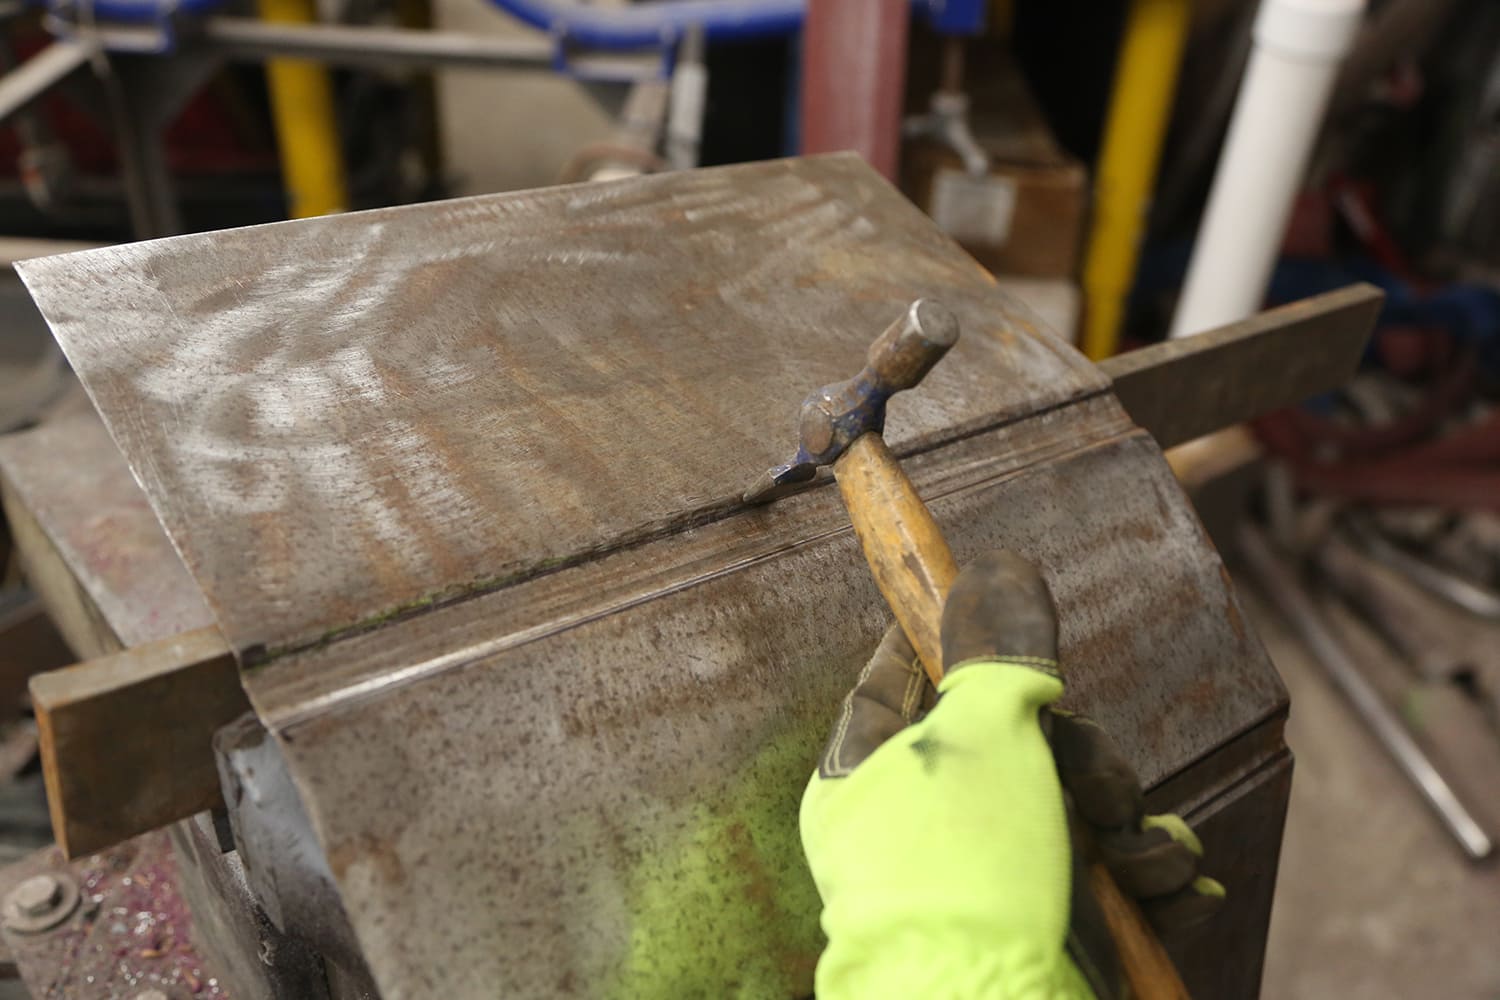
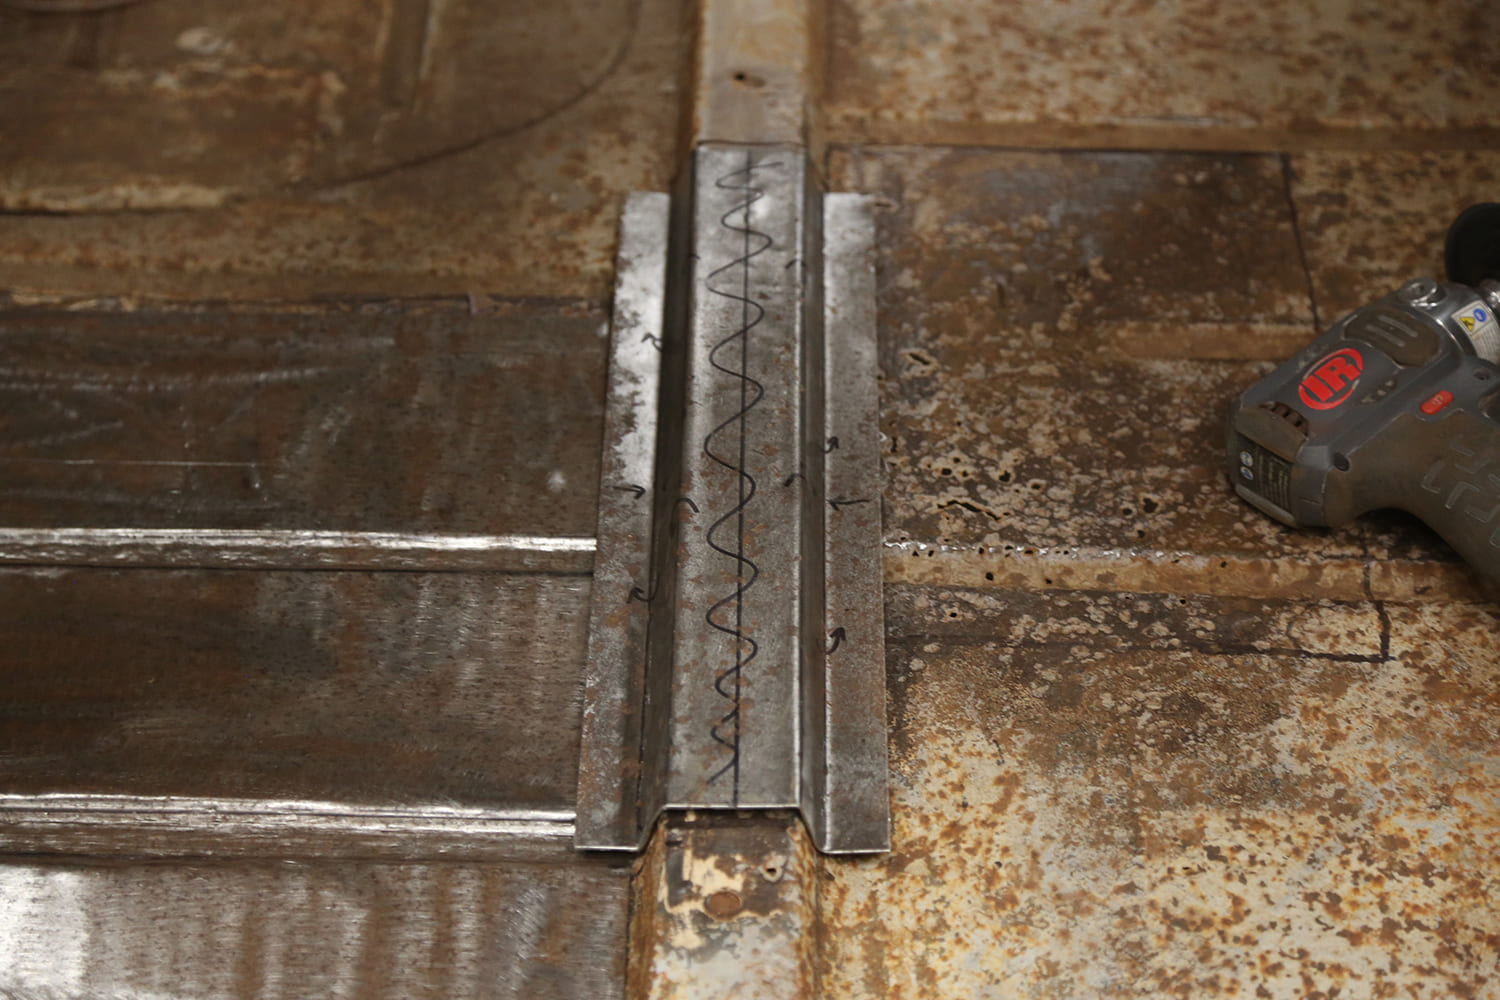
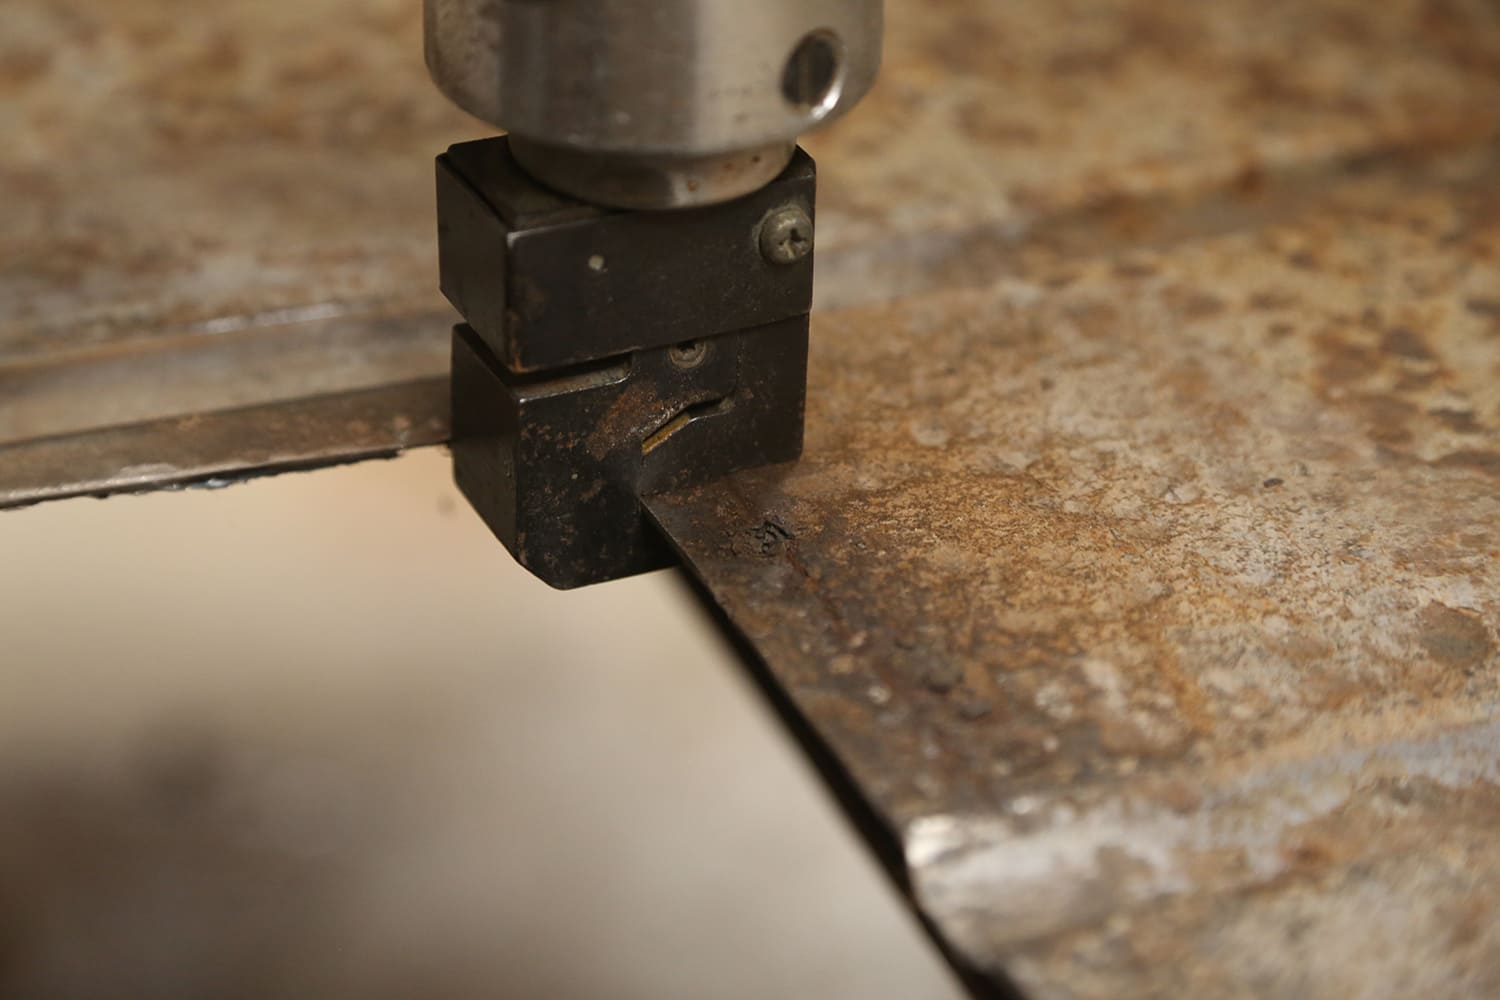
You might be tempted to use flat sheet as-is, however the floor would have very little strength and would be quite floppy. Instead, you need to add ribs that match the original floorpan. While we have a full complement of sheetmetal fab tools, you do not need them to make these basic panels. You can have your sheet sheered at the metal supply, or use a cut-off wheel, so that’s easy. The hardest part is the ribs. There are ways of doing this without specialty tools, but a bead roller is the fastest way to do it. You can buy a cheap hand-crank bead roller for less than $200, which is best used with a partner (one to crank, one to feed the sheet), or add a motor and pedal for another couple hundred bucks. Alternatively, you can hand form the ribs using a piece of iron pipe as a dolly.
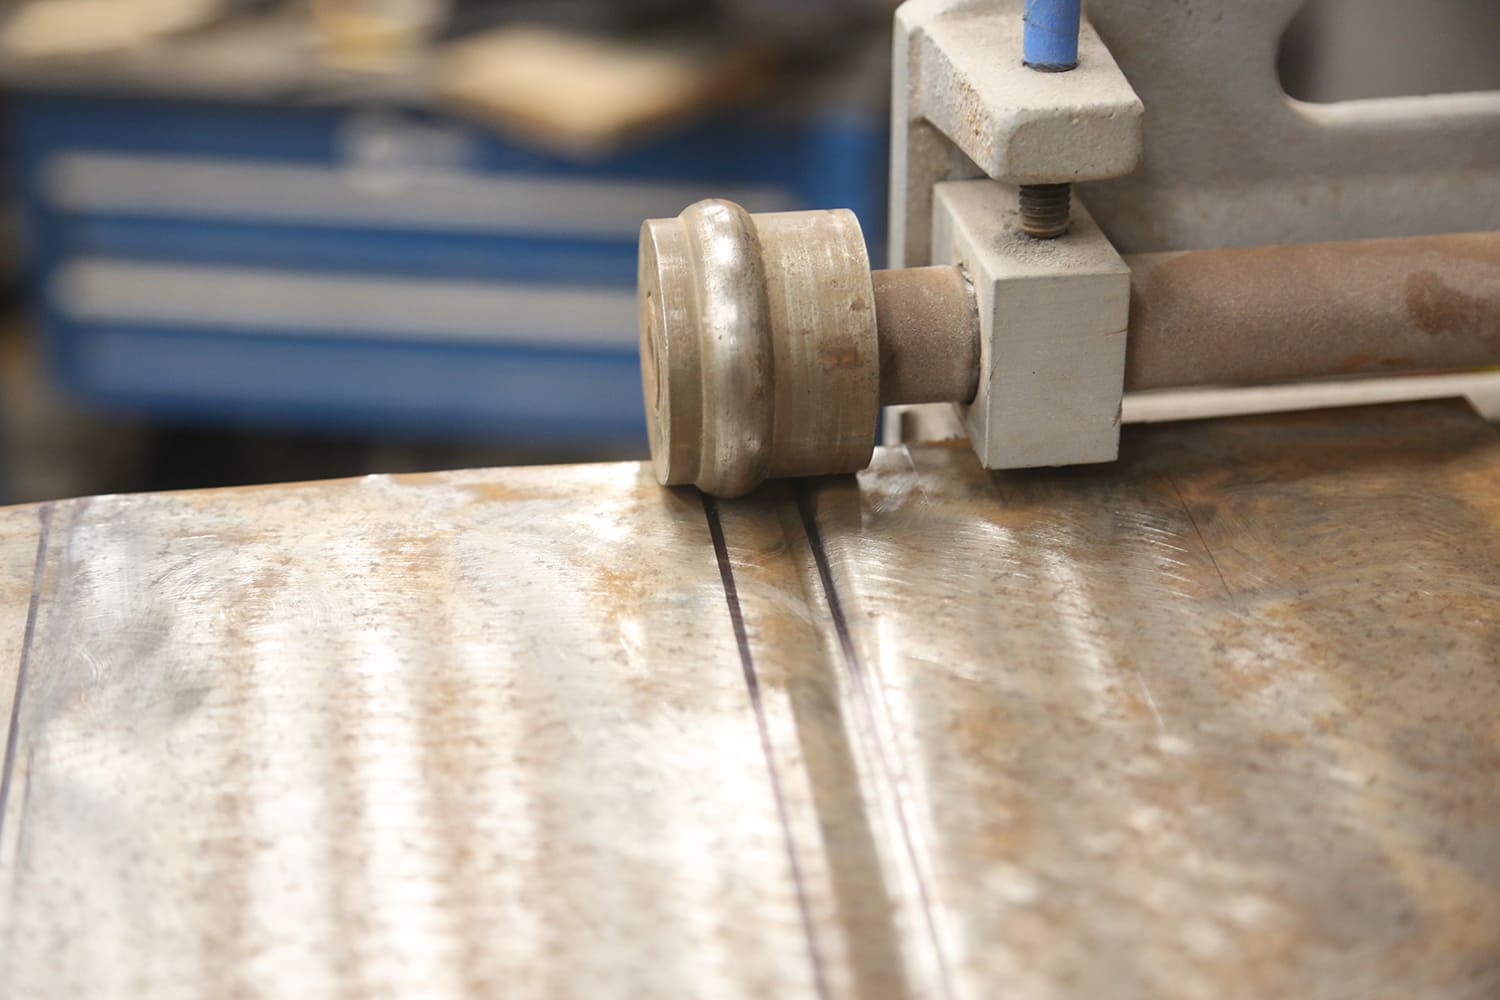
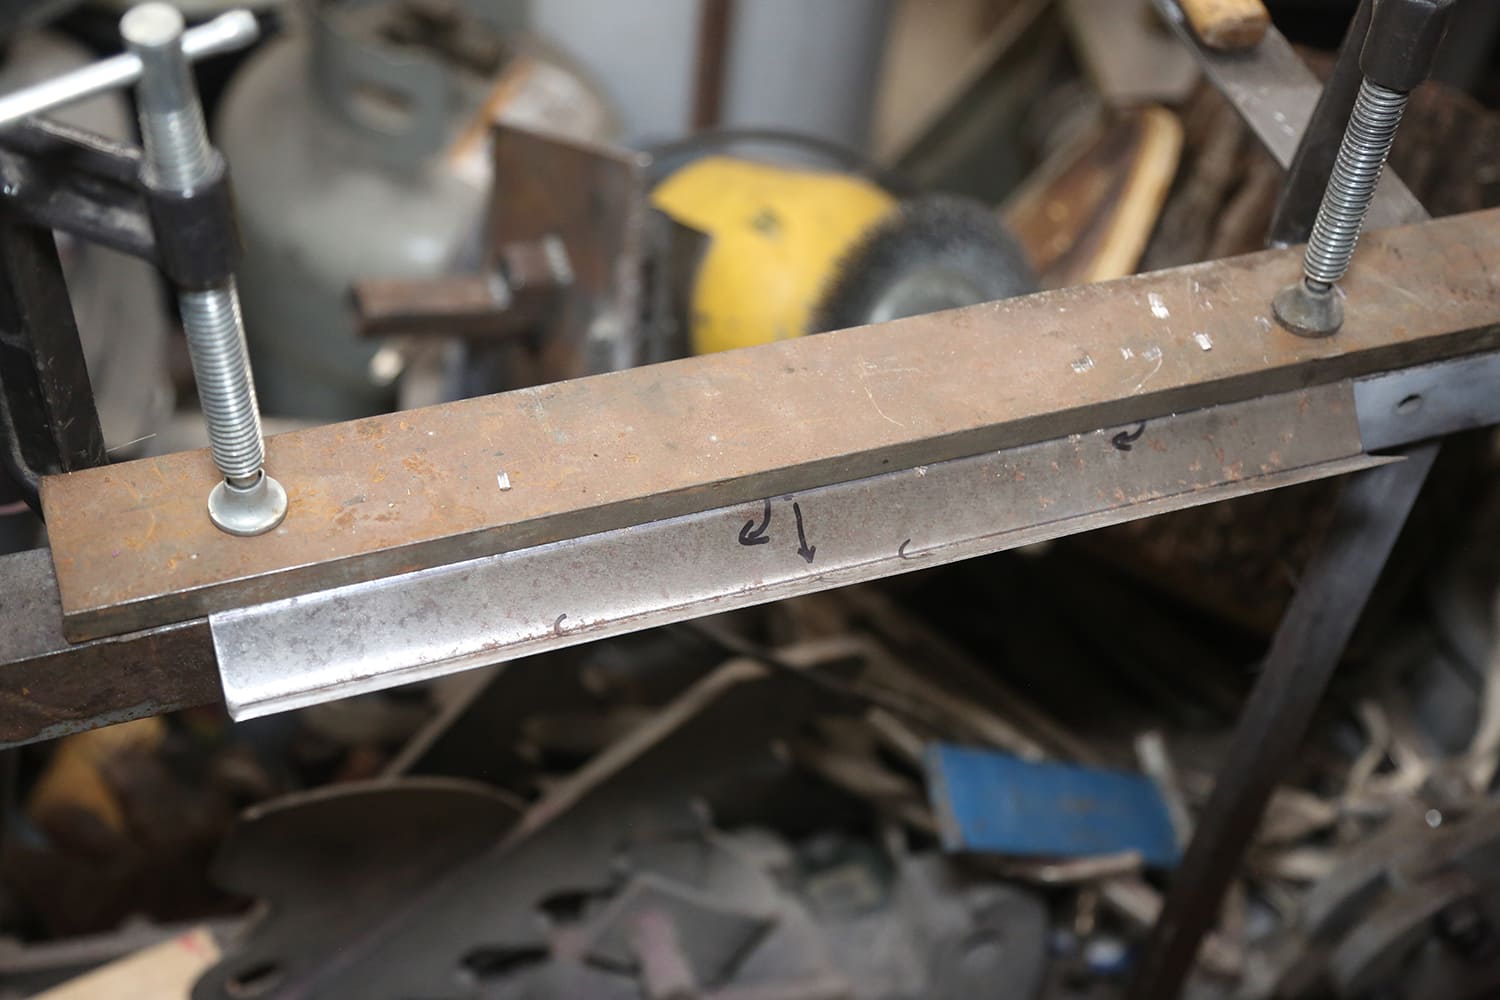
Everything else we used you likely already have. We have a sheet metal brake, but we opted to use a workaround that most garages have: a hard-edged bench, a couple clamps, a strip of 3/8-inch-thick plate, and hand formed the bends. Benchtop brakes are cheaper than bead rollers, but we want to show some alternatives to having the “right” tools. You can use almost any hammer for this job, but the best hammer for refining the ribs is a chasing or chisel hammer with a wide, thin tip. This helps define the edges of the rib so it looks factory. It won’t be quite as crisp as a press-formed sheet, but it is also on the floor, under the carpet, so only you know what it looks like.
Tools/Supplies Needed:
- 18-gauge sheetmetal
- Cut-off wheel/tin snips
- Grinder and sanding discs
- Bead roller or shaping block (3/8-inch steel plate works well)
- Bench vise
- Welder
- Body hammers (chasing or chisel preferred)
- Marker
- Measuring tape/ruler
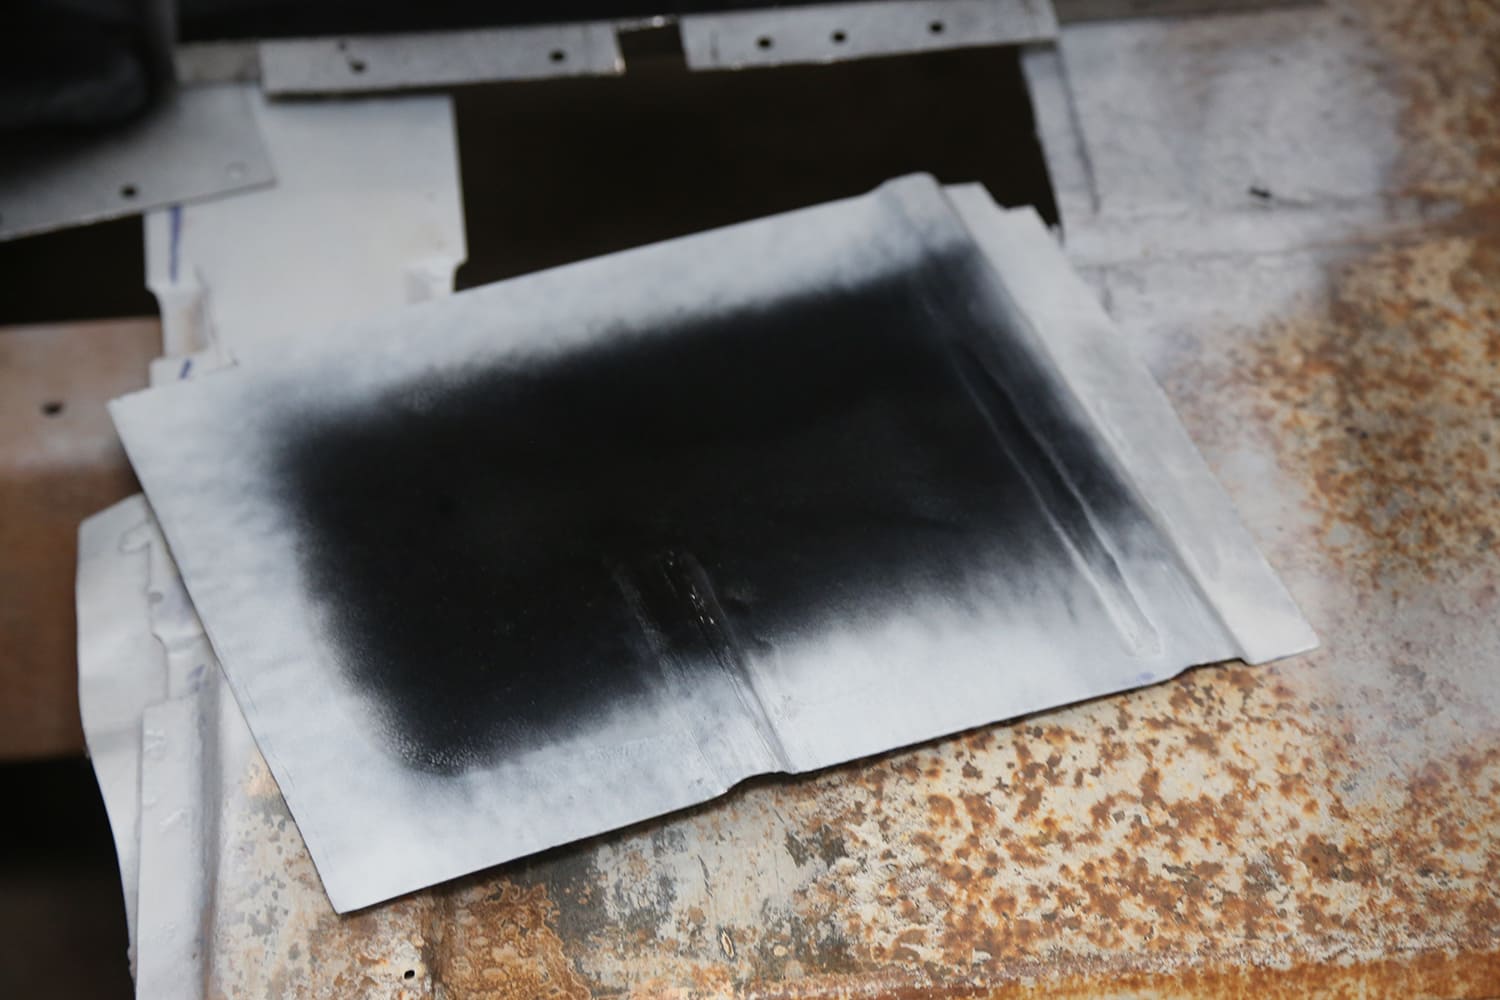
- Weld-through coating
- Primer
- Punch/flange tool (optional)
- Small- to medium-size Locking clamps
Floorpan work is the best place to practice your sheetmetal skills. As long as it holds up, looks don’t matter, by the time you are done with your first floorpan, you will have a solid skill base to build on as your project progresses. We always recommend repairing the floors first when starting a new project, as it gives you an opportunity to freshen up your welding and fab skills before getting into the actual exterior sheetmetal. Fixing burn-through on a floor is lower stress than on a quarter-panel.
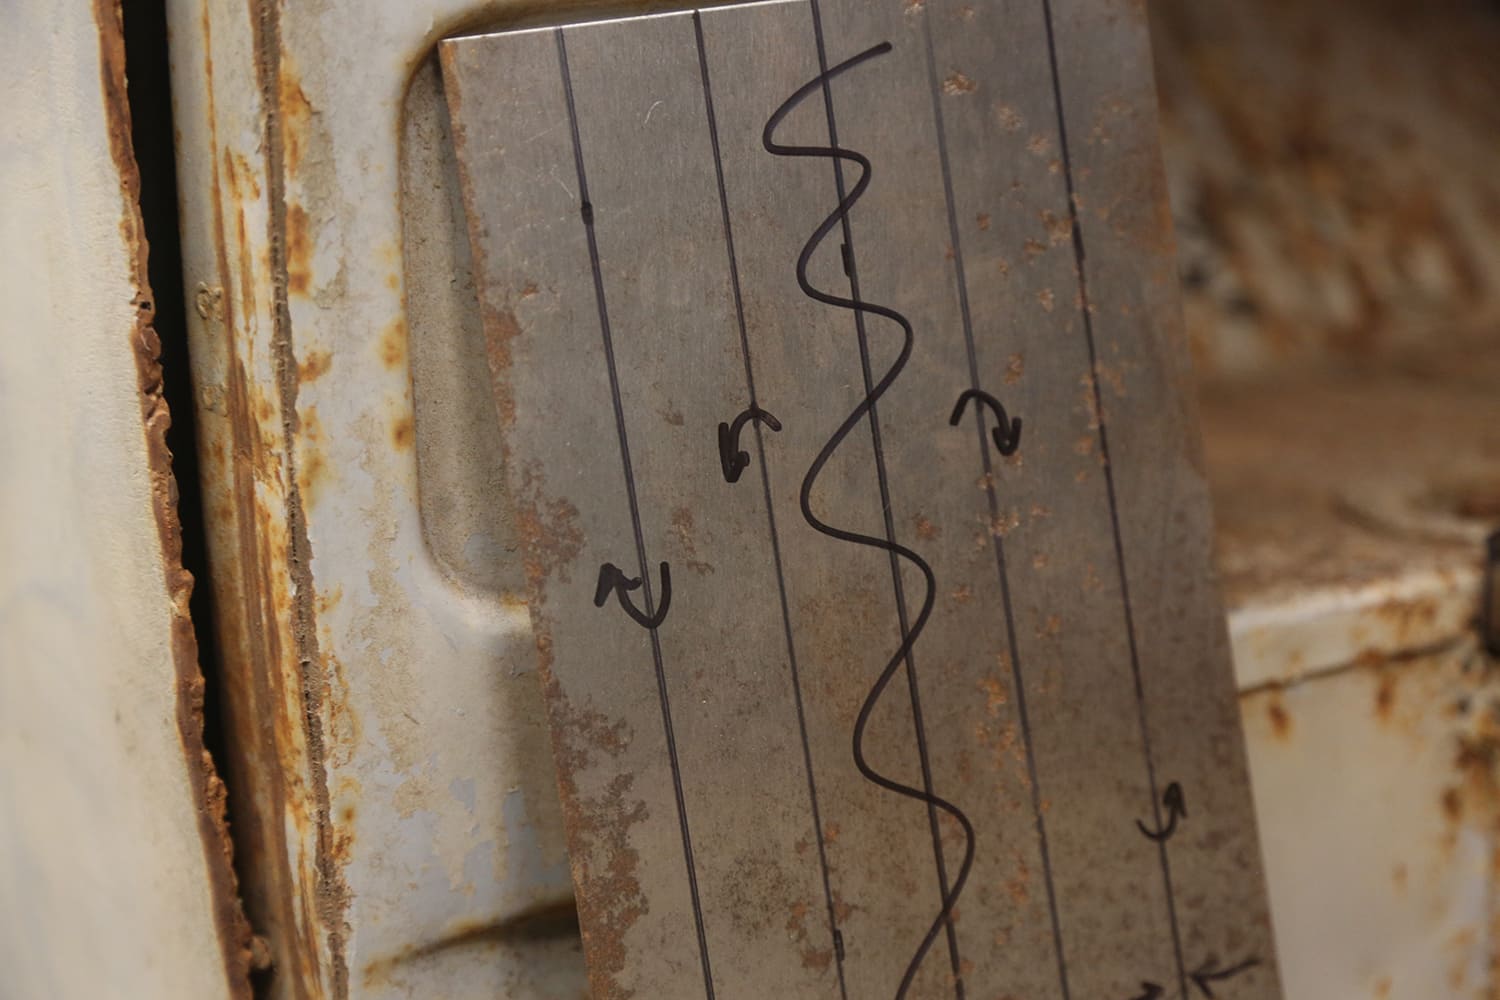
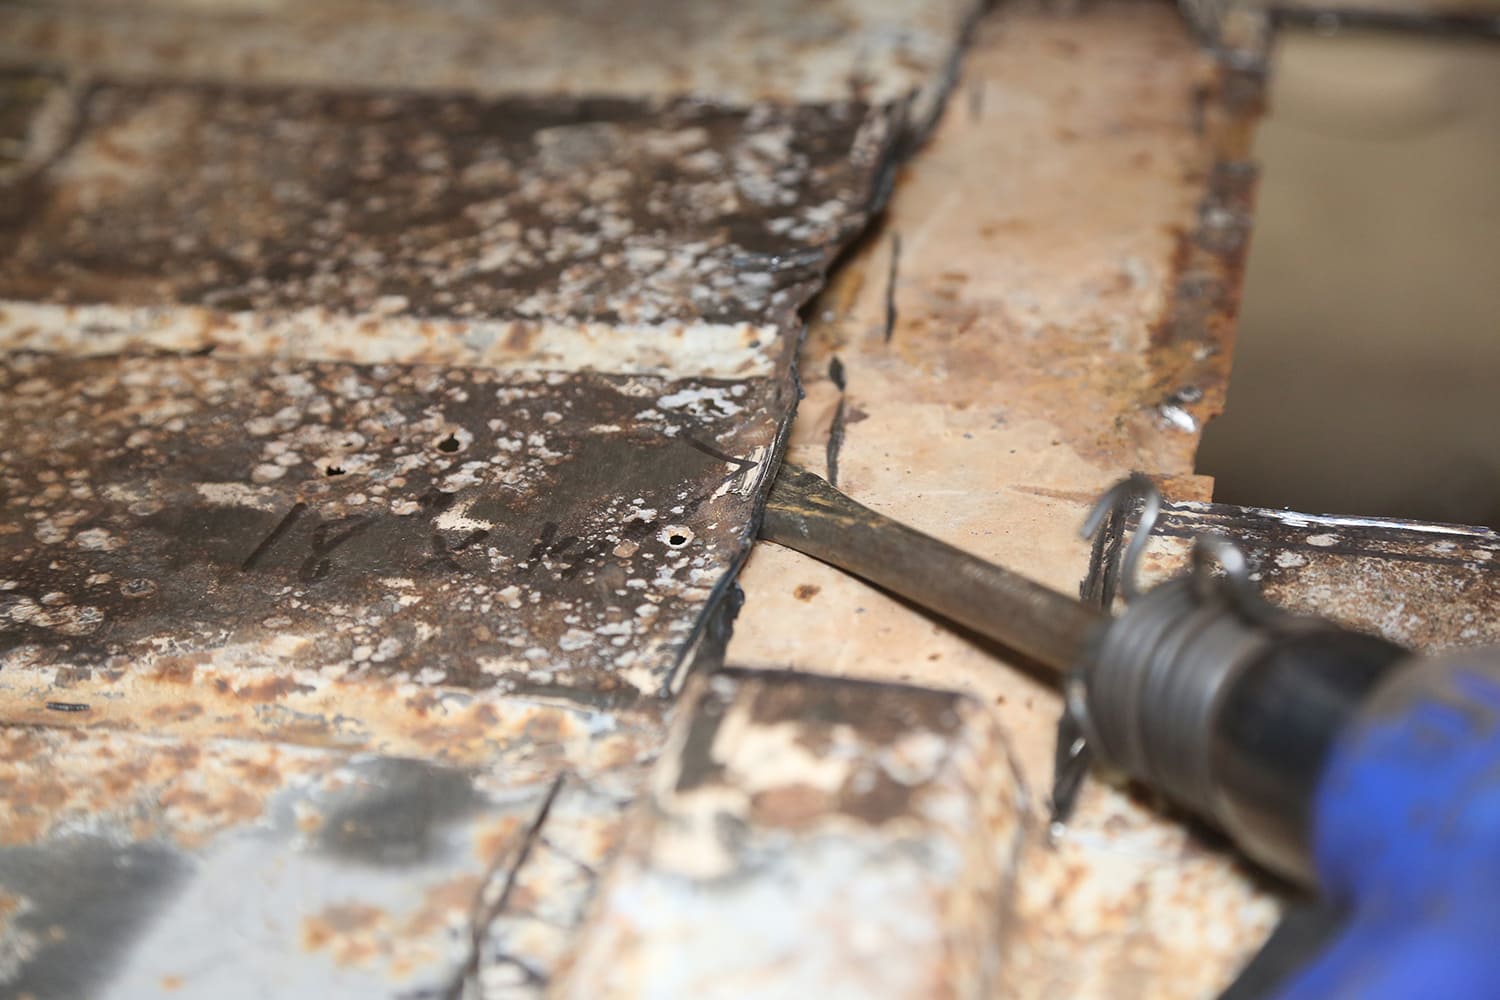
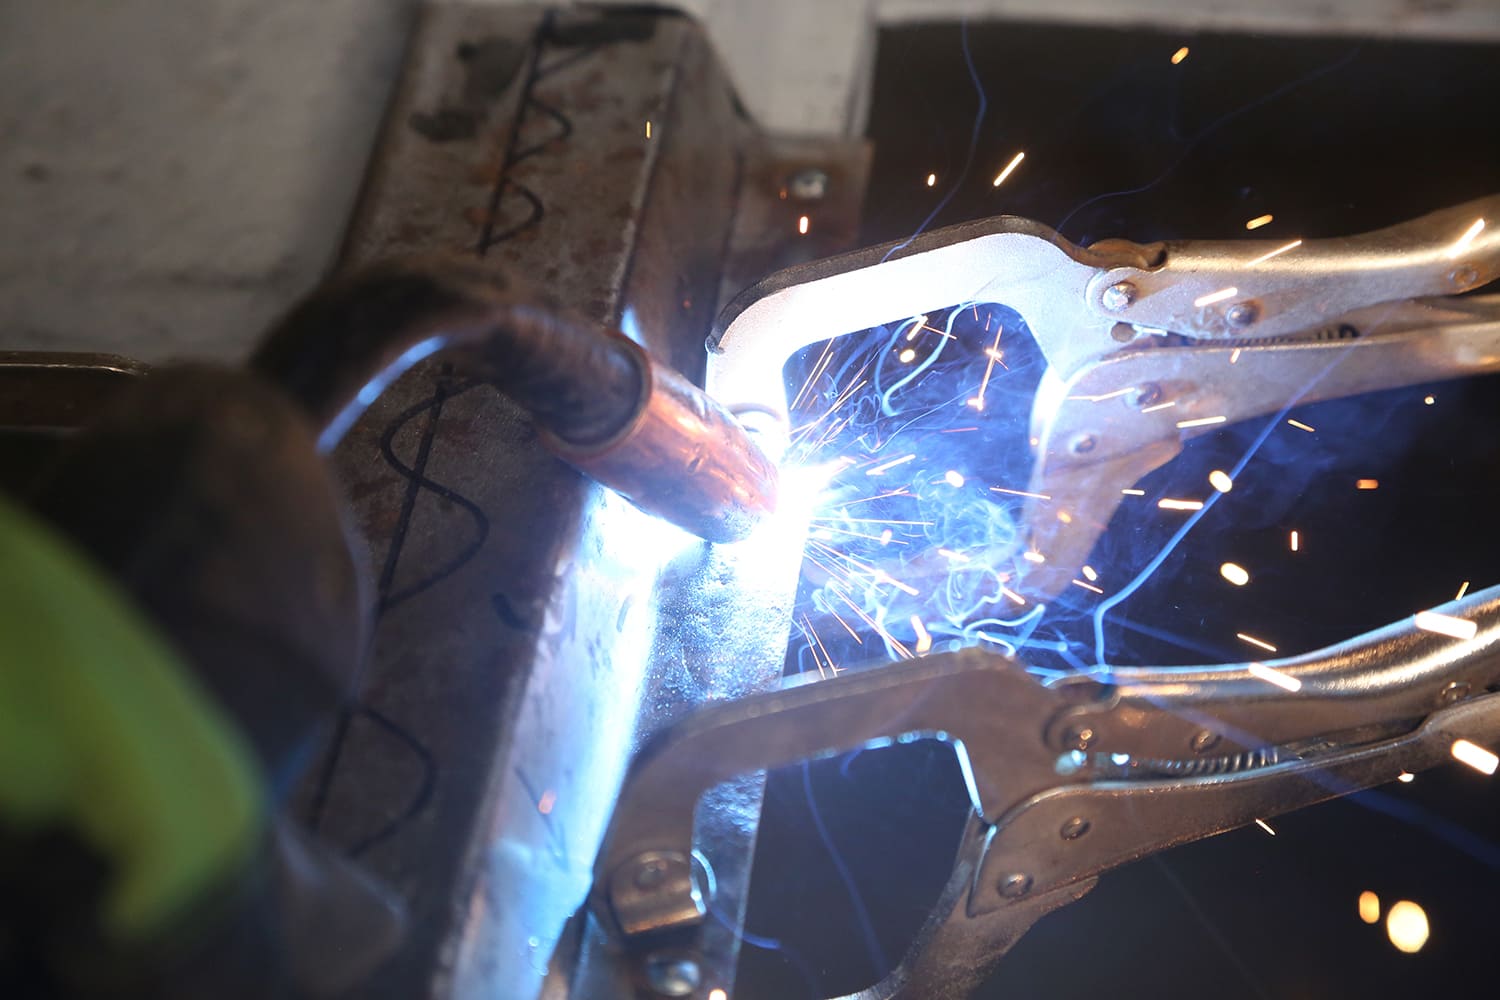
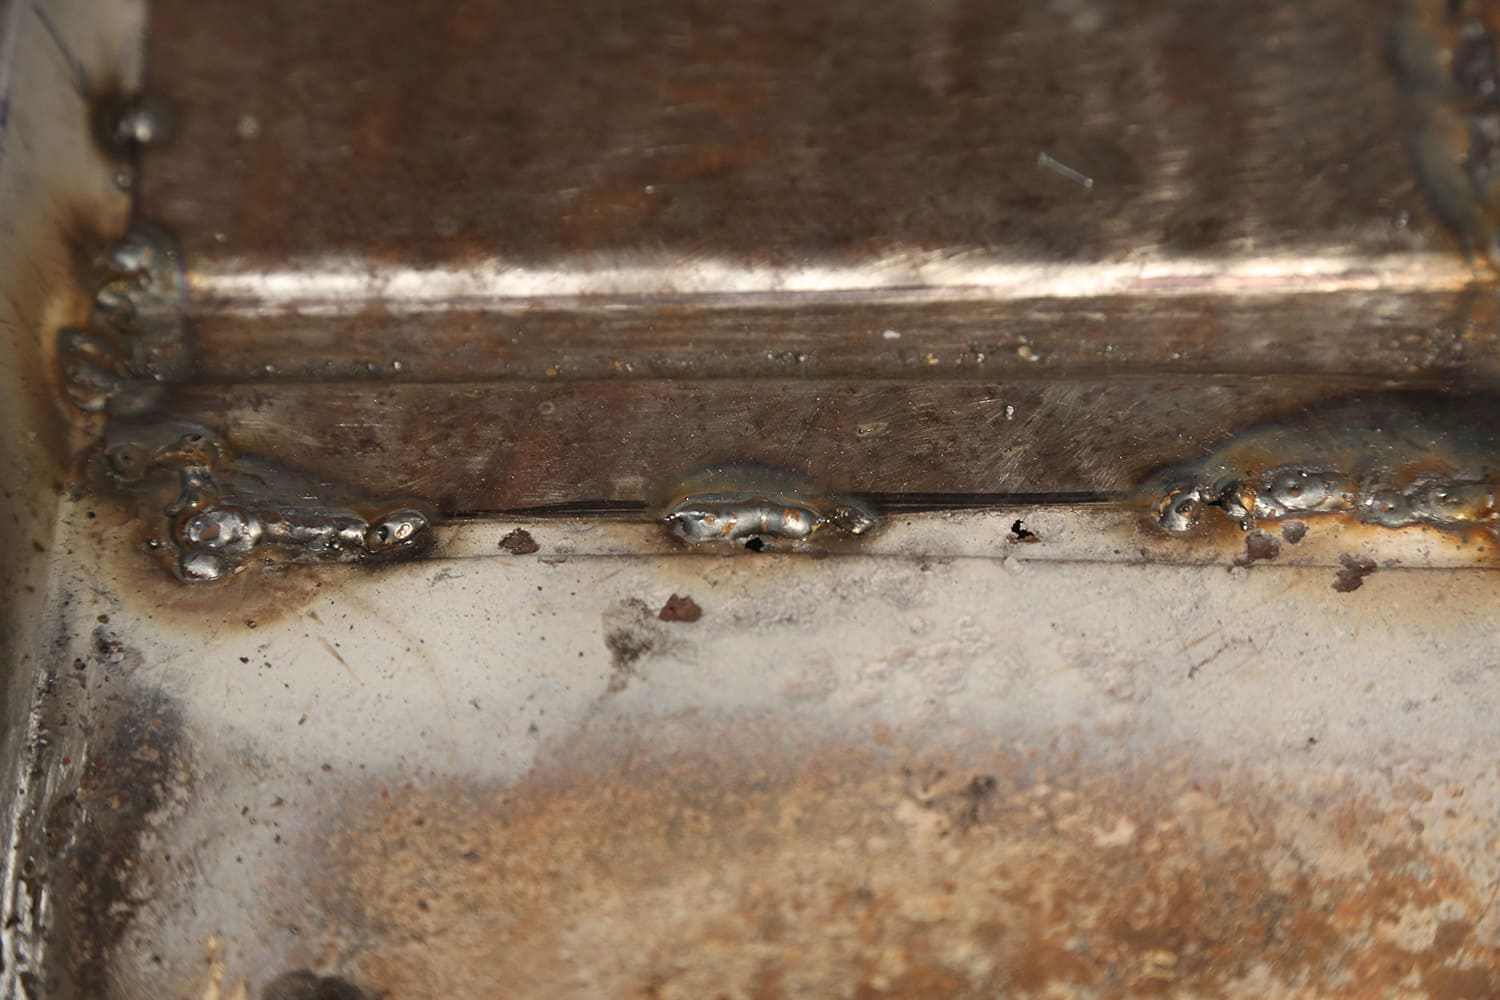
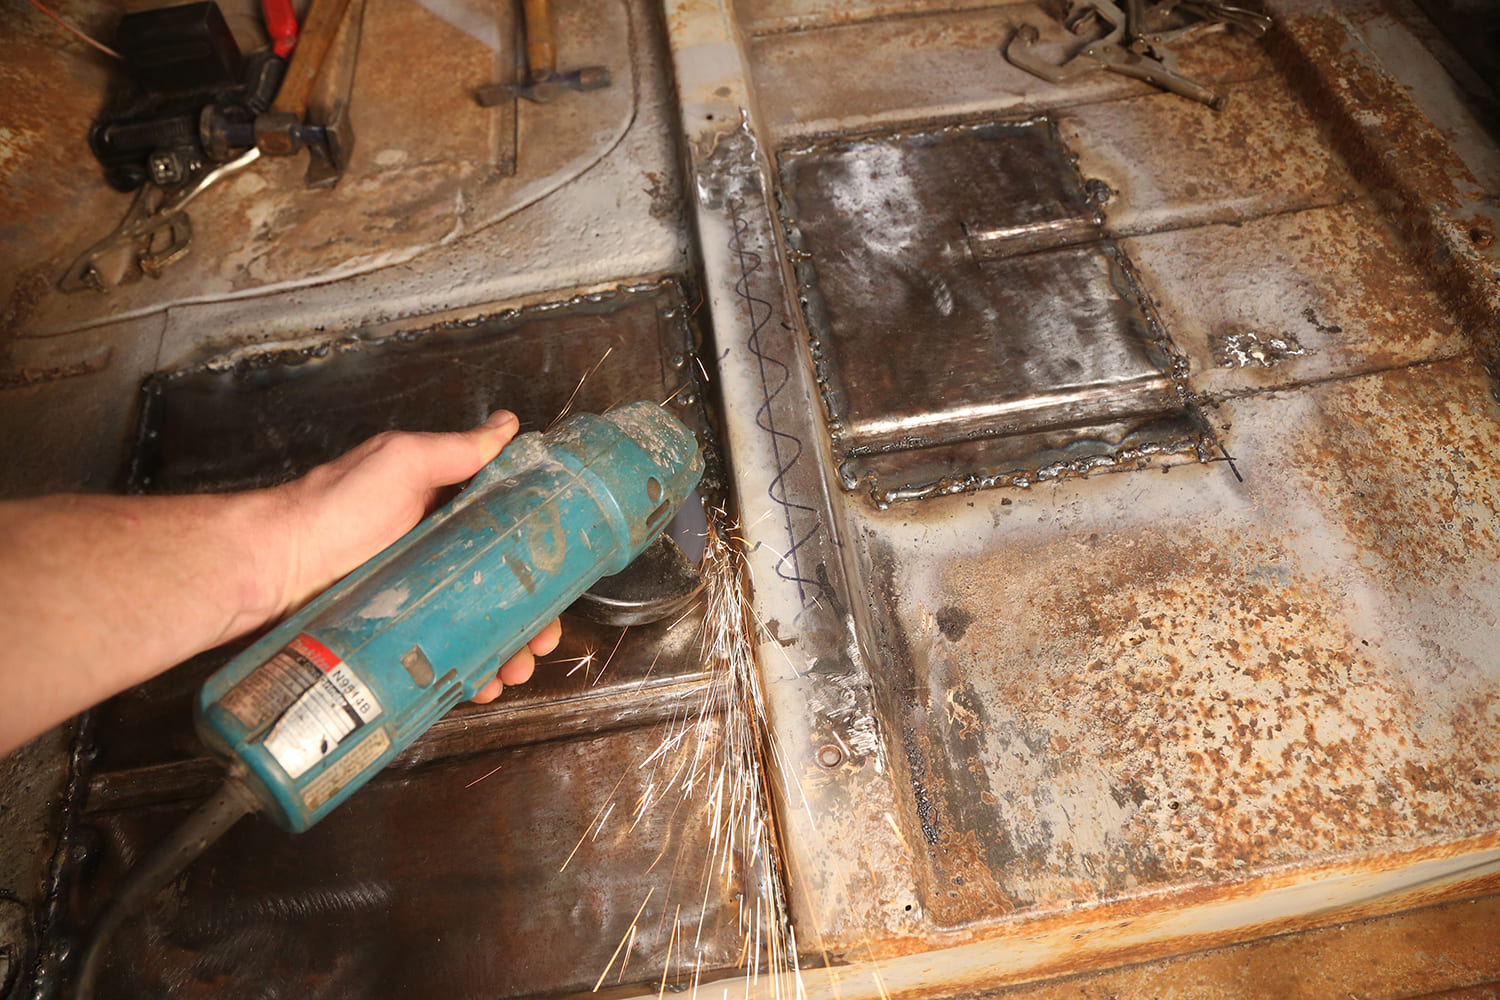
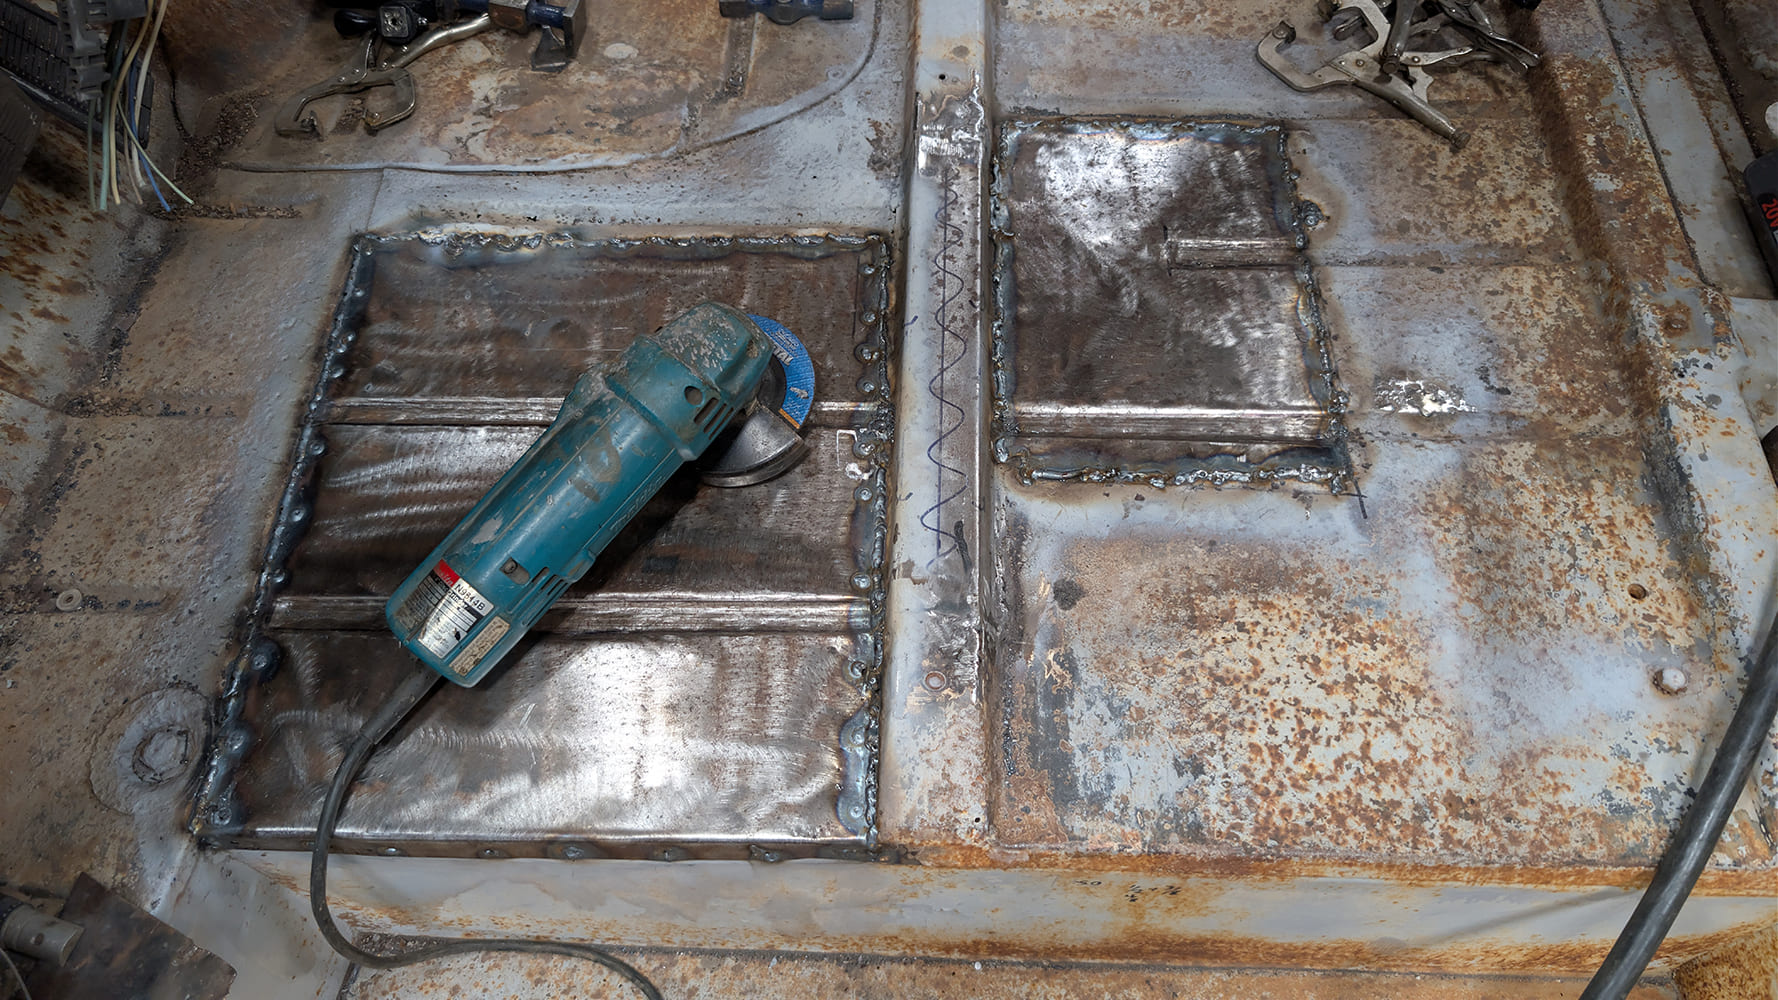
We used a sheet of 18-gauge sheet steel to create our panels. We made three separate panels, the front floor, rear section, and the centerbrace. All required ribs or bends, but nothing crazy, just basic straight ribs and bends. We fabricated the patch panels, cut out the floor, and prepped the metal for welding in about 4 hours, then spent about 3 hours doing the final fitment and welding. If you have never done it before, plan on about 2 days of work for a job this big, but you may be done faster.
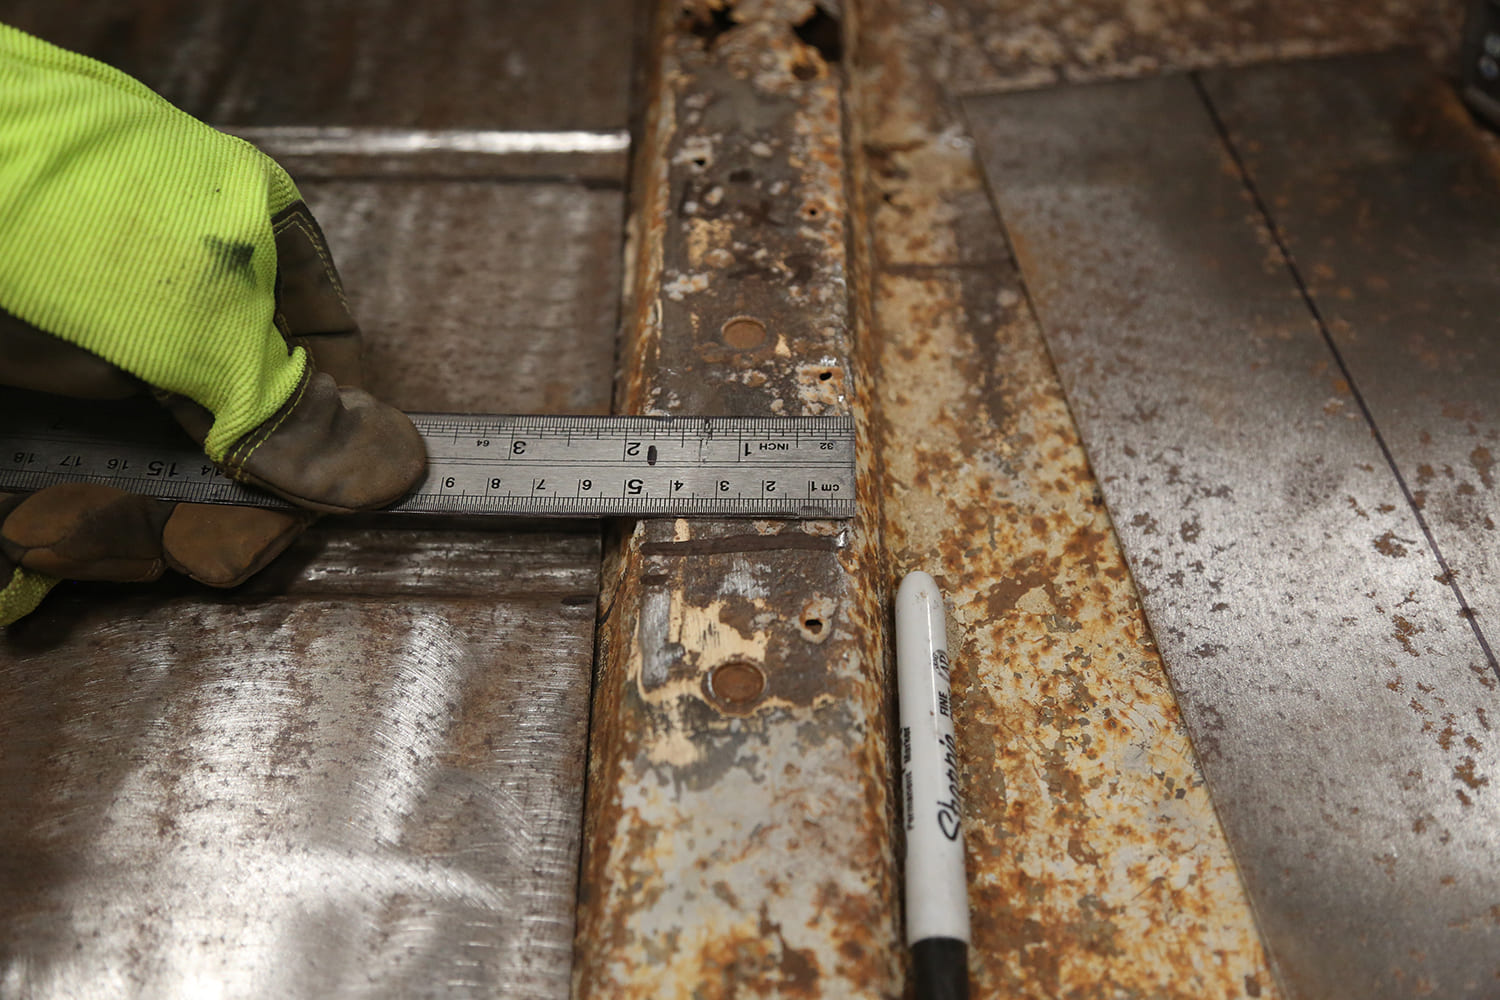
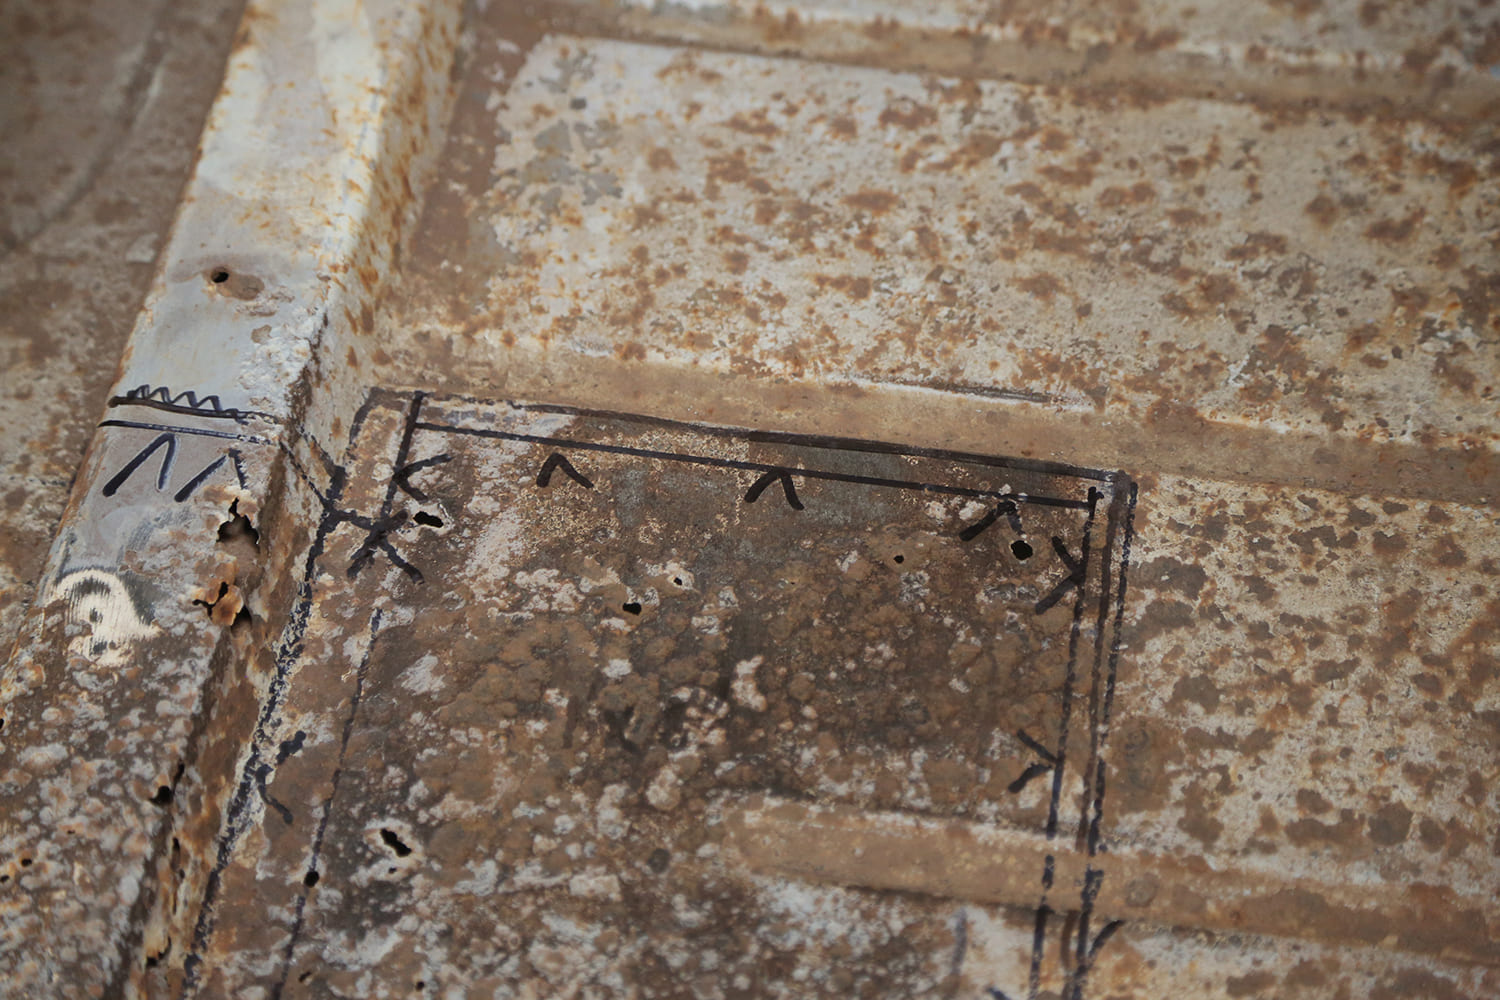
The keys to a good fabrication job are careful measurements and notes. We make notes on the lines for bends indicating the direction of the bend (up or down), which saves you a lot of remakes. Check the fit repeatedly until you are satisfied with the results, then mark the placement of the panel on the floor. It is incredibly easy to make a panel fit and then install it 1/8-inch out, and it screws up the alignment by an inch in another place, so be careful, pay attention, and don’t start welding until you are ready.
Buy or Build?
You could certainly buy the full floor and cut it up or install it whole, but that is definitely going to take longer than a day. We spent $10 on the sheetmetal, everything else we already had. To get both of these areas in new metal would have cost about $400 with shipping ($199 panel, $189 shipping). Is this method perfect? No, it isn’t, but you get to practice metal forming and that $390 is still in your wallet, which you can spend on new AMD exterior sheetmetal. Regardless of whether you buy or build your floor patch, the process is the same. Now let’s go ruin some perfectly flat sheet metal.
Check out this story in our digital edition here.