AMD’s Project #Backpay: Saving the Doors From the Crusher!
By Jason Chandler – Images by the Author
Welcome back to our recurring tech article series in Classic Truck Performance! We’re excited to dive into the ongoing transformation of Project #Backpay, our 1966 Chevy C10 truck that’s been undergoing some serious restoration work. If you’ve been following along, you already know that with a detailed, step-by-step approach these repairs are entirely doable at home. Last time, we walked you through the AMD big back window conversion. This time, we’re shifting our focus to door repair.
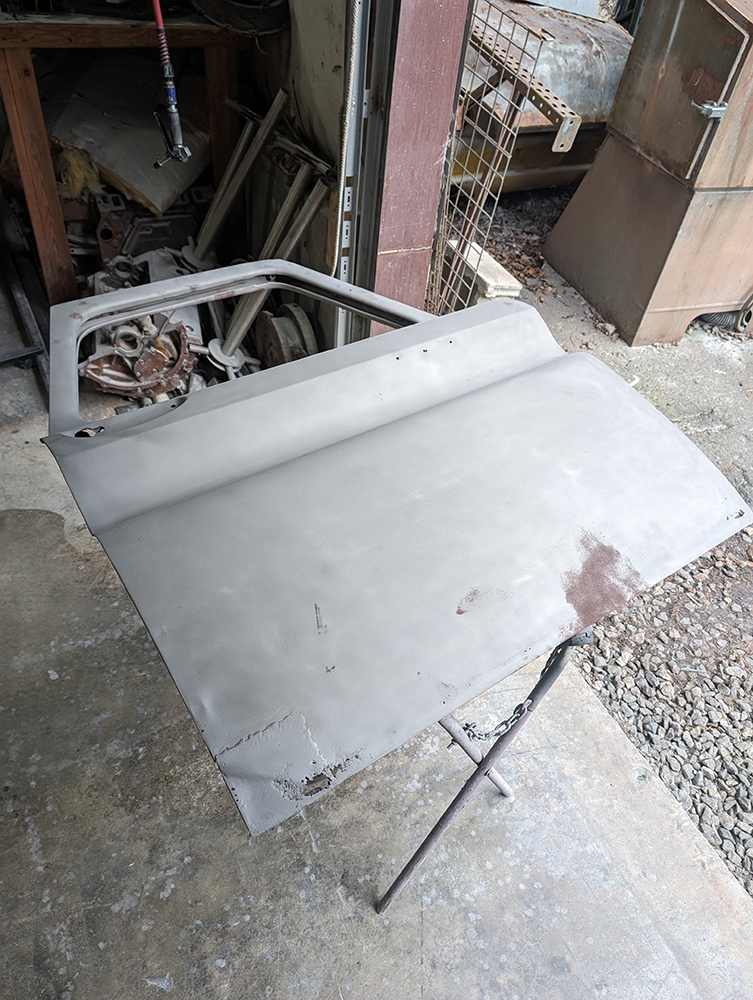
Overall reusable doors, we decided to utilize AMD’s full doorskins for this repair to cover the damage.
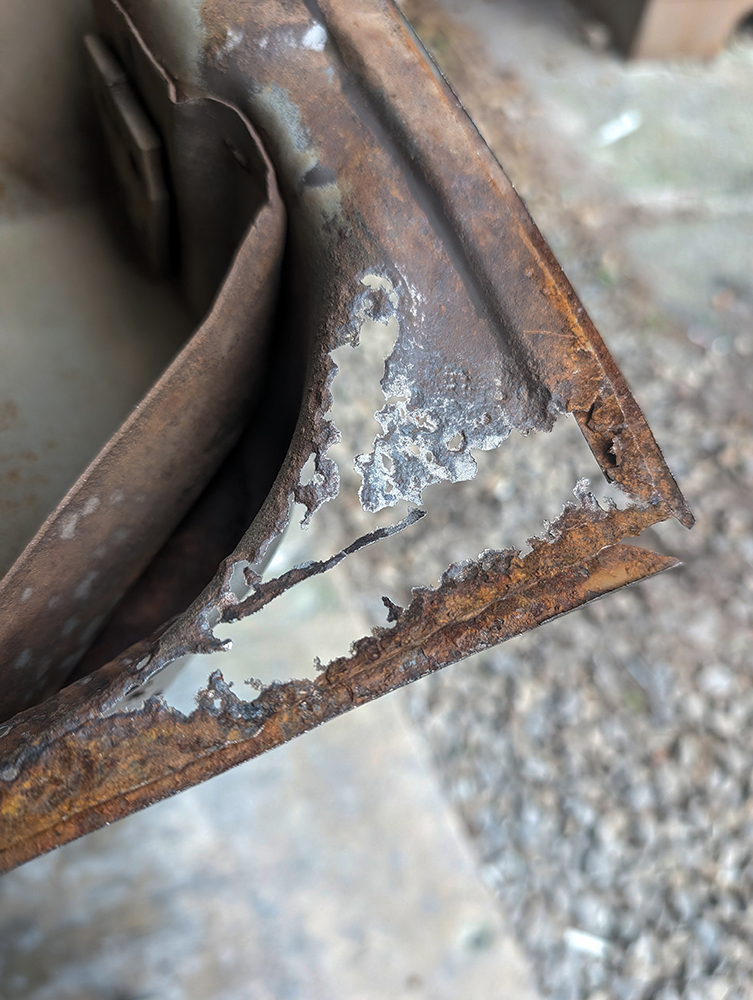
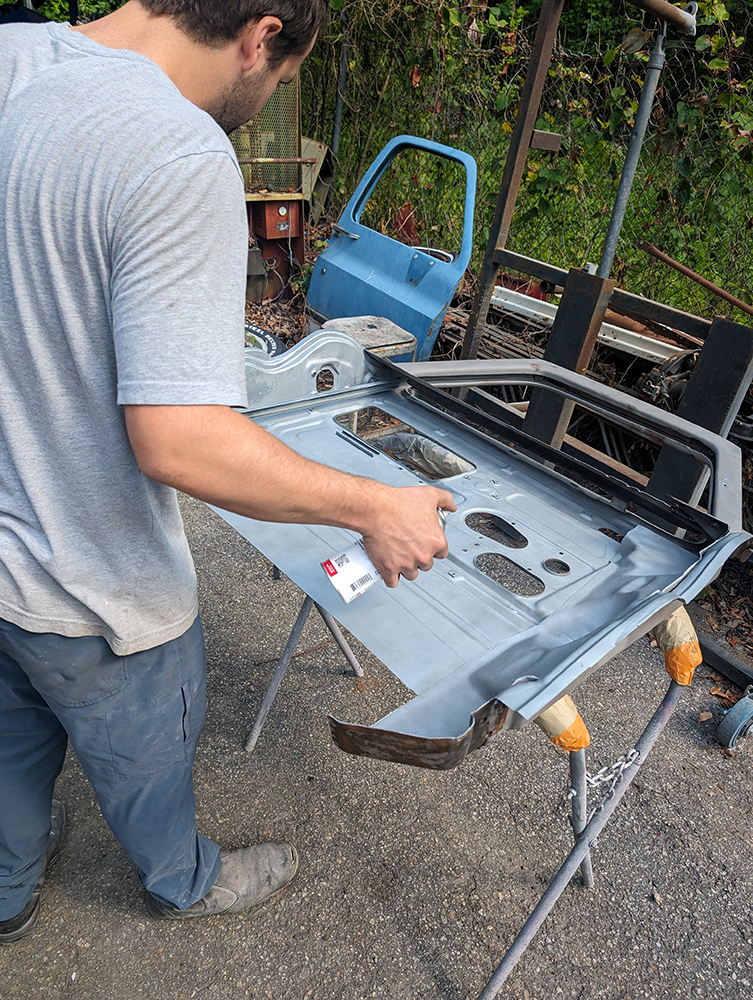
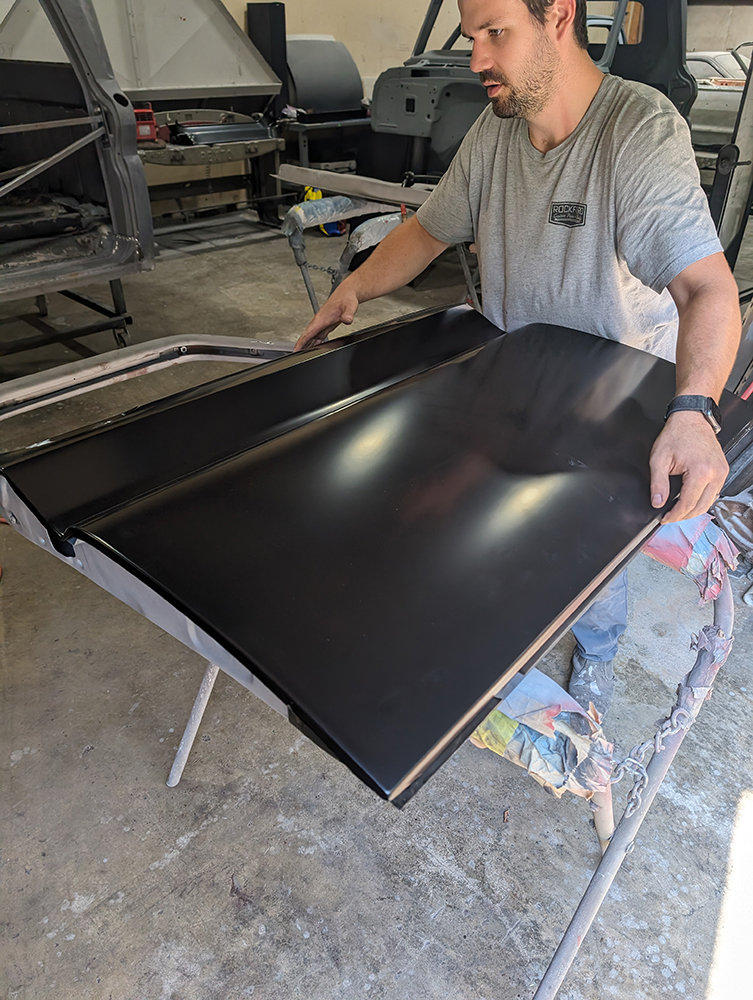
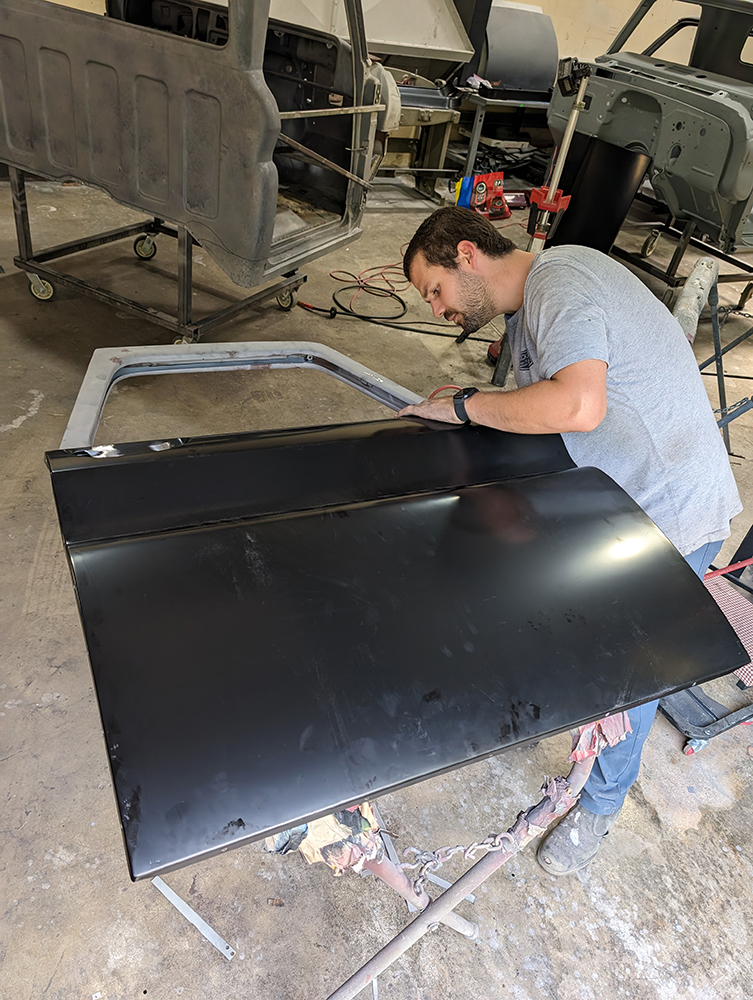
Though the cab looked solid at first glance, a closer inspection revealed that it needed significant attention. We took the truck to Rockford Custom Paint & Body in Athens, Georgia, where Rockford Smith handled the installation. While the doors are generally in good shape, the lower sections have taken a hit from water damage, thanks to worn-out seals and neglected drain holes. These trucks, primarily used for work, often had maintenance as a secondary priority. Fortunately, AMD has all the parts you need to restore these doors to their former glory, with a bit of effort and expertise.
With the cab off the chassis and fully media blasted, it’s time for Rockford to remove the doors and get them prepped for some much-needed love. We’ll be providing updates throughout the repair process, so be sure to stay tuned to future issues and follow us on social media for all the latest progress right here in Classic Truck Performance!
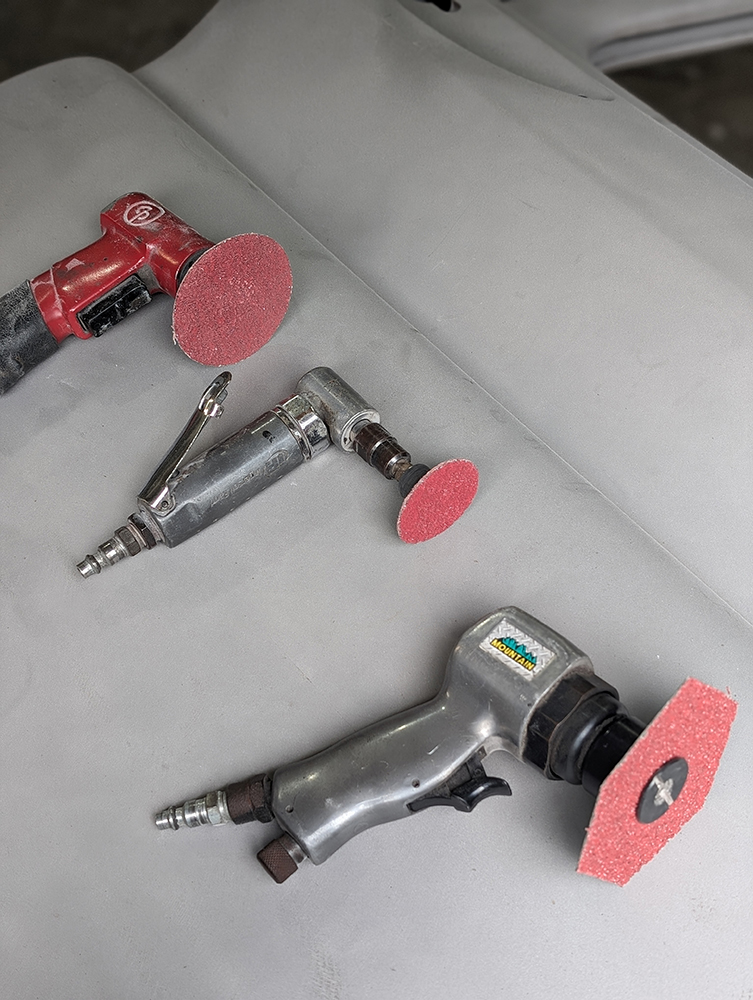
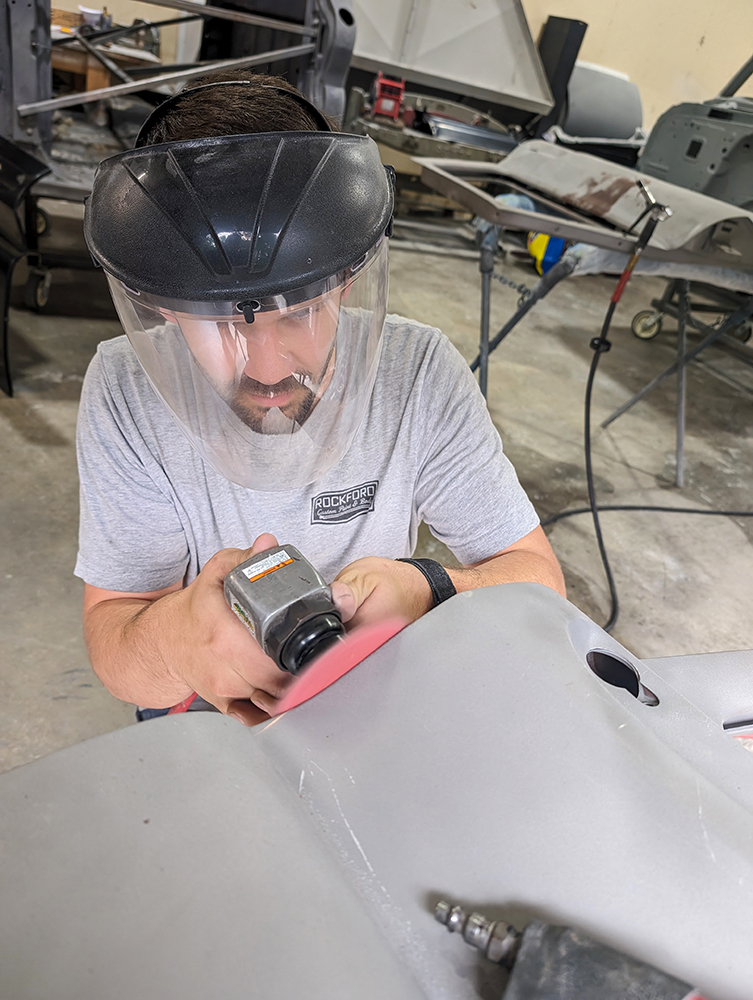
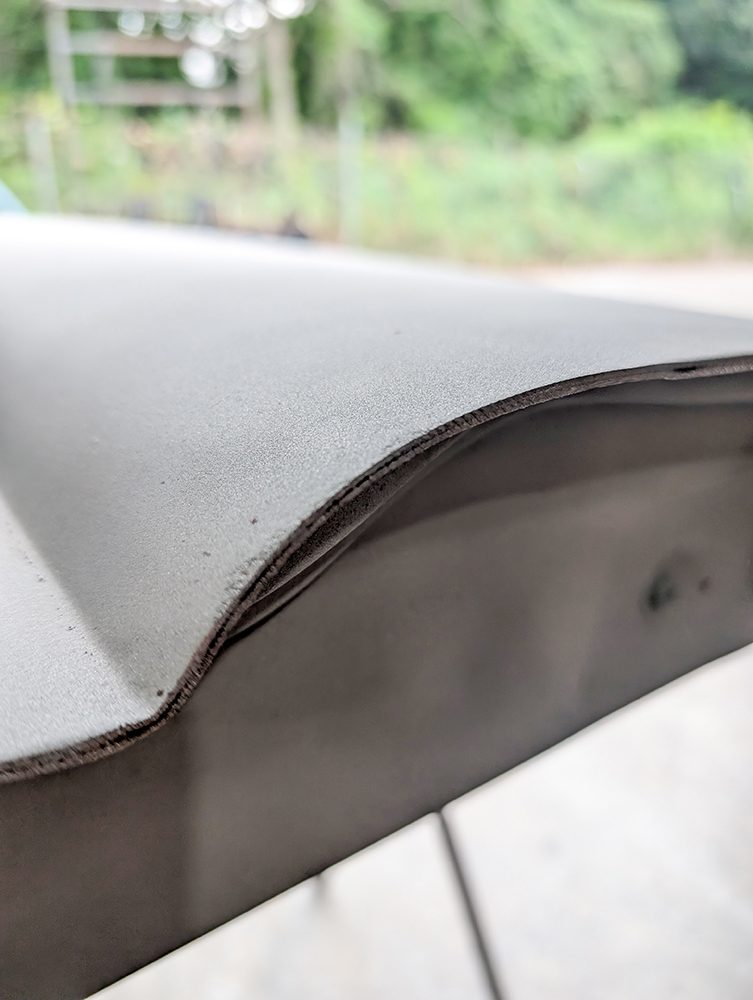
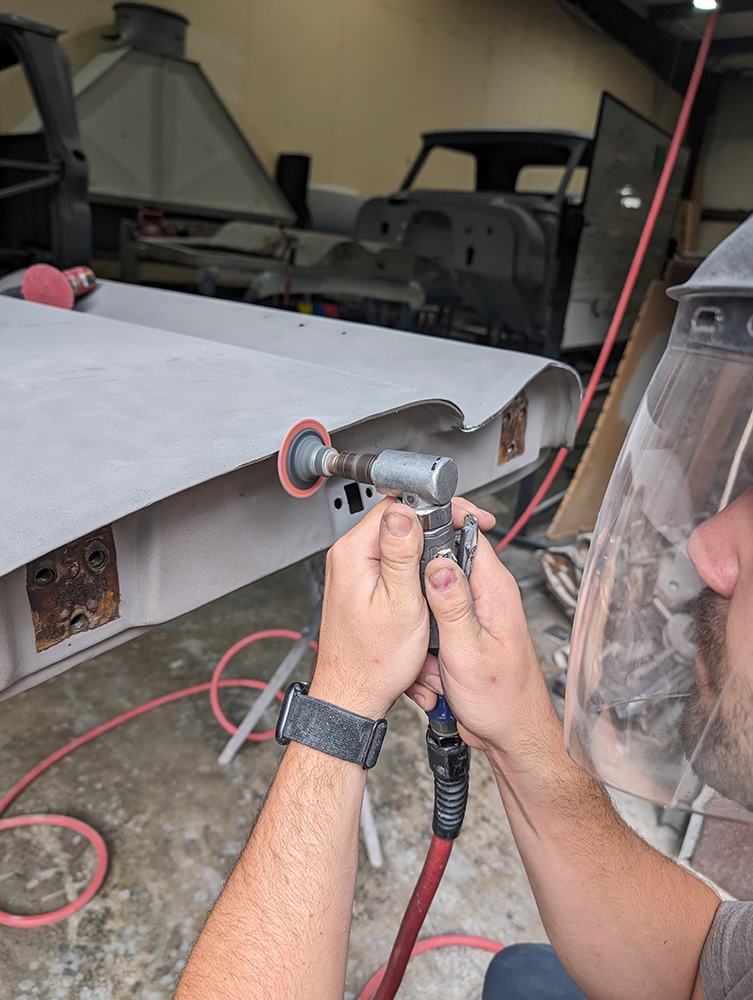
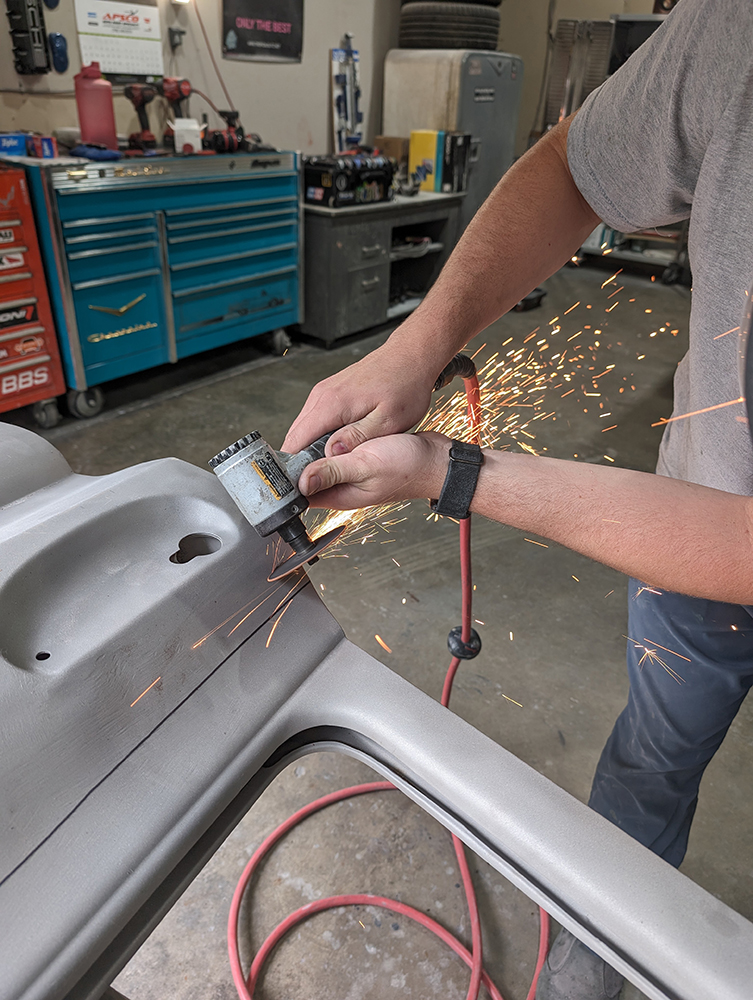
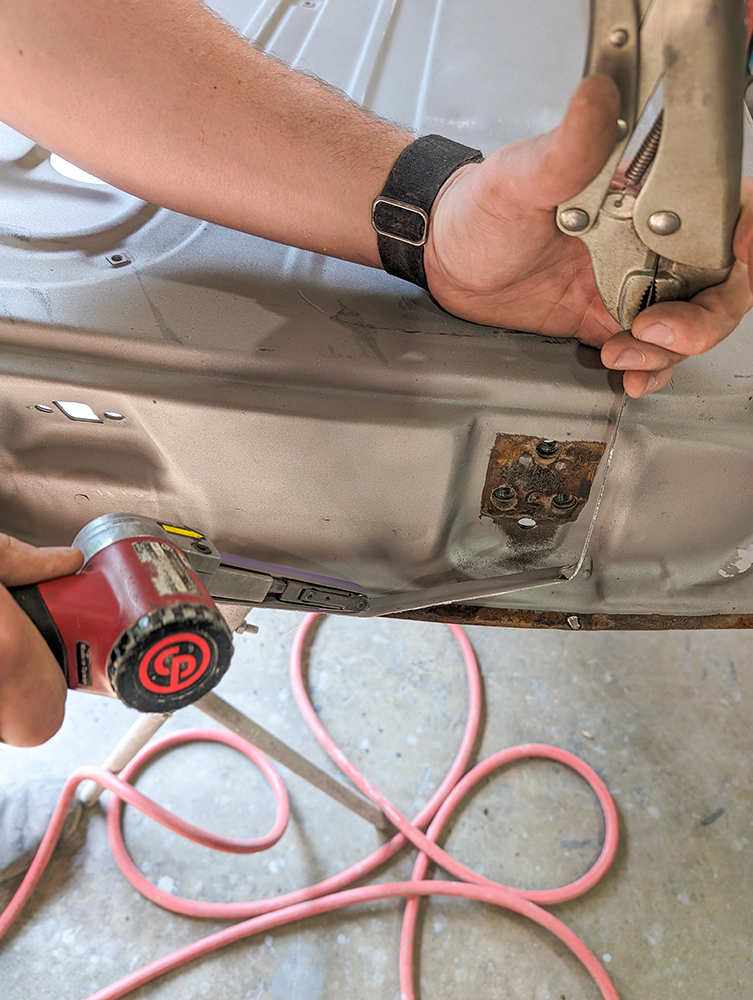
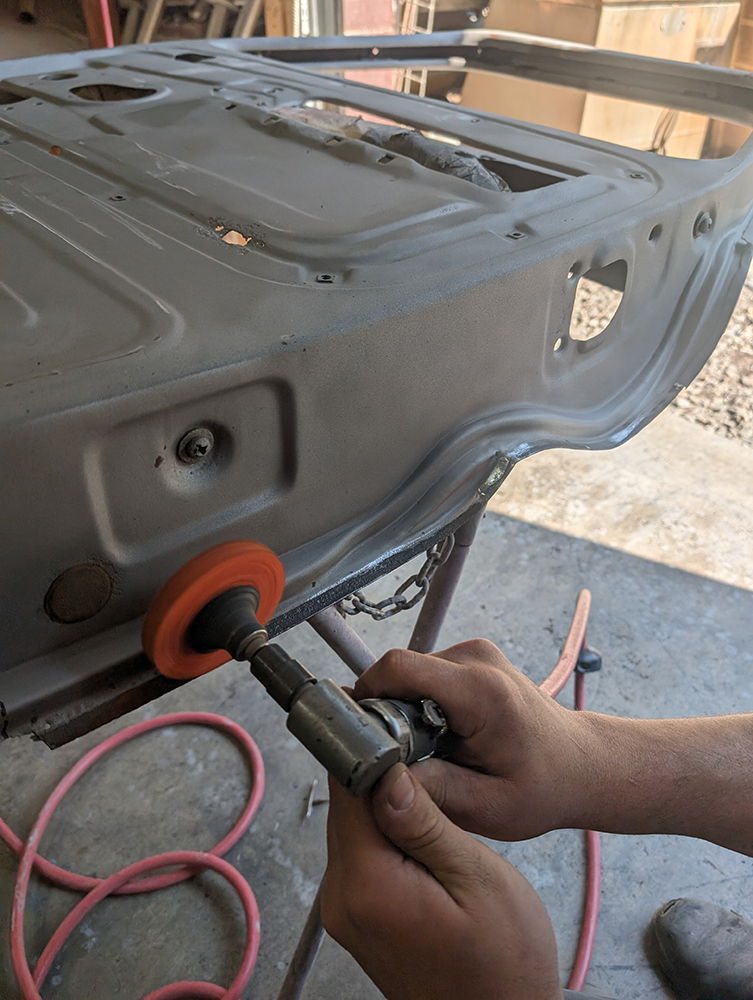
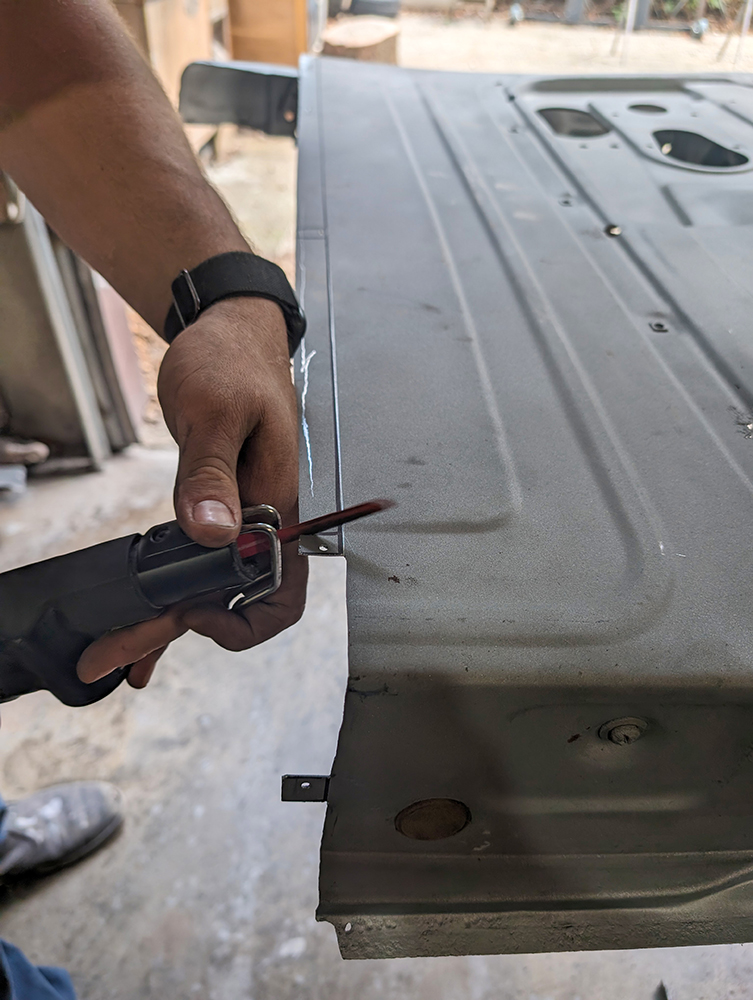
Rockford may be young but is no novice to this repair. He starts by sanding down the edge to release the outer skin from the doorframe; 36-grit is the weapon of choice to start the process.Just enough material is removed to separate the front from the back. This process is continued around the outside perimeter of the door bottom.Having options in tool size, angle, and speed variations is ideal to control your work.
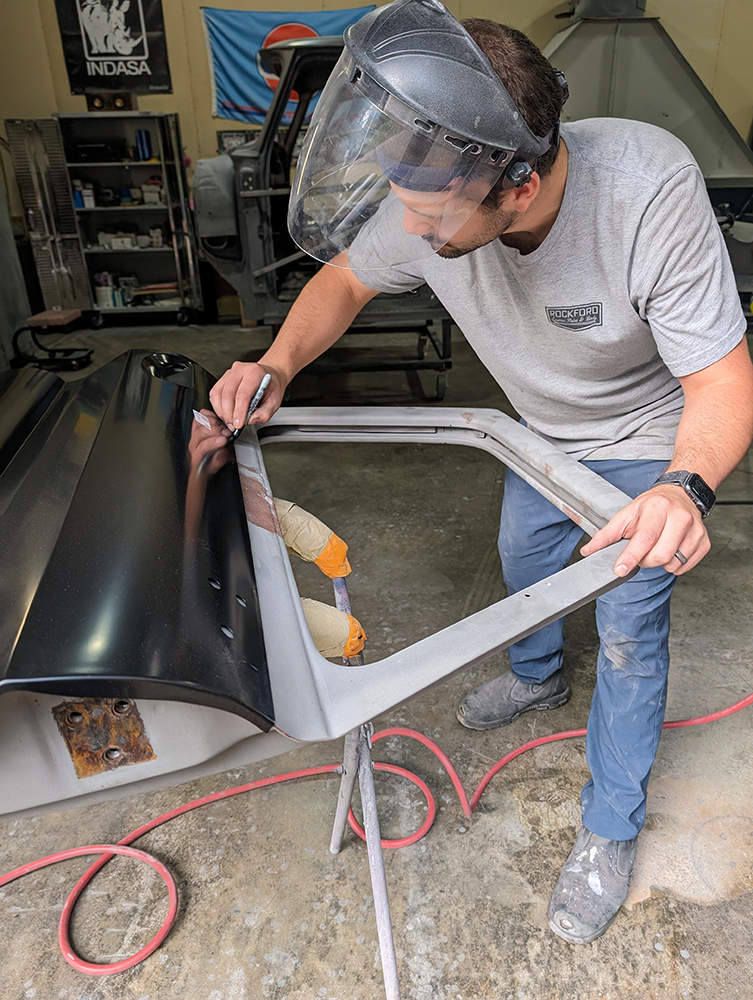
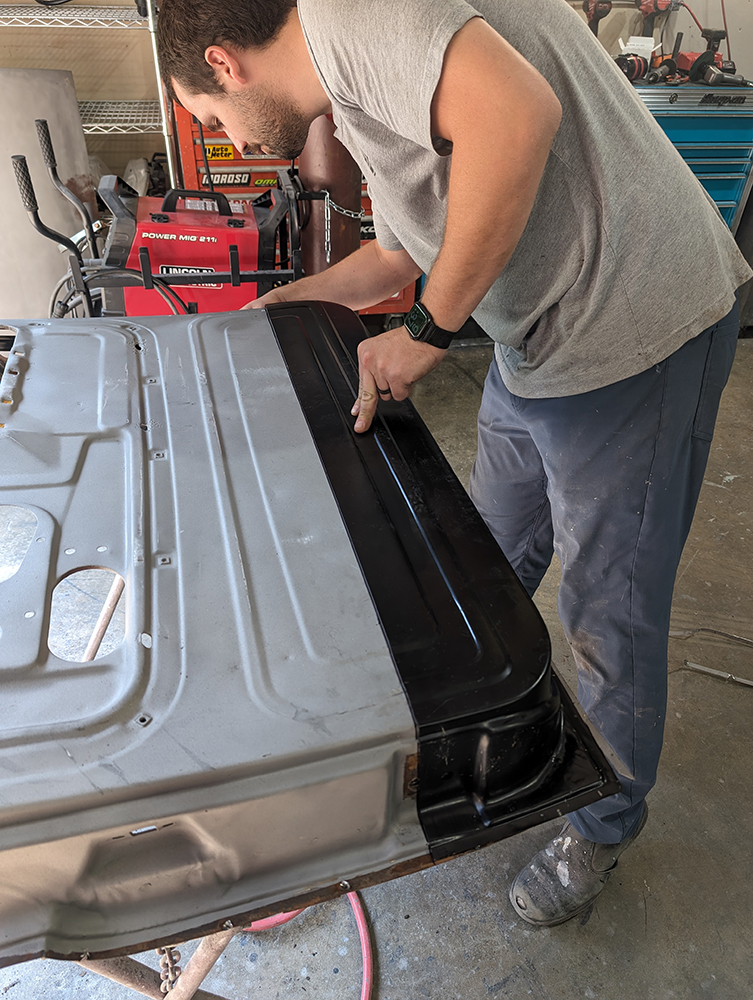
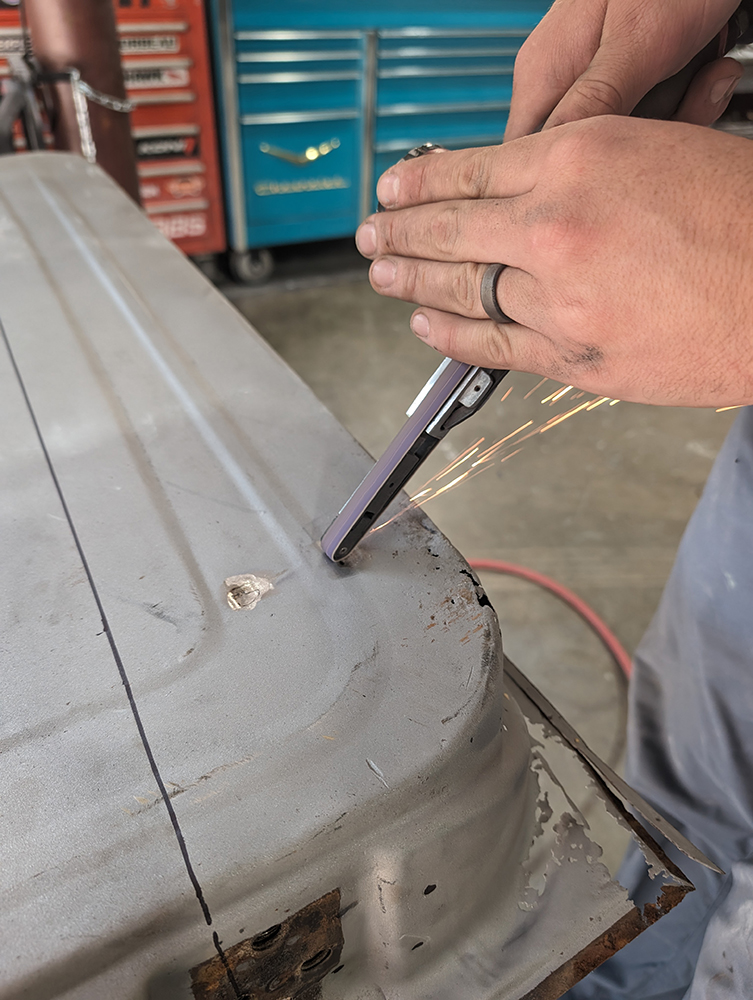
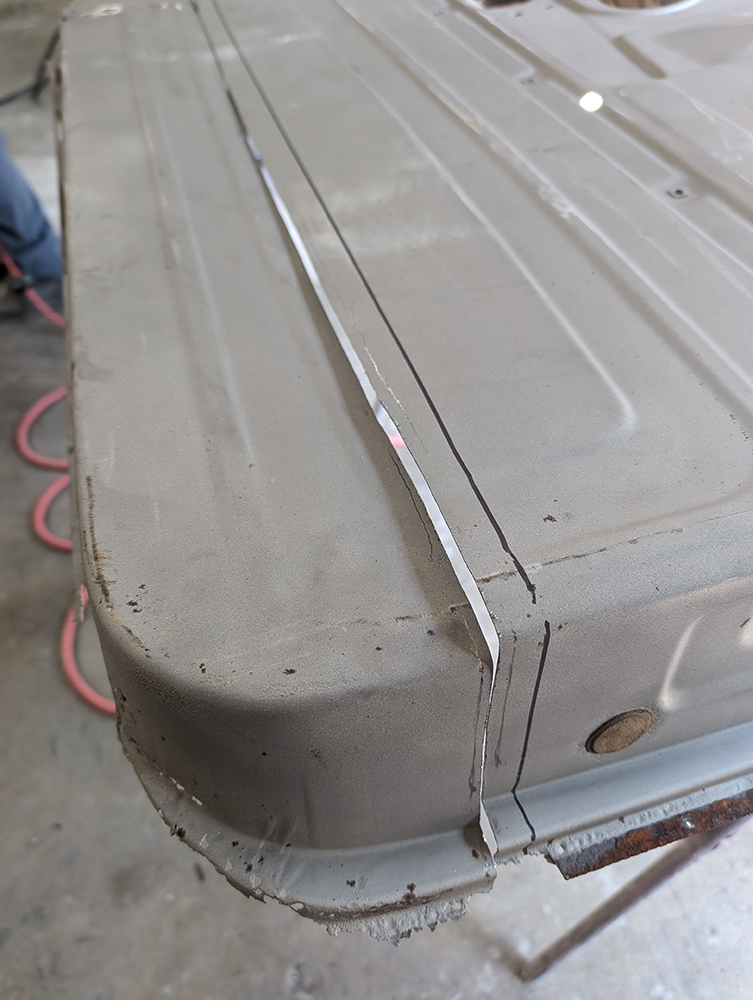
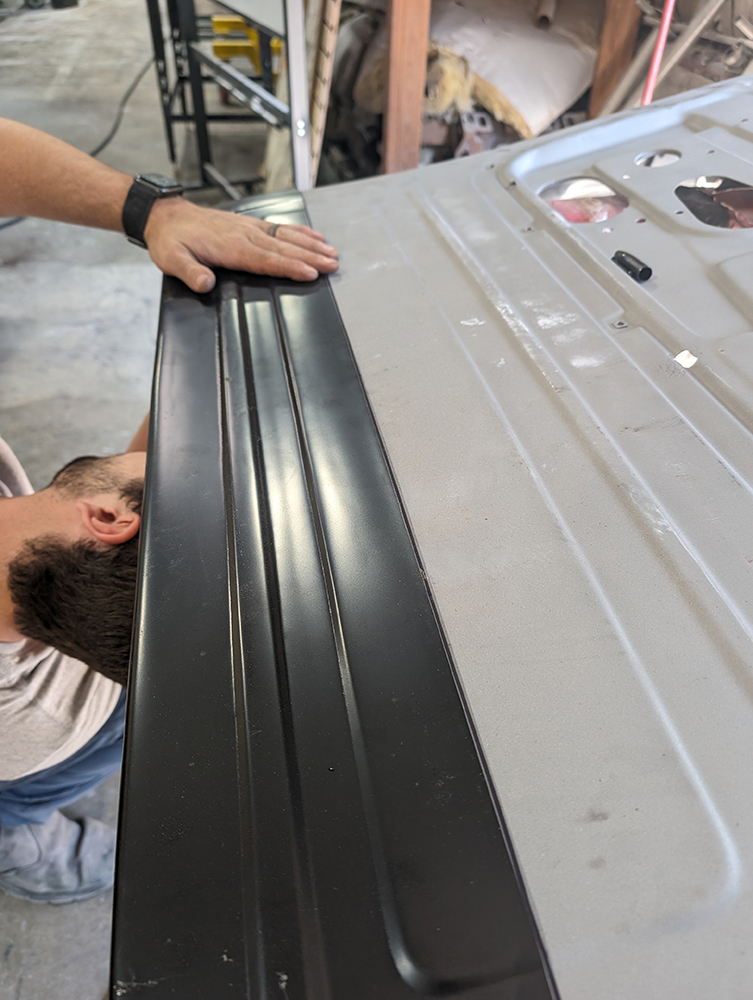
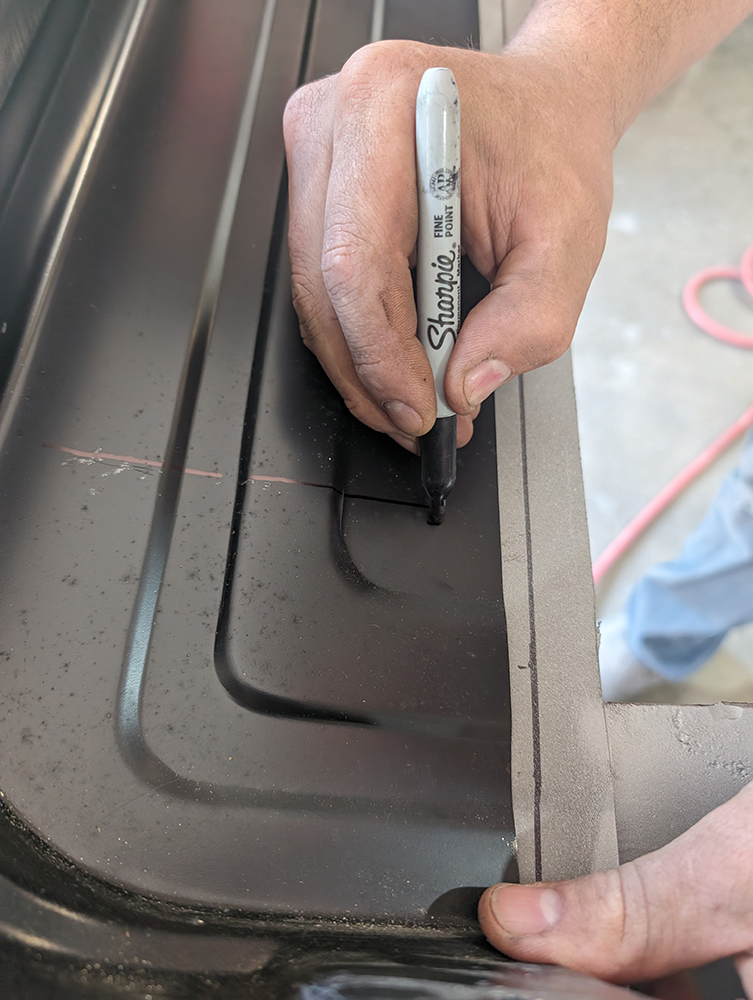
Before completely removing the old skin, Rockford test-fits the new AMD metal. Marking at the outer edge gives you a final landing point of the entire repair panel. Your repair may not need the entire piece when repairing your doors.Using a 3-inch cut-off wheel (pneumatic or electric) for the initial cut is a good choice. Rockford makes an access cut on either side of the door roughly an inch below his mark.With access now granted, a body saw will make cutting this across quick and smooth.
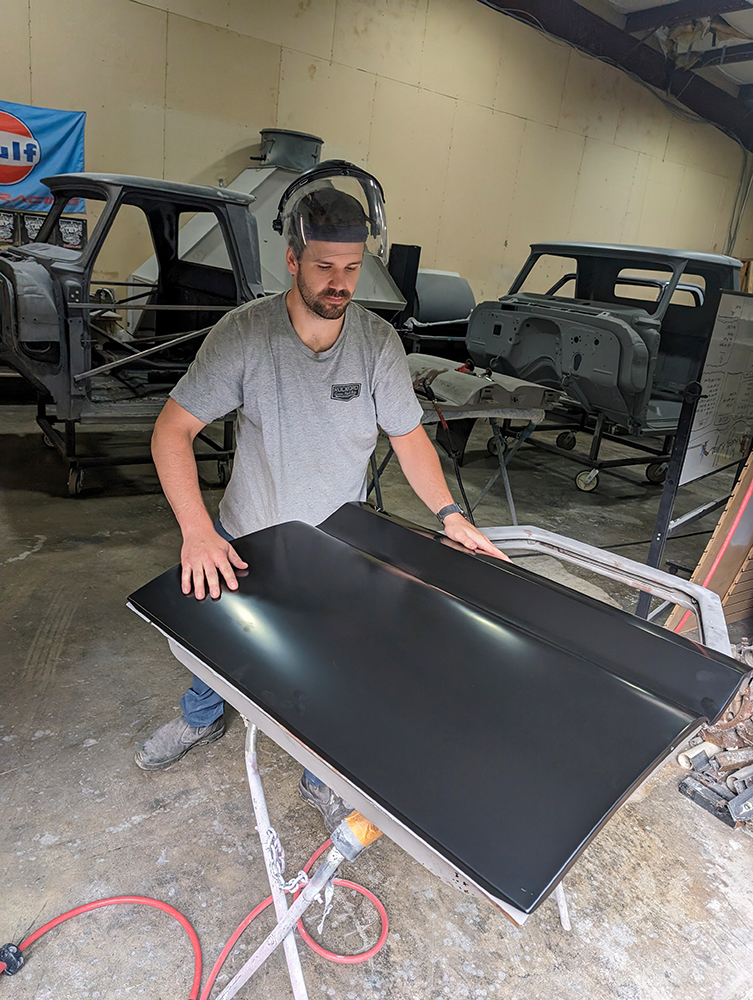
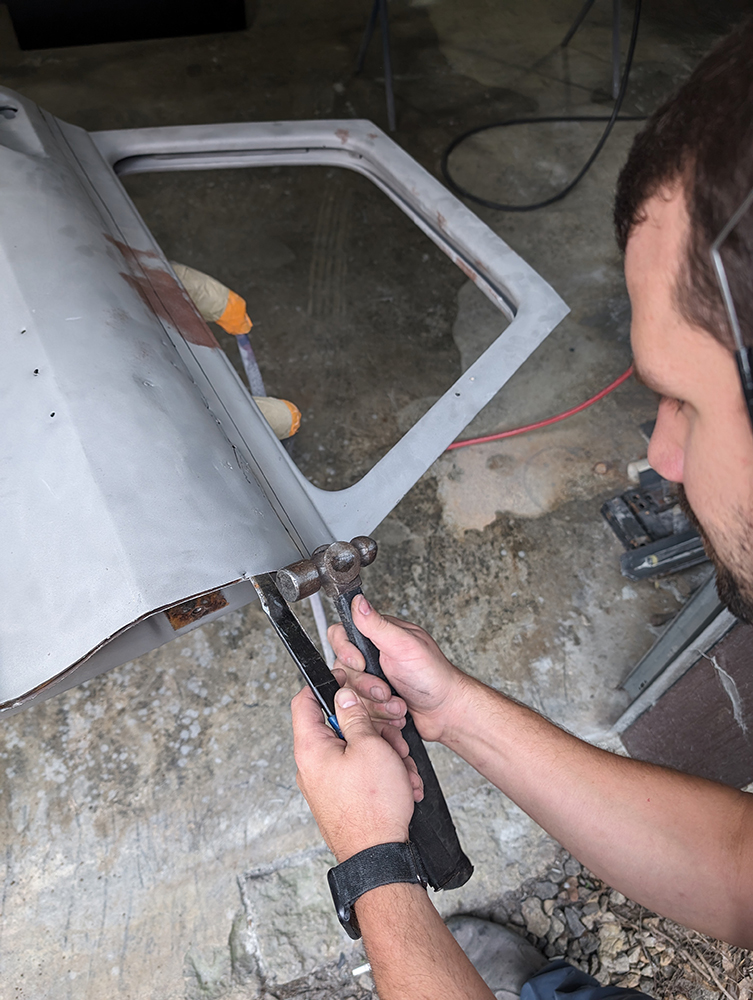
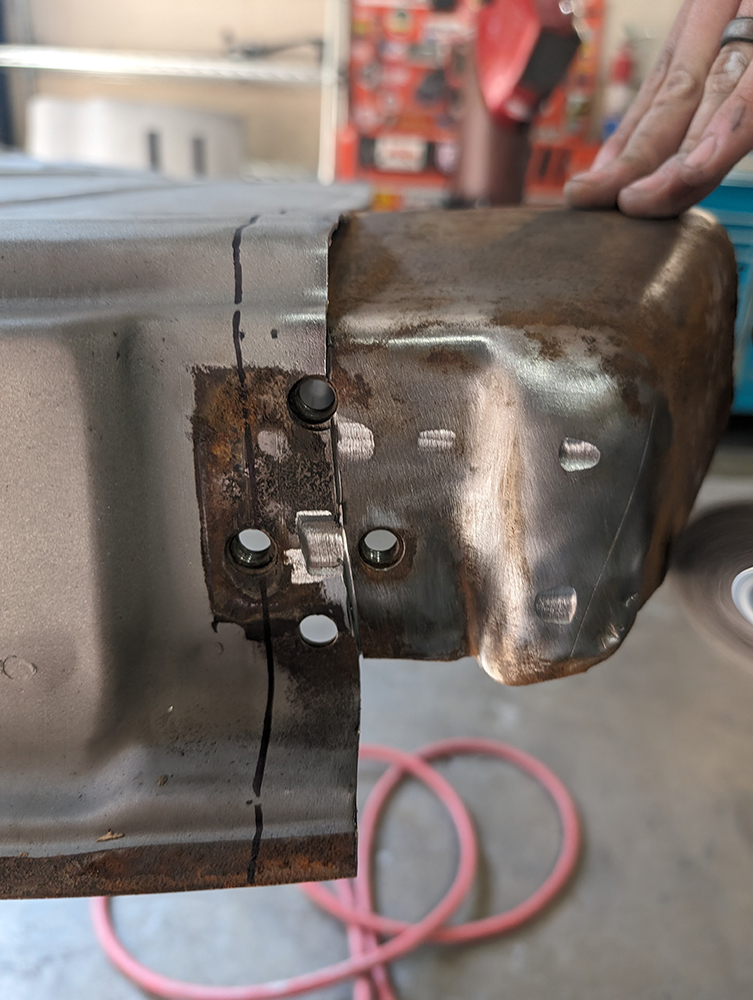
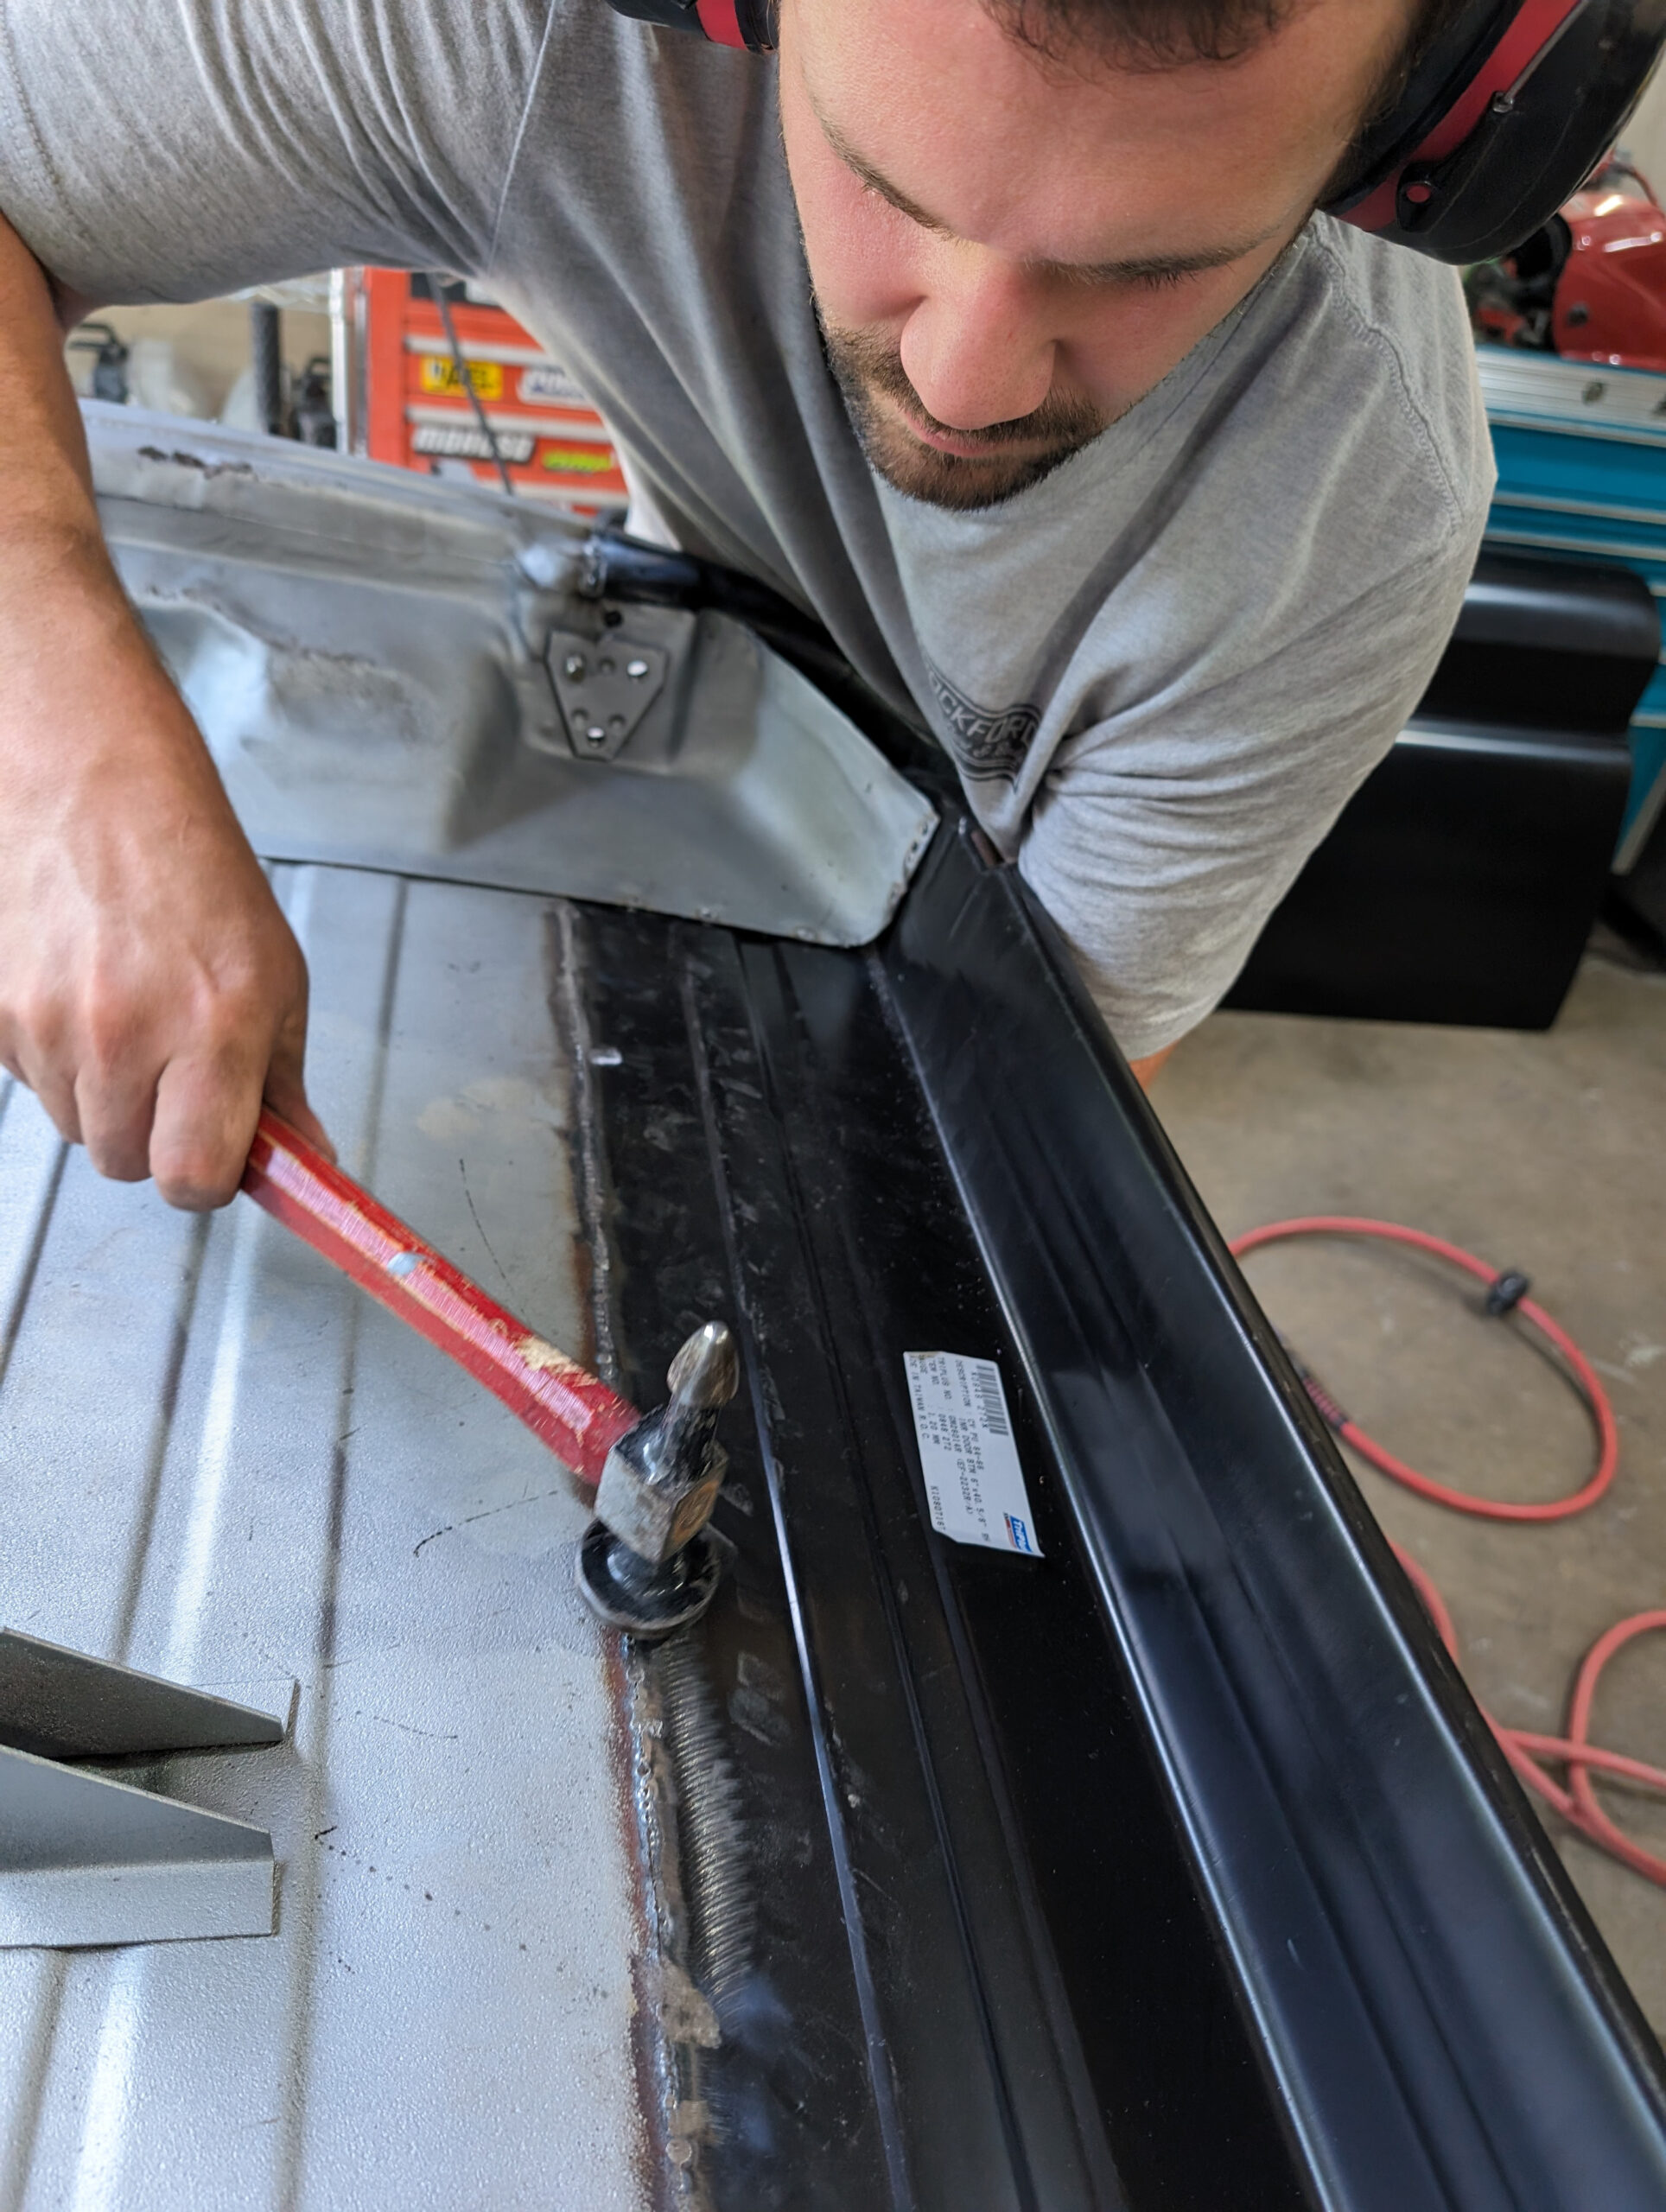
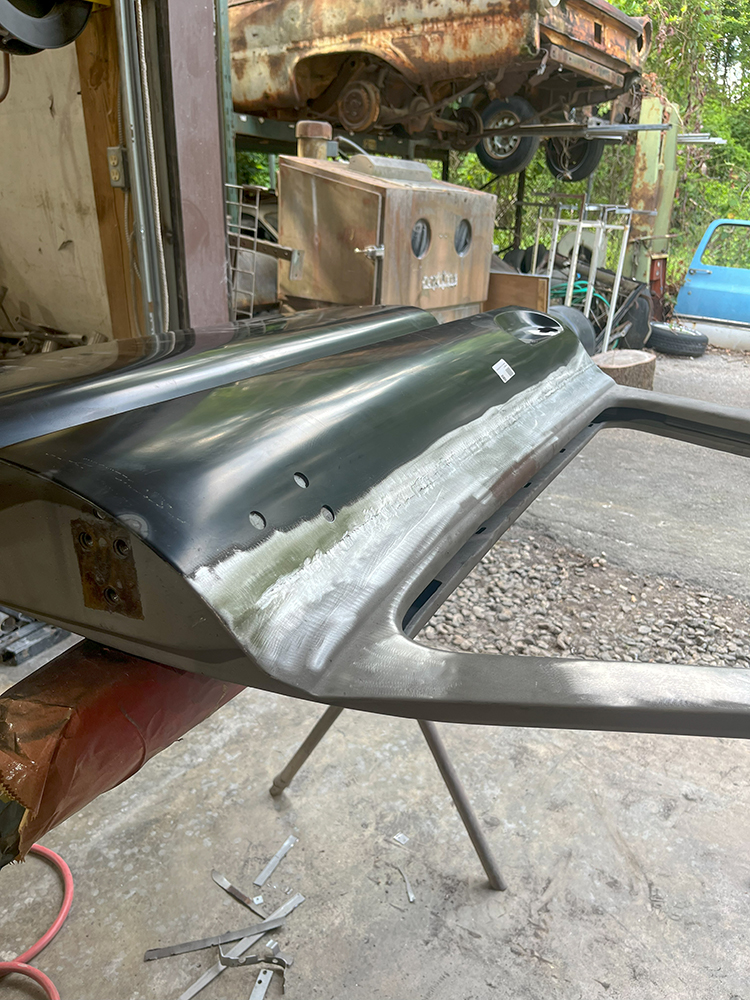
A hammer and spot weld chisel can be used to separate the front panel from the inner doorframe. Continue this process around the perimeter of the door.With the outer skin loosened, Rockford removes it from the door. Note the angled cut at the top—this is to prevent cutting through the inner structure where the mirror bracket lands.With the outer skin removed, we get a closer look at how bad the rot is on the inside of these doors.Next step is to remove the rest of the outer doorskin from the inner doorframe. The doorskins are spot welded on the inside at different intervals. A mini belt sander and some Indasa sanding belts are a great solution to grind these down. Don’t go too far as it will burn through the other side. You just want enough material removed to separate the two pieces.
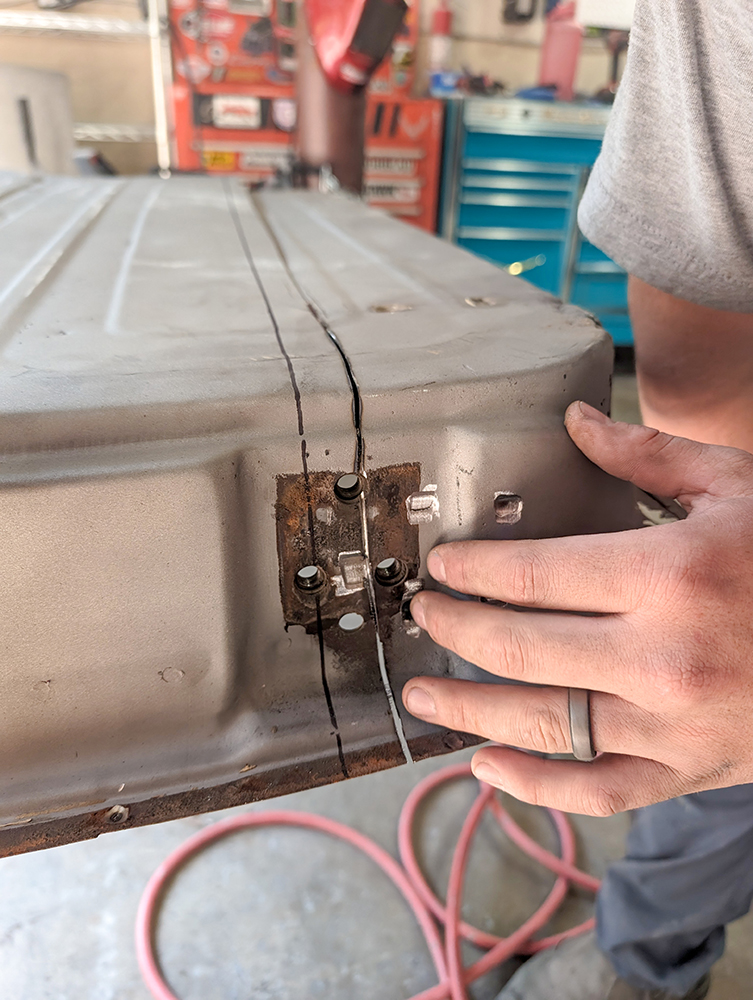
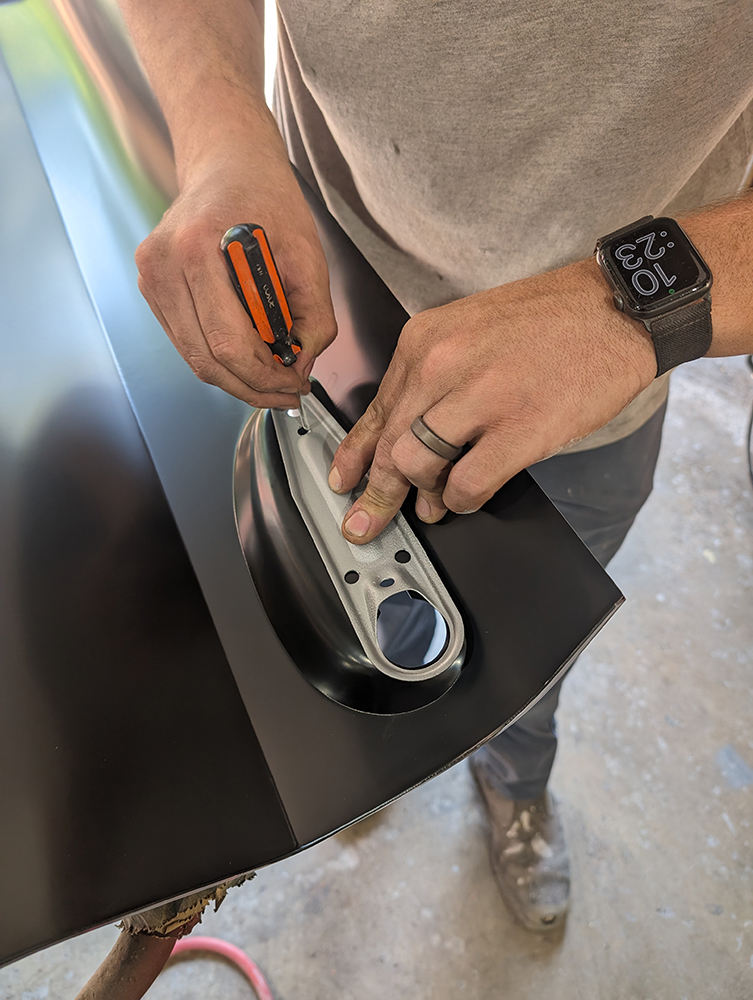
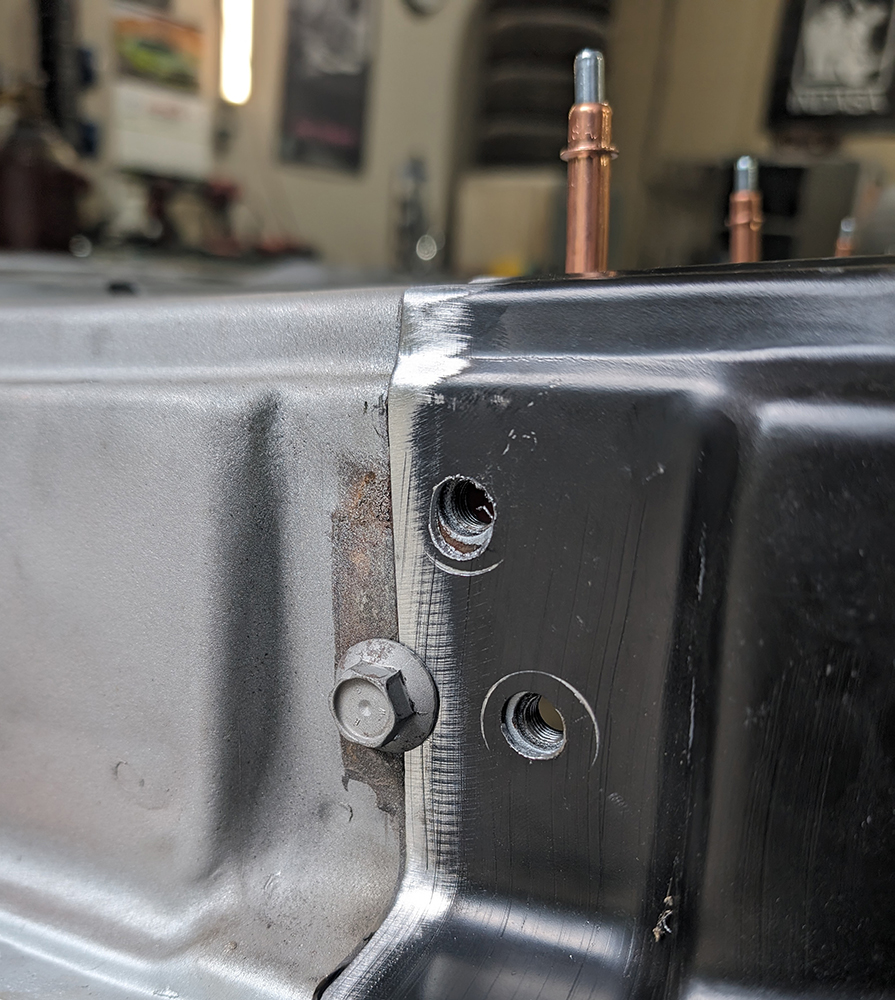
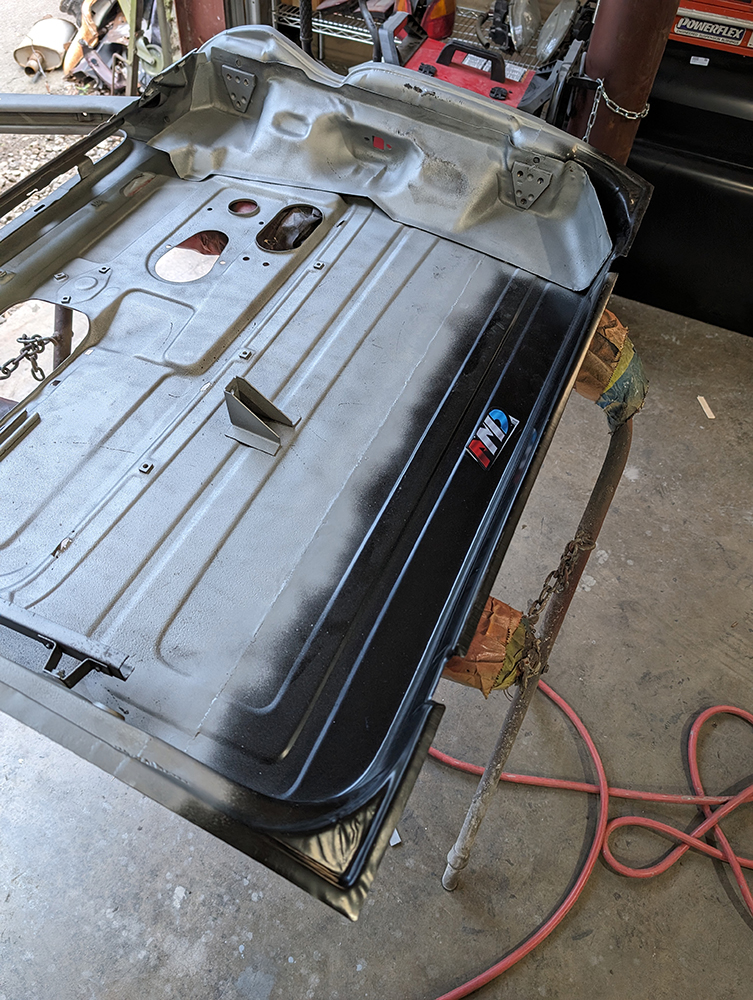
Rockford lines up the AMD inner door bottom repair panel. The boltholes for the hinge are a good reference point to help line everything up.There are spot welds here; a wire brush can help you locate them and the mini sander makes easy work releasing what’s left of the welds.With the door marked, Rockford makes the same cut across about an inch below his mark.Note the backing plate for the door hinge mount—the area you do not want to cut all the way through and damage. Cut just enough to separate the panels and preserve the hinge mount.Also note the spot weld in the center of the door hinge holes. Rockford decided to keep this one in place for now to keep everything there before final fitment.Prep begins with a wire wheel and abrasive disc to clean up the surface rust and welding edges.Rockford adds a new layer of rust protection to the inside of the door now that it is all cleaned up.While the primer is drying, now is a good time to reinstall the door handle bracket on the new skin. This will be plug welded onto the new panel.
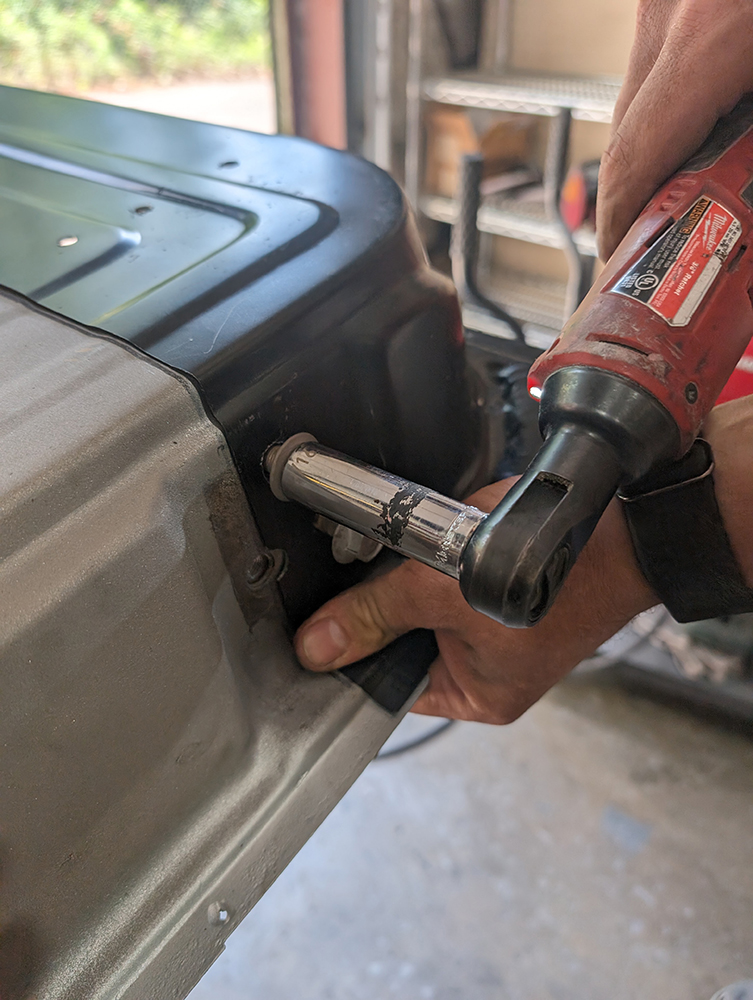
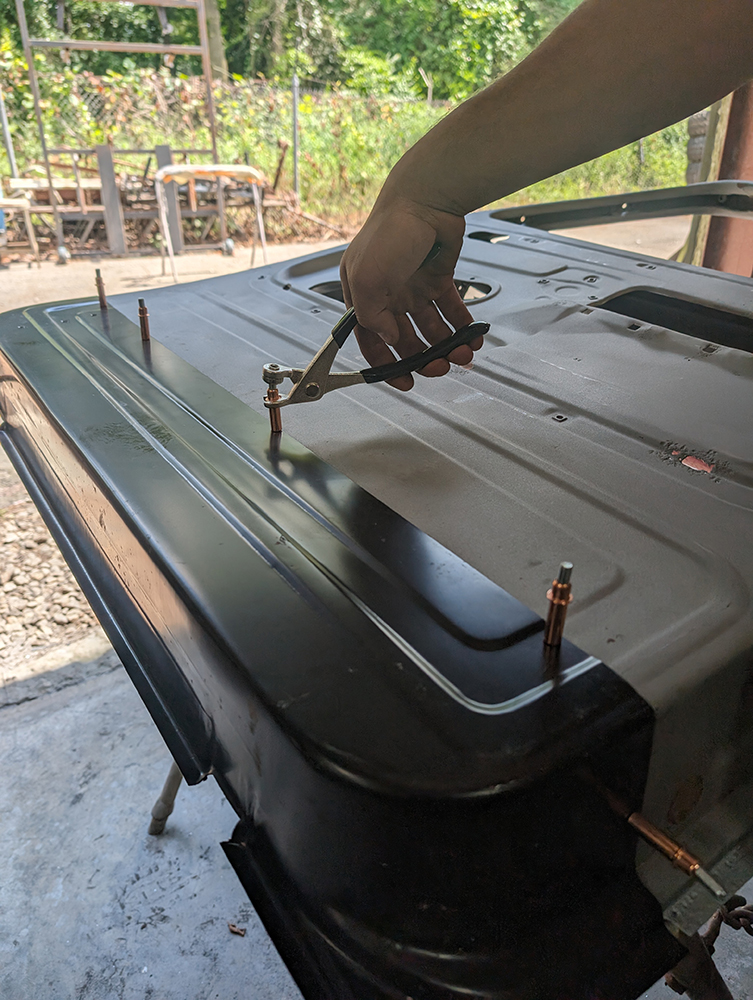
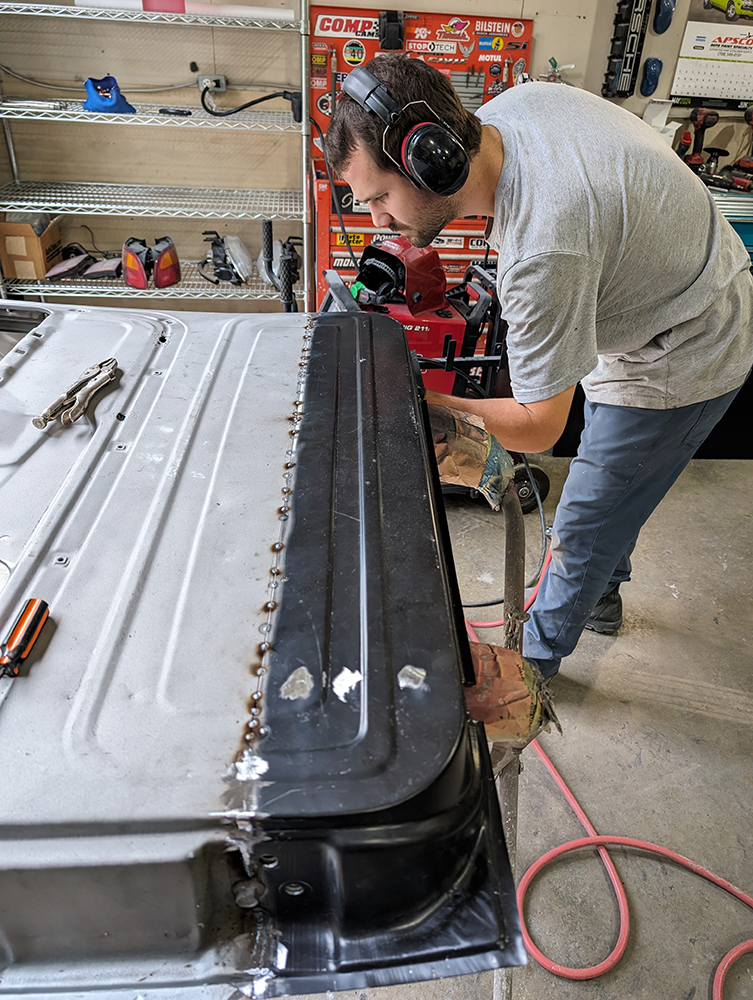
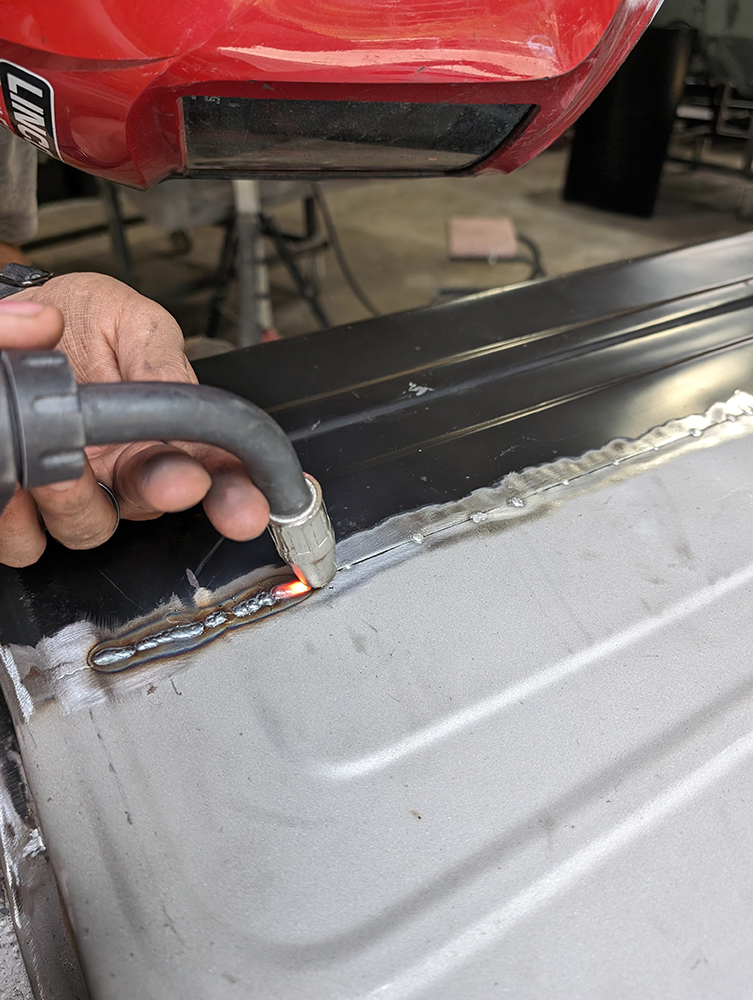
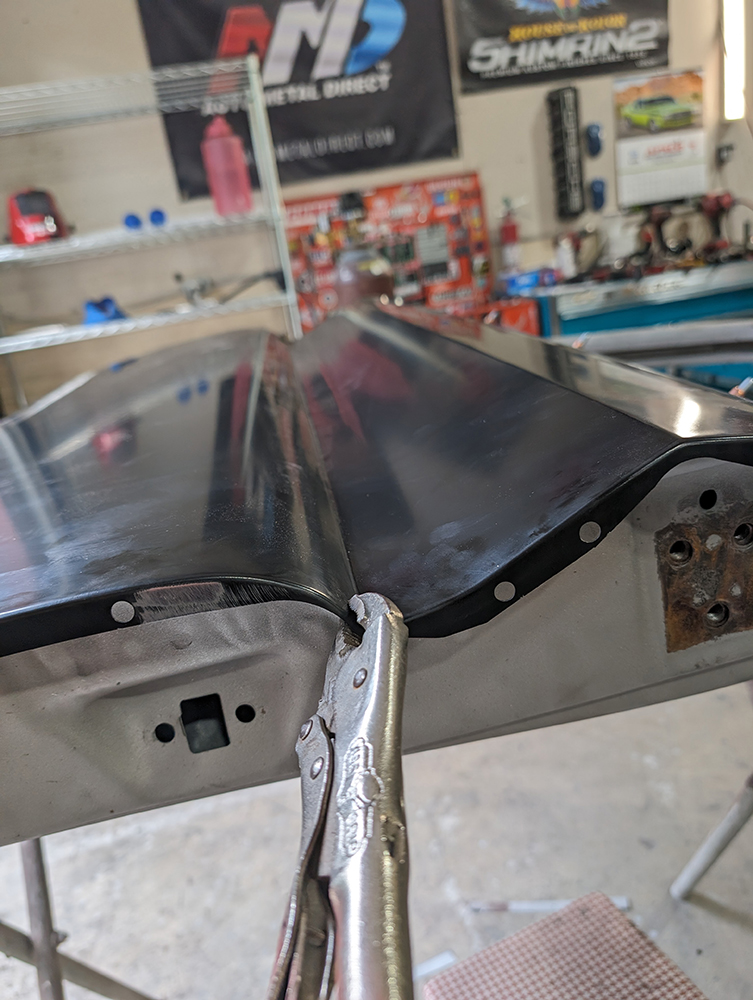
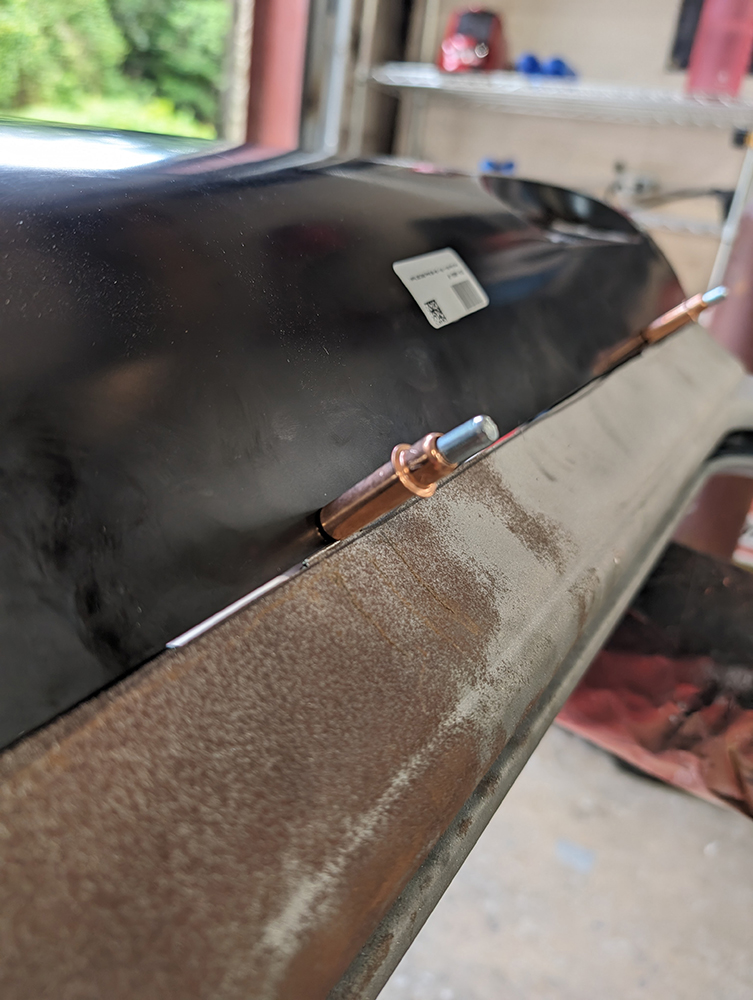
Next, Rockford gets the inner door bottom in place and checks for fitment and clearance. You will need to mark for plug welds for the lower part of the door hinge reinforcement bracket.Pilot holes are drilled to ensure that the two parts are welded properly and evenly/square.Snugging up the door hinge bolts is a good way to keep the panel in place while mocking up.With the lower door panel patch in place, Rockford test-fits the doorskin and makes adjustments as needed. A clamp will hold the doorskin to the frame.Cleco fasteners are a go-to at Rockford Custom Paint & Body. Small holes allow the fasteners to hold the panel in place before final installation.Rockford uses his body saw to cut to the edge and leaves small tabs so the Clecos can still attach.The inner door bottom is in place before welding and the upper door hinge bolt is used to flush up the panels.Begin welding the two panels together. Start in the center and work your way outward, tacking the two pieces together while making height adjustments from underneath. Plug weld the door bottom to the inner bracket. Continue to use your clamps and spot weld as you go out.Tacking should be spaced enough where the two panels are secure. If you get your panels uneven, simply cut the weld, adjust, and retack. Another row of evenly spaced tack welds will allow the heat to dissipate and keep the panel from warping.Rockford finishes the welding in longer striations, allowing the heat to be pushed from one side of the panel to the other. An effective method to control warping.With the panel freshly welded, Rockford puts his hammer and dolly to work ensuring the two panels are nice and straight.After using the Indasa abrasive disc once again to finish the blending of the repair, a coat of primer seals the deal helping to prevent rust and corrosion in the future.
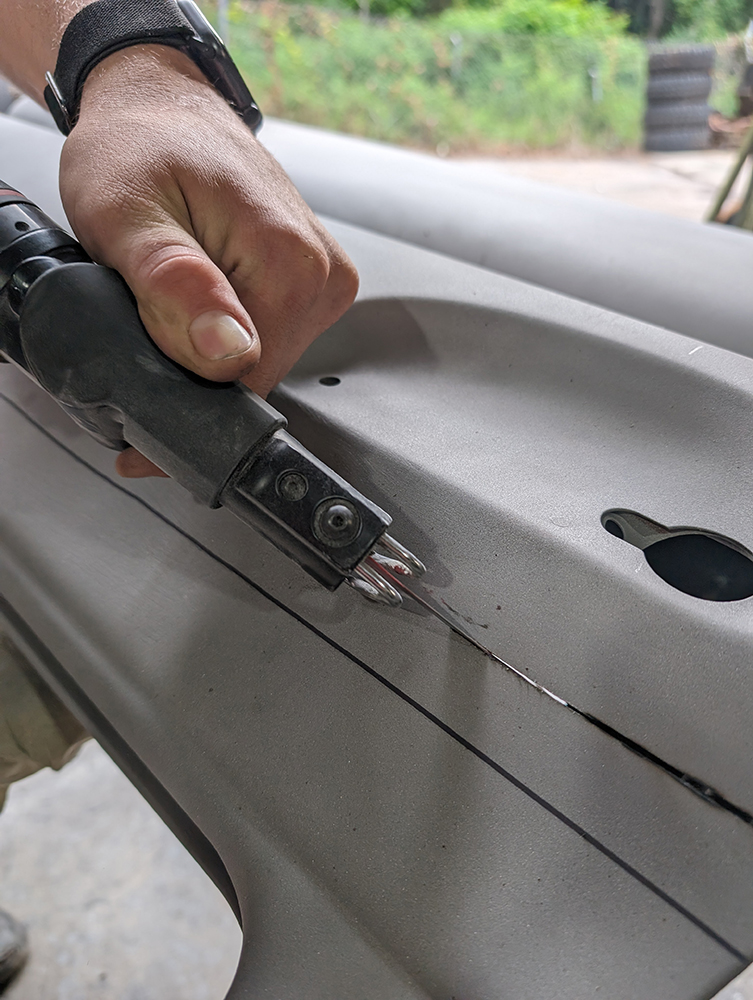
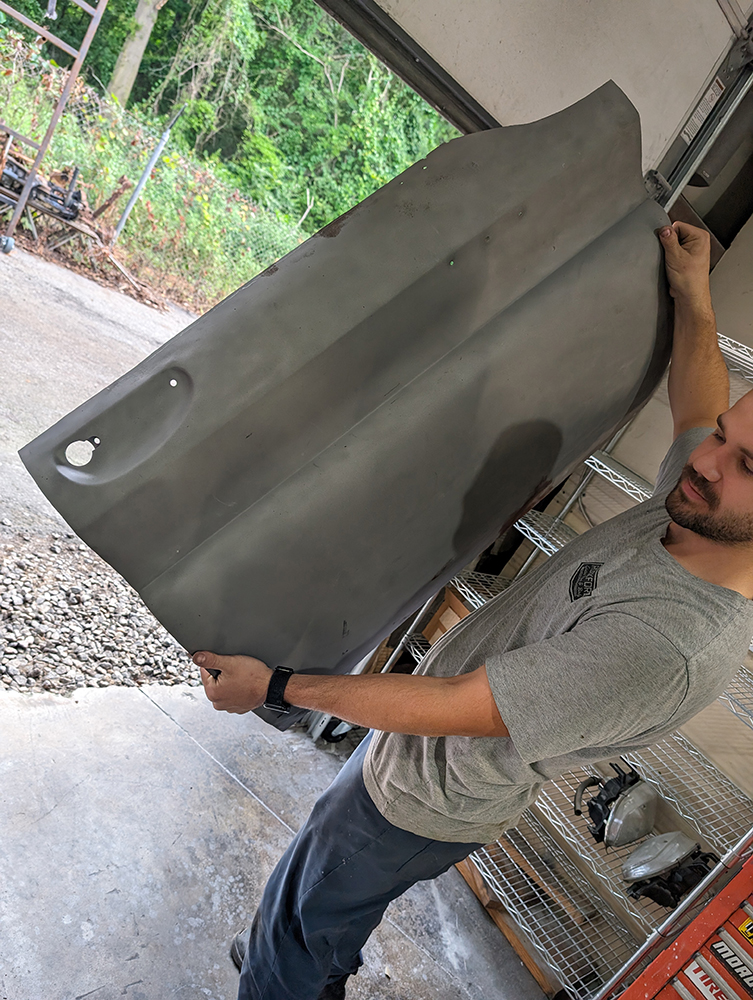
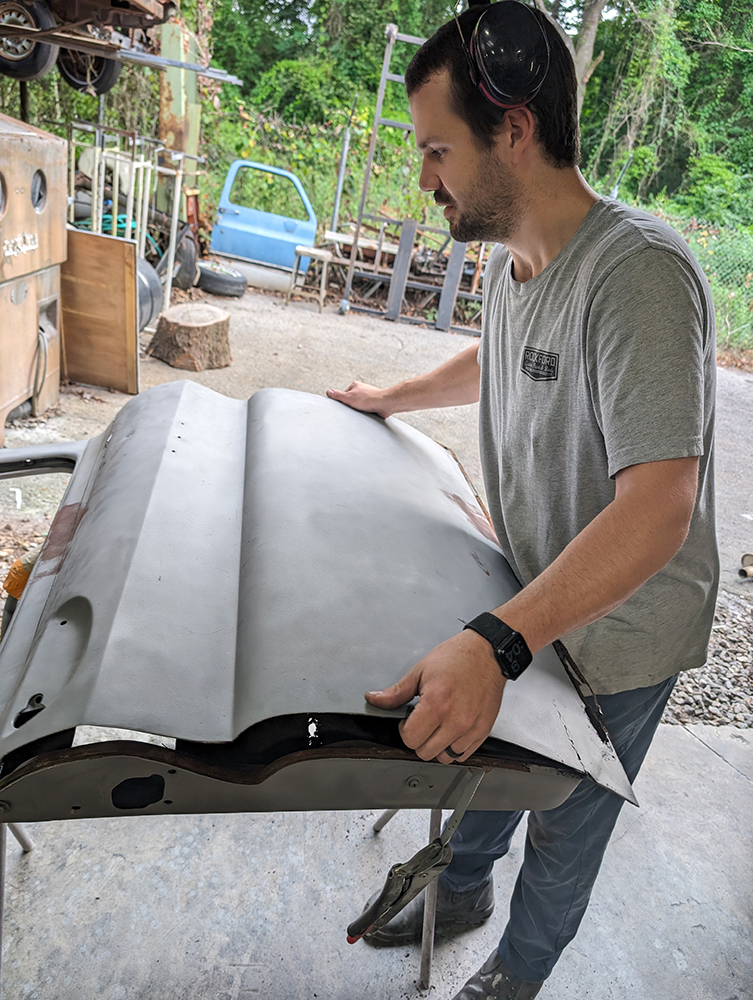
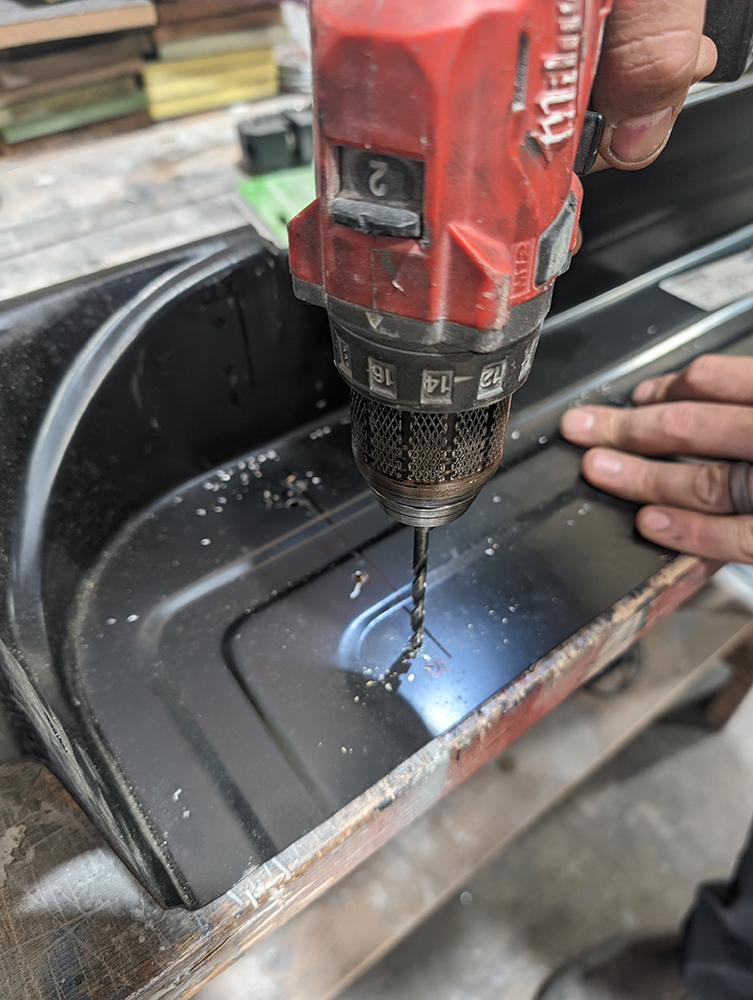
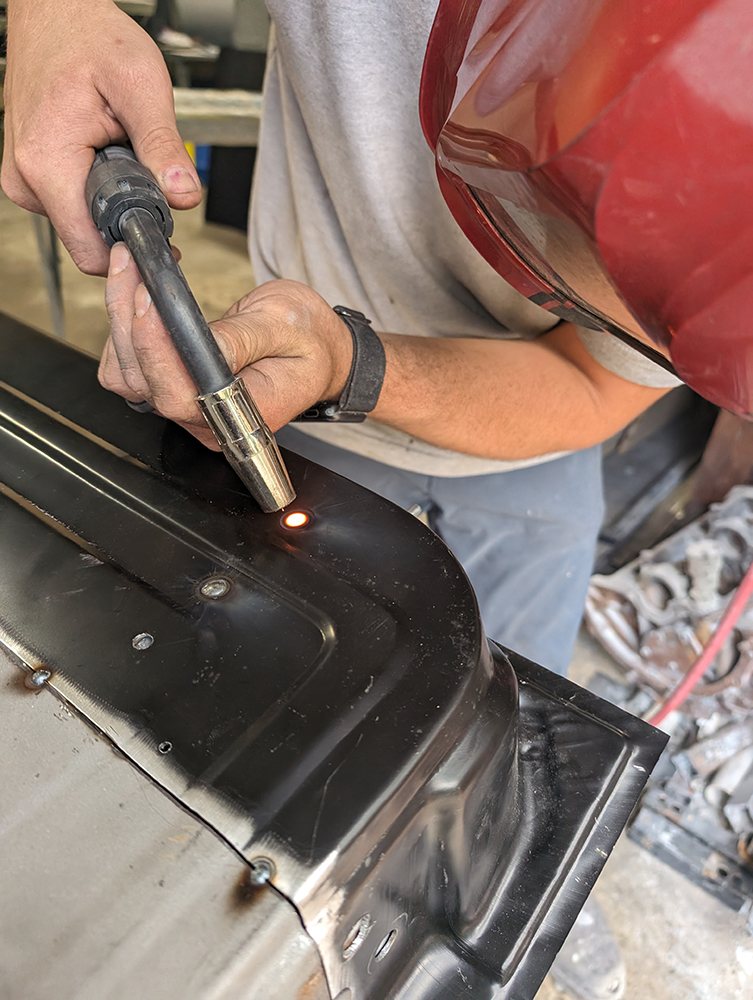
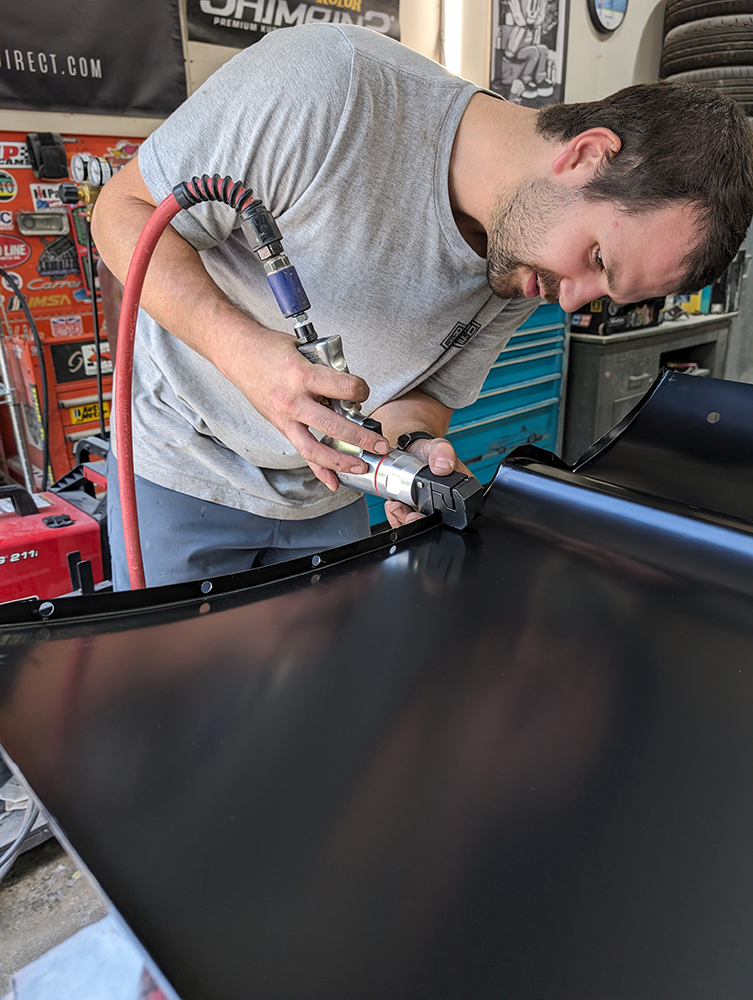
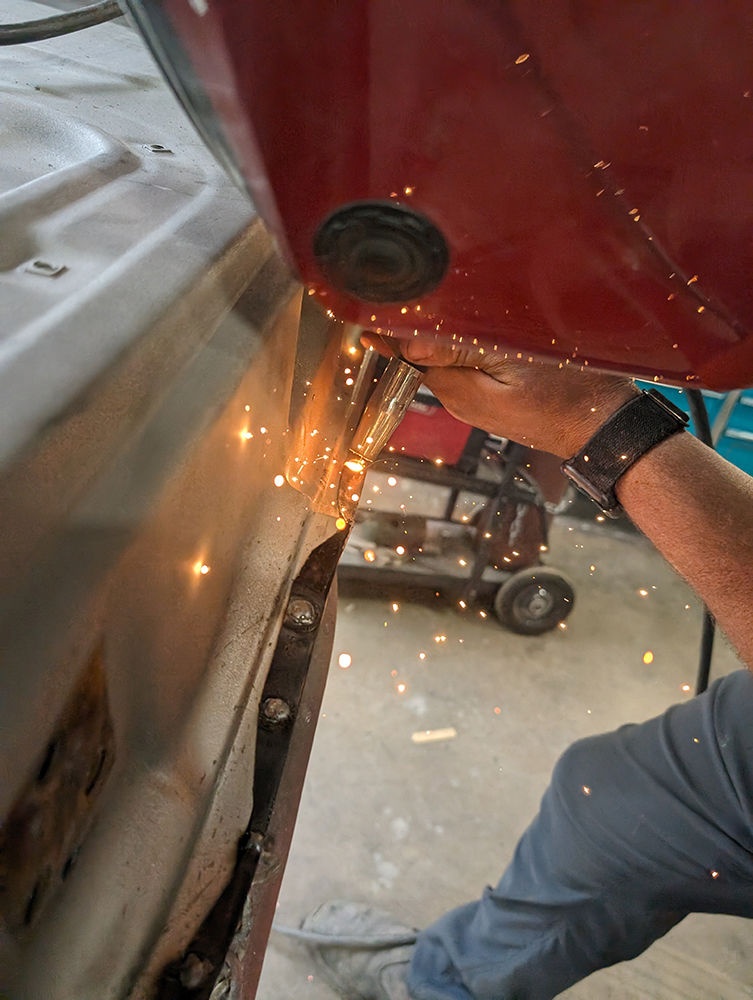
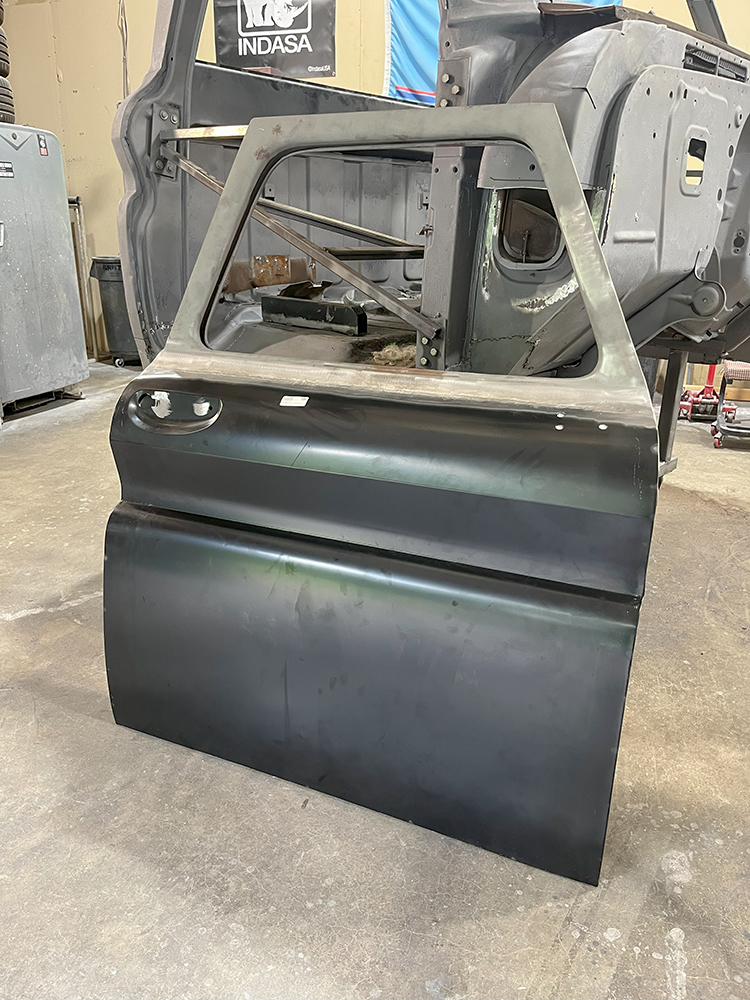
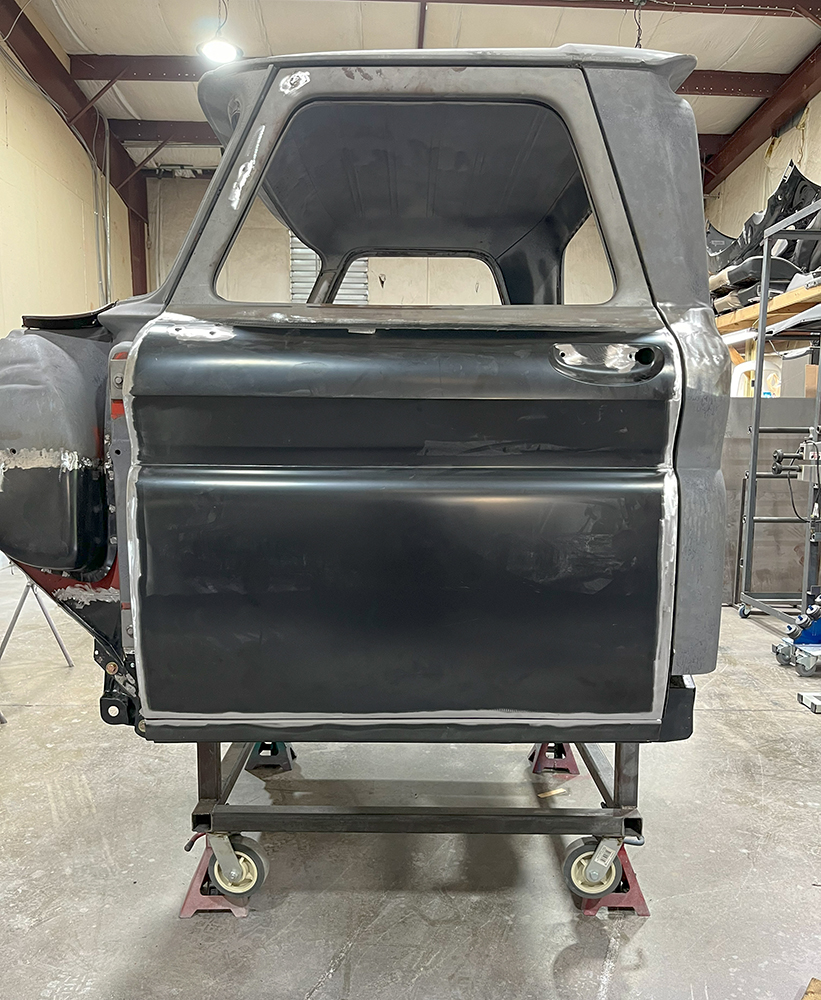
Rockford uses his pneumatic punch to put holes in the doorskin that will be used to plug weld after wrapping it on the inner panel. Make sure you have the doorskin exactly where you want it and make any adjustments at this point.Continue to use your clamps, a tight fit on the panels will ensure a quality result. A relief cut makes it easier in the creases to wrap the skin; this will be welded up later.Rockford uses the same tab method as before and his Clecos to hold the top of the doorskin to the panel.A bit tedious, slowly hammer the doorskin around the frame in small increments all the way around. You will need to repeat this process several times before the skin is completely wrapped.Be sure to cut relief holes at the door bottom drains. This area is one of the main reasons the doors rusted out in the first place.Finally, plug weld the punched holes to complete the welding procedure.Using your 36-grit disc, knock the weld down prior to blending and finishing. Follow the same procedure at the top of the door panel as you did on the inner door bottom. Also, grind the plug welds around the perimeter of the doorskin installation.The original doors are repaired and ready for bodywork. Test-fit the doors and make any adjustments you like to perfect gaps and fitment prior to bodywork. Stay tuned for our next installment of this tech series where we go in depth on that steel bed floor conversion.
We use cookies to ensure that we give you the best experience on our website. If you continue to use this site we will assume that you are happy with it.