Auto Metal Direct’s 1967-72 Steel Bed Floor Conversion—Into a 1961-66 C10!
By Jason Chandler – Images by the Author
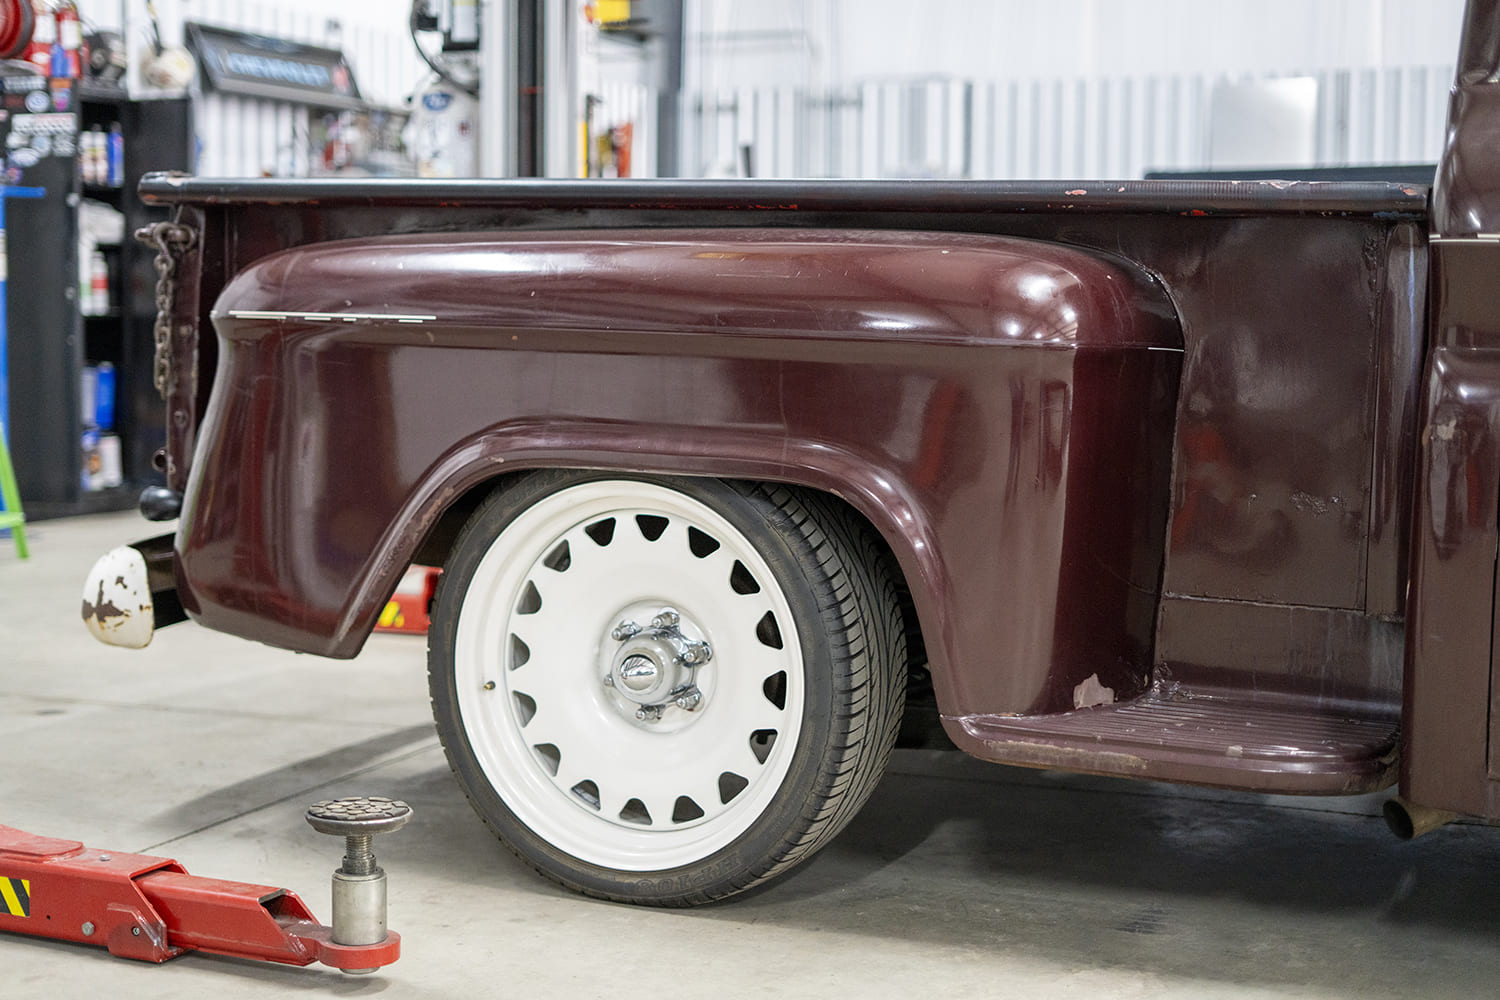
Back on Project #Backpay! This 1966 Chevy C10 truck is well on its way to becoming a showstopper. If you’ve been following along, you already know that with a step-by-step approach, you can do these same restorations in your own garage. Last time you saw #Backpay, we featured the AMD Big Back Window conversion. This time around, we’ll go in-depth on installing a Steel Bed Floor with a twist.
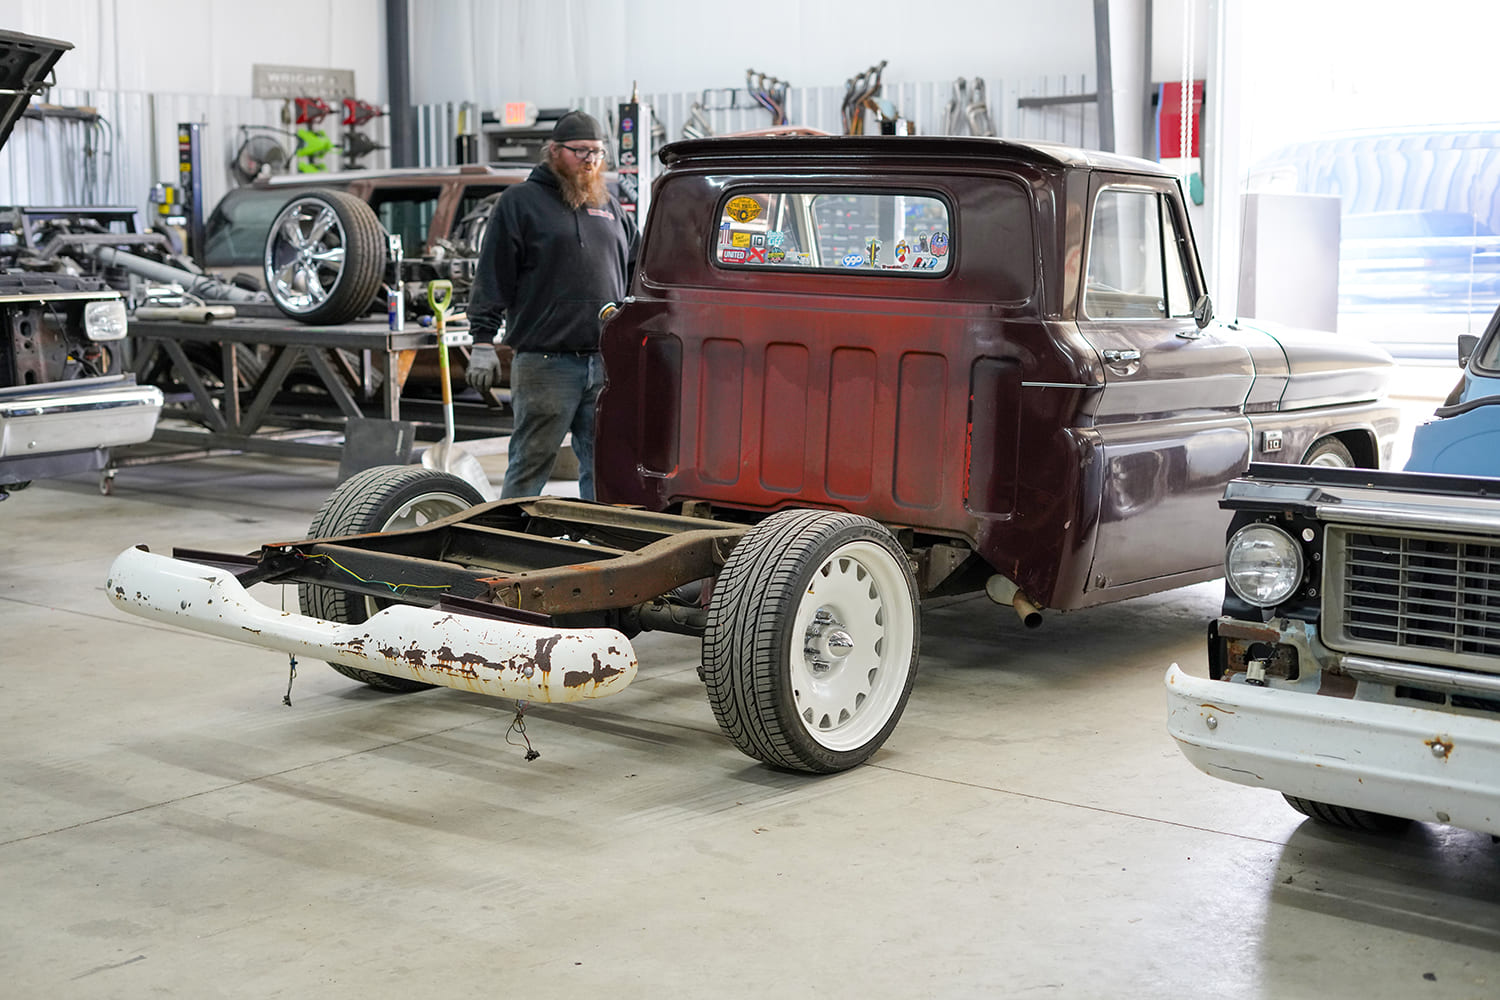
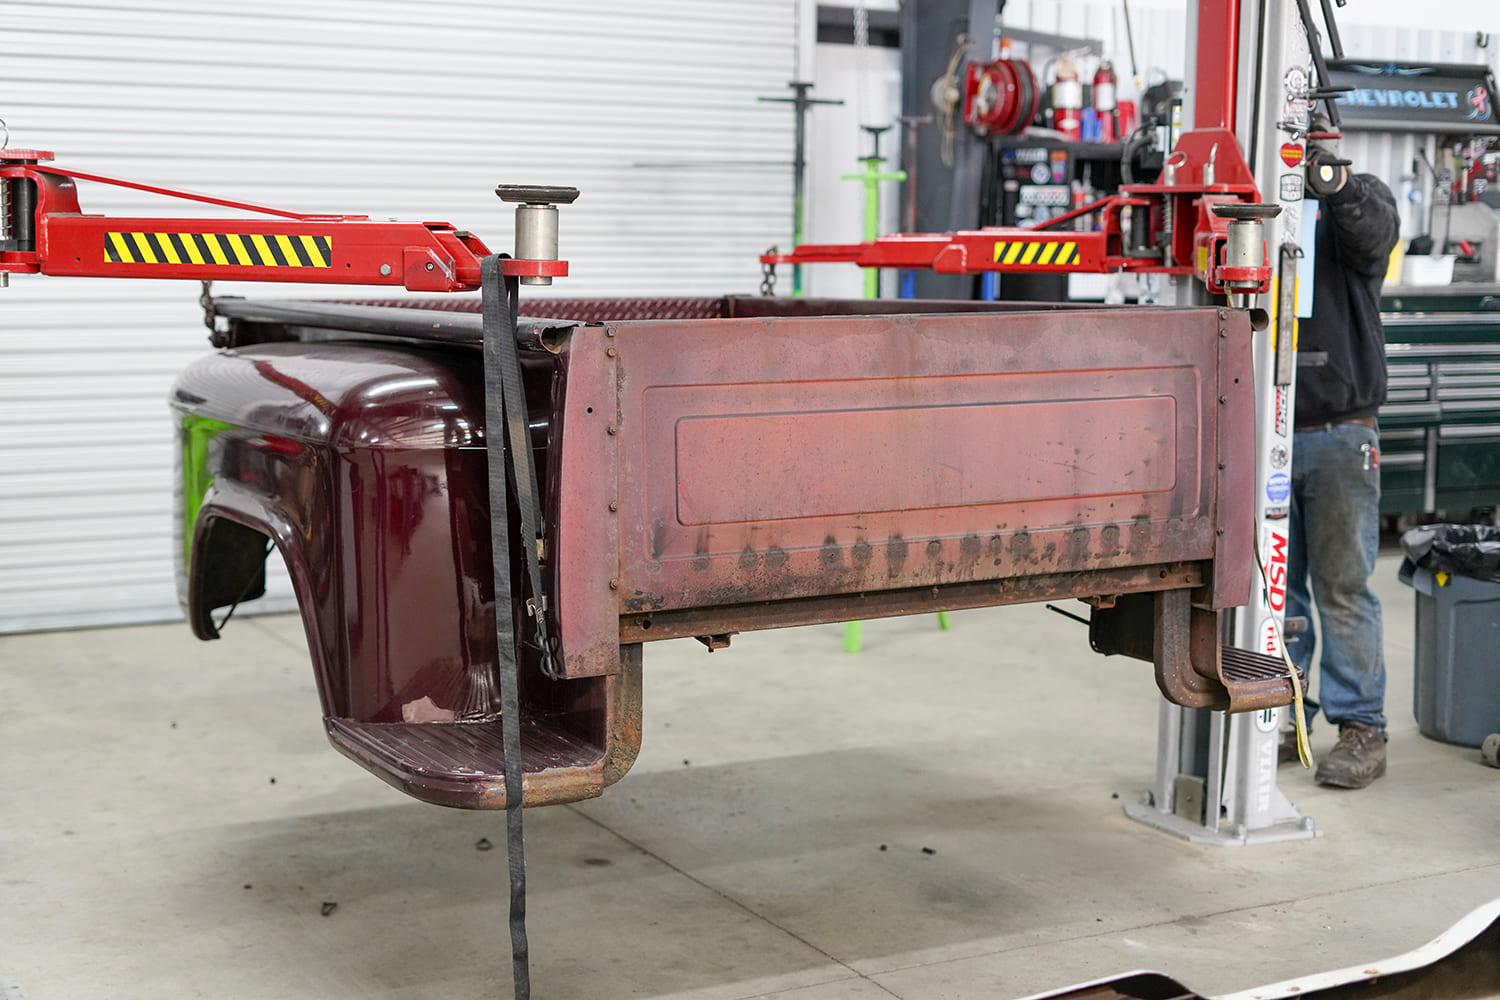
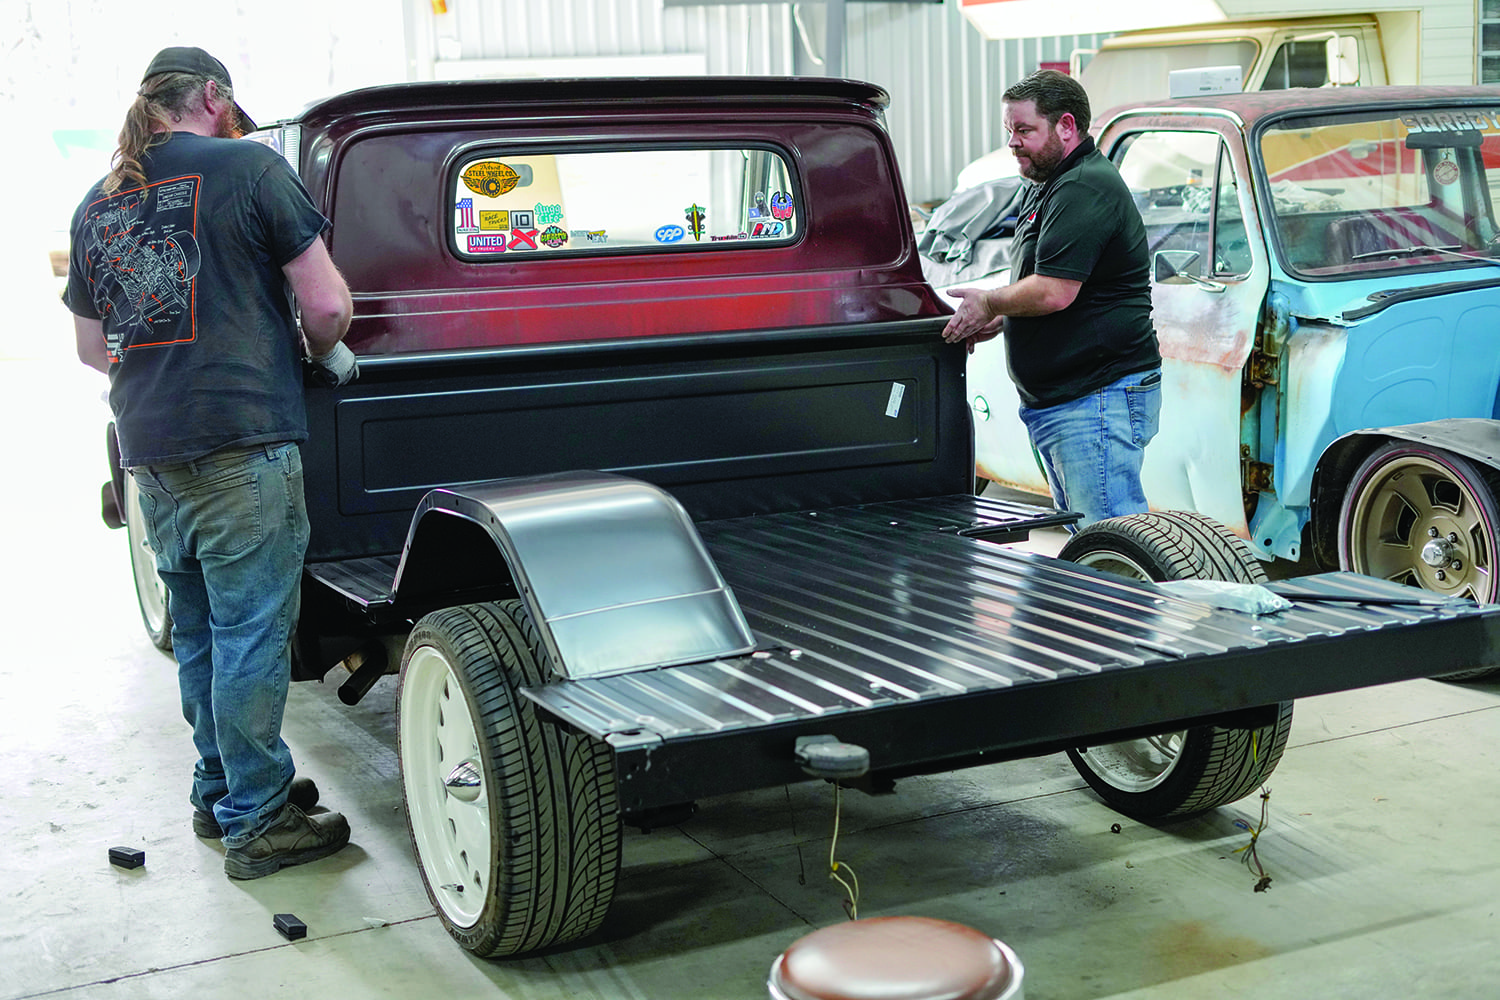
Removing the factory Stepside bed is a straightforward process; a couple of buddies or a lift are key to making this happen fast.
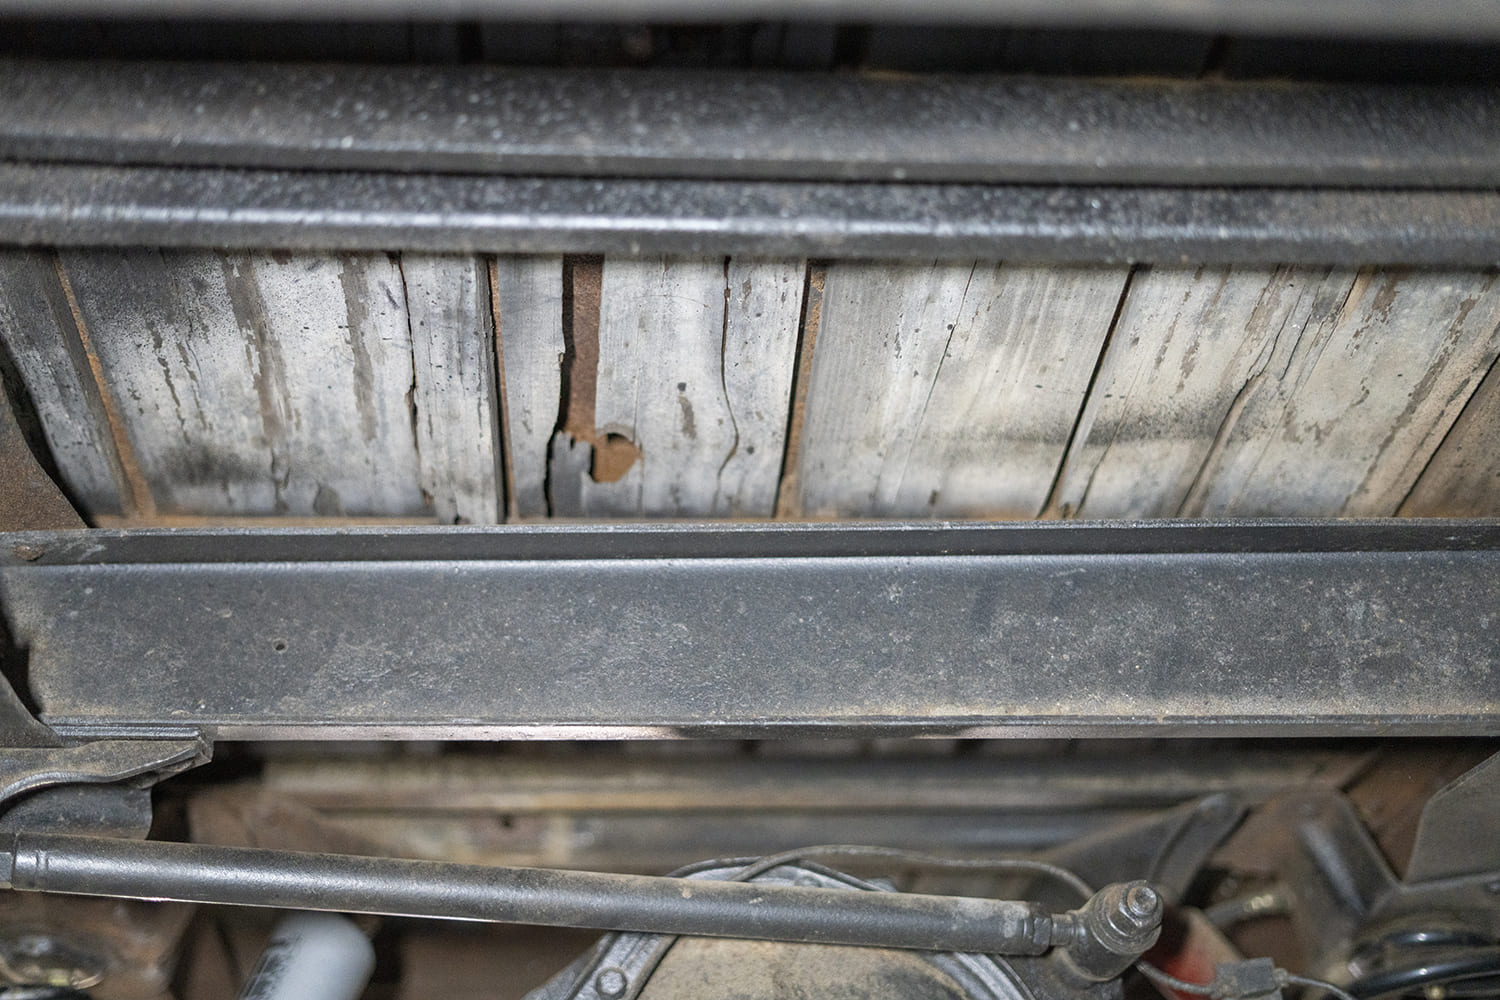
The 1960s Chevy C10 trucks came from the factory with wooden bed floors. While wood has a classic charm, it is prone to rot, warping, and weather damage over time. Upgrading to a steel bed floor is an upgrade that dramatically improves durability and utility. Properly paint-sealed, a steel floor won’t be damaged by water and heavy loads—water simply does not hurt it, making it ideal for a truck that sees regular use. In this installment, we’ll detail what minor modifications need to be made to fit this AMD 1967-72 GM truck wide-tub bed floor into your first-gen C10.
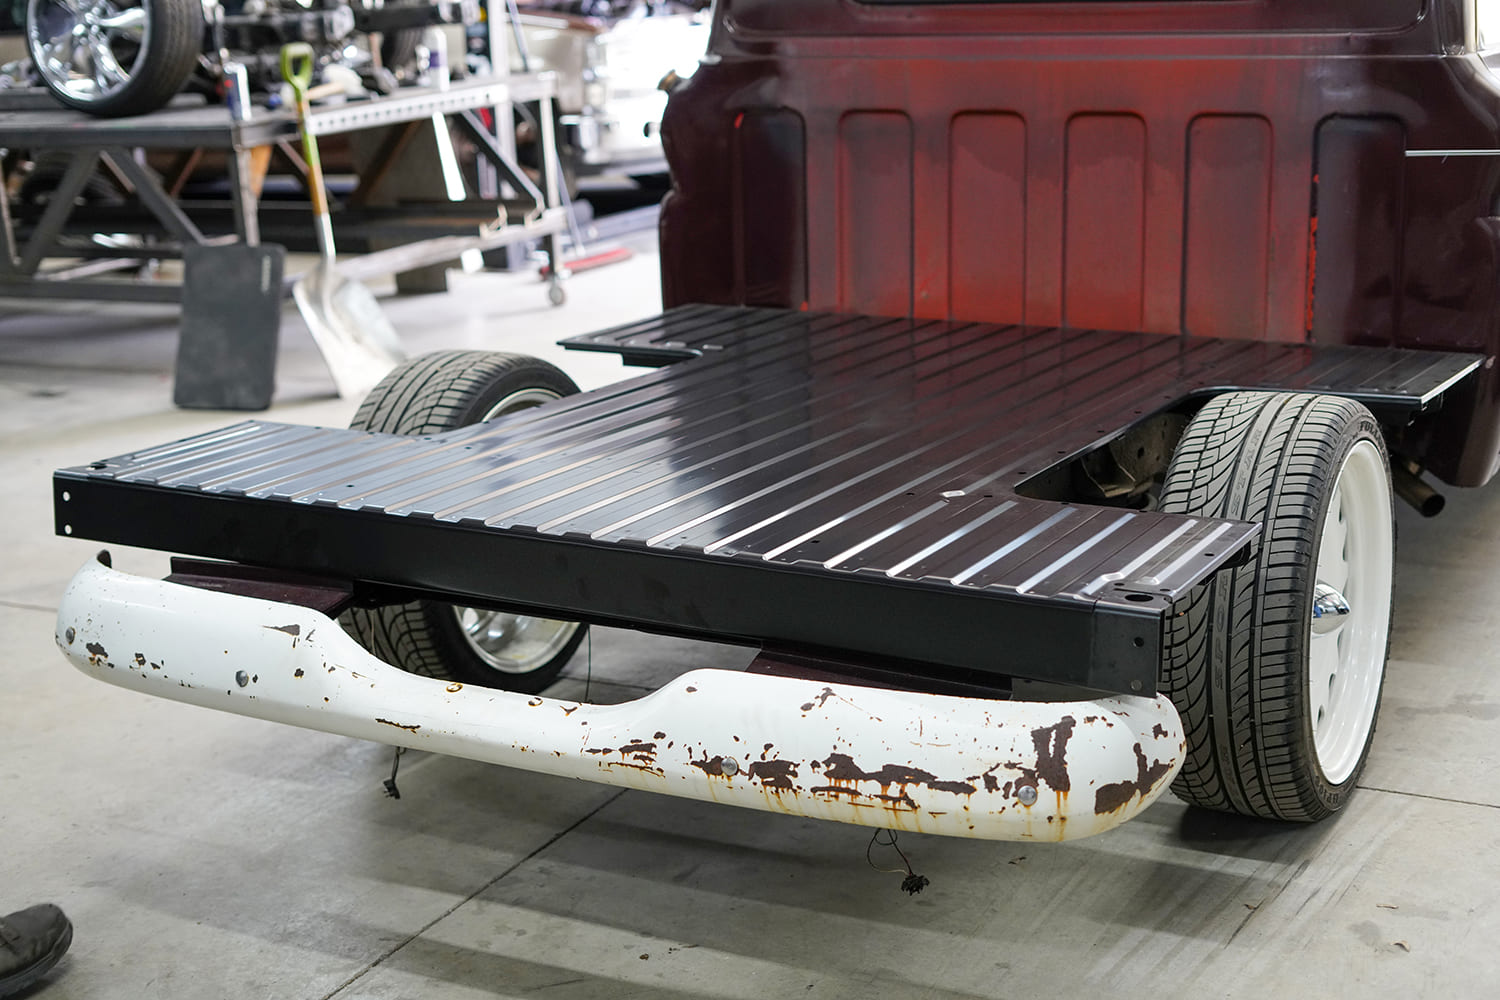
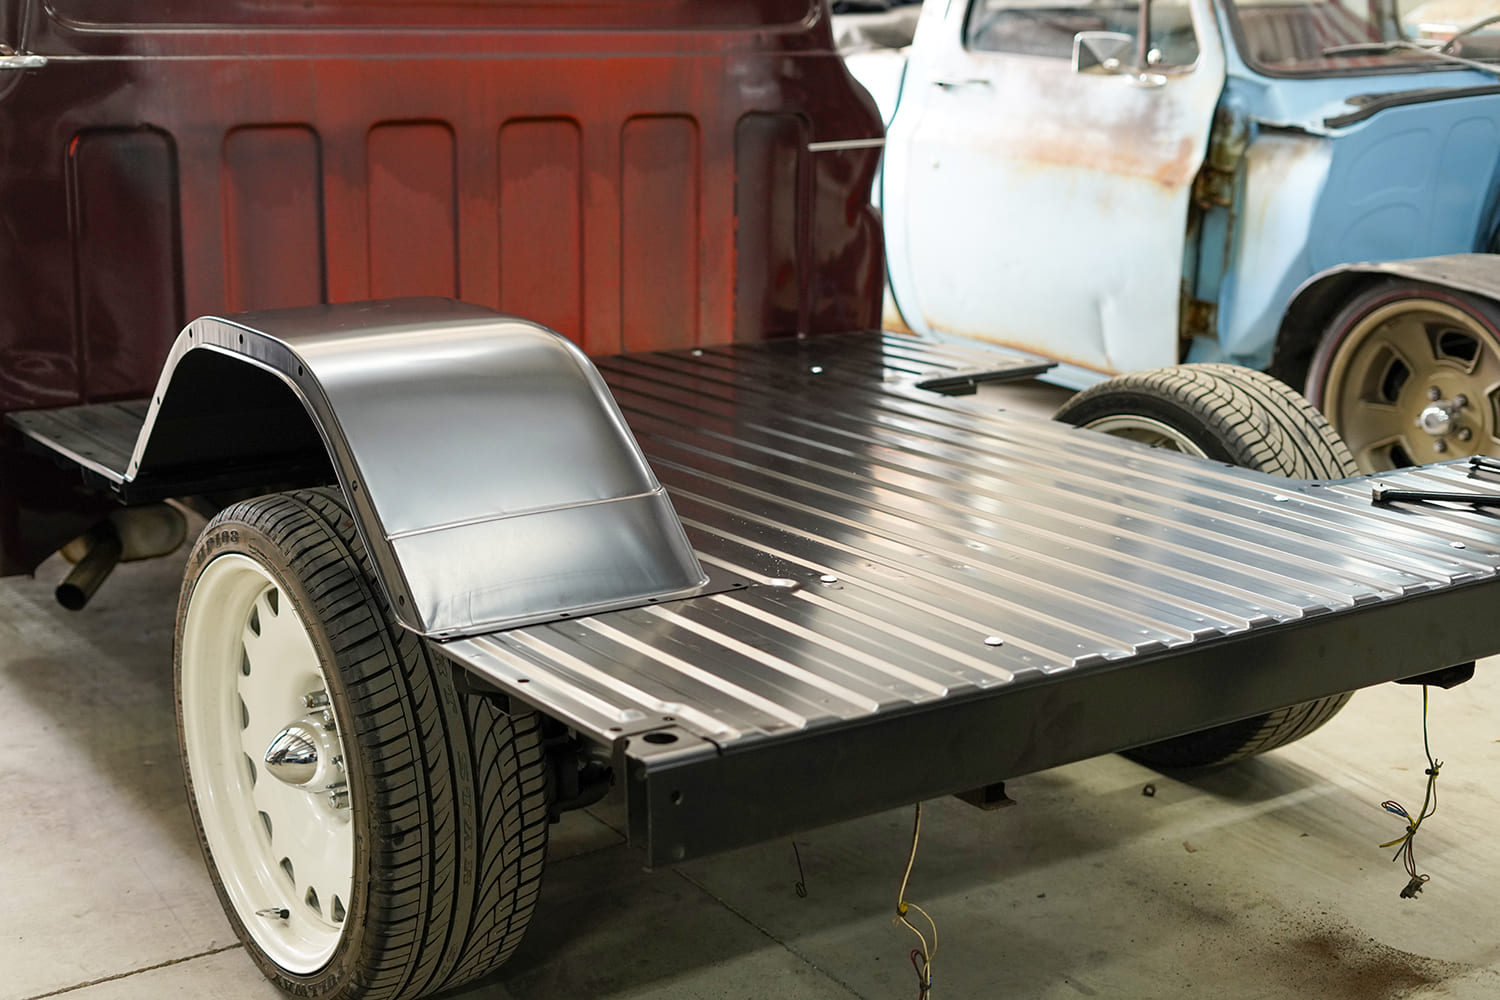
This upgrade replaces the old wood floor with a tough, OE-quality steel floor and also accommodates 4-inch-wider wheeltubs for those looking to fit larger tires. The result is a bed that’s stronger, maintenance-free, and has a factory-fresh appearance with modern functionality. Once again, we’re back at Howe’s It Doin’ Garage with Mike Howe performing the installation. Let’s dive into the tools, steps, and tips to achieve a seamless steel bed floor install.
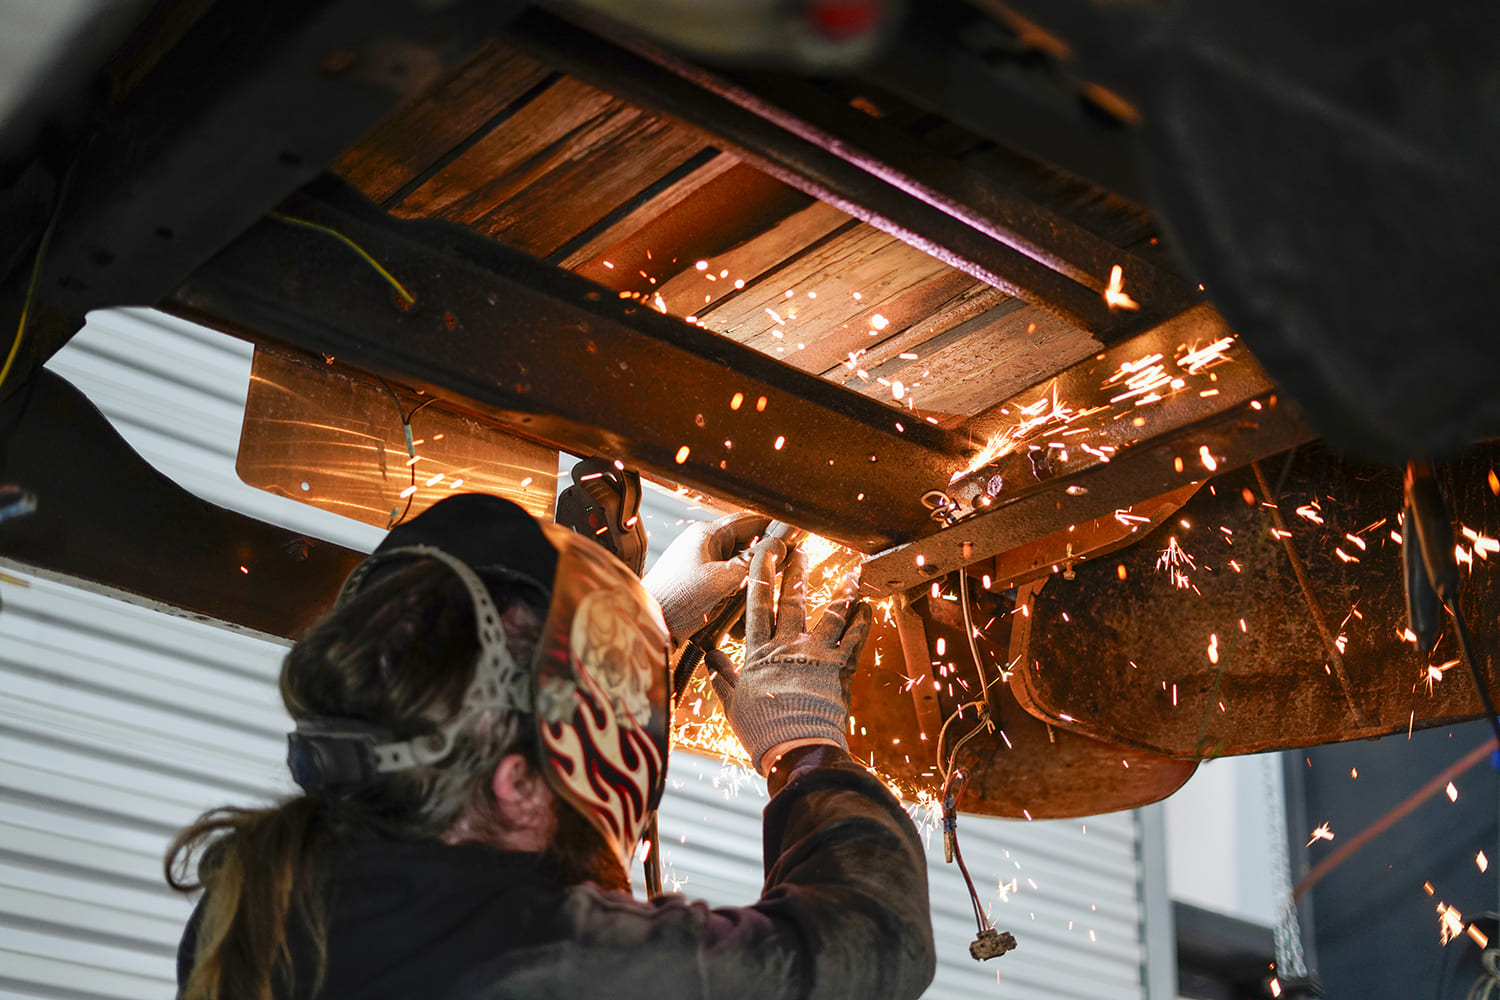
As you can see, the OG bed wood is still in there and was covered by sheetmetal at some point.Sixty-plus-year-old fasteners can be stubborn, if they’re liquid, they can’t be tight.With the bed loose, gently raise it off the frame. Take note of any wiring that may still be attached.
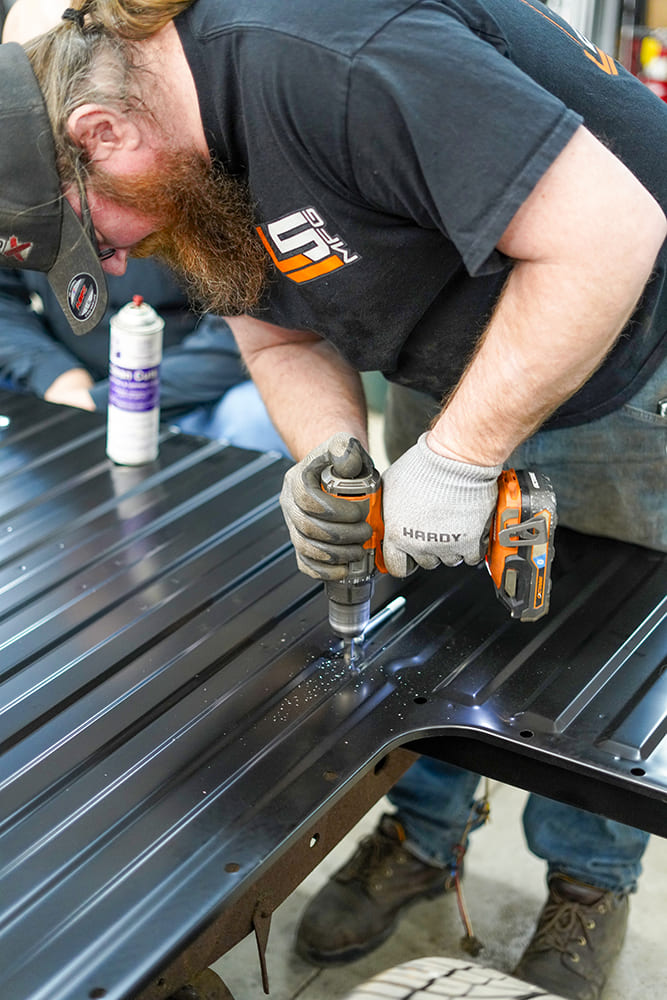
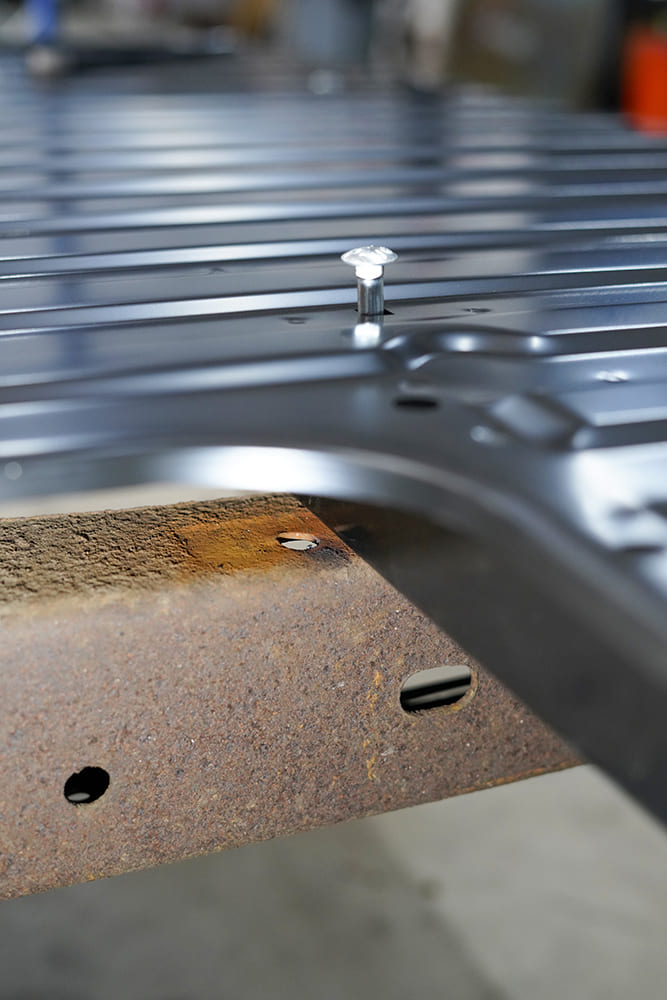
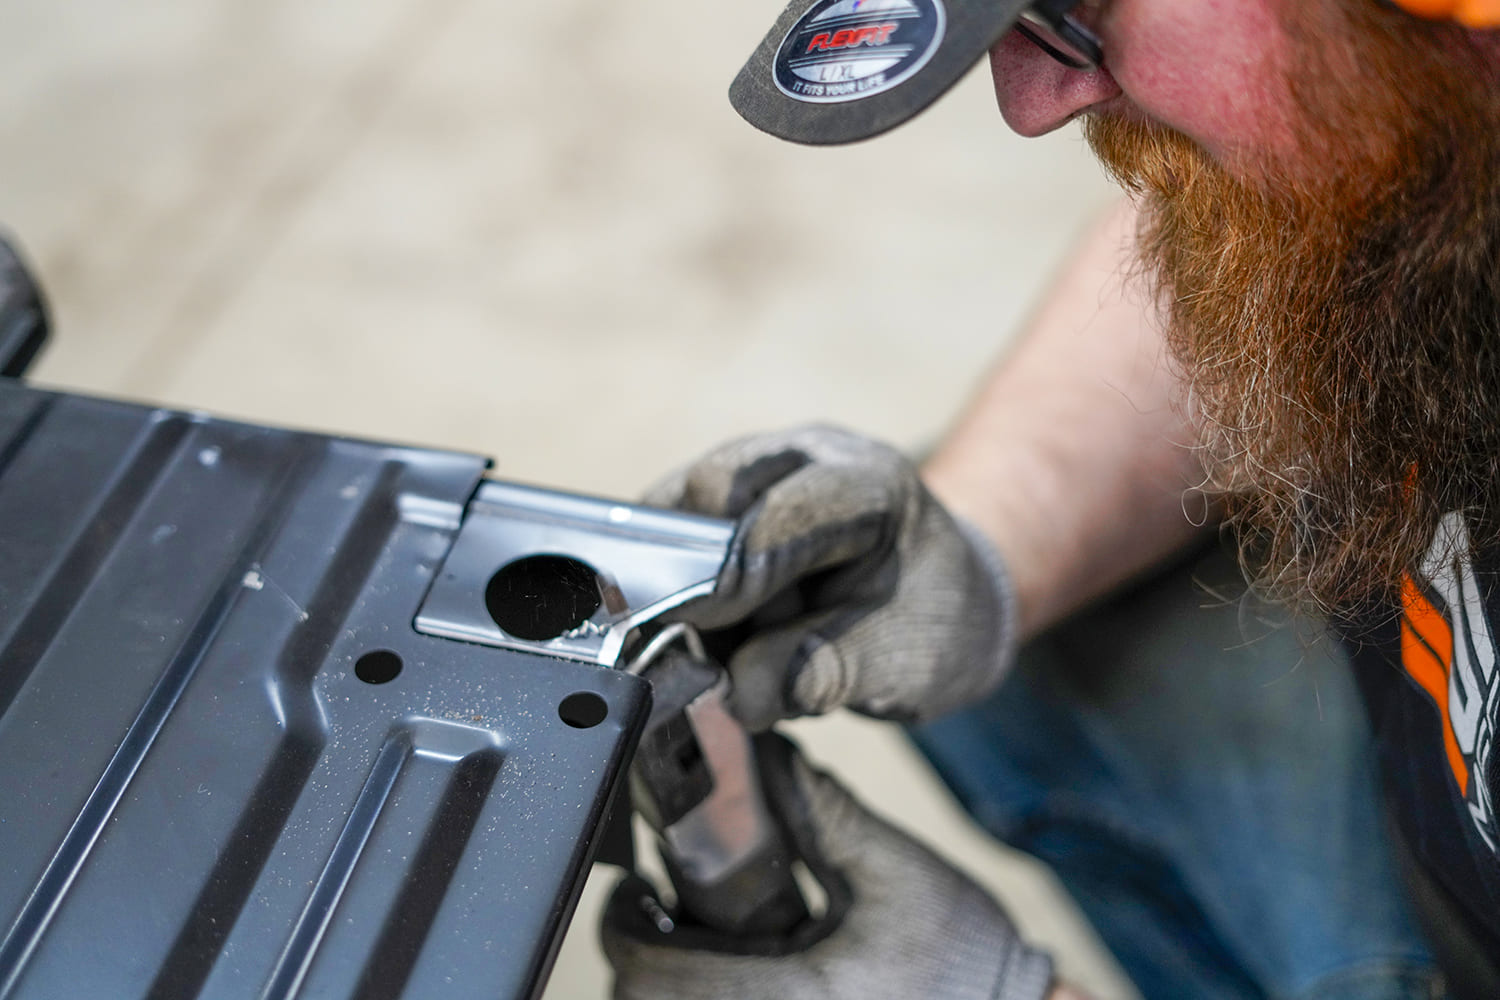
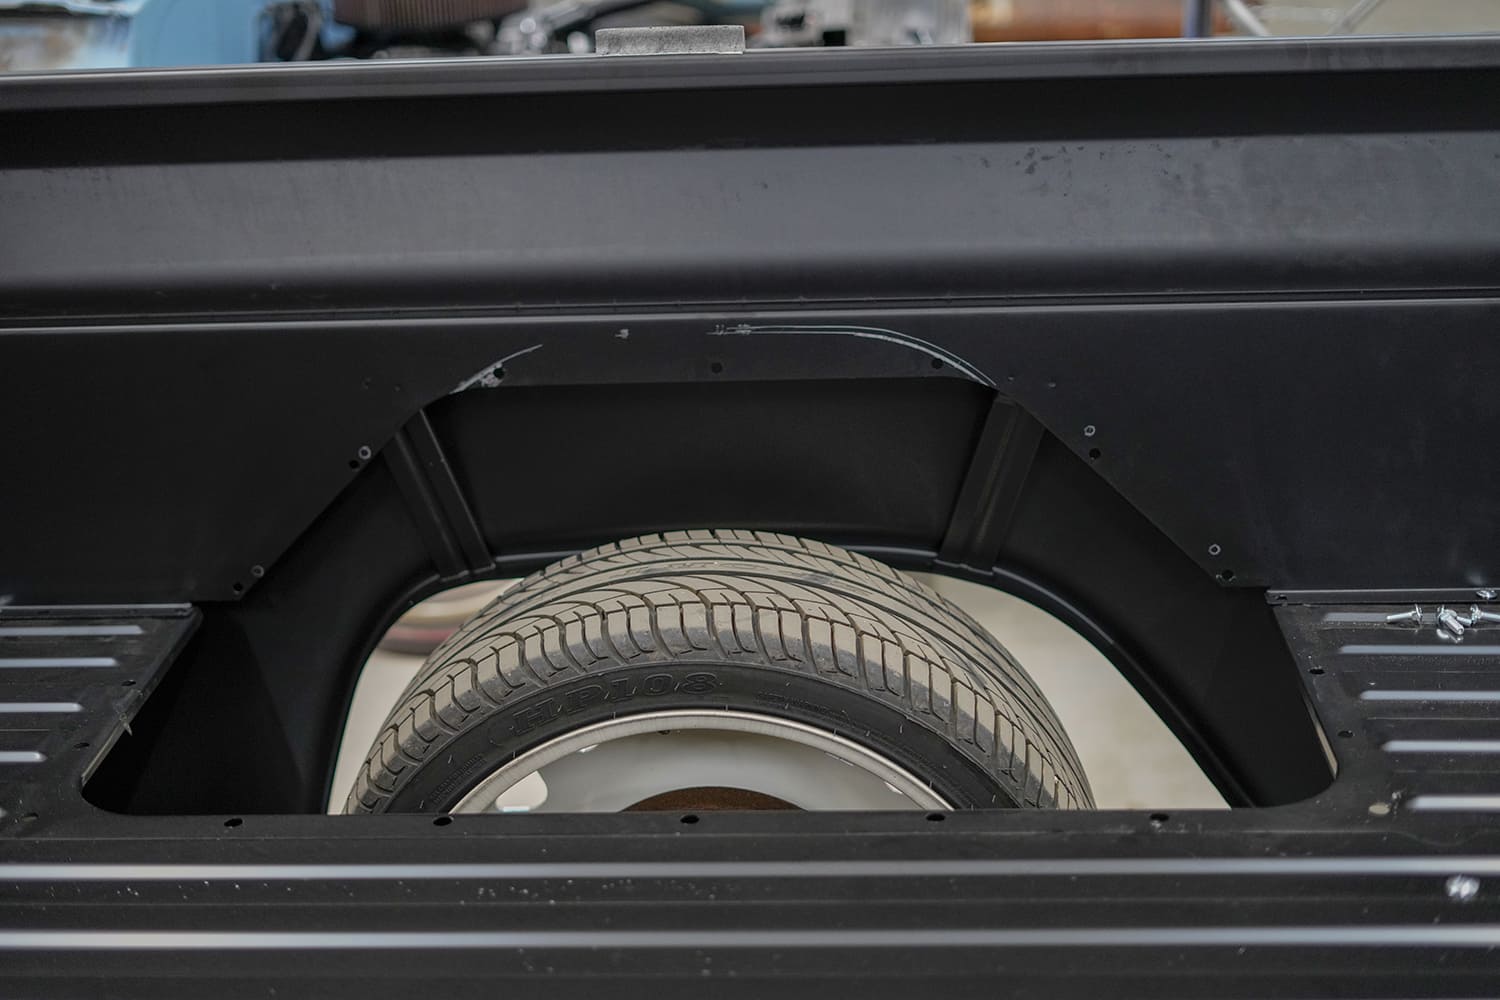
Lots of guys are looking for parts—Facebook Marketplace is the spot for this old bed.AMD’s 1967-72 bed floor with wider tubs gives you a TON of clearance over stock where you can run up to a 16-inch-wide wheel.The first modification required is drilling the second to last bed floor to frame mounting holes. We are using the 1967-72 hardware kit. All the other boltholes line up without modification.
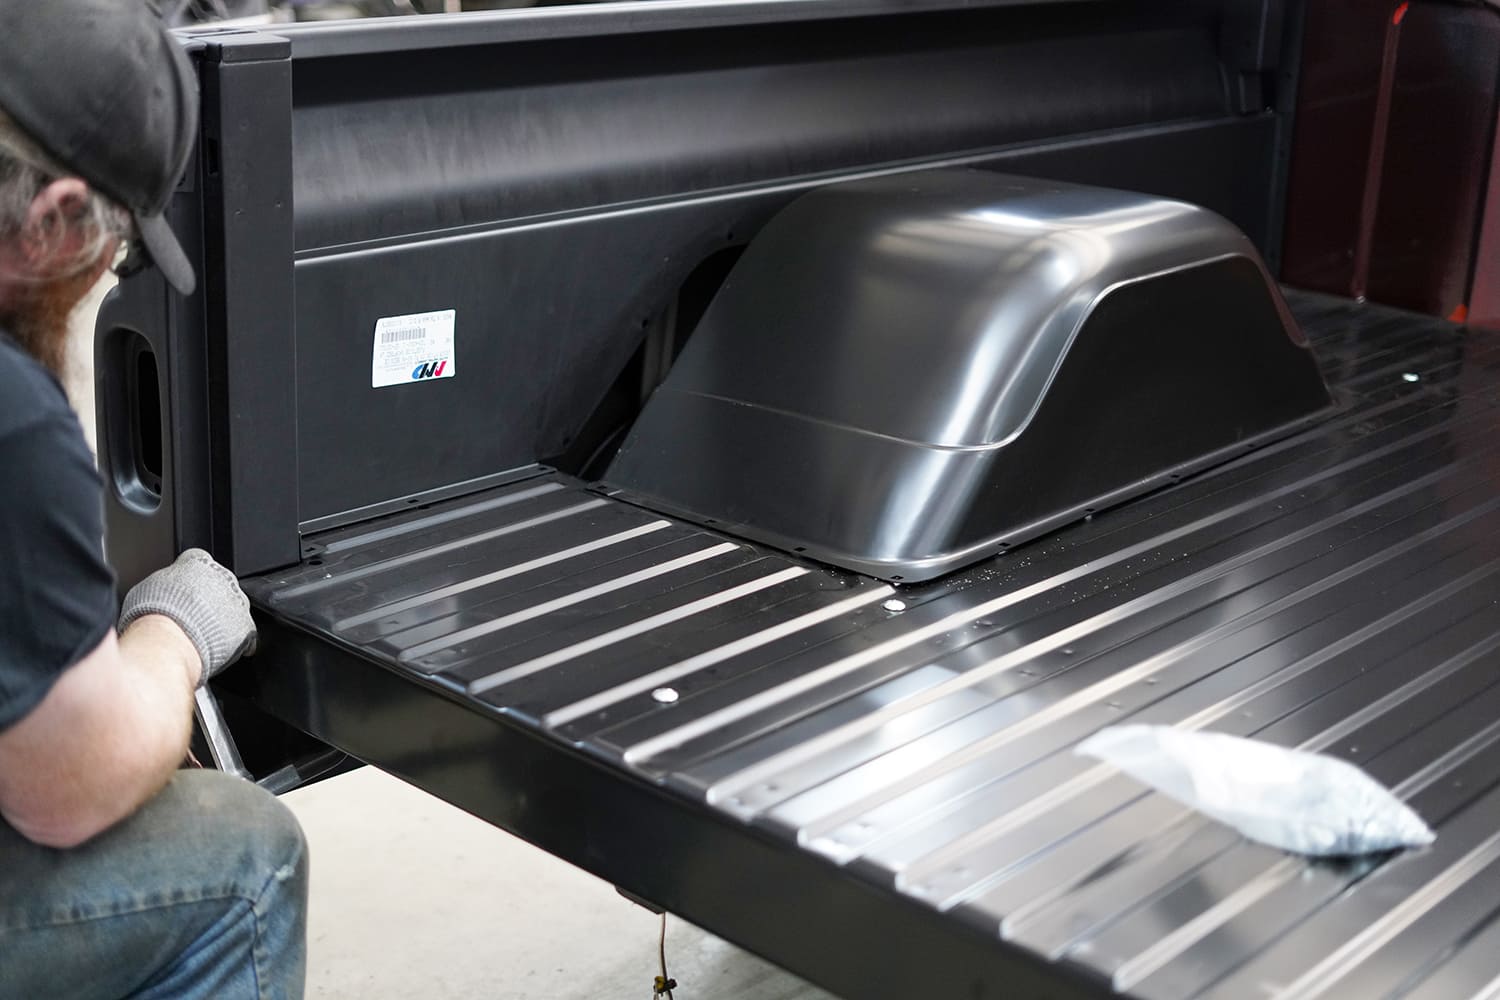
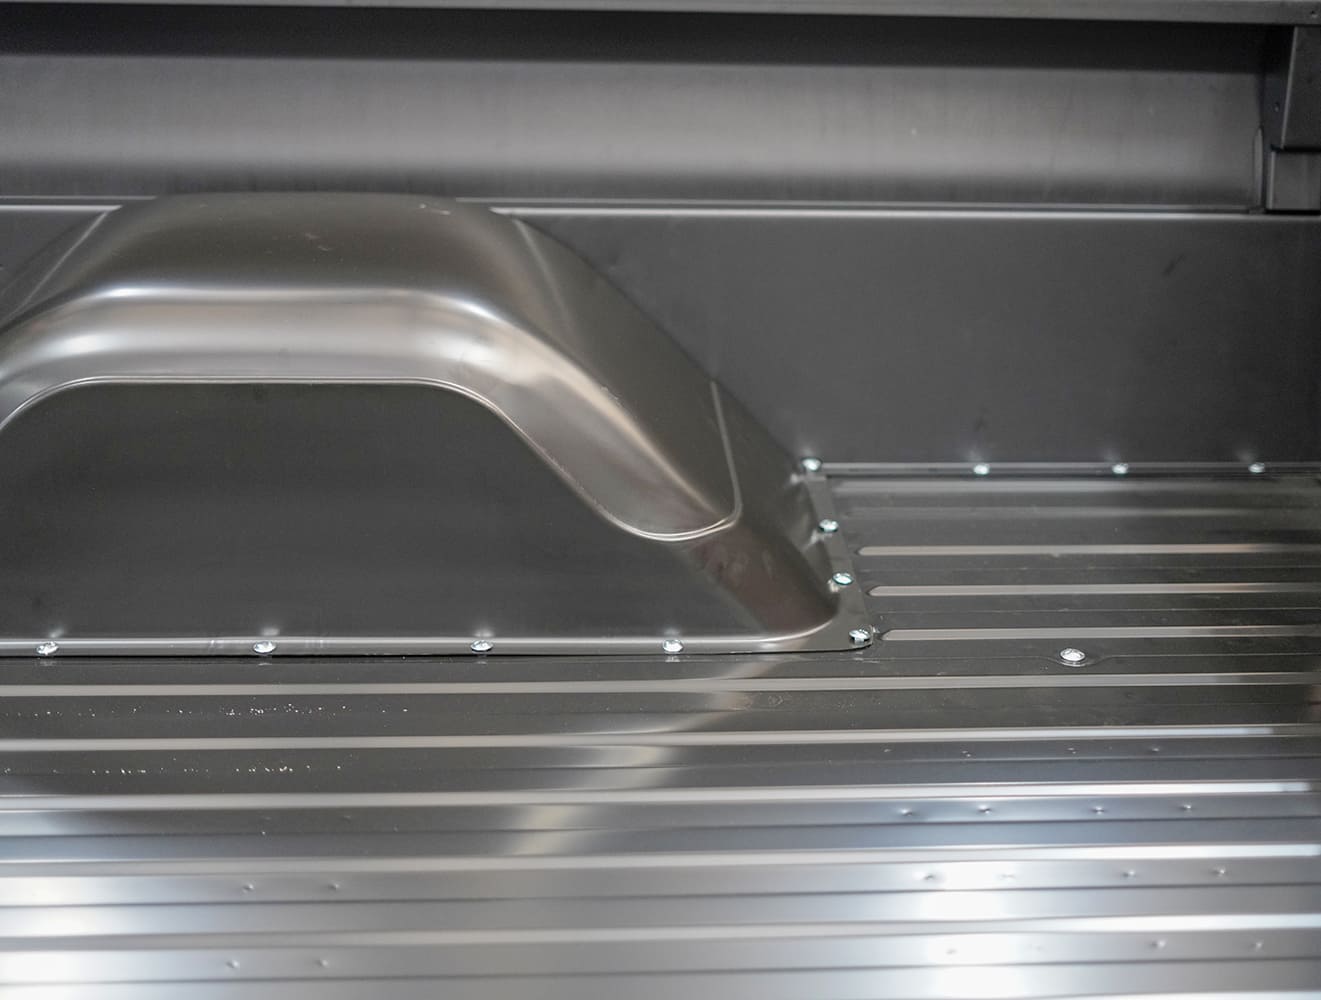
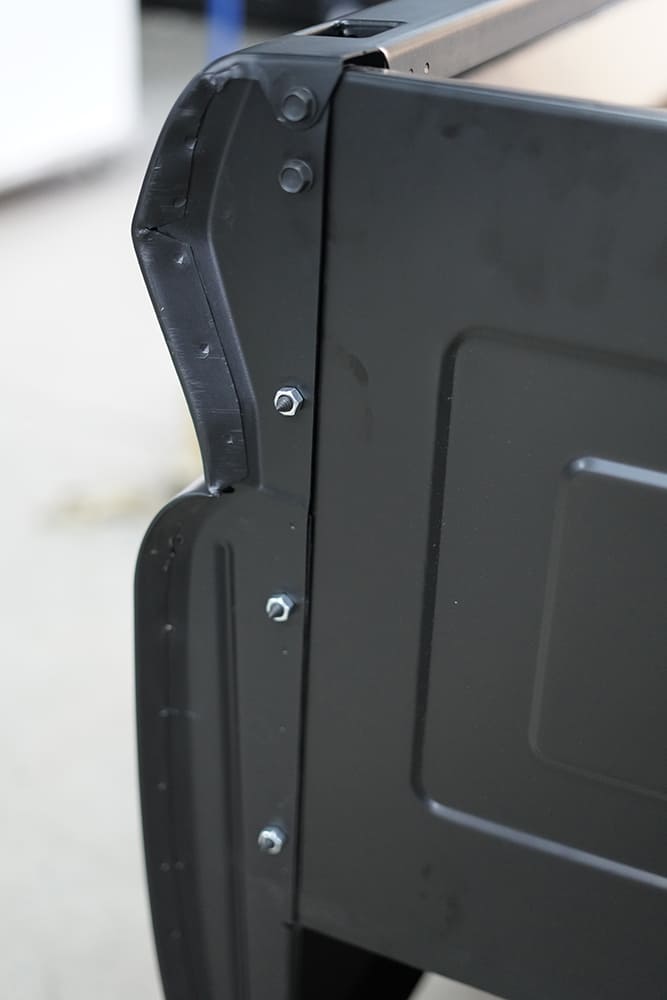
With the bed floor secured to the frame, we test-fit the 4-inch-wider wheeltub.The second modification required is cutting clearance for the 1960-66 bedsides to fit the rear cross rail on the steel bed floor. We test-fit the bedside to determine the relief cut needed.
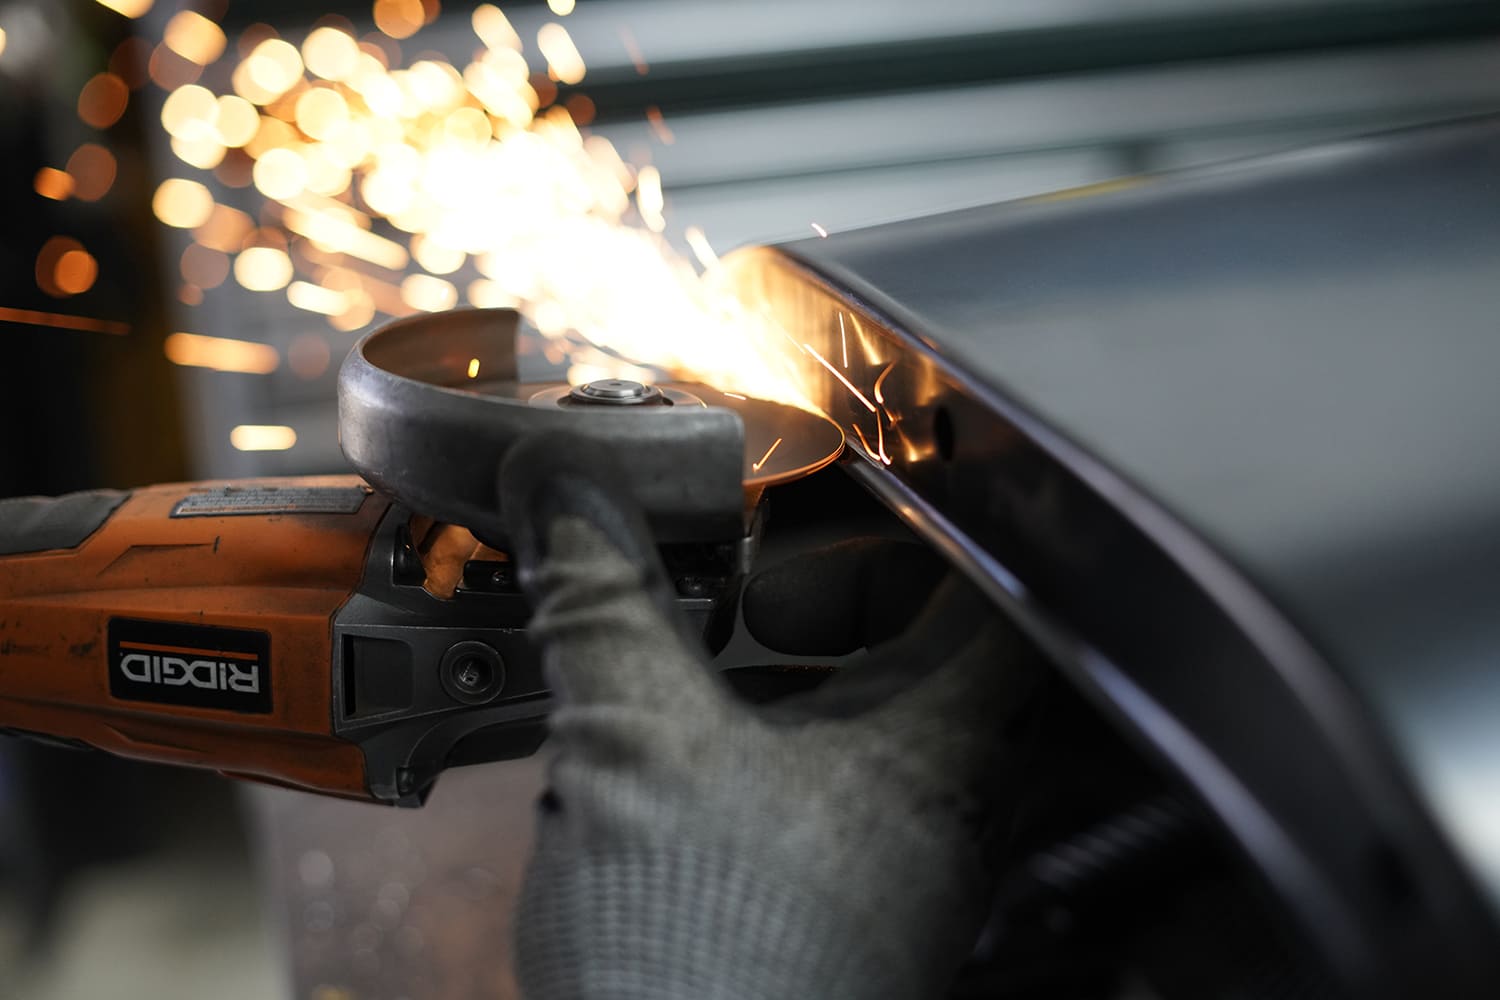
Using a body saw, Mike cuts the relief and test-fits the bedsides once again. It’s better to cut a little short and have to adjust than cutting too much and having to weld metal back in.With the cuts made, we install the front bed panel. We went with a steel bed floor conversion solution on this front panel from Summit Racing as it is already shortened for the new floor.We install the bedsides and wheeltubs using the factory mounting points along the bed floor.
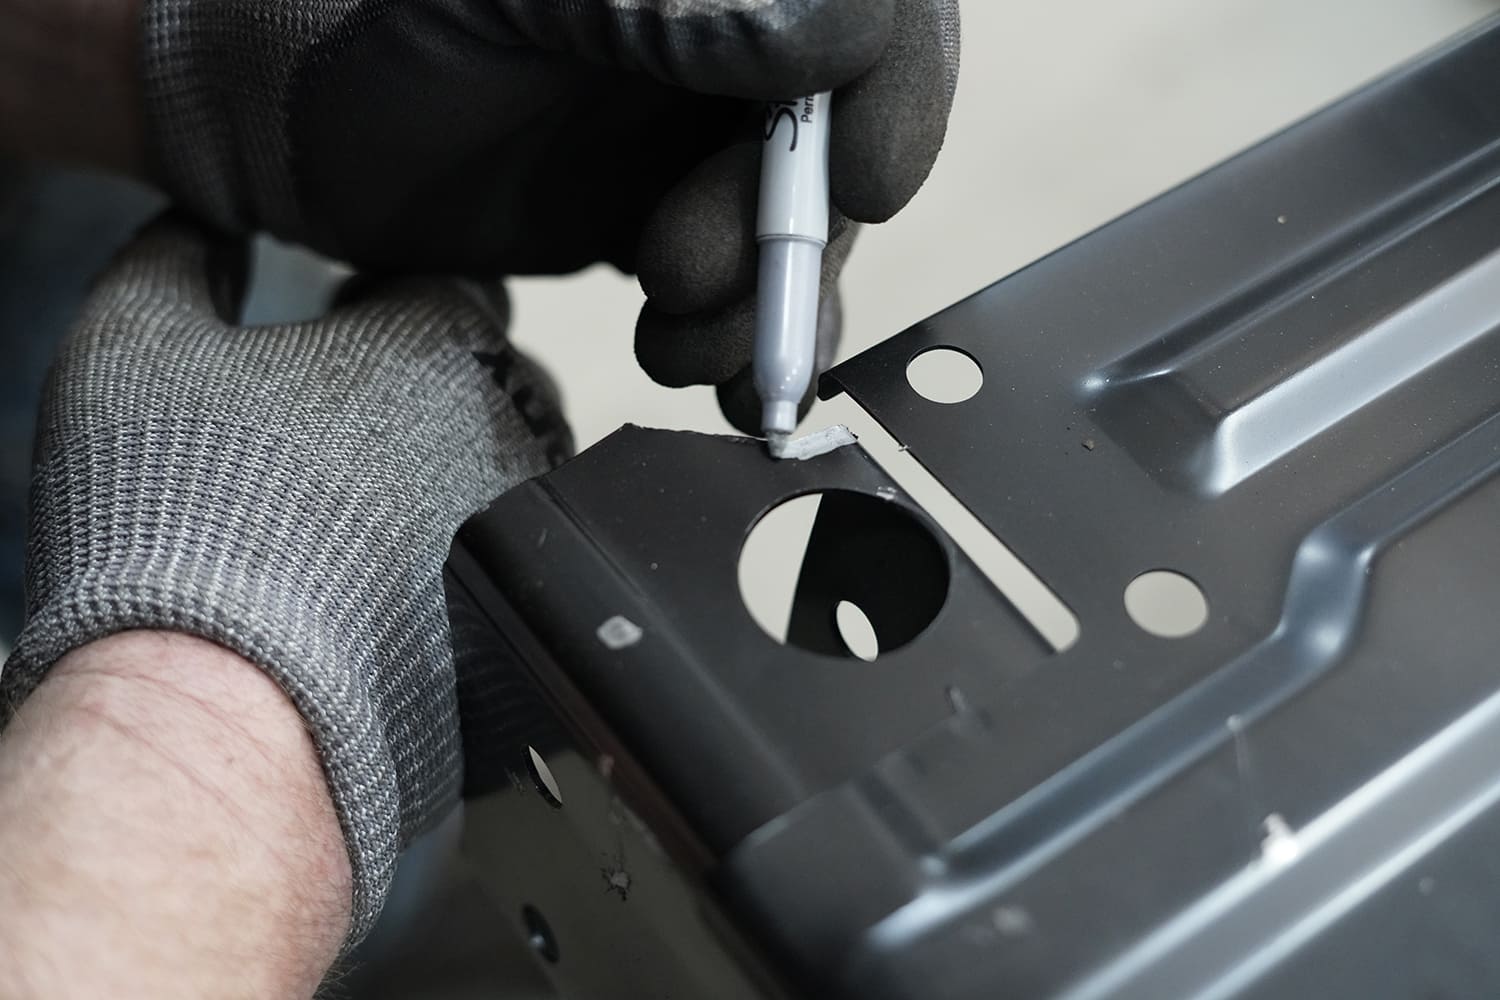
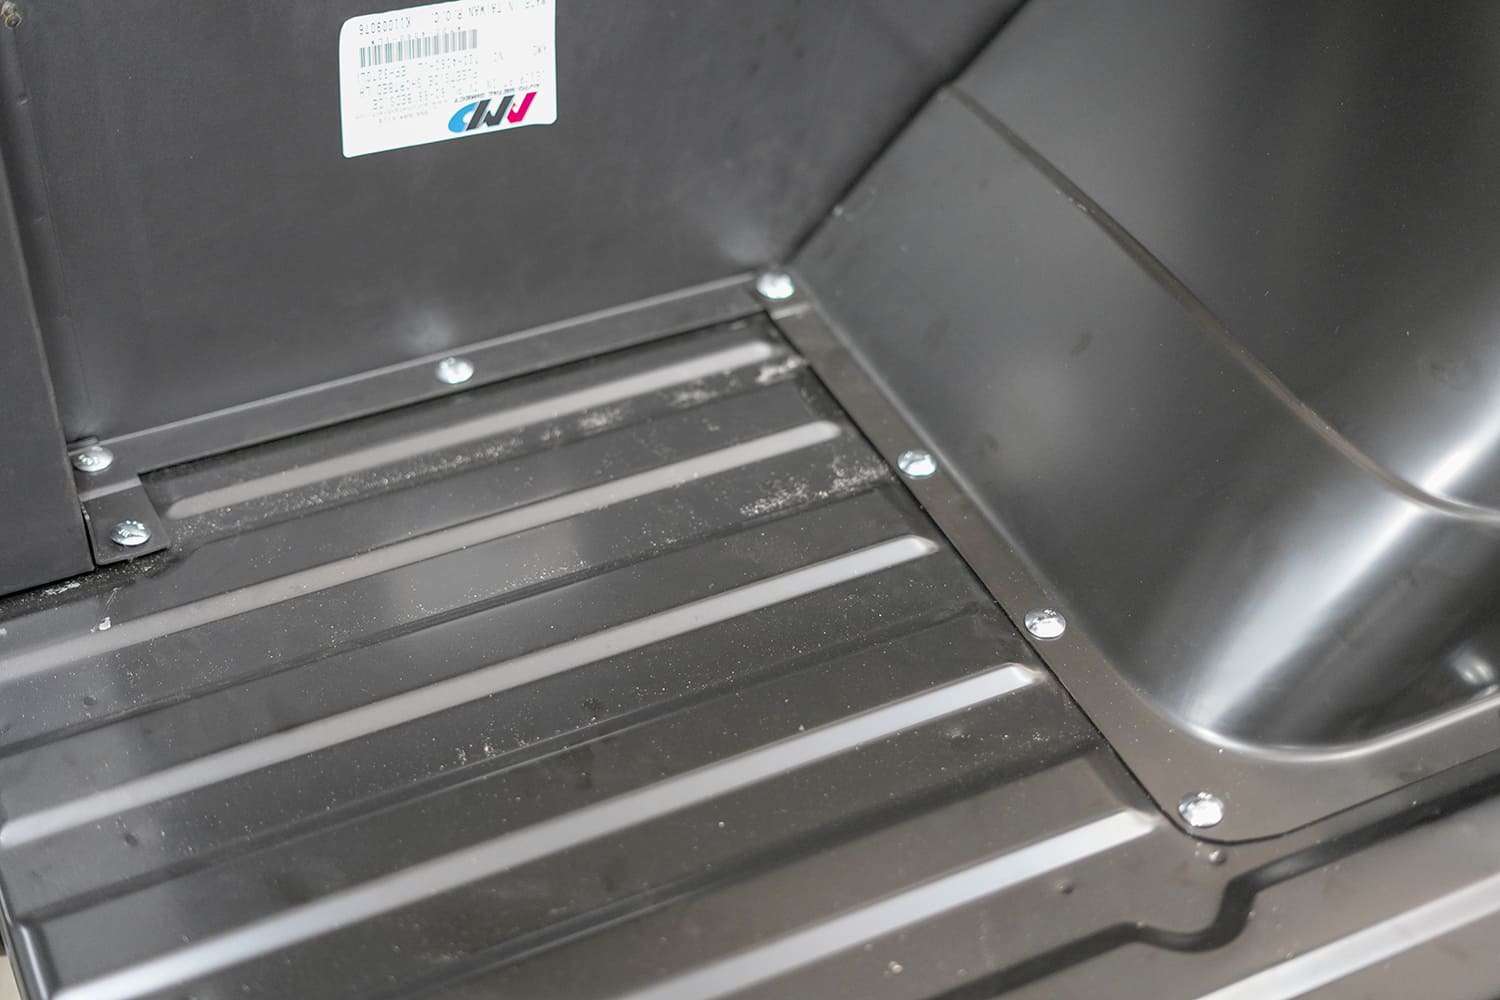
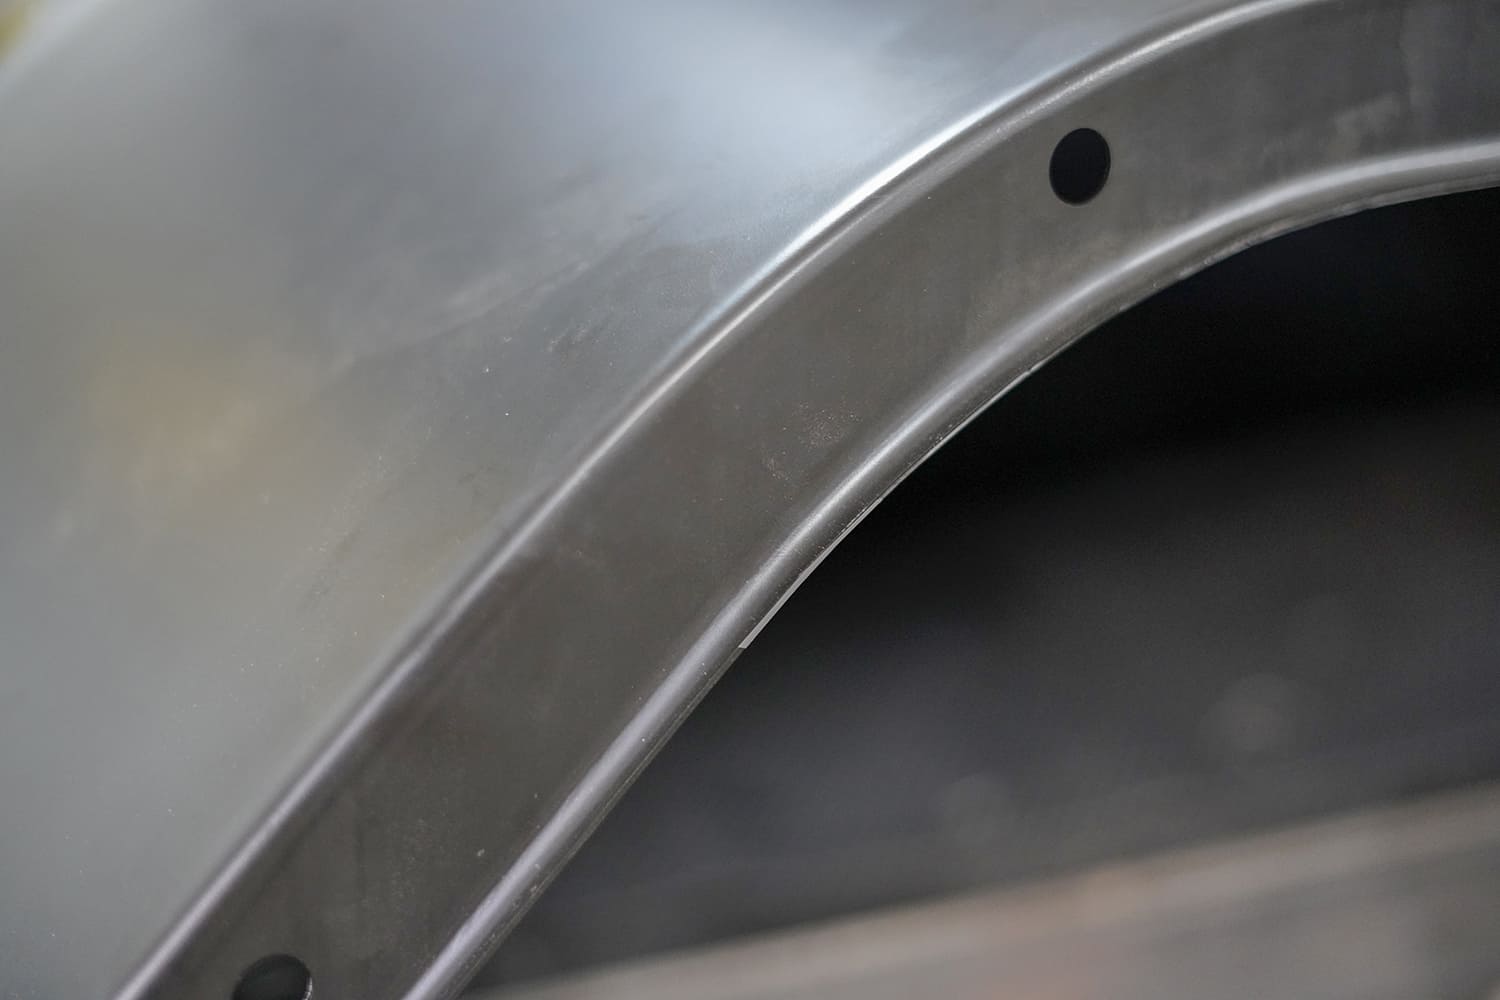
The third modification we need is to cut clearance on the 1967-72 wheeltubs to fit the 1960-66 bedsides. Once installed, the wheeltubs offer a great way to mark where to cut and drill.We determined it is better to drill the wheeltubs to match the bedsides. You will also need to cut the edge flange off the wheeltubs in order for them to mount flush to the bedsides.With the wheeltubs modified, final assembly can begin.
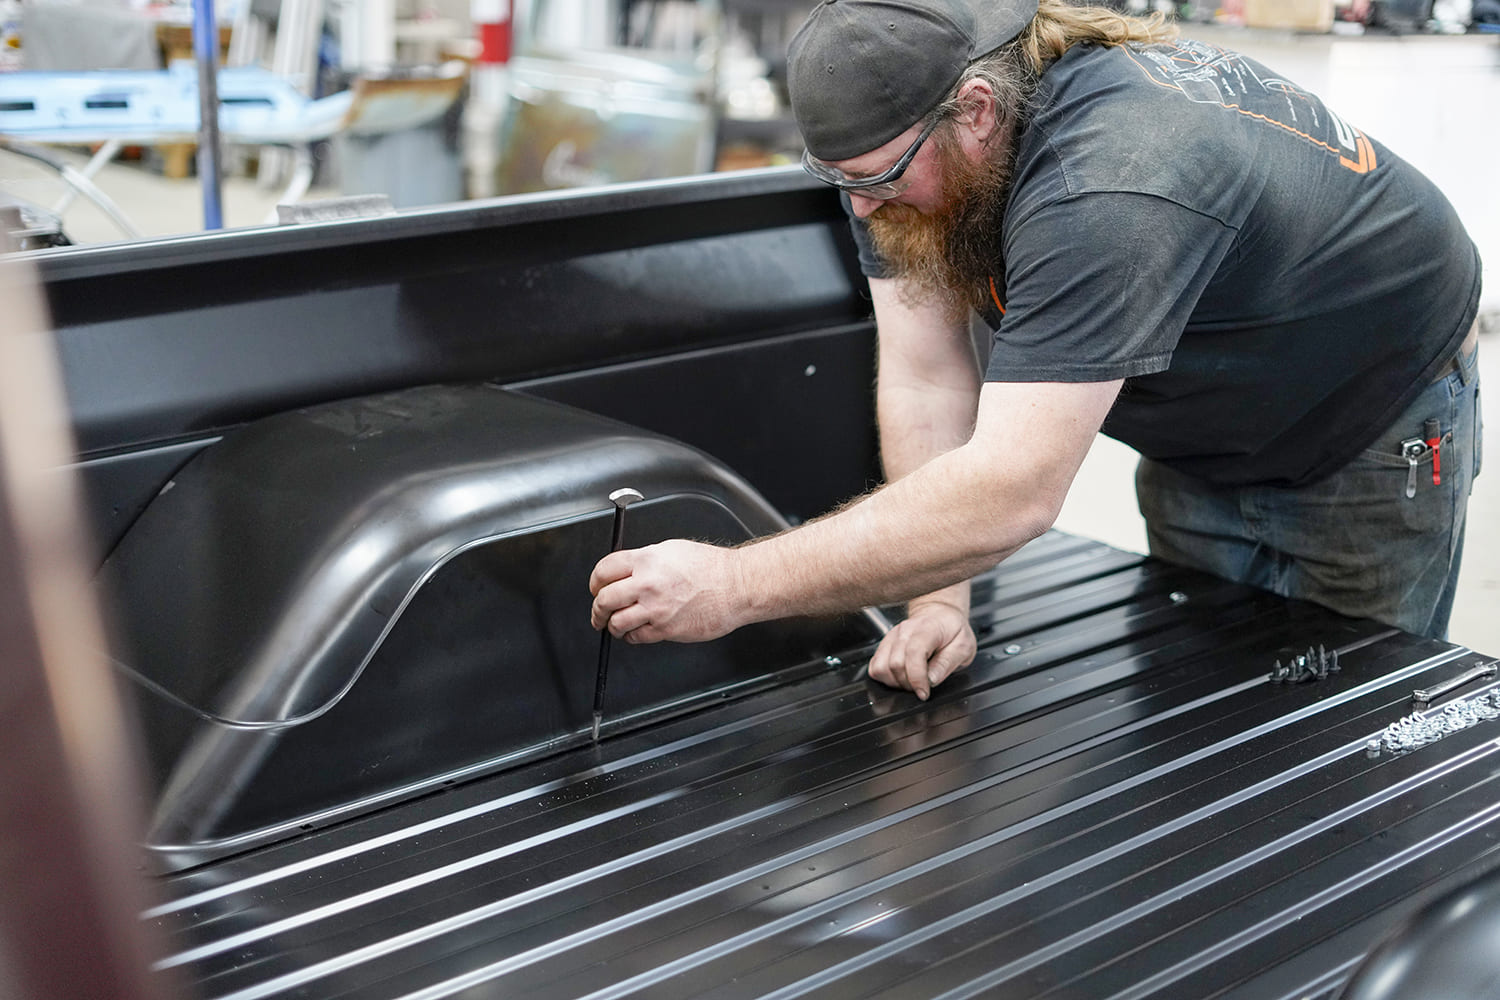
We use an automotive pry bar to help with panel alignment, making fitment a breeze.
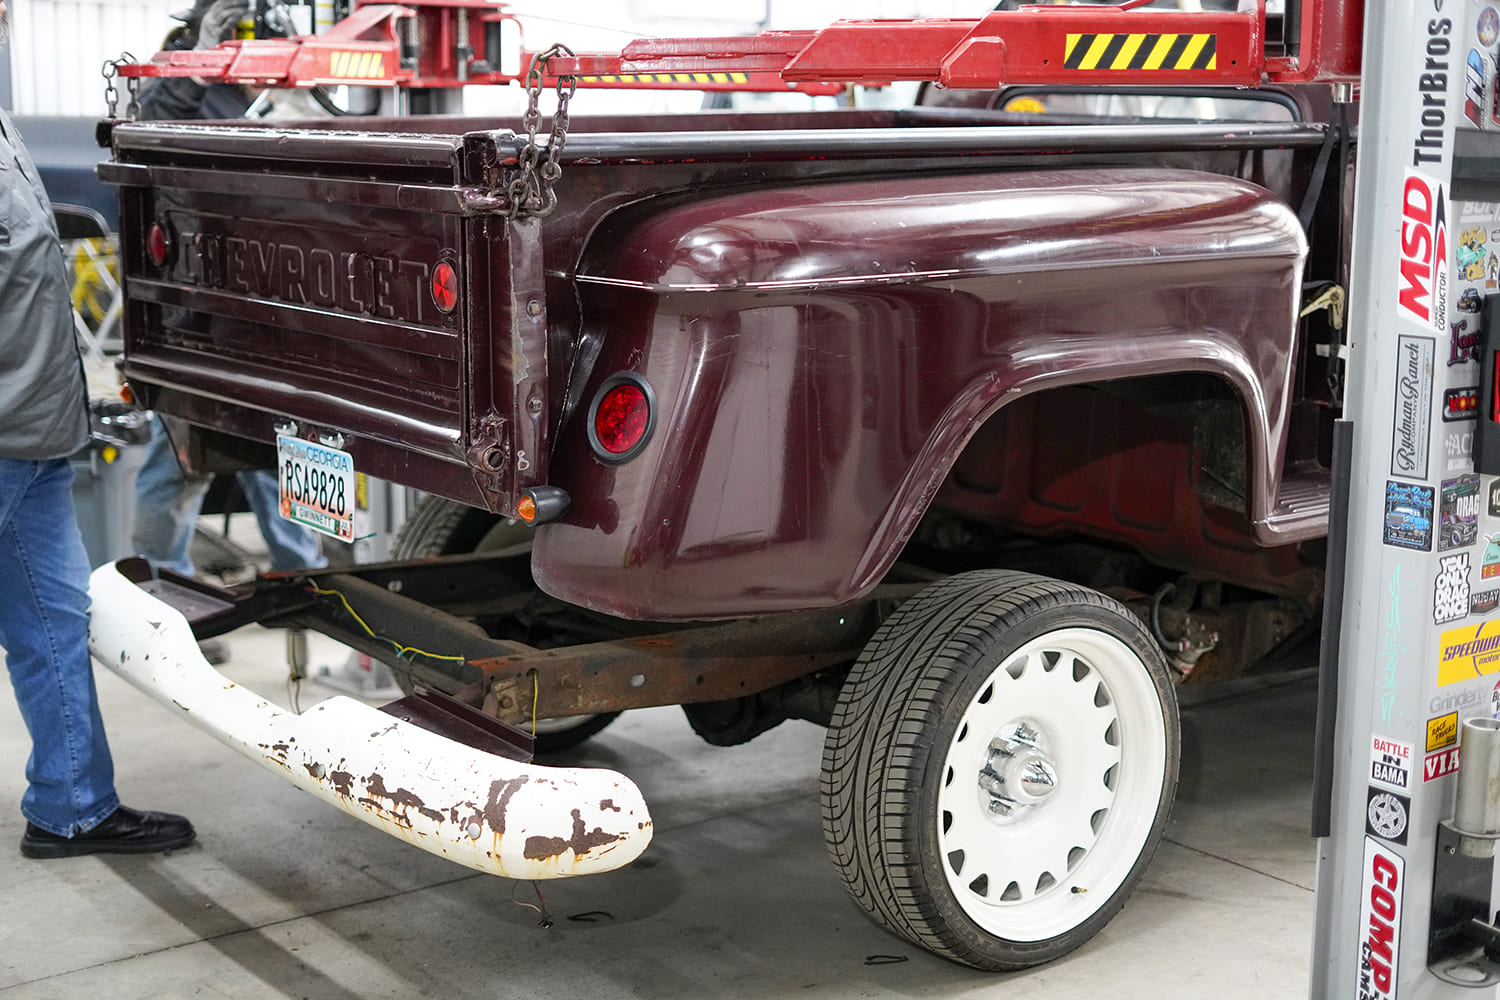
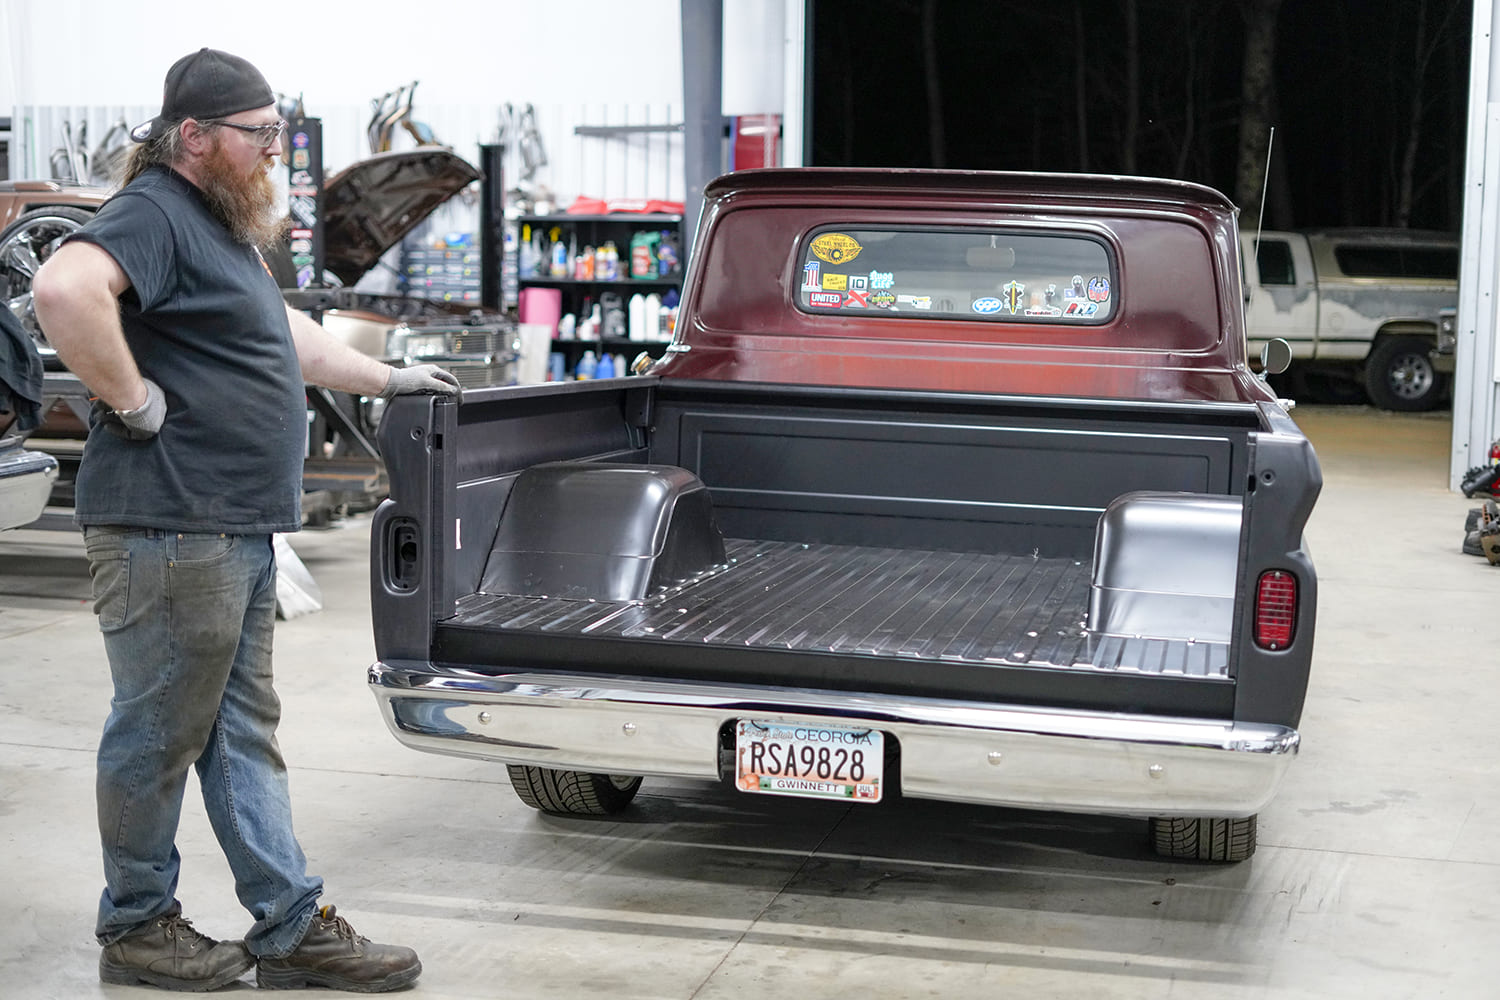
Mike Howe goes around the perimeter of the new bed floor to ensure all the fasteners are snug before aligning the bed into square.The new steel bed floor with wider wheeltubs makes a HUGE difference and can accommodate up to a 16-inch-wide wheel.Howe admires his handiwork, now this truck is ready to head over to the body shop for prep and paint.
We use cookies to ensure that we give you the best experience on our website. If you continue to use this site we will assume that you are happy with it.