


By Jeff Smith – Images by the Author and Jeff Huneycutt
The classic hot rodder approach is most often to concentrate first on making horsepower, followed by enhancing the appearance of our ride, and then perhaps down the road we’ll pay attention to other systems like suspension or brakes, but usually only if there is a problem. However, quickly approaching a busy intersection is not the time to discover the brake pedal sinks to the floor.
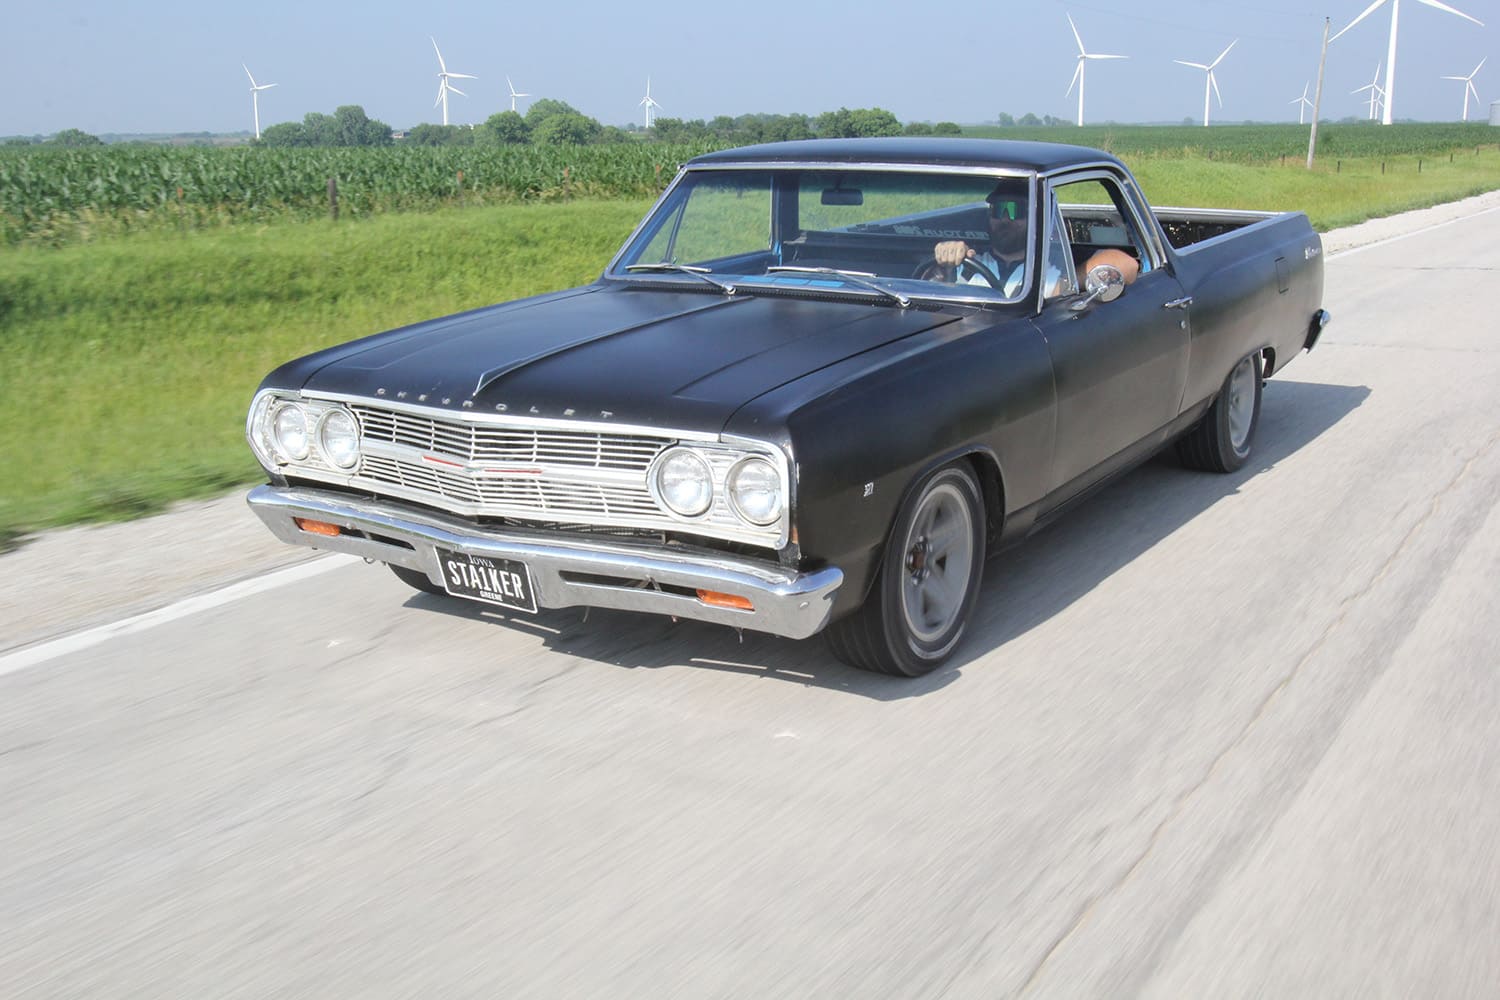
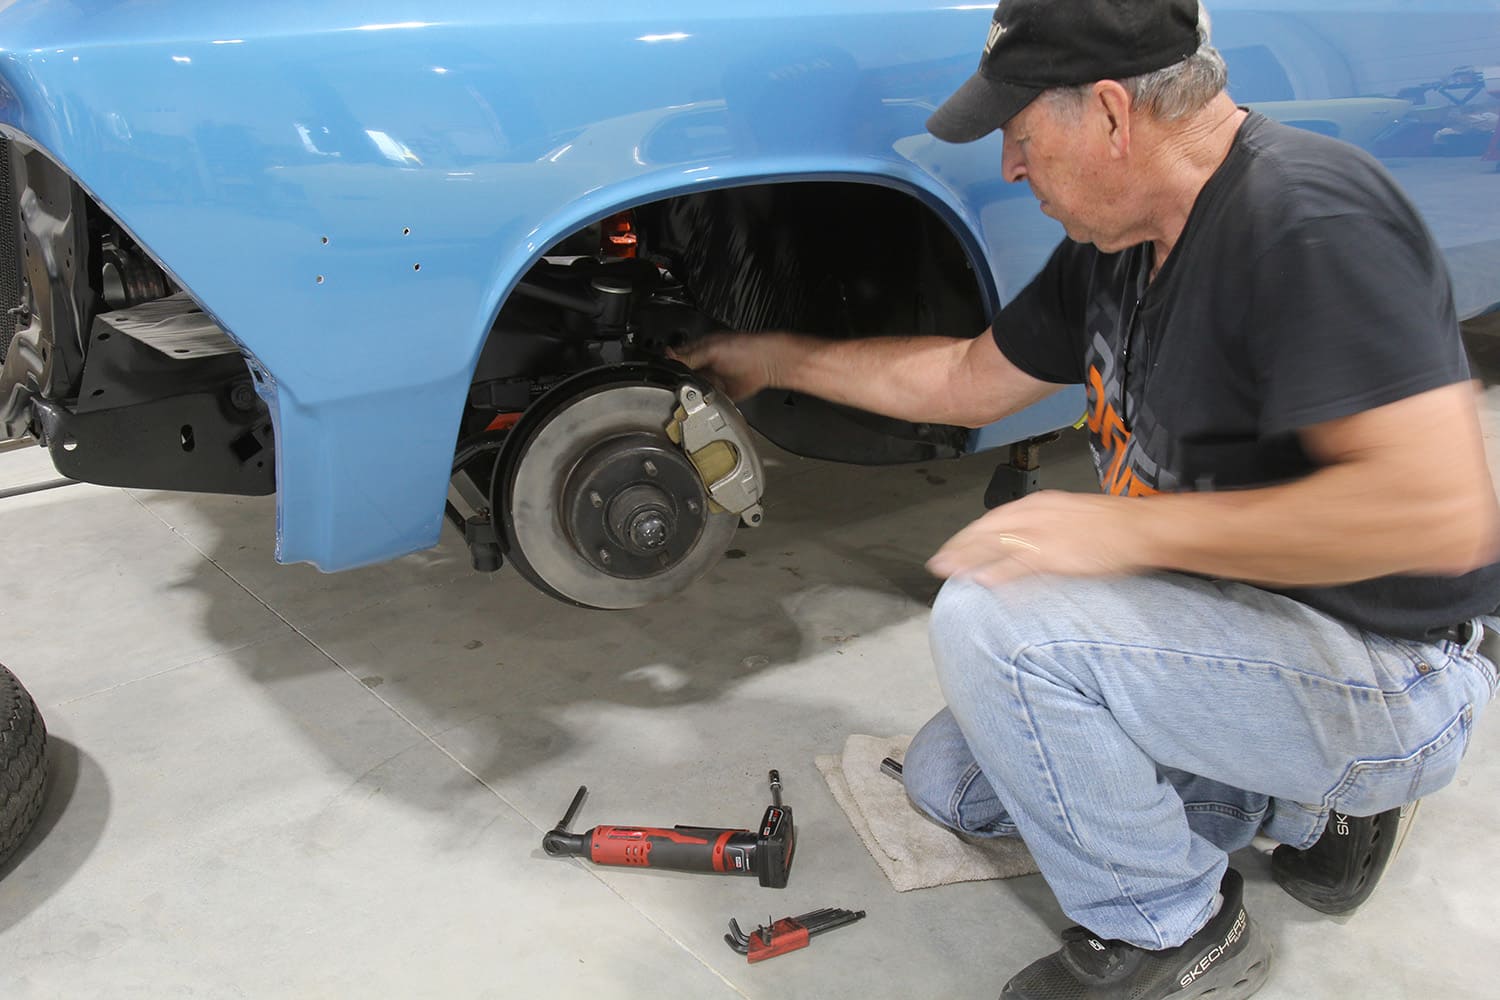
With the weather getting better by the day, this is a great time to sneak a peek at the brakes on our ride and perform a little preventative maintenance. We’ll assume for the purpose of this story we’re working with a typical 1970’s disc and drum combination. In our case, two of our rides have the classic GM single-piston floating caliper front-disc brake system combined with drum brakes in the rear.
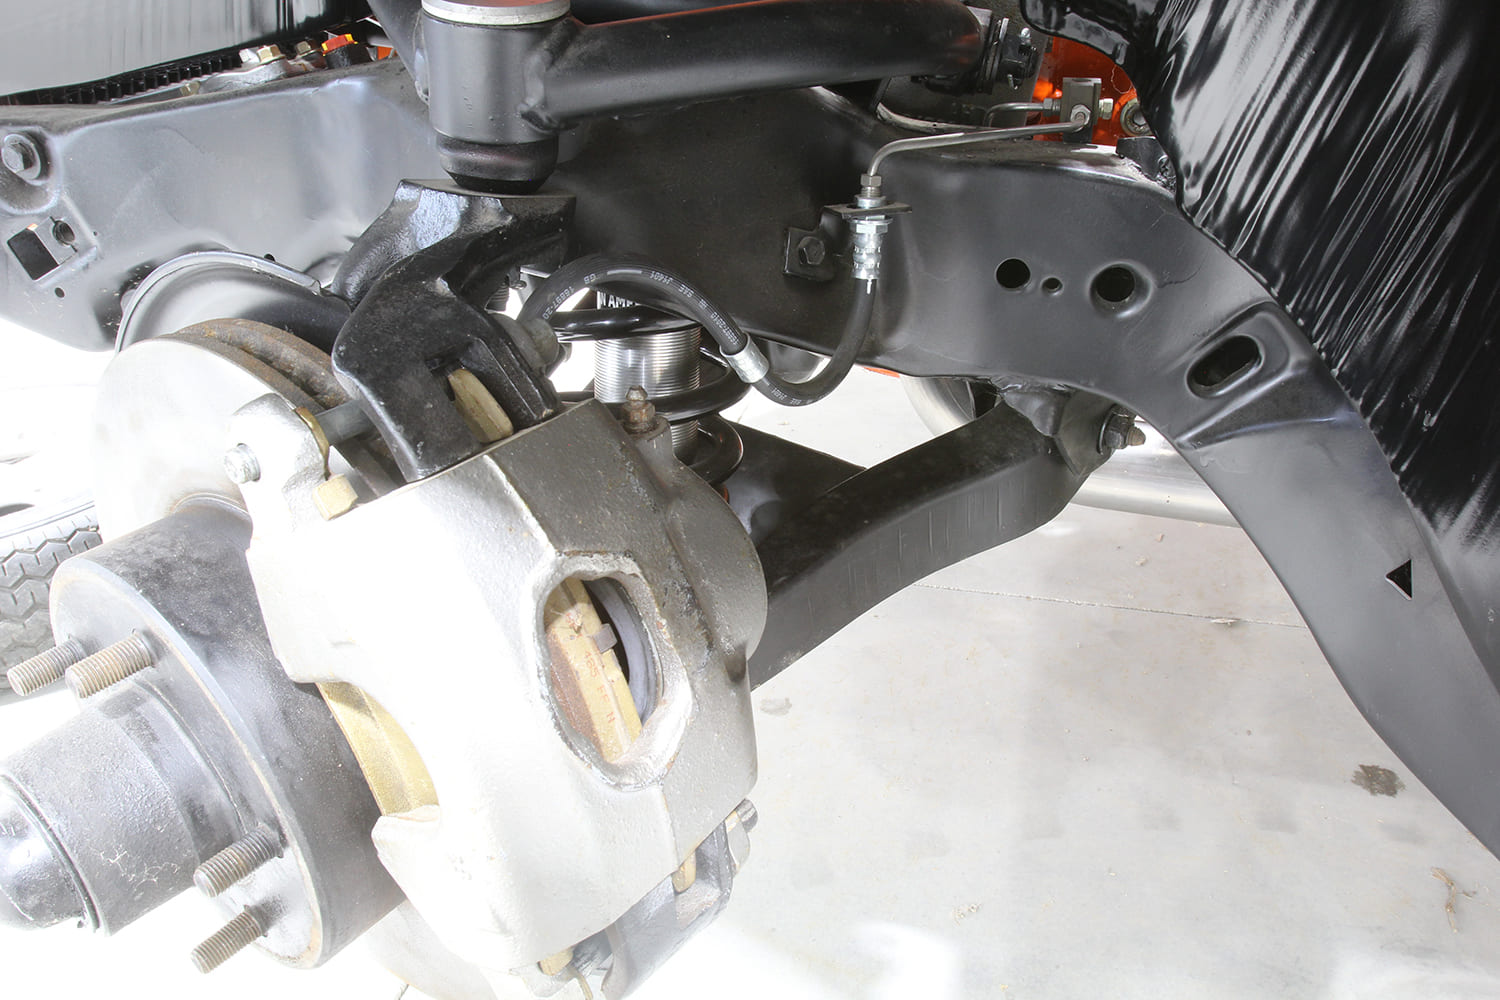
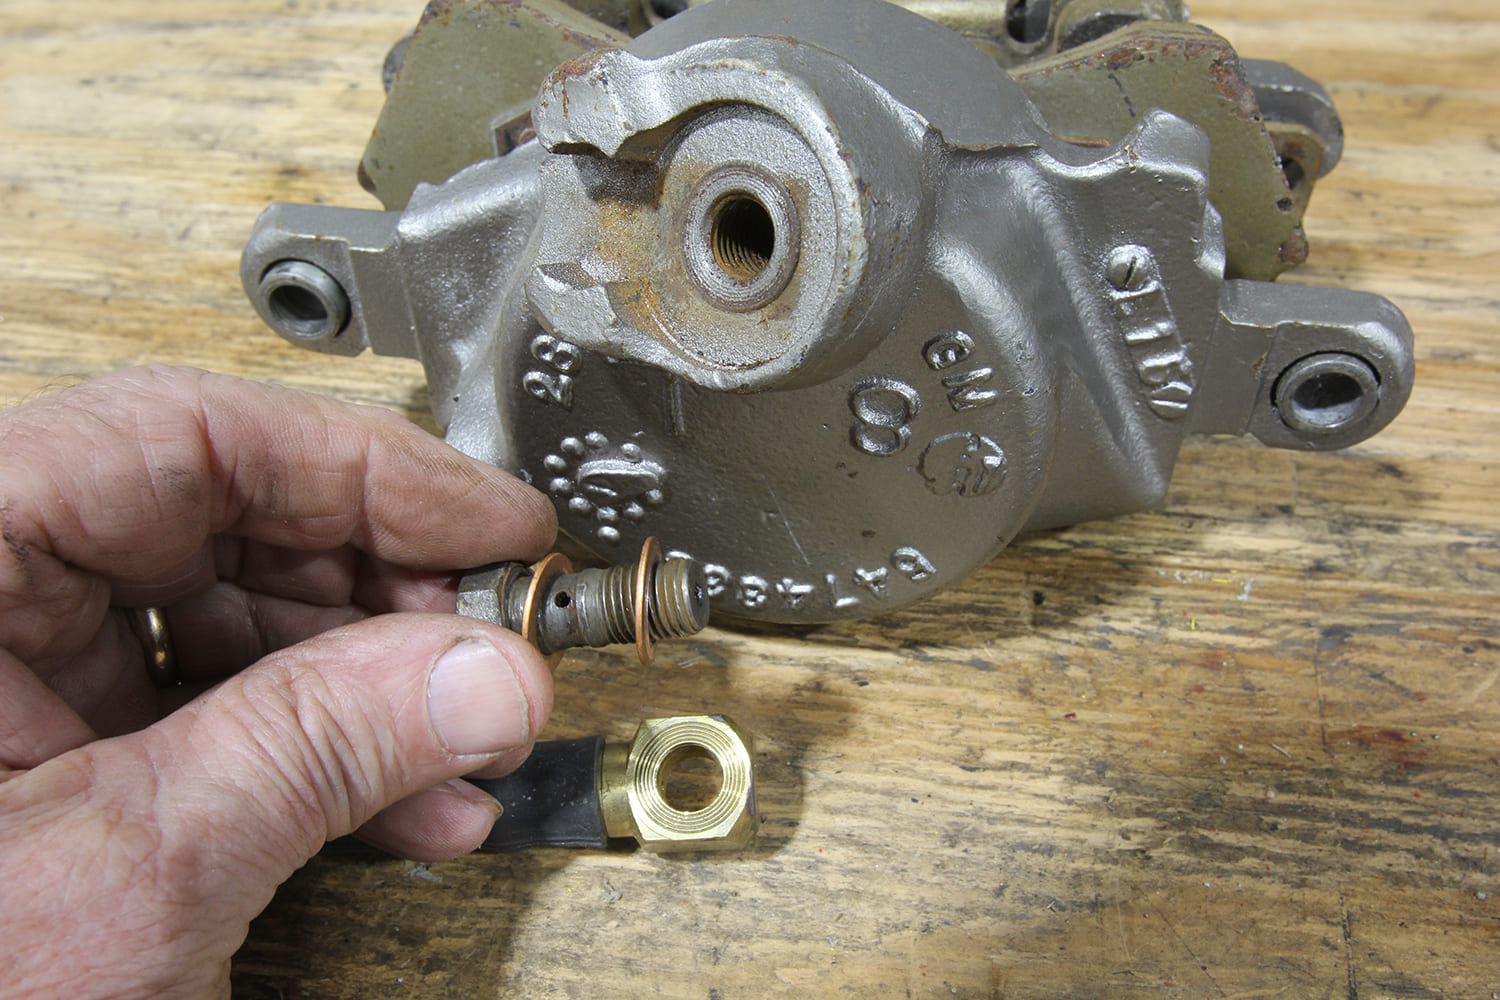
Among the items that need attention are the condition of the brake pads and rotors, along with those flexible brake hoses on each front wheel and the rear hose over the rear end that is completely overlooked. To illustrate how that hose can fool you, we had dragging rear brakes that fooled us for a time until we realized the rear brake hydraulic hose had internally delaminated and was retaining enough pressure to drag and overheat the brakes. Externally, the hose appeared fine, but internally the rubber line had collapsed and would capture fluid, not allowing it to return to the master cylinder. If any of the rubber hydraulic lines appear cracked or damaged, this is the perfect time to replace them.
Next on our list is an item everyone ignores: brake fluid. This hydraulic fluid has the difficult job of creating hydraulic pressure in the brake system despite working through an operating temperature range from below zero to caliper temperatures reaching 500-plus degrees F. One critical point that is often discounted is that brake fluid is hygroscopic, which means it can absorb water right out of the atmosphere. While you might think that a closed brake system would prevent that from happening, oddly, the fluid can pull moisture through the pores in the flexible rubber brake hoses and seals.

The reason water in brake fluid is bad is two-fold. First, as water is absorbed, it can create corrosion in the system that can freeze up pistons and generally cause havoc. The second and more important point is when water enters the system the boiling point of brake fluid drops. A tiny amount of water isn’t overly concerning, but if the water percentage is high enough, it can lower the boiling point enough to cause brake failure when the fluid boils under hard use. When this occurs, it can cause the brake pedal to fade or completely drop to the floor. That’s bad.
Autocross and road racers are aware of this, which is why they replace the fluid as part of their regular maintenance program. For street cars, the standard is to replace the fluid every two to three years, or every 30,000 miles. The reality is very few dedicated enthusiasts bother with this part of vehicle maintenance. That is exactly why we bring this up.
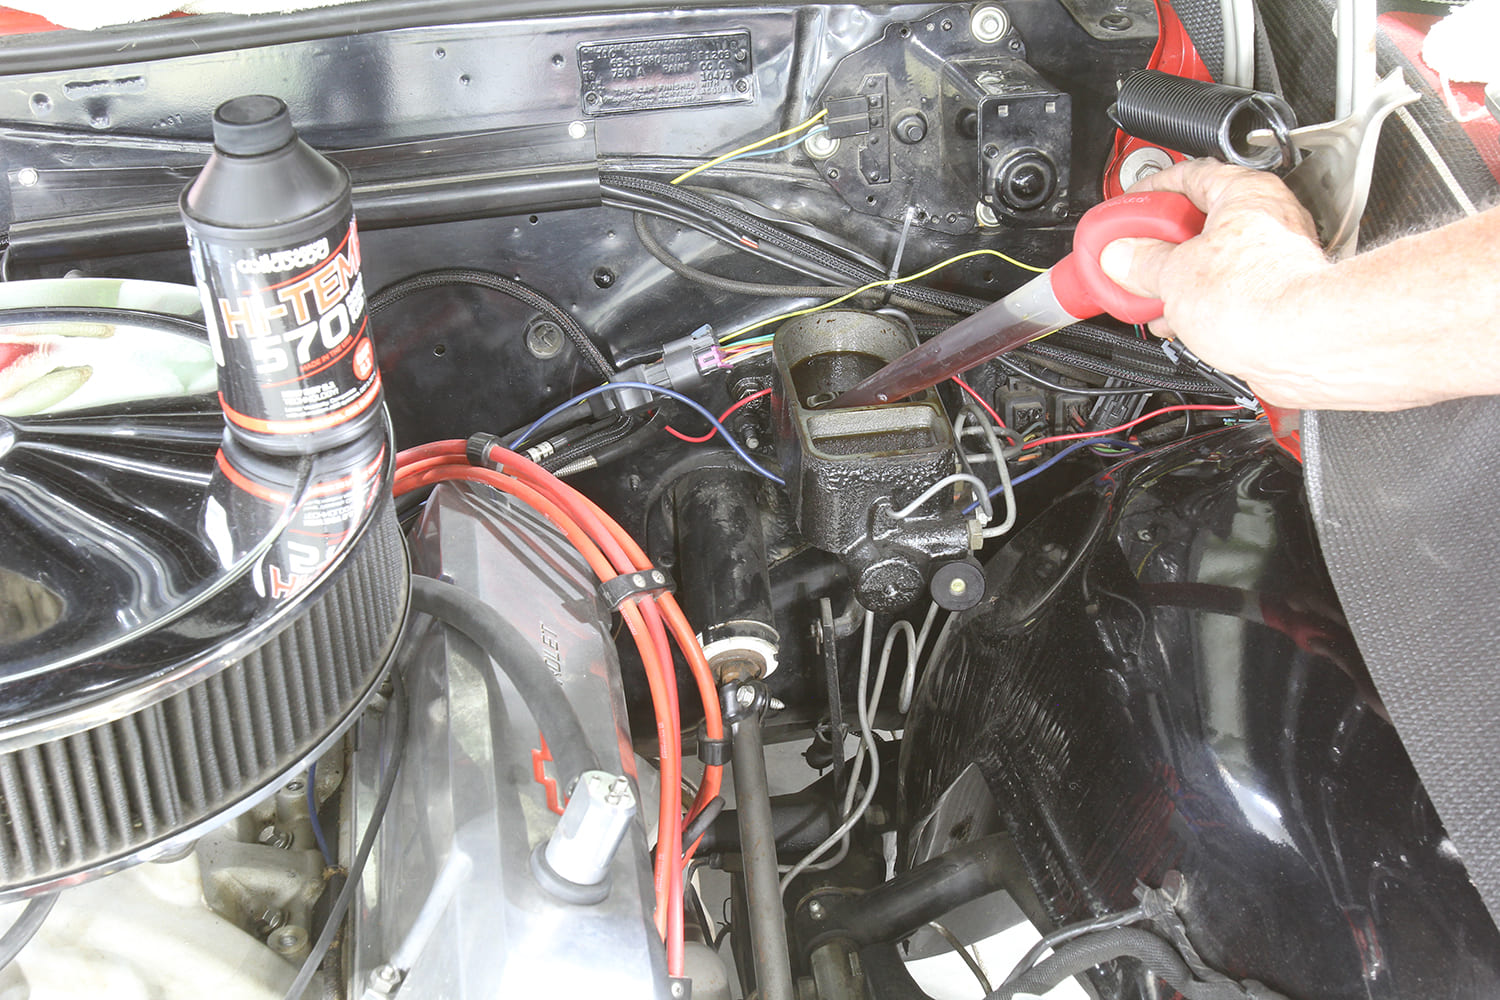
Performance or show cars that are driven sparingly or are stored for long periods of time tend to suffer from moisture contamination more aggressively than cars that are driven more often. While there are brake fluid contamination test strips on the market, frankly, it’s better to completely purge the brake fluid every three years on any performance car. If you can’t remember the last time you purged the brake fluid in your car, then you know it’s long overdue.
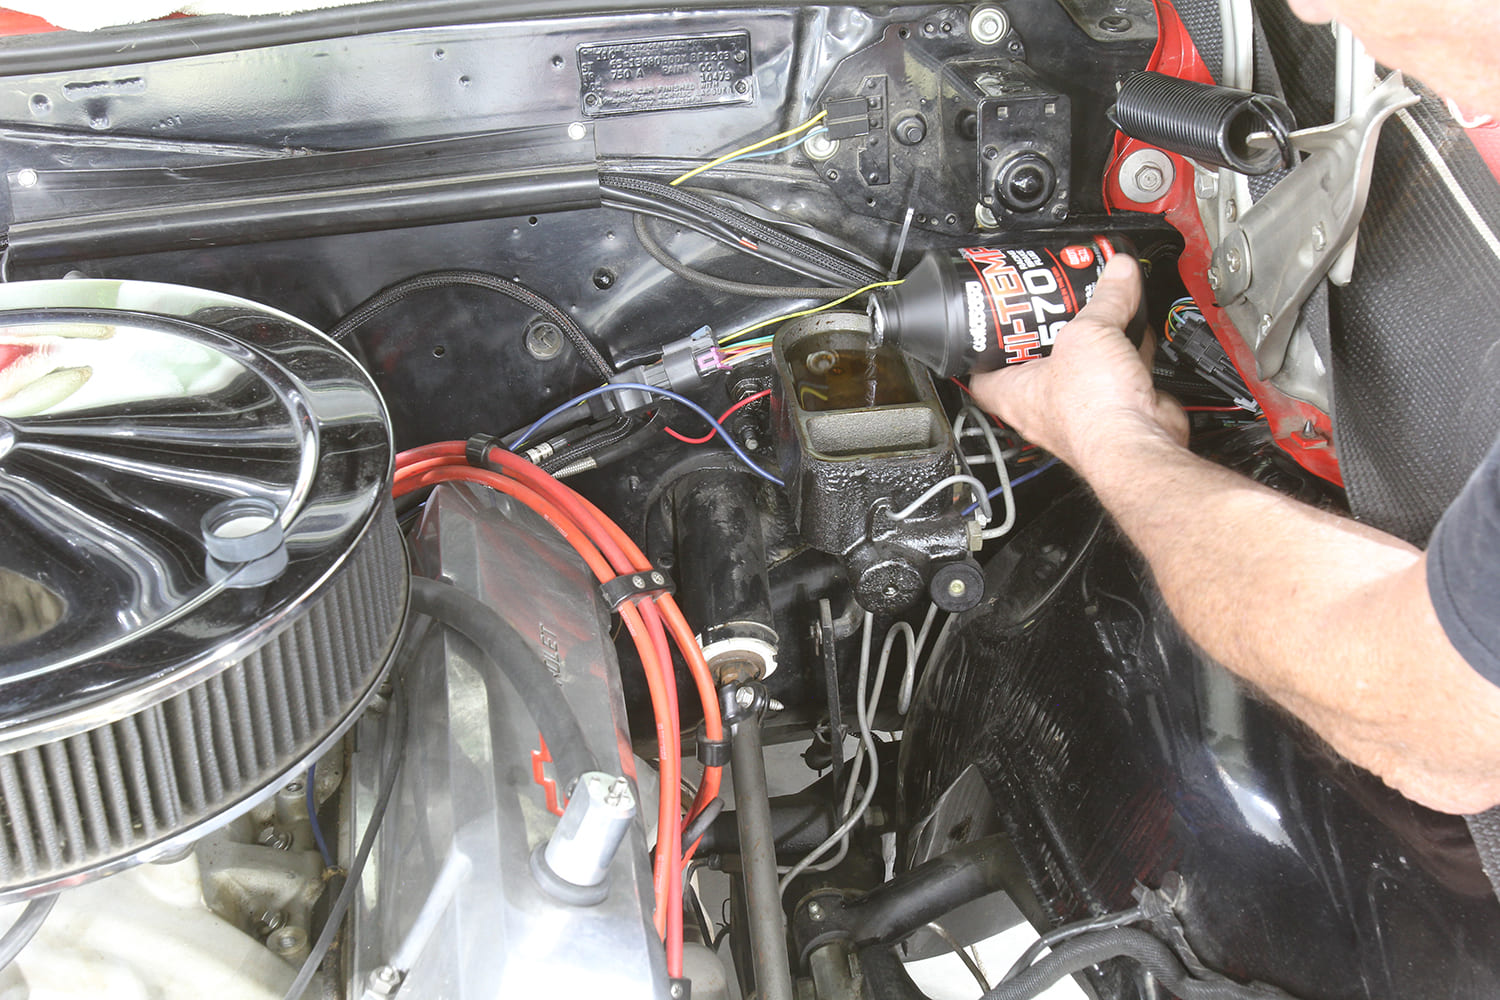
The best fluid for any street-driven performance car is to select the common DOT 3 or 4 fluid. It might seem that a higher boiling point rated race fluid would be better for a performance car, this is not recommended. The trade-off in offering a higher boiling point is that these fluids tend to absorb more water than DOT 3 or DOT 4 fluid. This is why race cars change the brake fluid after every race. The street driver recommendation is to go with a DOT 3 or DOT 4 fluid. Wilwood’s DOT 3 fluid has a dry boiling point of 570 degrees F, which is higher than the standard spec and is good compromise between high boiling point and long service life.

Moving further into our street brake system maintenance, let’s assume that your front brake calipers are performing well and the rotors are also in decent shape. This might be a good time to upgrade the pads to ones with a higher temperature rating. There is a vast world of front disc brake pads out there even for the common, D52-style GM single-piston floating caliper. We could pen an entire story just on the breadth of choices. This might be where you could ask other enthusiasts for their input as disc brake pads are very much a personal choice kind of purchase.
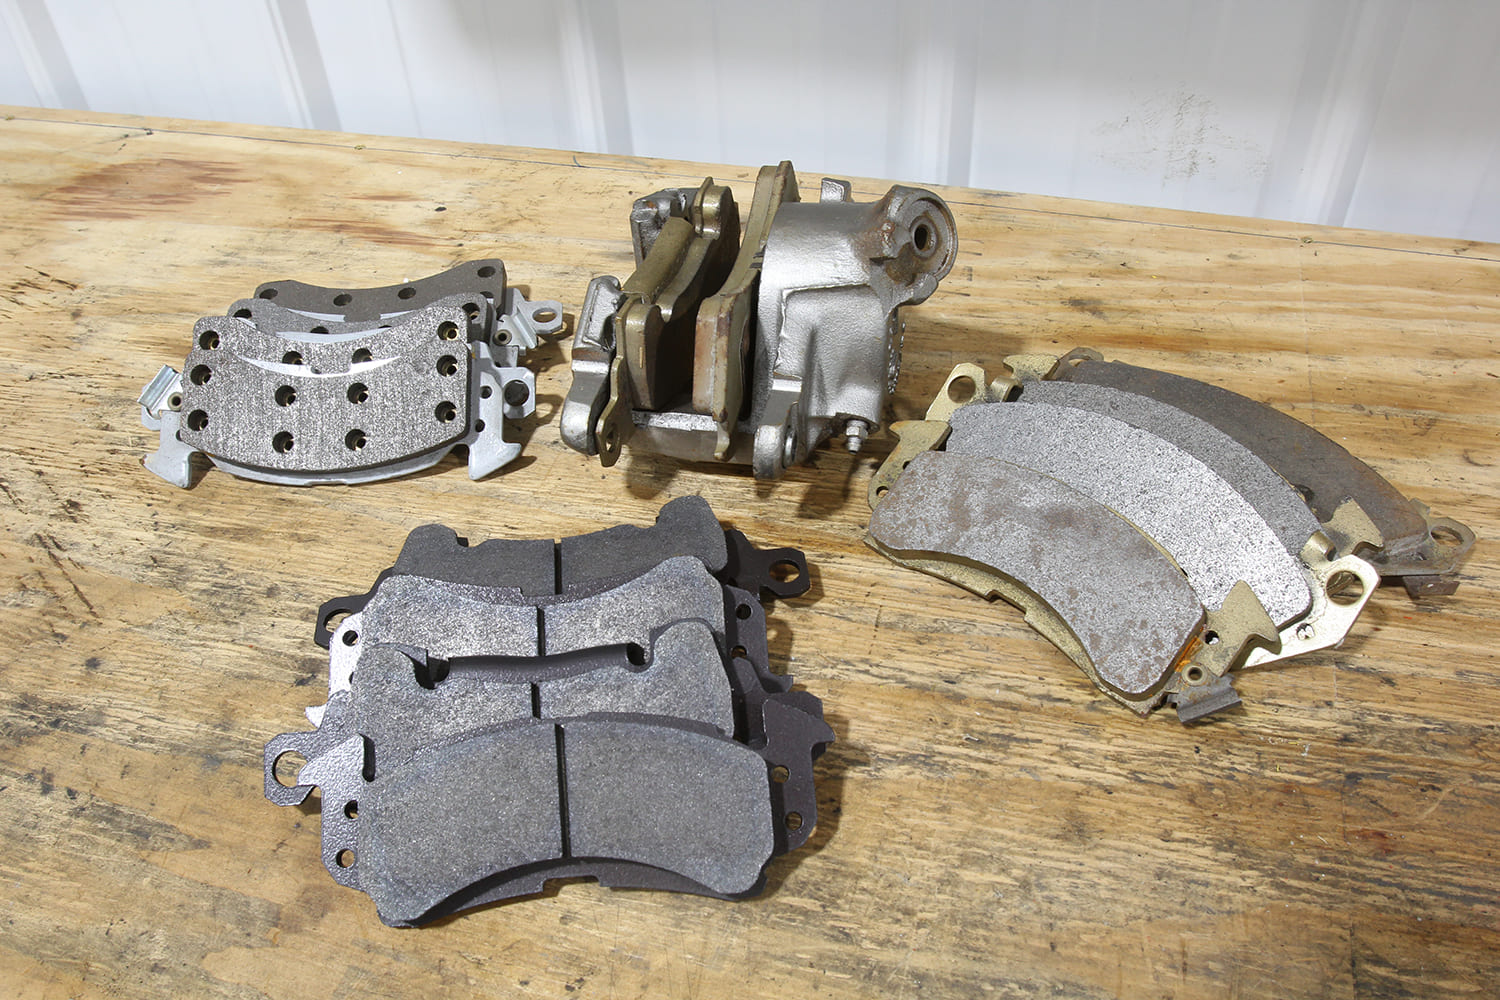
What you should look for in a performance brake pad would be good cold temperature performance along with high friction capacity but with low noise and minimal dust. Since this is such a personal choice, the only way to get a feel for a pad’s performance may be to drive a car with the pads in place. For our input, Wilwood’s BP-10 pad (150-8939K) is a good choice.
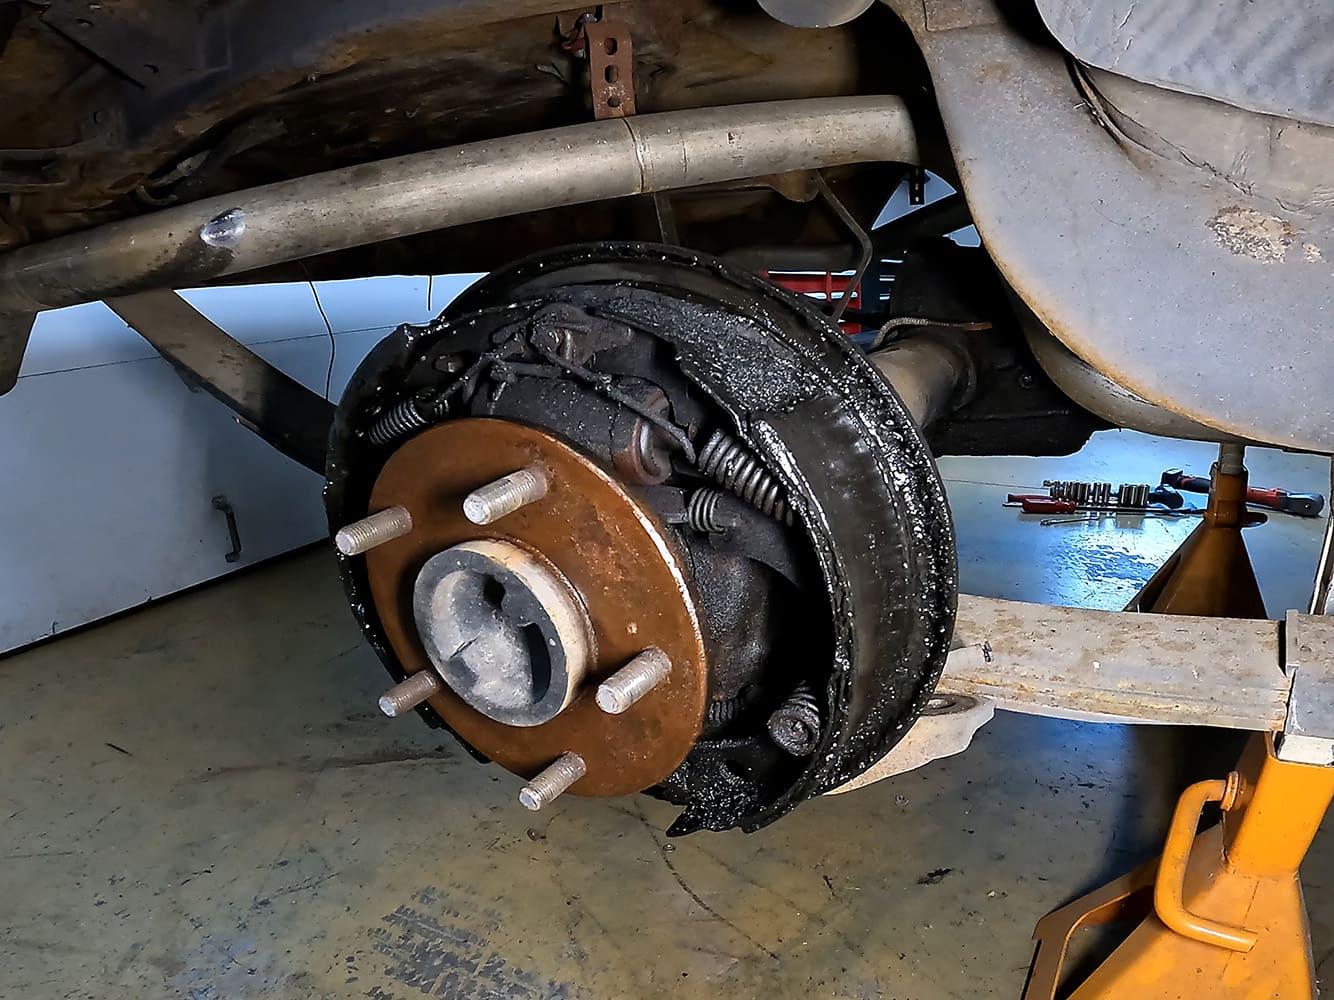
The rear drum brakes should also get some attention. Removing the rear drums offers an easy way to evaluate their condition. If the hydraulic cylinders are stuck or leaking, now is a great time to rebuild or replace them. Old-school mechanics will tell you that a simple three-finger brake hone operated by a ¼-inch drill and new pistons and seals will inexpensively rebuild stock wheel cylinders. If there is any fluid present inside the drum or if the drums and shoes are heavily scored, this is the perfect time to replace both the shoes and drums.
One important tech tip when replacing brake shoes is to pay close attention to the fact that there is a primary and secondary shoe for each drum brake assembly. The friction material length on the primary shoe is slightly shorter compared to the secondary shoe. Because of this, the primary shoe is always placed on the leading or front side of the drum brake assembly with the secondary shoe on the trailing side. It’s very easy to miss this and either place the secondary shoe on the leading end, or we’ve also seen cars with both primaries on one side of the axle with the secondary shoes together on the opposite side. This will lead to problems where one side will “grab” or be more aggressive than the opposite side, which can lead to premature brake lockup problems. When replacing brake shoes, make sure you position the shoes in the proper orientation.
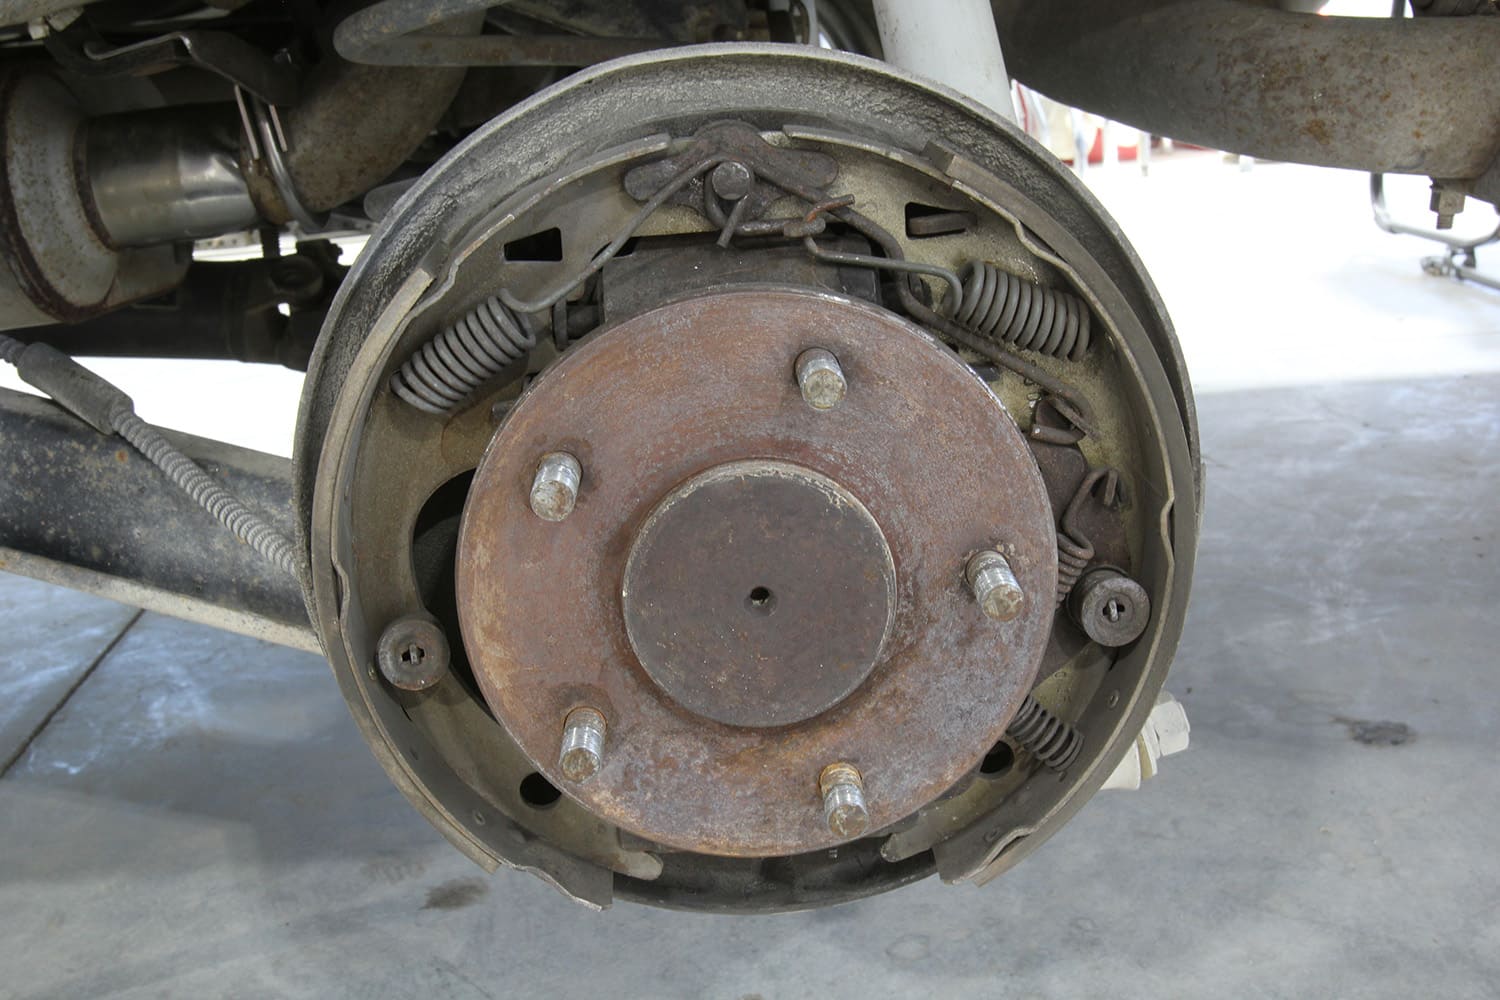
Brake shoe clearance to the drums is also an important adjustment. We prefer to expand the adjuster at the bottom until the shoes lightly touch so that the drum can still be easily removed. This improves brake pedal feel by reducing the amount of pedal travel necessary to apply the brakes. If the brake pedal seems to travel farther than before, this adjustment will often eliminate that issue.
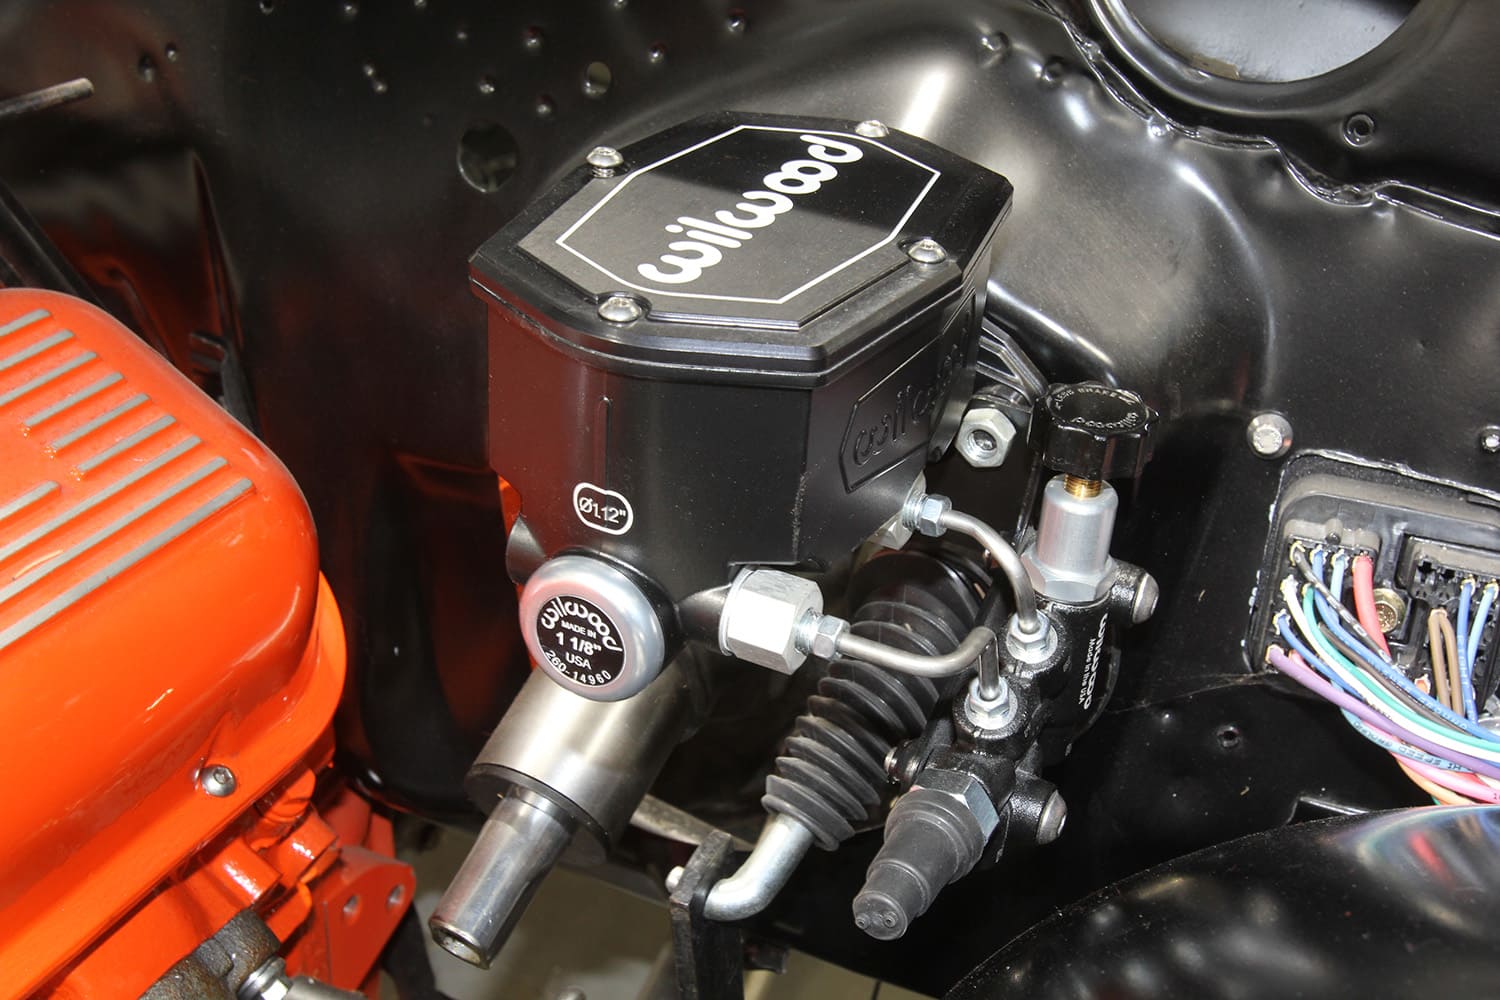
If your ride doesn’t stop as aggressively as it should, this might be a sign that the overall system could use an upgrade. Oftentimes, you don’t realize there is a problem until an emergency arises when maximum brake performance is required. If the rear brakes prematurely lock up before the fronts, this can oftentimes be rectified by adding an adjustable brake proportioning valve in the hydraulic circuit for the rear brakes.
Most factory cars with front discs and rear drums are equipped with a fixed proportioning valve. These are acceptable if the car is pure stock. But even if you’ve changed rear tire diameter or even changed ride height, these valves will not be ideal.
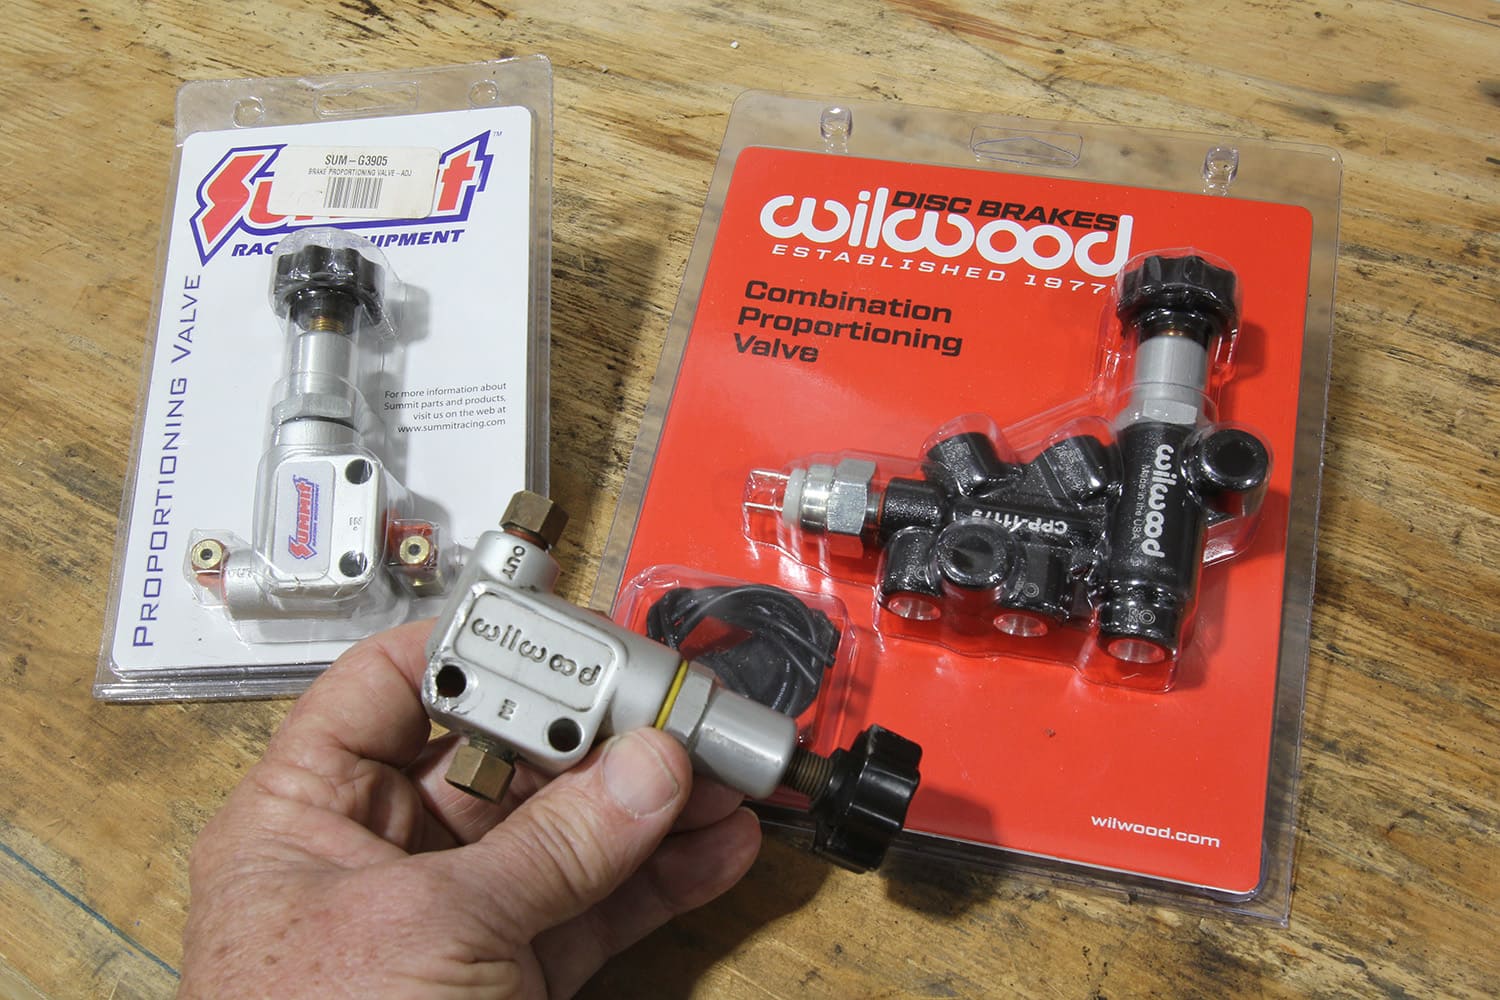
A better approach for vehicles with significant modifications is an adjustable brake proportioning valve. This device allows you to fine-tune the amount of pressure directed to the rear brakes. This adjustment is affected by a myriad of factors, including the performance of the front brakes, the size of the rear drums or discs, overall rear tire diameter, brake pad material, suspension travel under hard braking, shock valving, and a host of other details. All these factors affect how much brake pressure should be applied to the rear brakes. Adding an adjustable proportioning valve allows you to custom tune the amount of rear brake pressure. Once that is achieved, this often results in significant decreases in the stopping distance. Even a seemingly small reduction in stopping distance could be the difference between tagging the car in front of you and avoiding contact altogether.
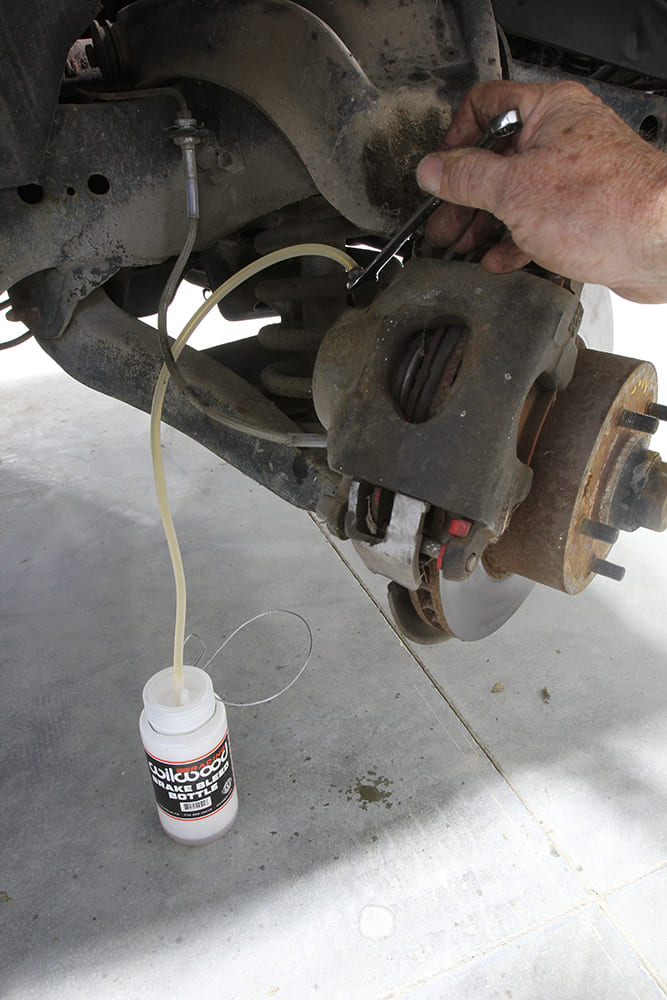
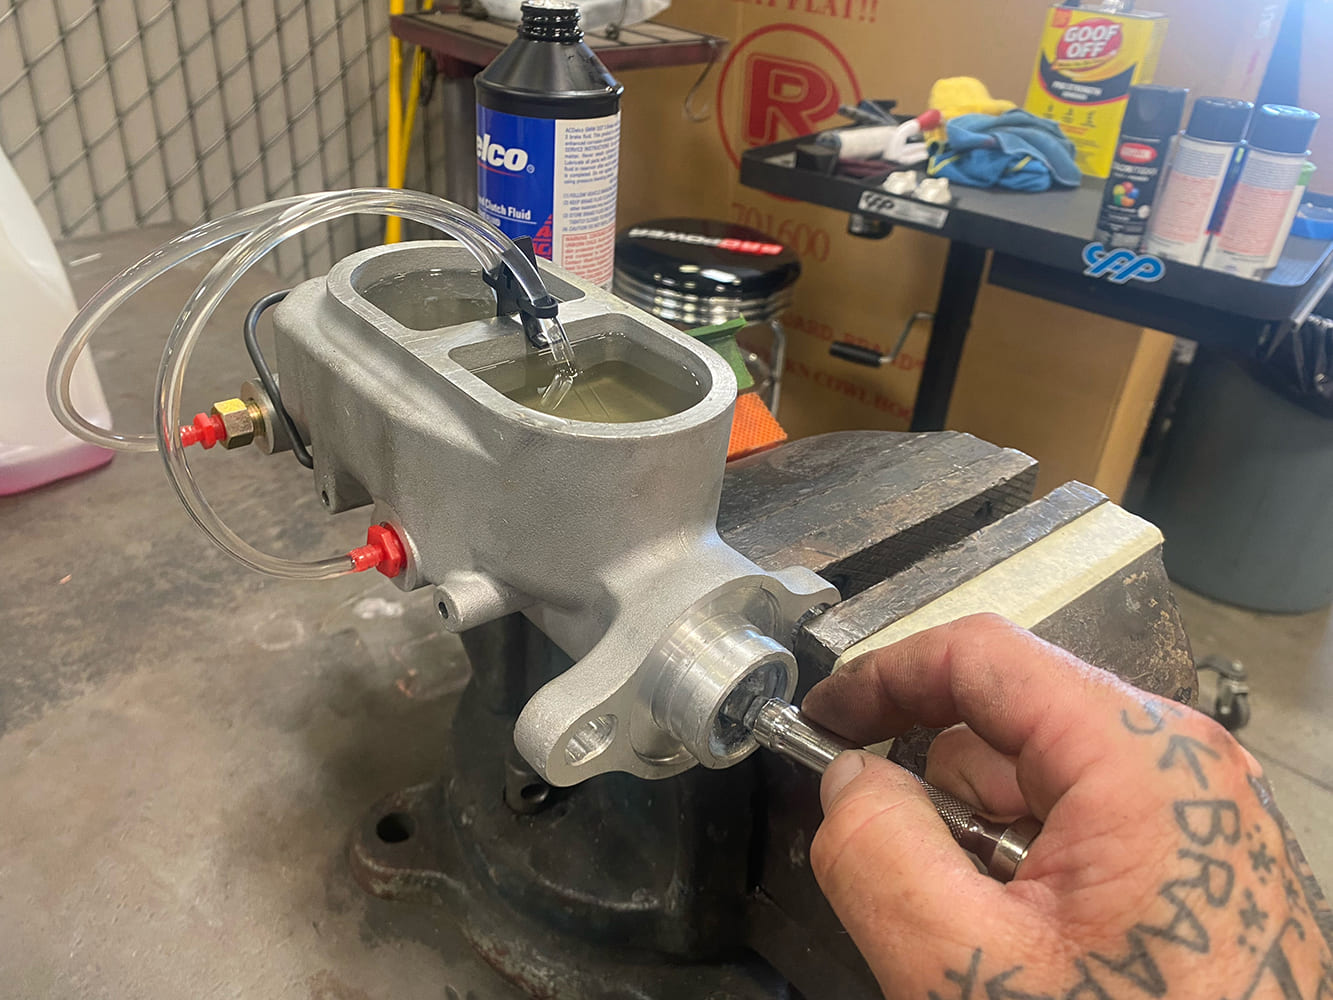
We touched on several ideas for simple brake maintenance. Upgrading the brake system by adding new pads, changing brake fluid, adding new flexible hoses, and bleeding the brakes to eliminate air in the system will all contribute not only to a better performing system, but will also improve the vehicle’s stopping distance while also enhancing the overall driving experience. While we all hope to never have to test our brake system in a dire traffic situation, it’s best to know that the brakes on your hot rod are up to any challenge.
Check out this story in our digital edition here.
Brake Fluid Boiling Points
|
Fluid |
Dry Boiling |
Wet Boiling |
|
DOT 3 |
401 |
284 |
|
DOT 4 |
446 |
311 |
|
DOT 5 |
500 |
356 |
|
DOT 5.1 |
500 |
356 |
All boiling points are expressed in degrees Fahrenheit. Dry boiling is defined as from a new container. Wet boiling point is defined as fluid contaminated with no less than 3.7 percent water. As the water percentage increases, the boiling point continues to drop. Note that DOT 5 is a silicon fluid that is not recommended for street use and should never be mixed with any other brake fluid. The new designation, 5.1, is a low-viscosity brake fluid that is still glycol-based but has a higher boiling point than DOT 3 or 4.