
C10 Firewall Smoothing 101 … Part 1

By Ryan Manson – Images by the Author

Rust repair is a necessary evil when it comes to building or restoring a classic truck. The likelihood that one’s going to find a completely rust-free truck that’s 70-plus years old is highly unlikely. Even on the most cherry examples, there likely lurks cancer, buried under layers of paint, primer, and body filler, or simply concealed beneath years of dirt, grease, and grime, slowly eating away at the sheetmetal, eventually compromising the cab’s structure.

At first blush, our ’64 C10 cab looked fairly solid, with a few issues in the usual trouble areas. The doors were fairly rough, but the cab, save for the lower A-pillars, appeared to be pretty clean. After a quick wash in the sandblaster, however, the onion was peeled back and the actual extent of panel damage became apparent. Lower rockers, cab corners, and A-pillars, basically anywhere dirt and debris could collect, revealed damaged sheetmetal. Additionally, both doors had succeeded in hiding an even nastier secret, revealed only after sandblasting.
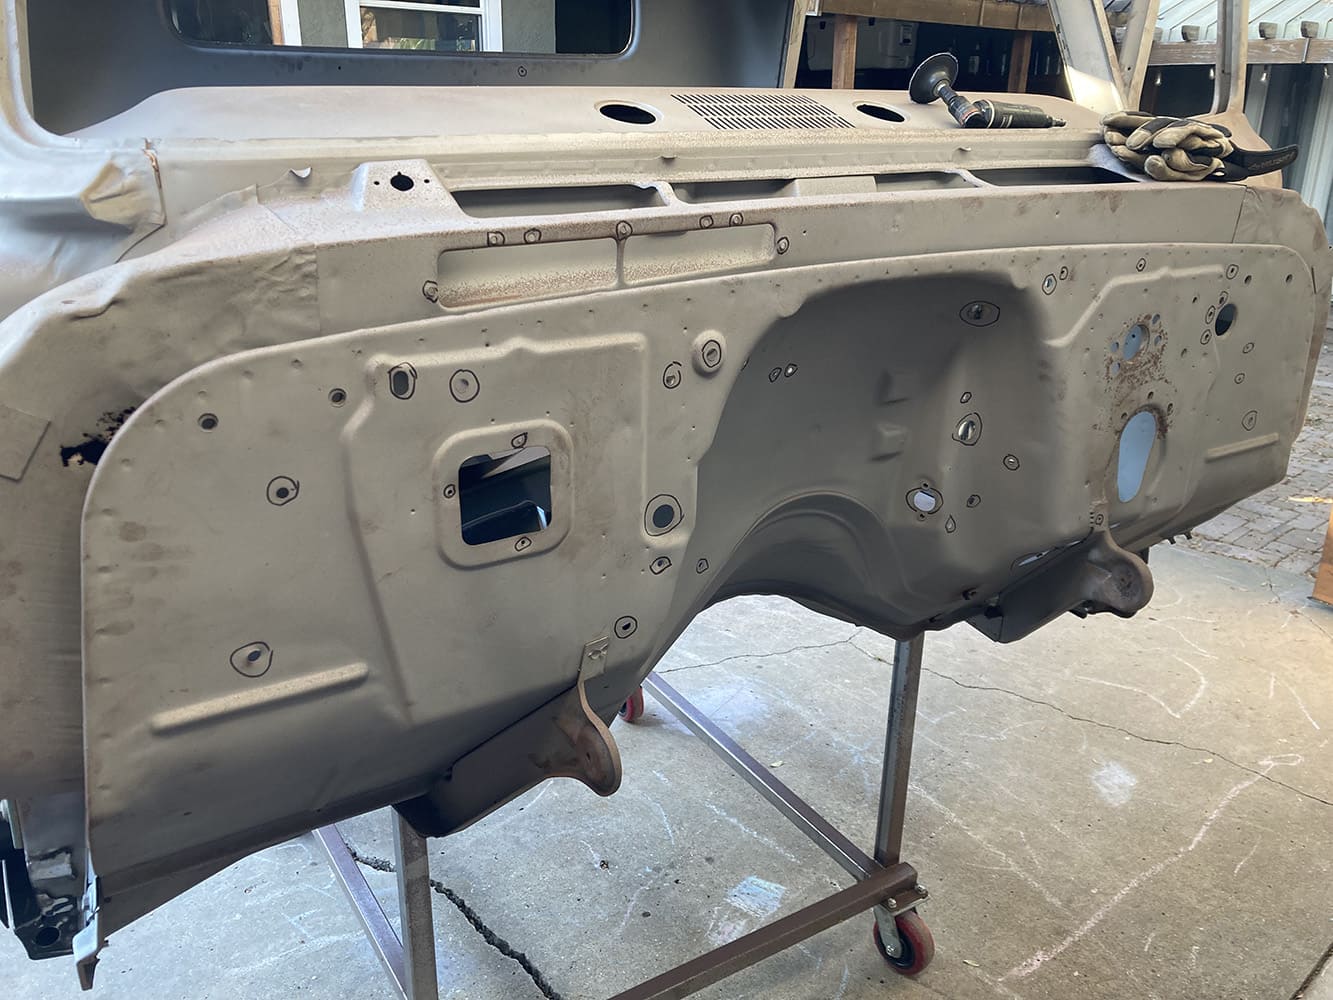
Chevrolet C10 firewall cleaned prepped metal surface restoration project engine bay prep
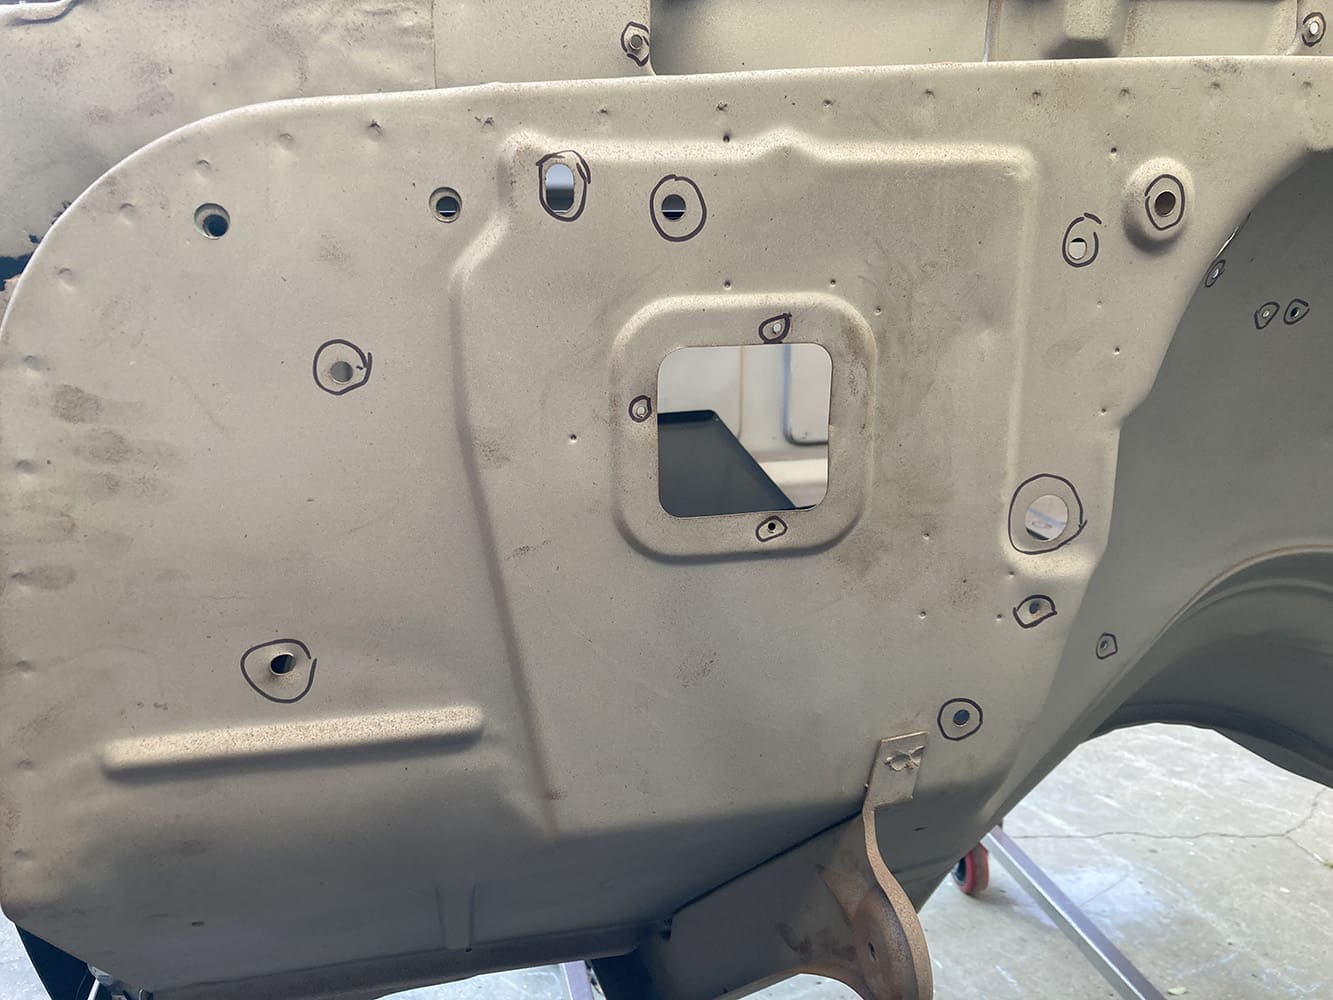
Before we get started, we need to take inventory on all the features that need to be addressed on our firewall. While we want to fill every void that won’t be used moving forward, we don’t want to accidentally fill any holes that might be necessary.

So far, we’ve repaired the lower A-pillars and rockers, which will allow us to circle back to the needed cab corner repairs in the future. As far as the doors are concerned, we decided to shift gears and instead of spending potentially hundreds of hours in labor to repair them, we opted to replace them altogether. We’ll be covering all this in the months to come, but while we wait for the new sheetmetal items to arrive, we decide to turn our attention to the firewall, filling the numerous holes and fixing the minor damage that exists.

If a simple restoration was our goal, most of the firewall could remain untouched, with only a handful of items, mostly due to previous owner “modifications,” needing attention. Our build, however, leans more toward the “custom” treatment. We’ll be removing the stock heater, replacing it with a full climate-control system in the future, which means the stock heater box hole in the firewall needs to be filled. Additionally, any “extra” holes that we won’t be needing (throttle pedal linkage, wiring harness, clutch linkage) will also be filled in an attempt to clean up the firewall. Any damage to the firewall will also be repaired, before the entire panel will be bodyworked and painted.
But before we can even think about shooting any color on the cab, we need to sort out all these problem areas on the firewall and get the panel cleaned up before we start any bodywork. Metalwork first, bodywork second.   

Check out this story in our digital edition here.
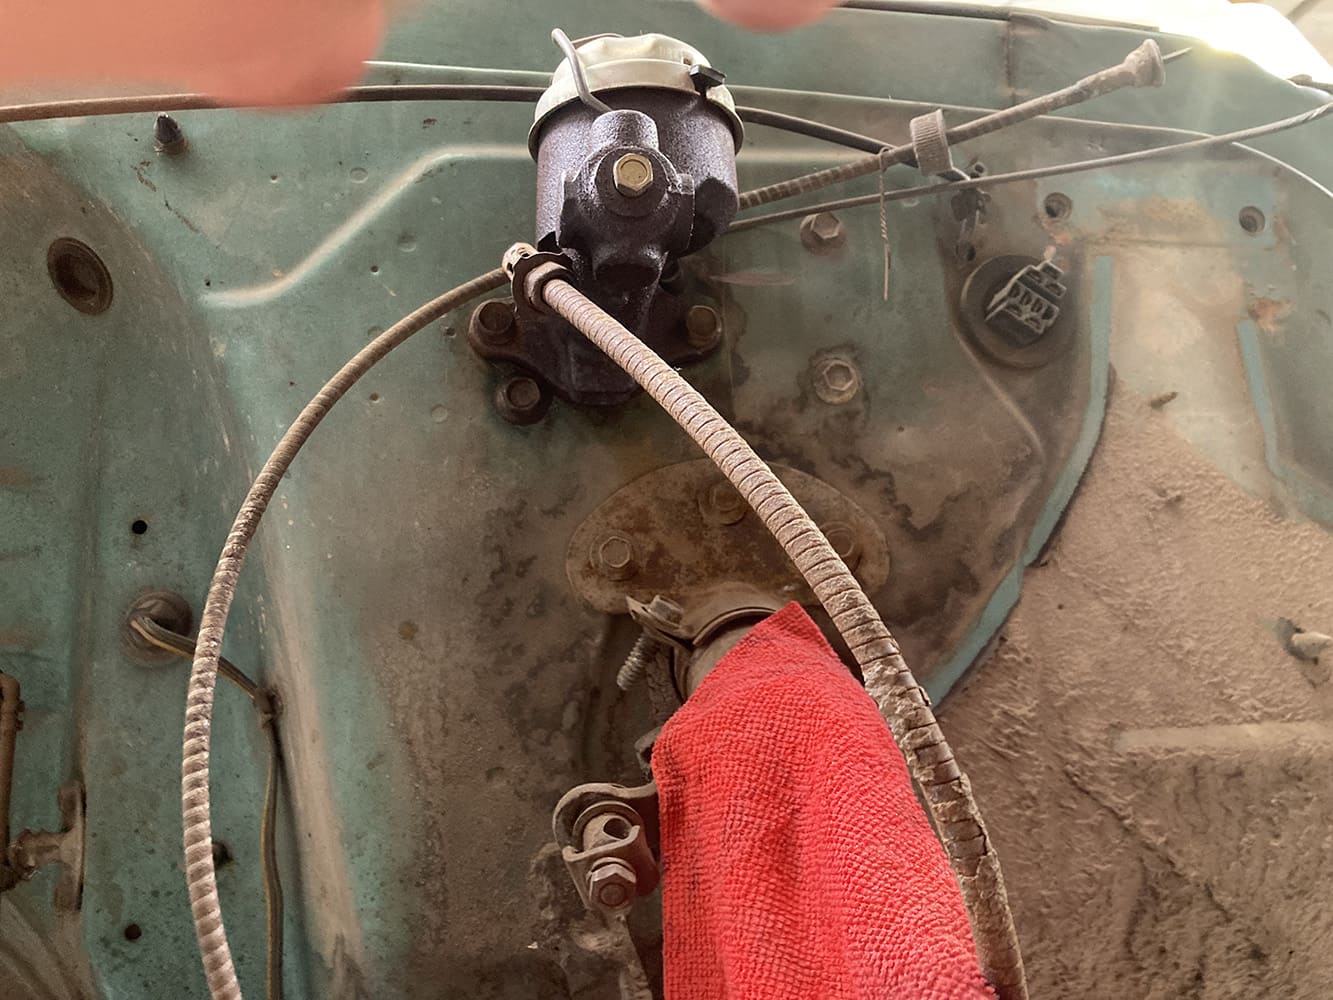
C10 firewall original condition steering column mount wiring aged patina detail
Careful inspection of an existing C10 cab will aid us in deciding what needs to be filled and what needs to remain untouched.


holes marked on c10 firewall
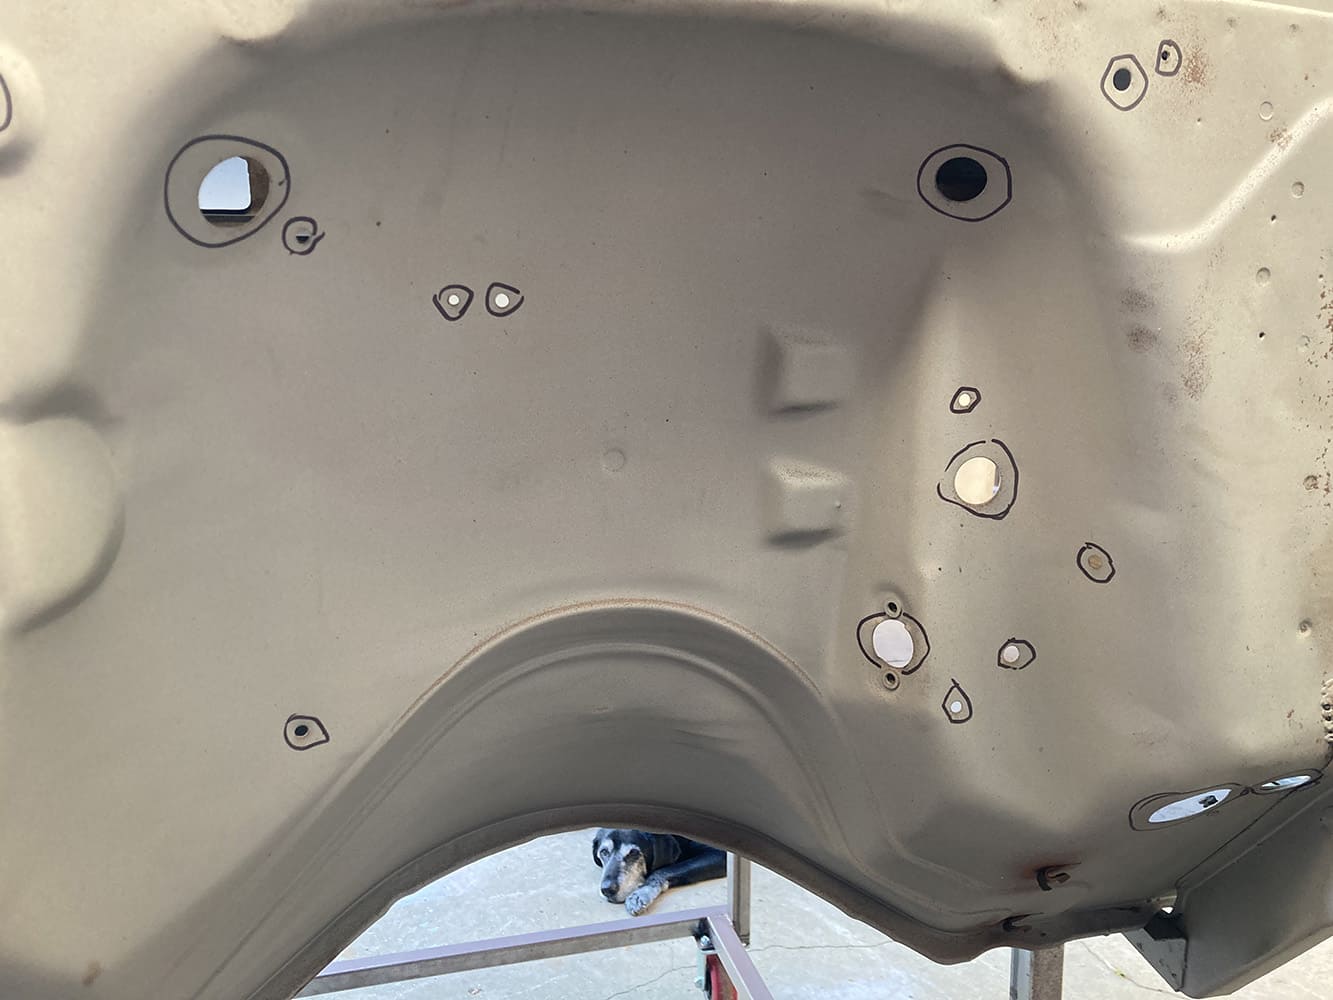
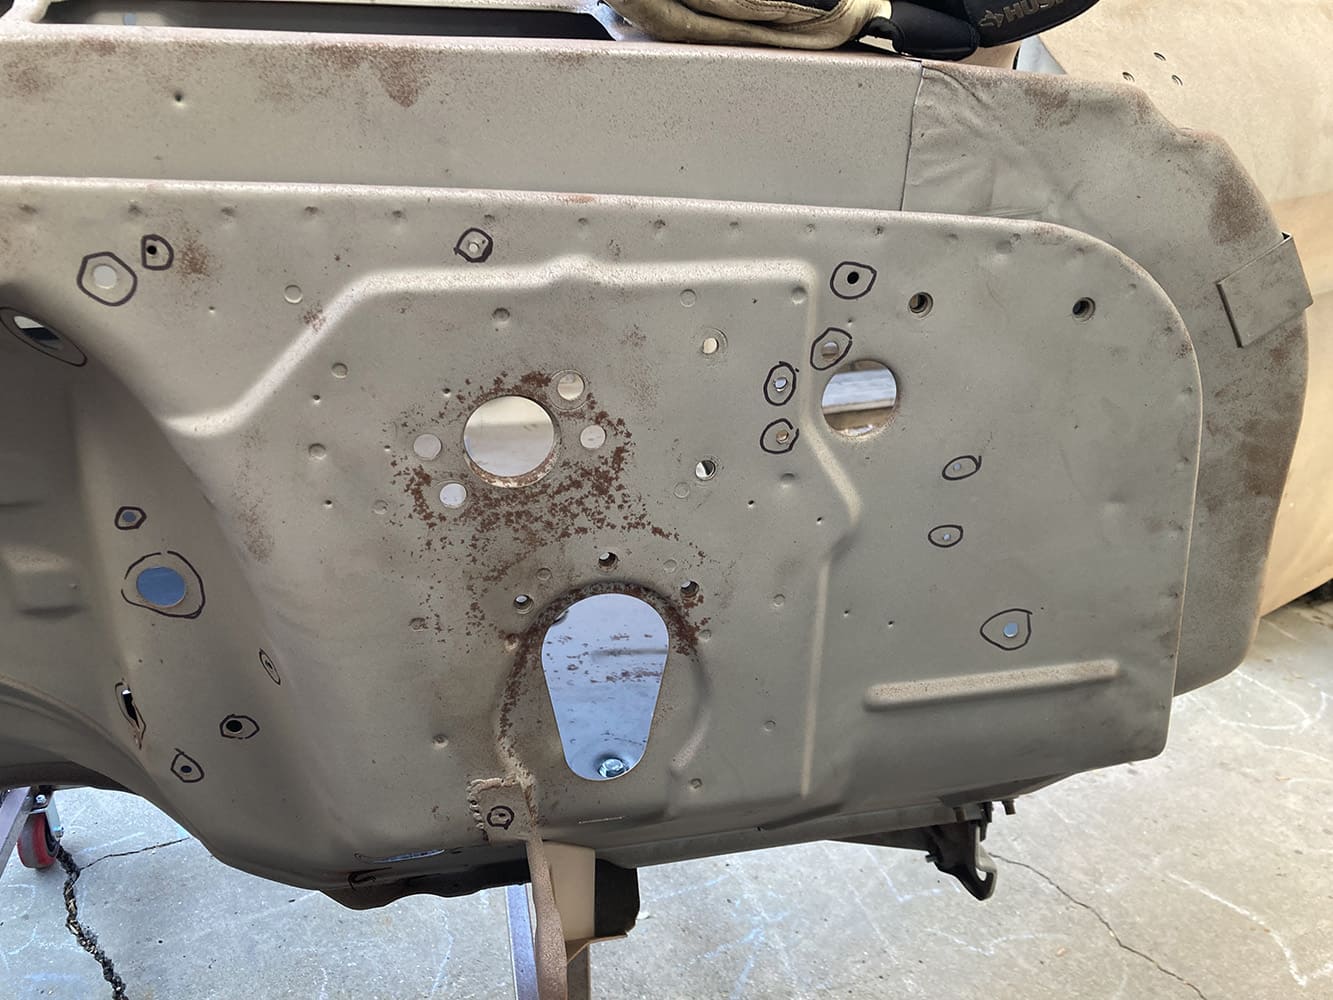
This information is then extrapolated to our cab in question, with every hole or repair marked so as to avoid any confusion once we get the welder fired up.
Chevrolet C10 firewall rust repair marked problem areas metal prep restoration detail
Here are more holes that are marked for welding in the center of the firewall behind the engine.
C10 firewall driver's side holes repair prep
On the driver’s side, only some holes are marked. Openings for the steering column, brake master cylinder, and a few others.
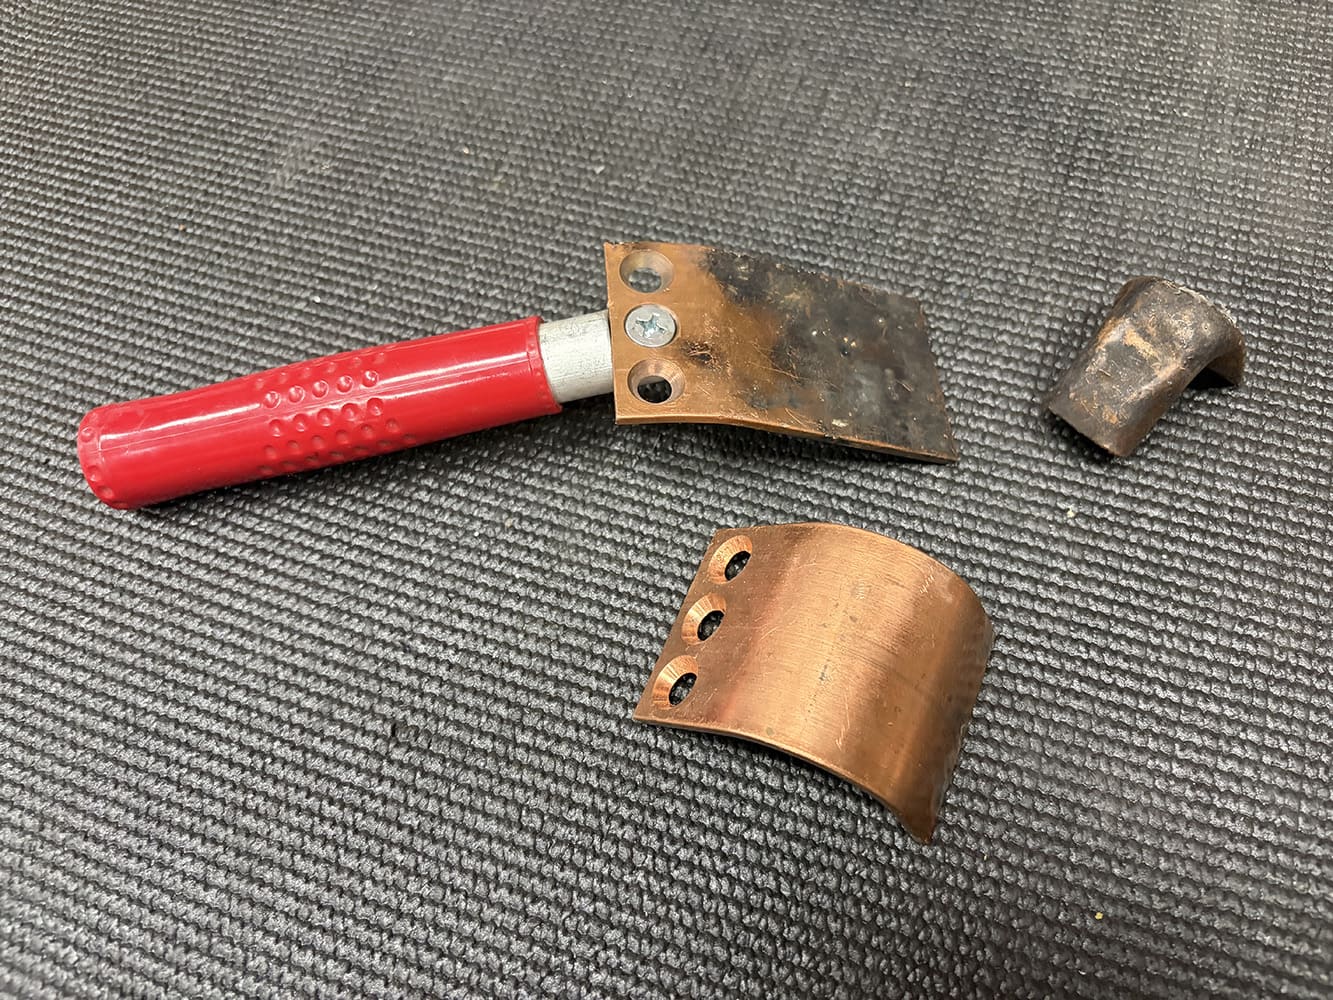
backing tool made of copper brass for welding small holes
Any hole smaller than 5/16 inch or so can be filled via MIG welder with the help of a copper/brass backing tool.
smaller holes welded first on c10 firewall
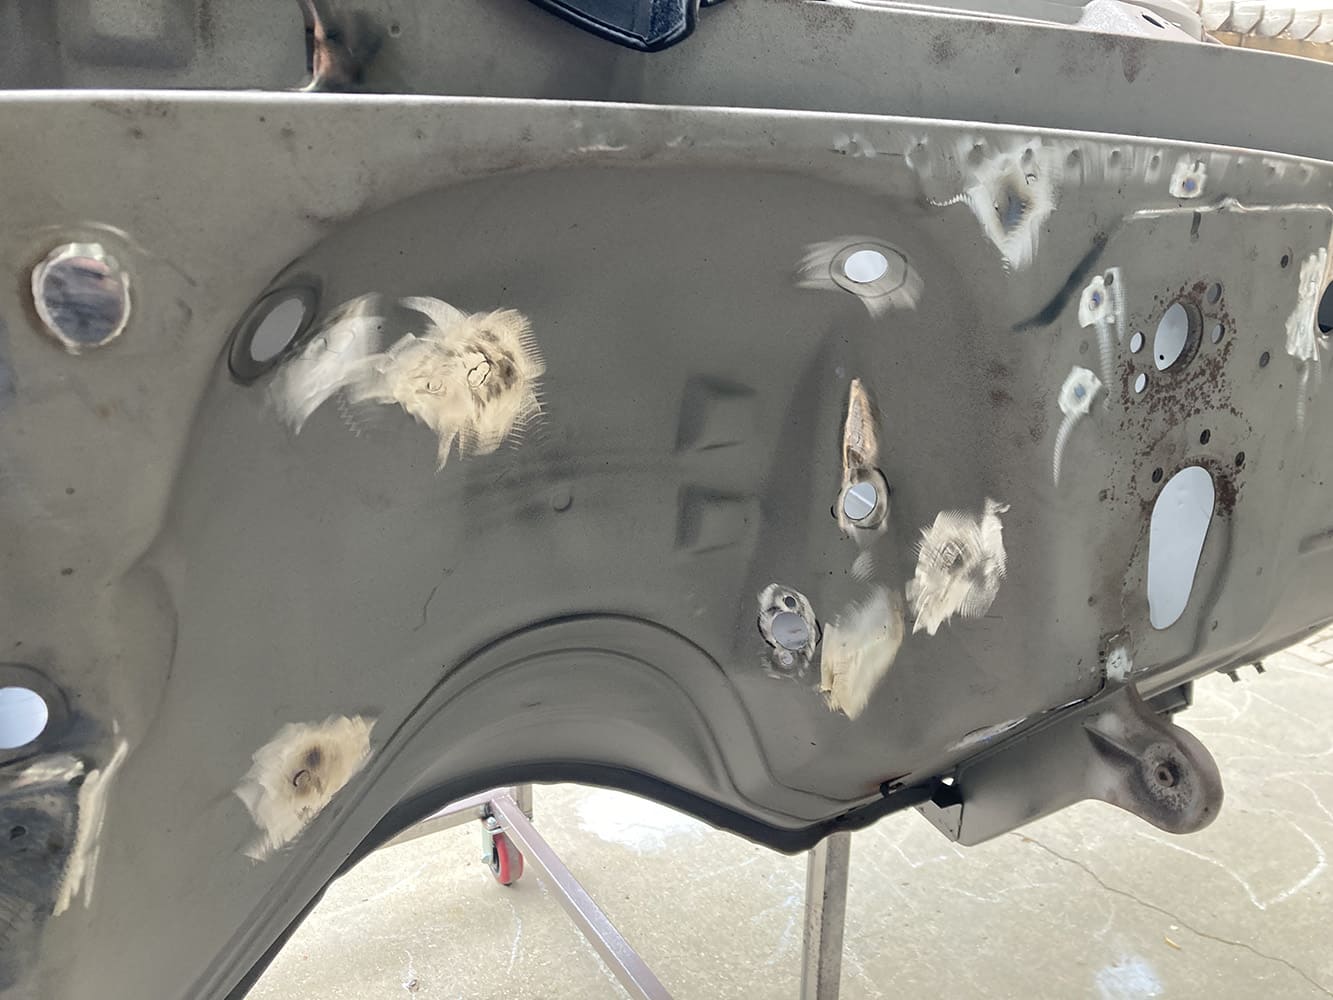
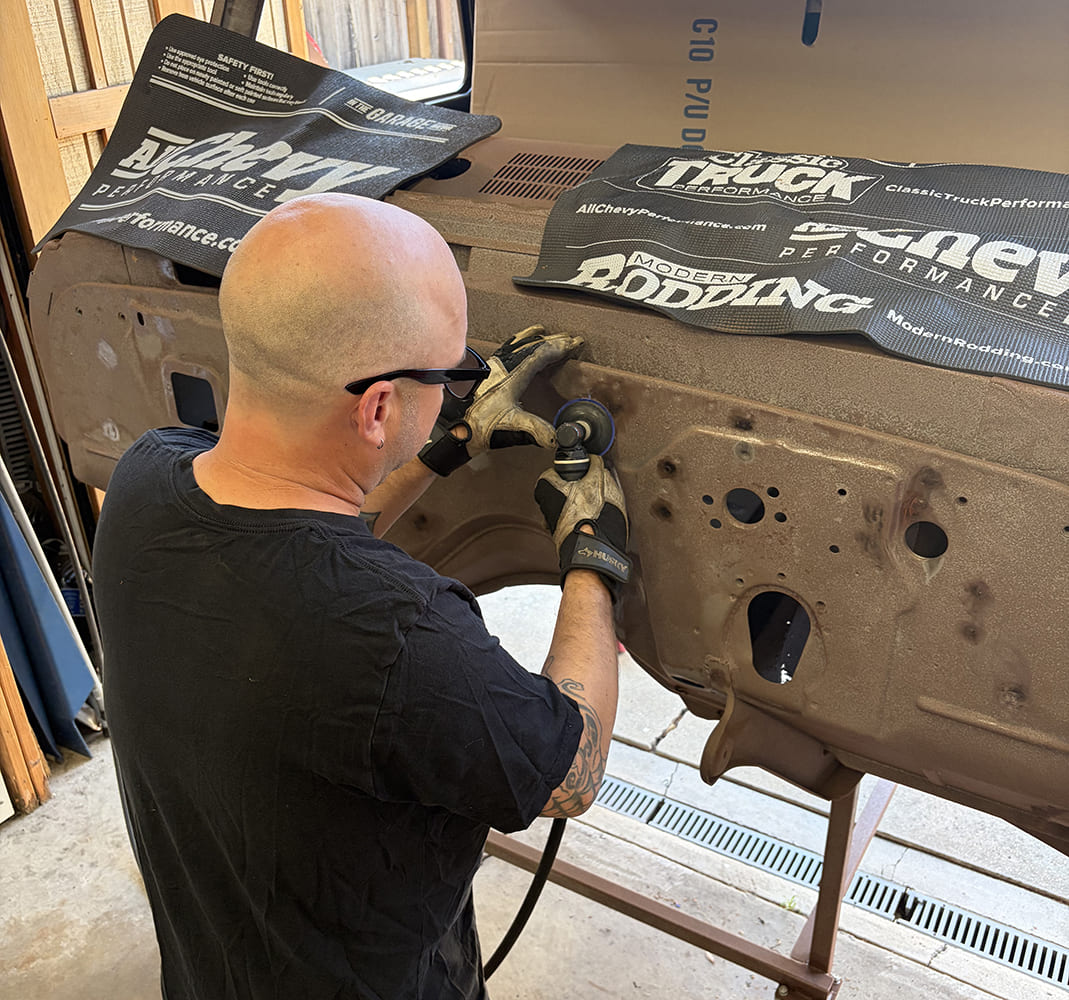
We attacked these smaller holes first and knocked them flat using a 3-inch pneumatic sander.
firewall repair patch discs metal plugs
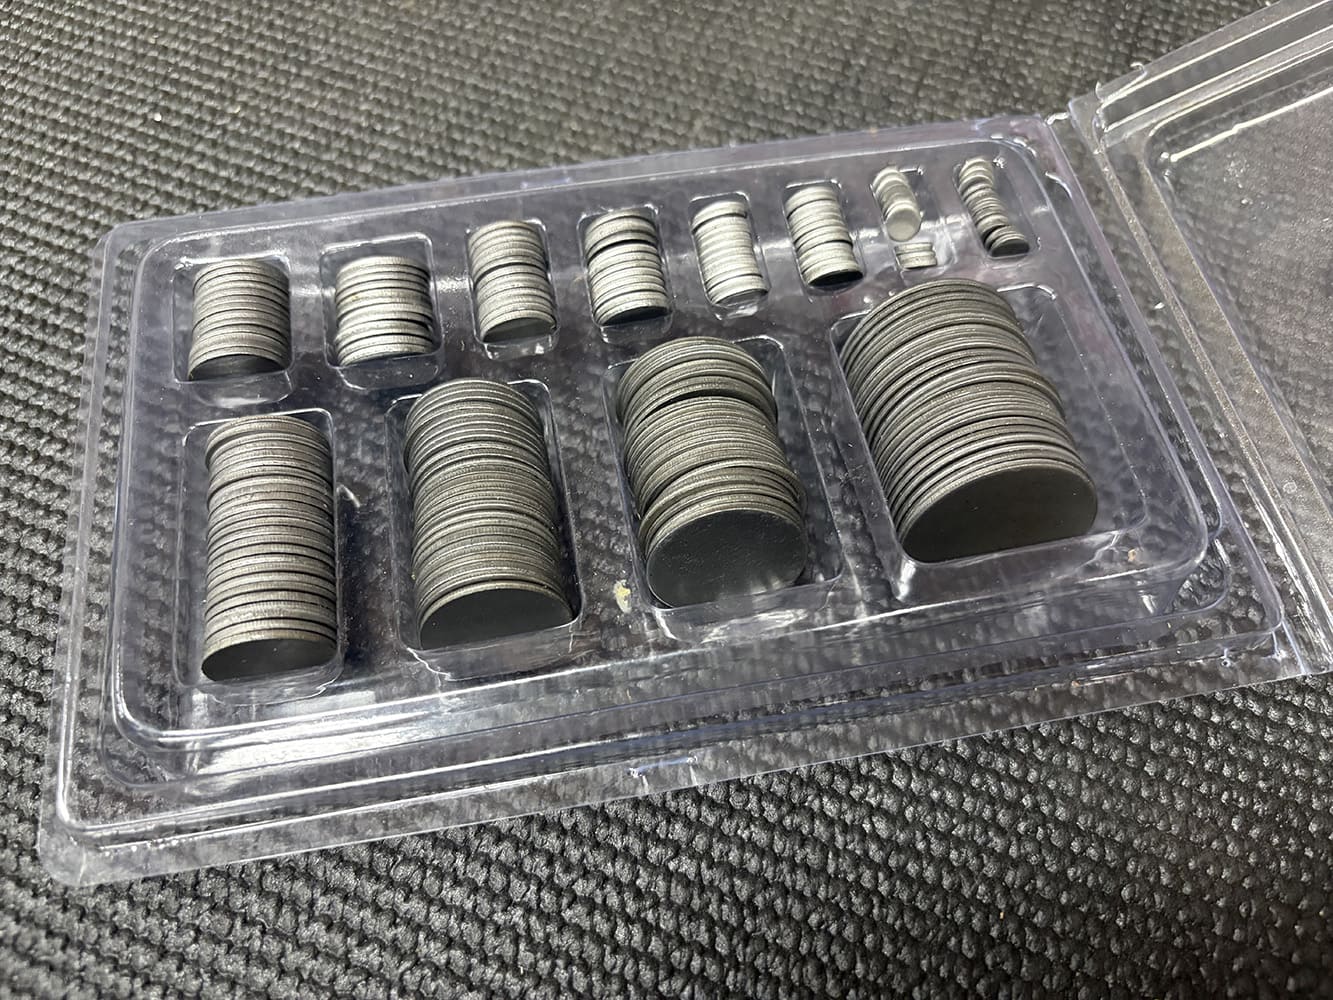
The larger holes will require a filler piece, TIG welded in place. This welding disc kit from Speedway Motors will go a long way in filling the larger holes in our firewall and is a huge time saver, as opposed to trying to cut out a bunch of circle filler panels from scratch.
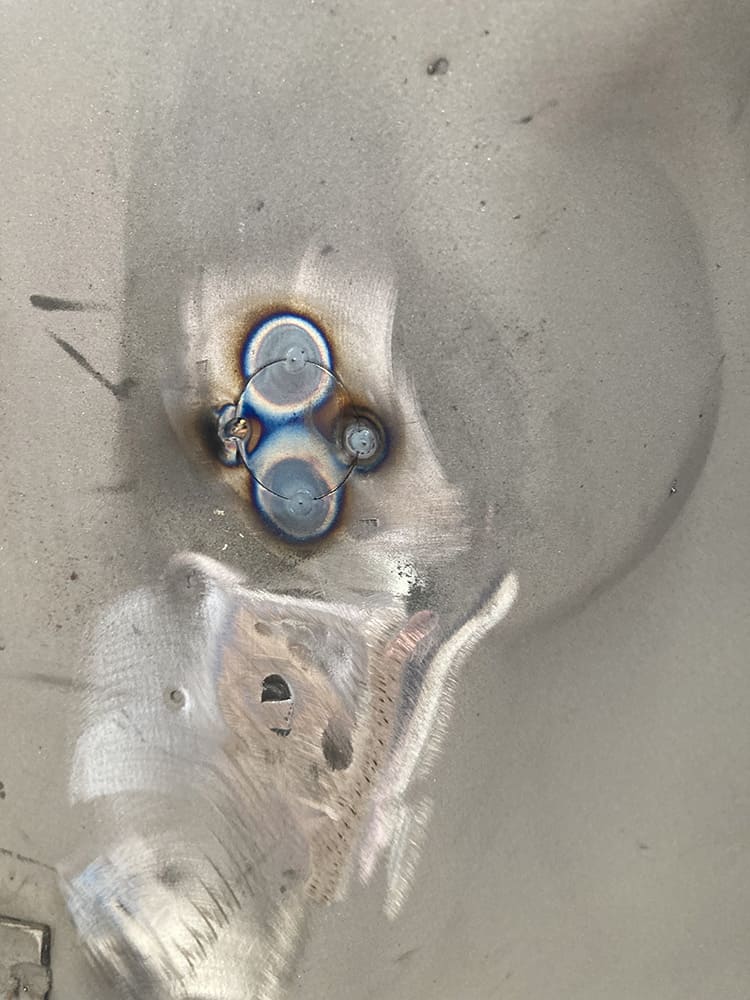
firewall hole repair welding tool clamp technique close up
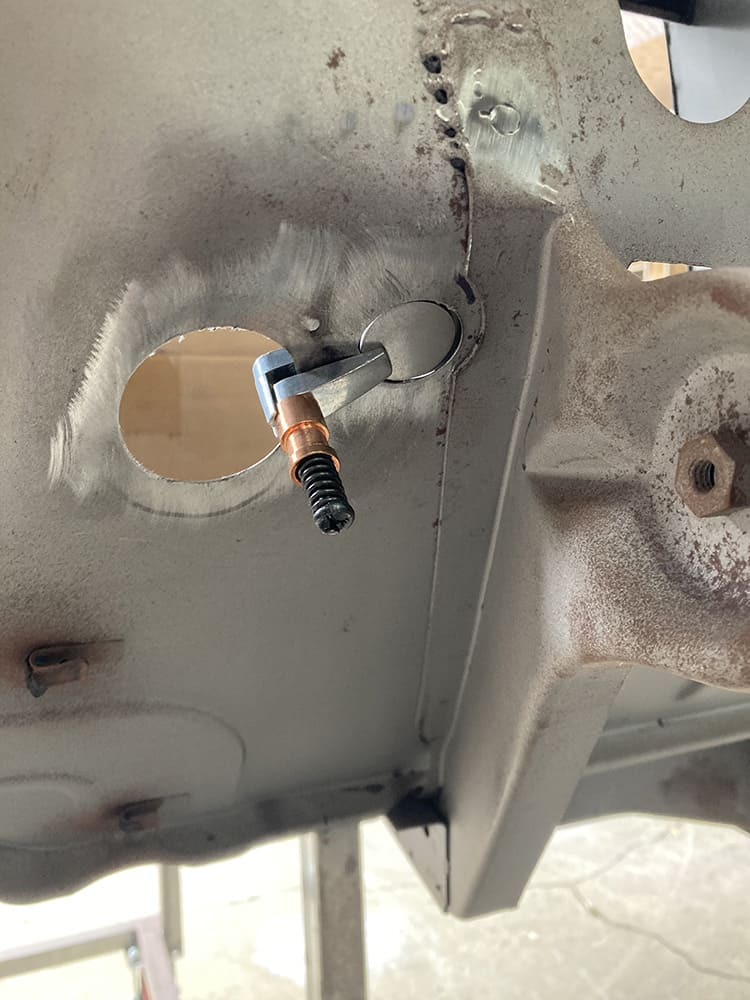
When access allows, these filler discs can be clamped in place prior to being tack welded.
magnet holds filler disc for welding
Where access is limited, the filler disc can be held in place using a magnet from behind. The presence of a magnet can make for an interesting challenge when it comes to TIG welding, but with a little finesse, the filler panel can be tacked, the magnet removed, and the entire circumference welded.
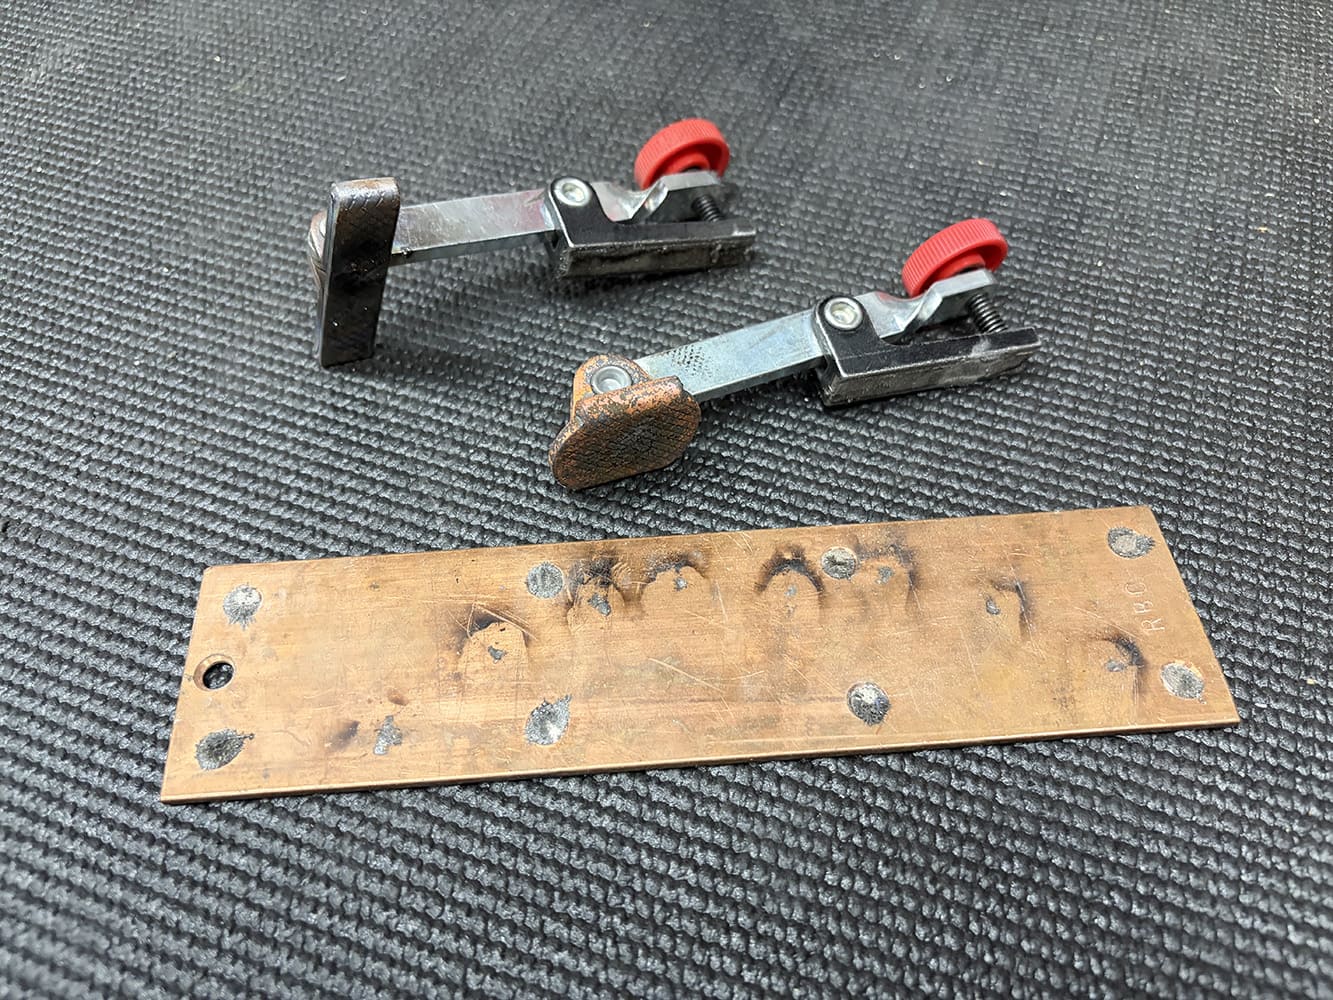
firewall copper plate with two clamps
Here are two different types of clamps along with a larger copper backing plate.
Chevy C10 firewall plug weld patch panel heat marks metal repair restoration detail
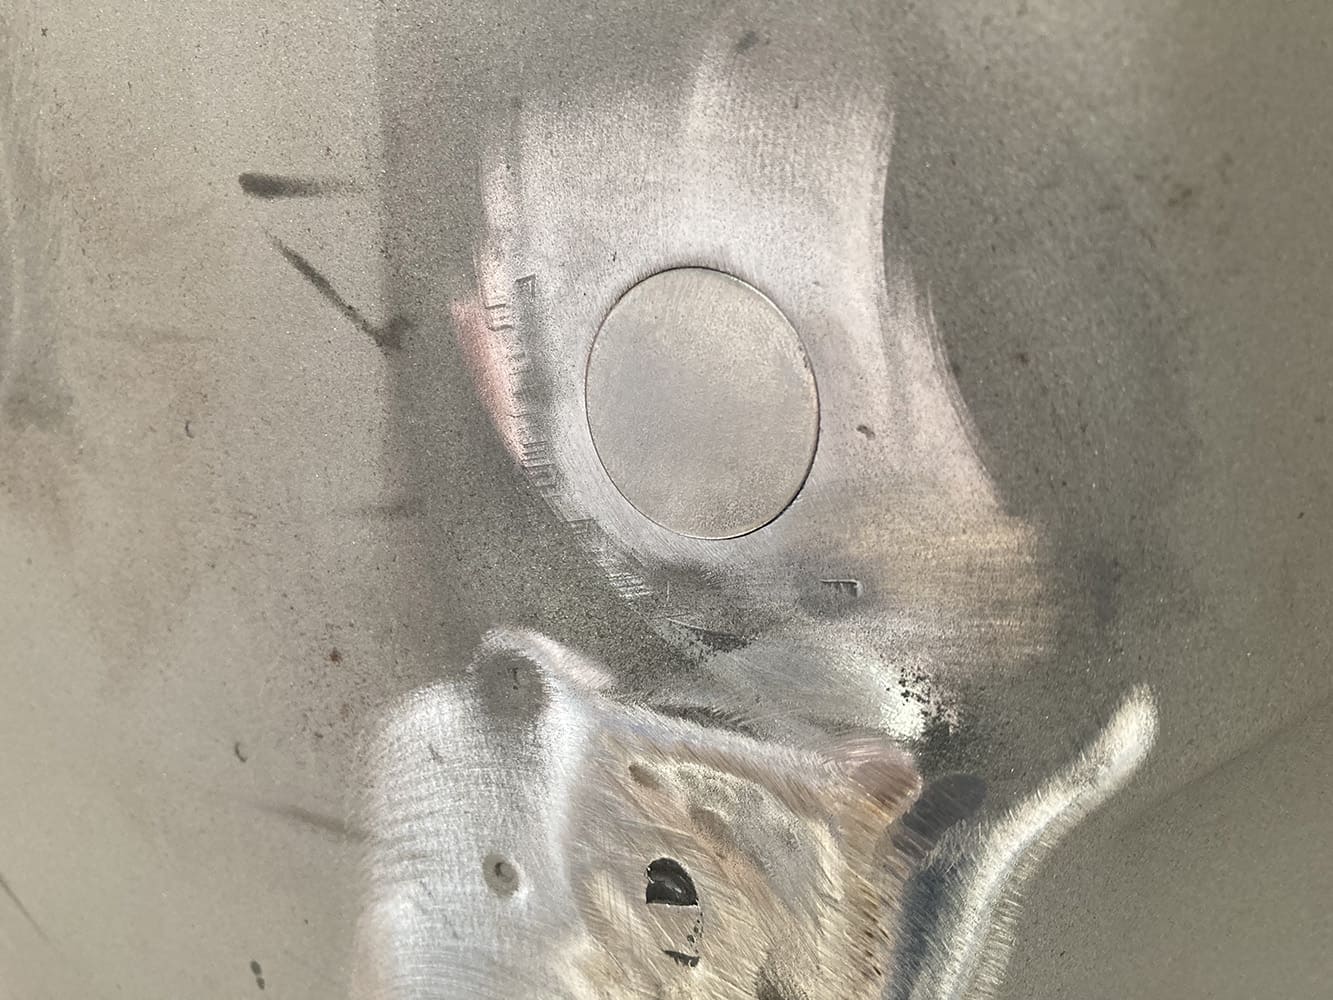
Here is a large hole after patch welding. Small holes have been plug welded.
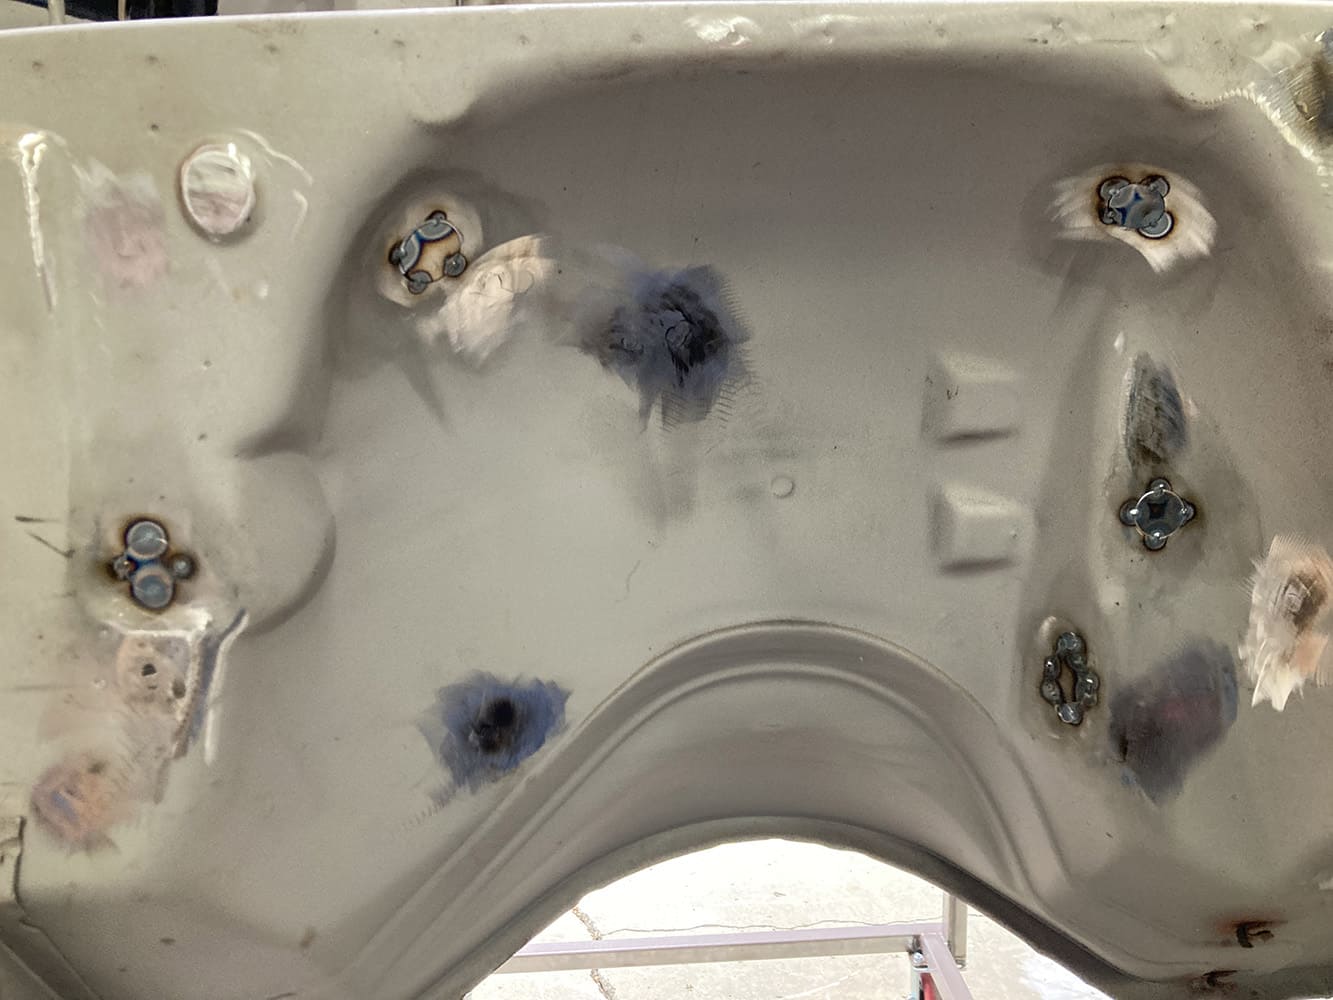
firewall multiple patch welds completed rust repair bodywork progress
The majority of the large voids have had their filler panels tacked in place, waiting for finish welding, a little hammer and dolly work, followed by final sanding of the weld.


- Advertisement -

Related Articles

Search Our Site