When Chevrolet introduced the Camaro in 1967 it was sort of a design-it-yourself ponycar. Depending on the purchaser’s preference it could be had with a six-cylinder engine or small-block V-8s measuring 302, 327, or 350 ci or a 396ci big-block. Of course it was the Z/28 302 option that would become legendary, but Chevrolet would continue to offer a variety of powertrain combinations in the Camaro from mild to wild.
For most enthusiasts all first-generation Camaros (1967-1969), regardless of the drivetrain, are desirable—and we agree. They’re great-looking as well as light and nimble, making them a pleasure to drive. But, like all cars, they will suffer from the ravages of time and travel.
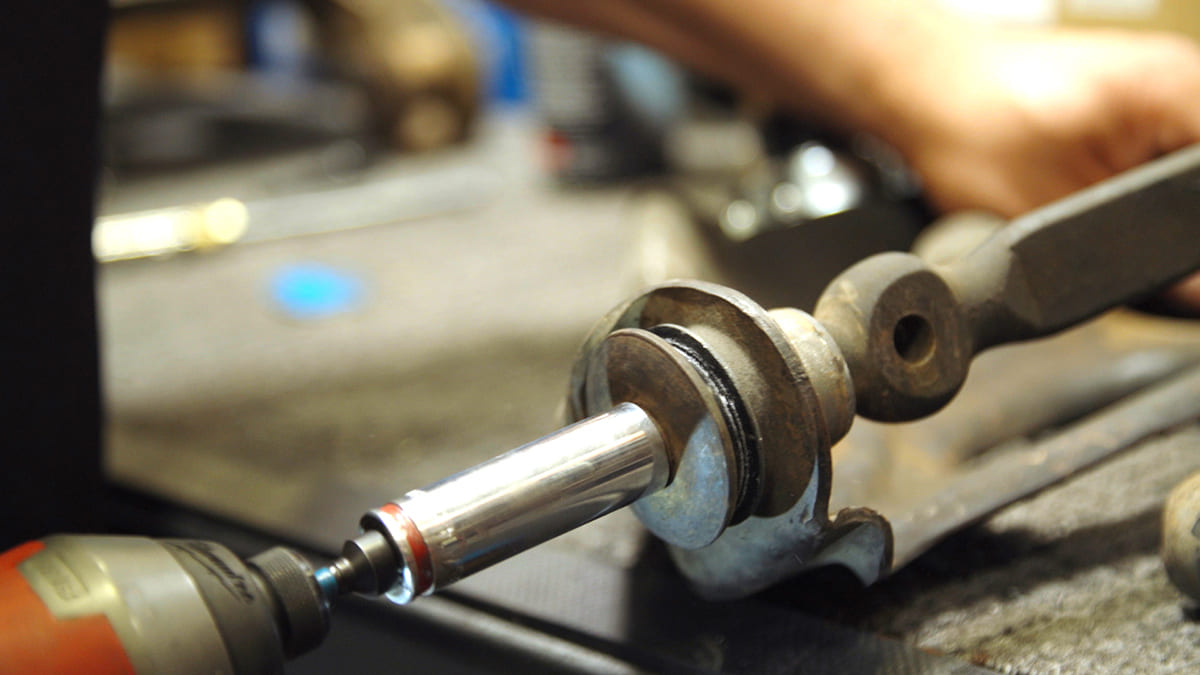
Our first step in replacing the front suspension components was removing the front shocks. Here, Jason Scudellari holds the shock shaft with locking pliers and removes the nut and upper bushings.
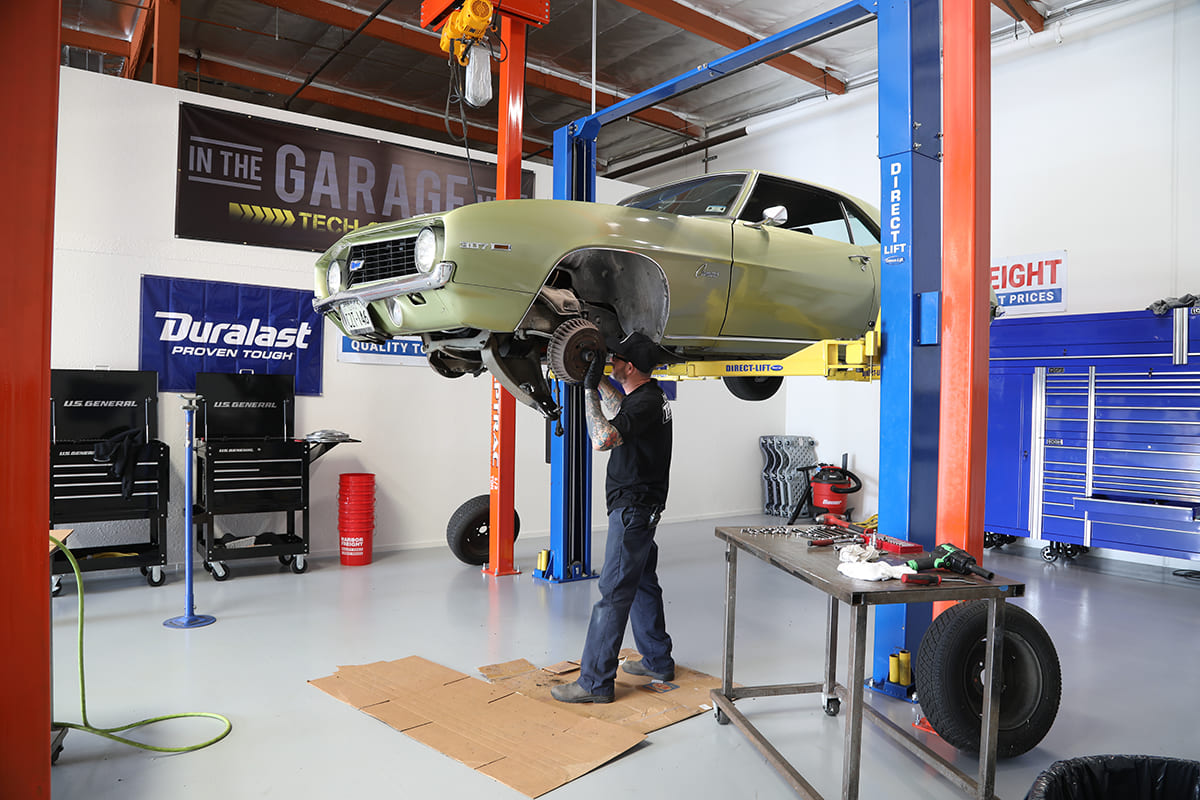
As luck would have it, we were able to find an original 1969 Camaro. The coupe is presentable with fair paint and interior; underhood is the L14 optional engine, a 307ci V-8. While the temptation with such a find is to rip it apart and make a variety of modifications right away (which always takes longer than planned) our goal was to first make any needed repairs so we could drive and enjoy and make updates as time and money allow.
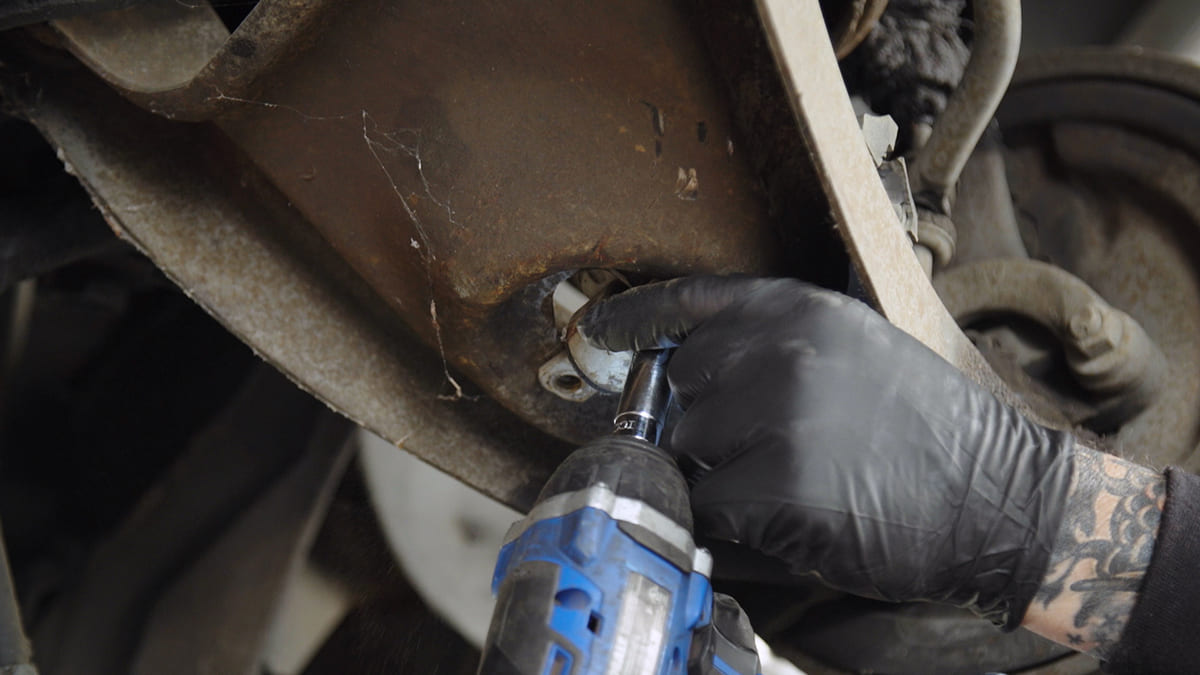
The bottom of the shocks are secured by two hex-head capscrews in the lower control arms.
Once the Camaro was at the In The Garage Media Tech Center, Jason Scudellari tuned up the engine with Duralast components and then replaced the fluids (Duralast brake fluid PN AS810 X4) in the transmission and rear axle. With the small-block humming, the transmission shifting properly, and no strange sounds from the rearend, all was well—almost. A testdrive and further inspection revealed there were a number of steering components that would require replacement, and the brakes were due for attention as well.
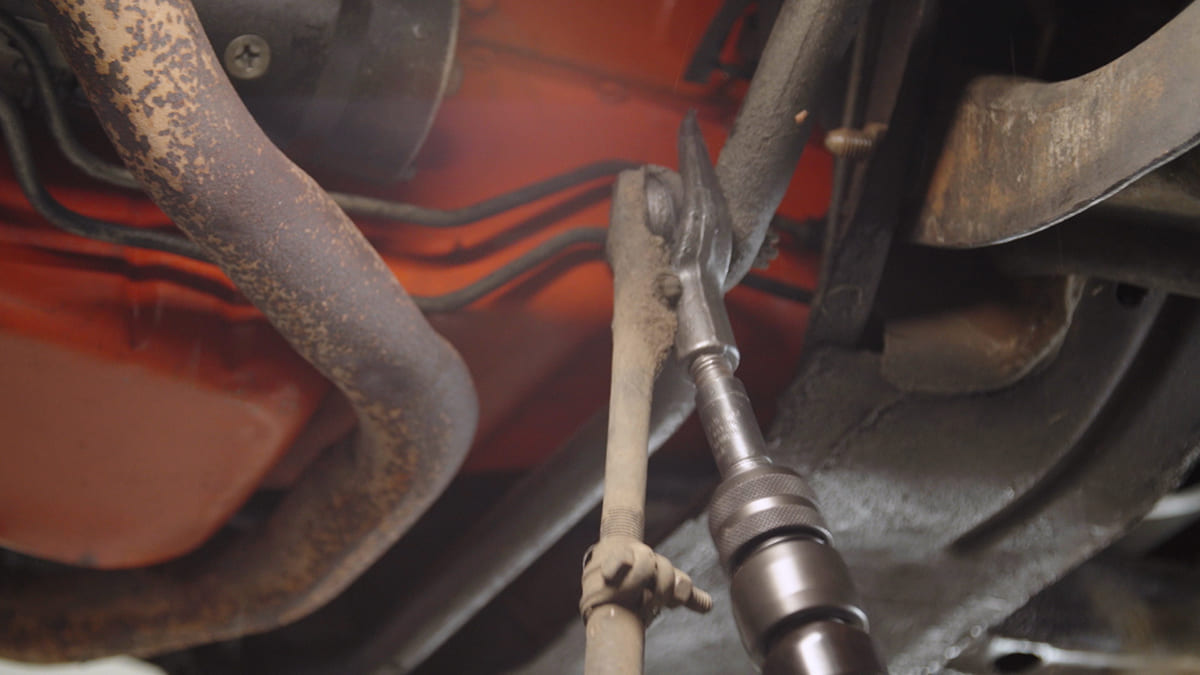
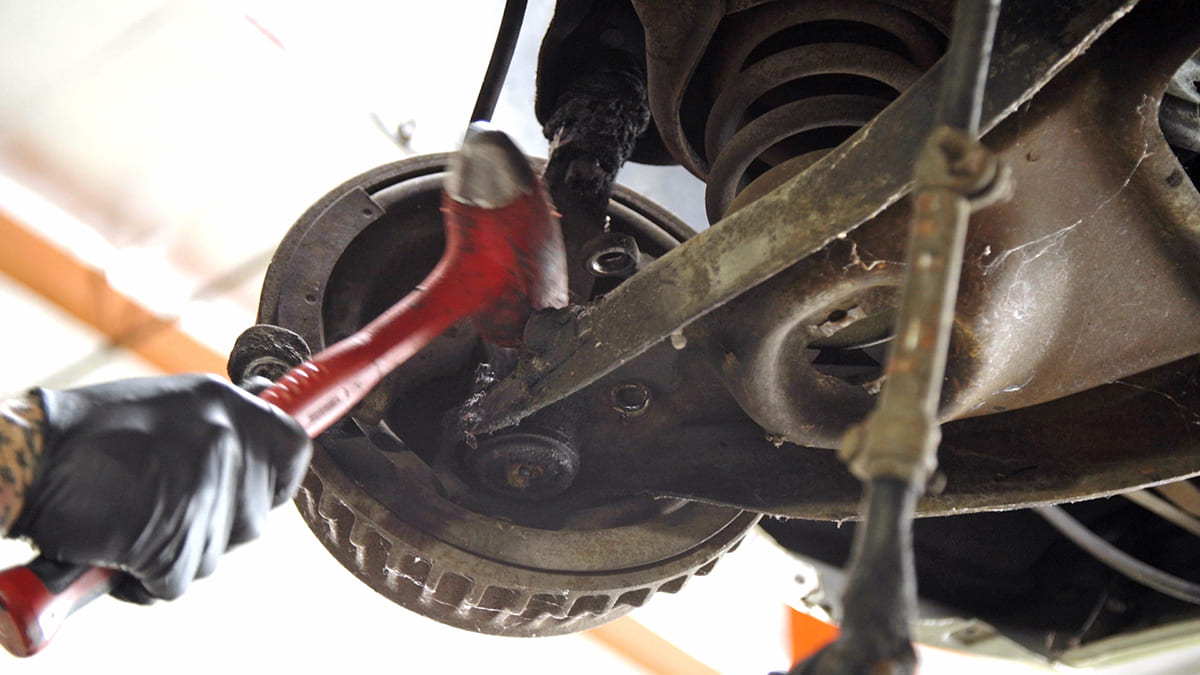
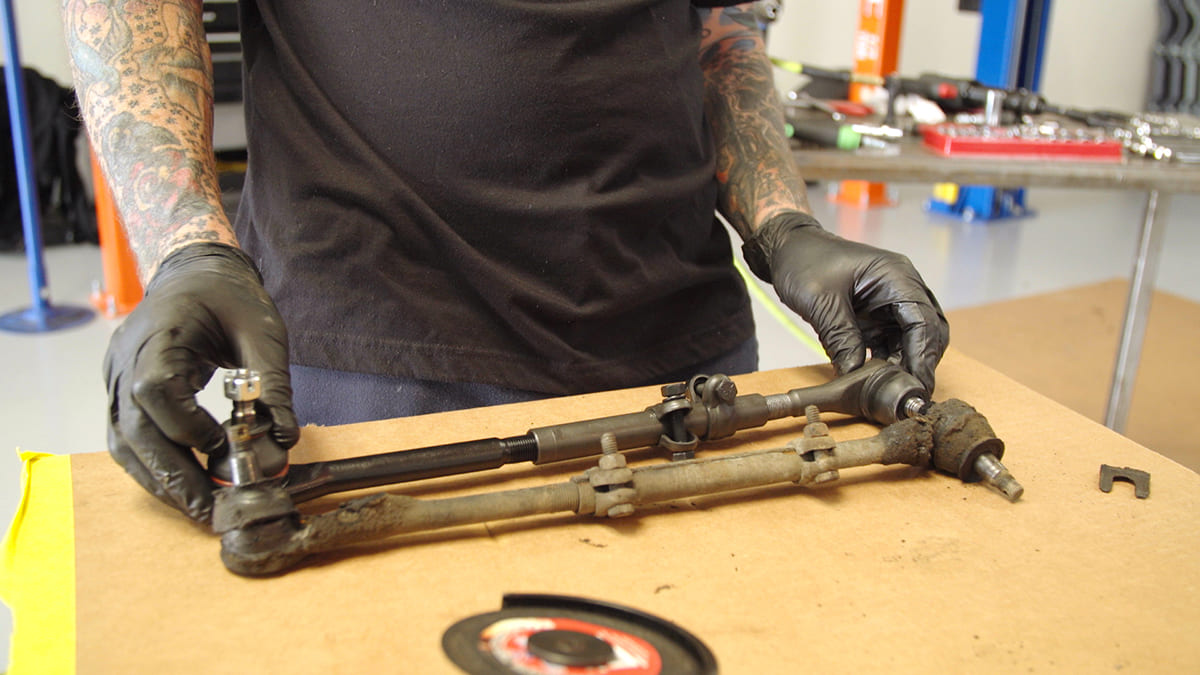
After removing the cotter pin and retaining nut, a pickle fork is used to separate the tie-rod ends from their attachment points.
Like all cars with independent front suspension our Camaro has lots of moving parts, and when they are worn, the ride quality deteriorates and the steering becomes sloppy and vague—maladies that were quickly apparent in our case. Then there were the brakes. A less-than-solid brake pedal indicated a master cylinder problem and we suspected it was time for new brake shoes. Fortunately, all those shortcomings are easy and affordable to eliminate with parts from Duralast. (Duralast’s parts can be found at DuralastParts.com and purchased at AutoZone.com, AutoZonePro.com, or your local AutoZone store).
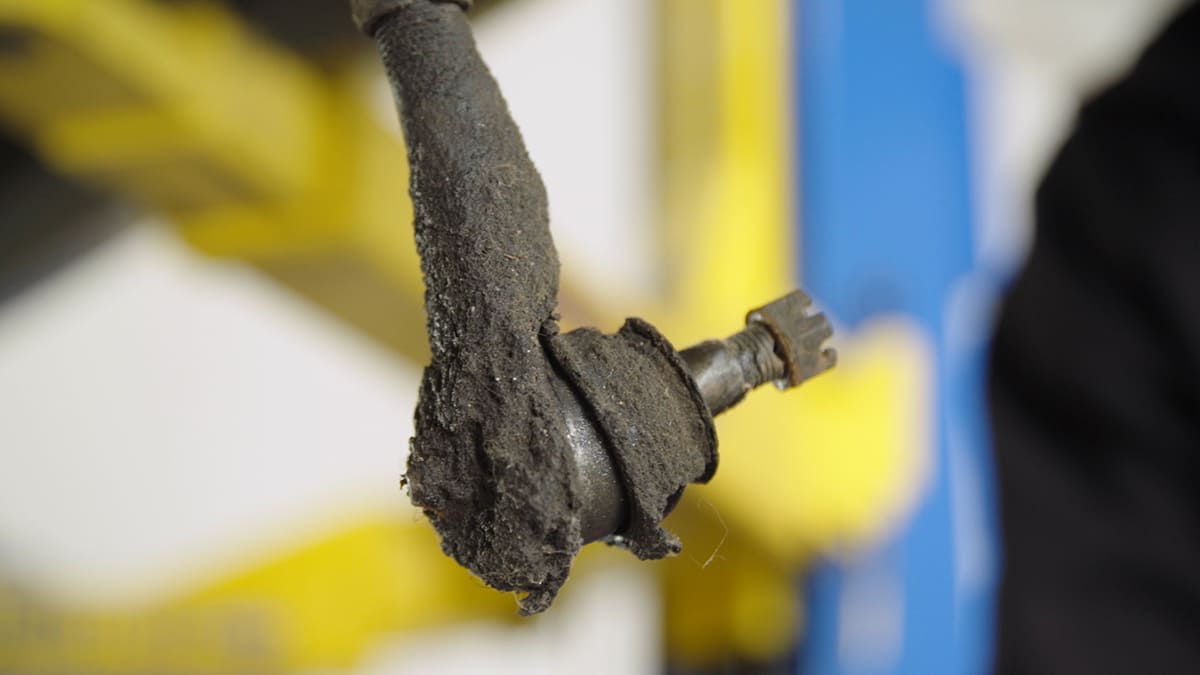
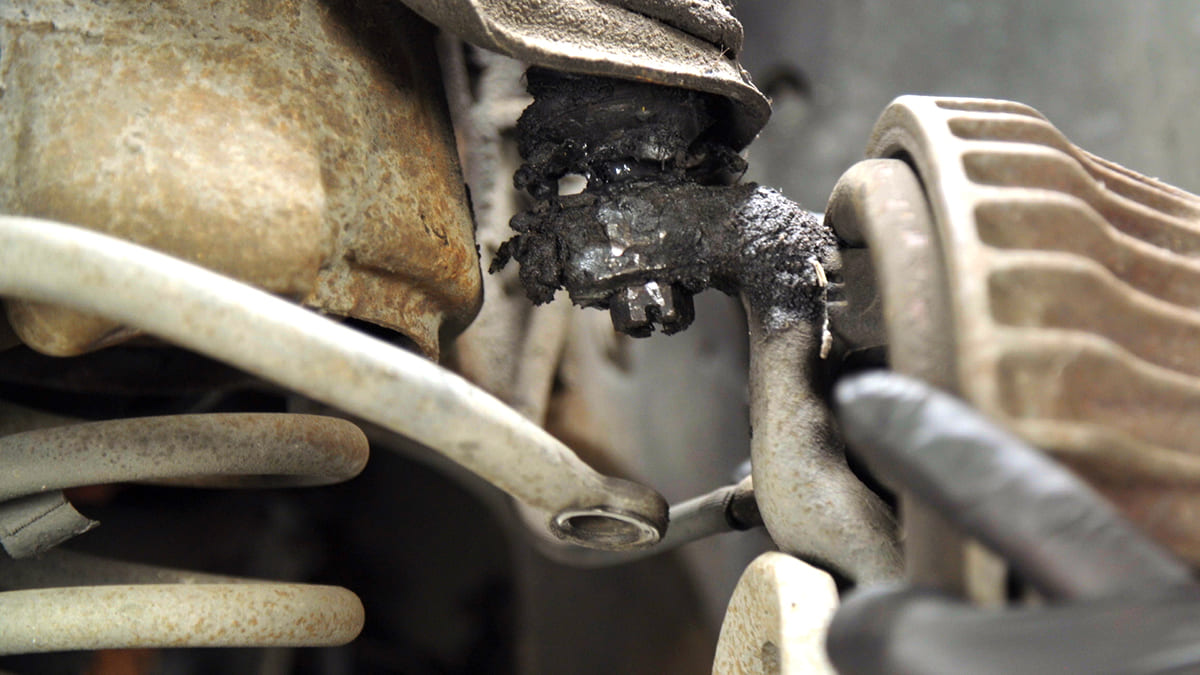
Tie-rod ends fit tightly due to the tapered pins. Worn tie-rod ends, like this crusty example, are often the source of sloppy steering.
Duralast parts meet or exceed OE quality, so we knew the suspension and brakes on our Camaro would be good as new, but there was one more thing that needed to be done. When steering and suspension components are replaced the last step is having the frontend professionally aligned. Once that was taken care of we were ready to hit the road and enjoy cruising our classic Camaro in style.
Tie-rod ends fit tightly due to the tapered pins. Worn tie-rod ends, like this crusty example, are often the source of sloppy steering.
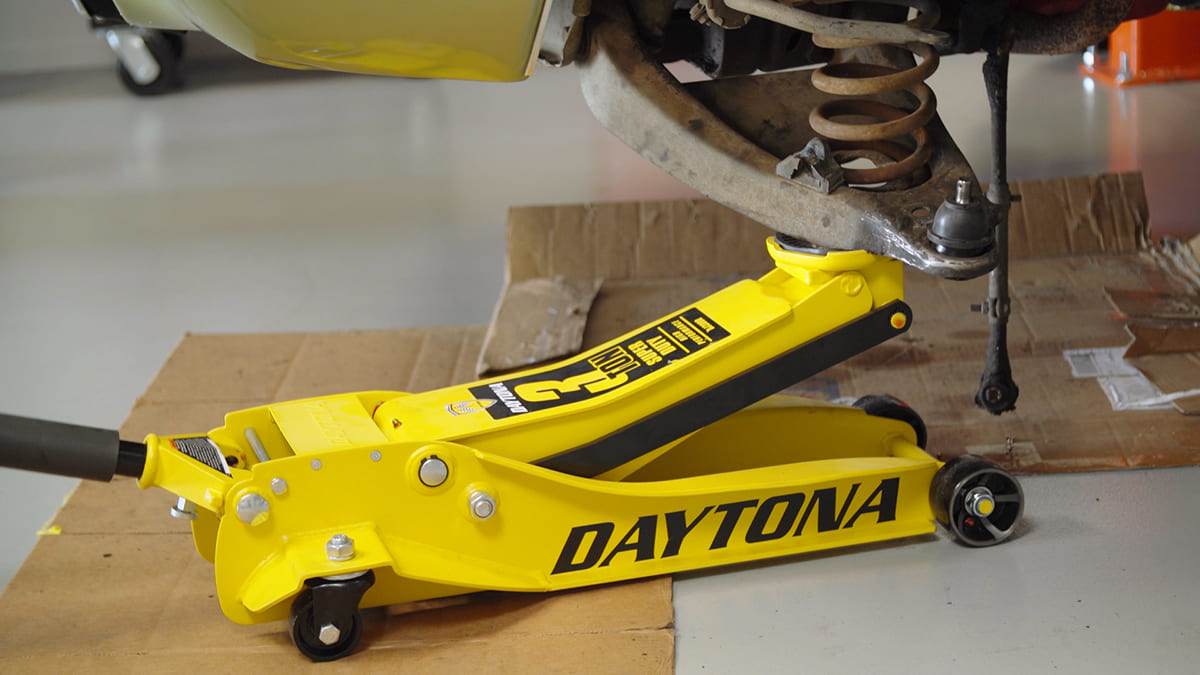
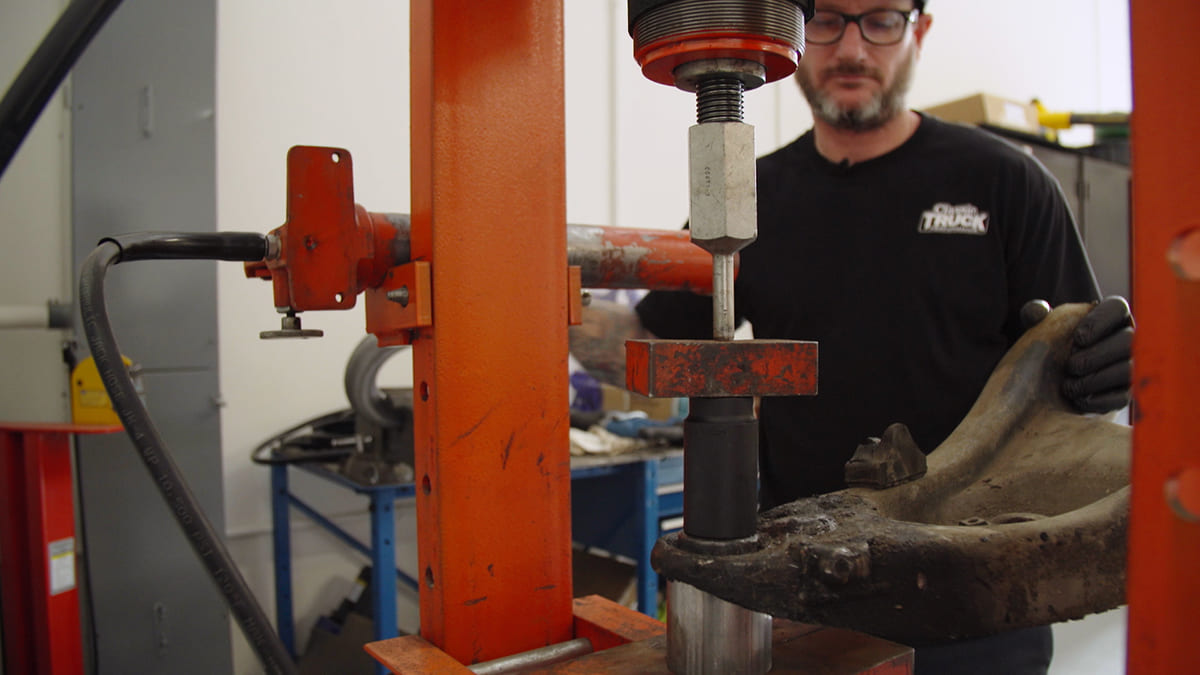
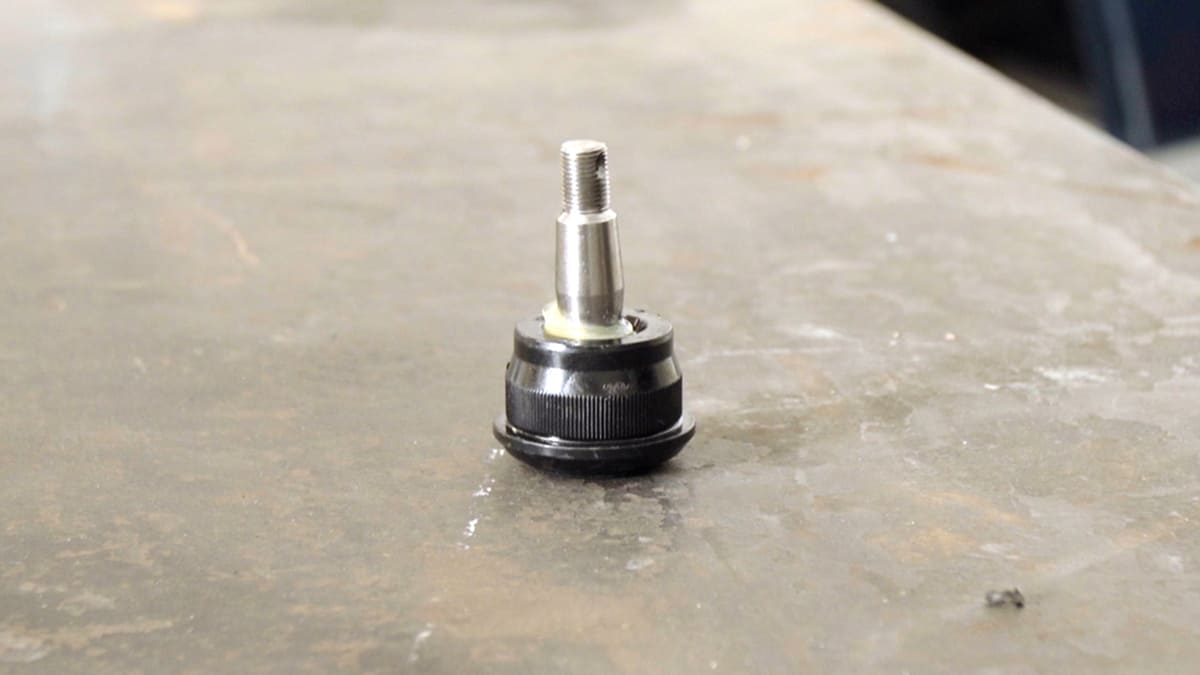
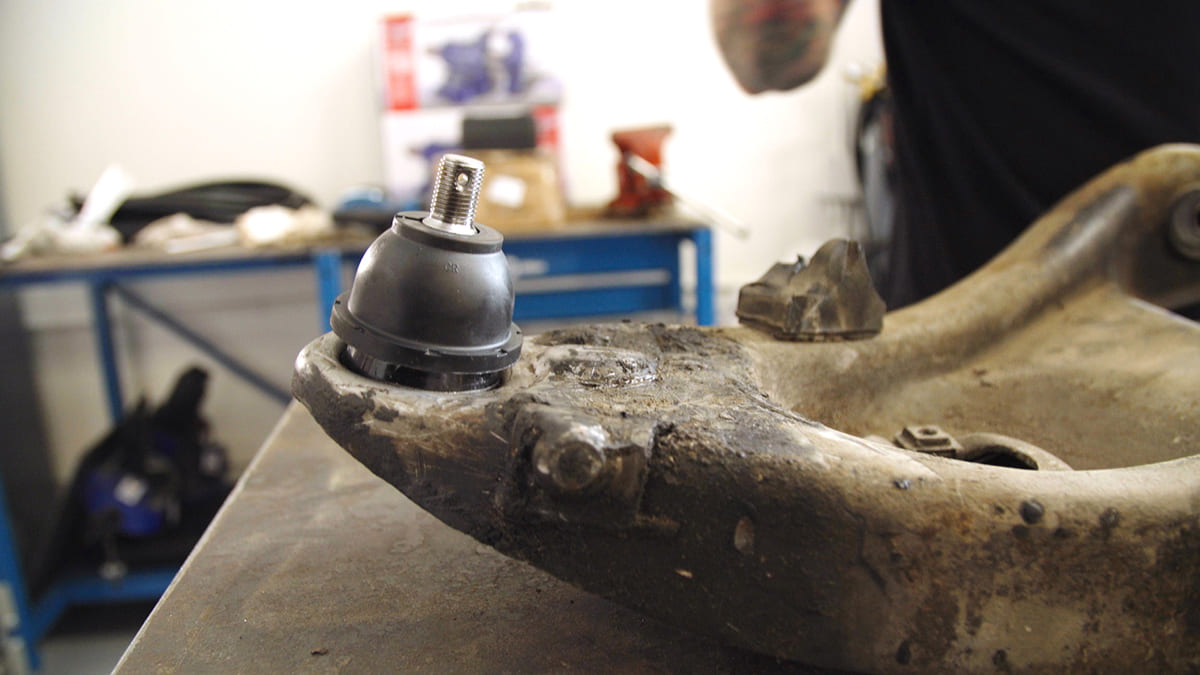
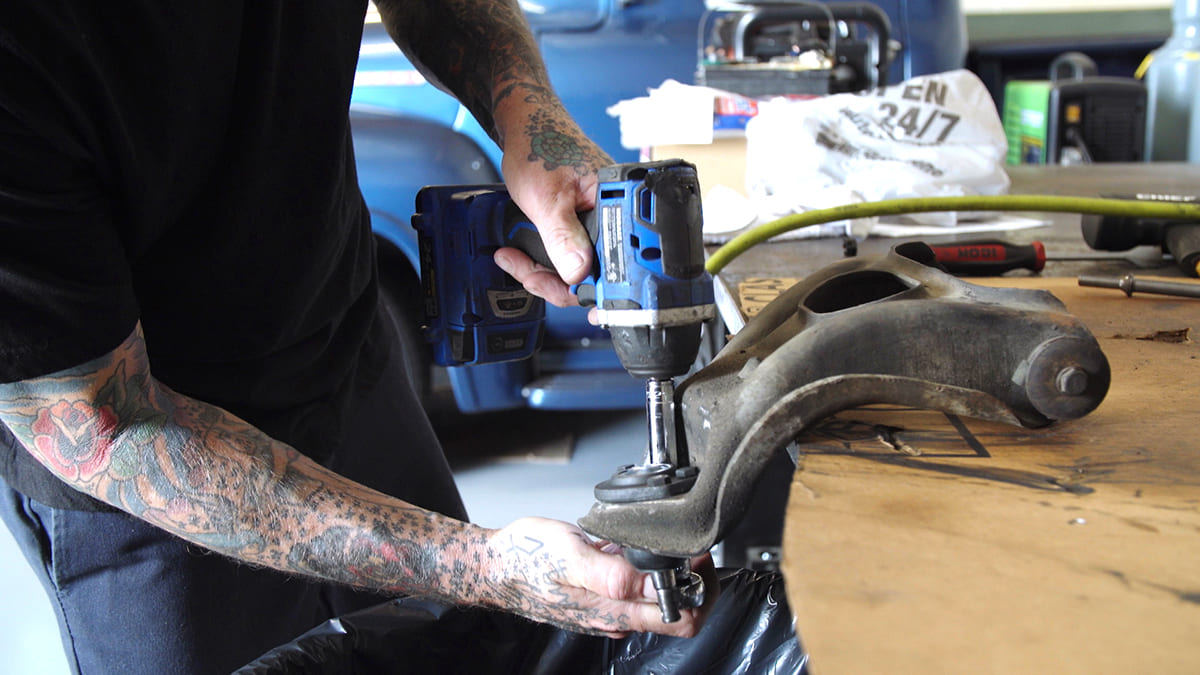
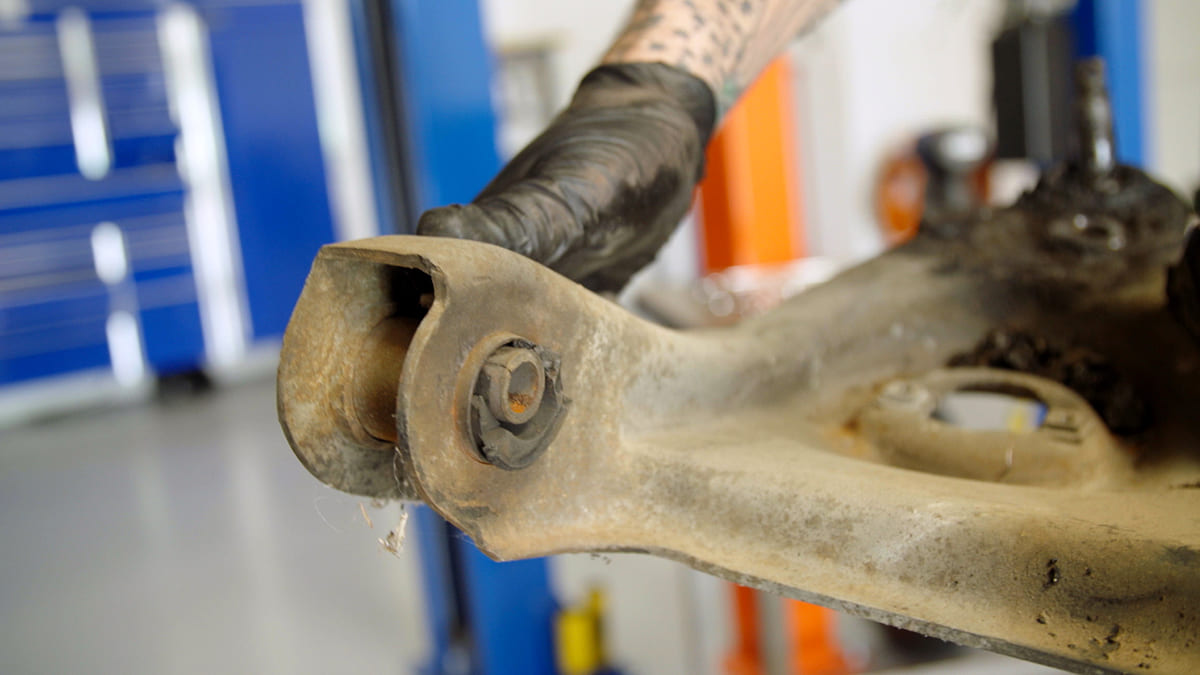
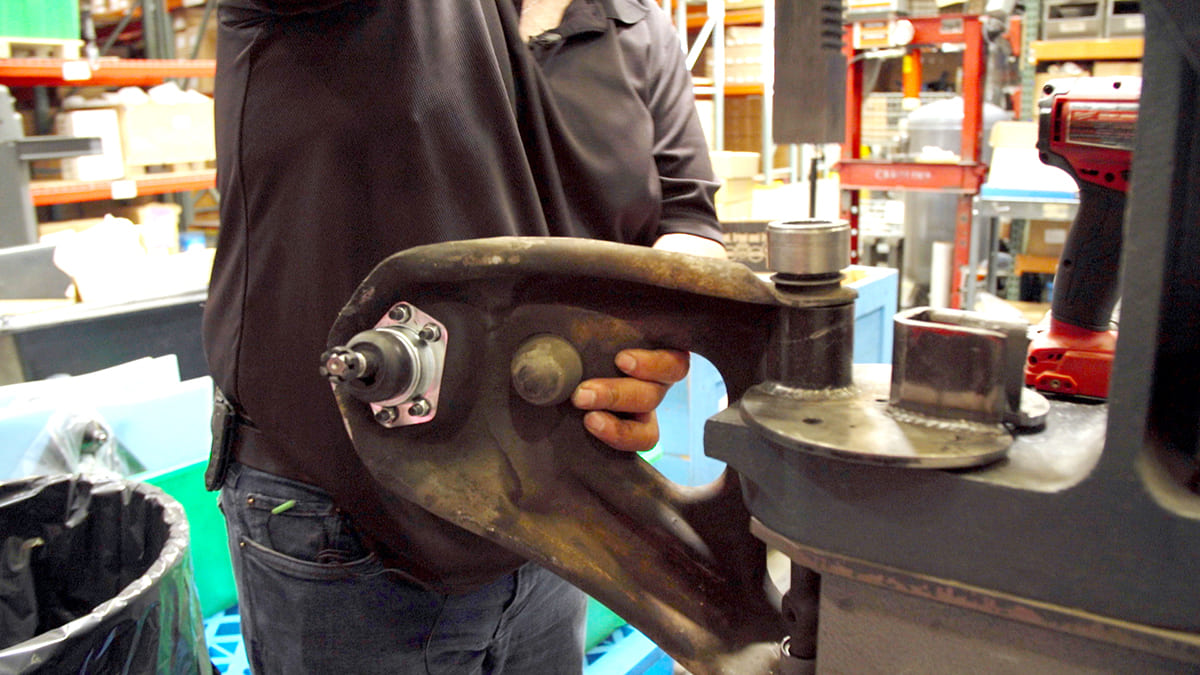
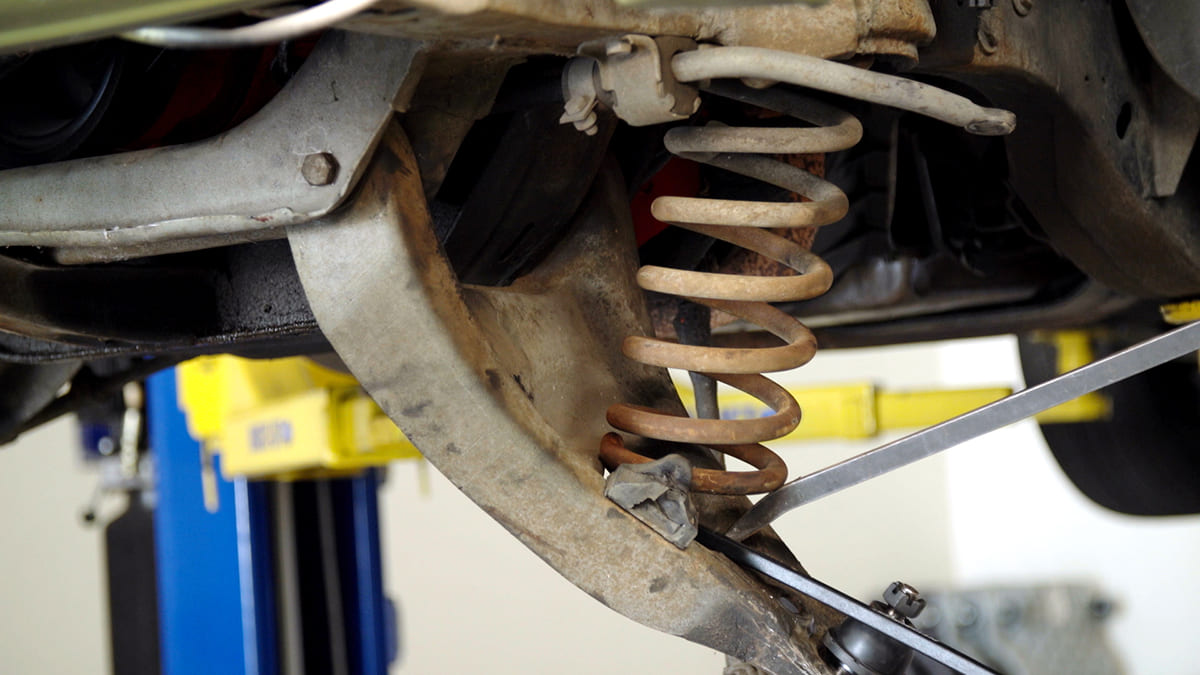
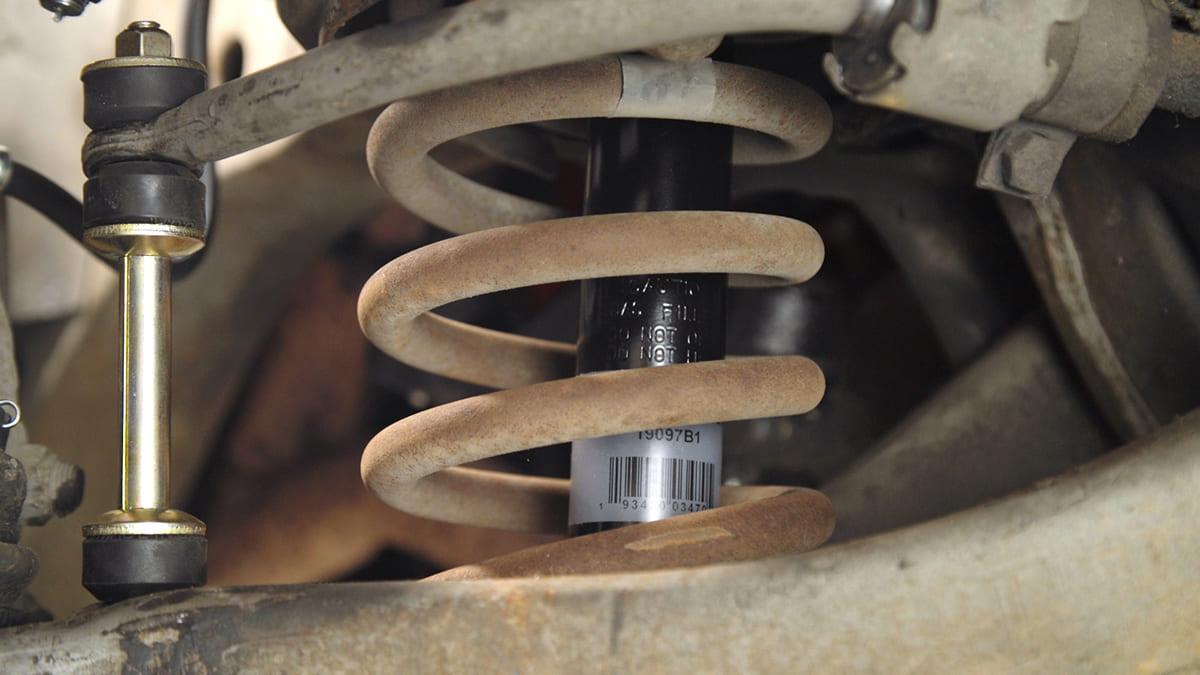
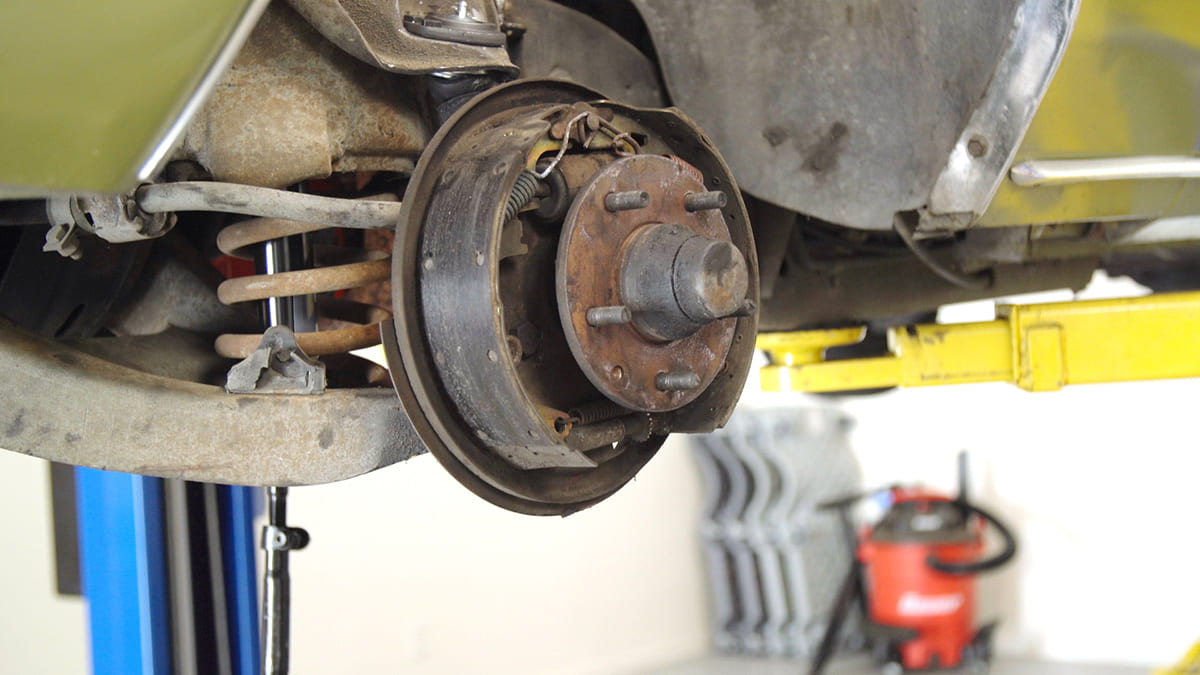
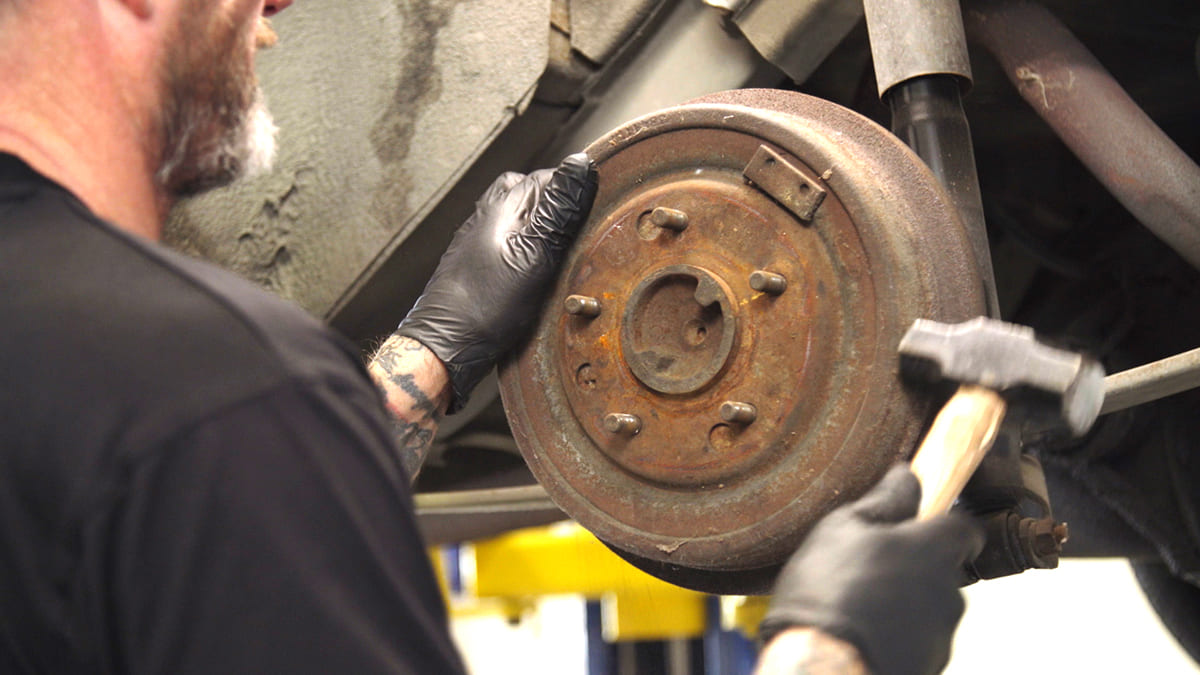
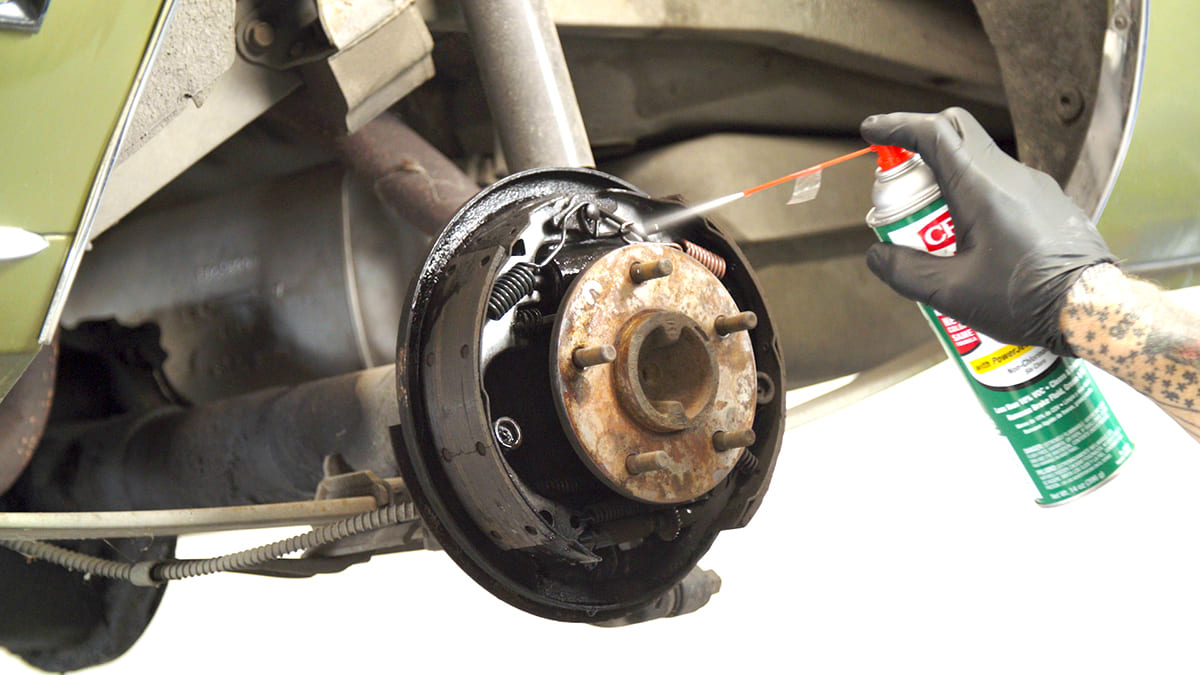
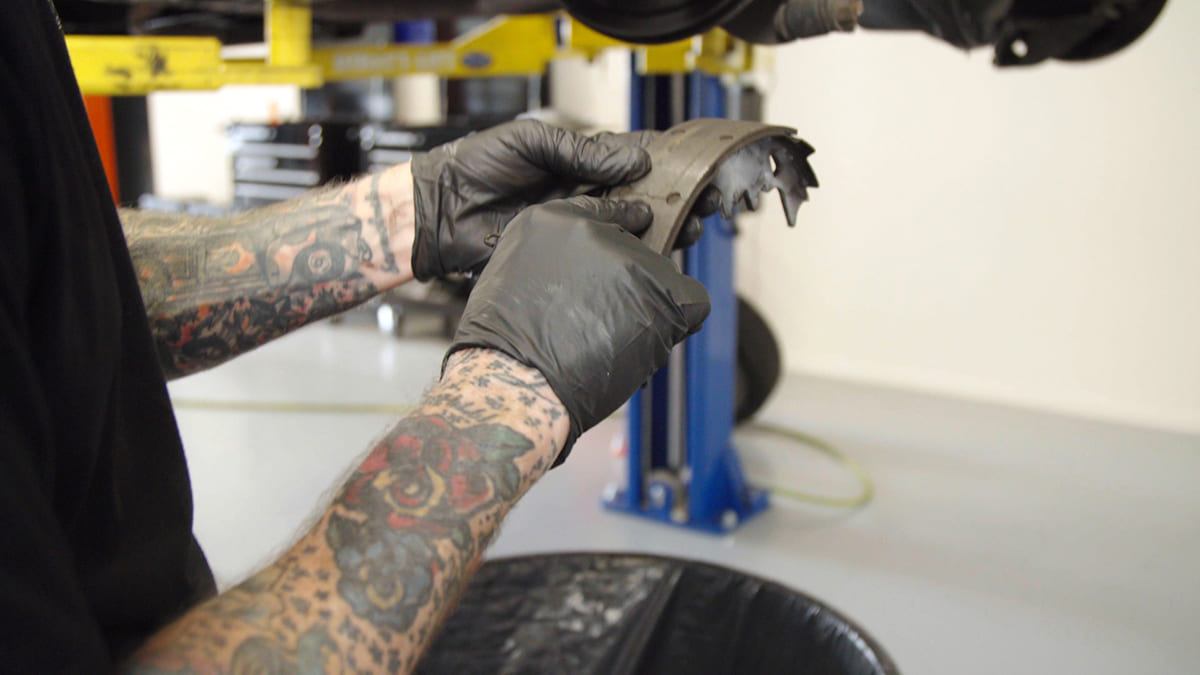
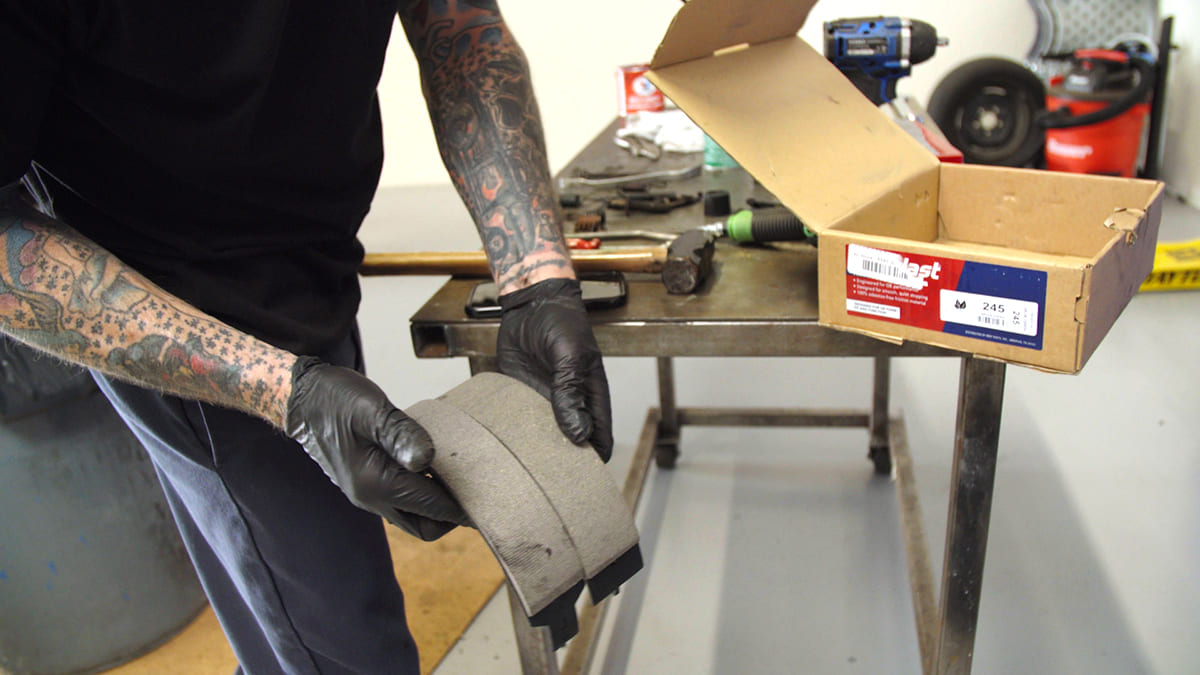
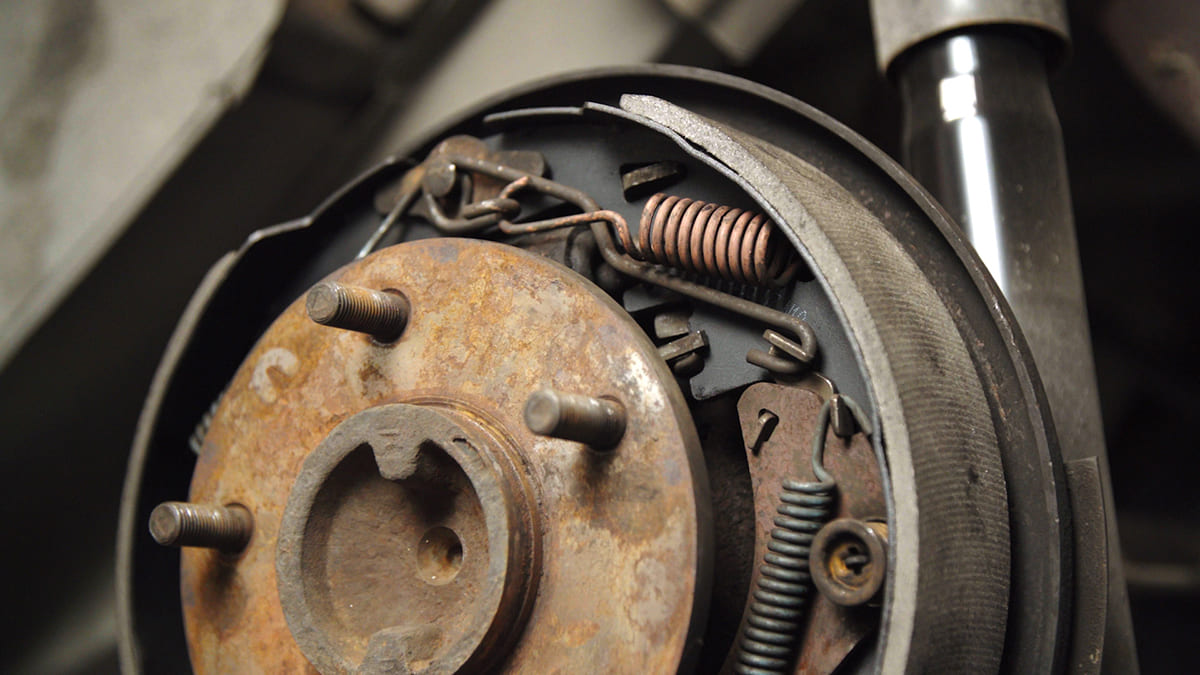
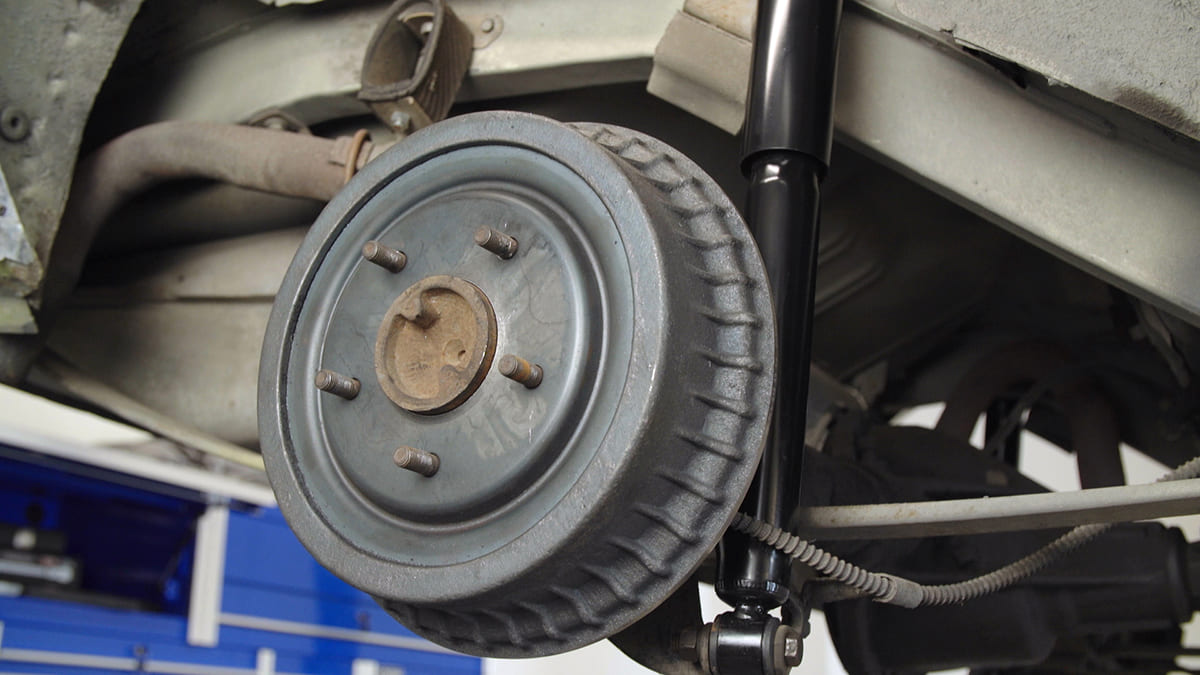
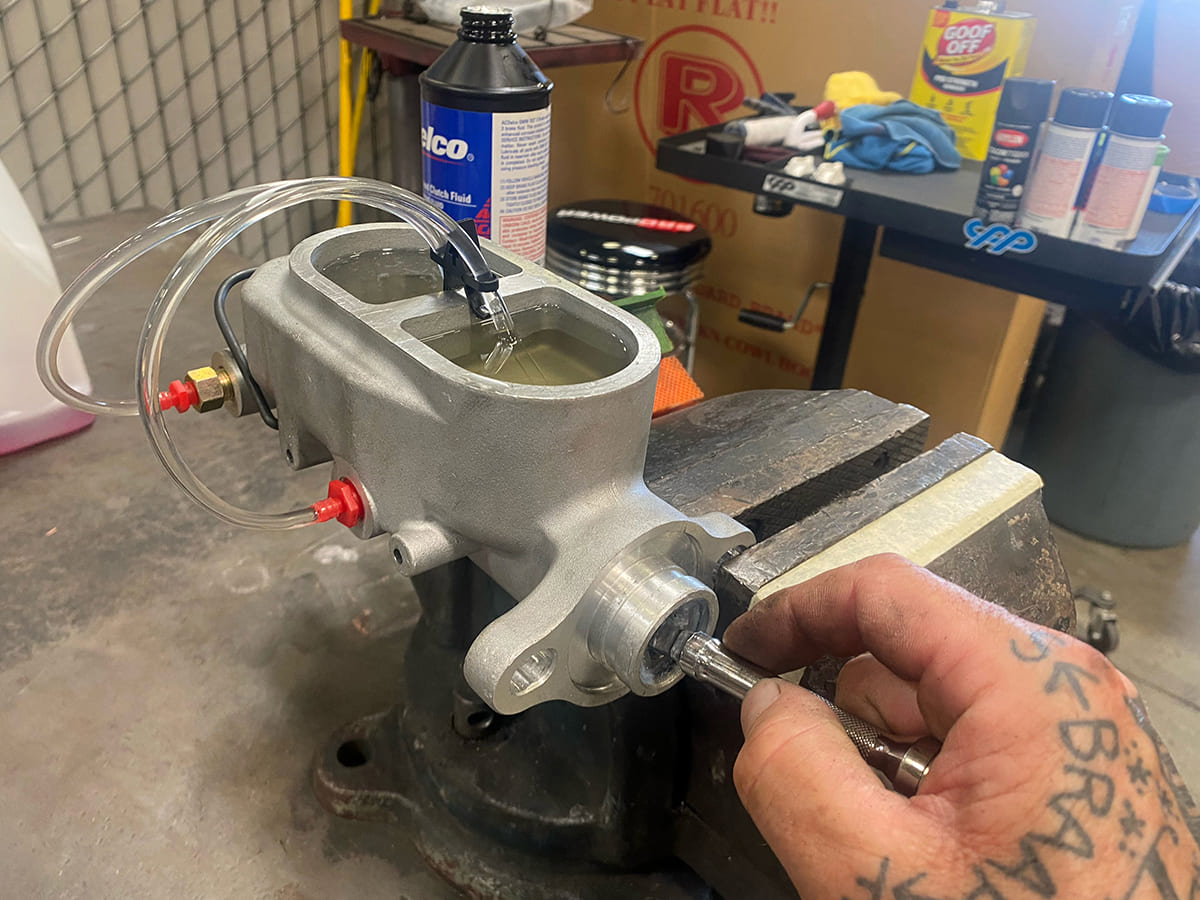
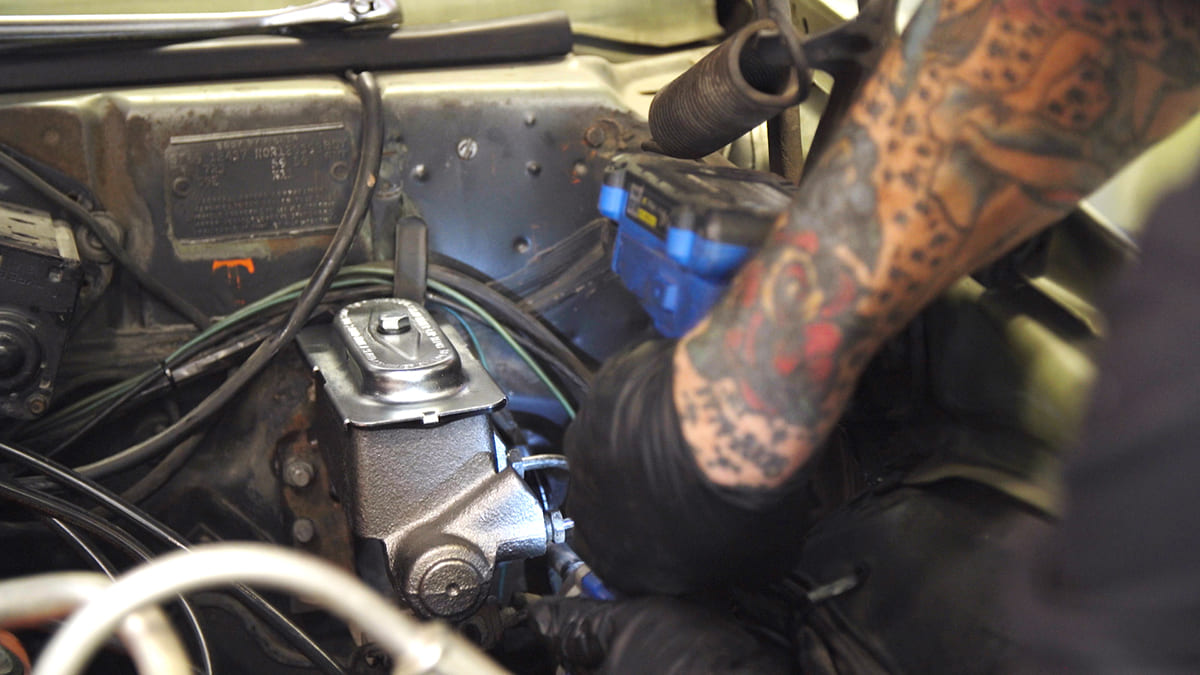
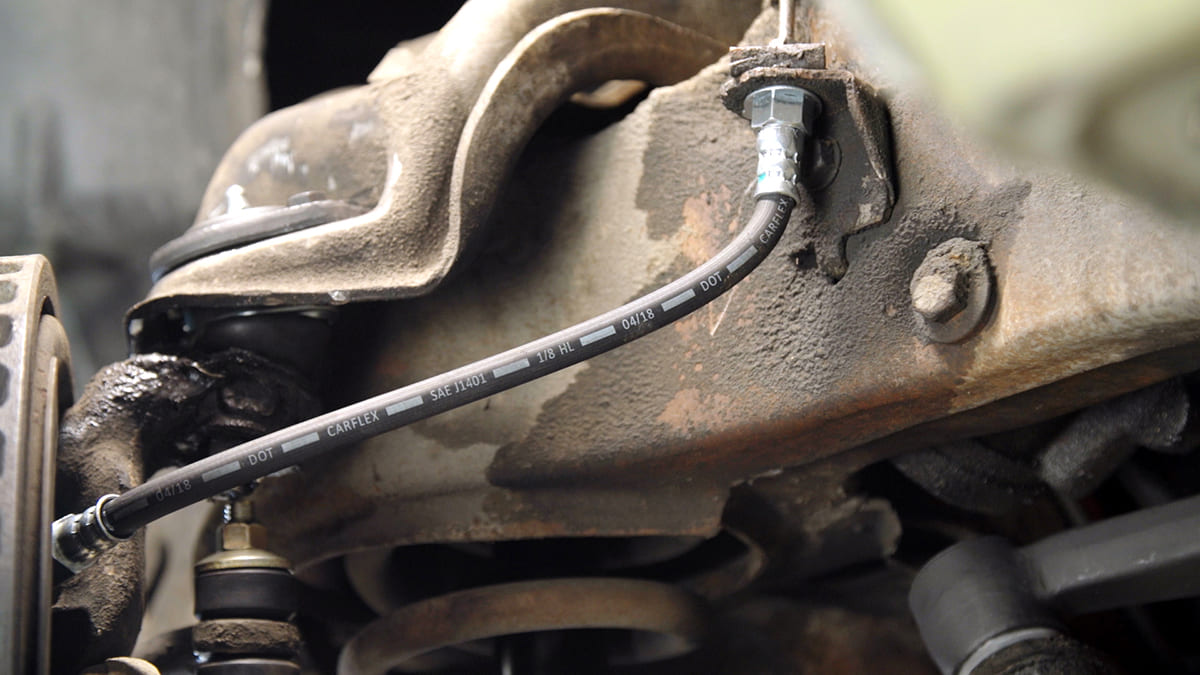
Another critical steering component that often needs to be replaced is the idler arm (arrow). We used a Duralast idler arm (PN FA609). Here the centerlink is being removed, and again a pickle fork is used.Like the lower ball joint, the upper has a tapered pin that fits into the spindle. With the nut removed, a blow from a hammer will often loosen the spindle, or a large pickle fork can be used.Replacing the ball joints and bushings requires removing the spring. After separating the ball joint from the spindle, the bottom A-frame is carefully lowered with a jack until there is no tension on the spring.The lower ball joints are a press-fit into the A-frames. They are pushed out from the top with a hydraulic press.This is a new Duralast lower ball joint (PN FA993 X2). It meets or exceeds OE quality. Serrations on the body ensure a tight fit when pressed into the A-frame.Here, the ball joint has been pressed in place. Note the hole for a cotter pin that secures the castellated nut.The upper ball joints were also due for replacement. The spindle was separated and then the upper A-frame was removed. Scudellari kept track of the alignment shims so they could be replaced as they were.The original upper ball joints are secured with rivets. Scudellari used a small angle grinder to remove their heads and then drove out the remaining portions with a punch.Duralast’s replacement upper ball joints (PN FA487 X2) are held in place with high-strength bolts, simplifying the installation process.Typical of old components, the rubber in the upper and lower A-frame bushings had deteriorated allowing metal-to-metal contact. Worn bushings contribute to poor handling and noisy suspension.New Duralast bushings were pressed into the upper (shown) and lower A-frames (PNs FB149 X4 and FB295 X4). Note the bolts securing the new upper ball joint.With the new bushings installed in the upper A-frame, the cross shaft is secured with the factory washers and capscrews.The rebuilt A-frames were bolted in place, and the springs were then installed by raising the bottom A-frame with a floor jack.With the new ball joints installed and the springs and spindles back in place, we elected to install new Duralast sway bar endlinks (PN SL90HD X2) and bushings (PN FA986 X2) and twin-tube shock absorbers.Before installing the new Duralast inner and outer tie-rod assemblies on each side (PNs ES681N X2, ES381R, ES350S X2), their lengths were adjusted to match the original parts (a frontend alignment will still be necessary).The front drums were removed to inspect the brakes, and everything was found to be serviceable. Note these shoes use riveted linings.Rear drums can be difficult to remove as they will often grip the center register on the axles. A few light blows with a hammer will often loosen them.Always check wheel cylinders and axle seals for signs of leakage. Any contamination should be removed with brake cleaner (Duralast PN 05089 X5) and the source repaired.Scudellari found the rear brake shoes were cracked in several locations, so Duralast replacements were ordered (PNs 245 rear, 246 front).There are two different lengths of brake shoes for each wheel; the shoe with the short lining goes on the front of the backing plate.Automatic brake adjusters have a variety of springs. If you’re not familiar with them, take one side apart at a time so you have an example to refer to.Both the rear brake drums were worn past limits, but Duralast came to the rescue again with new replacements (PN 8798). Note the new rear shocks (PN TS32-30002B X2; front replacements are PN TS34-32021B X2).Before installing the new Duralast master cylinder, Scudellari bench-bled it by pumping the pistons until no air bubbles were seen in the reservoirs. The bleeding kit is included with the master cylinder.Our Camaro has drum brakes all around. Those with discs up front require a different master cylinder, as do those cars with power brakes.For safety’s sake, Scudellari removed all the suspicious-looking brake hoses and installed new Duralast replacements.All it took was a ride around the block to tell that the new suspension and steering components improved the Camaro’s road manners dramatically—and the solid brake pedal gave our confidence in traffic a boost
We use cookies to ensure that we give you the best experience on our website. If you continue to use this site we will assume that you are happy with it.