Stepping into the world of classic trucks, it’s easy to see that each one rolling off the production lines through the decades was destined for a life of service. While many were worked hard within an inch of their limitations, others fared far better in more domestic environments. In any case, as the years passed, countless retired haulers were given a new lease on life from both hot rodders and restorers. Regardless of whether you’re building the hop-up of your dreams or chasing after a perfect 100-point restoration, there’s plenty of opportunity to add that personal signature to your build. Choosing a vintage vibe, contemporary style, or somewhere in-between gives you the opportunity to update with your choice of drivelines, suspension and brakes, fresh platforms, and an endless potential for custom metal fabrication to give it a distinct look.
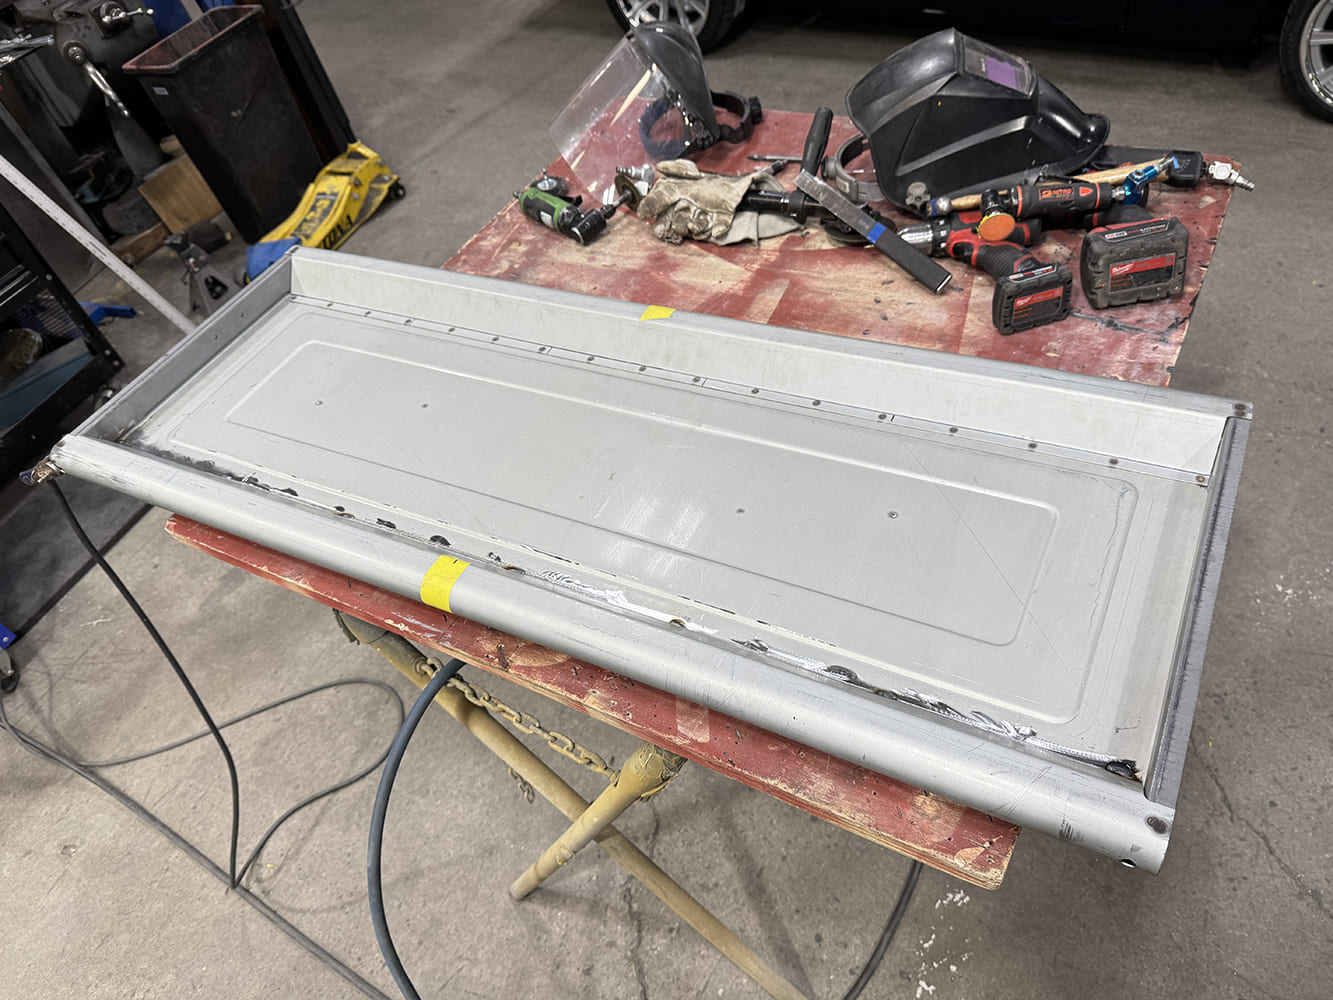
A replacement tailgate sourced from Premier Street Rod was the perfect candidate to get updated to a picture frame style by Chris Cerce Customs (CCC) team member John Breault.
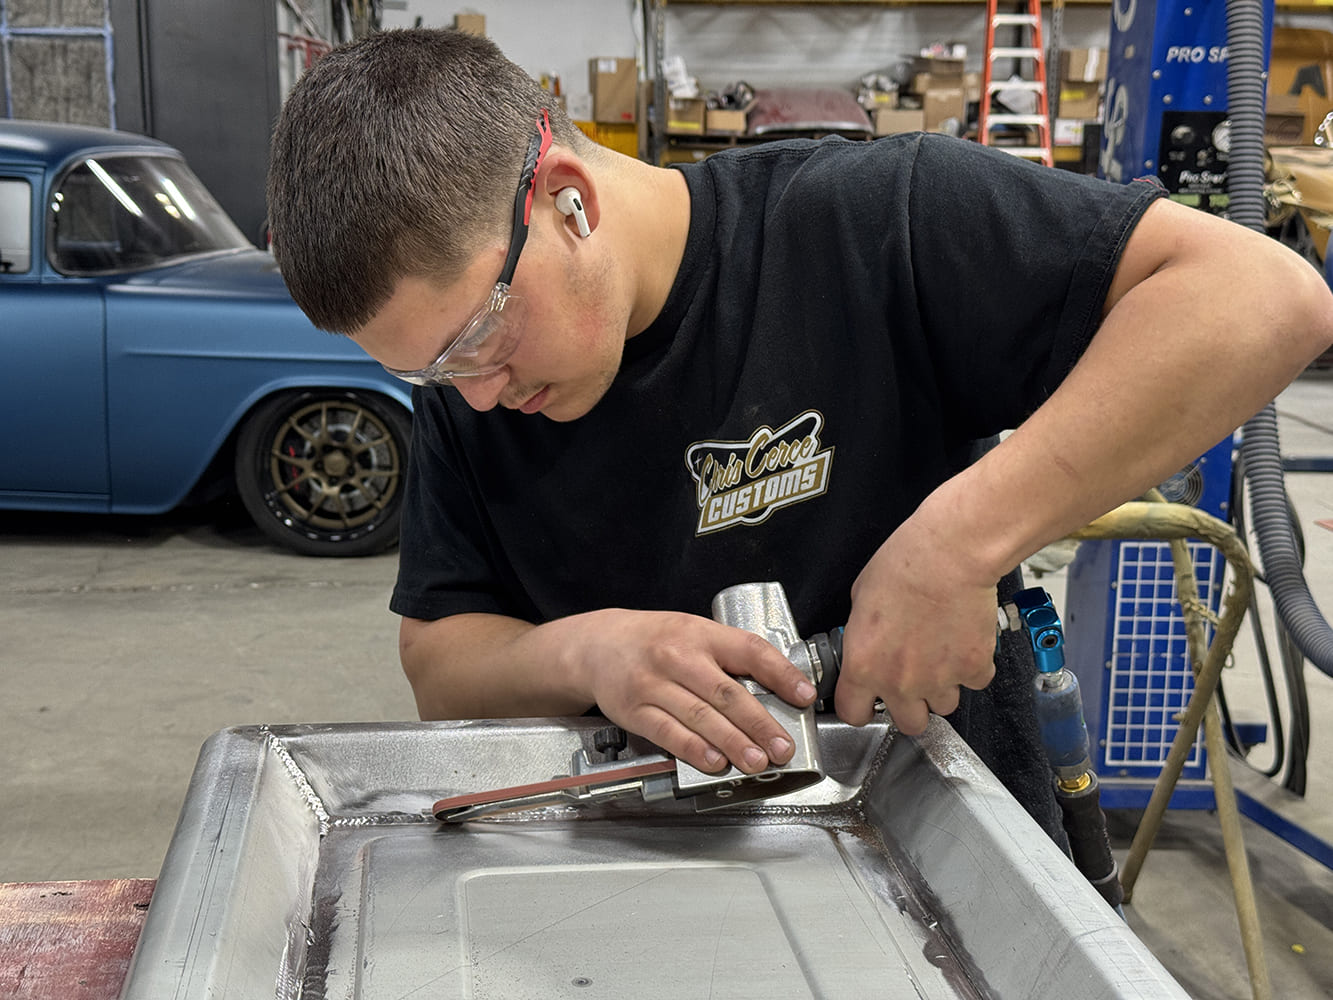
Recently, we visited Chris Cerce Customs (CCC) in Taunton, Massachusetts, to check out a 1956 Chevy 3100 series Stepside in for a full makeover, including a 755hp Chevrolet Performance LT5 supercharged V-8, Choppin’ Block Stage-3 Performance chassis, and plenty of custom details to give it the stunning CCC look. In a previous issue, we focused on updating the factory stake pockets for a smoother, more custom look. Here, we’ll focus on adding a special touch to the new Premier Street Rod replacement tailgate with a contemporary picture frame style to give it a fresh, new look. Let’s follow along as CCC team member John Breault works his fabrication craft, bringing it to the next level.
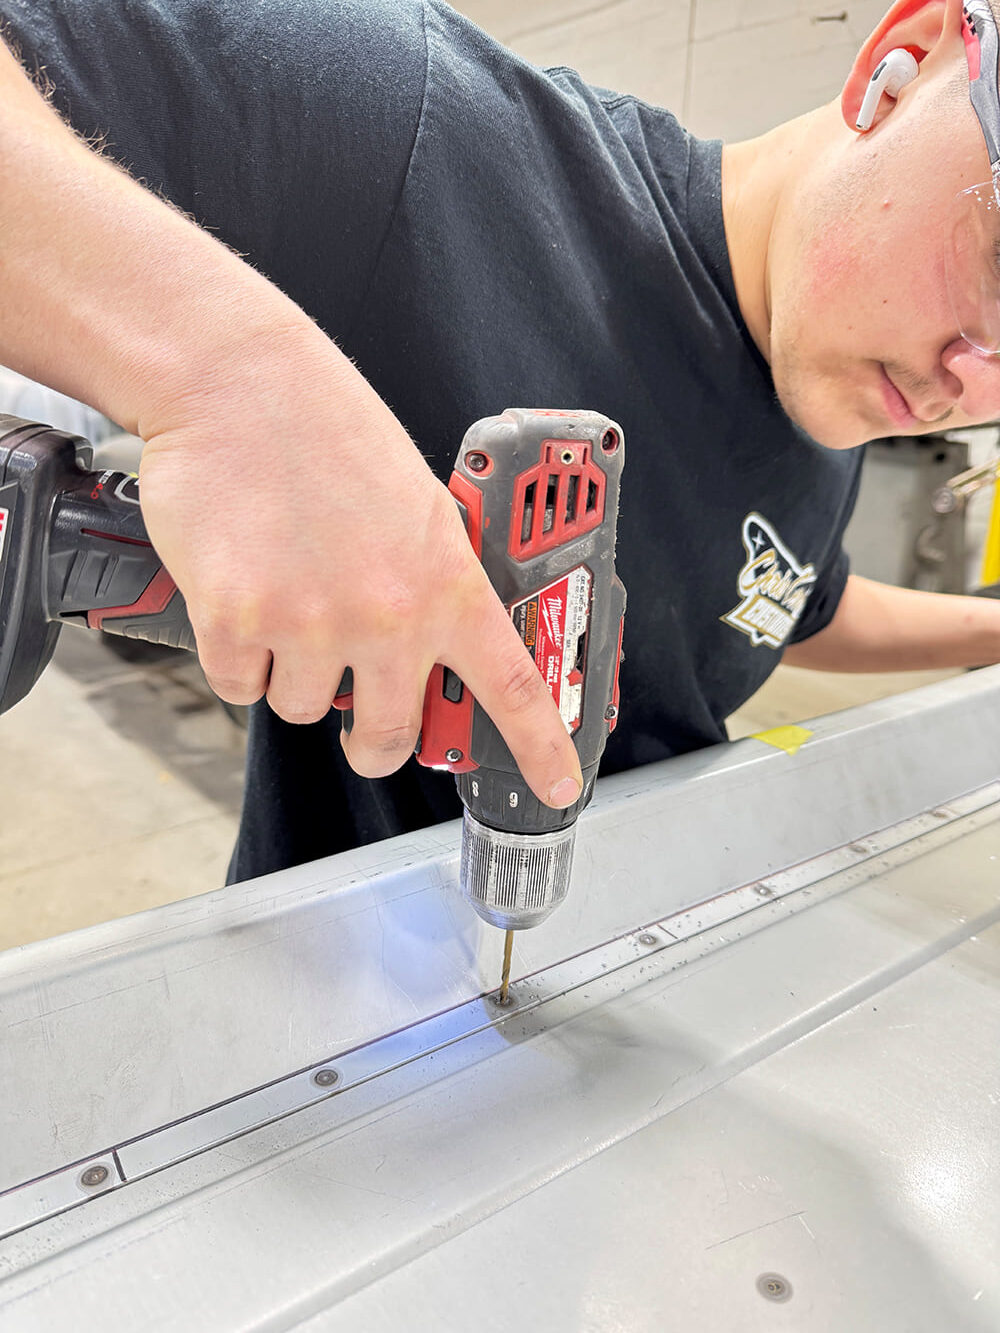
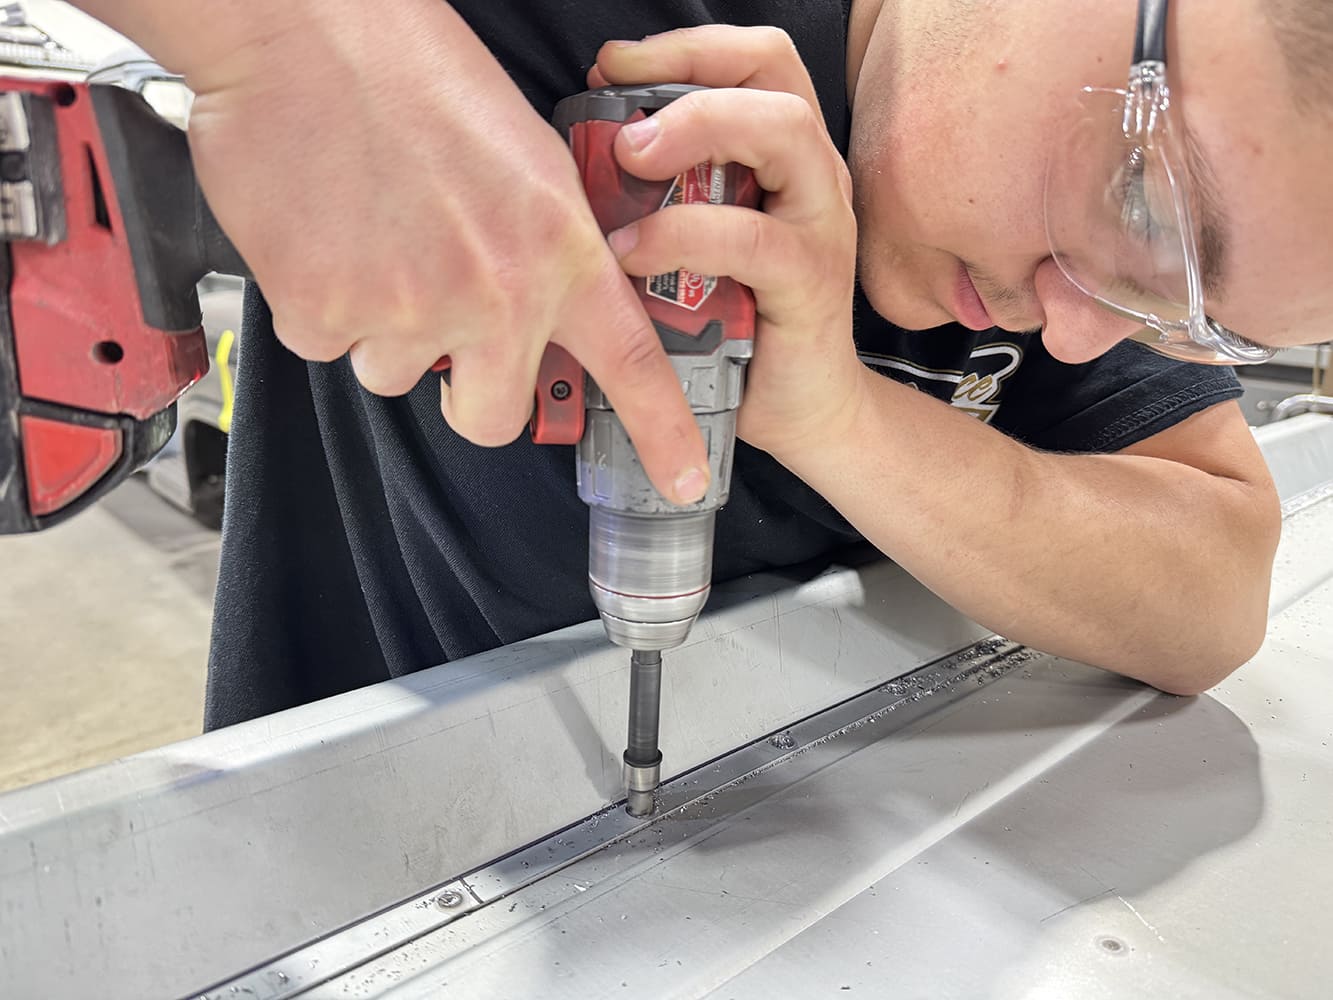
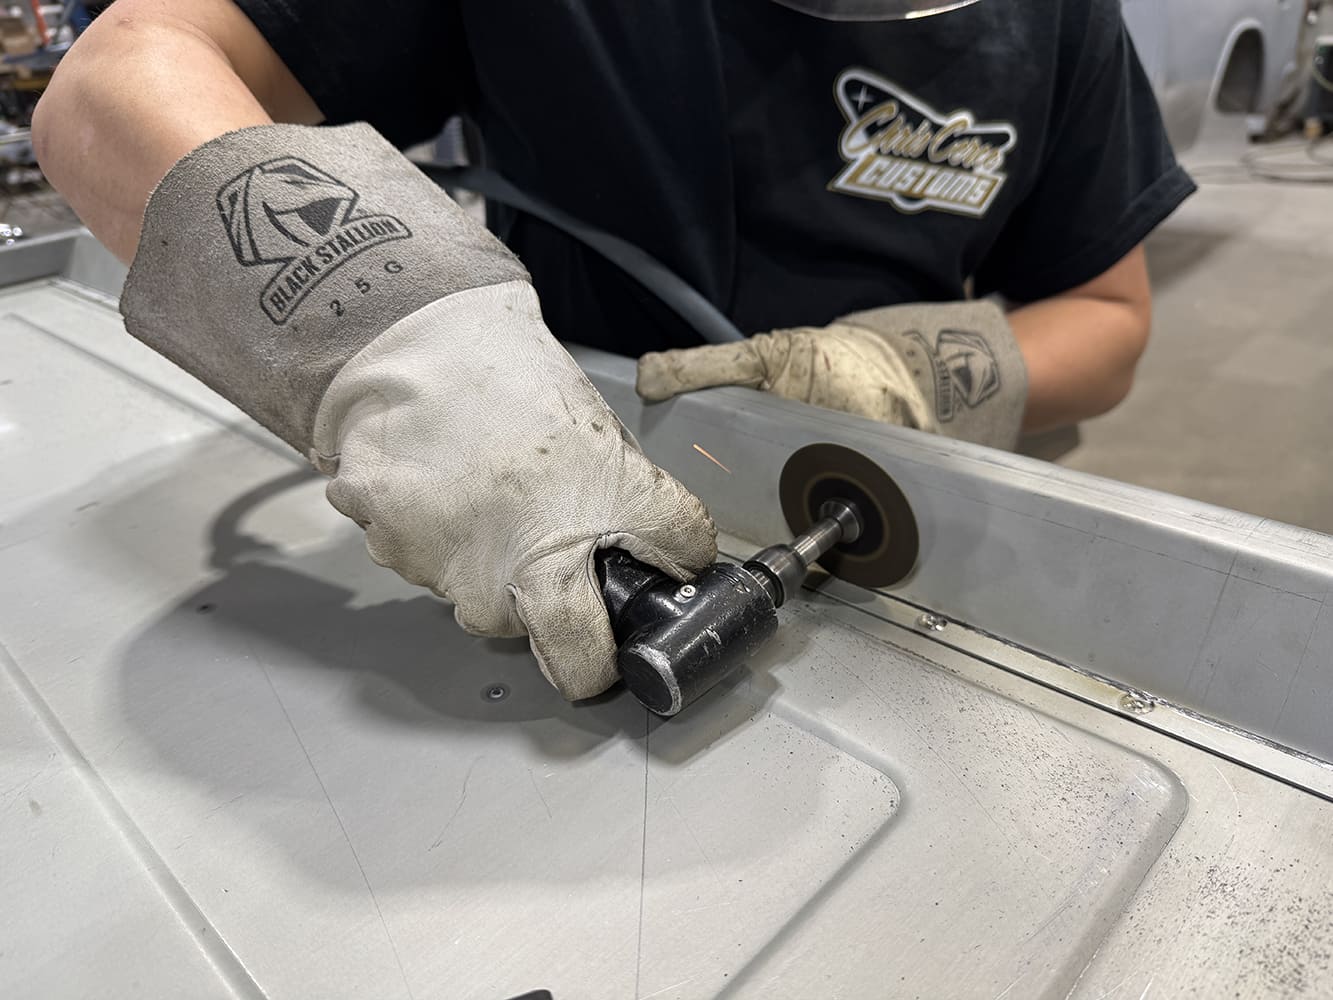
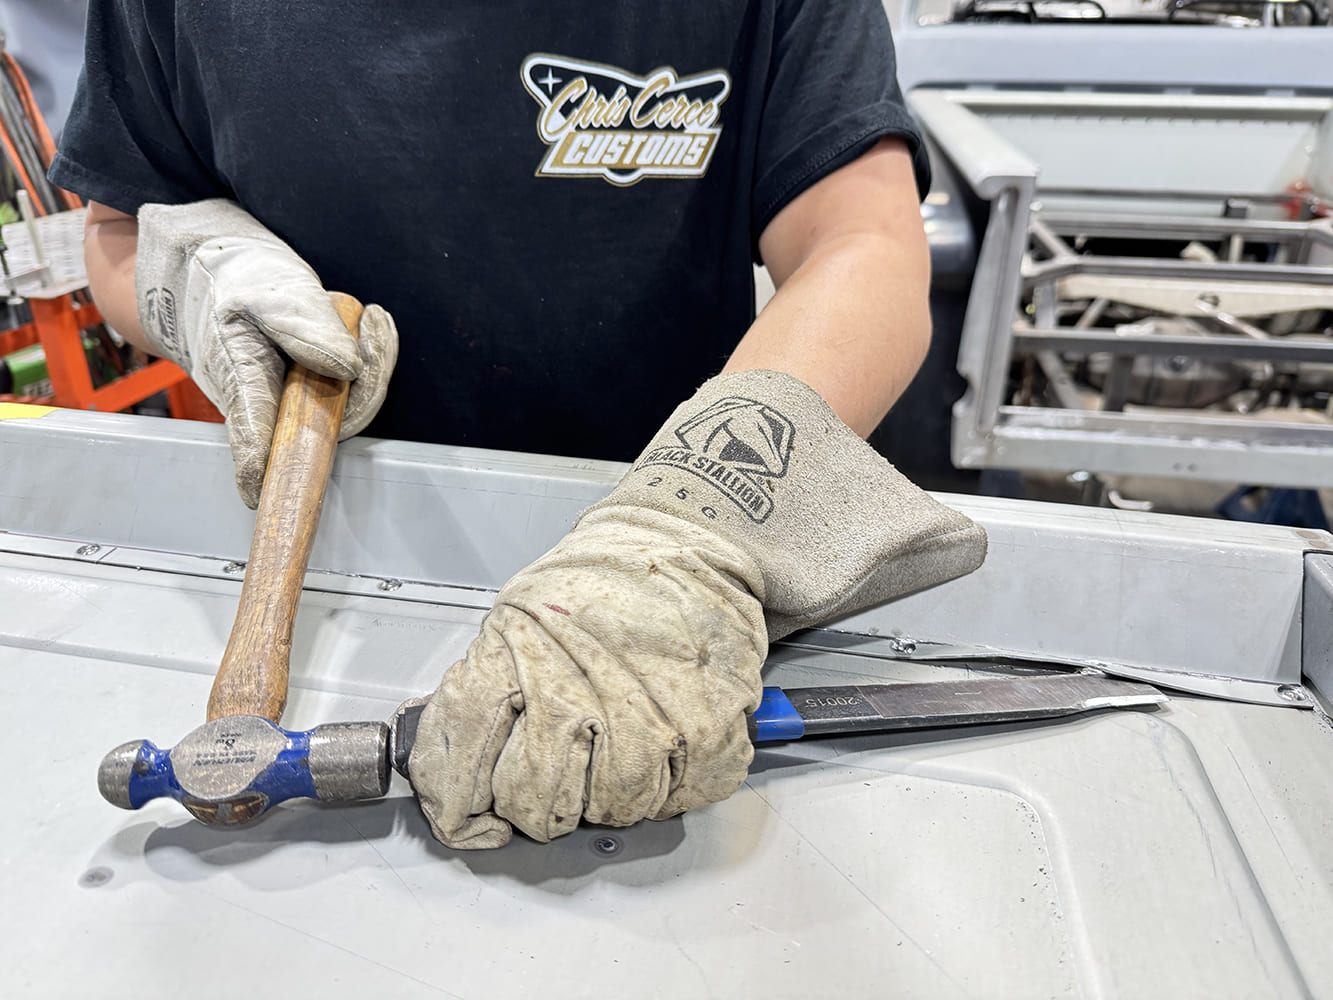
The first step was to remove the tailgate’s inner factory-style flange for a much smoother overall look.Using a cordless drill while wearing safety glasses, a pilot hole was drilled through the center of each spot weld.A 3/8-inch Blair Equipment spot-weld cutter was then used to break through each of the spot-welds. The area was then blown clean of any debris.With a cutoff wheel, the inner flange was carefully cut from the upper frame.A hammer and chisel were used to separate the welds of the inner flange from the tailgate.
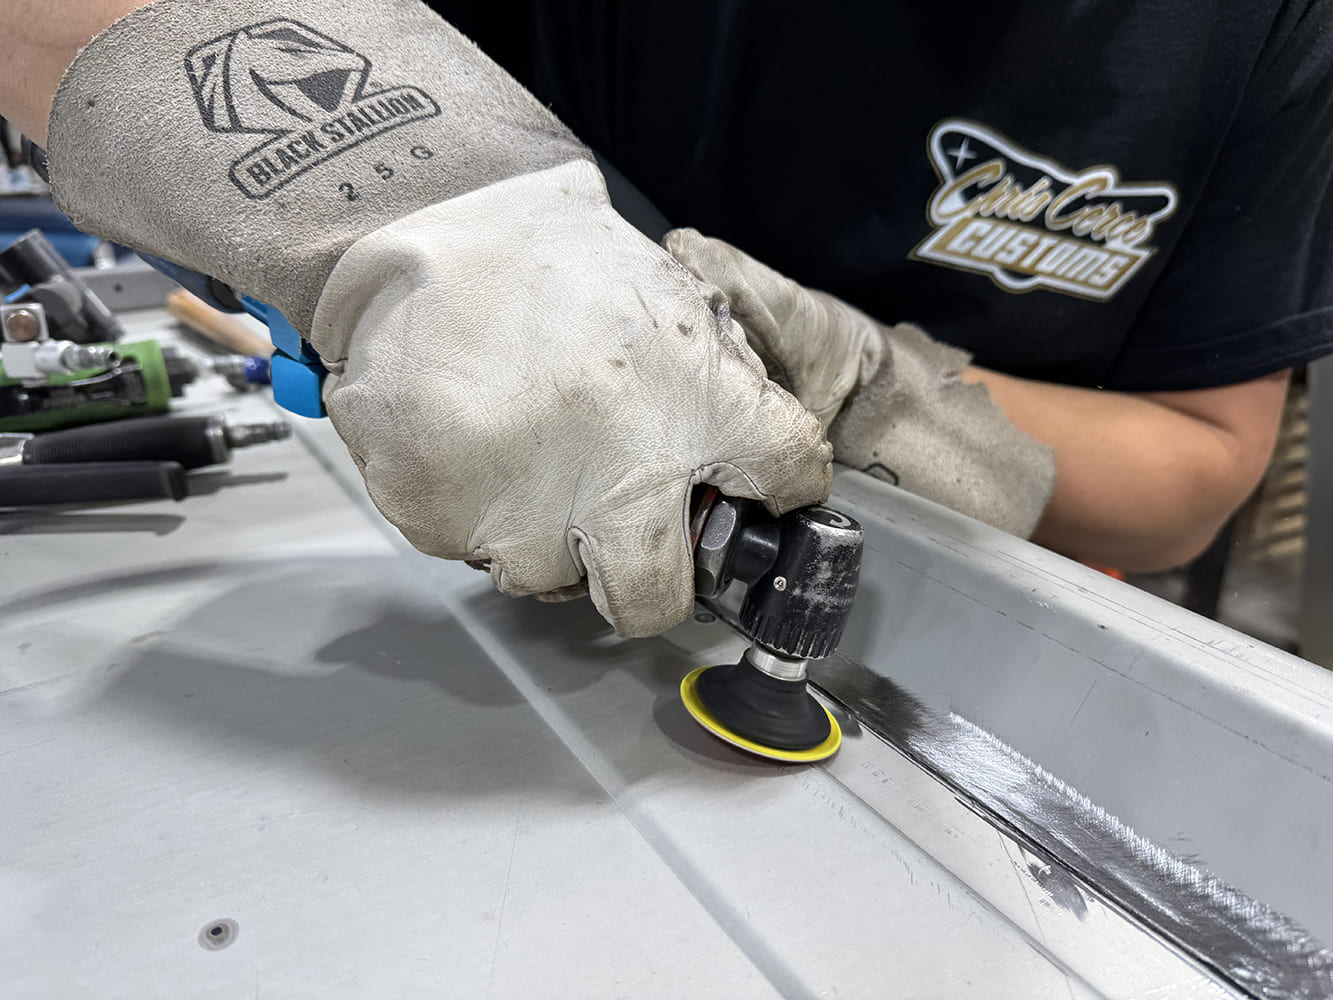
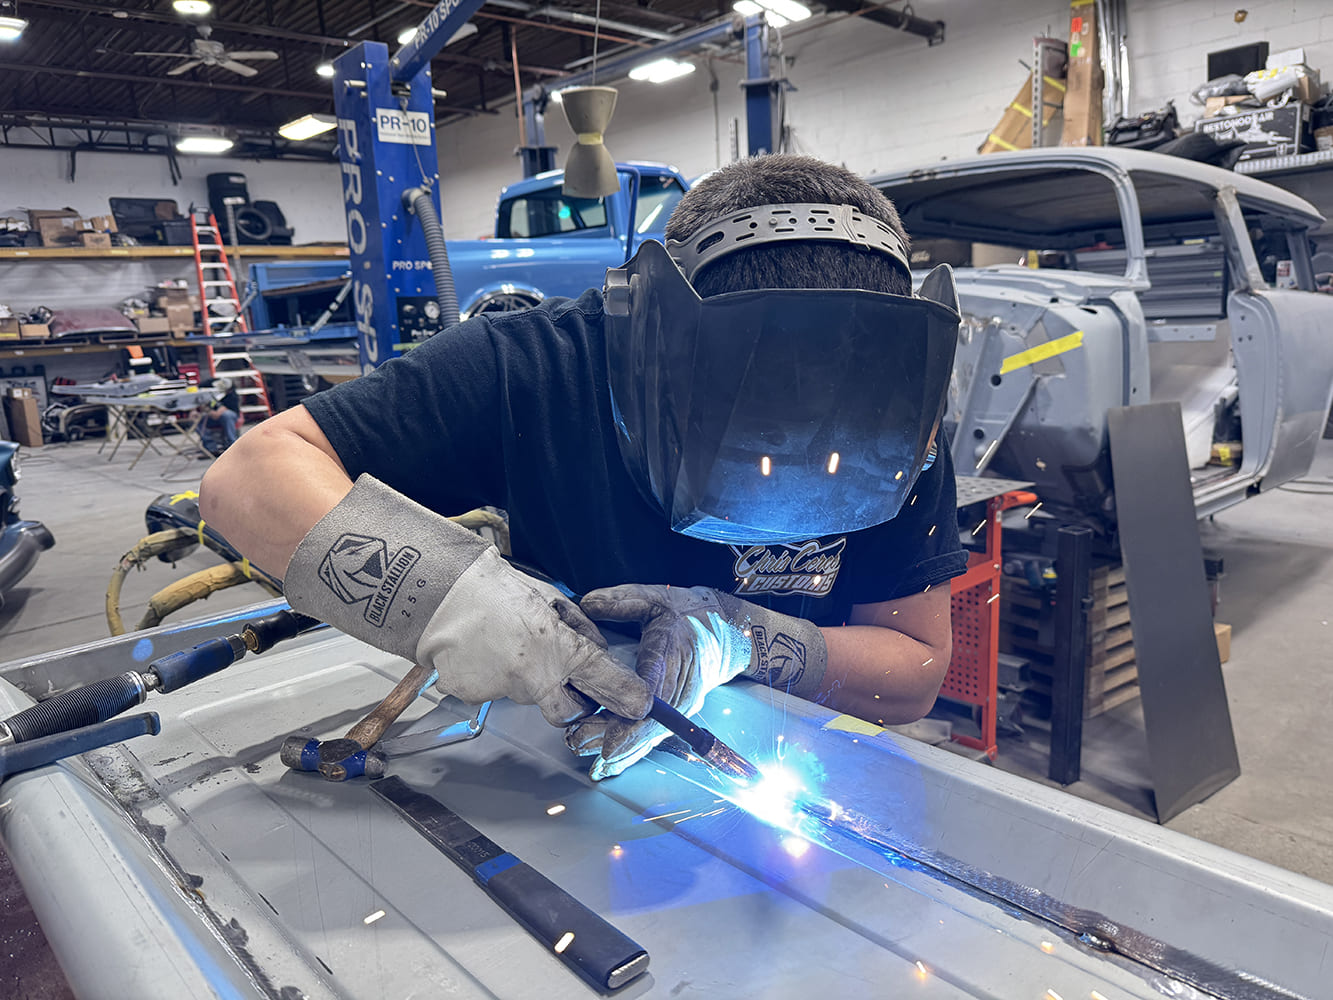
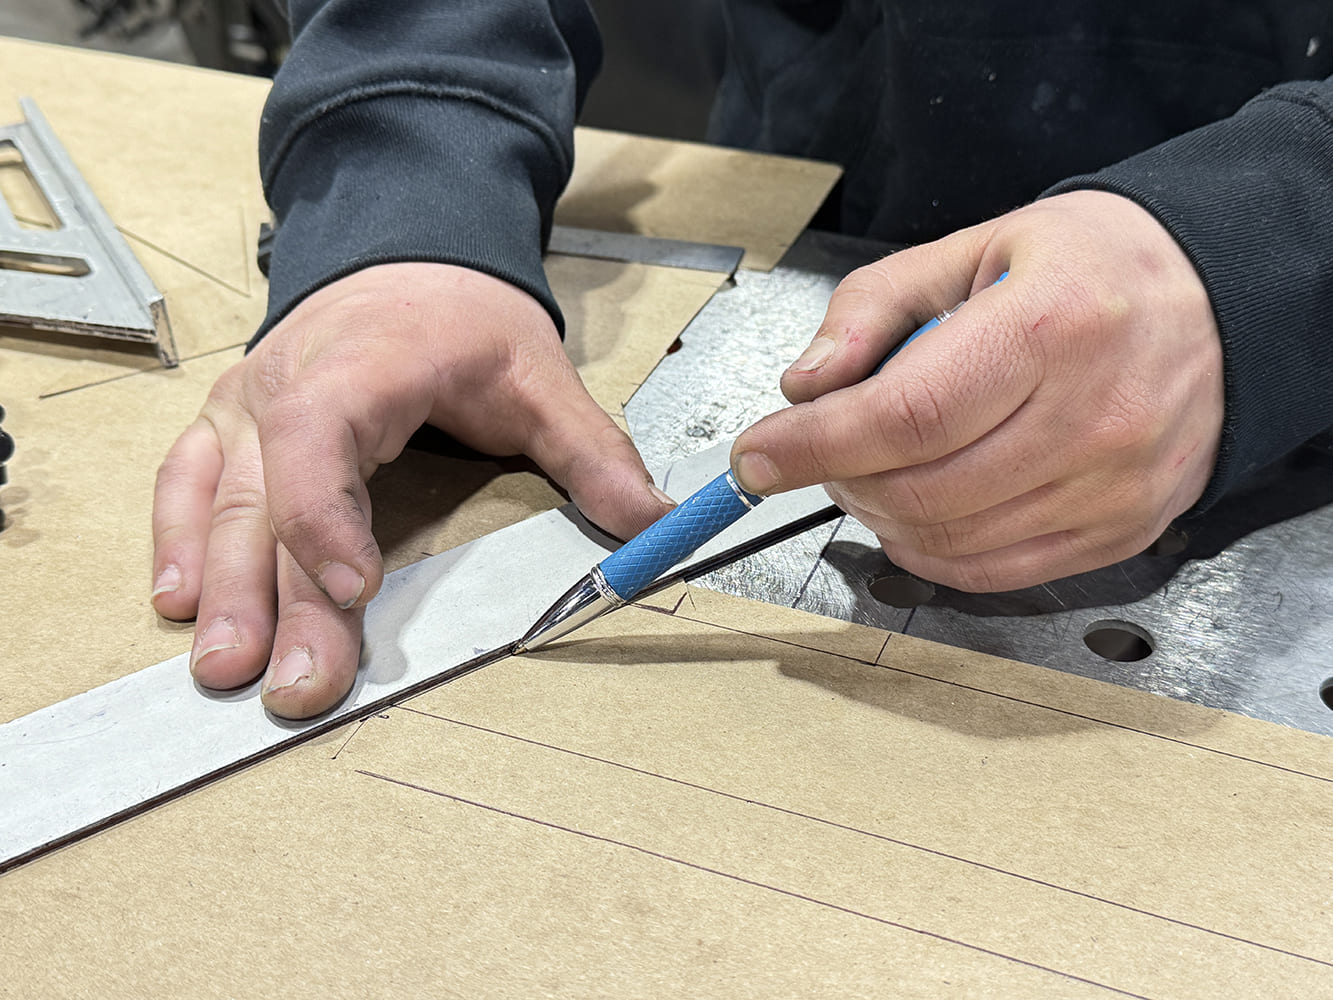
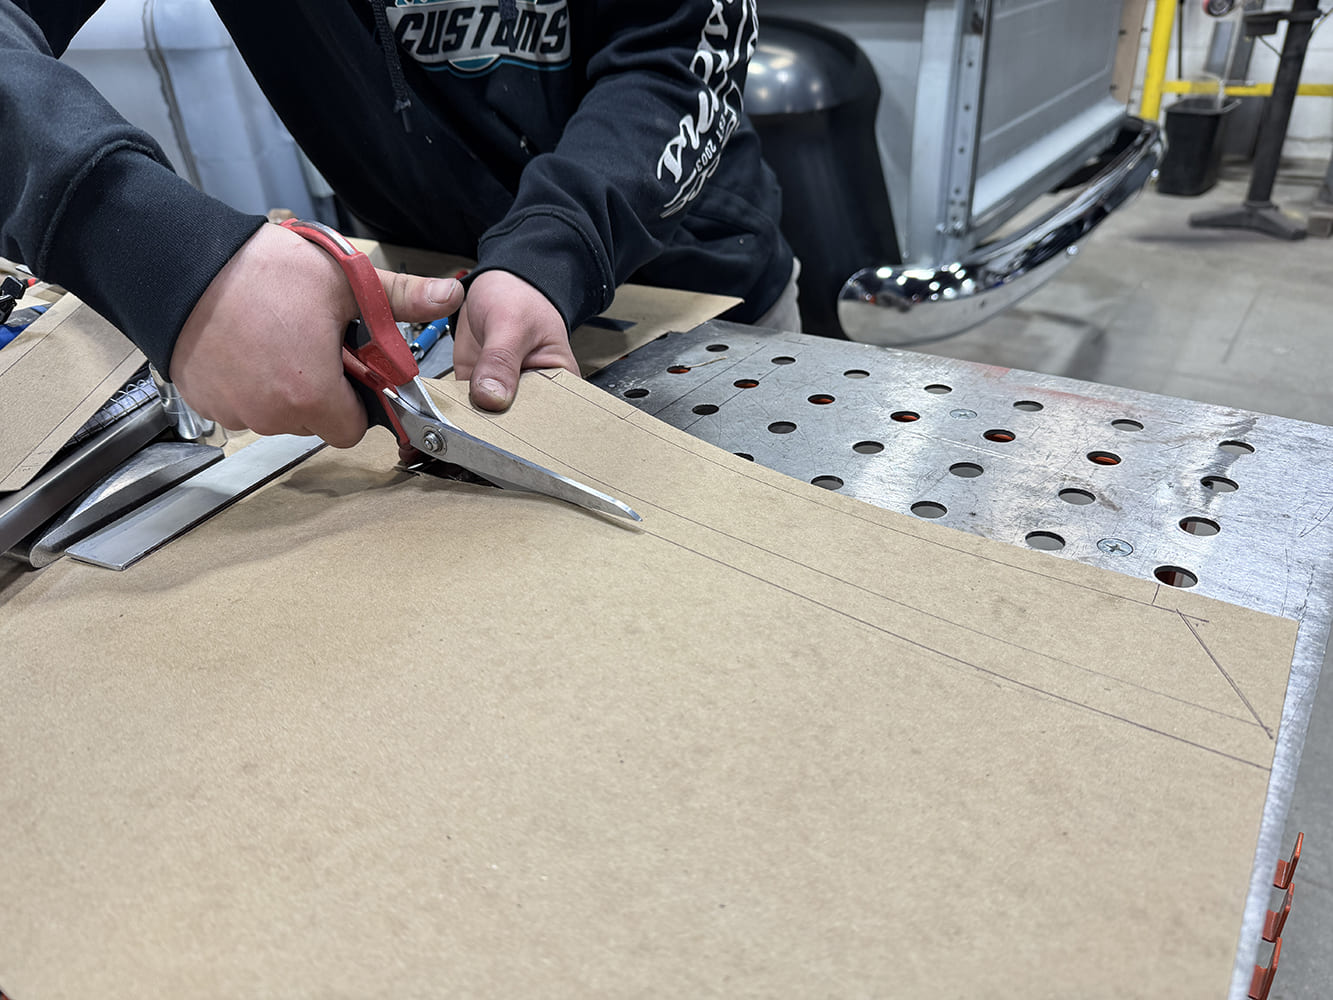
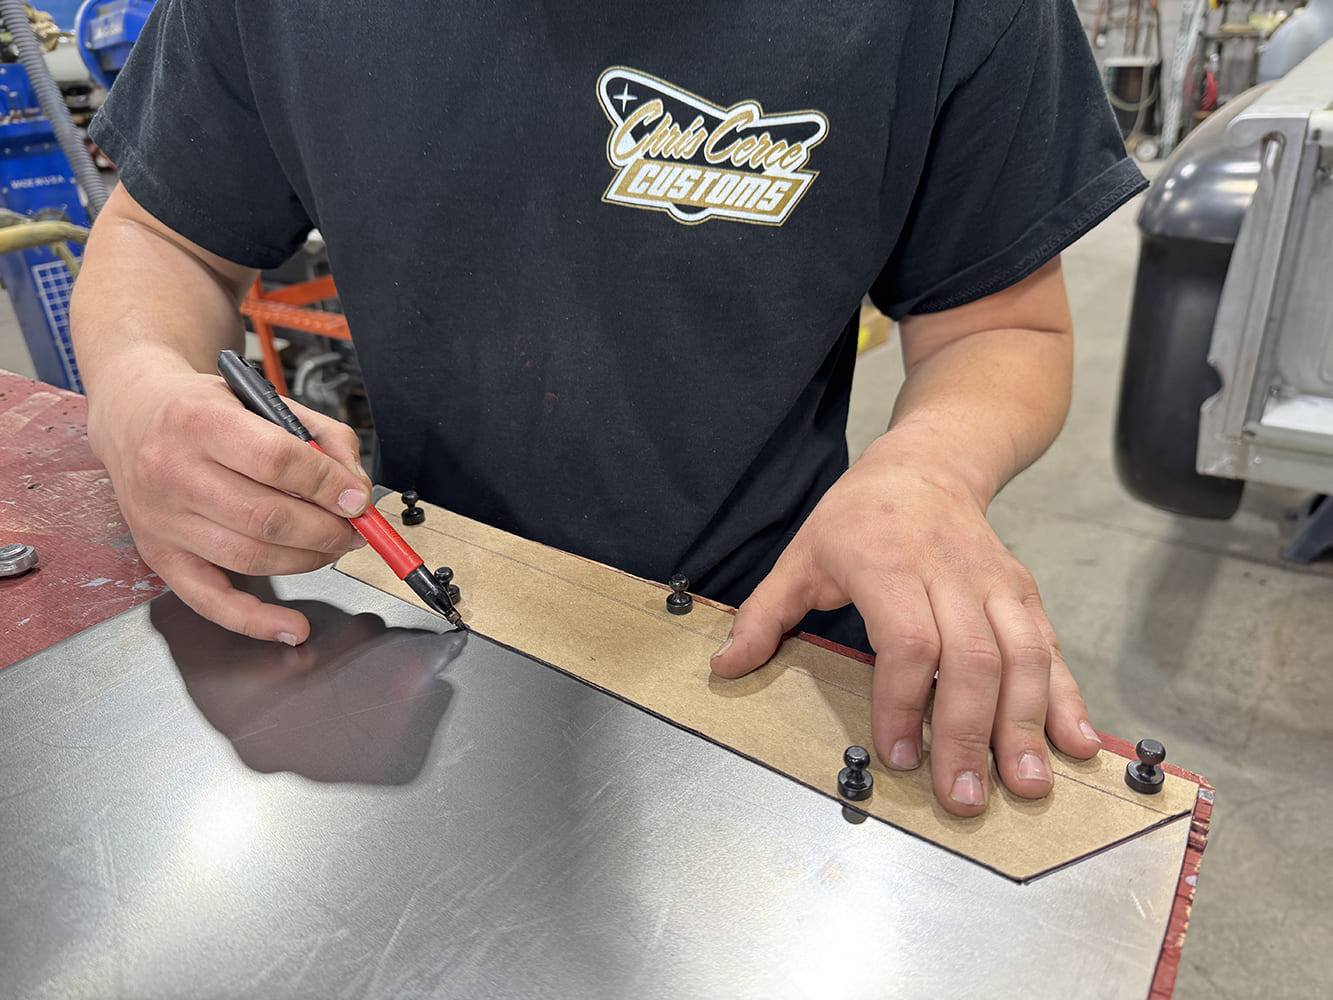
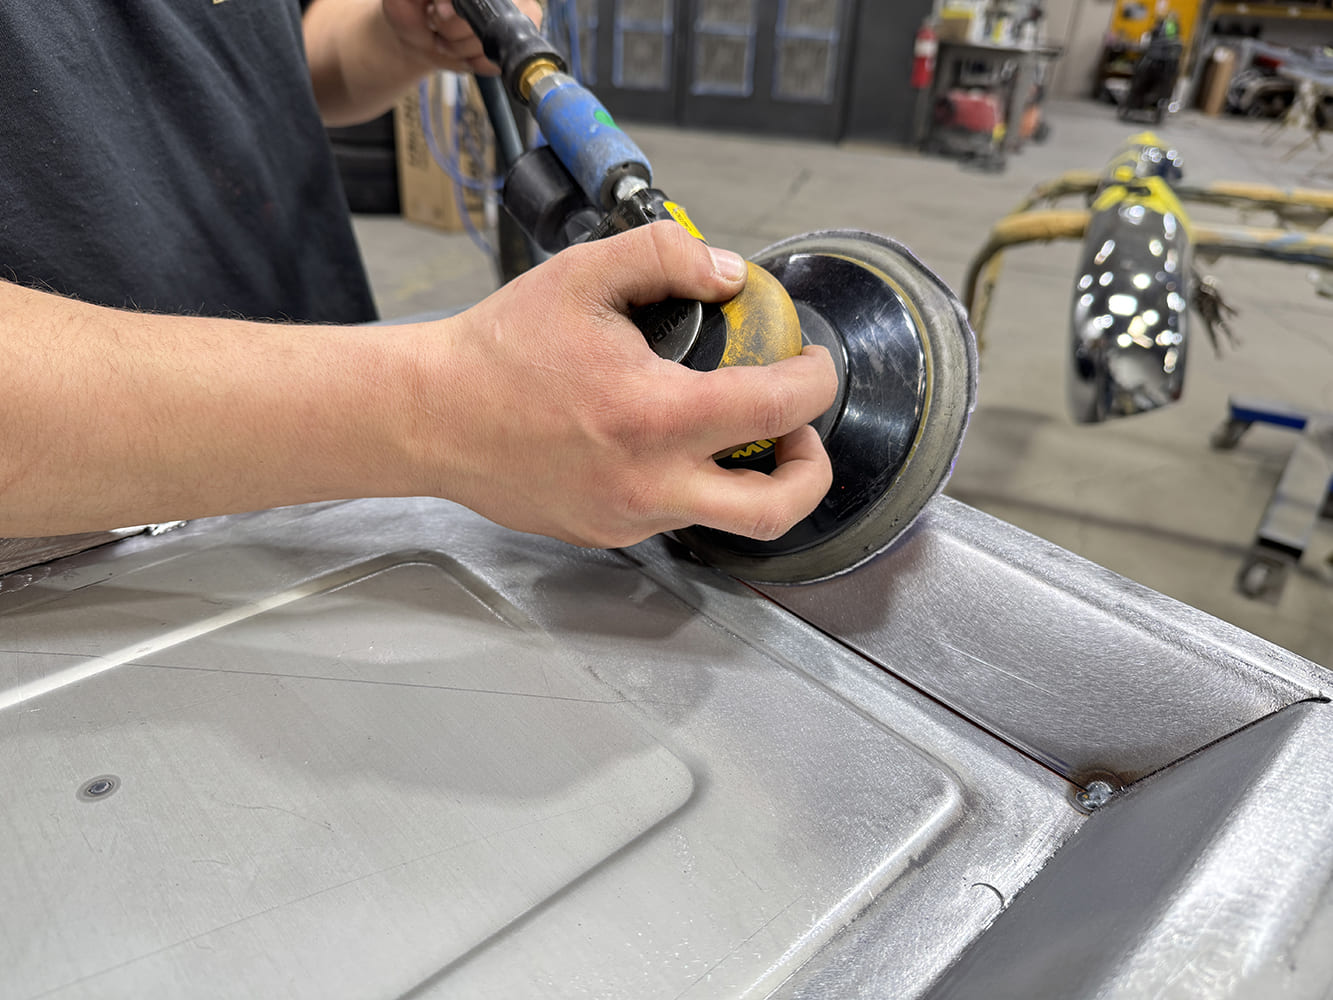
The surface areas of both the removed inner flange and upper frame were ground smooth using a disc grinder, starting with 36-grit and then 80-grit.The area seam was then completed using a MIG welder by first tacking them together and following with final welding, allowing ample time for sections to cool before completion.Left- and right-side filler panels were then measured and cut to create templates for the side framing.
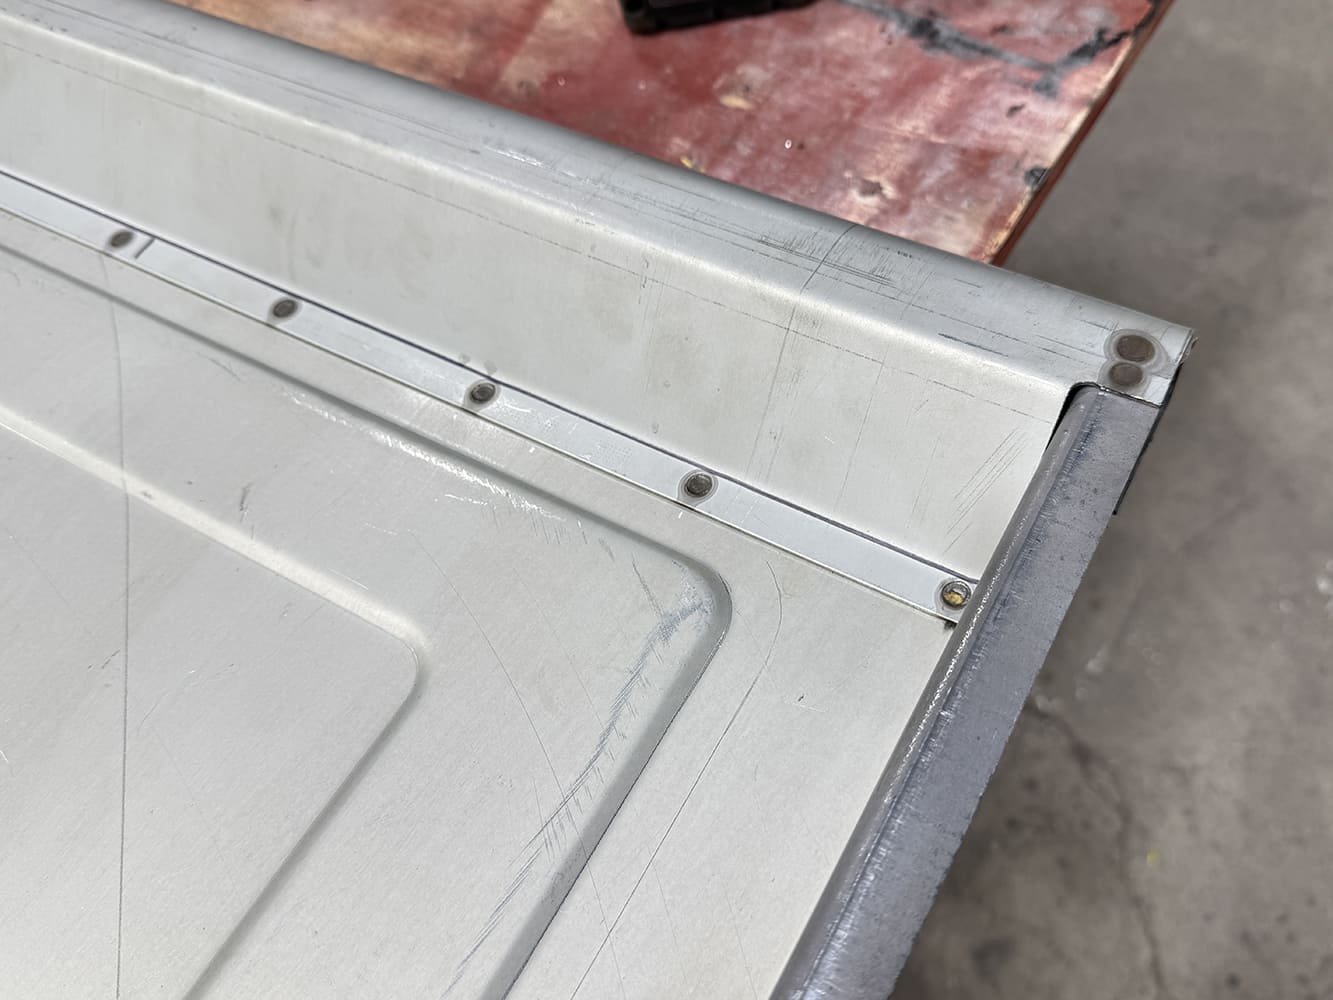
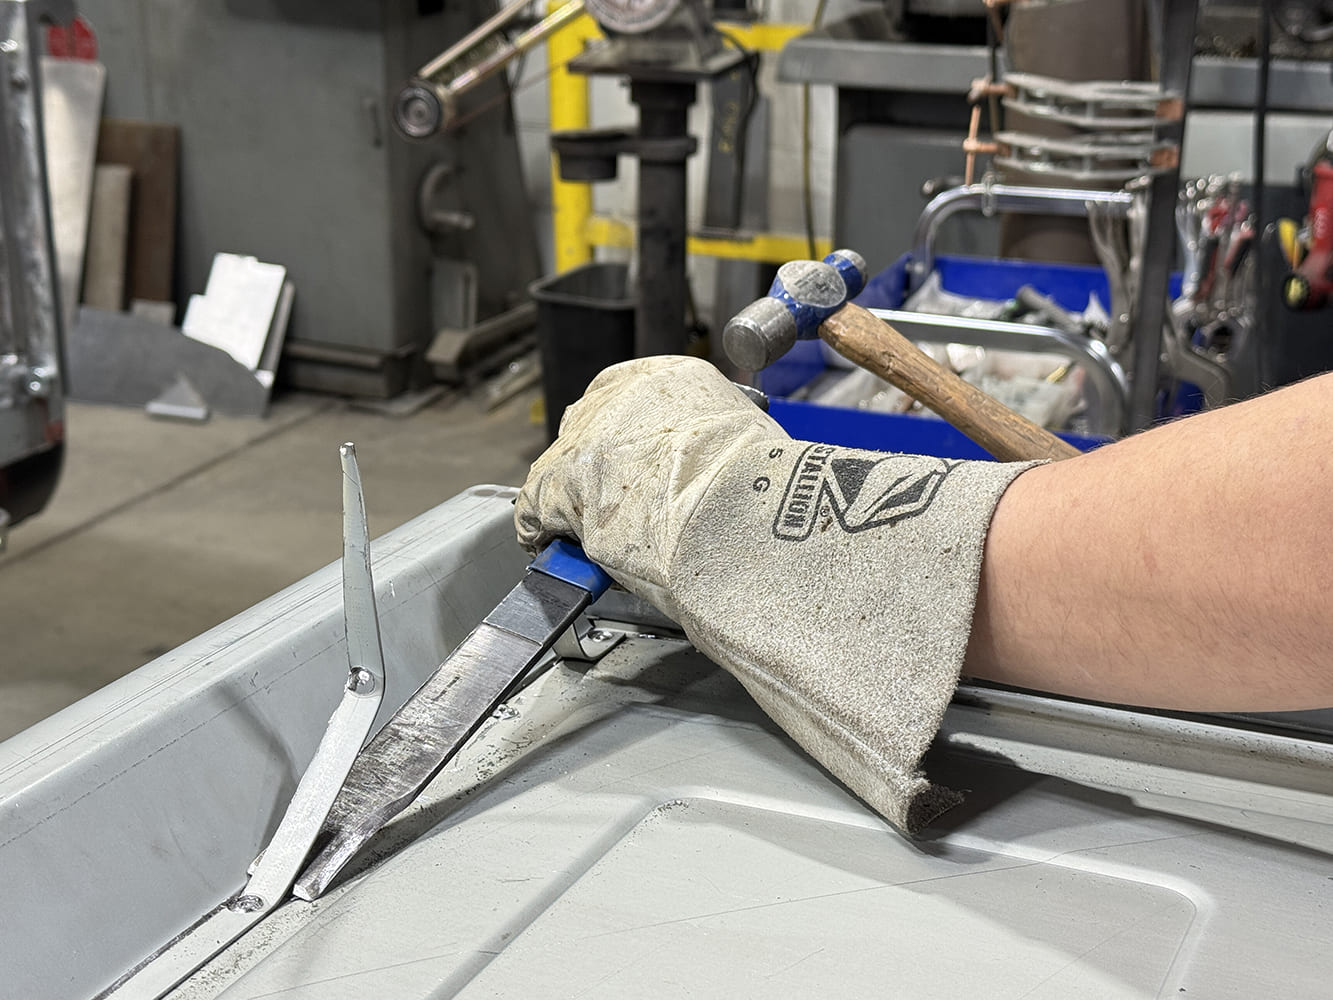
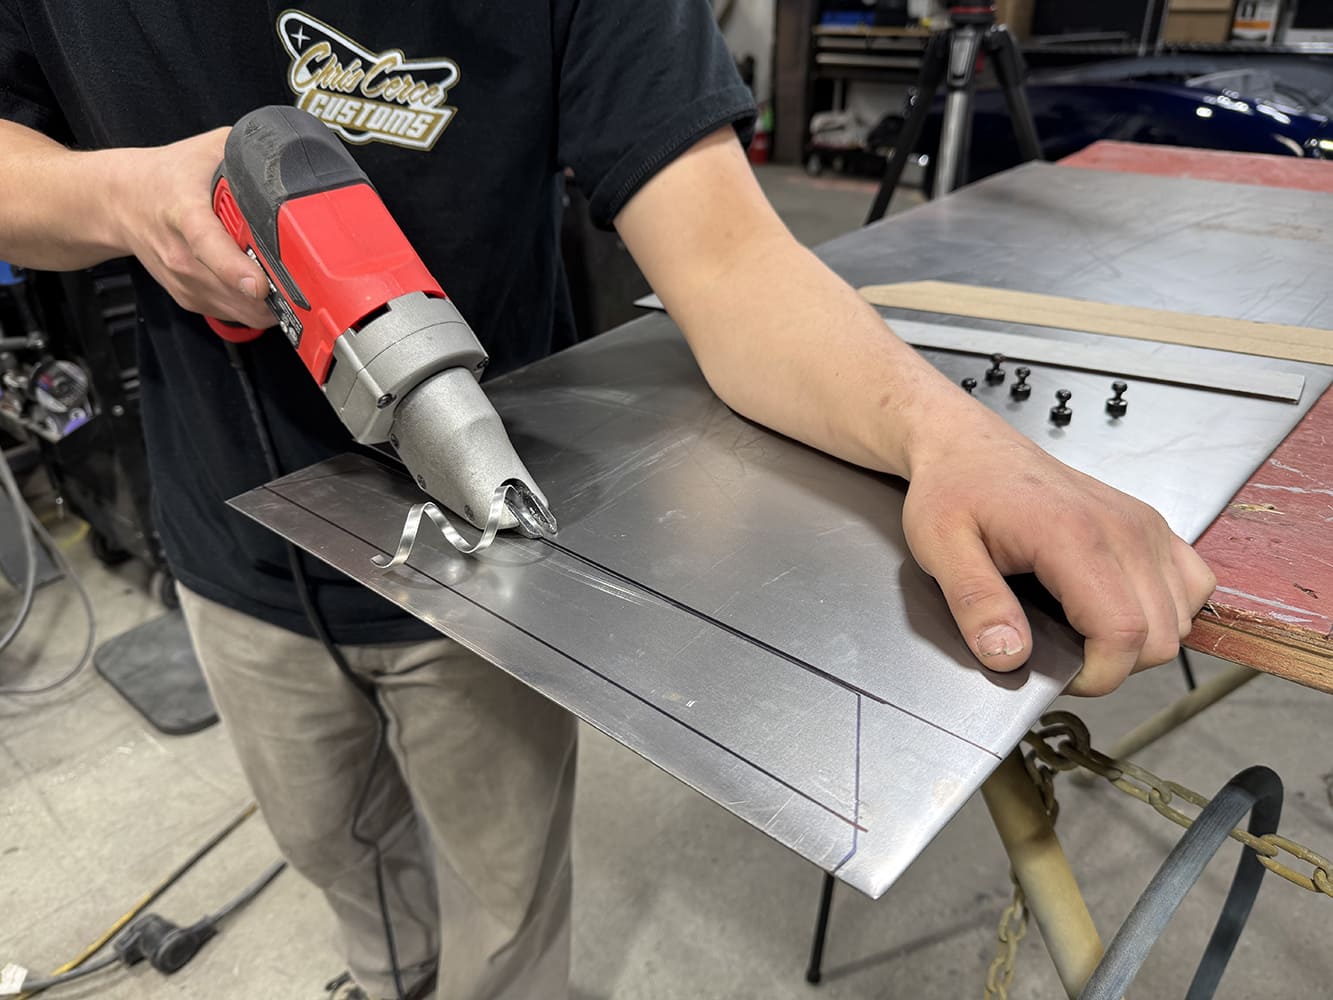
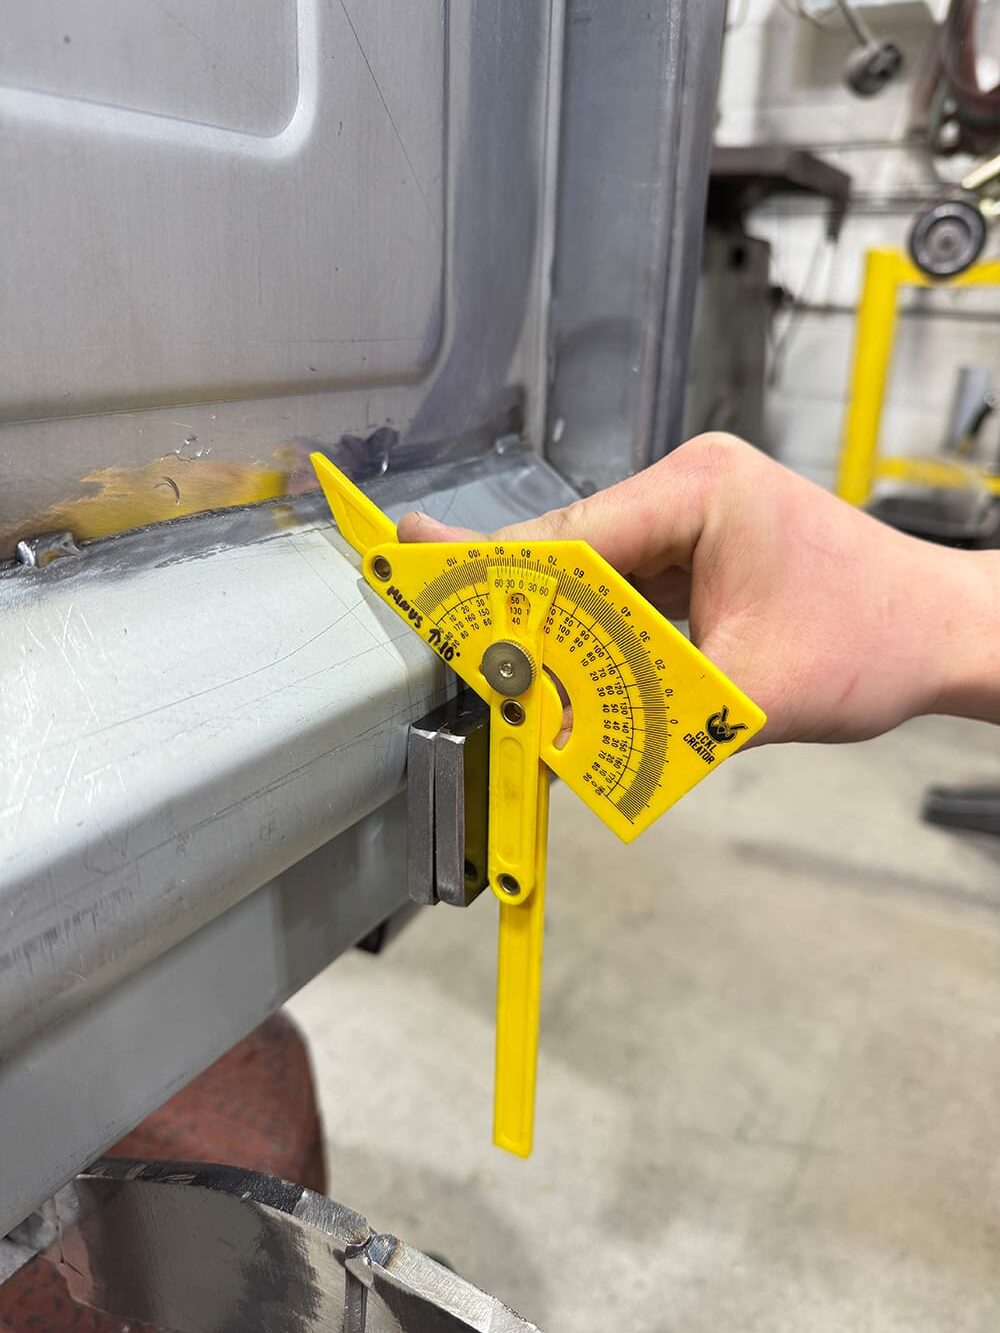
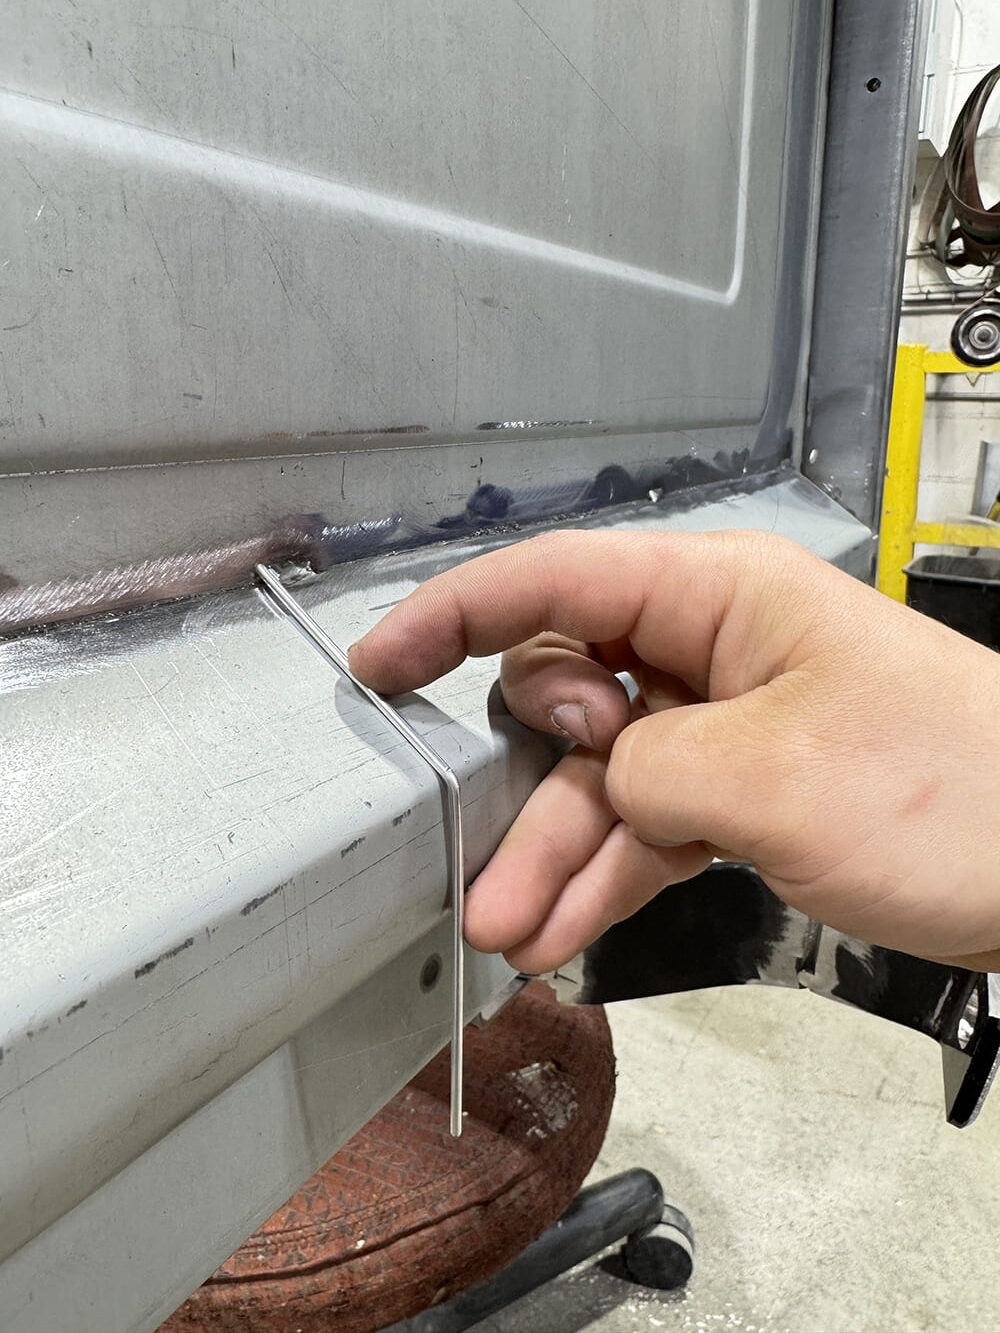
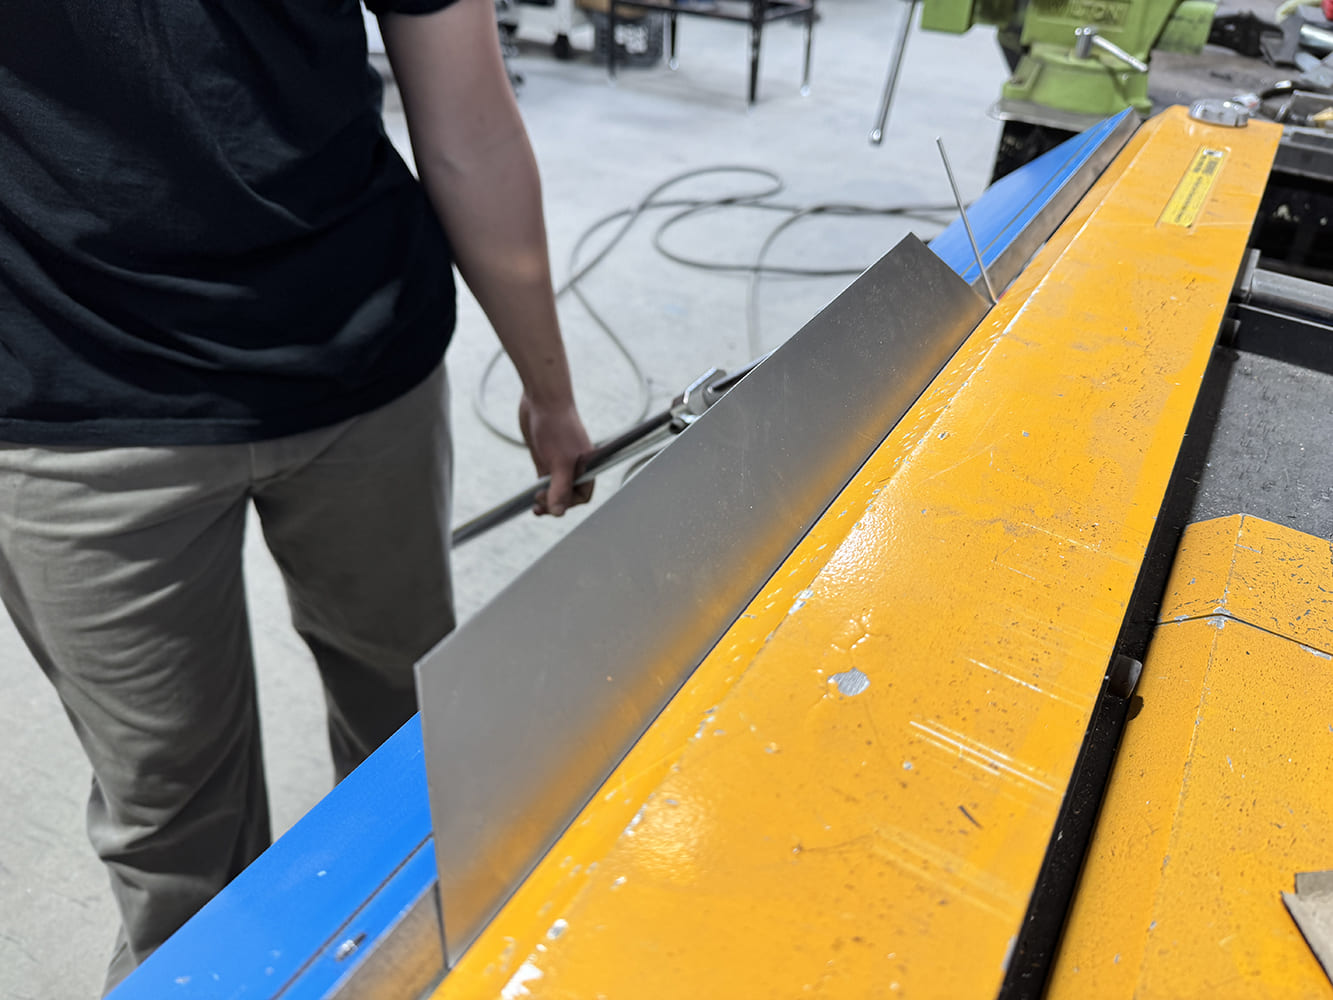
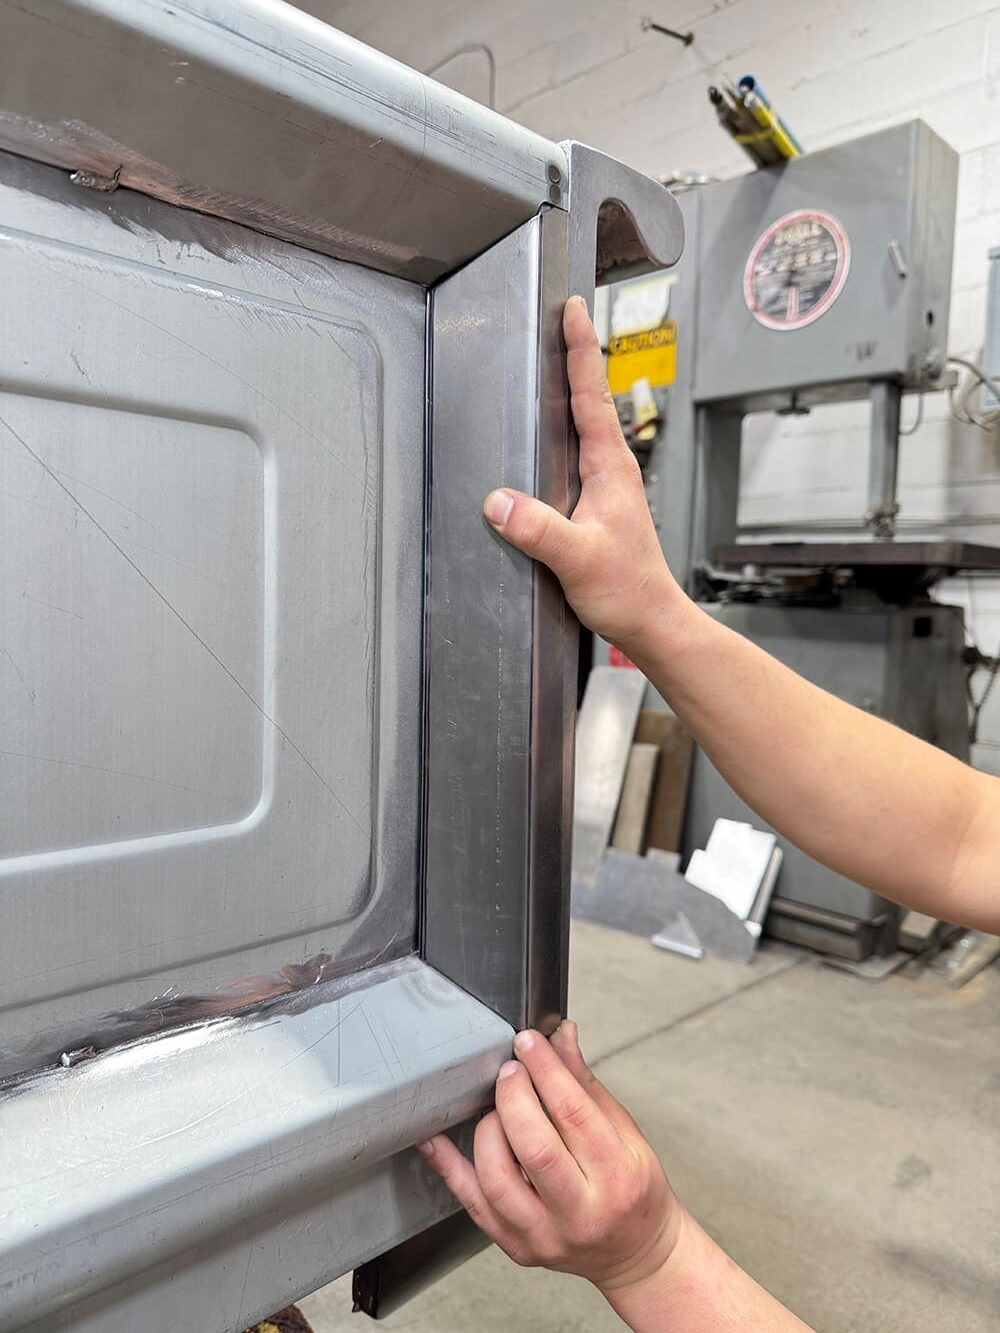
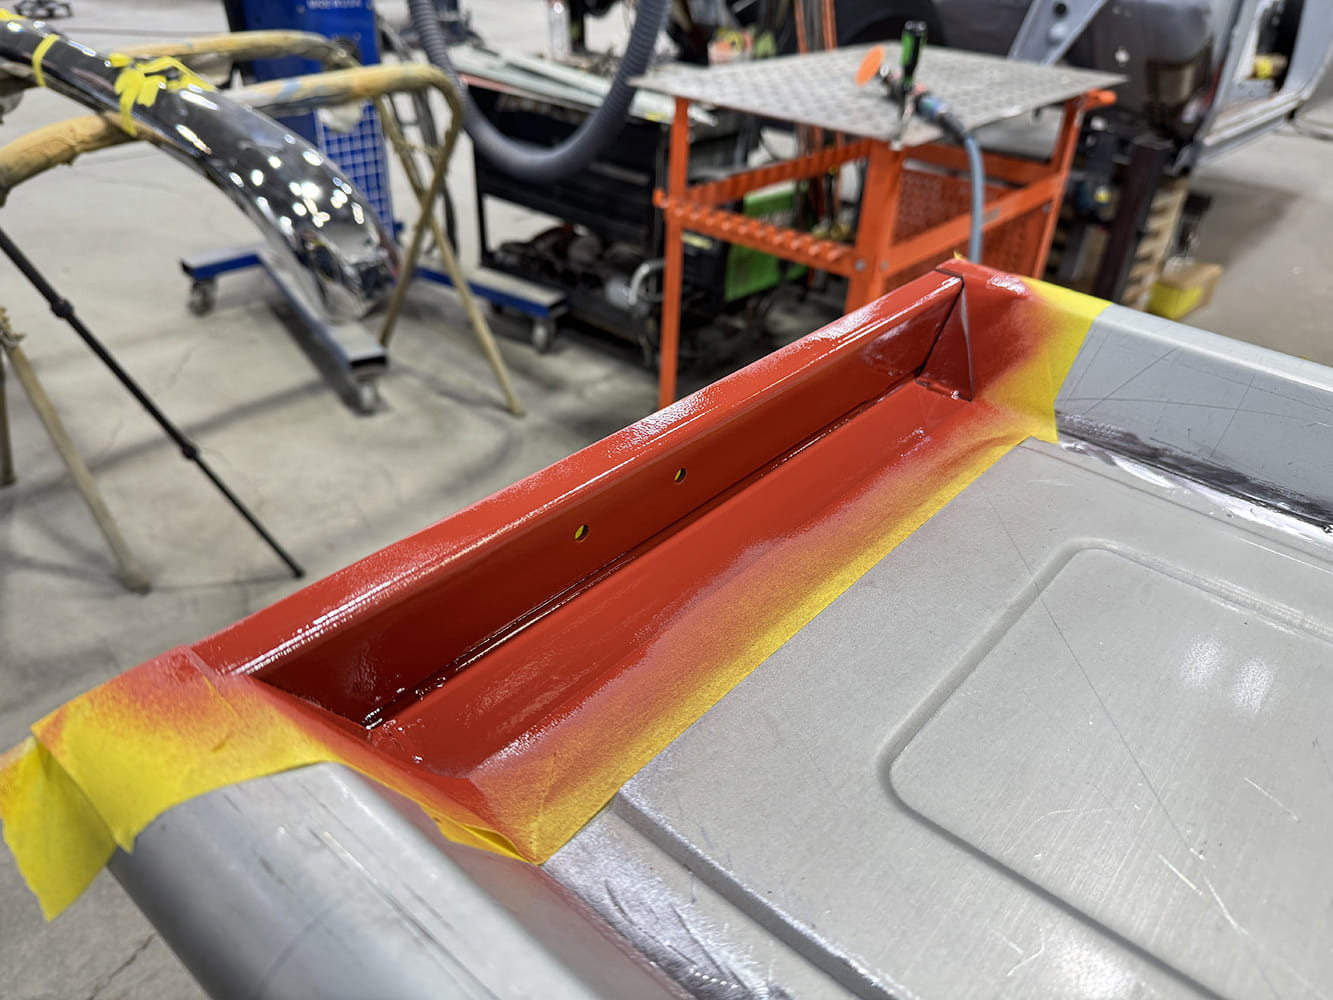
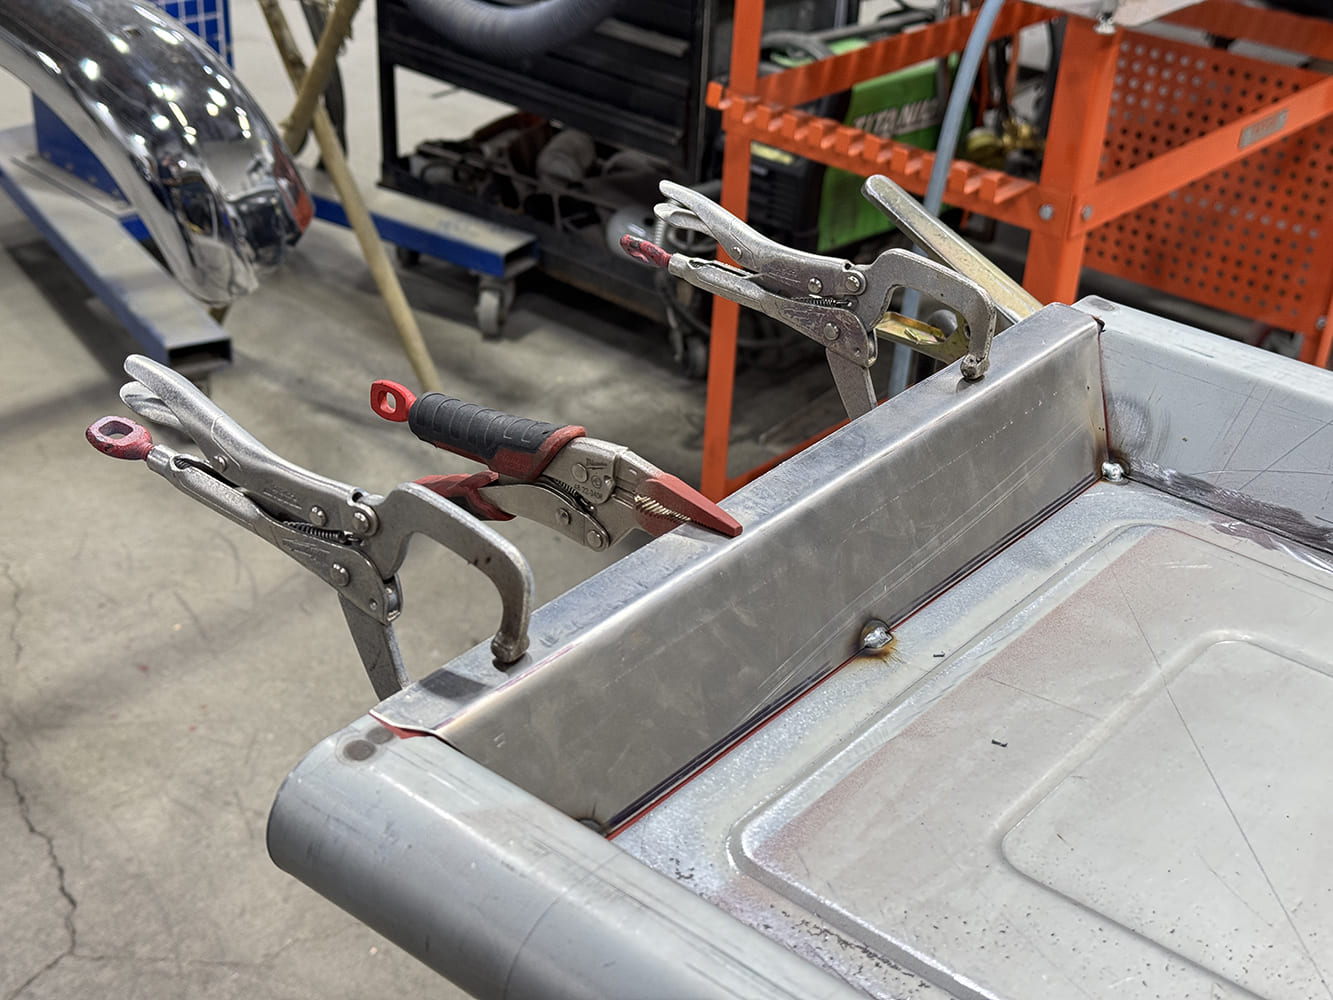
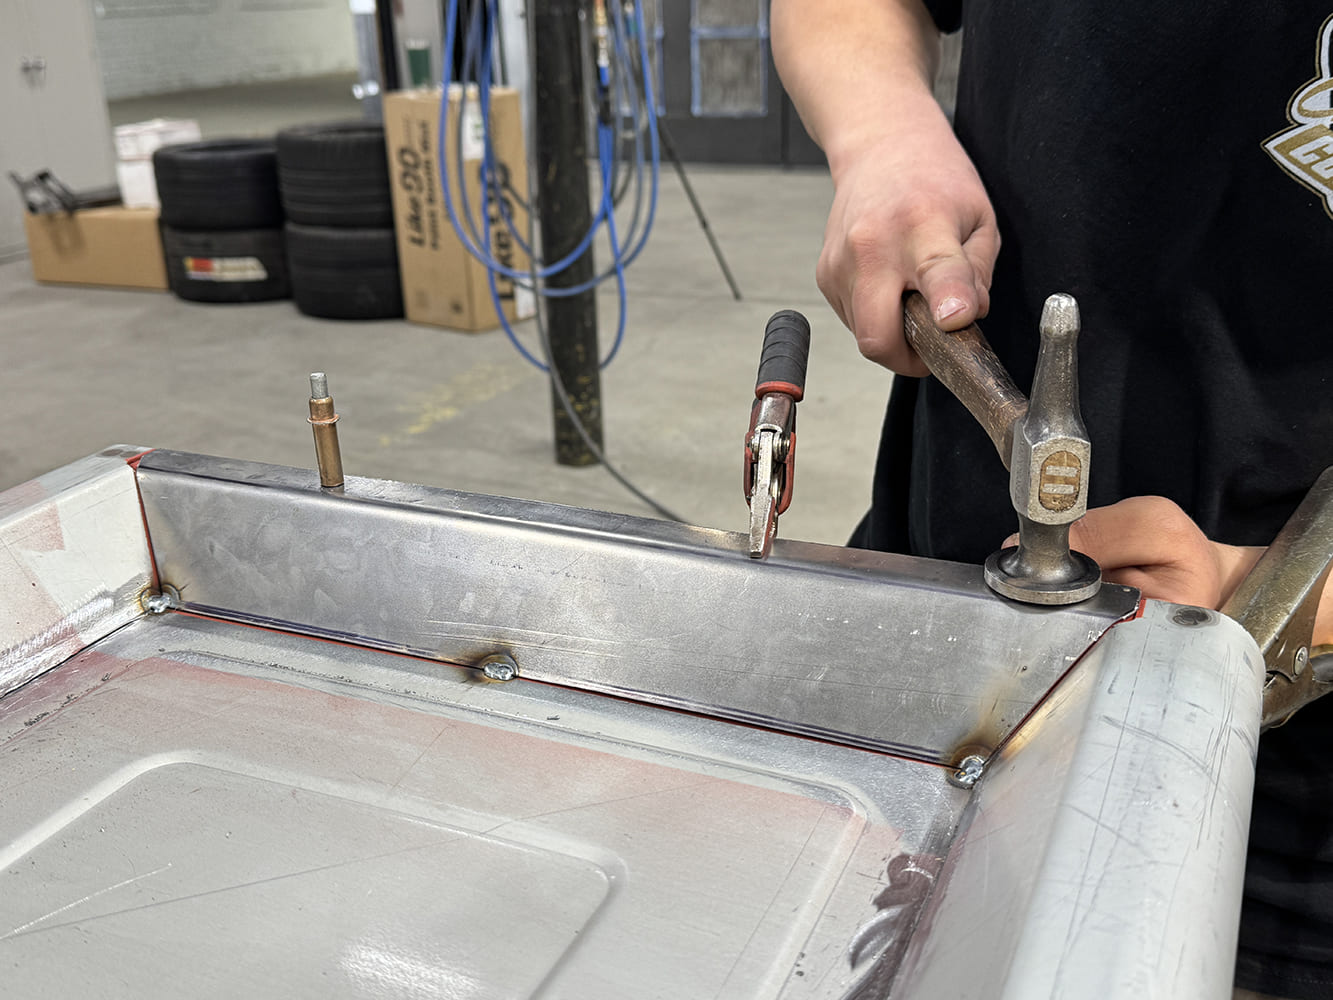
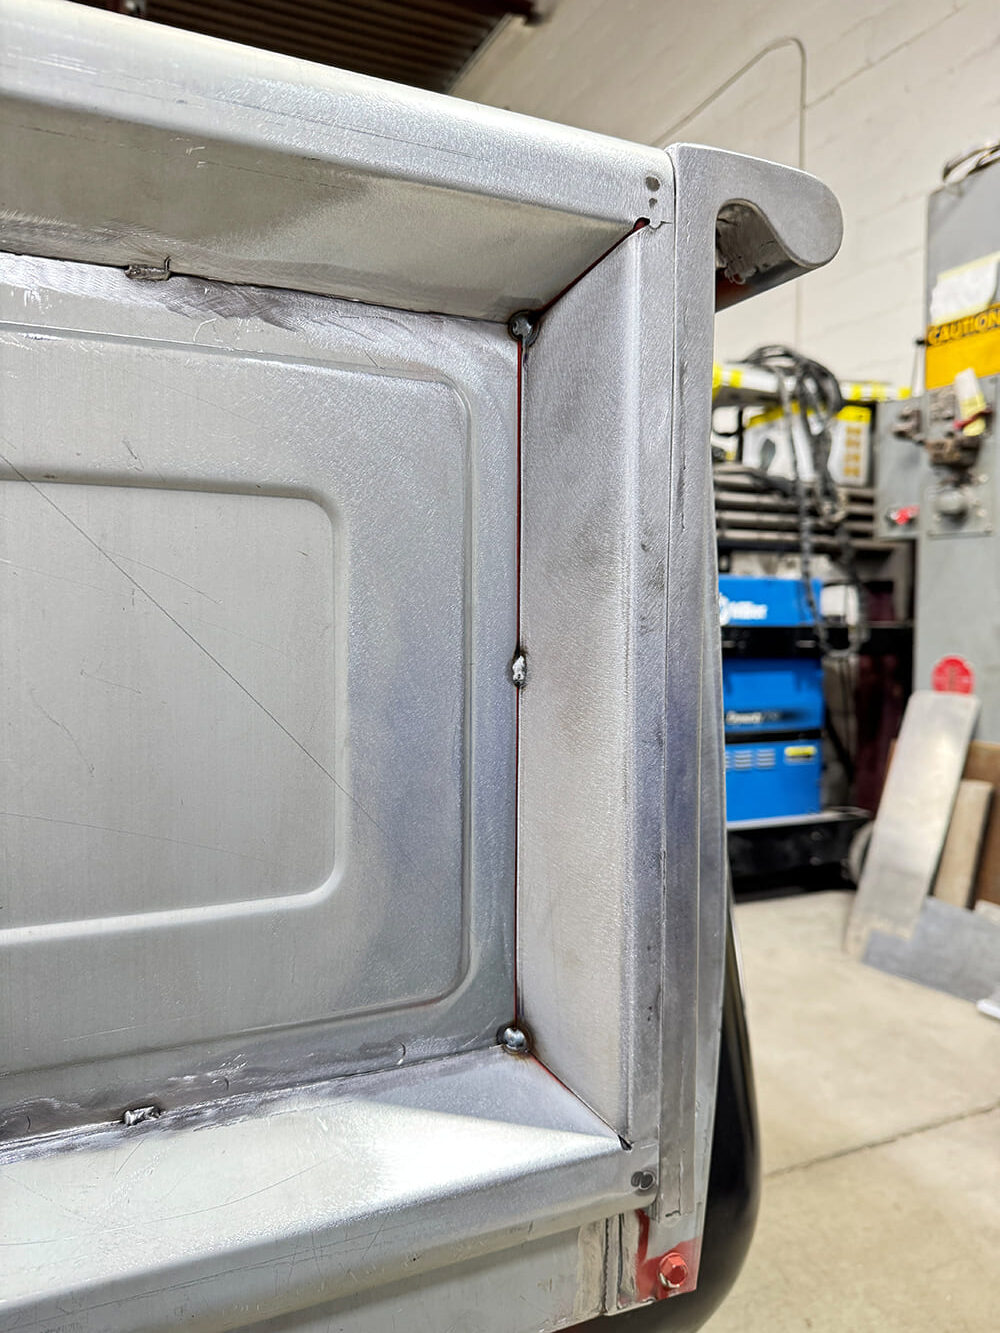
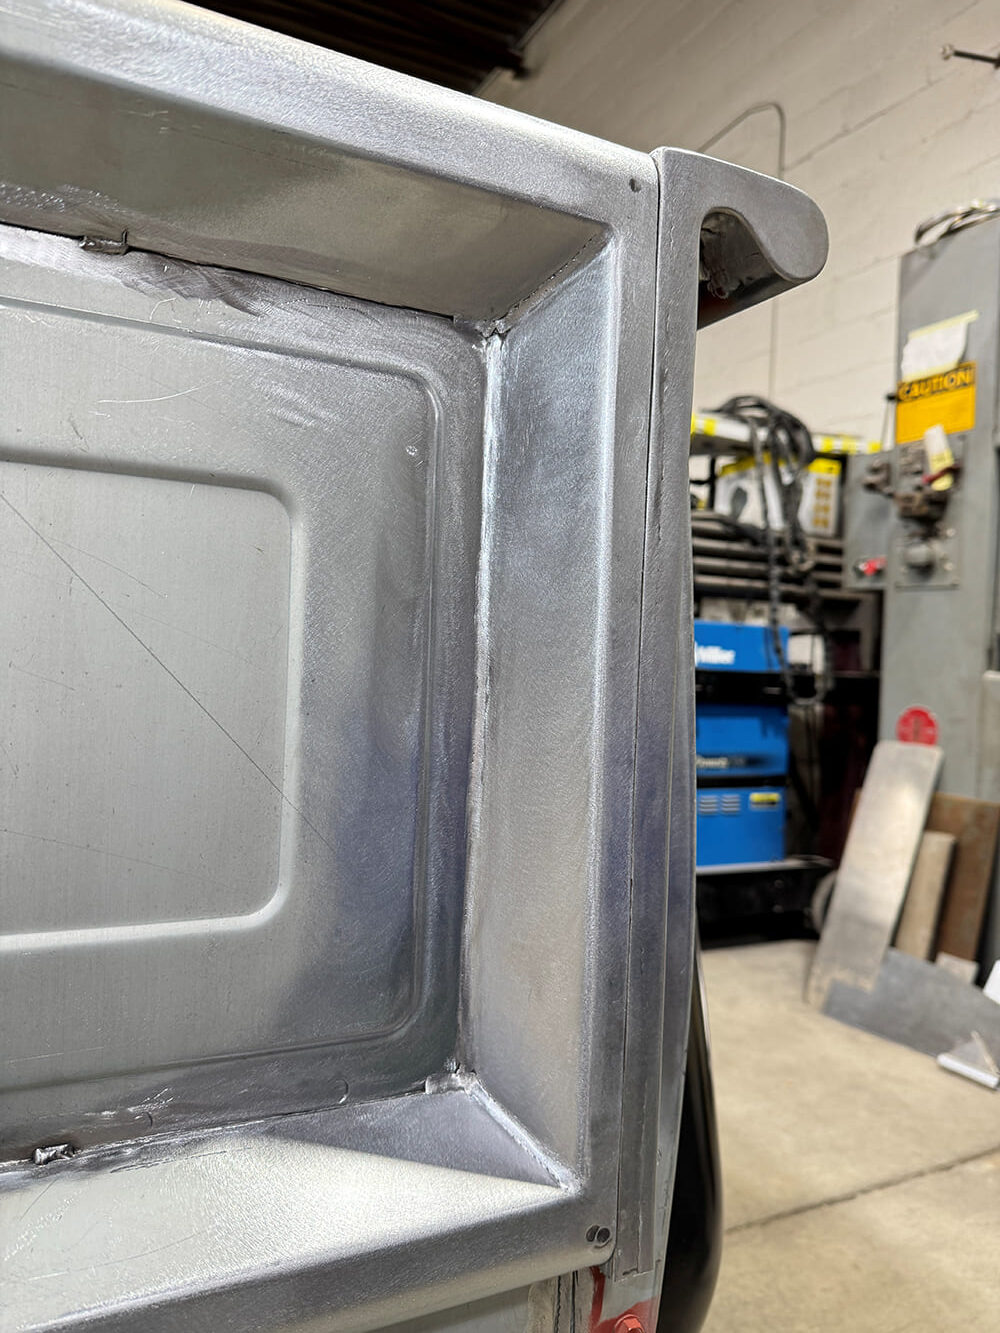
The templates were then transferred onto 18-gauge sheet steel using a Sharpie.An electric shear was then used to cut each panel. They were then deburred using a belt sander.To get the correct angle for the filler panels, a protractor was used to mirror the upper and lower frames. Here the angle was exactly 135 degrees.For extra reassurance, a section of welding rod was fashioned, confirming everything.The section was then bent to specification with a sheetmetal brake.Here you can see the perfect fitment of the completed side frame filler panel to the tailgate.Internal areas of the filler panel and tailgate surface were masked and coated with self-etching weld-through primer and then allowed to thoroughly dry before the next step.The inner areas of the frame panels were then tacked in place using a MIG welder.Vise grips were then used on the outer panel to secure it in place for setting and hammer-forming the edge.
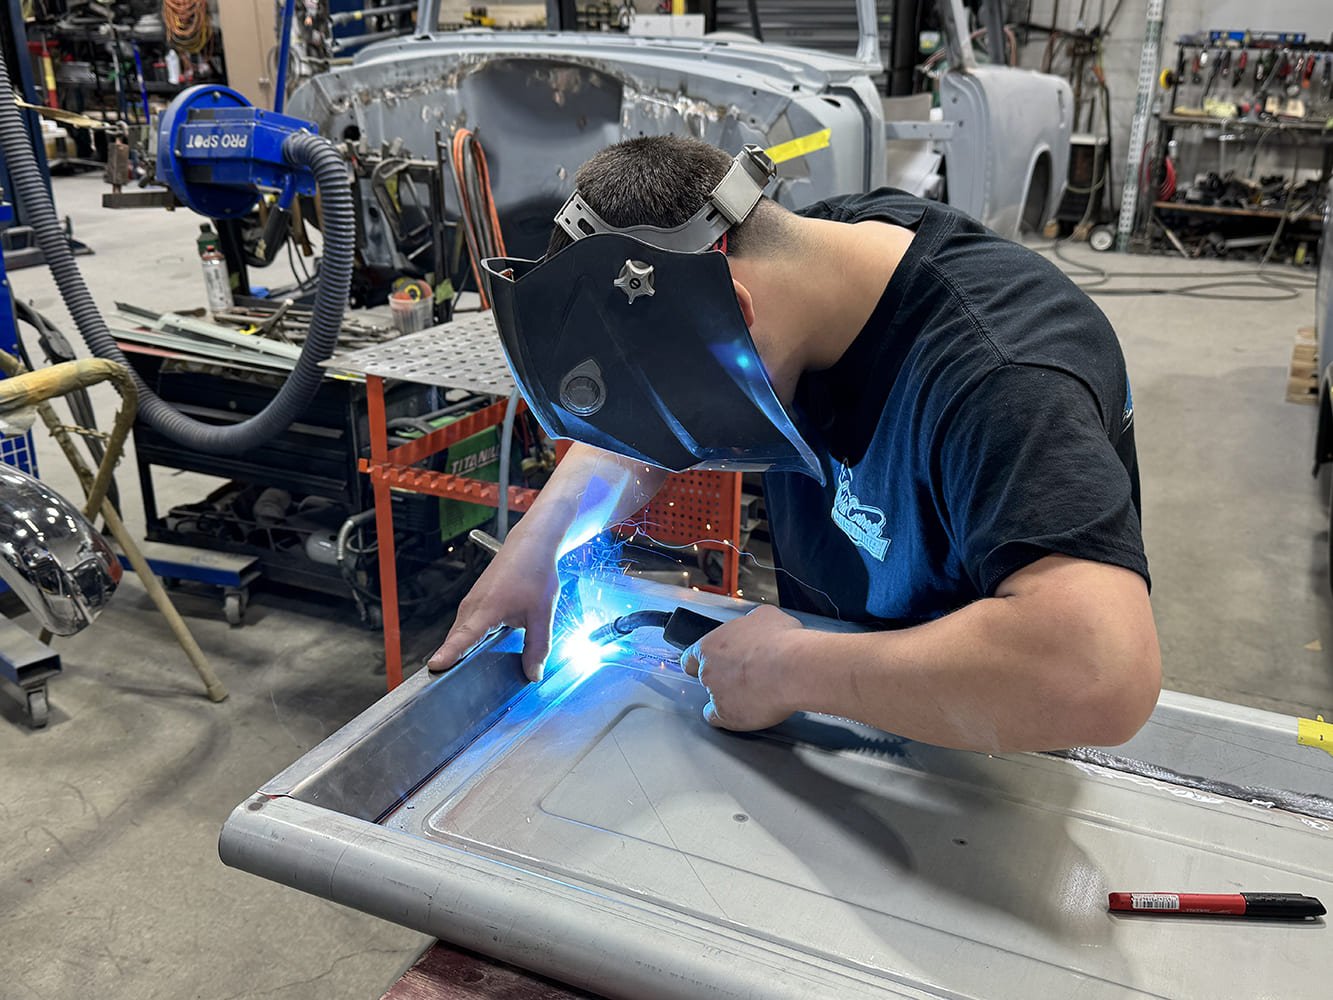
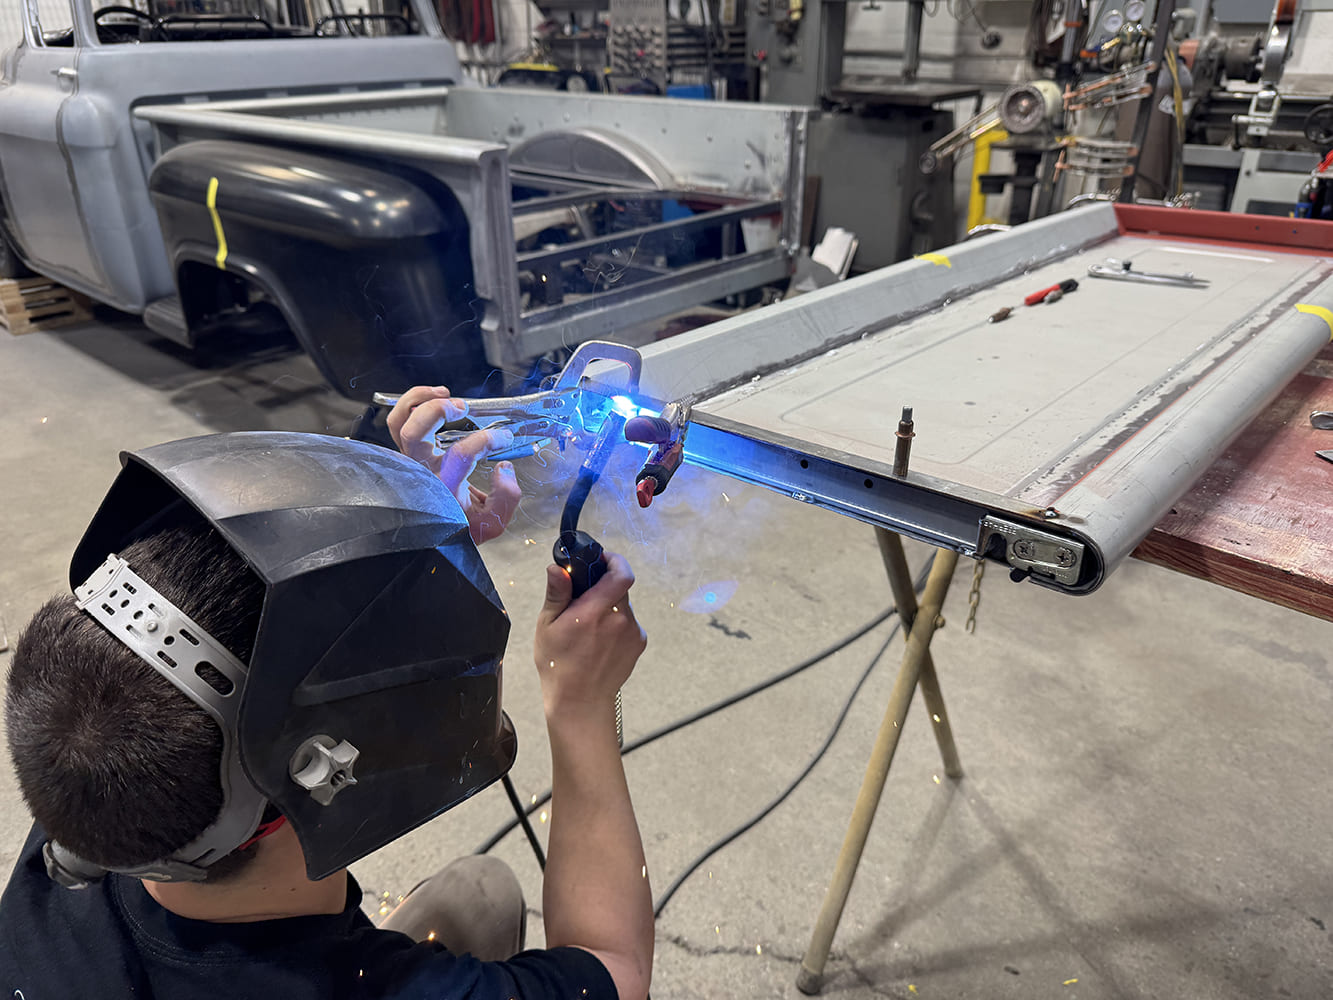
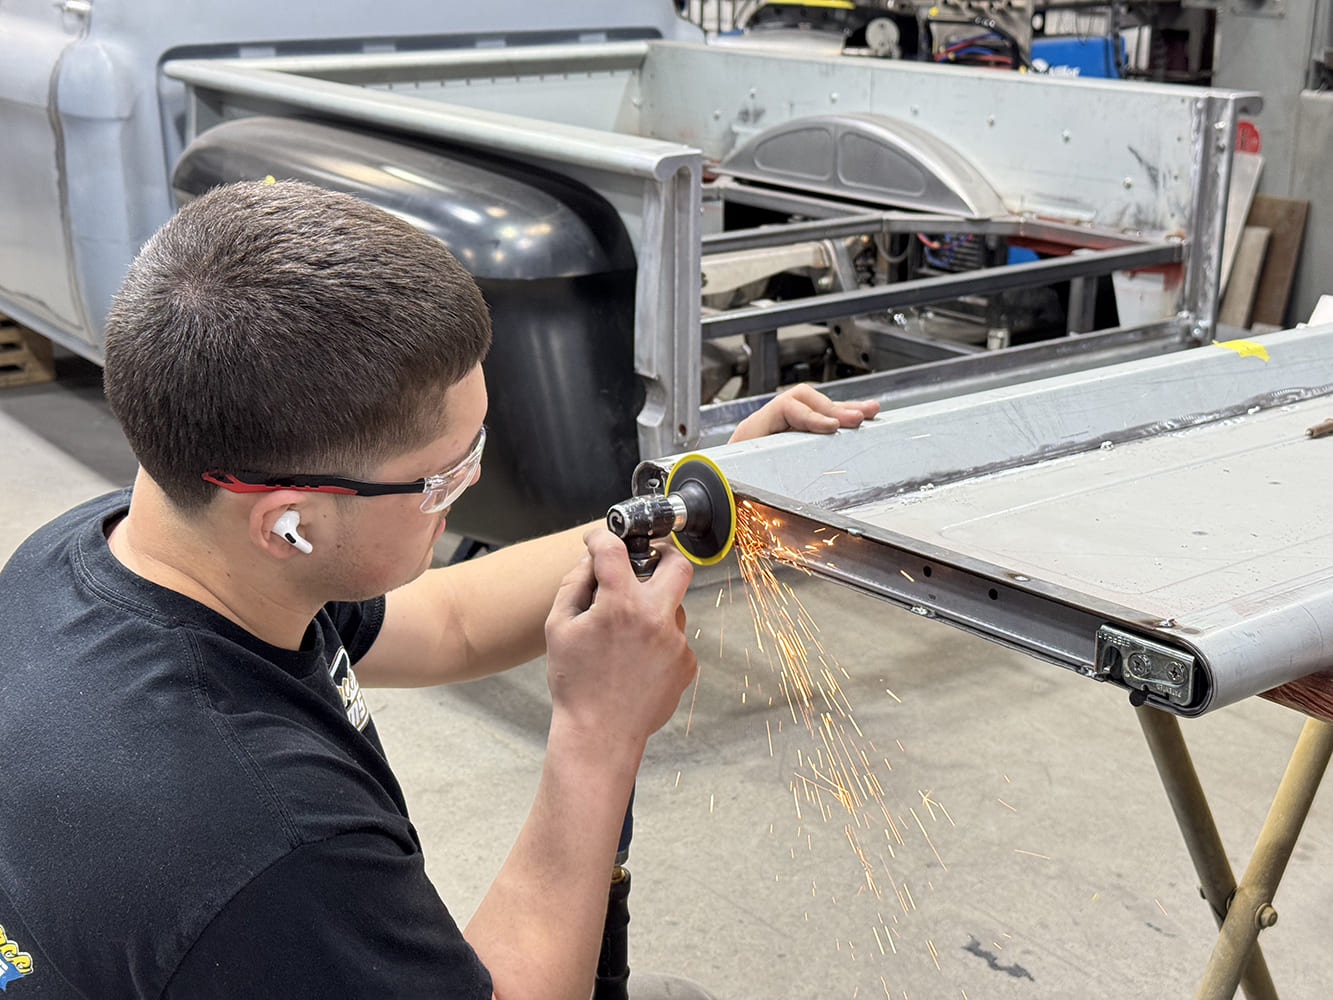
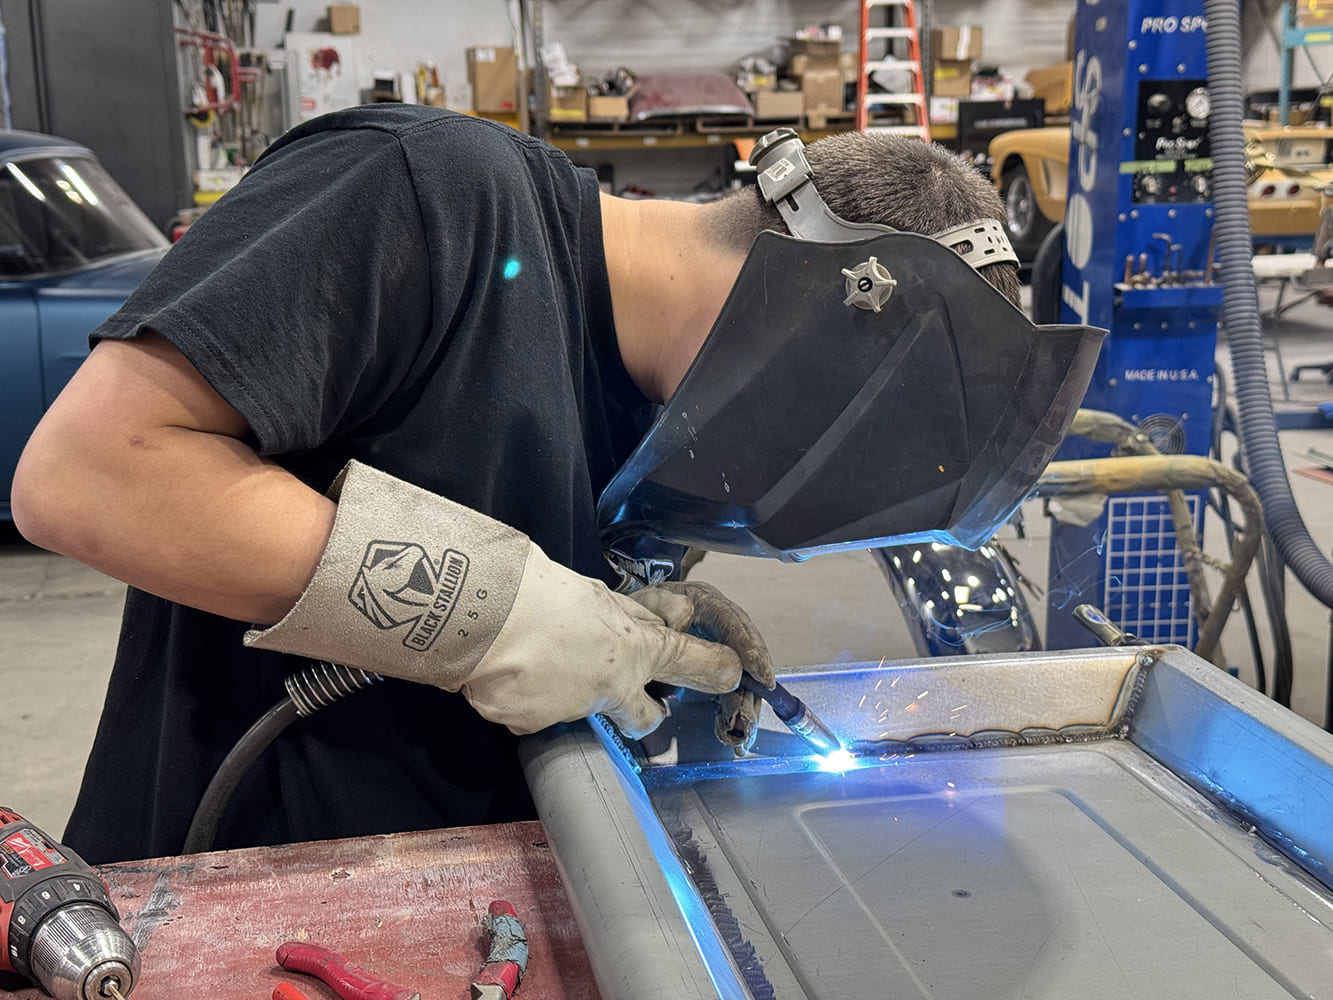
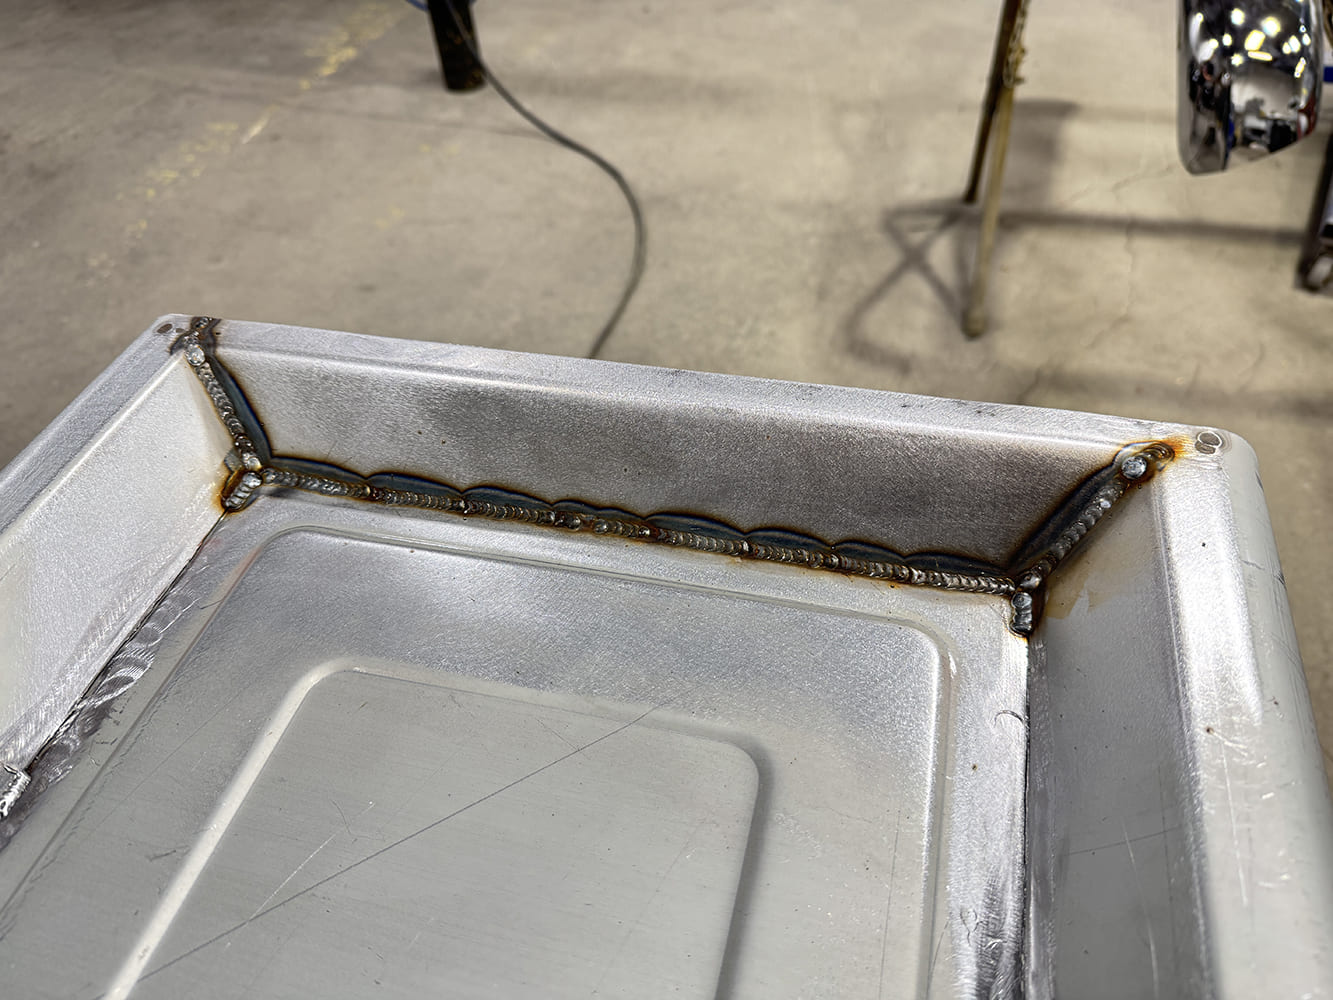
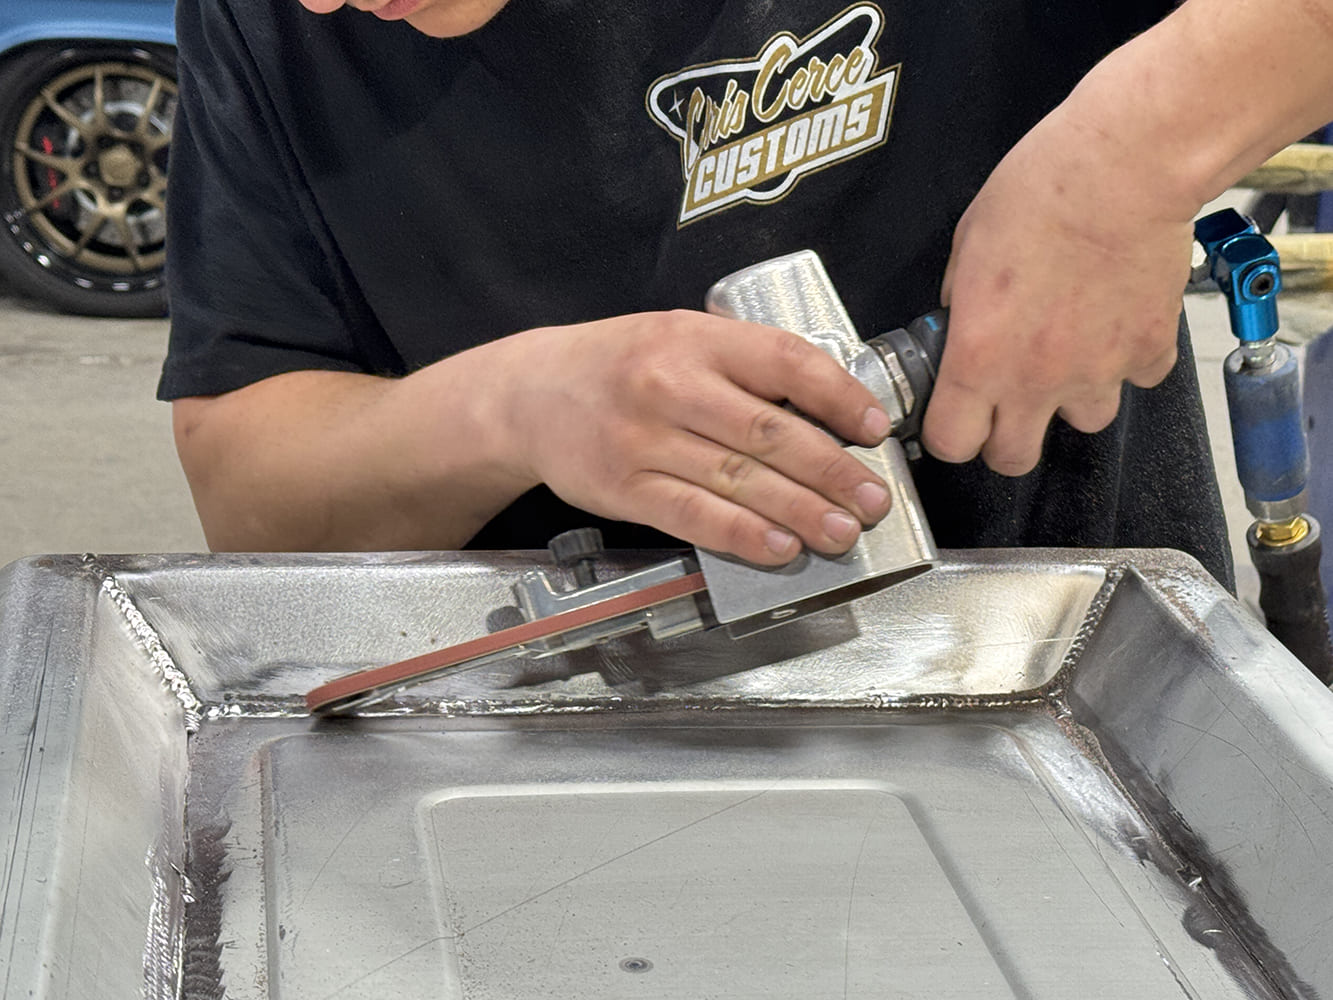
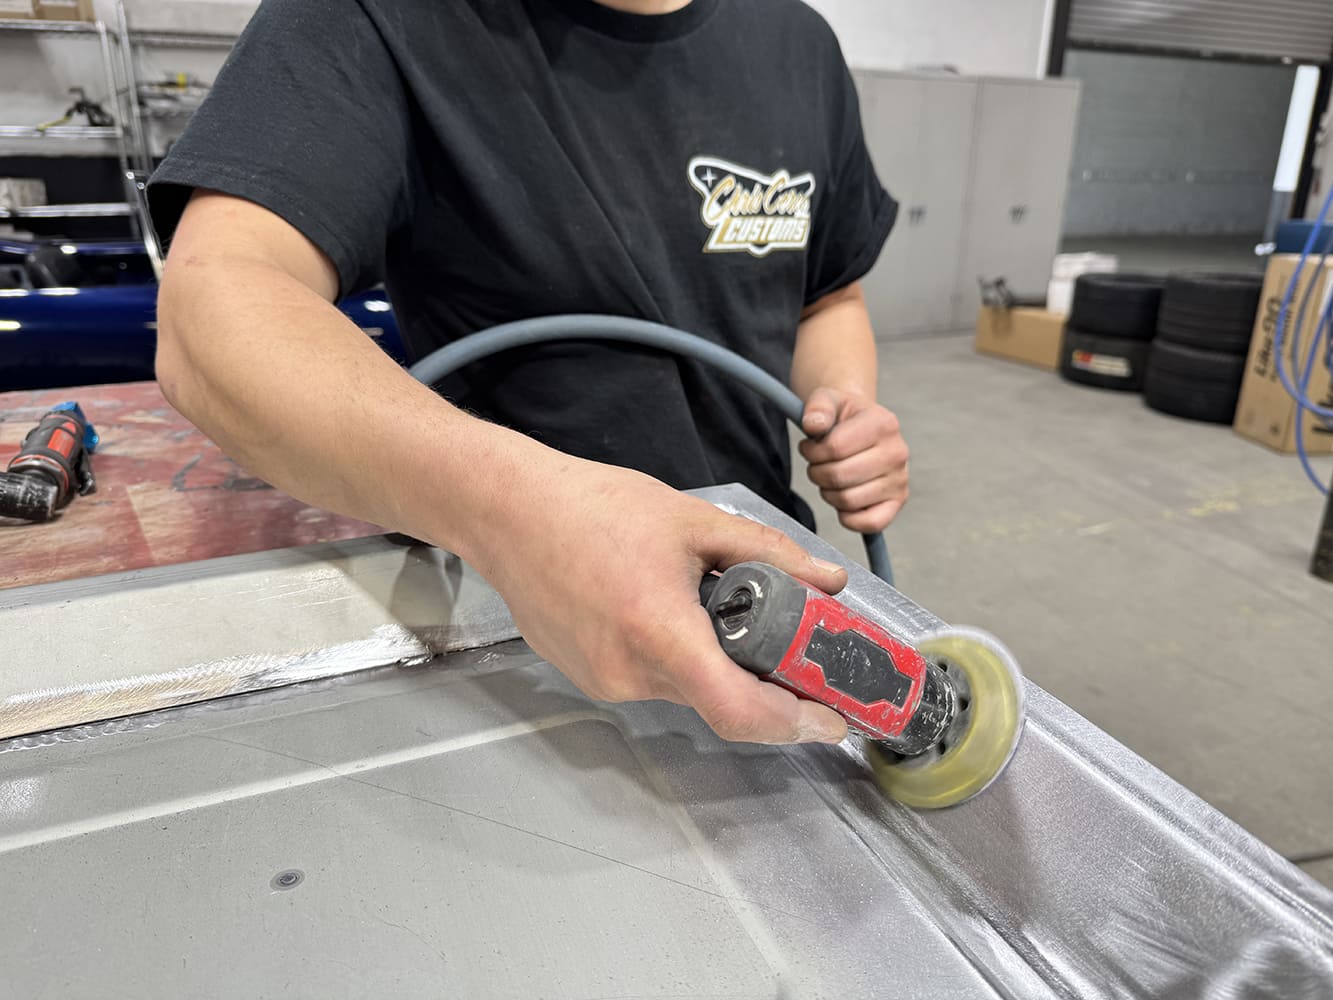
The panel edge was then carefully MIG welded to the tailgate.With the welding completed, the welds were ground smooth to a factory appearance.The inner frame panels were then lightly sanded using a D/A with an 80-grit disc to clean them up.With the tailgate back in place on the bed you can start to see just how nice the transformation is coming along.All final welding of the inner frame panels were done using a TIG welder, allowing ample time for areas to sufficiently cool as the job was completed.Here you can see the perfection in the TIG welding before the next step.To properly grind the welds smooth, a Dynabrade belt sander with a ¼-inch belt and knife-edge rubber contact wheel ensured that the belt-only would contact the welds to properly complete the step.To wrap up the panel, a mini 3-inch D/A with an 80-grit sanding pad was used to bring it all to a mirror-like finish.The completed tailgate brings a whole new level of allure to the back of the truck with its perfectly balanced panels; we can hardly wait to see the finished truck!
We use cookies to ensure that we give you the best experience on our website. If you continue to use this site we will assume that you are happy with it.