If you’ve ever installed an aftermarket air conditioning system on your car, you’ve likely installed refrigerant hoses. We’ve tackled this project on several cars through the years. Some kits come with lengths of hoses and an assortment of fittings, which allows a semi-custom fit of your hoses. Vintage Air leads the way in terms of aftermarket air conditioning systems for old trucks, classic cars, and everything else, and recently came out with the DIY EZ Clip system for enthusiasts to build their own custom refrigerant hoses in the comfort of their own garage. The tools are affordable and the installation process is simple, so we jumped at the opportunity to try out the new EZ Clip Universal Hose kit (PN 547002) on a Chevy project.
The EZ clip A/C hose kit comes with all that you will need to make A/C hoses for cars plus easy-to-read and follow detailed instructions.
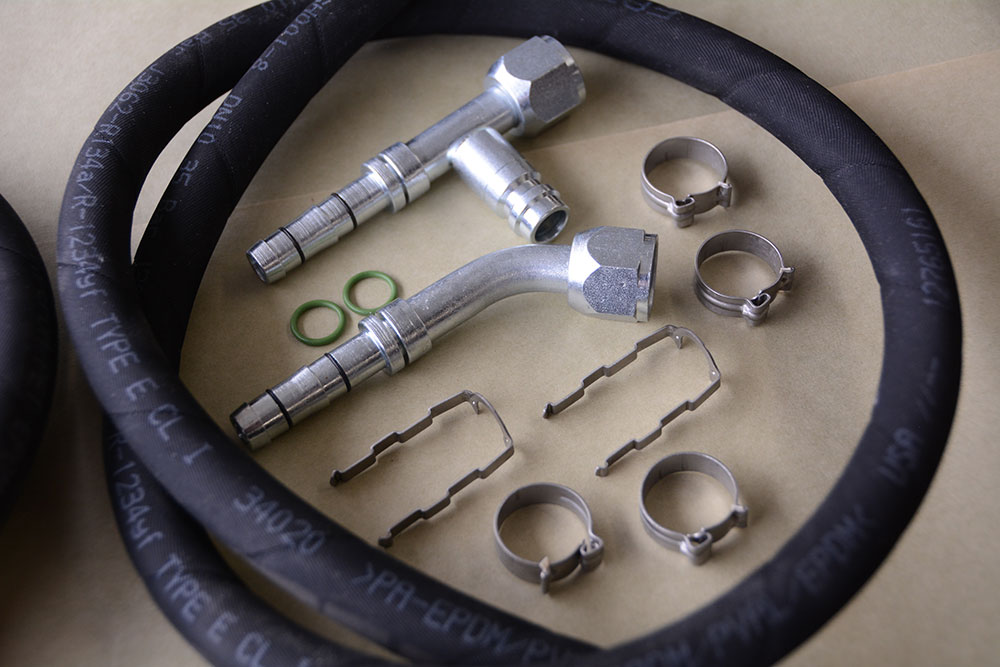
The car already has a Vintage Air A/C system installed and the only item remaining on our to-do list was installing the refrigerant hoses. When the hose kit arrived we were surprised by the small size of the hoses. The typical hoses feature a large outer diameter, but these are much smaller and feature a different texture than the standard refrigerant hoses. Keep in mind that the inner diameter of the hose is still the same, but the Vintage Air EZ Clip Hose clamping system requires a smaller outer diameter. Also in the kit is an assortment of clips, cages, fittings, and O-rings to get us to the finish line of this project.
Although most Vintage Air kits come with standard refrigerant hoses and fittings, we wanted to build custom hoses in the comfort of our own garage. The E-Z Clip Universal Hose Kit (PN 547002) comes with the hoses, fittings, and hardware needed for a custom installation.
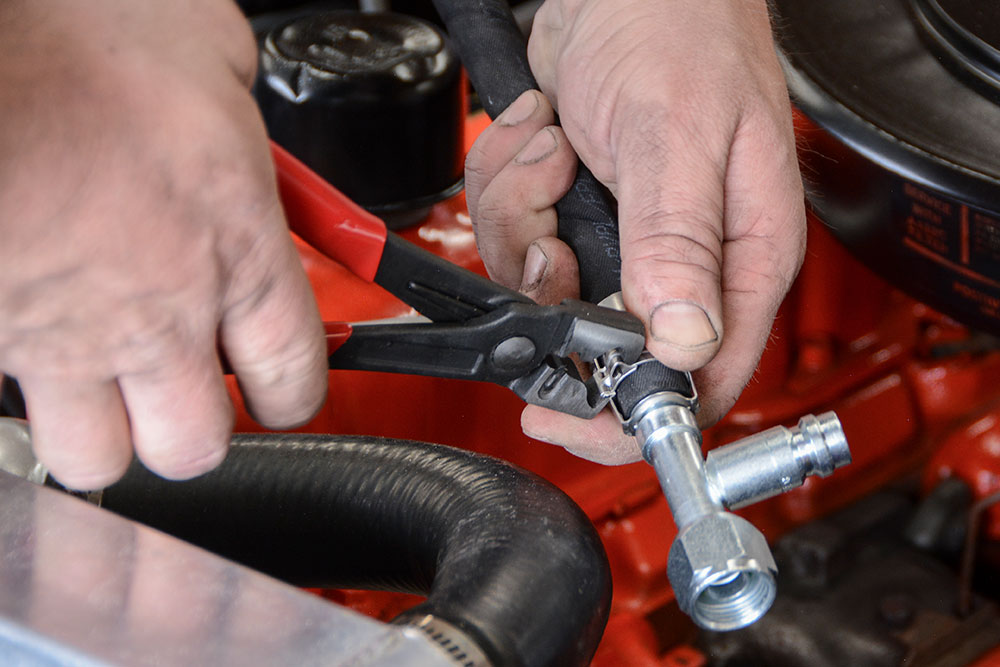
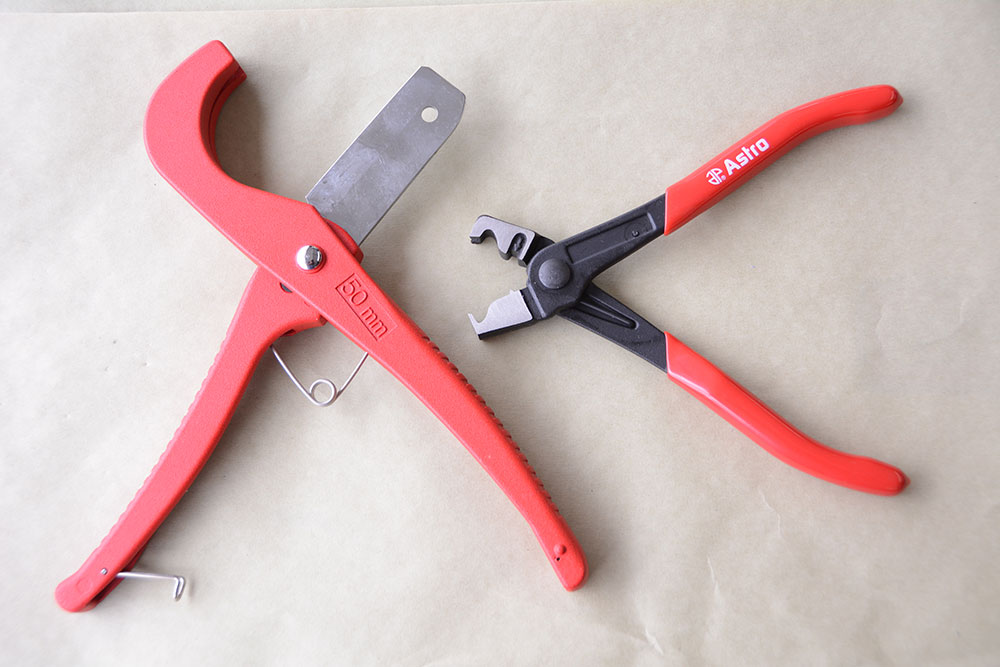
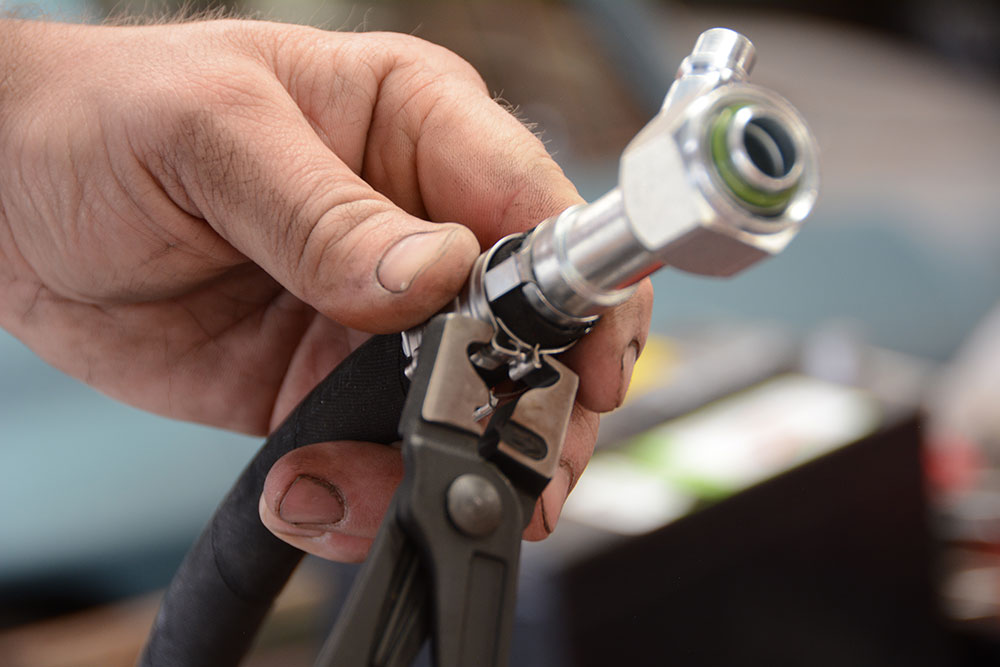
We ordered two tools from Vintage Air to complete the job. A hose cutter (PN 420001-VUR) and a special pair of clip connecting pliers (PN 420000-VUR) are all that we need to assemble the hoses. The jaws on the A/C hose crimping tool have two different angles. Orienting them one way secures the clip and flipping them over and reversing the orientation will unlock the clip.
Although most Vintage Air kits come with standard refrigerant hoses and fittings, we wanted to build custom hoses in the comfort of our own garage. The E-Z Clip Universal Hose Kit (PN 547002) comes with the hoses, fittings, and hardware needed for a custom installation.
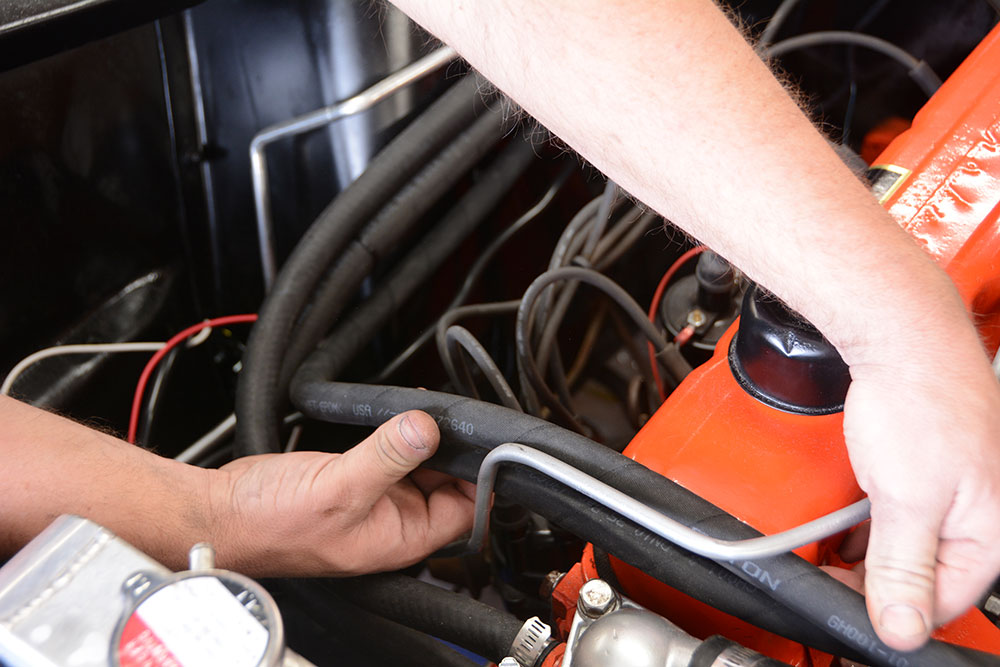
We started by mocking up the hoses and fittings to determine the proper routing and then made our cuts and performed the final assembly. Overall, we spent about an hour fitting, measuring, and assembling the Vintage Air EZ Clip Hose kit. It gave our A/C system a custom touch and a sanitary appearance, while also speeding up the installation process. Now, we can fill it with refrigerant and begin enjoying our climate-controlled surroundings. MR
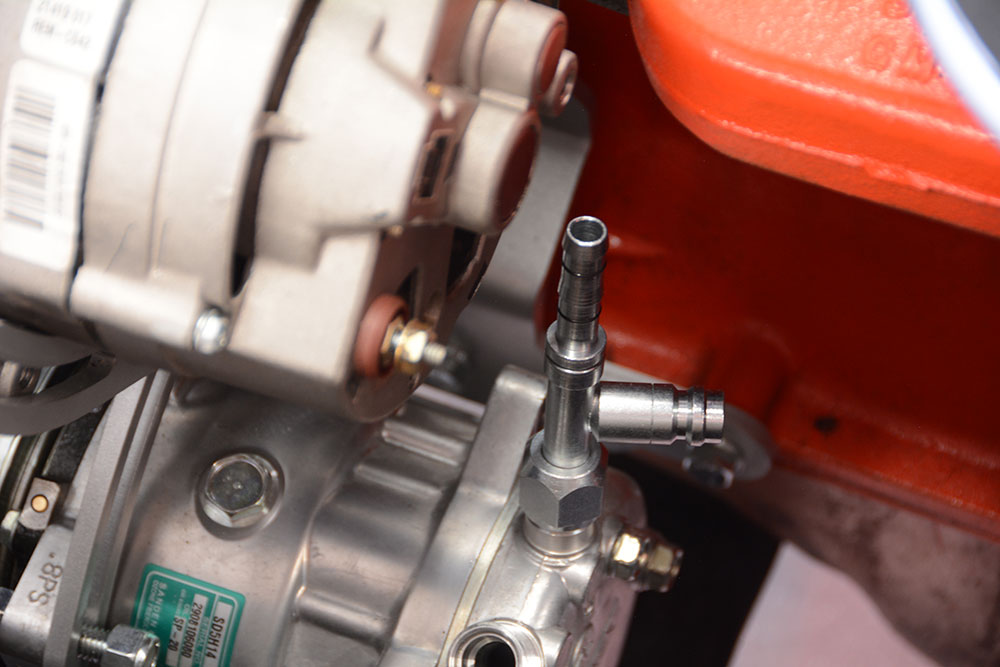
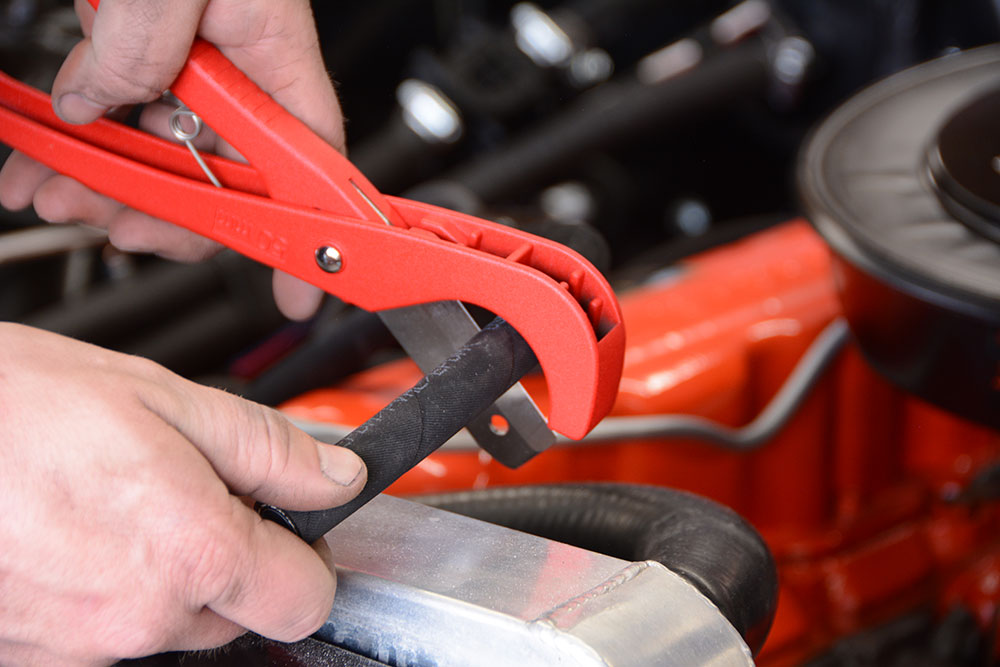
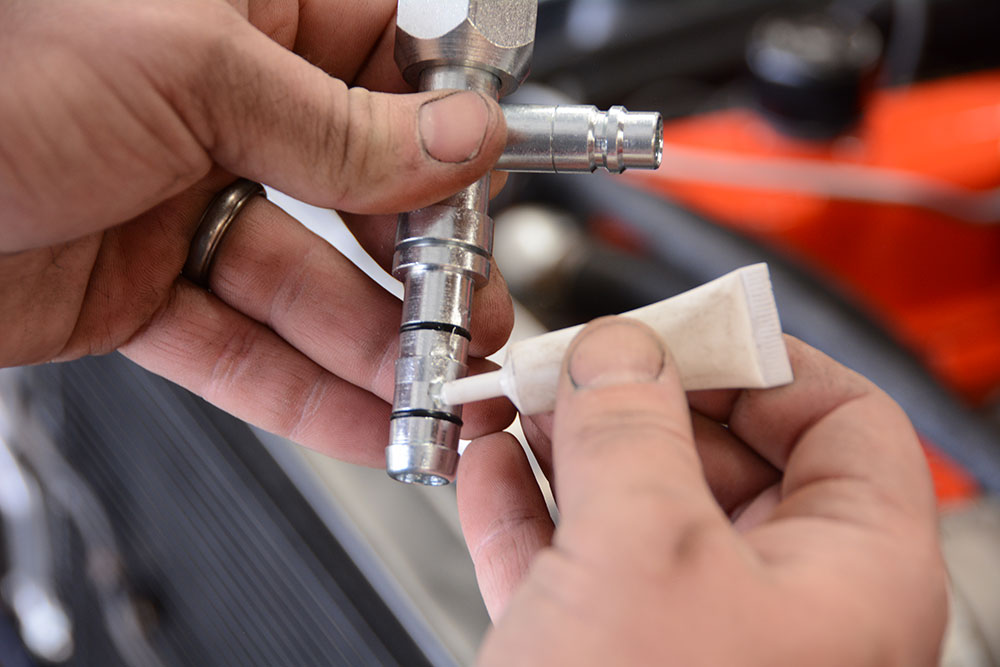
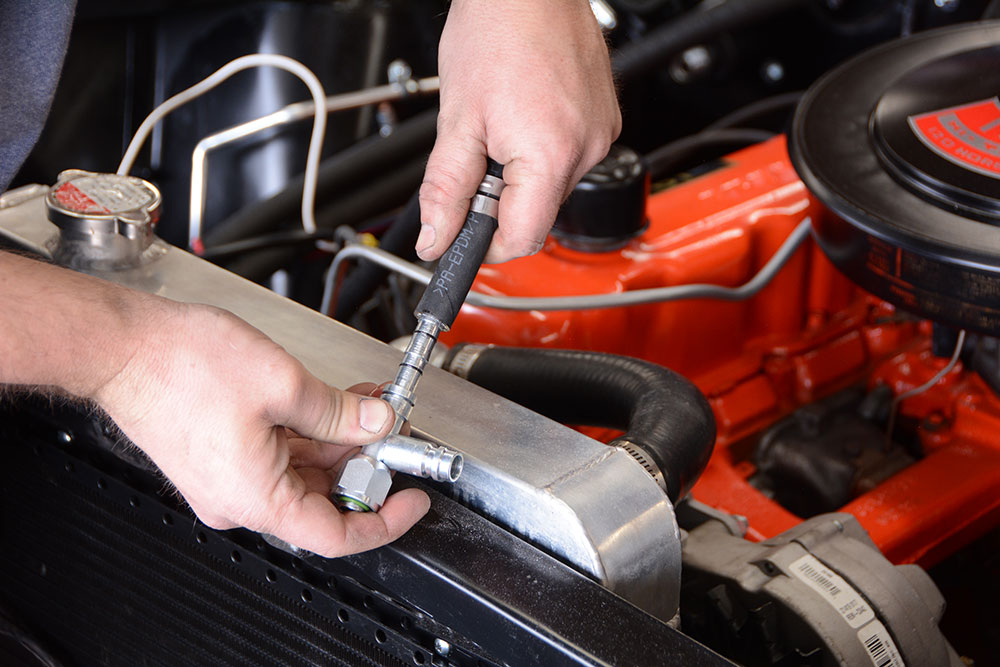
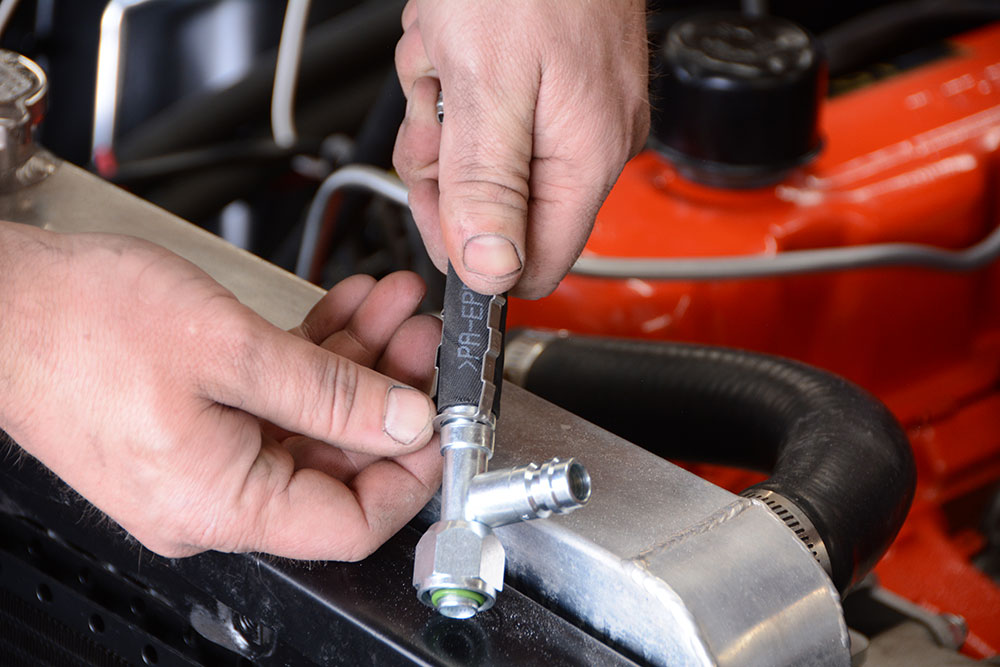
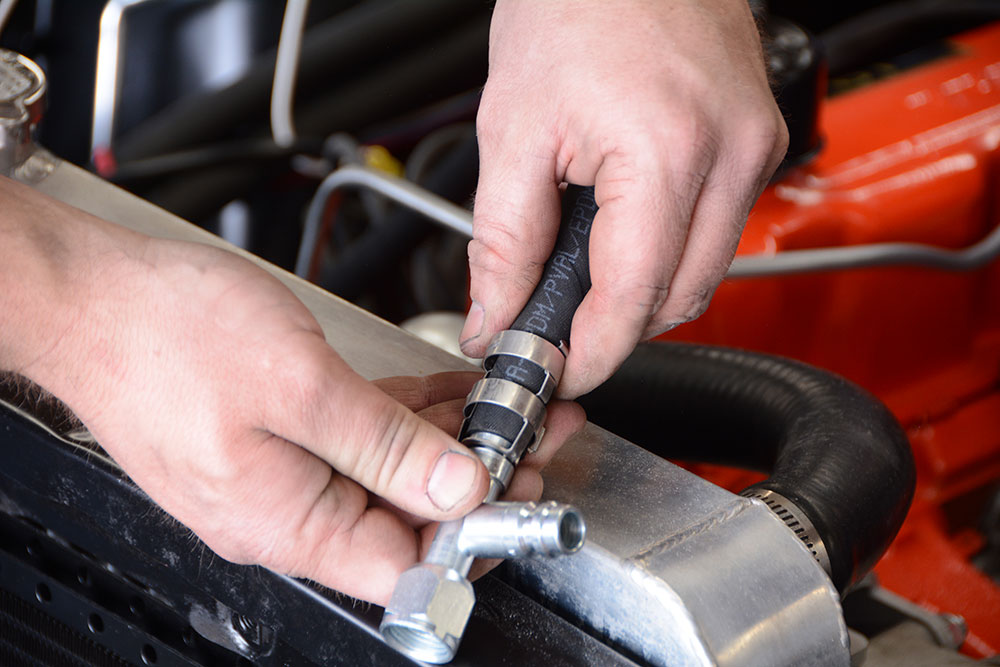
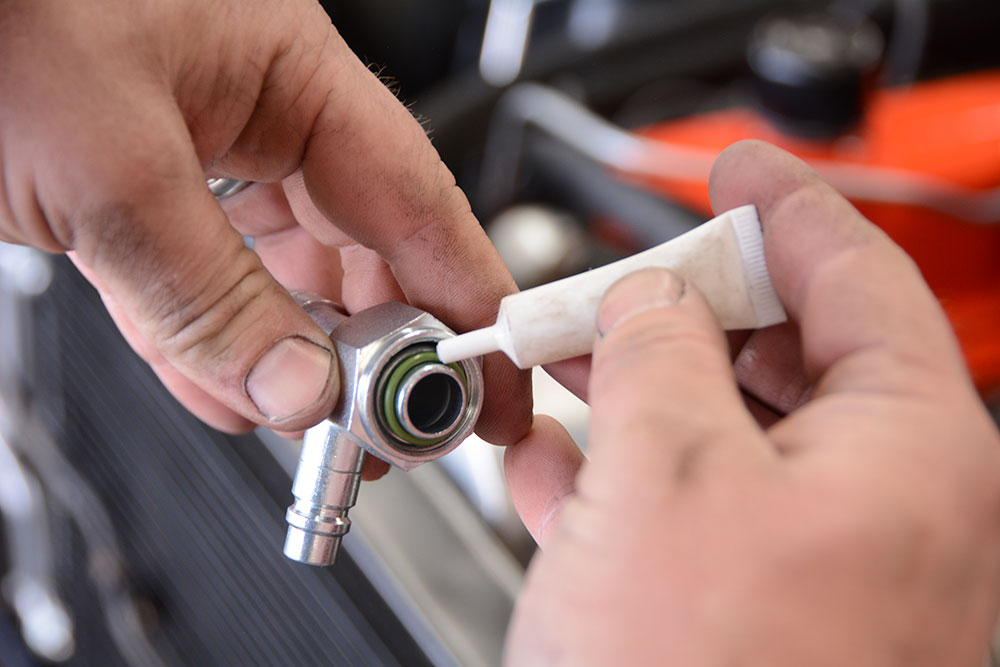
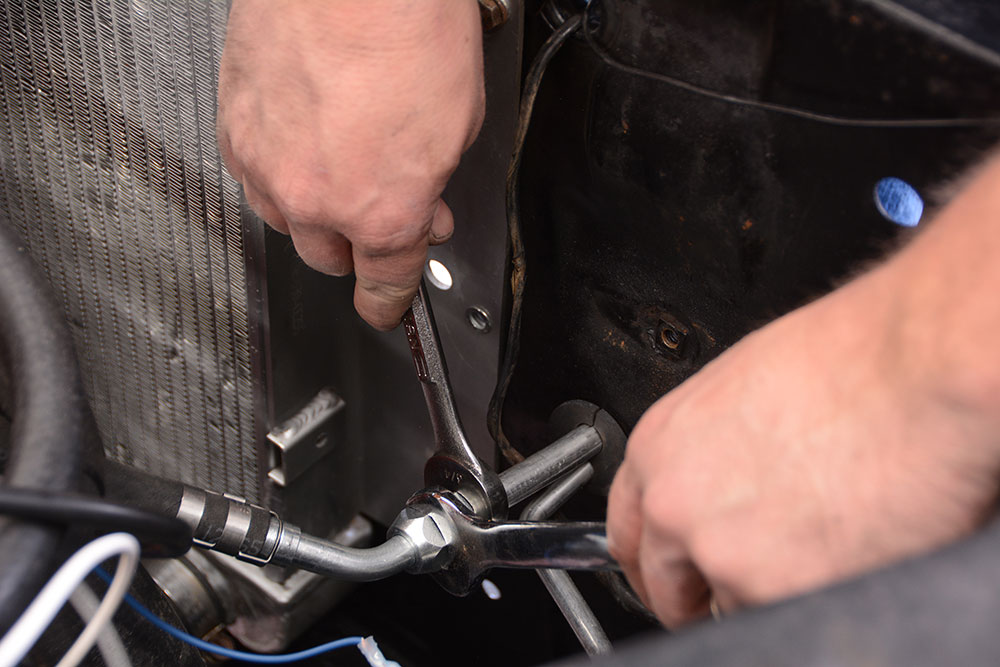
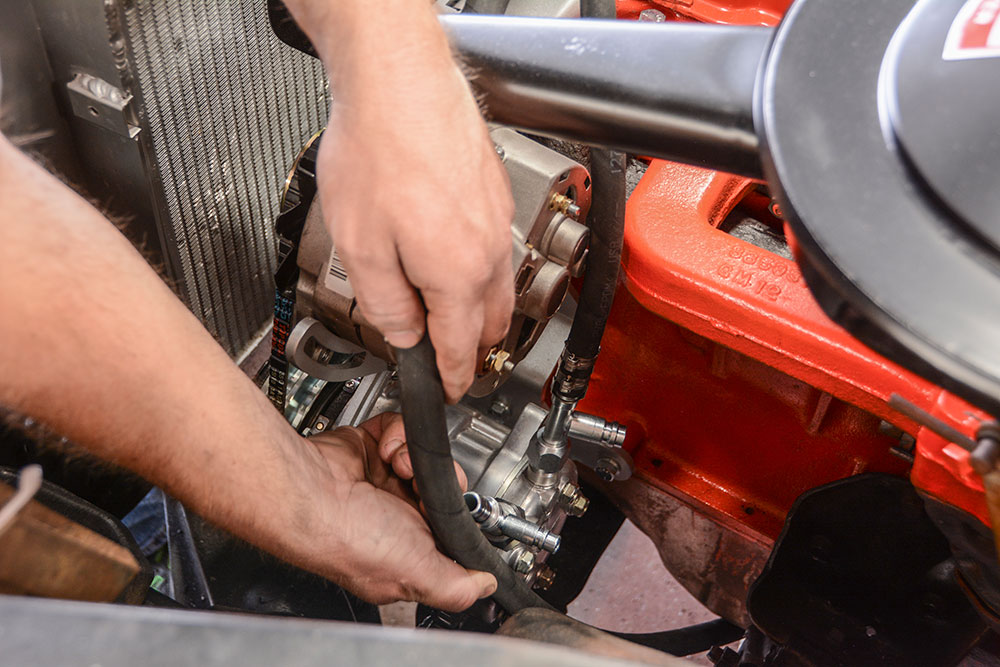
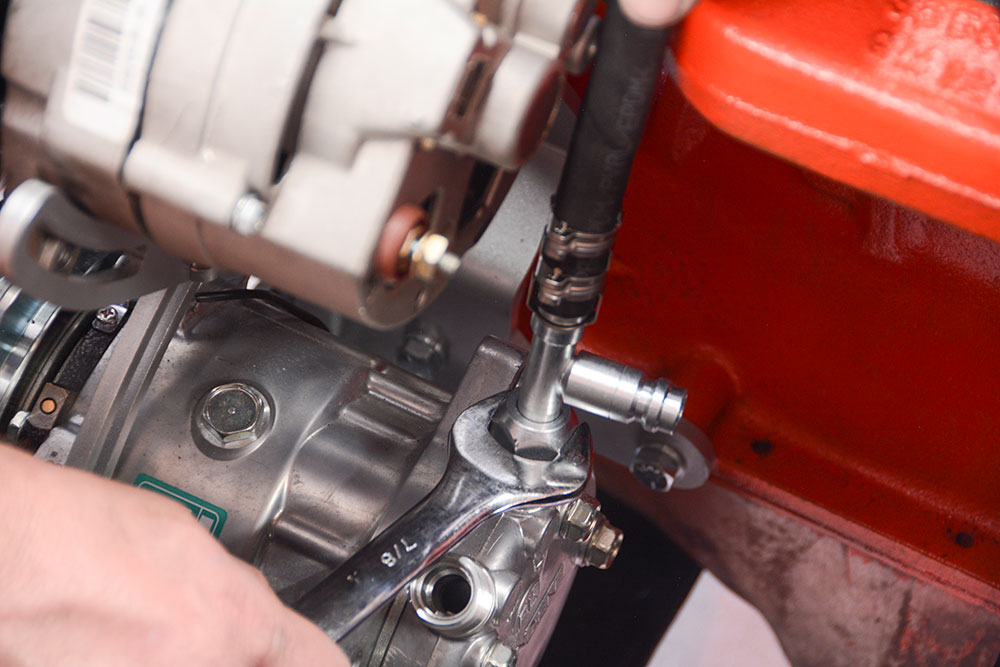
After the fittings are hand tightened, we can mock up the hoses and mark them for trimming. Notice that the E-Z Clip refrigerant hoses are much smaller than standard refrigerant hoses, but still feature the same inside diameter needed for proper flow.These are the only tools needed for the EZ Clip install. First is the EZ Clip Assembly Tool Hose Cutter (PN 420001), which makes easy work of the thick hose material. Next are the special EZ Clip Assembly Tool Clip Connecting Pliers (PN 420000) designed to clamp the clips into place.After mocking up the fittings and refrigerant hoses and double-checking the hose routing, we can trim the hoses with the hose cutting tool. There are other cutting tools on the market, but this one gave us a nice square cut, which is very important for proper sealing.The kit comes with a small tube of refrigerant oil, which is used to lubricate the fittings. Notice the two small O-rings that are pre-installed on the nipple. They are made from a different material than the standard green O-rings you’ll use on the fittings.We like to slide two appropriately sized EZ Clips onto the refrigerant hose before pushing the hose onto the fitting so that we don’t forget. Otherwise, you could damage the clips trying to spread them out to fit.Firmly push the hose onto the fitting until it seats against the shoulder. It’s designed to be a tight fit.Now, the supplied cage can be snapped into the retaining groove, which is cut into the fitting. There are different sized cages to coordinate with the various refrigerant hoses and fittings in the kit.The clips that we already slid over the hose can now be installed on the cage. Each clip fits into a recess in the cage.It’s time to grab the special A/C hose crimping tool pliers and firmly squeeze until we feel a positive clicking of the clip. Feel free to index the clips so they’re both facing the same direction.The refrigerant oil is used to lubricate the provided O-rings with the kit. The green O-rings are available in number 6, 8, and 10 sizes, so choose accordingly and begin final assembly of the custom hoses.After assembling the first hose and lubricating the O-ring we can tighten the A/C hose fittings, which connect to the condenser and compressor.We repeat the process for the second refrigerant hose. First, mocking it up, then trimming it and finally installing the EZ Clip cage and clips to secure the A/C hose fittings.Using a 7/8-inch wrench, we tighten the A/C hose fittings on the compressor after lubricating the O-ring and making sure it is seated properly. With the hoses installed, now all we need to do is have the system filled with refrigerant and begin enjoying our Vintage Air A/C.
We use cookies to ensure that we give you the best experience on our website. If you continue to use this site we will assume that you are happy with it.