


A/C Retrofit Kit & Dakota Digital Instrument Panel
By Don Lindfors – Photography by the Author
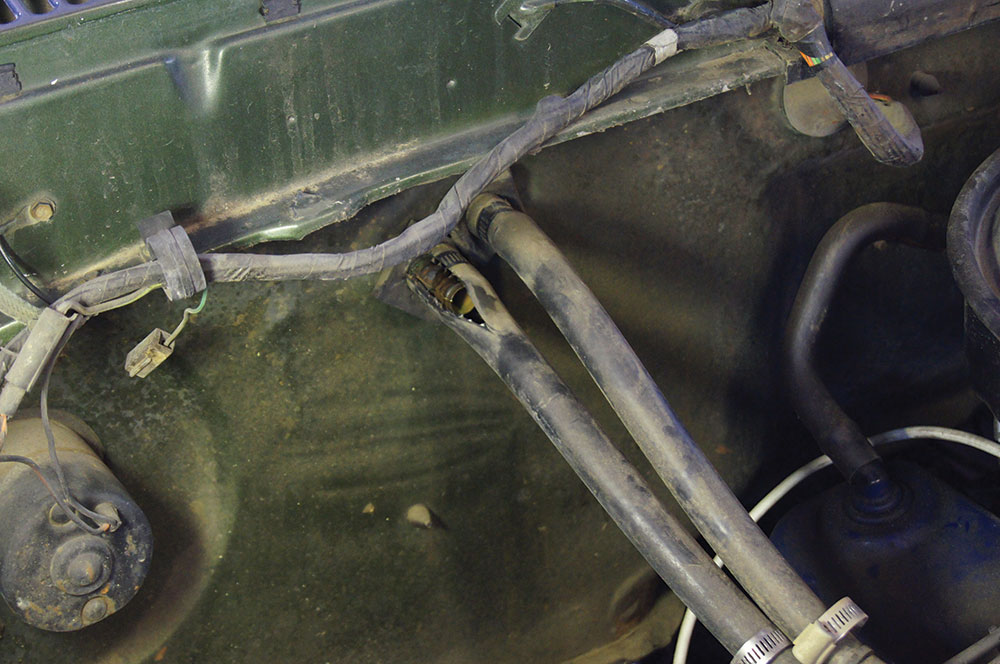
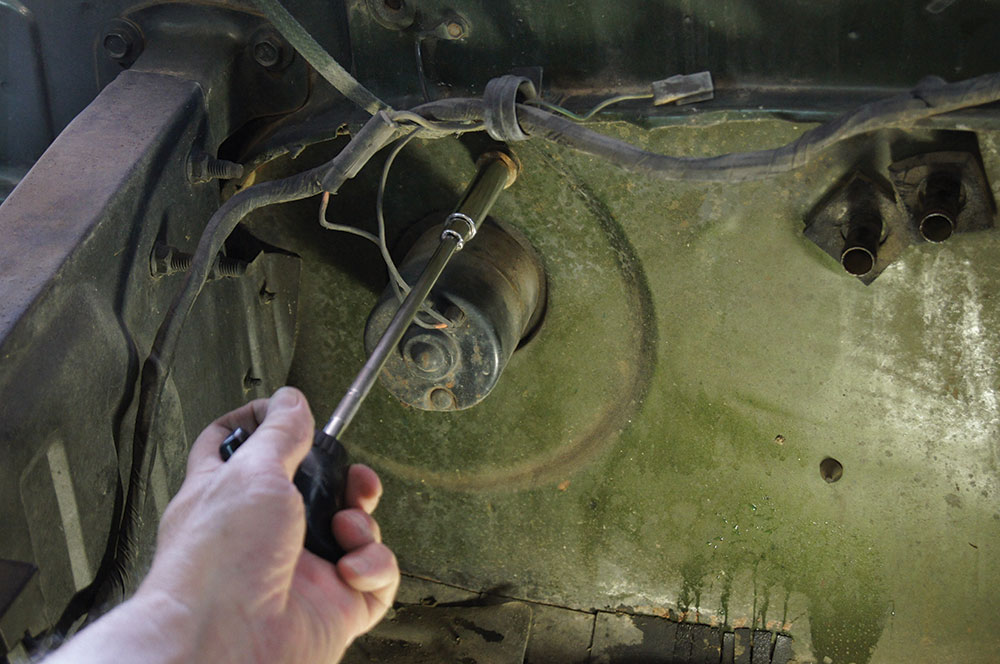
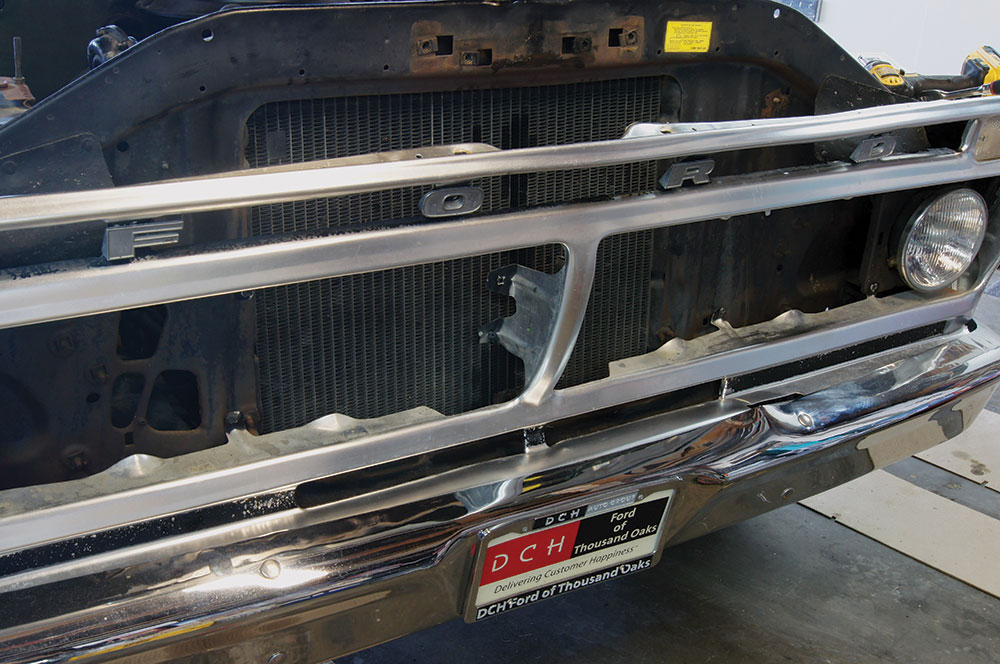
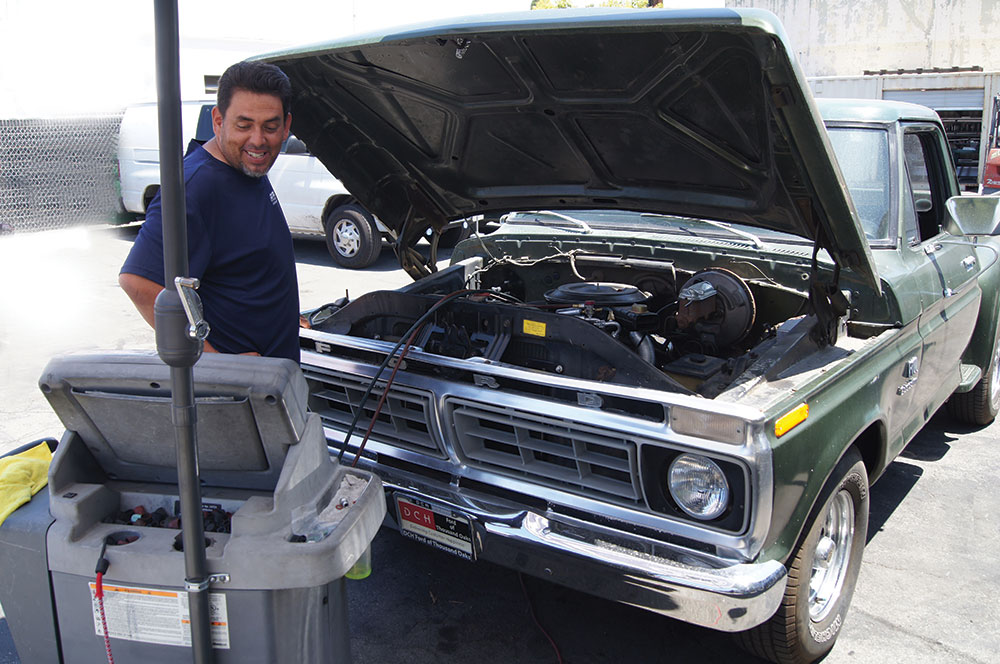
I recently picked up a 1976 Ford F-100 Flareside project. It’s a somewhat unusual truck, built and sold in California. It has a 302 engine (where it seems most of these trucks have 360/390 FE motors or the 460 big block), a T-18 manual transmission (affectionately called the Granny Low 4 Speed), power steering and power disc brakes but no AC, and idiot lights in place of gauges.
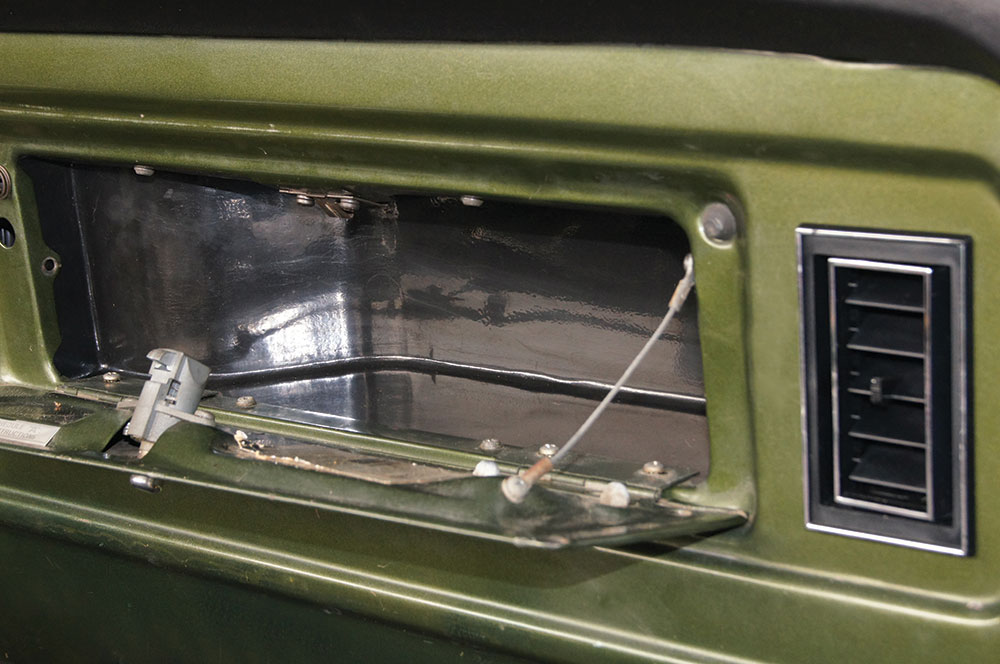
It was kind of a spur-of-the-moment deal, and I wasn’t sure what I was going to do with it, but I knew I “needed” it. I also knew, no matter which way I went with the project, it needed AC and some real gauges. The dash bezel and pad were also in need of some help.
Read More: Sneak Peak: Art Morrison’s New 1967-1972 C10 Chassis with MetalWorks Speed Shop

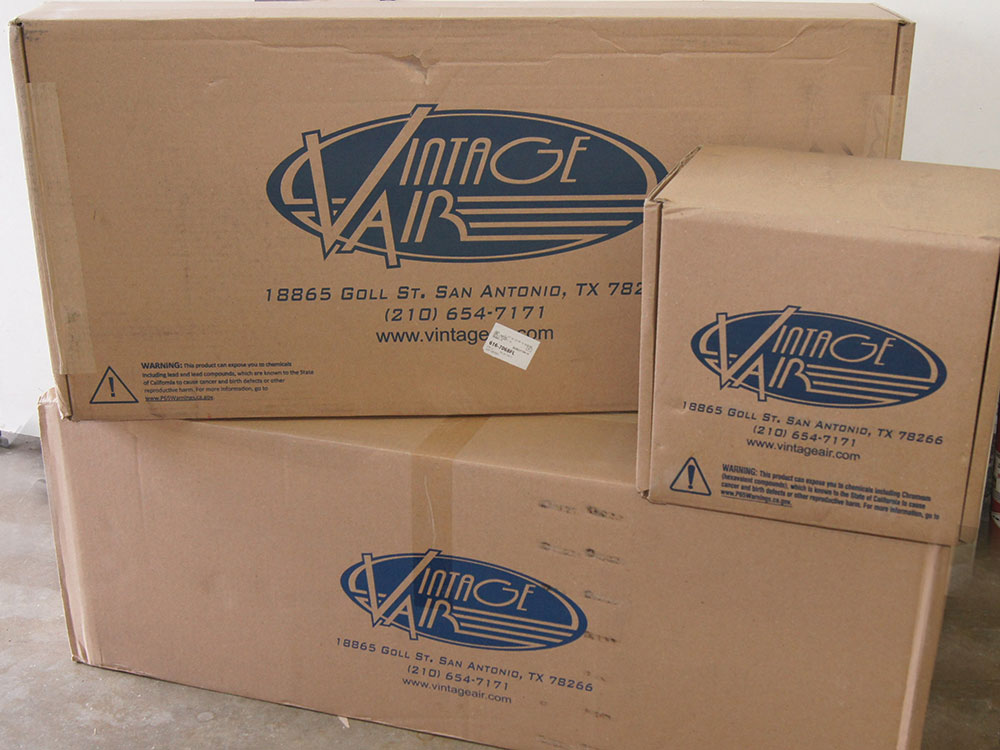
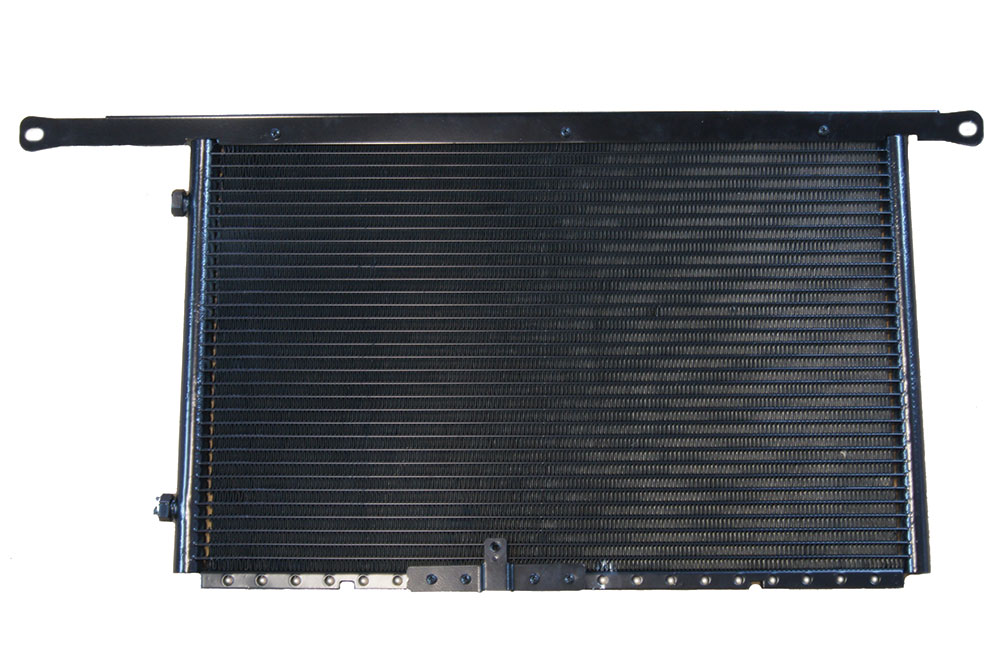
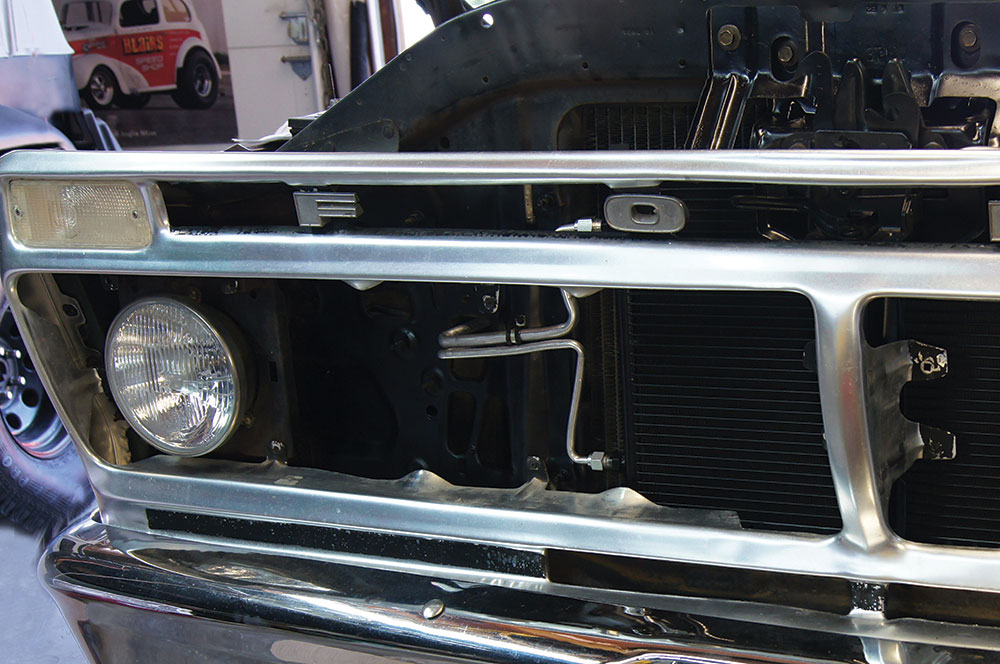
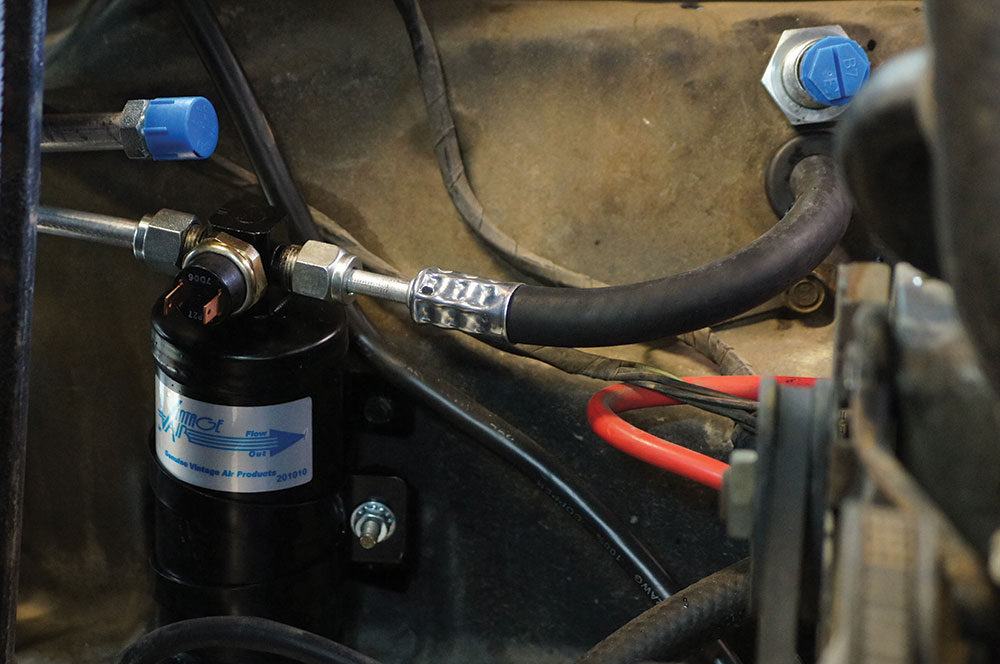
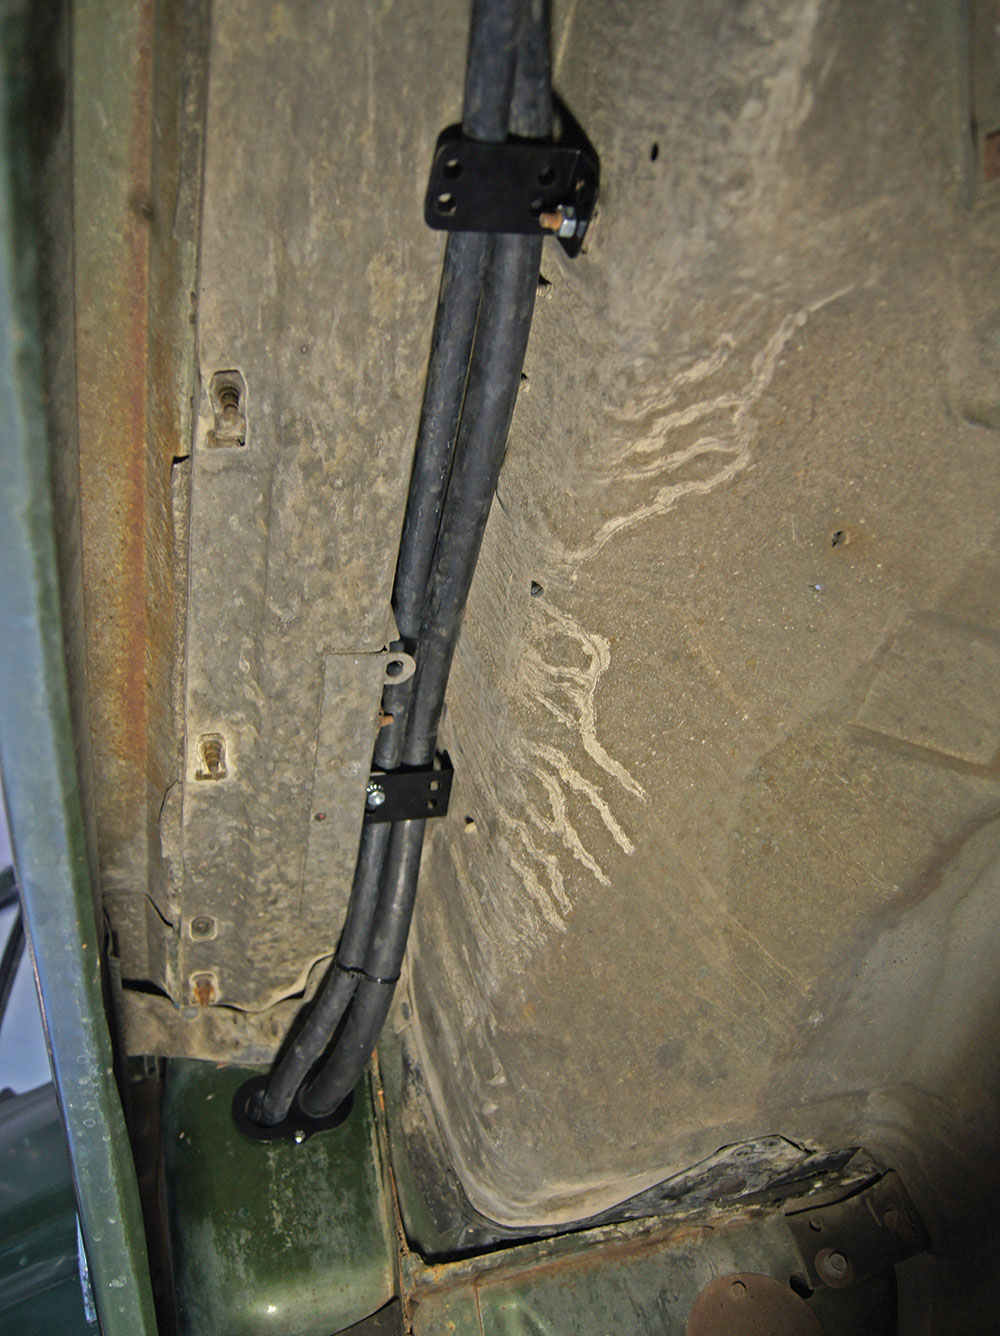
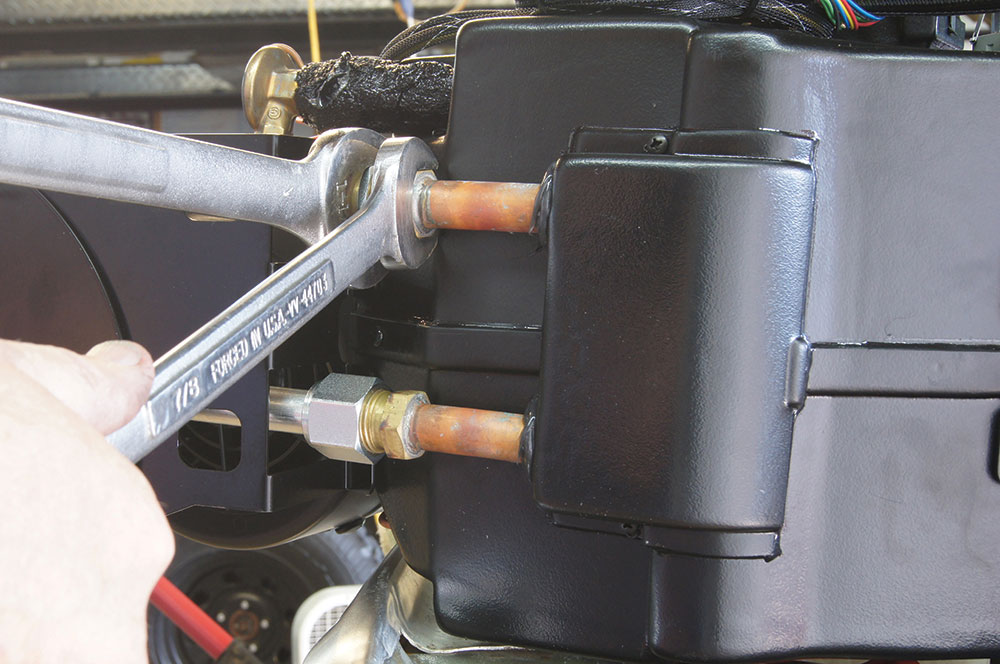
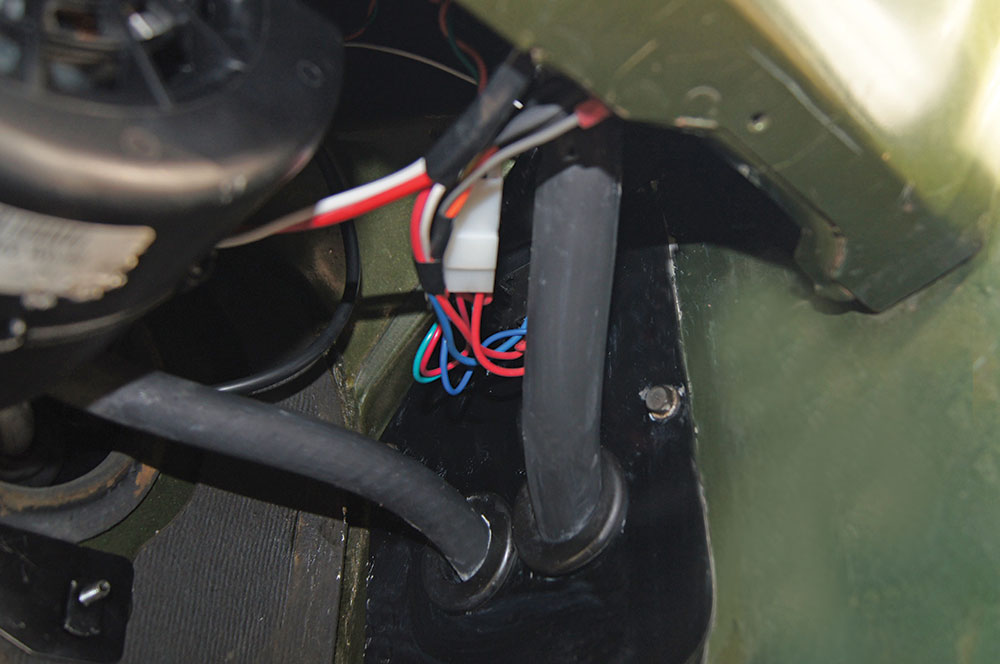
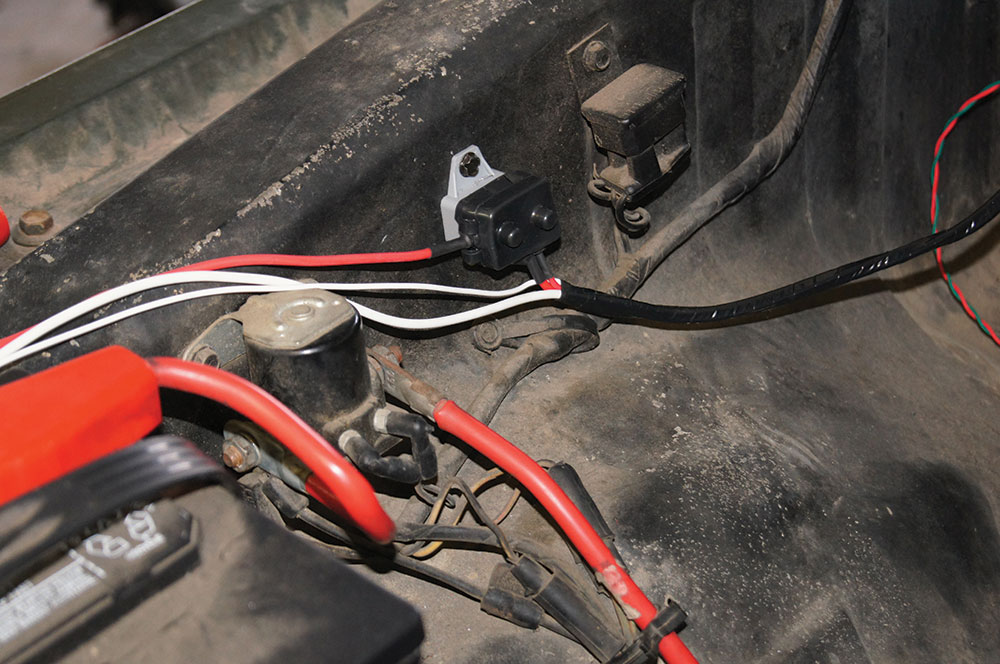
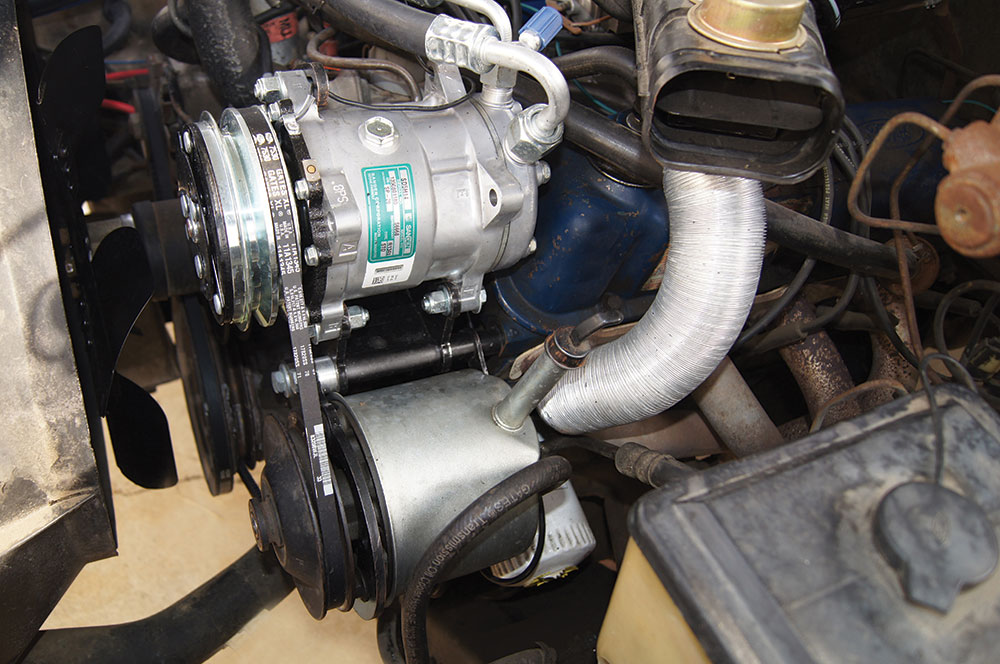
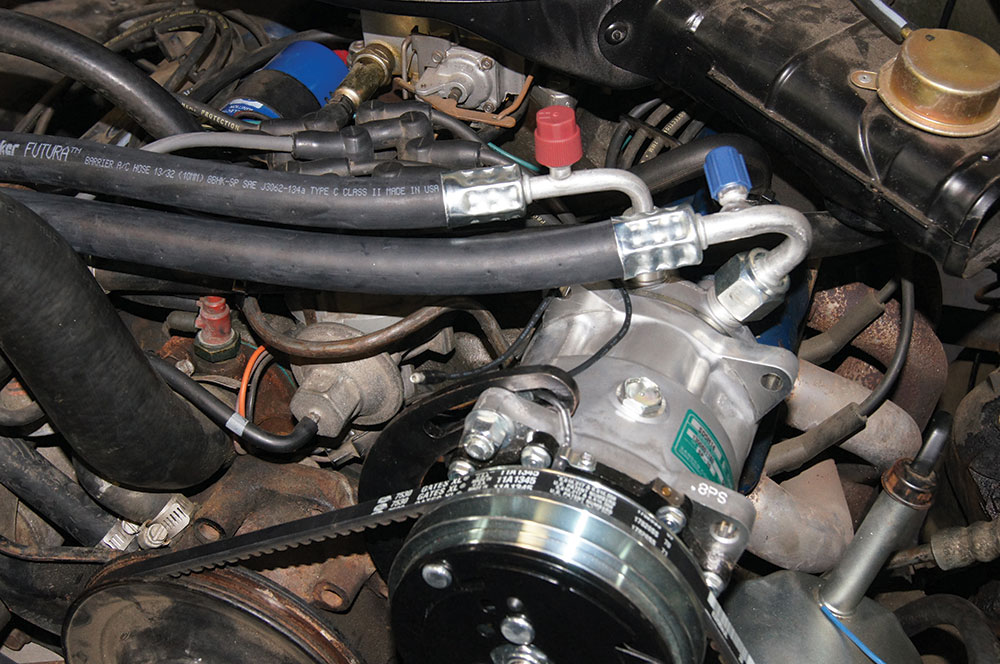
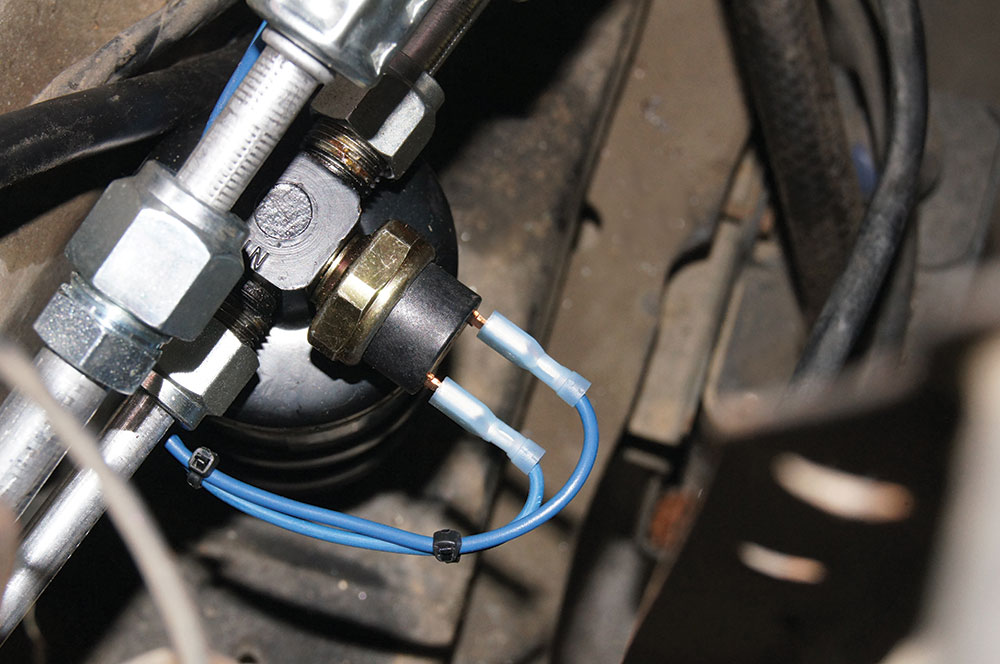
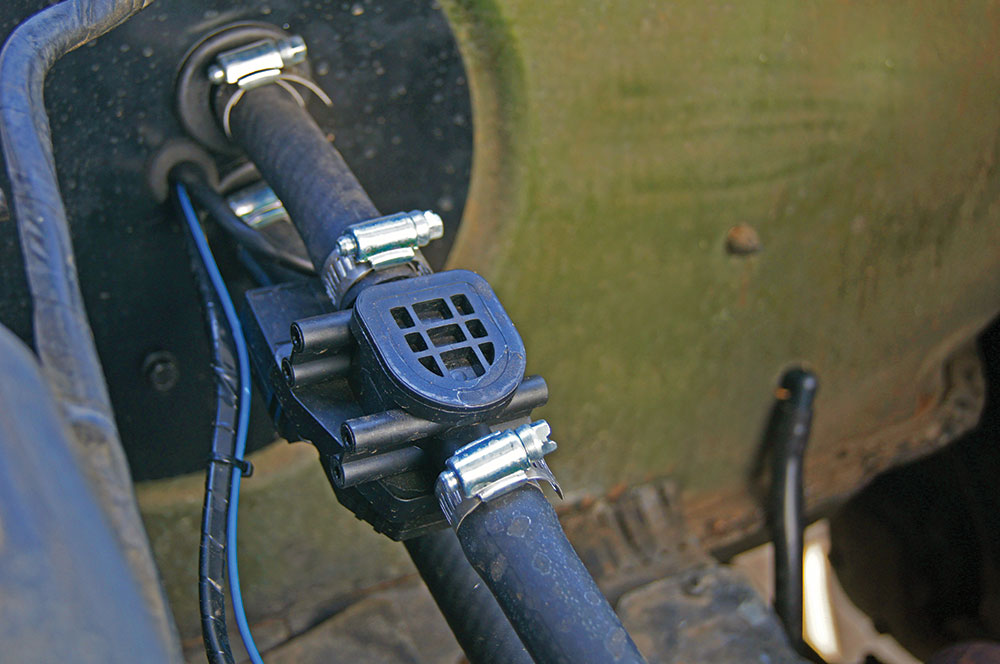
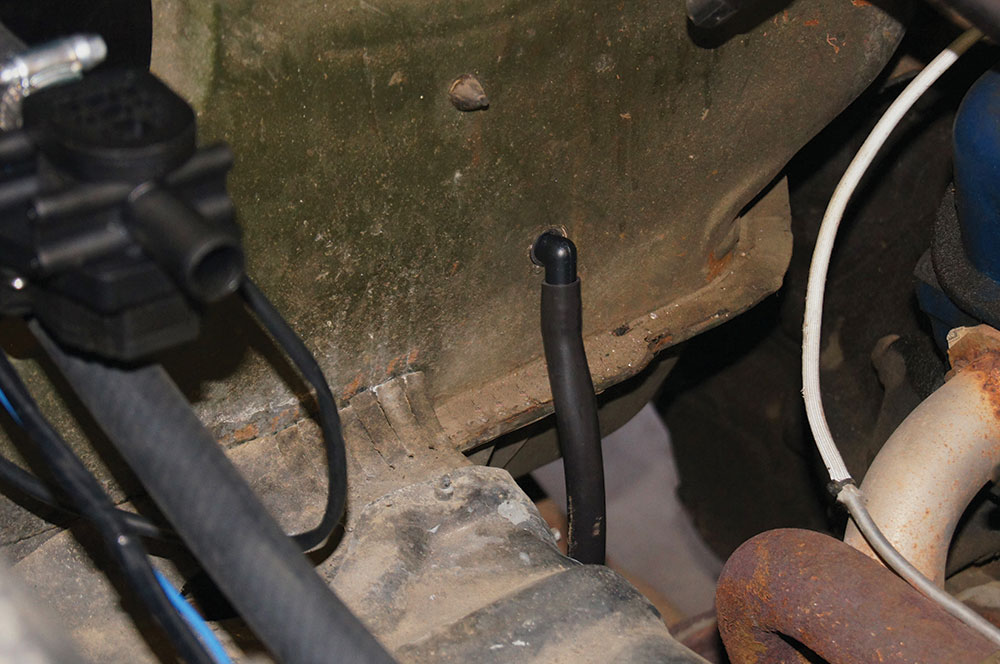
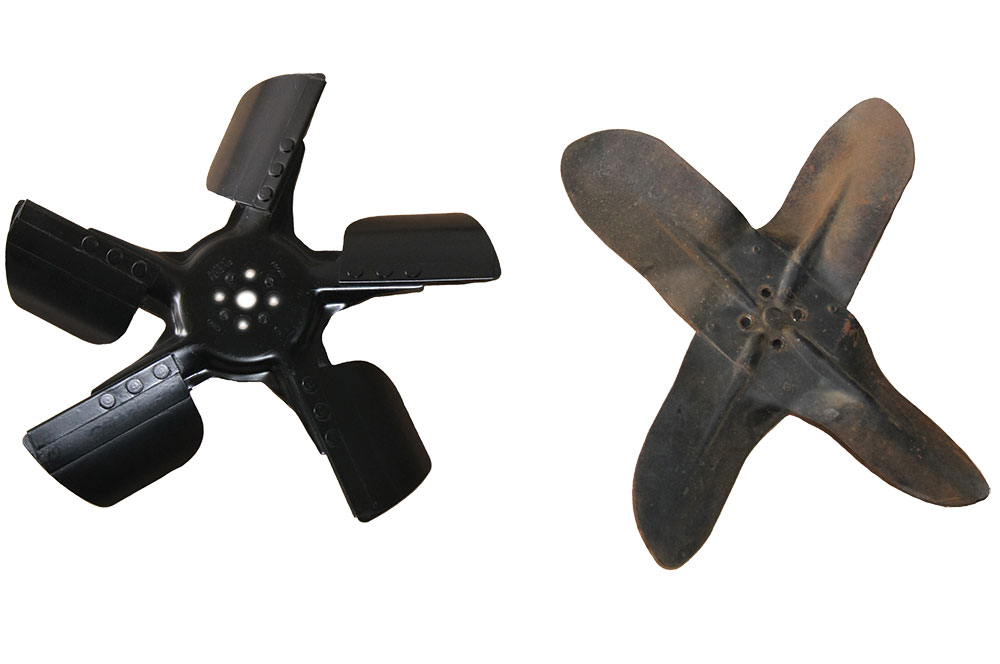
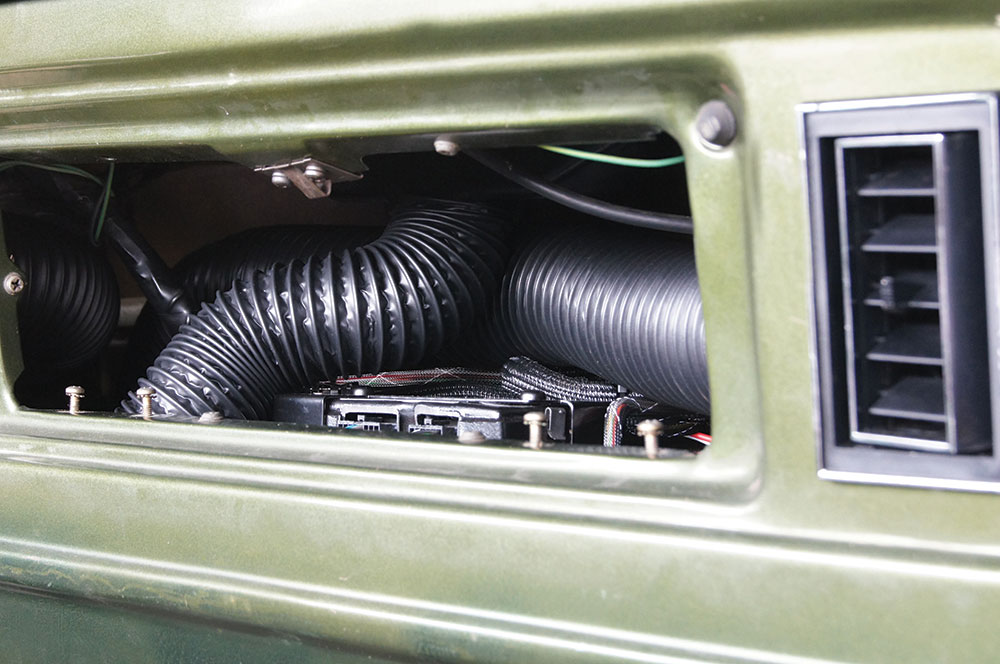
Texan Jack Chisenhall knew he wanted to be in the hot rod business, and through a contact with a friend’s dad he started selling and installing AC parts for hot rods. Jack developed a condenser and evaporator for the 1932 Ford and in 1976 went to the Street Rod Nationals to see if he could sell some. The response was overwhelming and he sold out of everything he had, launching Vintage Air, while at the same time essentially inventing the street rod and classic car air conditioning industry. They have continued to lead the industry and Vintage Air has been my go-to for over 30 years. They recently added the 1973-1979 Dentside Ford trucks (and 1978-1979 Bronco) to the lineup, so it seemed like the perfect opportunity to make this truck a bit more comfortable in these SoCal summer months. They offer a couple of different versions depending on whether the truck had the old inefficient factory air or, like ours, was a non-AC truck. A few days later a SureFit in-dash kit arrived at our shop and it was time to get to work.
Read More: Making A Canyon Carving C10: Big Brake Kit & Suspension Upgrades
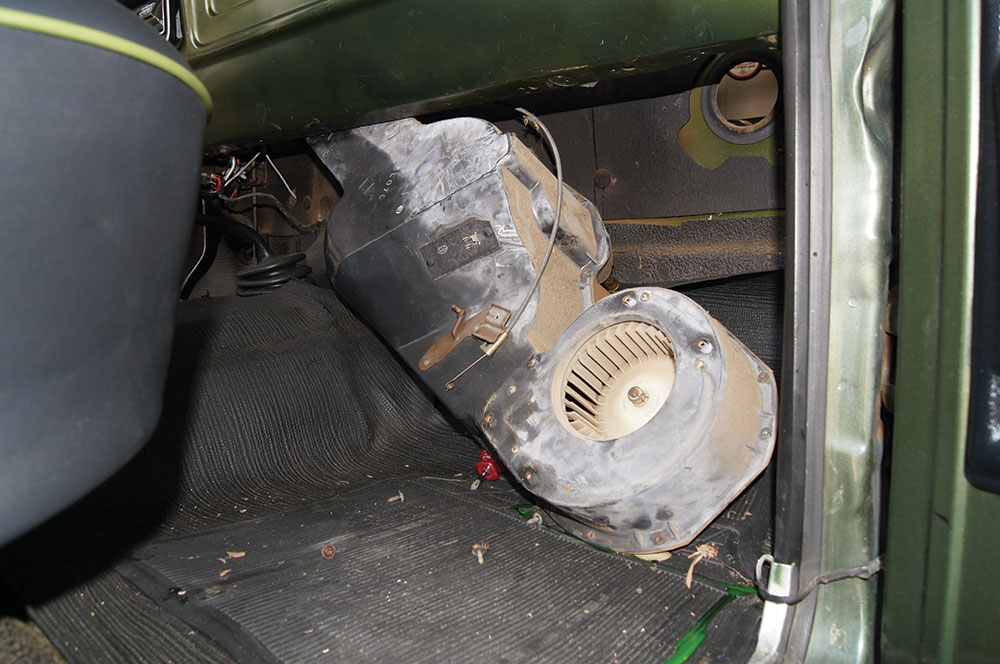
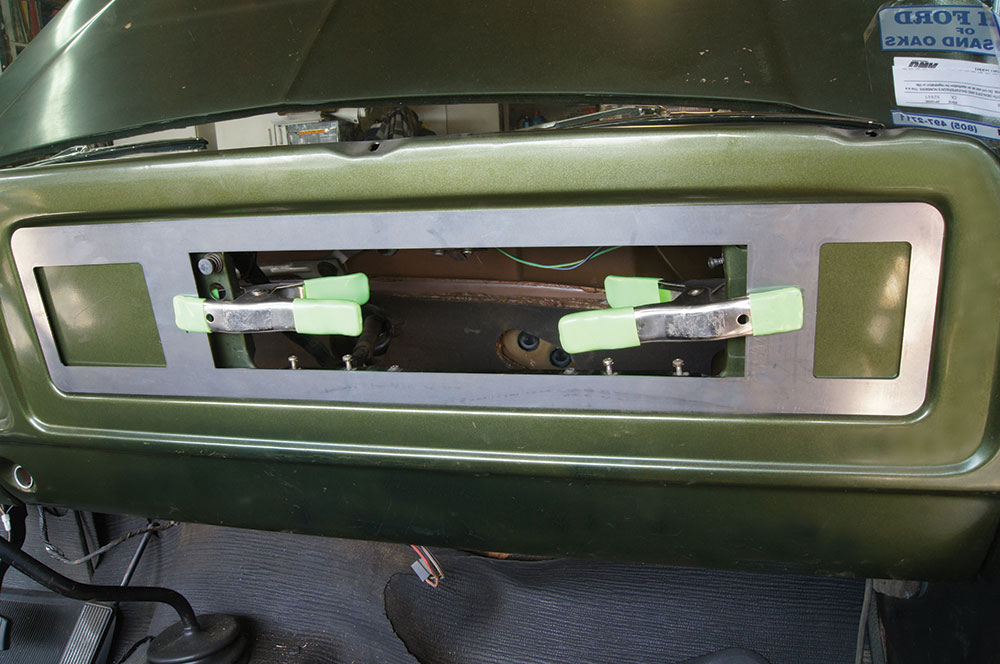
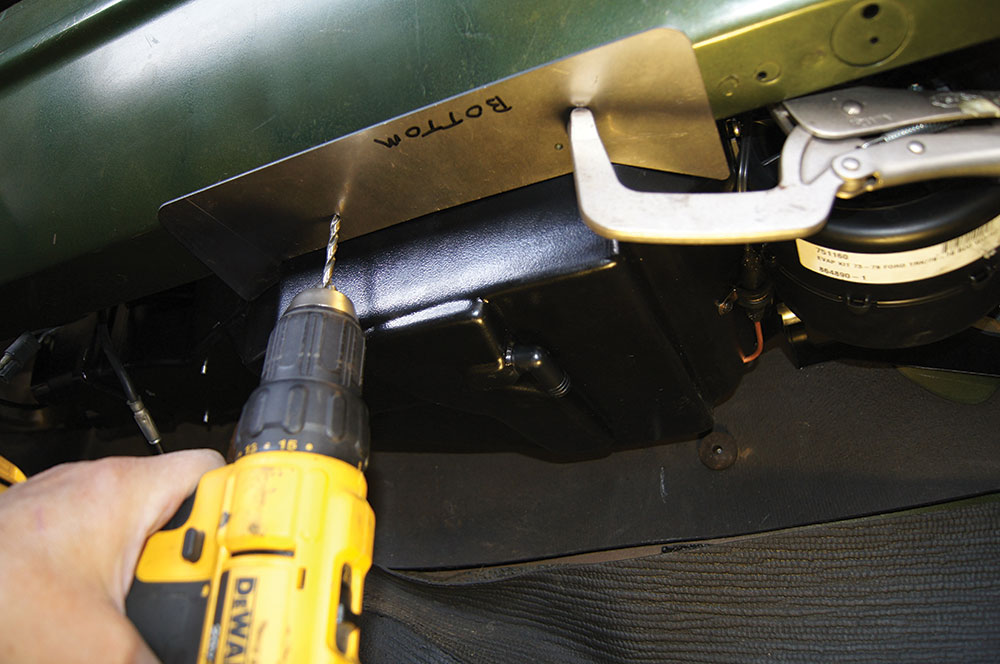
Looking at the dash as we were starting to pull it apart, it struck us how this was the perfect time to fix that no gauge dash panel (not to mention get rid of the mismatched gauges that the previous owner had hung under the dash) and replace the cracked dash pad, since we would have the dash all apart.
Thinking of options for the gauges I considered everything from a factory gauge–style instrument panel to making an aluminum panel for aftermarket gauges. I then remembered a story I did for Hot Bike magazine on installing a Dakota Digital gauge pod with the vacuum fluorescent display and thought I’d see what they had to offer. I didn’t really want the vacuum fluorescent as it didn’t fit the style of truck I was building and I was pleased to see that they offer replacement instrument panels in their RTX, HDX, and VHX product lines. We chose the VHX system with a silver face and white needles and backlighting. They offer many different faces and colors to suit your desire.

The panel features a speedometer, tachometer, oil pressure, water temperature, fuel level, and voltage gauges. Additionally, there are two LCD readouts that can be programmed for different information, including odometer, trip meter, high speed recall, rpm recall, 0-to-60 times, quarter-miles times, hour meter, as well as warnings like high temperature and low voltage. Installation is straightforward with a control box that goes behind the dash and is simple to wire with the necessary senders and harnesses included.
Read More: Purpose Built Sport Truck: 1958 Chevy Cameo
With the new AC vents and controls going in the dash and the beautiful gauge package it was time to upgrade the rest of the dash. A quick order from LMC Truck netted us a new gauge bezel, headlight and wiper switch knobs, and a new padded dash pad.

The entire transformation took us about three days in the shop, including stopping to take pictures as we went. None of the installation took any specialty tools (aside from a power steering pulley puller, which most parts stores will loan out) and the instructions for both the AC system and gauges were thorough and easy to follow. Now that we’re riding in style it’s time to decide what to do with the outside of the project.


Ready for Part 2? Check it out here: Part II: The Dakota Digital Gauges and LMC Truck Dash
SOURCES
Vintage Air
(800) 862-6658
vintageair.com
Dakota Digital
(800) 852-3228
dakotadigital.com
LMC Truck
(800) 562-8782
lmctruck.com
The Air Shop
(714) 285-0108
theairshop.com


