Some things were just meant to be, and in this particular case the timing couldn’t have been better. As my 1969 C10 was being dropped off from its visit with TMI Products for the interior you saw go together in last month’s issue (May ’25), I got a new product email from Eddie Motorsports (EMS) announcing their all-new billet gauge bezels with matching glovebox doors … with a variety of color combo choices. Phone in hand, I walked out to the shop and sat in my truck, iPhone window-shopping the various colors, when I ended up pairing their Bronze Fusioncoat with Forged Charcoal Fusioncoat inset combination. With the truck’s metallic gray (lower) exterior and distressed brown interior, it was a message sent from above (or my phone): those needed to go in the C10!
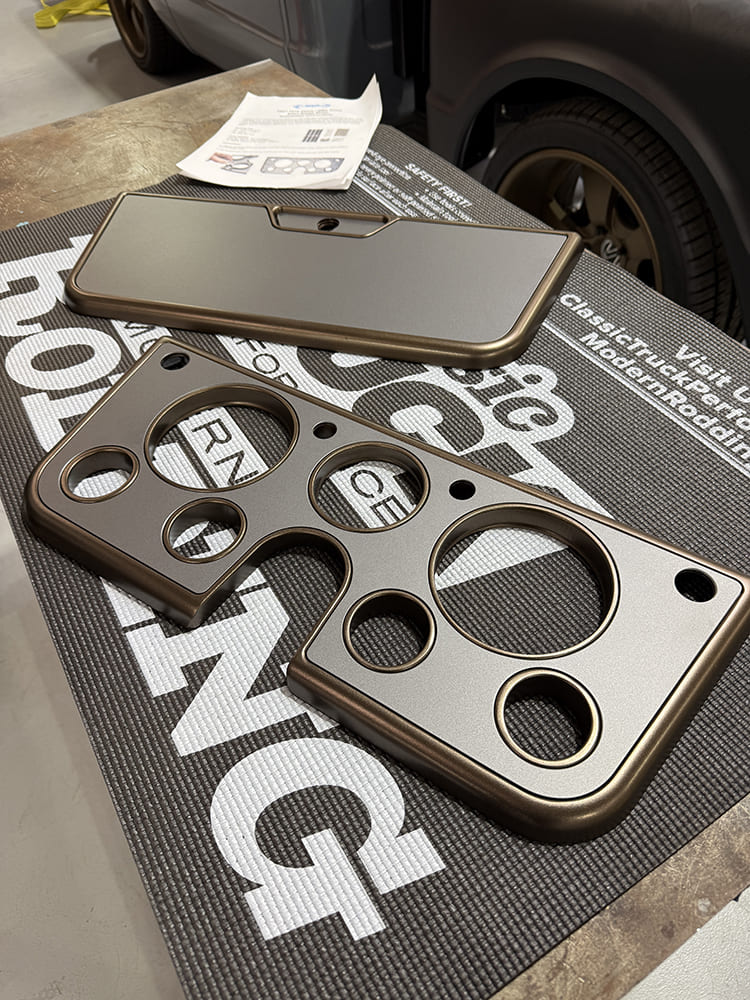
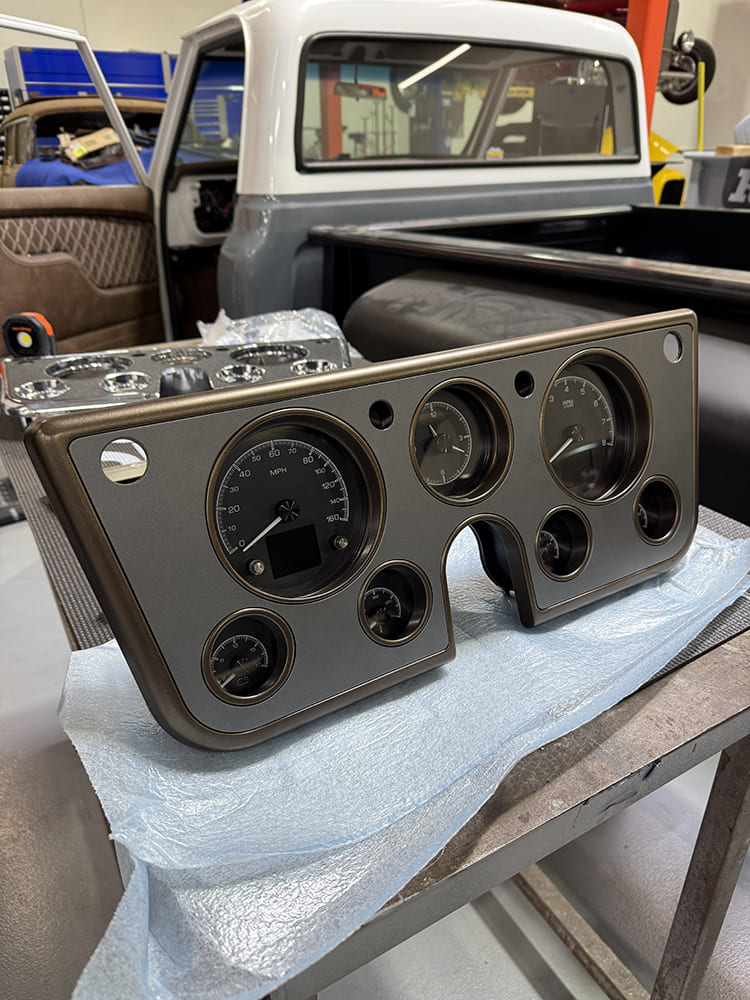
Eddie Motorsports’ (EMS) all-new billet aluminum gauge panel and glovebox door for the 1967-72 Chevy C10 is available in nine different bezel AND insert colors, making 81 potential color combo options! For the ’69, they provided this in Fusioncoat Bronze with Forged Charcoal insert.
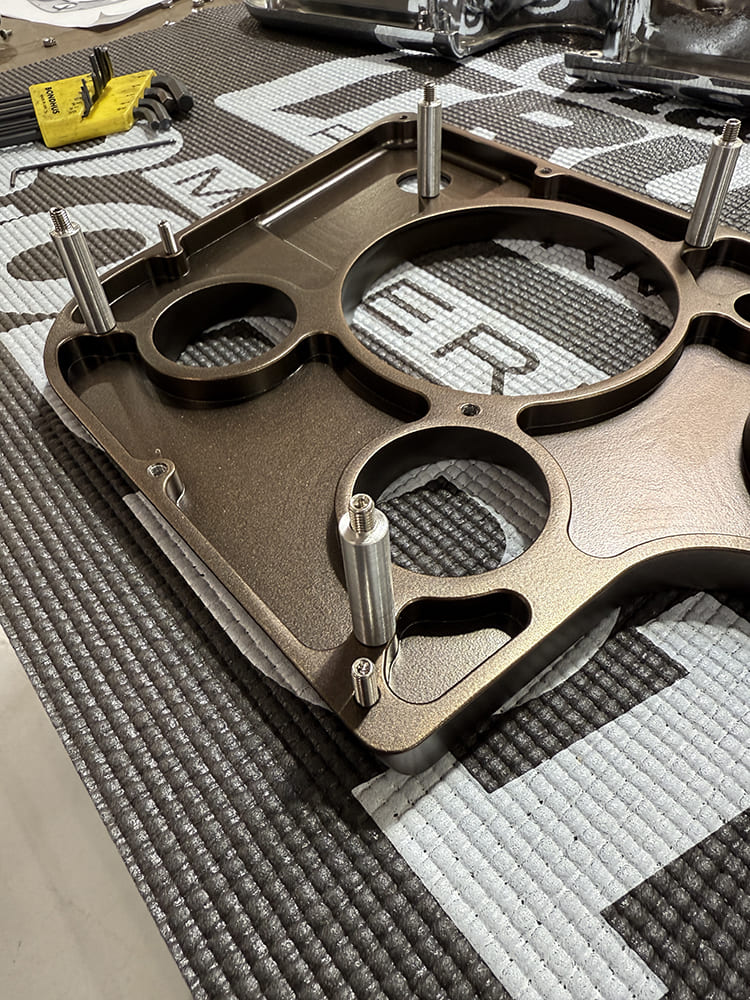
I made a quick call to EMS to see what the availability was and two weeks later I had the bronze/gray billet components in hand ready to install. The complete setup comes with matching billet aluminum panels and all necessary hardware for installation. While these are “replacements” for the OE gauge bezel and stamped-steel glovebox door, as for the instrument panel, it’s a “blind hole” bezel, which eliminates the exposed mounting screws by using rear-facing studs and Keps (locking star) nuts for a nice, clean appearance; the glovebox hinge and doorstop reattach with supplied 10-32 screws.
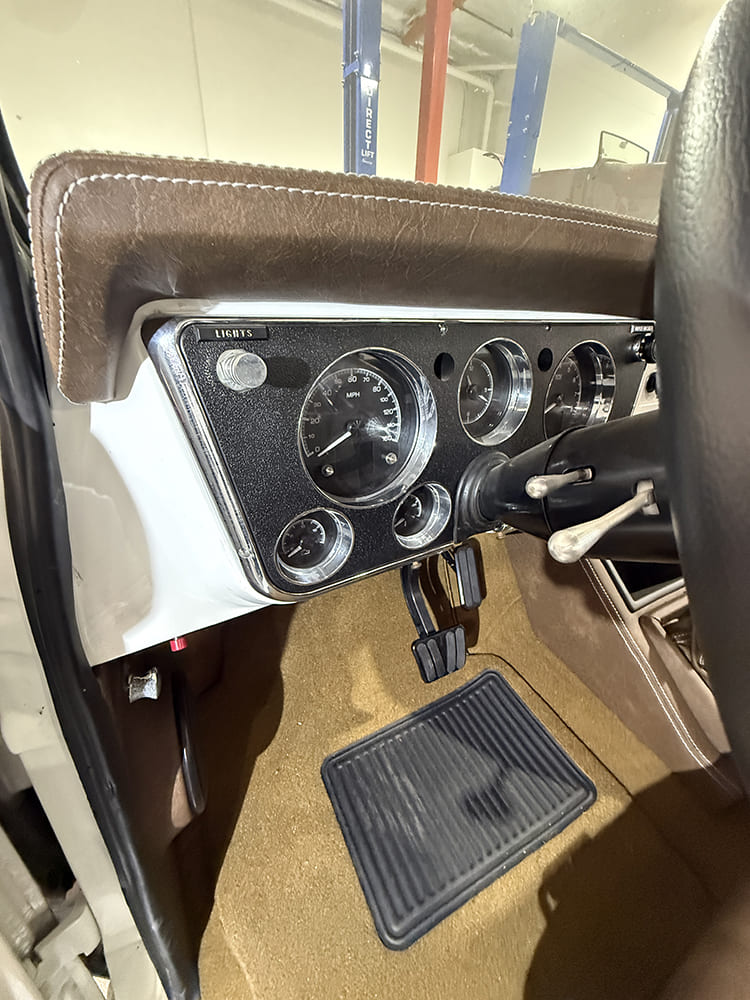
The aftermarket “pasti-chrome” OE-style bezel did its job—except when it came time to fully complementing the new TMI Products distressed brown upholstery.
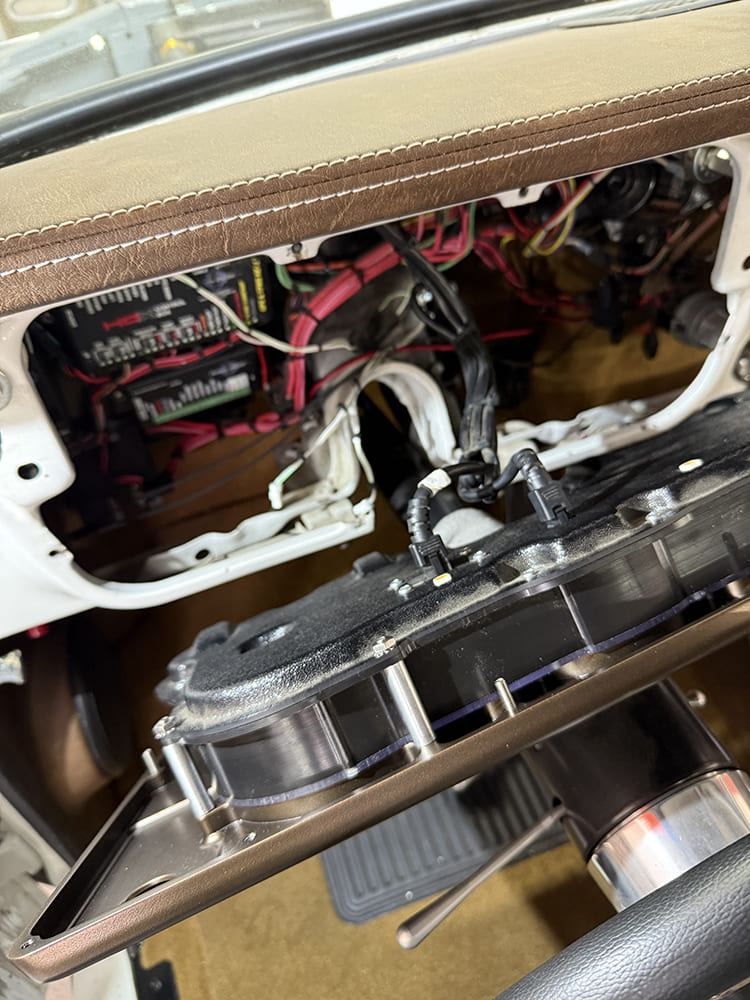
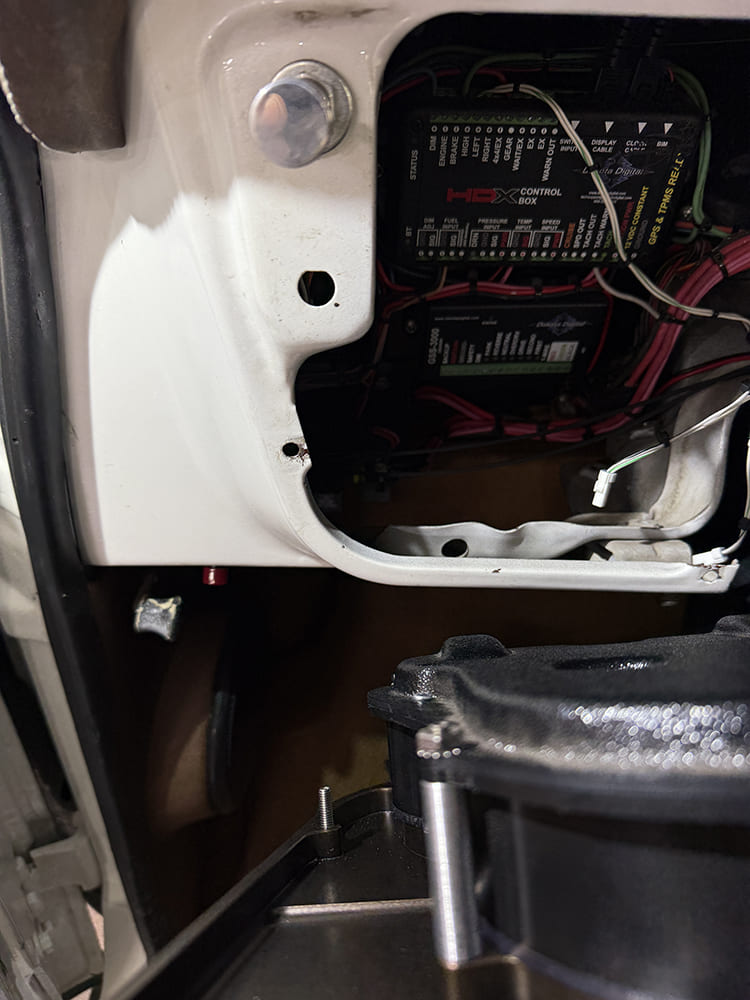
EMS designed their new bezel to work with factory gauges as well as Classic Instruments, Intellitronix, and, as I’m using, Dakota Digital instrument clusters, which, however, will not fit Auto Meter mechanical gauge sets. (Specify if using Dakota, as the thickness of their clusters is narrower and thus require shorter mounting spacers.) Regardless which instruments are used, the blind mounting does make it a tad bit more difficult to reinstall the cluster—especially if you have everything from the fuse panel to the ECU mounted directly behind—as you have to reach up and around from behind to fasten the Keps nuts on the studs. But in the end, as the pics attest to, it’s definitely worth it!
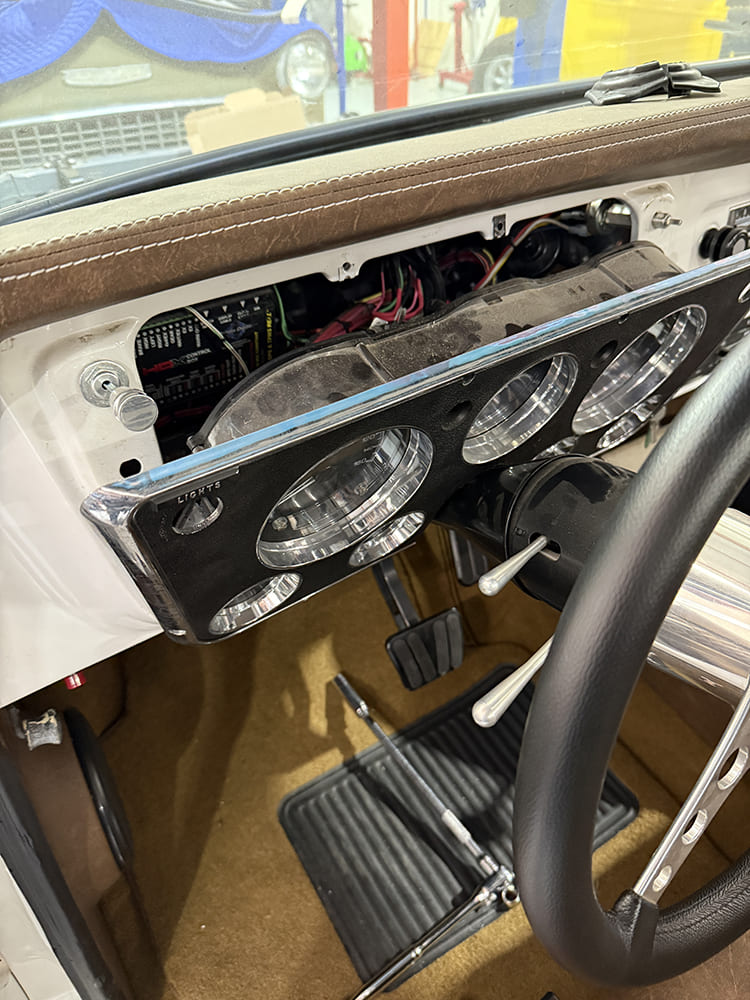
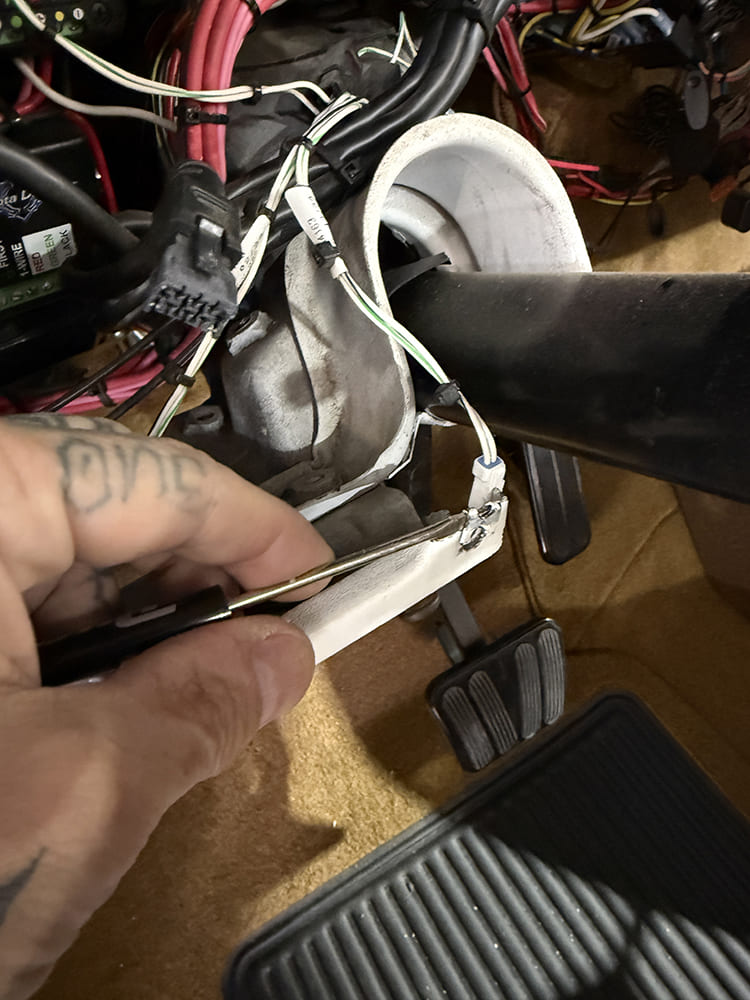
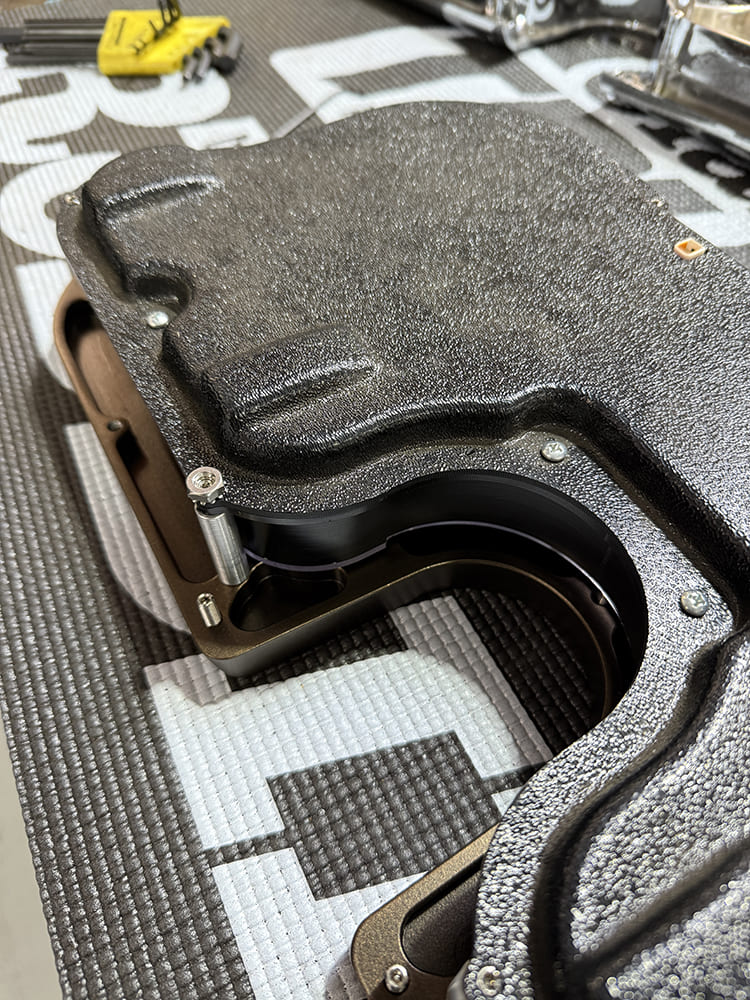
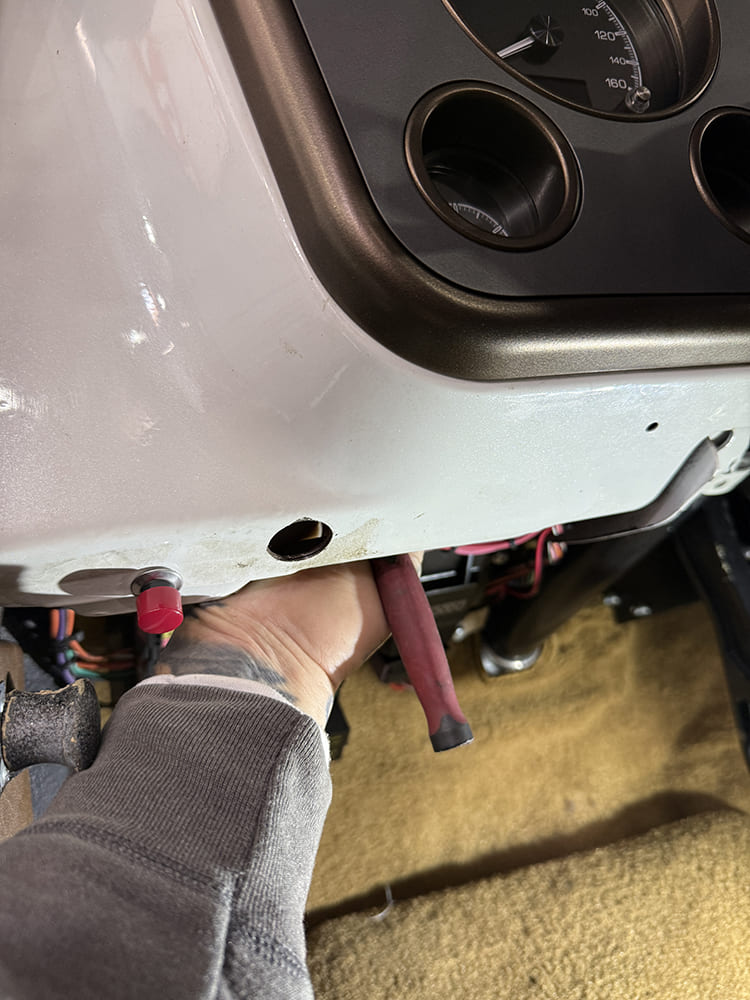
As stated in the story, this application isn’t simply a bezel swap—you’ll be removing the entire instrument cluster, which requires dropping the steering column to provide adequate clearance for the cluster to come out (AFTER you’ve carefully disconnected the wiring!).
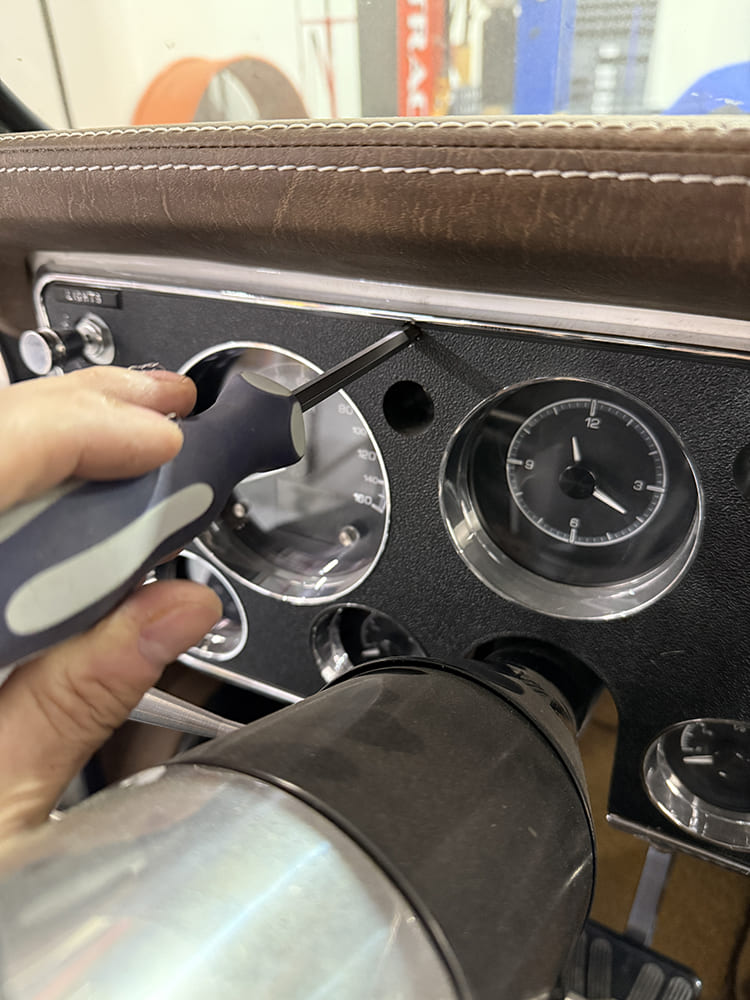
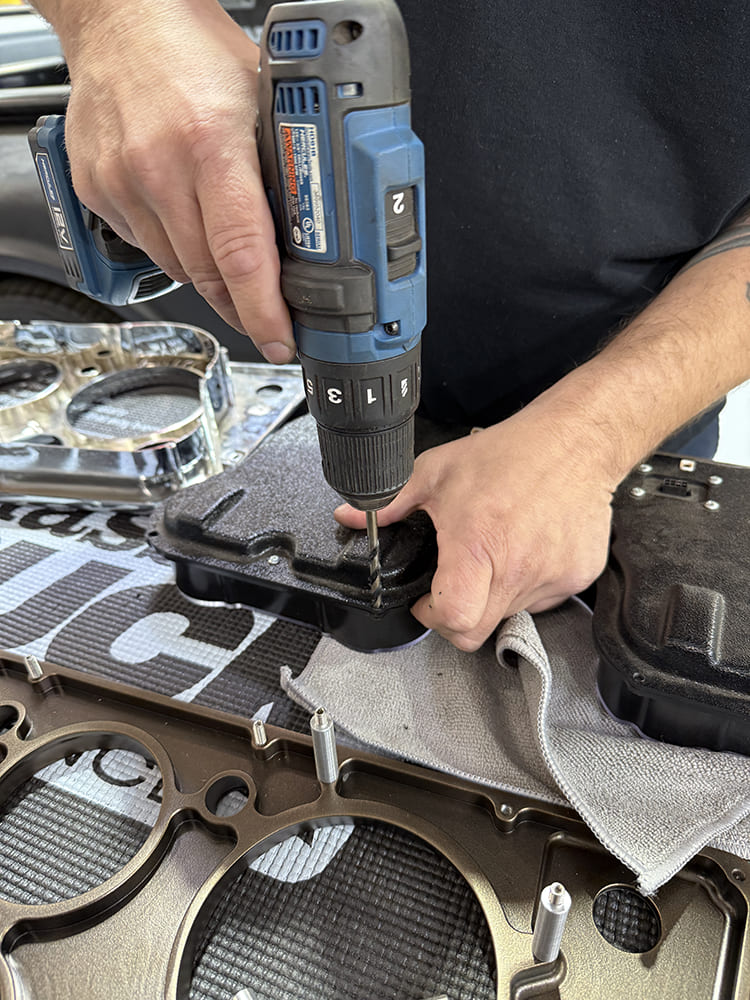
With the old gauges free and clear, remove the spring steel J-nuts that the original bezel attached to.Again, as mentioned, the EMS panel uses a “blind” mounting system—six 10-32 studs with Keps (star) nuts; the gauge cluster attaches using eight longer 10-32 with provided aluminum standoff spacers and Keps nuts.With the Dakota Digital cluster (this one being their HDX series), the mounting holes need to be opened up just slightly to fit over the 10-32 studs. When tightening the nuts, don’t crank down on them to avoid damaging the plastic housing!
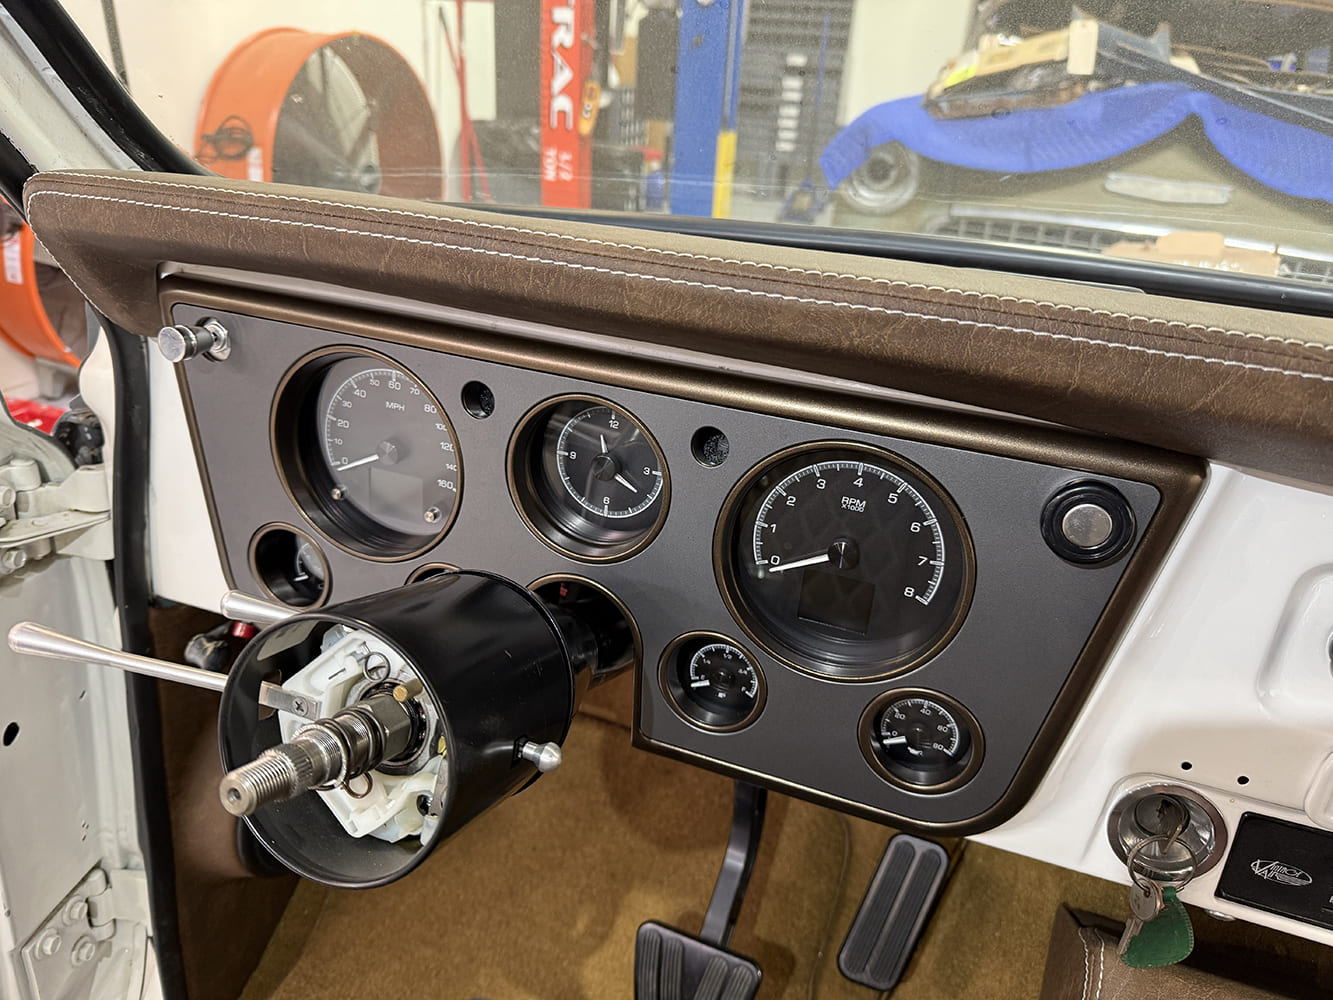
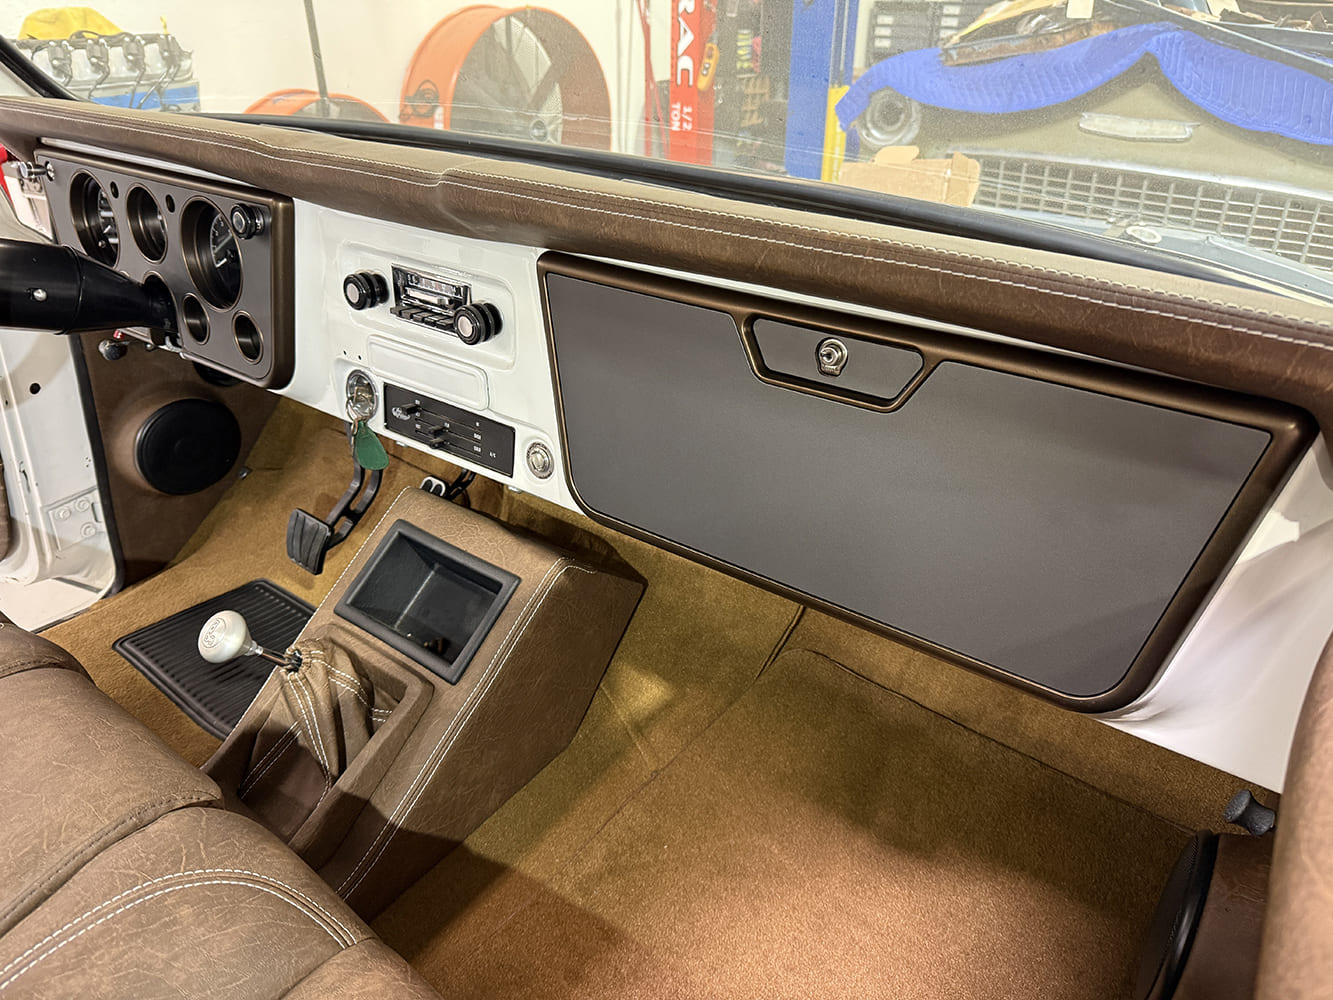
Looking directly at the newly housed cluster, you may notice the lower four gauges (volt/temp/oil/fuel) appear to sit offset (low) in the bezel windows—but once you’re actually seated behind the wheel in the truck, the angled windows actually center them in your line of sight!With the Dakota cluster installed and the column still dropped (with a microfiber cloth draped over to keep the new bezel from getting ugly), the gauges were reconnected.Here’s the fun factory with the “blind hole” mounting: line your studs up and carefully press the gauge cluster in place; “blindly” locate the studs from the back side of the dash (without disrupting any important electronics!) and fasten tightly with the supplied 10-32 Keps nuts!
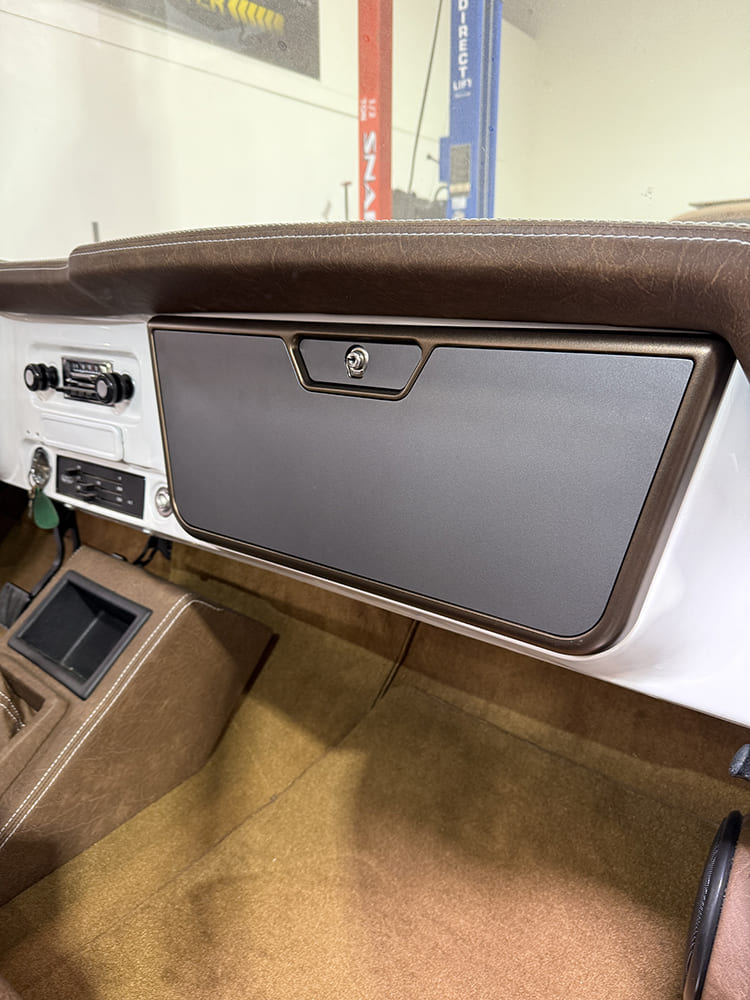
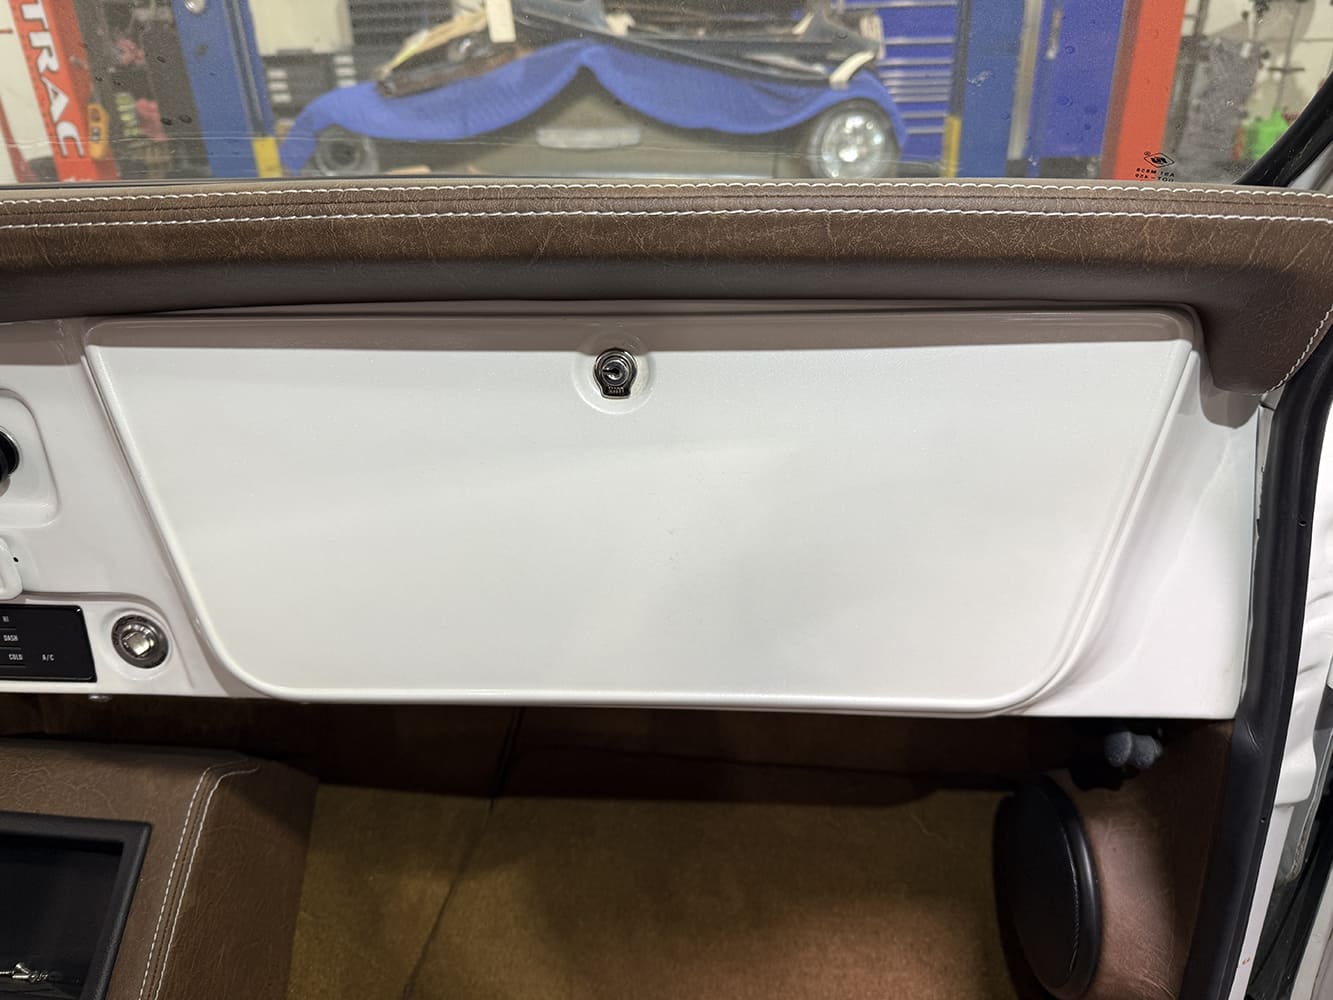
Simple as that! Reattach the headlight switch and wiper knobs (the headlight will get a color-matched one) and hang the column back securely before admiring the first stage of your interior remodeling project.While the gauge panel is available separately, there was no way the ’69 was not getting the same treatment on the passenger side—the stock glovebox door was definitely coming out to make way for EMS’s matched billet offering.
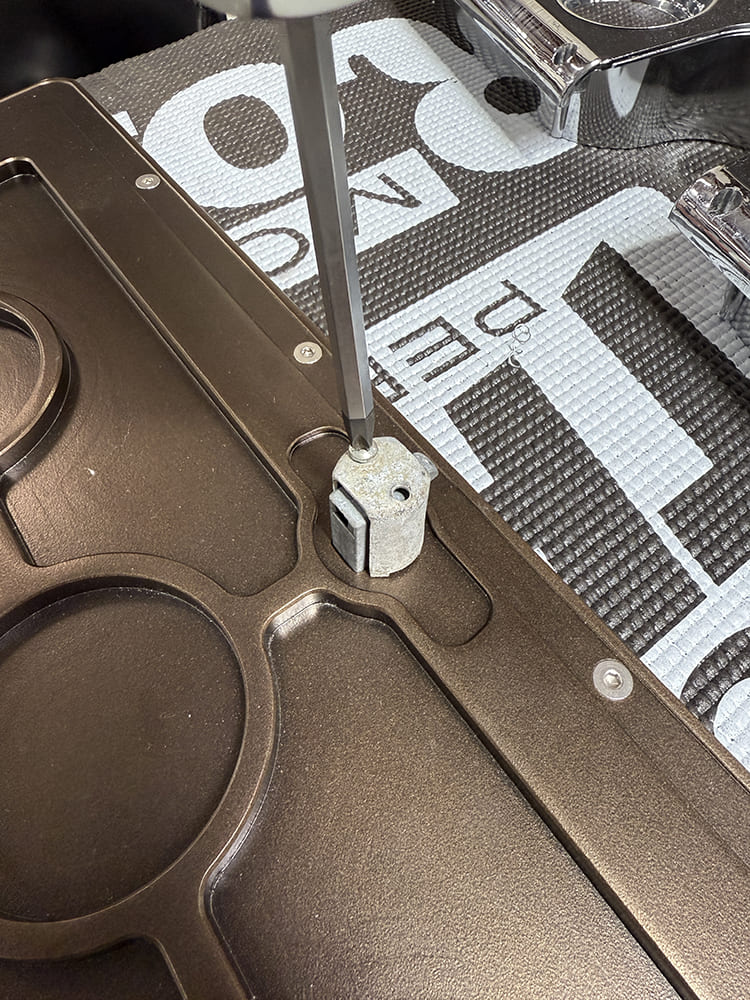
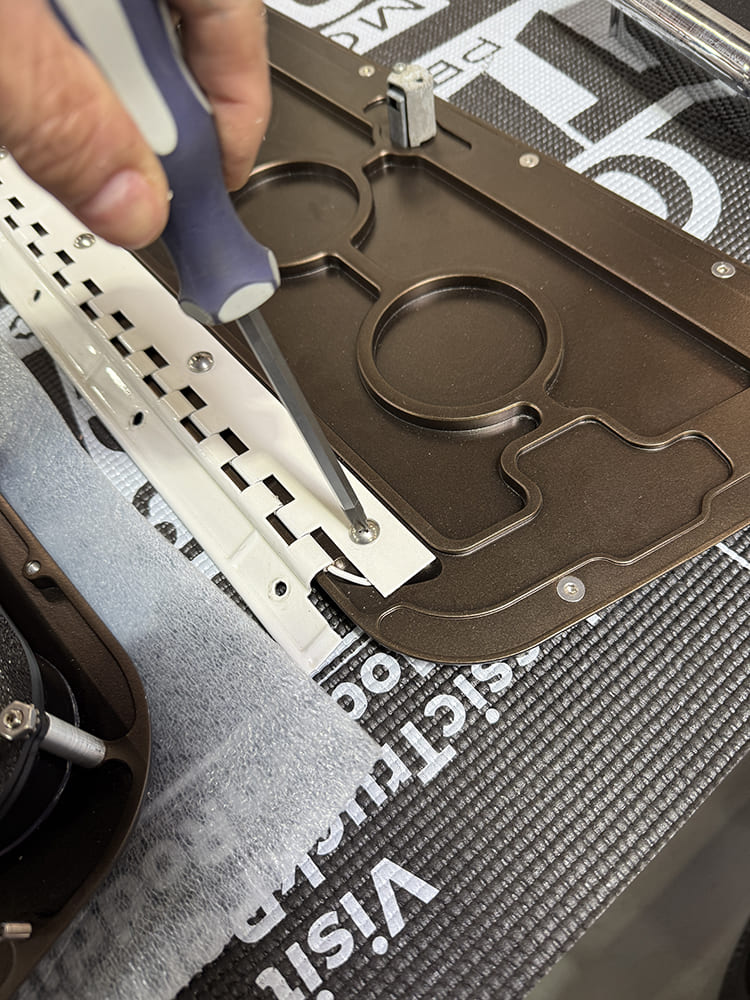
The EMS glovebox door will use all of the OE components, including the complete push-button assembly, which retains its original hardware (a single screw!).
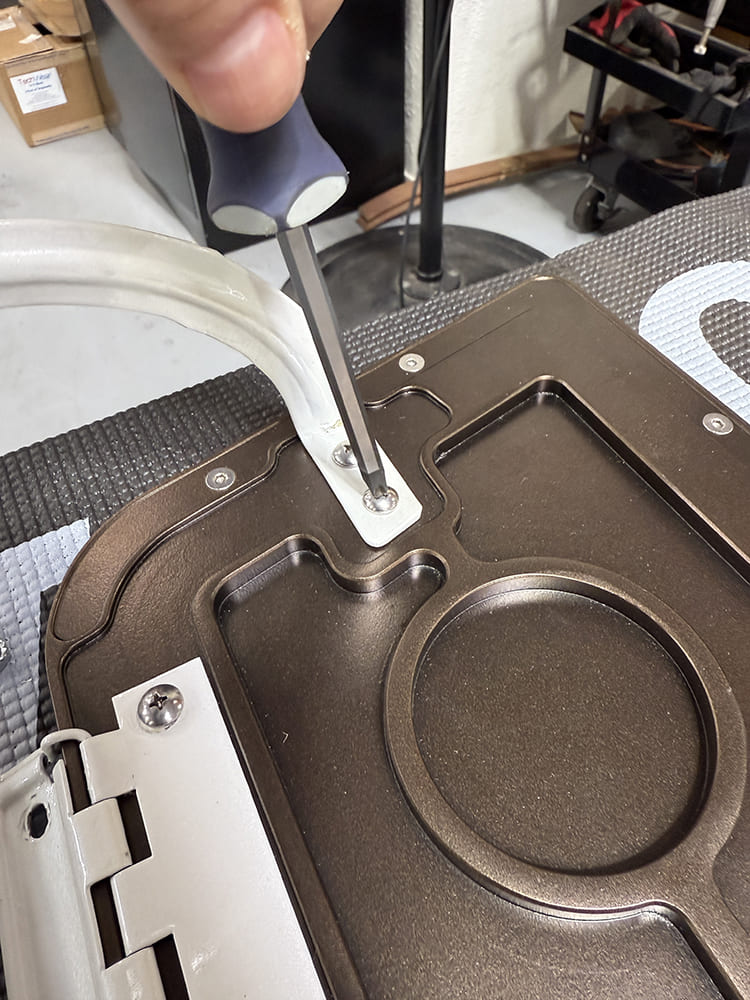
The stock hinge and doorstop, however, use the supplied EMS hardware (the original hardware in the ’69 is coarse thread and thus would’ve ruined the nicely tapped fine-thread holes had we used it!).
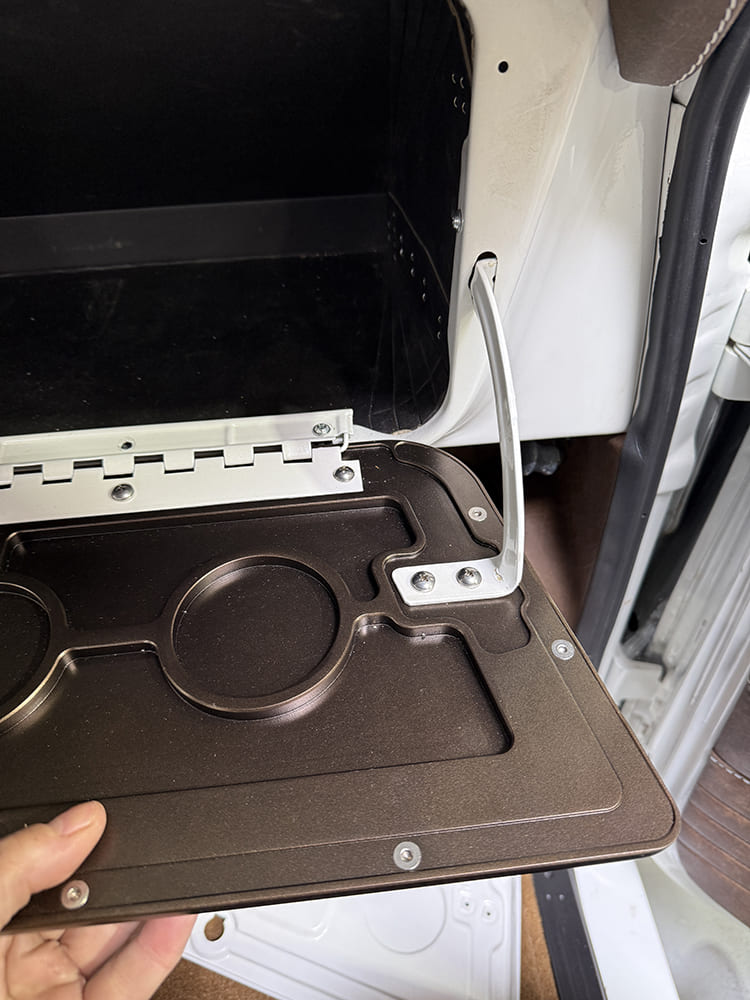
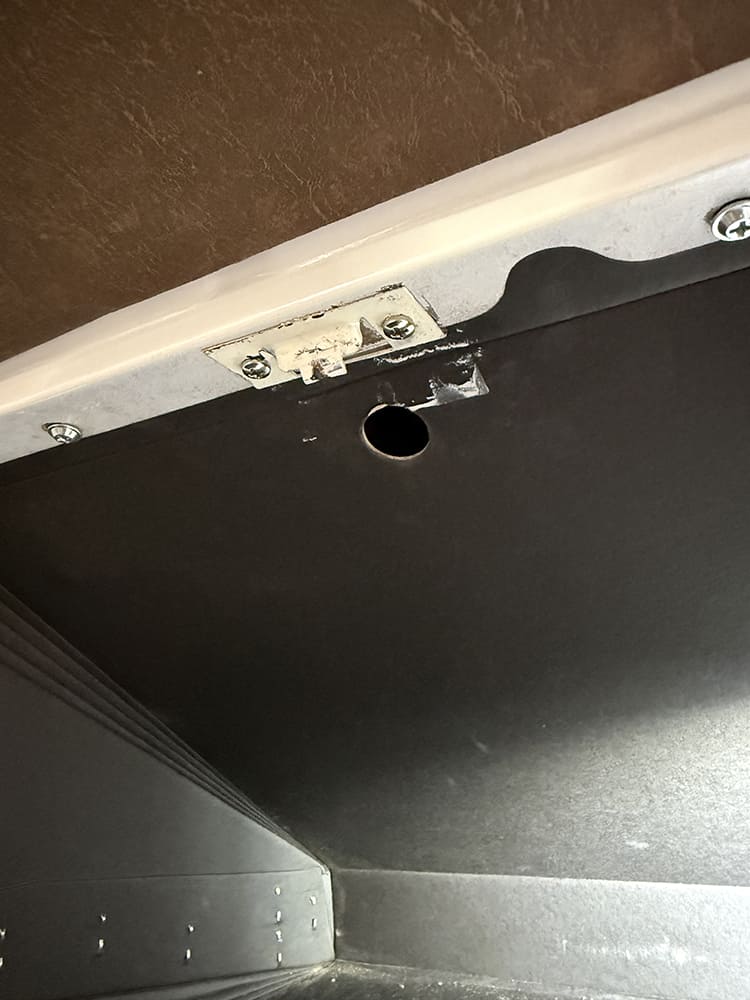
Attach the new glovebox door just as you would the stock one—and replace any worn-out hardware if necessary. Adjust the striker as necessary
Unless you’re an absolute purist (I know who’s raising their hand!), there’s no denying how bitchin the new EMS billet components look—especially with the new interior! You’re welcome!
We use cookies to ensure that we give you the best experience on our website. If you continue to use this site we will assume that you are happy with it.