ITGMw
SUBSCRIPTIONtext
ProgressArrows
digital issues
ProgressArrows
online store
ProgressArrows
SUBSCRIPTIONtext
ITGMw
ACPnew header logo
CTP LOGOs
all cars

Block Sanding Tips for First-Round Primer-Surfacer

By “Rotten” Rodney Bauman   –   Photography by the Author

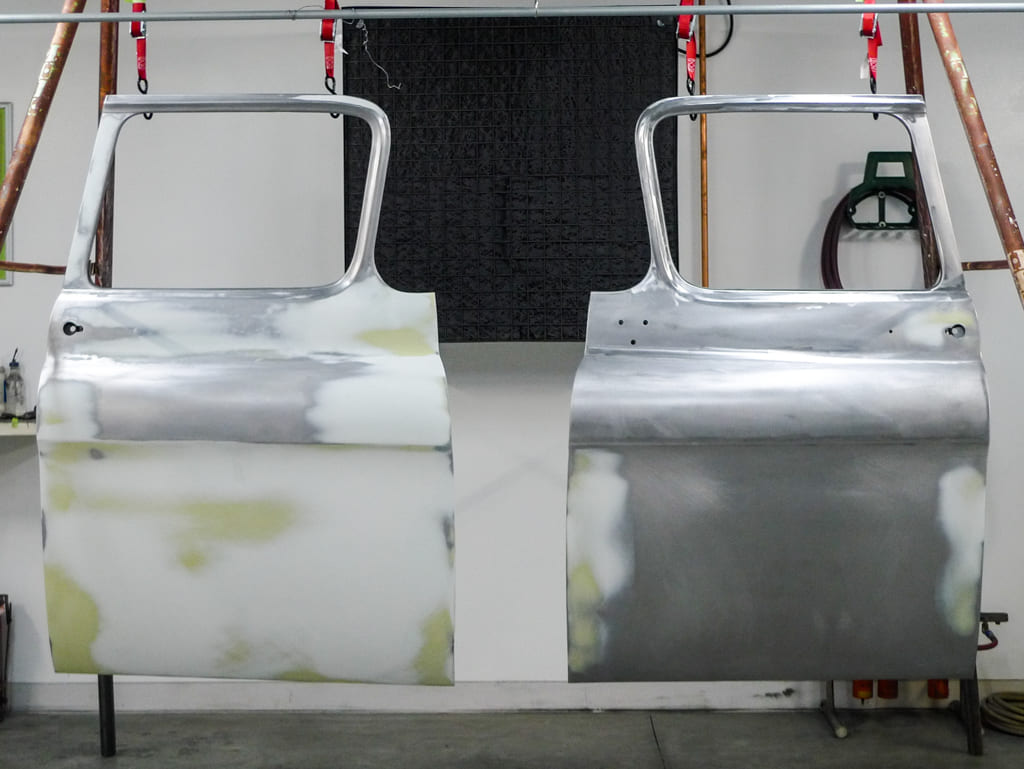
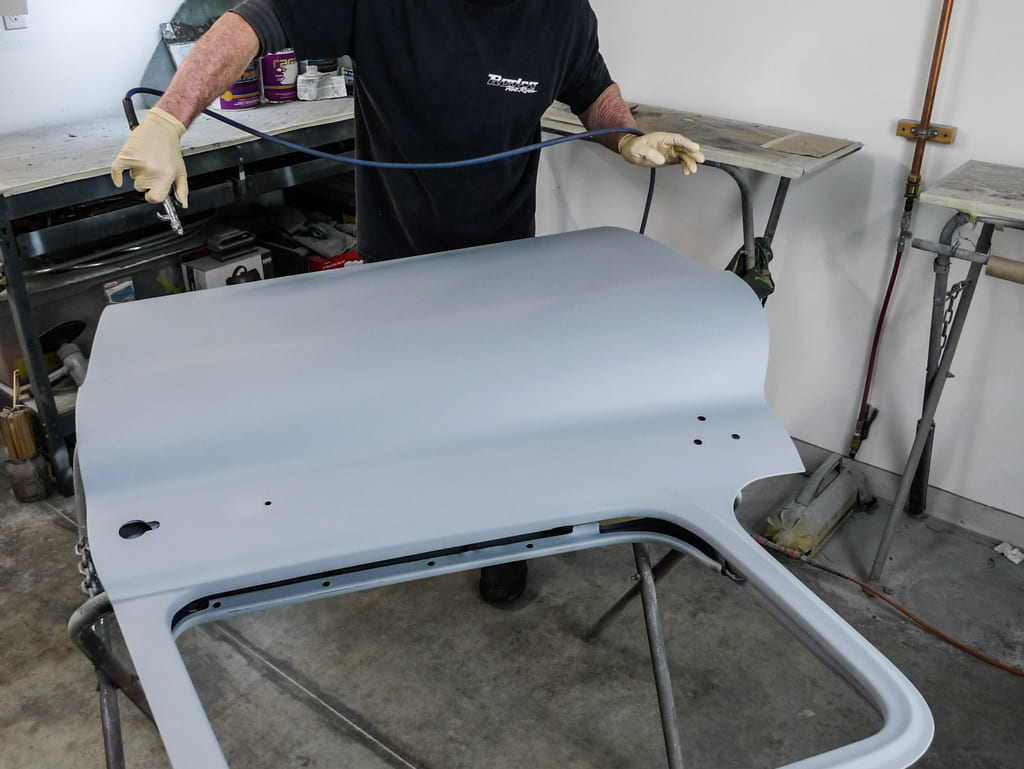
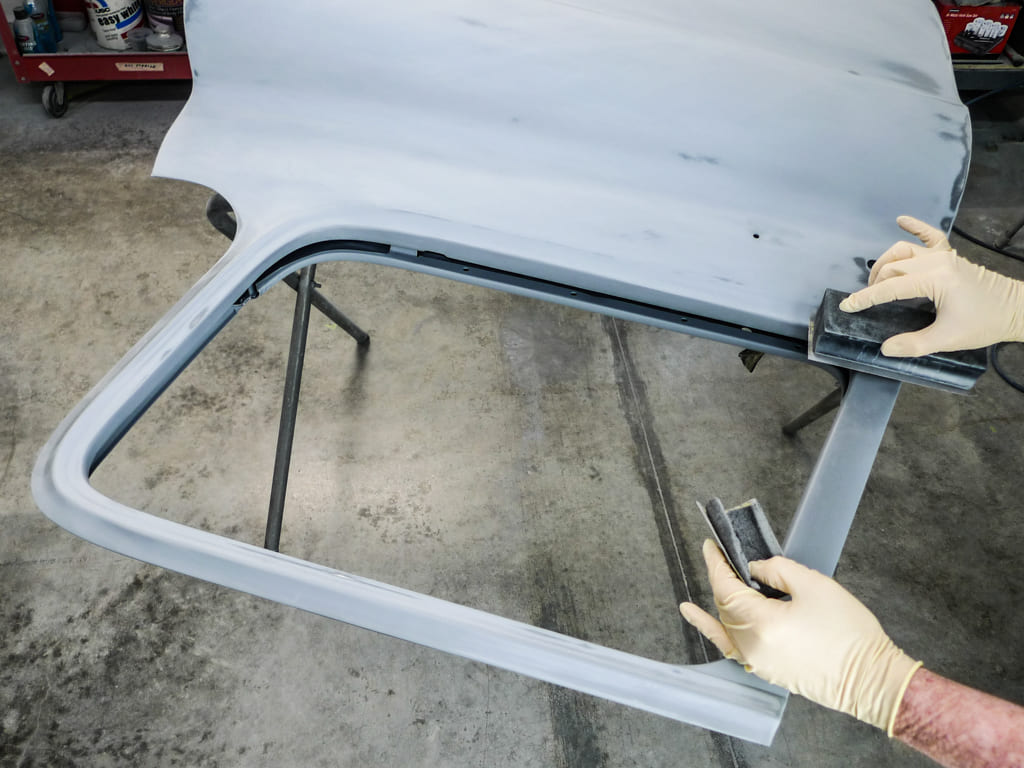
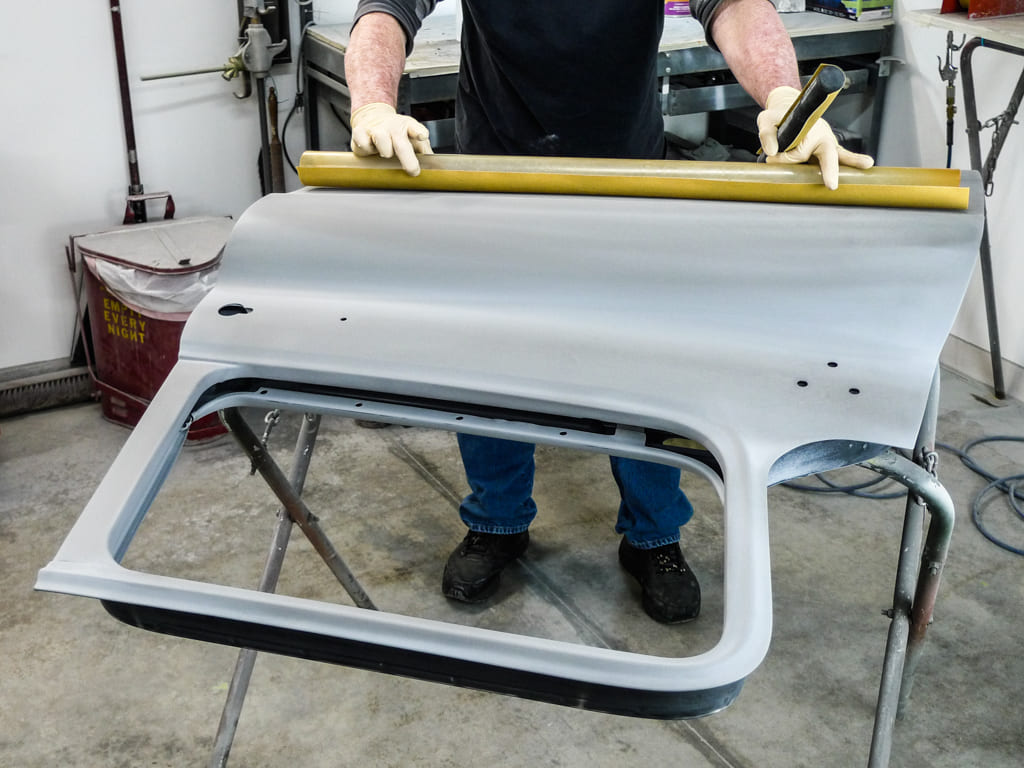
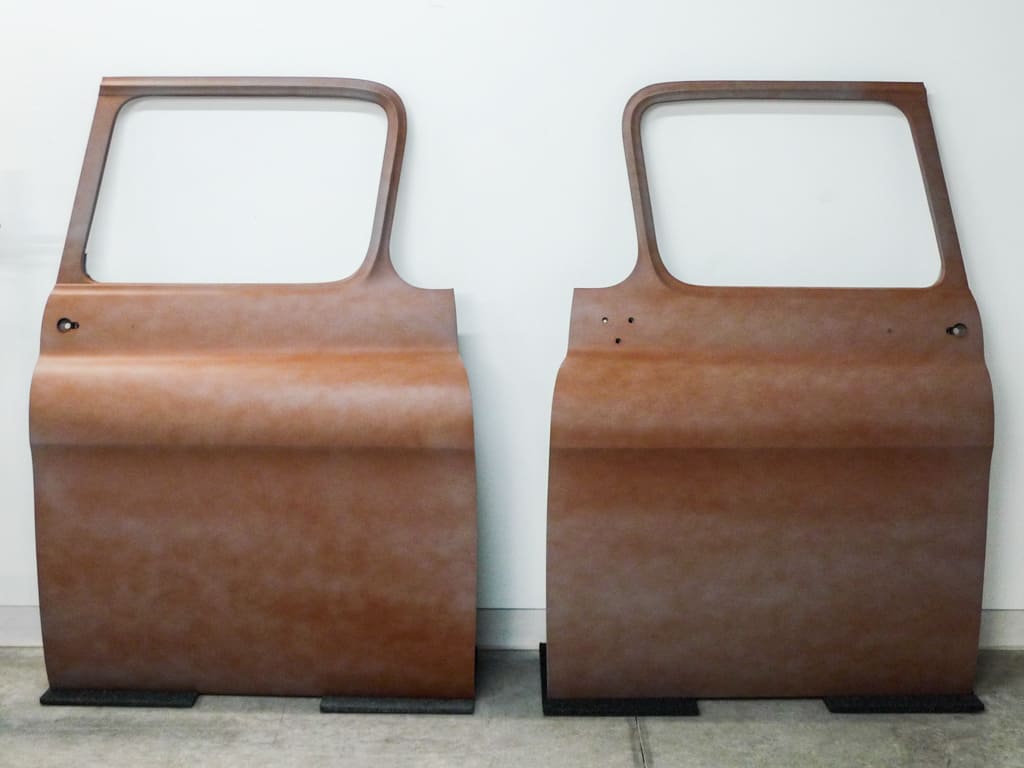
Final-primed and guidecoated, do these doors look pretty “straight”? As shapely as their designers intended for them to be, there ought to be a better word to describe them. Thinking back, we may’ve touched on that subject once before, but I don’t recall any mention of working with Charles and Dave.

- Advertisement -

Back in the boat shop, my friend Charles preferred the word “fair.” Back in the body shop, my friend Dave would say “uniform.” Now as it sort of seems to me, either of those words fit better than “straight,” so I’ve adopted those two bits of my coworkers/friends’ terminology.

01 Here at primetime a yard sale swing set makes a fairly fine fixture
Here at primetime a yard sale swing set makes a fairly fine fixture. The right door on the left is the original. It’s obviously required more work than our reproduction door.

Read More: Complementing Body Lines With Custom Running Boards

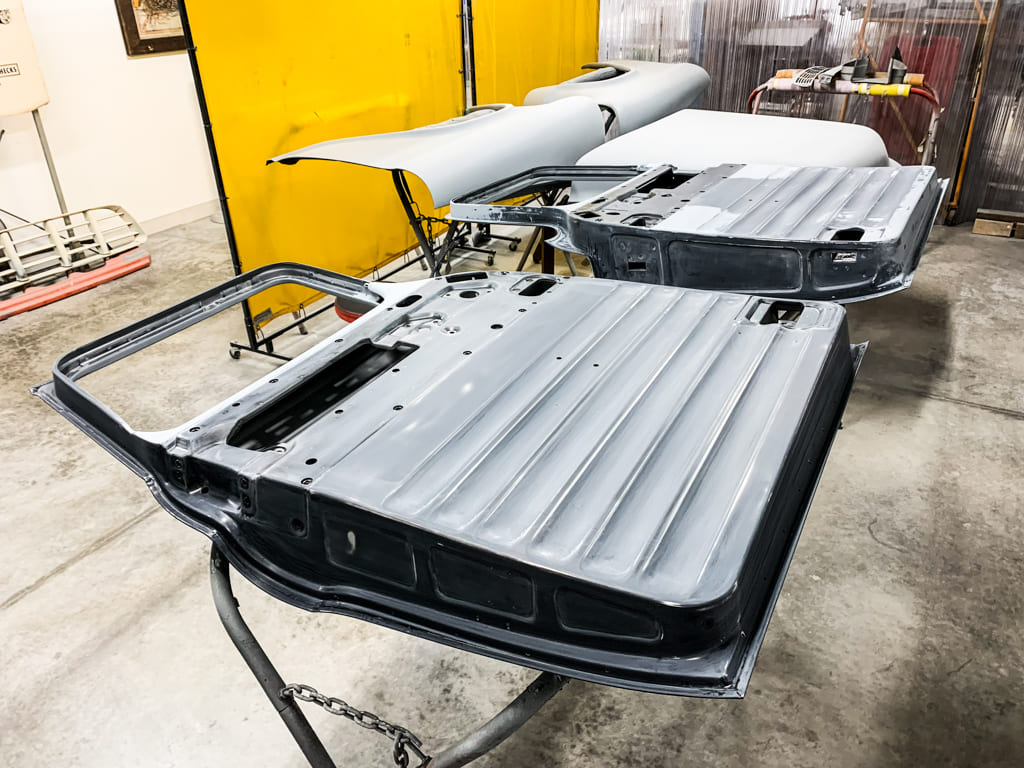
In an earlier tech story we covered initial steps for achieving uniform fairness in the bodywork process. For our ’55 Chevy second-series build we’re using one original door and one reproduction from Brothers Trucks. Both doors had their own unique issues, but due to rust, dents, and extra holes, the original required a good deal more bodywork.

- Advertisement -

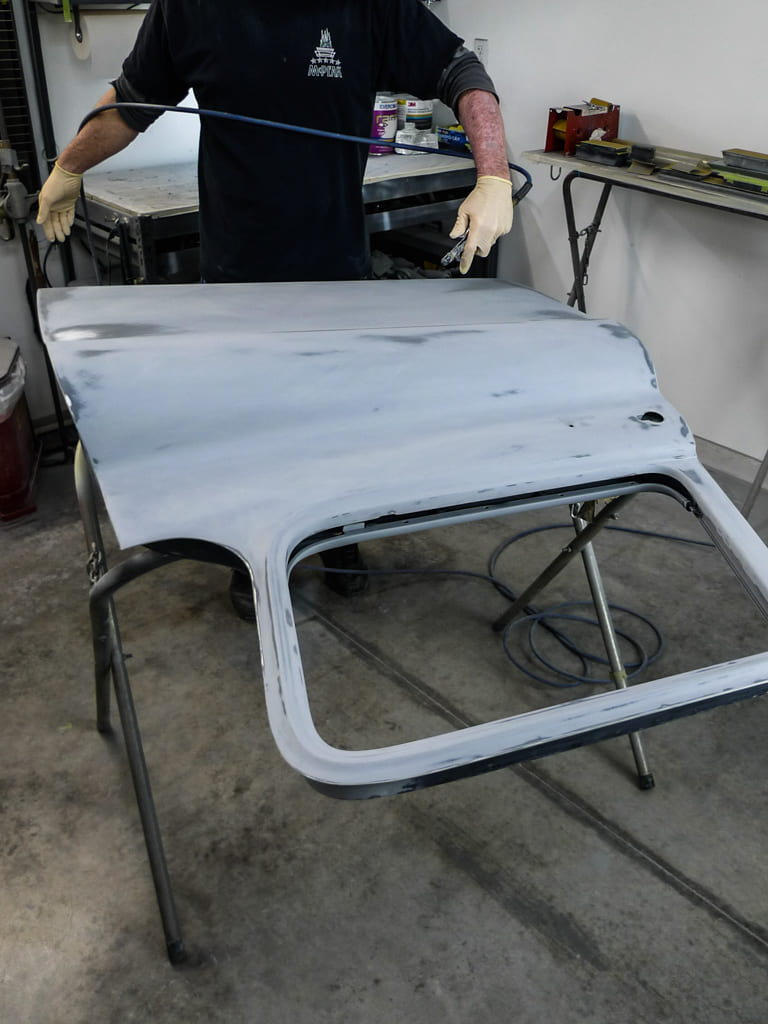
Our doors (along with other panels) are currently in first-round primer-surfacer. Let’s not go into which brand exactly. Primer-surfacer availability tends to depend on shop geography and we have choices wherever we might be.

02 Here’s a brand new Motor Guard WB 1
Here’s a brand-new Motor Guard WB-1. Partly for the purpose of illustration, here’s what happens whenever we put a new sanding block into service.

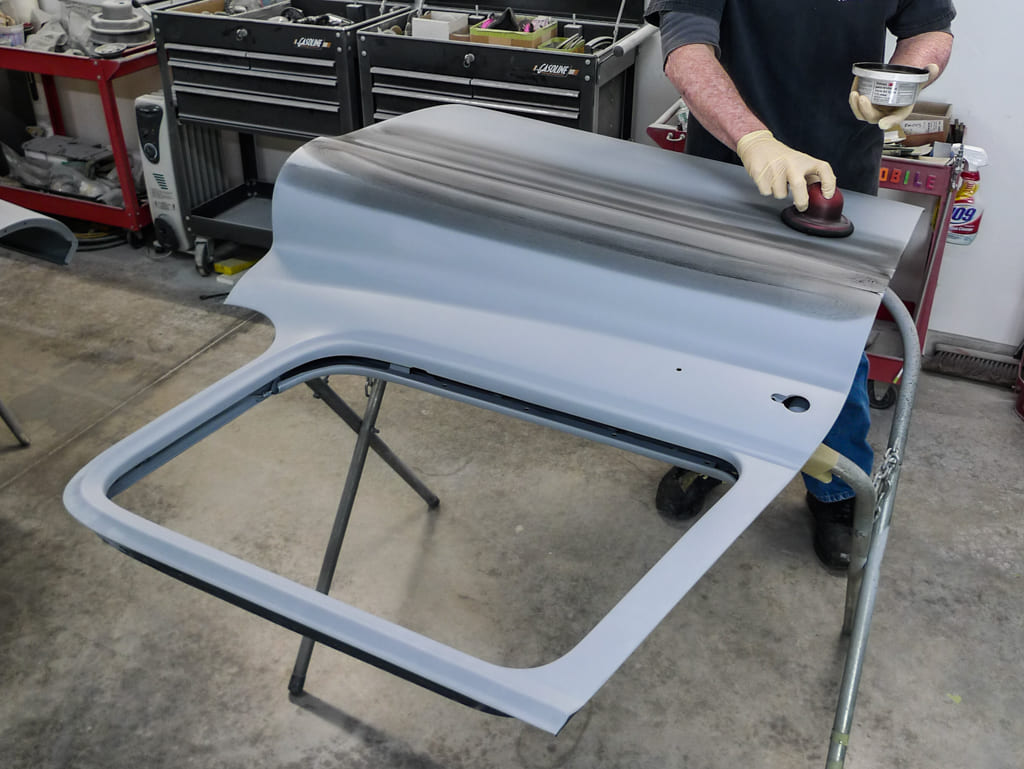
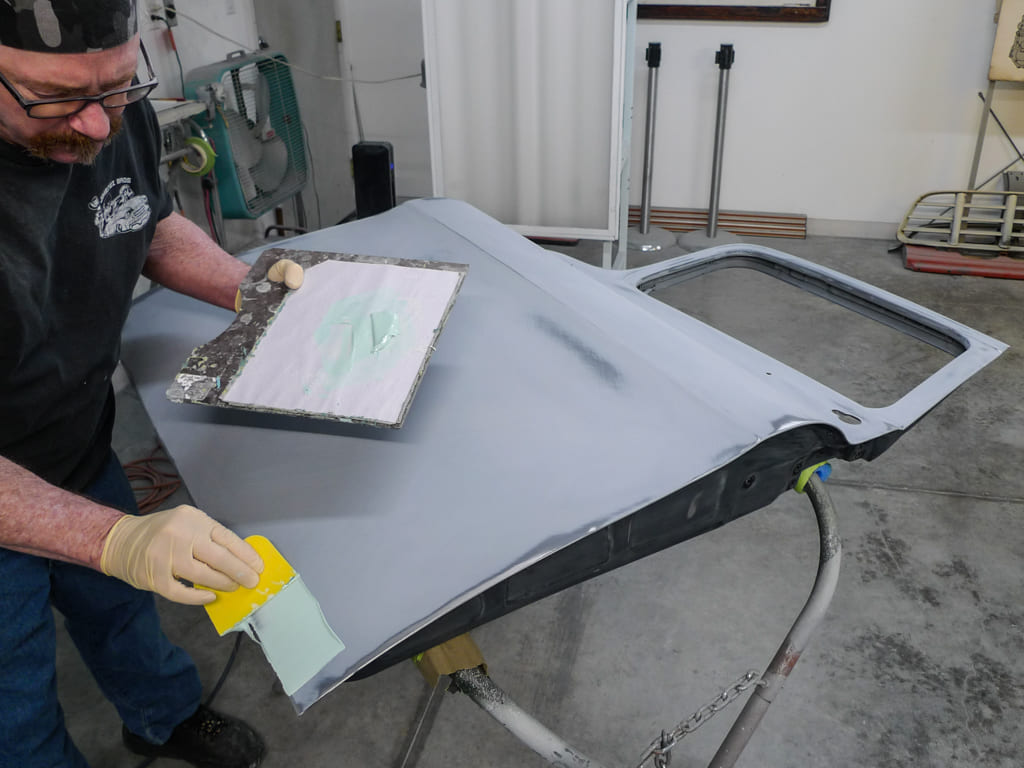
Here, our own favored primer-surfacer is “regular-build” urethane. Over steel, polyester filler, and epoxy primer we generally go with three wet coats of reduced primer-surfacer for the initial application.

Particularly prior to skim-coating, polyester filler applications tend to sand at varying rates, and areas where feathered edges meet steel (or epoxy if that’s your MO) require extra caution as undercutting can easily occur.

Now in first-round primer-surfacer we have for the first time a surface that’ll sand absolutely evenly. This is our chance to fine-tune our bodywork even further.

- Advertisement -
03 This one’s from Summit so we don’t have the parts store contamination worries
This one’s from Summit, so we don’t have the parts store contamination worries. Even so, it may have still been touched by non-painterly hands. Let’s wash it.

Read More: How To Restore A Delco-Remy Horn

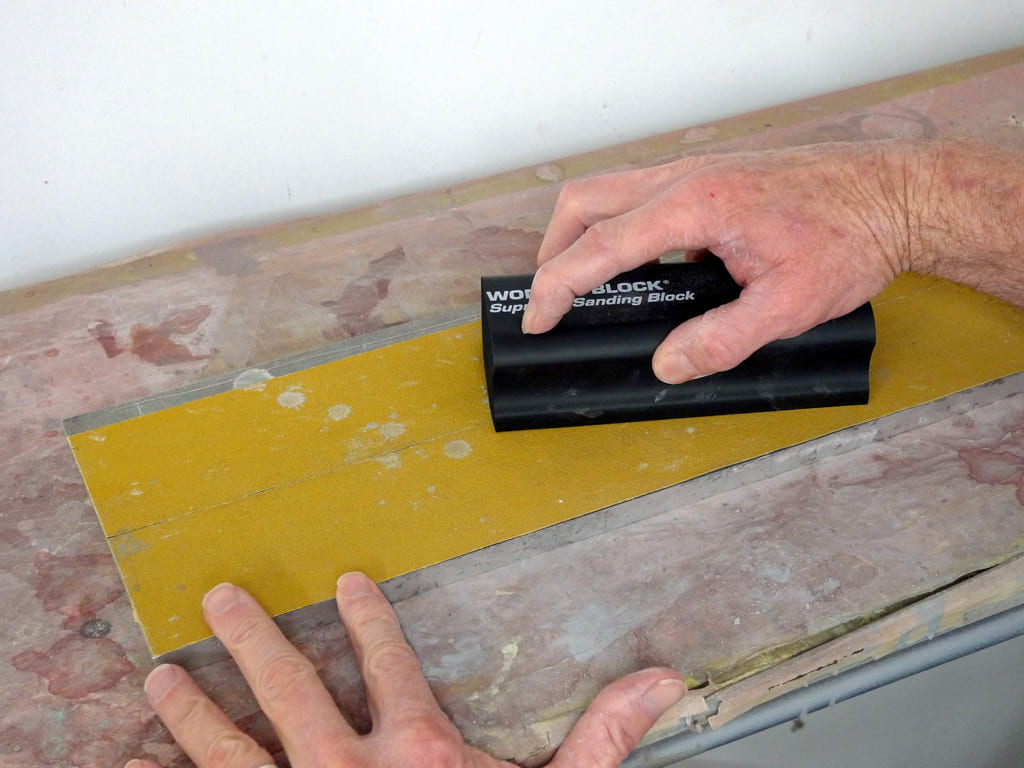
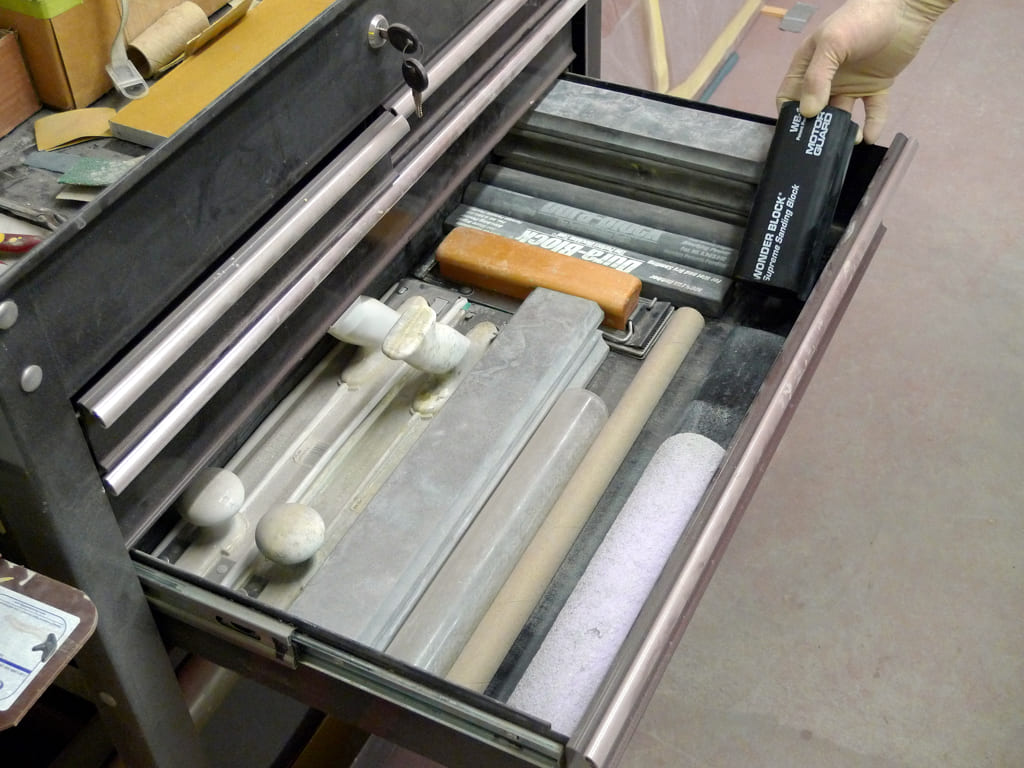
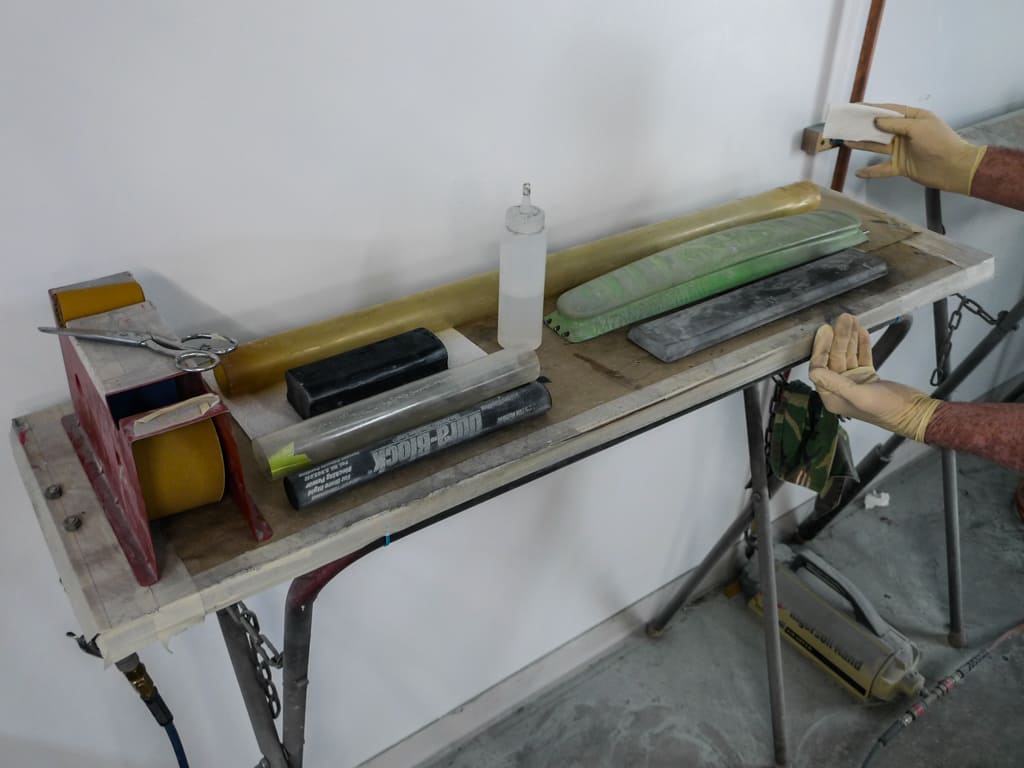
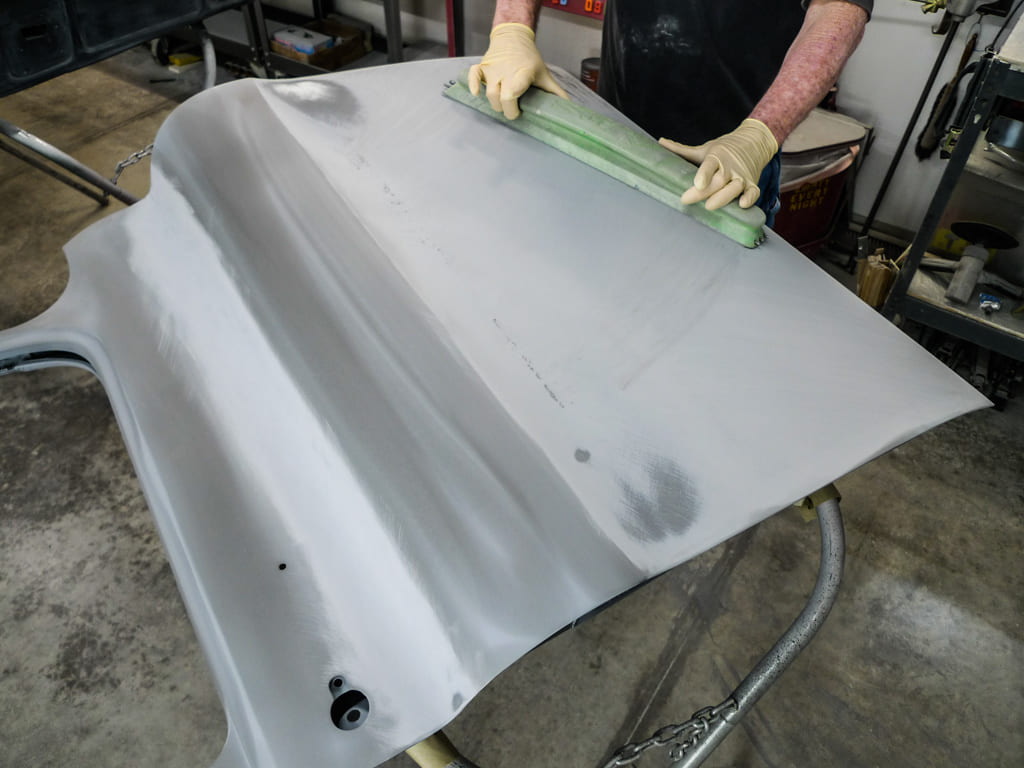
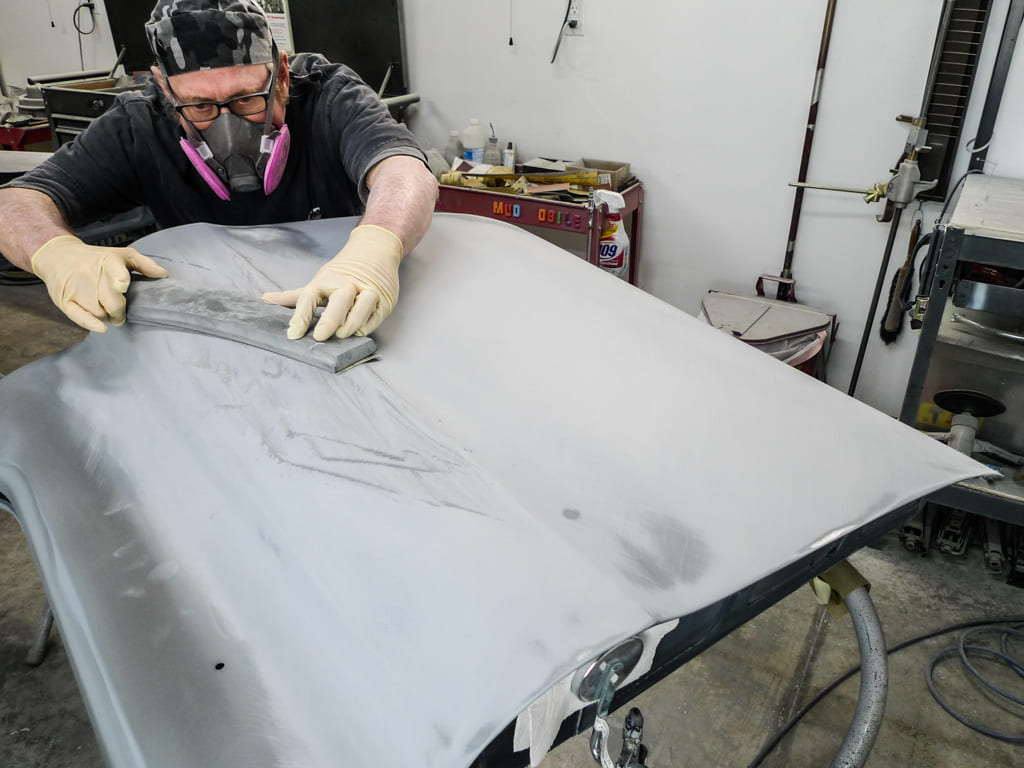
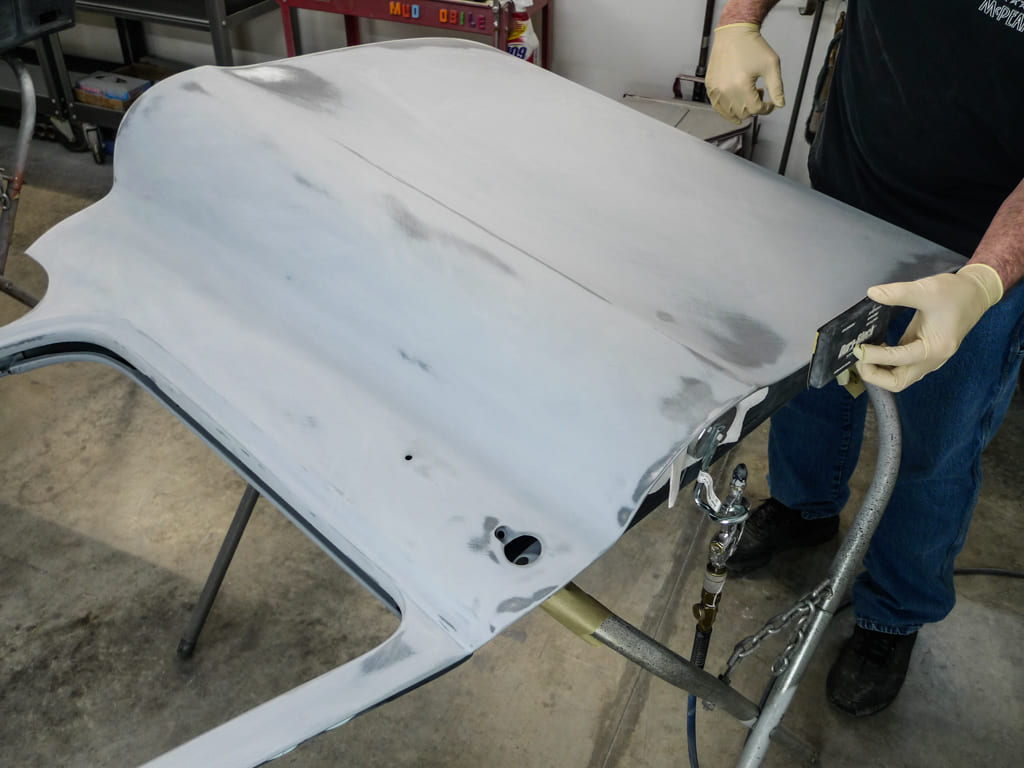
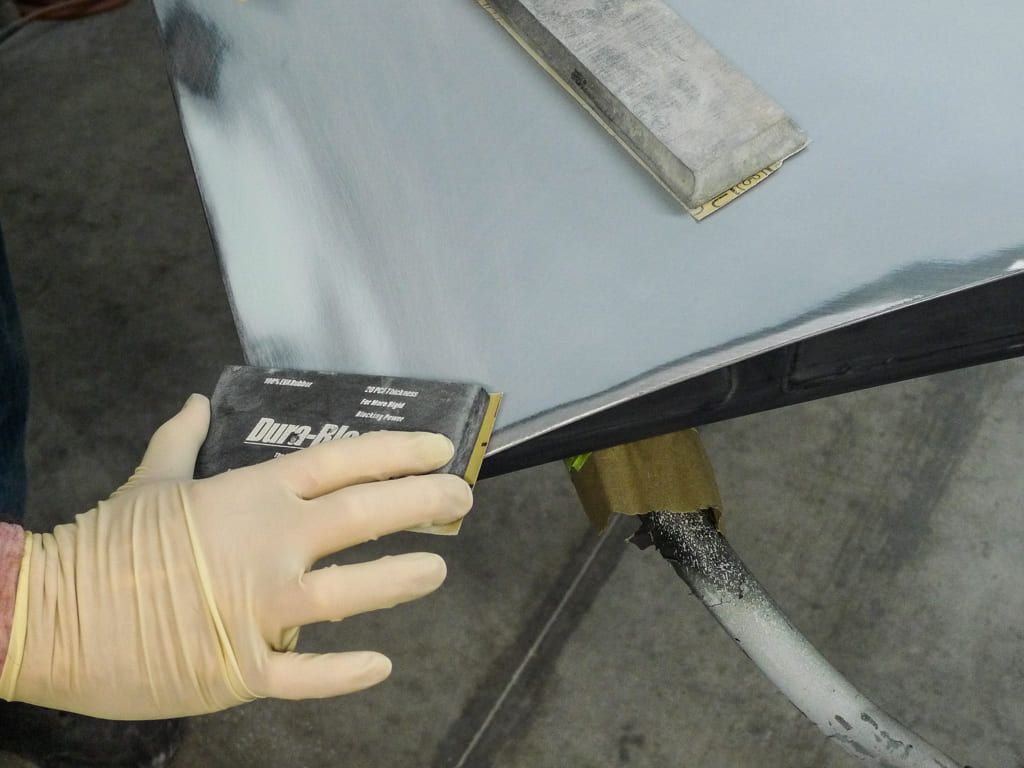
Here at this shop we have a pretty-set routine. Our first-round primer-surfacer will be faired with 120-grit adhesive-backed longboard paper. Sanding blocks and fairing boards will be selected to match the varying shapes of our rather curvaceous Task Force doors.

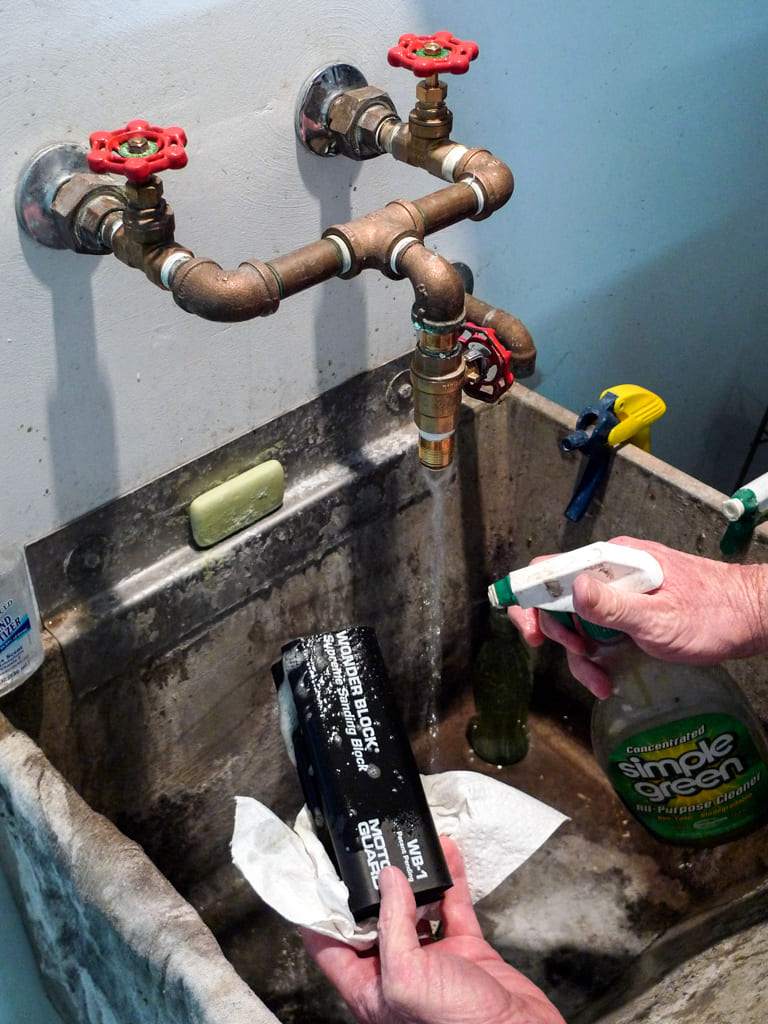
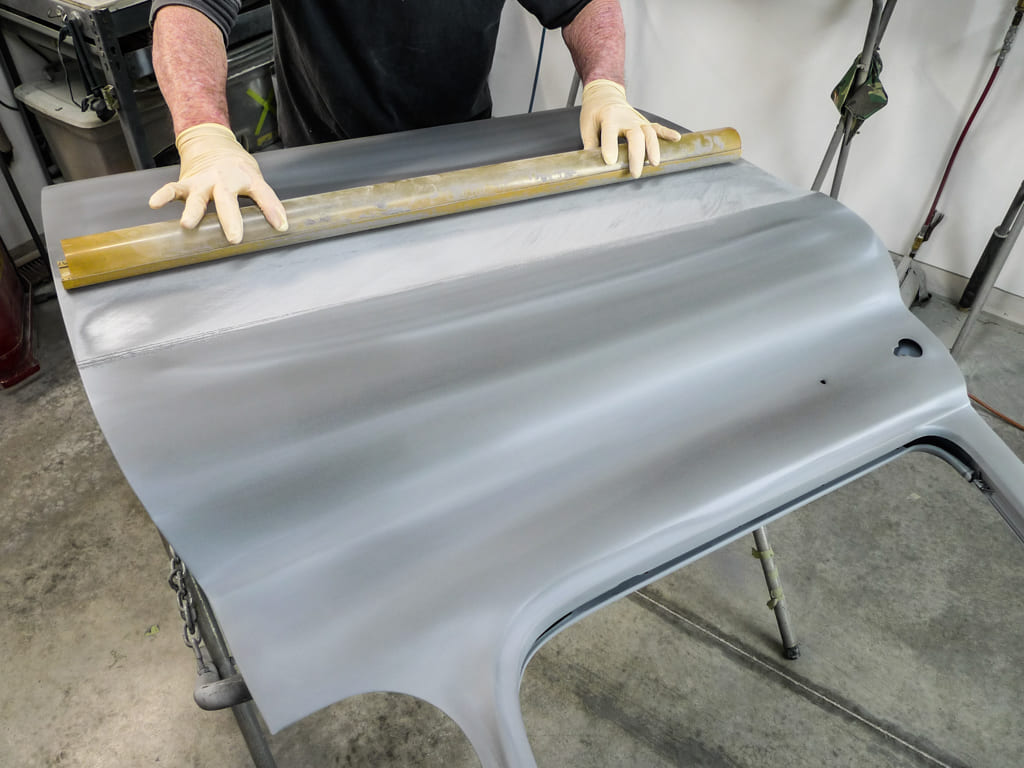
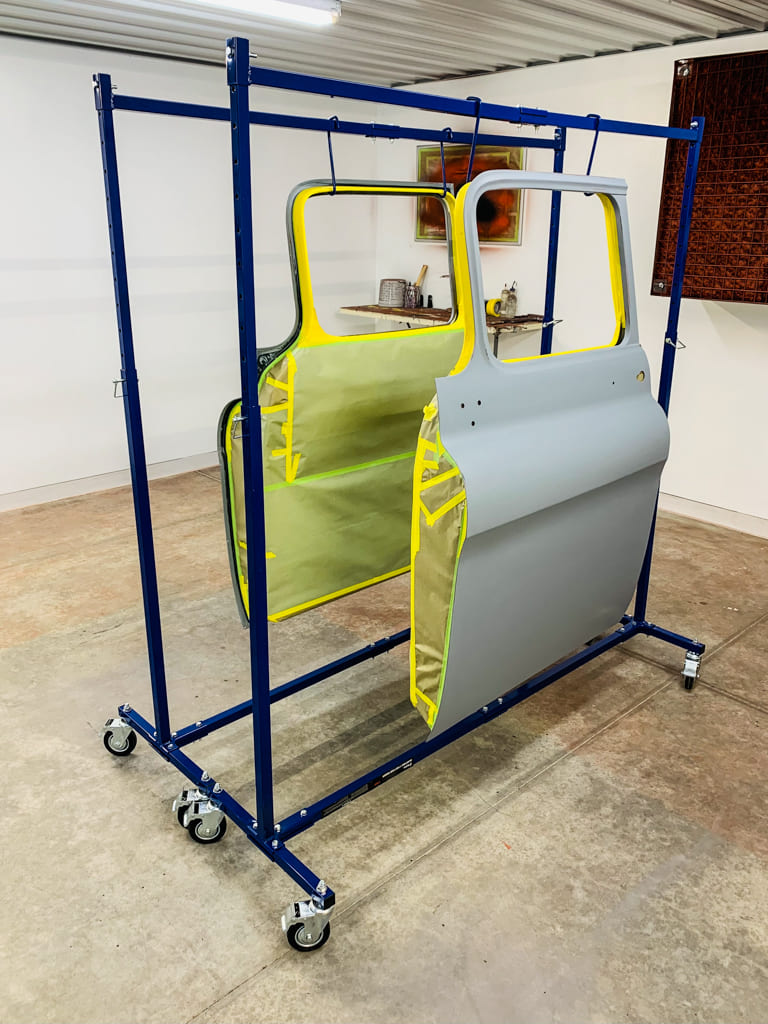
To ensure flexibility, elasticity, and durability down the road, we’ll keep on sanding till our first-round primer-surfacer is thin enough to just about see through. If we expose a little steel or polyester filler that’s usually OK at this stage. When the doors are hung on their fixtures, masked, and chemically cleaned as necessary, they’ll receive one coat of epoxy primer, followed by two coats of reduced urethane primer-surfacer, which we’ll call final-prime.

04 Let’s also not assume that this manufactured block is truly true from the factory
Let’s also not assume that this manufactured block is truly true from the factory. With 120-grit abrasives affixed, we use this slab of aluminum now and then for tune-ups.

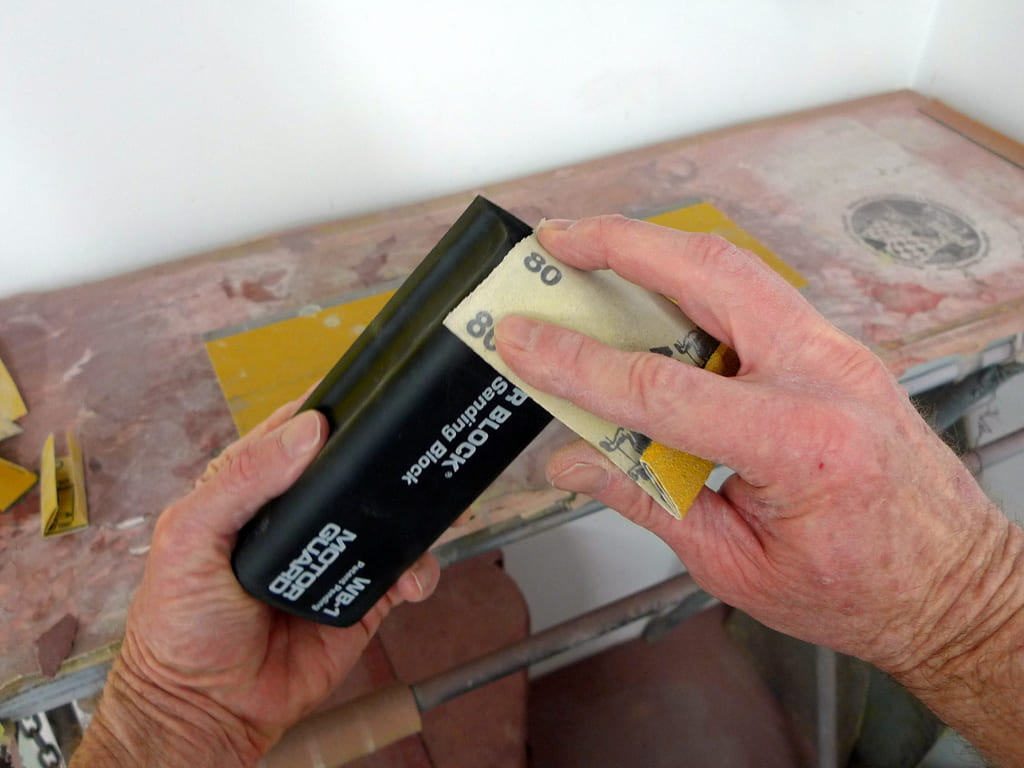
From final-prime on, paint prep can be done with small flexible blocks and scuff pads for the most part. There’ll be no further need for the longer fairing boards. With only a couple of homebrew exceptions, most of our blocks, boards, and abrasives are available through Summit Racing Equipment.

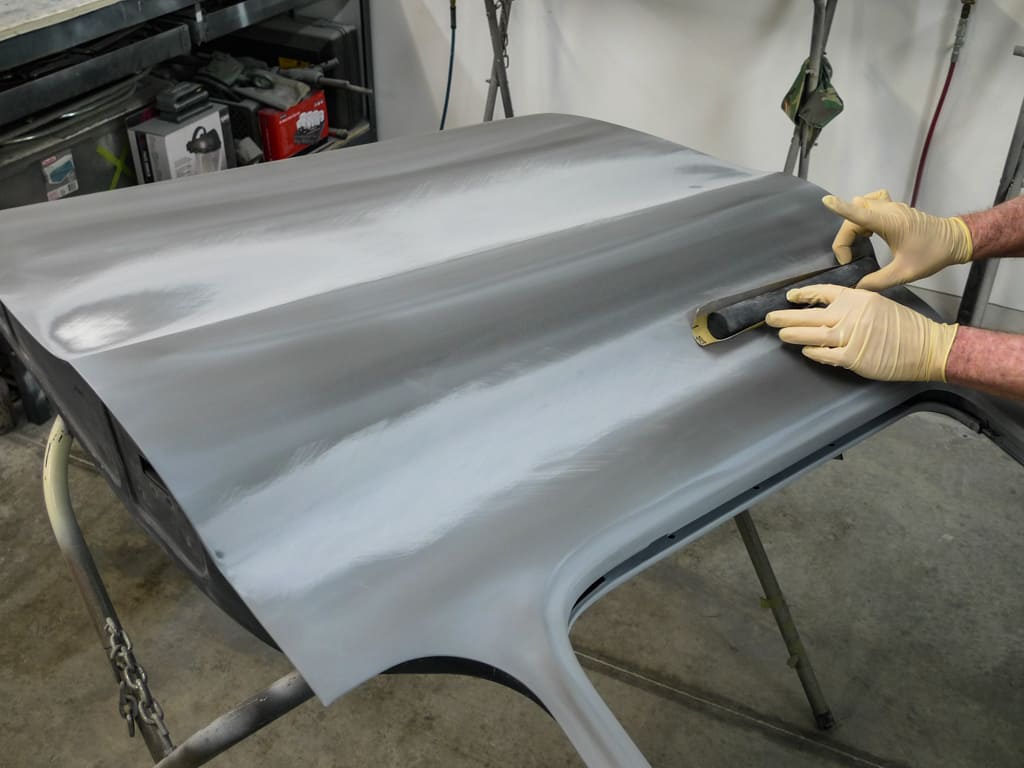
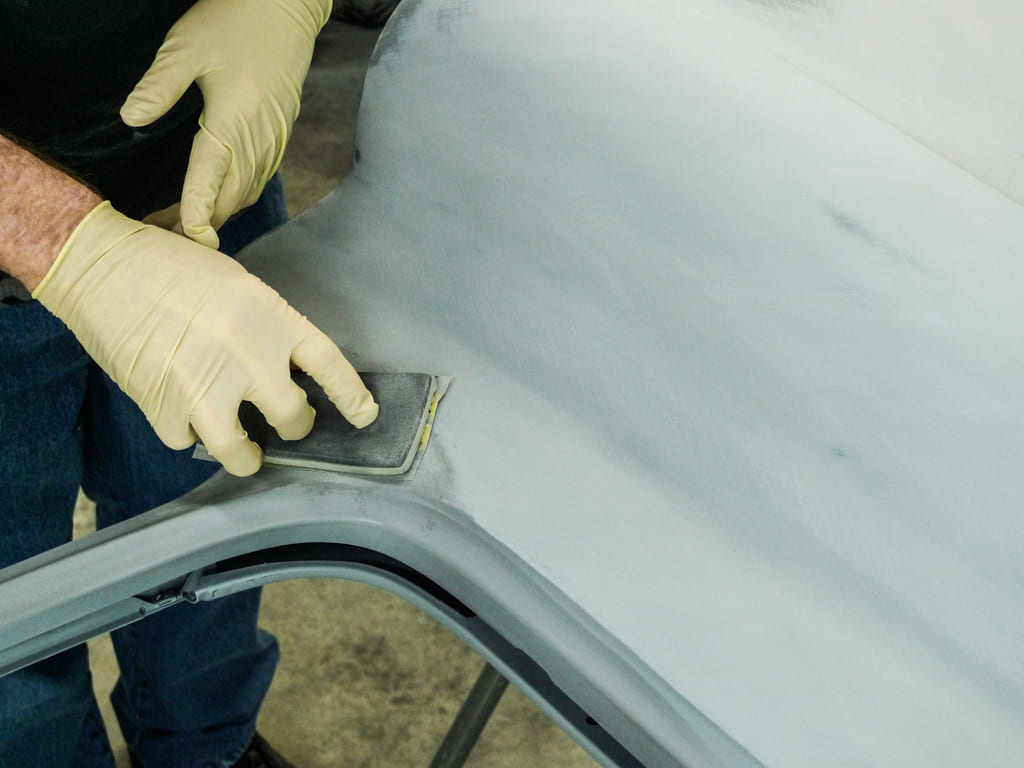
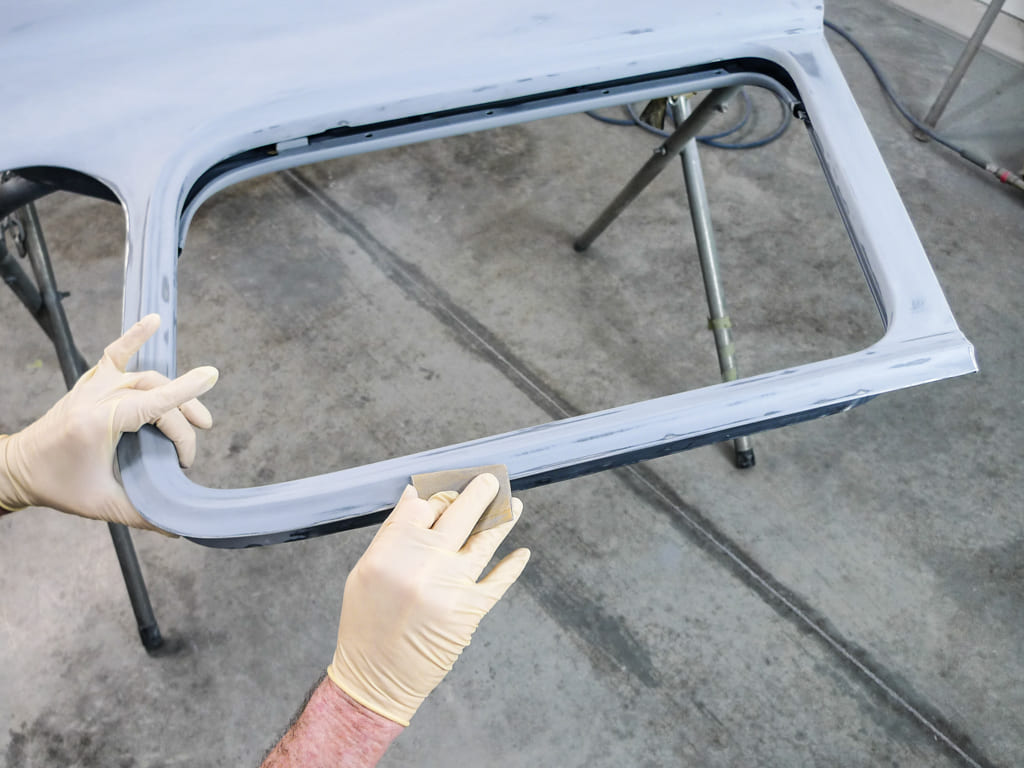
Of course there’s more to all of this than can be covered in a single printed tech story. Apart from a randomly pointed index finger, the following photos won’t clearly illustrate the direction of sanding strokes, so know that following each lap of diagonal panel passes, we’re switching up to counter in a crosshatch-type of pattern.

05 As you’ll see as we go the handle side of this block is most useful
As you’ll see as we go, the handle-side of this block is most useful. As we would with any new block, let’s sand the edges so we won’t be carving grooves.

Read More: Modern Tech & Old School Hammerforming

If there’s room for just one more thing I’d stress the importance of light pressure and sharp abrasives. At this crucial final-fairing stage, downward pressure on these doors would push their skins out of their natural shapes. The skins won’t sand accurately that way, and if we don’t remain conscious of that, we’ll never achieve uniform fairness.

On those notes, let’s go on and do this job. It’s just another step along the way toward the type of finish our customers expect these days. Perhaps you’ve noticed, too—the bar only goes higher.

06 Now that our new block is surgically clean and trued up as necessary it’ll have its place among others
Now that our new block is surgically clean and trued-up as necessary, it’ll have its place among others. We’ll be using it here on this job soon enough.
07 We’re beginning with the B sides In the foreground the reproduction door was pretty easy
We’re beginning with the B-sides. In the foreground the reproduction door was pretty easy. The original’s telltale primer spots denote bodywork that’s done.
08 Moving onto the doors’ A sides we’ll begin by blowing any dust away with clean compressed air
Moving onto the doors’ A-sides, we’ll begin by blowing any dust away with clean compressed air. We’re quite confident these doors are otherwise clean.
09 Moving onto the doors’ A sides we’ll begin by blowing any dust away with clean compressed air
Today, dry guidecoat is nothing new, but having been around a while, I remember when it was. Anyway, this one is the leading brand and it’s available through Summit.
10 Here on the bench are the blocks and fairing boards we’d imagine we’d need
Here on the bench are the blocks and fairing boards we’d imagine we’d need. Sticky-back abrasives over time leave deposits of gooey glue, so we routinely clean as we go.
11 Sometimes the best suited blocks andor fairing boards are where we find them
Sometimes the best-suited blocks and/or fairing boards are where we find them. I like to begin in the concave stretches. With 120-grit affixed, this flexible tube fits the bill here.
12 This particular fairing tool is a modified Dura Block AF4404
This particular fairing tool is a modified Dura-Block AF4404. Yes, it’s from Summit. With 120-grit affixed we’re moving on to the next concave stretch.
13 Out on the greater expanses we’ll continue with 120 grit on an Adjust Flex Sand (AFS) fairing board
Out on the greater expanses we’ll continue with 120-grit on an Adjust Flex Sand (AFS) fairing board. Quite sadly, last we’ve heard these are no longer available.
14 Here and there as necessary a shaved (lengthwise in half) Dura Block AF4403 is the ideal deal
Here and there as necessary, a shaved (lengthwise in-half) Dura-Block AF4403 is the ideal deal. This is another Summit staple, but we tend to modify on the fly.
15 Here and there as necessary a shaved (lengthwise in half) Dura Block AF4403 is the ideal deal
So, who remembers the Motor Guard WB-1 we sanitized and tuned-up earlier? Here we’ll use the useful handle portion as it’s the best fit for this particular stretch
16 Here the soft side of a Motor Guard SB 1 fits the concave curve
Here the soft side of a Motor Guard SB-1 fits the concave curve. These don’t start out curly but they become that way over time. Here it’s the ticket, from Summit as well.
17 Once again with 120 grit abrasives affixed the Motor Guard WB 1 handle edge fits the form of these stretches
Once again, with 120-grit abrasives affixed, the Motor Guard WB-1 handle edge fits the form of these stretches.
18 Here a few passes with 120 grit on a stiff Dura Block AF4405 scuff pad is chip insurance should an impact ever occur
We don’t want primer buildup on vulnerable edges. Here a few passes with 120-grit on a stiff Dura-Block AF4405 scuff pad is chip insurance should an impact ever occur.
19 a folded and held curved section of spent 120 grit does the trick just fine
For remaining edges all the way around, a folded and held-curved section of spent 120-grit does the trick just fine.
20 At this point the rougher of two doors (the OE door) is ready for final prime
At this point the rougher of two doors (the OE door) is ready for final-prime. We’ve worked hard to get here, but it’s turning out real nice.
21 Now as a comparison of sorts let’s turn our attention to the reproduction door
At this point the rougher of two doors (the OE door) is ready for final-prime. We’ve worked hard to get here, but it’s turning out real nice.
22 this door was in better shape to begin with
And sure enough, this one’s done much quicker. Sure, we were all warmed-up, but this door was in better shape to begin with.
23 Other than this tiny ripple there hasn’t been much glazing to do
Other than this tiny ripple, there hasn’t been much glazing to do. The OE door, which required a polyester skim coat had us chasing pinholes for some time.
24 we’ve sprayed a thin lacquer primer mixture that won’t wash away like dry guidecoat might
Other than this tiny ripple, there hasn’t been much glazing to do. The OE door, which required a polyester skim coat had us chasing pinholes for some time.
25 Skipping ahead just a bit or two let’s testdrive a new pair of fixtures
Skipping ahead just a bit or two, let’s testdrive a new pair of fixtures! Wet prepped and ready for sealer, base color, and clear, do these doors look pretty “straight”?

Sources:

Brothers Trucks/Holley
(800) 977-BROS
holley.com/brands/brothers_trucks/

Summit Racing Equipment
(800) 230-3030
summitracing.com

Click on this issue’s cover to see the enhanced digital version of In Uniform Fairness.

ctp february 2024

- Advertisement -

Related Articles

Search Our Site

More Classic Truck Performance

Adam Phaneuf’s 1964 C10 Pays Tribute to a Family Legacy

By Chuck Vranas   -   Images by the Author This is...

Part 6 of The Speedway Motors 1968 C10 Build: The Finale

By Joe McCollough   -   Images by Jason Lubken &...

2024 TMI Products’ TRIM Award Winners Announced

TMI Products, the leader in custom automotive interiors, held...

Brent Mivelaz’s 1963 Ford Unibody F-100

By Fuelish Media From a former emergency response vehicle to...

The Latest and Greatest TIG Welding Torch Cups

By Ron Covell   -   Images by the Author Ron Covell...

Talbert Goldman’s 1990 GMC Sierra OBS Custom

By Rob Fortier   -   Images by NotStock Photography Since he...
More Classic Truck Performance

LS Powered Ford F100

By Scotty Lachenauer   -   Images by the Author  When Kyle...

Part 8: Custom Grille & Taillights on the Scott’s Hotrods ’N Customs 1951 Chevy

By Kenneth “Stress Ball” DeKissere   -   Images by Camren...

Shane Dutka’s Tire-Searing ’71 Ford F100 Sport Custom

By Chuck Vranas   -   Images by the Author In a...

Matt de los Cobos’ 1972 Chevy Blazer, a Two-Door Family Funster

By Rob Fortier & the Owner   -   Images by...

LMC 1969 Chevy C10 Fleetside to Stepside Conversion

By Rob Fortier   -   Images by the Author I would...

Kerry “Duck” Cunningham’s 1959 Chevy Apache

By Rob Fortier   -   Images by NotStock Photography In my...