Resurrection

Bringing a Gen I Camaro Back to Life

By the ACP Staff – Photography by the ACP Staff

Videography by Ryan Foss Productions

- Advertisement -

During the ’60s Chevrolet had endured a barrage of negative publicity surrounding the Corvair (primarily due to Ralph Nader and his book Unsafe At Any Speed), but their reputation would soon be salvaged as they had decided to enter the ponycar wars. The all-new Camaro was introduced in September of 1966 to compete with Ford’s Mustang that had been introduced in April of 1964, and the 1964 Plymouth Barracuda, which debuted roughly two weeks earlier, that was Ford’s new offering.

The first-generation of Camaros were produced for the 1967-1969 model years and were based on GM’s F-body, rear-wheel-drive platform. For the 1967-1968 model year, the sheetmetal was unchanged, for the most part, but there were a few minor exceptions. The most obvious differences for 1968 were the new front and rear marker lights and the elimination of vent windows in the doors. Then, in 1969, a new body was introduced that looked longer and lower but still retained the appeal that had made the Camaro such a success.

- Advertisement -
001-duralast-1969-camaro
It’s been a long while since our 1969 Camaro has seen the light of day. A very clean, solid, example. The goal is to make it run first and trick it out later.

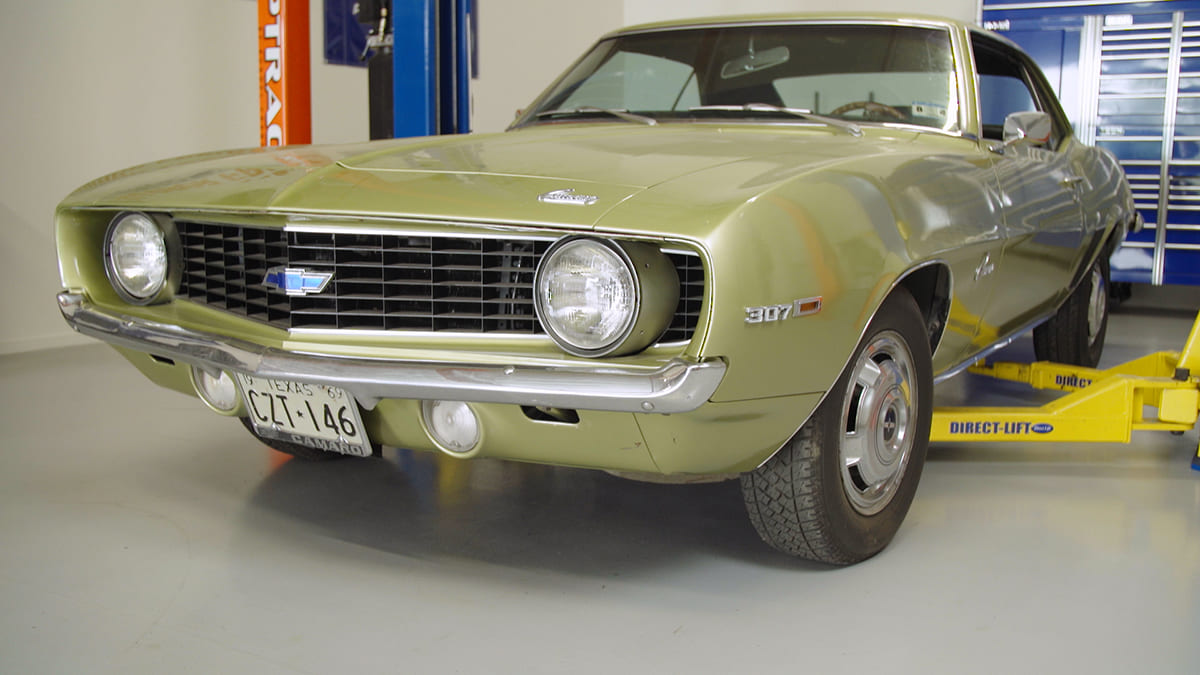
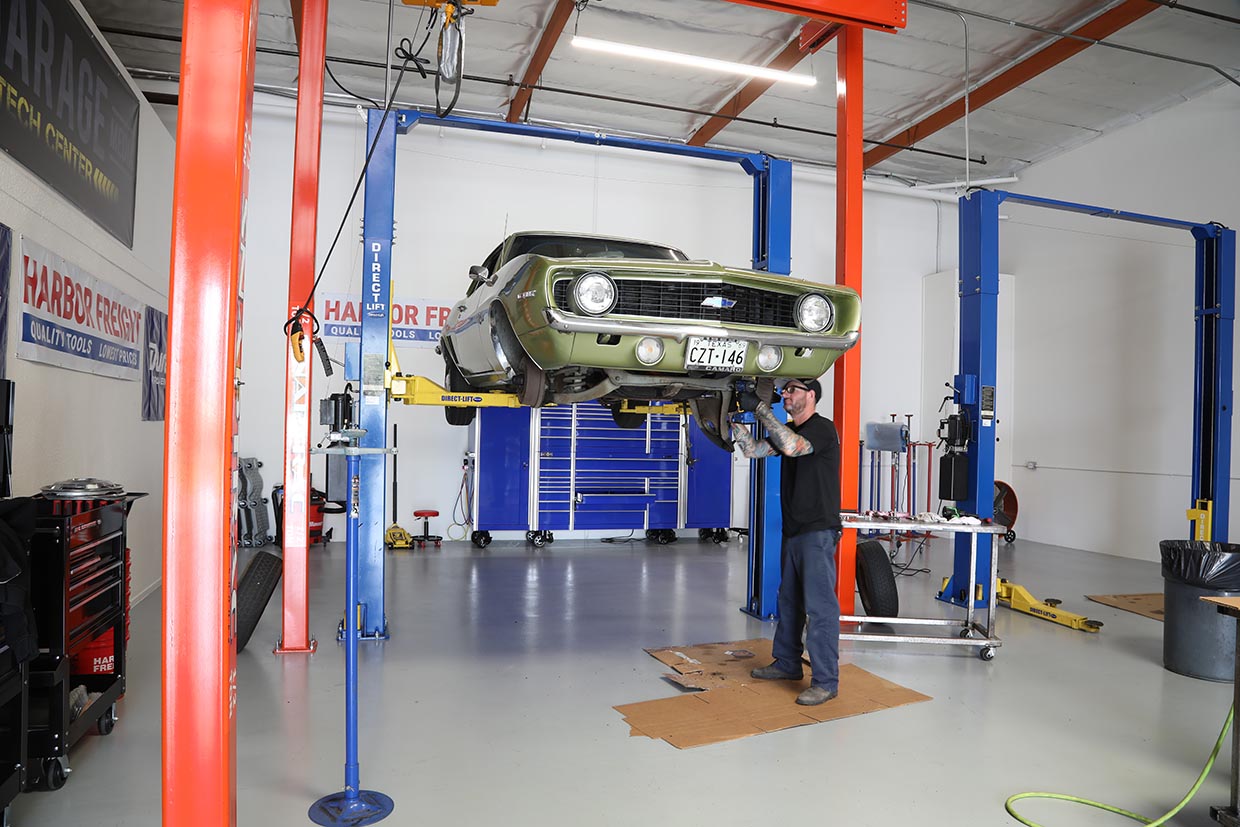
While all Camaros are popular, the first-gen series remained one of the most sought-after cars in the ranks of Chevrolet fans, and every once in a while a solid original example is discovered like the one we have here. This 1969 coupe came from Texas where it had been sitting in a private collection for what was estimated to be 10-15 years. The owner didn’t know much about the car, but the body was surprisingly nice, the engine had a fresh coat of paint, but its condition was unknown (the owner couldn’t verify if it had been rebuilt) and there were a few new parts, like the A/C compressor and hoses.

With the Chevy delivered to the In The Garage Media tech center, the first order of business was to evaluate this diamond in the rough and make any necessary repairs to get it back on the road. To that end we called on our go-to team: Jason Scudellari and our local Duralast parts retailer. Scudellari is our ace fabricator and wrench turner, and Duralast parts meet or exceed OEM specifications, so we knew our Camaro would be on the road in no time.

002-duralast-1969-camaro
Nothing was known about the 307 small-block but it did have fresh paint, so Jason Scudellari decide to give it a tune-up with Duralast ignition components to find out if it would run.

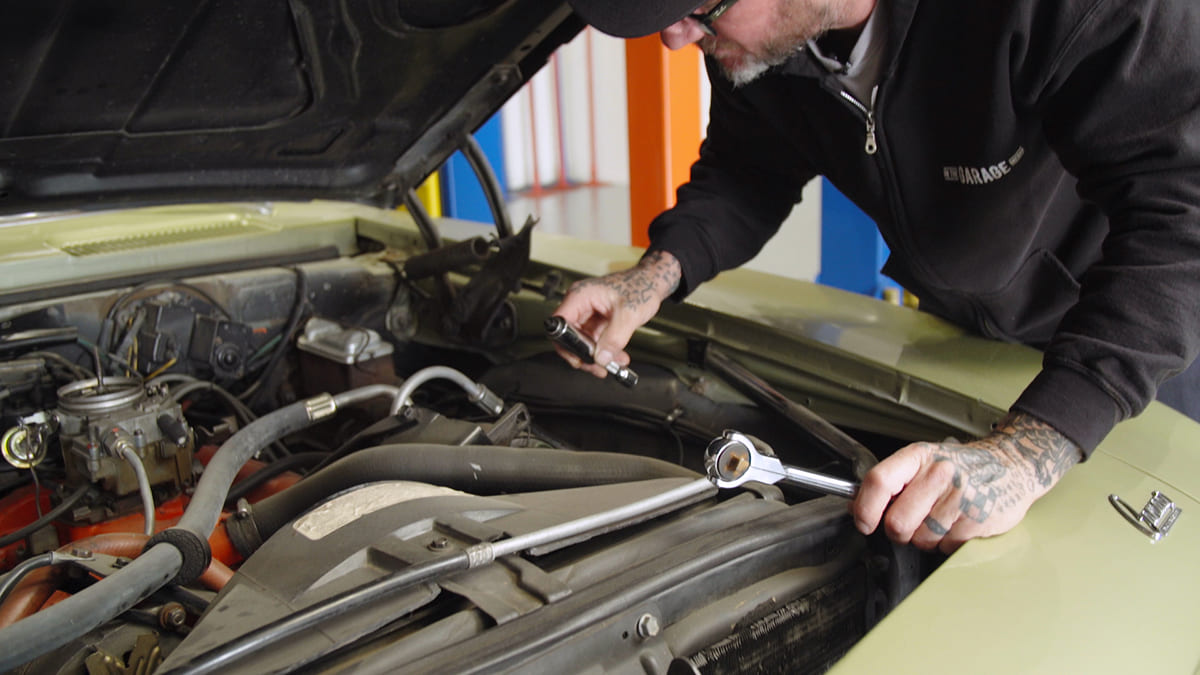
A visual inspection of the engine didn’t reveal any obvious problems. In some cases we’d do a compression or leak-down test to determine an engine’s condition, but everything was intact, there were no missing parts or bolts, and no massive oil leaks, so Scudellari elected to do some basic maintenance and hope for the best.

003-duralast-1969-camaro
Pulling the plugs revealed that the last time the engine ran it was really rich, but we had no way of knowing why, so a fresh set of plugs were installed.

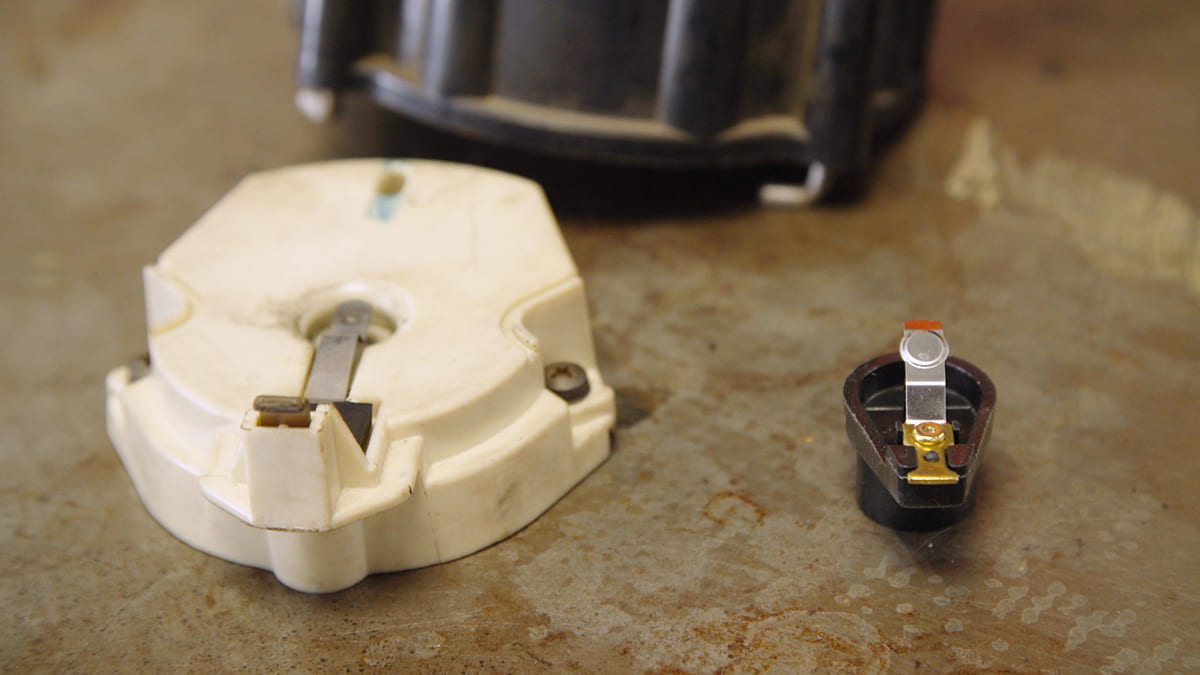
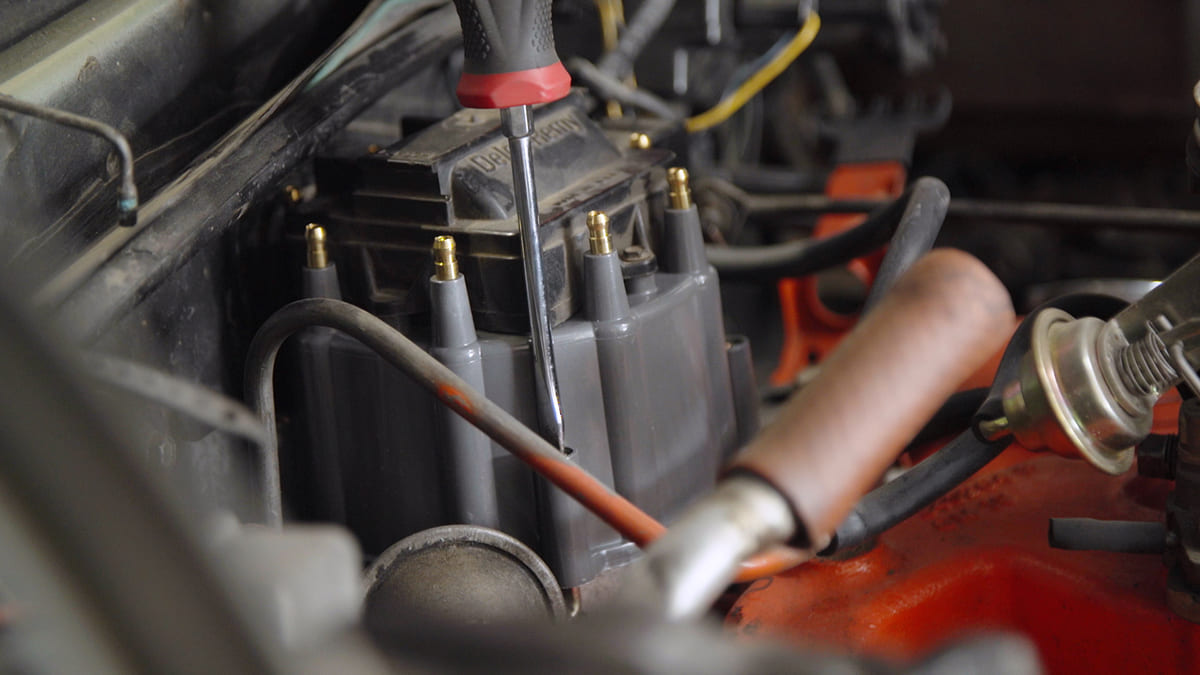
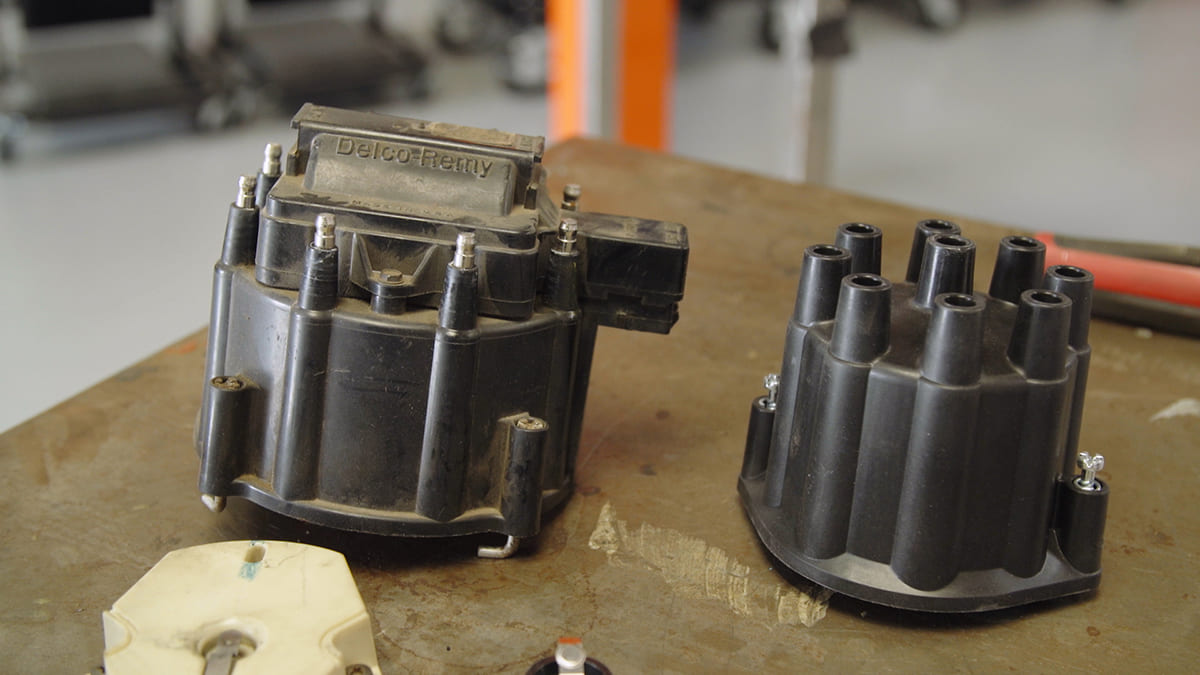
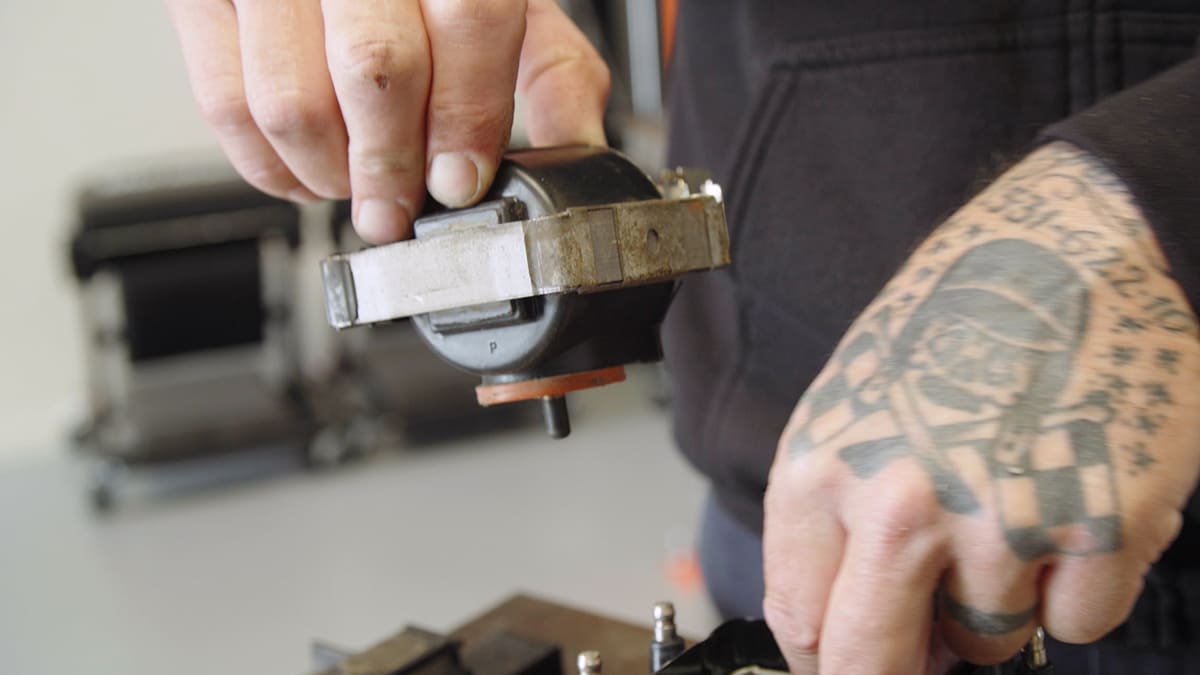
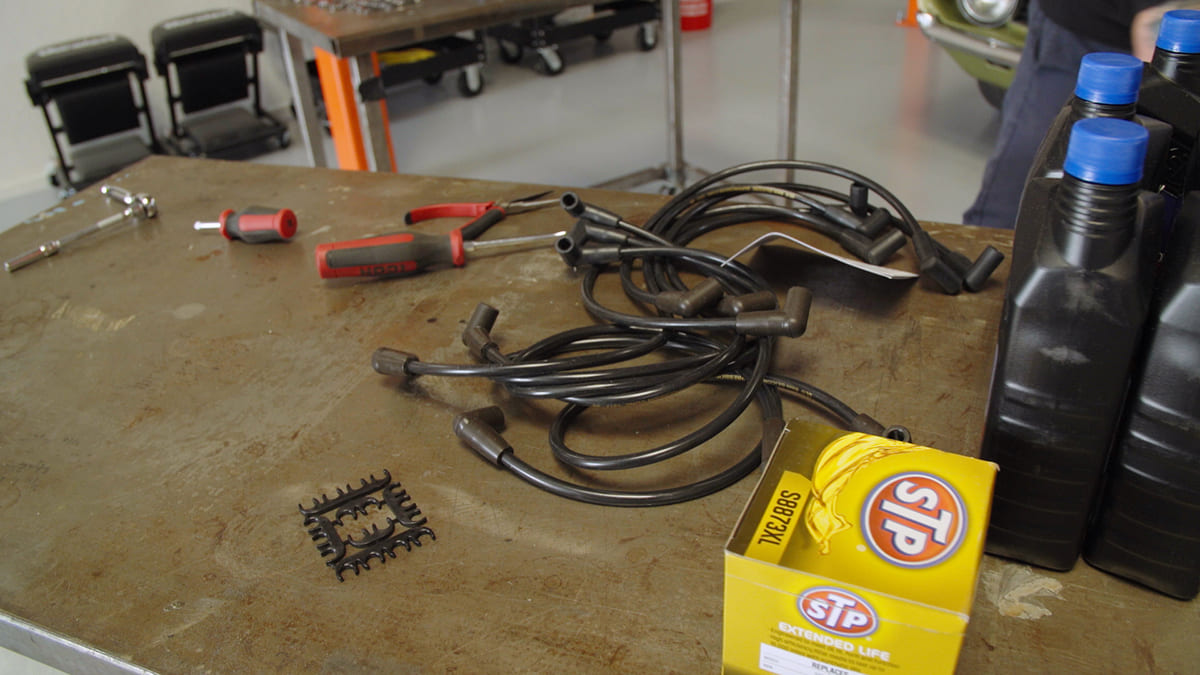
The first step was a basic tune-up. A new set of spark plugs (PN R43S) were gapped and installed along with a new distributor cap (PN DR976) and rotor (PN DR969). Sometime in the Camaro’s past the original point-controlled distributor was swapped for a GM HEI that wasn’t introduced until late 1974 (if you plan a similar swap, the resistance wire for the original distributor must be replaced with a new wire to ensure the electronic innards get a full 12 V). Basic tune-ups are simple, but if you haven’t done this before, when changing the distributor cap and wires, mark the location of the number one wire on the distributor for reference. With the new cap in place, install the number one wire, then going clockwise from there, install the remaining wires in the firing order, 1-8-4-3-6-5-7-2 (cylinders on the driver side; front to back the cylinders are numbered 1-3-5-7, on the passenger side front to back are 2-4-6-8).

- Advertisement -
004-duralast-1969-camaro
In some cases with an engine of unknown origin a compression test is a good way to evaluate its condition.

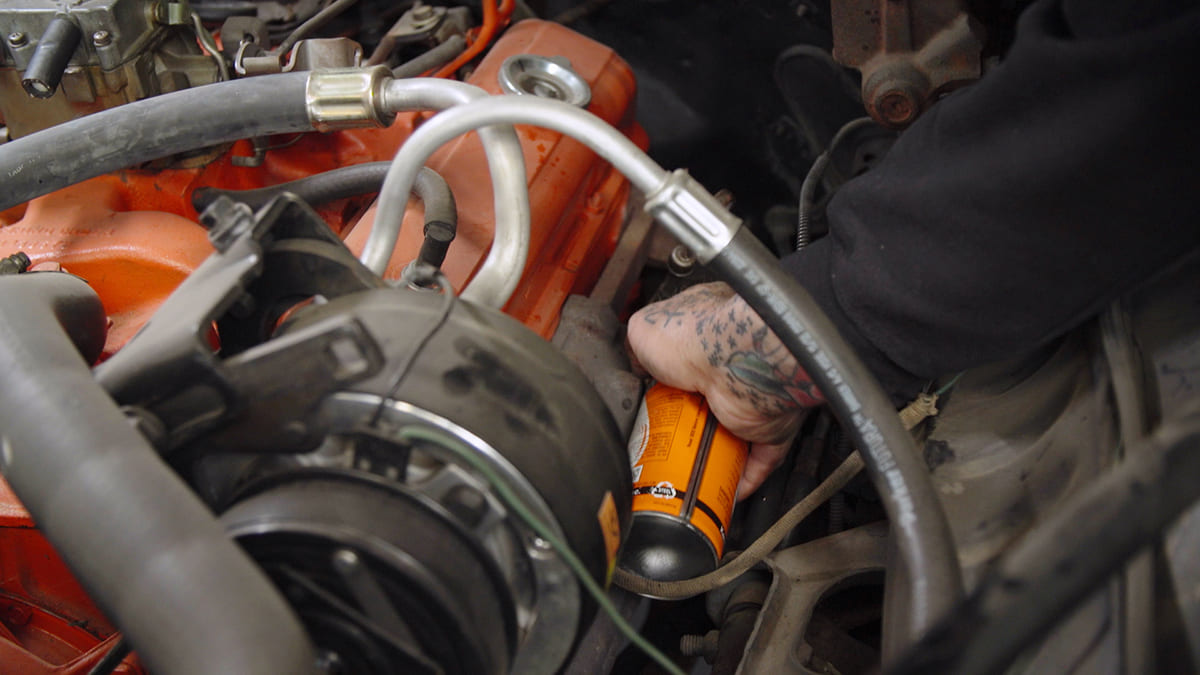
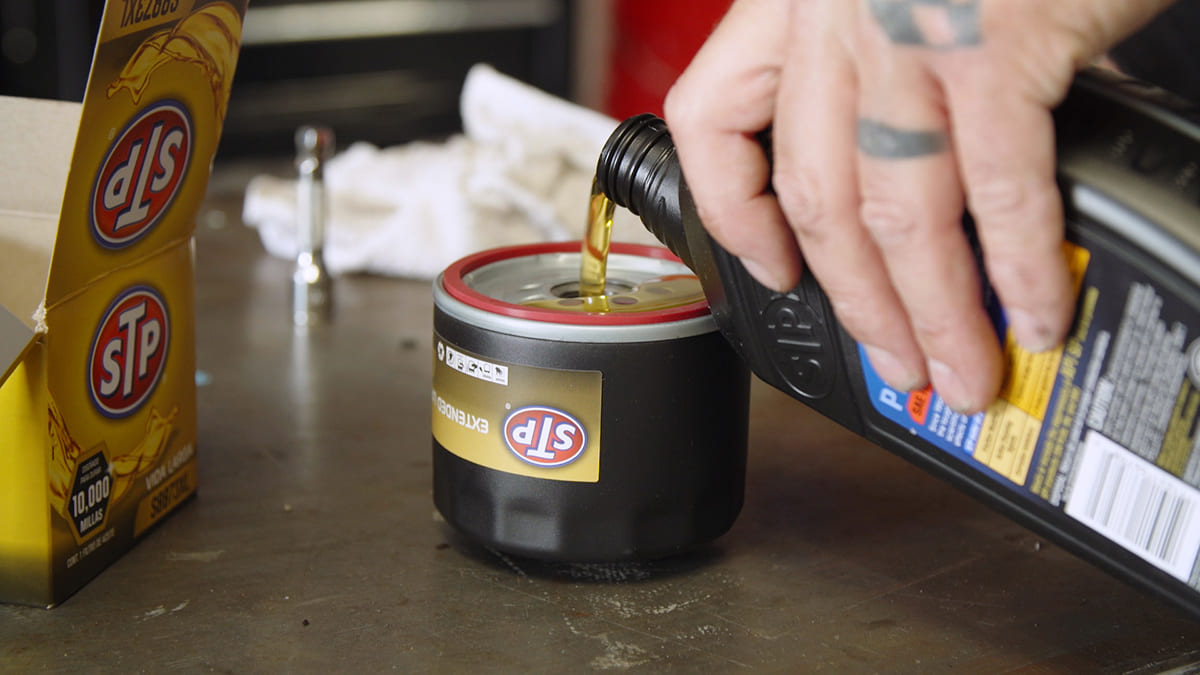
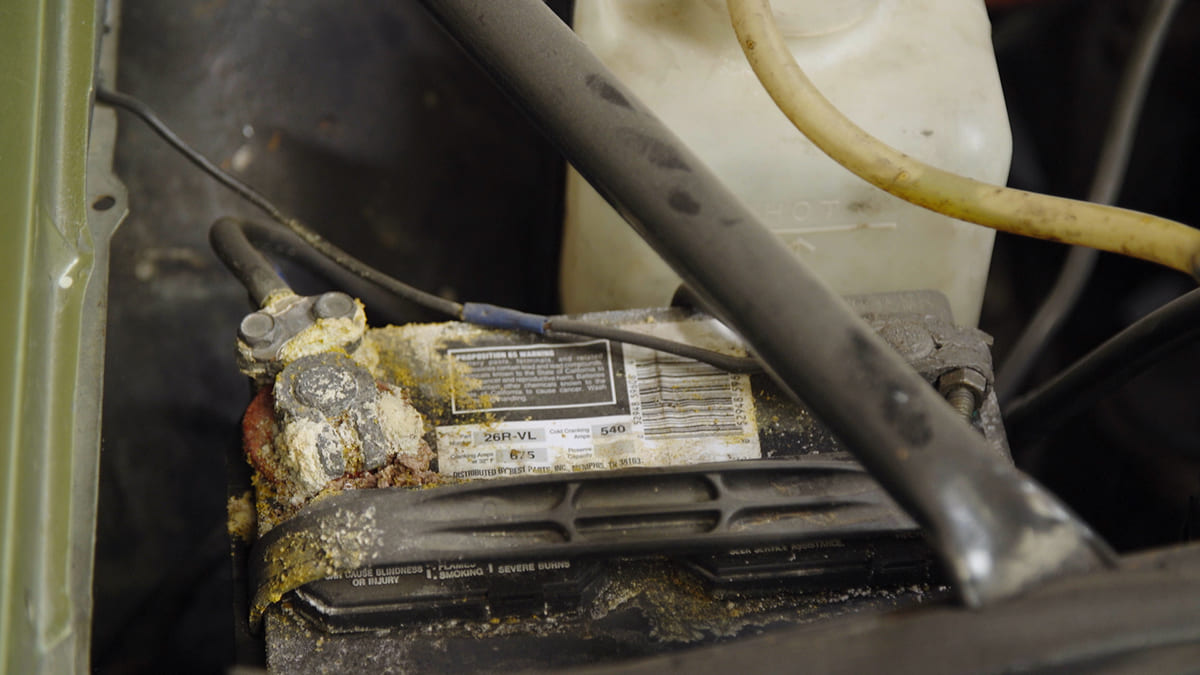
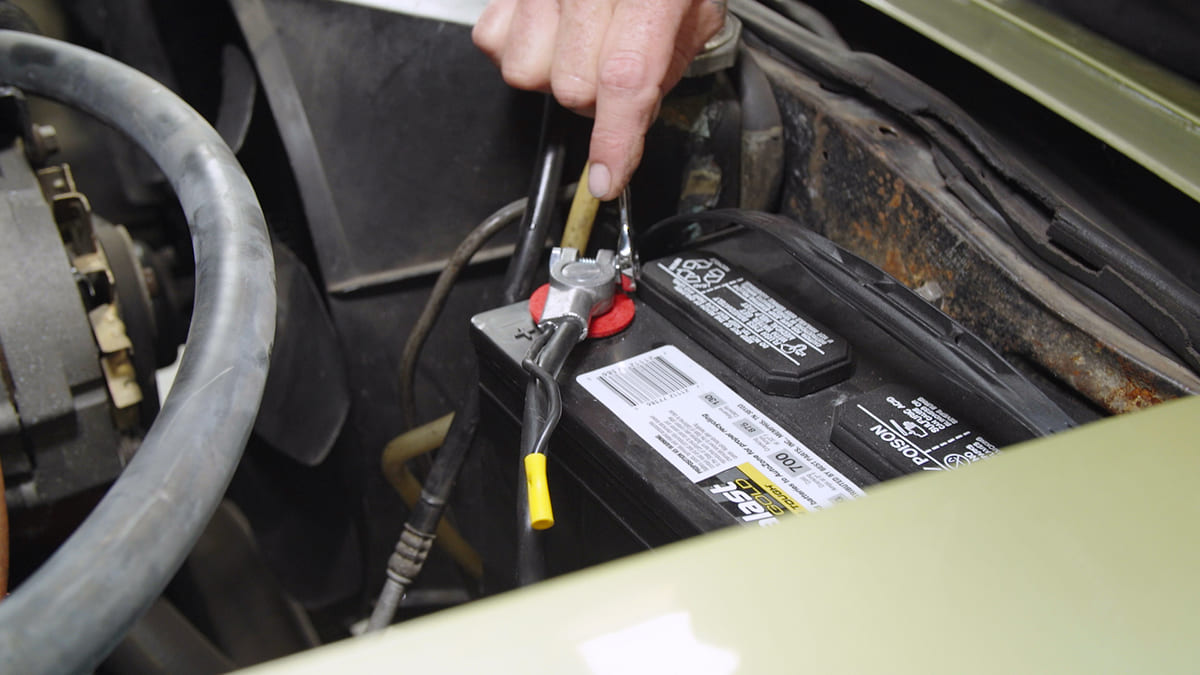
With fresh Duralast ignition components in place, Scudellari changed the oil and filter but there was one last item to address: the battery and cables had long outlived their usefulness. Not only was the battery beyond charging, the bolt in the positive battery cable was so corroded it couldn’t be removed, so Scudellari got creative and cut the cable to get the battery out. (With an old corroded battery removed it’s a good time to neutralize the acid on the battery tray and the surrounding area with a combination of baking soda and water.) Keep in mind when replacing battery cables, red cables are positive, black cables are negative, and there’s more to them than color. Positive terminals on top-post batteries are larger diameter than the negative and the cables reflect that difference.

005-duralast-1969-camaro
Another method of assessing an engine’s condition is with a leak-down test, which will indicate where a cylinder is losing compression. We elected to forgo both tests and get the engine running first.

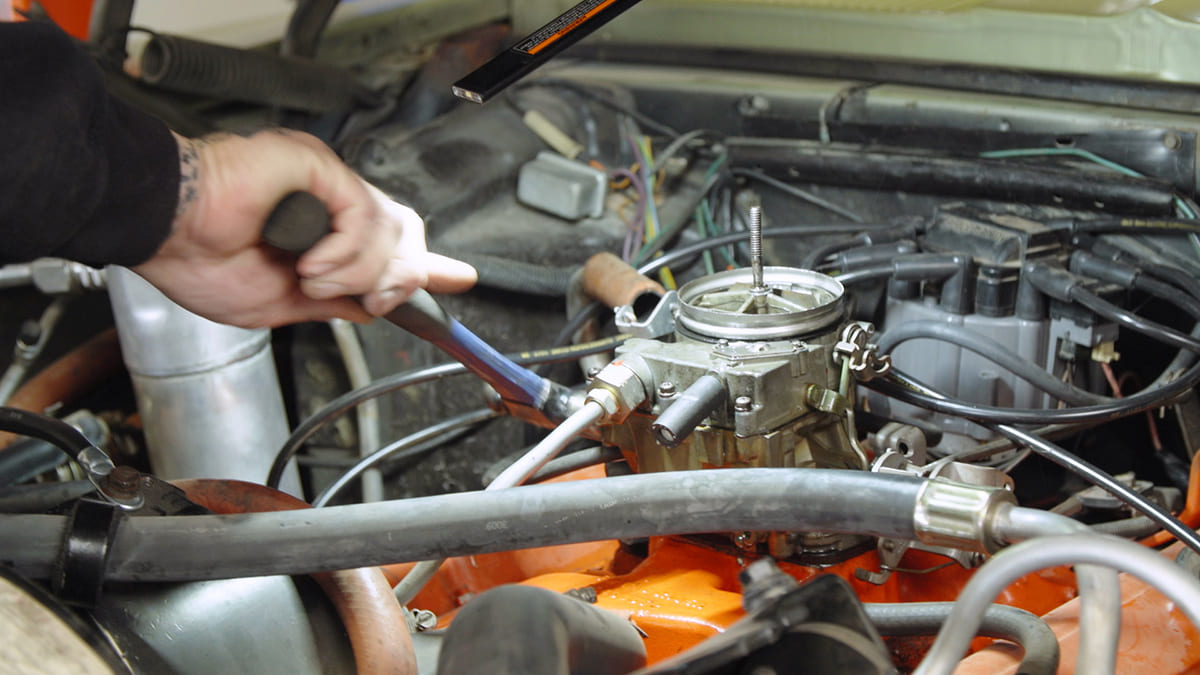
After a tune-up, a fresh battery, and a tank full of fresh fuel, our Camaro fired right up. The carburetor was temperamental at first, but that was easily solved with a light love tap. After a few minutes and a backfire or two, the 307 ran like a watch and passed its first drive test with flying colors. A little time, some Duralast parts, and our long-neglected Camaro was back on the road where it belongs.

If you’ve got a project car gathering dust, follow our lead, get it running, and go have some fun.

Source:
Duralast
(800) 284-7491
DuralastParts.com

006-duralast-1969-camaro

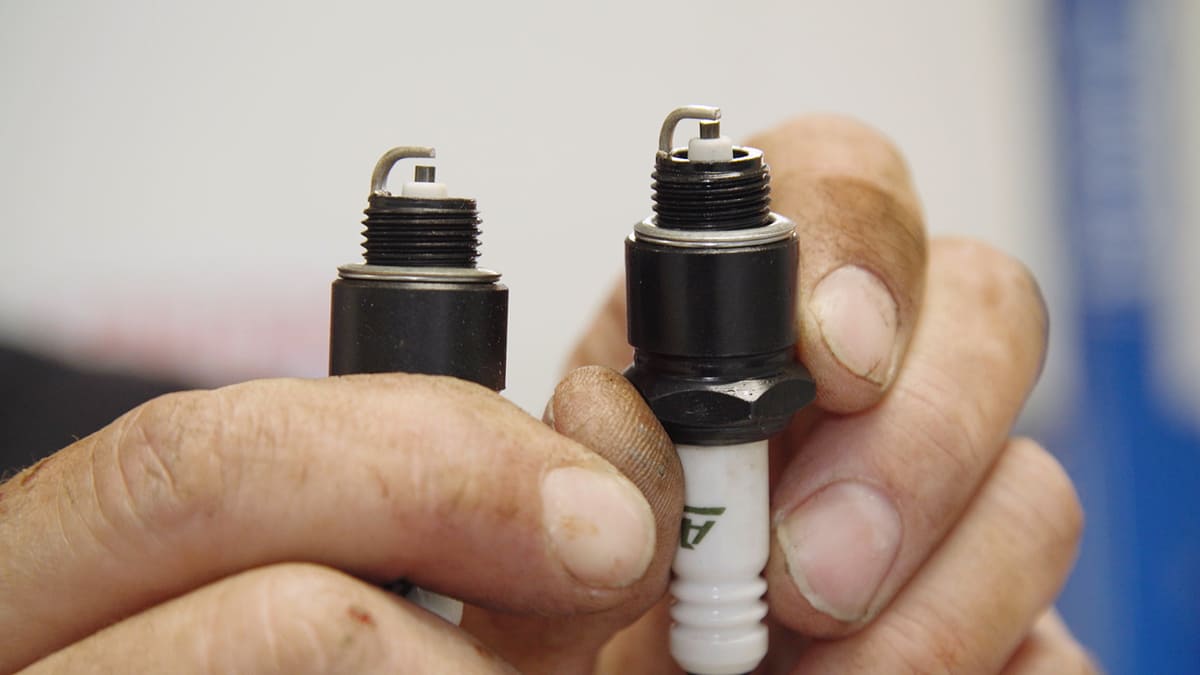
Never trust spark plug gaps out of the box, as these two examples show. Check the ignition specifications and gap them appropriately.

007-duralast-1969-camaro
It was anyone’s guess the last time this engine ran, so Scudellari gave each cylinder a light shot of upper cylinder lubricant.
008-duralast-1969-camaro
Somewhere in the Camaro’s past the original distributor was replaced with a more modern HEI that uses this large-diameter rotor. Distributor caps and rotors should always be replaced together.
009-duralast-1969-camaro
If you plan a similar swap the resistance wire for the original distributor must be replaced with a new wire to ensure the electronic innards get a full 12 V. Here, the new Duralast distributor cap has been installed.
010-duralast-1969-camaro
For comparison, here is the old HEI distributor cap compared to the original 1969-style Duralast replacement.
011-duralast-1969-camaro
Dielectric grease is commonly used on spark plug boots to make them easily removable—it should also be applied to both sides of the insulator disc when changing an HEI coil.
012-duralast-1969-camaro
The new Duralast HEI coil (PN C834) meets all OEM specifications and comes with a limited lifetime warranty.
013-duralast-1969-camaro
Duralast spark plug wire kits (PN 4061) are affordable, come with terminals installed on both ends, and pre-greased silicone spark plug boots ensure easy installation and removal.
014-duralast-1969-camaro
To make sure the engine’s oil pressure came up immediately, Scudellari filled the new STP filter (PN S8873XL) with STP 10W-40 oil prior to installation.
015-duralast-1969-camaro
With the filter in place, Scudellari filled the crankcase with STP Pro Formula oil. With an engine that has been sitting for a long time it’s not a bad idea to do another oil and filter change after a few miles to remove any contaminants in the engine that may have accumulated after sitting for an extended period.
016-duralast-1969-camaro
It was obvious that the battery and cables would have to be changed. With terminals this corroded it’s wise to check the battery tray and surrounding sheetmetal for damage.
017-duralast-1969-camaro
For the stopping power we needed, Scudellari installed a Duralast Gold group 24 size battery (PN 24-DLG). It has 875 cranking amps (700 cold cranking amps), 130 minutes of reserve capacity, and comes with a three-year warranty.
018-duralast-1969-camaro
When changing cables always remove the negative cable first and install it last. If the wrench hits metal on the negative there’s no spark, and with it disconnected if the wrench is on the positive cable and hits metal there’s no spark because there isn’t a complete circuit.
019-duralast-1969-camaro
With a fresh tank of fuel, Scudellari primed the carburetor then hit the switch and the engine struggled to life surprisingly fast.
020-duralast-1969-camaro
Due to a malfunctioning needle and seat the two-barrel carburetor was overflowing. Using the time-honored method of giving the float bowl a gentle wrap with a hammer solved the problem (note the float bowl vent is disconnected from the evaporative control canister—that will be addressed).
021-duralast-1969-camaro
For the first time in many years, the Camaro is back on the street. We’re happy to report it runs great—but there is more work to be done, as you’ll soon see.

- Advertisement -

Related Articles

Search Our Site

More Chevy Performance

Chevy Concepts – 1970 Chevelle Rendering

Artwork by Tavis Highlander   -   Instagram @tavishighlander   -   TavisHighlander.com  ...

How to Avoid Fuel Starvation Problems When Building High Horsepower LT1 Engines

By Jeff Huneycutt   -   Photography by the Author Critics have...

Fresh Fuel Delivery for a Crusty 1977 Nova

By Tommy Lee Byrd   -   Photography by the Author If...

Double Dose of 1969 COPO Camaros With Different Personalities

By Scotty Lachenauer   -   Photography by the Author We’ve all...

Suspension Upgrade: Aldan’s Coilover Kits for C2 and C3 Corvettes and Full-Size Chevys

By Ron Ceridono   -   Photography by the Author Hot rodders...

Totally Custom Pro Touring-Style 1967 Chevy Chevelle

By Nick Licata   -   Photography by John Jackson Growing up...
More Chevy Performance

Earn Your Stripes

Everything You Need to Know About First-Gen Camaro Stripes By...

Firing Up – Decisions, Decisions

By Nick Licata Being an automotive magazine editor, I get...

2023 MUSCLE CAR AND CORVETTE NATIONALS

Another Year of Fresh GM Muscle at MCACN By John...

Longevity

Tom Schauppner’s ’56 Chevy Bel Air By Nick Licata   -  ...

Chevy Concepts – 1970 Camaro

Artwork by Tavis Highlander Instagram @tavishighlander TavisHighlander.com Vehicle Builder: Vintage Fabrication, Independence,...

Back to Basics

Keeping Drum Brakes in Service is Simple and Affordable By...