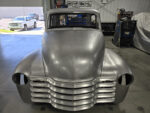
By Kenneth “Stress Ball” DeKissere – Images by Camren Beattie
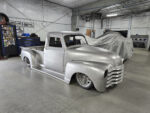
I think even from the beginning we always knew that we wanted to flush mount the glass in the truck. It was a series of modifications that I wanted to hold off on for quite a while, though, for a few different reasons. I didn’t want to get into it right away just in case the project took a turn early on. The bed, engine bay, hood, and various other panels and modifications seemed to be far more important to get done “early” on in the build. The last thing I would want is for the project to stall and you need custom glass just to seal up your truck [laughs].
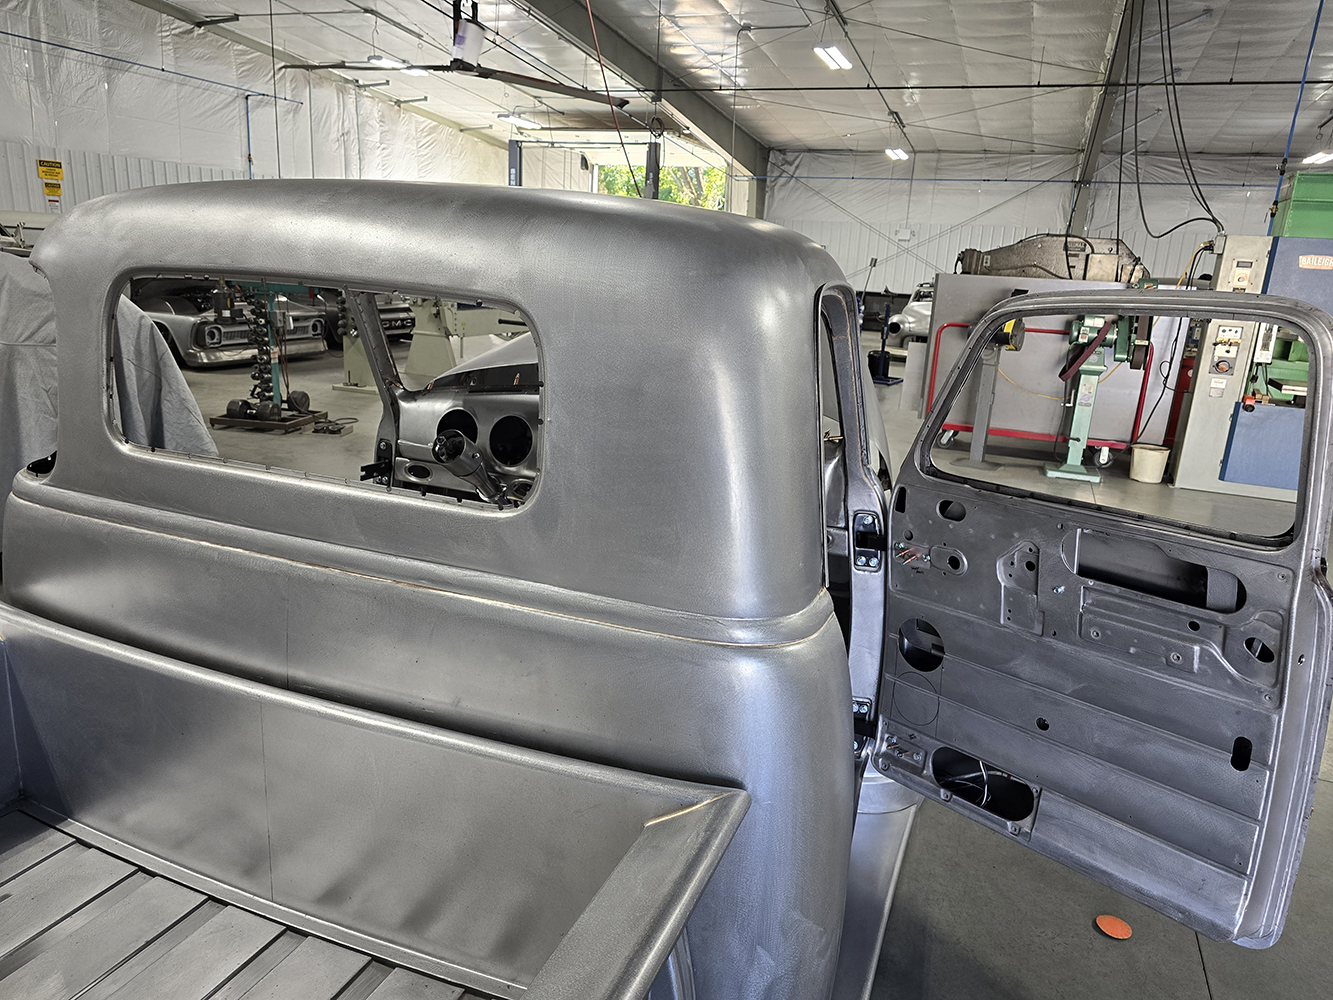
Another reason is that I didn’t actually know the best way to do it. You don’t really see these trucks with flush glass very often, so there isn’t much to go on. Thankfully, once we changed the passenger door window opening, this gave me a perfect way to pull the lower corner glass edge off the beltline, which ended up being the baseline for starting the new glass openings.

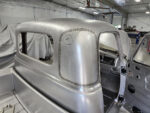
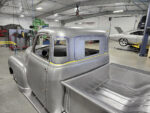
The corner glass for these trucks seems to be widely considered an afterthought with how weirdly placed and shaped they are. By pulling them off the beltline, I feel like it drastically changes the overall look of the corner of the cab, despite being such a small and subtle modification. Once this was figured out, I felt it was best to just shave all the windows on the truck and then cut all-new openings in. So I sought out doing that, slightly reshaping each corner of the cab so there isn’t a weird “knuckle” of material where the top of the original corner window is.
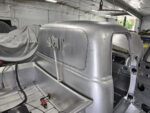
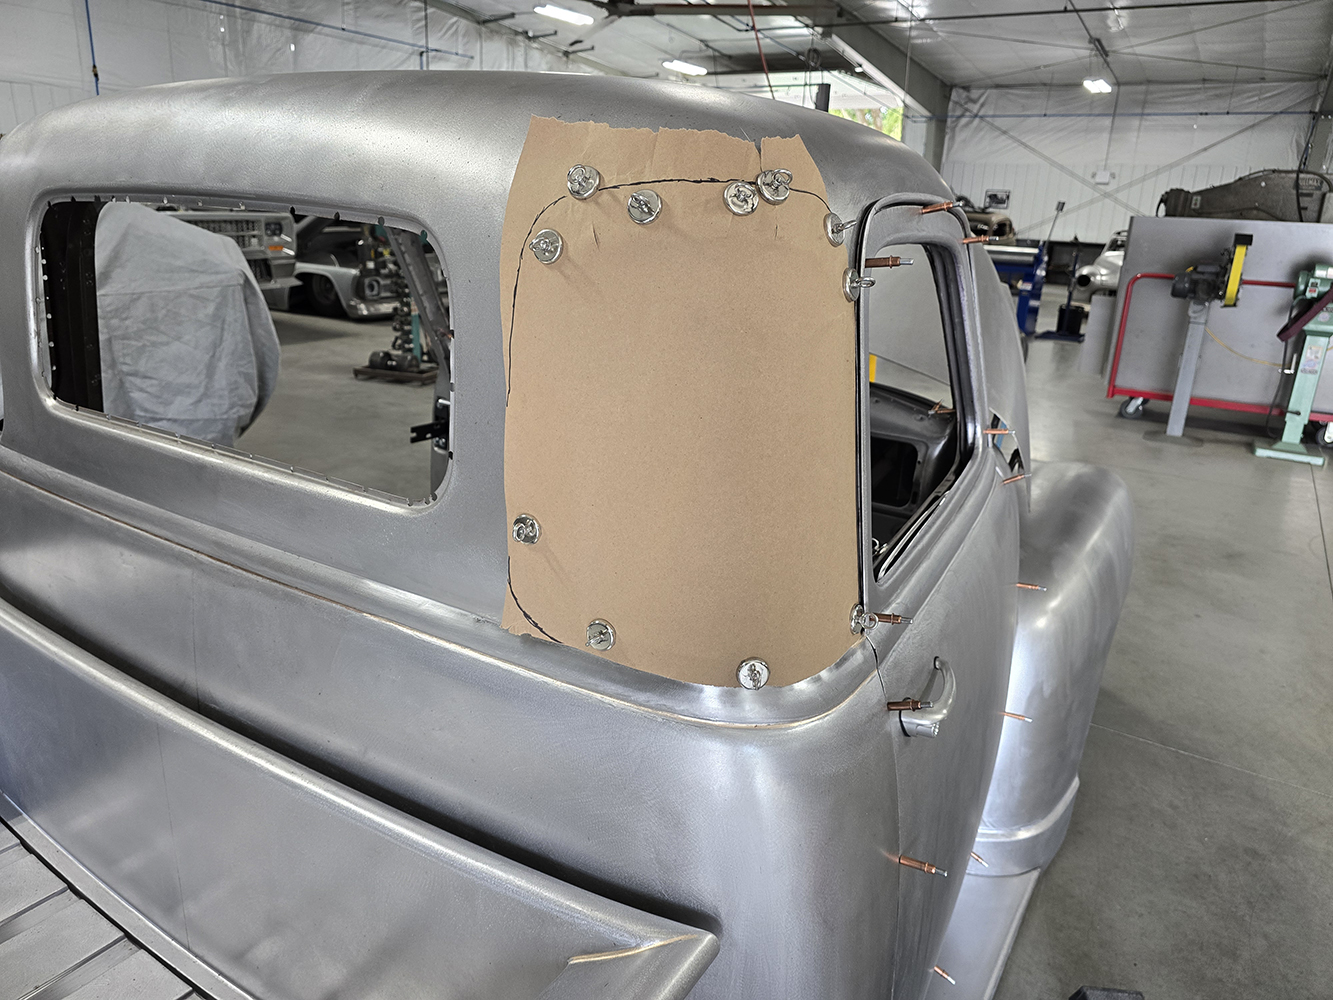
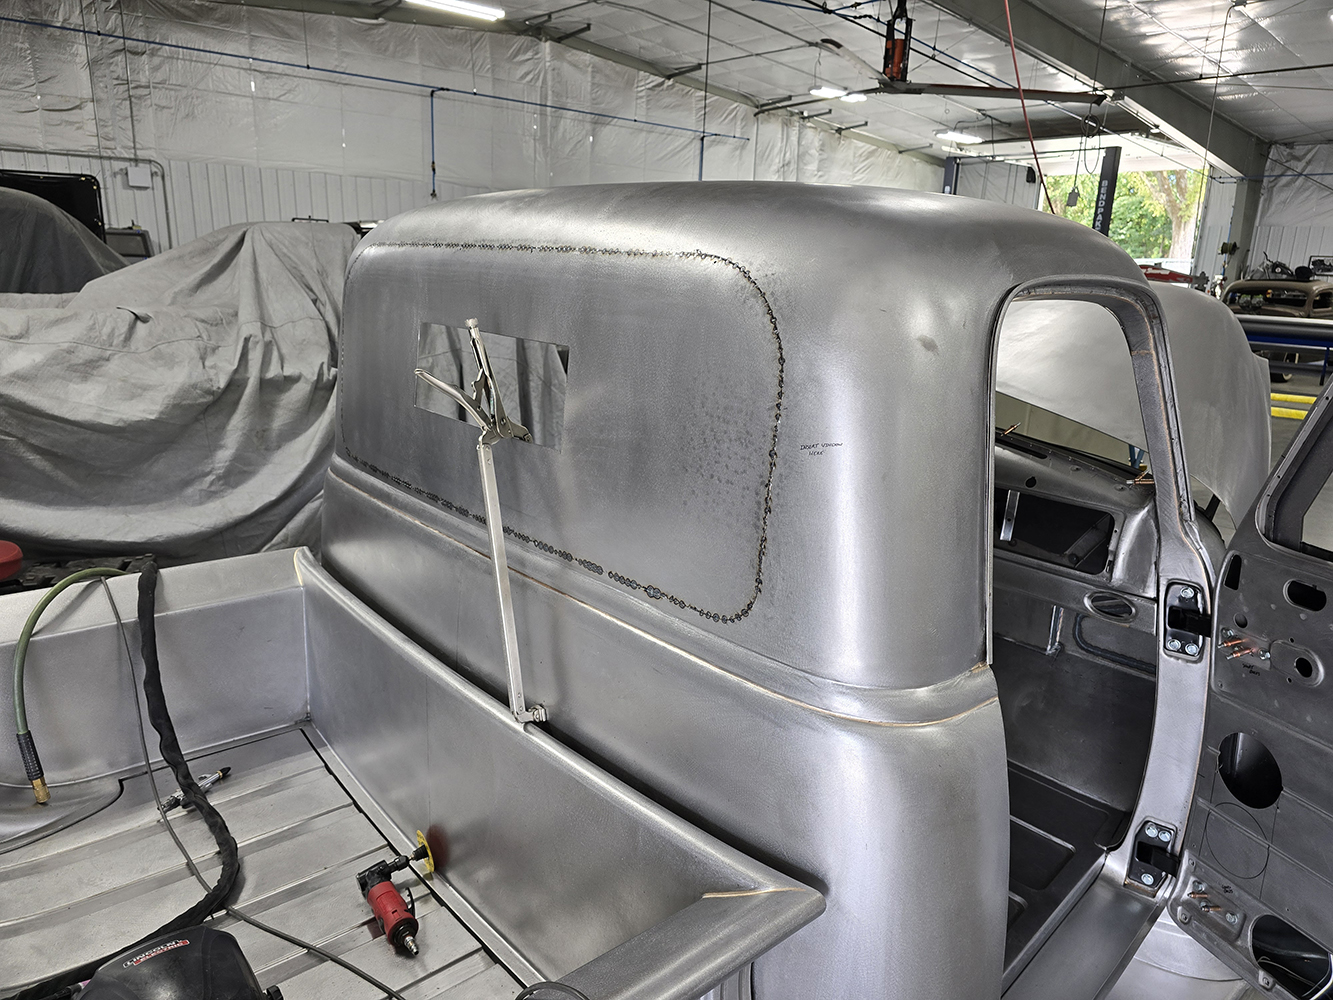
After shaving both the corner windows, I cut out the original back glass opening and shaved it entirely, only leaving a small window for me to get my arms through for planishing my welds back out. I had posted pictures on social media at this stage and received a decent amount of backlash from people telling me that I was an idiot for shaving the windows and should have just started with a three-window cab.

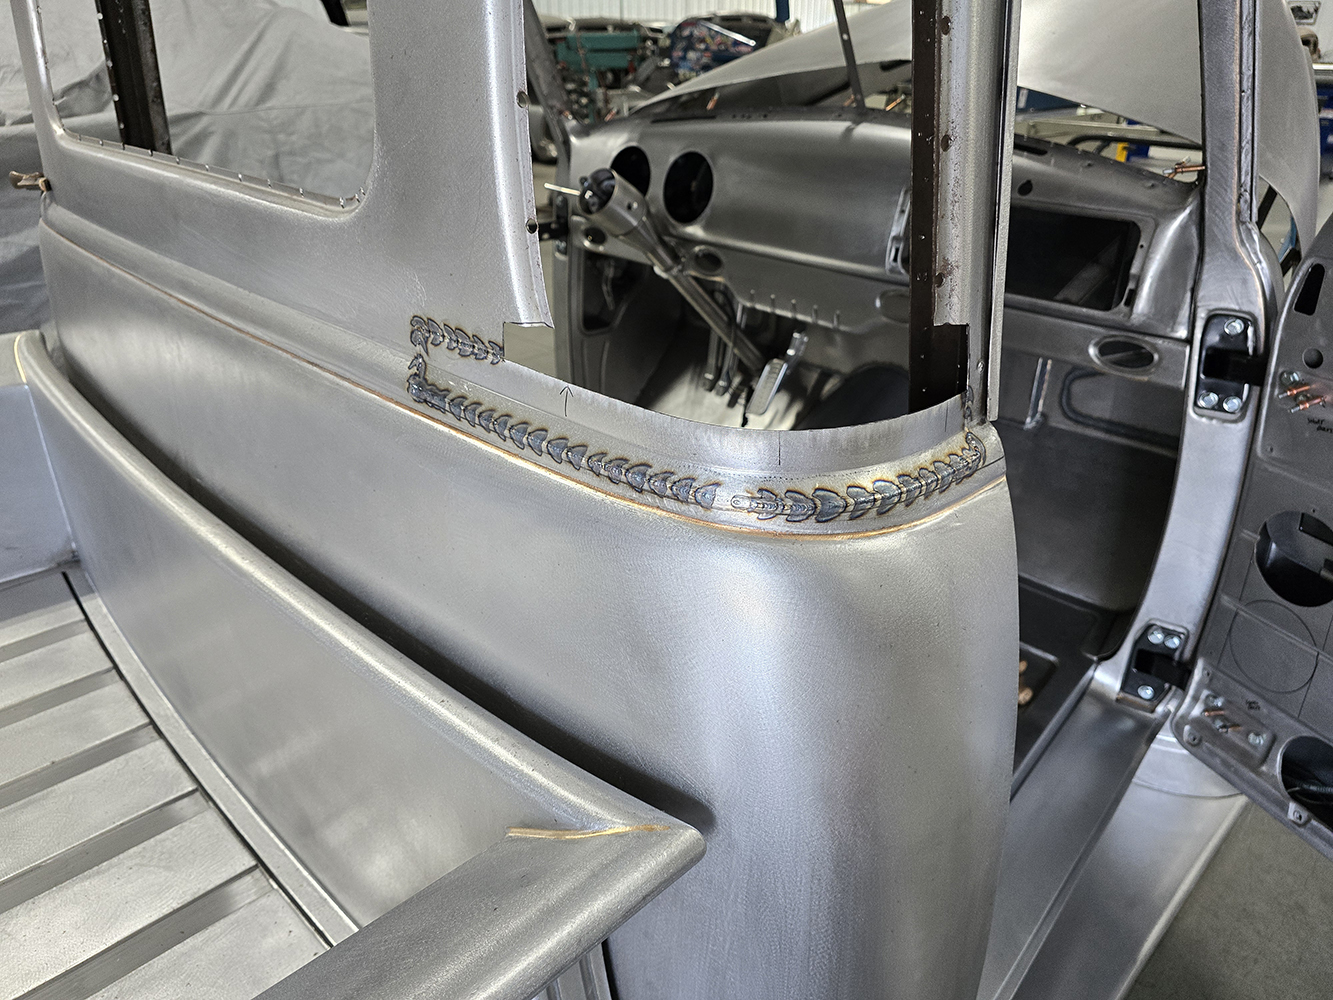
Once the back glass openings were shaved, I had just started laying out the new glass openings and was talking to my coworker, Mark, about how they looked, when Big Boss Justin walked up. The three of us talked about reshaping the window openings and all agreed how important it was for all the top and bottom edges of all the glass around the truck lining up. We also agreed that every edge of the glass except for right next to the door had to be slightly radiused. We didn’t want these to look like blocks of glass put into the cab.

While we were talking about the glass, Justin started looking at the roof and mentioned that the glass, and therefore, the truck, would look a lot better if we wedged the roof. This was an idea that I tossed at him a while back, shortly after I had wedged the hood and front fenders. At the time, we had talked about wedge chopping it, and we decided that it wasn’t a good idea.


After shaving the glass, the roof actually looked slightly chopped to me, so that was a weird optical illusion. When Justin mentioned that, we talked for a bit on how to achieve that, and I brought my iPad in the next day and very quickly “wedged” the roof in a couple side-profile pictures, seeking approval from Justin and my team.
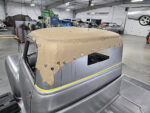
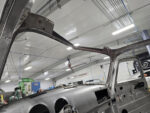
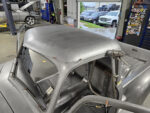
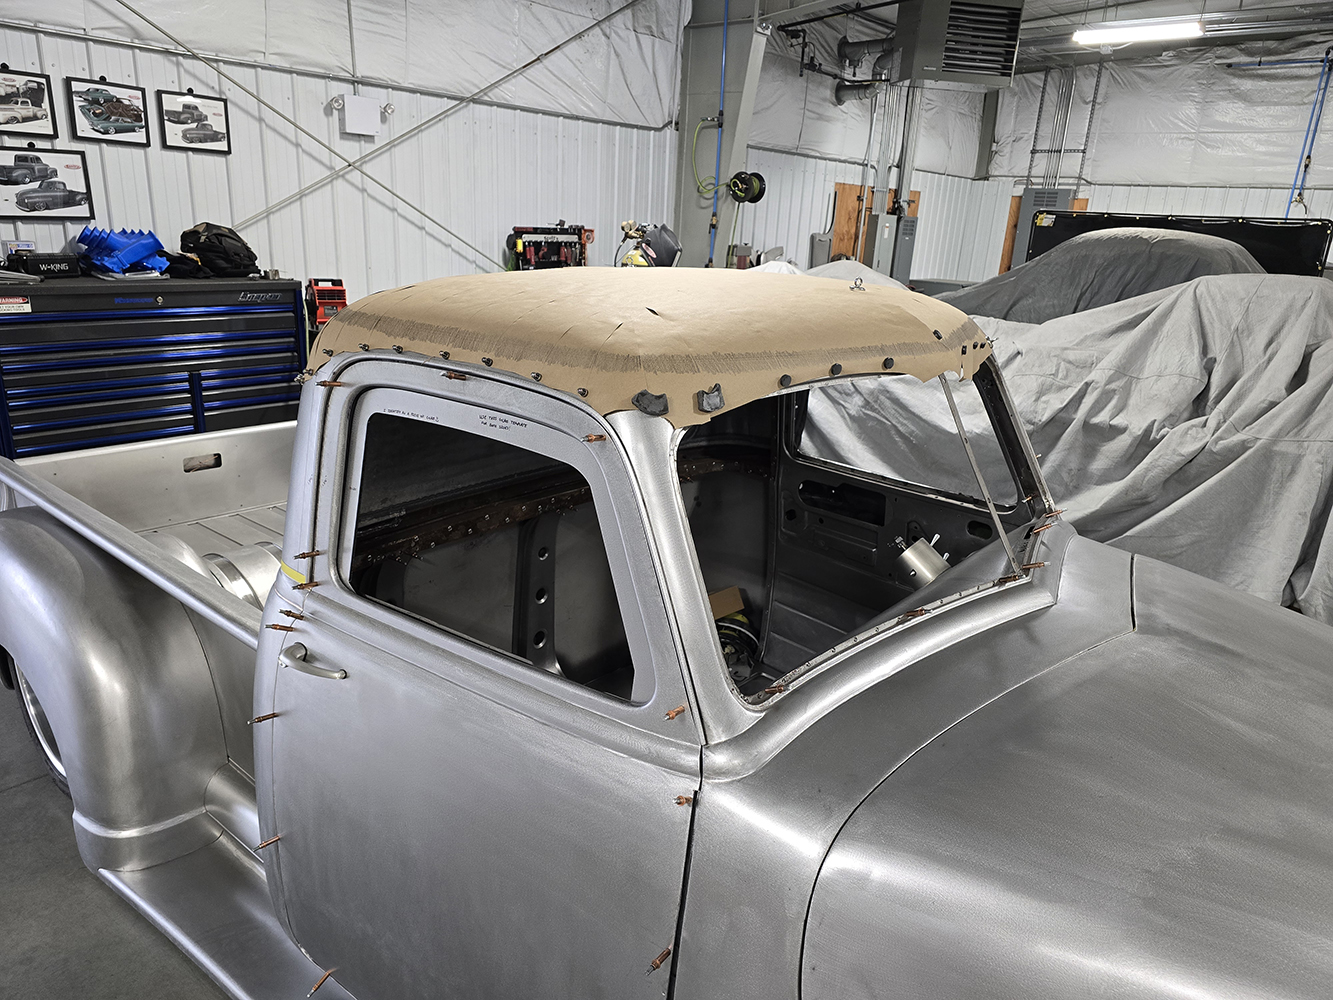
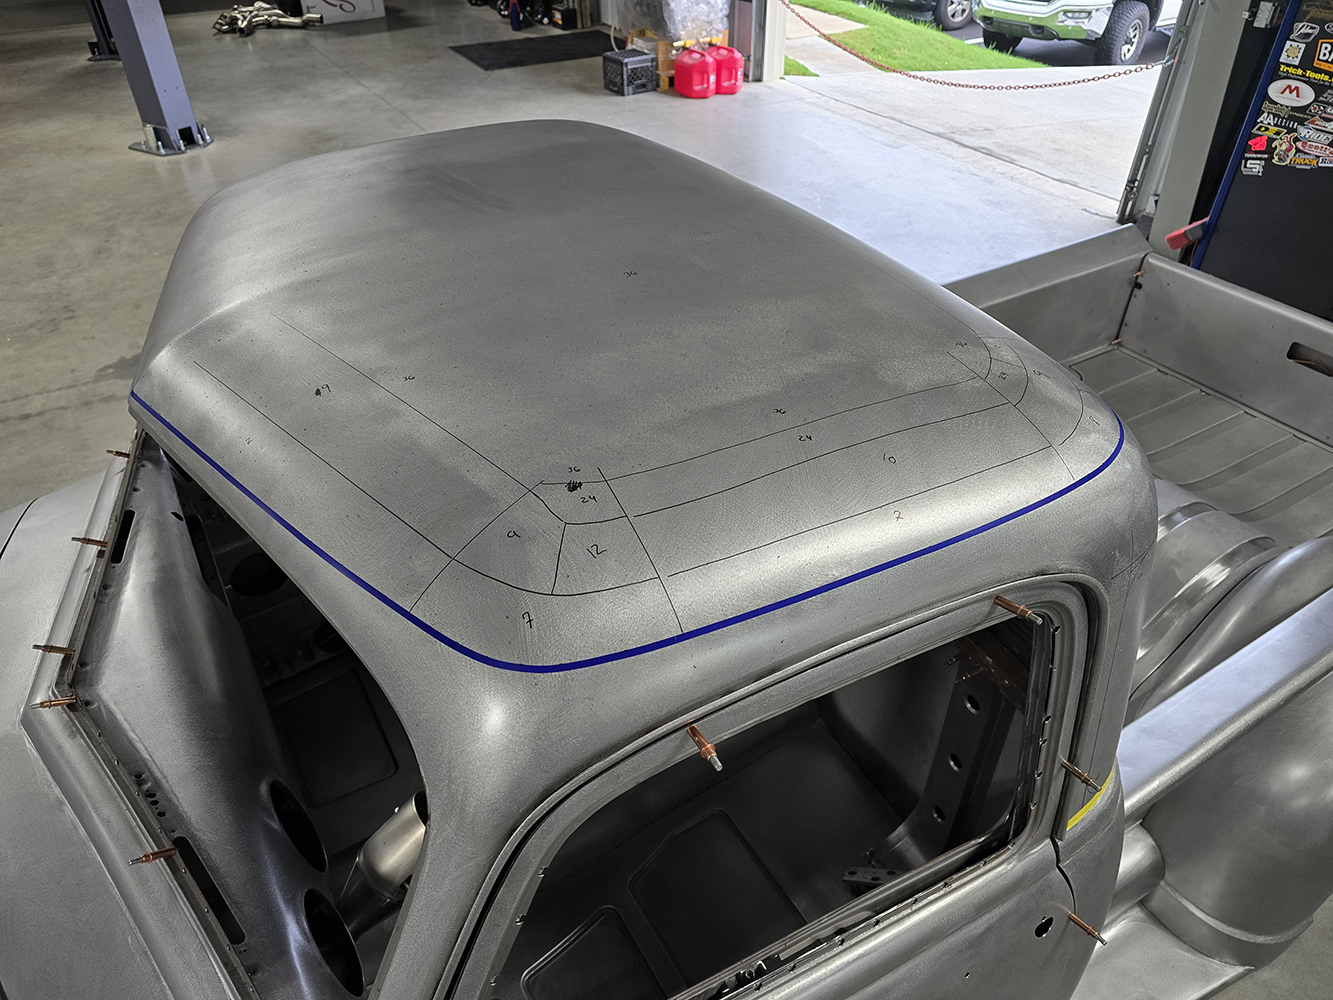
After approval was given, Mark convinced me to do the roofskin before cutting all the glass openings in because the roof would likely change how the glass would look. It was a smart idea, so I took a quick template of the roof and then cut the roof and brow structure out of the truck. I decided to make an entirely new roofskin and kept the original roofskin untouched just in case we didn’t like how it was turning out, as a fail-safe.
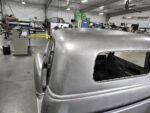
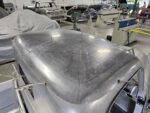
Originally, I wanted to shape the entire roofskin as one piece because I was afraid of putting a weld seam down the center. I quickly realized that it would be far easier to shape if I cut it in half. With two halves, I spent three days shaping the driver side of the roofskin on the Power Hammer. I didn’t quite know what I was trying to achieve, so it took a while to shape, creeping up on the shape I thought looked good. I personally wanted to de-crown the truck, too, so I was keeping that in mind as I was shaping the new skin.

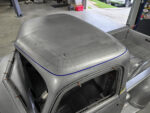
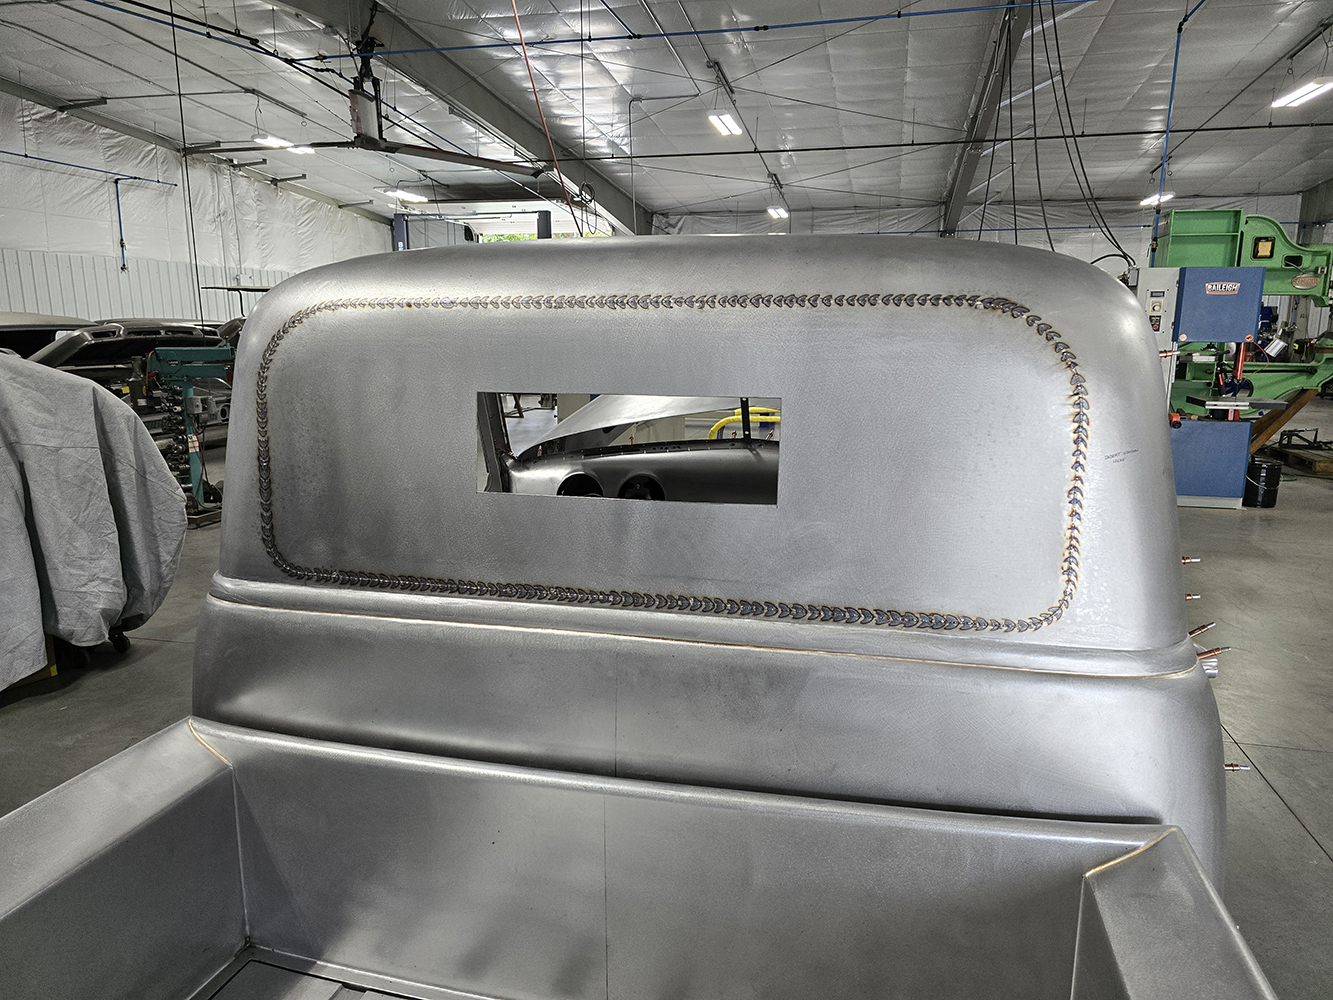
Once I was happy with the driver side, I shaped the passenger side significantly quicker and then welded both halves while still cleco’d to the truck. I used our ProLine Handheld Planishing Hammer to refine the top crown after I had metal finished the middle weld seam (I prefer to planish my weld seams by hand) and then took some quick measurements between the new skin and the original.

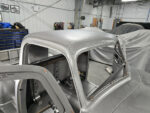
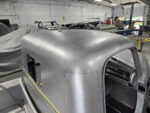
I had pulled about 1-1/2 inches of crown out of the skin and reshaped the back radius of the cab to taper from corner to corner, getting slightly larger in the center, and also wedged the front peak of the truck a 1/2 inch. I want to say now, too, we did not chop the truck. We did not cut into the A-pillars at all. All of the modifications were done strictly in the roofskin.
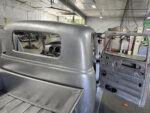
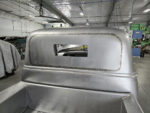
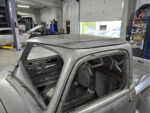
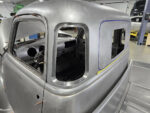
After welding the new roofskin on and spending a couple days metal finishing everything, I went back to laying out the new corner windows and back glass, making the corner windows about a 1/2 inch taller and 1 inch wider than stock, with tighter radiused corners. I also widened the rear window 3 inches and made it nearly 4 inches taller after dropping the bottom edge down 3/4 inch away from the beltline to line up with the corner windows.
Once I liked the layout, I cut the corner windows in and made/welded the window channels in before cutting the back glass opening in. Doing it this way, I didn’t have to add any structure in the cab to hold the roof up.
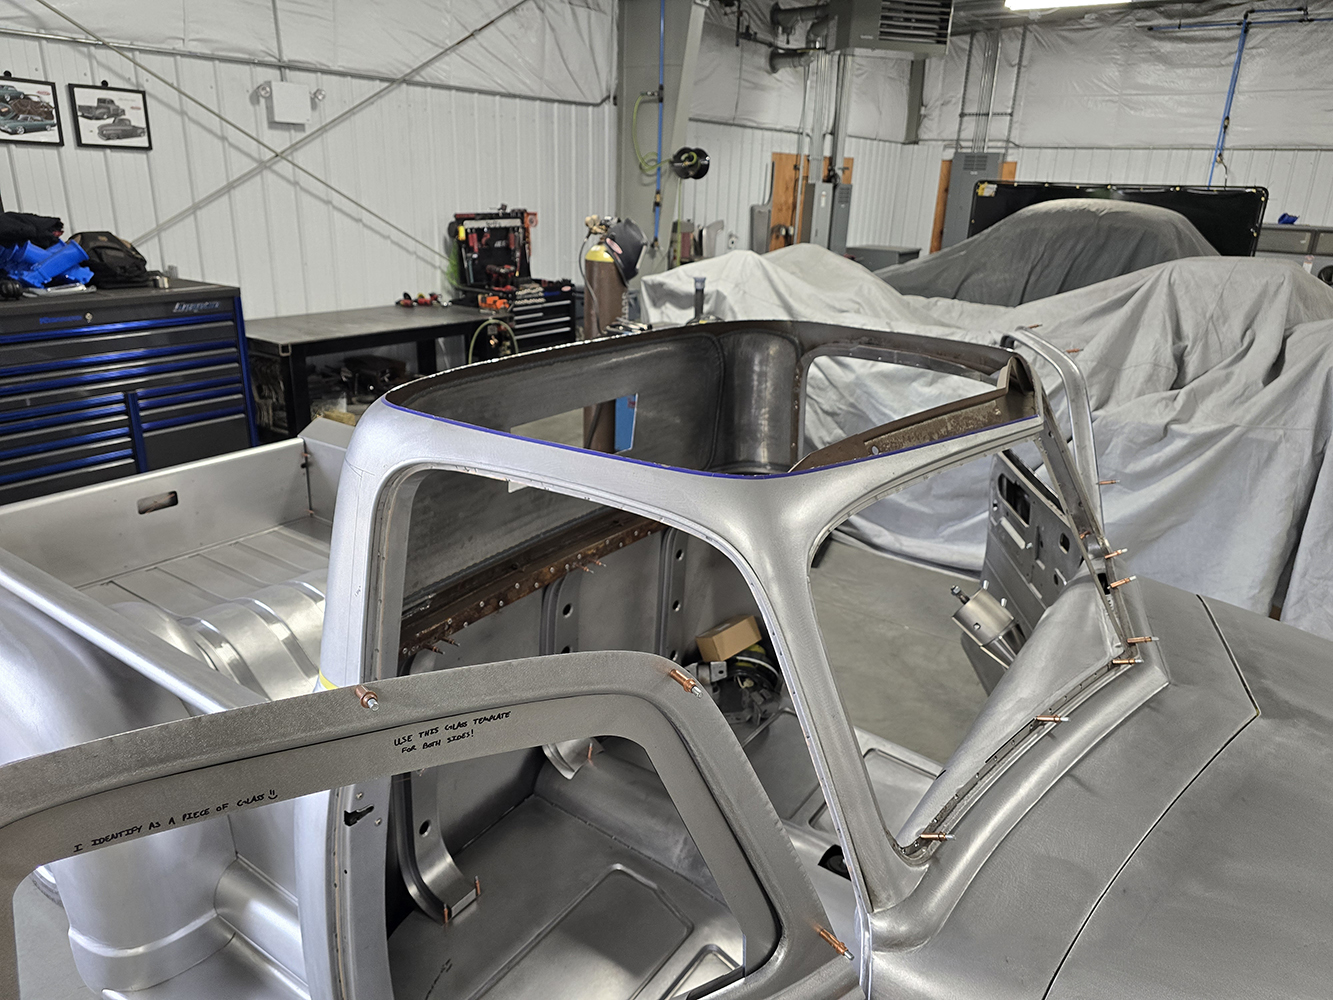
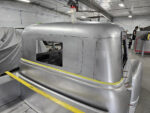
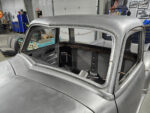
Once the corner windows were finished, I made the back glass window channels and welded those in. Once the back of the cab was metal finished, I jumped to the front window opening. I took a template of the driver side and mirrored it to the passenger side so my window opening cut line would match side to side.
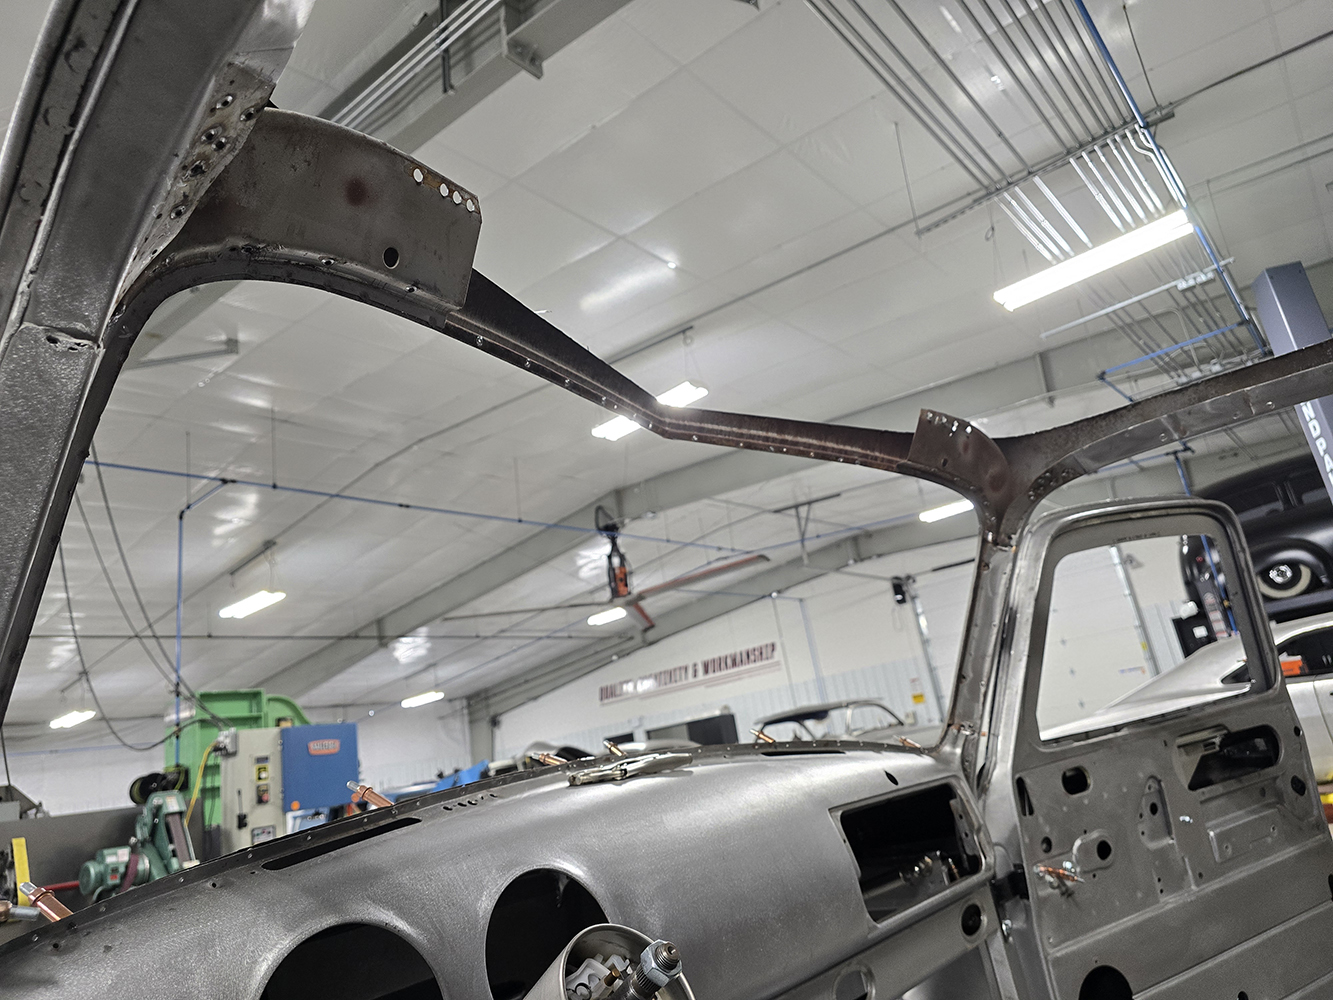
Surprisingly, the window openings were wildly off side to side from the factory. I made the upper and lower radiused corners a little tighter than stock and I pulled the top peak of the window down about 3/8 inch and pulled it forward when I did the roofskin about 1/2 inch for a slightly more aggressive yet understated look.

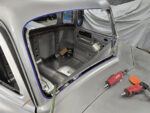
I honestly had no idea how to do the front window, I had to study it for a while and finally came up with something that I hoped would look good, but was still unsure of as I was cutting the original window opening out. Originally, I thought that I should add a small step above the beltline up front so the glass sat off the beltline like the rest of the glass.

However, after doing some math and looking at how I would have to fabricate that, it was significantly more work, and the bottom edge of the front window won’t line up with the door glass opening properly. So instead I made my lower window channel and cut it into the beltline; this worked out much better. After some careful flange fabrication, I made the entirely new window opening and managed to keep the dash in the stock location with the stock flanges on it. From there, I welded up the window opening and metal finished everything.

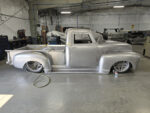
After all these modifications, we end with a truck cab that is wildly reshaped from the beltline up, yet still retains a timeless, near-factory look. I feel like you’d really have to know these trucks in order to spot half of these changes, and I feel like a lot of people will have to do double takes to figure out what’s different here—which is exactly what we are after!
Check out this story in our digital edition here.