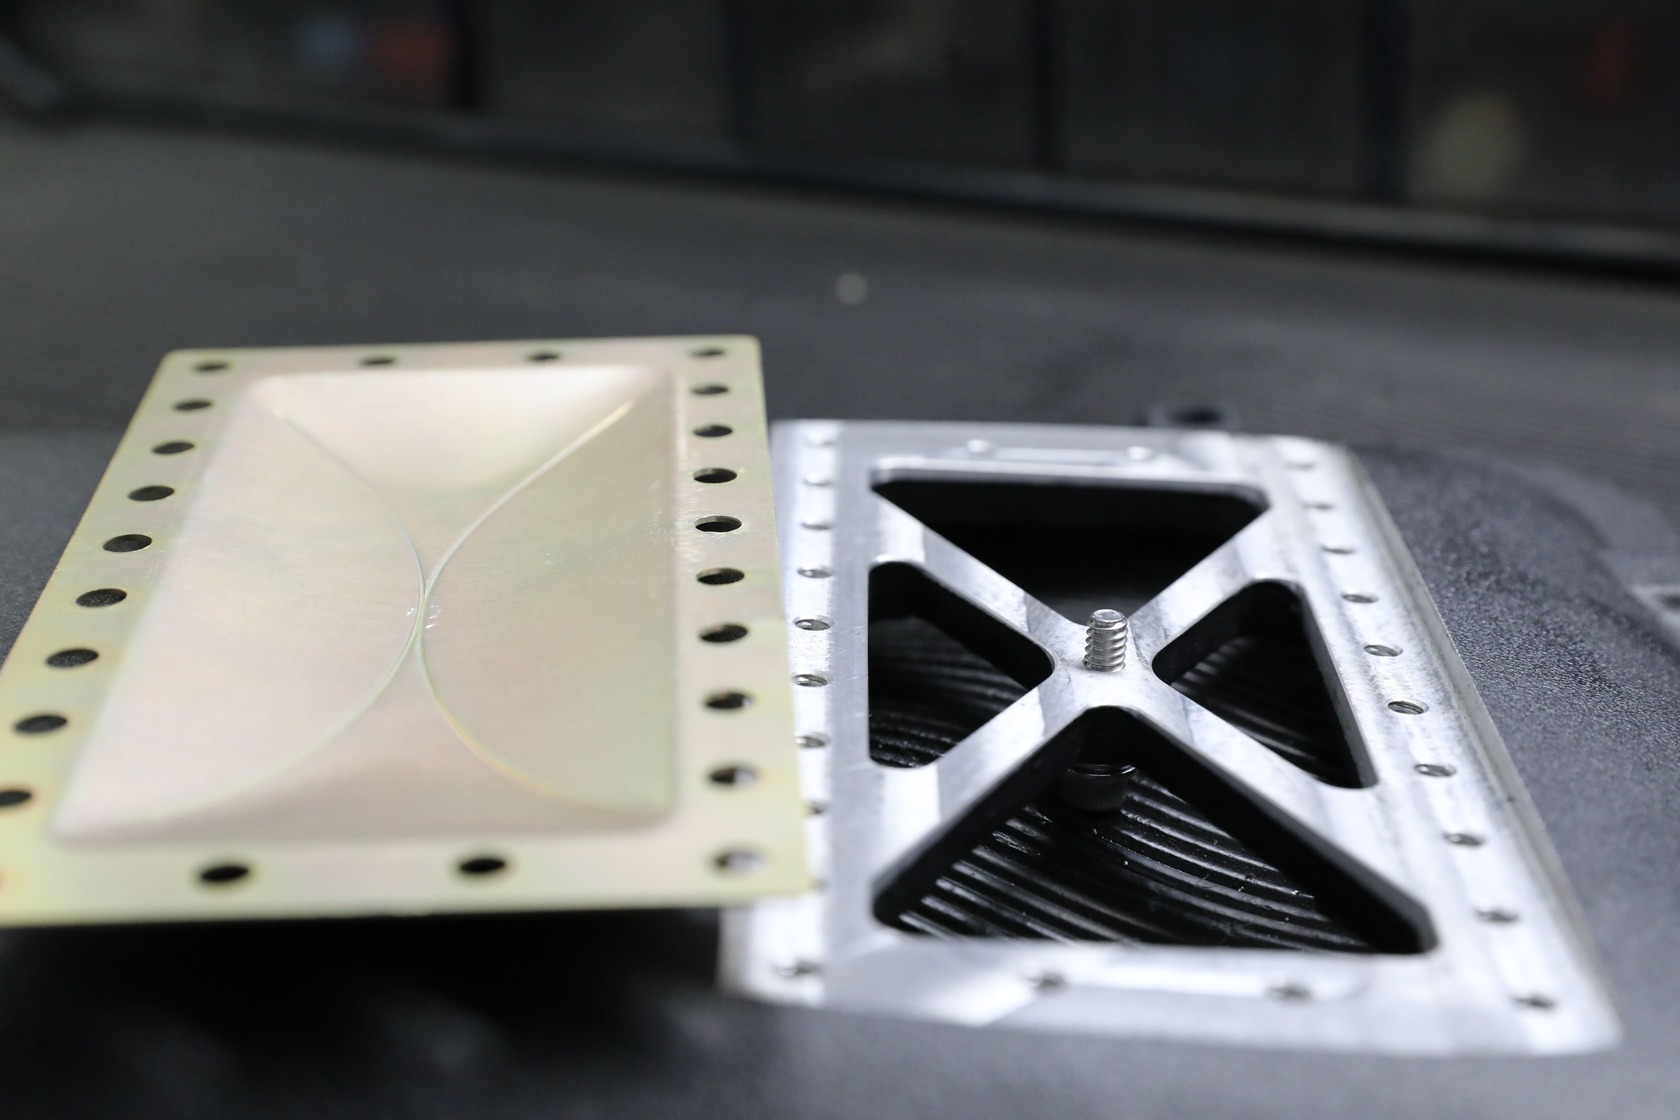
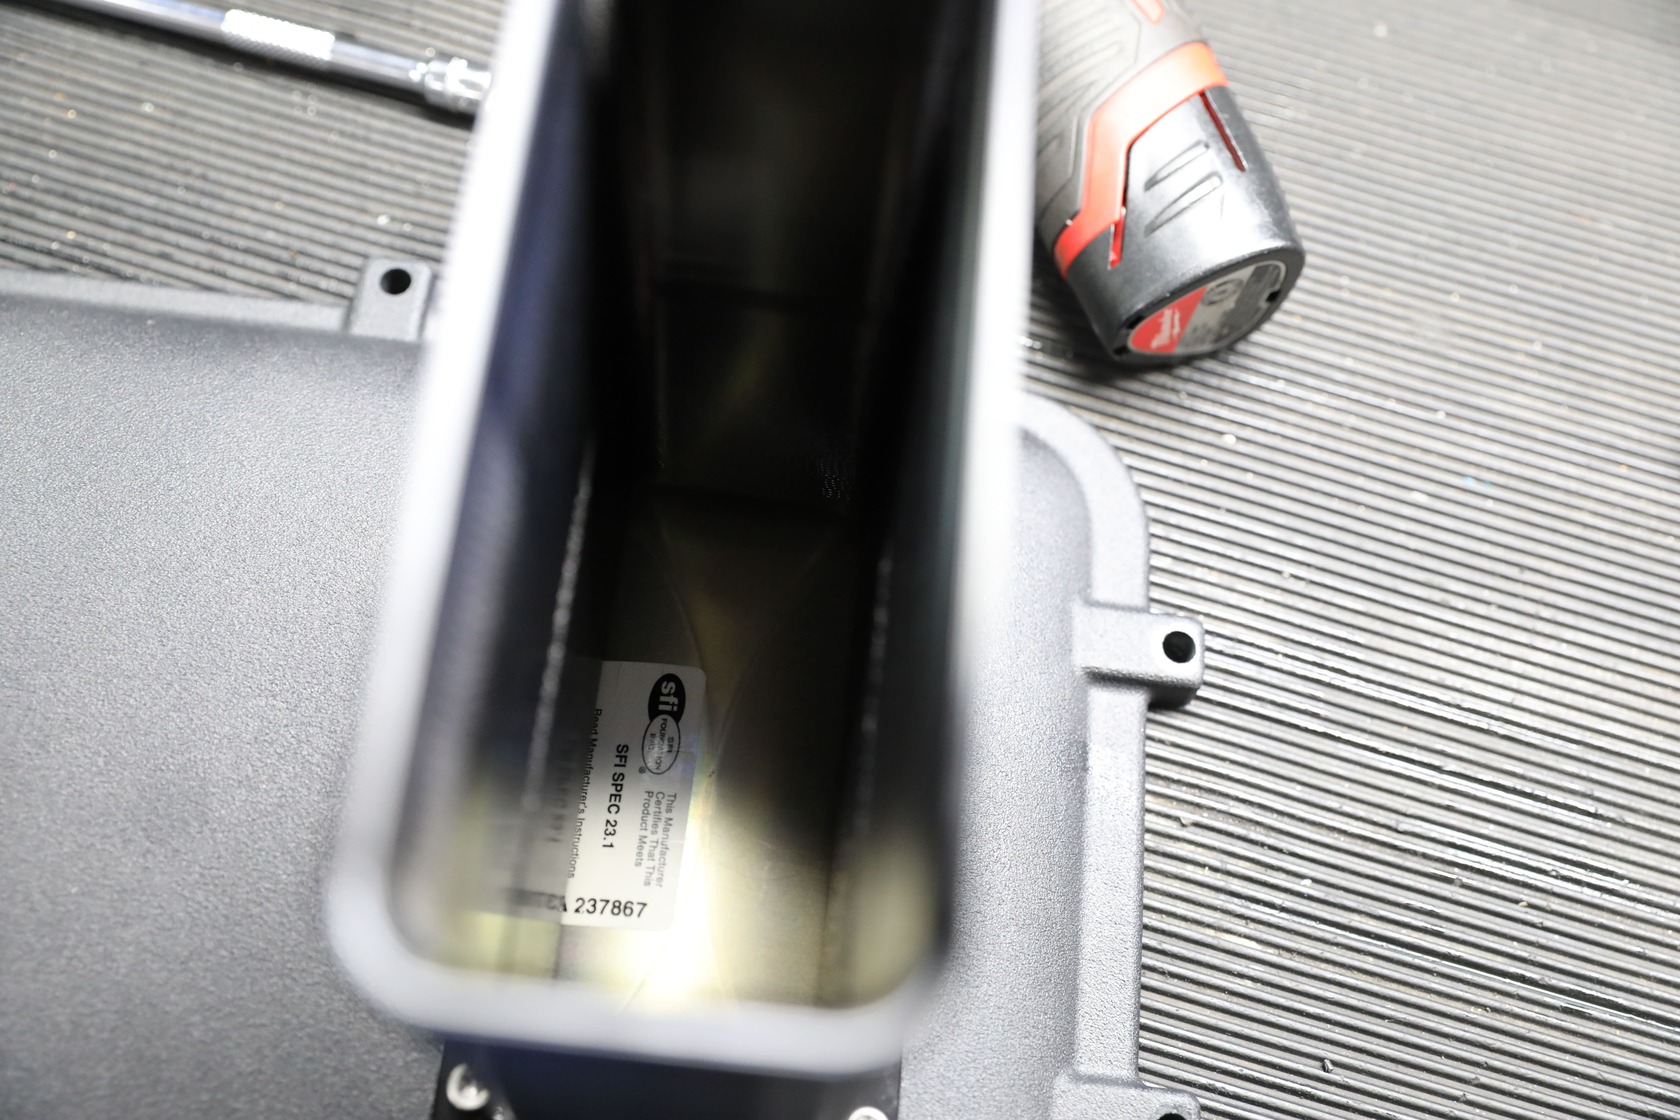
Shown is a Holley Ultra Lo-Ram Intake manifold lid (PN 300-605BK), burst plate duct (PN 300-608BK), and an SFI burst panel, which was purchased separately from Summit Racing (PN ALL26310).
No one looks forward to an engine backfire. They damage parts, singe eyebrows, or—worse–can send hoods and intake manifolds skyward in a crinkled mess. However, in the racing world there exists a clean and clever solution. It’s called a burst panel and it prevents your expensive intake manifold from ballooning like a tin can with a firecracker inside.
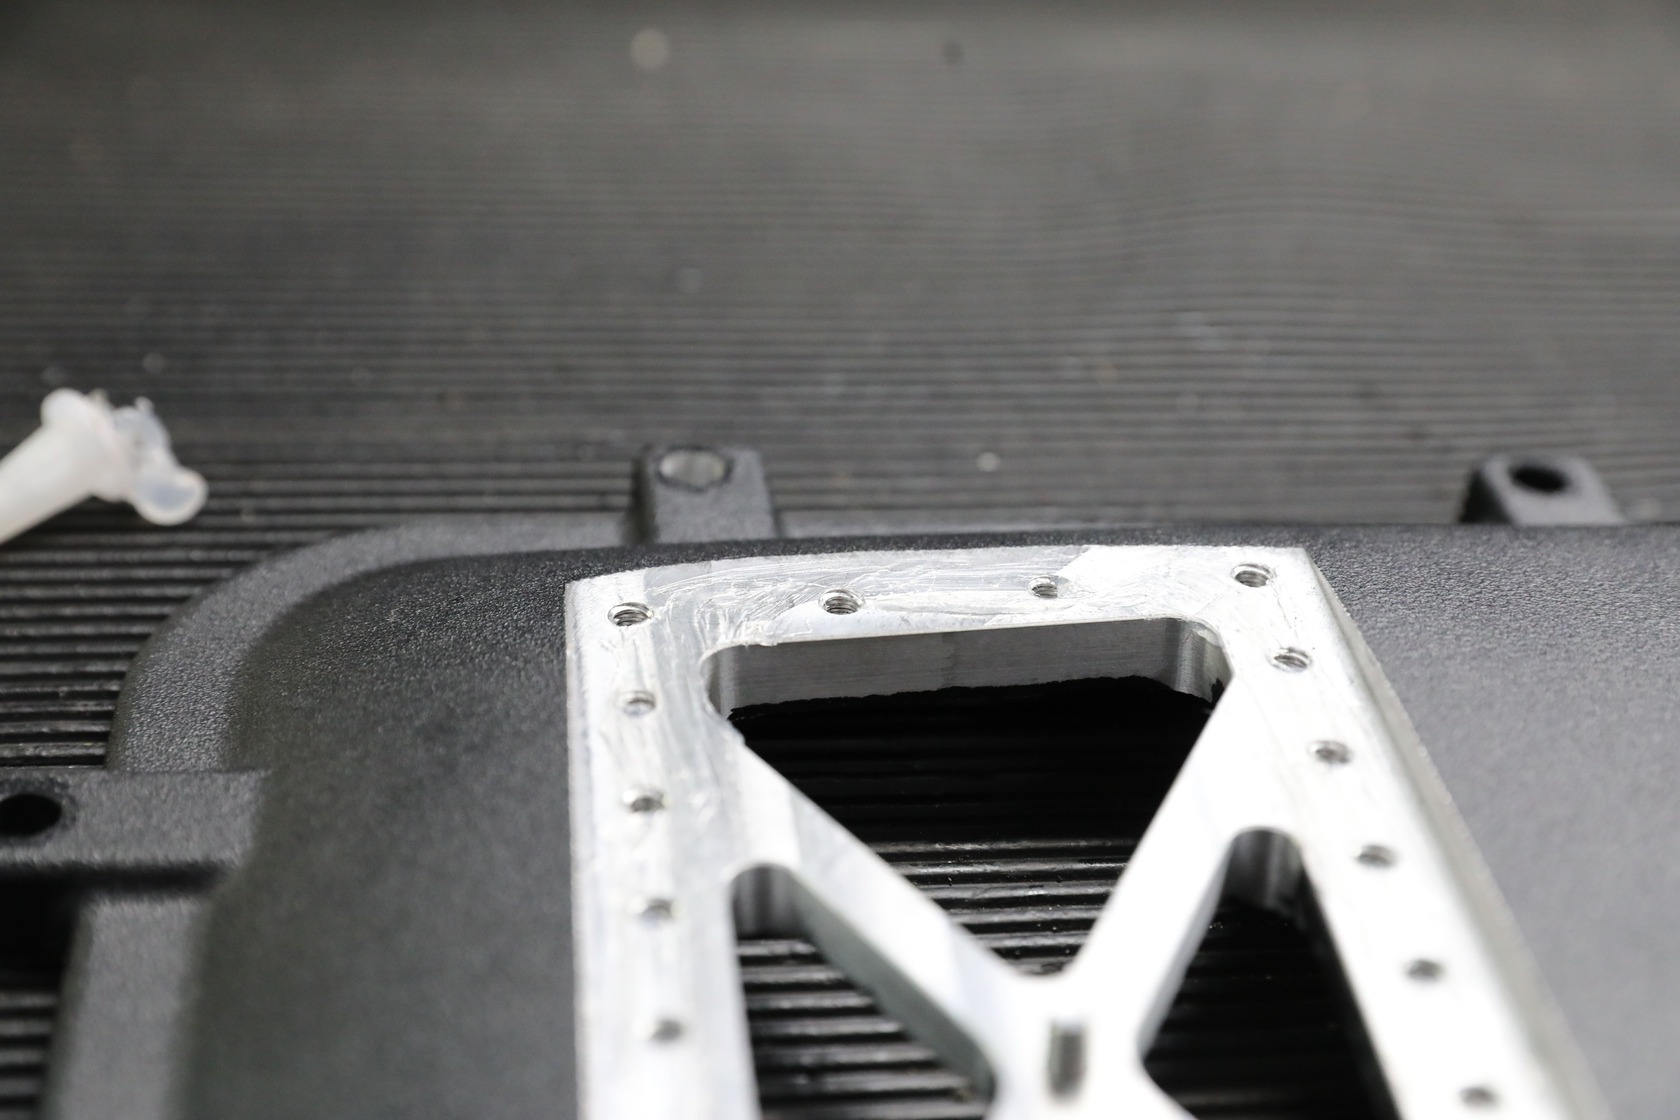
A burst panel can be installed with a gasket (shown) or with a flange sealant. In this installation we used Loctite flange sealant.
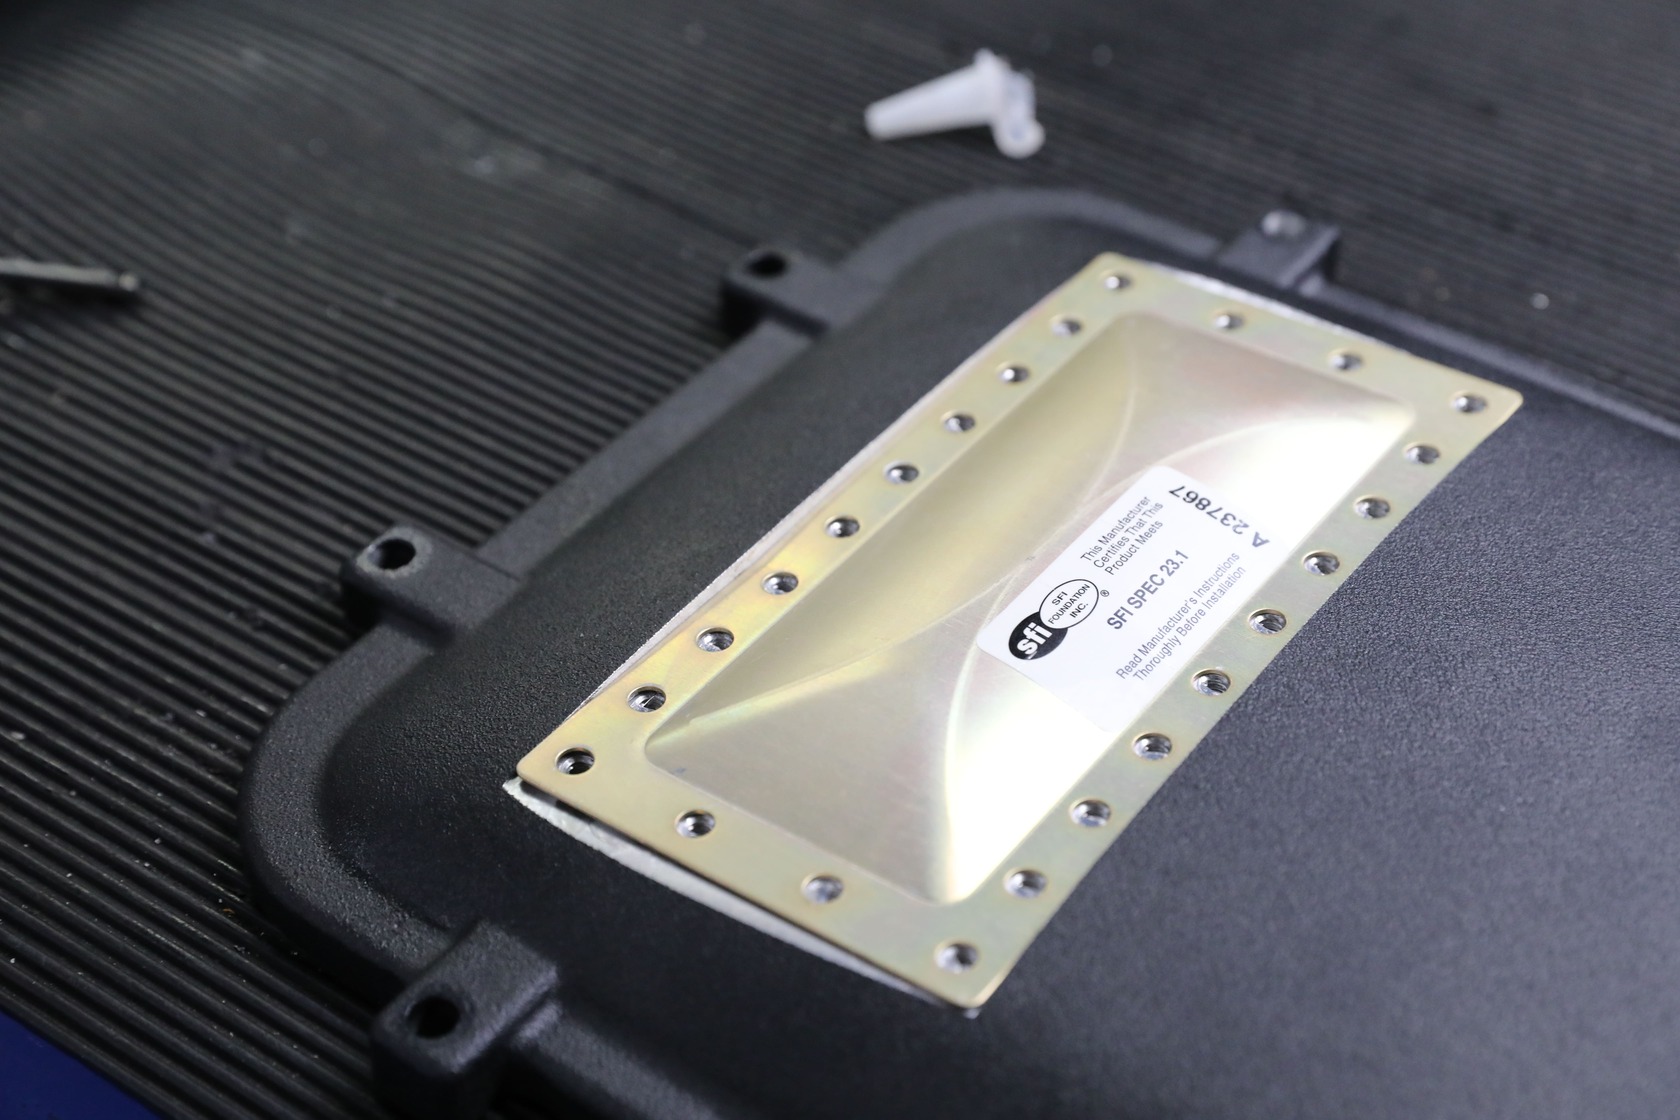
Burst panels are designed as sacrificial components that fail in the event of a backfire and direct that dangerous explosive force harmlessly away from the vehicle. The basic burst panel consists of a machined flange on the top of the intake manifold with a thin, replaceable metal cover. That cover positively seals against the intake manifold during normal operation but, should a major backfire occur, gives way to safely relieve excess pressure.
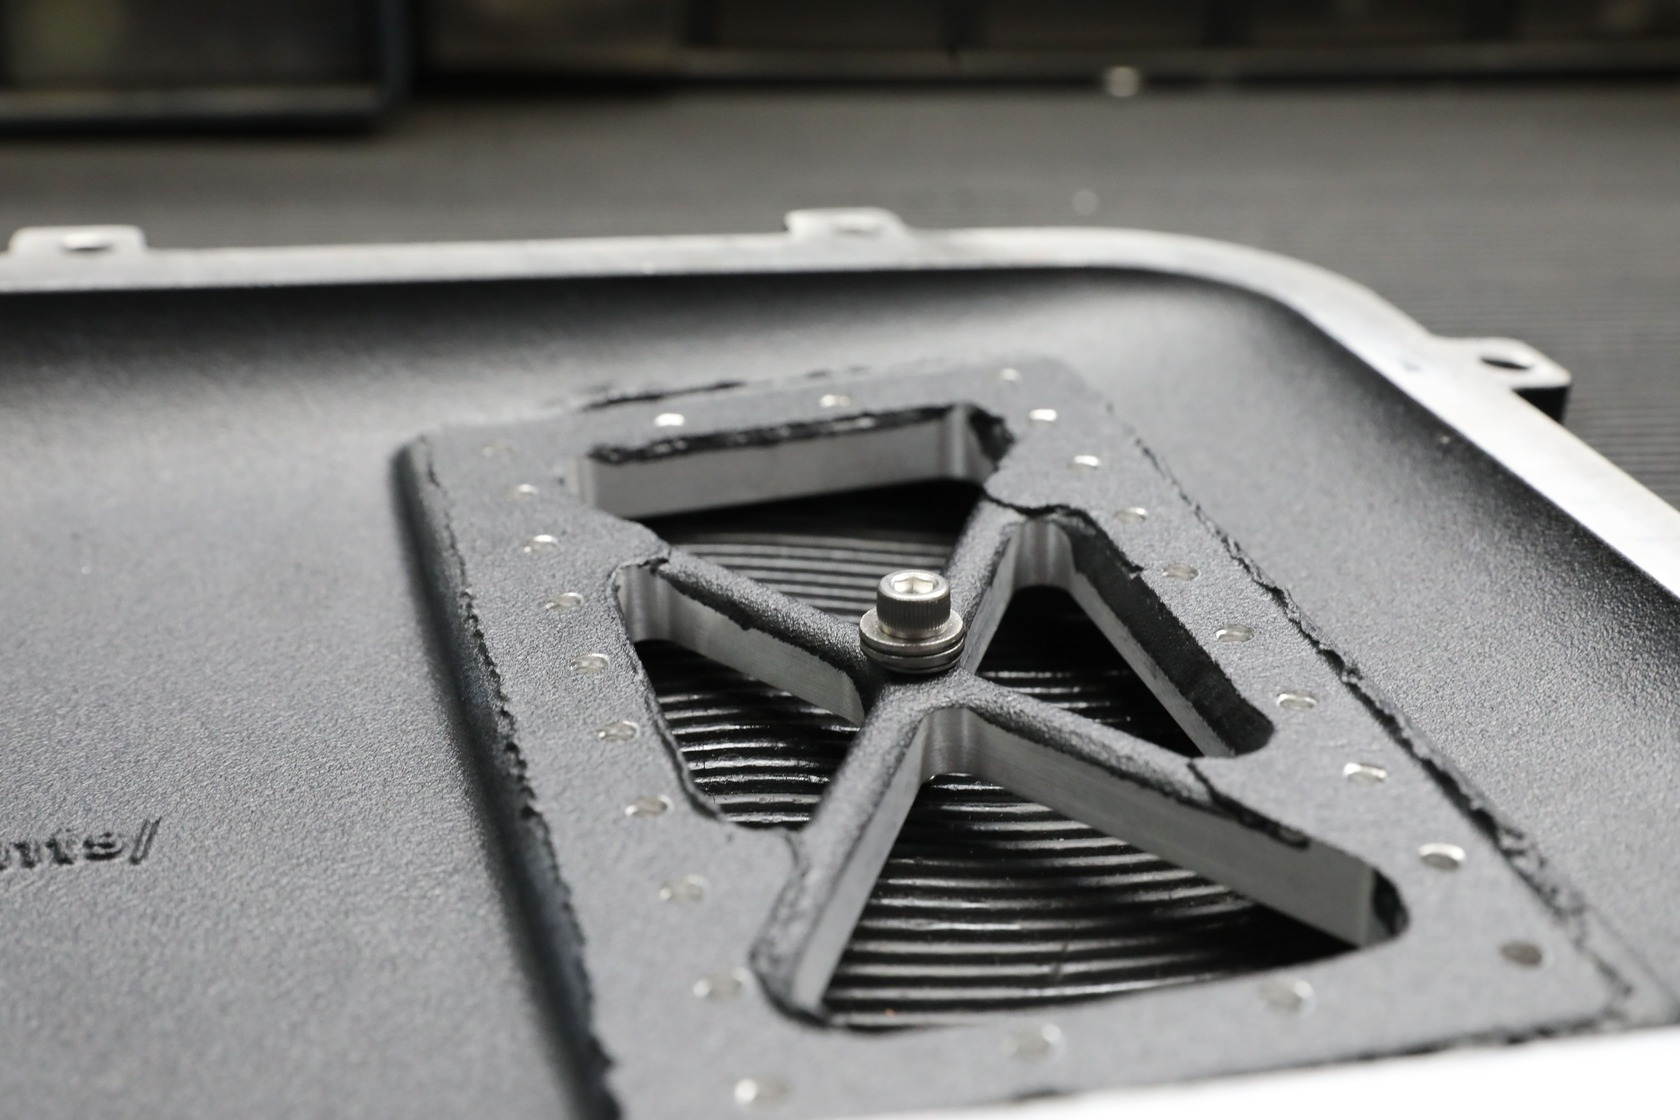
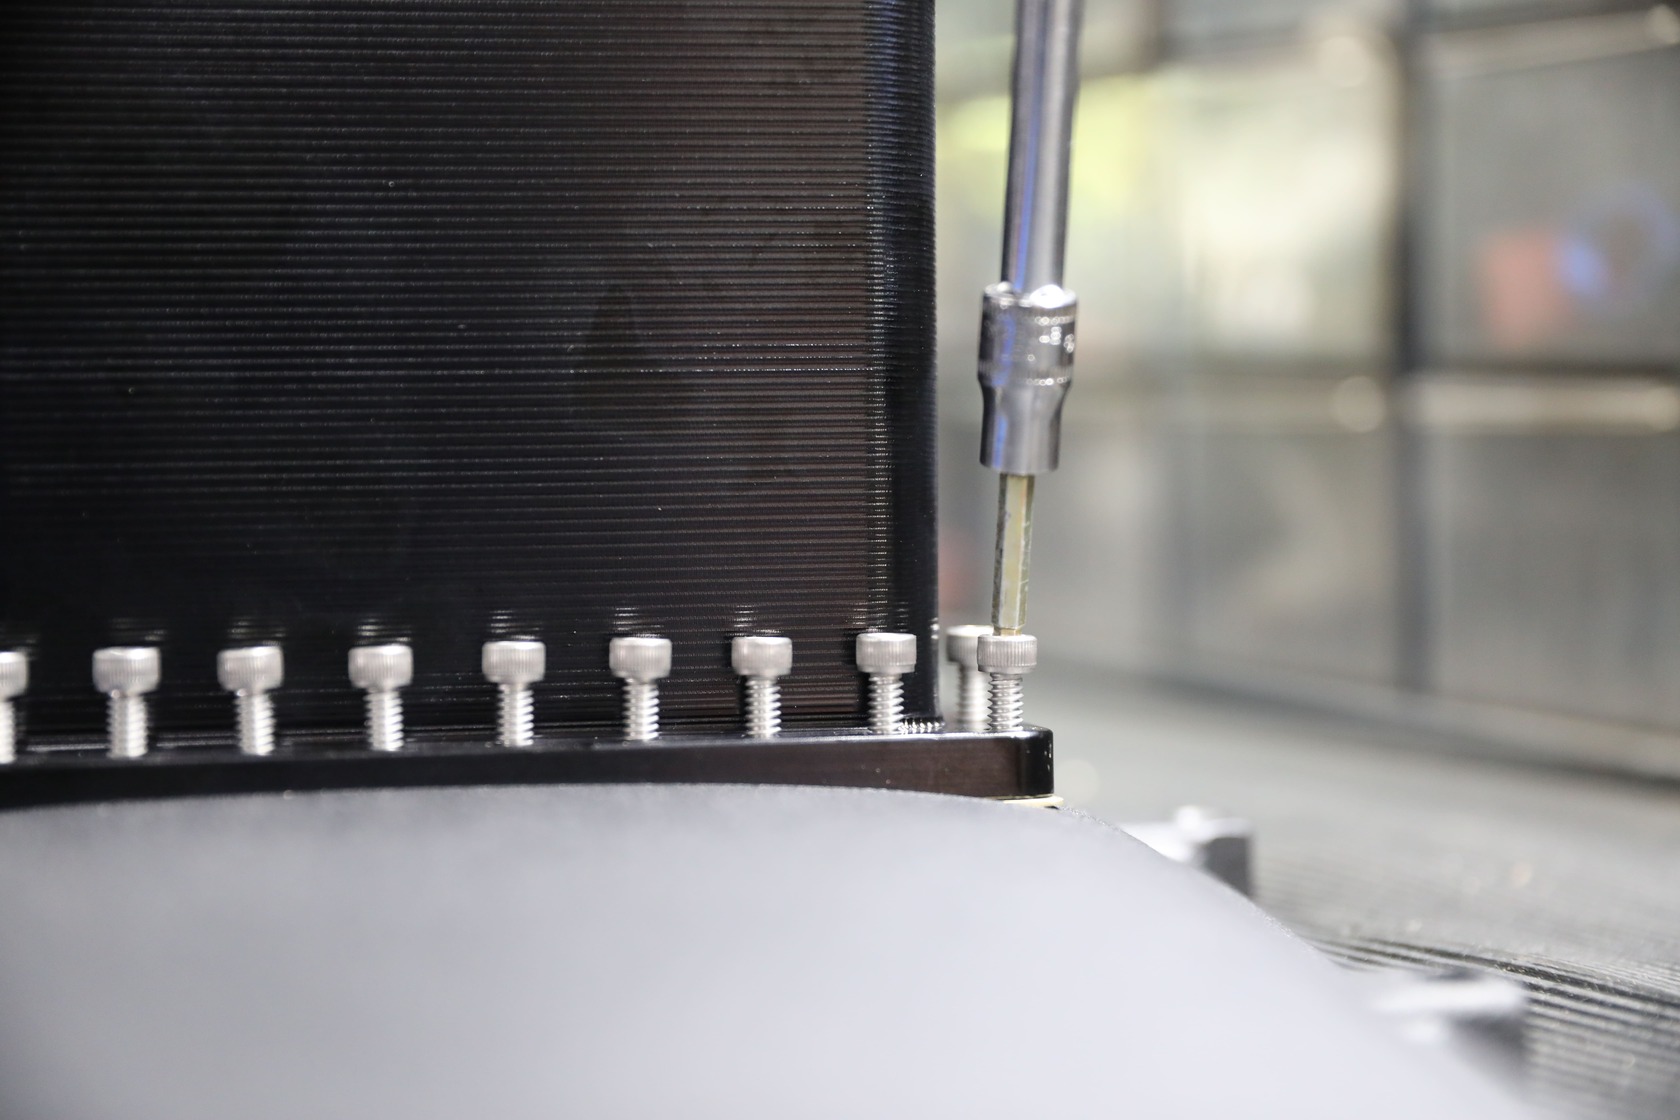
Note the stud in the middle of the burst panel flange. This is to prevent the burst panel from sucking in during intense engine vacuum, such as letting off the throttle at high rpm. Install a screw and washer stack just tall enough to barely kiss the back of the panel without lifting it off the mounting flange.
In this article we’ll detail how to install a burst plate with a Holley front-feed intake manifold lid as our test subject.
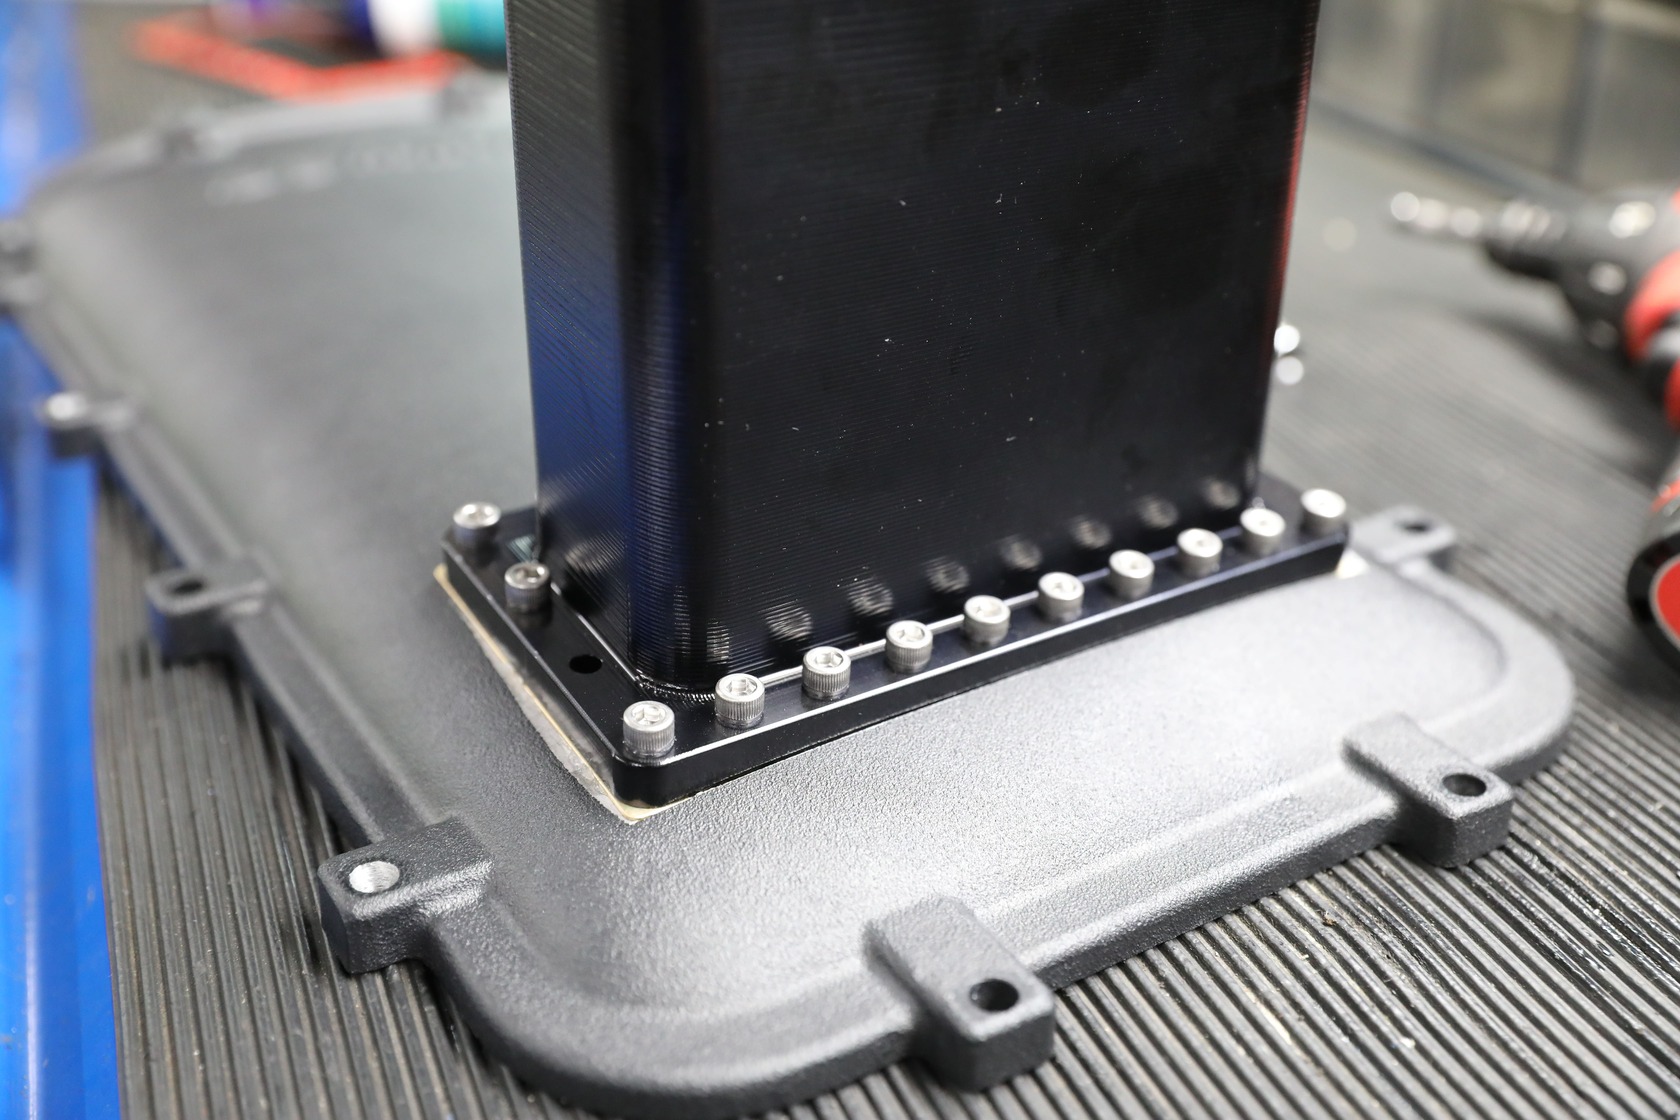
Apply flange sealant across the entire mating surface of the burst panel flange.Install the burst panel onto the recessed area of the intake manifold, make sure it fits properly and all the fastener holes line up. The material is intentionally very thin so there are quite a few fasteners.Tighten the fasteners, equally alternating sides. We used a dab of blue Loctite on each to make sure they wouldn’t back out under operation.
Some engines, especially those with exposed intakes may run the burst panel with just a cover. However, if a racer is trying to duct any potential backfires past the hood, a vent such as this will help accomplish the goal.The SFI burst panel is now safely sandwiched between the vent and the intake manifold, and the completed lid is ready to be installed on a Holley Lo-Ram intake. The burst panel is prepared for the worst, but let’s hope it never needs to do its job.
We use cookies to ensure that we give you the best experience on our website. If you continue to use this site we will assume that you are happy with it.