In the past, I’ve done a few “resto” interior kits that entailed a new bench seat cover, pop-on repop door panels, and so on. But when it comes to a custom interior, I’ve typically shied away from those primarily due to the inability to afford a full custom trim job, even in the small confines of the average truck cab (hence why I relied on the resto-type kits in the past). But for the 1969 C10, I wanted to go the extra mile, and fortunately for both the wallet and the time frame concerns, TMI Products came out with exactly what I was looking for: their online Custom Configurator where you and I and anyone with an Internet connection can click ’n’ choose a full custom interior package for your 1967-72 C10 (as well as many other makes/models), from the seat to the door panels, dash to the headliner, and carpet!
From “interior in a box” to a full custom interior in a 1967-72 C10, TMI is literally your one-stop shop (online or in person) for classic truck, muscle car, and hot rod interior kits. Follow along as our 1969 Stepside gets the first appointment at TMI’s Installation Center in Corona, California.
Toward the end of 2023, I approached my old friend Ross Berlanga at TMI (we’ve known and worked together since the ’90s!) about doing a seat and door panels for my ’69 project, and he asked if I were in a hurry because TMI had some new things brewing. Well, seeing as the truck wasn’t even running, of course I wasn’t in a hurry. That following SEMA show, TMI introduced some brand-new seating options as well as new detail stitching options, but also their new online design center (followed by their fantastic in-house design center in 2024, where customers can come in and “sample” seating and see color/material options in person!).
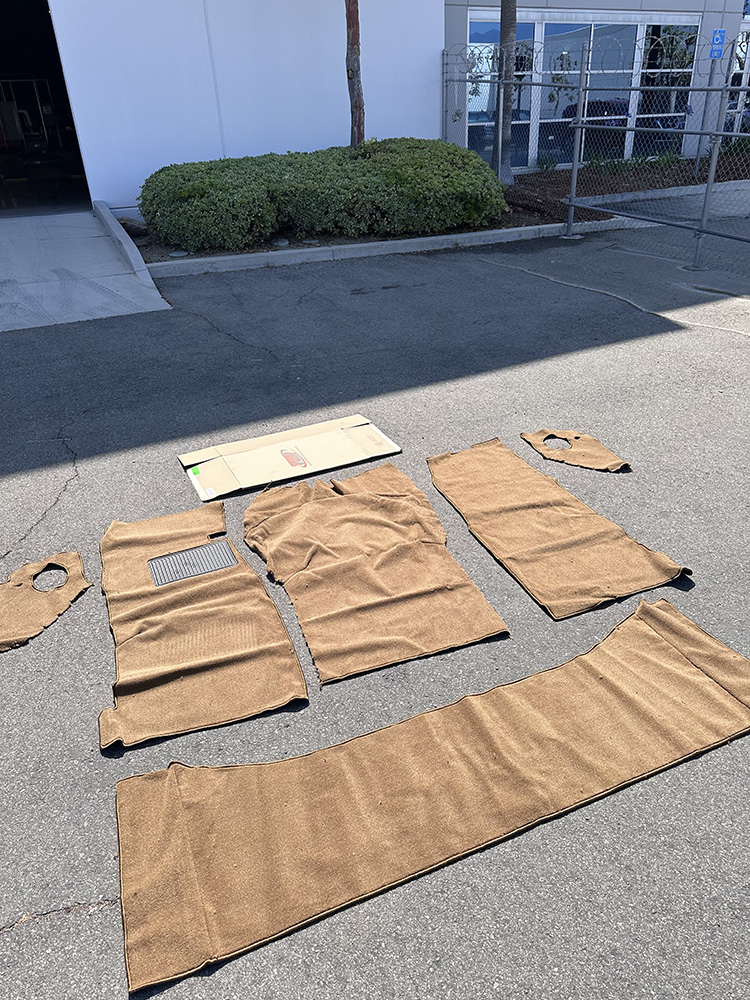
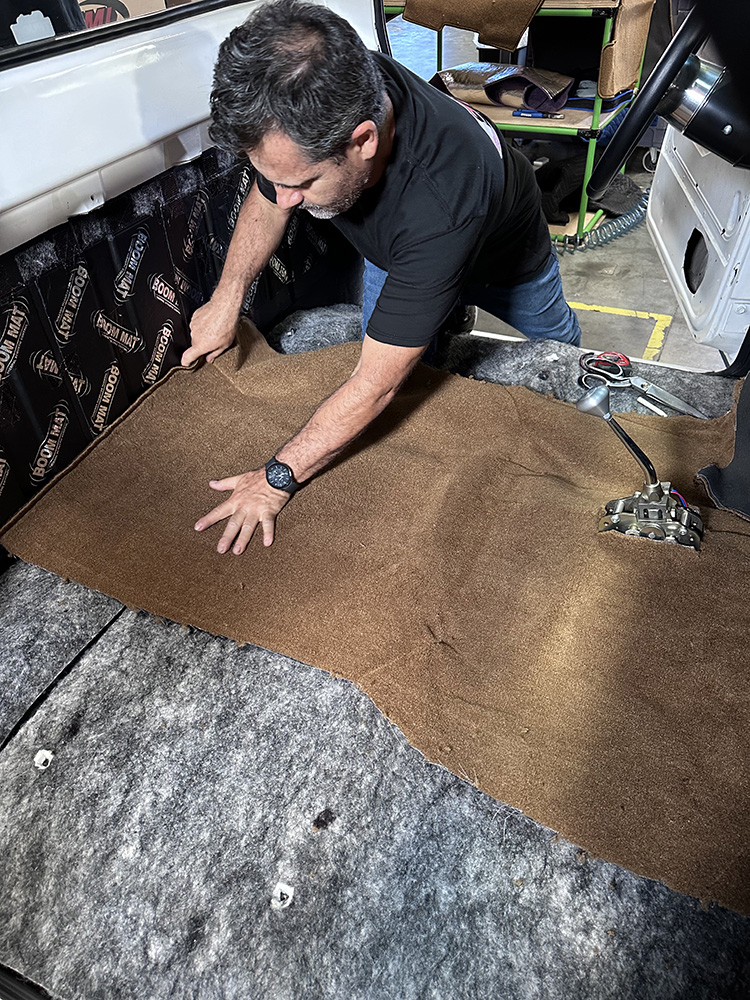
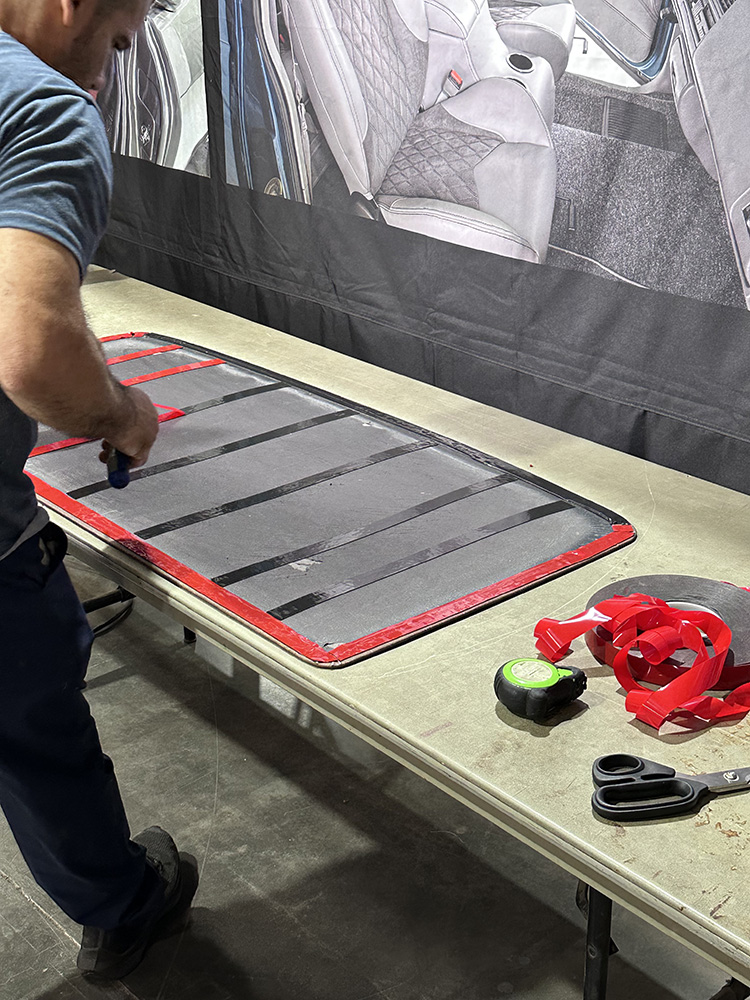
After unboxing our interior (it was sent to us before TMI opened their installation center), the carpet kit was laid out in the sun for some Mother Nature unwrinkling.
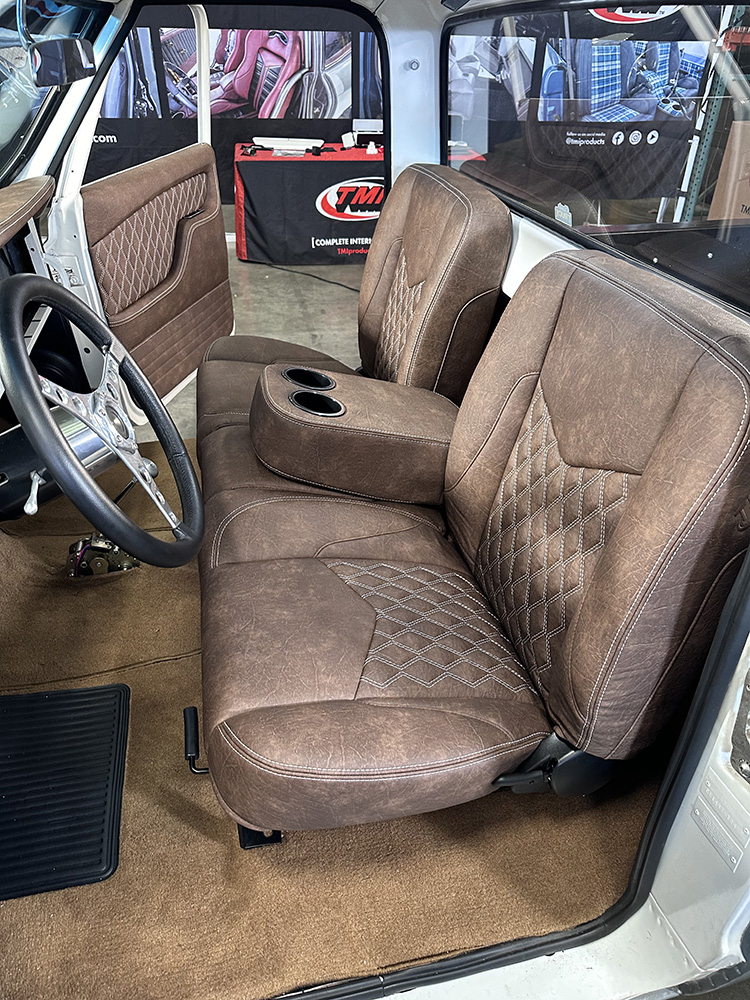
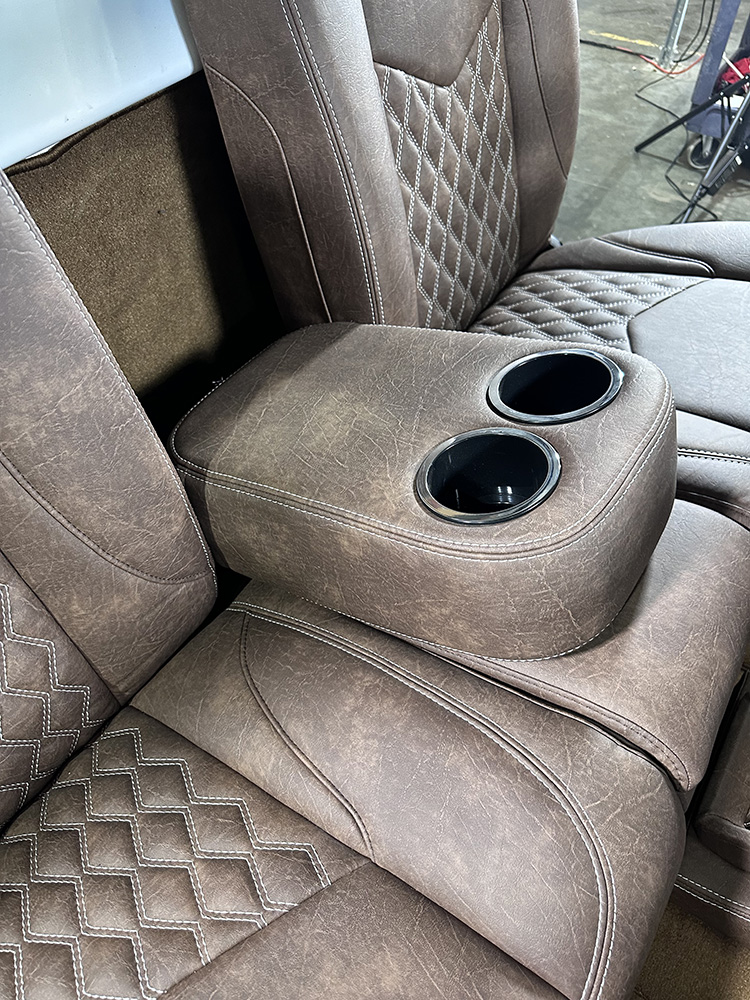
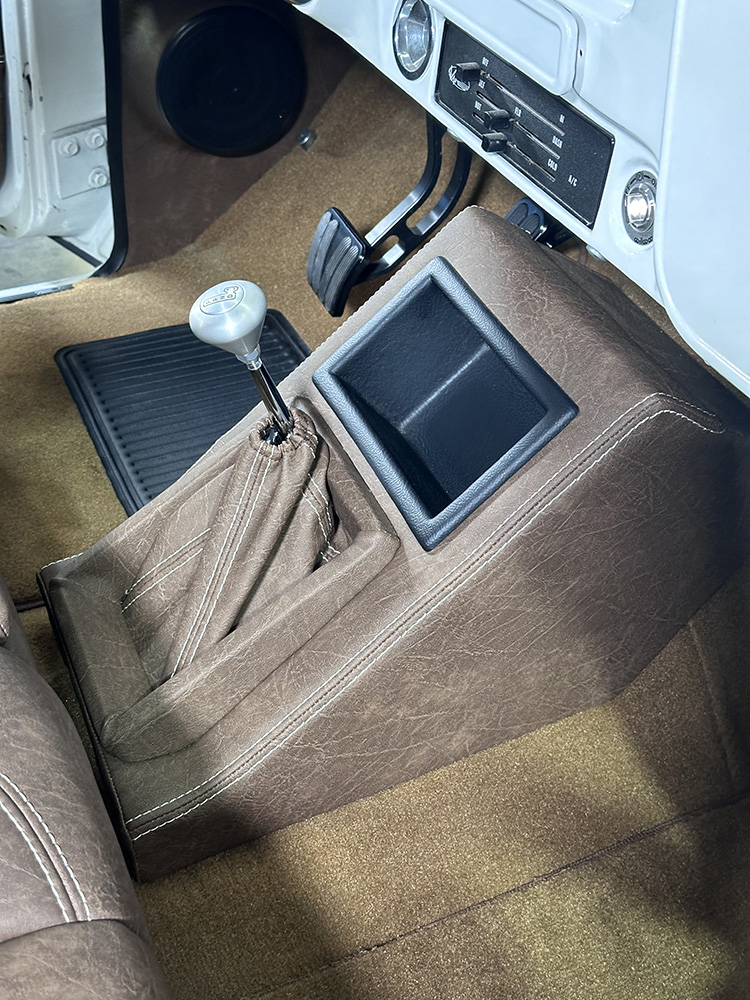
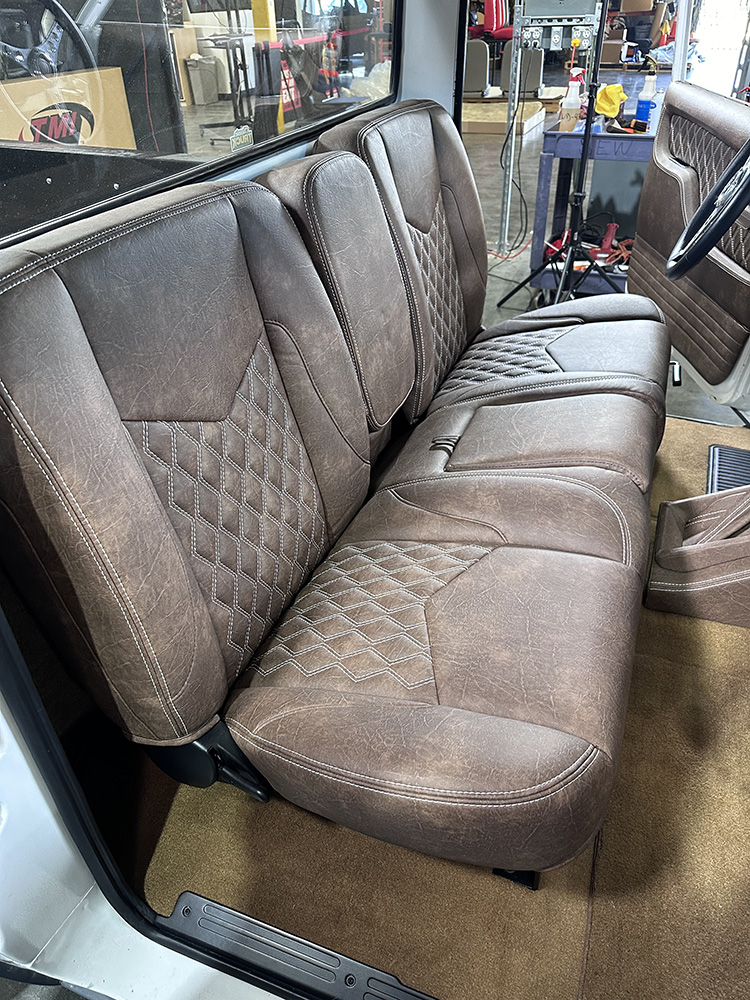
Last June Berlanga called saying they were ready for my truck—in TMI’s just-opened installation center—and despite having given him material/color samples I’d chosen, he’d gone ahead and done the choosing for me! From their new Pro-Series Universal Sport DD (double diamond stitched) 60-inch Deluxe bench seat wrapped in premium distressed brown vinyl with white contrast stitching (with fold-down center armrest/drink holder AND incognito fold-forward cubby hole) with matching door panels to their new full-length carpet (including the cab back panel) to the headliner and sun visors. Additionally, TMI developed two all-new options for 1967-72s (and later/earlier models): the center console with integrated shifter boot (perfect for the larger Lokar ESM shifter) and additional material to cover our Custom Autosound kick panels!
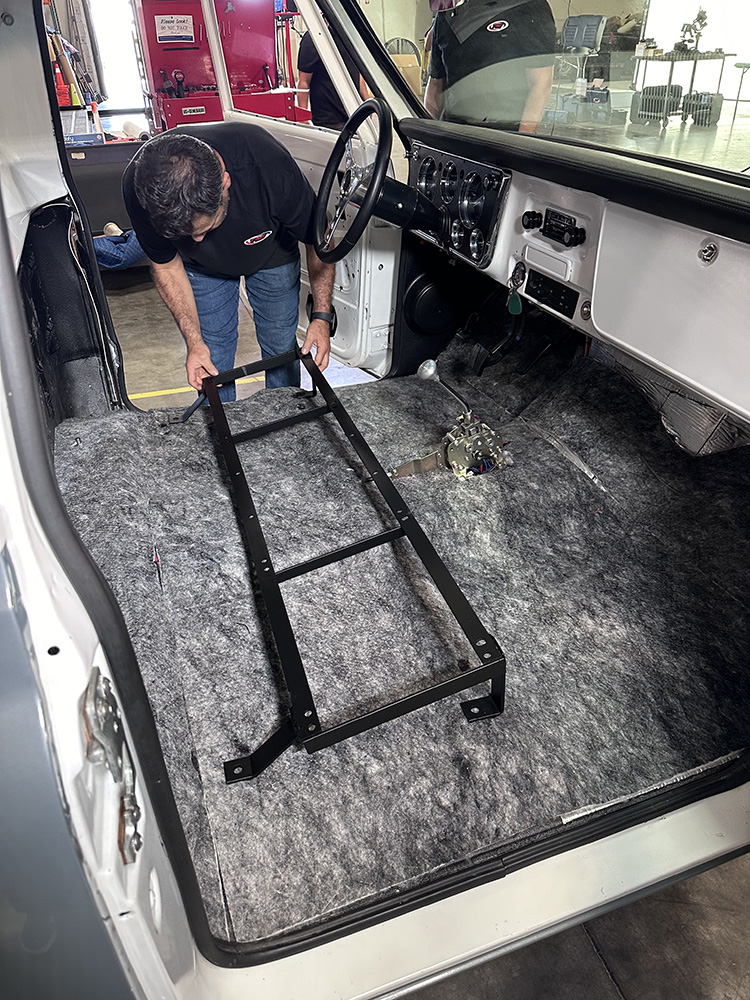
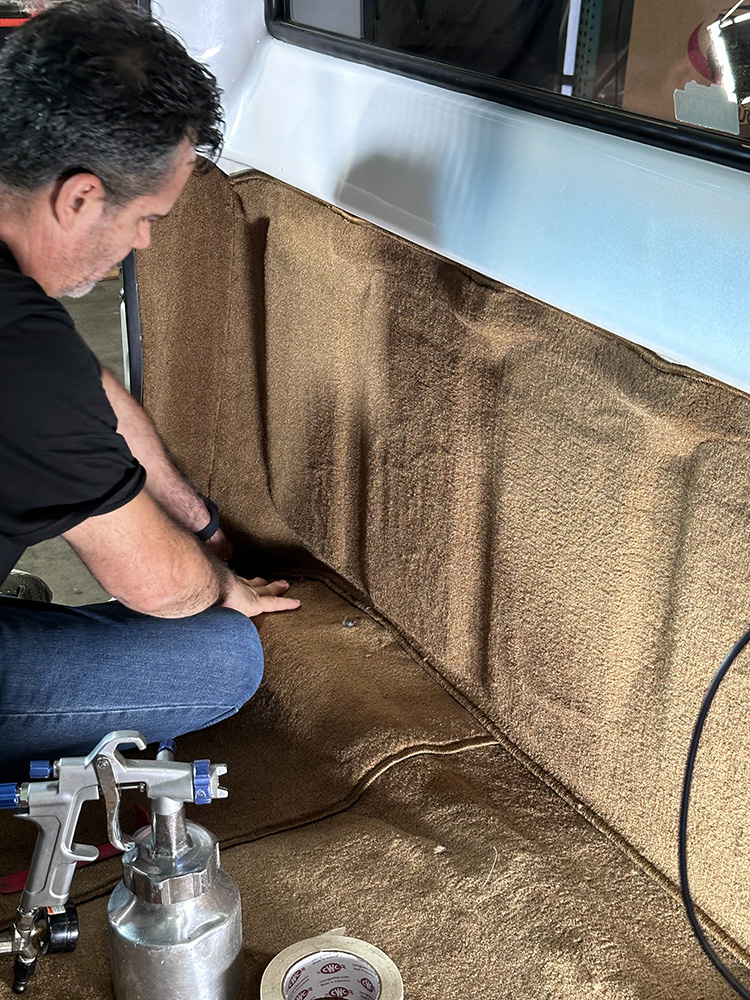
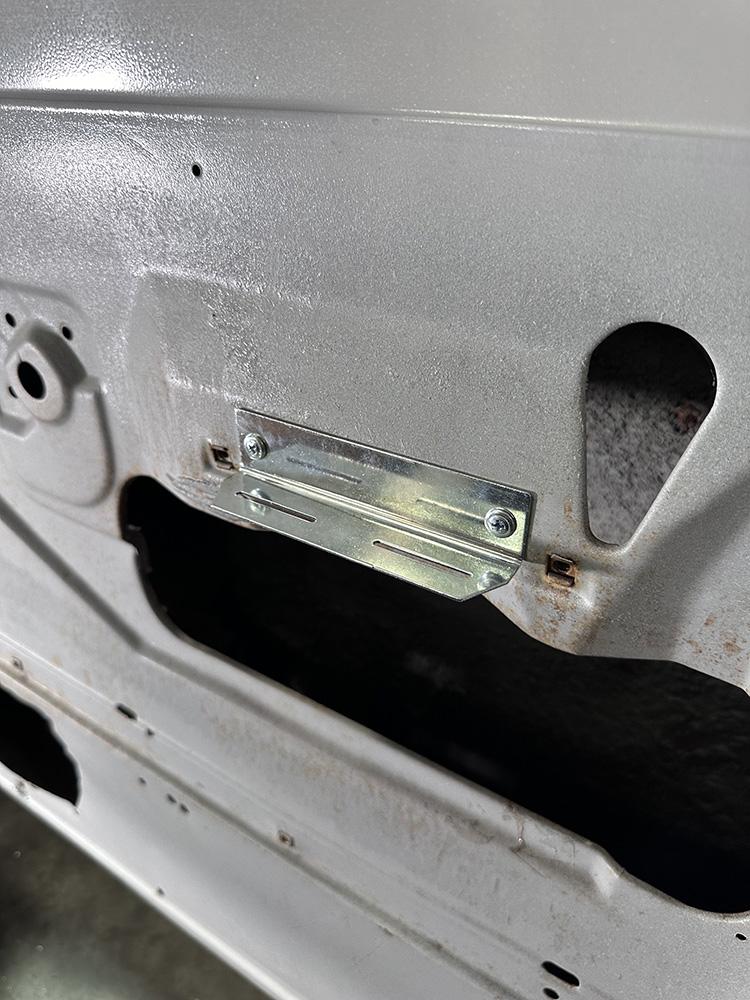
Meanwhile, TMI’s head install tech, Oscar Ramirez, began the job by locating the mounting holes for the bench seat frame. Note that while the ’69 had previously been equipped with Boom Mat padded insulation, TMI offers their own with their carpeting.
With a freshly (Boom Mat) insulated cab and no old interior to remove/dismantle, it took no time at all to install the TMI Products interior—and there’s no reason why it should/would take you any longer than a full weekend to do so yourself! It was a pleasure being one of the first to work with TMI in their brand-new installation center. If you’ve got a project you’re thinking of putting a TMI interior in but aren’t sure about your installation skills, give them a call and weigh your options of having them professionally install it for you … tell them CTP sent you!
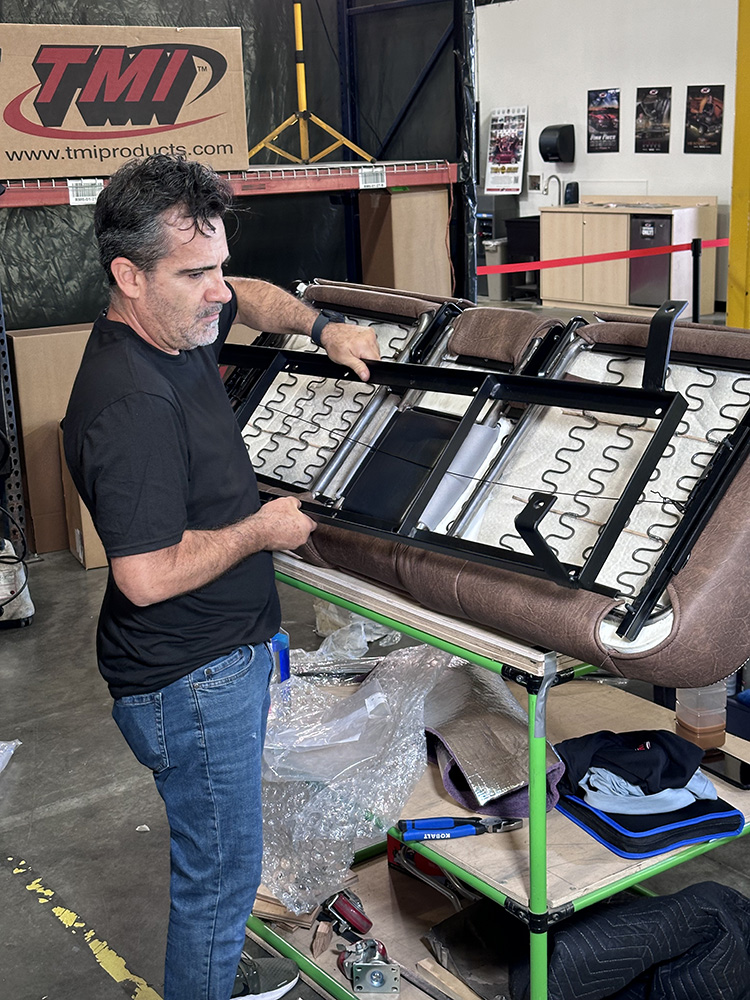
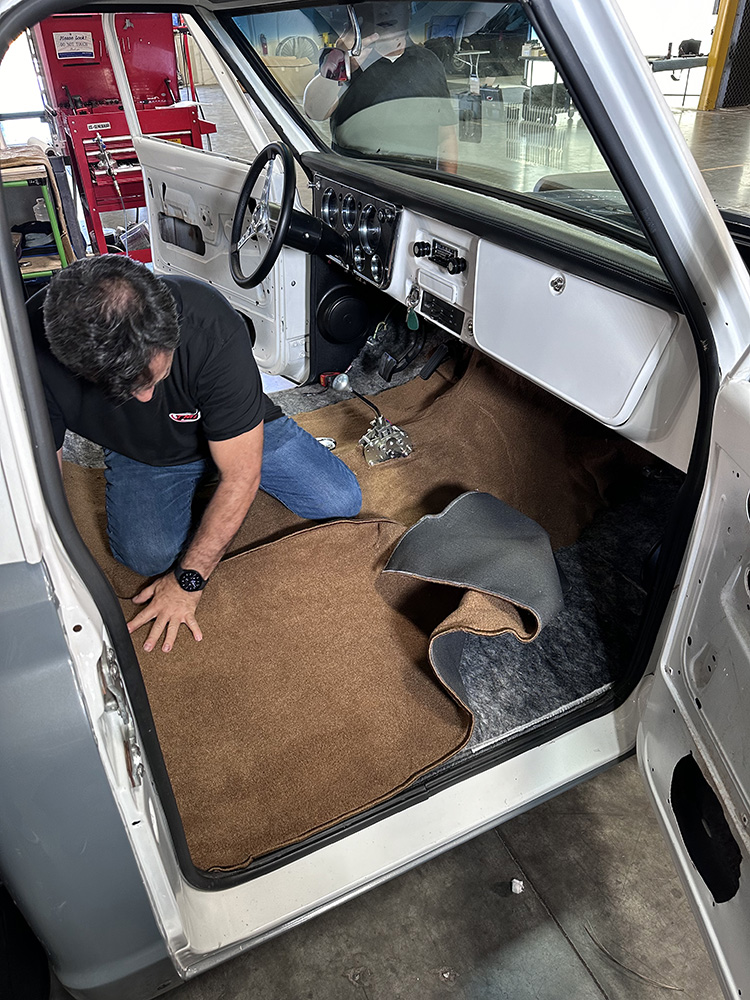
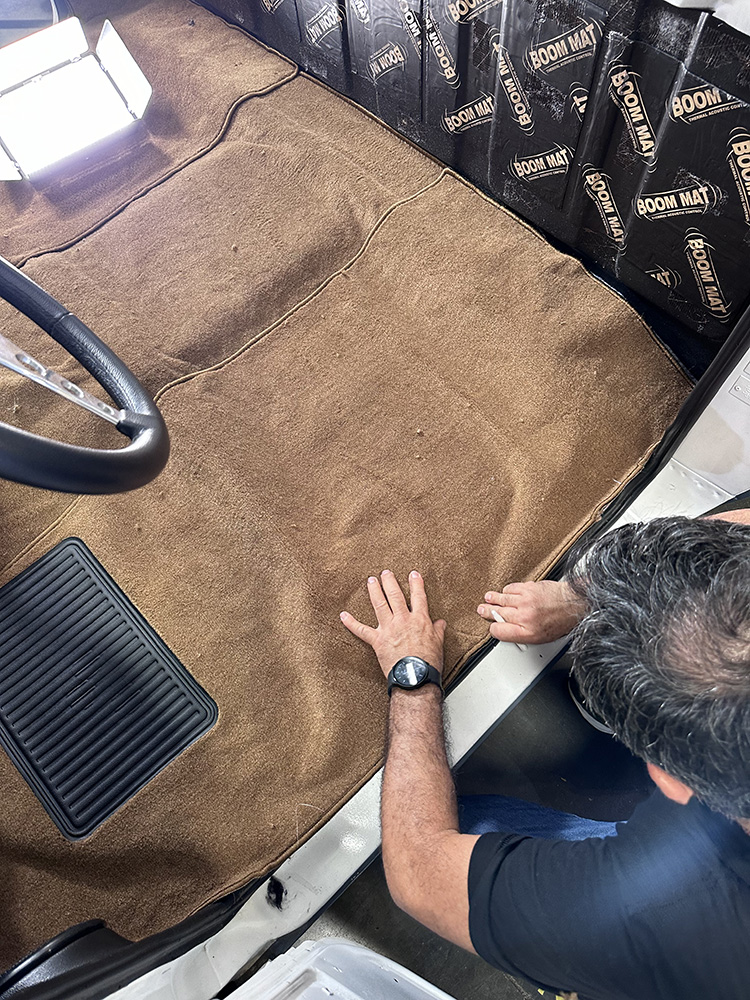
The seat frame, along with the slider brackets, is then mounted to TMI 60-inch Deluxe bench seat, which will be set aside till after the complete carpet kit has been installed.The main carpet comes in three pieces: center and left/right sides.Once the center portion has been laid down and spray-glued in place, the passenger and driver side carpets are installed similarly. The mounting holes for the seat are then transferred from beneath the cab.
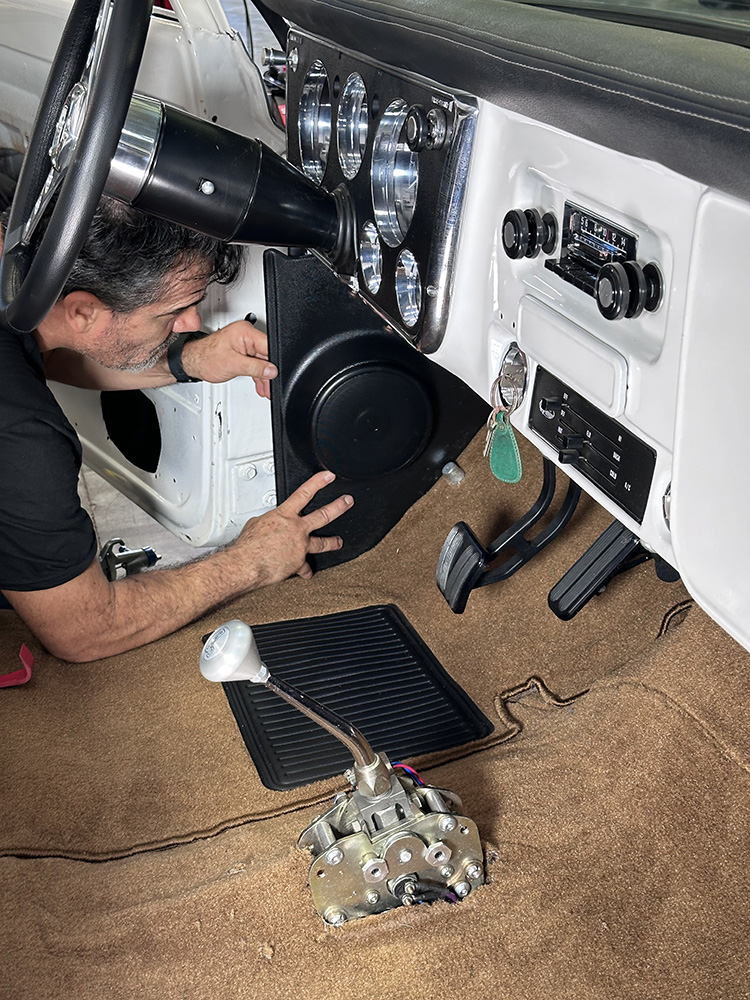
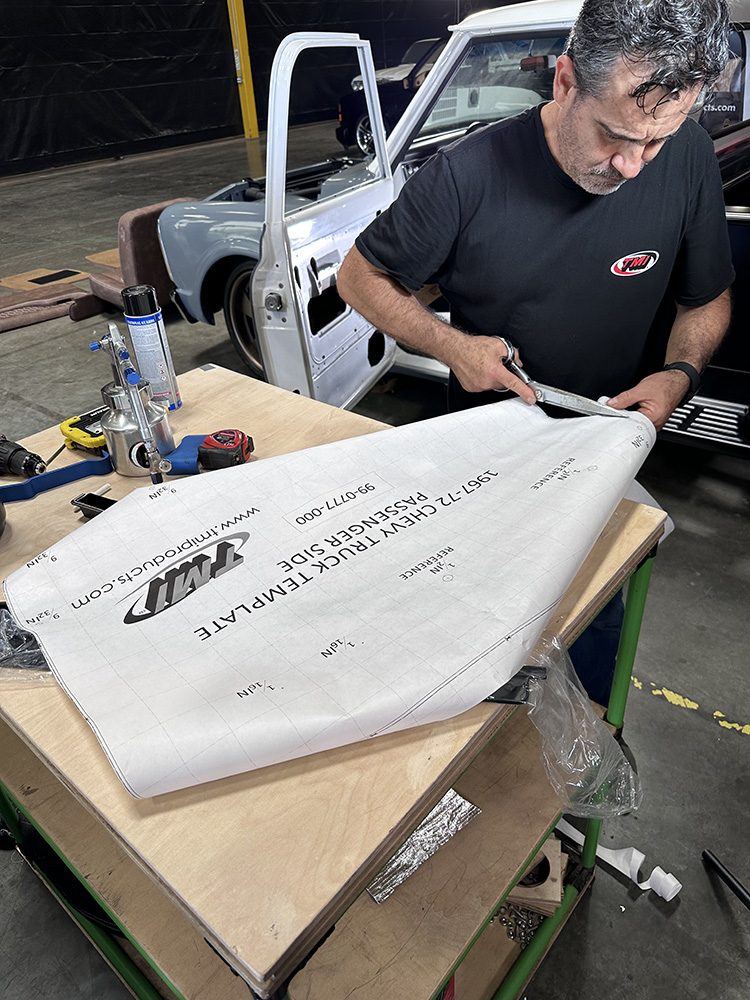
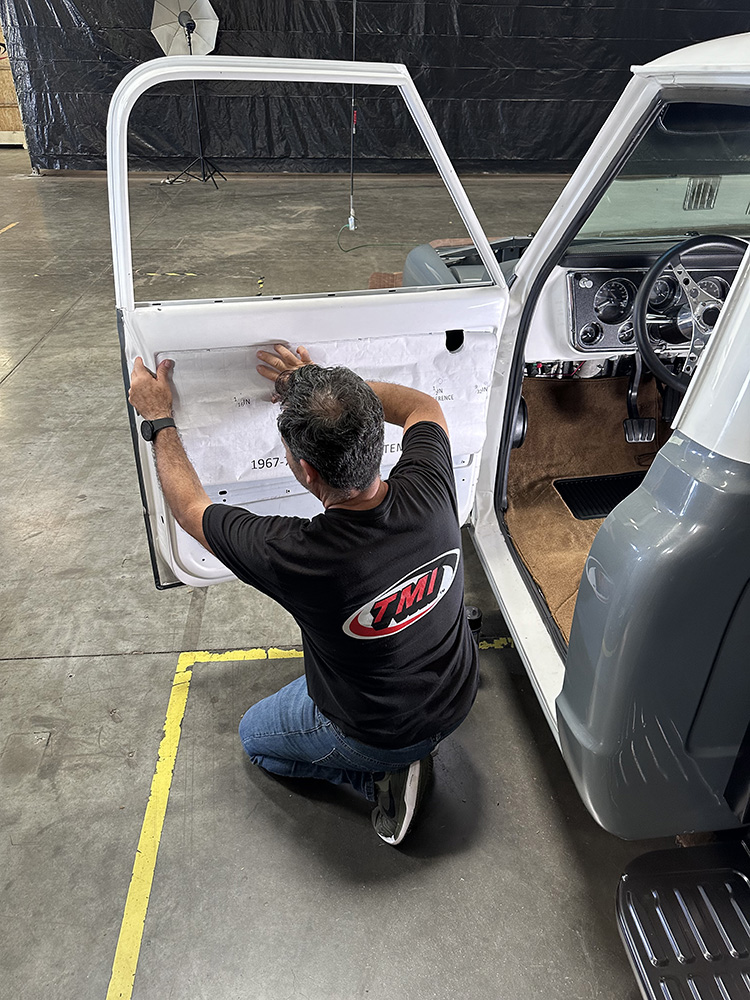
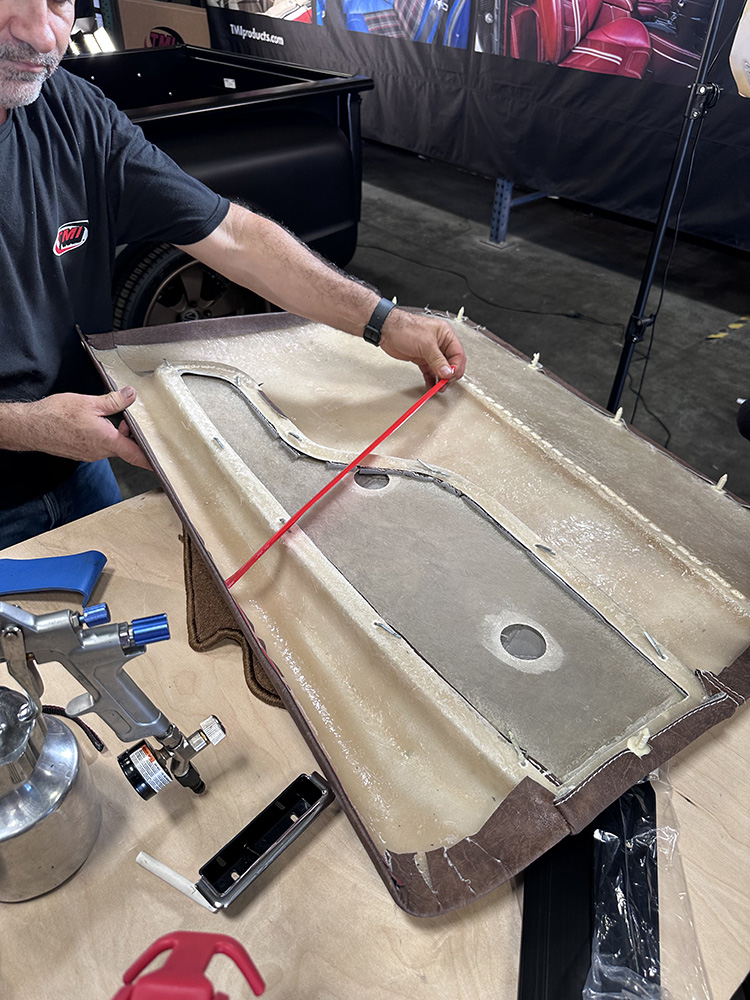
In the process of this installation, TMI not only developed a universal center console that accommodates the large Lokar Sport Mode shifter (rather than having to make a large boot), but now also provides material to cover Custom Autosound’s ABS kick panels—both of which you’ll see as the install gets wrapped up.With the floor covered, Ramirez finishes up the carpet install with the full-length back panel piece, which perfectly ties everything together (and to be honest, I wasn’t aware this was part of the kit!).Next, we move onto the door panels. Provided with the kit are paper templates for the doors—these are used to accurately locate mounting holes in your door.
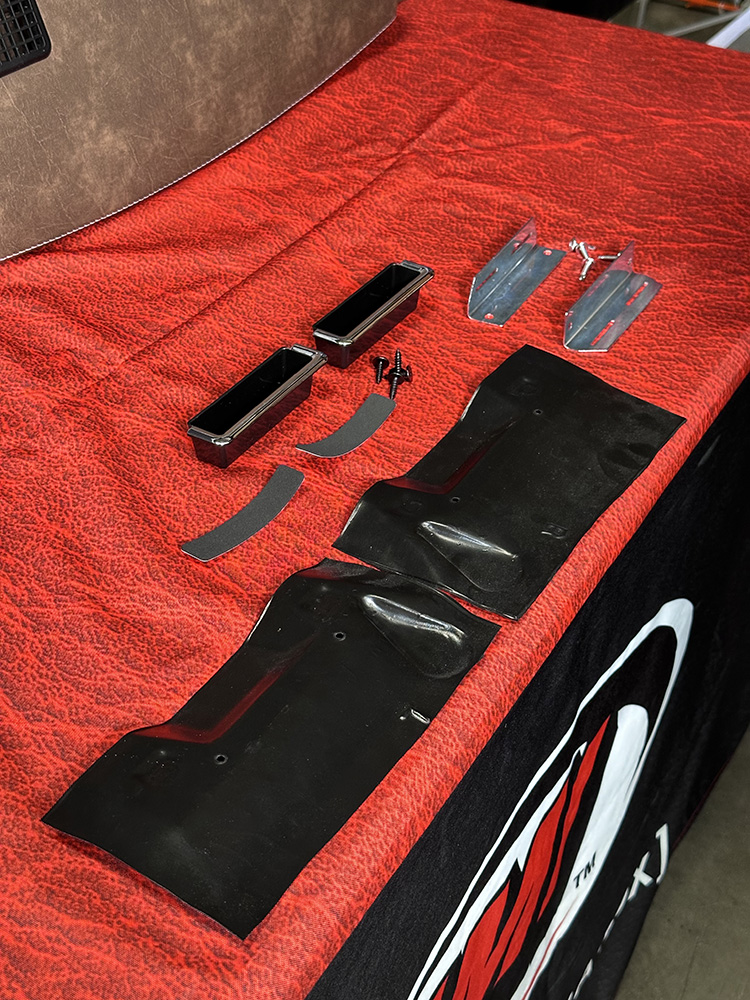
Also included are fiberglass templates and L-brackets in which to secure the armrest/door pull.
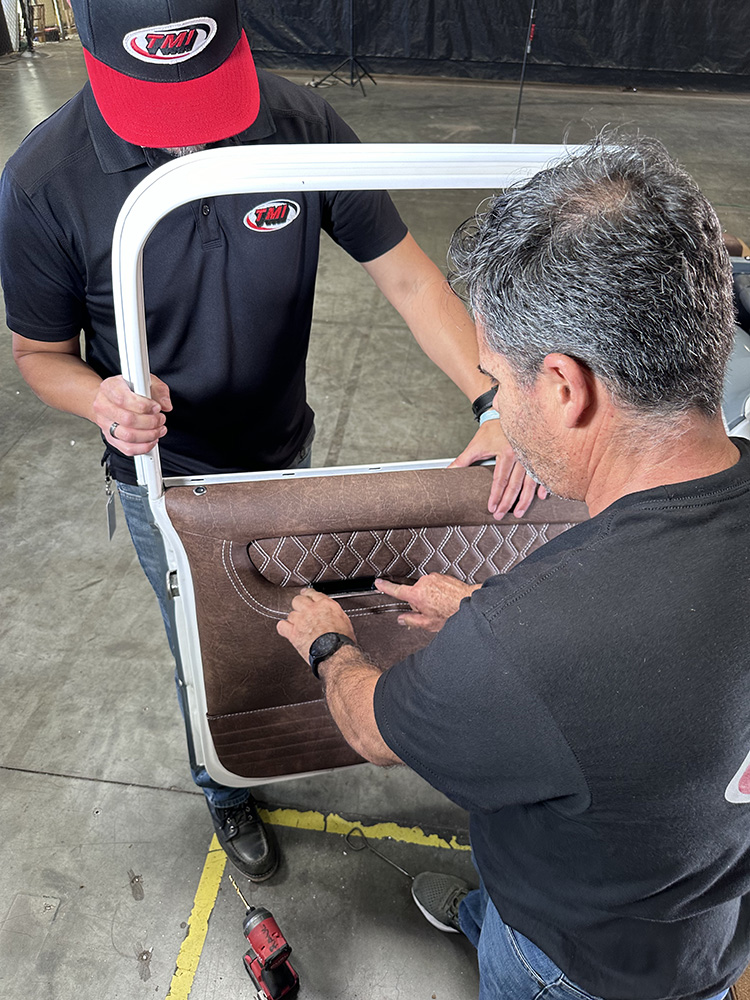
Along with the traditional plastic Christmas tree fasteners, the door panels attach to the top of the door with heavy-duty adhesive tape. Also note the two holes in the backing of the door panels: those are for your window crank and door handle and must be trimmed out before hanging the panel.The chrome plastic cups securely mount the door panels to the previously installed L-brackets, as such. (We’ll be using remote-style openers and power window switches under the dash, hence the absence of crank handle holes!)
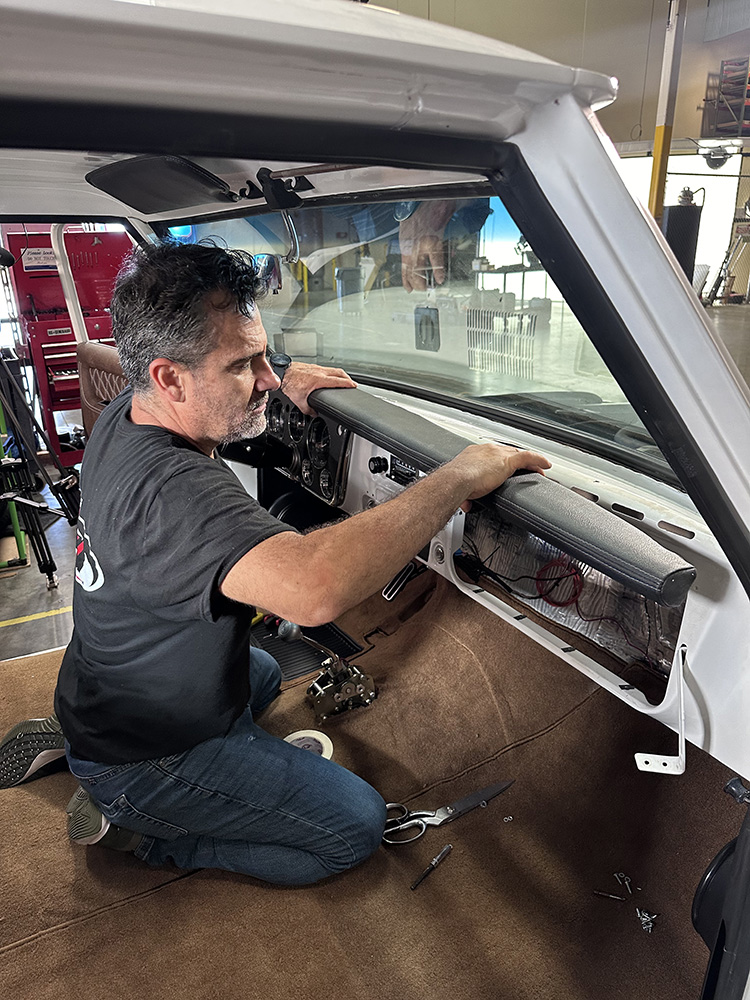
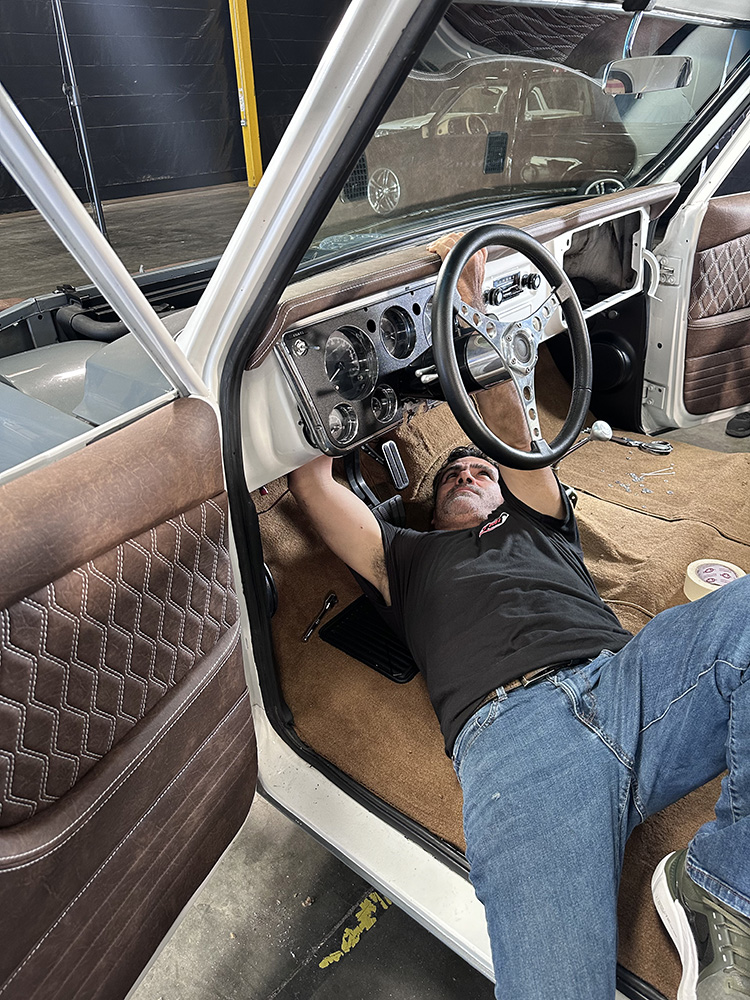
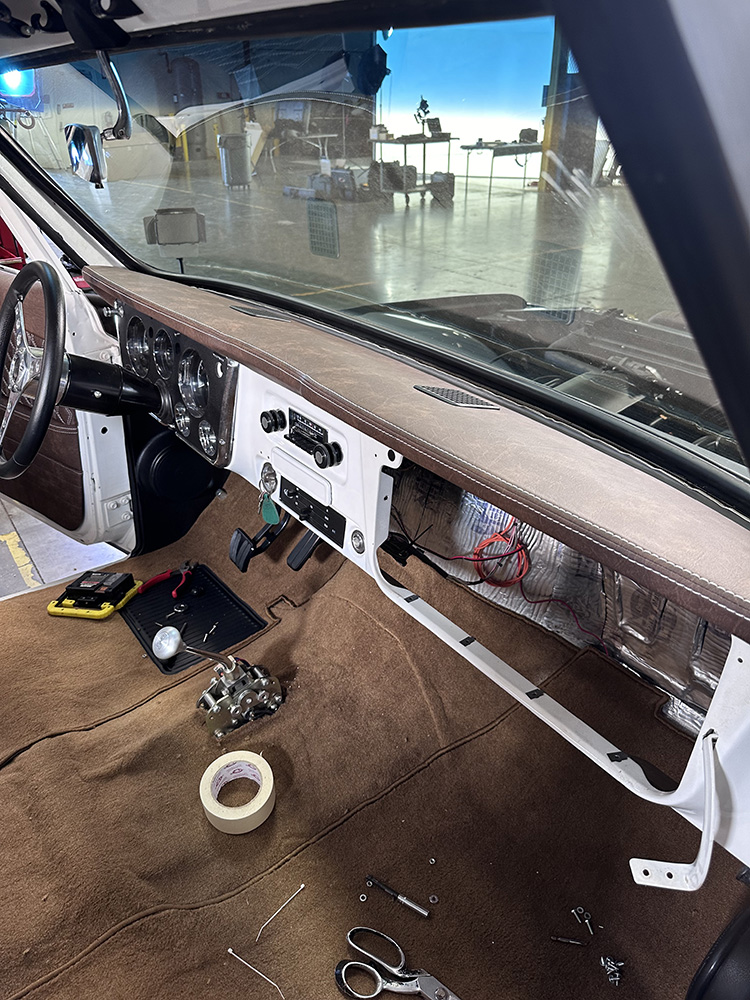
Believe it or not, the most tedious portion of this job is swapping out the dashpads! If you’ve ever had to remove/install one, then you know what we mean.Even with the absence of A/C, getting up under the dash to access the mounting hardware takes some “blind” patience—but the end result is well worth the time and cursing! TMI’s dashpad is full width (not partial like stock) and comes complete with modern-style defroster vent covers.
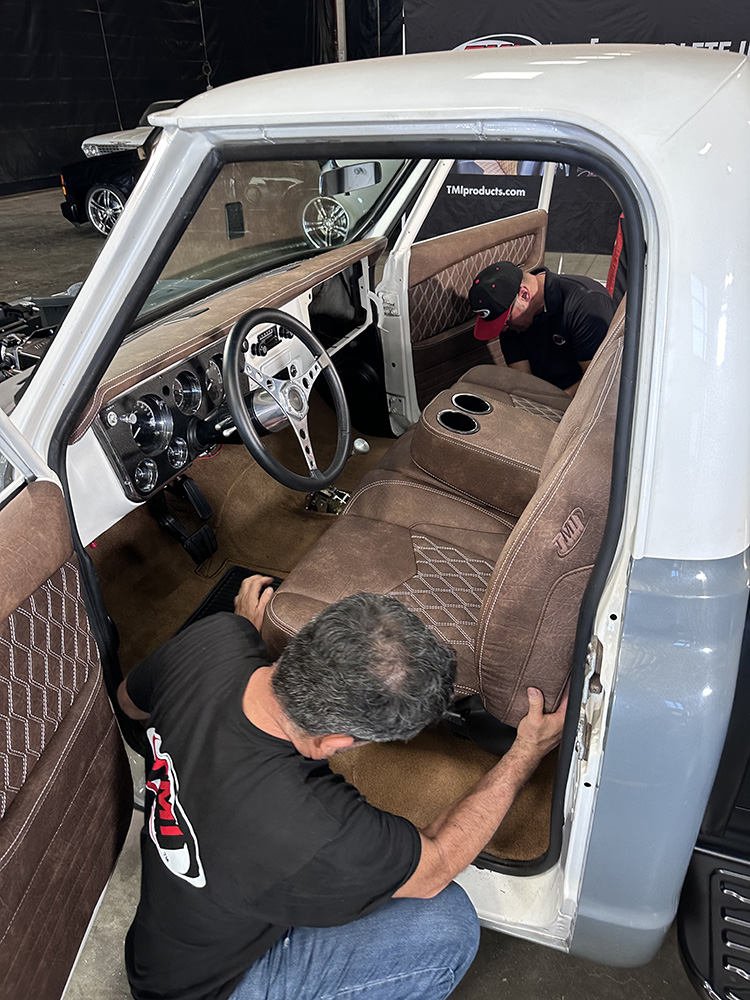
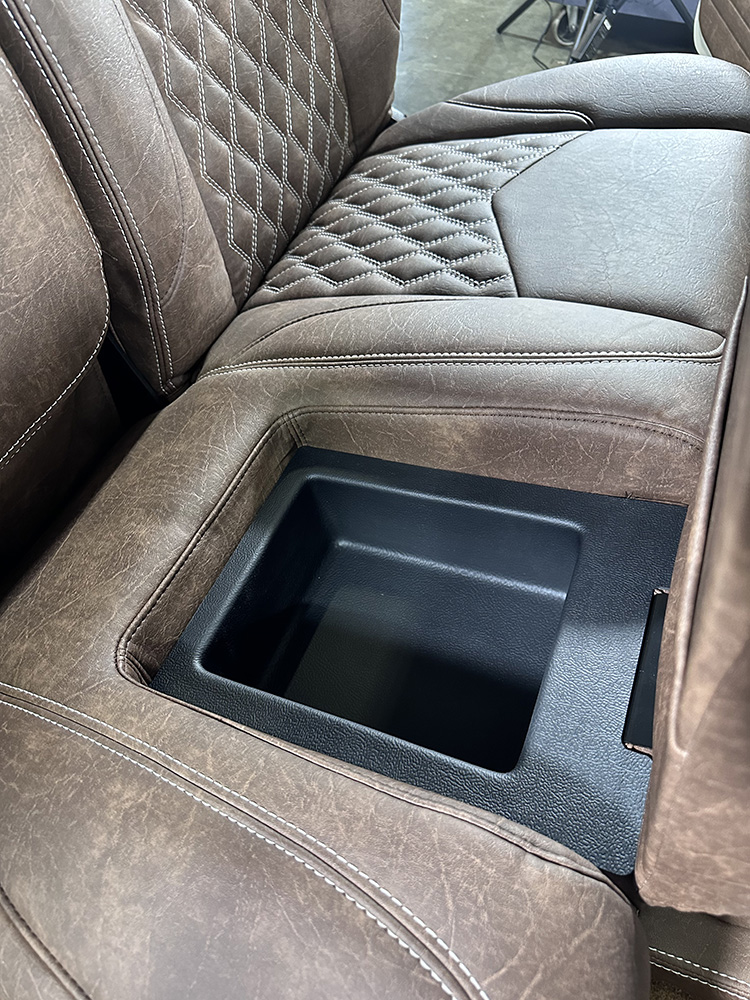
Moving right along, the Deluxe bench seat is finally bolted in place (using the factory seat hardware).Though they call it a “bench” seat, TMI’s Deluxe model features bucket-like accommodation with a fold-down armrest/beverage holder and a handy hideaway storage area beneath the center seat cushion!
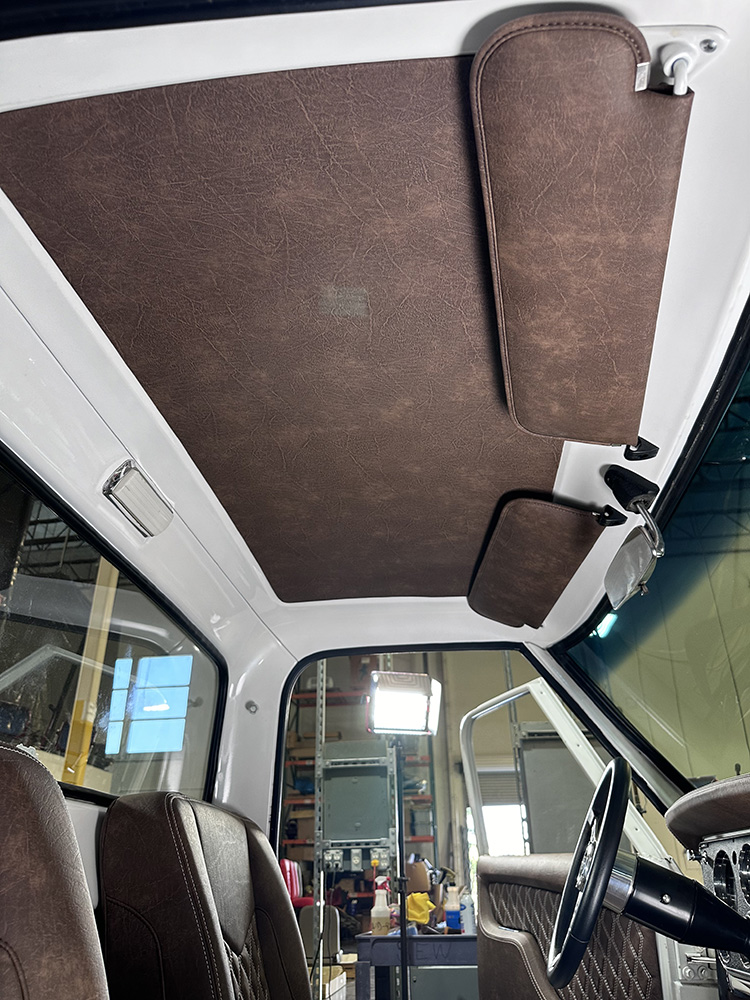
Next, our sights move up—literally—with TMI’s self-adhering headliner, which not only creates a “complete” ensemble, but goes a long way toward improving interior sound dampening.
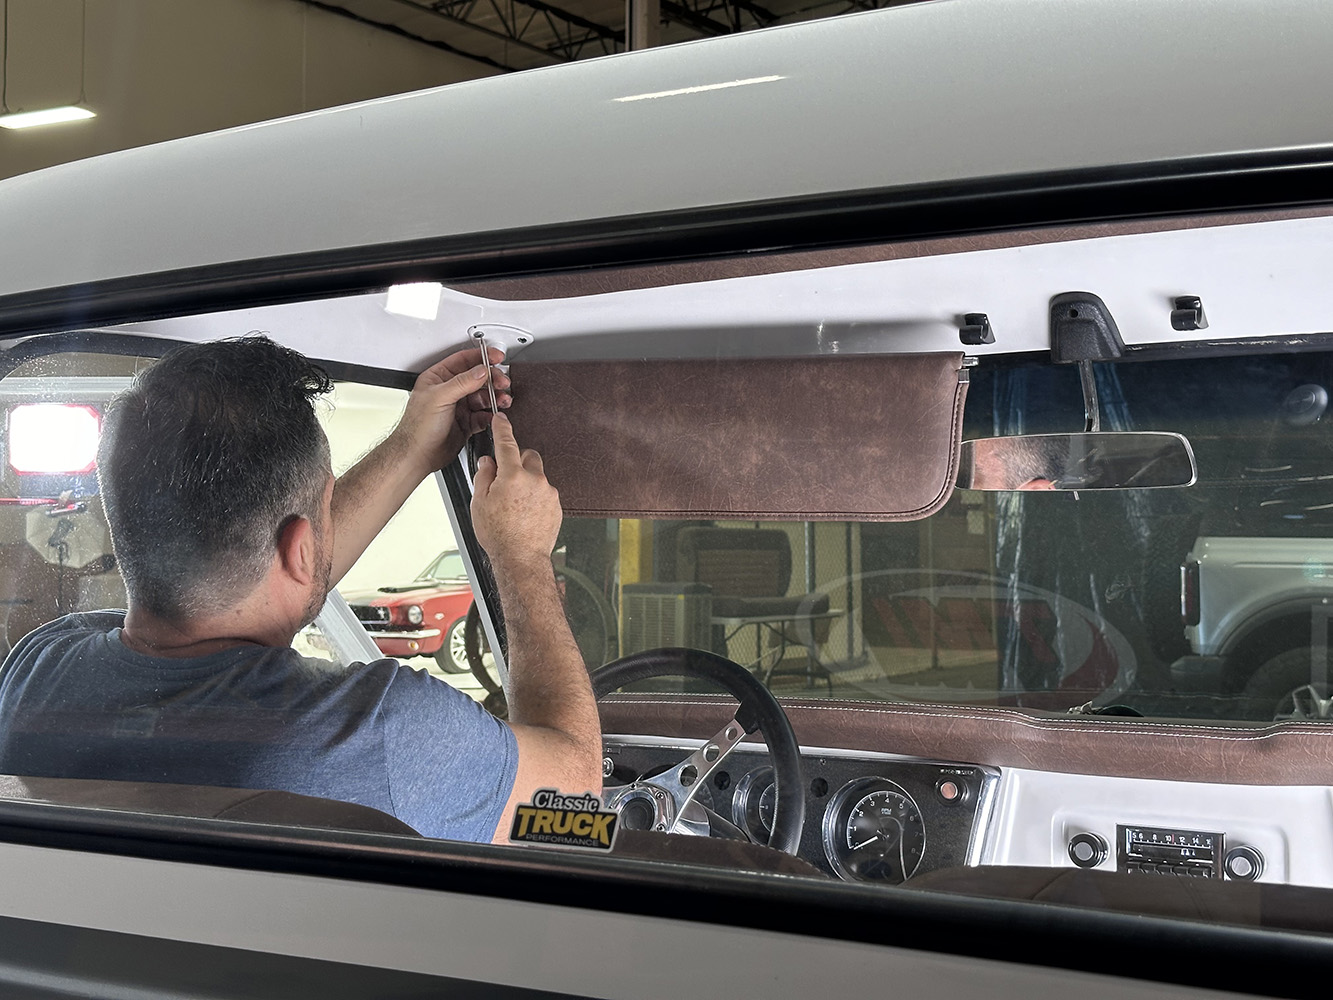
While he was still stretching his arms out, Ramirez finished up the overhead accoutrements with TMI’s matching sun visors, which use the OE rods/mounting brackets.
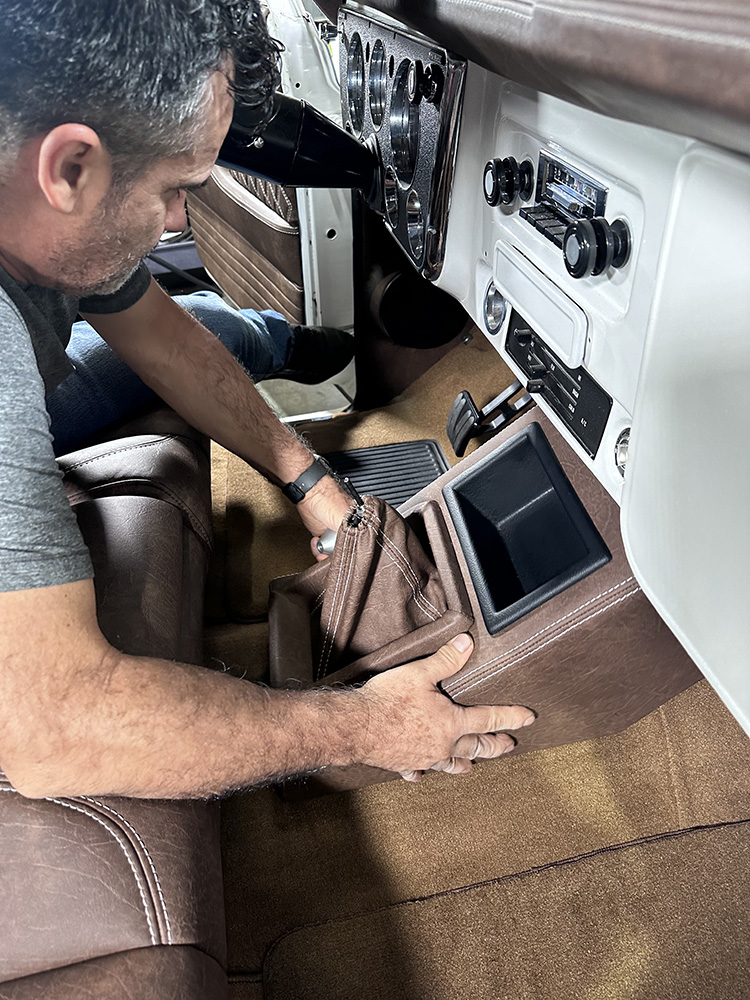
From floor to ceiling, when we say “complete” interior we mean just thatAs mentioned earlier, TMI developed this new center console—which securely Velcros to the carpet—to accommodate our larger-than-usual Lokar shifter and will also provide a location for a forthcoming LCD display.
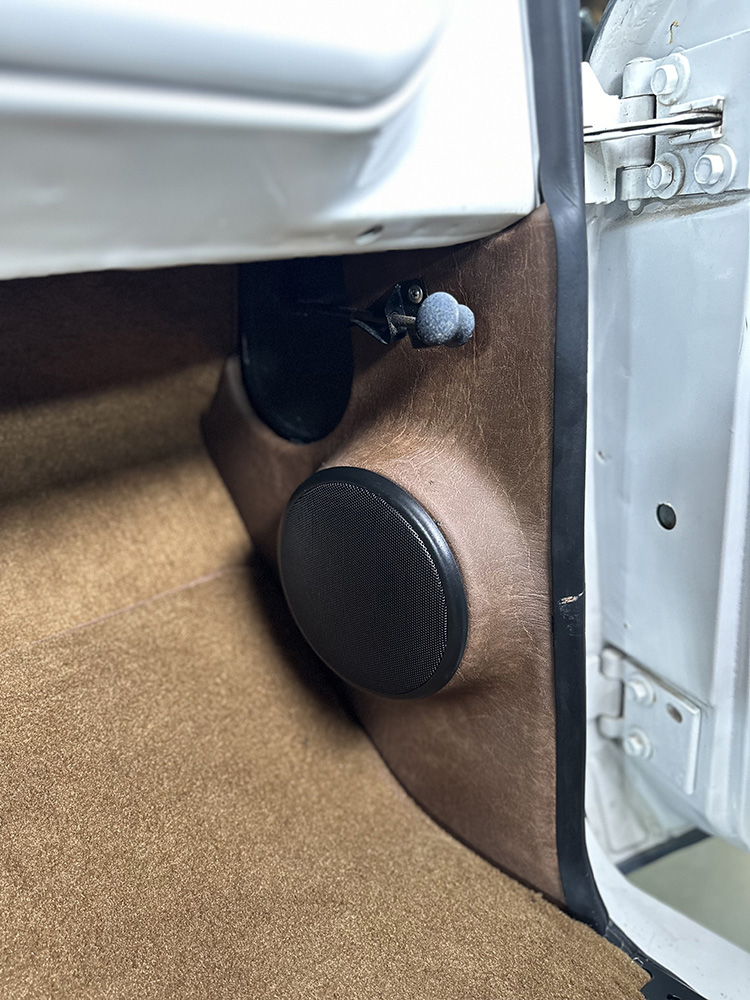
Lastly, the Custom Autosound speaker kick panels, all finished off in matching distressed brown vinyl.Whether you schedule an installation at TMI or go the DIY route, your C10 can look as sharp just as easily. Give them a call or drop by their design center and get your new interior configured, built, and in your truck ASAP!
We use cookies to ensure that we give you the best experience on our website. If you continue to use this site we will assume that you are happy with it.