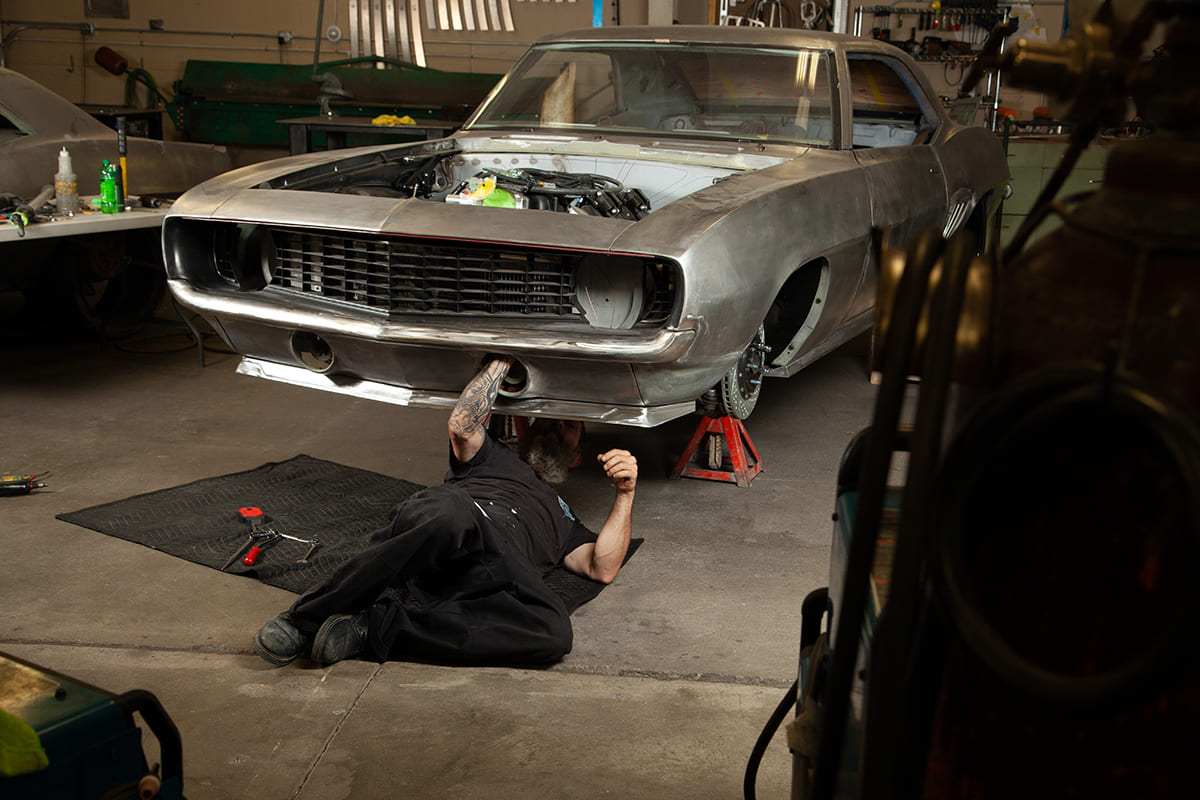
Tucking and flush mounting bumpers is a common modification at most pro-level fab shops. That’s not to say it’s unattainable on the average build. The aftermarket might be one option, but with the right guide you can’t beat the fit and finish of a DIY job.
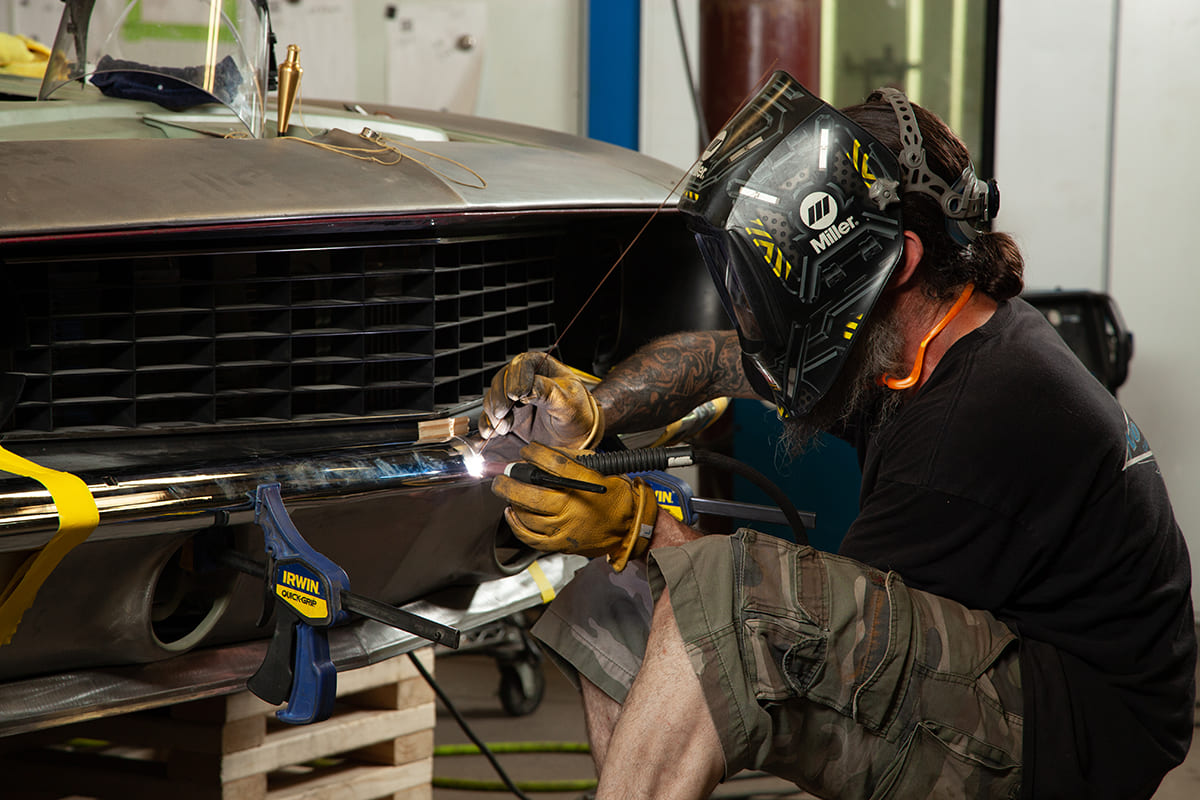
We’re in Lincoln, Nebraska, catching up with the pros at No Coast Custom and Rod Shop. They let us take a peek at their custom 1969 Camaro project and shared a few tricks that would shed some light on any ambitious do-it-yourselfer. Lead fabricator Matt Gooder and owner Ben Vaneperen are always finding new ways to play with metal. They look for a clean aesthetic and love making subtle little tweaks. We dropped in just after they finished reworking the lower valance. You’ll notice those factory bumper mount windows have been filled. Here’s what they did.
A little side note: Before diving in, make sure the fenders, doors, and hood are in their final resting position. As with any fabrication work, build the foundation first and finish building out from there.
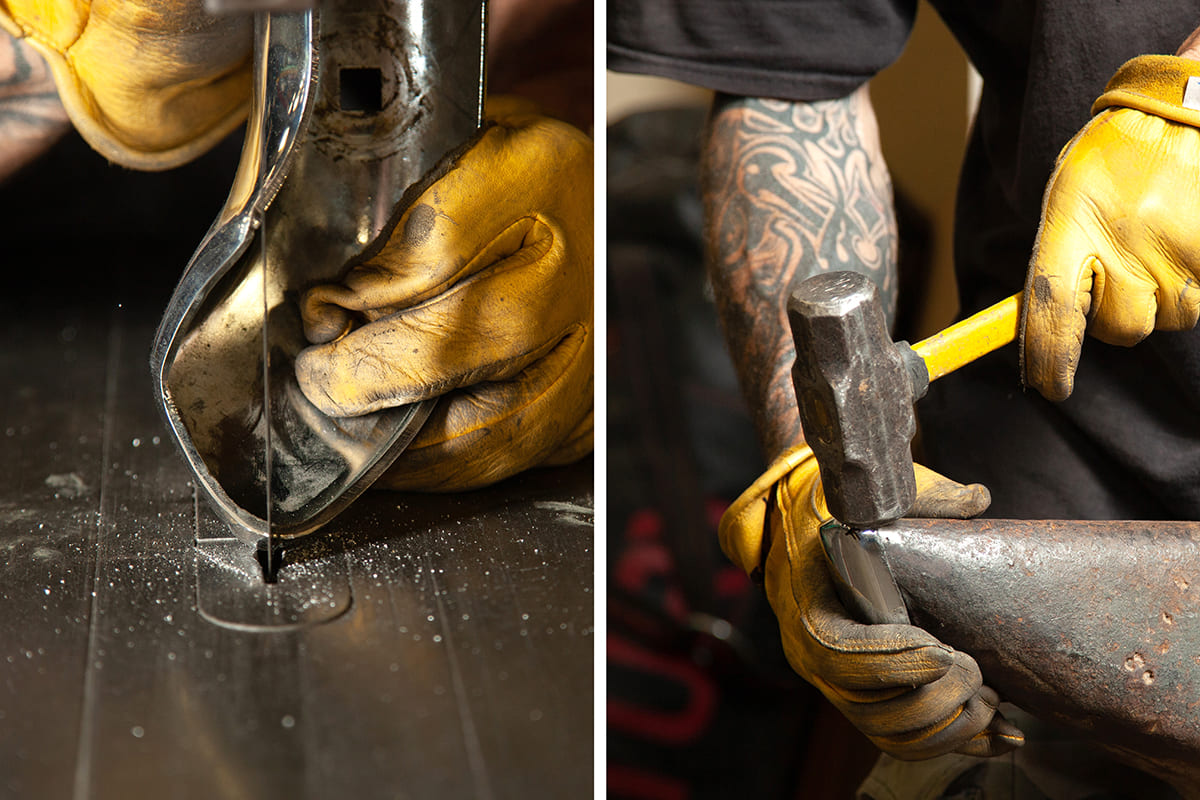
The must-have tools: a welder, tape measure, your favorite hammer, and a metal saw blade of choice.
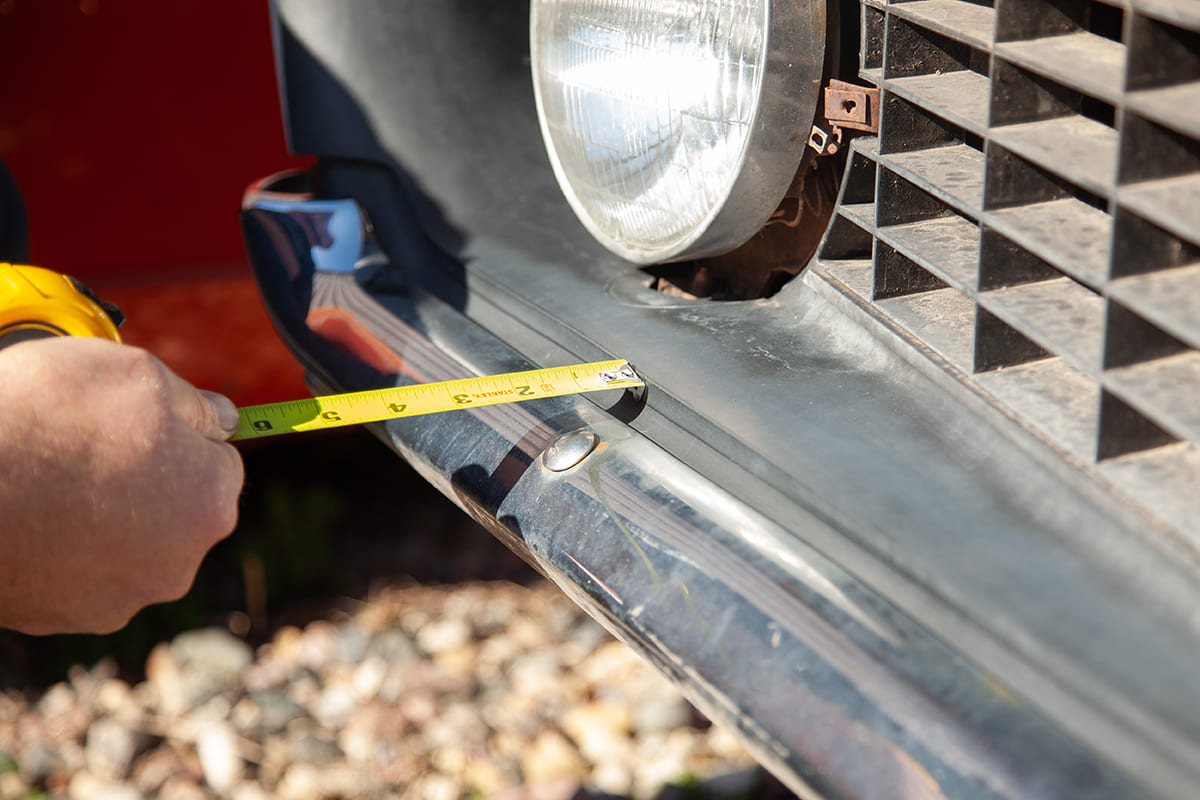
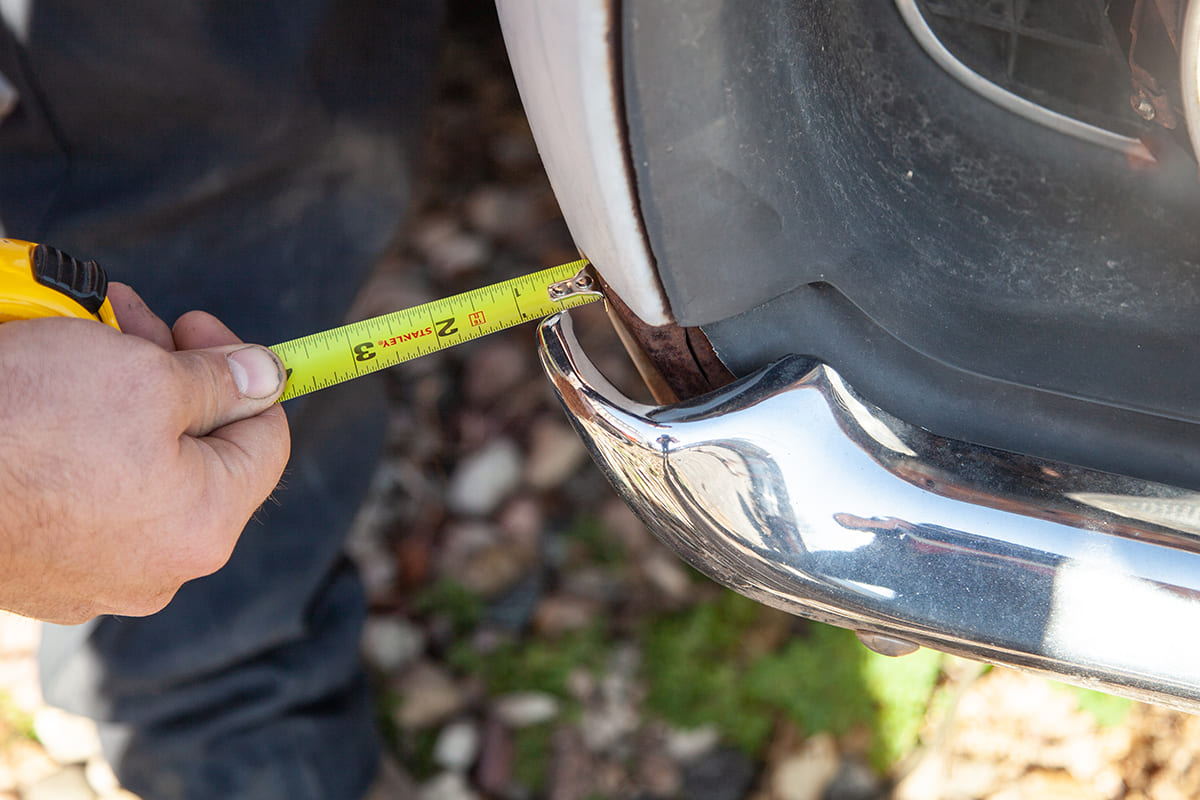
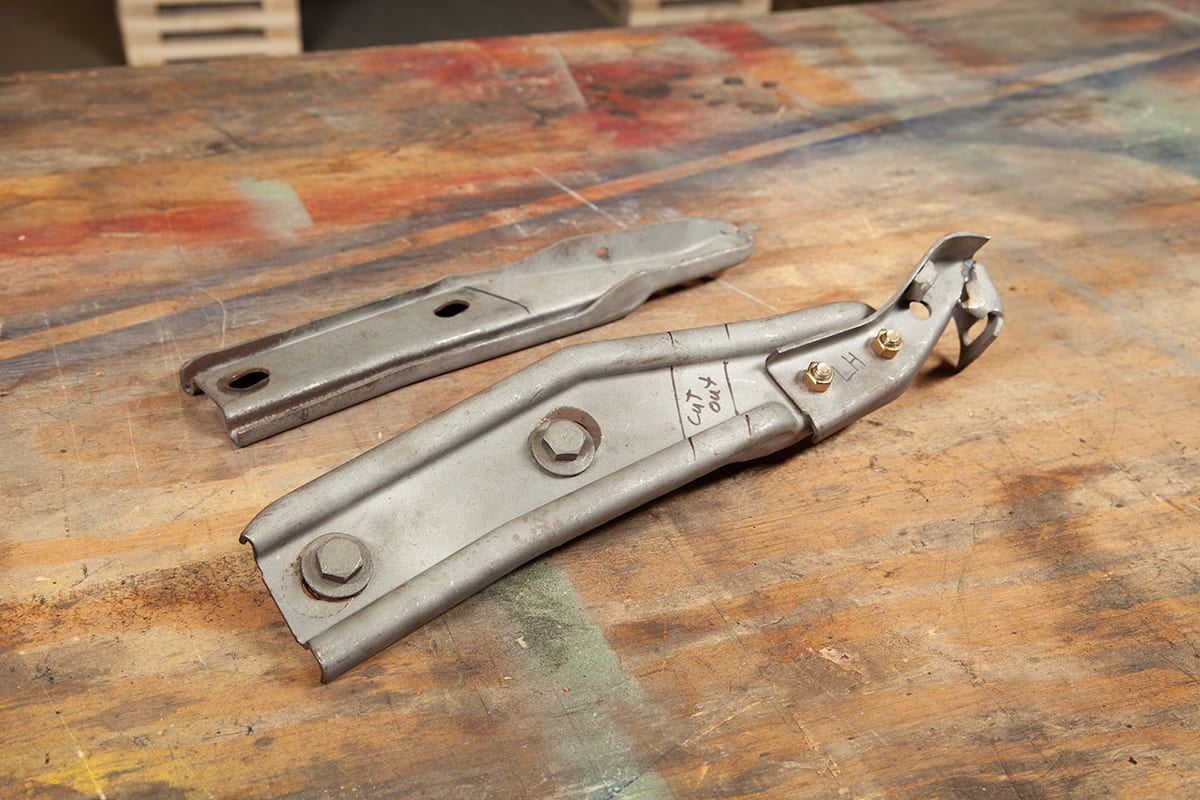
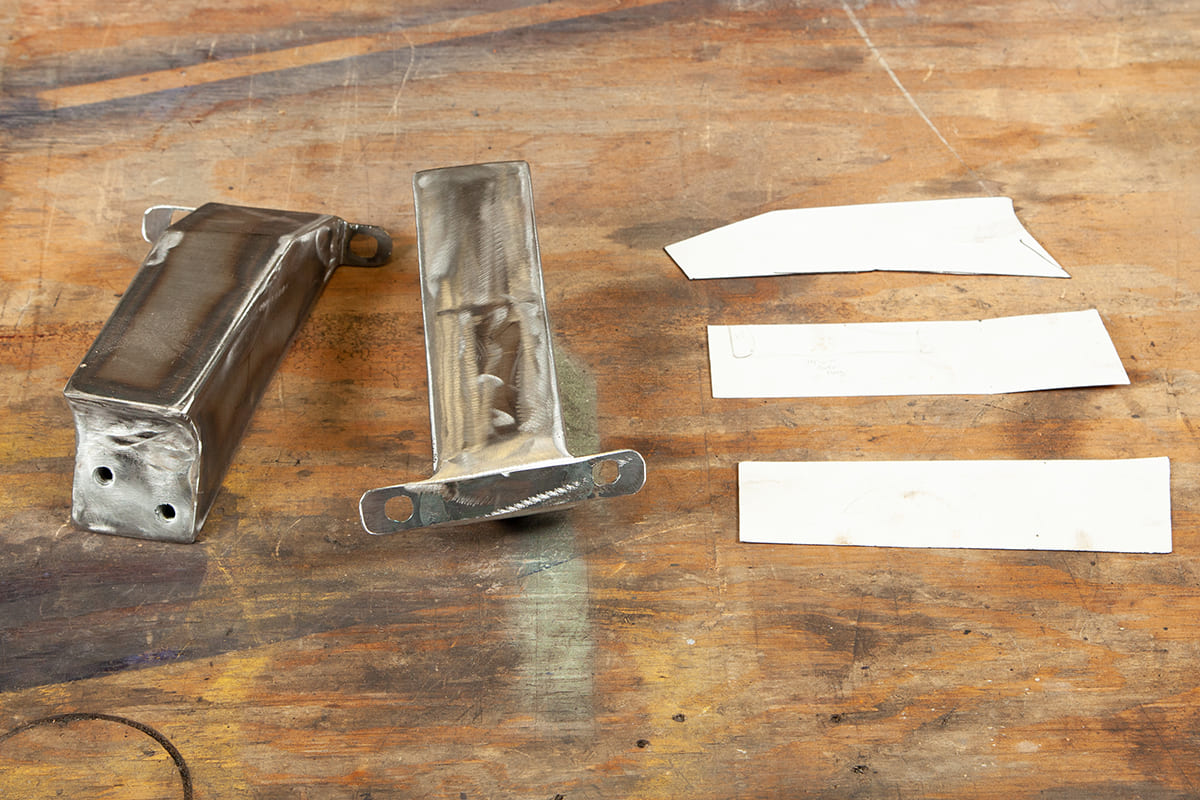
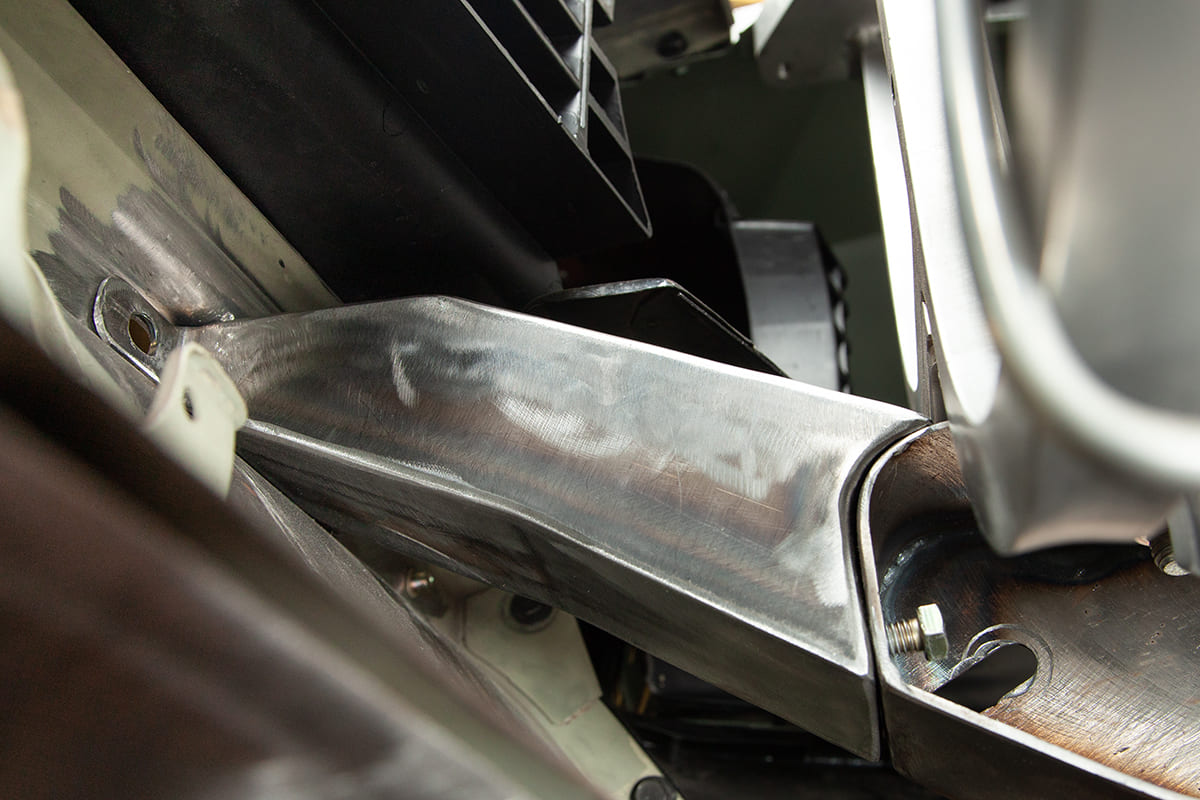
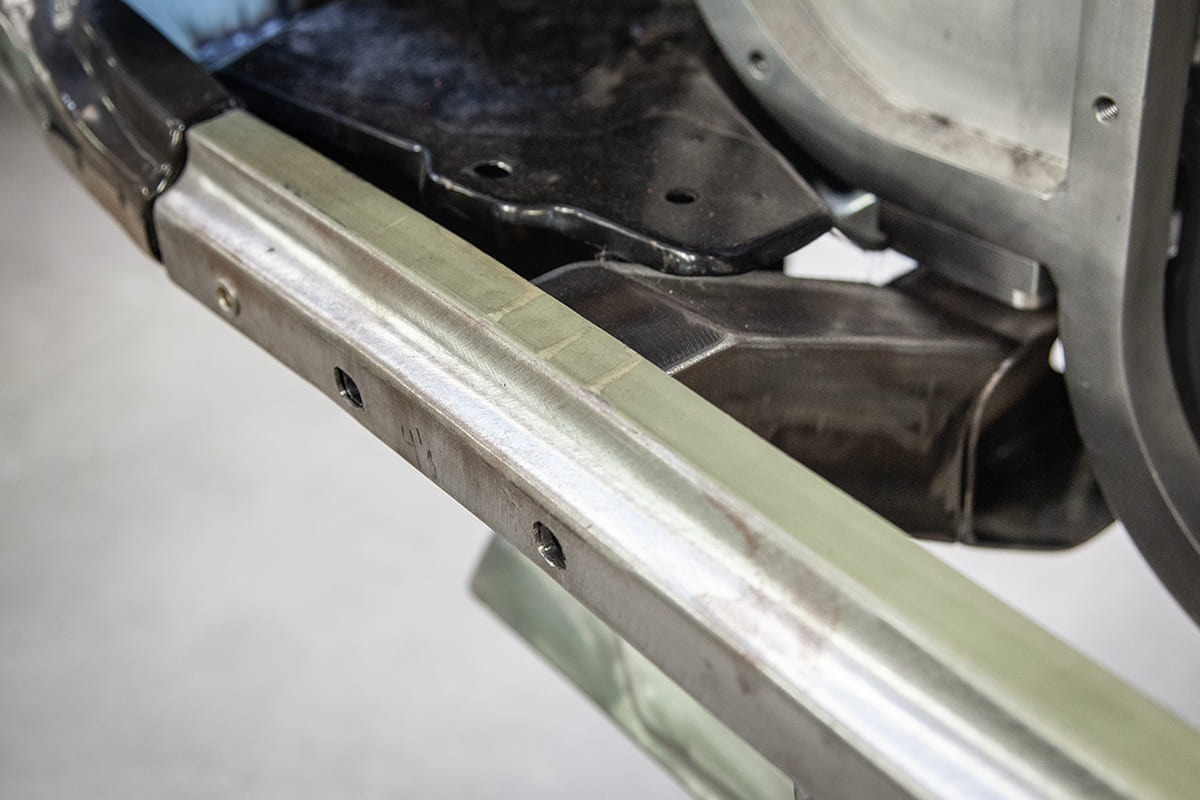
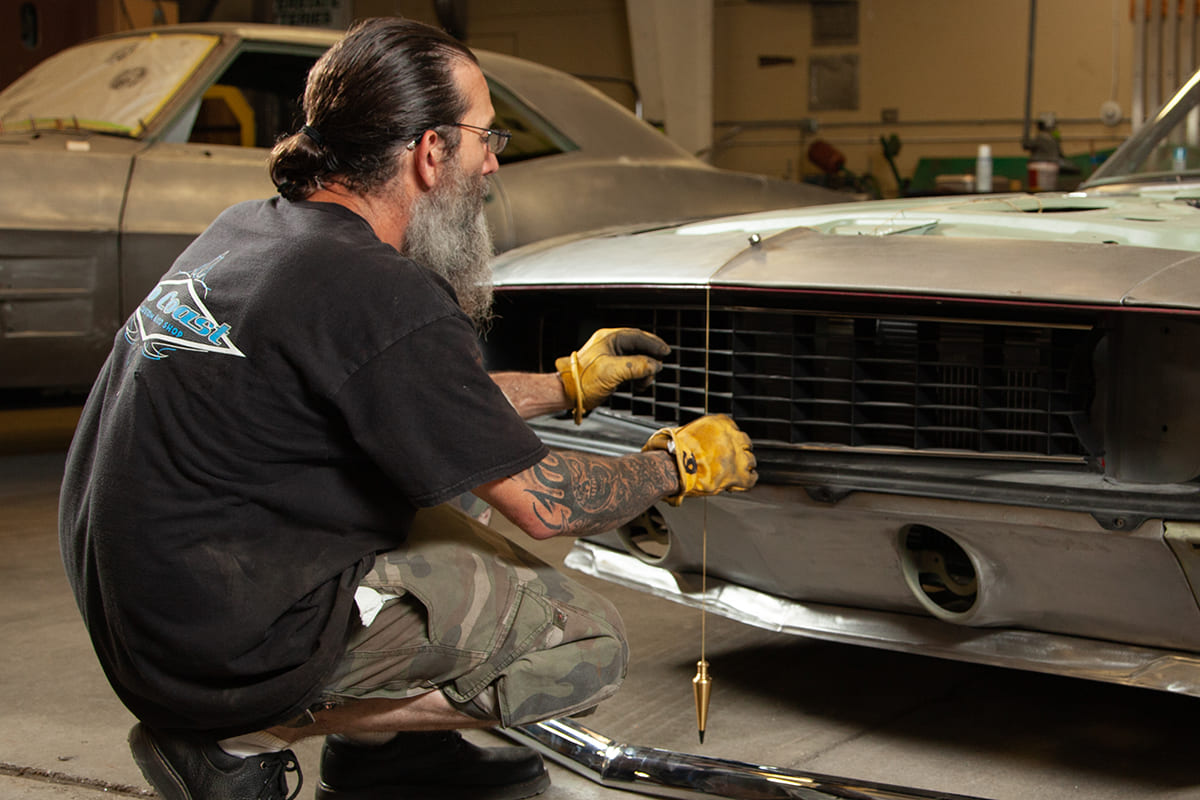
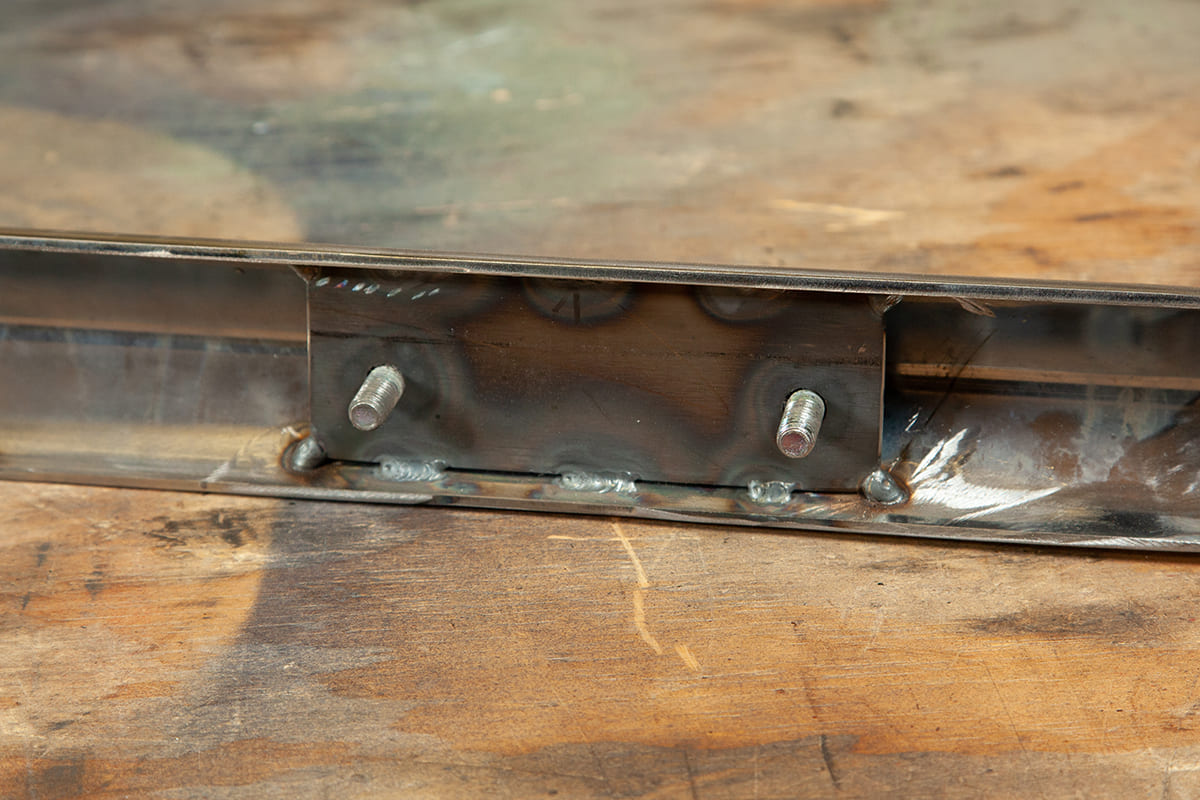
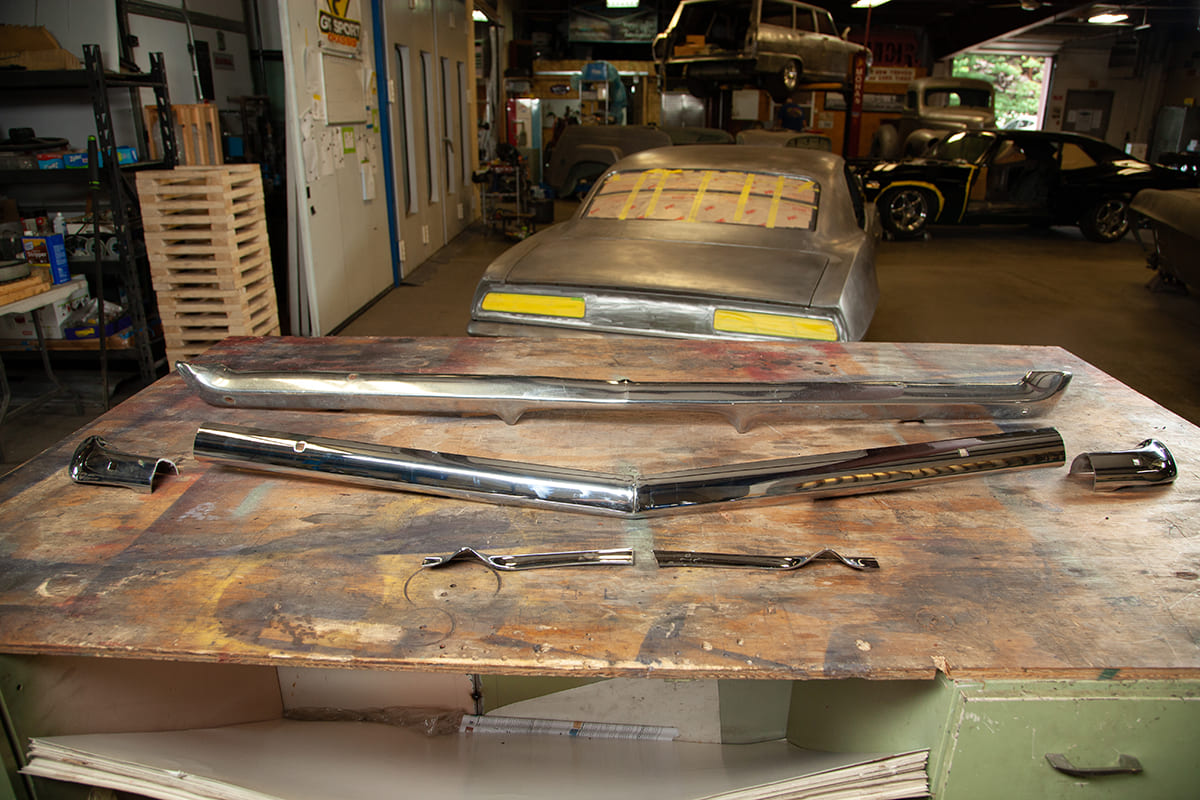
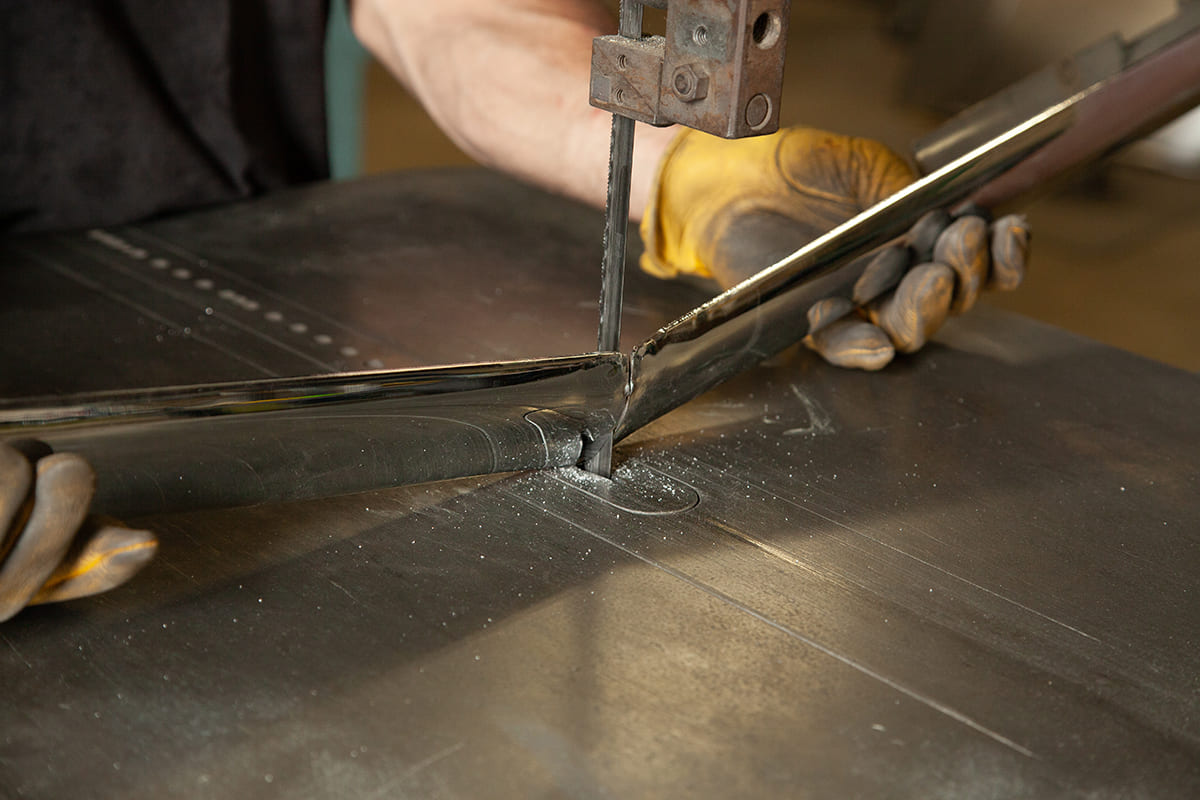
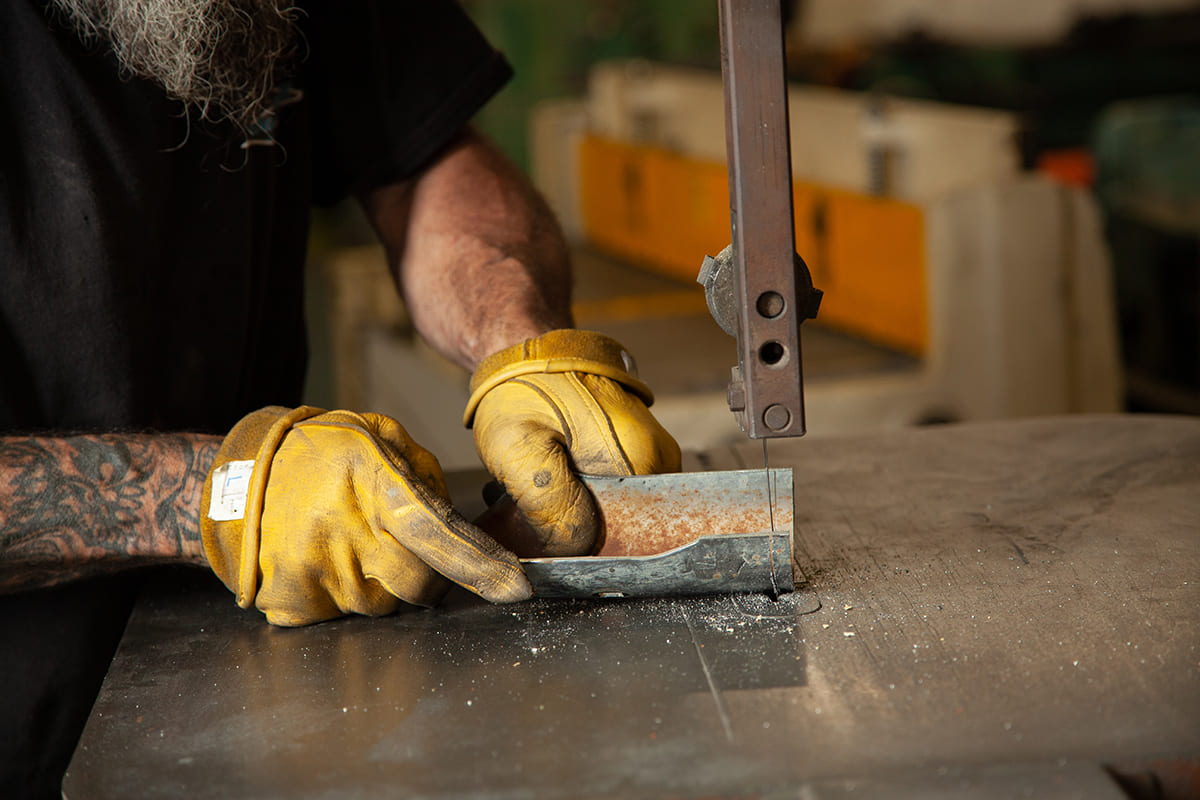
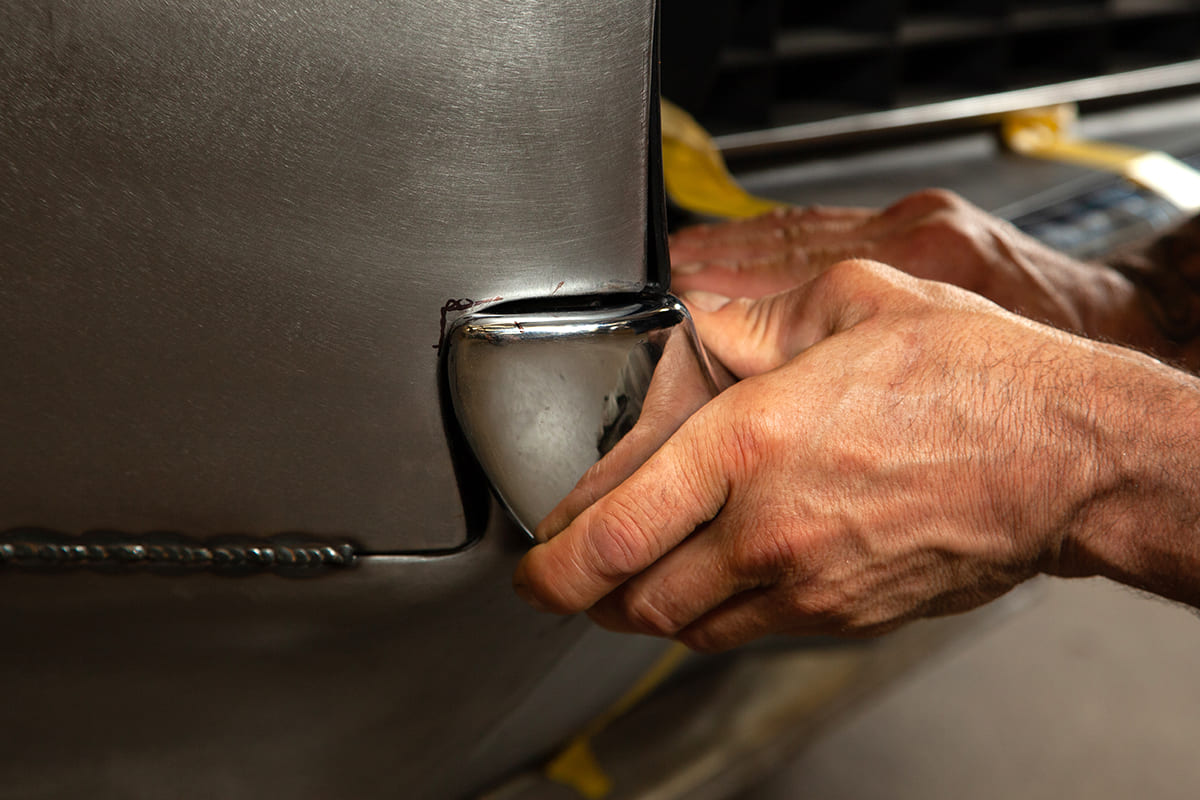
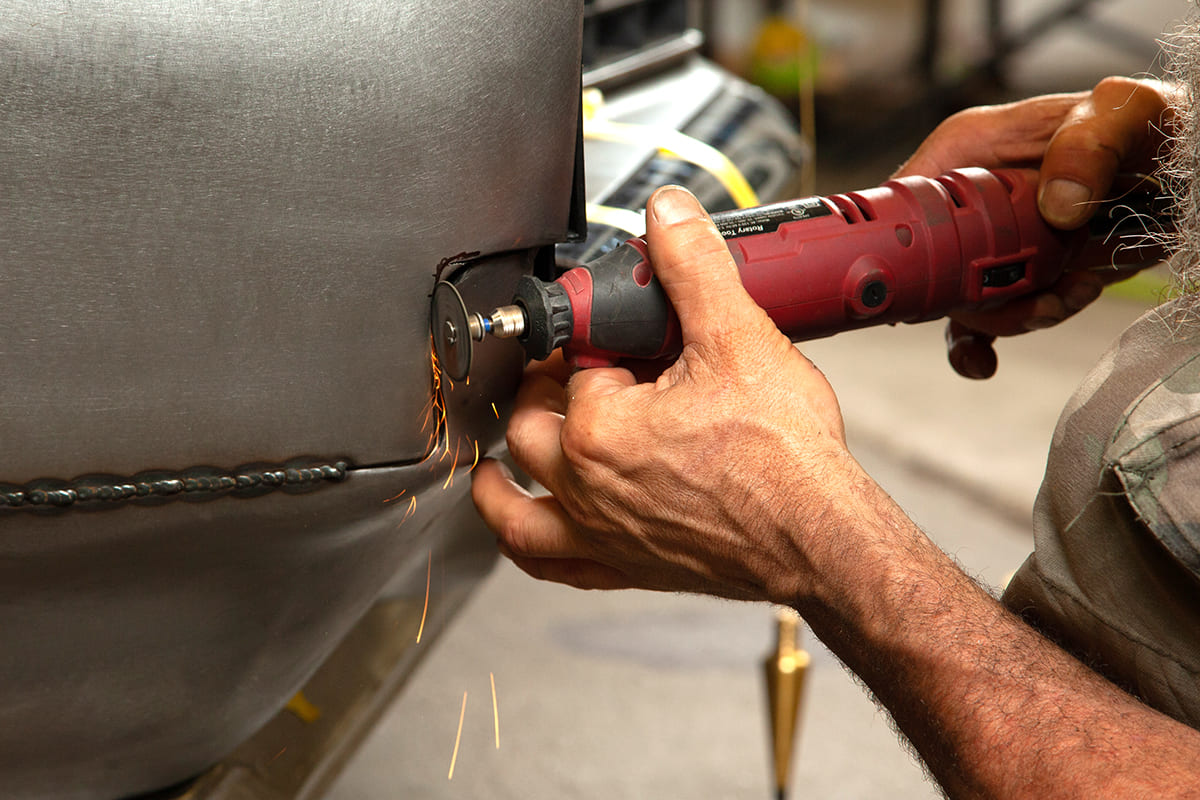
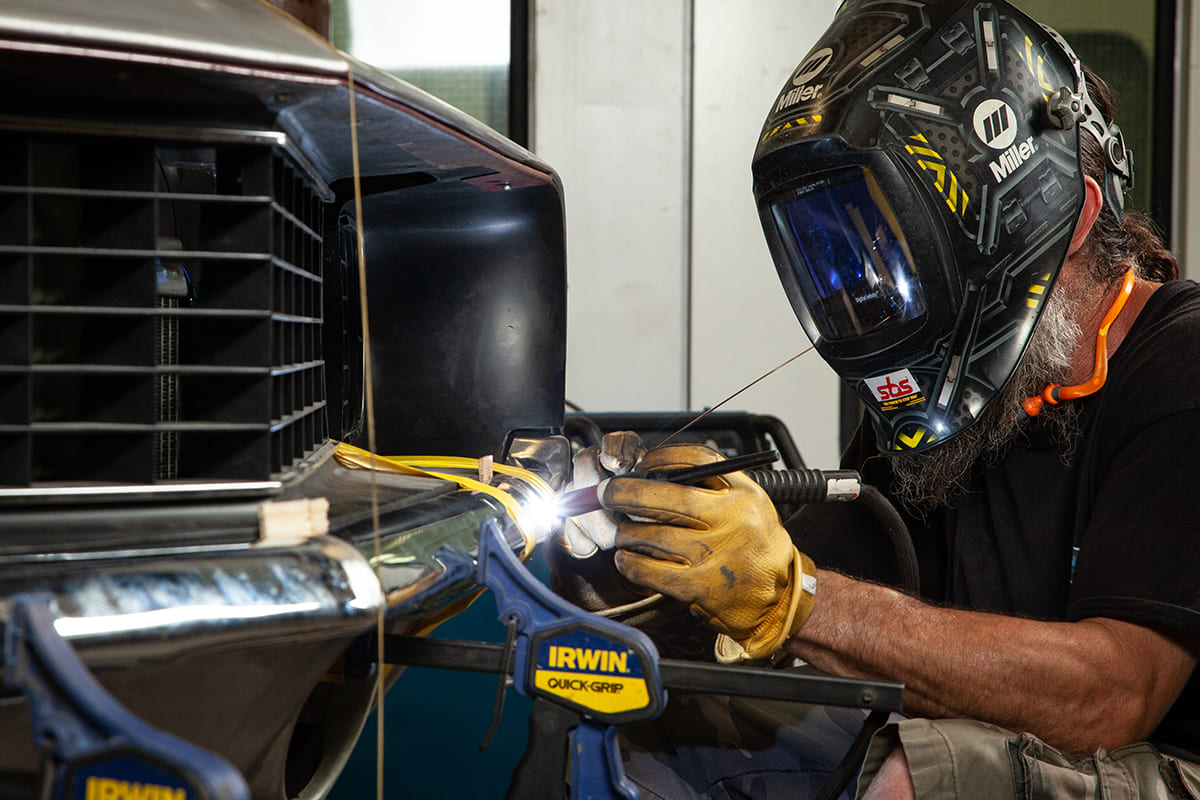
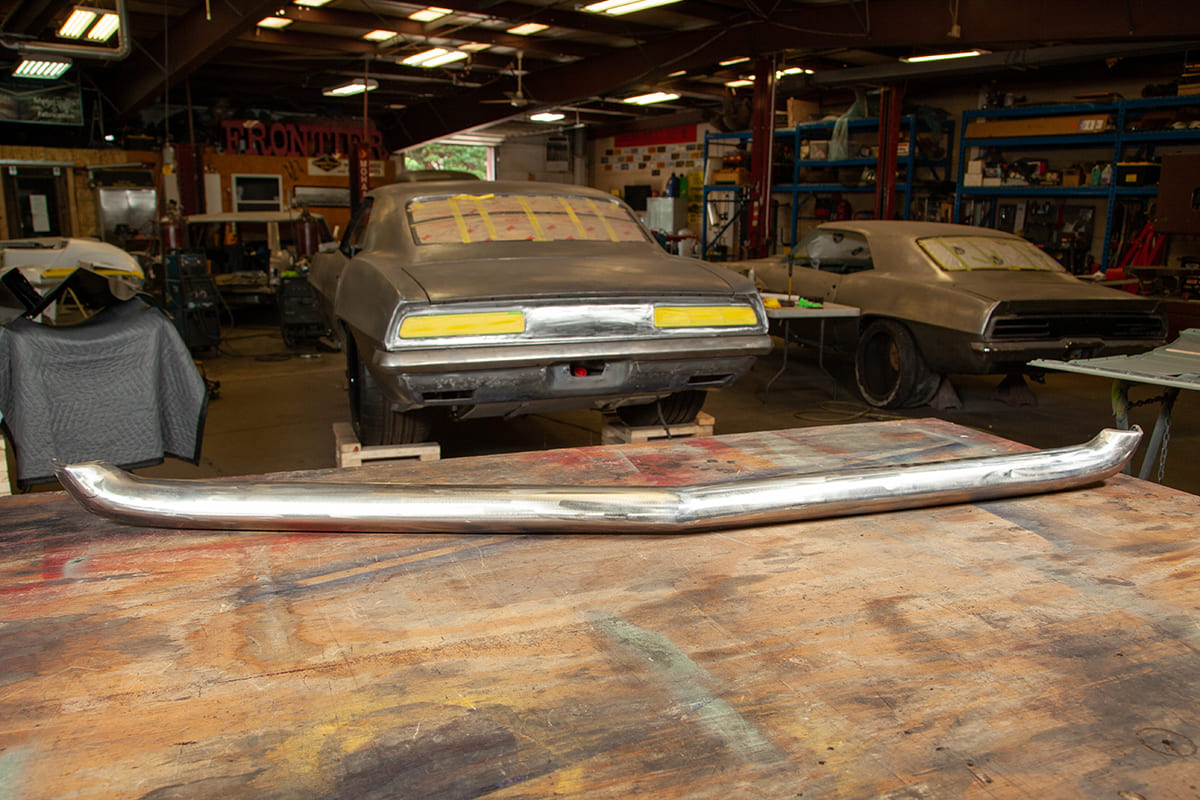
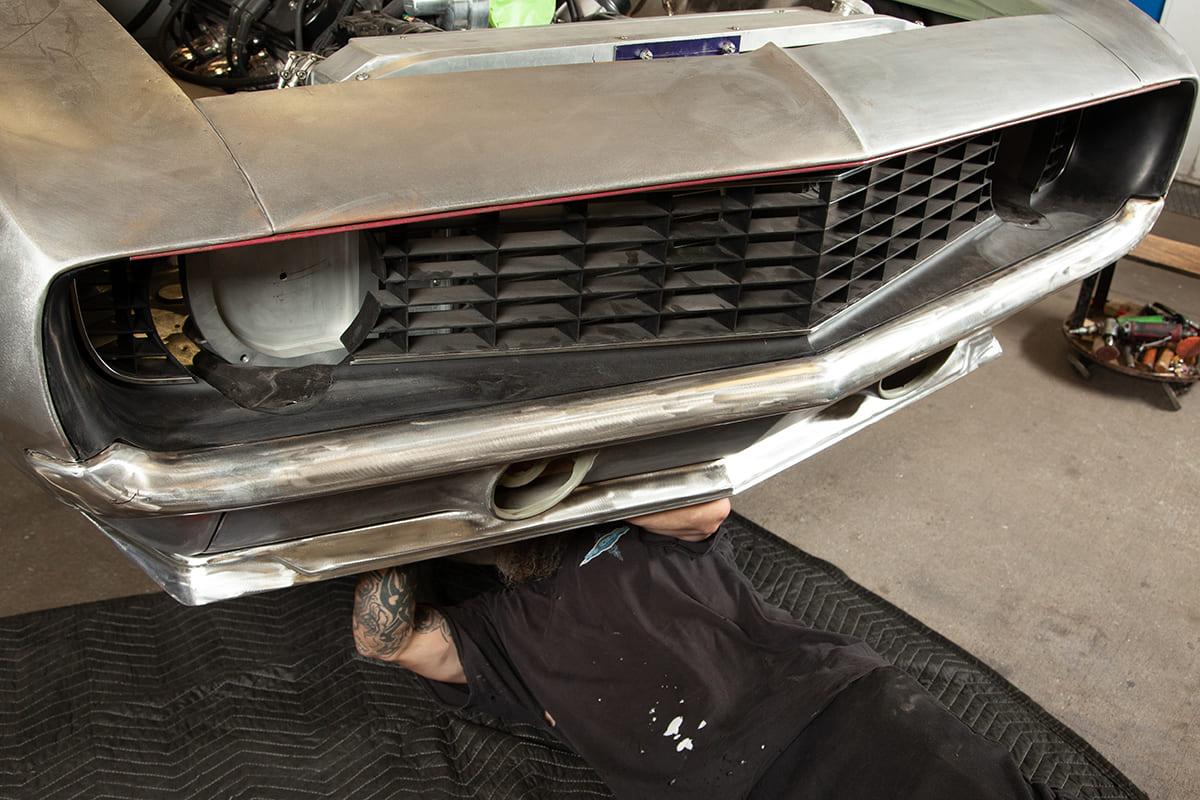
For reference, start by taking a few measurements. We’re using this factory 1969 Camaro bumper to show you where a guy would start. Measure between the grille and bumper edge to decide how much you want to tuck the bumper into the grille. You’ll notice how a factory bumper sits low and the top edge is inconsistent along the grille. Our measurements varied between a 3/8-inch to ¾- inch.Also, get a measurement between the fender and bumper edge. We came up with about a 1/2 -inch on each side. Your measurements may vary depending on factory versus aftermarket bumpers and fenders.Note the section marked “cut out.” If you’re running the factory brackets as shown (we are not), reference your first set of measurements to cut, section, and re-weld. Your cuts should be made on the flat portion of the bracket.Matt Gooder took it a step further by custom-building new mounts that continue the look of the aftermarket Roadster Shop frame. Factory brackets could easily be used for anyone looking to utilize the stock mounting locations. Gooder built these using simple boxing plate templates taken from measurements off the factory brackets. He drilled and tapped them with two 7/16-inch mount locations.A look under the frame, the mounts are bolted in place inside the front of the frame horns. The mount flanges at the top left will accept new bumper hardware.The valance was drilled to match the 4 1/8-inch mount centers on the new bracket flanges.Once we located our mounting brackets, we rough-fit the bumper in place using a plumb bob. A laser level would also work here, but the goal is to match the center grille peak to the center of the bumper.We also used 1/8-inch wood shims to maintain a consistent edge while clamping the bumper in place before we took our measurements to locate the mounts.Matt Gooder welded two 6 x 2 1/8-inch plates on each end with two 3/8-inch studs that align with the bracket mounts. This is great structurally, and if shims are needed to fine- tune any gap issues, adjustments can be easily made.After we were happy with the general fit, we made our cuts. Gooder removed both ends while ensuring the cuts were made on a flat portion of the bumper. He also removed all the factory mount tabs and cut 1 inch off the bottom edge along the license plate recess, leaving a nice straight edge across the bottom.To get a consistent line along the grille edge, Gooder also made a pie-cut in the center peak of the bumper. This allowed him to bend and shape the bumper as needed to match the grill.Next, we removed ¼ inch from each end to tuck -in our bumper ends.Fit the ends into place. This happens to be an aftermarket bumper, the corner radius may vary depending on fender -to- bumper fitment. This took some finesse- work to dial in. Gooder started by tracing the edge radius to the fender.Then, using a small cut-off wheel, he reshaped the bumper pockets to match and continued rechecking fitment.In addition to reshaping the fender pocket, Gooder reworked the corners of the bumper with a bit of massaging. It’s helpful to make relief cuts before reshaping as needed. Finally, weld and smooth until the proper fit is achieved.After the bumper ends were shaped, Gooder tacked them into place before the bumper was removed for final welding.The grille was removed to avoid any heat warpage before Gooder final-welded and smoothed each fender pocket.The factory carriage holes and center peak were welded and ground smooth to complete the final shaping to the bumperFinally installed, the end gaps are much cleaner and the bumper edge is now consistent with the grille.
We use cookies to ensure that we give you the best experience on our website. If you continue to use this site we will assume that you are happy with it.