Waking Up A Tired 305 with A Summit Racing Top End Kit
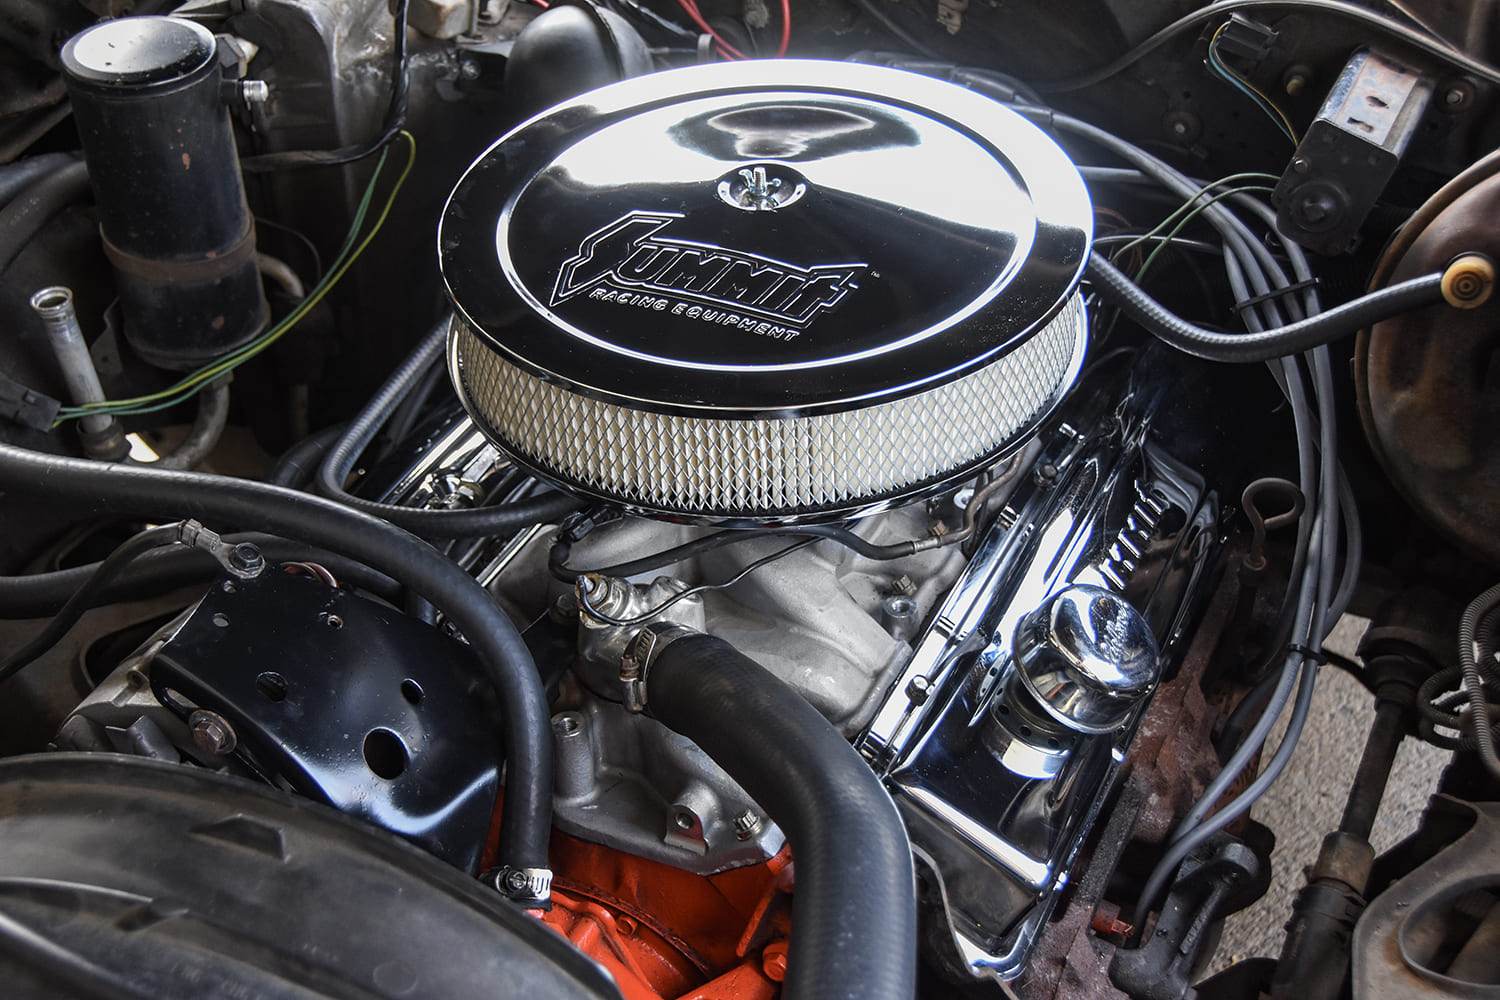
After a few heat cycles, we snugged the intake manifold bolts one last time and we’ve been burning up the highway in this refreshed 305. Although this upgrade wasn’t about dyno pulls and drag racing performance, it certainly improved the driving experience of our ’77 Nova.
Saving an old Chevy requires a level of commitment that often crosses the boundaries of practicality before the project even begins. Let’s be real: It’s not practical to spend $1,000 on a $2,000 beater, because it doesn’t automatically make it worth $3,000. So, you might be wondering why we’d want to wake up a tired 305 that rests under the hood of a ratty 1977 Nova four-door. It’s not the most beautiful project, but it’s the absolute cheapest entry point into this hobby we know and love. In this case, we’re ditching a smog-era two-barrel setup in favor of a perfectly simple top-end package from our friends at Summit Racing.
The old 305 was operational but certainly lacked in the efficiency and performance departments. The Rochester two-barrel carburetor needed work, and we minimized the car’s extensive vacuum line arrangement in hopes of better idle quality and performance. Basic tune-up and ignition timing adjustments helped but still didn’t accomplish the goal of a true daily driver. Of course, we could’ve scrounged at swap meets, or rebuilt the existing components to save some bucks, but at the end of the day we were looking for a weekend makeover with no drama. We got exactly that with the Summit Racing Carburetor and Intake Manifold Combo Kit—a simple install, affordable parts, and a one-stop solution to handle the entire project.
We ordered the Summit Racing 03-0193 kit, which includes an aluminum dual-plane intake manifold, 600-cfm four-barrel carburetor, and all the associated parts needed to complete the install. We’re talking gaskets, hardware, and even a tube of RTV to seal up the front and rear of the intake. We picked up a few other pieces from the Summit Racing catalog along the way, including a ready-to-run HEI distributor, and our bill came out right at $1,000 for the entirety of our weekend makeover.
At the end of the install, the night and day difference in the car’s reliability and performance is outstanding. Of course, we don’t have dyno numbers or track times for a car of this nature, but the seat-of-the-pants feeling is great and we’re racking up miles at nearly 20 mpg. The bolt-on nature of this install is straightforward, but there are always a few final steps of tuning to get the fuel mixture and ignition timing dialed in.
We’re thrilled with the transformation of this sleepy 305, and the parts we installed will help keep it on the road for many years to come.
A weekend in the shop and a box of Summit Racing goodies freshened up the performance and appearance of this ’70s Nova small-block.
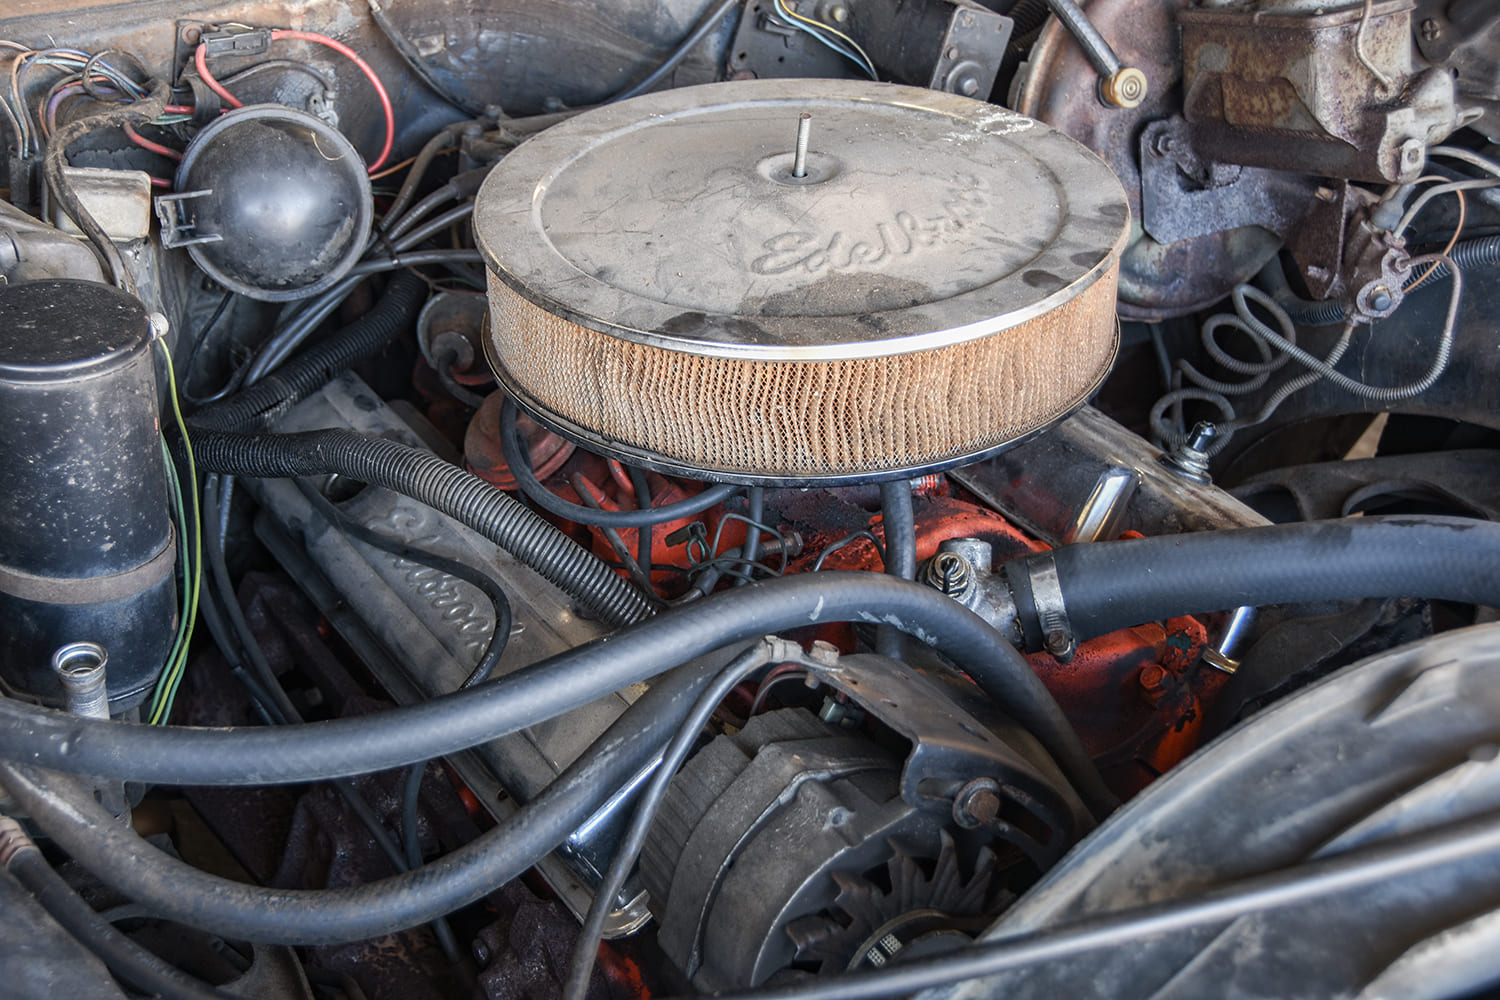
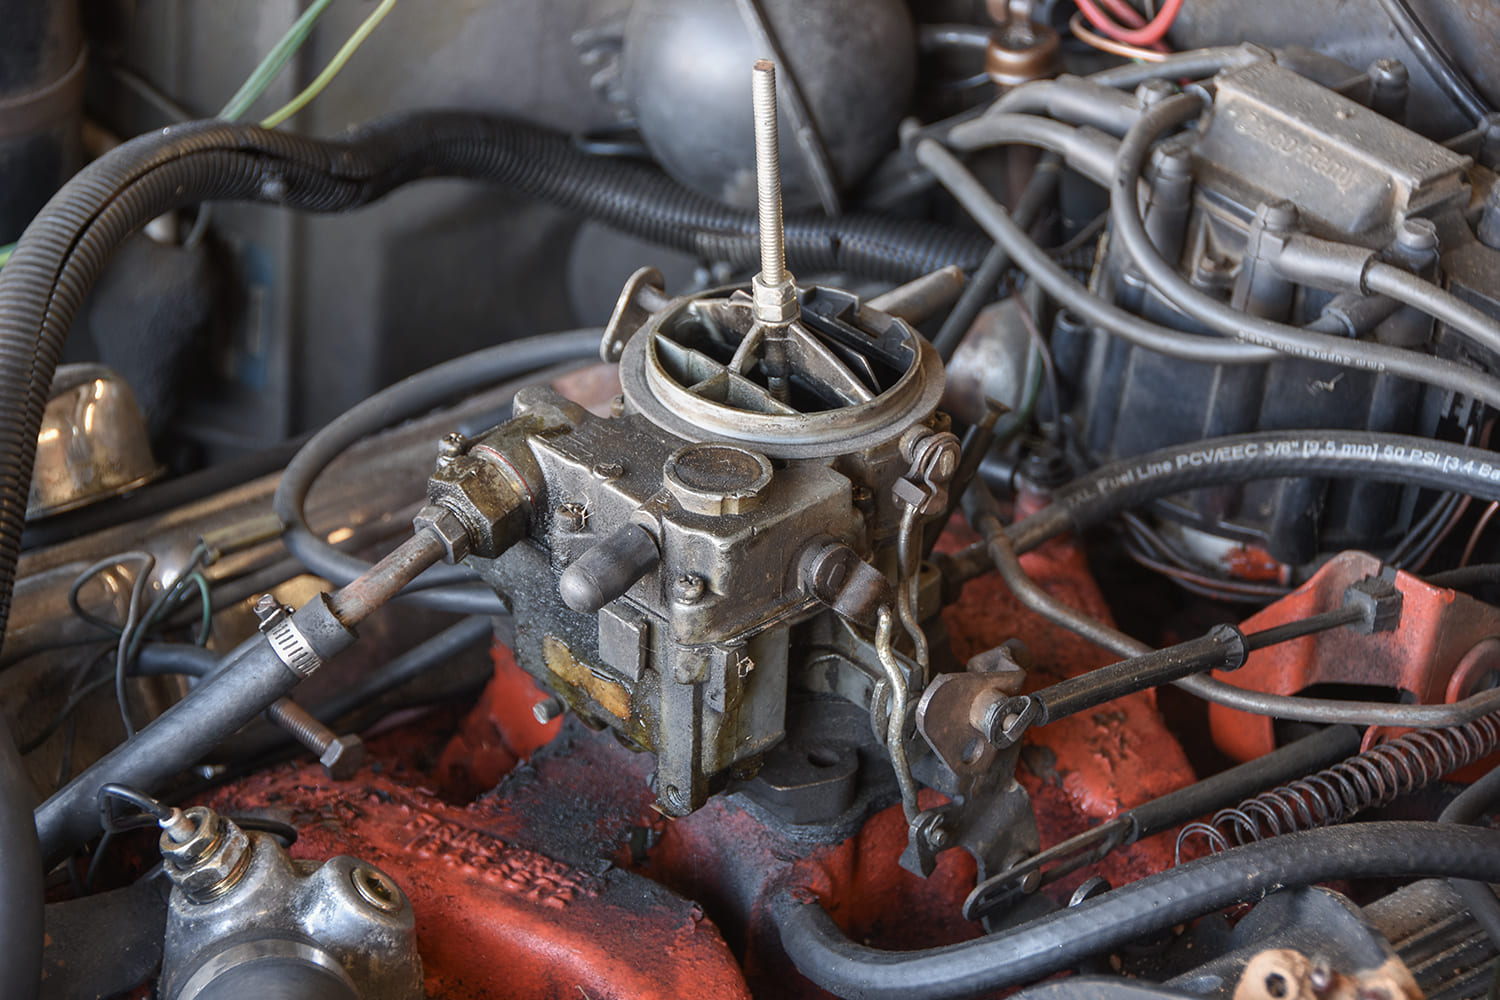
Our starting point is a 1977 Nova, which has a tried-and-true 305ci small-block Chevy with Rochester two-barrel carburetor. This engine ran OK on the highway but idled poorly and had an off-idle stumble, so it was time for an upgrade.
We nursed this original setup along for a few thousand miles, but the old Rochester two-barrel carburetor was in dire need of a rebuild, and there were some vacuum line issues we later discovered.
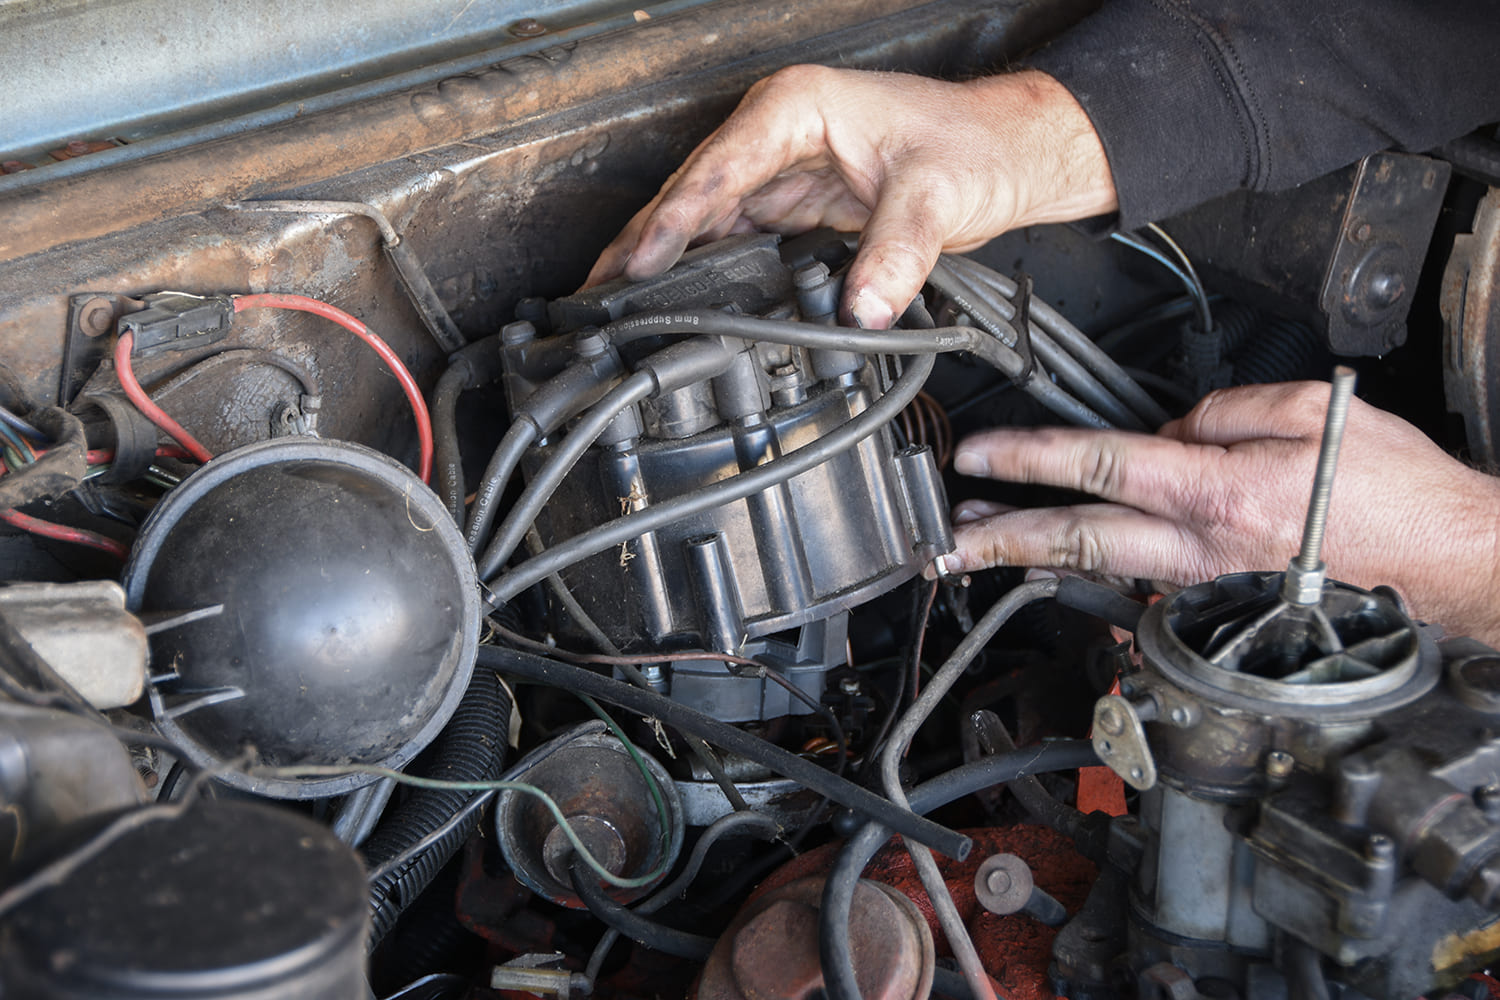
We spun the engine over to the timing mark and then verified the number one cylinder was on top dead center by removing the distributor cap to see the rotor pointing toward the number one cylinder.
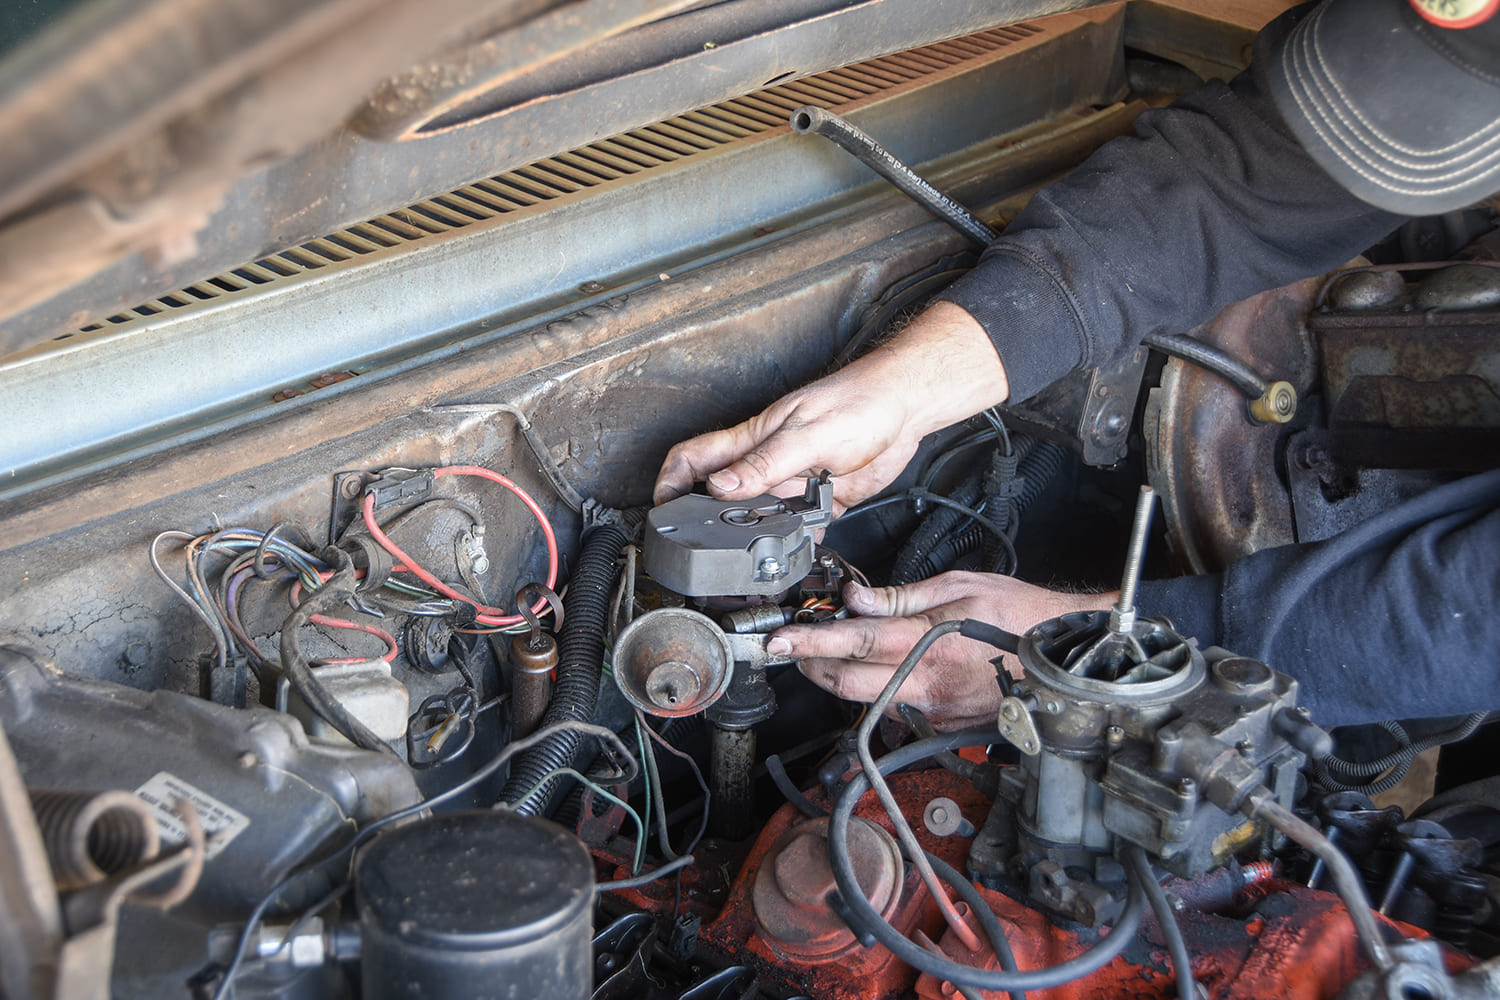
The original HEI distributor was in decent working order, but we had to pull it because of the intake swap, so we added a completely new Summit Racing HEI distributor to our parts list.
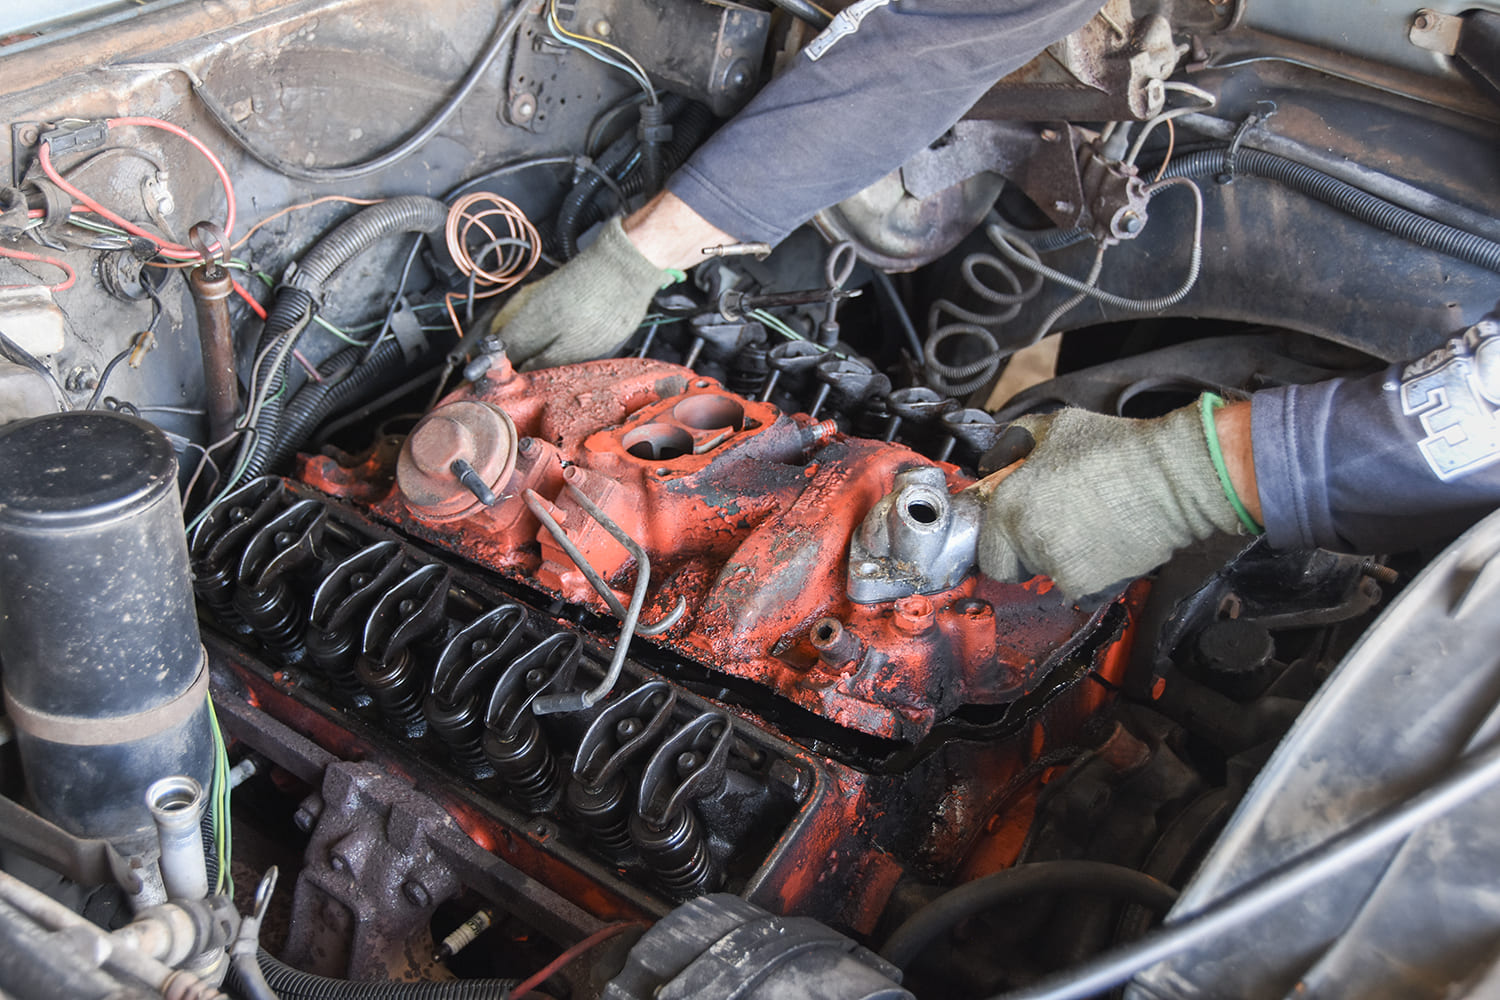
After removing the distributor, upper radiator hose, vacuum hoses, and upper heater hose, we removed the cast-iron intake manifold. Notice we’ve also removed the valve covers for a quick valvetrain inspection.
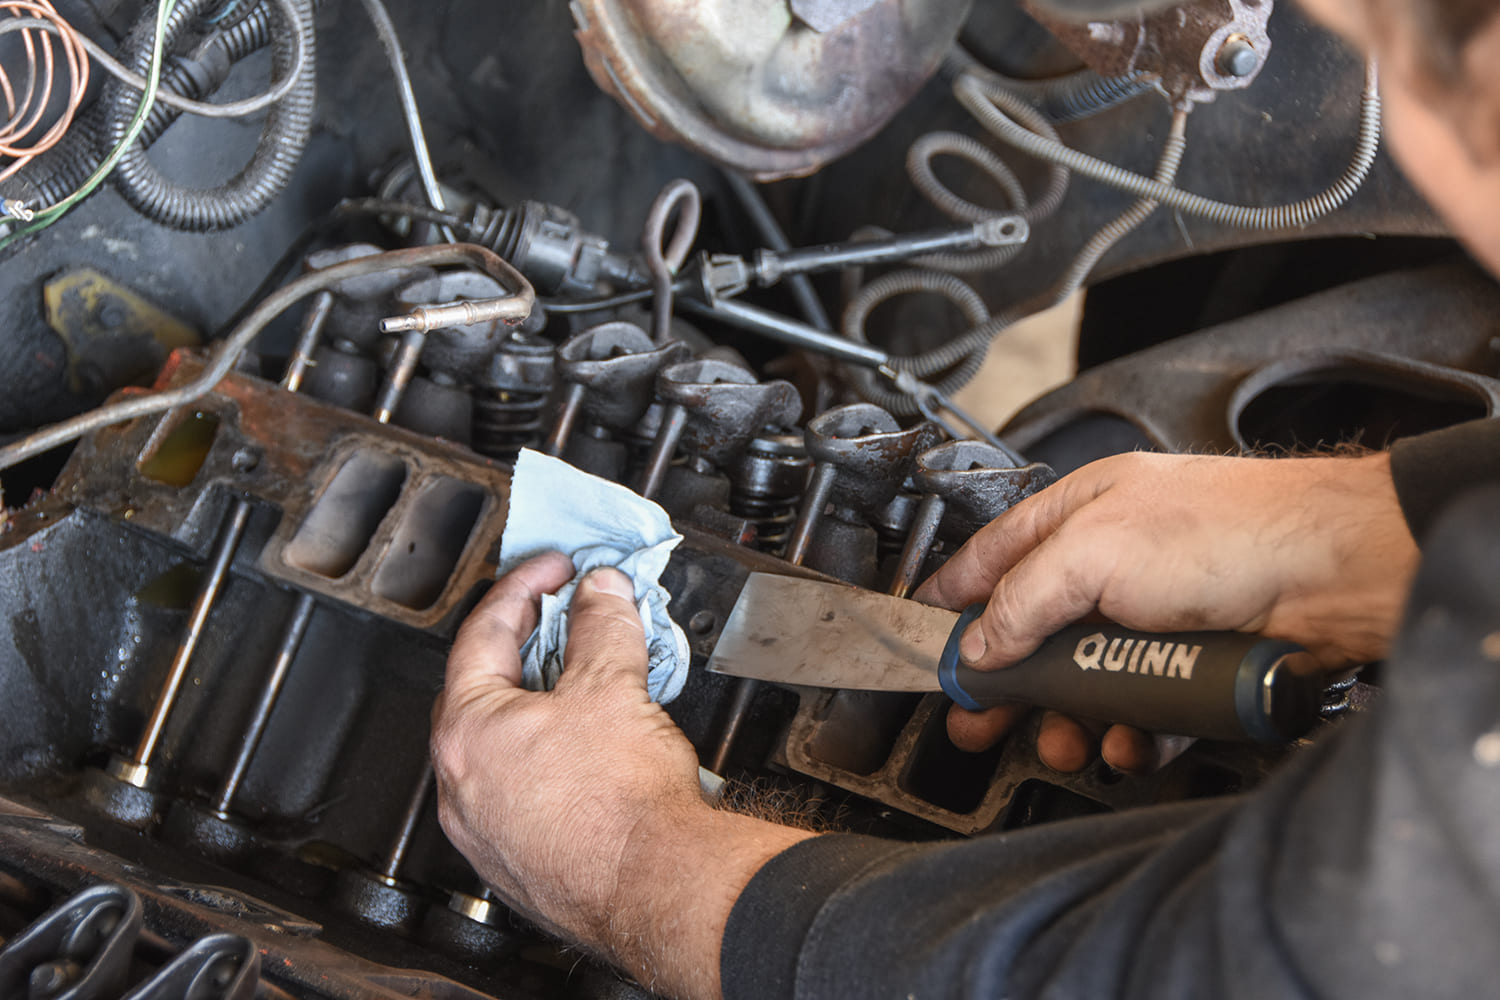
We scraped the leftover gasket material off the cylinder heads and block and wire-brushed the visible parts of the heads and block in preparation for some fresh Chevrolet Orange paint.
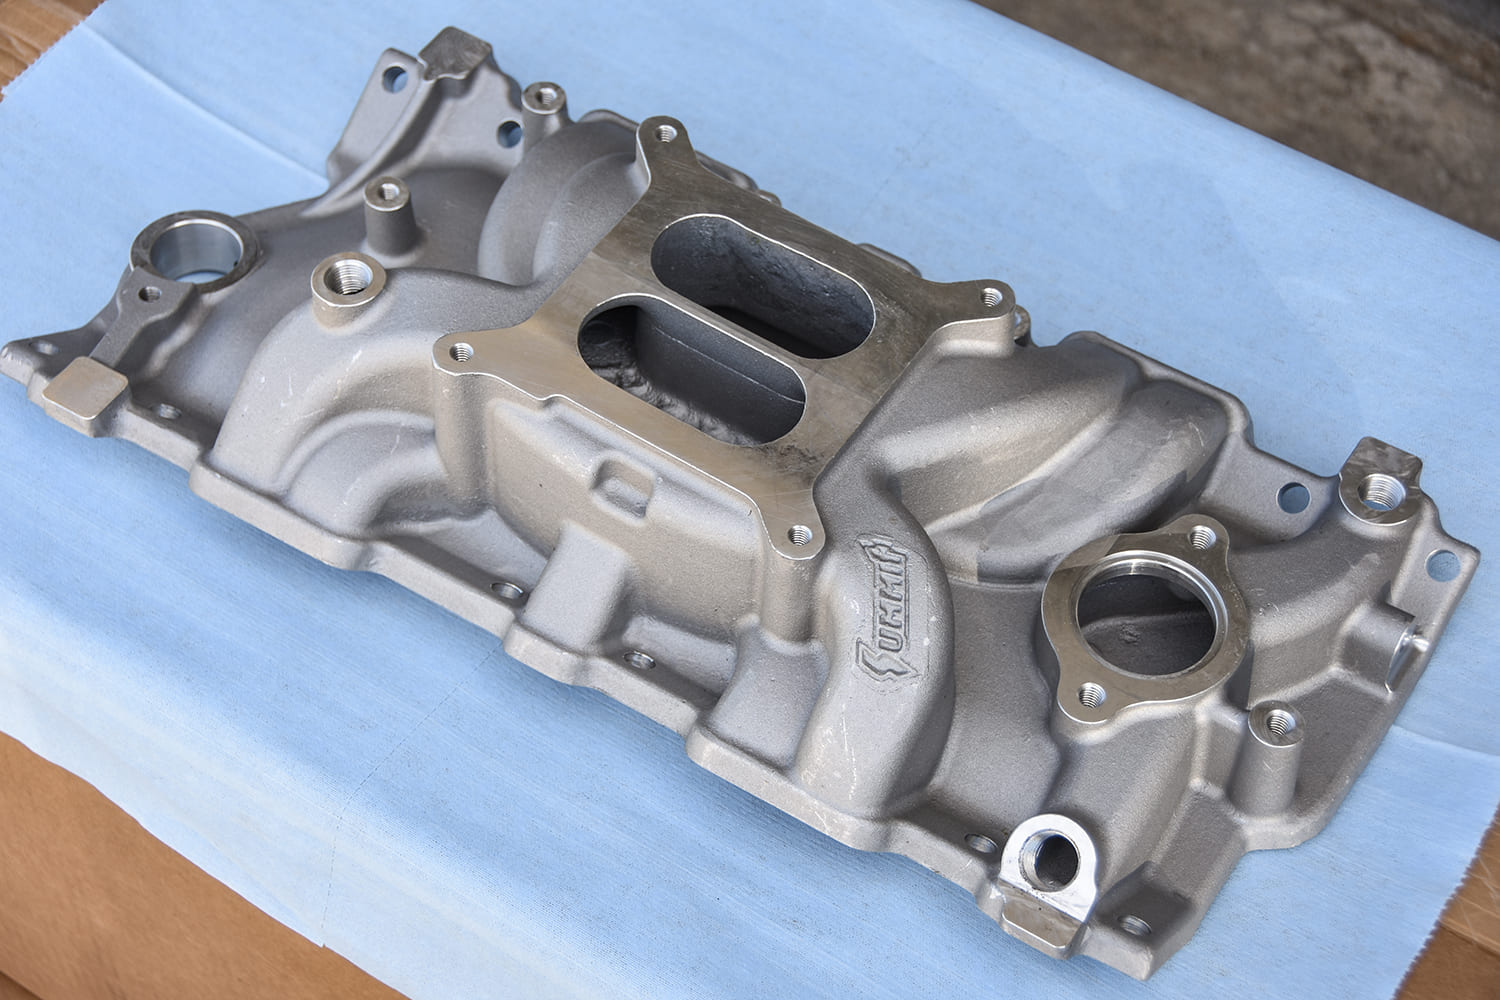
The key component in the Summit Racing combo kit is this dual-plane aluminum intake manifold (PN SUM-226012). Not only does it give us the four-barrel flange, but it also flows better than stock and saves several pounds off the nose.
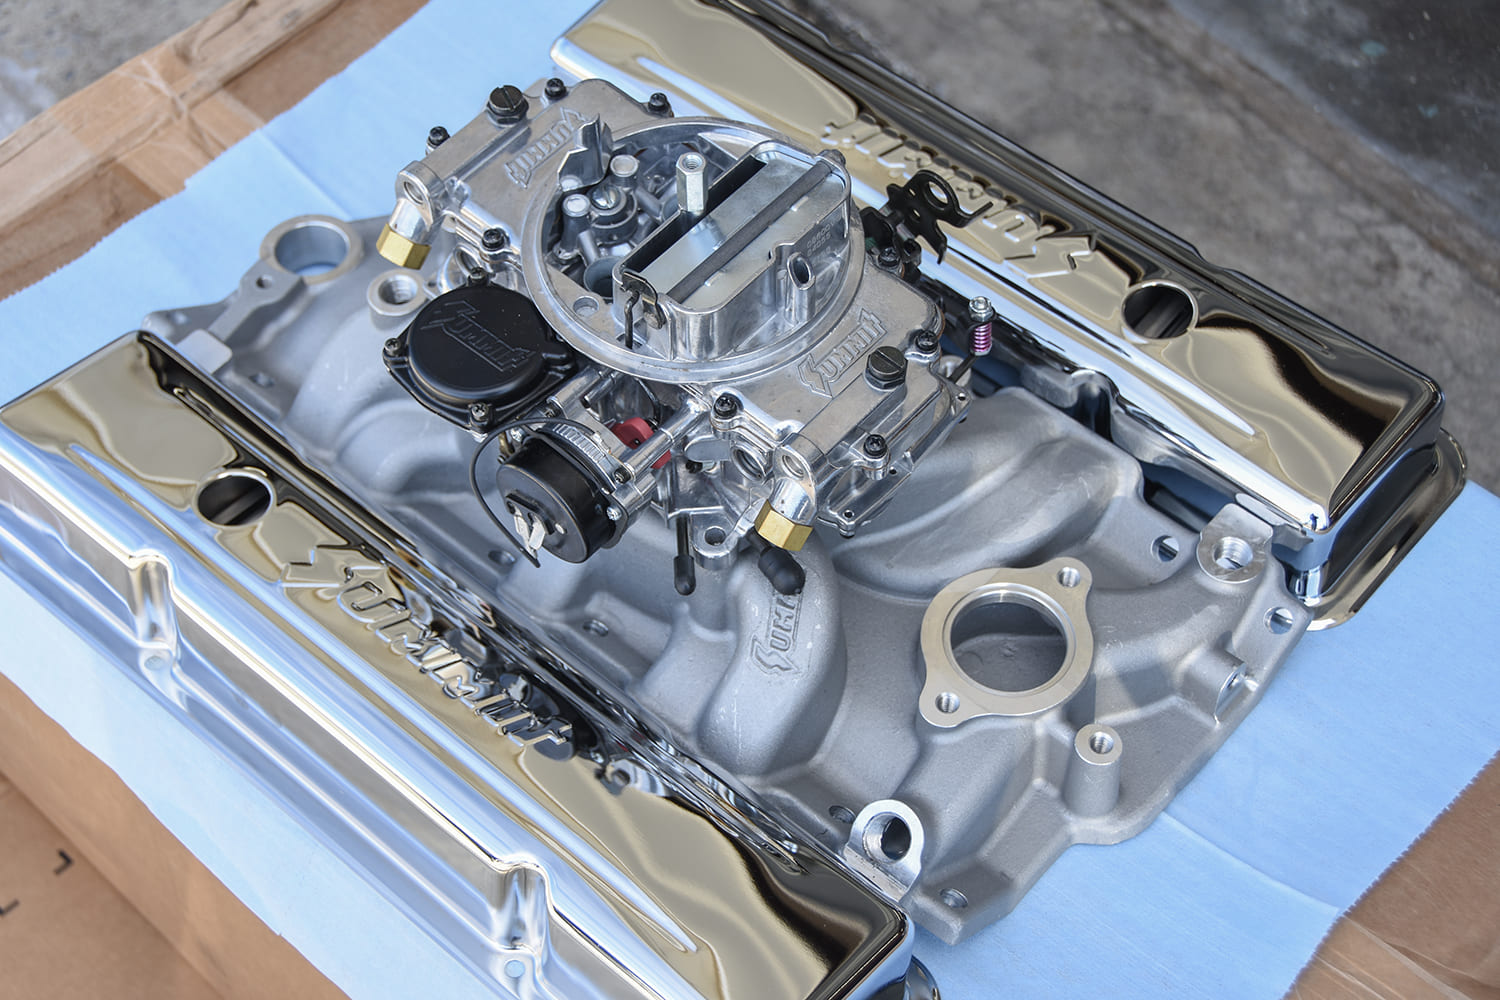
The Summit Racing combo kit (PN 03-0193) comes with an intake manifold, four-barrel carburetor, intake gaskets, carburetor studs, air cleaner, RTV, and all the hardware needed for installation. We also grabbed a pair of SUM-G3306 valve covers to complete the new look.
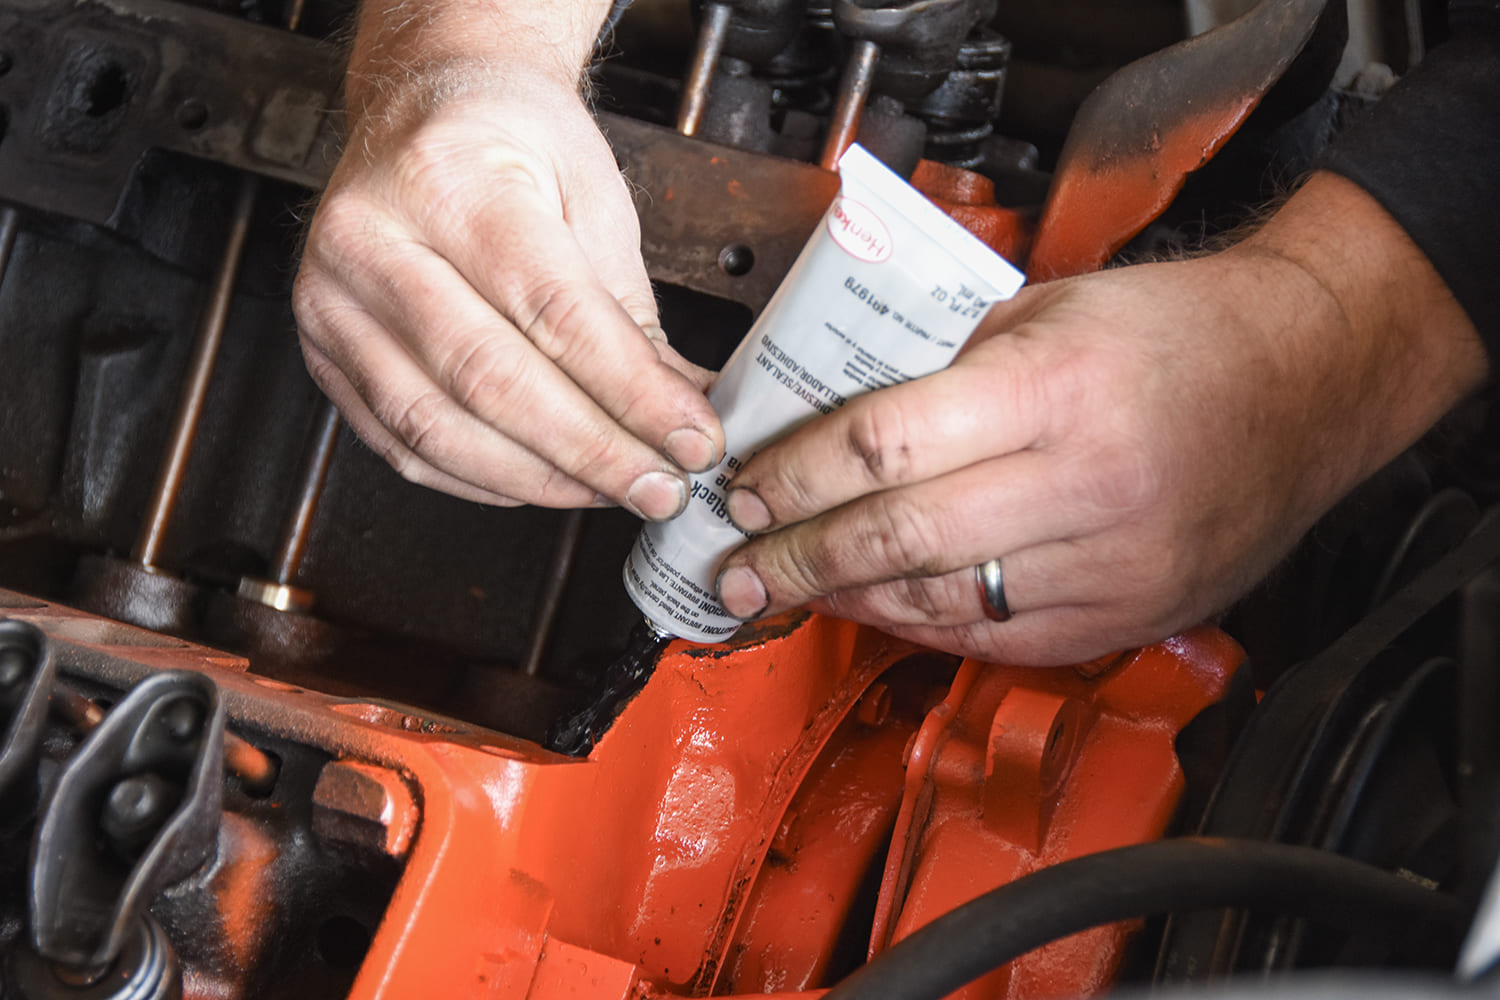
After the paint dried on the front of the block and cylinder heads, it was time to install the new intake manifold. Using the supplied Loctite black RTV (PN 491979), we laid a foundation of sealant on the front and rear of the block.
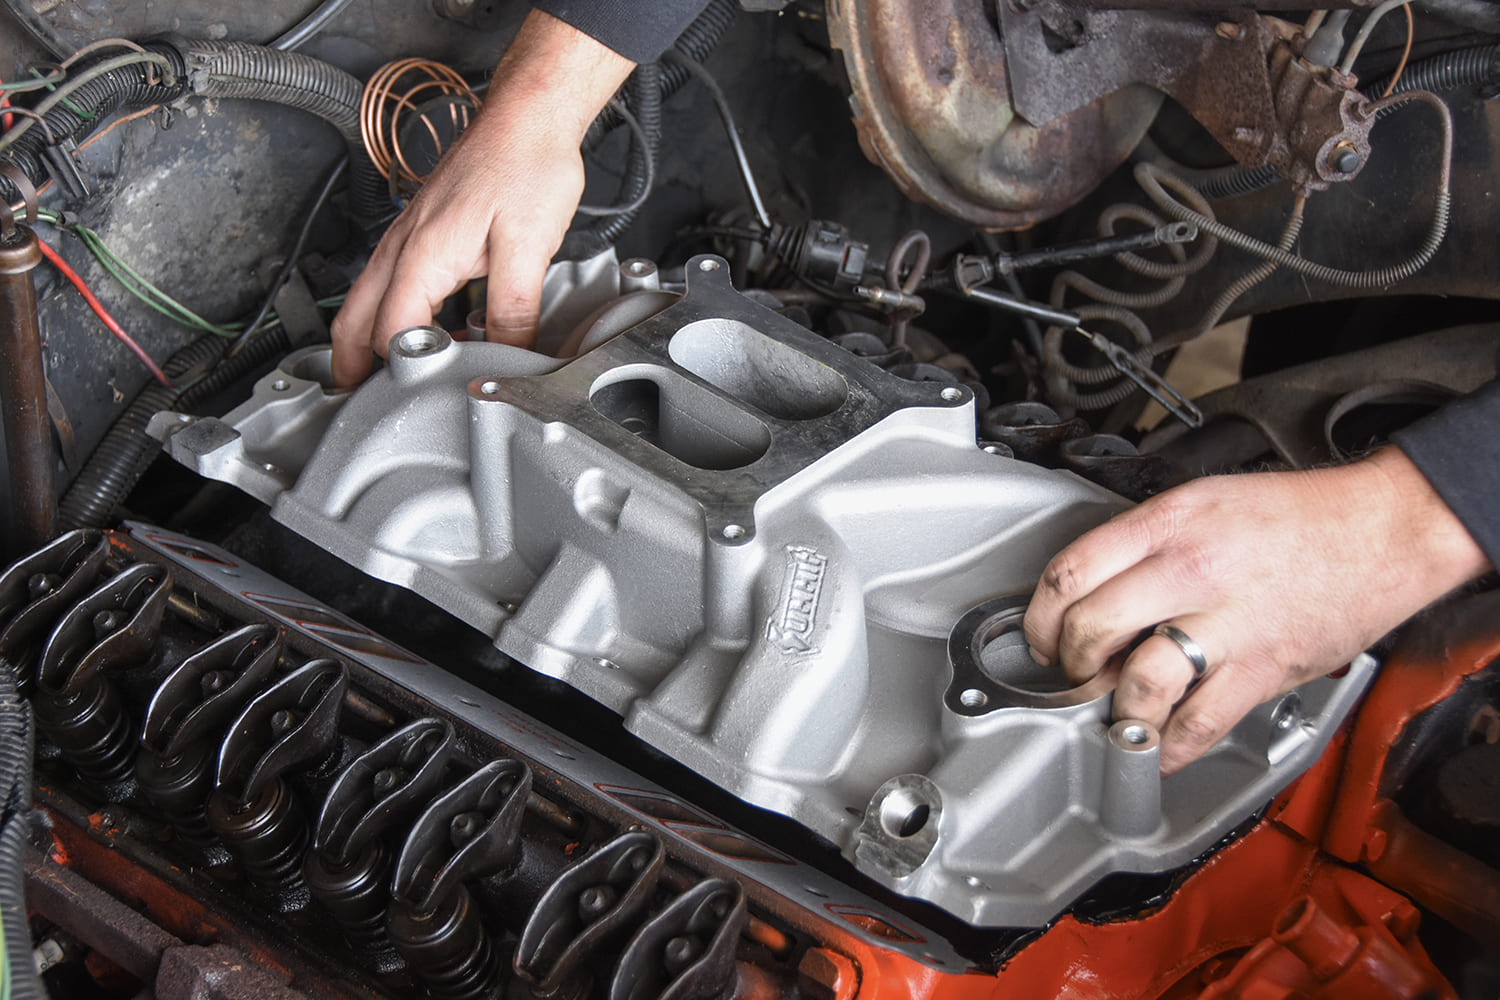
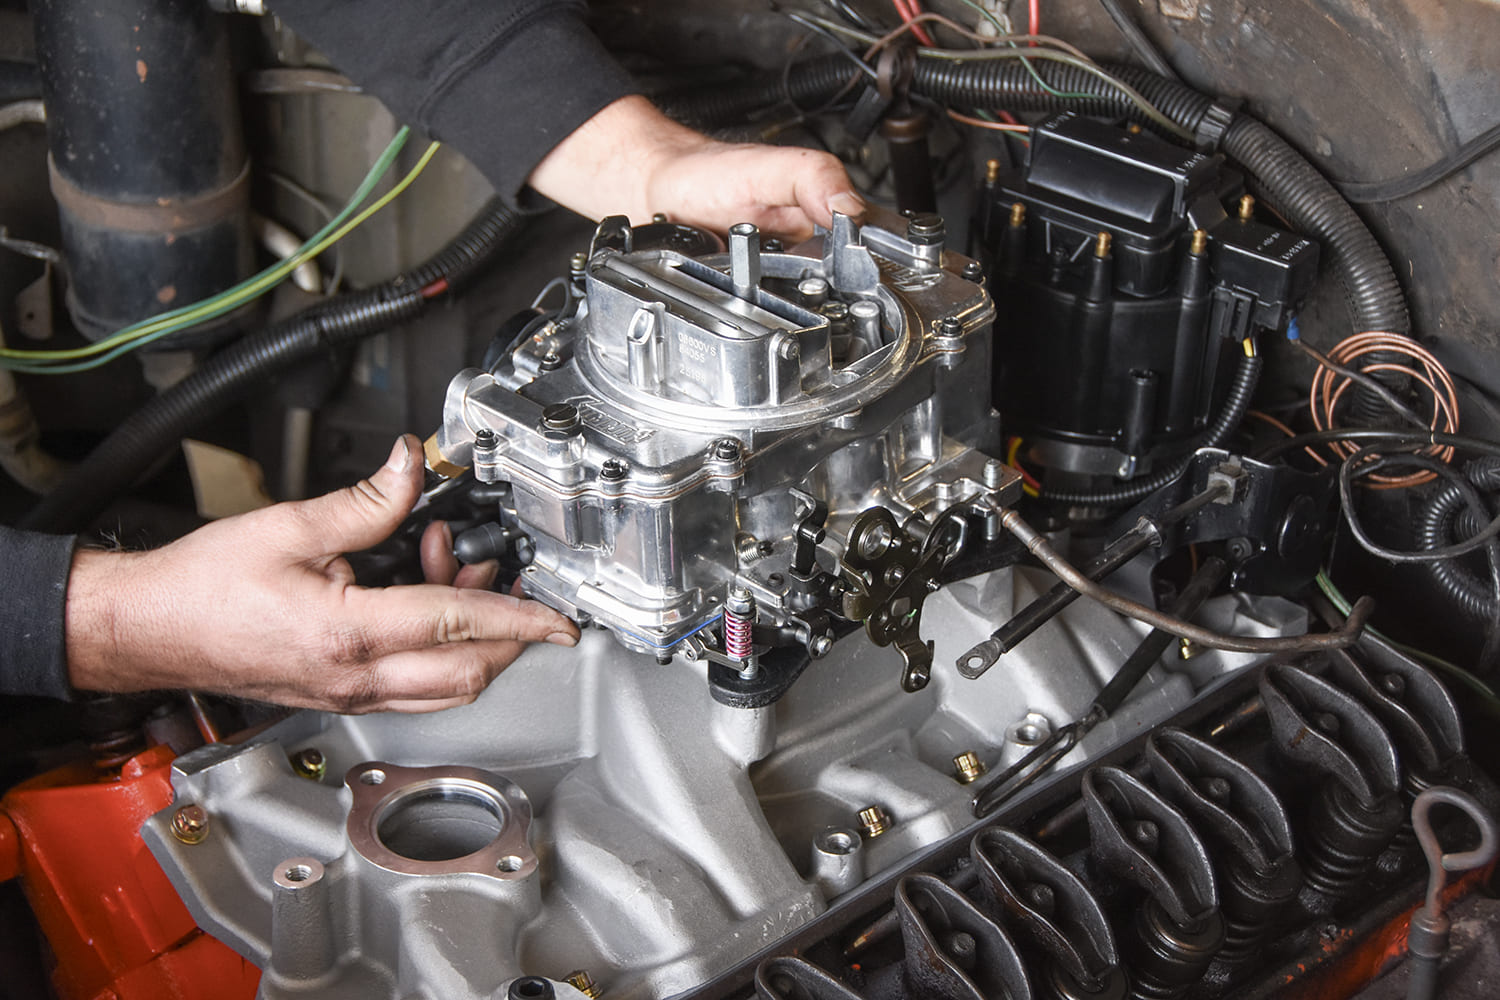
With the Summit intake gaskets (PN SUM-G2410) in place, we lowered the new aluminum intake in place. Alignment is key as we slowly lower it into position, being careful not to disturb the RTV in the process.
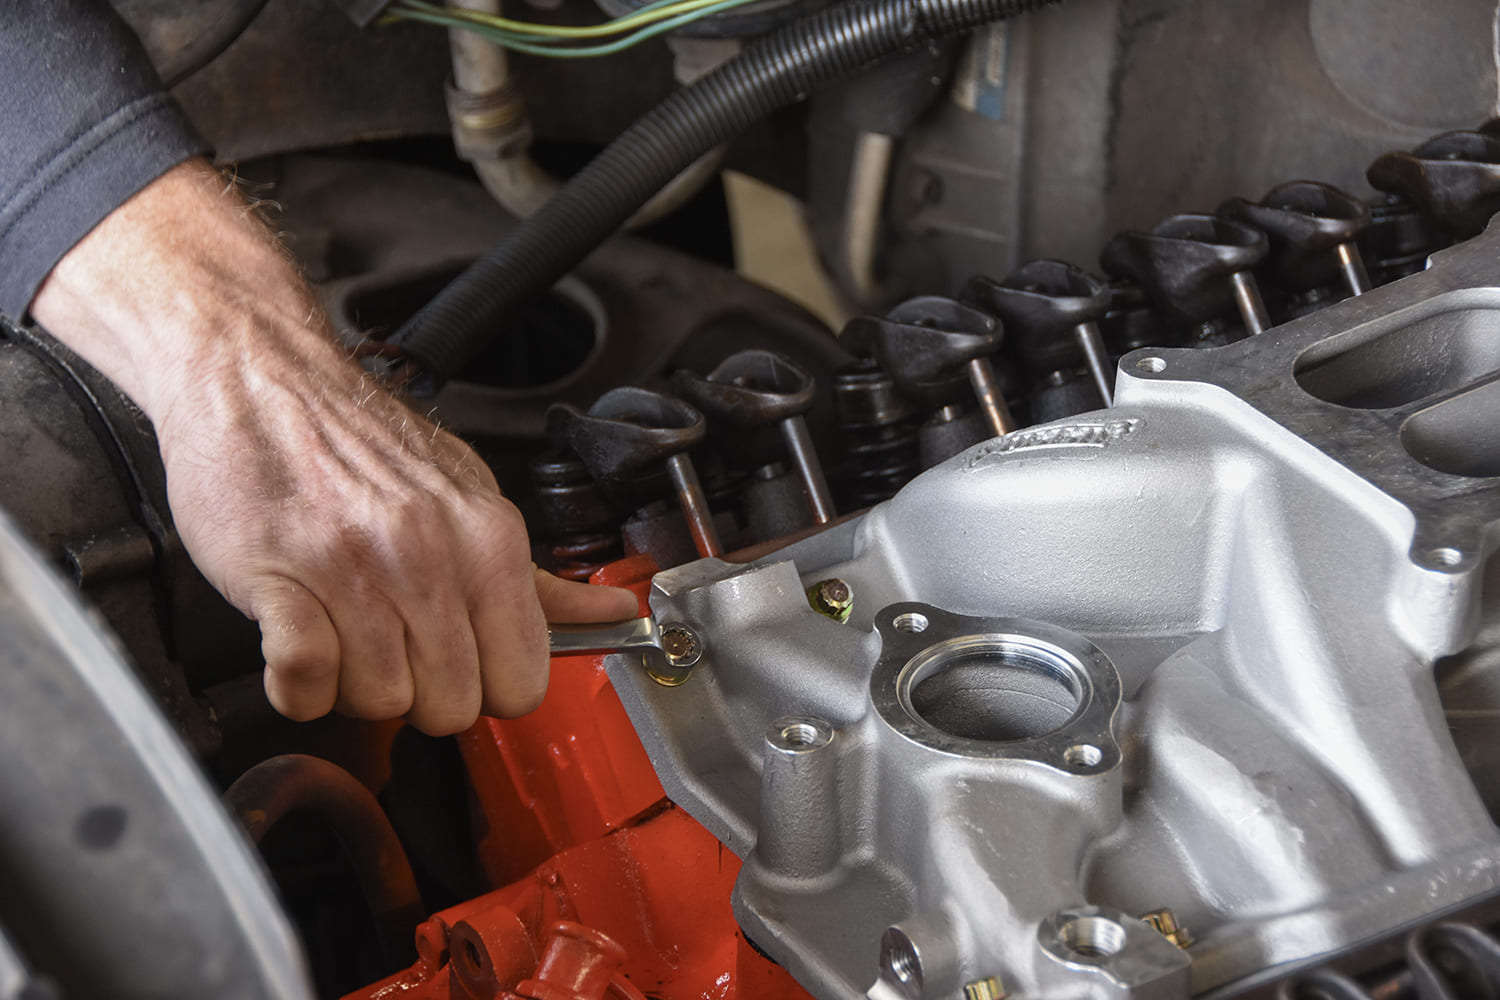
The Summit Racing intake bolt set (PN SUM-G1491) features zinc-plated bolts with 12-point heads and a special wrench for hard-to-reach spaces. After all bolts are started and snugged, we tighten the center bolts and work our way out in a circular pattern.
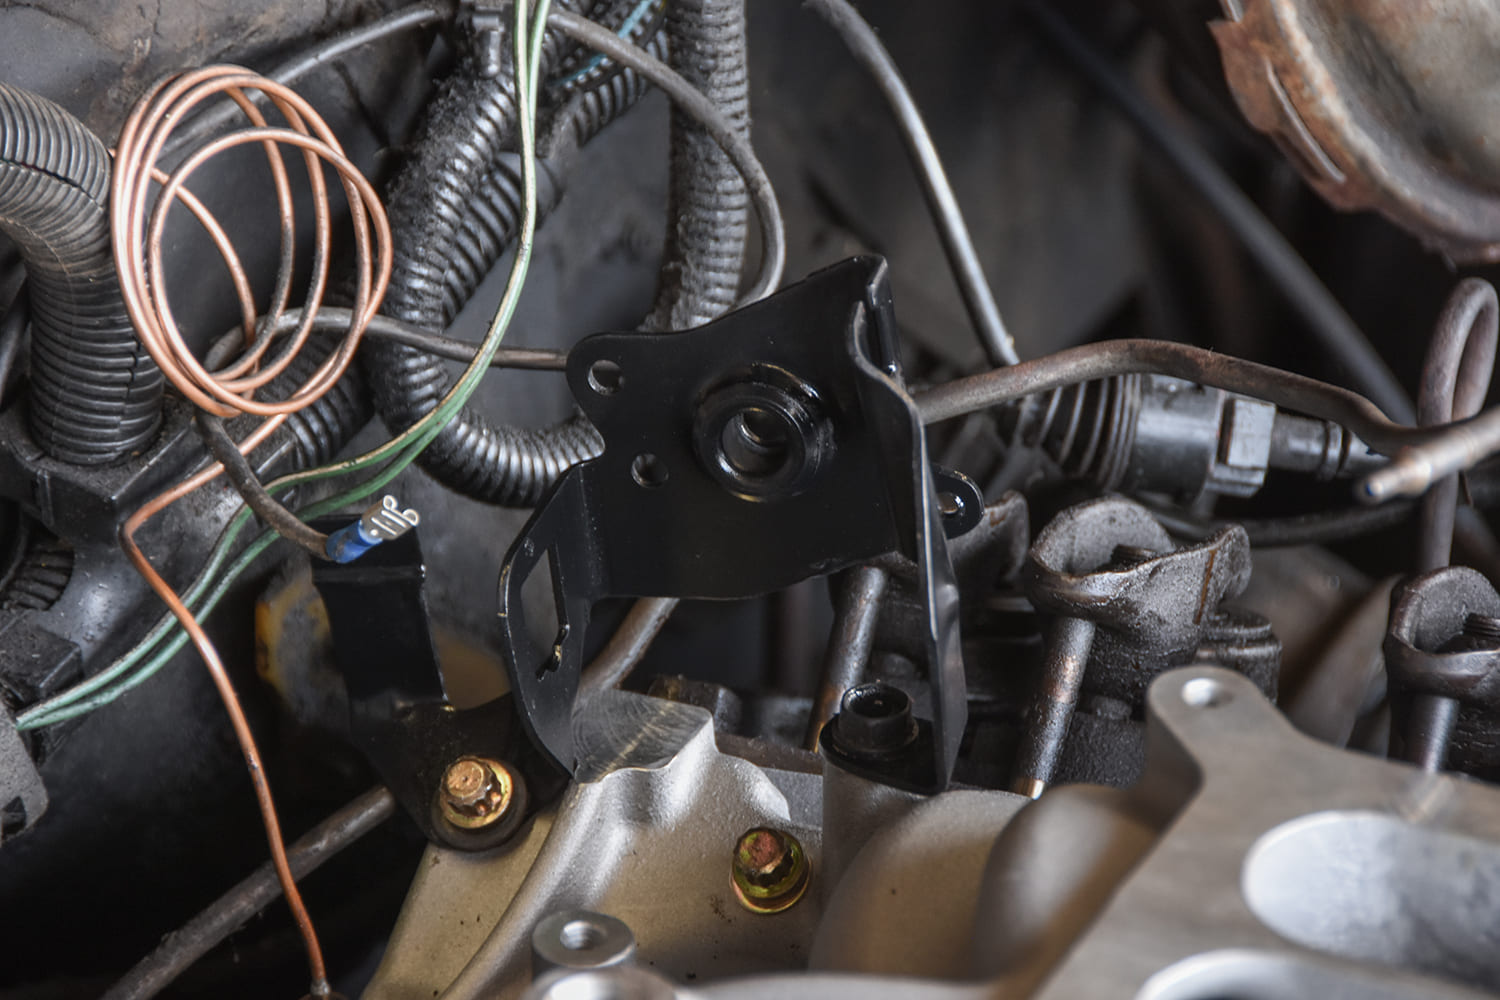
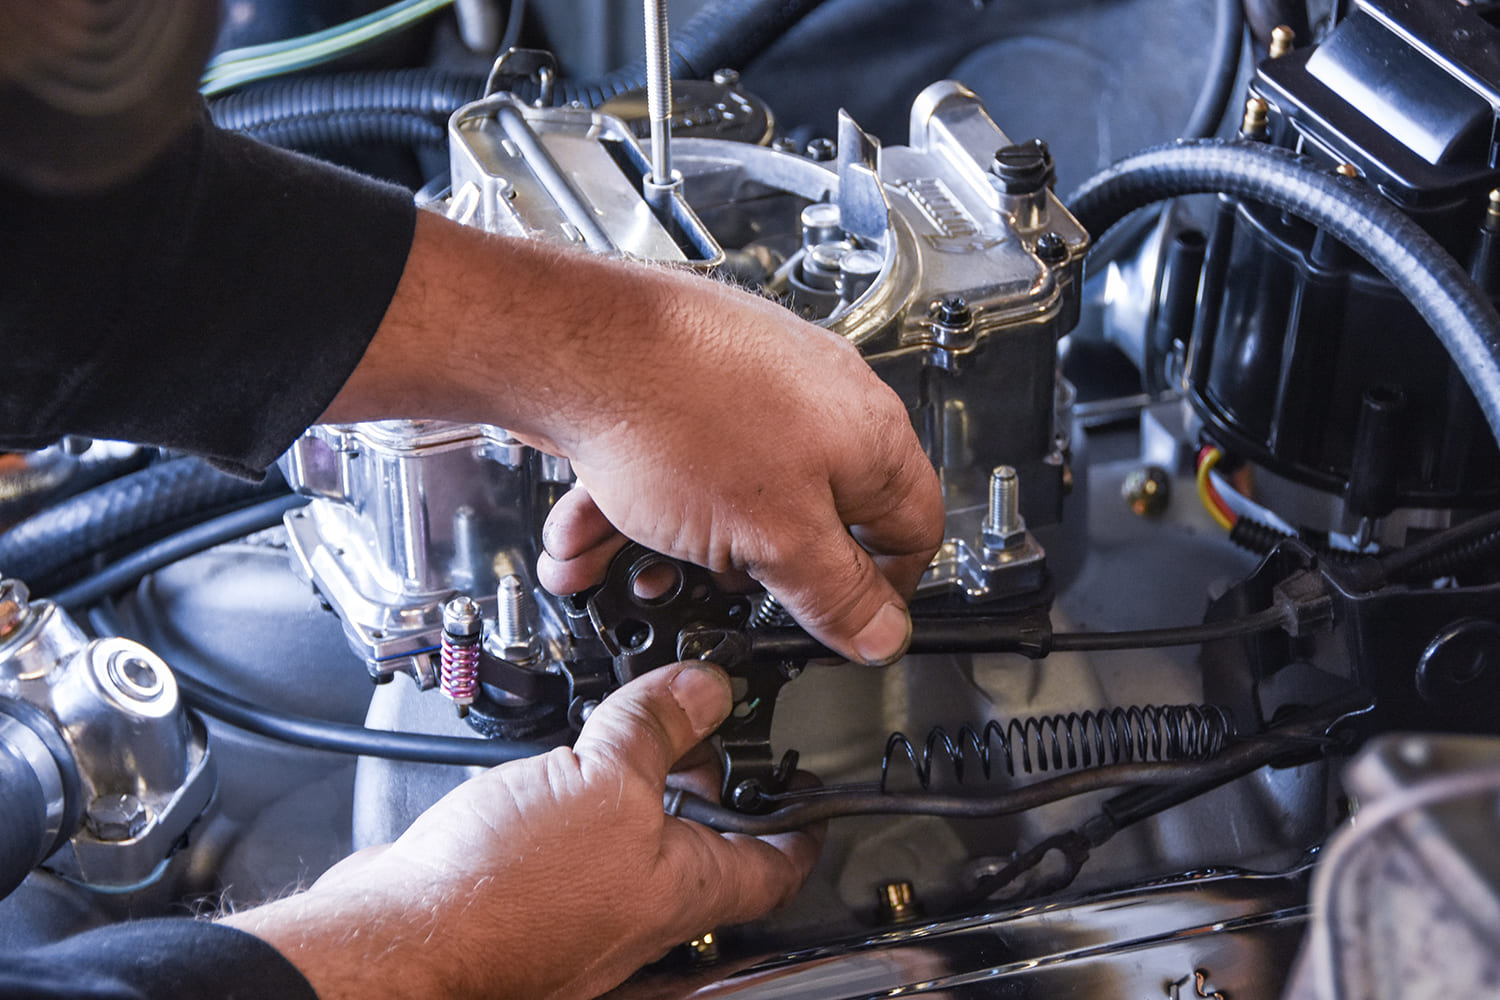
Our original throttle cable bracket required a little tweaking to bolt to the new intake manifold, but the original throttle and kickdown cables will still function properly with the new carburetor setup.
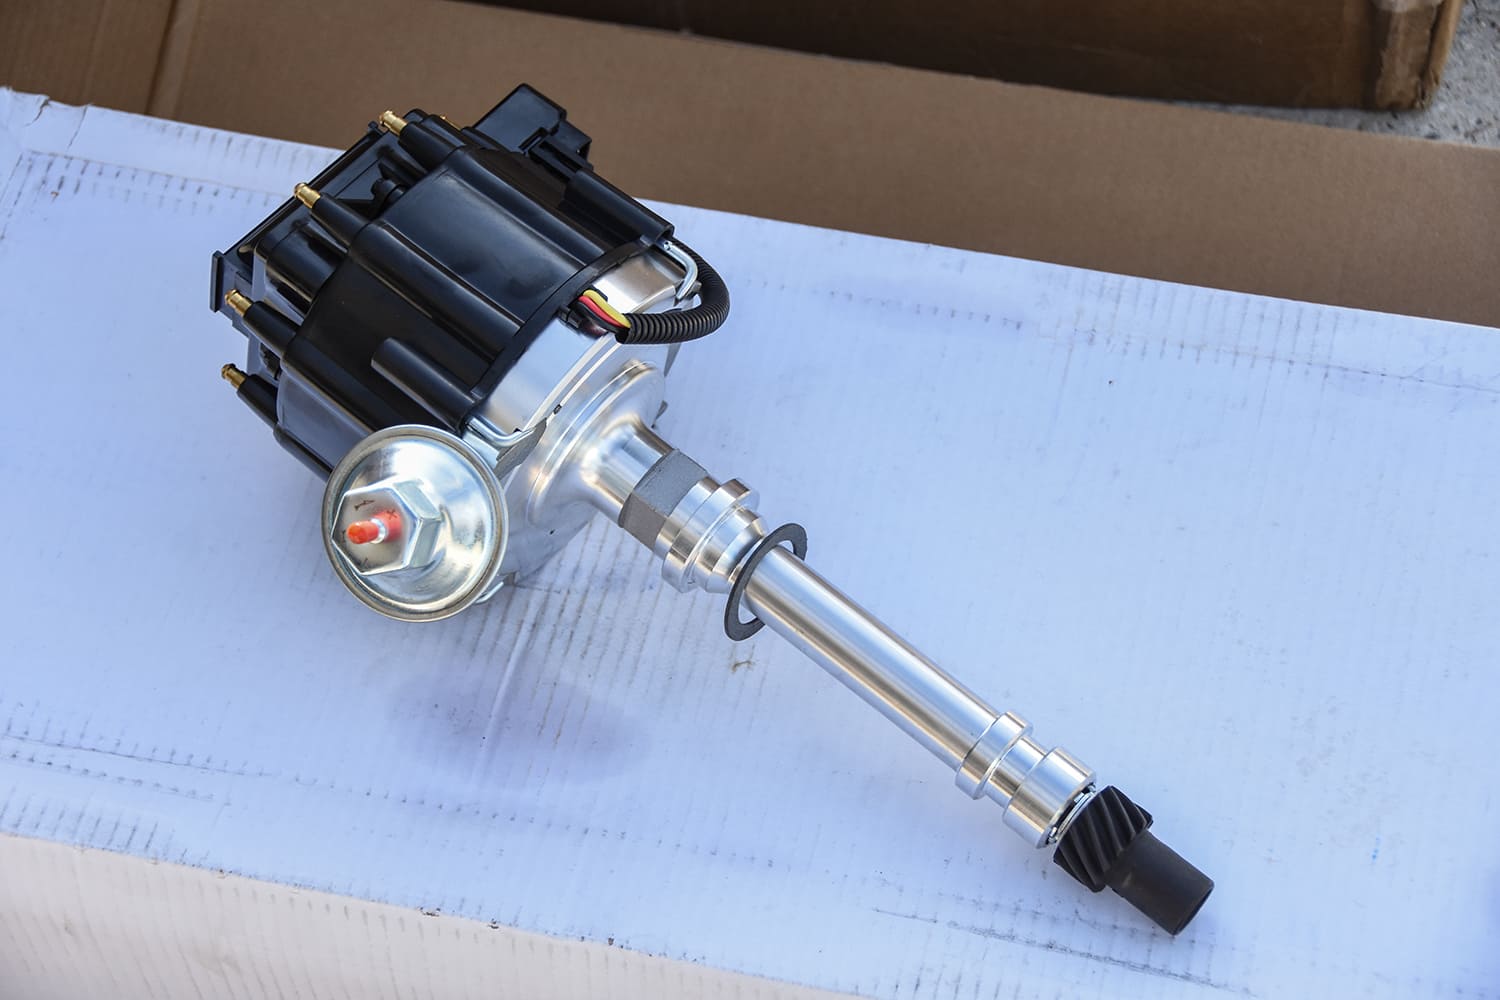
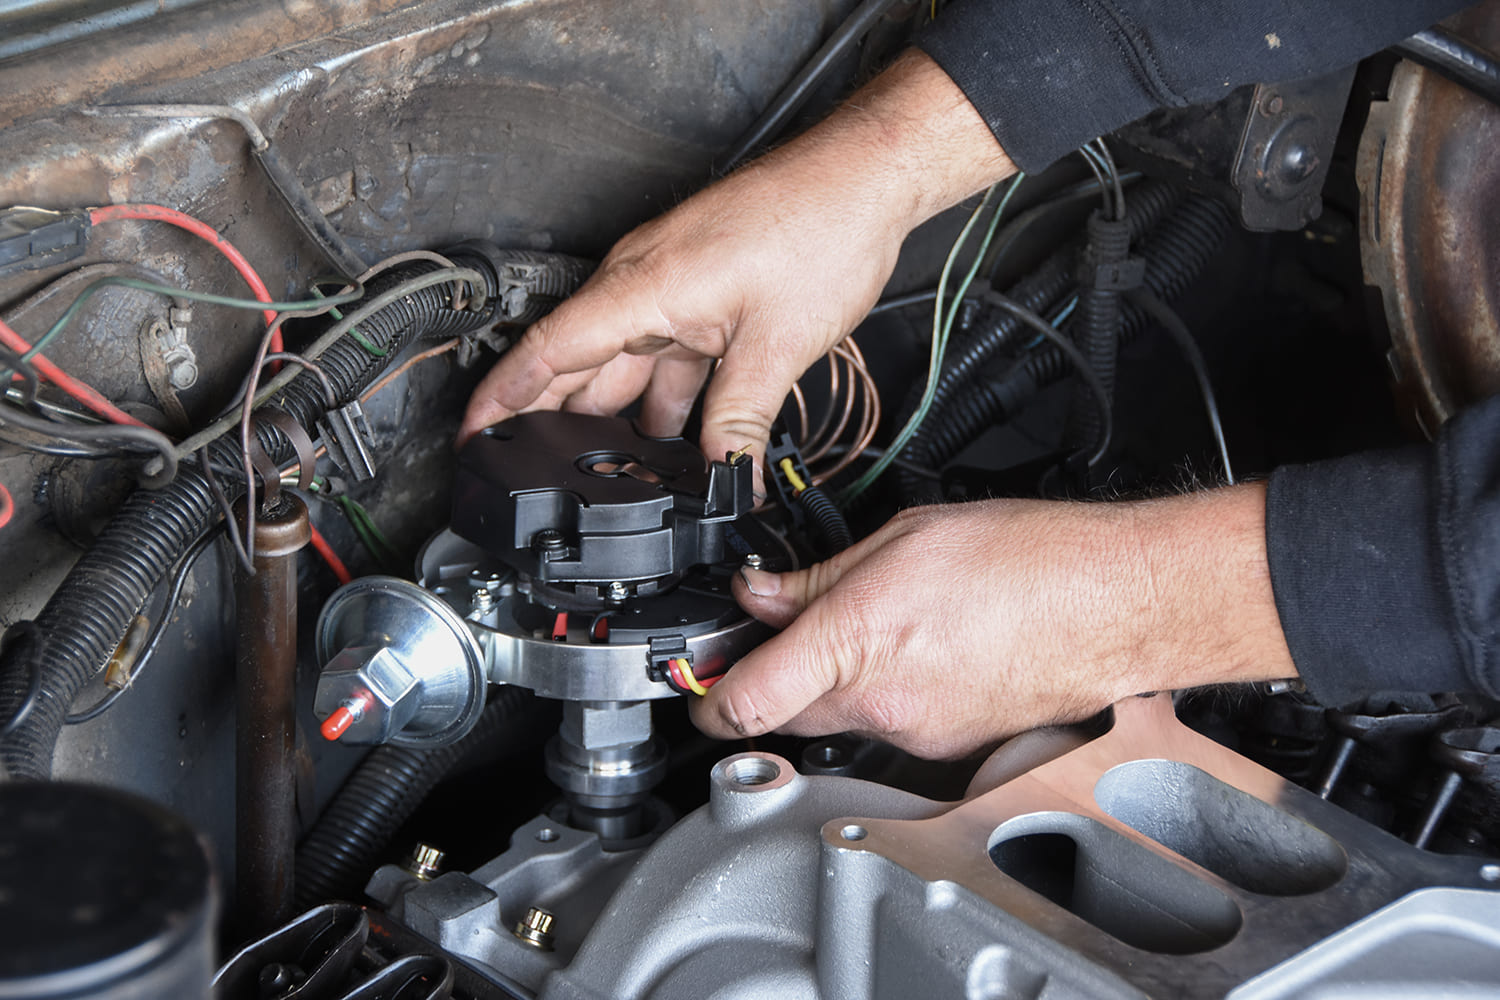
This Summit Racing HEI distributor (PN SUM-850001R) is not part of the top end kit, but it’s a great way to ensure consistent spark. We could’ve bought a new module, cap, coil, and rotor for our old distributor, but this drop-in unit is quick, easy, and affordable.
Dropping the distributor into place is as simple as yanking the old one. We aligned the rotor to point toward the number one cylinder, and it dropped into place on the first shot.
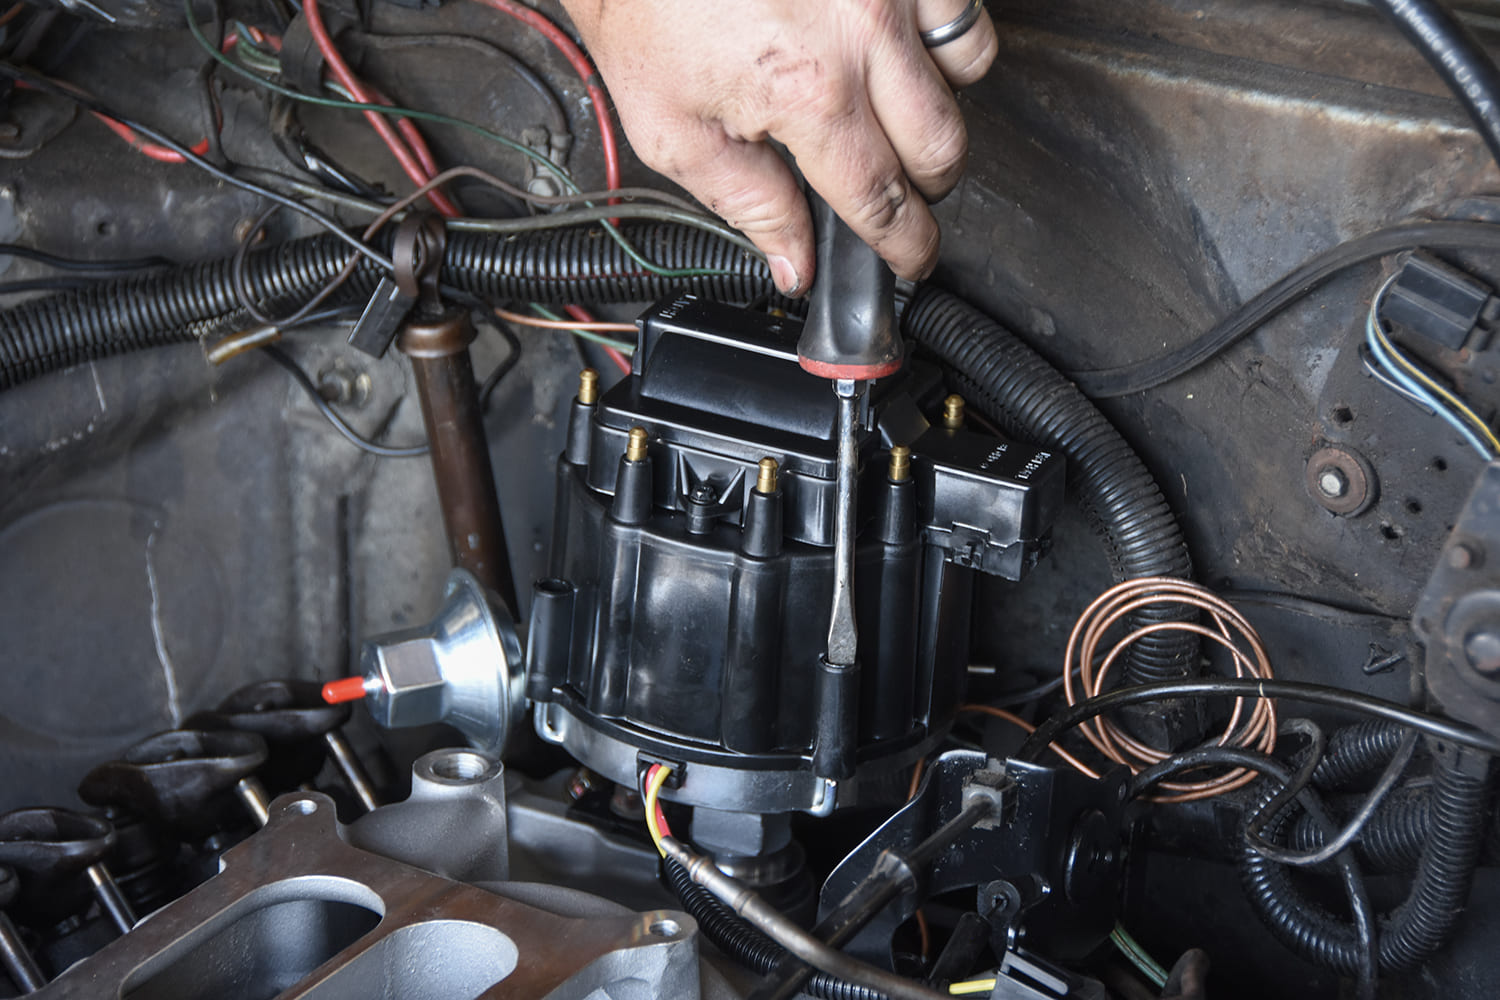
The Summit Racing distributor comes with a new black cap, which is fastened with original-style spring-loaded hooks. The wiring arrangement is simple, as it only needs a single 12V wire to the BAT terminal to operate.
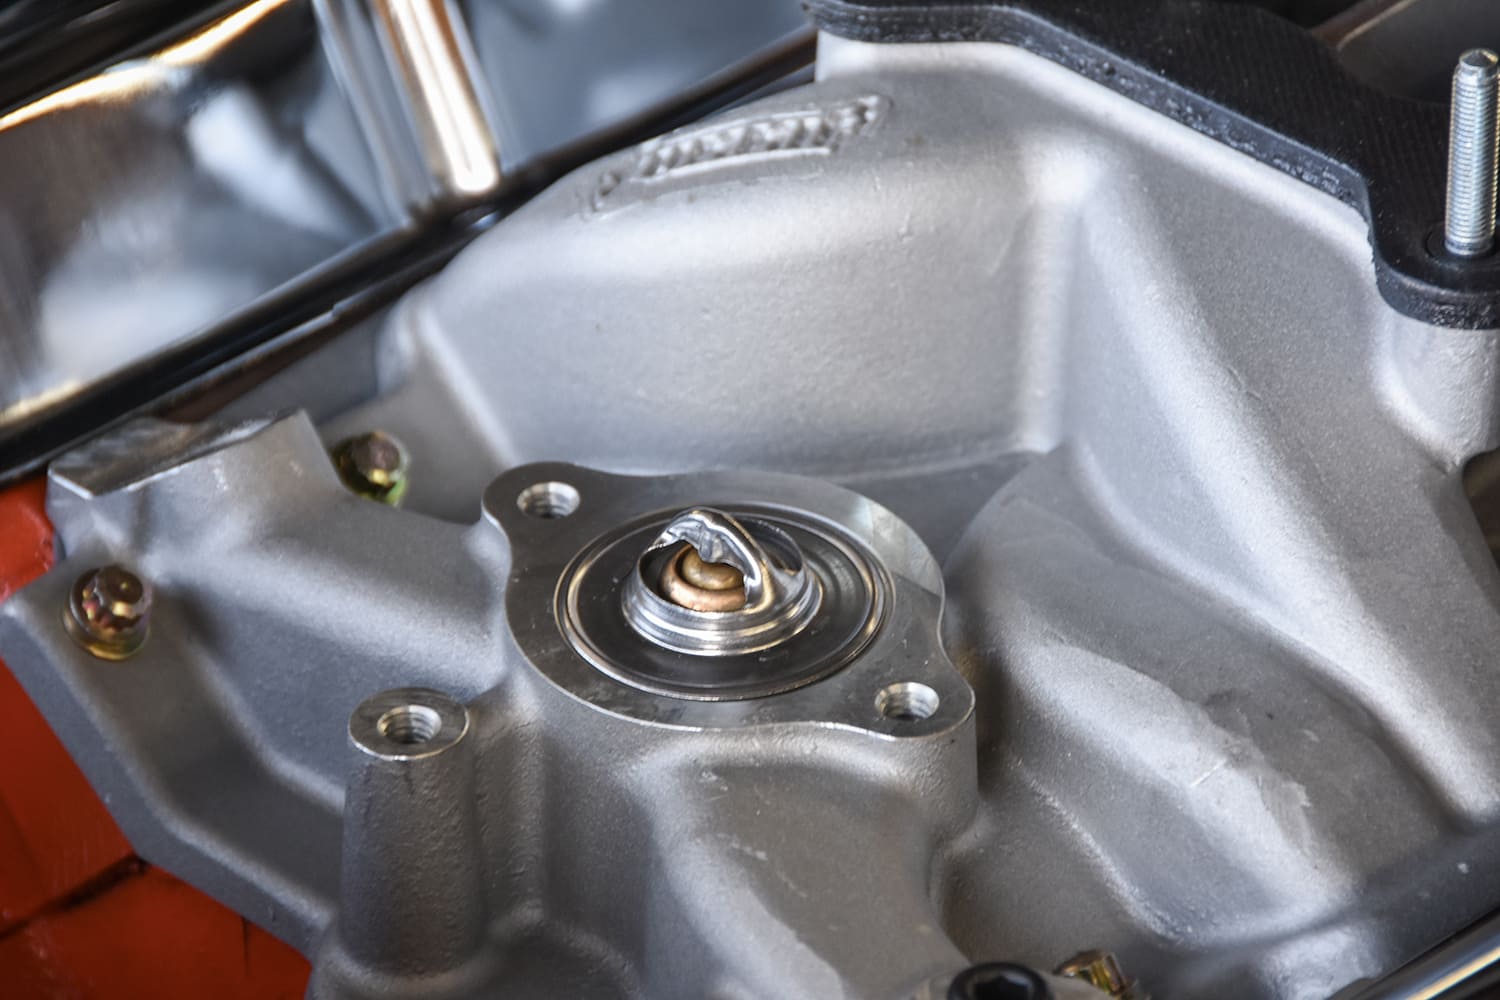
It’s always a good idea to replace the thermostat while it’s apart, so we did exactly that and put a straightedge on our thermostat housing to make sure it was flat.
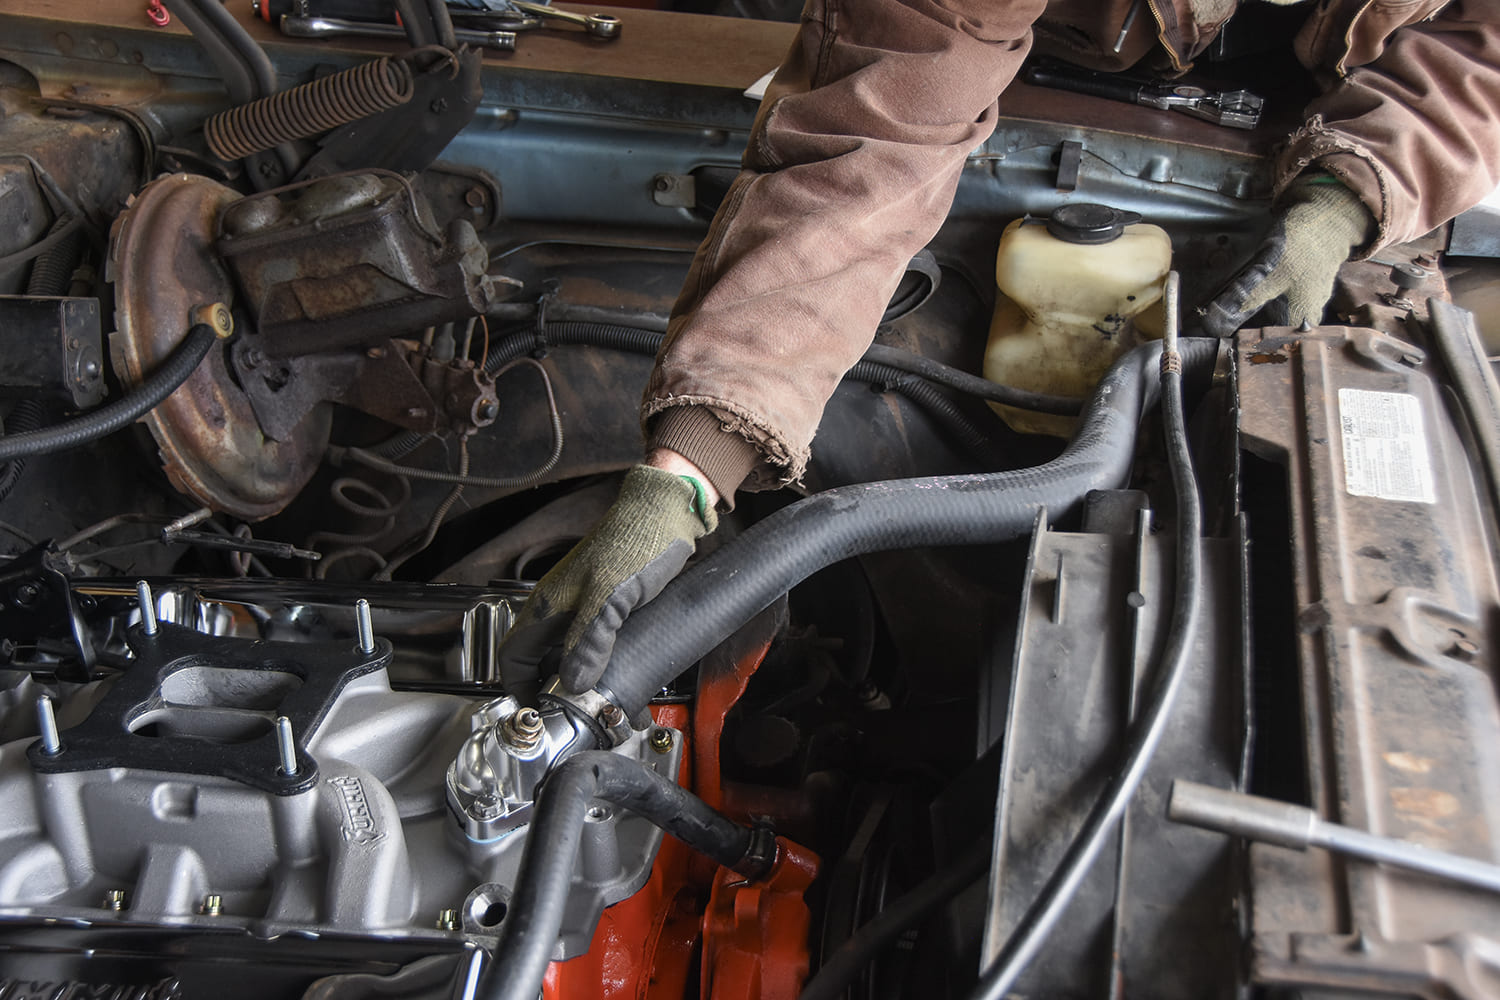
We repainted the original thermostat housing and then reused the radiator hoses. Now would be a good time to grab some new hoses if you have concerns about the age of your current ones.
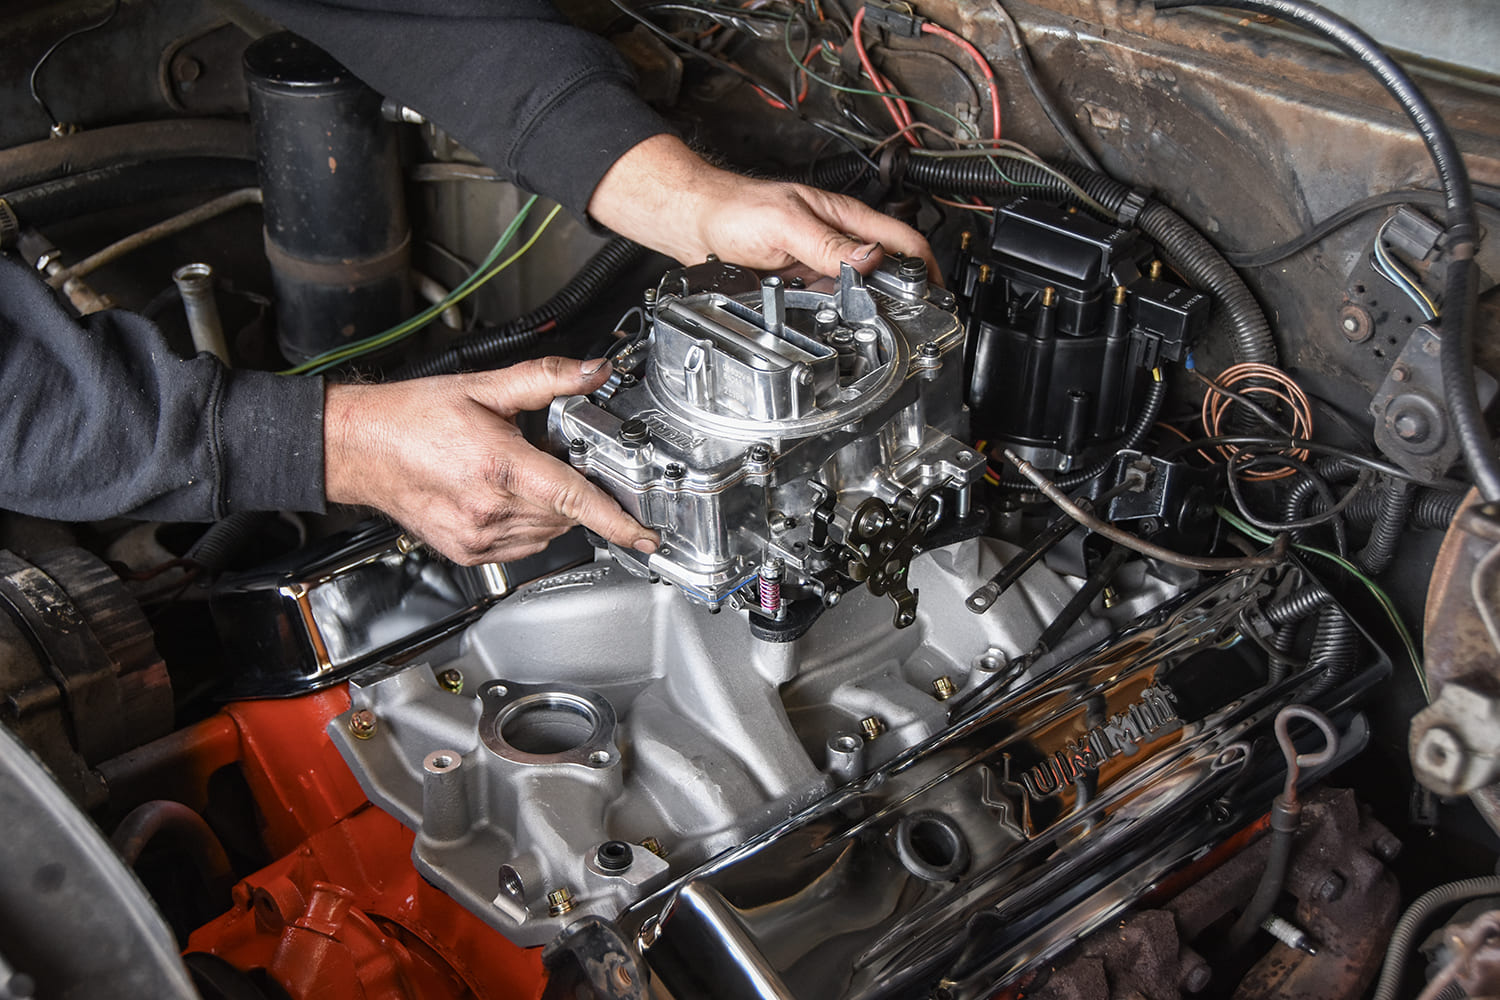
The Summit Racing M2008 series carburetor (PN SUM-M08600VS) is a modern version of an Autolite carburetor. This example is 600 cfm and features a vacuum secondary and electric choke.
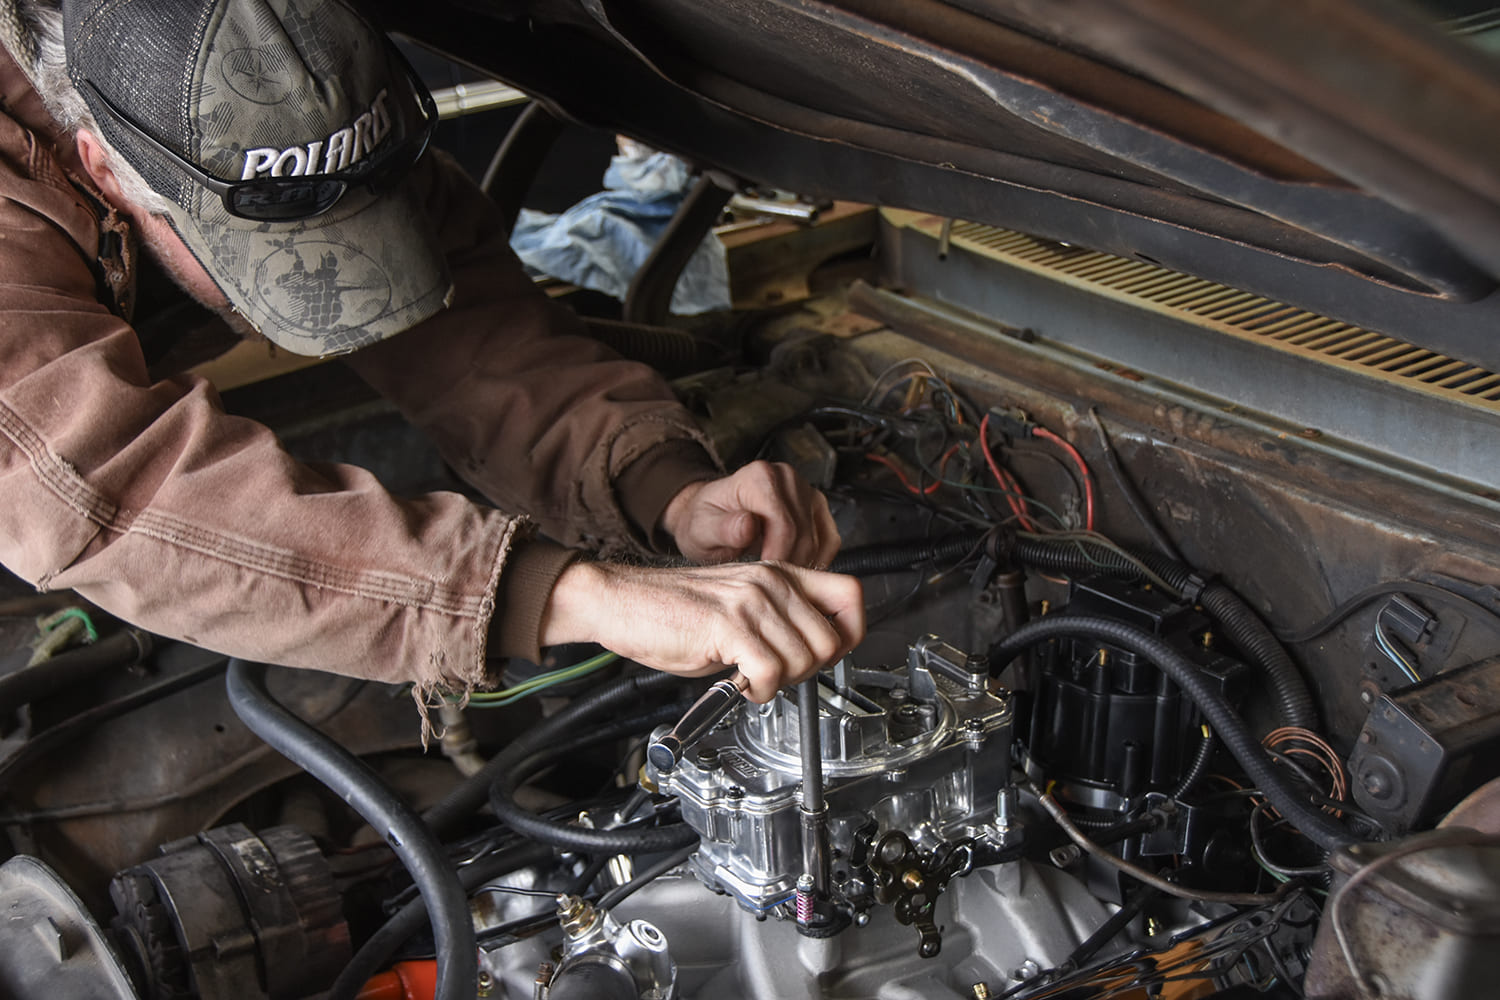
The new carburetor studs and nuts made for quick-and-easy installation of the new carburetor. The kit comes with the necessary gasket.
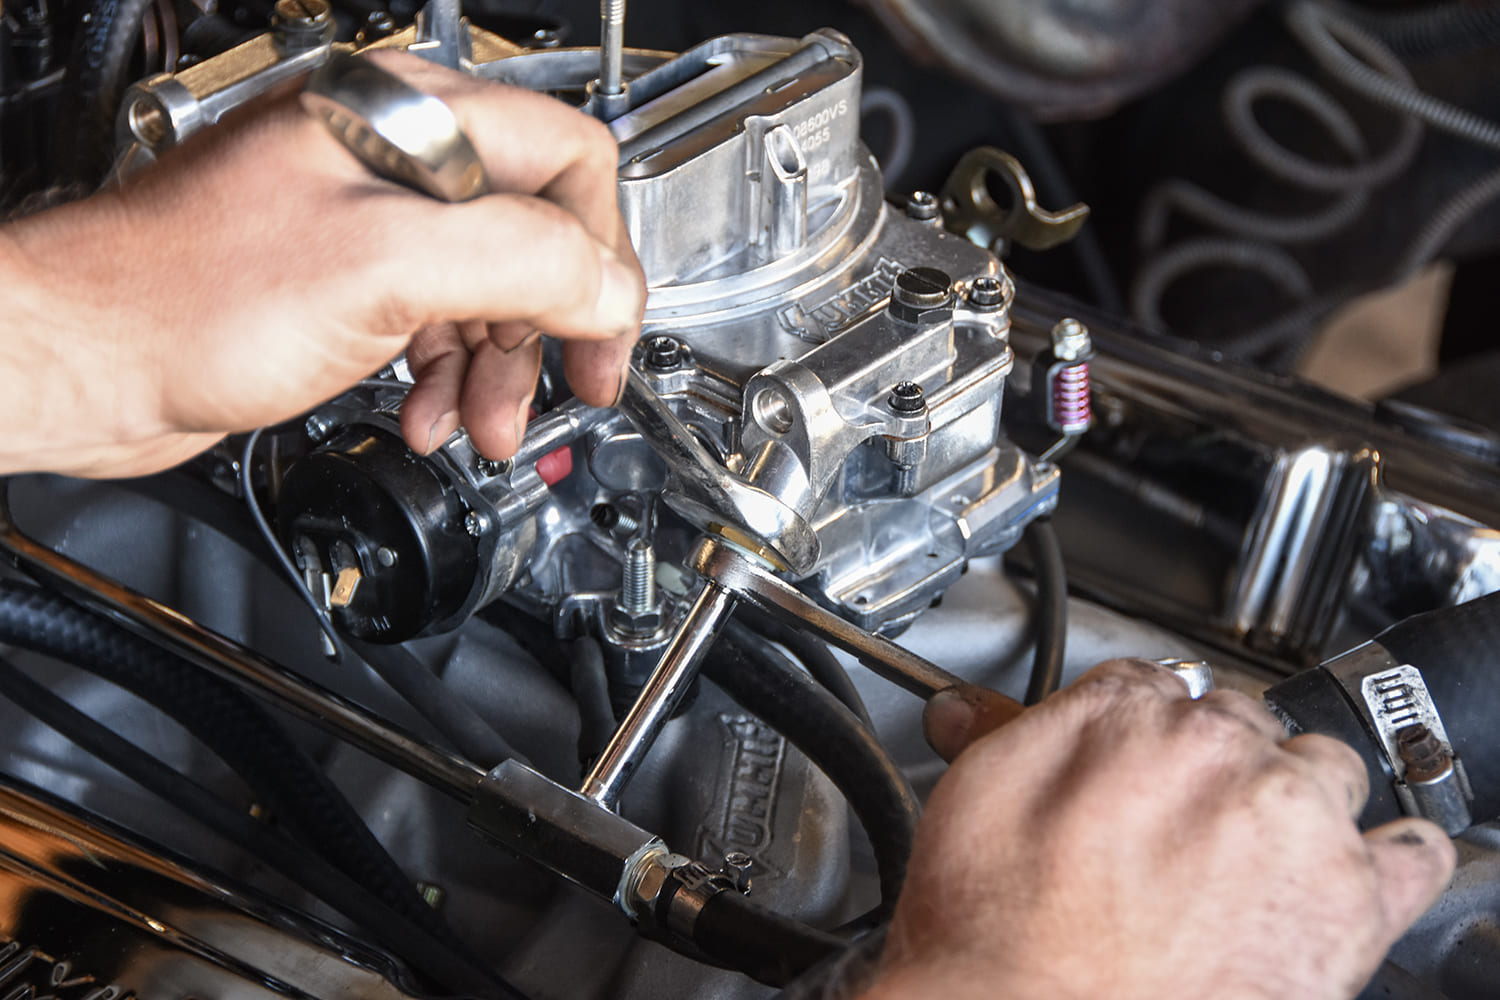
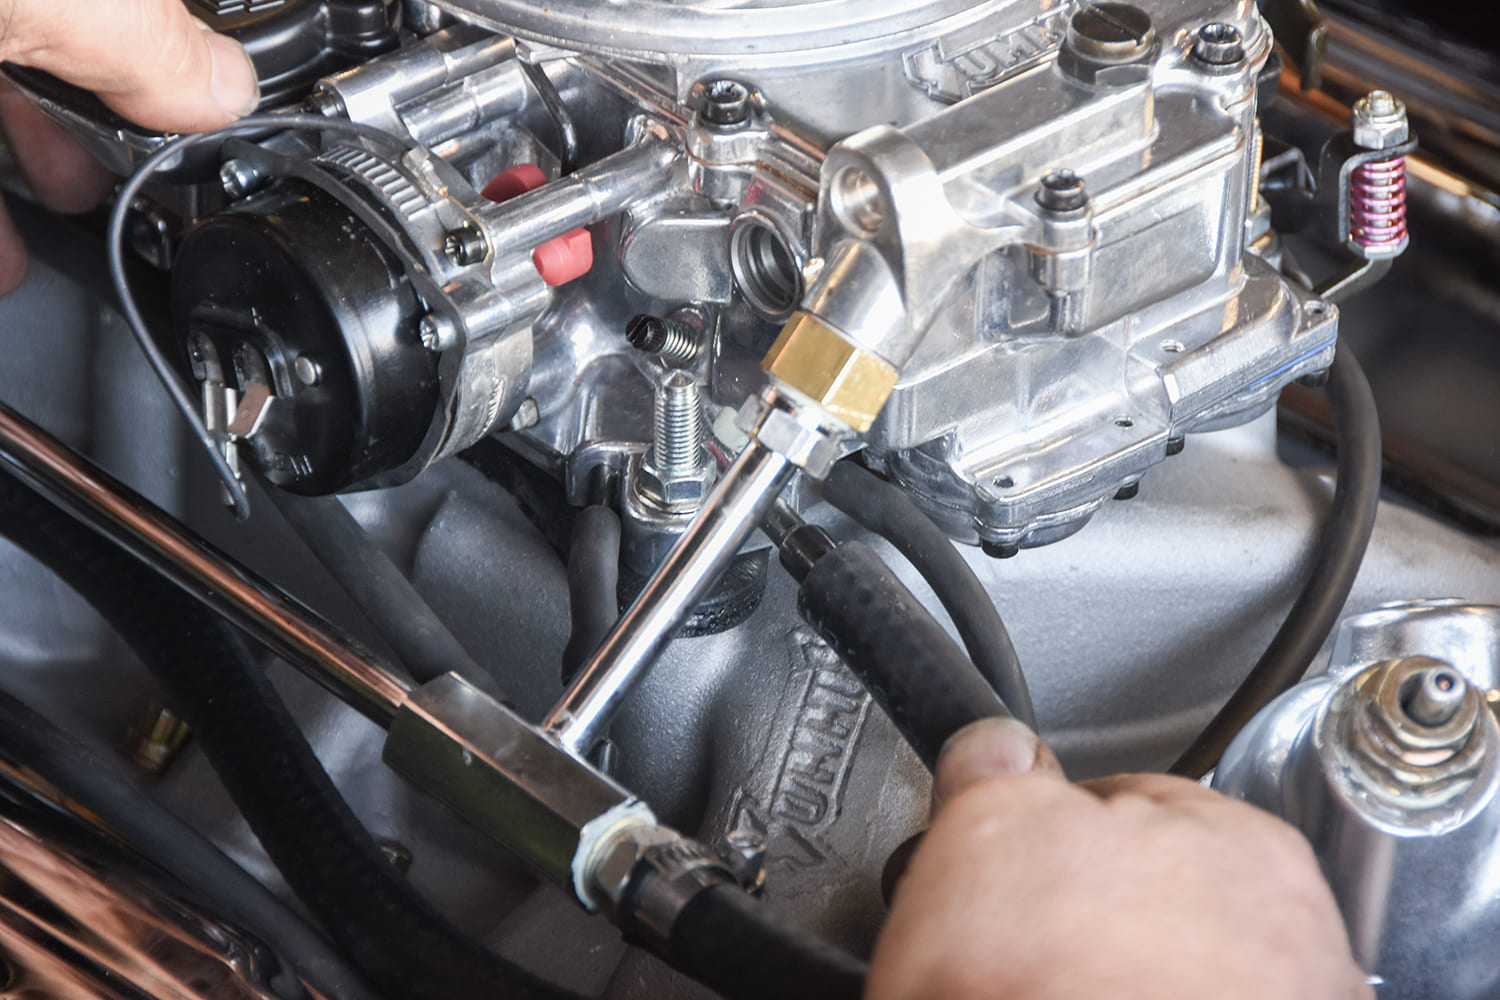
Included with the carburetor is a dual-feed line that simply threads into the bowl fittings and provides a simple one-hose hookup. We used 3/8-inch hose from the mechanical fuel pump and used a Wix inline fuel filter.
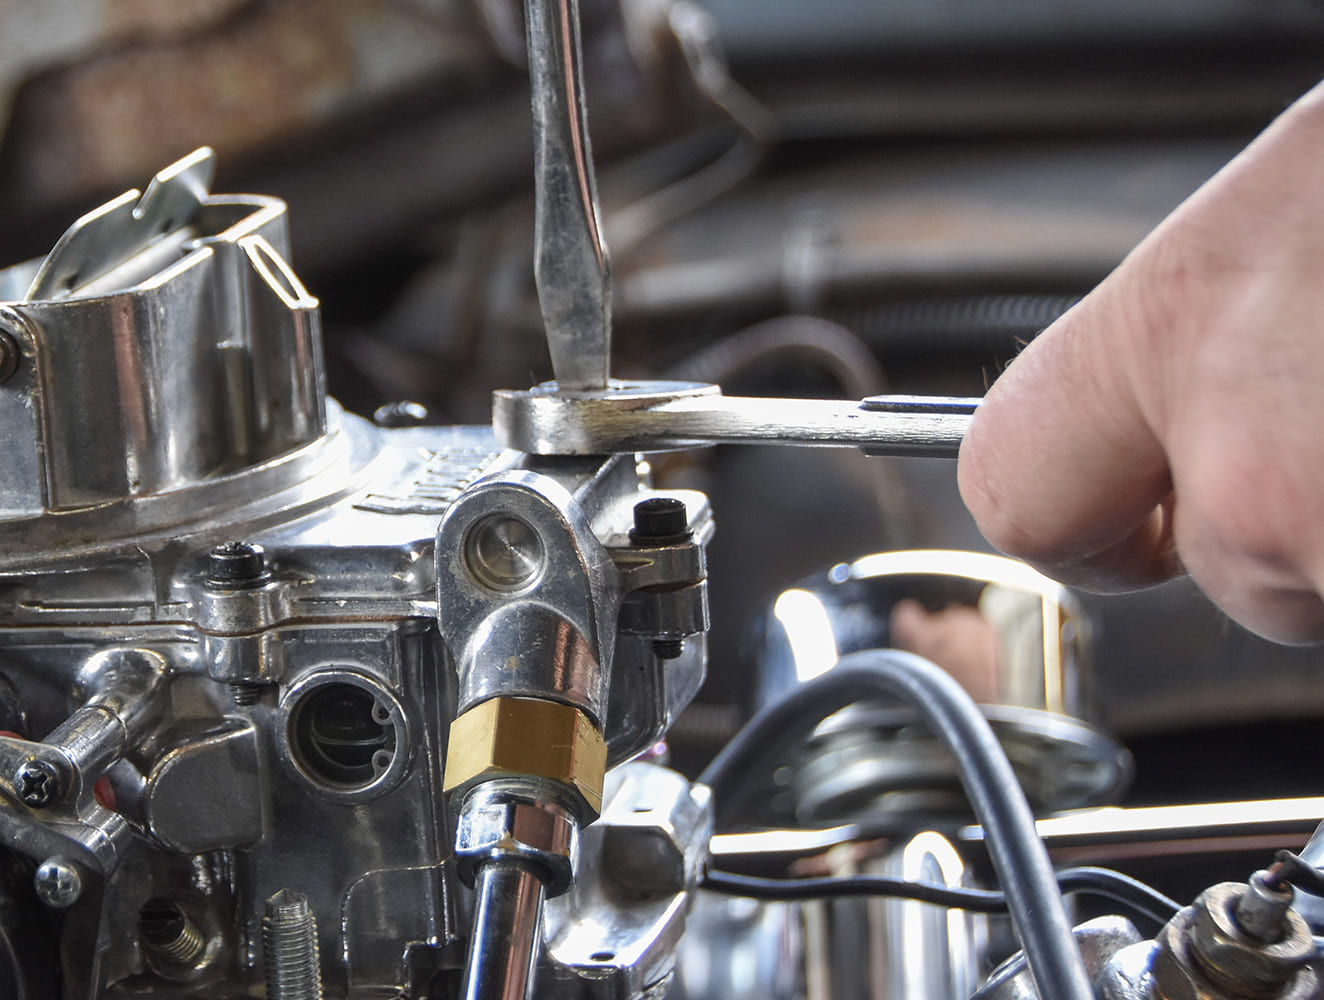
Hooking up the original throttle cable and kickdown cable required some light modification of the cable bracket, but everything snapped into place and worked smoothly.
The Summit Racing carburetor comes with four vacuum ports. The rear one is plugged off from the factory, and the other three give us options for PCV, transmission, and vacuum advance. We used a separate fitting in the intake to feed the power brake booster.
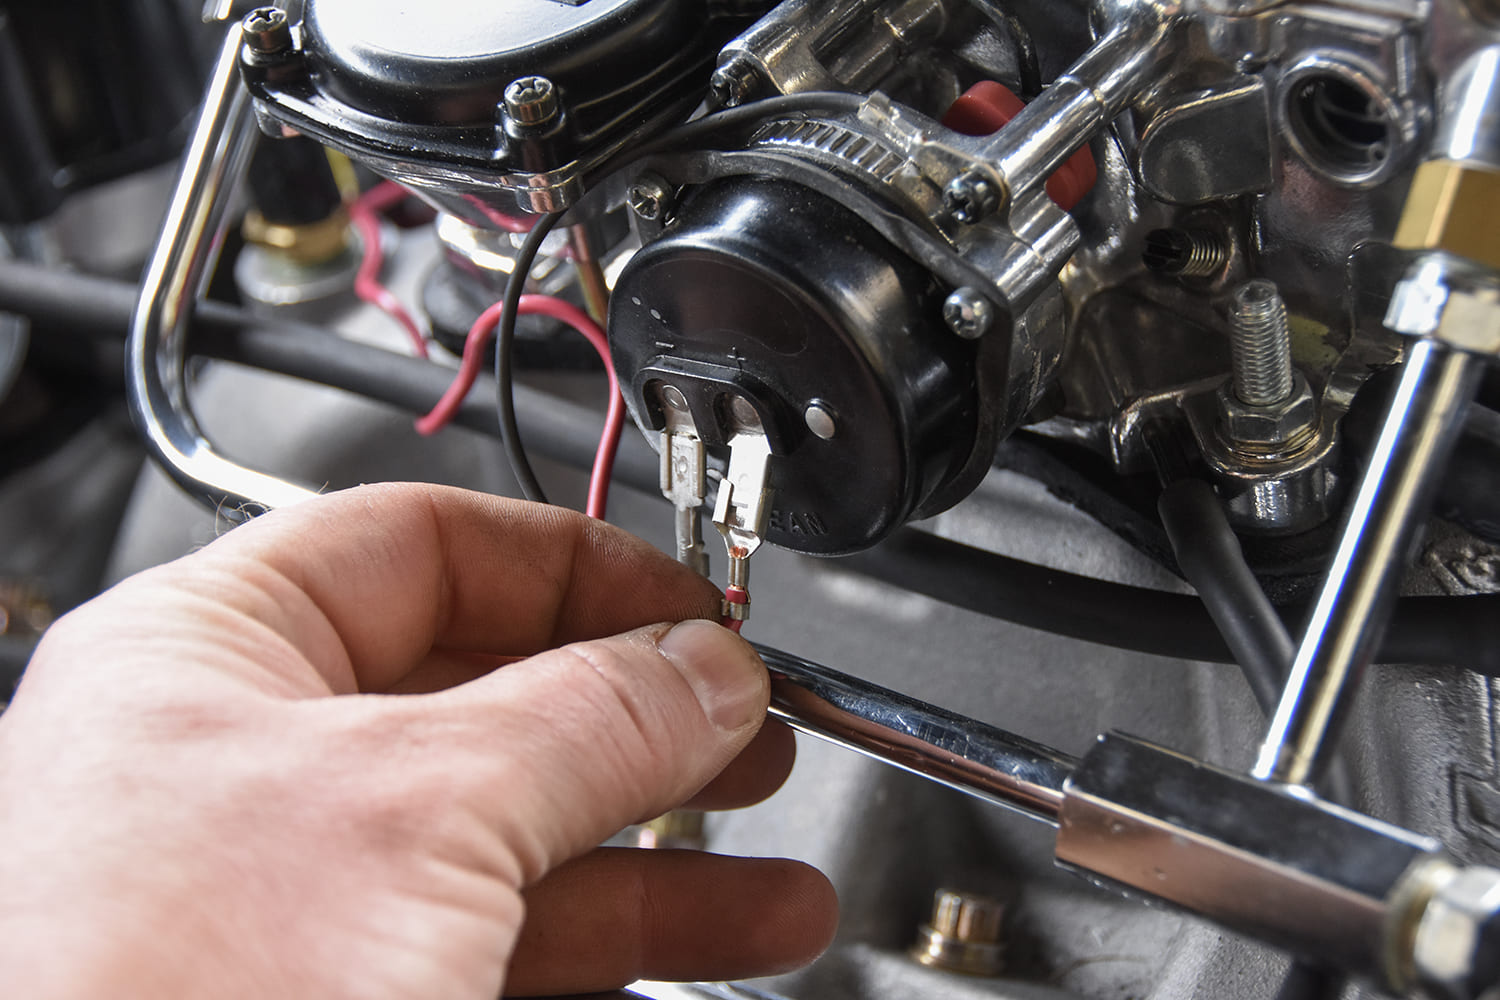
We found a 12V source and ran a new wire to the electric choke. It required some small adjustments to dial in the high idle speed.
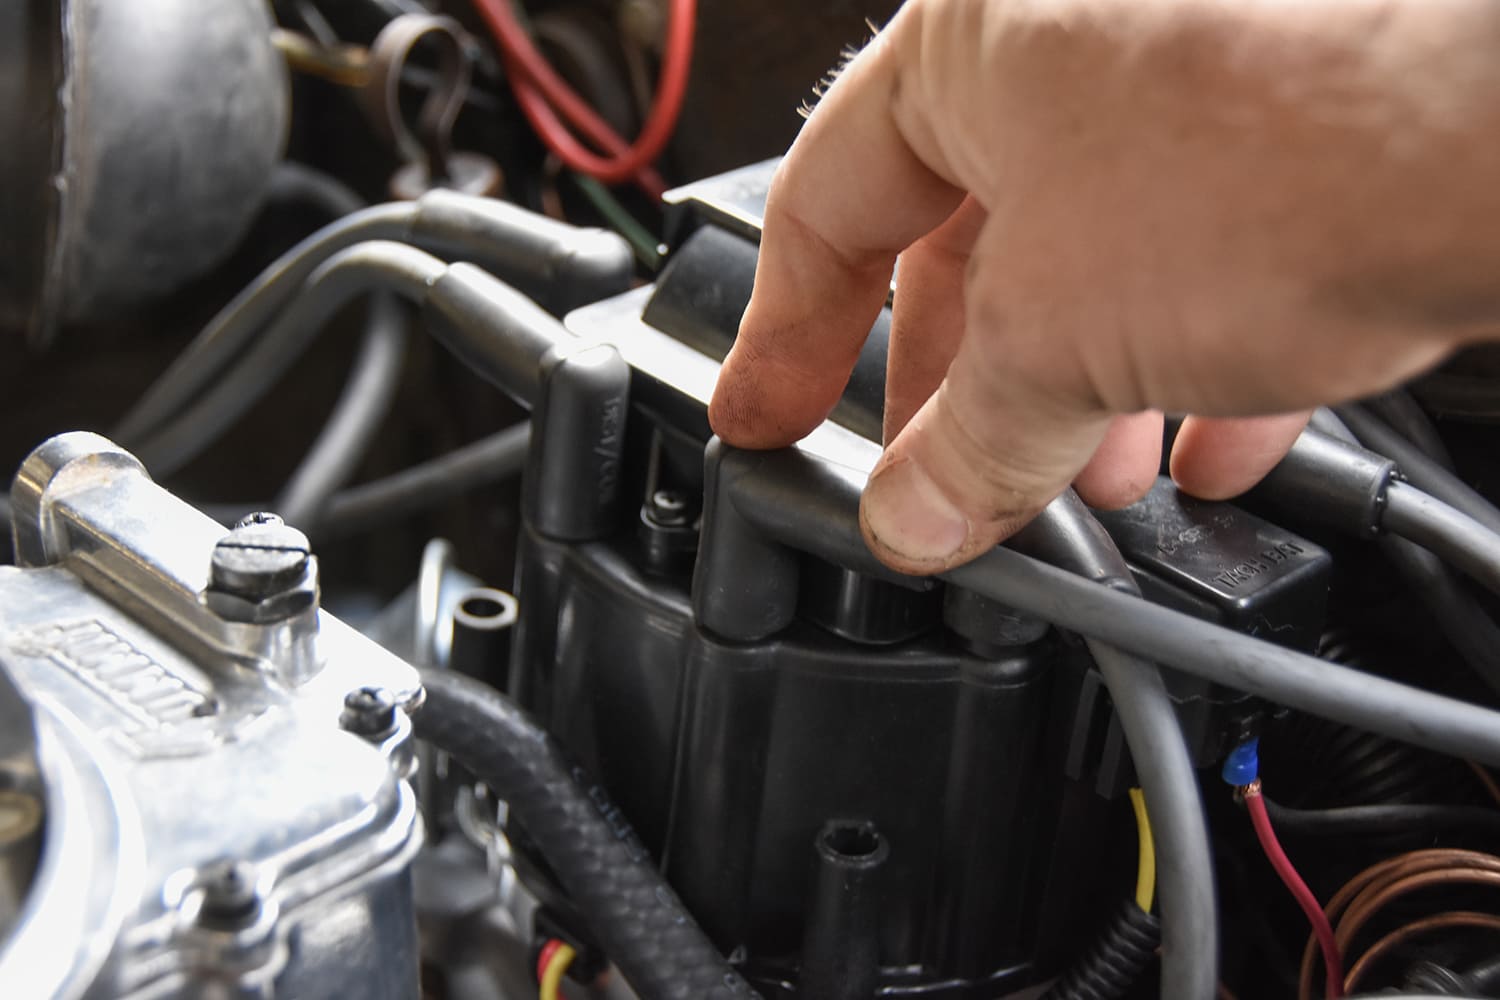
One of the final steps of the upgrade process was snapping on a new set of spark plug wires. Generic replacement wires sufficed, but Summit has hundreds of choices for aftermarket wires.
After we pumped some fuel into the bowls, we adjusted the float level and prepared for our first fire-up with the new setup. Idle mixture screws and idle speed screws are easy to reach, allowing for quick adjustments to dial in the settings.
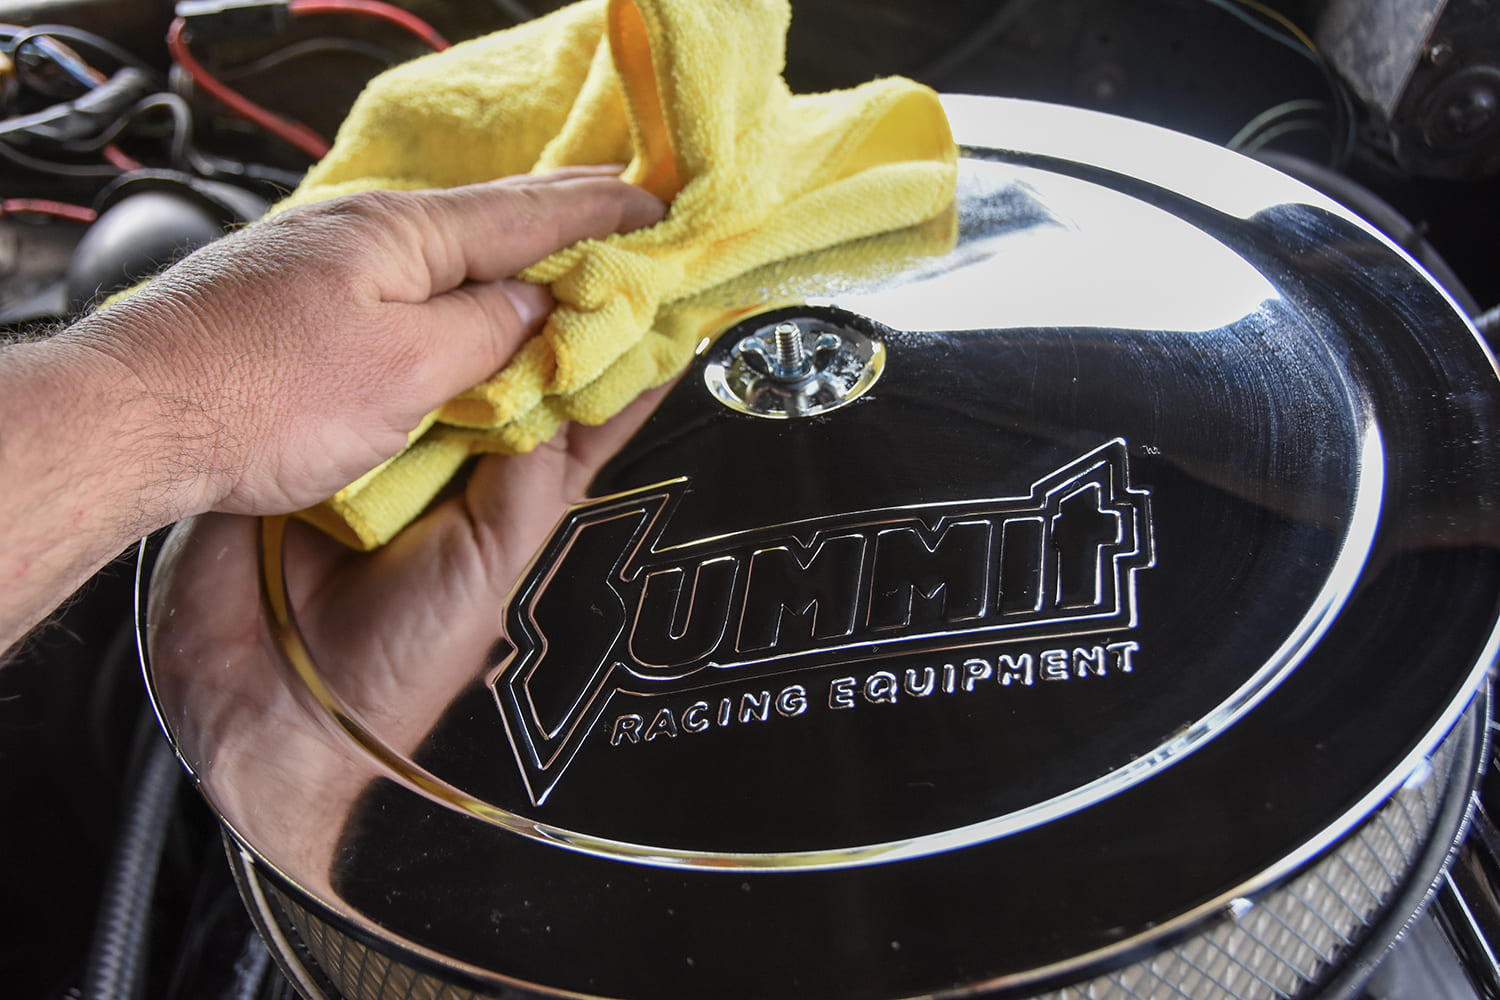
Finally, we can install the Summit Racing air cleaner, the last step before hitting the road. It’s a standard chrome housing with a paper element, and it’s an affordable way to cap off our top-end upgrades.
We use cookies to ensure that we give you the best experience on our website. If you continue to use this site we will assume that you are happy with it.