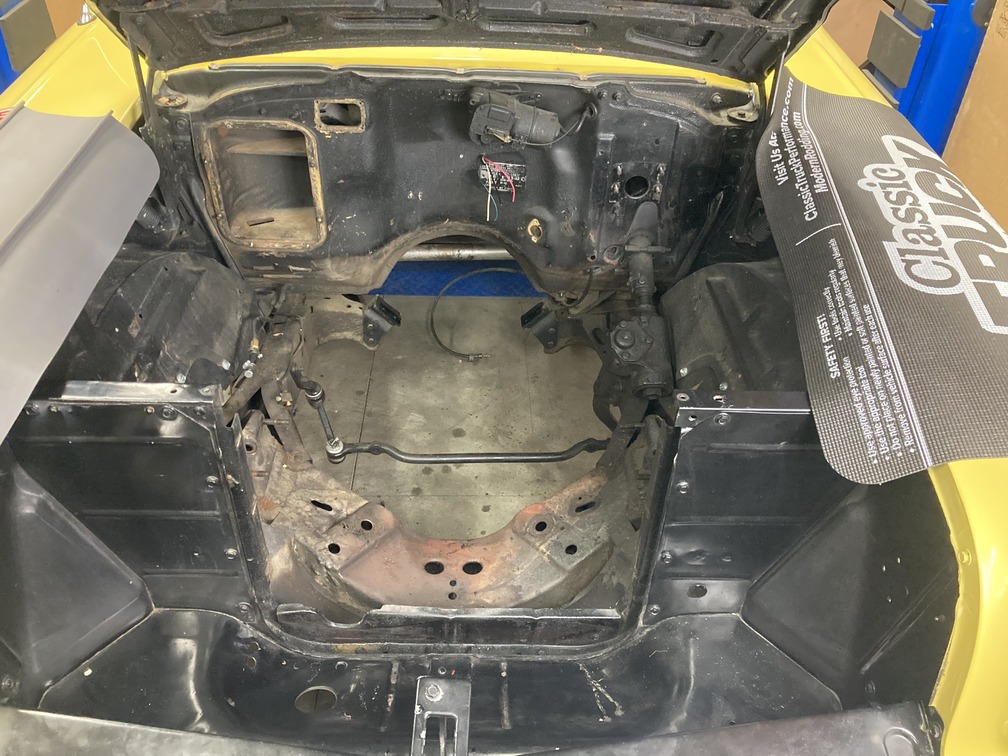
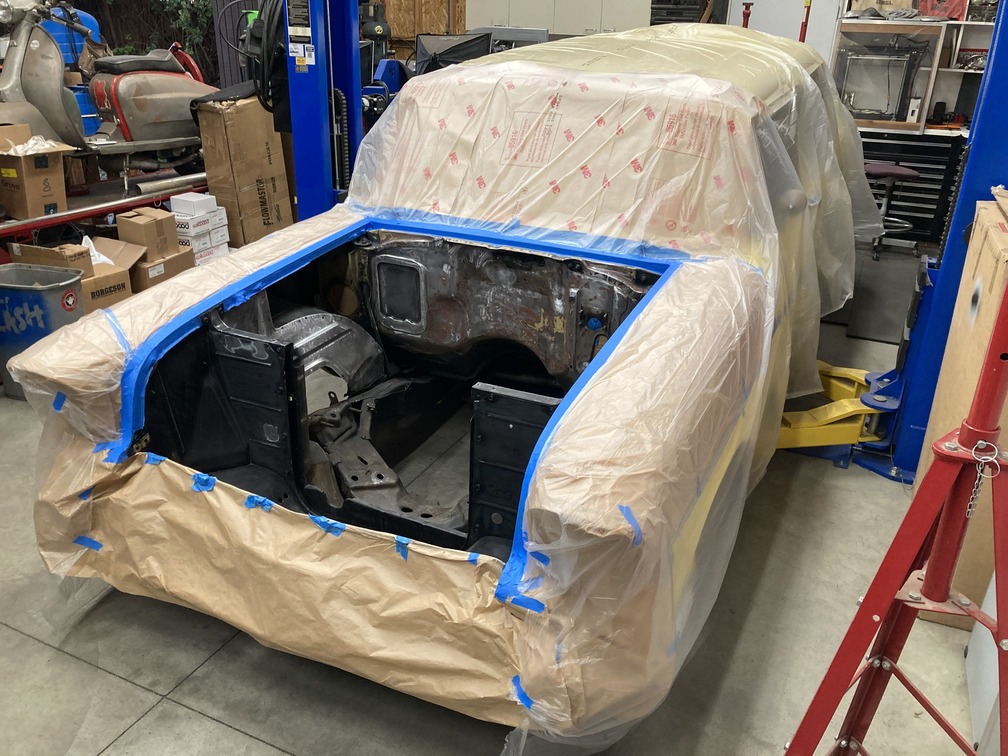
When performing the typical engine swap, there are a few dozen considerations to be made when it comes to upgrading the plumbing system, electrical upgrades, chassis, and even sheetmetal modifications, but the engine compartment itself can be forgotten about. But, there’s no time like now, when that engine compartment is laid bare following the removal of the original engine, to detail the panels and clean things up a bit.
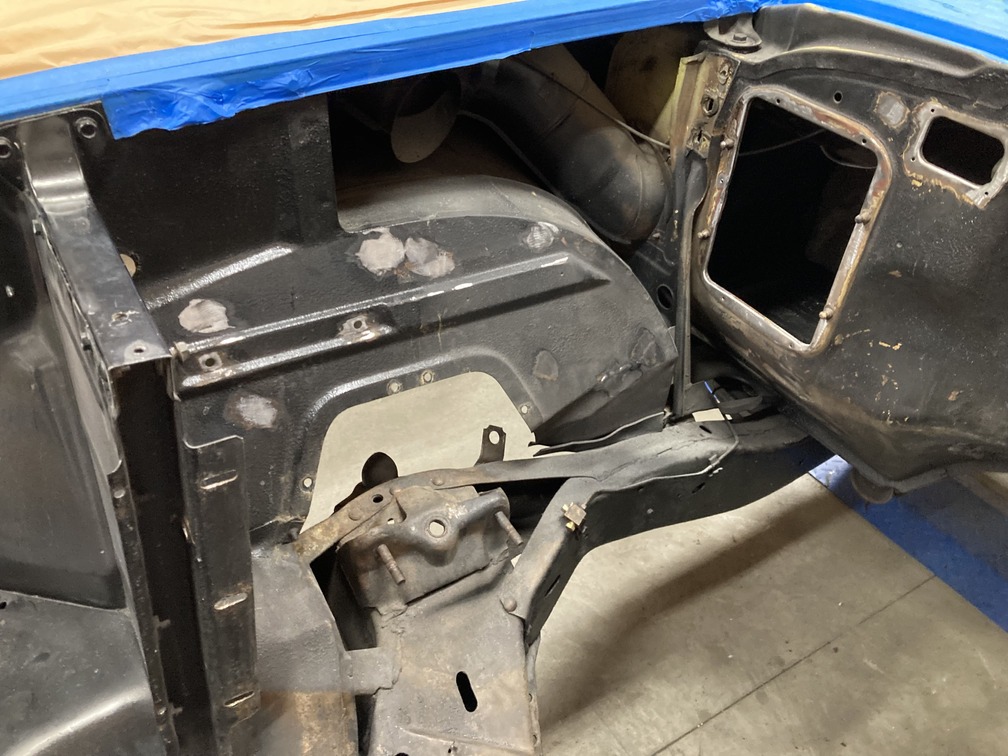
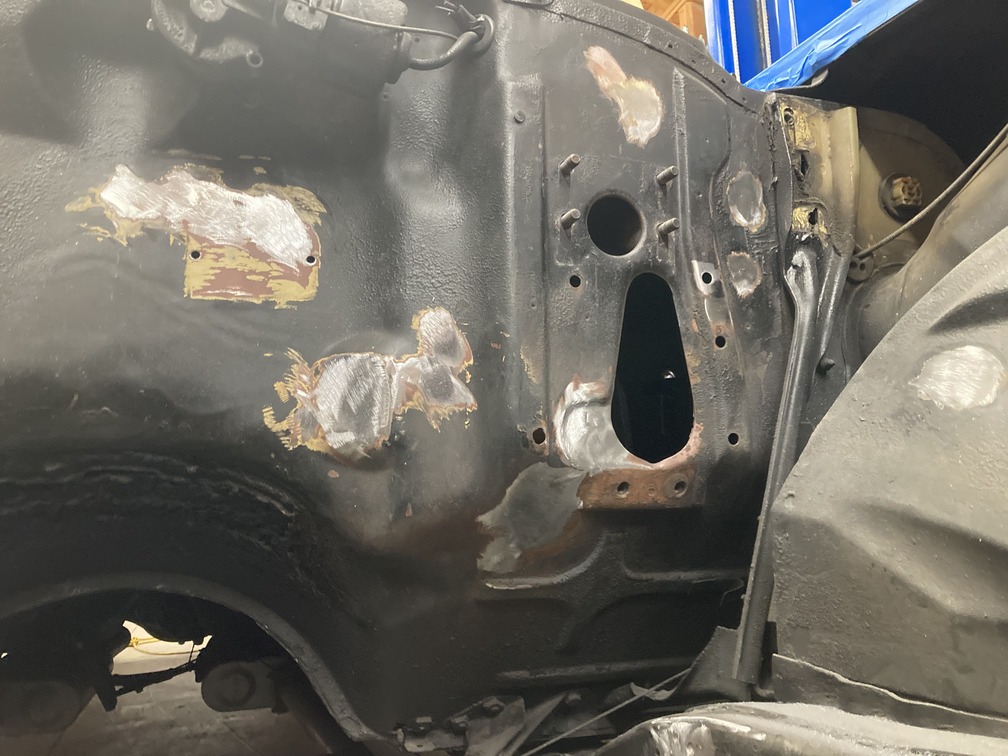
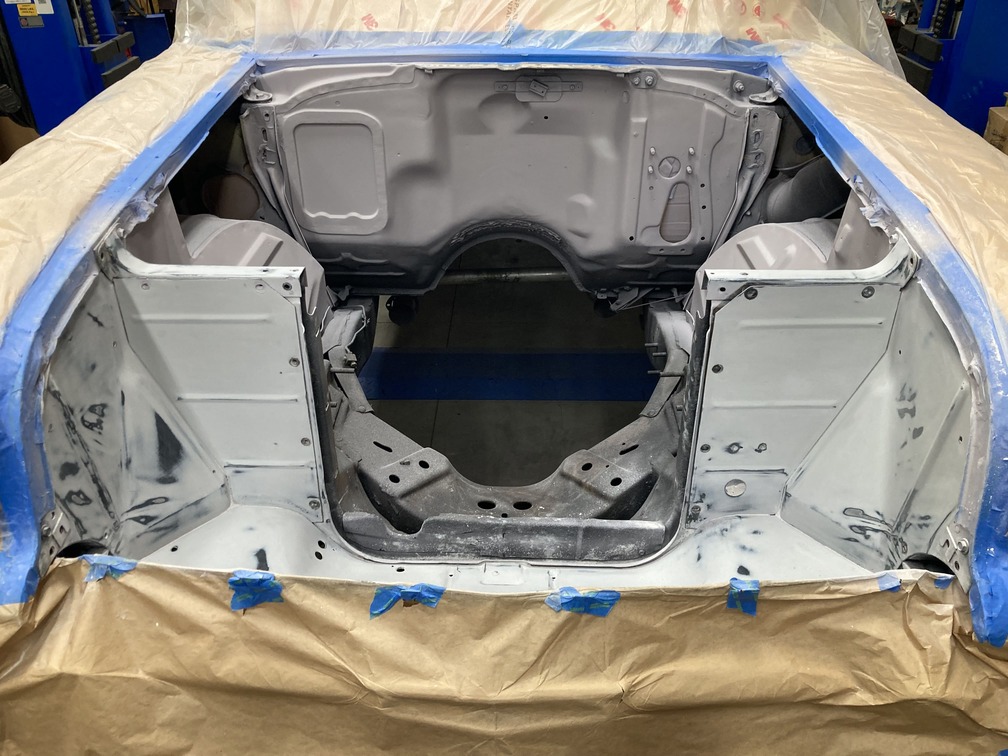
With the small-block removed from the engine bay, we can take in the compartment for all its shortcomings. Like any old car, there’s a myriad of holes–both factory and functionally questionable—that need to be filled before the area can be regarded as being anything but “clean.”
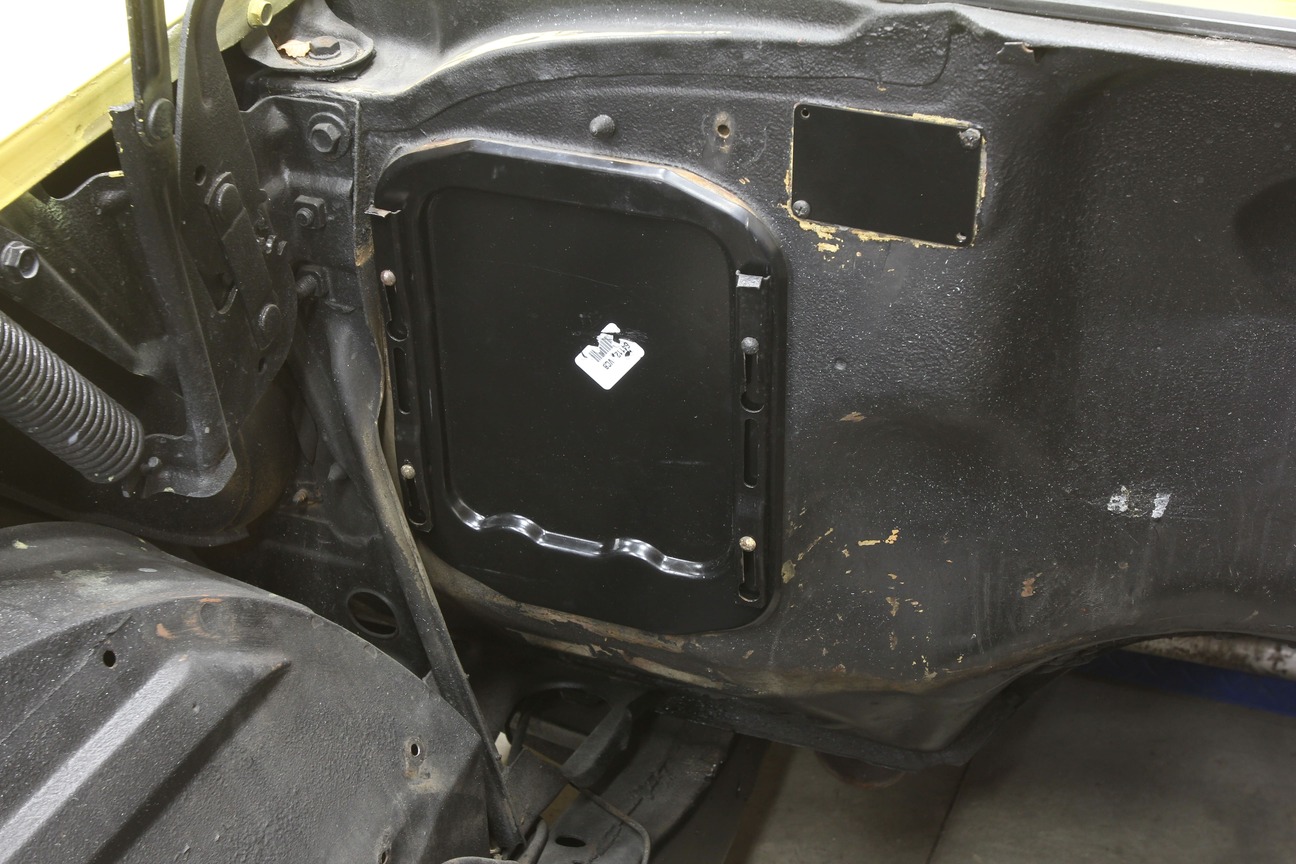
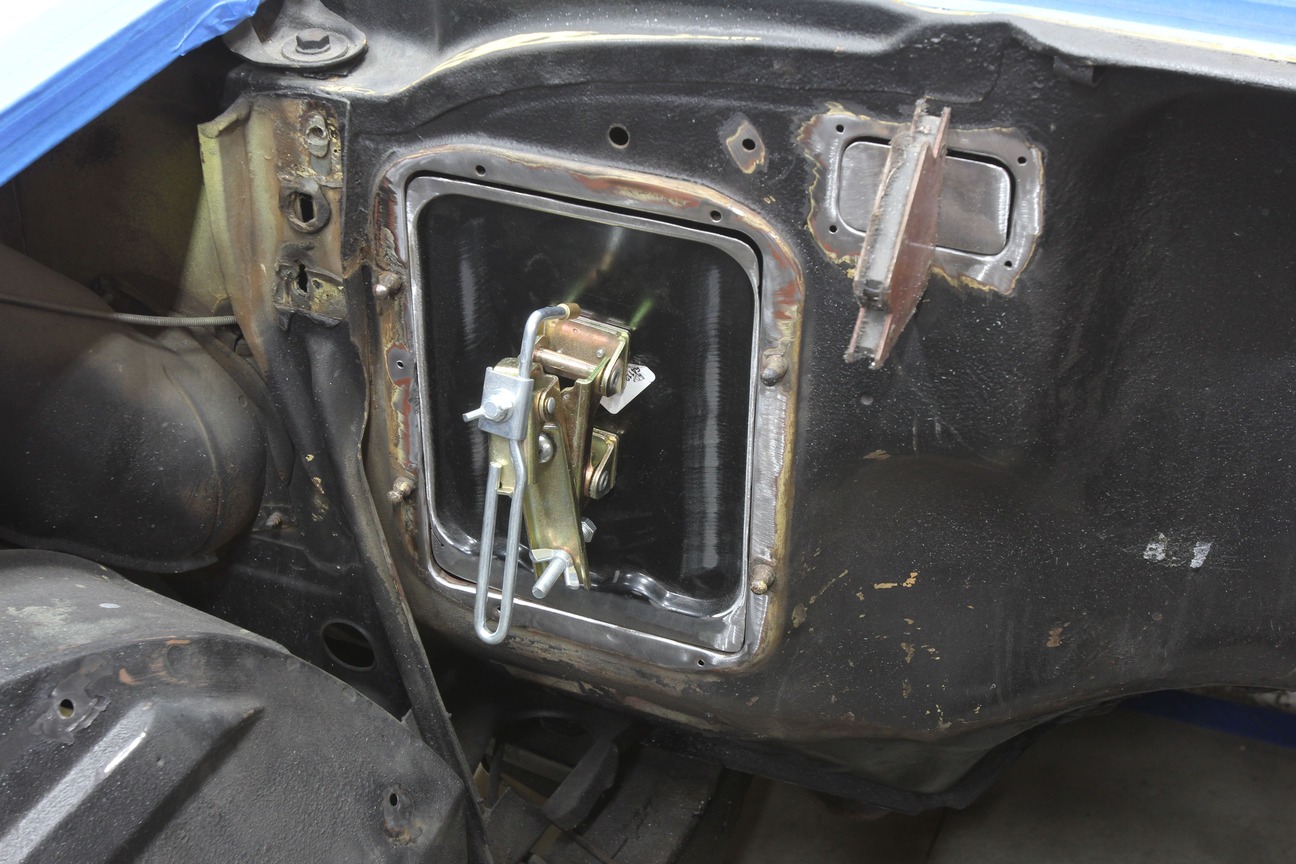
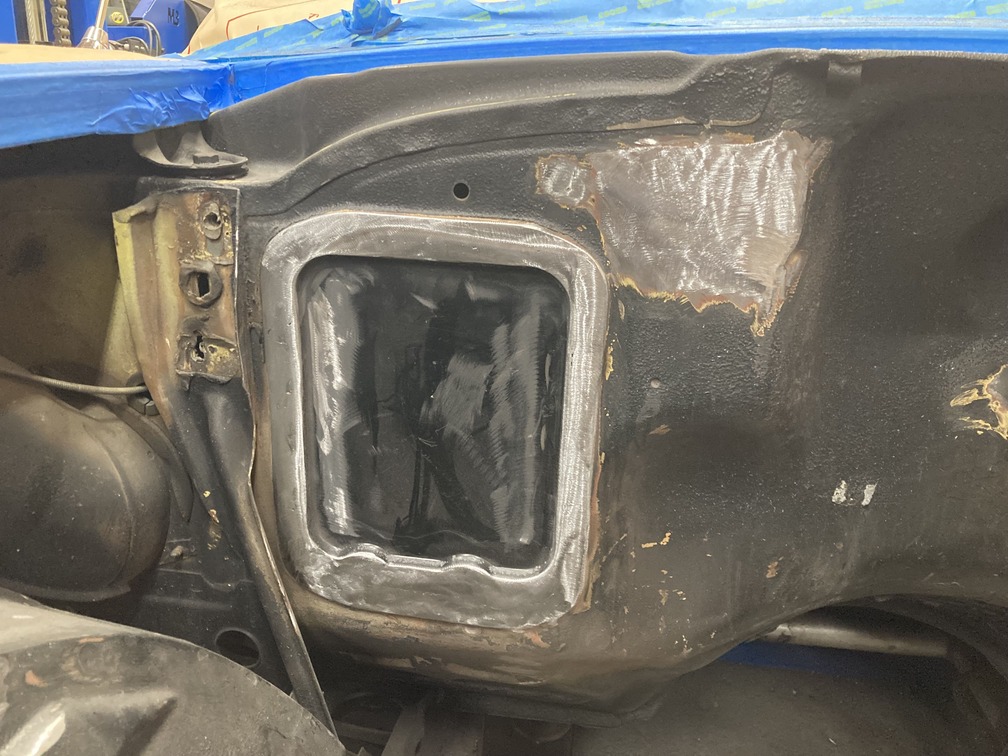
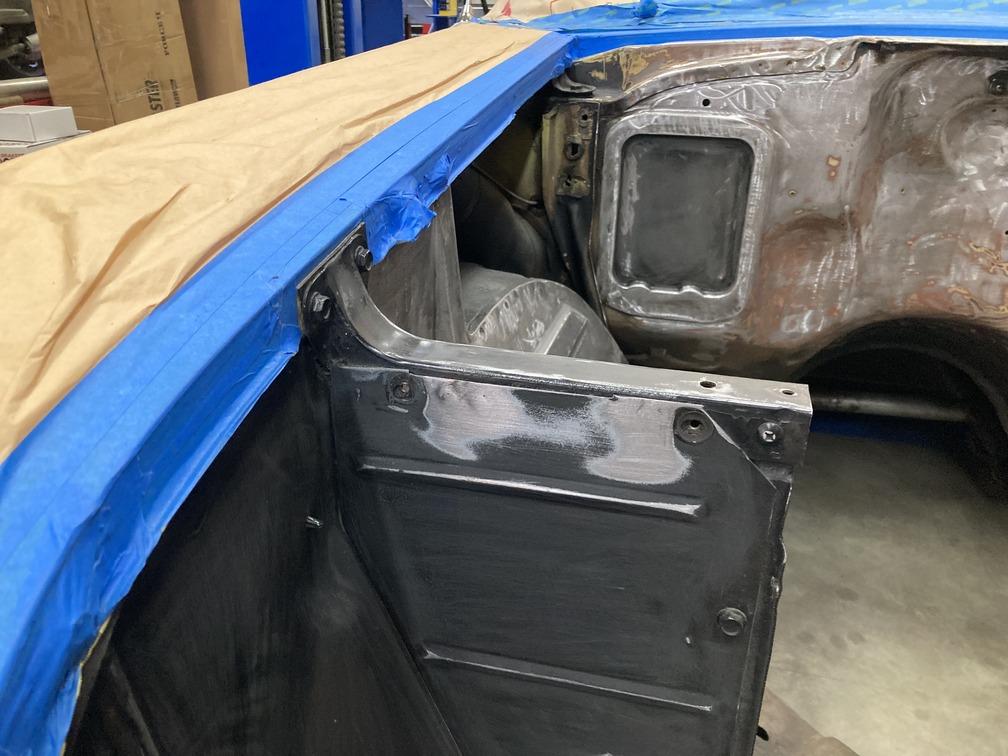
We recently pulled a tired 350 small-block out of our buddy Bruce Valley’s ’57 Chevy Handyman Wagon in anticipation of dropping a new Connect and Cruise LS3 package in its place. While we were certainly excited to get the swap underway, it was decided that the engine compartment could use a little TLC to make it more deserving of such a nice-looking engine. As is typical with older vehicles, Valley’s ’57 had its fair share of modifications made by previous owners over the years. Thankfully, these mods were limited to a handful of extra holes made in the sheetmetal panels of the engine compartment, which will be quickly welded up. Future plans for the wagon call for the installation of a Vintage Air climate-control system, which means the stock heater box cavern as well as the heater control valve hole can be deleted. While Vintage Air provides a bolt-in solution for both of these areas, it was decided that welding these up instead would provide a cleaner finish.
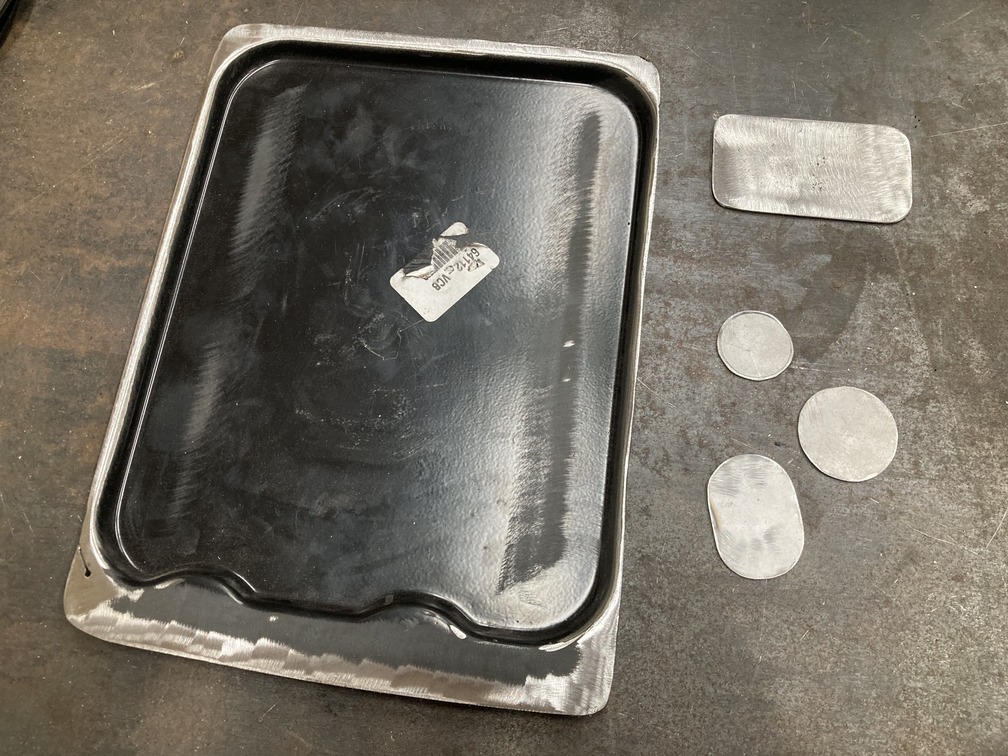
Vintage Air provides blanking panels for the abandon OE heater control valve and box openings, but since we’ll have the welder and grinder out already, we might as well take things a step further.
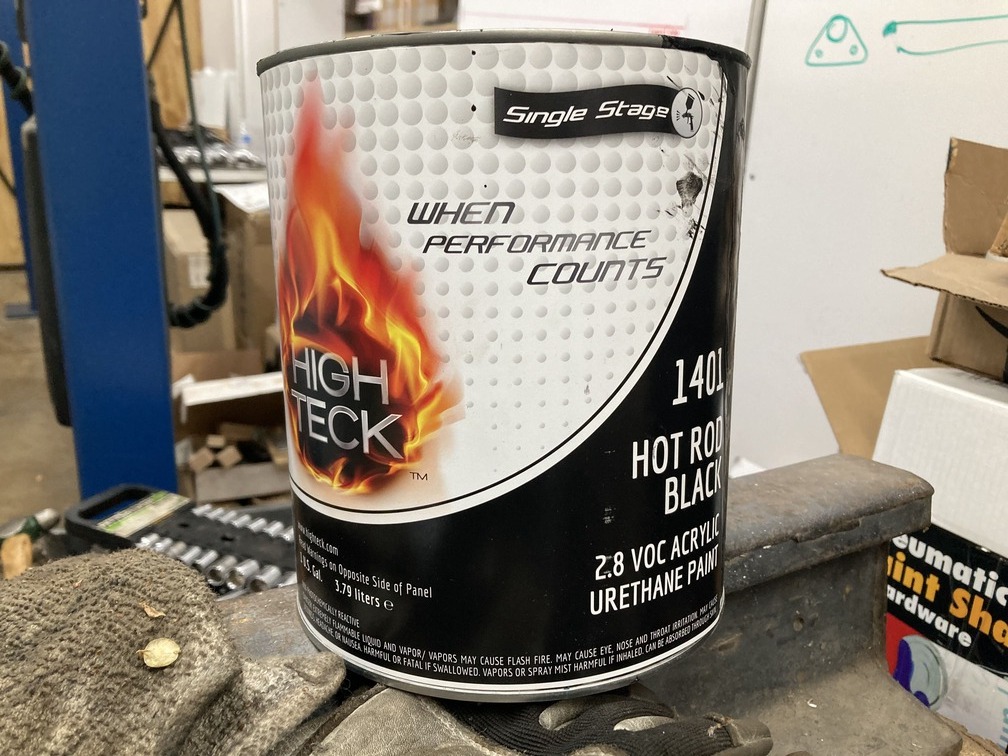
After the initial metalwork was complete, we began the bodywork portion of the repair. A few initial coats of high-build primer were followed by a few hours of block-sanding. From there, we could easily see the areas that needed a bit of body filler repair, which we followed with further sanding. Content with our results, a coat of epoxy primer was applied, followed by the Hot Rod Black topcoat.
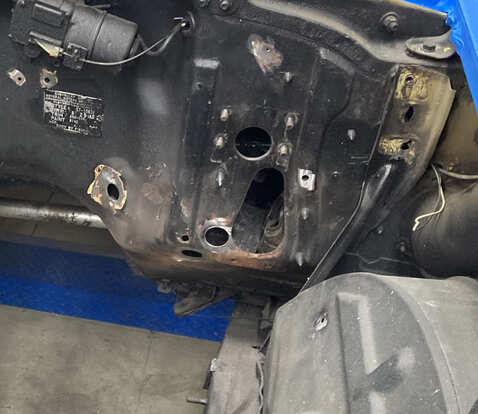
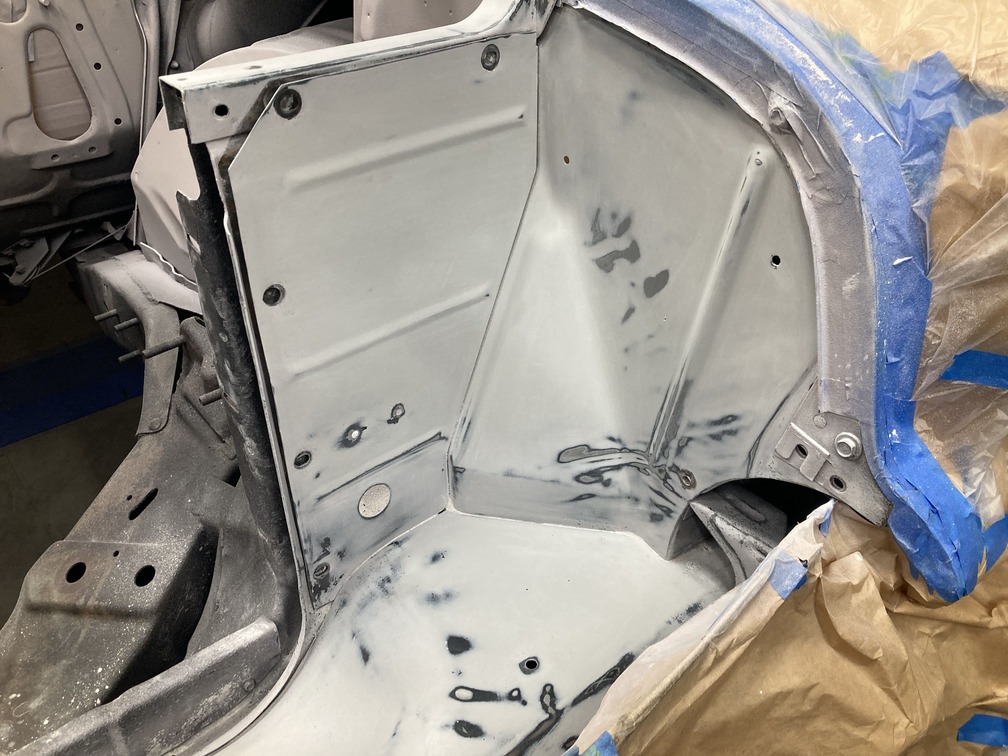
On the driver side of the firewall, there are a few additional voids that need to be filled as well; notably the accelerator, clutch rod, and speedo cable holes. Our LS3/4L70E Connect and Cruise package features drive-by-wire throttle control as well as electronic speedo signaling, and the automatic trans defeats the need for a clutch rod, so all these holes can be deleted to clean things up a bit.
With the repairs to the engine compartment complete, we’re ready to drop in the new LS3 drivetrain, but that story is for another time. For now, check out what it took to repair the wagon’s engine bay and what a couple of day’s work can do to improve its appearance. ACP
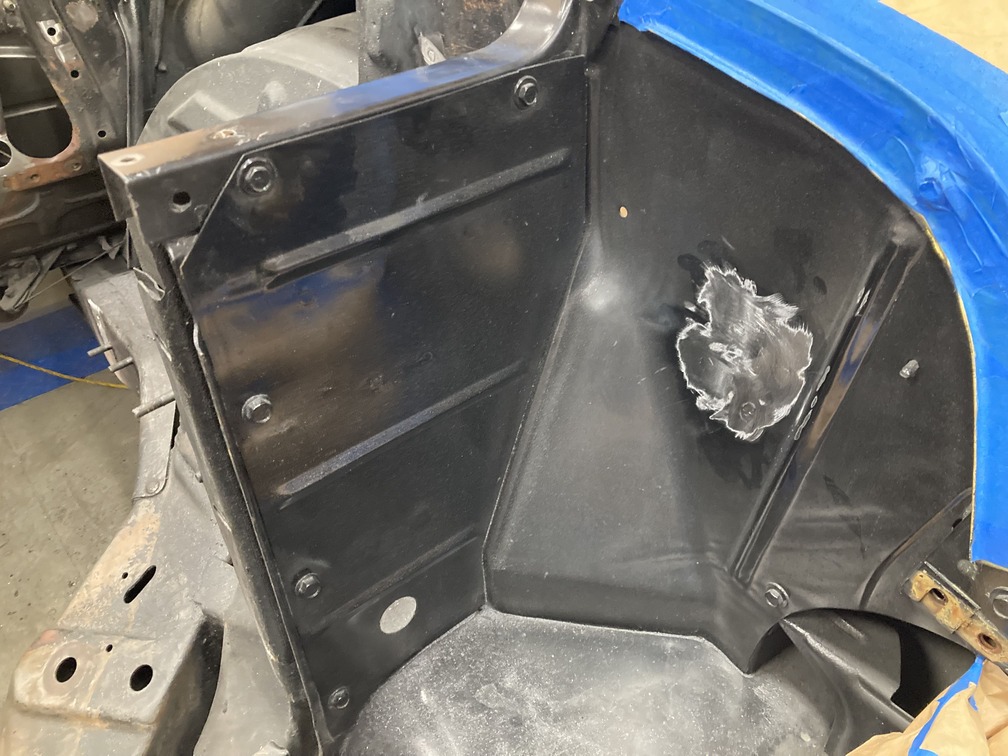
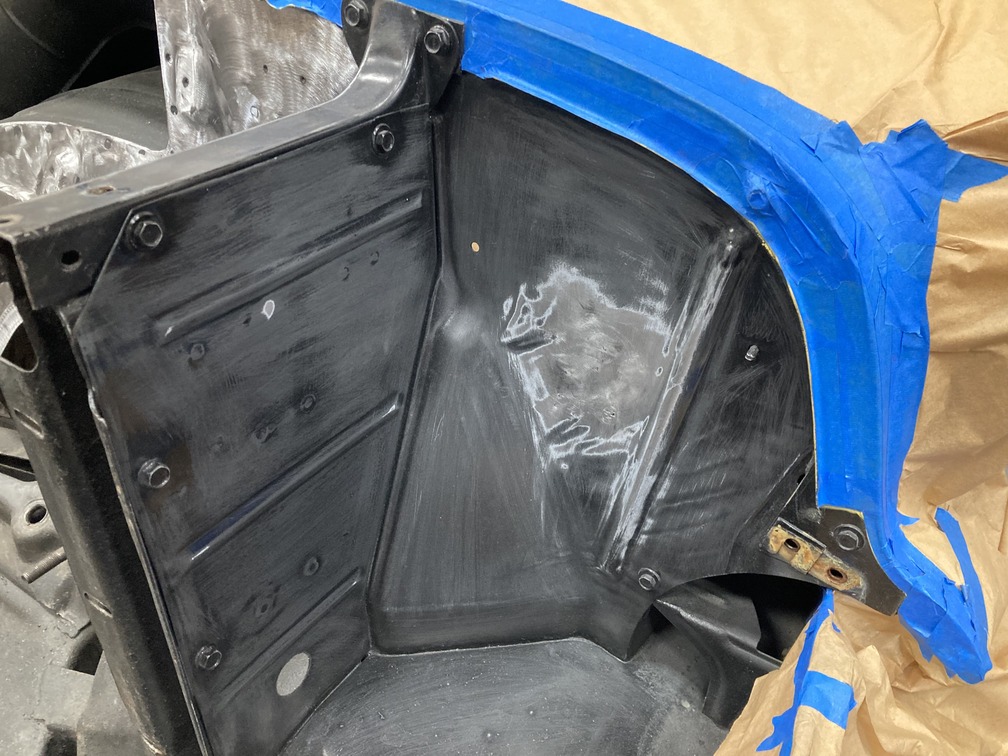
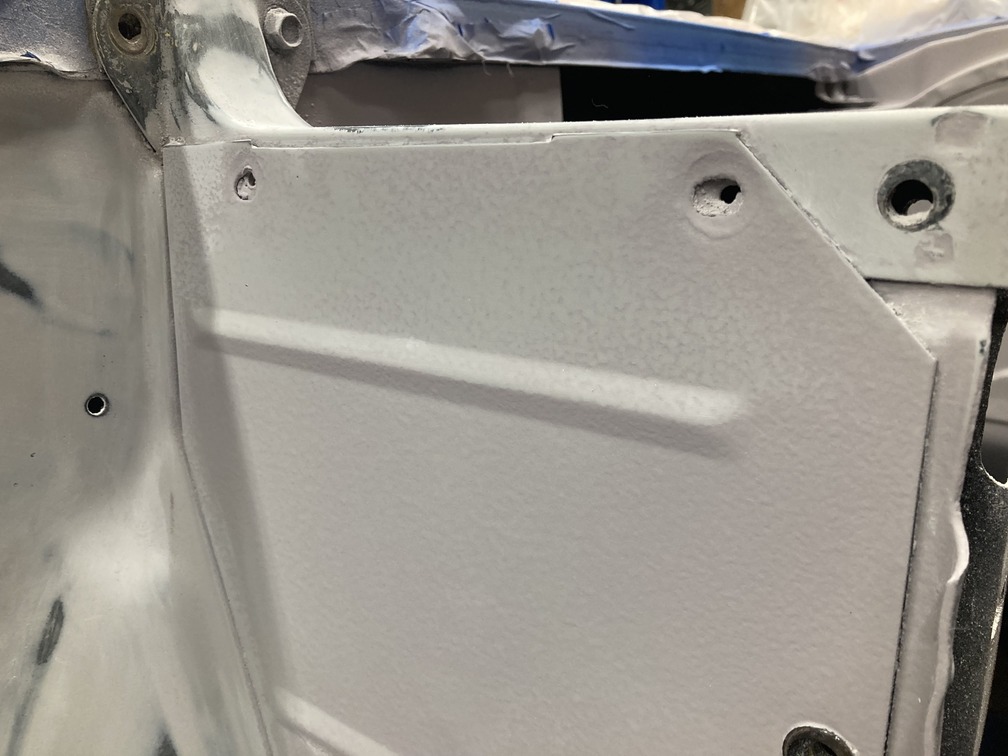
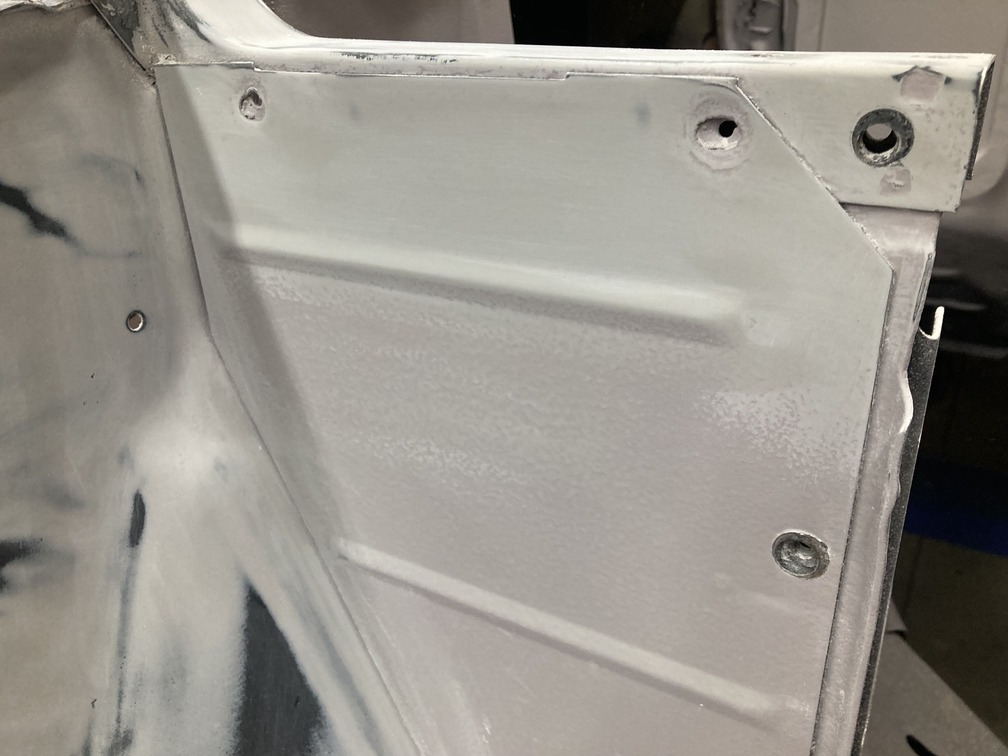
For the smaller voids, patch panels were fabricated using 20-gauge sheetmetal. Alternatively, the provided Vintage Air block-off plates were trimmed to fit their respective openings and will be welded into place.Here, a handful of unnecessary holes have been filled on the passenger side inner fender kicking off the process.We decided to carry on the procedure past the core support since this is a highly visible area as well and had suffered from similar abuse. Note that the basecoat has only been stripped back around the areas to be welded, while the surrounding surface is left unaffected. We’ll show the process to blend all this into each other in a moment.Holding the larger patch panels in place can be challenging, but a couple magnets or specialty clamps gets the job done.Larger panels are tacked in place first, using care to ensure the panel surfaces are nice and level. Then, additional tack welded passes are made, alternating around the circumference of the panel to minimize any warpage caused by excessive heat.The welds are then ground down until the repair is even with the surrounding sheetmetal.A previous owner had applied an undercoating finish to the firewall and inner fenders that wasn’t what we would consider “ideal.” A few minutes with a DA fixed the faux pas of said past possessor and gave us a clean foundation in which to start our bodywork and paint process.While we stripped a large portion of the engine compartment, it wasn’t necessary to do the entire area, especially the unaffected front core support section. Repairs made in that area were instead blended into the surrounding finish by feathering from the bare metal to the painted surface. A couple layers of primer and/or filler combined with block sanding will ensure these repairs are undetectable.
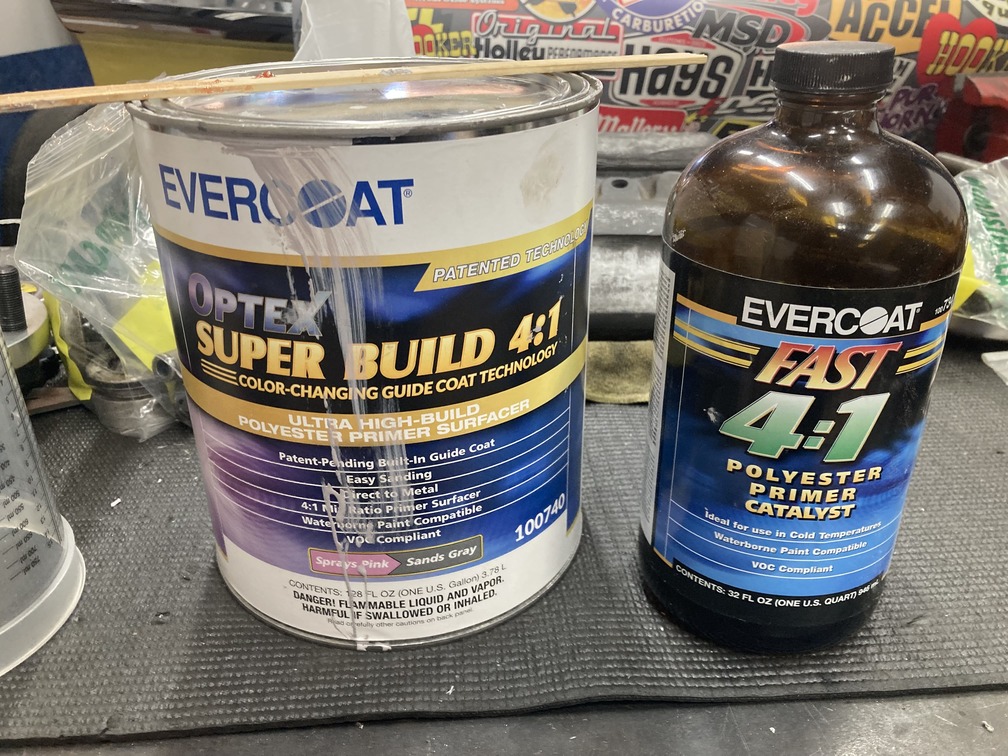
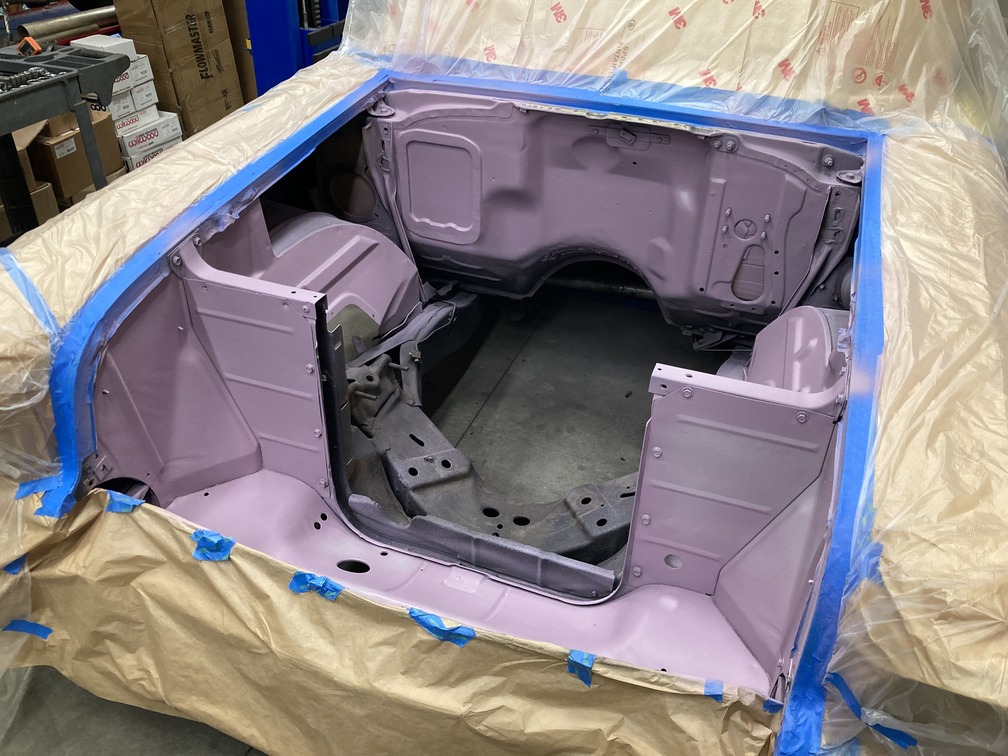
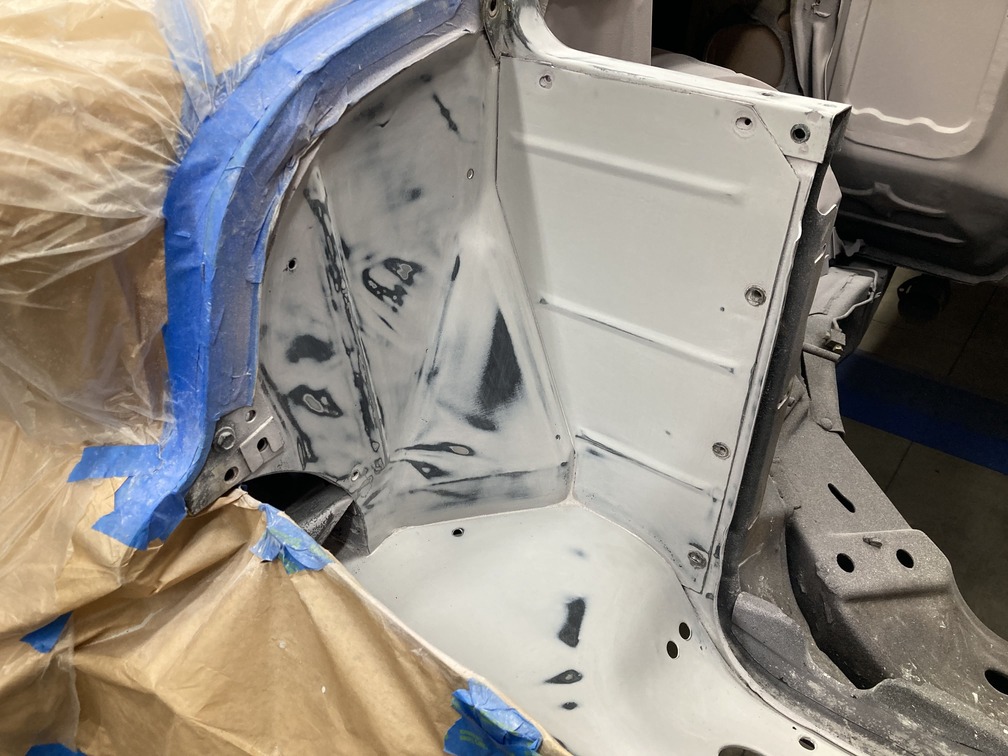
With the metalwork portion complete, it’s time to mask up and get ready to start shooting product.First up, Evercoat Optex Super Build 4:1 Ultra High-Build Polyester Primer. This is a direct-to-metal primer that sprays pink and sands gray, which means for those boorish body guys like myself, once it’s dry, simply block-sand it ’til it’s gray and go from there. This results in a built-in guidecoat of sorts.Here’s what it looks like after a few coats.A couple of fairly heavy coats are applied, knowing that the majority of this material will be sanded off. Naturally, this resulted in a pretty heavy orange peel texture.
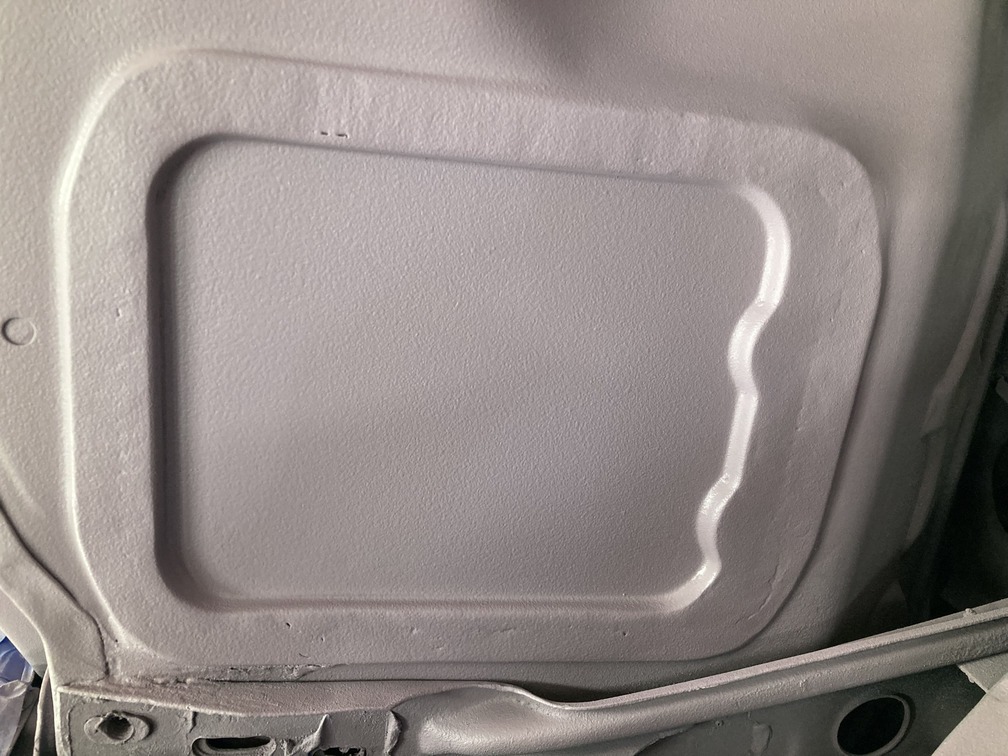
Once the block-sanding process had begun, however, the orange peel surface quickly gave way to a more perfect, flat surface.
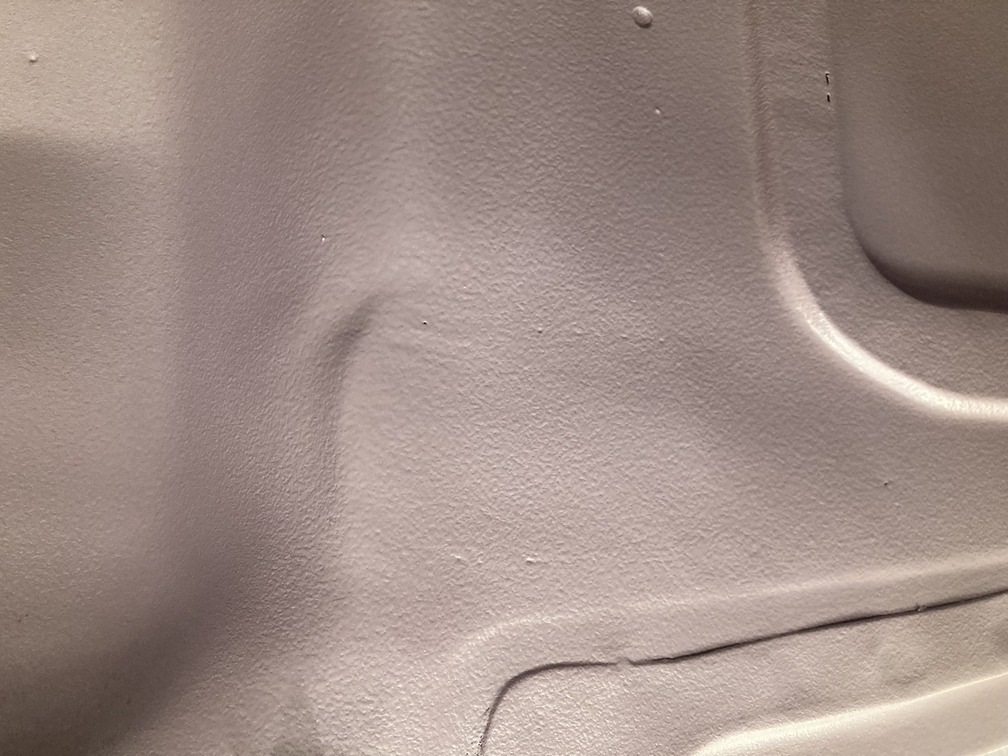
This was, of course, carried on throughout the engine compartment.Soon, the highs and lows were revealed and can be dealt with accordingly.
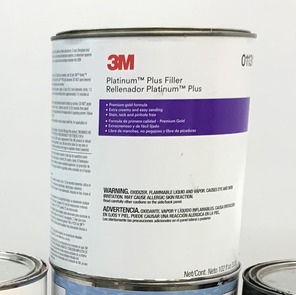
To do so, we’ll be using 3M Platinum Plus body filler conservatively where the high-build primer didn’t achieve what we needed it to.Over on the firewall, there are a few examples where we needed a little filler to get things nice and straight. Mostly in those areas were welding repairs or where modifications were made.After a few rounds of sanding, we’re ready for the next step.
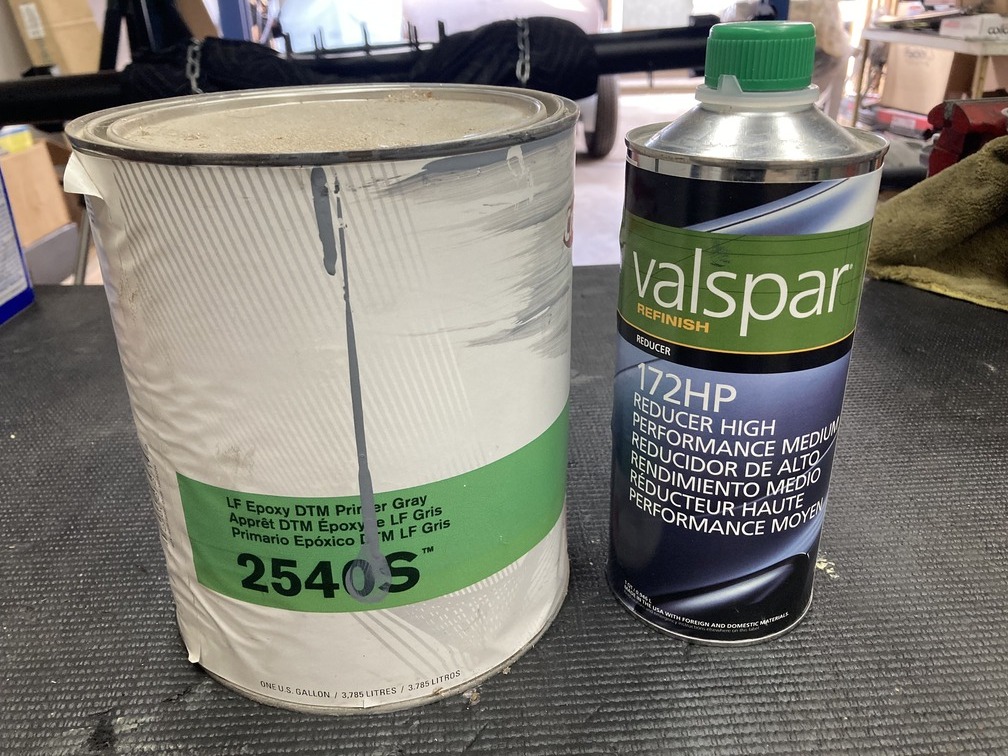
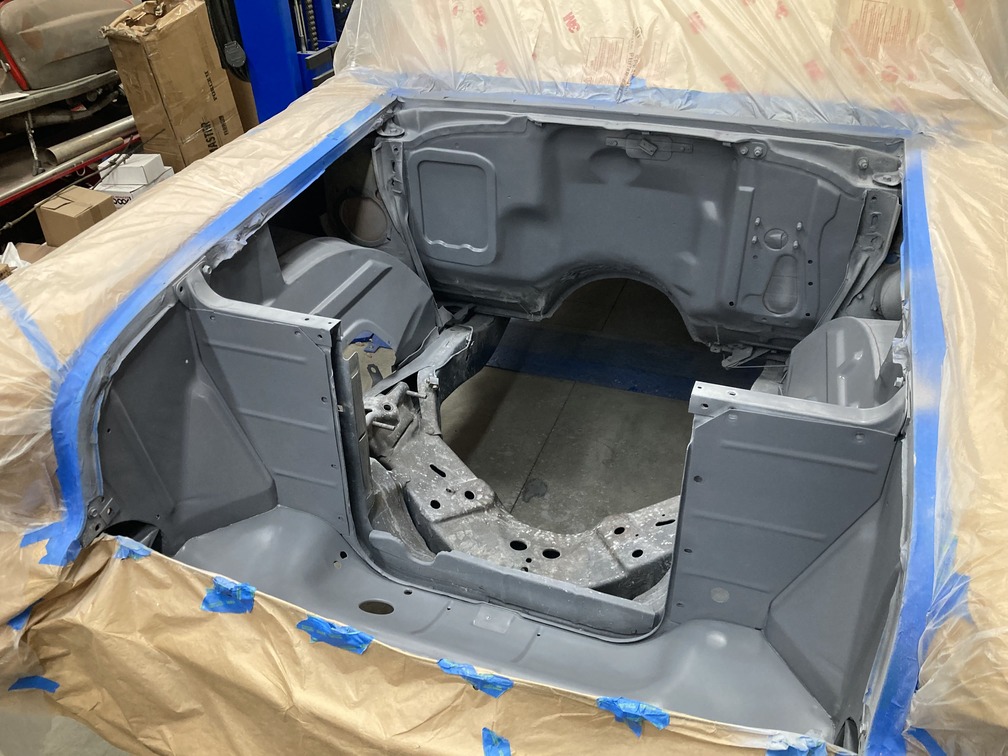
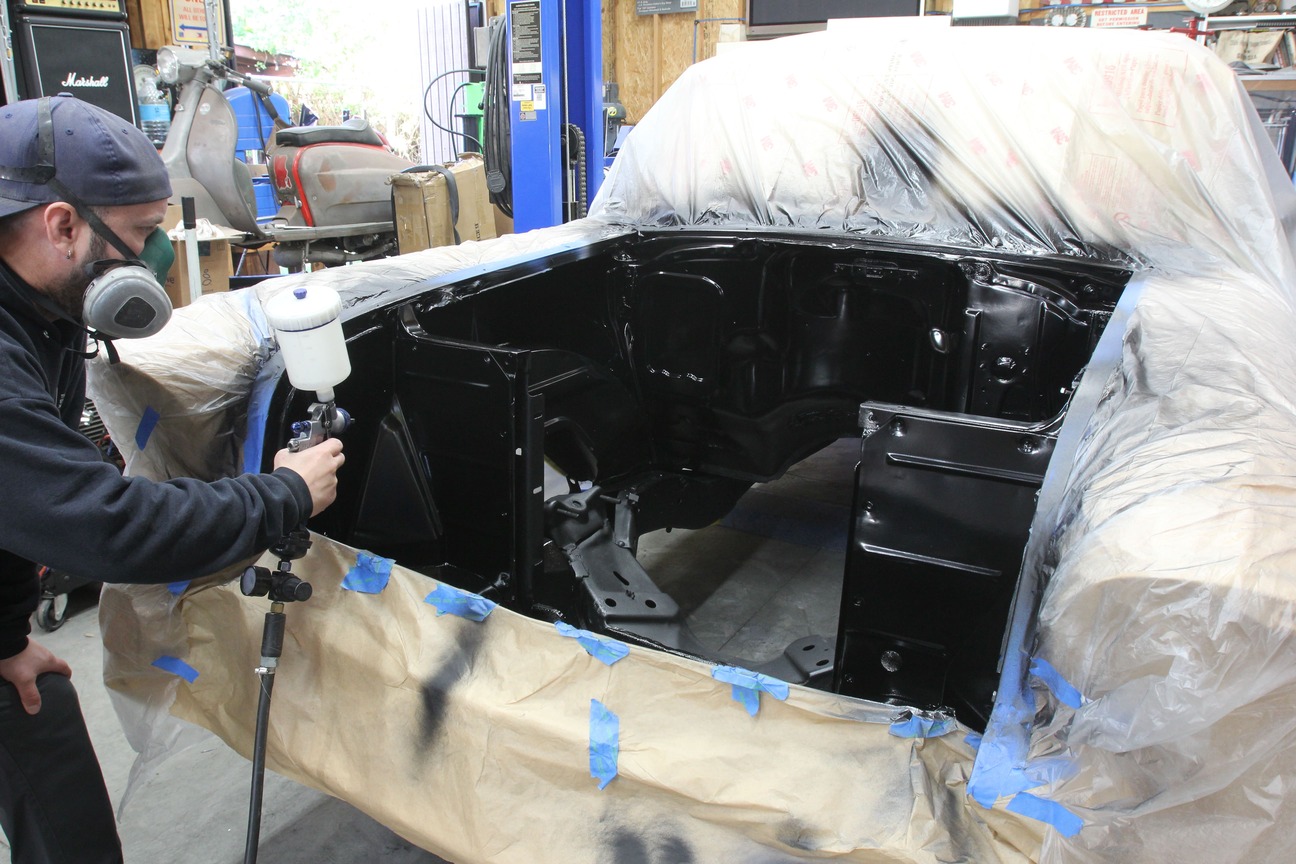
I had some Valspar Epoxy Primer leftover from another job and thought it might make a great second coat before we lay down the topcoat. This is another DTM (direct-to-metal) product so it can be applied to both primered and bare metal surfaces without negative results.The resulting finish allows us a final chance for any imperfection inspection before we apply the final color coat.Going with our local supplier’s recommendation, we’ll be applying High Teck’s Hot Rod Black single-stage, acrylic urethane paint to the sheetmetal surfaces of the engine compartment. To reduce overspray on the sheetmetal, we first applied two coats of satin black to the framerails and wheelwells of the ’57 after the final primer coat.We applied the Hot Rod Black single stage in three coats, slowly increasing the coverage with each coat. With a slightly glossier finish than we expected, we found that the contrast between the satin finish of the chassis and the semigloss of the sheetmetal actually complements each other very well.
We use cookies to ensure that we give you the best experience on our website. If you continue to use this site we will assume that you are happy with it.