Are you a barn door or tailgate guy when it comes to the hind end of your ’67-72 Suburban or vintage utility rig? Actually, we’re not here to discuss the merits of either one, we just know at some point you’ll need new weatherstripping, glass seals, and other fresh rubber items to seal out the weather and noise for either-style door.
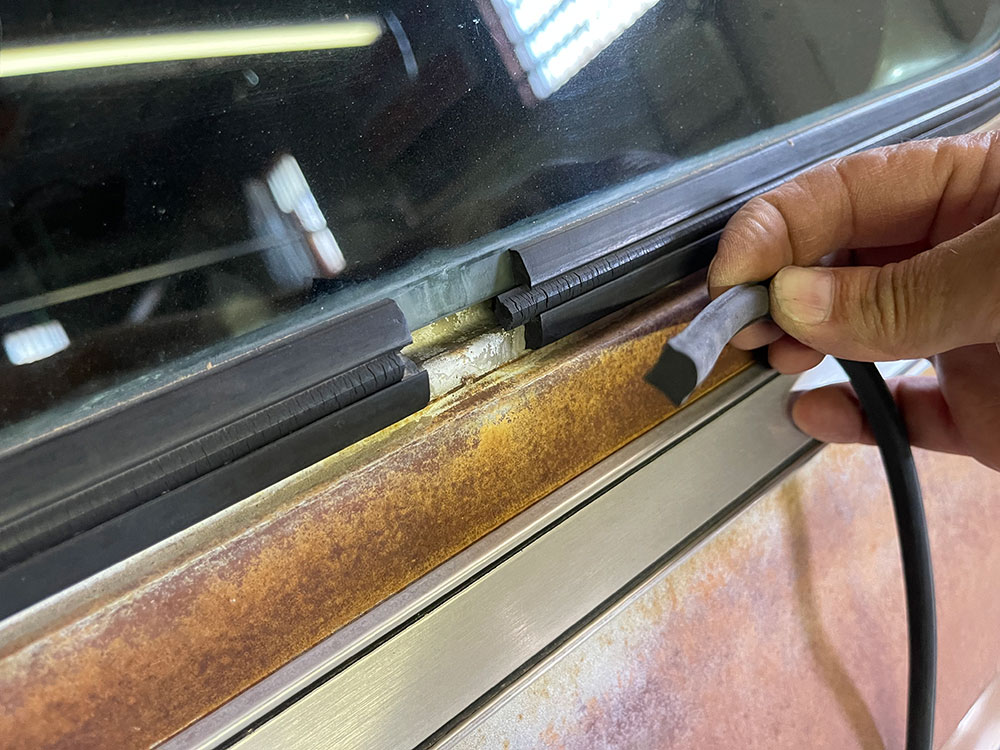
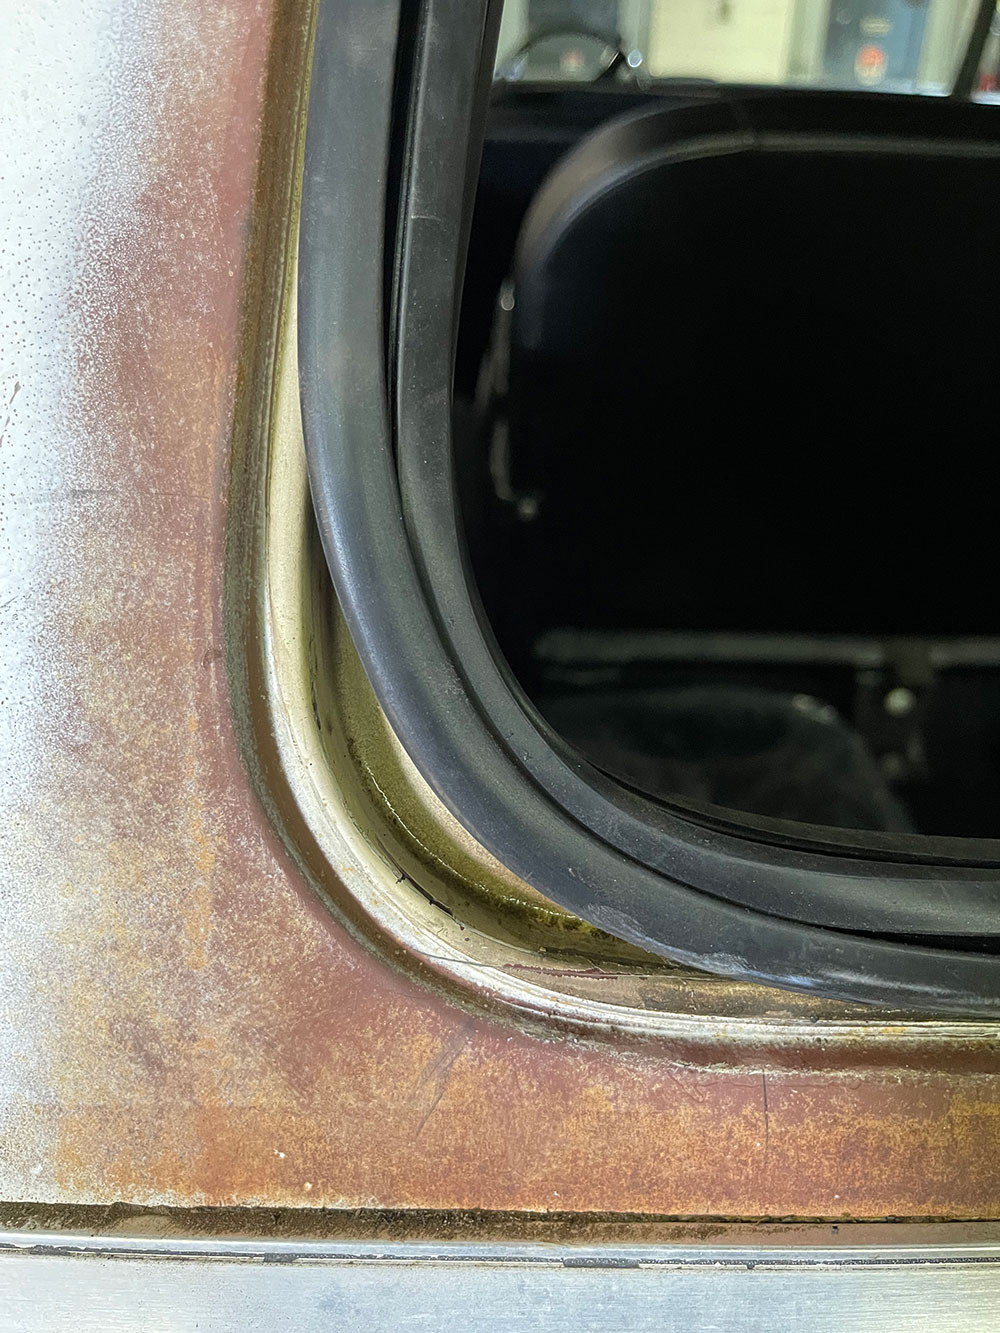
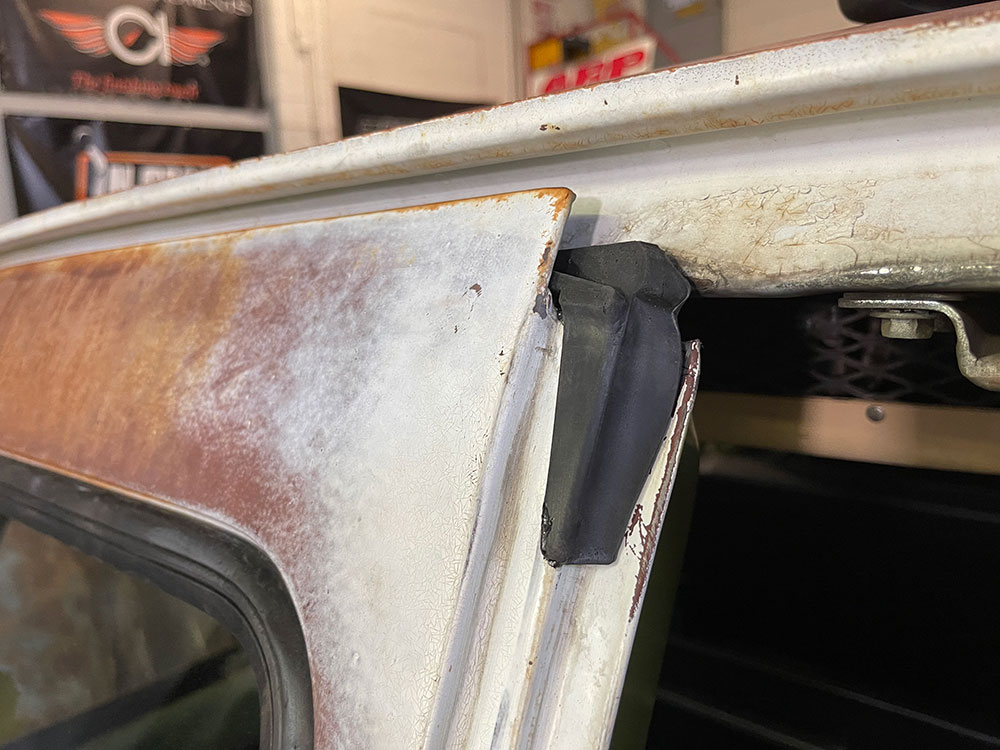
The big gap shows just how much the original glass seal has shrunk down over the years. Note the new V-formed locking strip that we’re holding. Steele Rubber supplies the new glass seal with this locking strip that installs in the larger seal to secure the glass.
In our case, the barn doors on our ’71 Suburban were far overdue for a fresh set of weatherstrip seals, as the originals were about as dry and thin as possible. They provided little to no sealing, trumped with plenty of rattling as well. Plus, the cracked rubber seals around the windows had shrunk, leaving about a 1-inch gap open to the unwanted recirculating air and exhaust fumes.
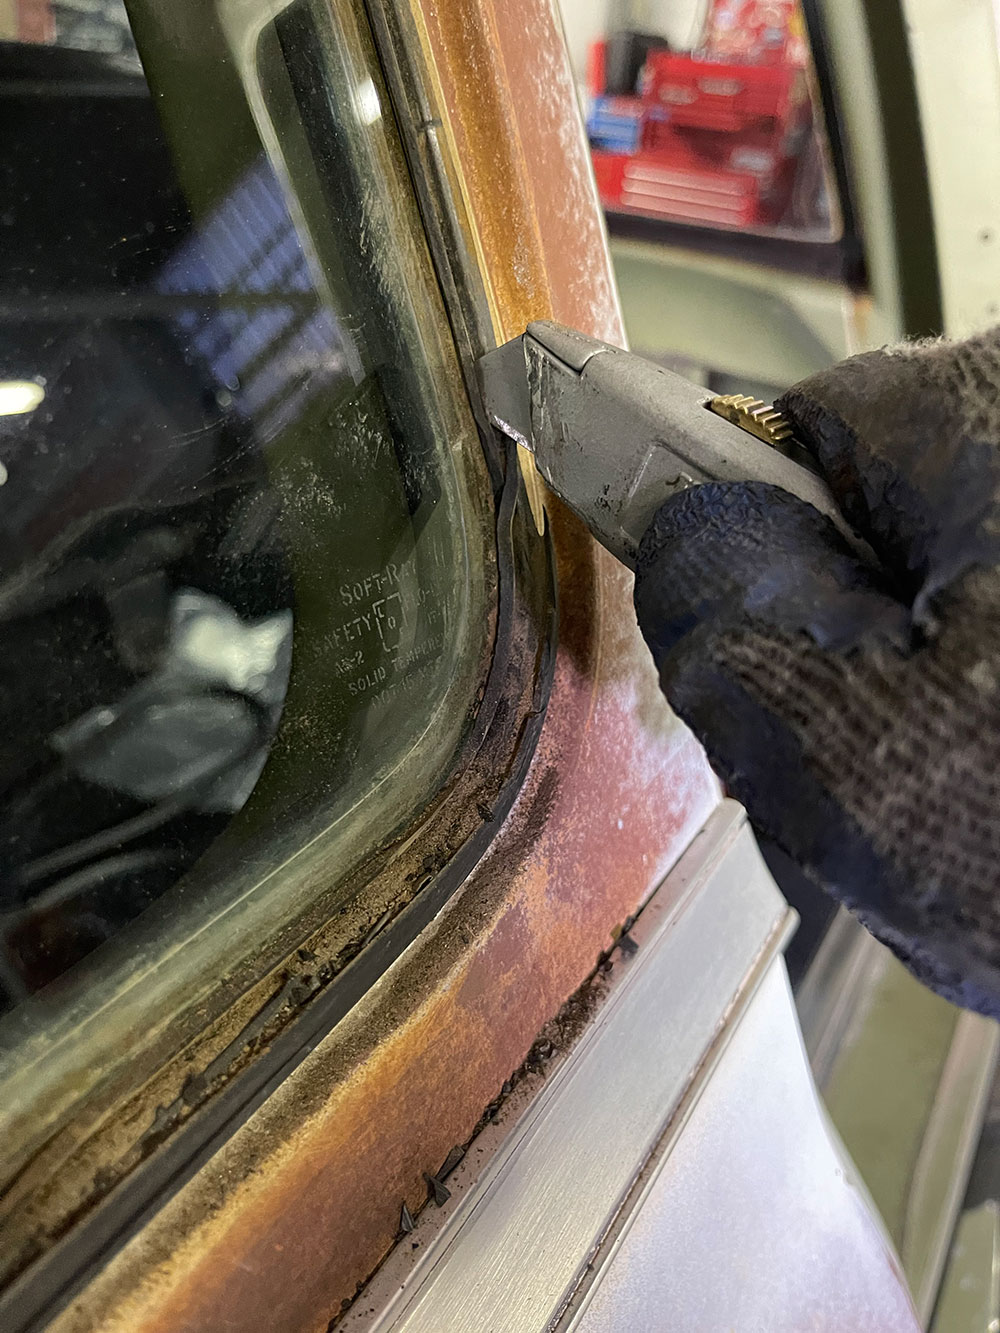
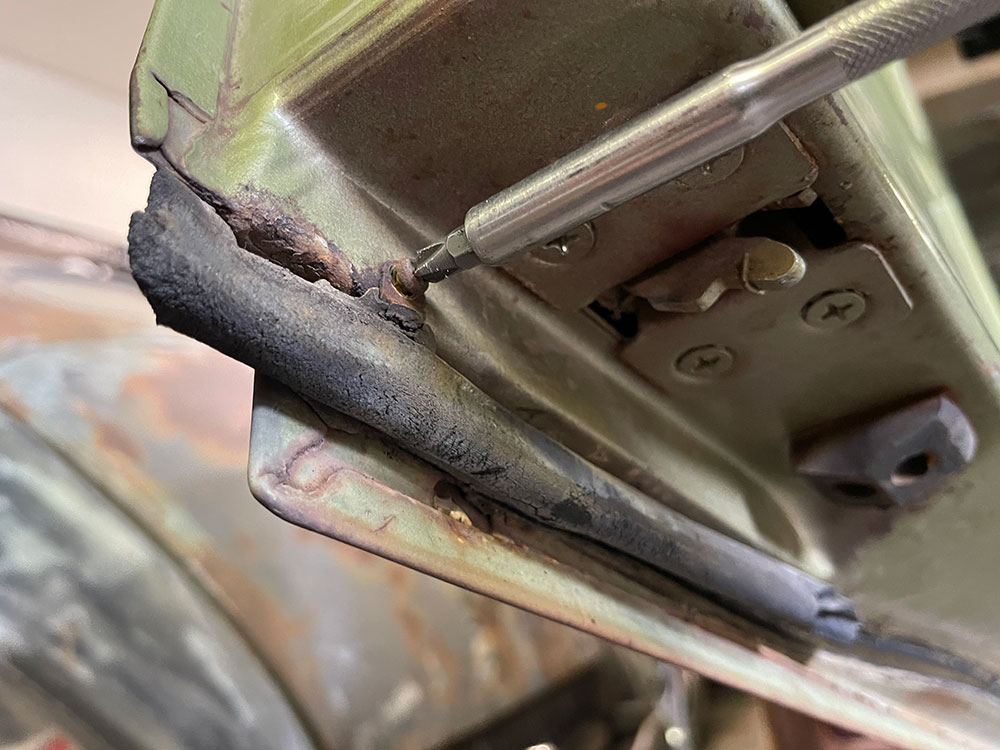
To remove the glass and crispy seals, we grabbed a fresh blade and went to work with a box cutter. Don’t dig in and expect one heavy cut to do–especially when you don’t want to chance scratching the paint.
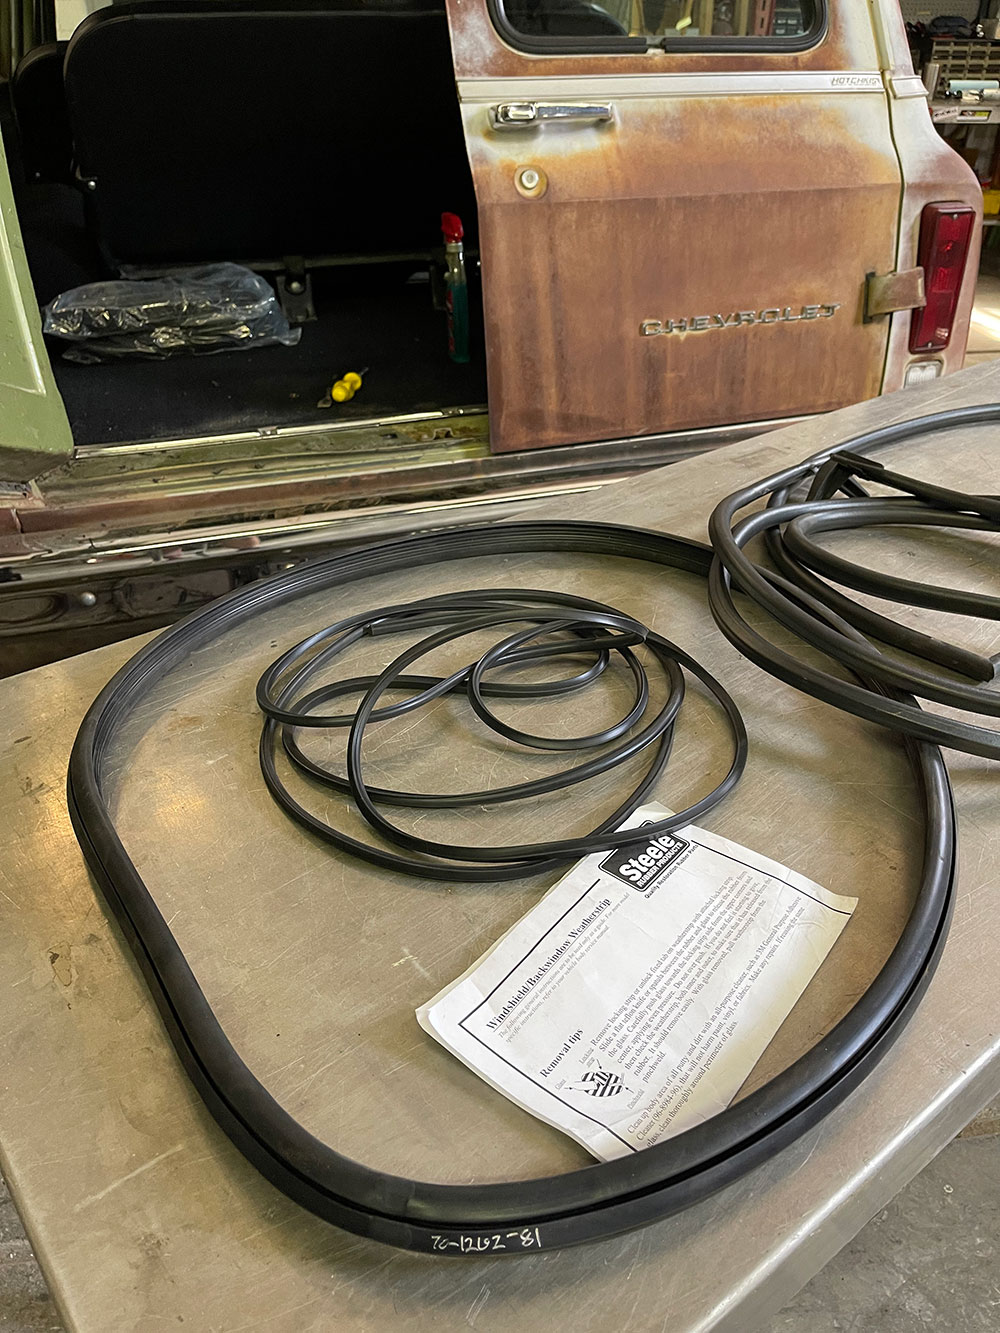
The solution for our barn door woes, and for any Suburban tailgate fans out there, came from Steele Rubber Products in the way of a fresh set of weatherstripping as well as the window seals (which are also available for Blazer models). Steele designs their reproduction pieces right from original examples and molds them using the highest quality rubber available–right in Denver, North Carolina.
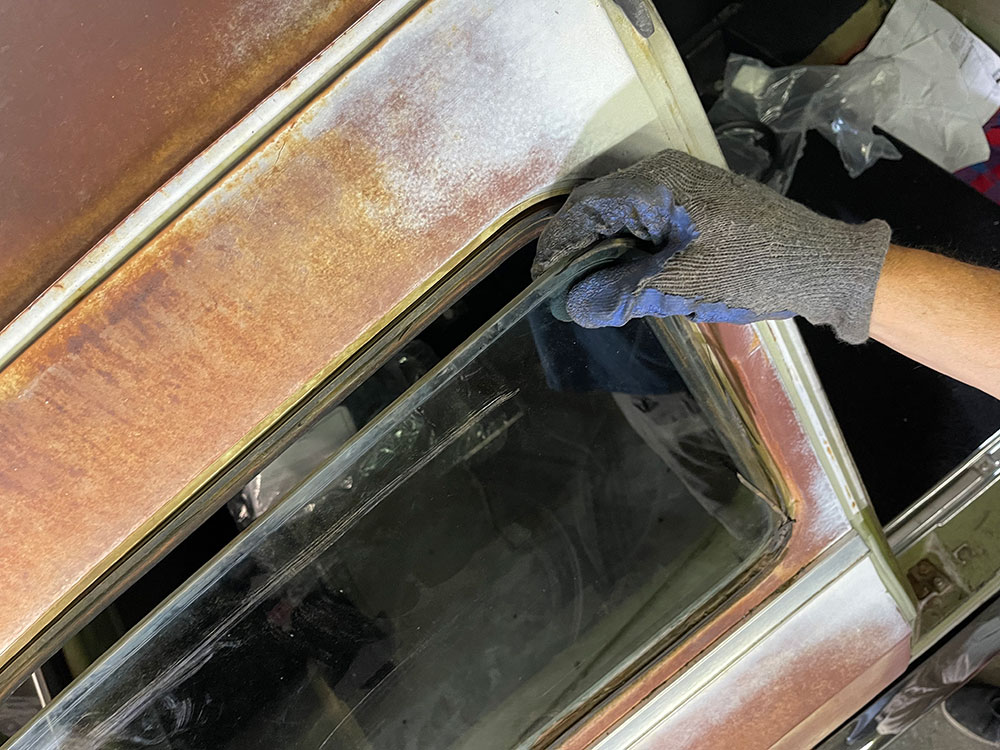
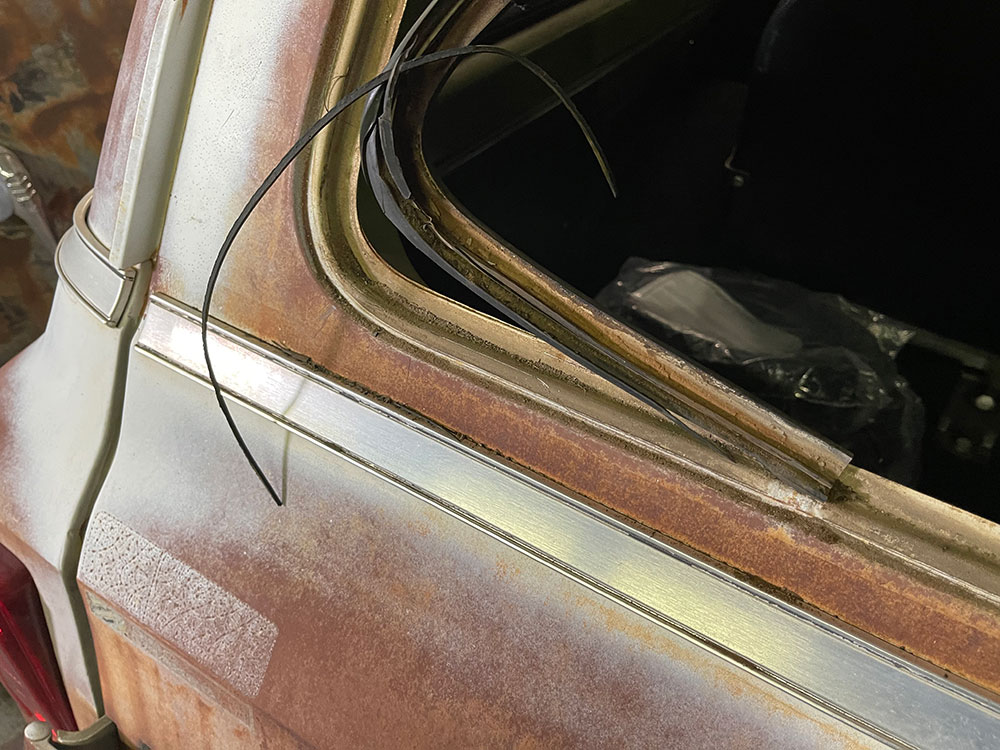
With a bit of patience and a lot of muscle, the glass finally pulled out of place. It was surprising how well the glass was still held in place even with the shriveled seals. Next up was a serious cleaning of the frame and pinch weld area to prep for the installation.
Tips for Installing Weatherstripping
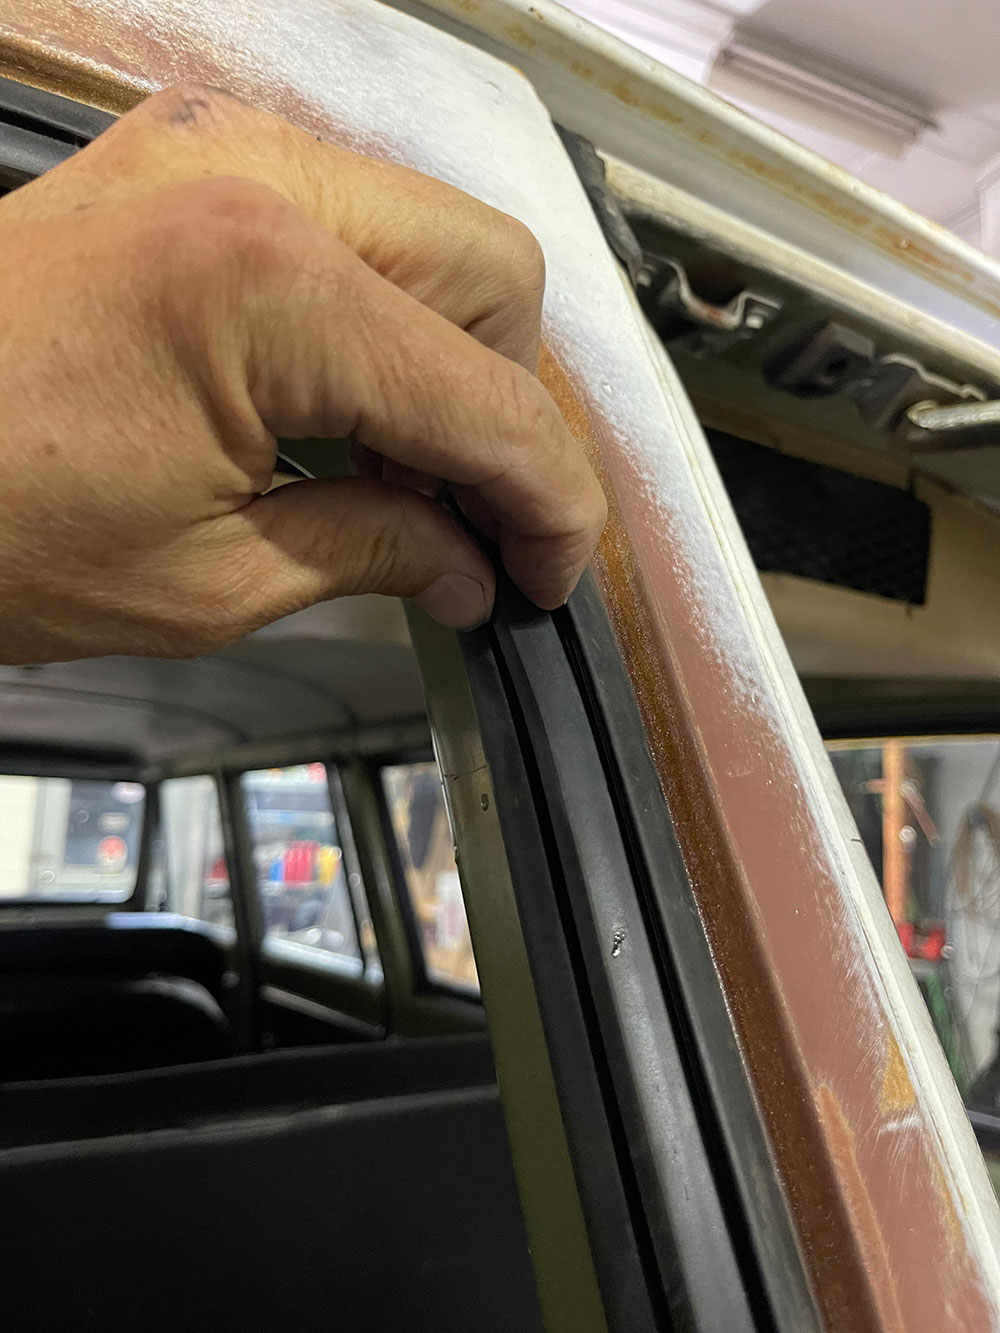
The weatherstrip features molded-in corners as well as locations for the factory fasteners, which aligned properly to help make installation easy. The window seals followed suit by fitting the pinch weld frame of the barn door windows just right and grasping the glass for a snug fit and tight seal just like when new.
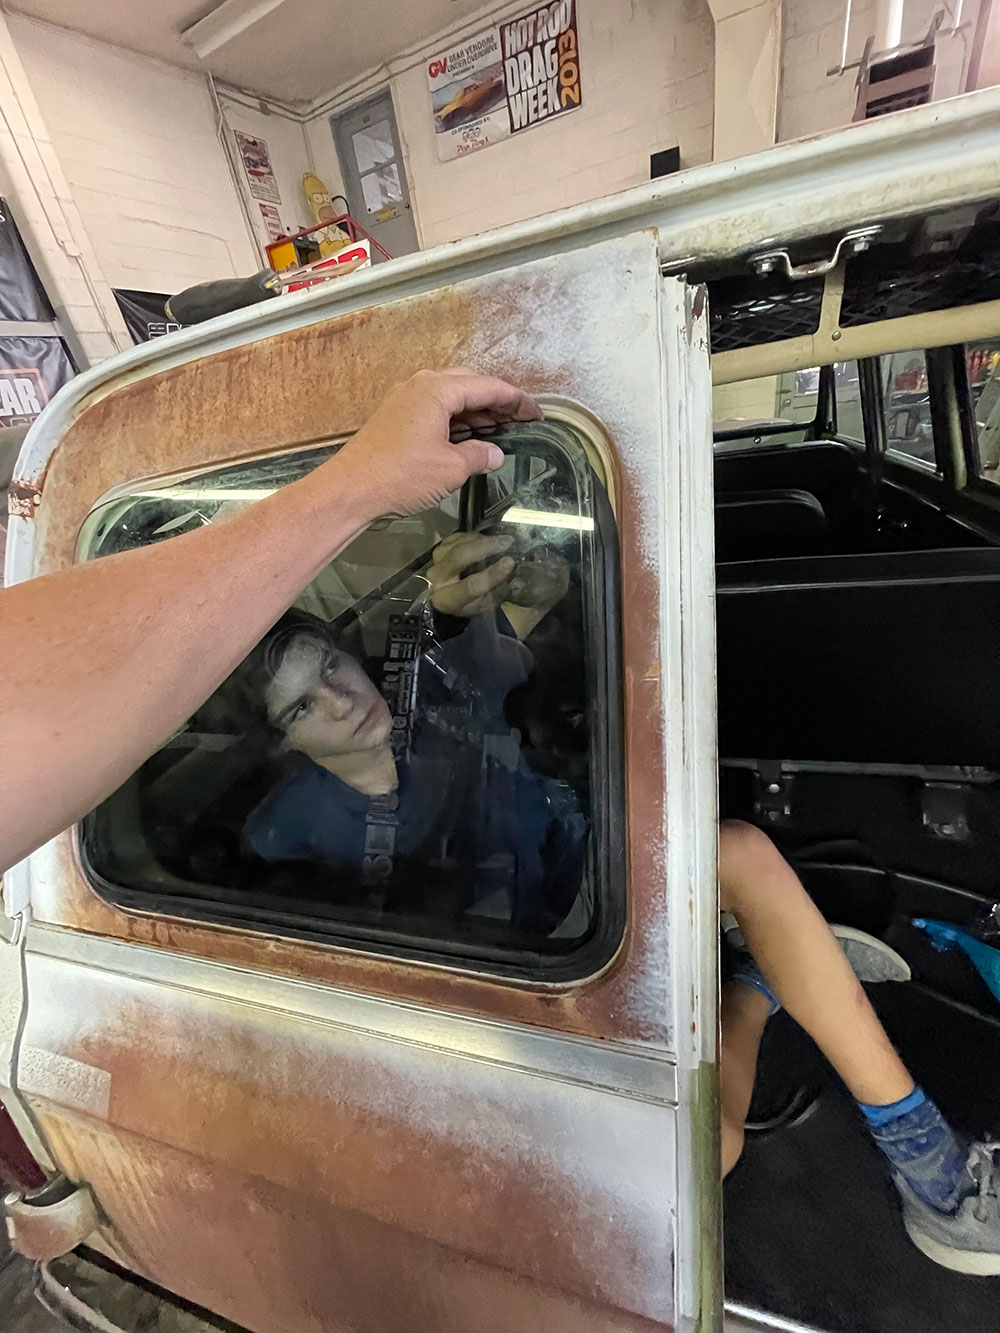
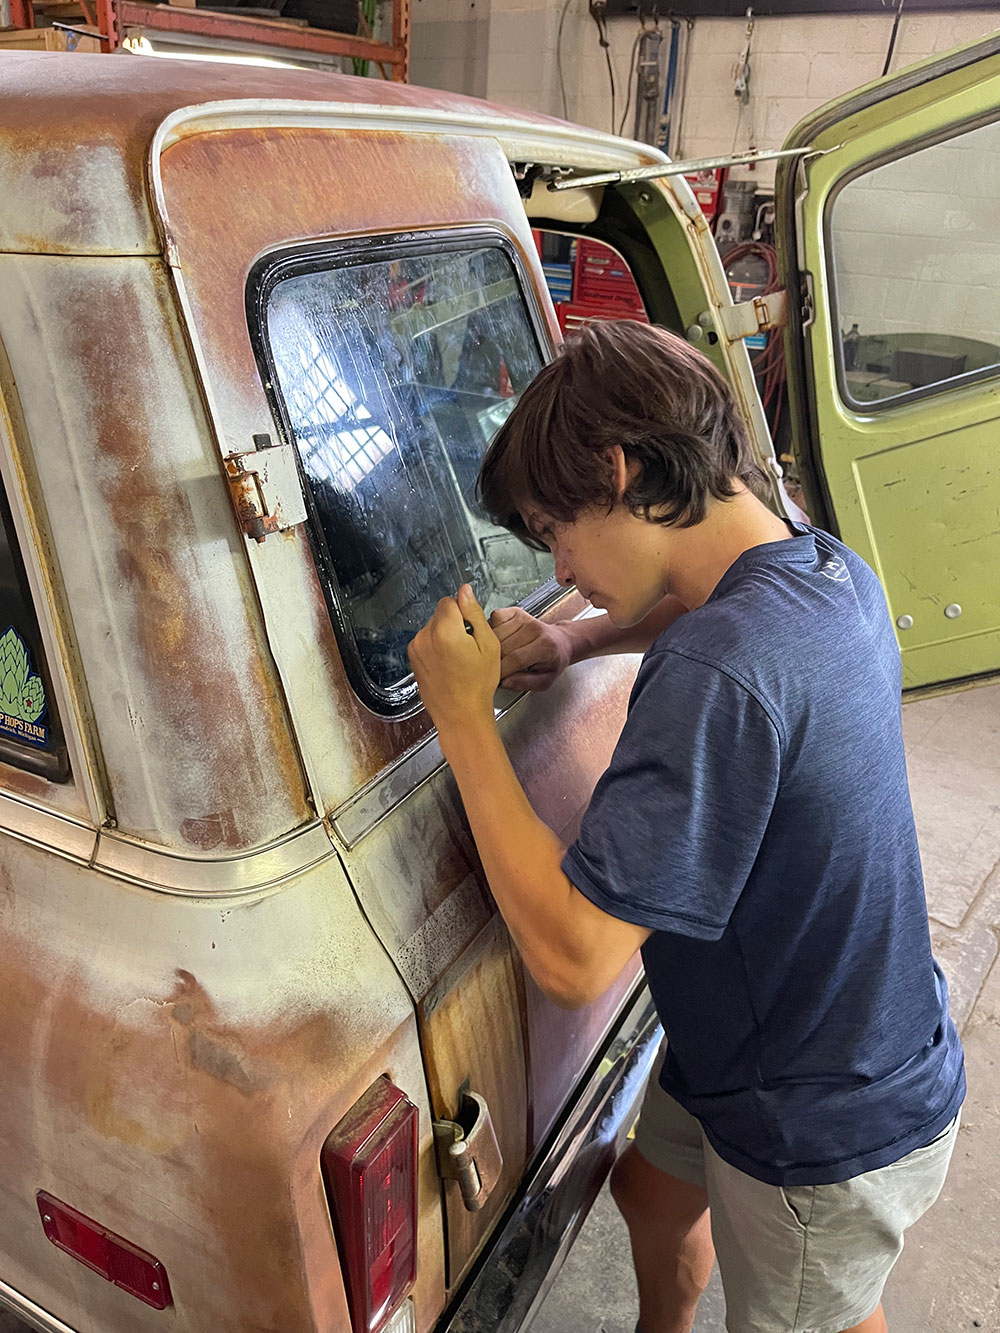
Installation of the new window seals takes a little sweat and care with the help of an assistant to work the glass and seal from the inside. This application uses a rubber locking strip that, at least for us first-time installers, was a challenge but persistence and patience paid off and we learned that it would go much smoother with the proper installation tool.
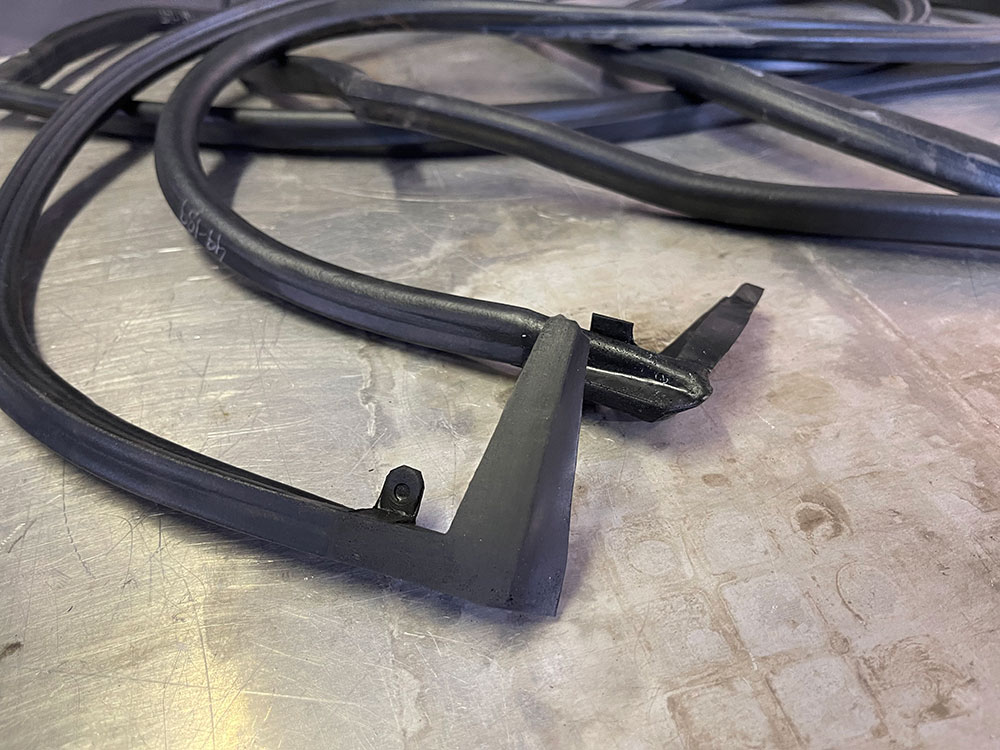
The new Steele Rubber window seal consists of the fitted seal with formed corners and a fresh locking seal. They’re designed from the original versions and guaranteed to fit (which they did perfectly).
Thanks to the crew at Steele for taking the time to produce a product that fits as it should, we were able to get the job done and our barn doors are rattle-free and seal tight while the windows are not only completely sealed, but look so much better framed in new, gap-free rubber!
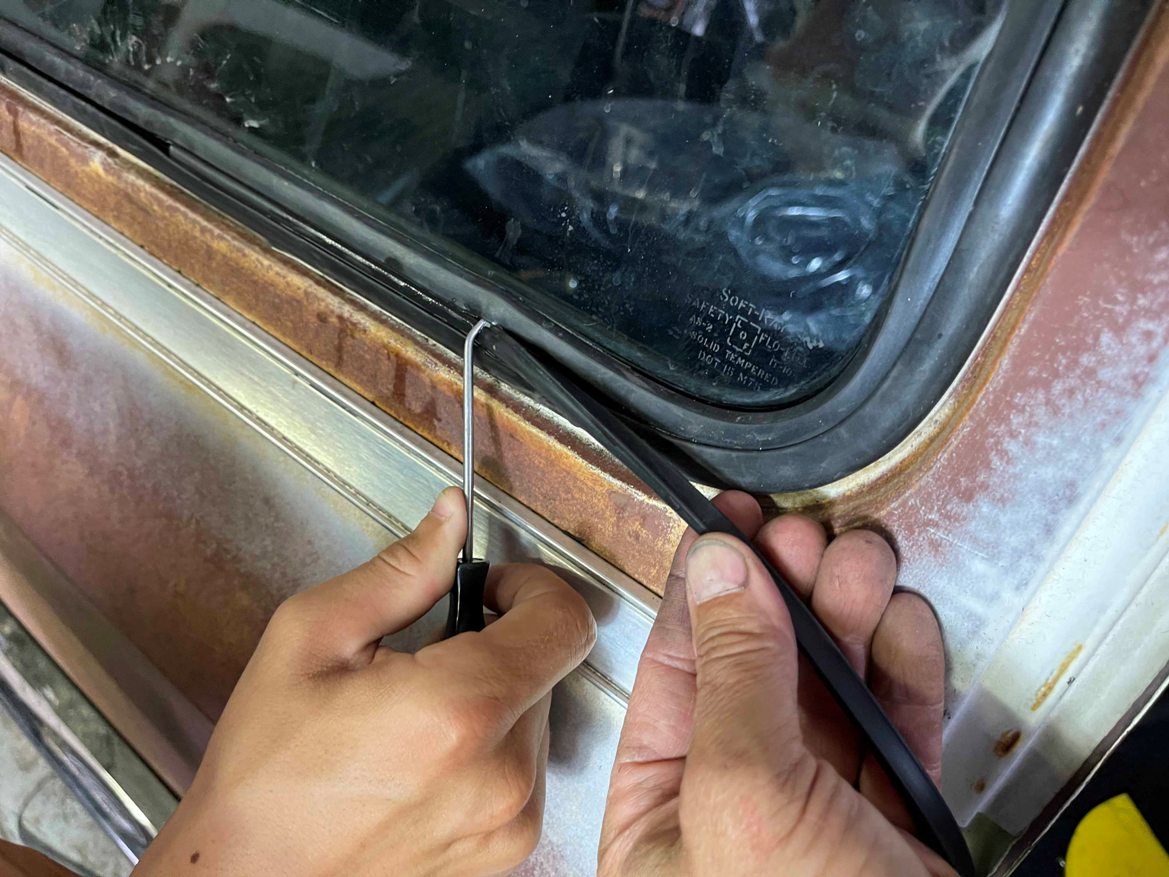
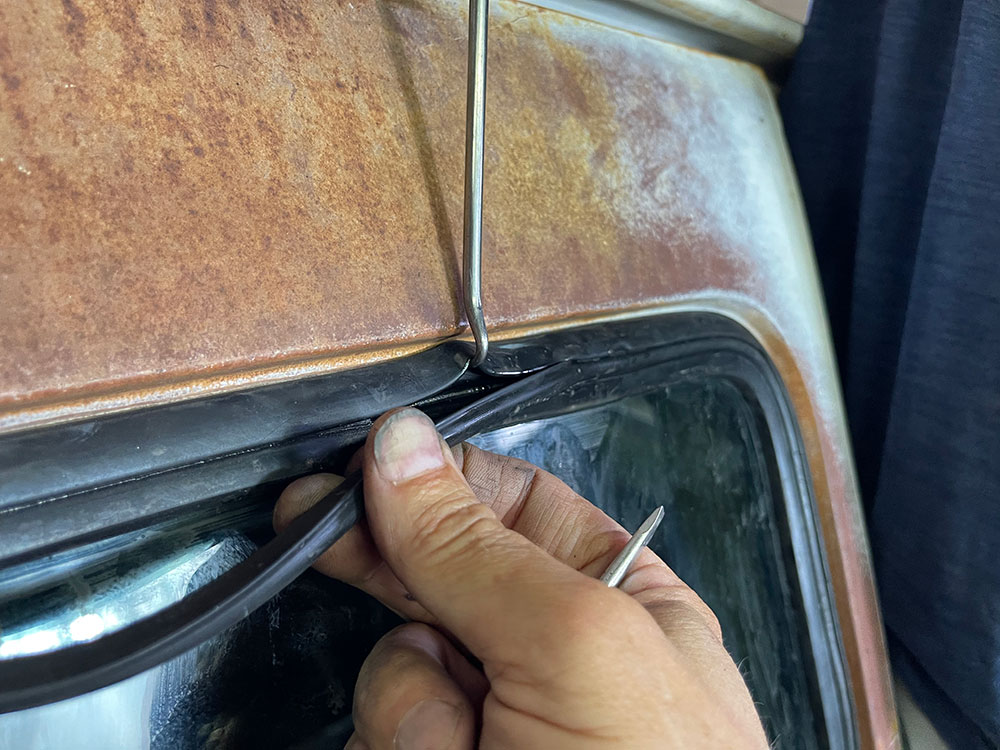
Unravel the new seal and you’ll find three slots: one for the pinch weld of the door, one for the glass, and the other for the locking strip. The locking strip, in our application, goes toward the outside. Notice that the seal lifts around the corners a bit, allowing for stretching and a tight seal with the glass install.
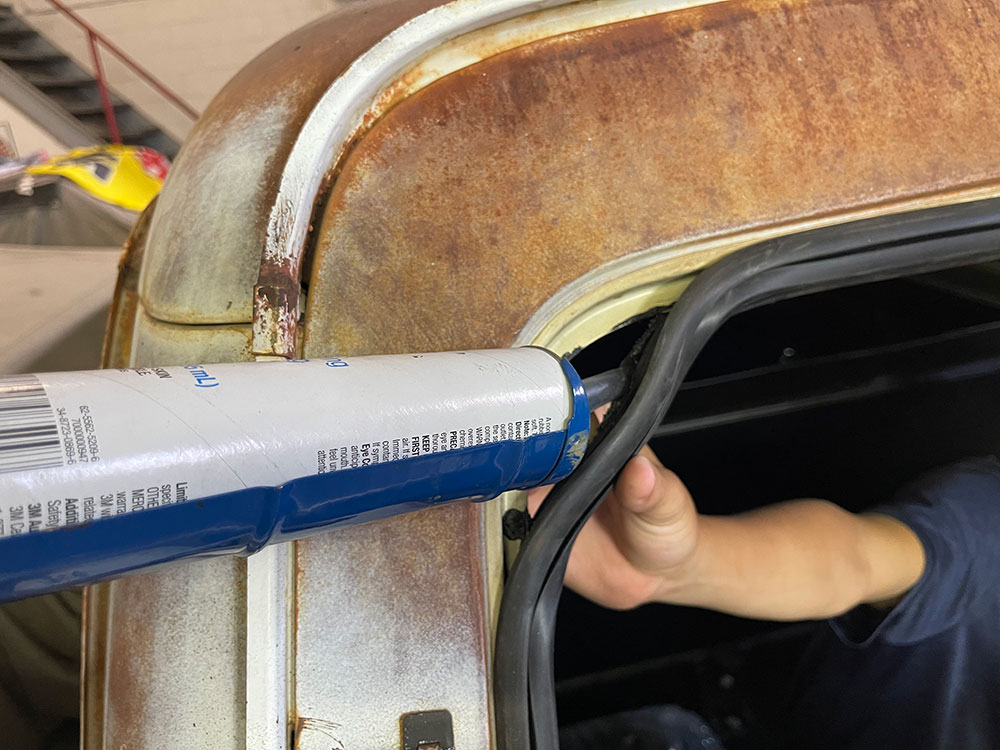
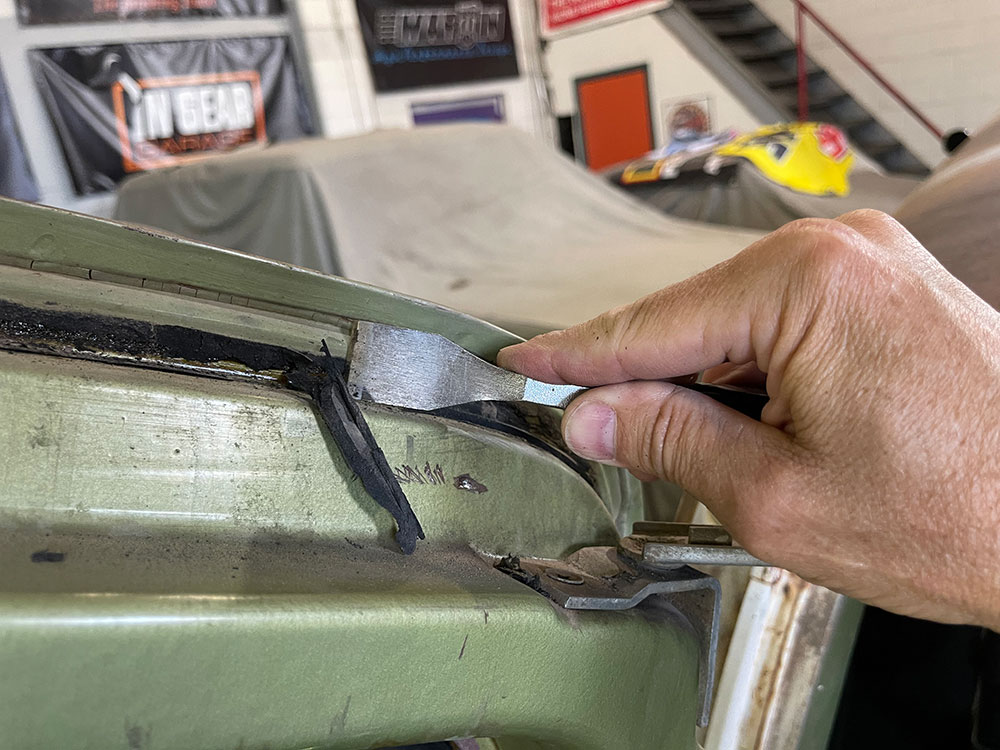
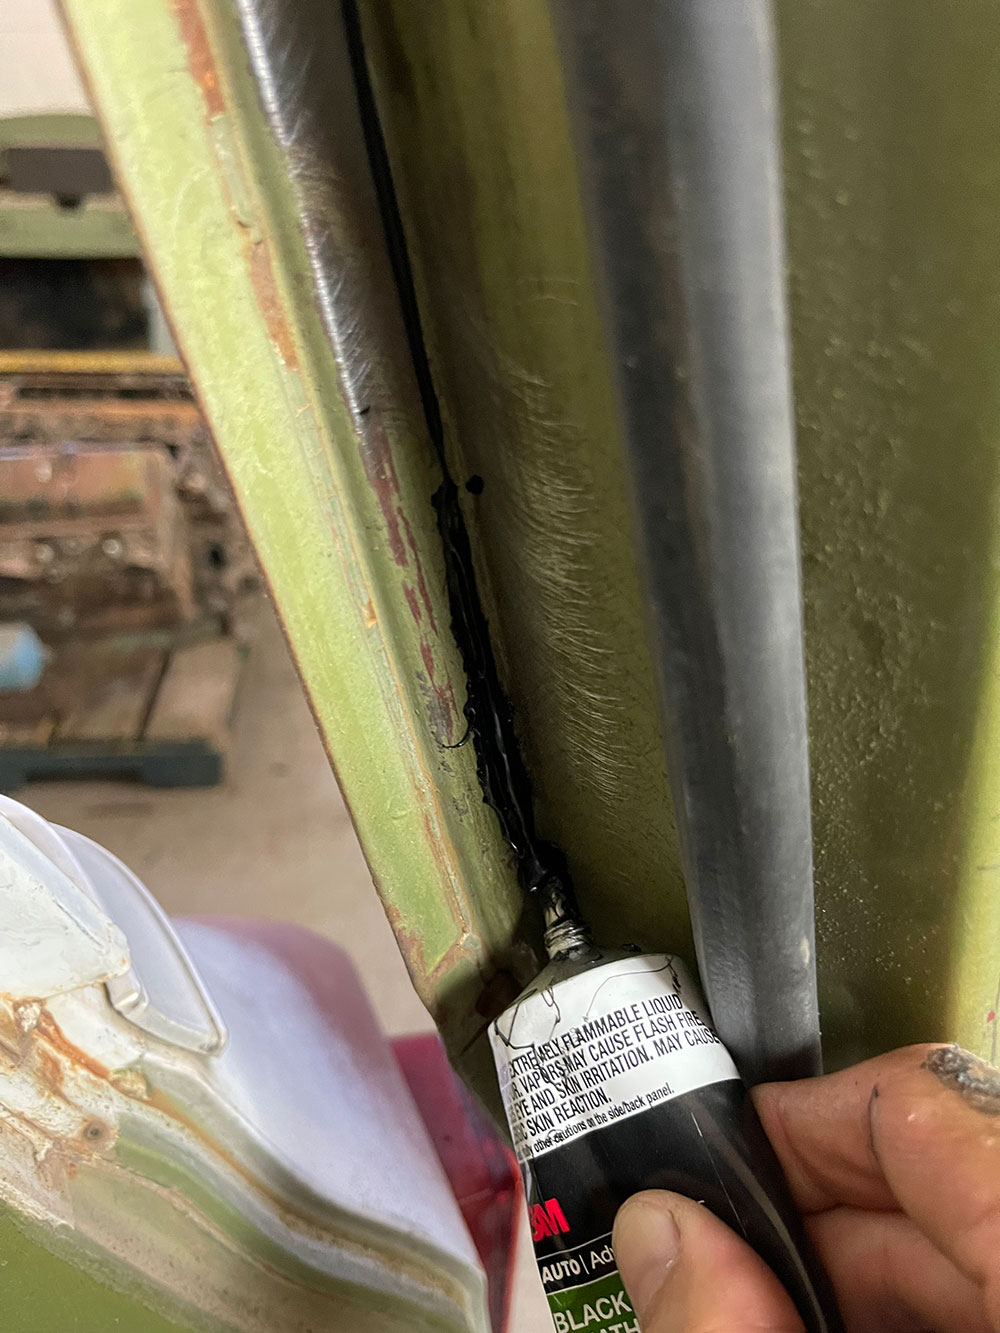
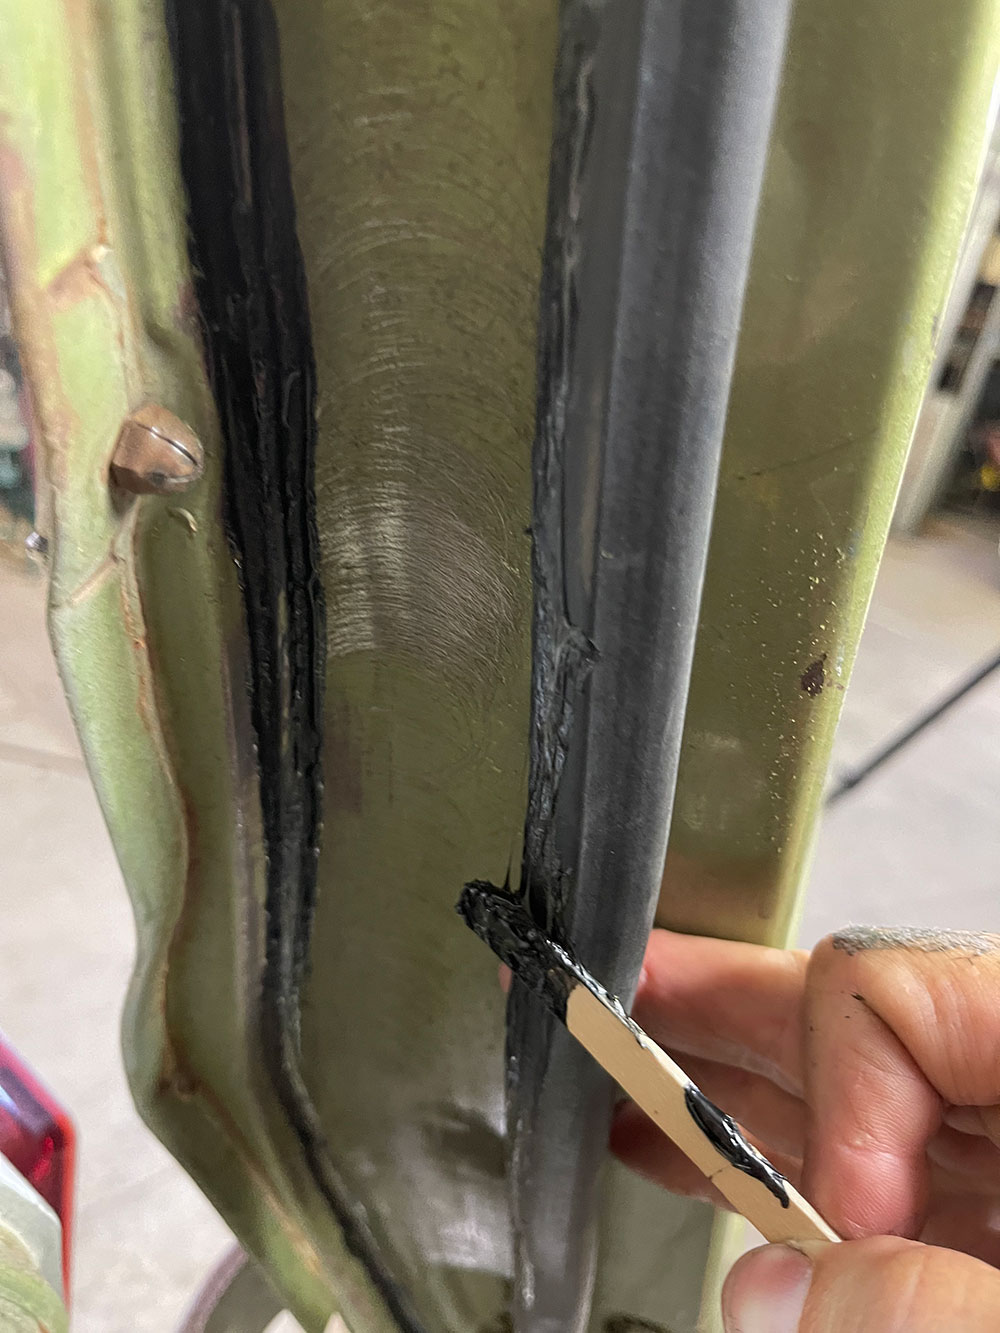
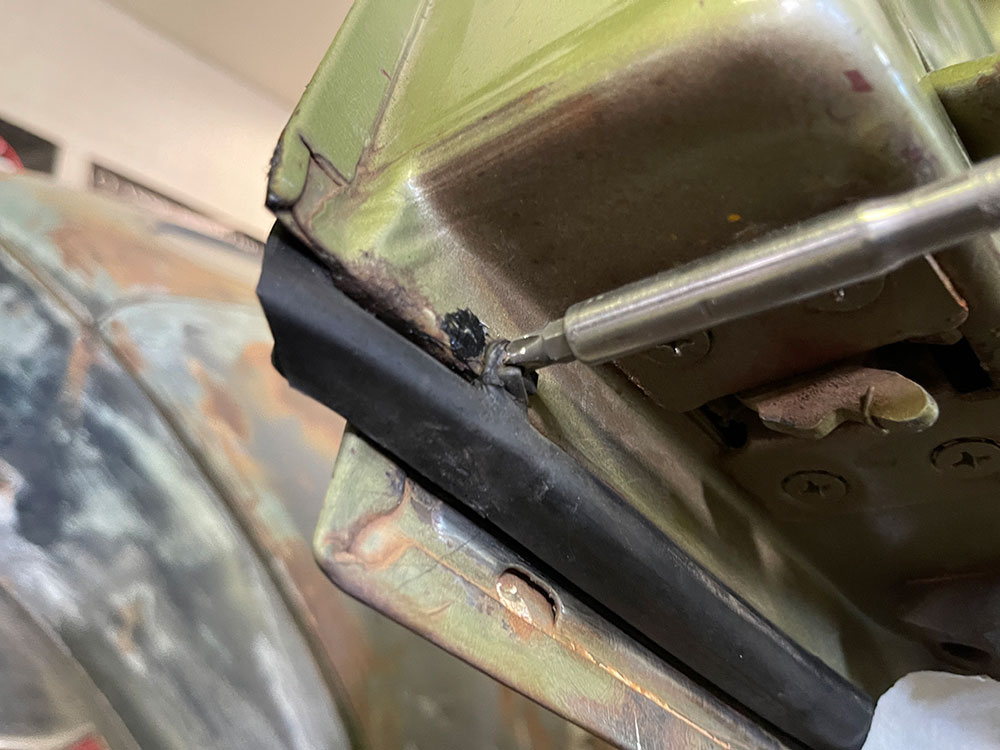
Steele Rubber recommends using a bedding and sealing compound, such as one from 3M to help the new seal move during the glass installation and tighten against the bodylines. The stuff seems to spread to any surface like antiseize, so don’t get crazy with it.With the seal in place on the window frame, it’s best to have an extra set of hands to help align and work the seal over the glass. A solution of soapy water will also help the glass slide into the seals.Once the glass was in place- it was time to squeeze in the locking strip. This V-shaped rubber piece secures the glass tightly in place and is another patience testing part of the installation.Once the glass was in place, it was time to squeeze in the locking strip. This V-shaped rubber piece secures the glass tightly in place and is another patience testing part of the installation. In hindsight, we would have picked up Steele’s special tool to make this easier, or at least a couple plastic prying sticks, but we found a rhythm and inched along getting the strip in place without poking the new seal or our fingertips.With the glass sealed up tight, we shifted gears to the door weatherstrips, which were baked to a crisp and were pretty much useless, allowing the doors to constantly rattle. The original material easily flaked away with a blade. The top and bottom on the driver door have screws to hold the seal corners.
Steele Rubber manufacturers their weatherstrips based on the original designs to ensure a proper fit and seal. Note the molded area for the screw and the flaps that seal against the passenger side (primary) door.After cleaning the door surface completely it was time to glue in the new weatherstrips. Steele Rubber recommends applying a thin layer of adhesive to the door and spreading it out so it can get tacky. Also, apply a small bead to the seal and spread it out. Once both are tacky, apply the weatherstrip to the door and press it into place. Work the new seal all the way around the door using the corners as guides.
At the bottom, the seal lined up perfectly with the location of the screw to help keep it in place. The top of the door followed suit.
Once the door seals dried, we closed the doors to the sound and feel of a nice tight seal–no more rattling or shaking and the new window seals really look nice, adding a touch of detail compared to the gapped, crusty originals.
We use cookies to ensure that we give you the best experience on our website. If you continue to use this site we will assume that you are happy with it.