By Carson Reed – Images by the Author & Rob Fortier
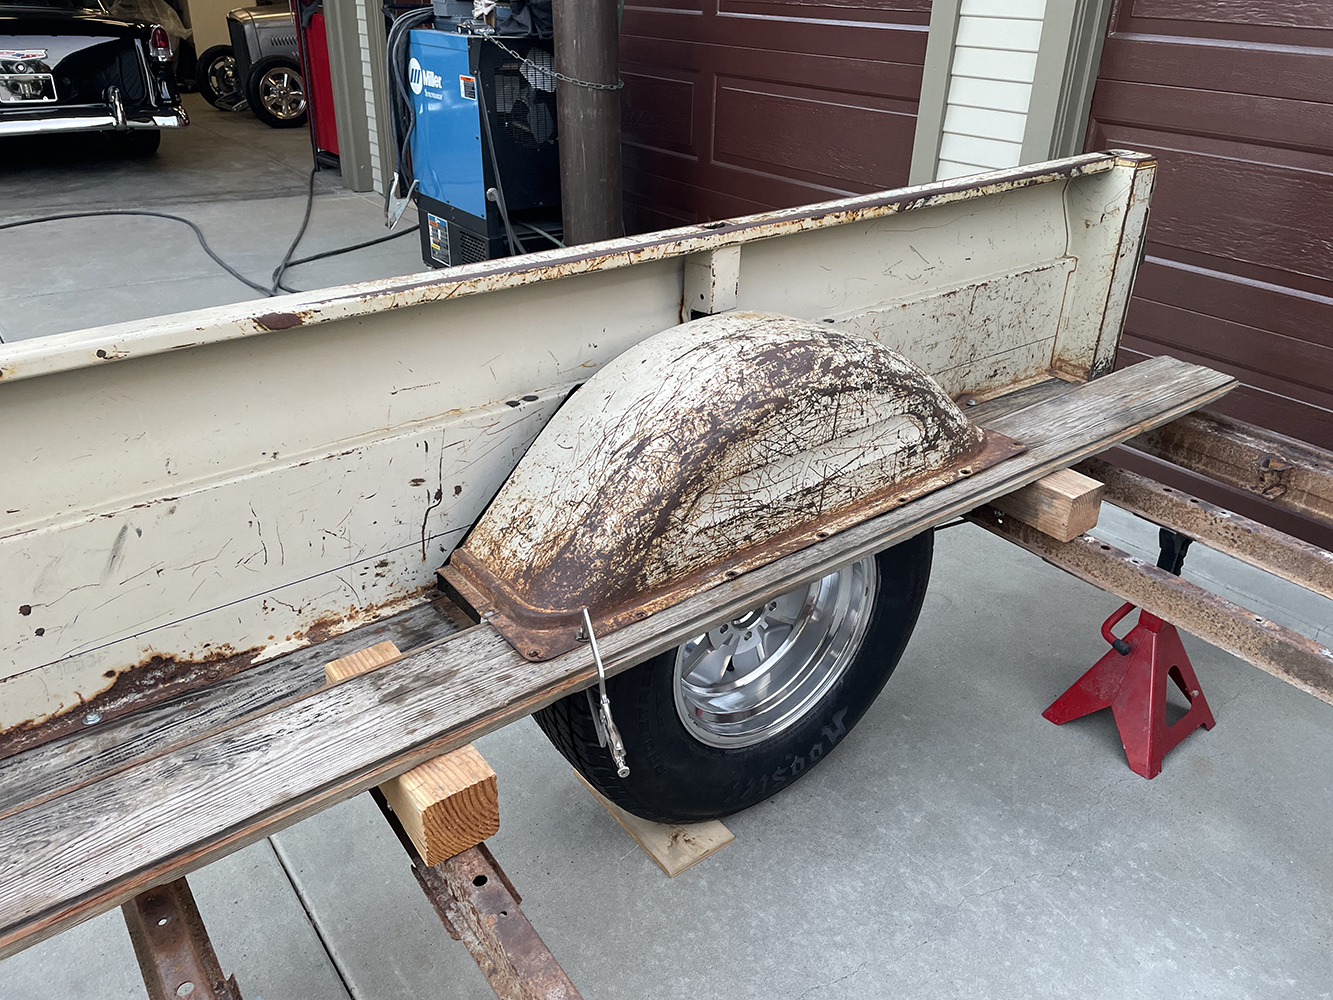
From early on my dad and I talked about things we would do to the truck when we were figuring out where we would go with things. We looked at a lot of photos of other trucks, and we both agreed that longbeds looked too long and shortbeds looked too short. So we decided that we wanted it to be in-between the two and we would position the rear wheels where we thought they would look best. One of the things I knew I wanted were big back tires because I have always liked that look since I was young. Once we mocked up a few tires we decided to run something bigger, which led to the Hoosiers.
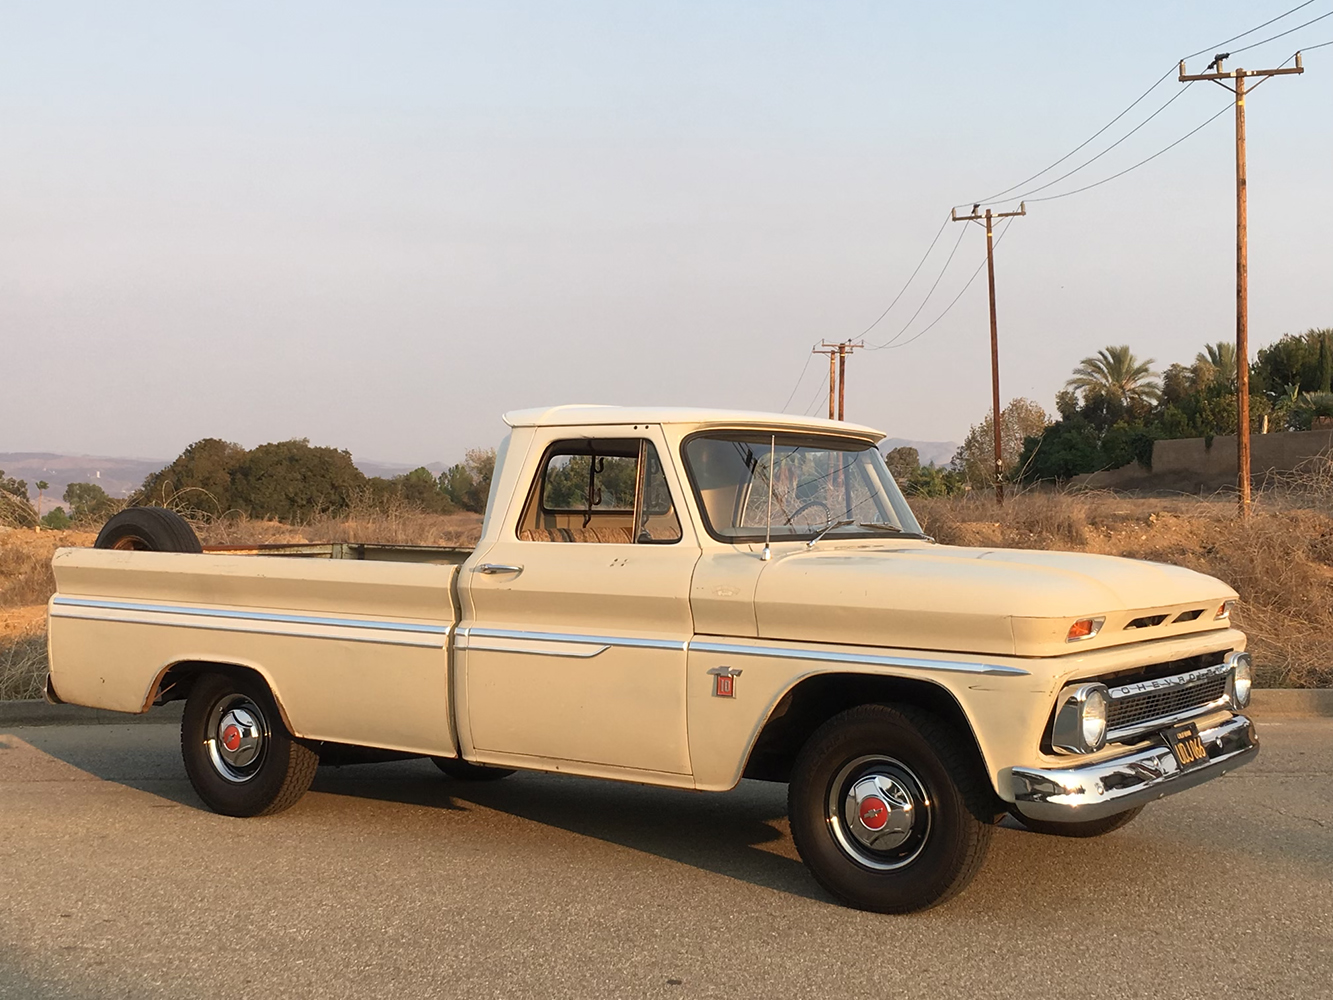
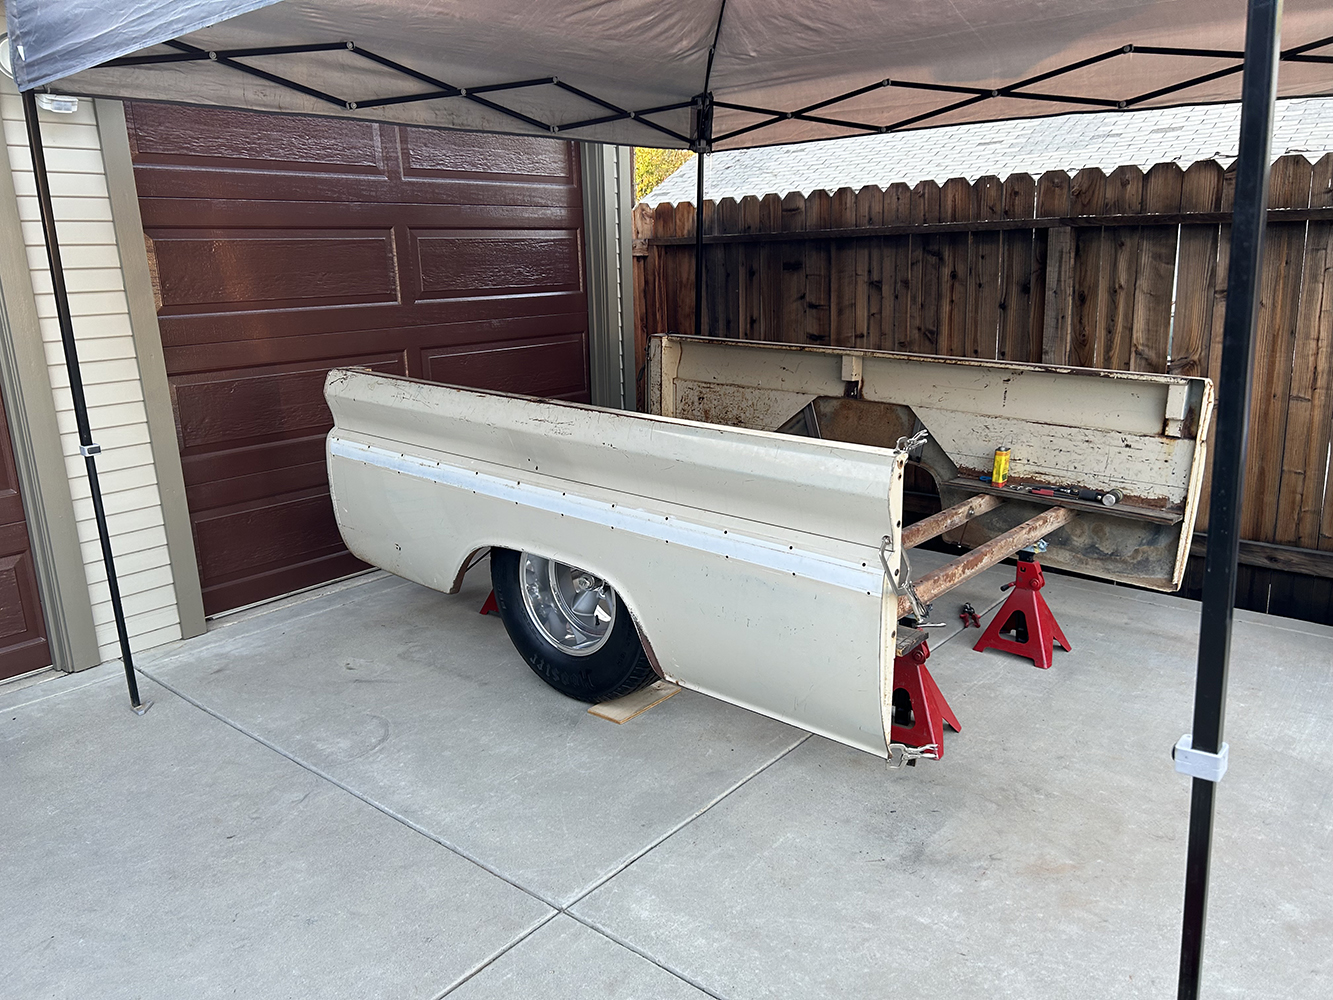
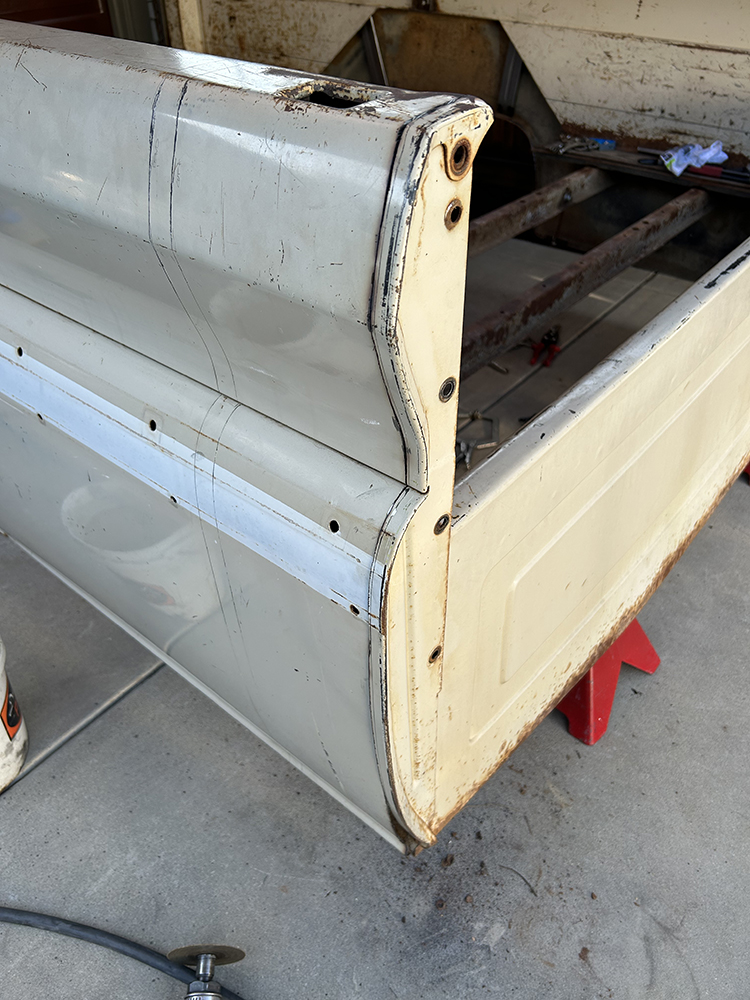
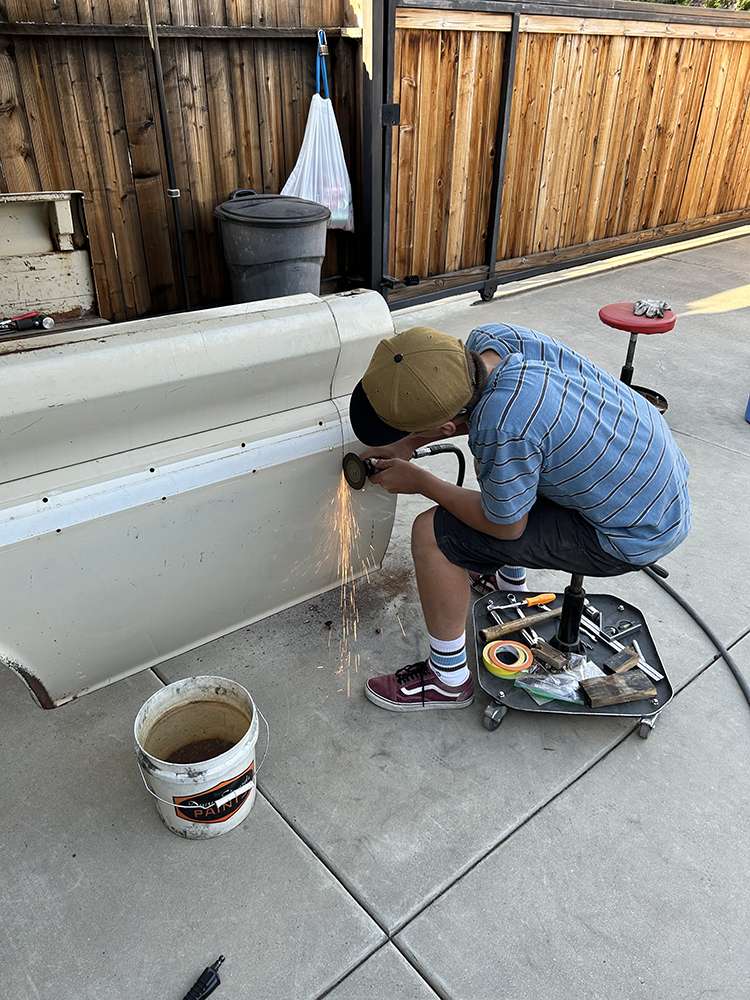
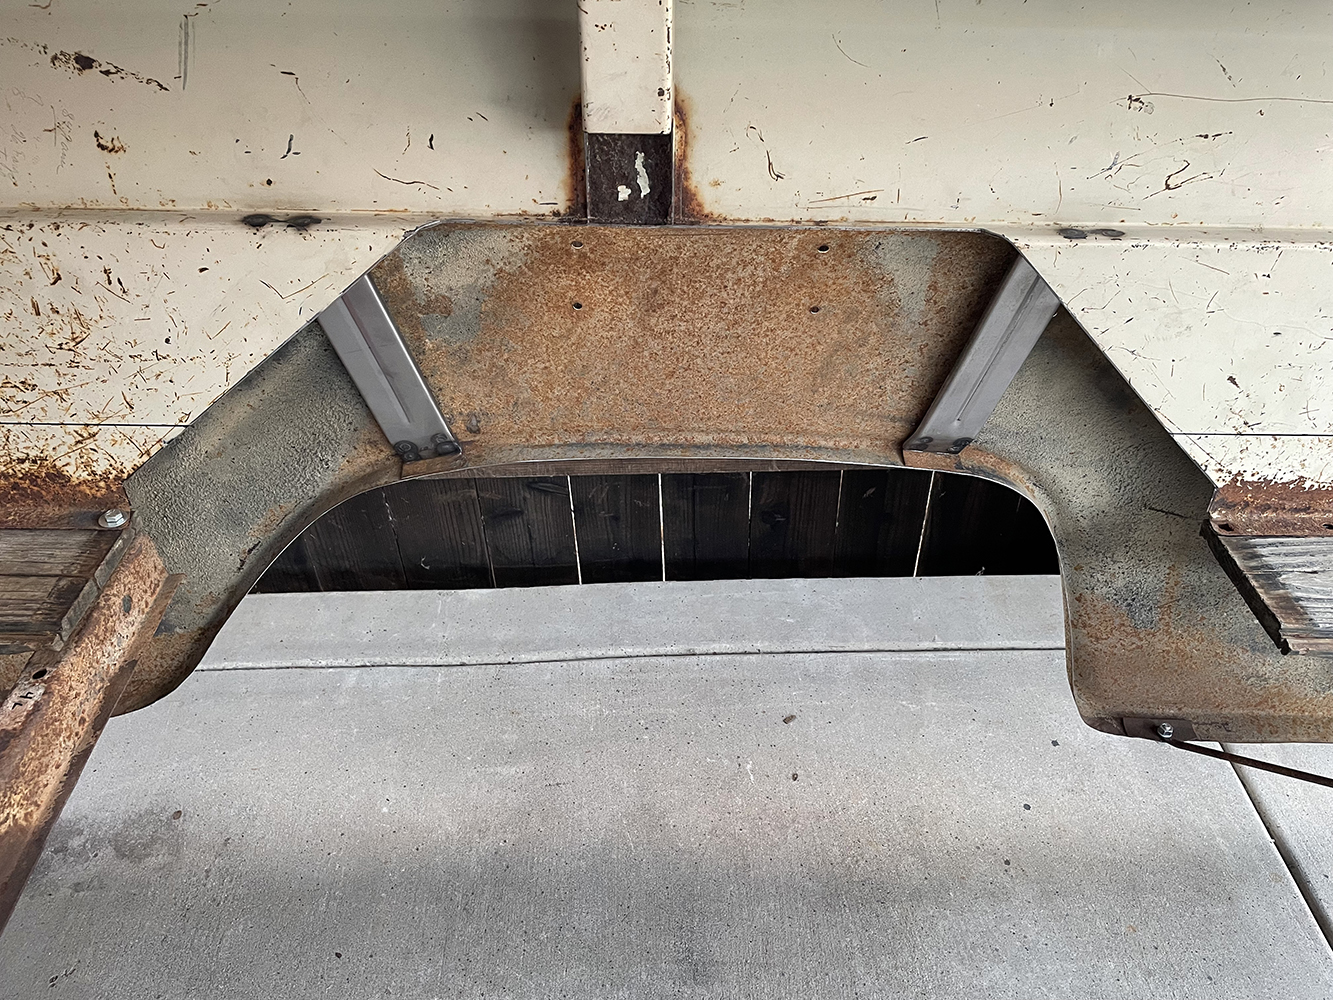
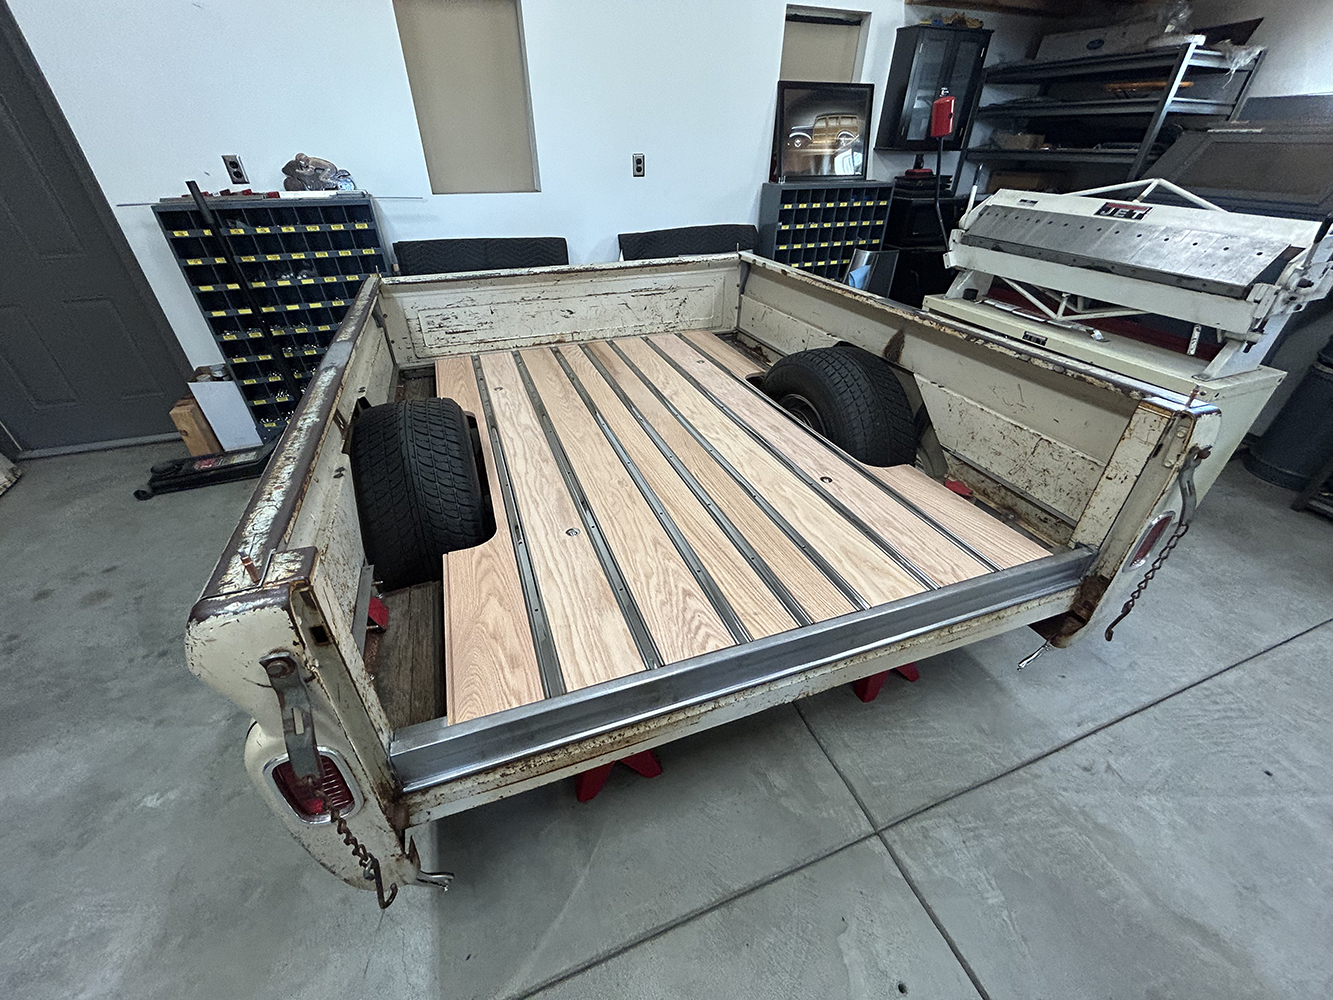
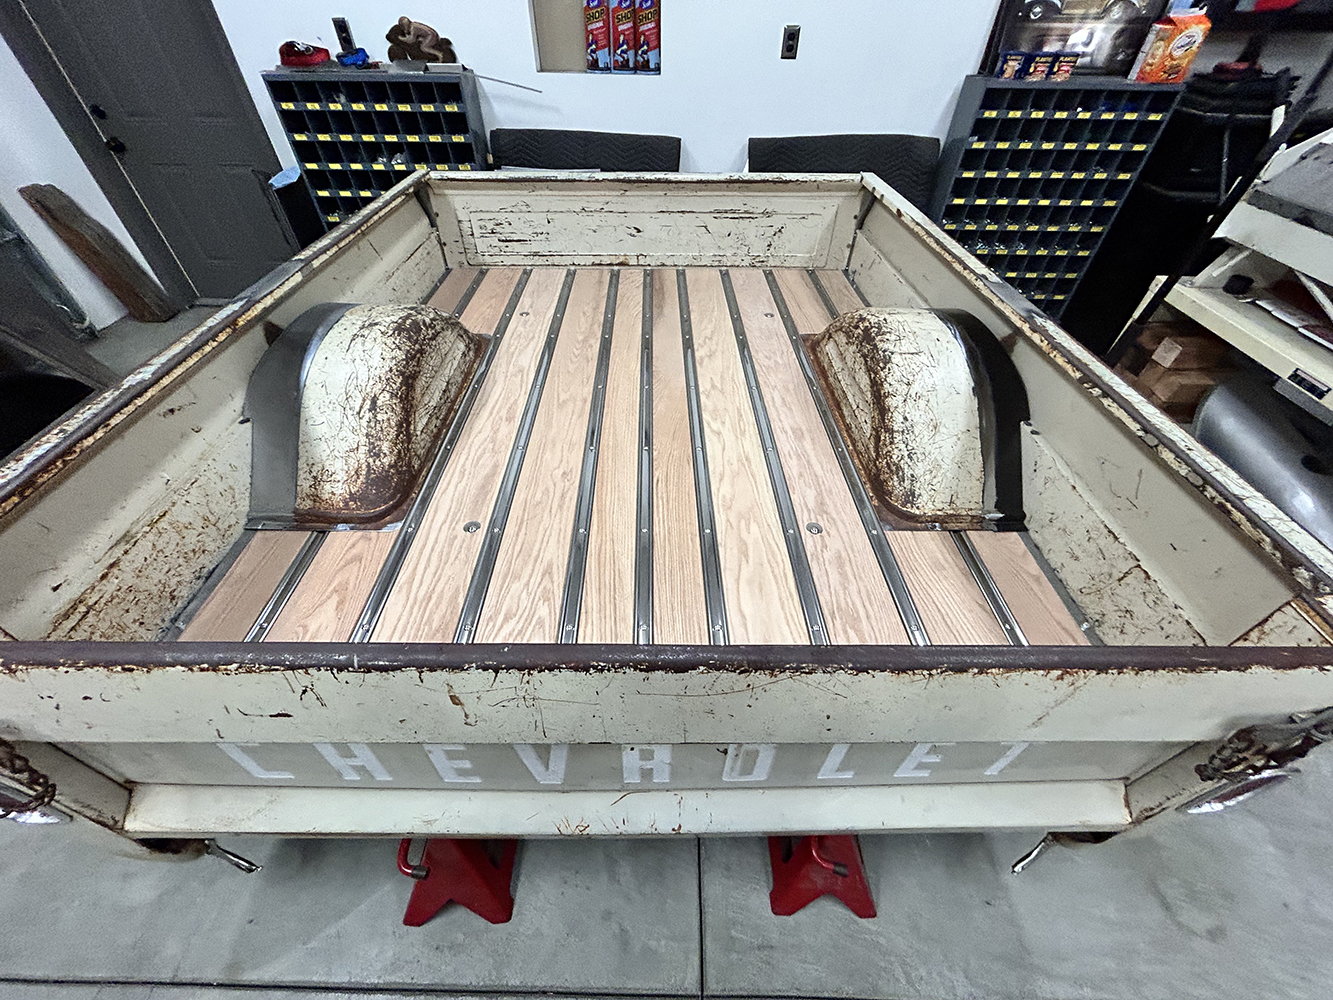
Goals: Shorten bed and chassis to a total of 12 feet—6 inches longer than a standard shortbed to improve the proportions of the truck. This resulted in us removing 8 inches between the cab and rearend and 4 inches at the end of the framerails. Stock longbed is 8 feet; stock shortbed 6-1/2 feet … my bed is now 7-feet long. Additionally, longbeds have a larger wheelwell opening, which worked good for the big back tires.

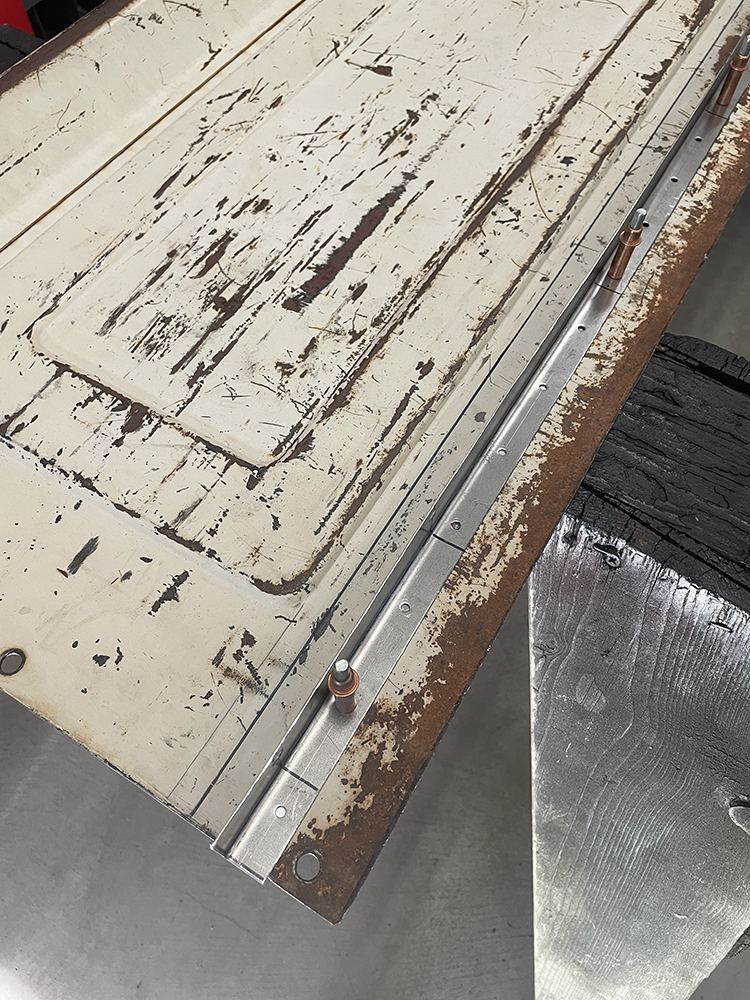
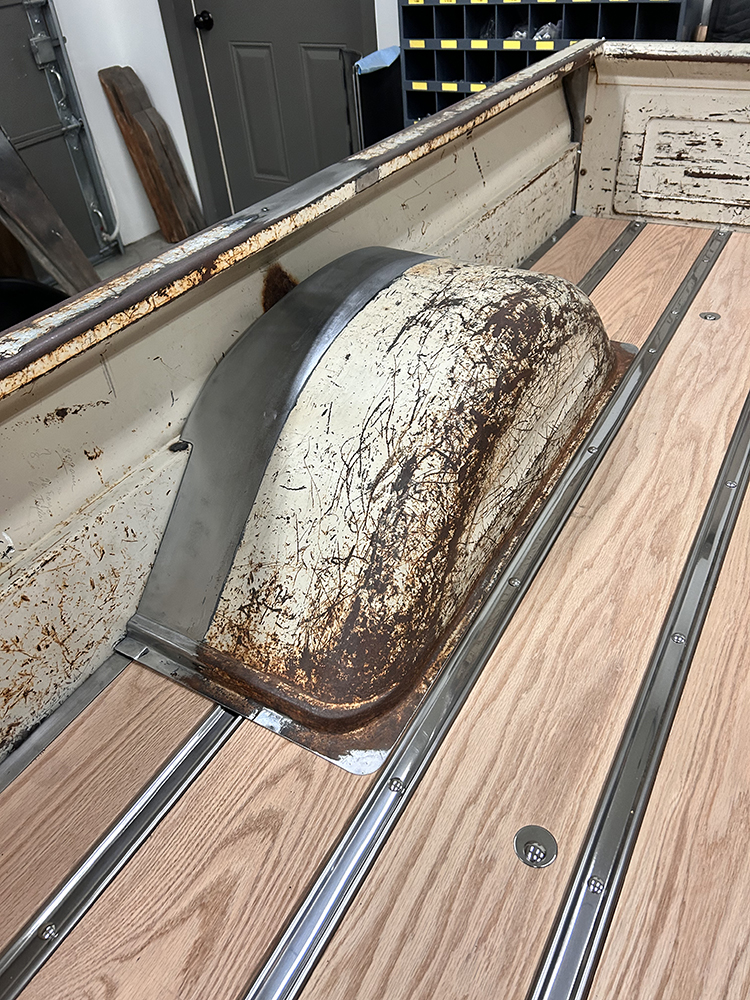
I also raised bed floor and wheeltubs as little as possible and yet still achieved adequate suspension travel using Scott’s Hotrods ’N Customs’ four-link with Aldan American coilovers, Wilwood disc brakes, and an oak bed wood kit from Brothers Trucks/Holley.
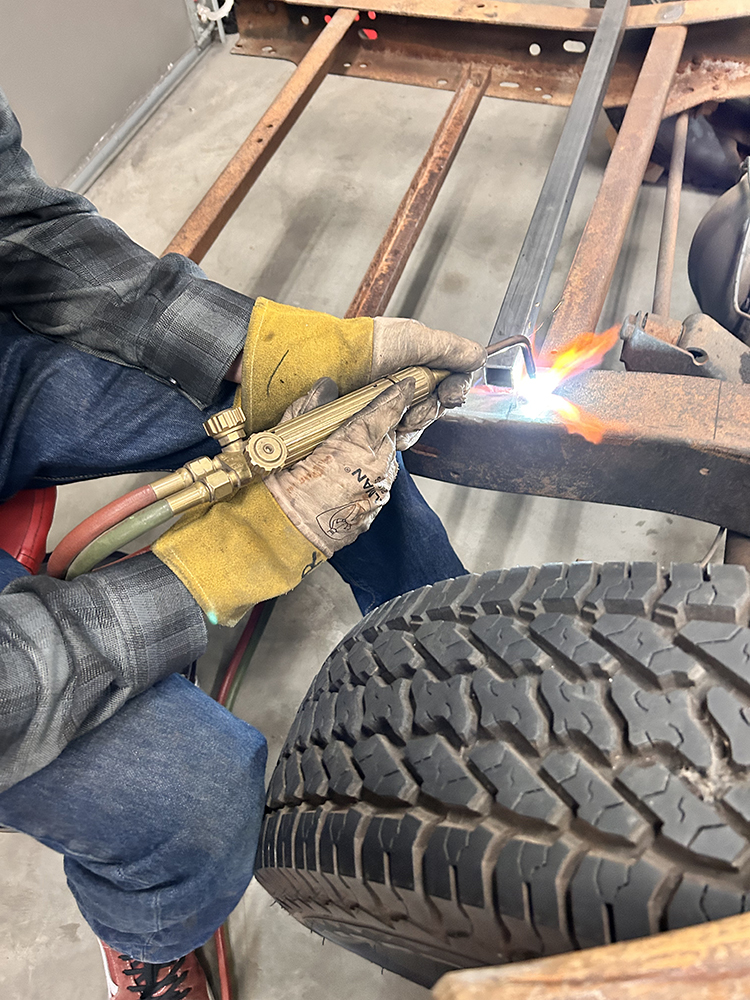
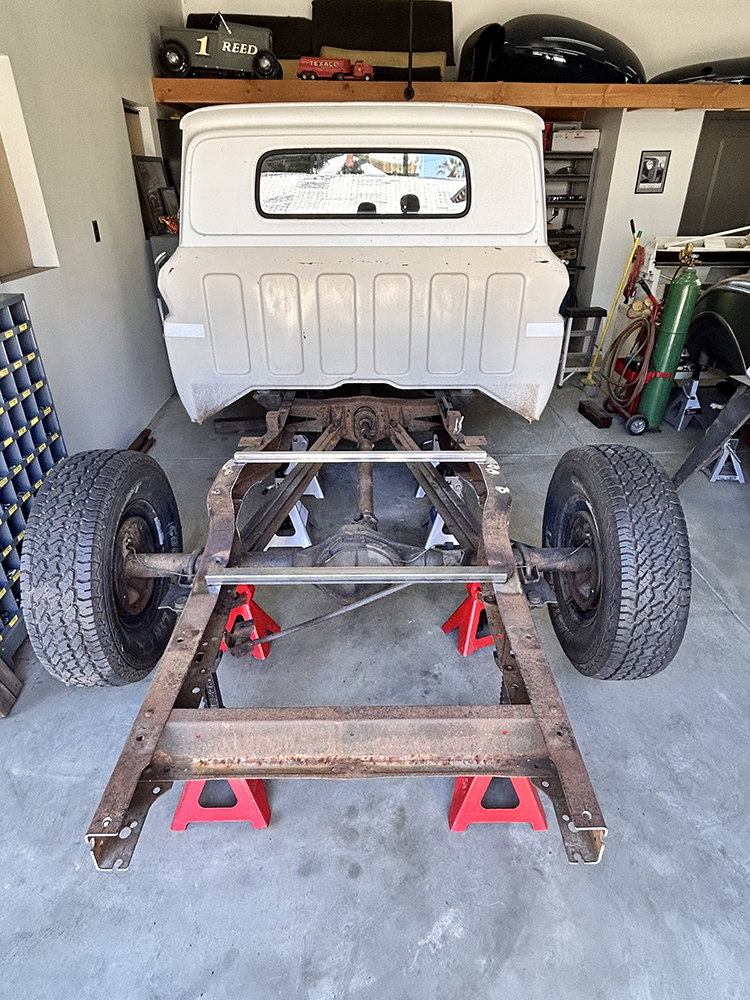
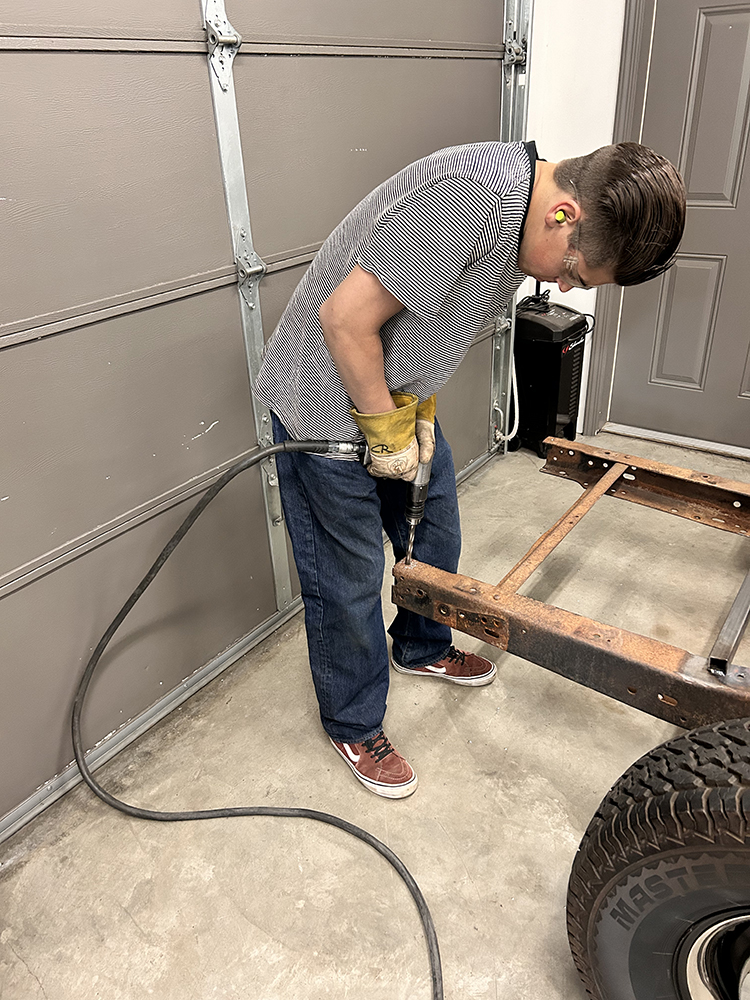
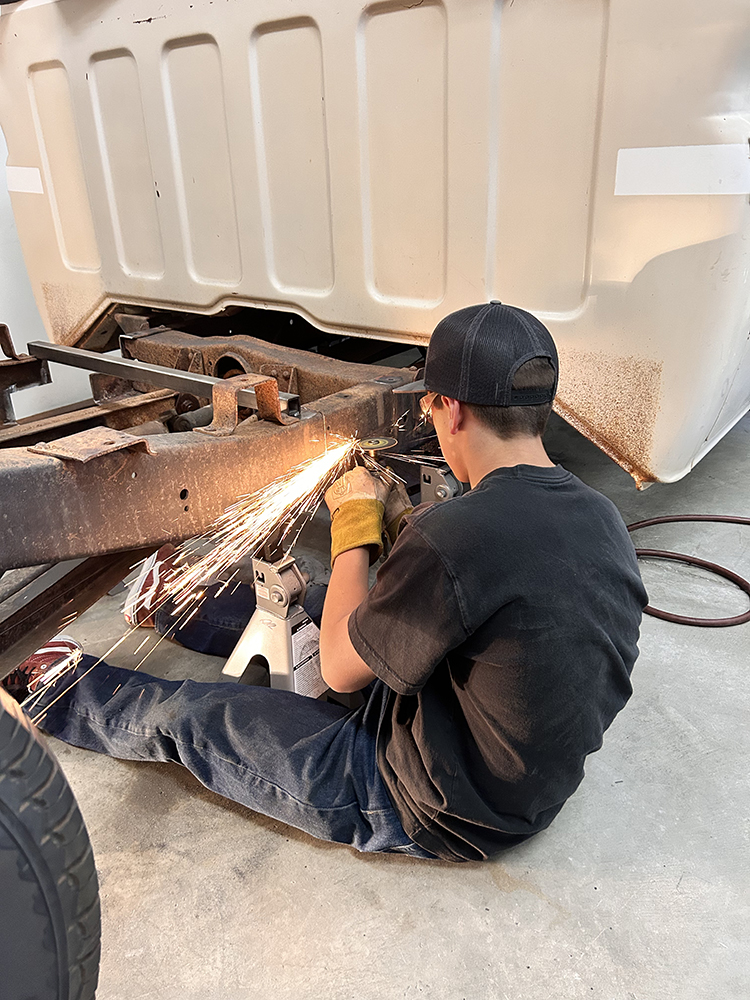
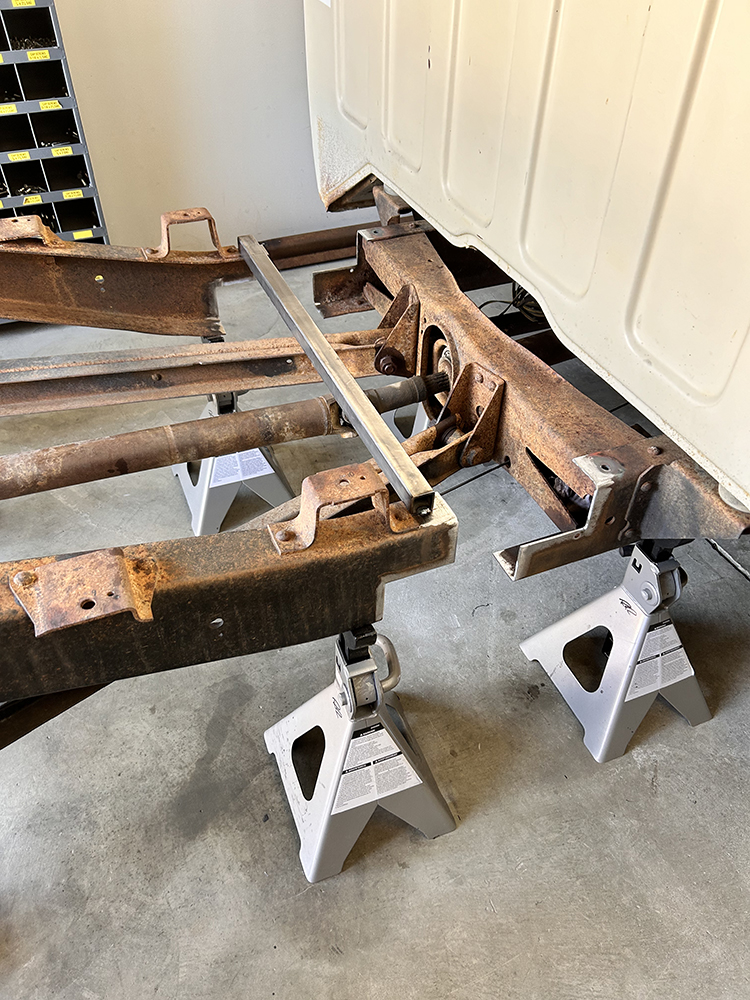
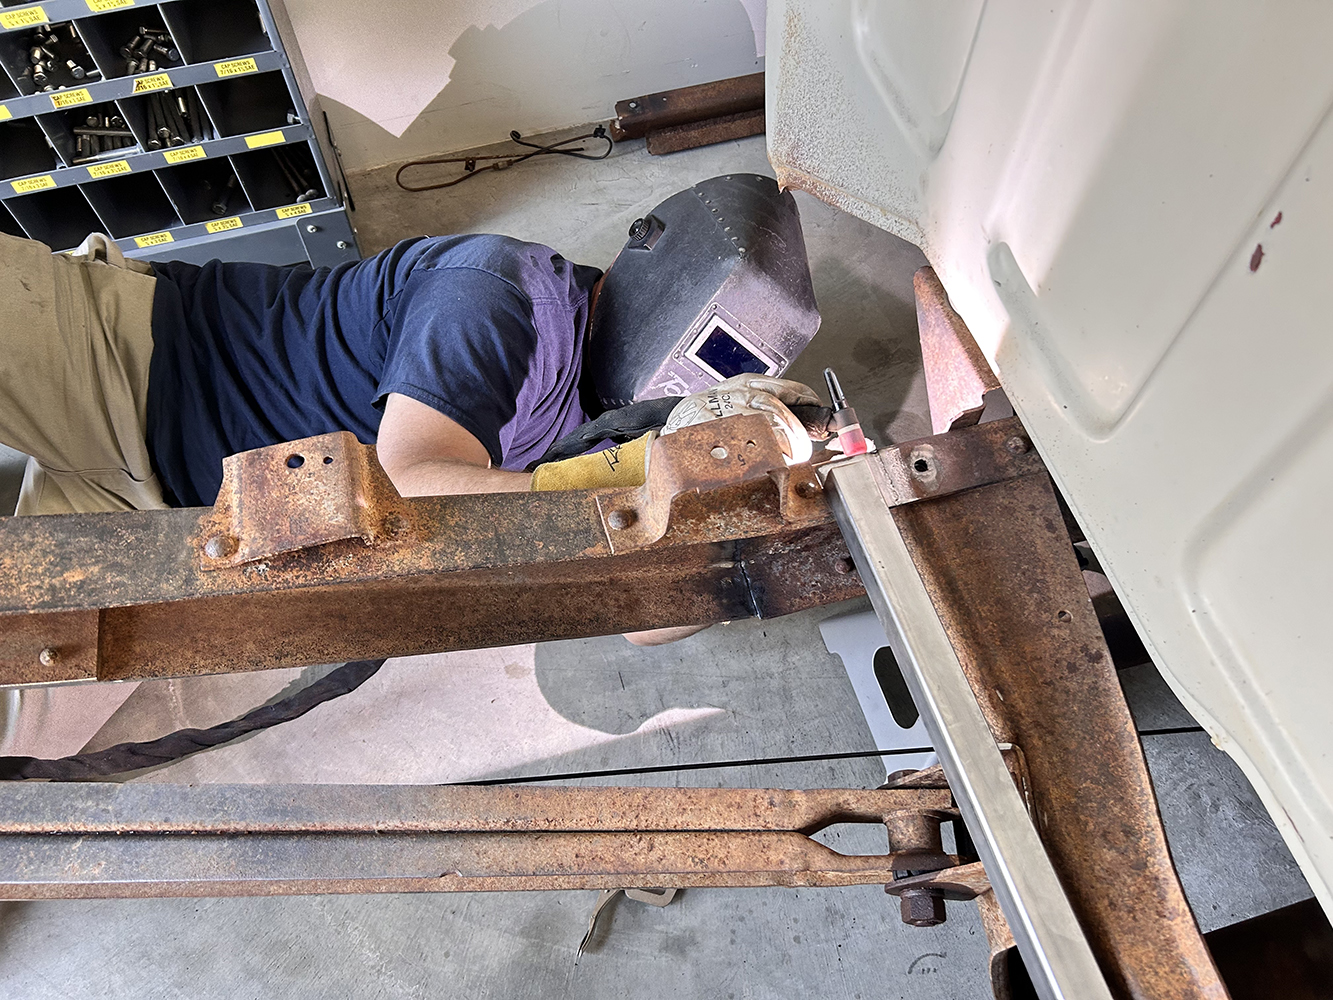
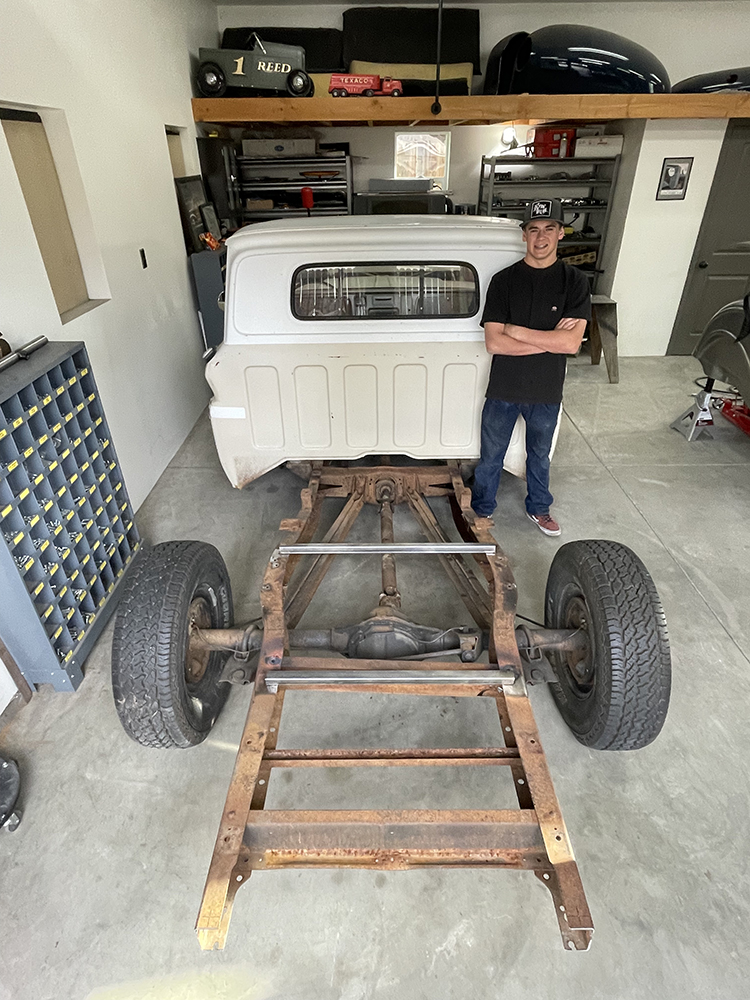
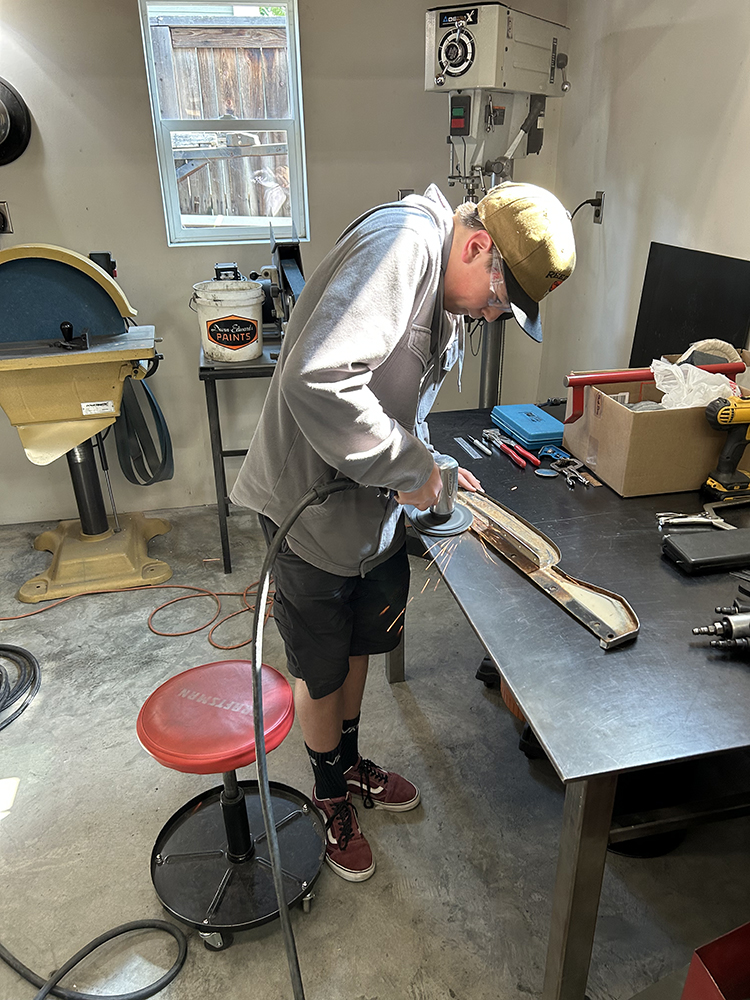
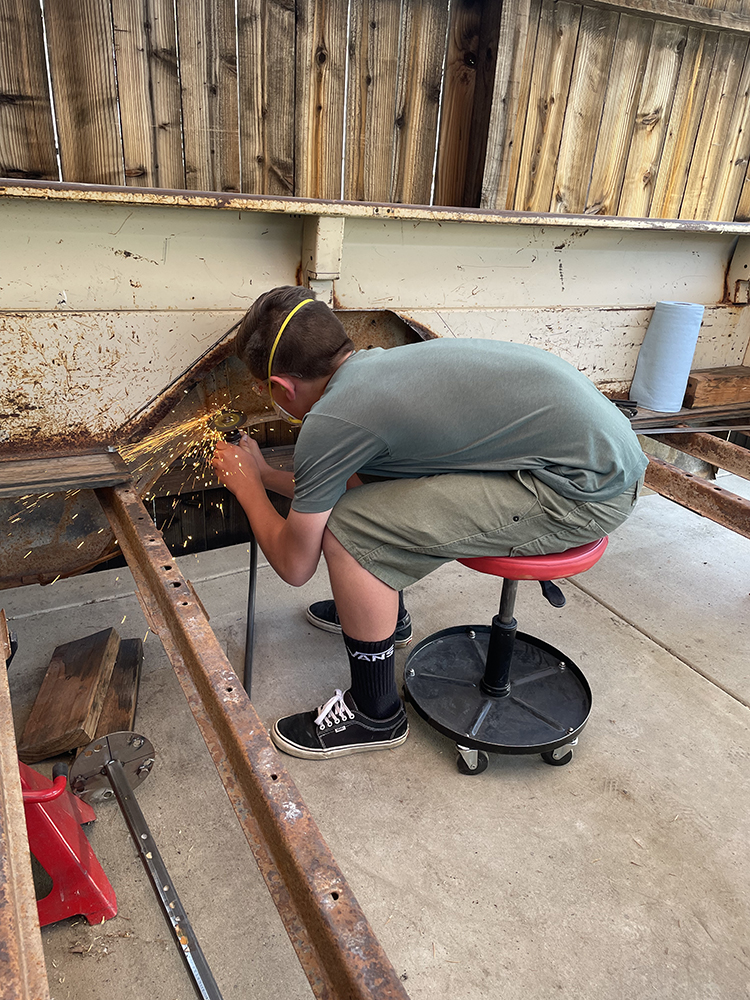
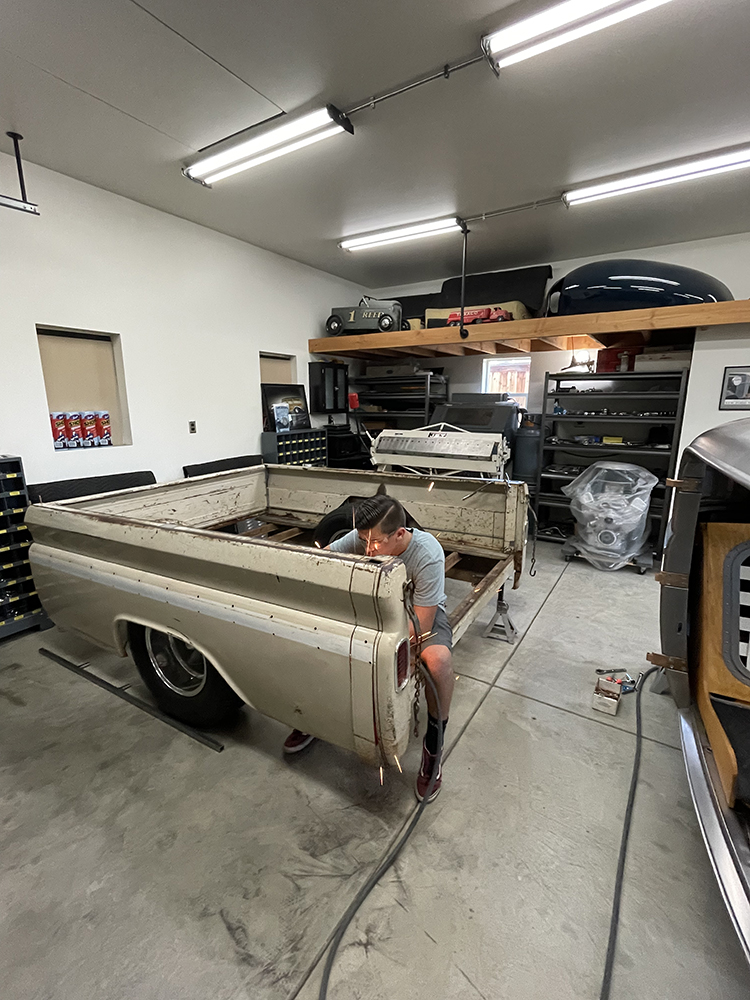
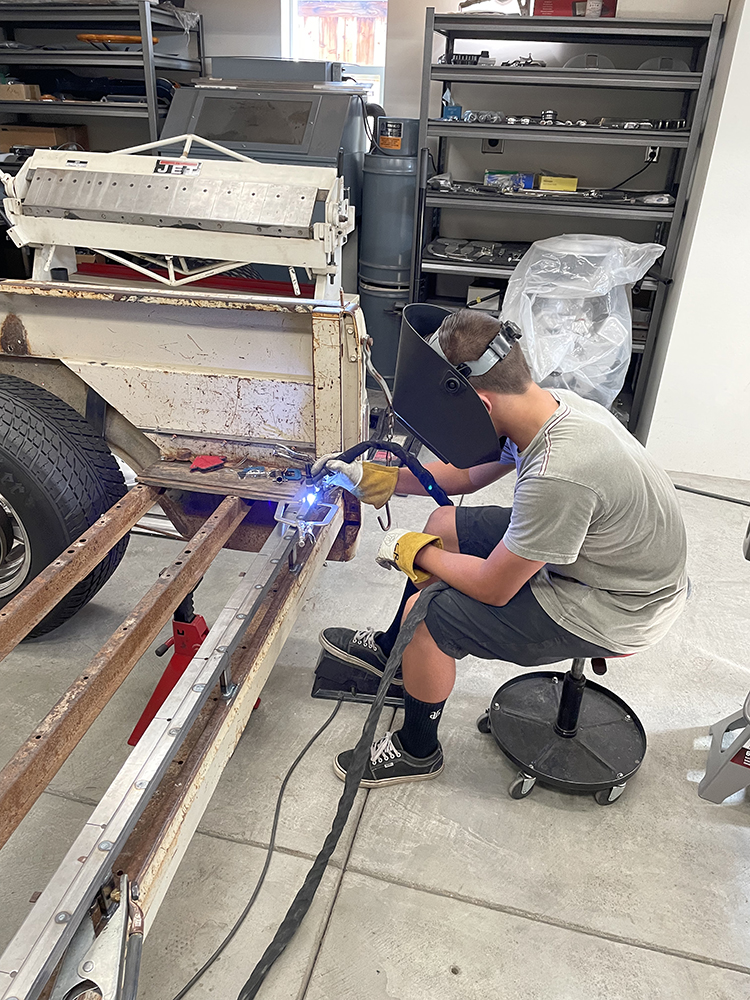
When it came to shortening the frame, I first set the truck on stands level, left to right/front to rear. Next, I tack-welded support tubs into the chassis to keep things from moving when the stock crossmembers are cut out. With all the unneeded crossmembers, brackets, rivets, and so on removed, the Scott’s rear suspension components four-bar and coilovers can be mounted inside the framerails (as is usually the process) or outside—I chose to run everything outside the framerails (four-bar and coilovers), which is something my dad (Reed’s Ride Designs) has done over the years for a number of reasons, namely allowing plenty of room for the exhaust.

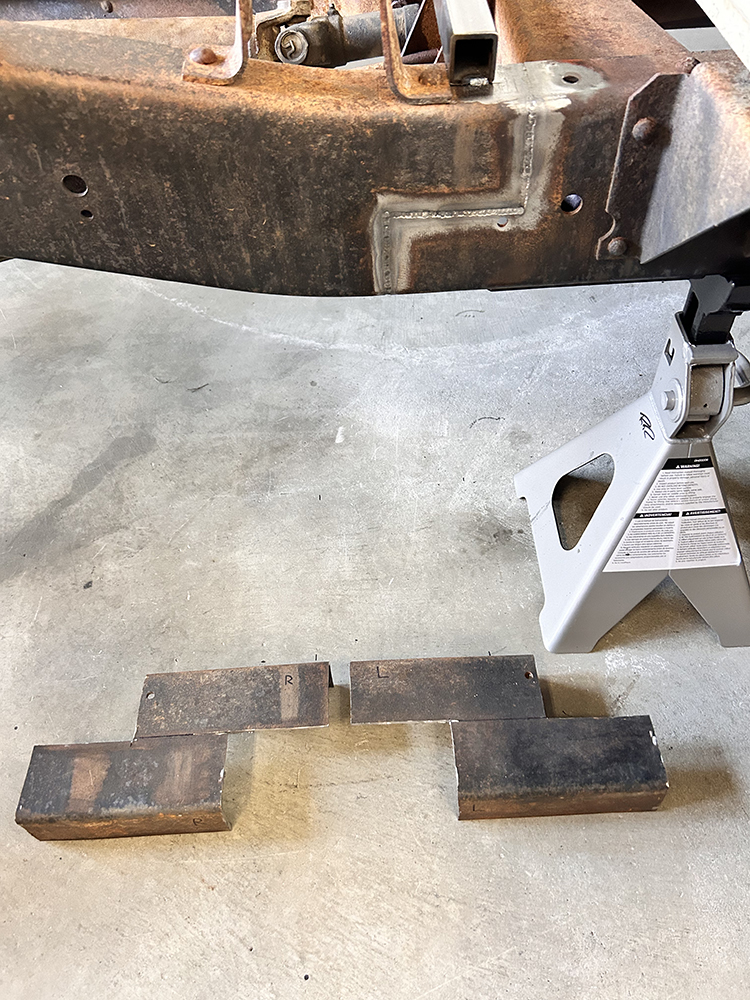
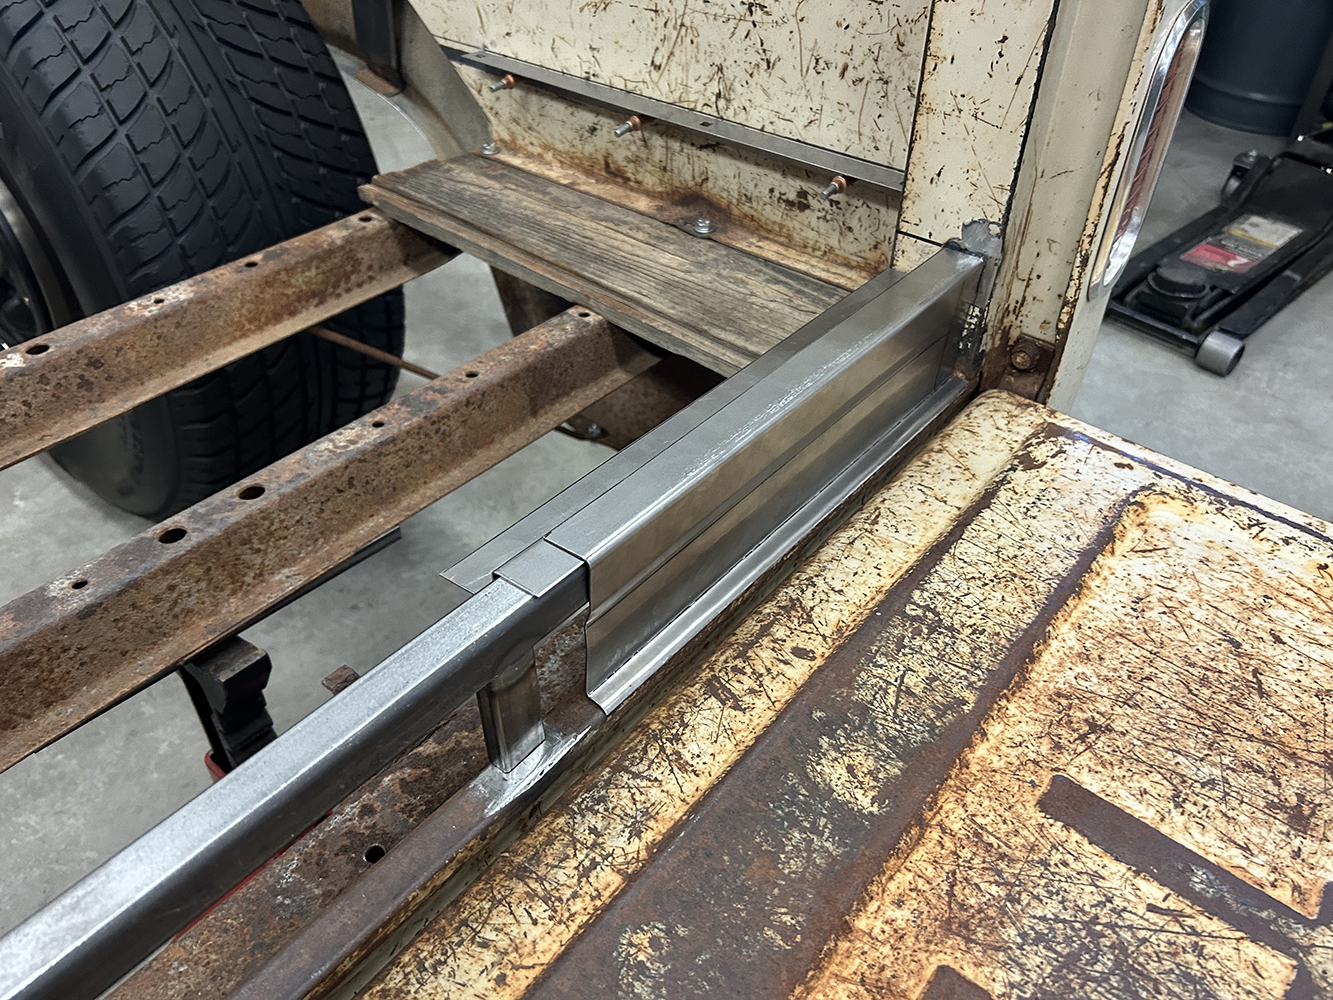
In the process, minor modifications were made to the Scott’s four-link kit to allow everything to be positioned where we wanted it. Among other things, I made the sway bar go through the framerails instead of under it and made tabs for upper and lower coilover mounts. Finally, to accommodate the lowered stance, I built step notches with heavy walled tubing, as well as my own bed floor elevation brackets.
As I’m finishing up the rear, my dad and I began to focus on installing the Scott’s weld-in IFS, which, like the rear suspension, we had some specific requirements for installing so as to get the truck as low as possible (without the use of airbags!) as well as fitting the 16-inch ET five-spokes (where Wilwood came in with the proper brake package!).
Check out this story in our digital edition here.
Sources
Scott’s Hotrods ’N Customs
(800) 273-5195
scottshotrods.com
Aldan American
aldanamerican.com
Brothers Trucks
holley.com/brands/brothers_trucks
Wilwood
wilwood.com