Eddie Motorsports Decklid Hinges for our 1962 Chevy Impala
Adding the new spoiler to the back of the Impala made the alignment of the decklid much more critical, and the team at Old Anvil Speed Shop decided to upgrade the stock hinges.
We have previously examined this remarkable 1962 Chevy Impala and now we’ll concentrate on the exceptionally clean installation of aftermarket hinges for the hood and decklid. Old Anvil Speed Shop is handling the build, which continues to evolve with their innovative building style.
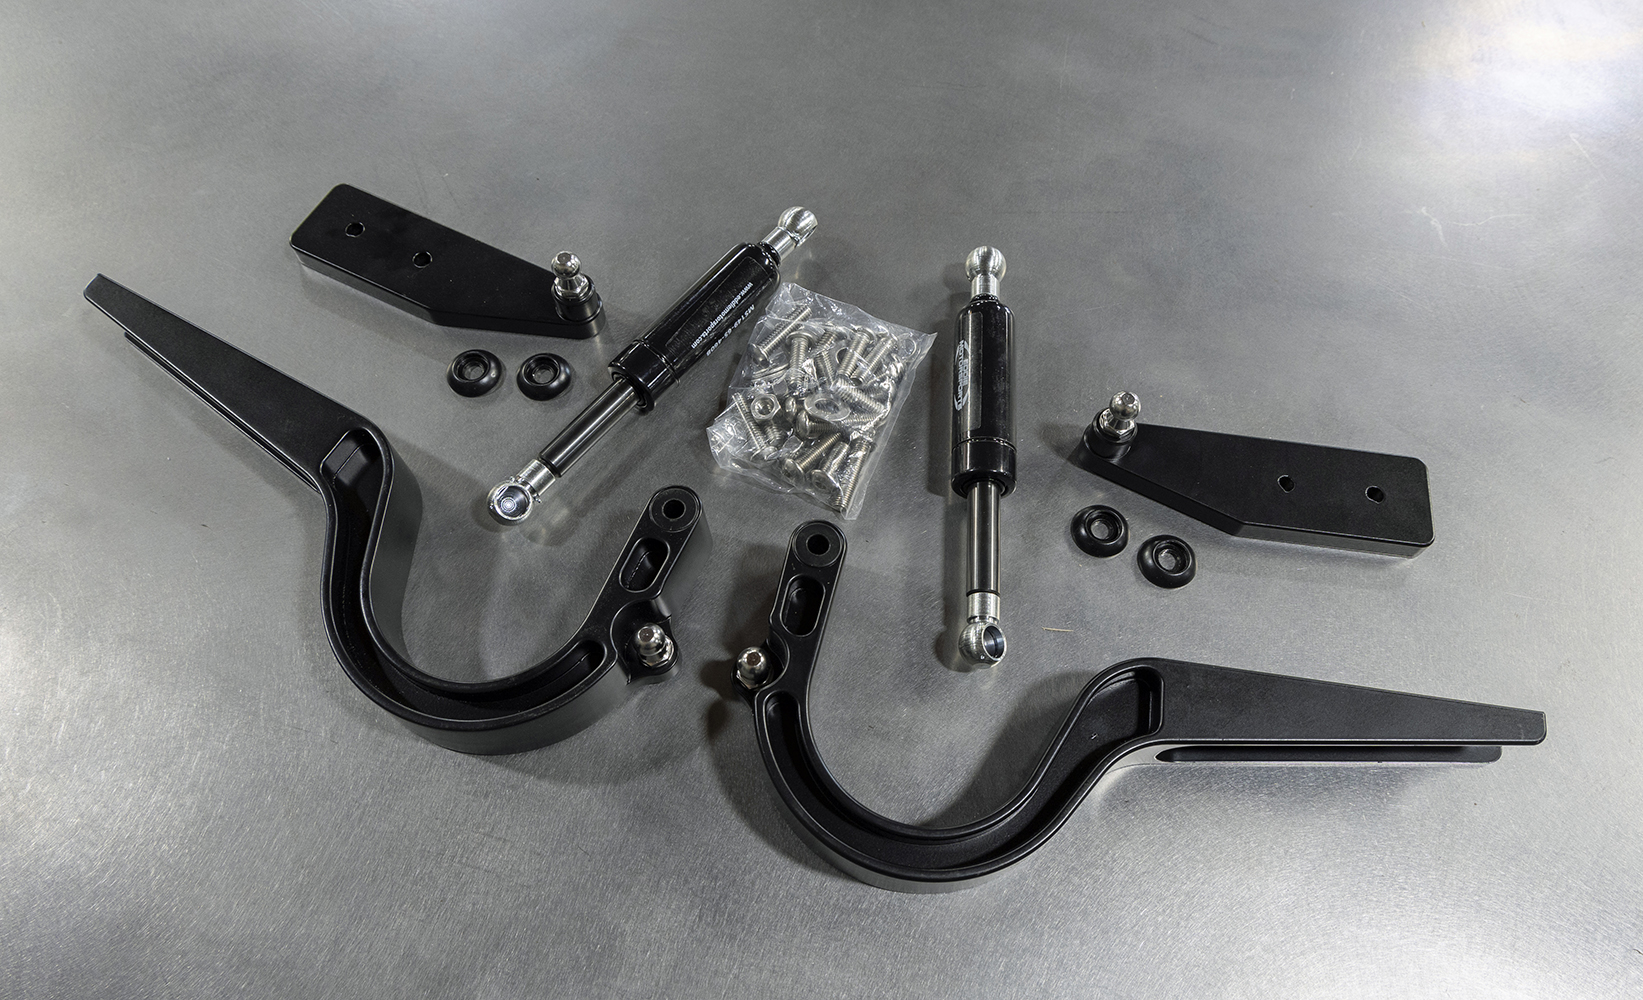
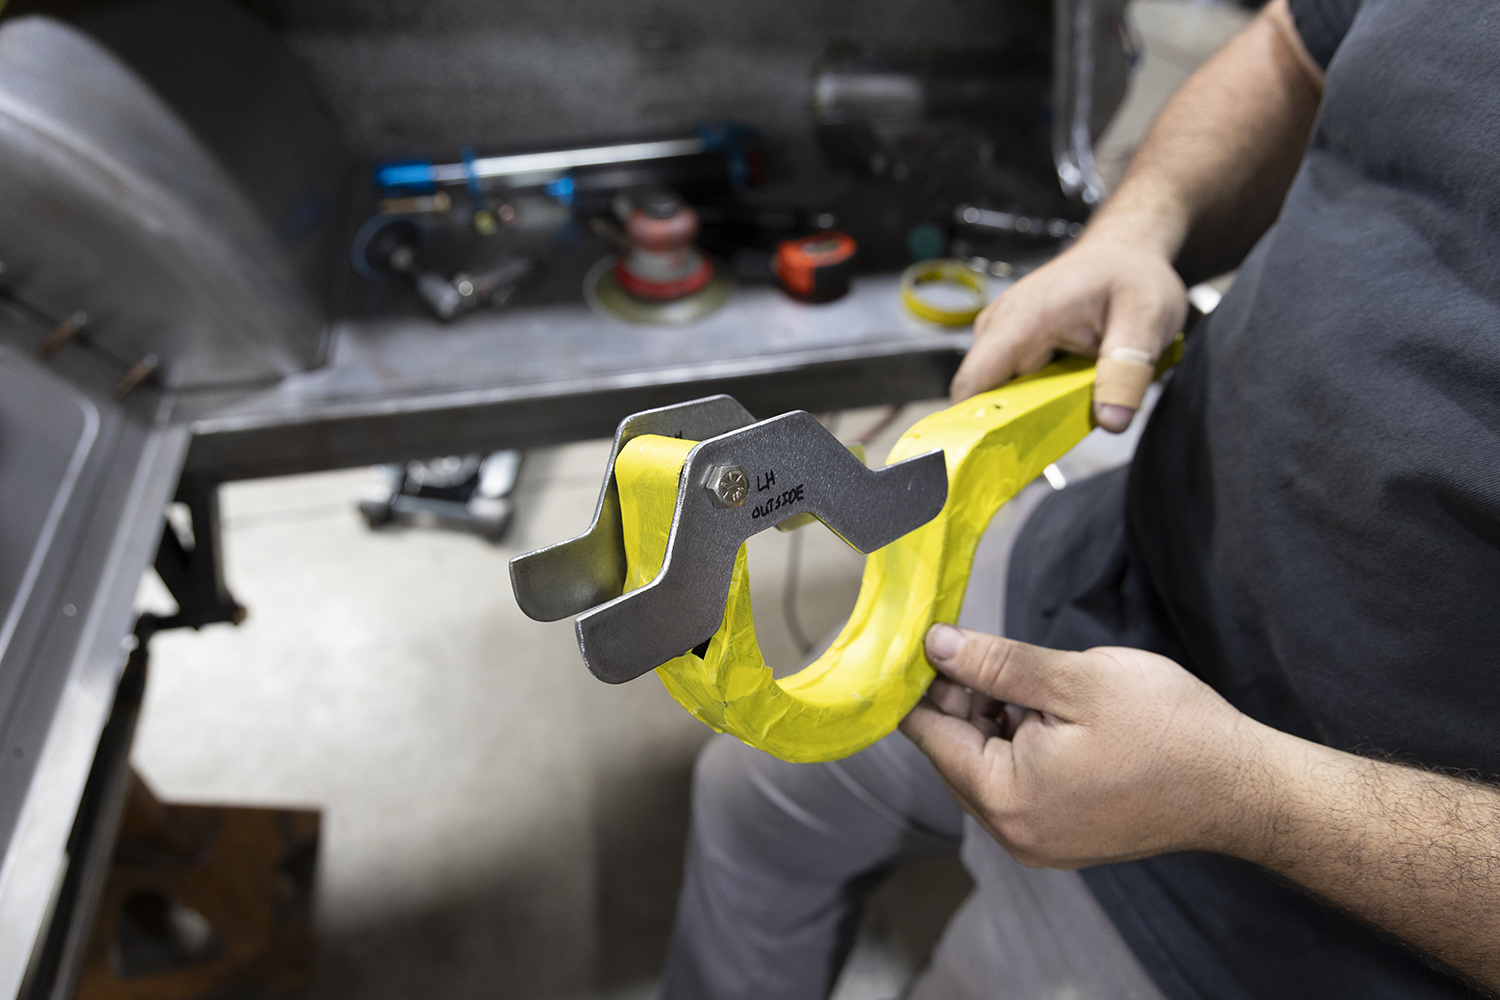
This is the beautiful billet aluminum hinge kit made by Eddie Motorsports designed to bolt into place on a stock Impala.
A decision was made to use black anodized billet aluminum hinges from Eddie Motorsports. These hinges were designed as a bolt-on item for a stock 1962 Chevrolet, but the extensive modifications made to this car required some creative adjustments. The wheels and tires necessitated the widening of the rear wheelwells, which prevented the decklid hinges from being mounted in their original location.
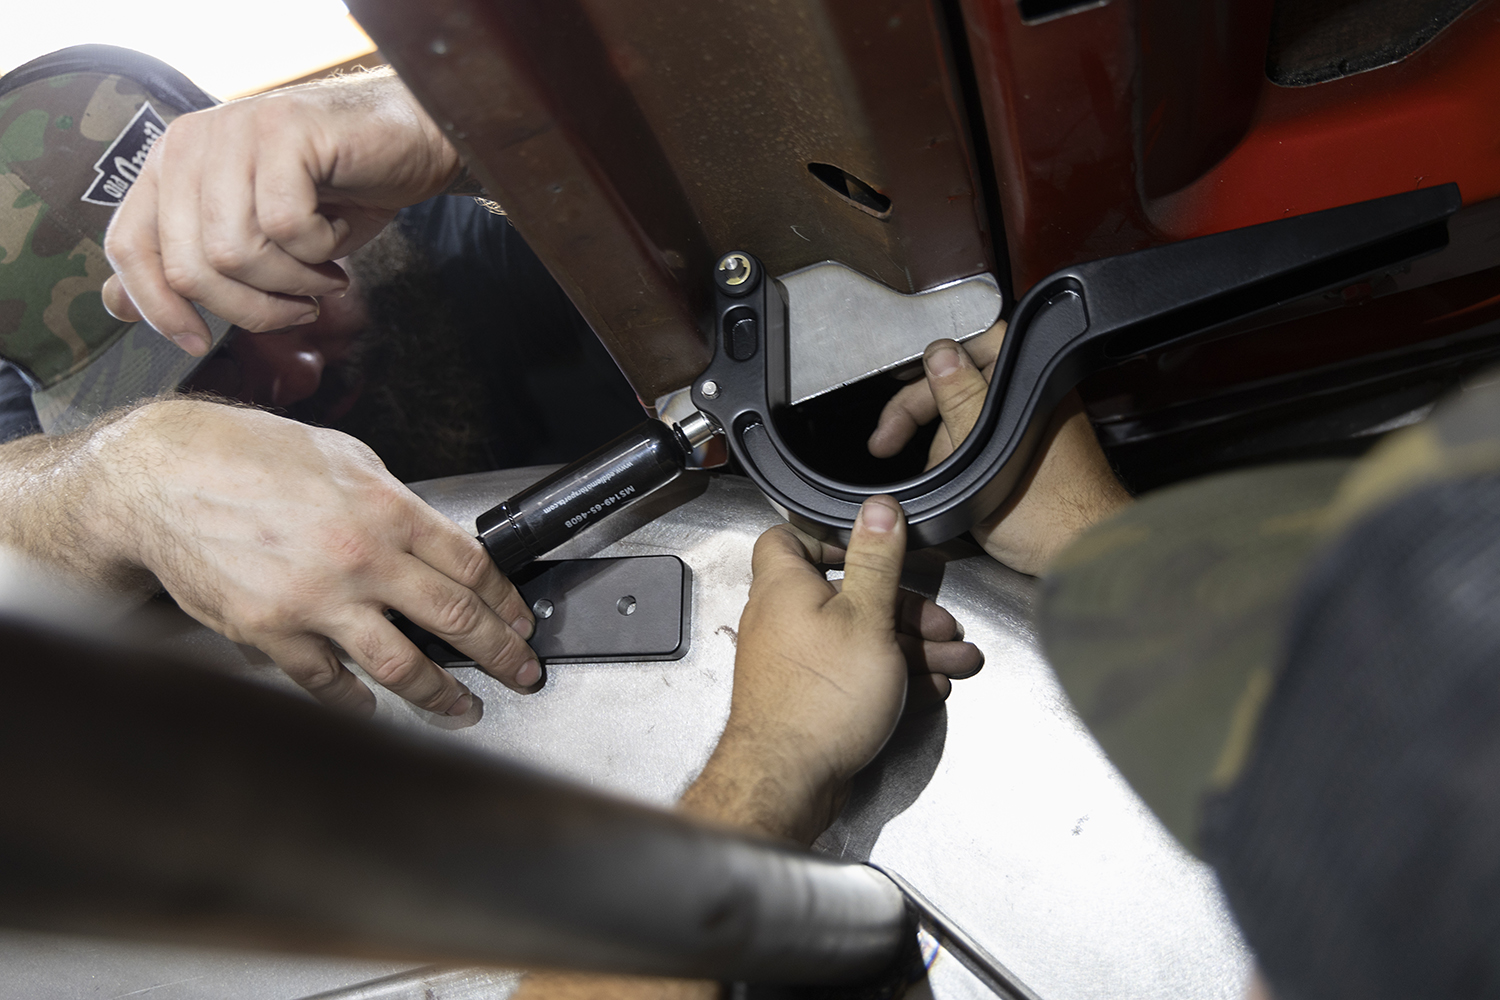
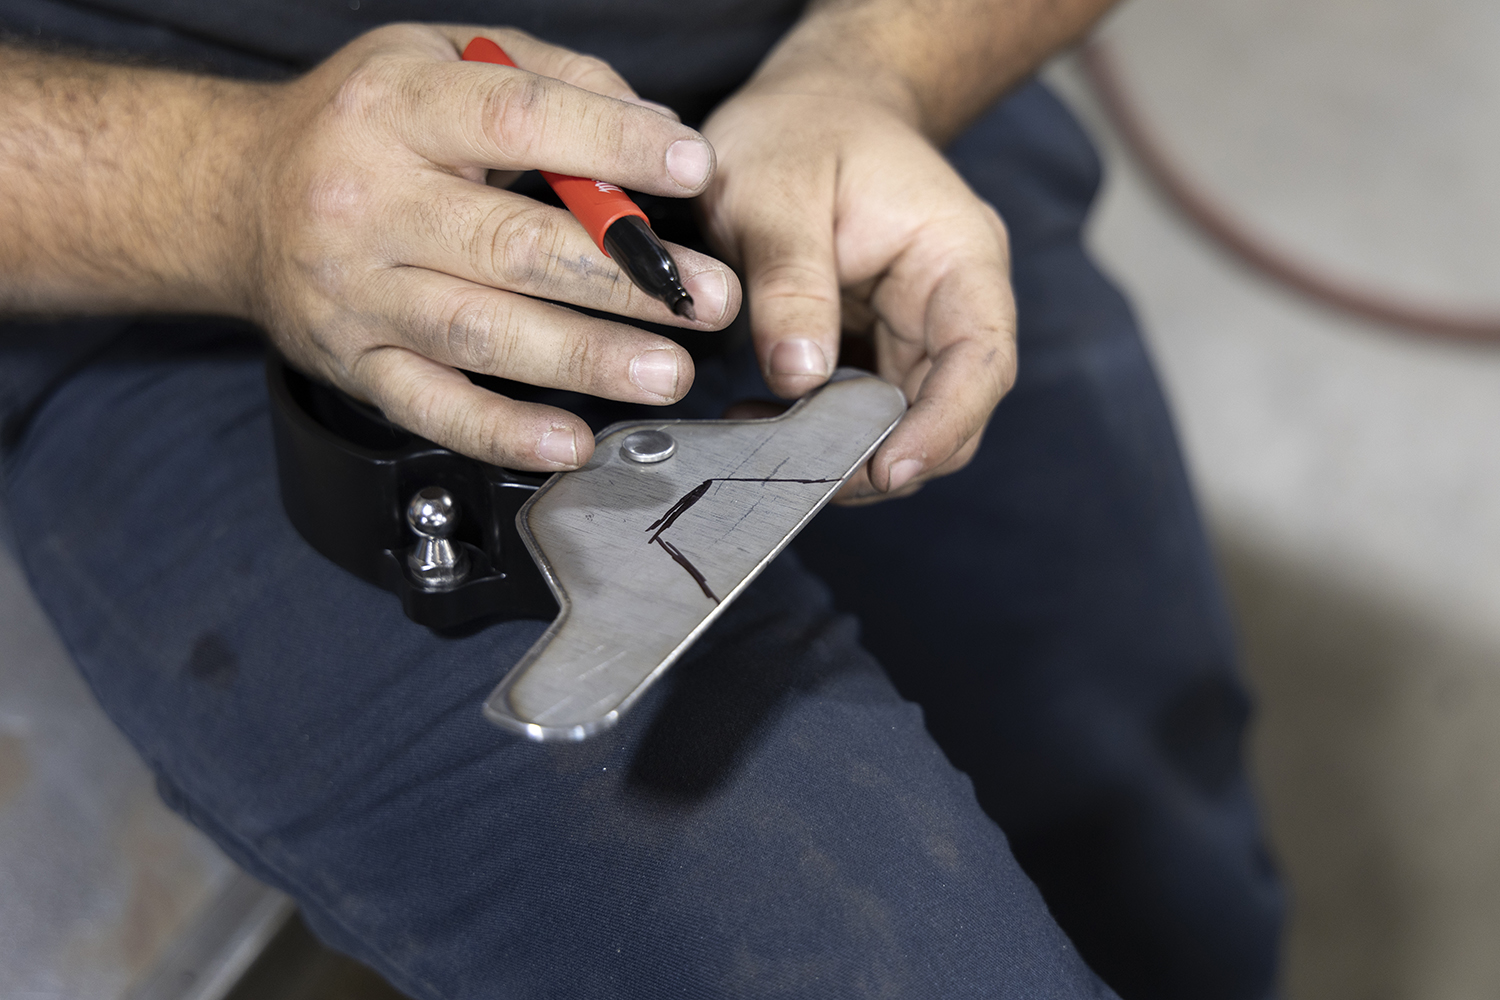
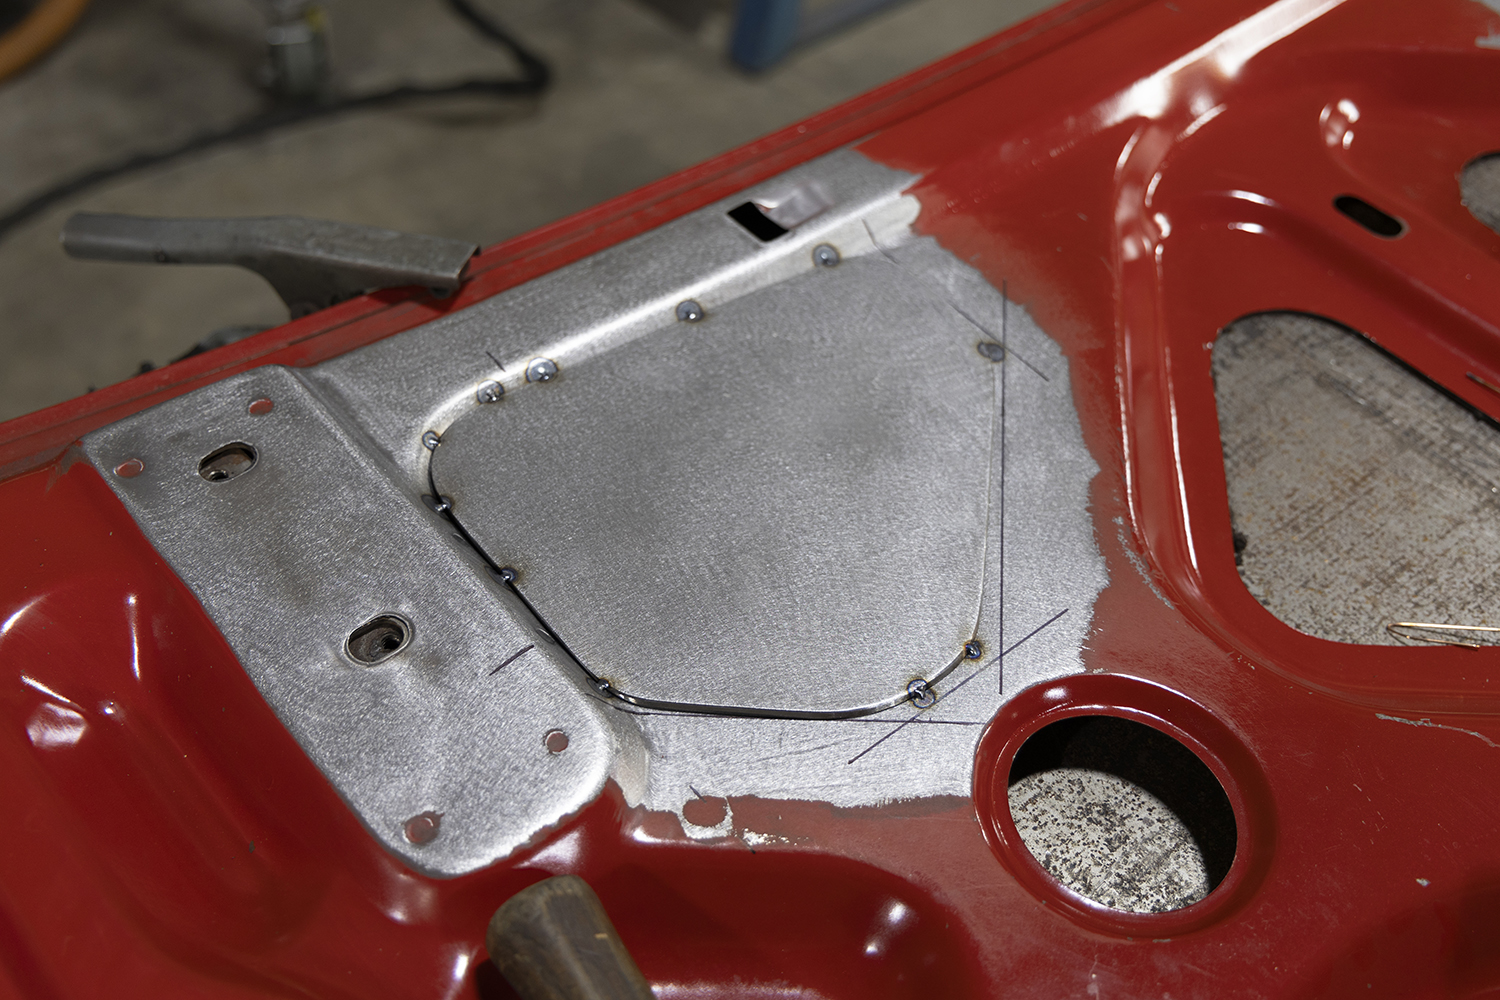
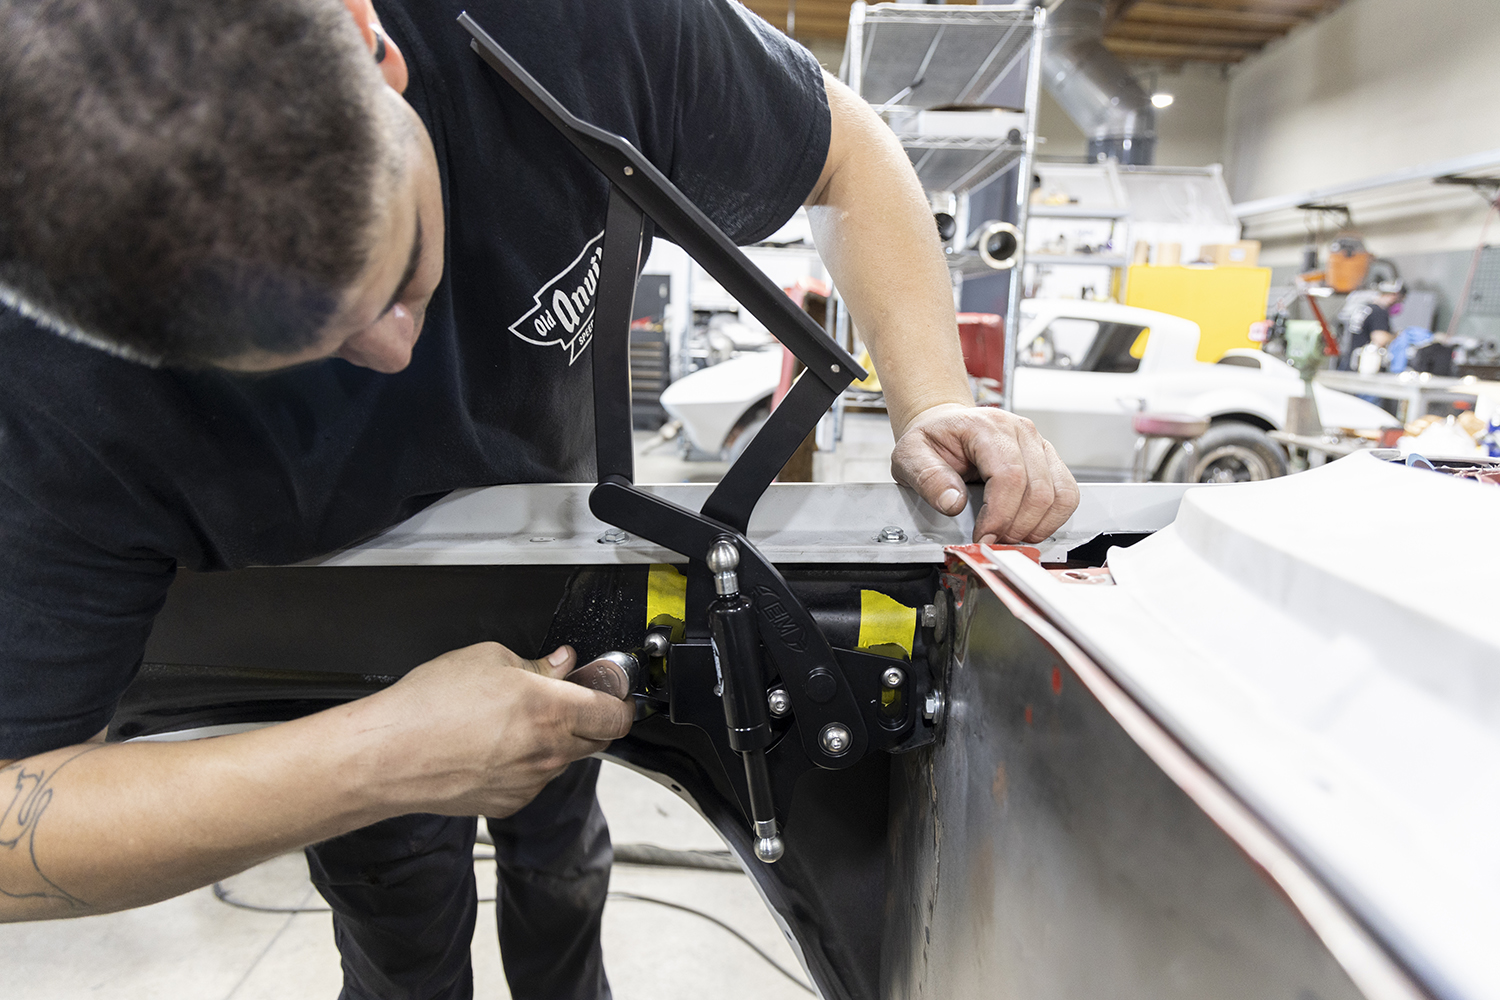
The wider wheeltubs installed in this car prevented the hinges from being positioned in the stock location, so careful measurements were taken and new hinges were positioned about 2-1/2 inches farther inboard.
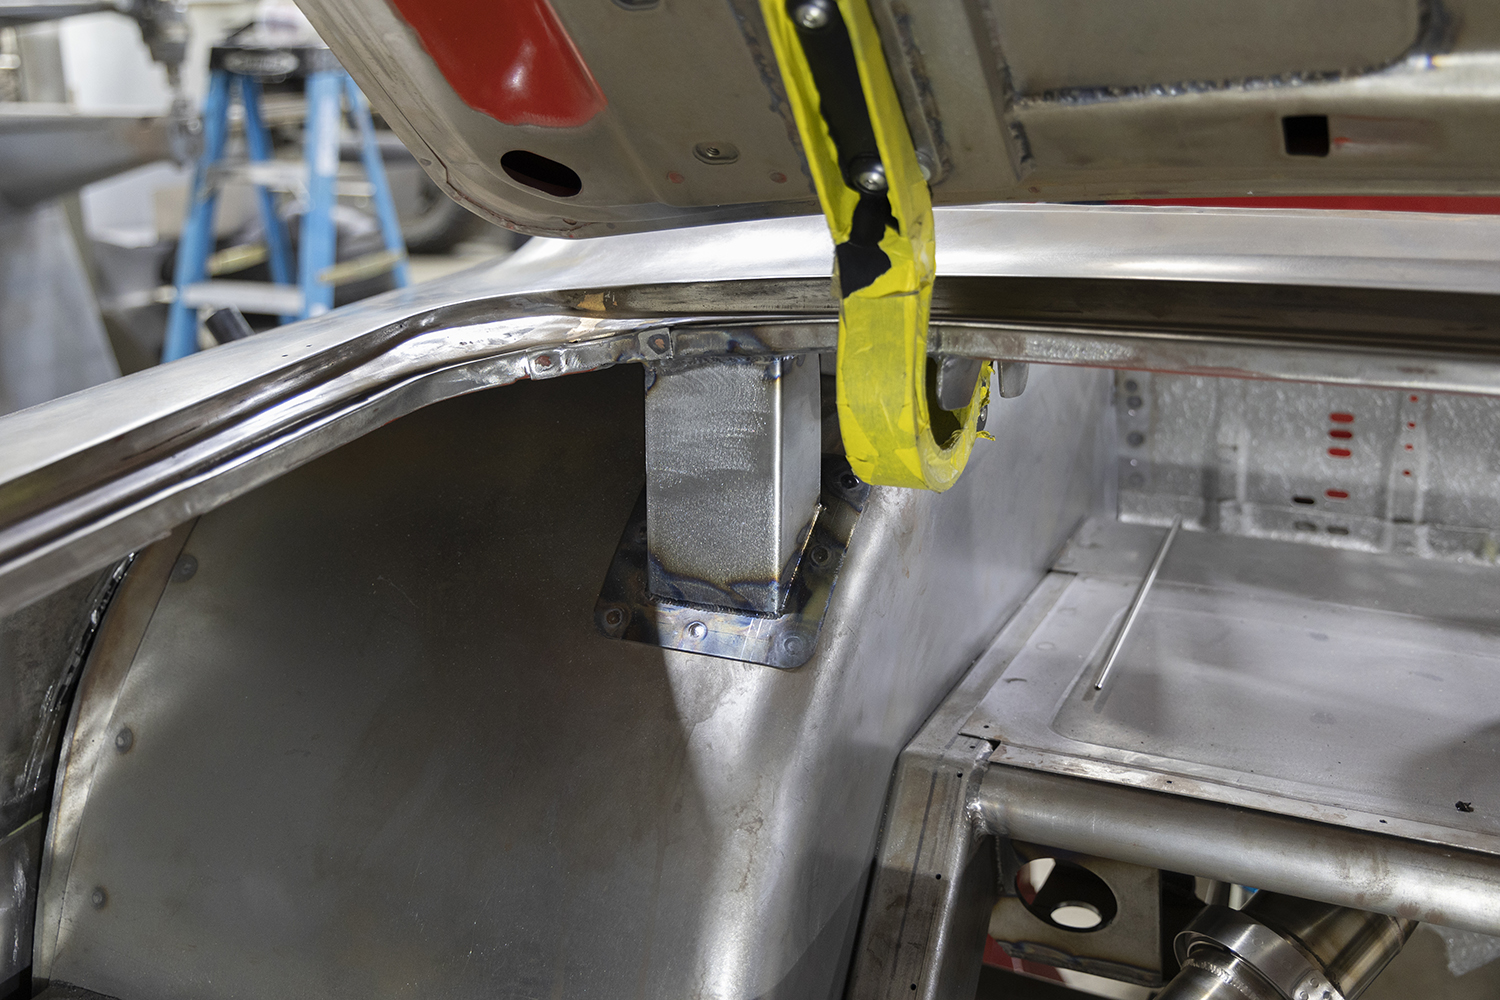
Moving the hinges 2-1/2 inches inboard solved the problem but it required making new mounts. Great care was taken to ensure that the geometry of the installation was accurate to prevent binding of the hinges.
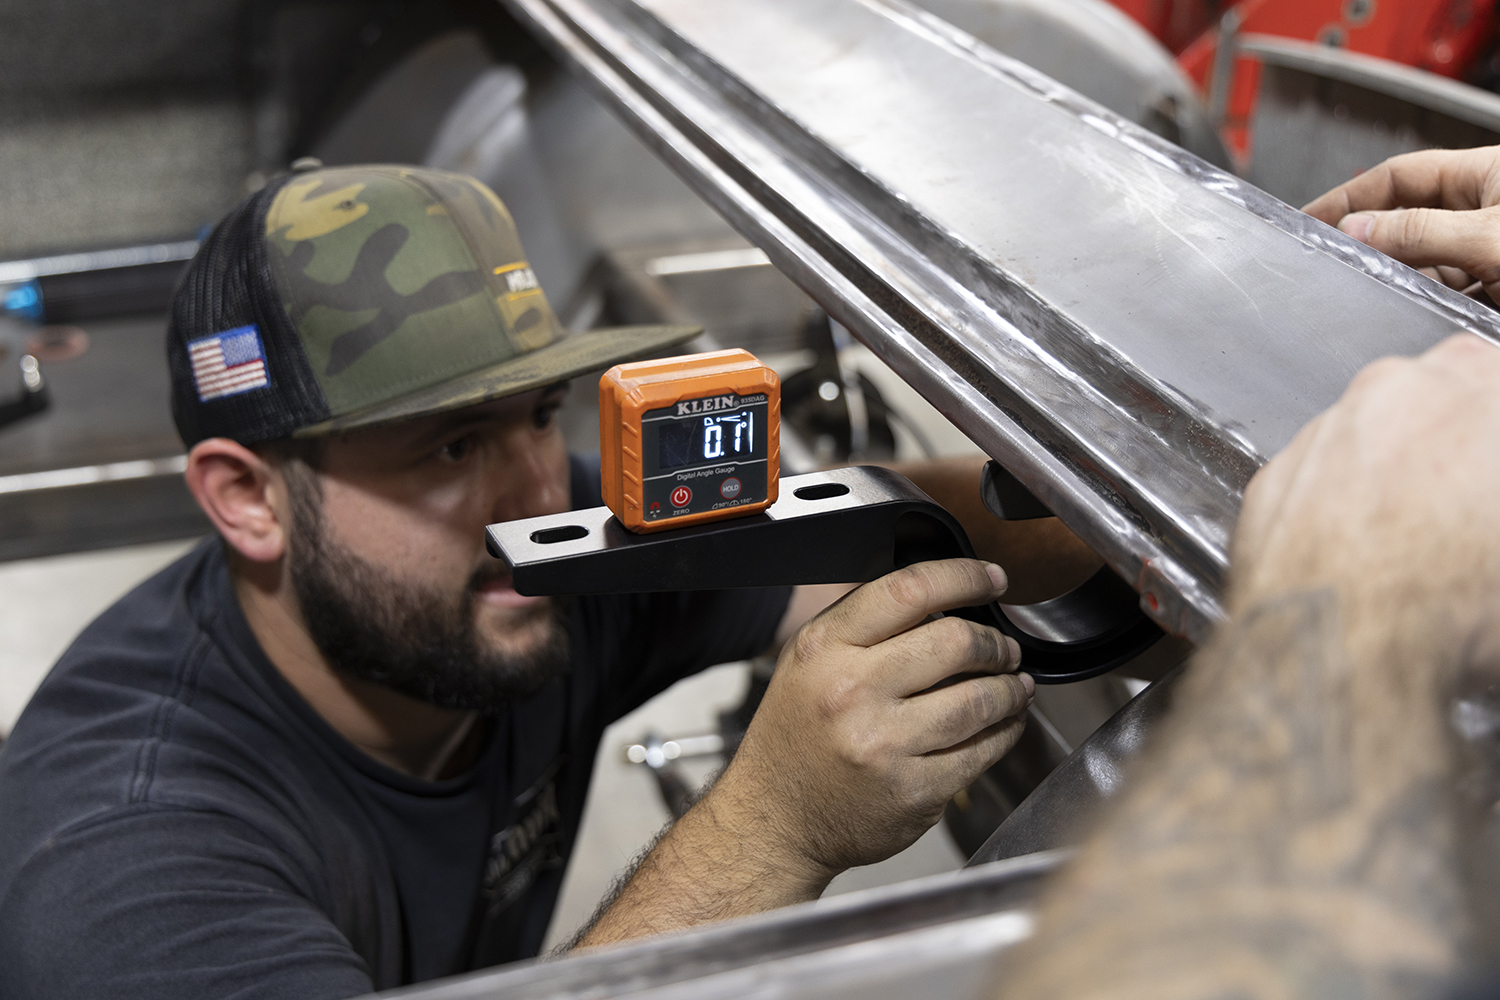
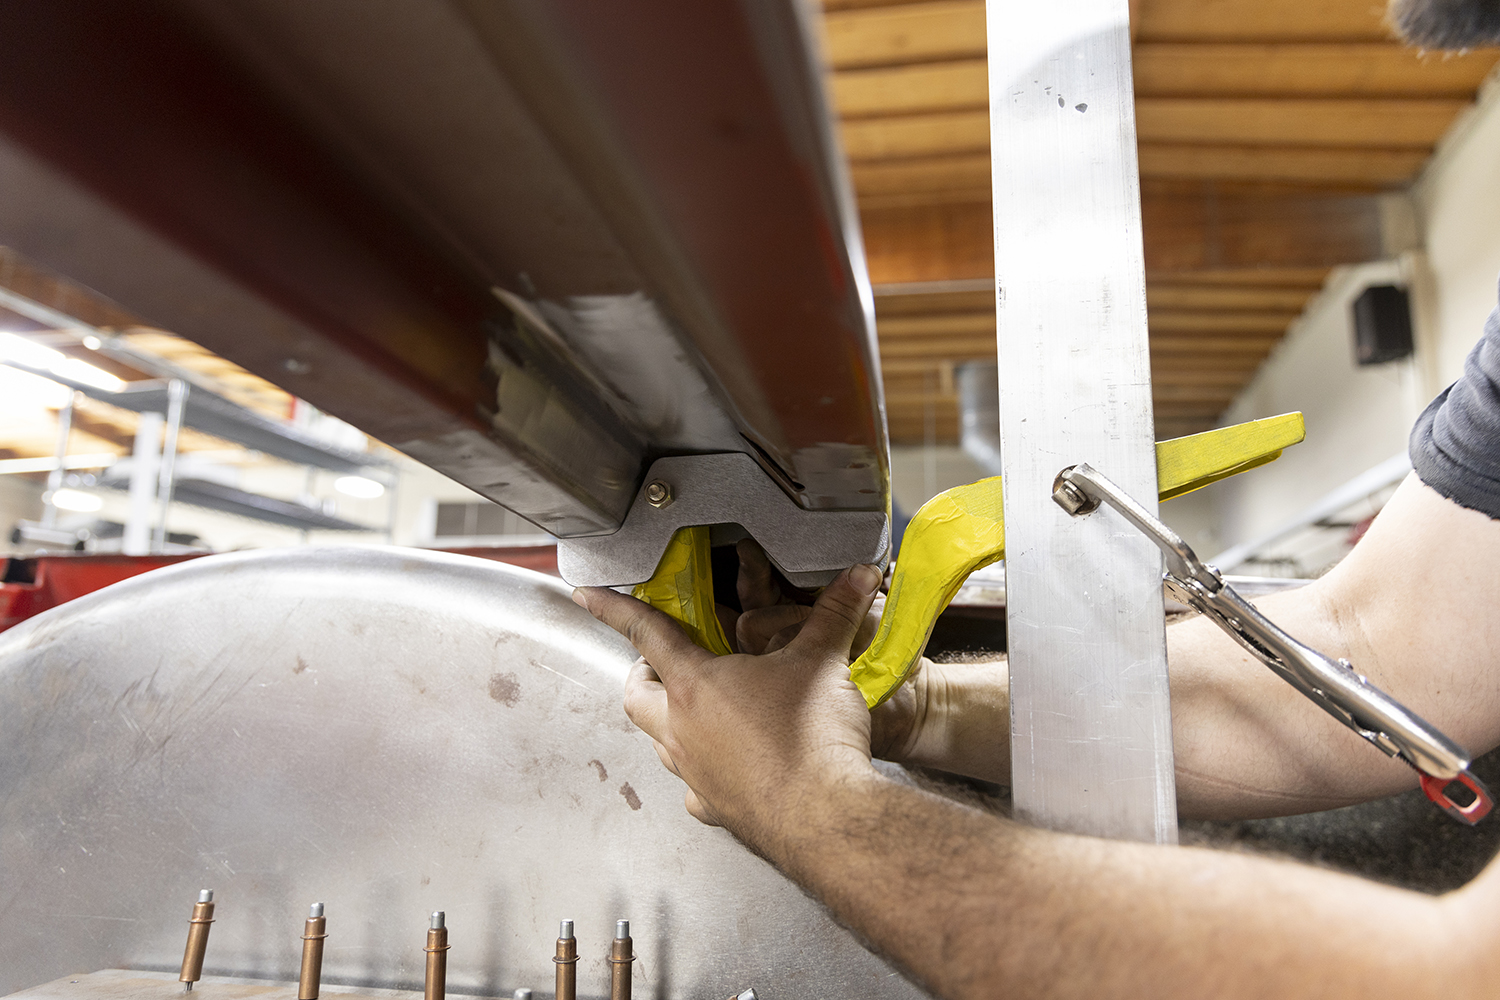
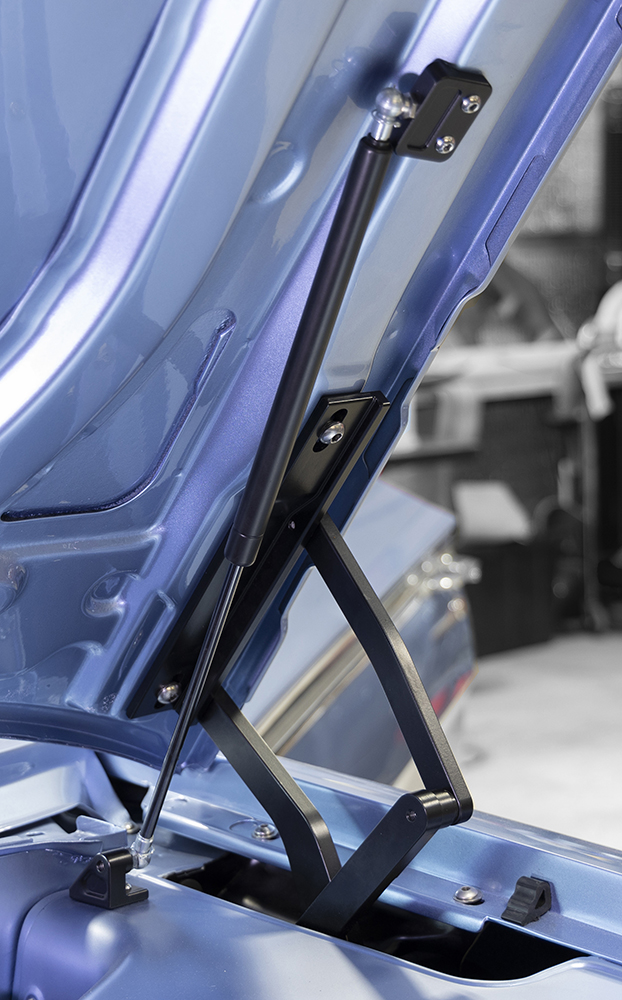
The hinge arm was clamped temporarily into place to check the fit and ensure sufficient room for the hinge to rotate through its complete path.
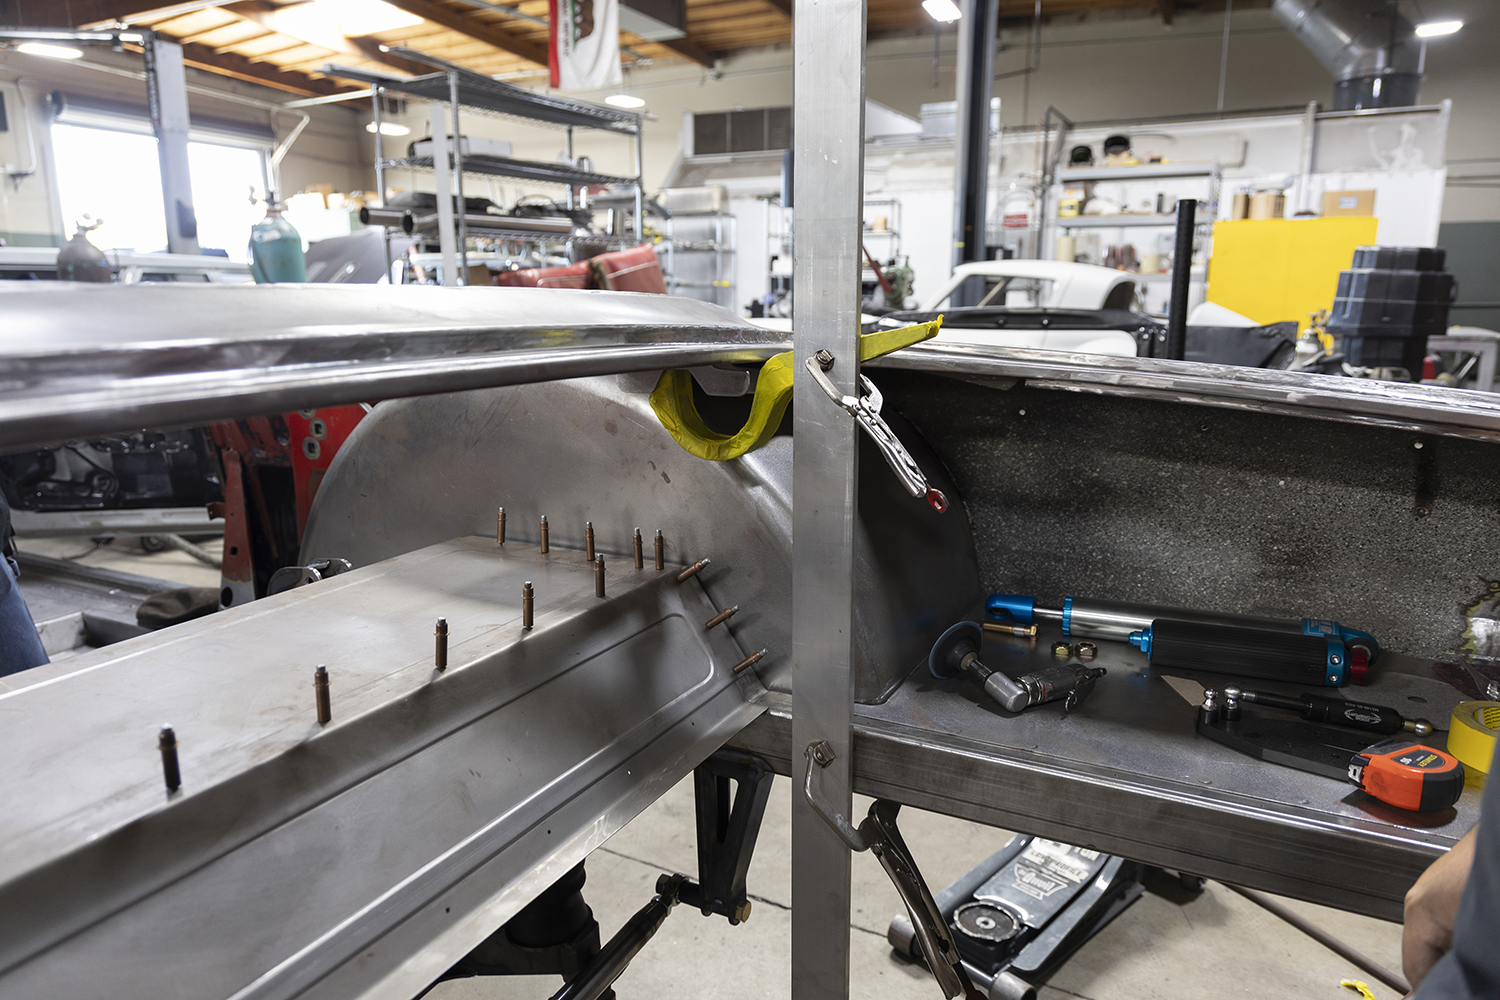
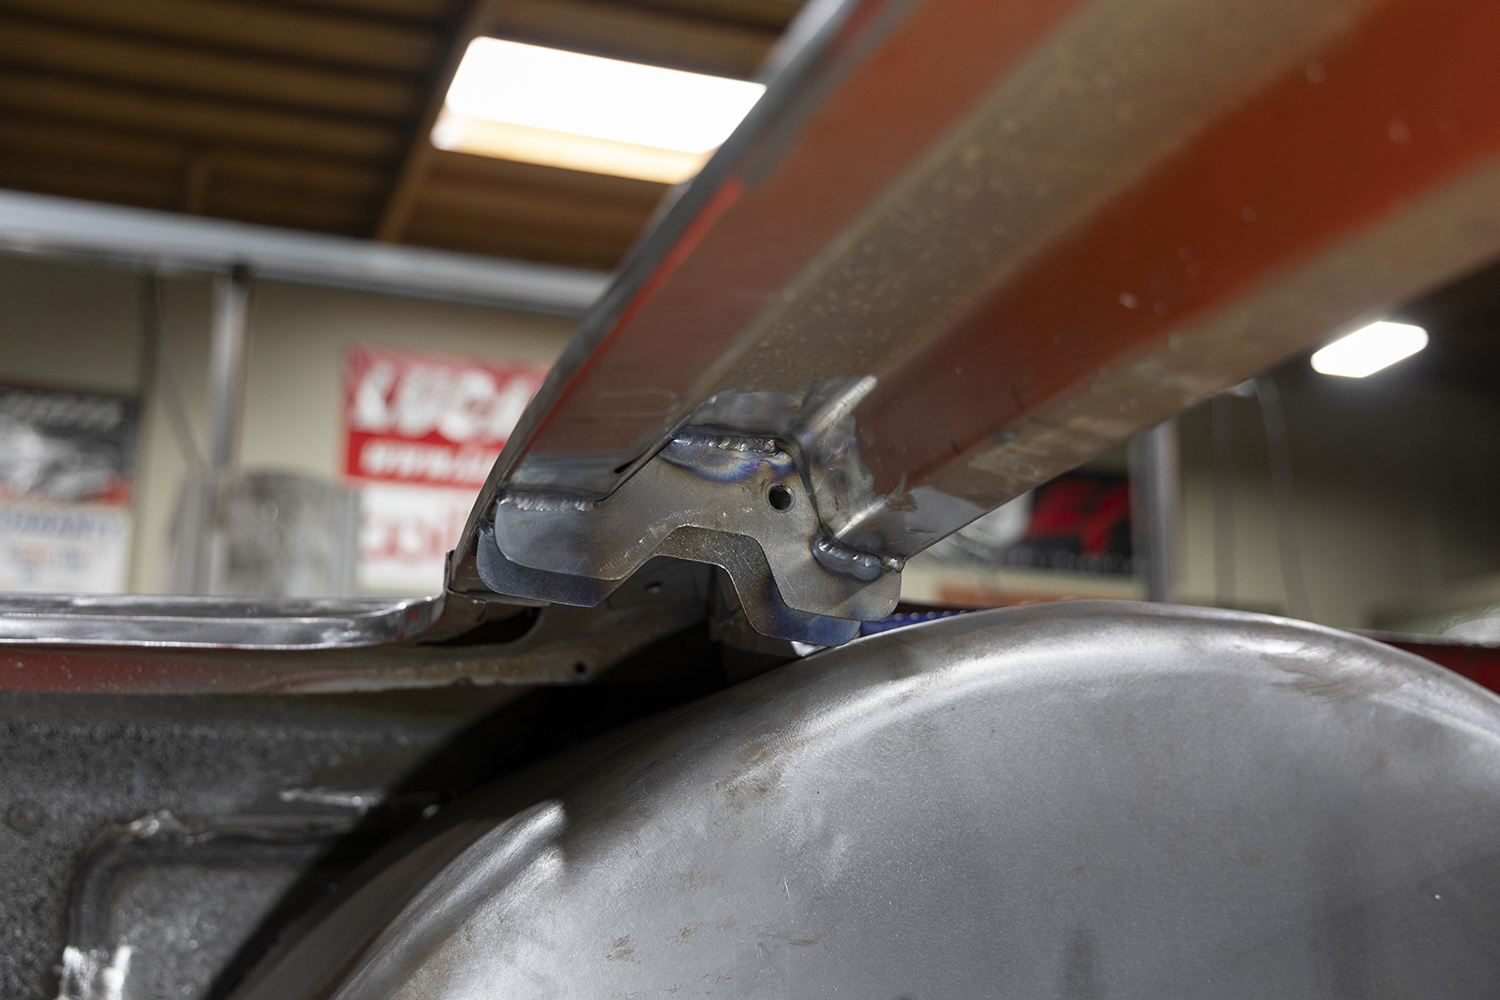
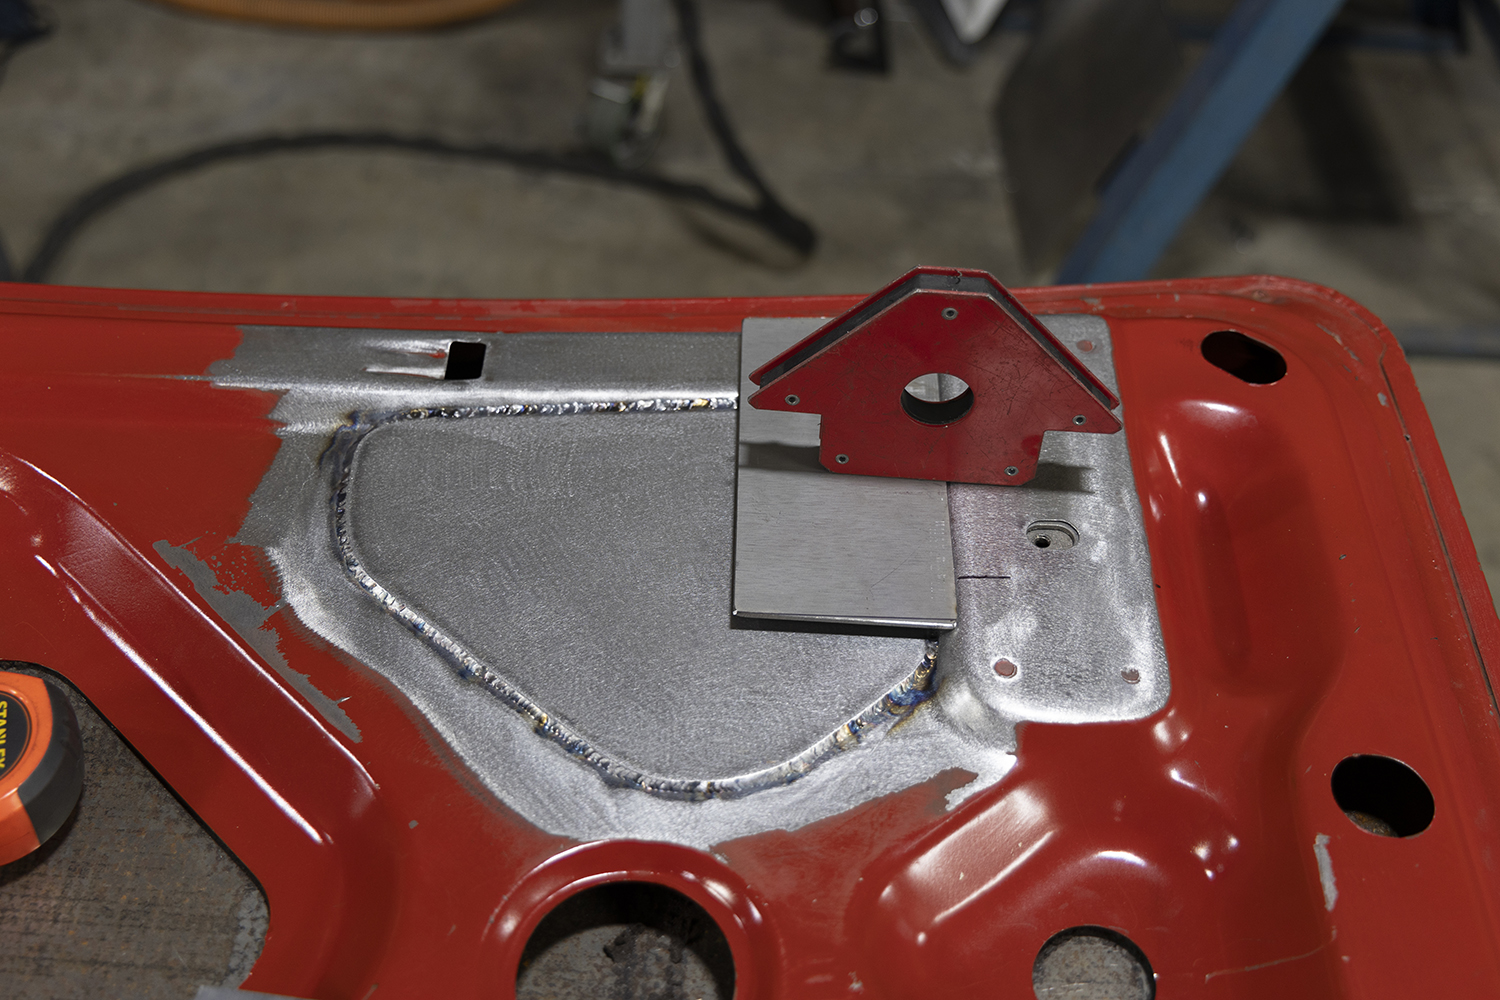
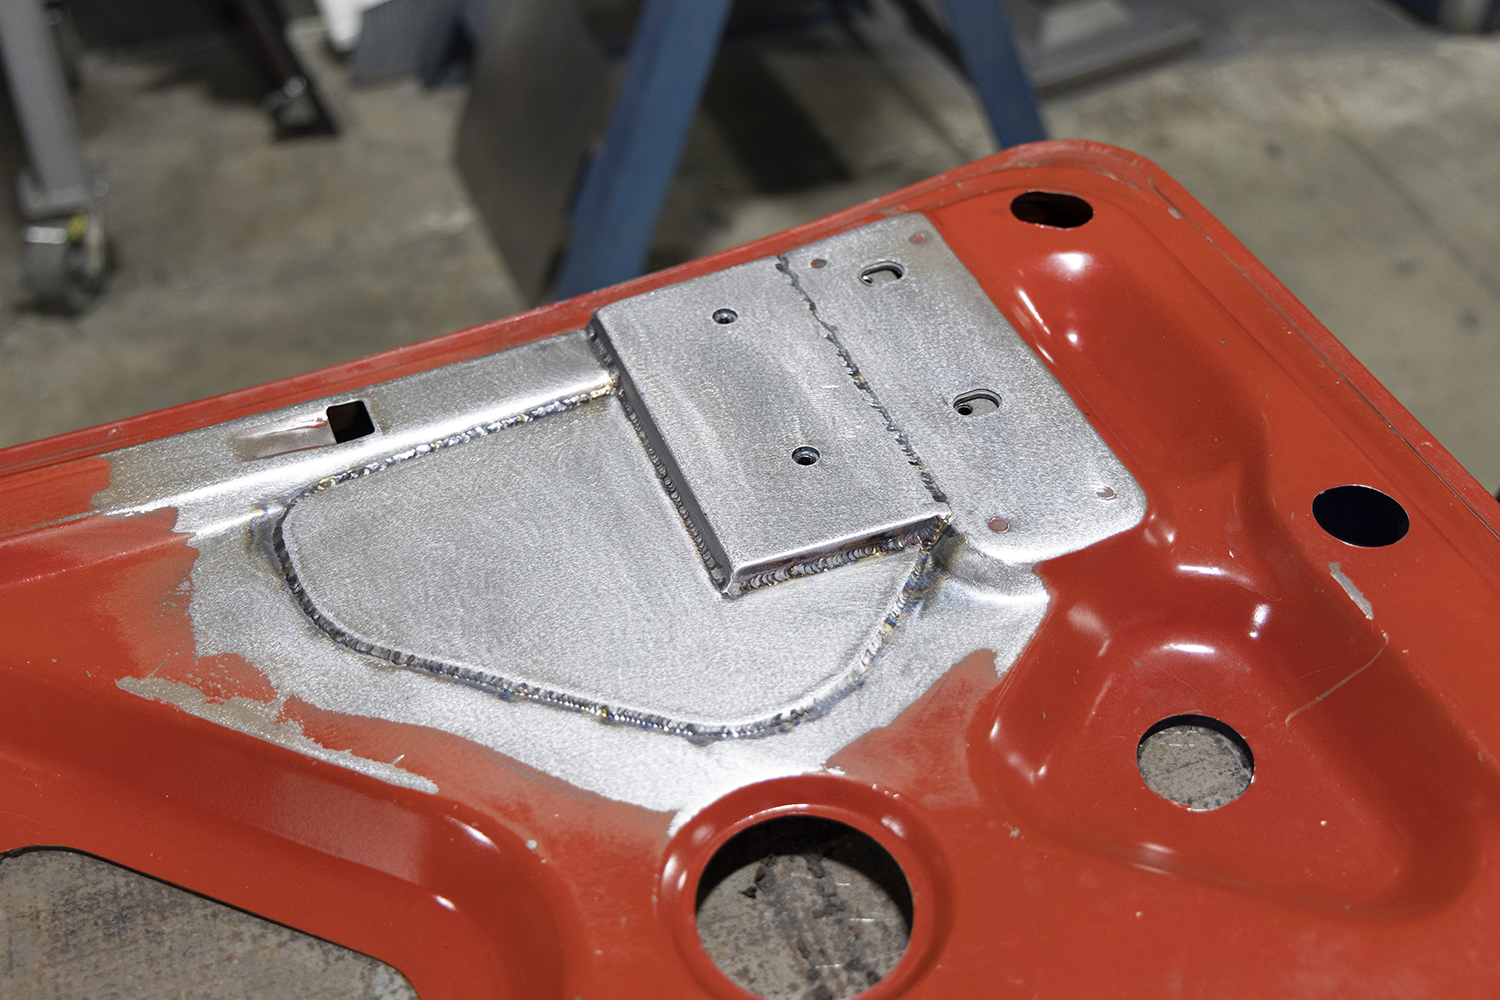
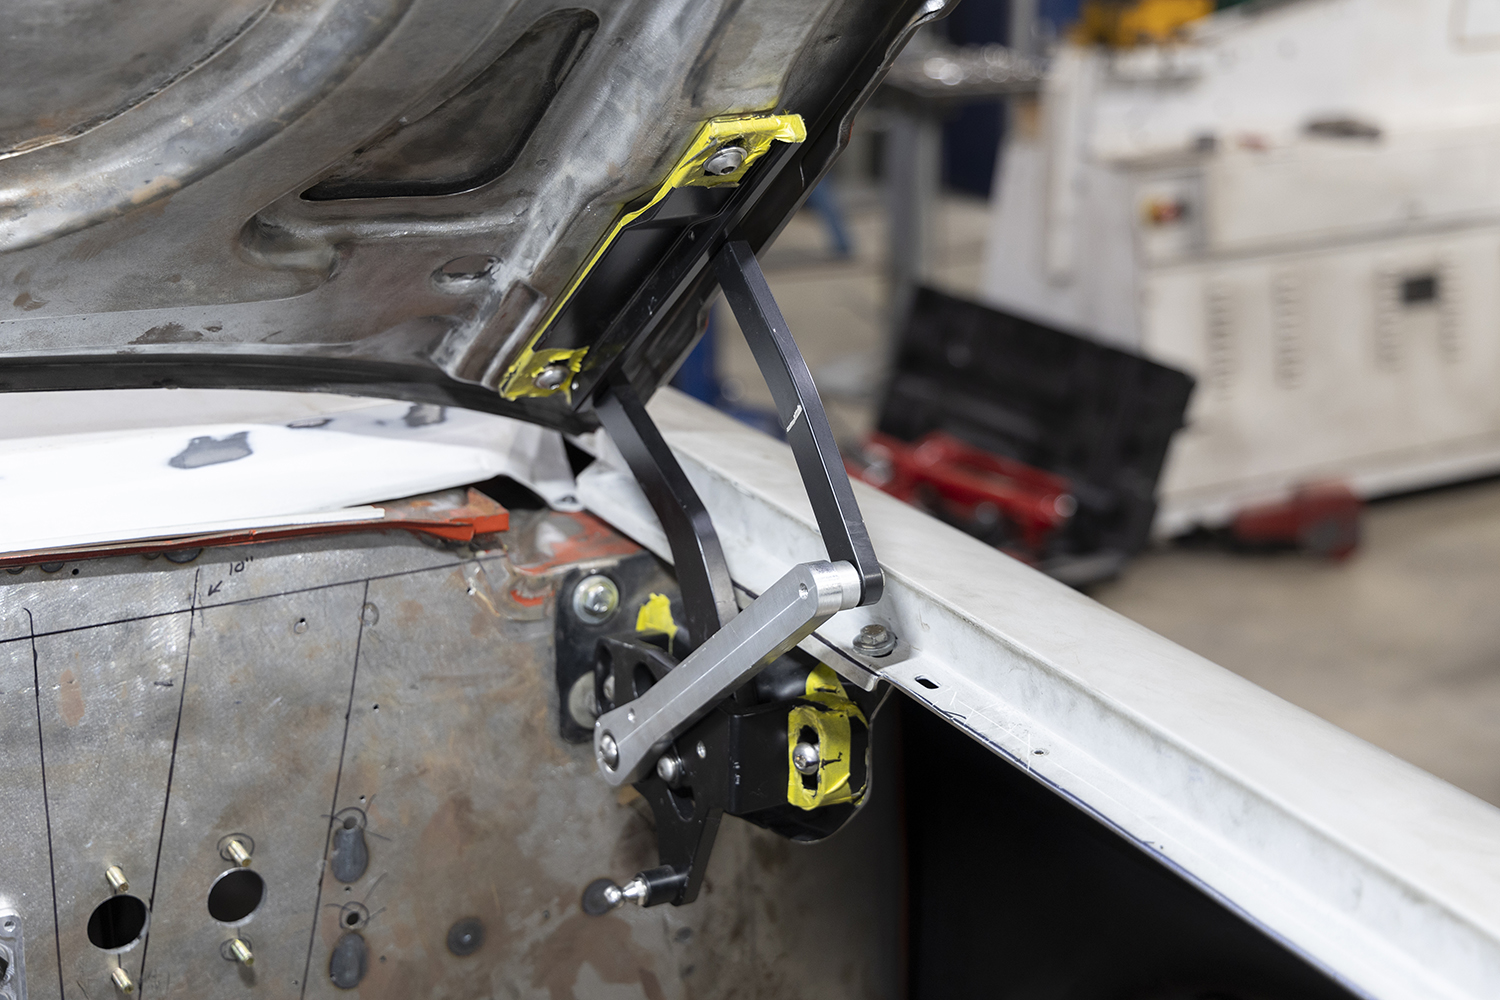
Simple brackets were created to mount the hinge pivot pin, which was welded to the underside of the package tray. The mounts on the decklid proved to be a bit more challenging to fabricate due to the complex contours of the inner structure, but the task was successfully completed by carefully adding new metal and ensuring the new mounting surface for the hinge was perfectly aligned with the original.
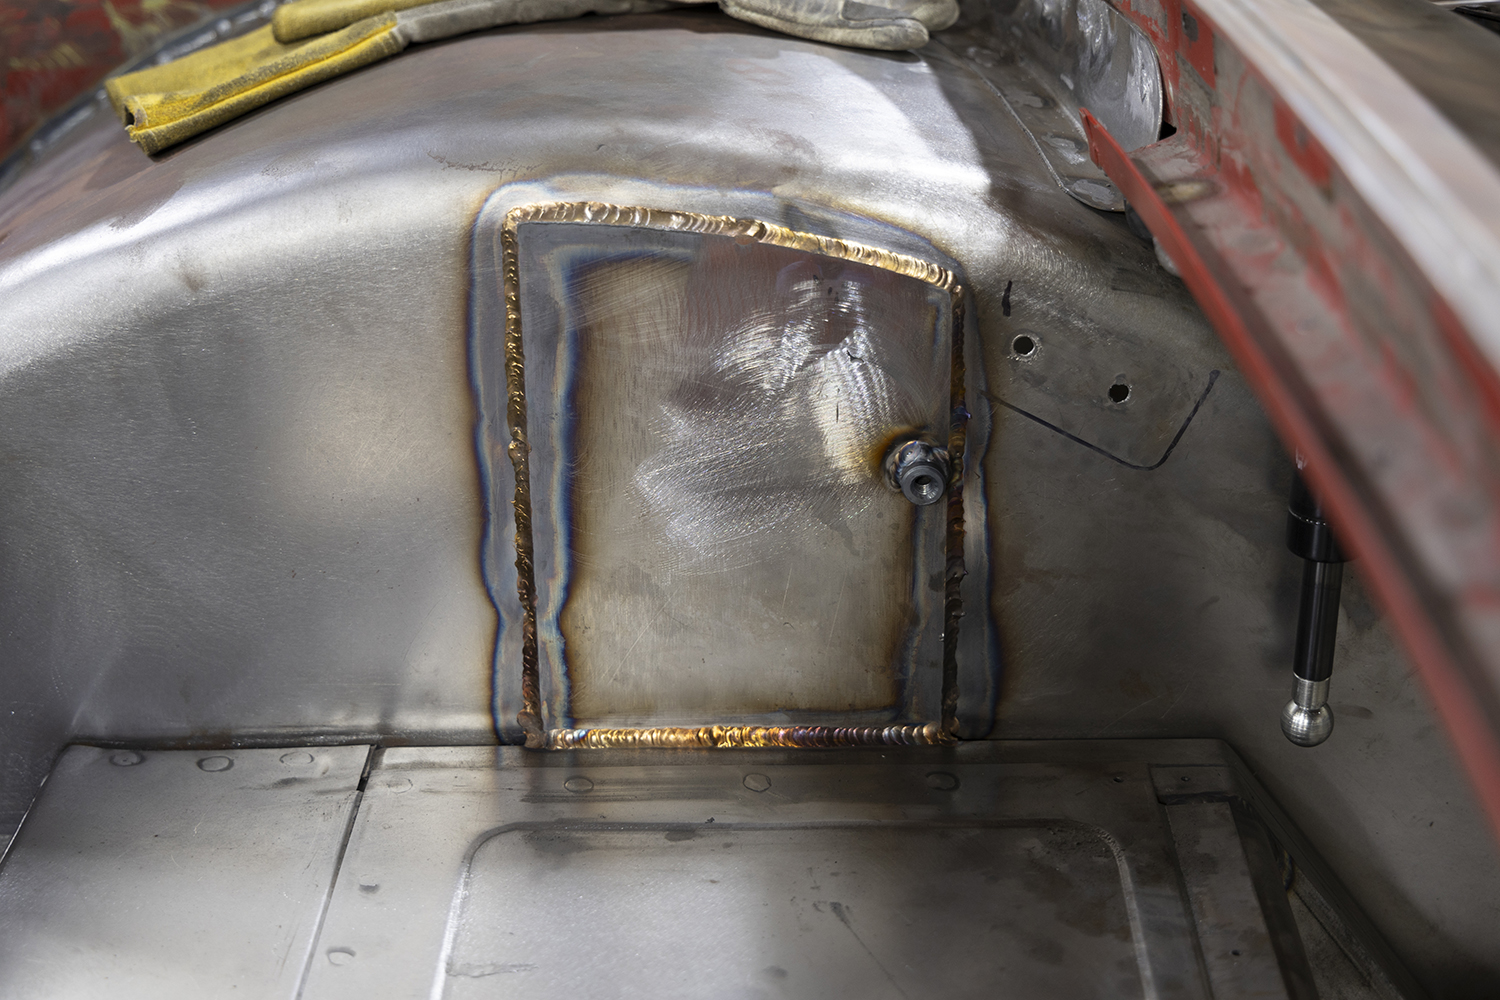
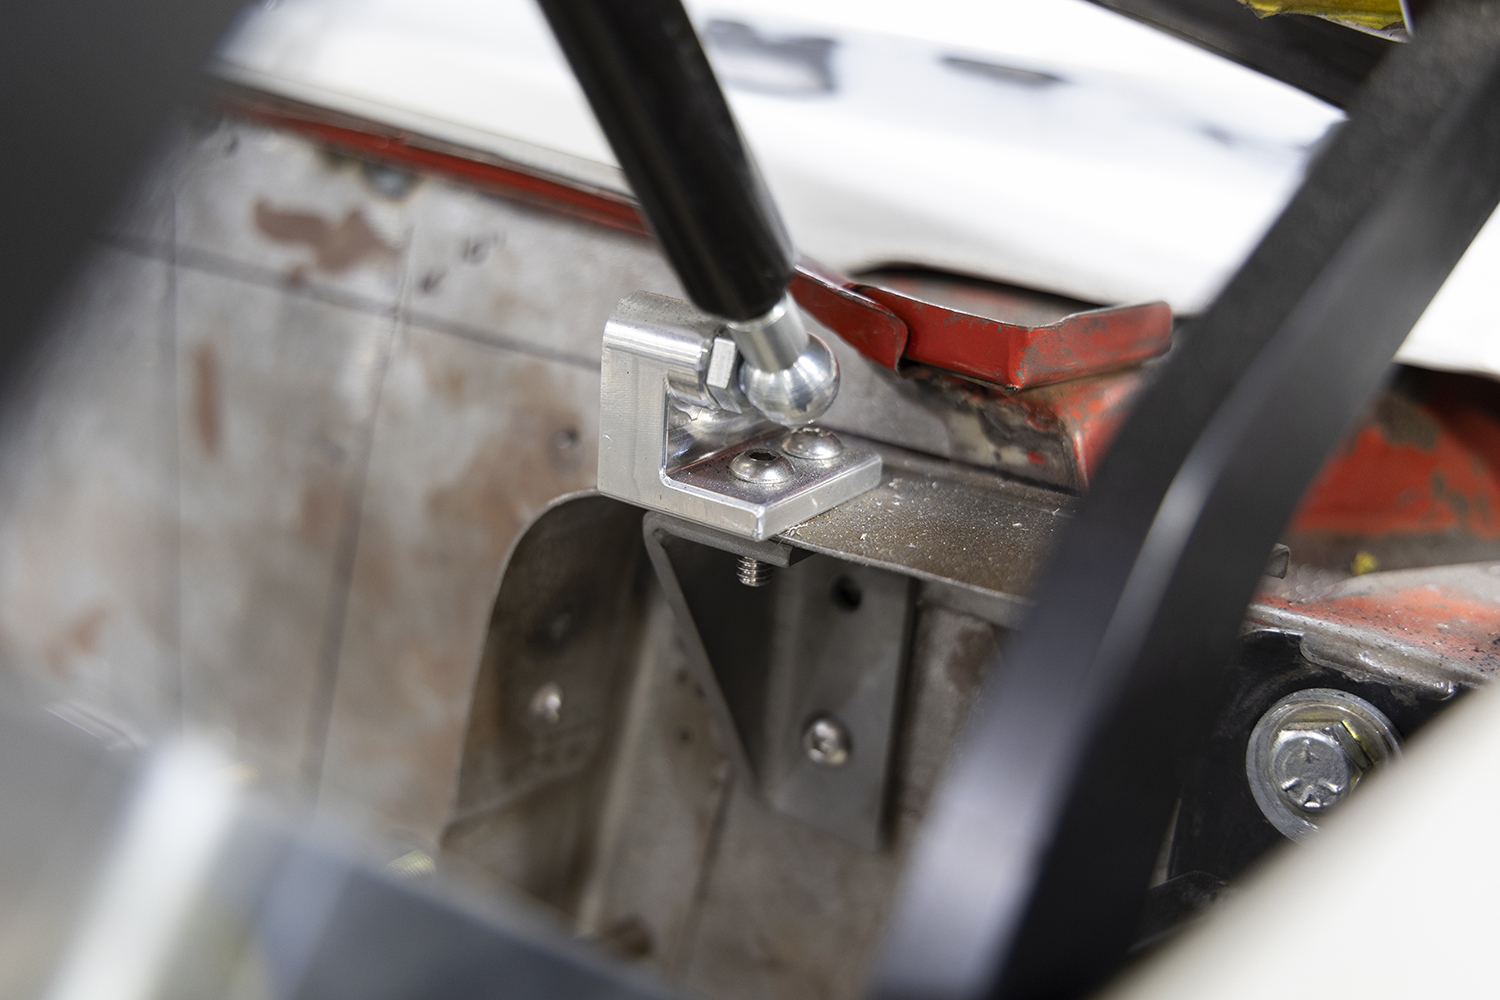
A bracket was fabricated to fit the bottom of the package tray inner structure and test-fitted. The crew is also evaluating the position of the supplied mount for the bottom end of the gas spring.
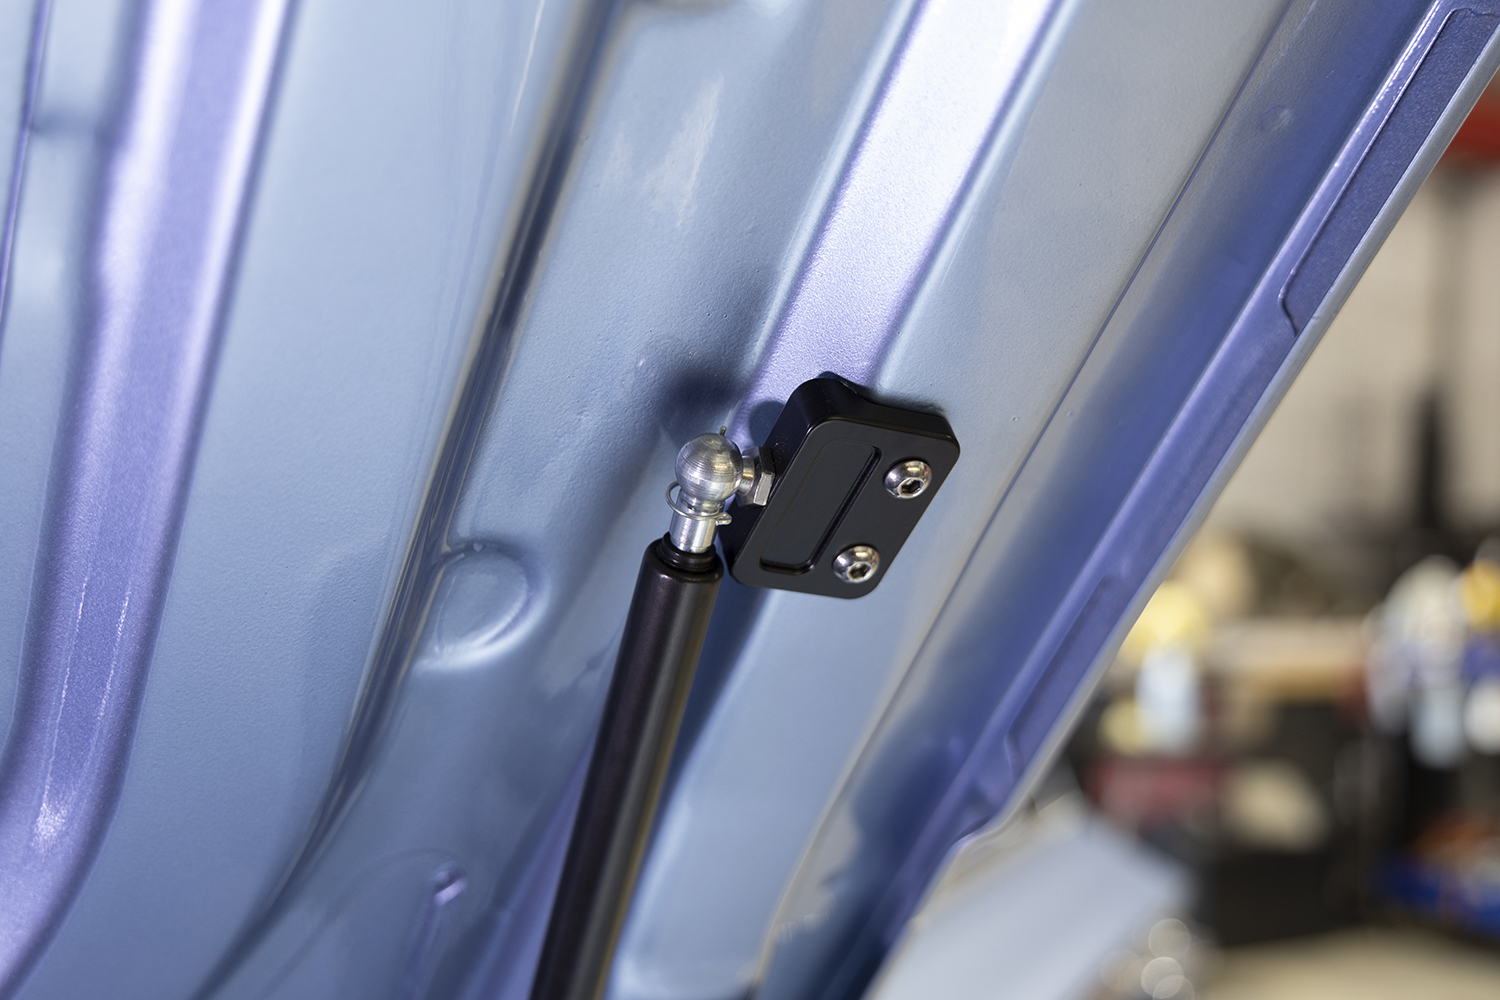
Modifications were also needed for the front hinges. The main change involved opting for a long, slender gas spring that fits snugly against the hood’s inner structure. The larger-diameter, shorter spring originally supplied with the hinges would have interfered with the bigger wheels and tires on the car, so a smaller spring was selected to keep everything as tidy as possible underhood. One of the hinge links was remade in a straight configuration since the original curved link was primarily used to accommodate the larger gas spring.
The bracket proved to be just the right size and a relief is being sketched here, which will remove unnecessary material.
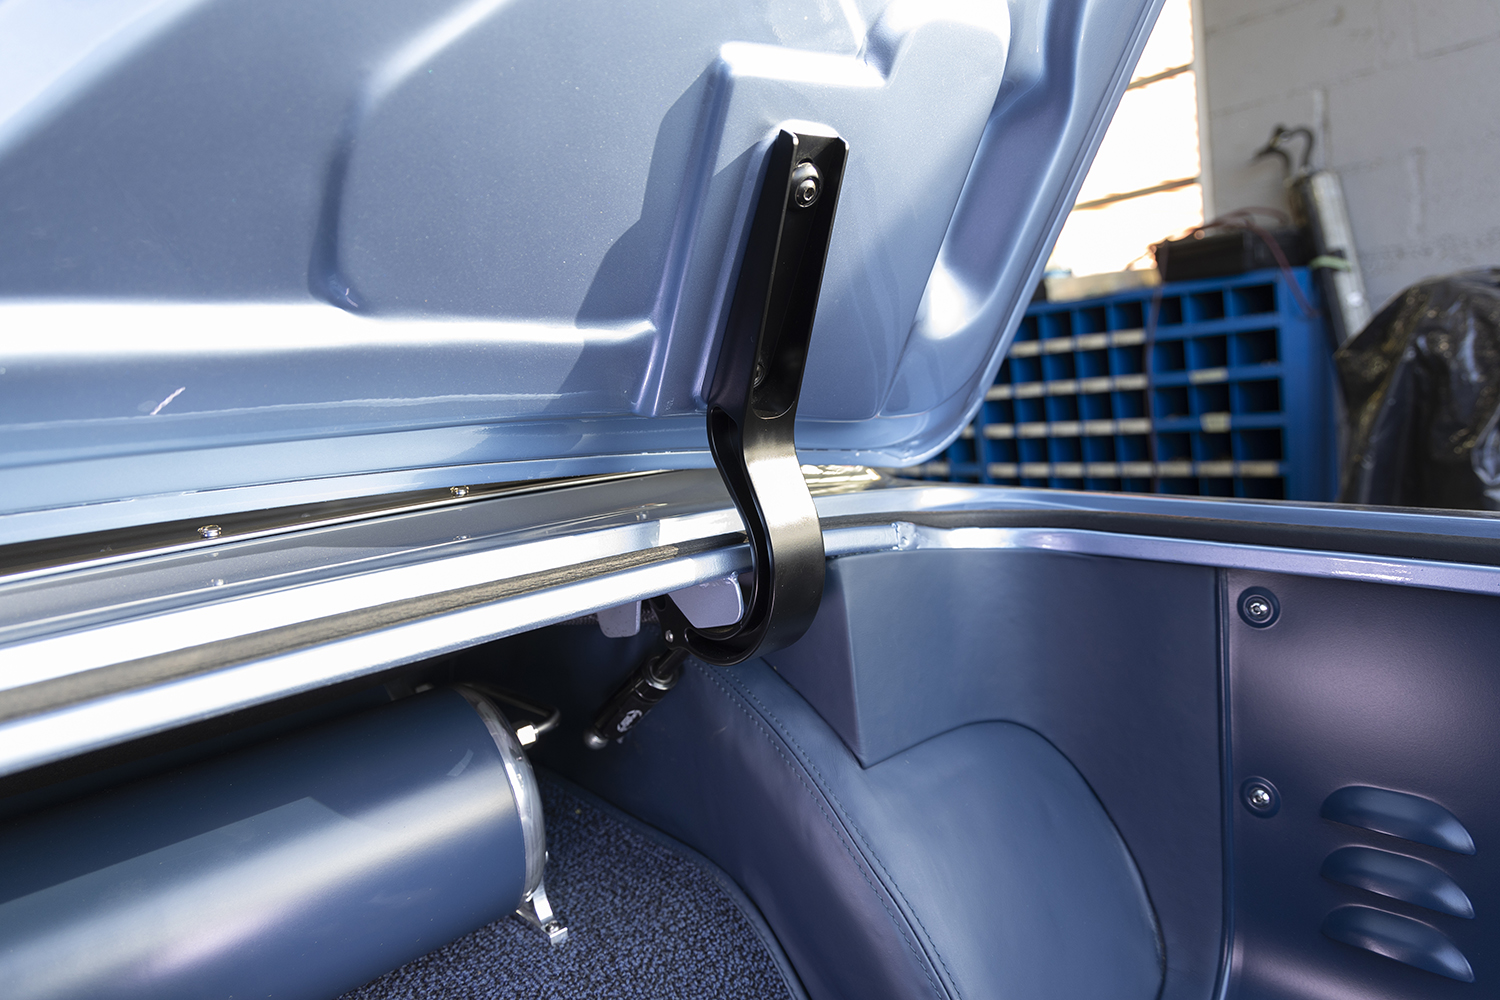
The last photo showcases how clean the finished installation looks. We believe you’ll agree that it’s extremely low profile and neat!
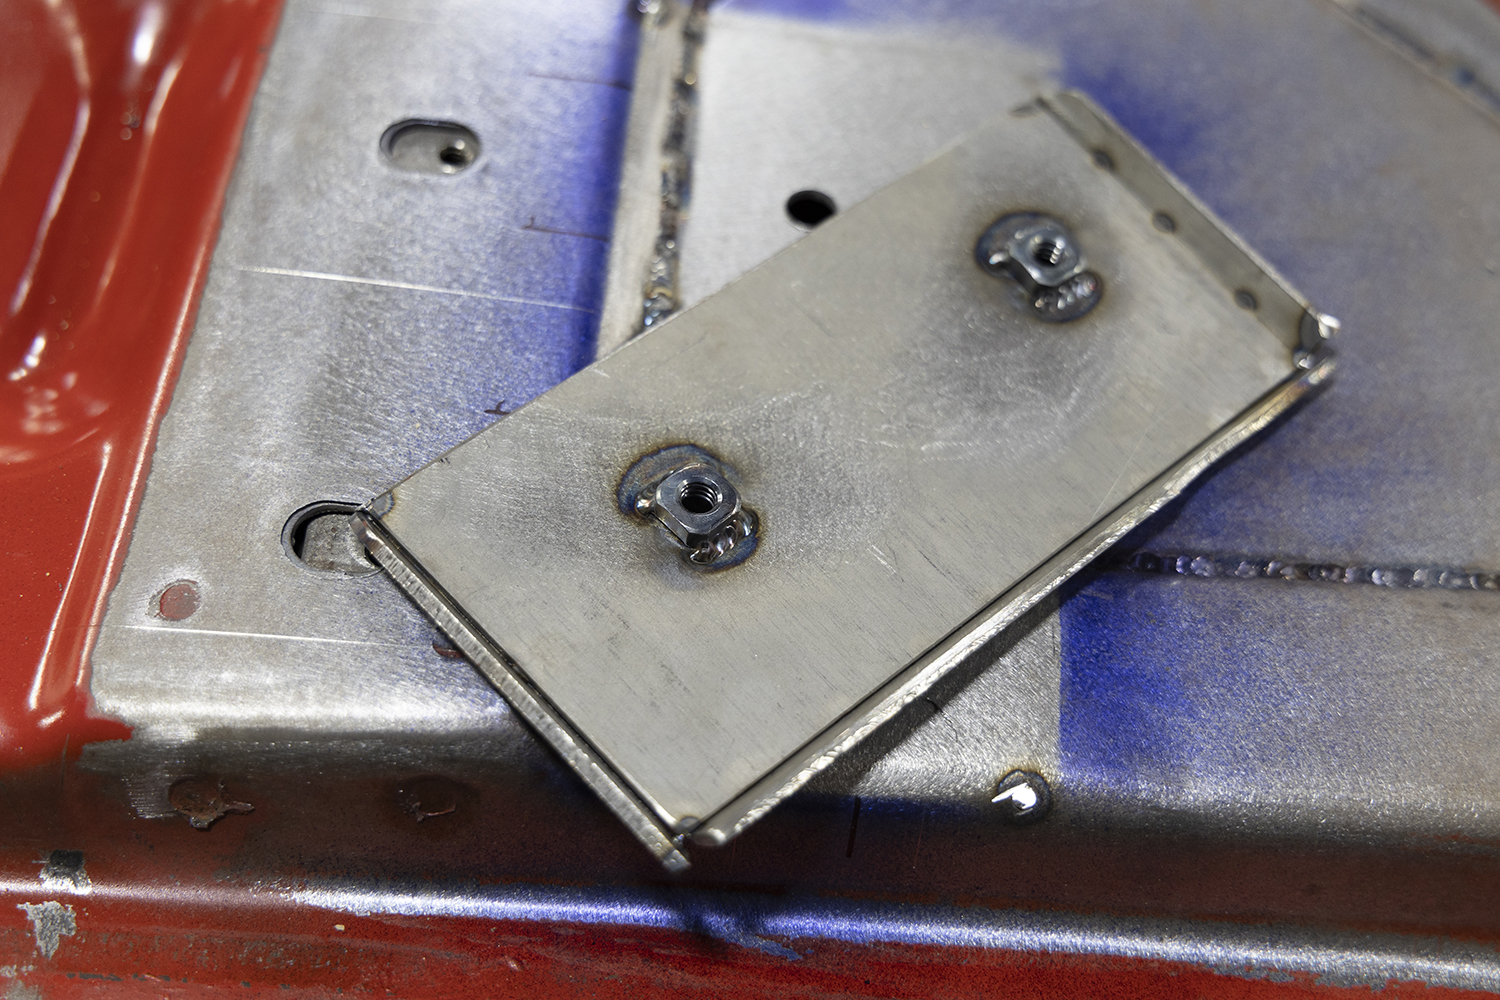
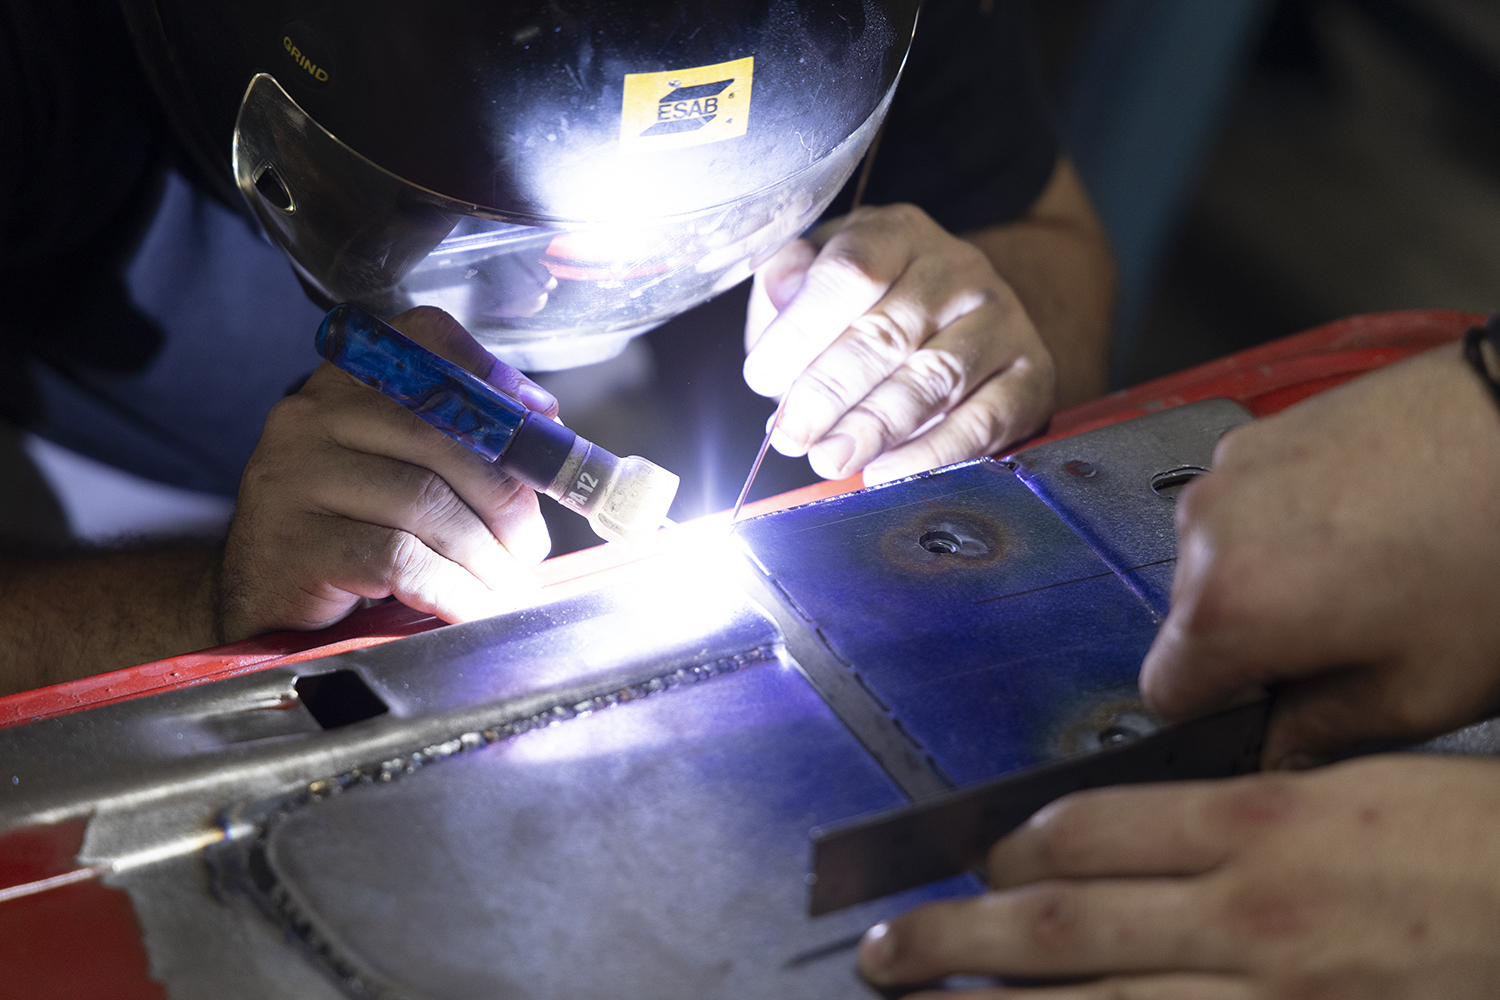
All four brackets were cut to size; two are sandwiched into place here on one of the hinge arms. Tape protects the beautifully machined parts’ black anodized finish.The assembly is checked for fit again before being tack-welded into place.After ensuring that the hinge’s action is smooth and that it rotates without binding, the brackets are finish welded into place.The decklid must be modified to accommodate the new hinges’ location. A piece of 1/8-inch steel is fitted into place to fill one of the indentations in the inner structure.Another piece of 1/8-inch material is fitted, which will have nut plates for the hinge screws. A magnet is used to align the new mount with the original. If this angle is not maintained, the hinges will bind.Threaded inserts are welded to the inside of this bracket.Once all the parts are properly aligned, they are securely finish welded.Here’s the completed new mount for the hinge.An additional brace was added to connect the panel behind the rear window to the wheelwell. This will stiffen the rear of the body considerably and help maintain the alignment of the decklid over time.Gas springs like this exert considerable force, and after evaluating the strength needed for the mount a new plan was devised.A substantial piece of 3/16-inch steel plate was used to reinforce the mount for the gas spring, and a threaded standoff was added to accept the stud for the ball joint. Silicon bronze filler rod was used to minimize any distortion on the wheelwell.With the final finish in place and the interior trimwork completed, you can see how these hinges add a beautiful accent to the trunk area.The front hinges are being tested here for fit and clearance.The crew decided to use a different gas spring on the front hinge to prevent interference with the tire. The lower link of the hinge, which was originally curved for the spring mount, has been replaced here with a straight segment.A small, clean mount was machined from aluminum billet, which attaches the bottom end of the new gas spring.A new upper mount was created, too, which is attached to the inner hood structure.Here’s the hinge and new gas spring in place. The new inner fender panels cover the bulk of the lower hinge mechanism, and the opening for the hinge has been kept nice and tidy by using a slender, external gas spring. Small details like this can really clean up the underhood area.
We use cookies to ensure that we give you the best experience on our website. If you continue to use this site we will assume that you are happy with it.